


Although I am using a Arbitrary Function Generator to “debug” AM radios, I always wondered if it would be easier to use a dedicated tool, like a signal tracer / injector.
Trouble with my AWG is that it needs to be configured every time it is turned on – the appeal of a dedicated tool has been irking me for a while. I saw some Youtube videos on how to make your own ST, which I am tempted to try at one moment. But before I get to that stage, I figured, let me build up some intuition before-hand.
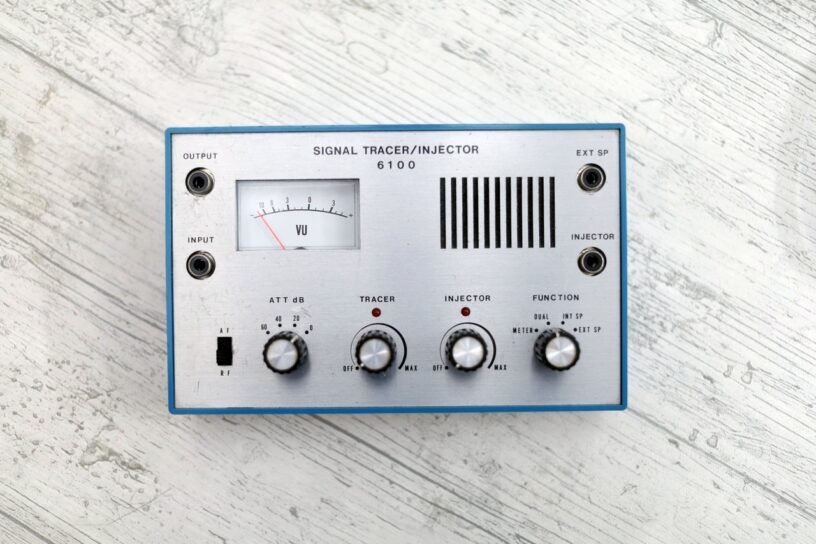
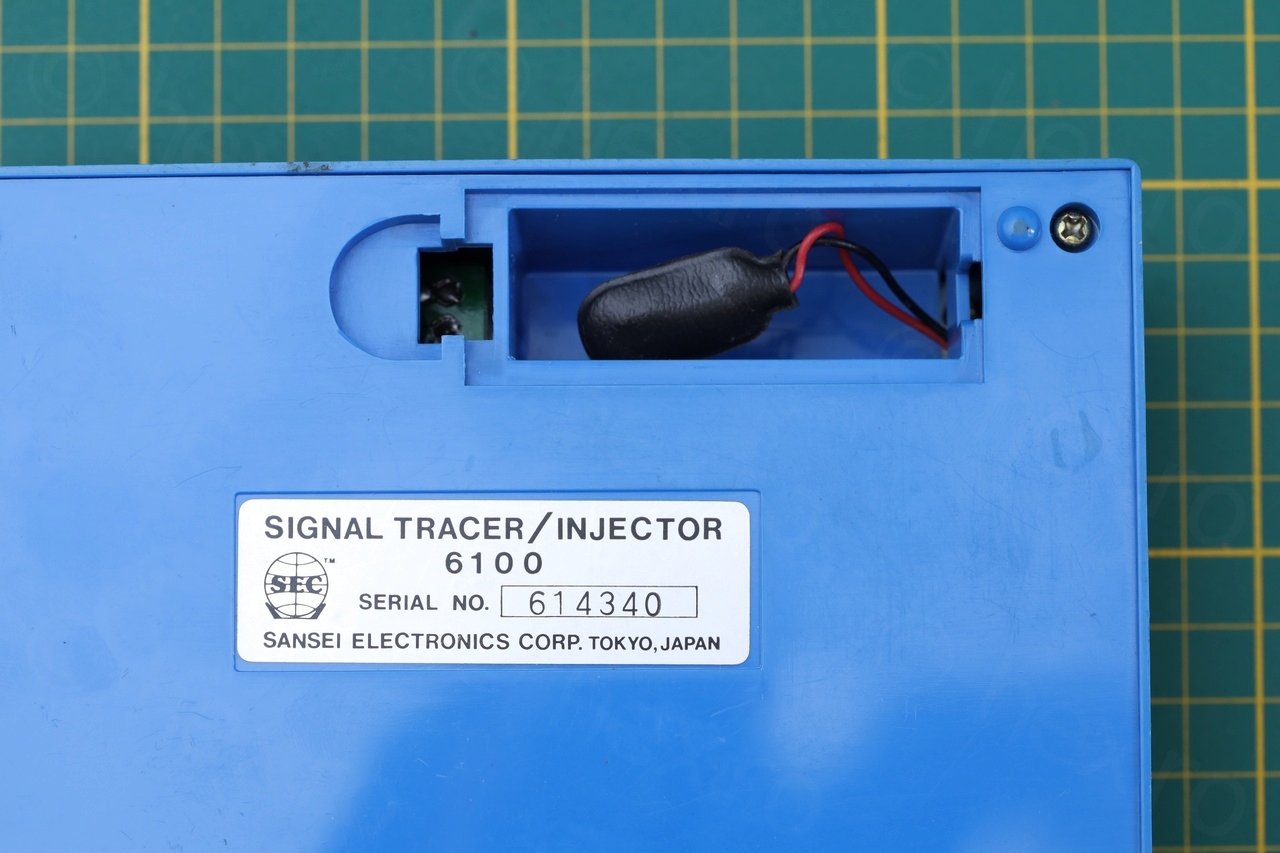
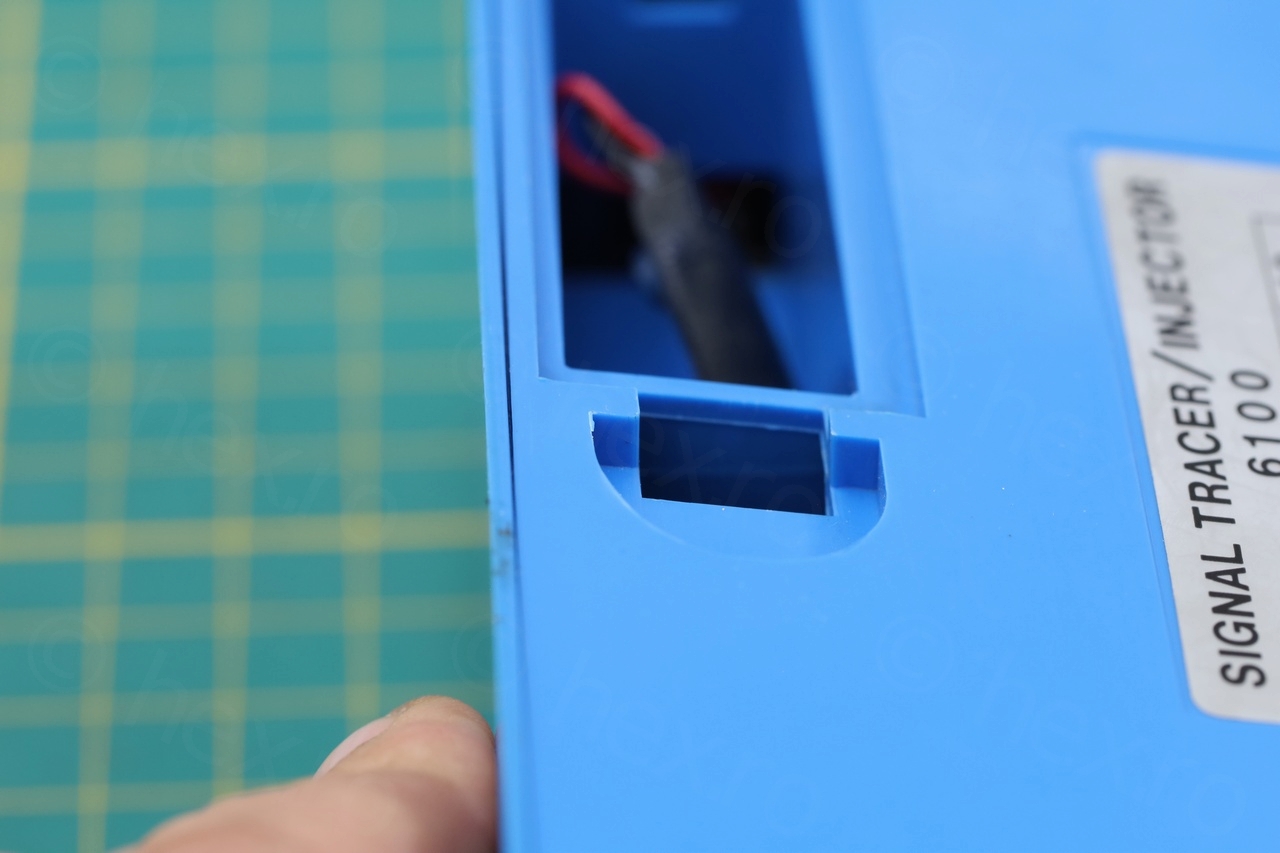
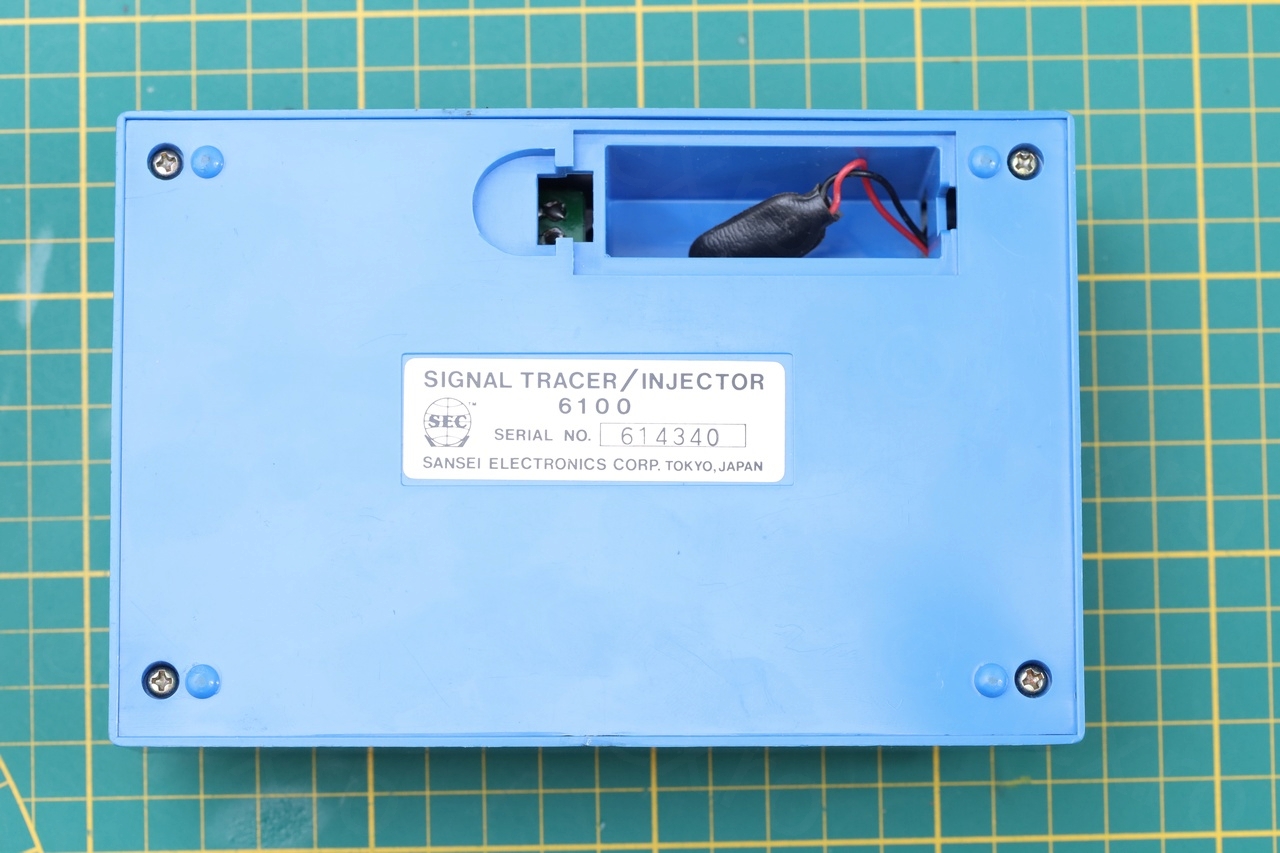
Thus, I ended up bidding for this Sansei 6100 Signal Tracer / Injector. The seller did a great job detailing the problems so there weren’t so many bidders.
Overview
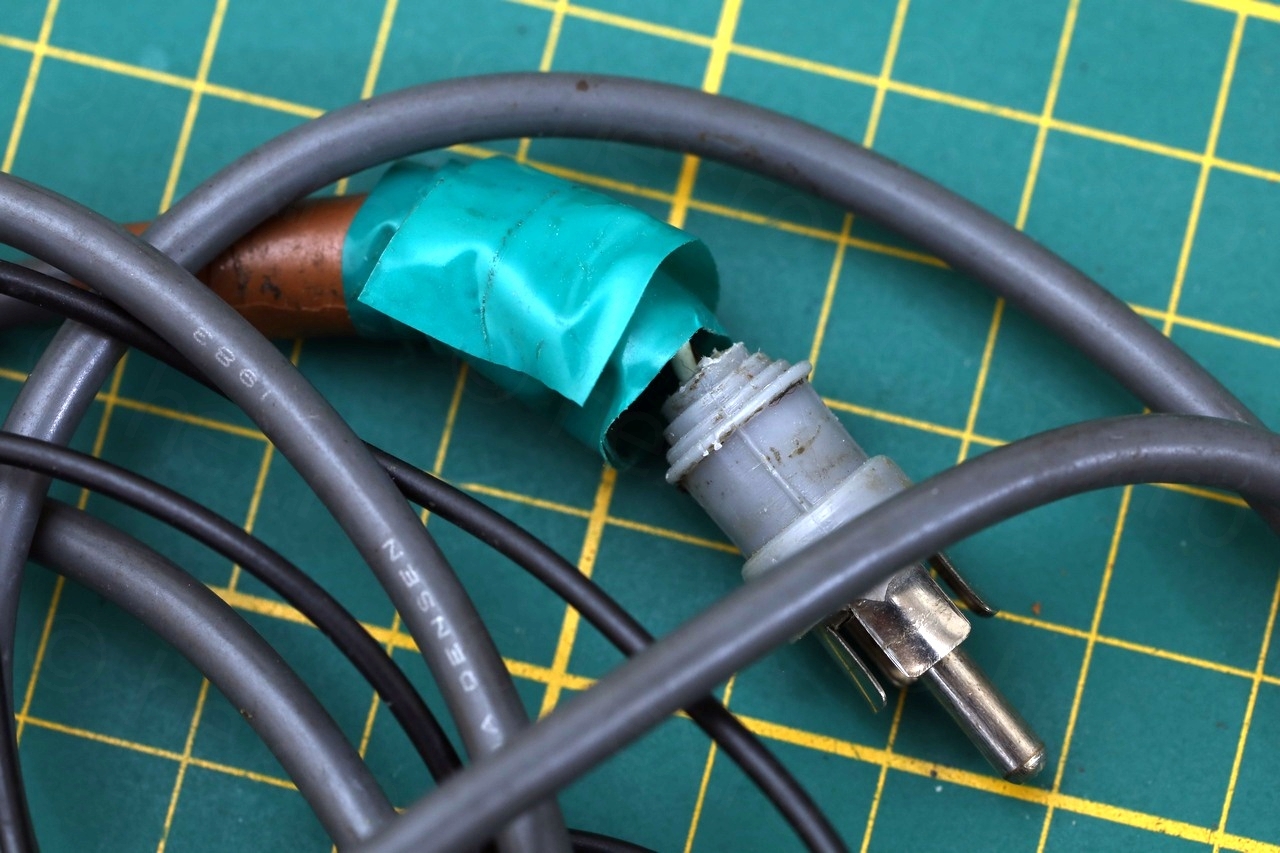
In the seller’s photos some scratches were seen on the front of the device. The battery cover was stated as missing and the probe’s plug was covered in electrical tape although the seller said that the cable itself is not compromised.


Problems
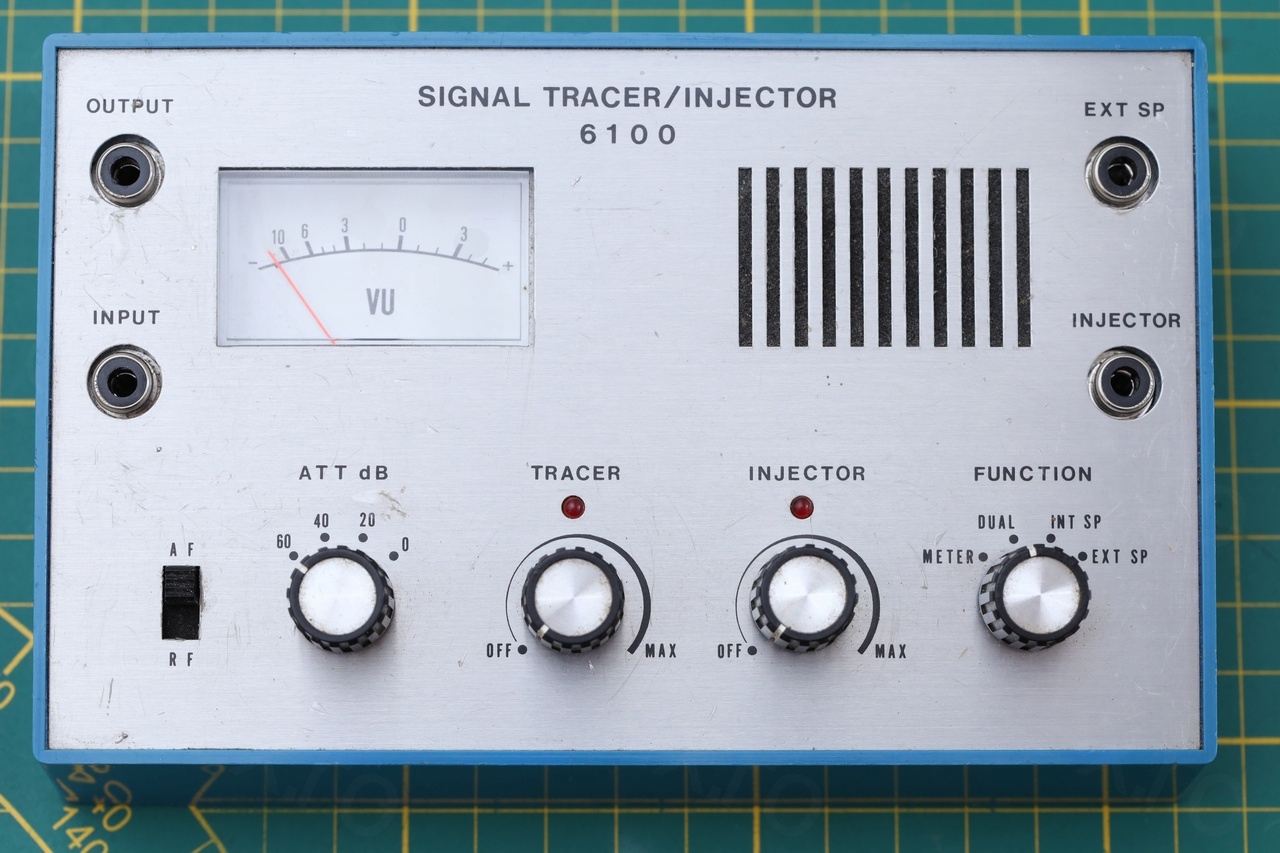
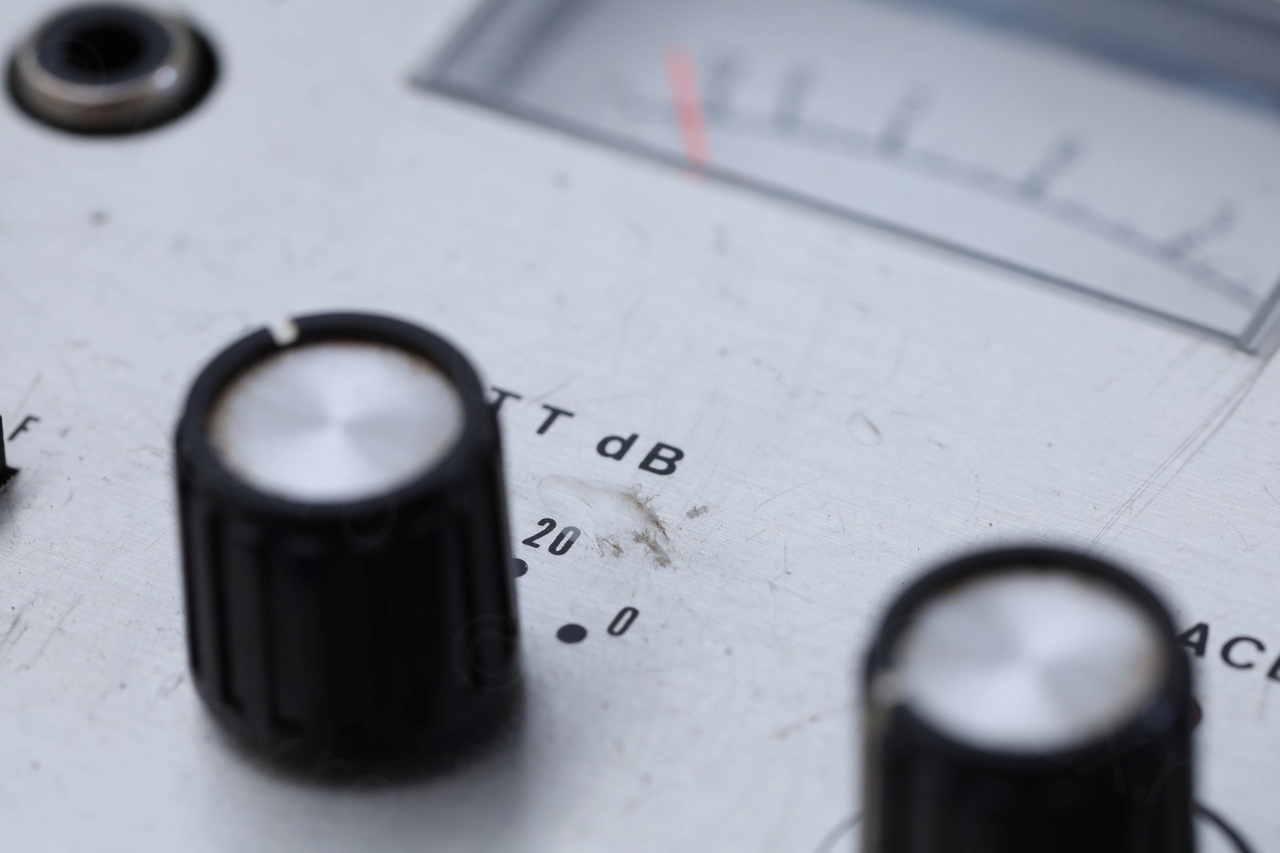
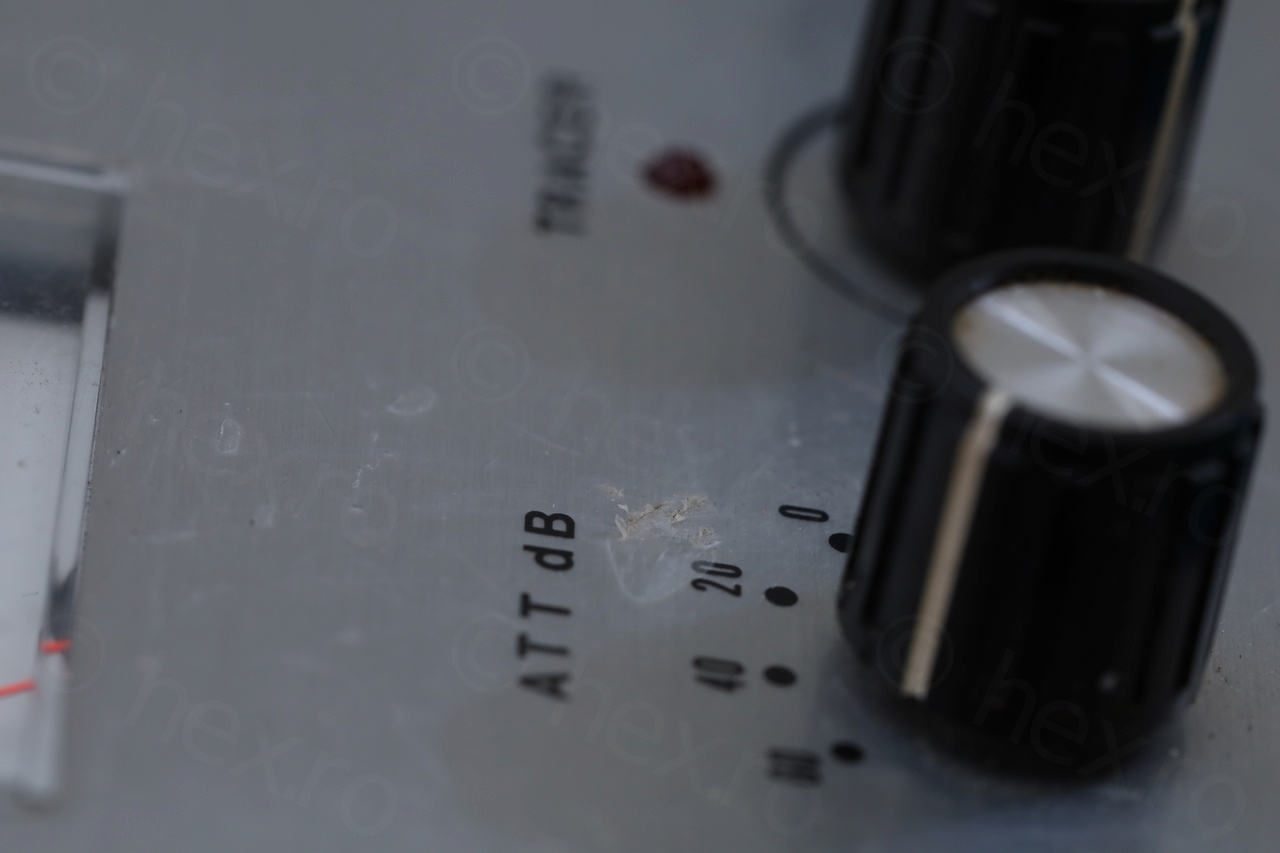
After receiving it, I discovered that the protective plastic film was still on! The damage in the seller’s photos was in fact small damage made to the protective plastic film. Since it was well taken care of – I thought that maybe it would be time for me to try to preserve it longer if possible.
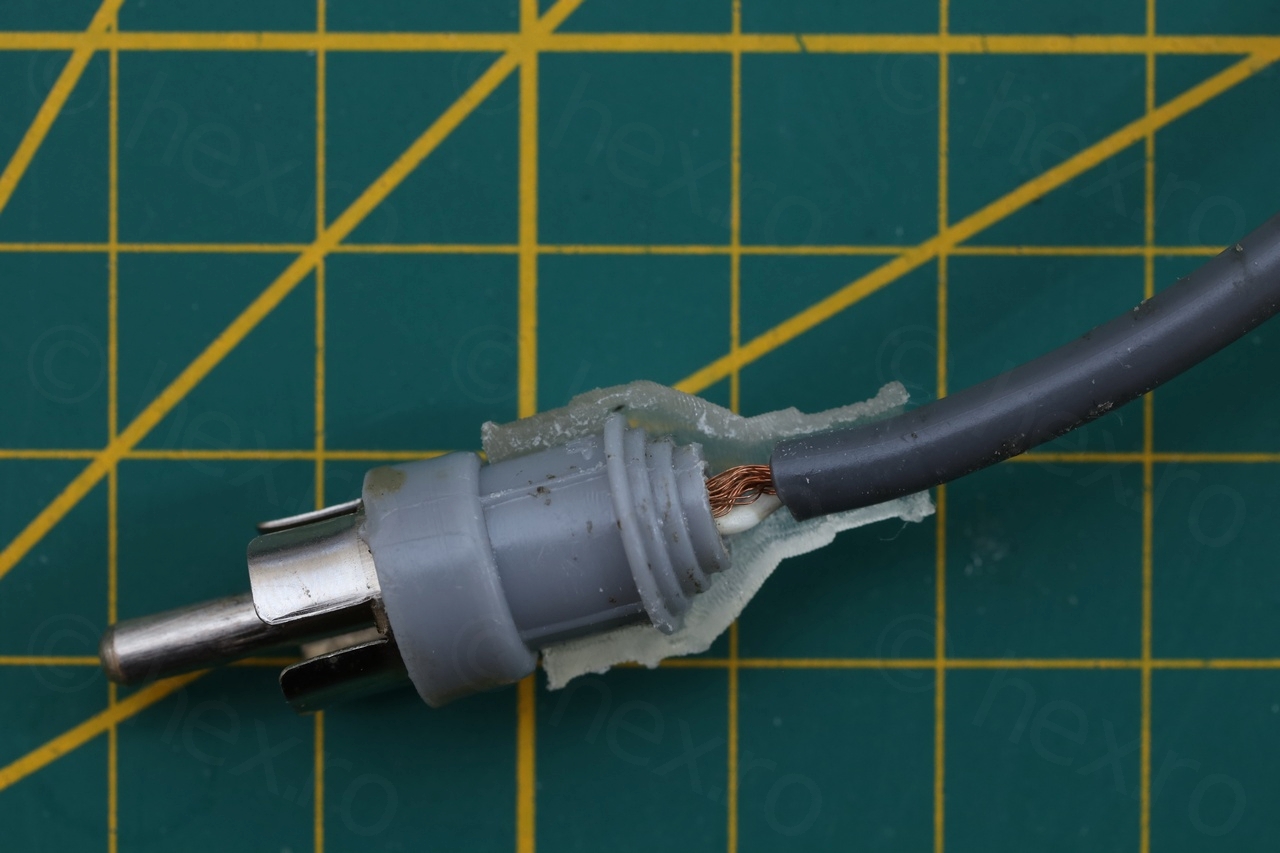
First, I focused on the cable jacket.
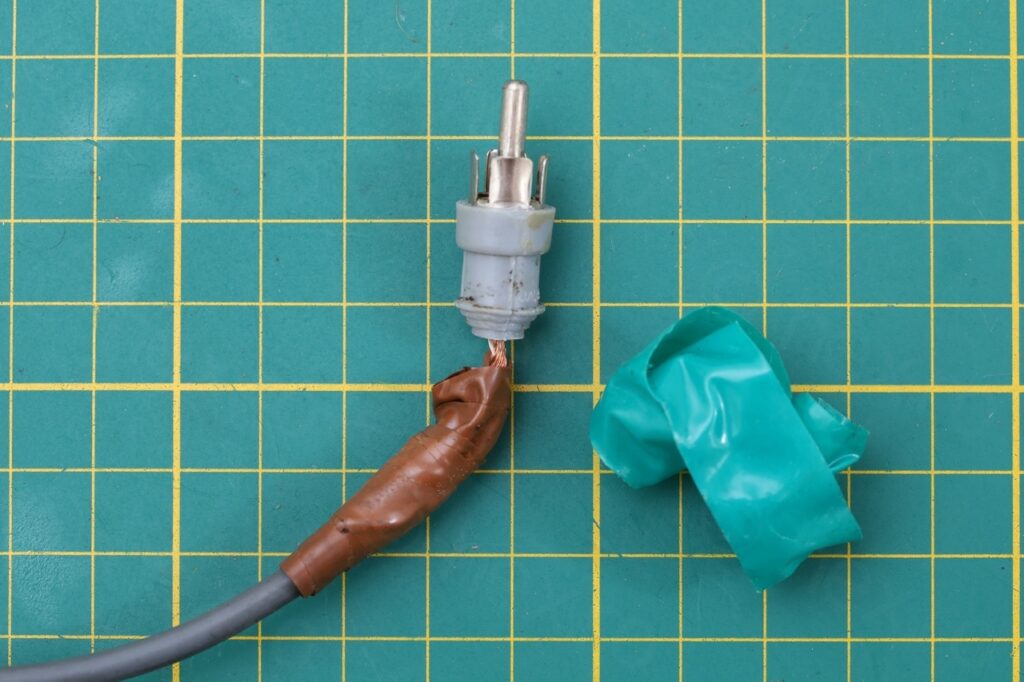
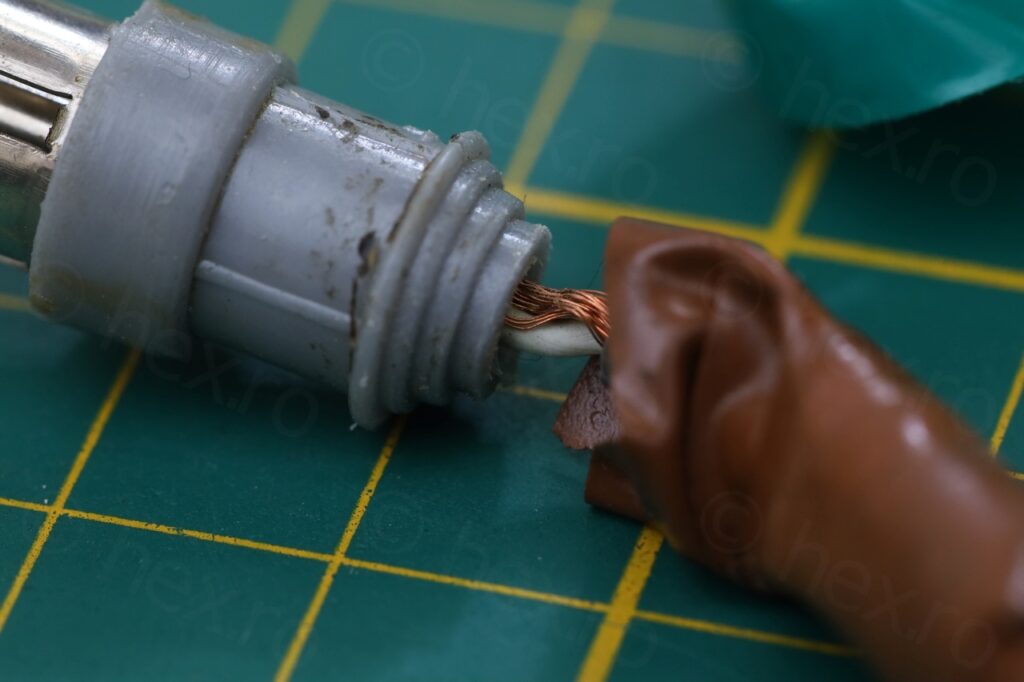

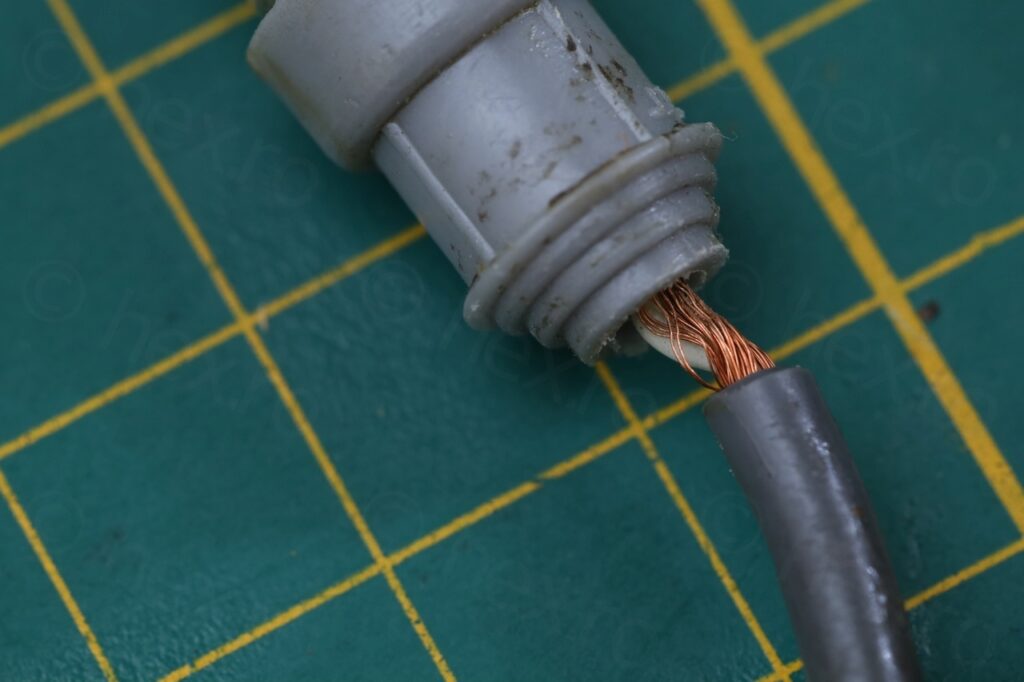
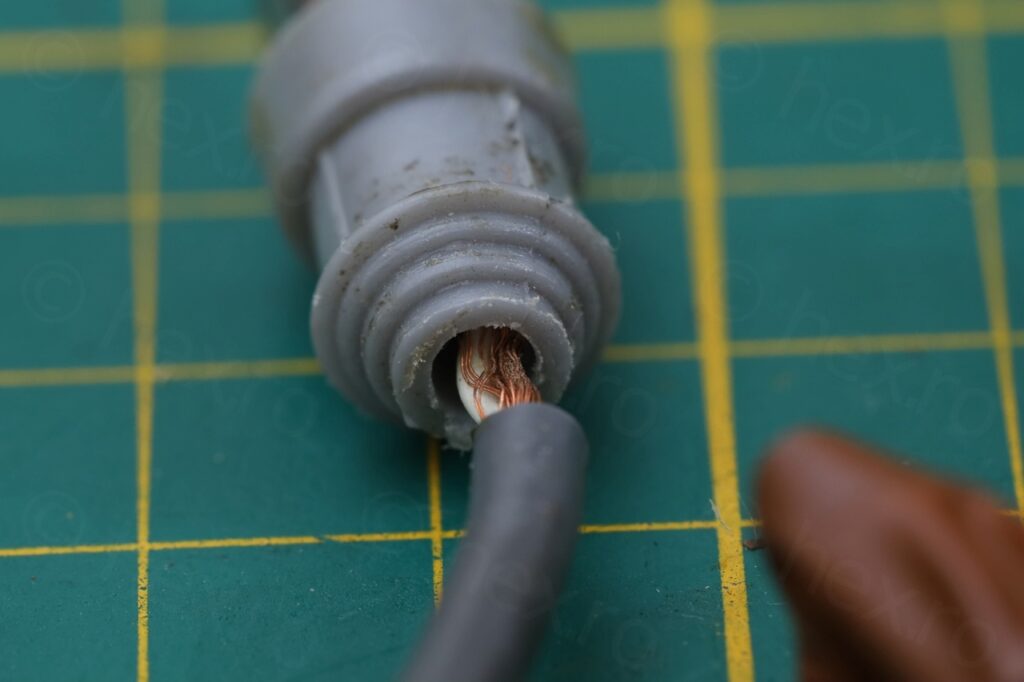
Indeed, the seller was right. The cables themselves were intact, only the jacket detached from the plug. But how to fix ?
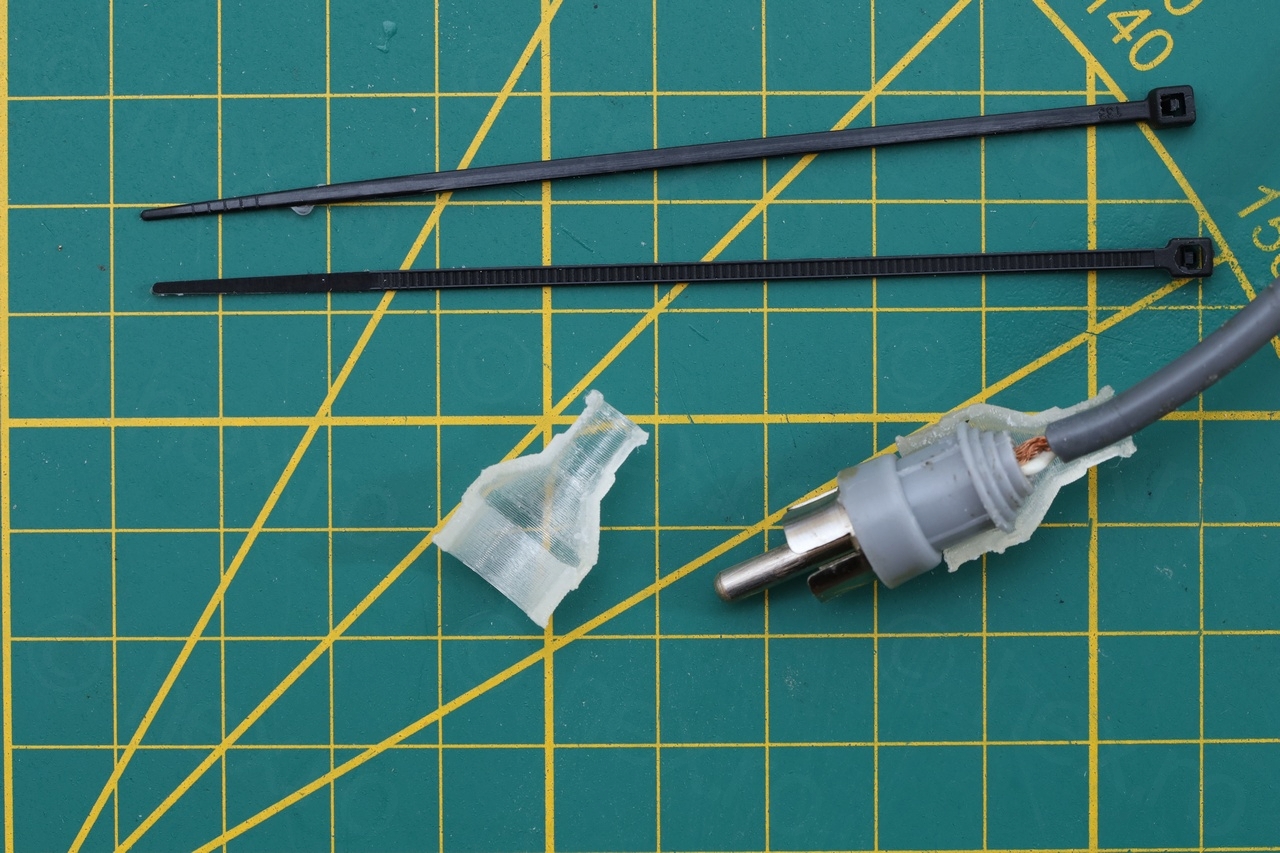
The easiest would have been just to cut the old probe away and replace it with a new one. But this would have taken off some of the original feel of the device. So, after some trial and error …
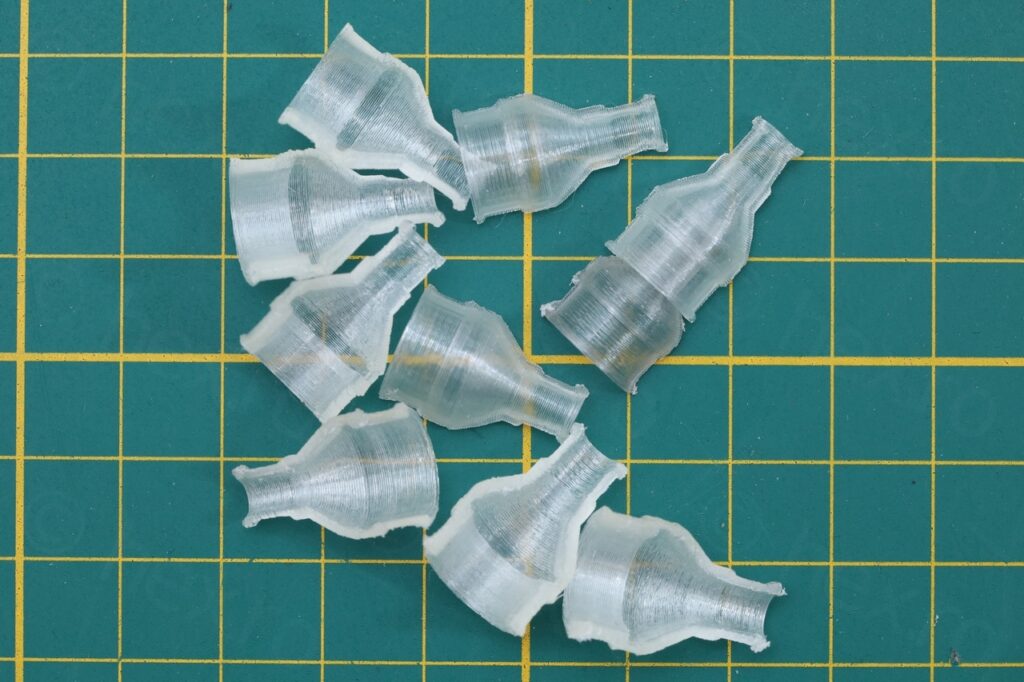
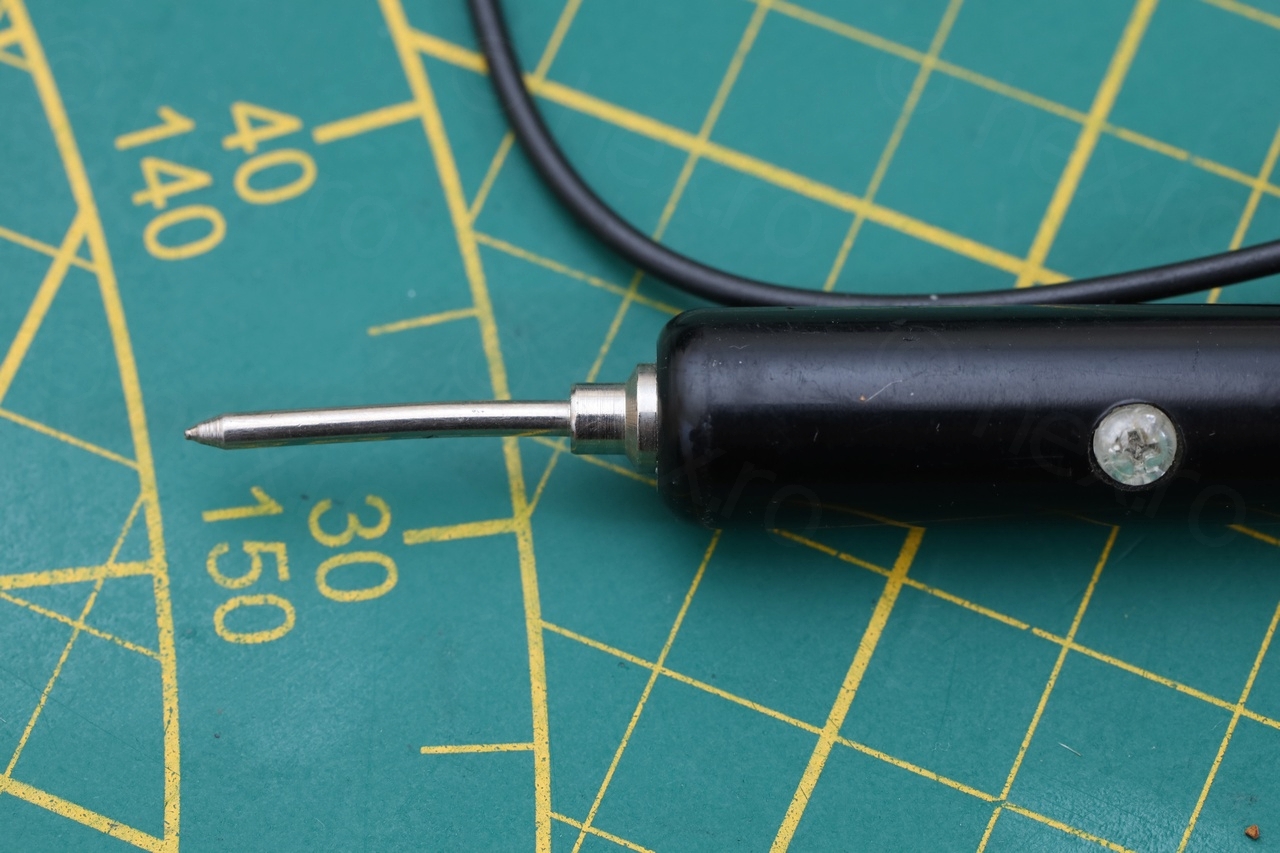
… I came up with a two sided clamp that would grab onto the plug but secure the existing cable higher up:
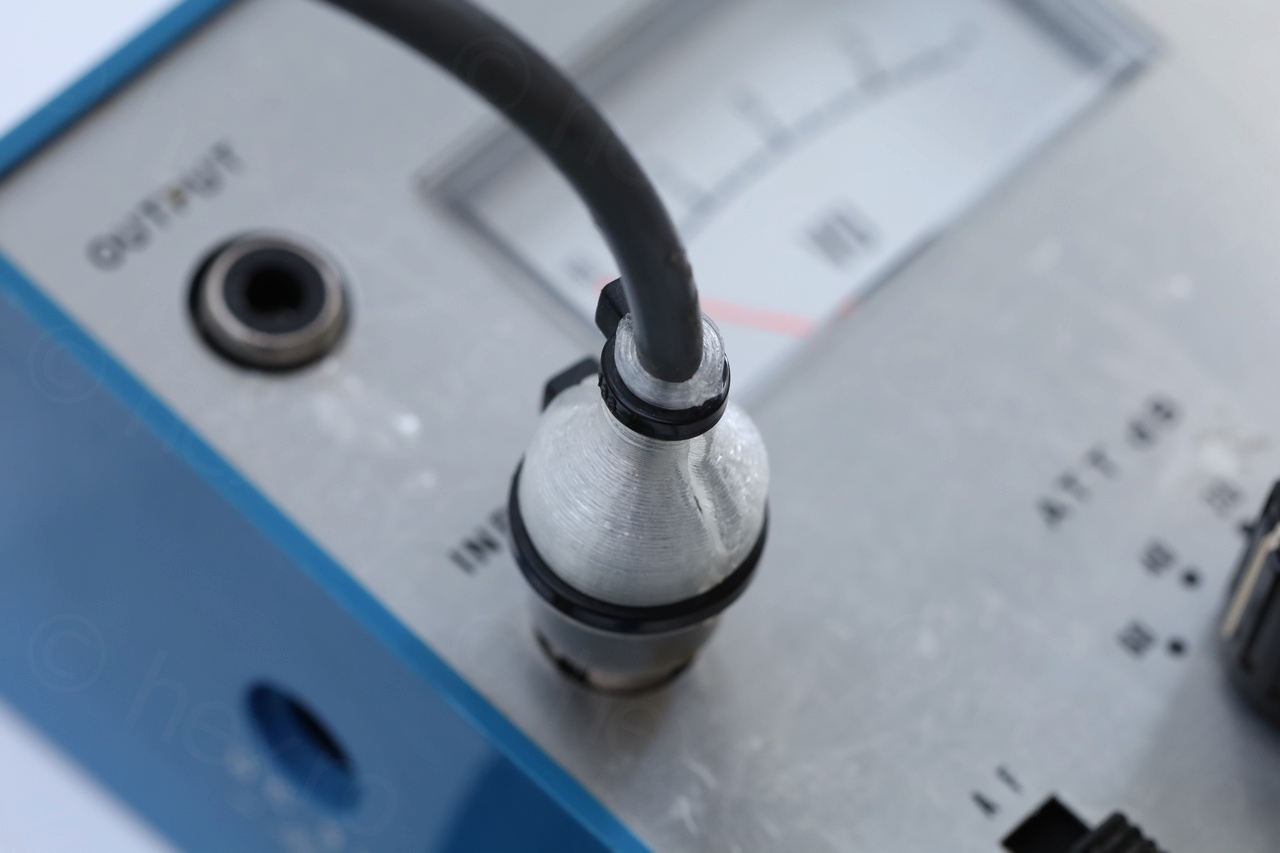
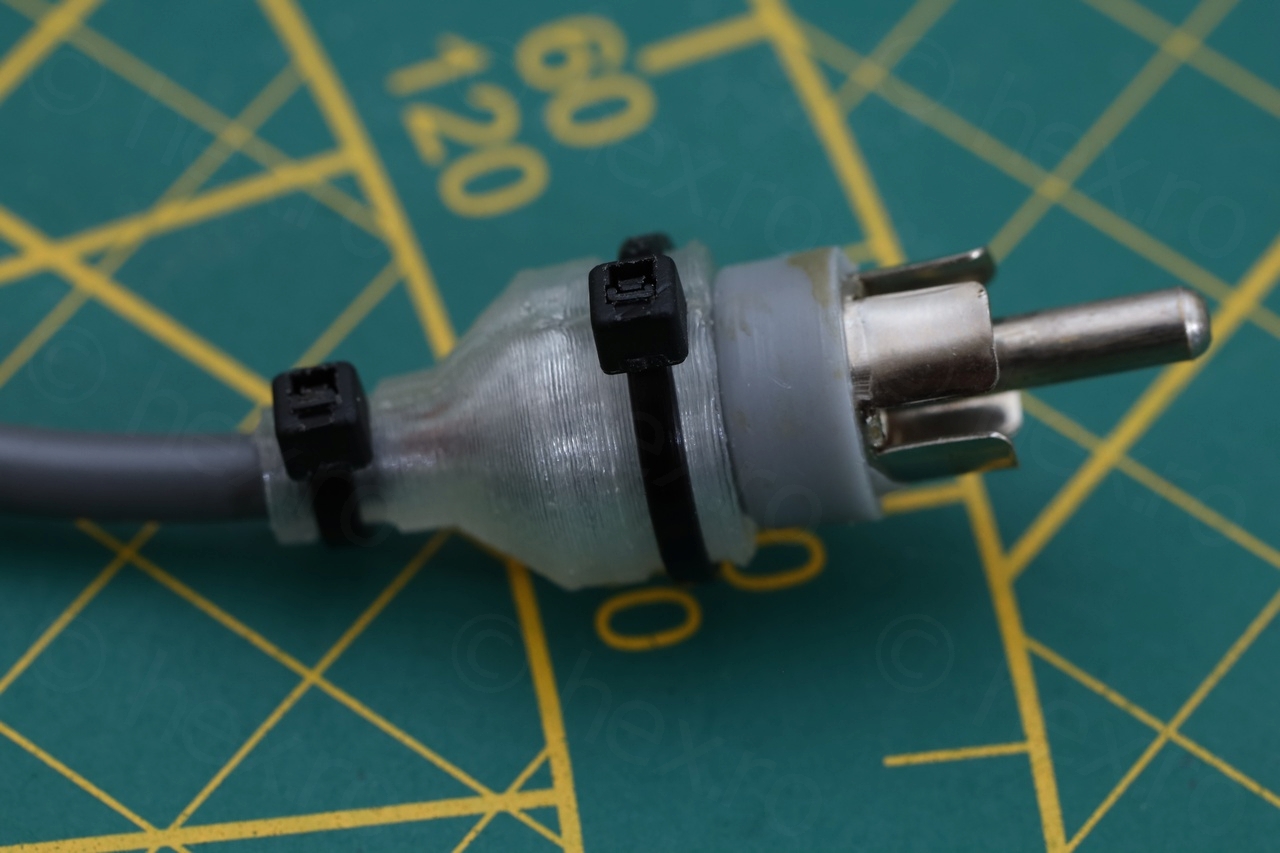
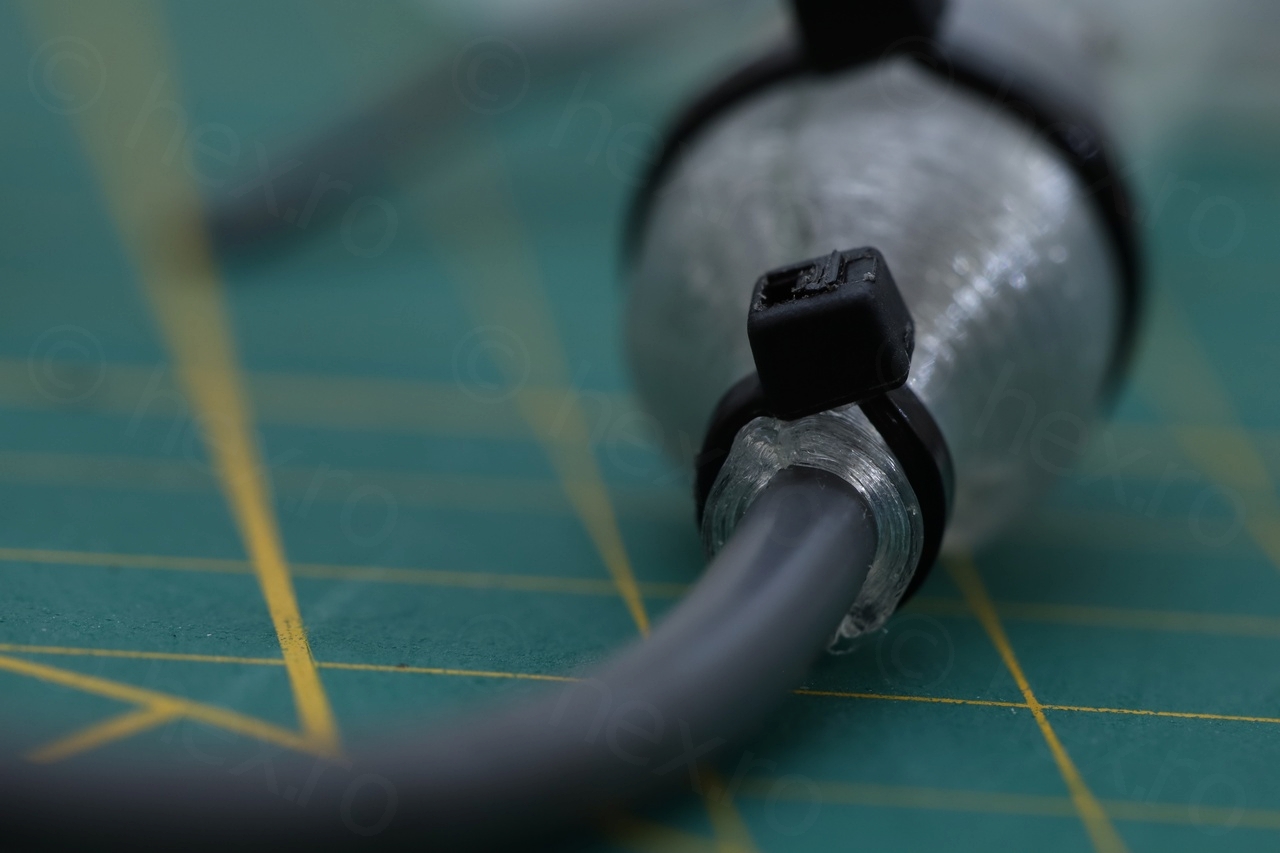
This worked very well. Initial plug was very small – I think this is a design failure – since it doesn’t give enough room for fingers to grab onto it and is quite slippery when trying to pull. Thus, of course some tension would be put on the cable.
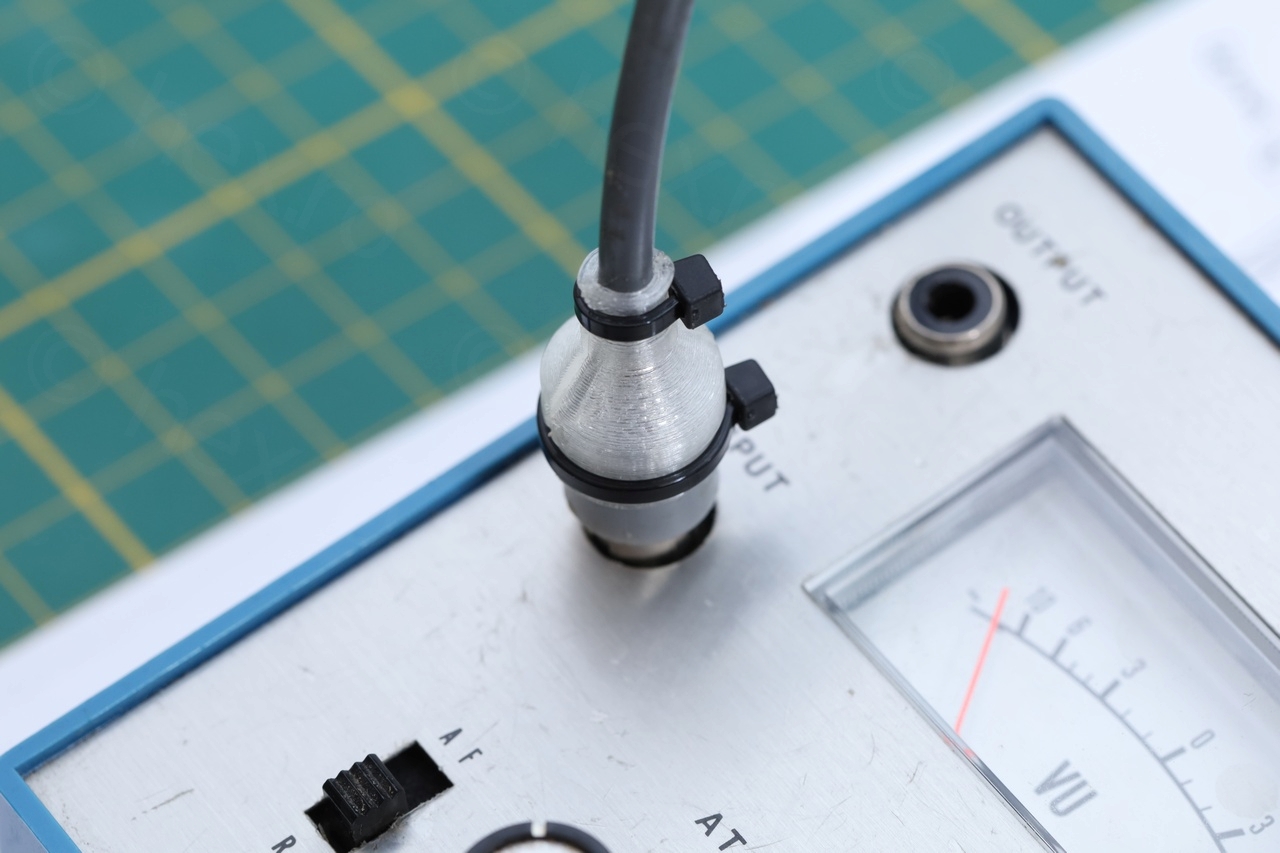
With the new ‘case’ in place and the zip ties, now it is easier to just grab it instead of the cable.
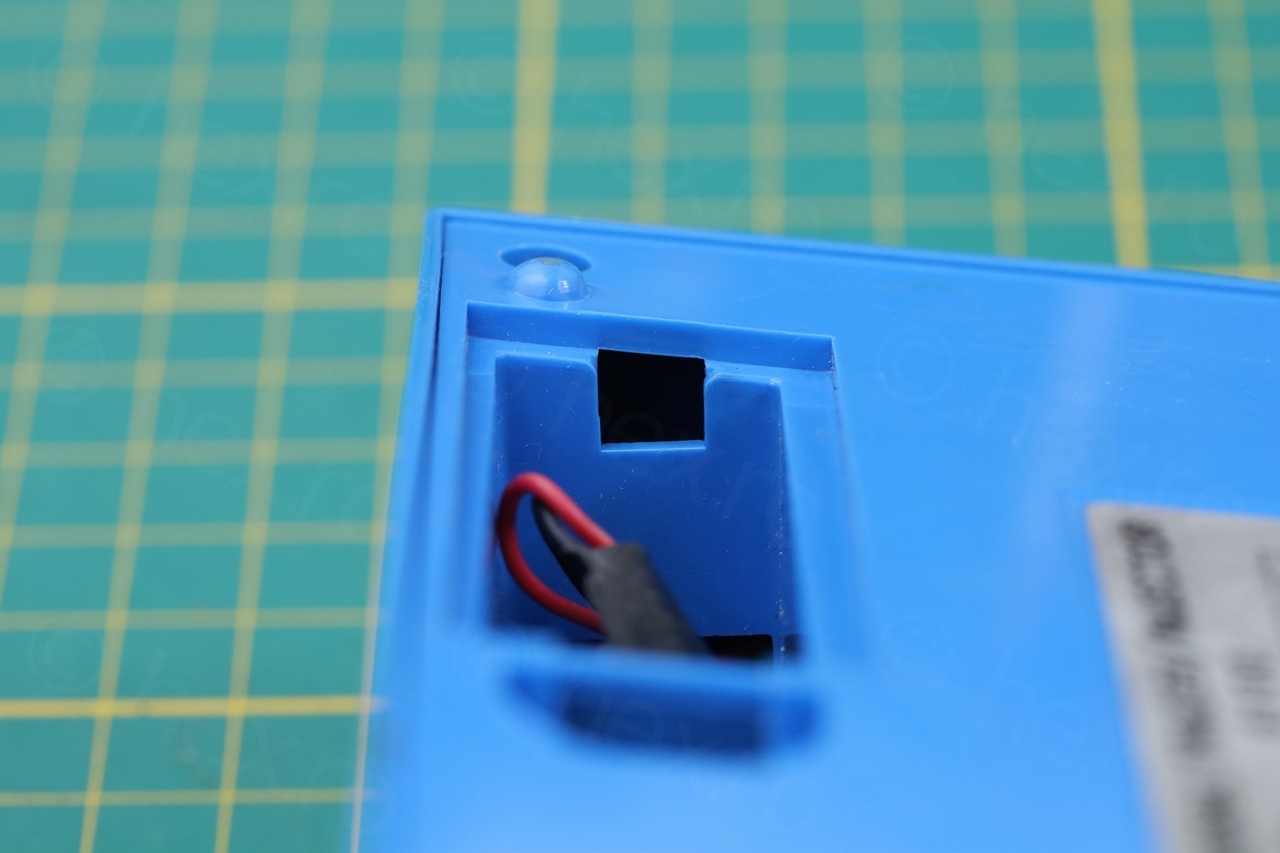
After having sorted out the cable jacket issue, next was to try and design a new battery lid.
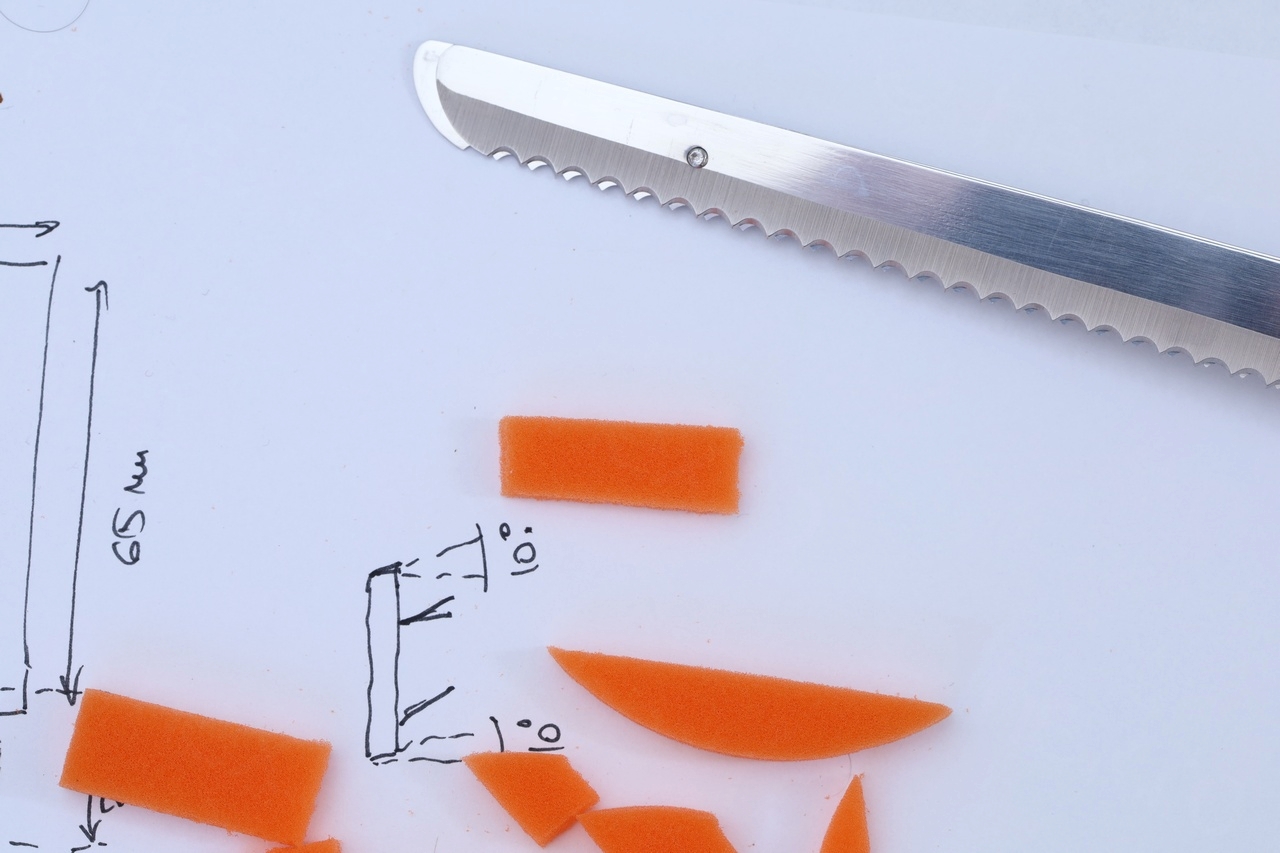
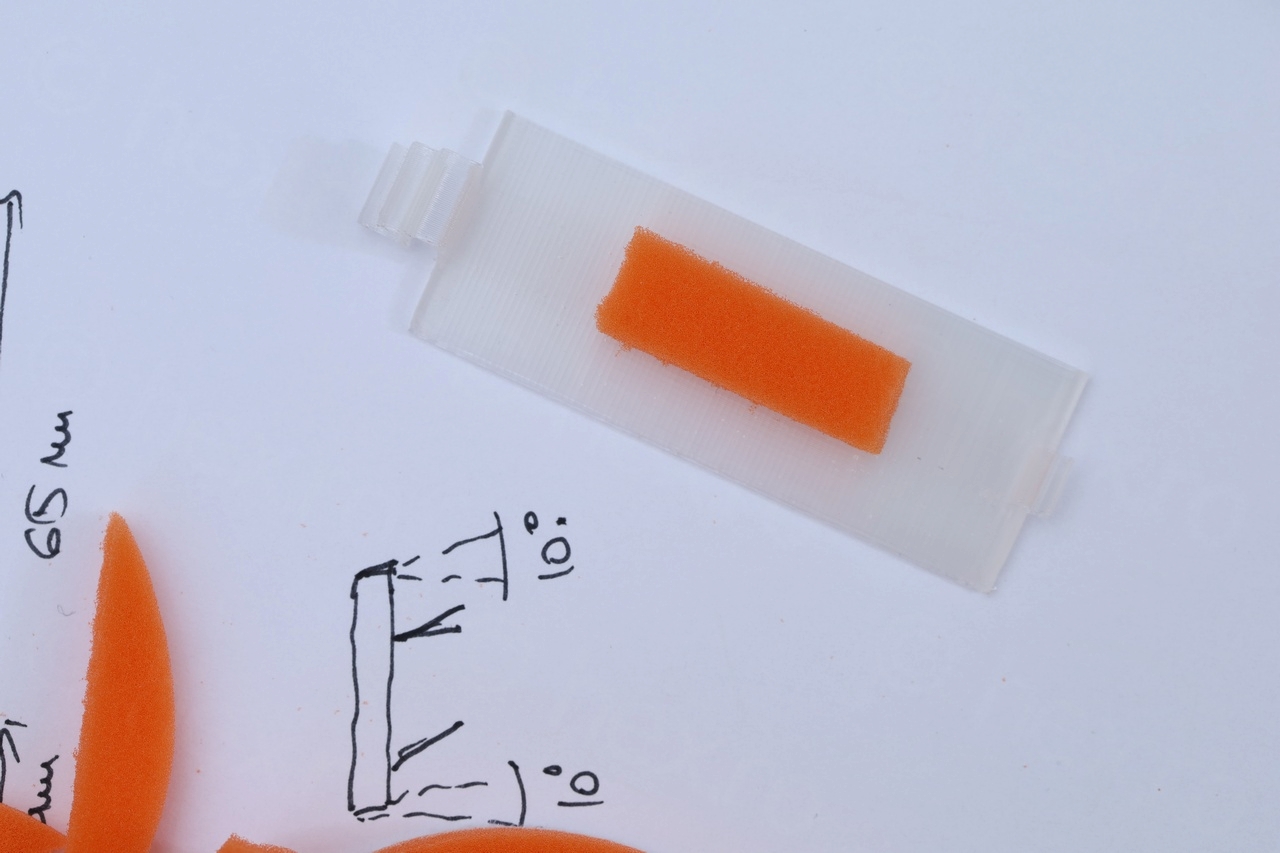
There aren’t many resources on the internet to show a close up of the battery cover though. On top of it, the battery compartment is skewed – so I had to design an inclined battery cover to fit:

Using FreeCAD, I ended up with a workable battery cover:

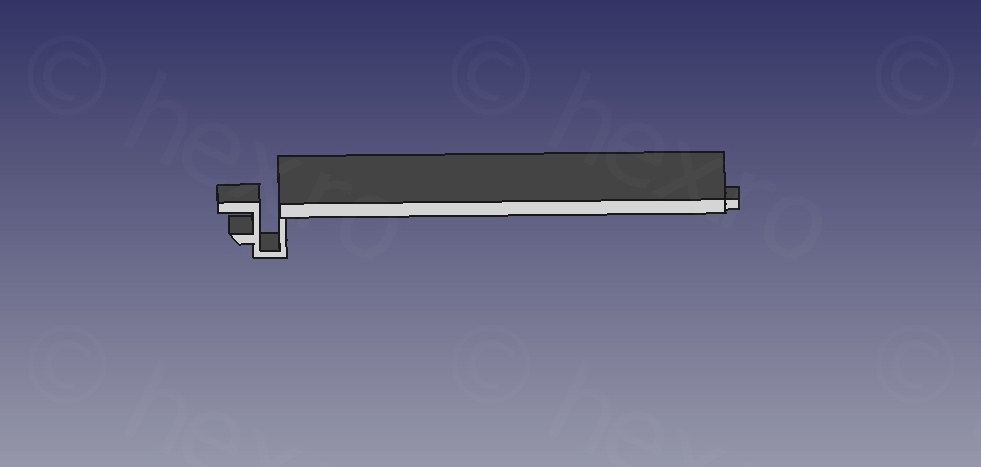
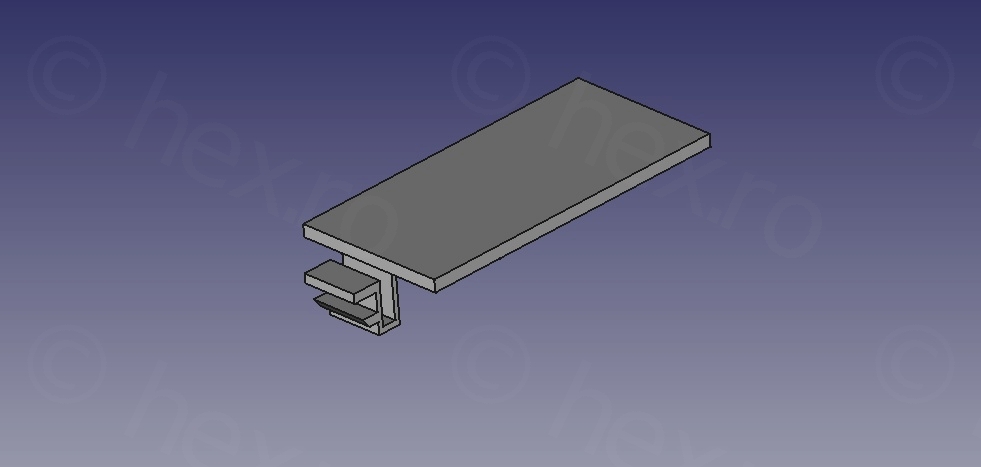
One issue was how thin the ‘clip’ to be, since depending on how the part is printed, some specific thickness was either too rigid to bend (and it would snap), or too flimsy and it would immediately snap. Eventually, I found a working combination where the battery lid had to printed on the side. You can see below the results:
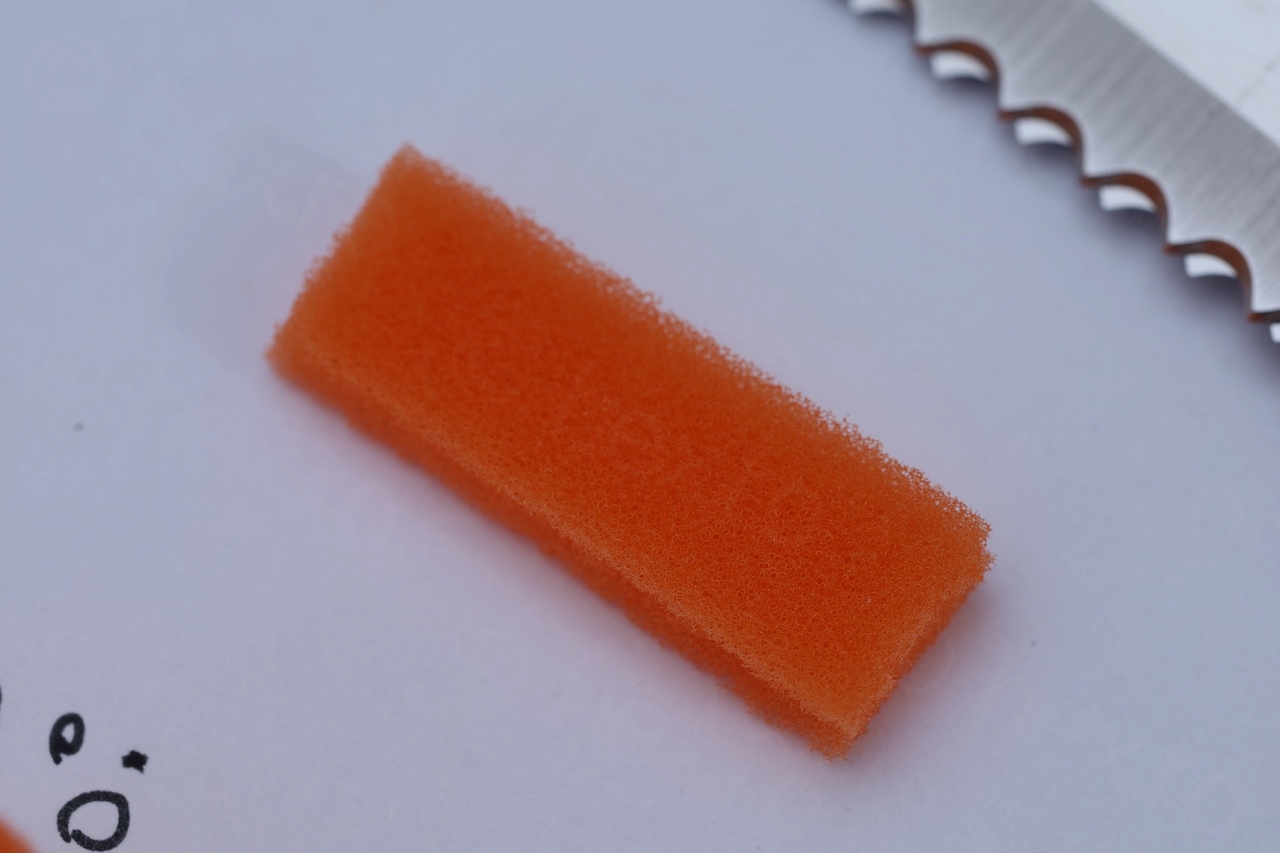
One thing that was now missing was a little sponge glued onto the inner part of the battery lid. Since I still had some leftover sponge from a previous restoration, decided to reuse some of the remaining sponge:
One issue was the noisy potentiometers. With some contact cleaner I have managed to remove most of the noise, but it is still not perfect.
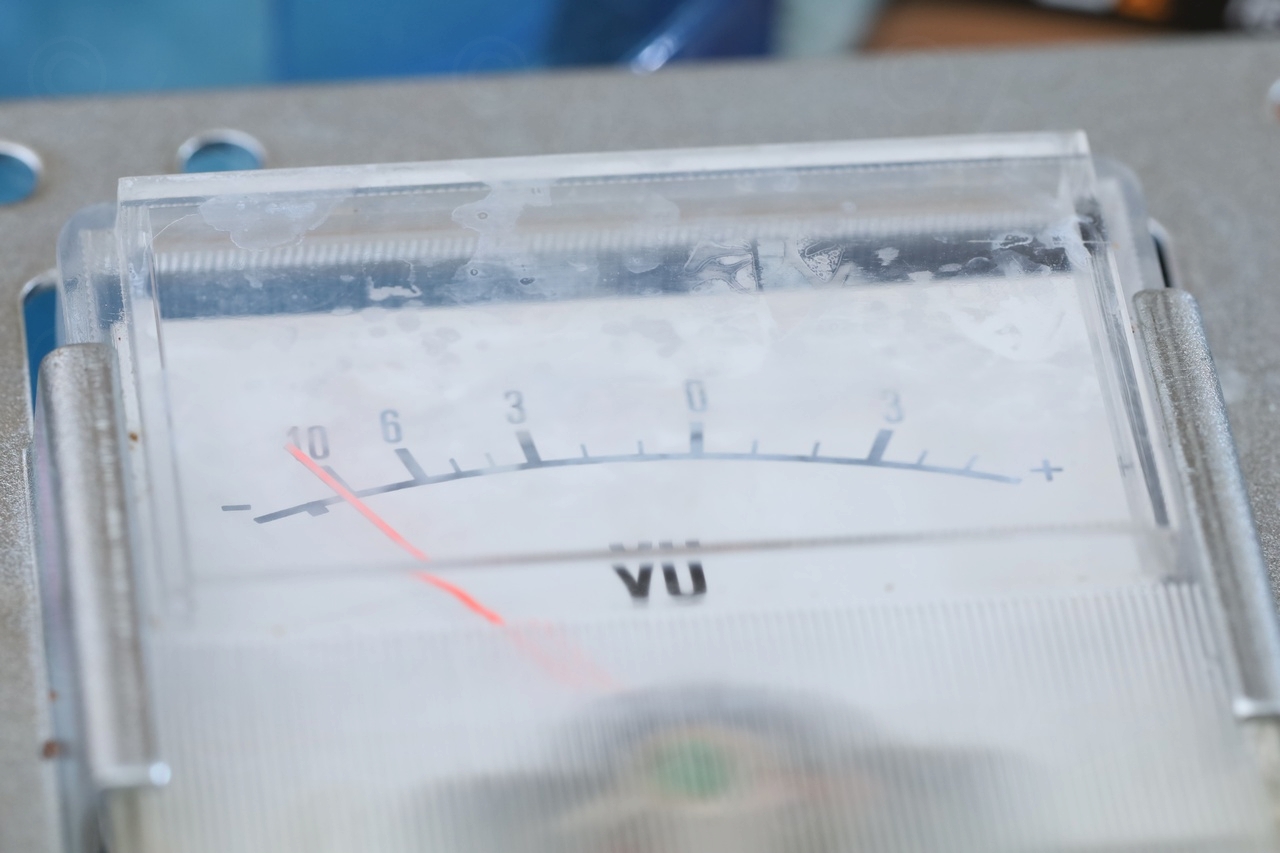
The final problem was that using contact cleaner – the plastic of the VU meter actually became spotted / stained:
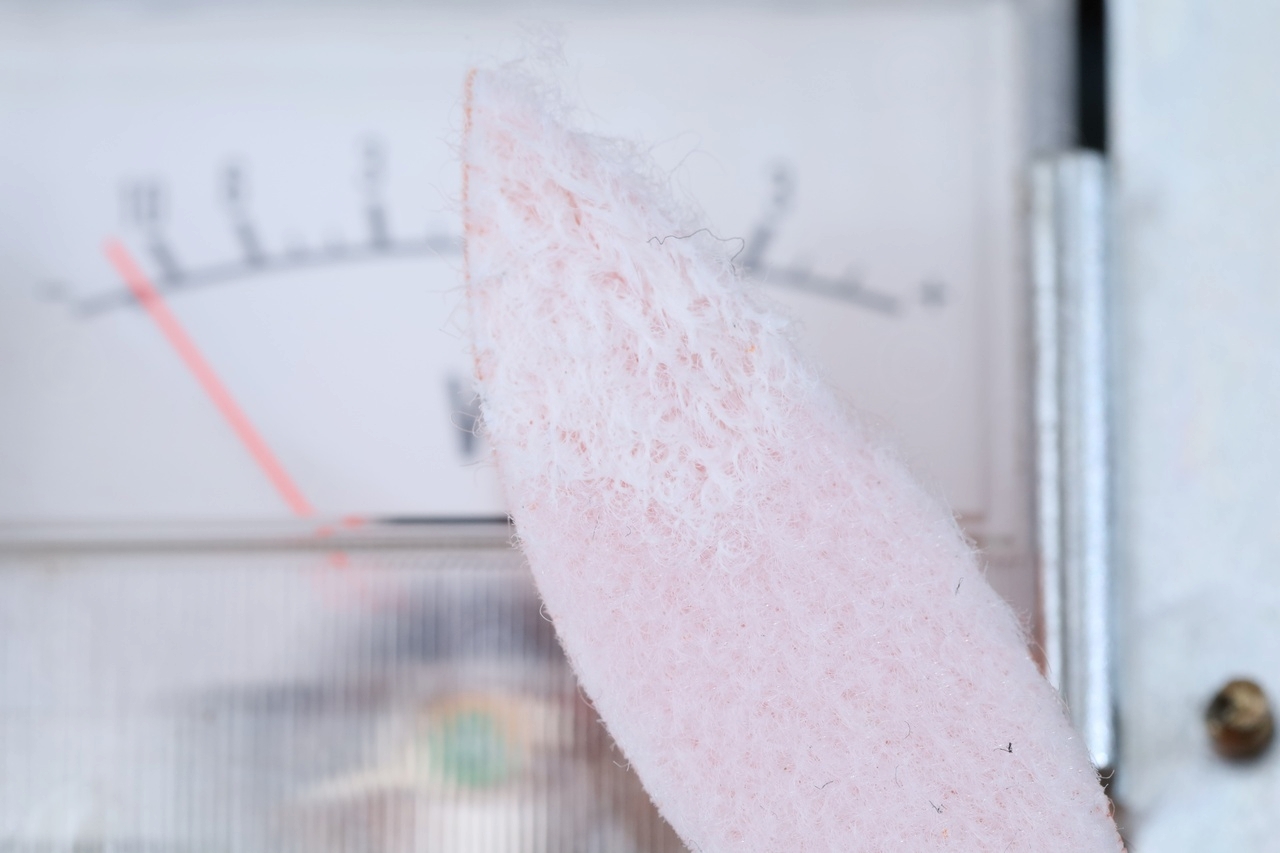
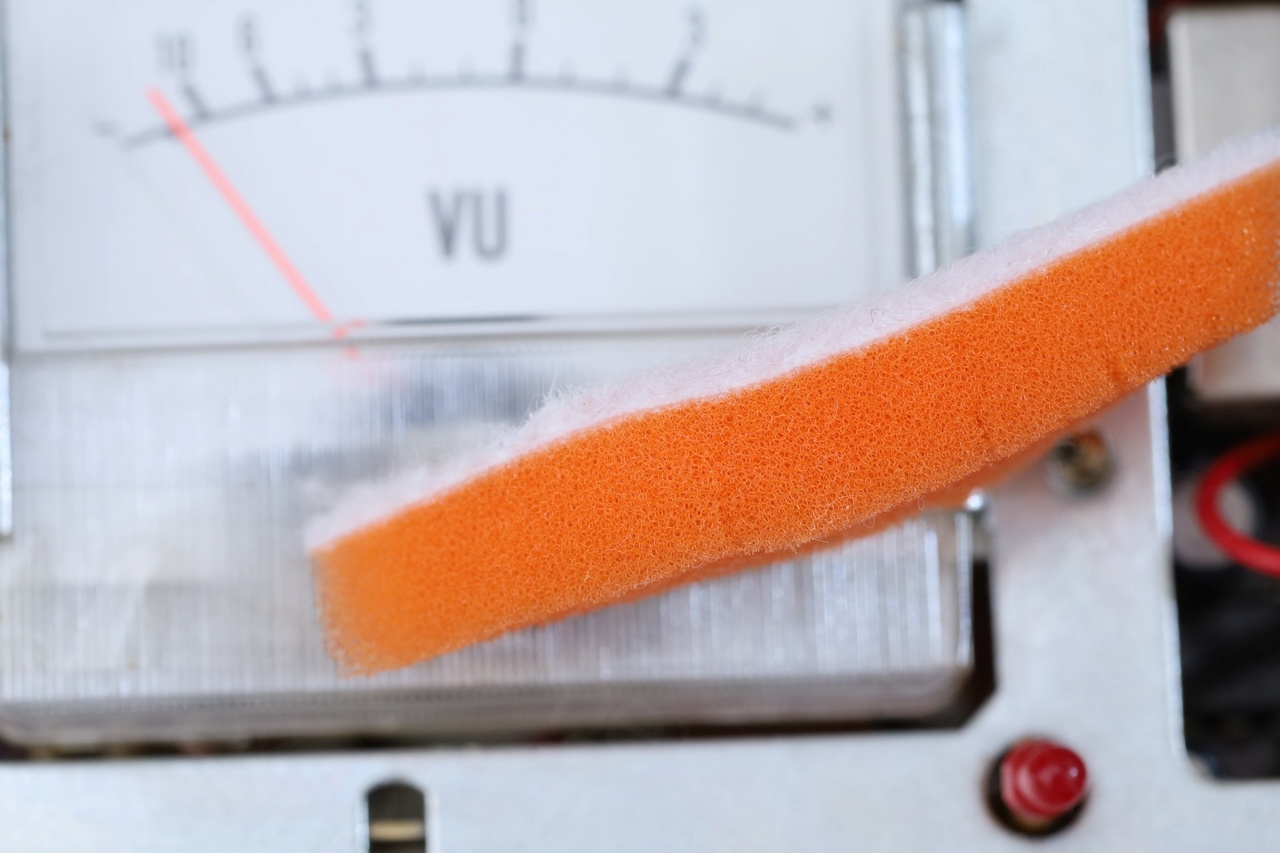

I was able to salvage it again, by reusing a bit of the sponge I cut from. The whole pad was made for polishing the car, thus, with a little toothpaste applied to it I was able to eliminate all the stains due to contact cleaner.
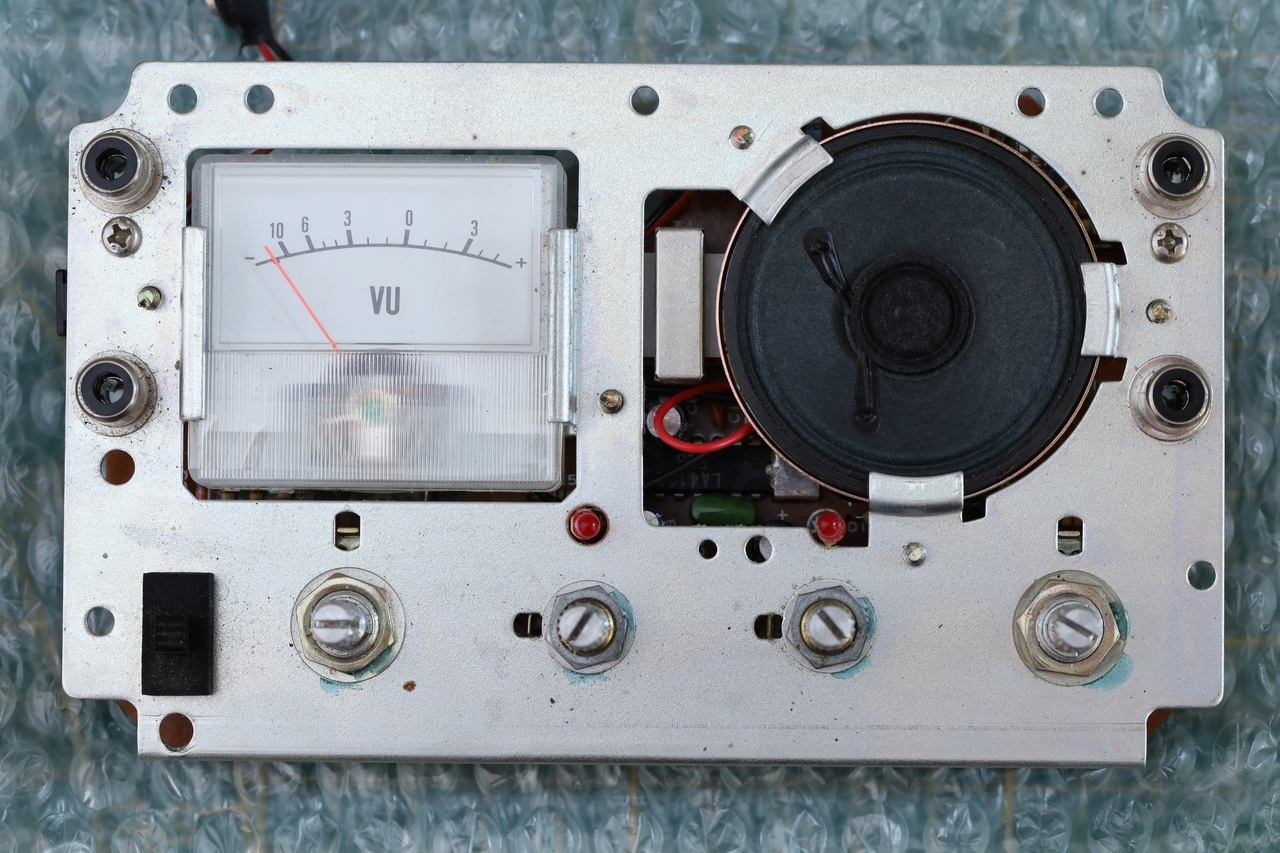
Few more shots with the interior of the device (I didn’t take it full apart):


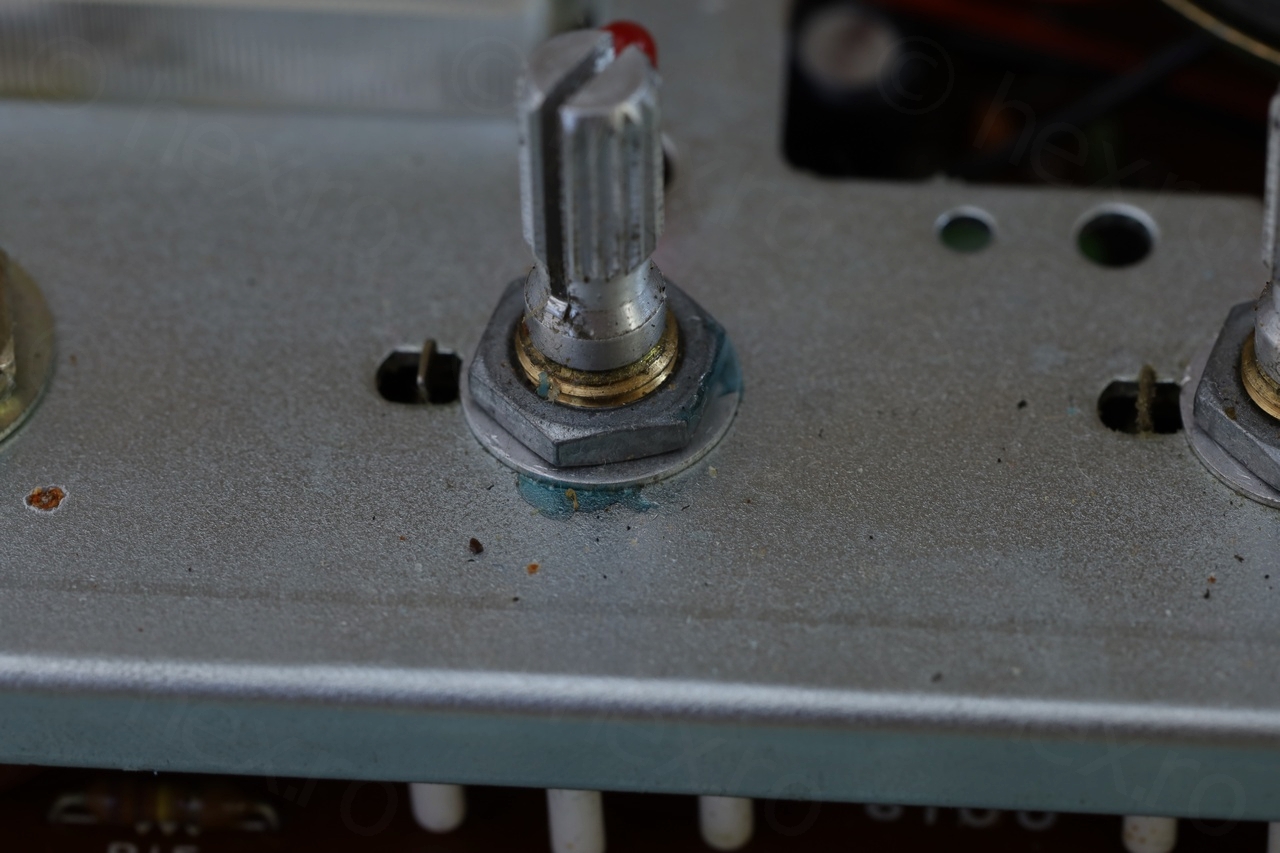
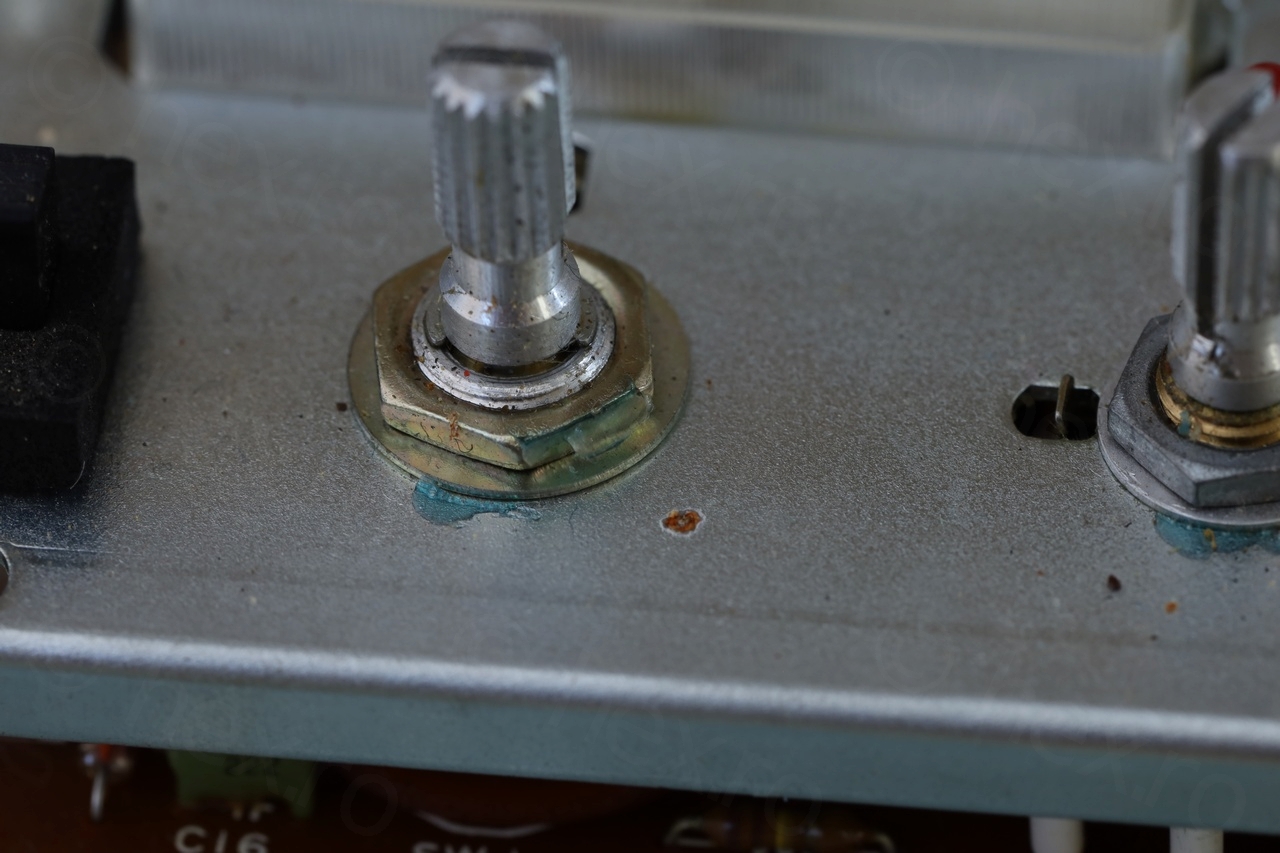


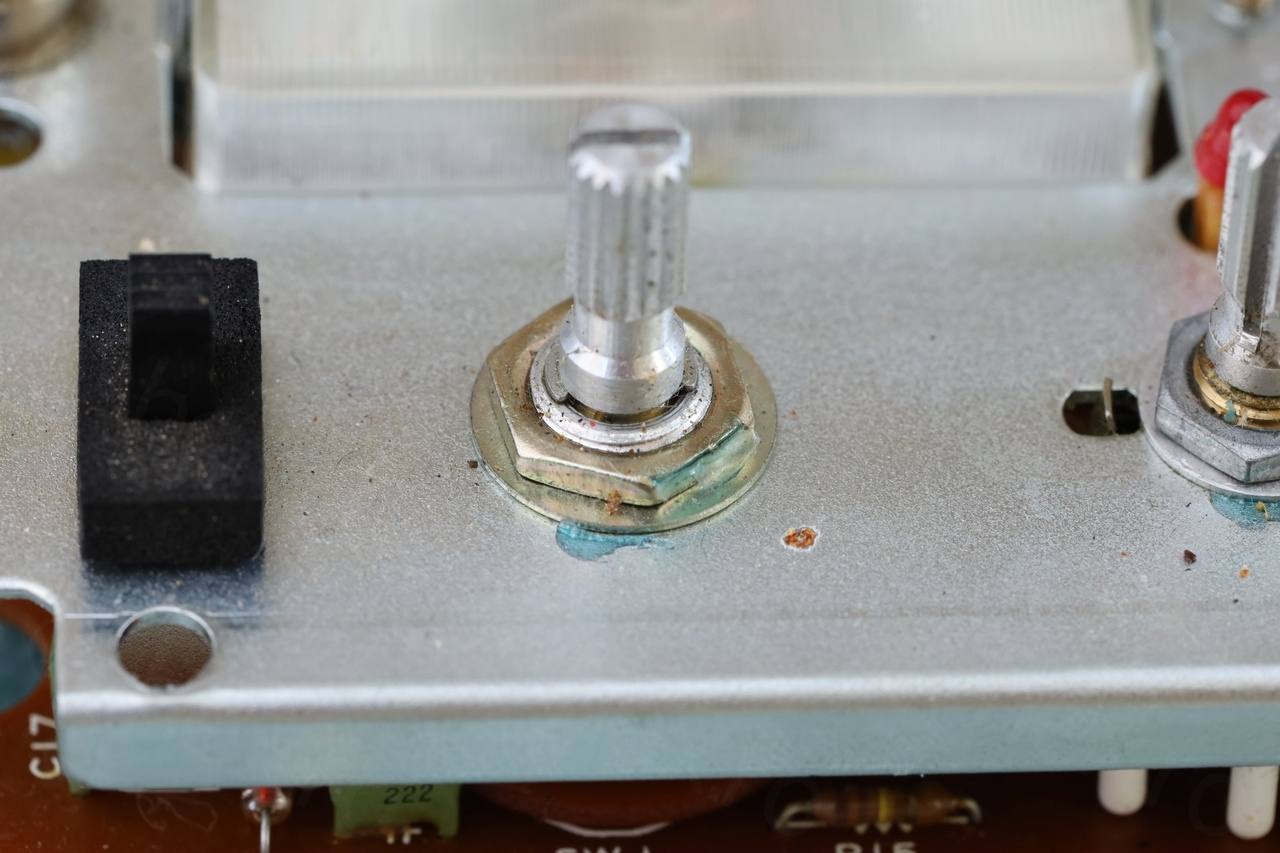
The nuts holding down the potentiometers seemed showed signs of human intervention, as the little green glue was not aligned properly with the nut. So someone must have been inside this unit before.
Conclusion
I have tested the device and it works properly. There is one drawback though – it stops the oscillator / mixer stage – no more detection if probing that stage.
Leave a Reply