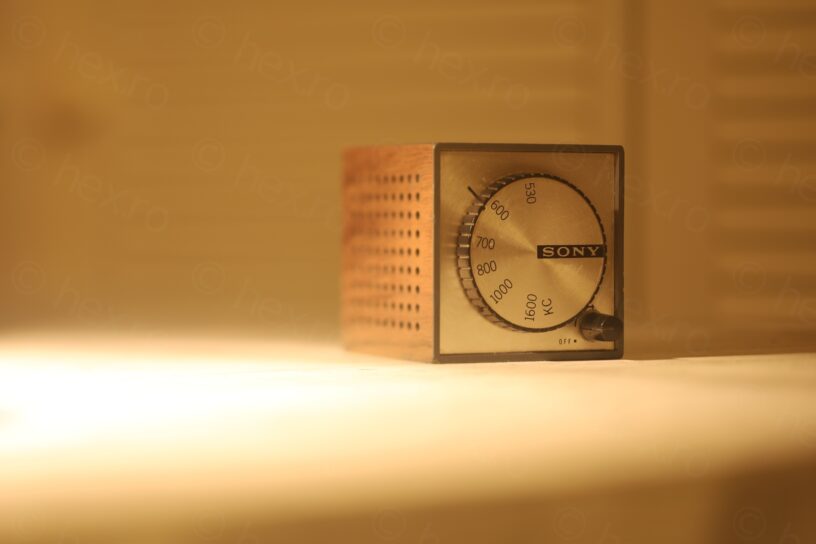

I found this radio at the flea market. It was very dirty. Its back cover was missing and the battery holder was cracked and corroded. But it still had character. I decided to buy it.


No signs of life when provided 4.5V unfortunately so I had to figure out a way to dismantle it.
Opening up
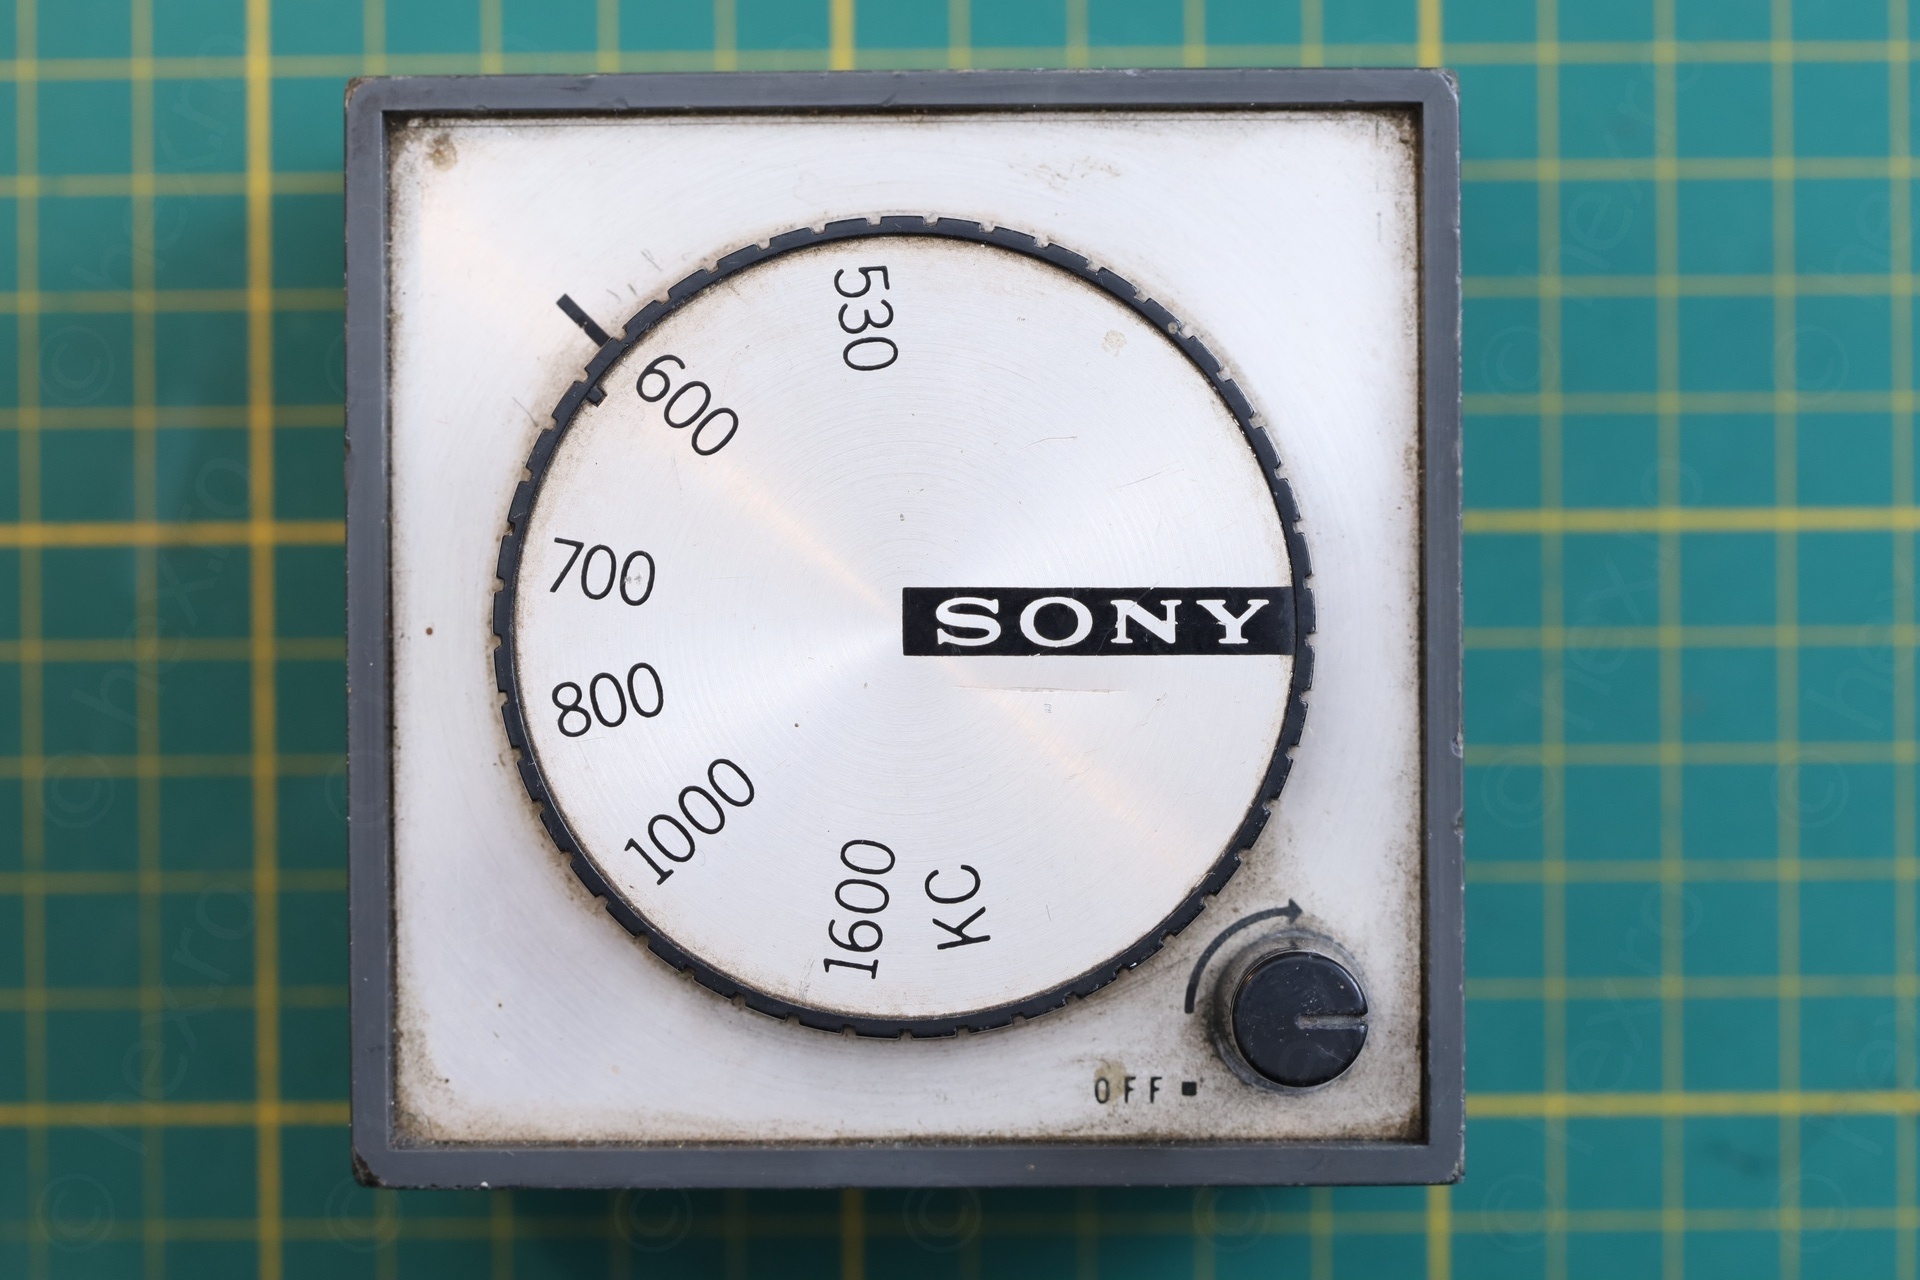
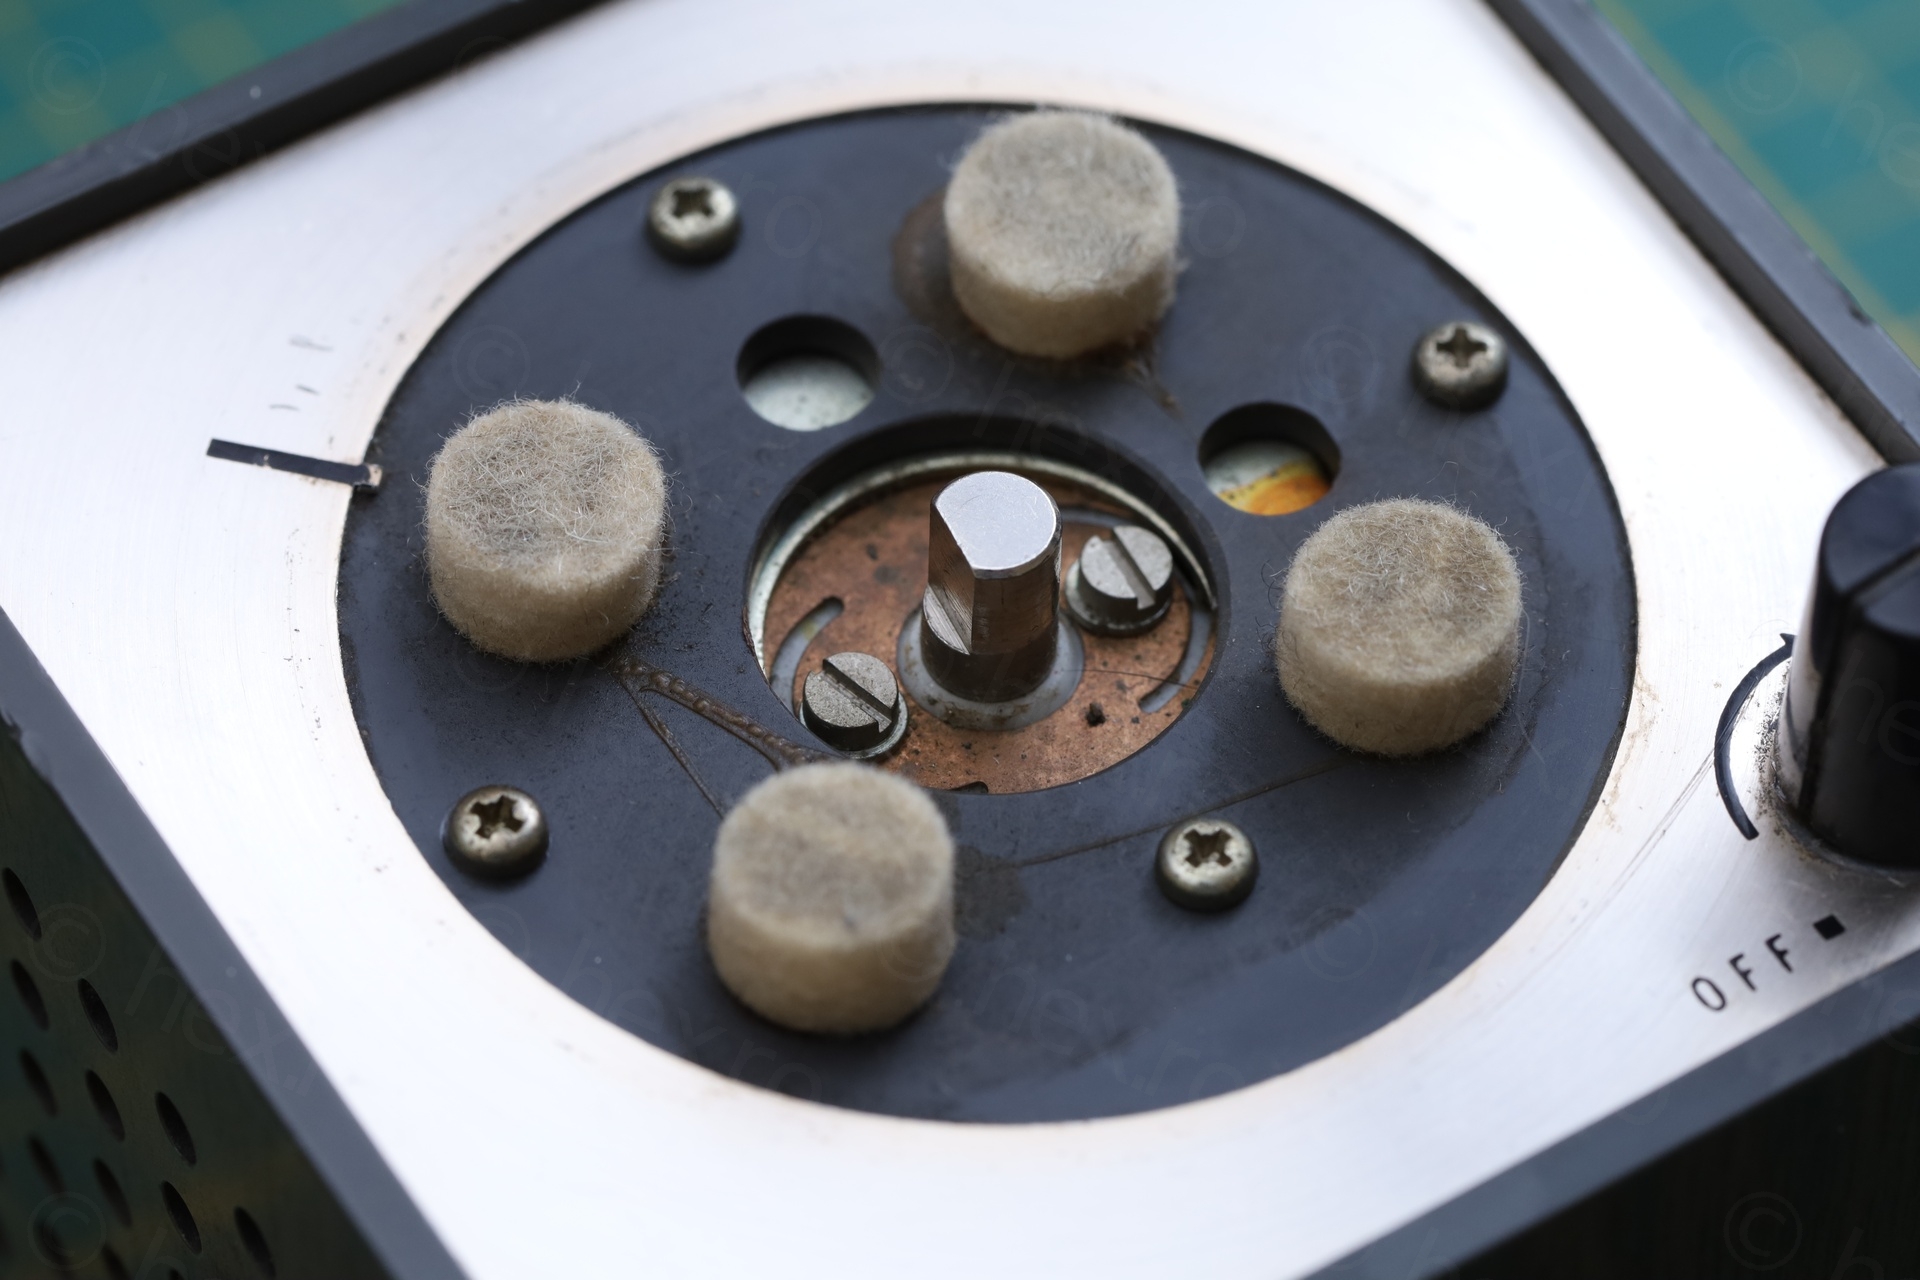
On the Sony TR-1819, the large round tuning dial has a small opening on the side and there is a set screw holding the dial onto the shaft. With a bit of fiddling, I was able to insert a thin long flat screwdriver and loosen it. The volume button has to just be pulled out.
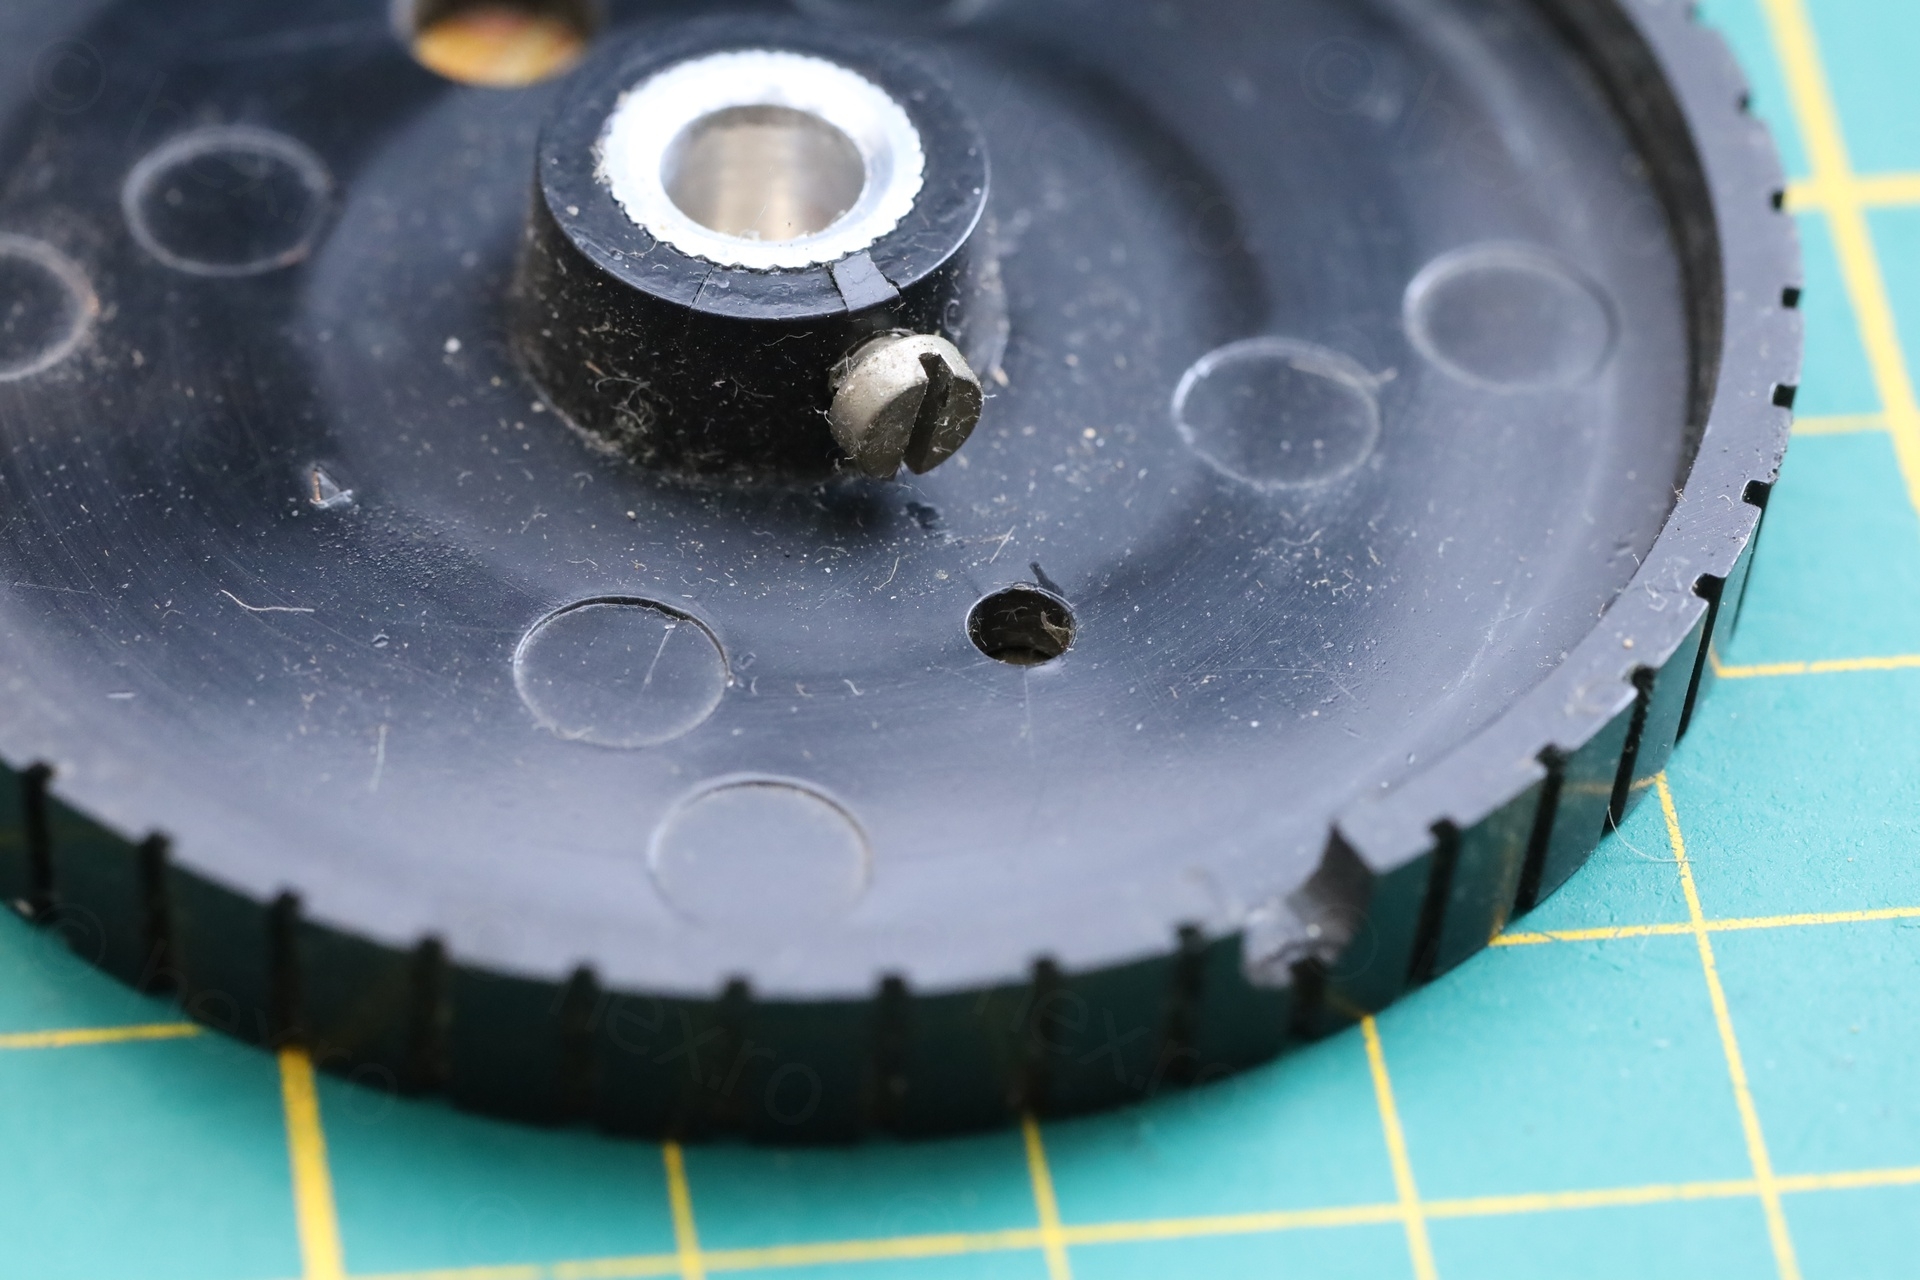

When taking the tuning dial, another screw fell off. The circuit inside is held with 4 more screws hidden under the tuning dial. One of those screw turned itself loose in time.
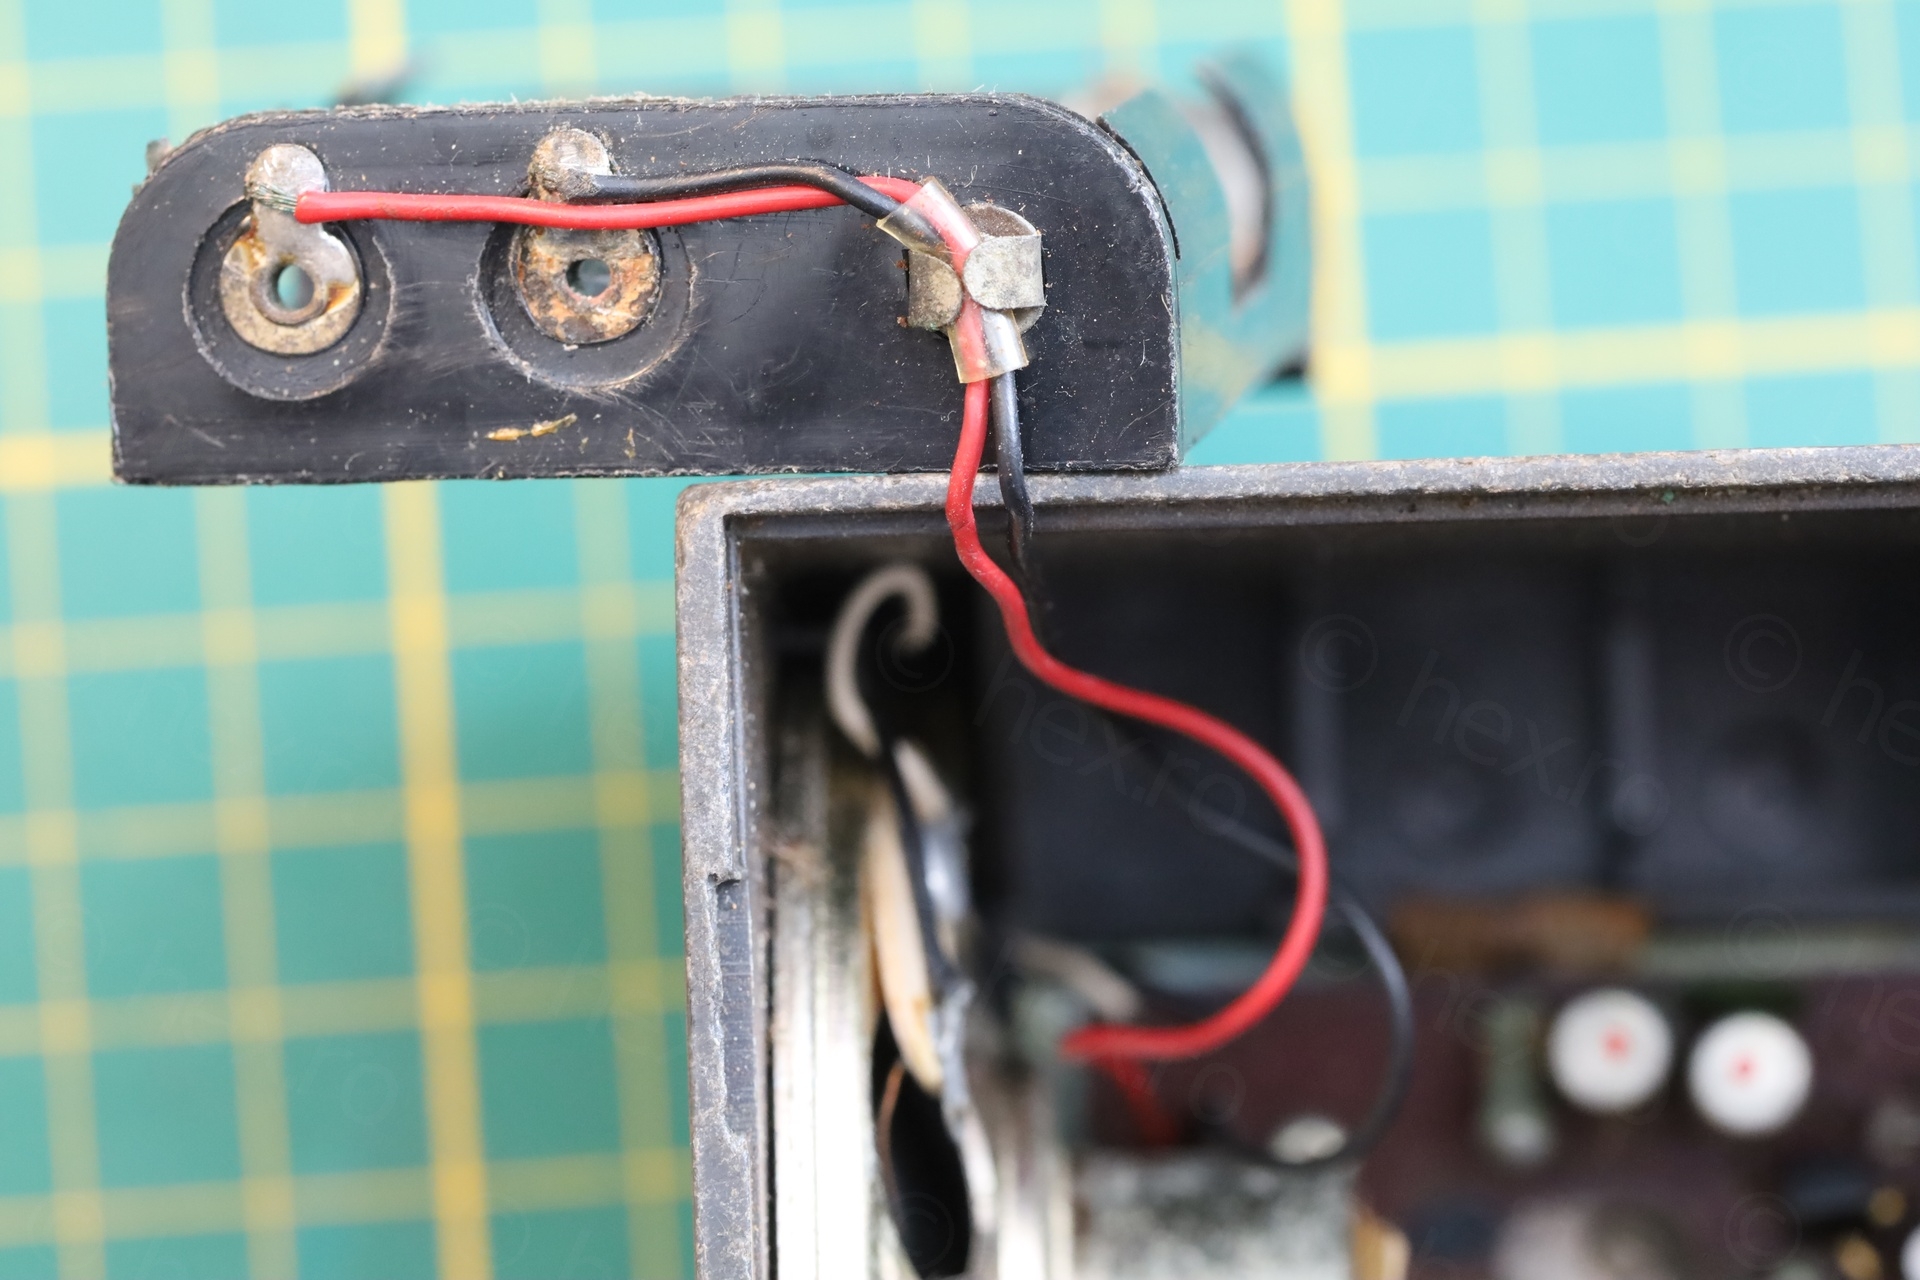
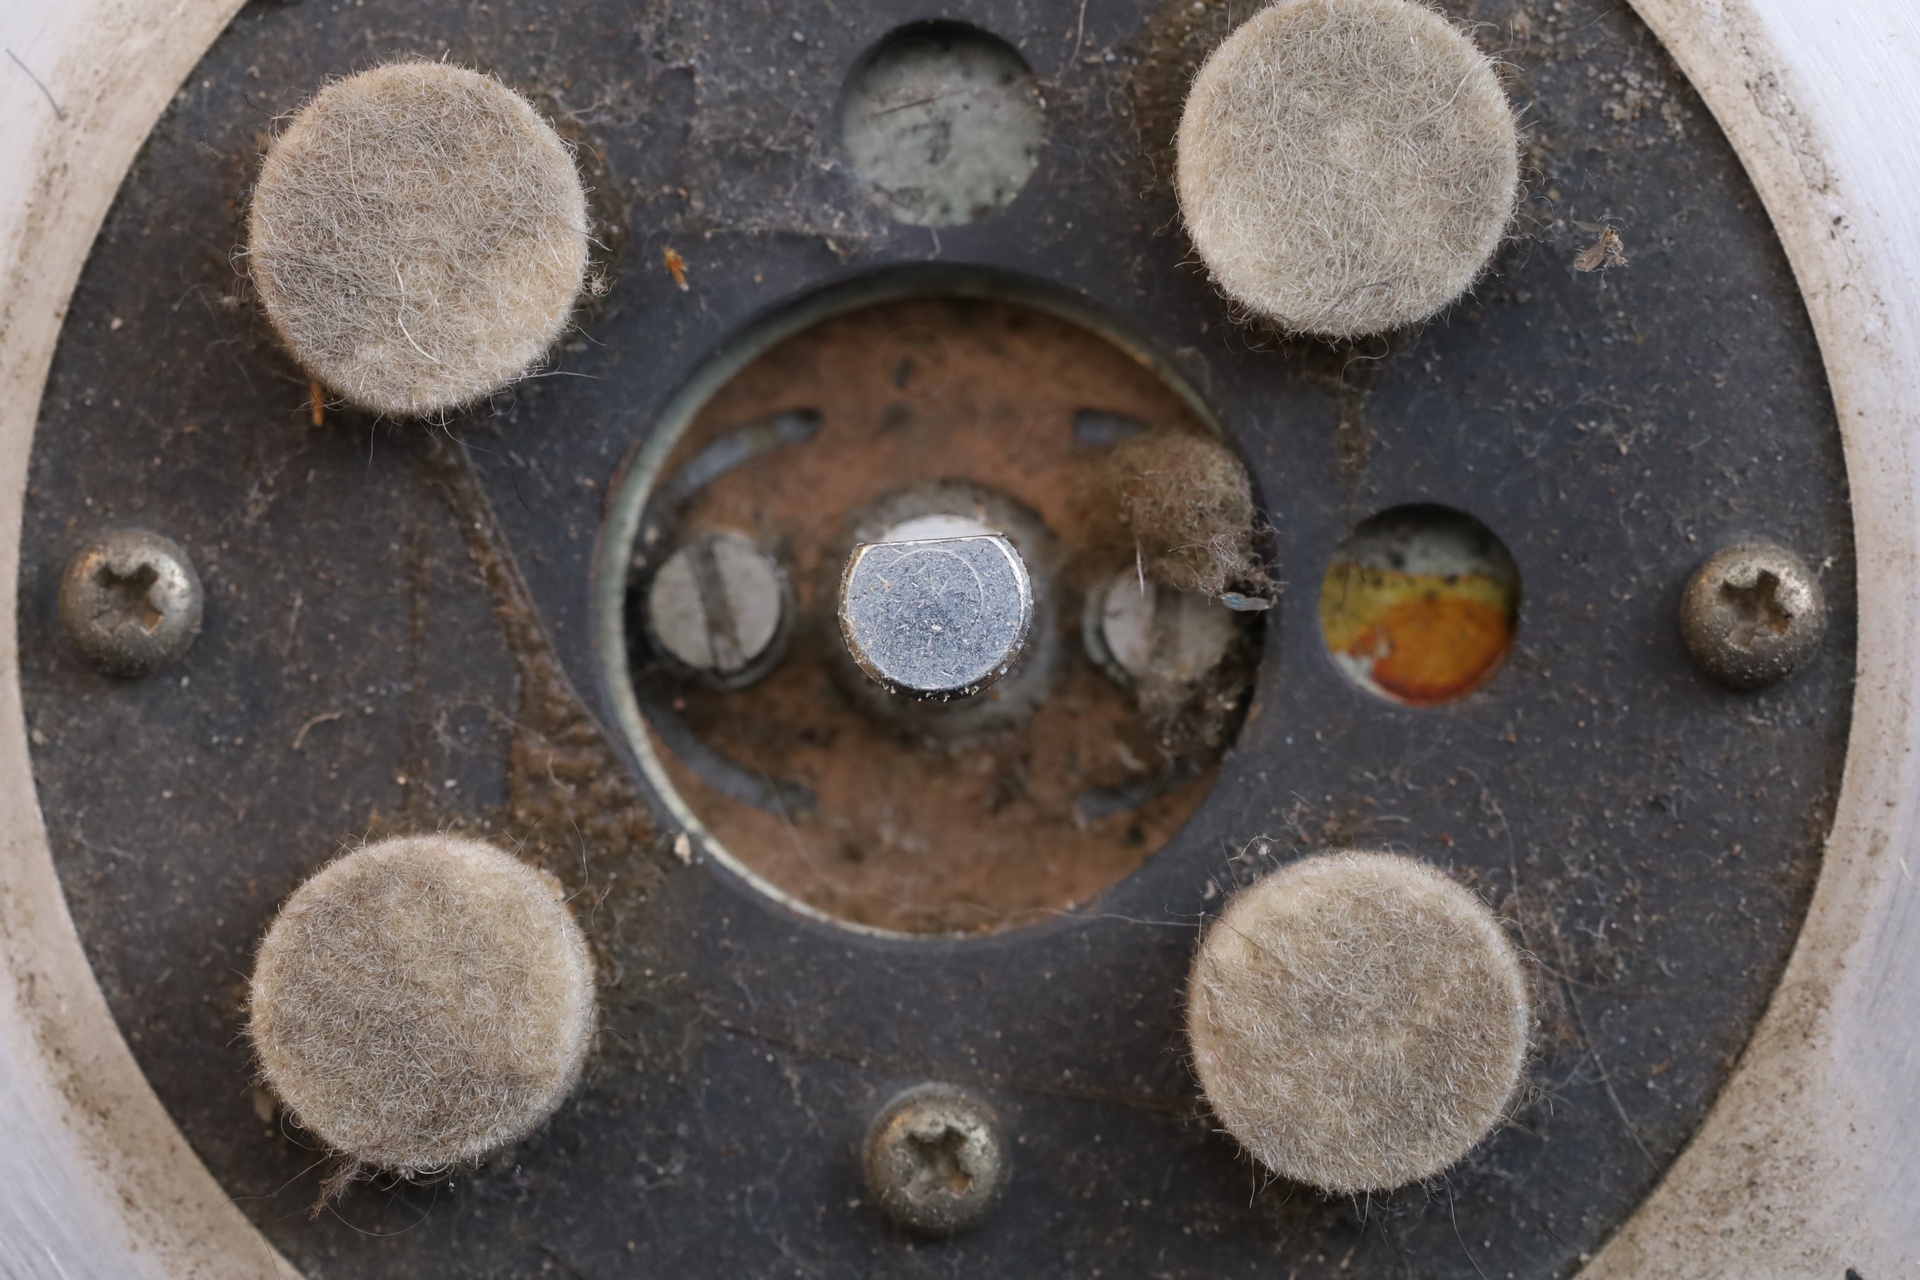
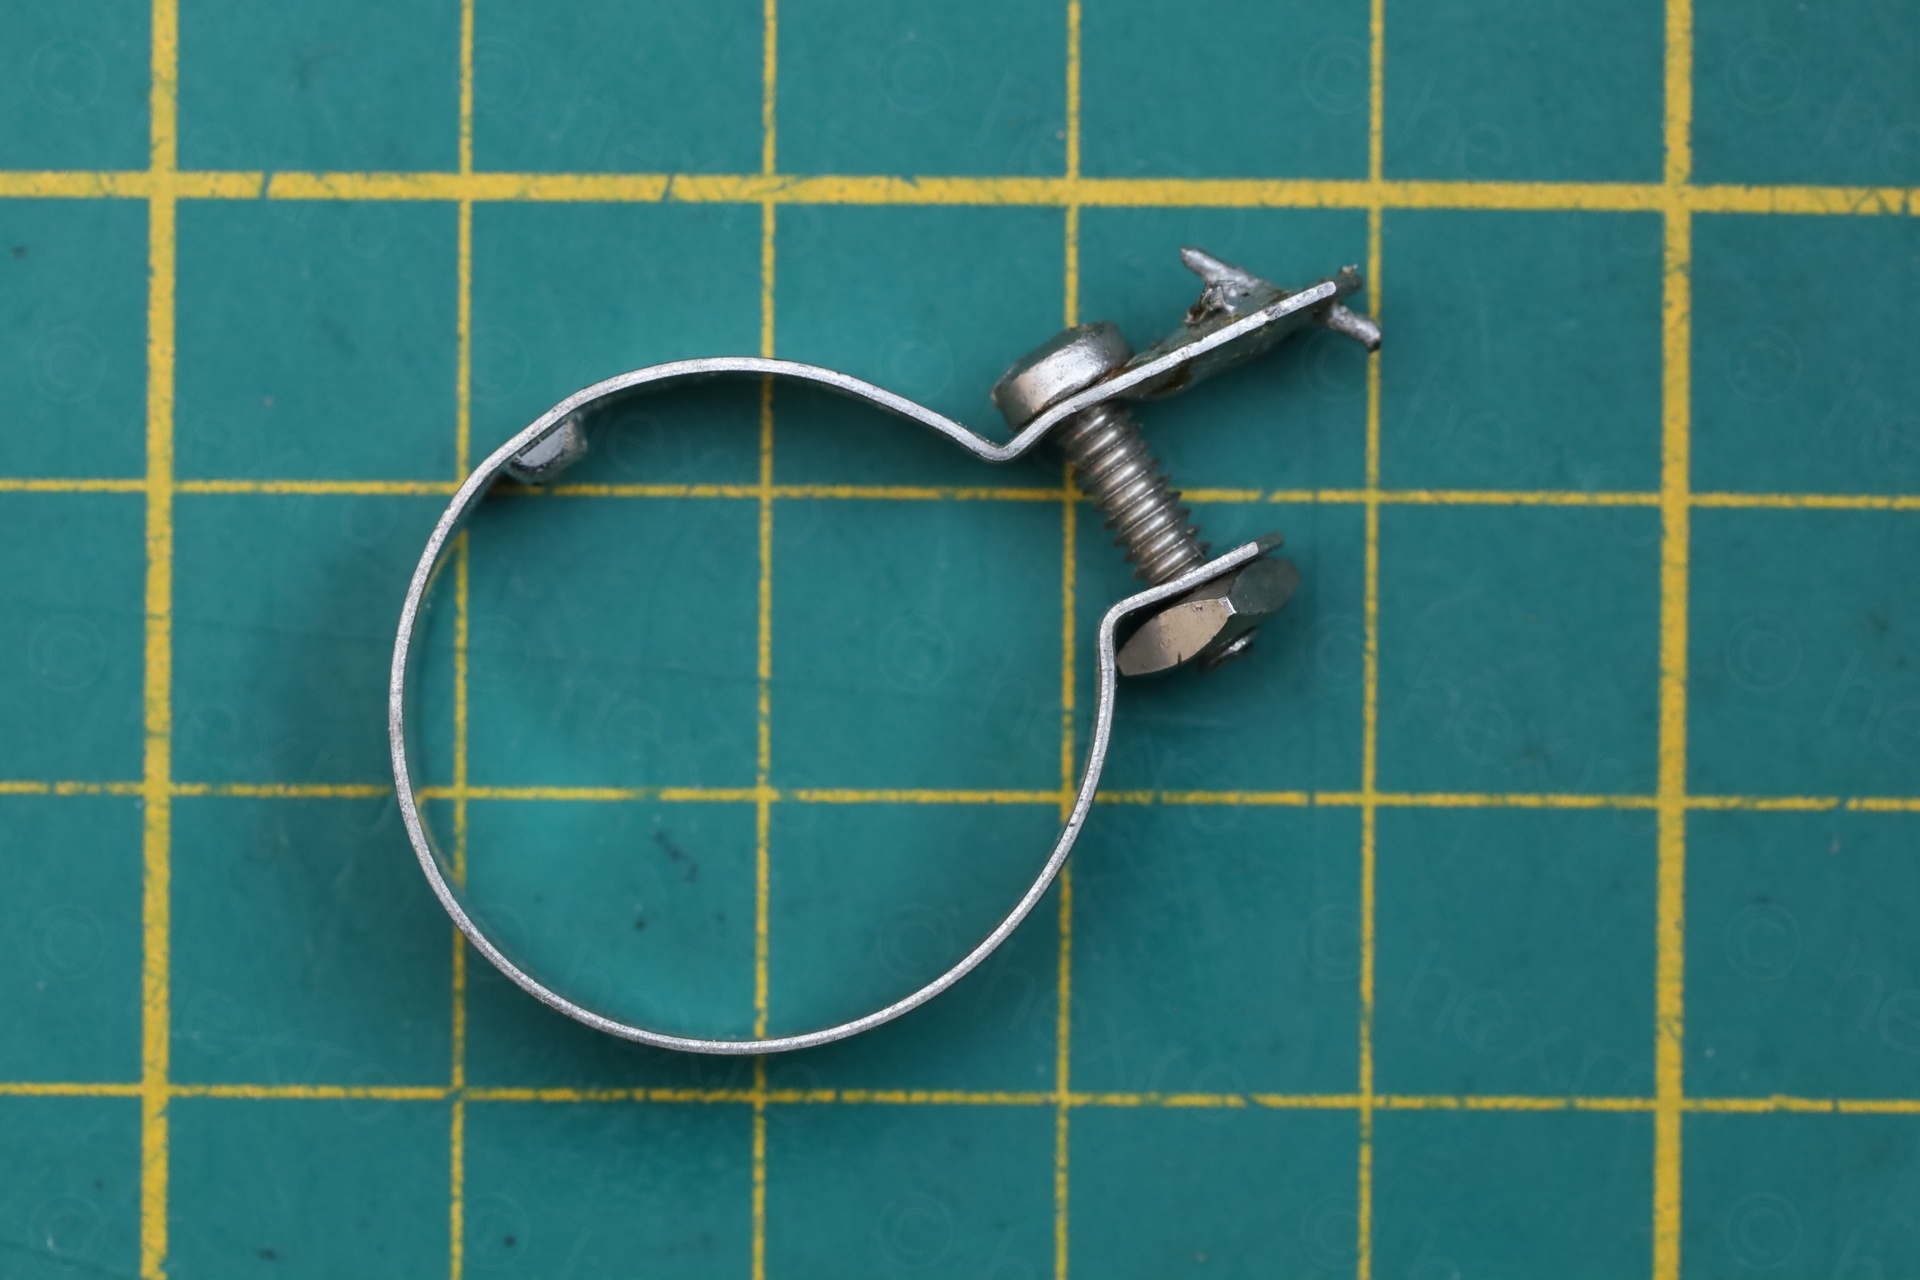
There is a small clamp holding the speaker down, and it is an easy release – then the circuit boards slide out:

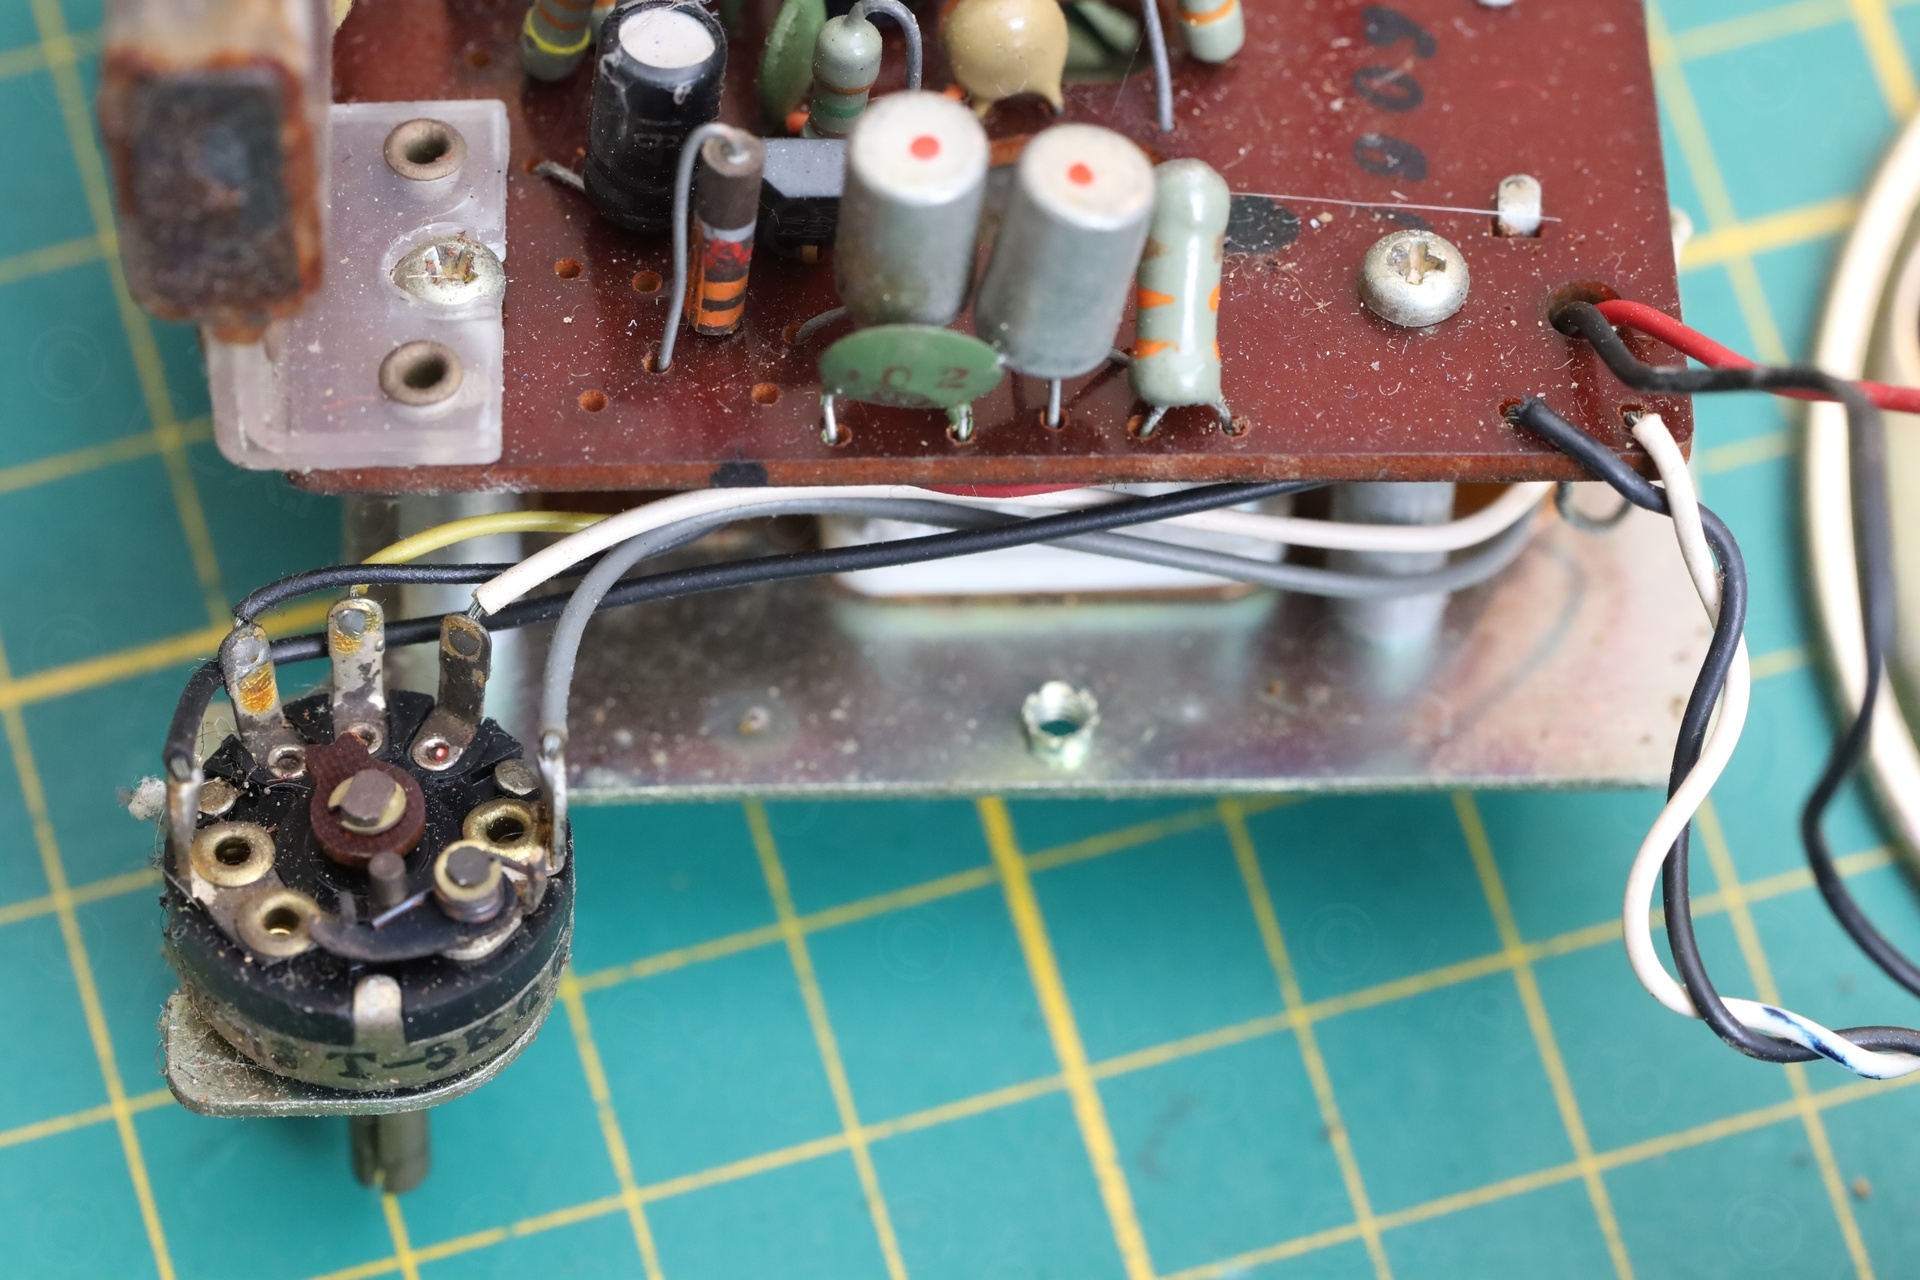
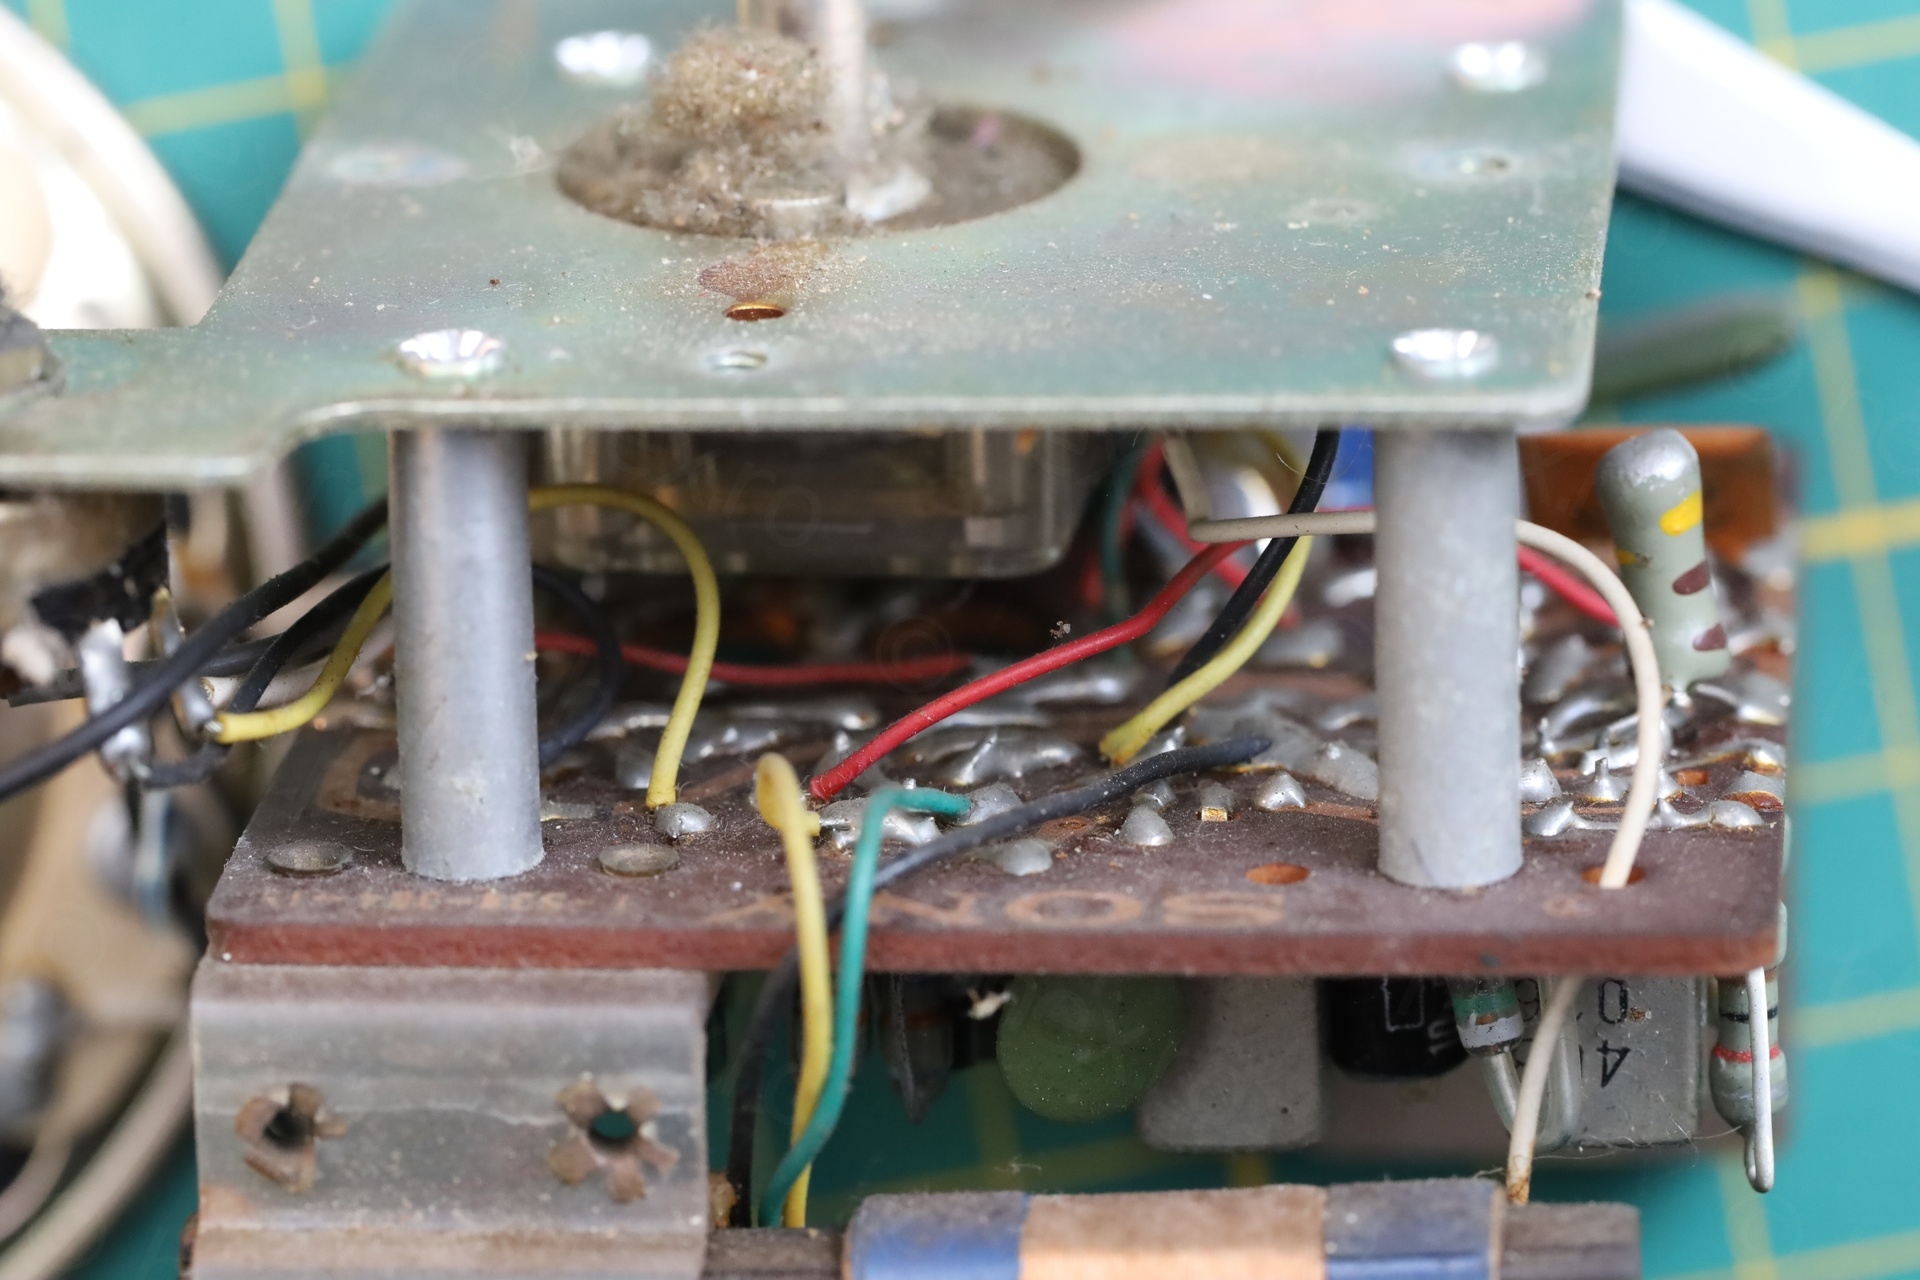
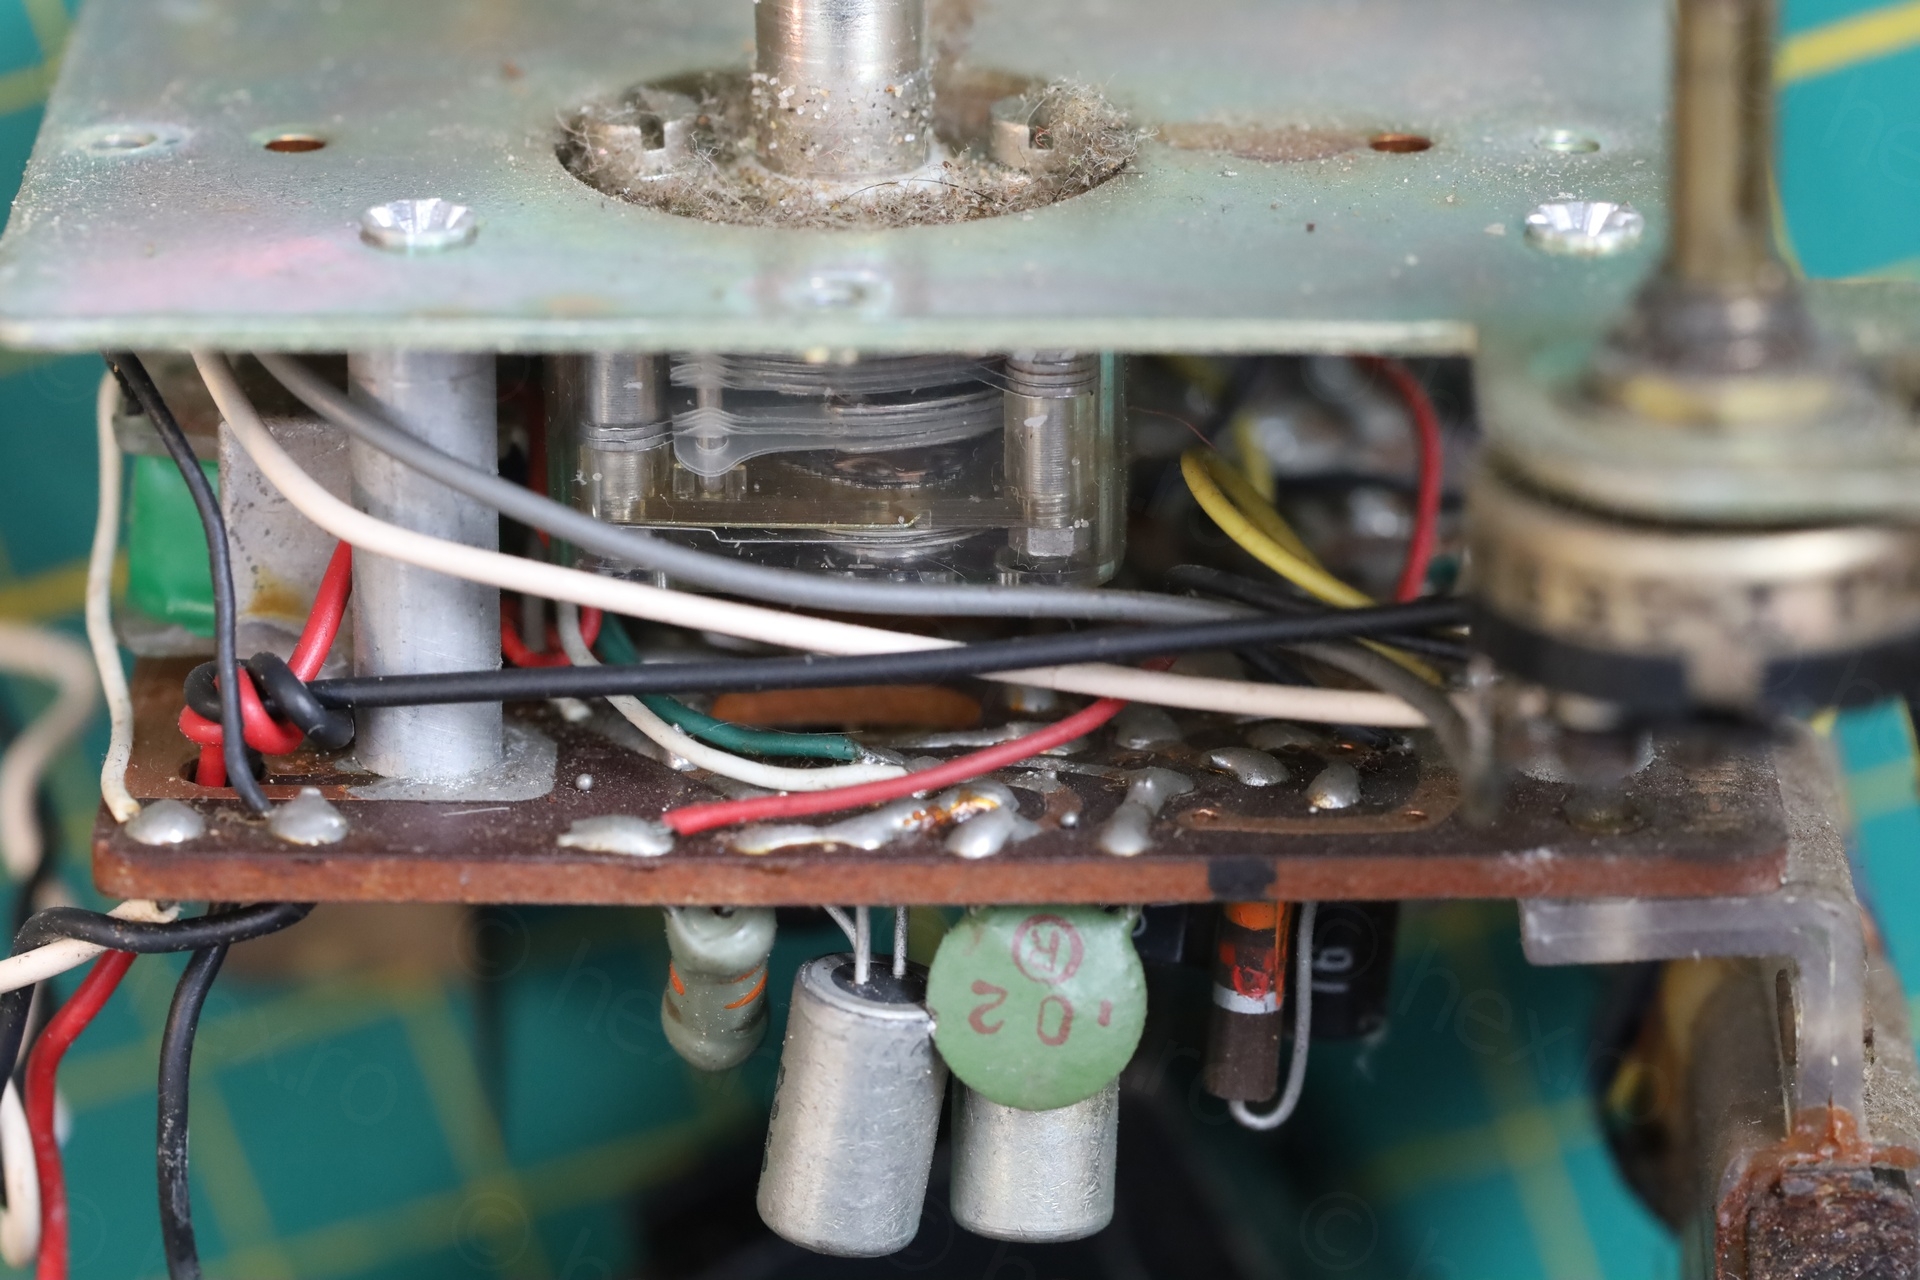
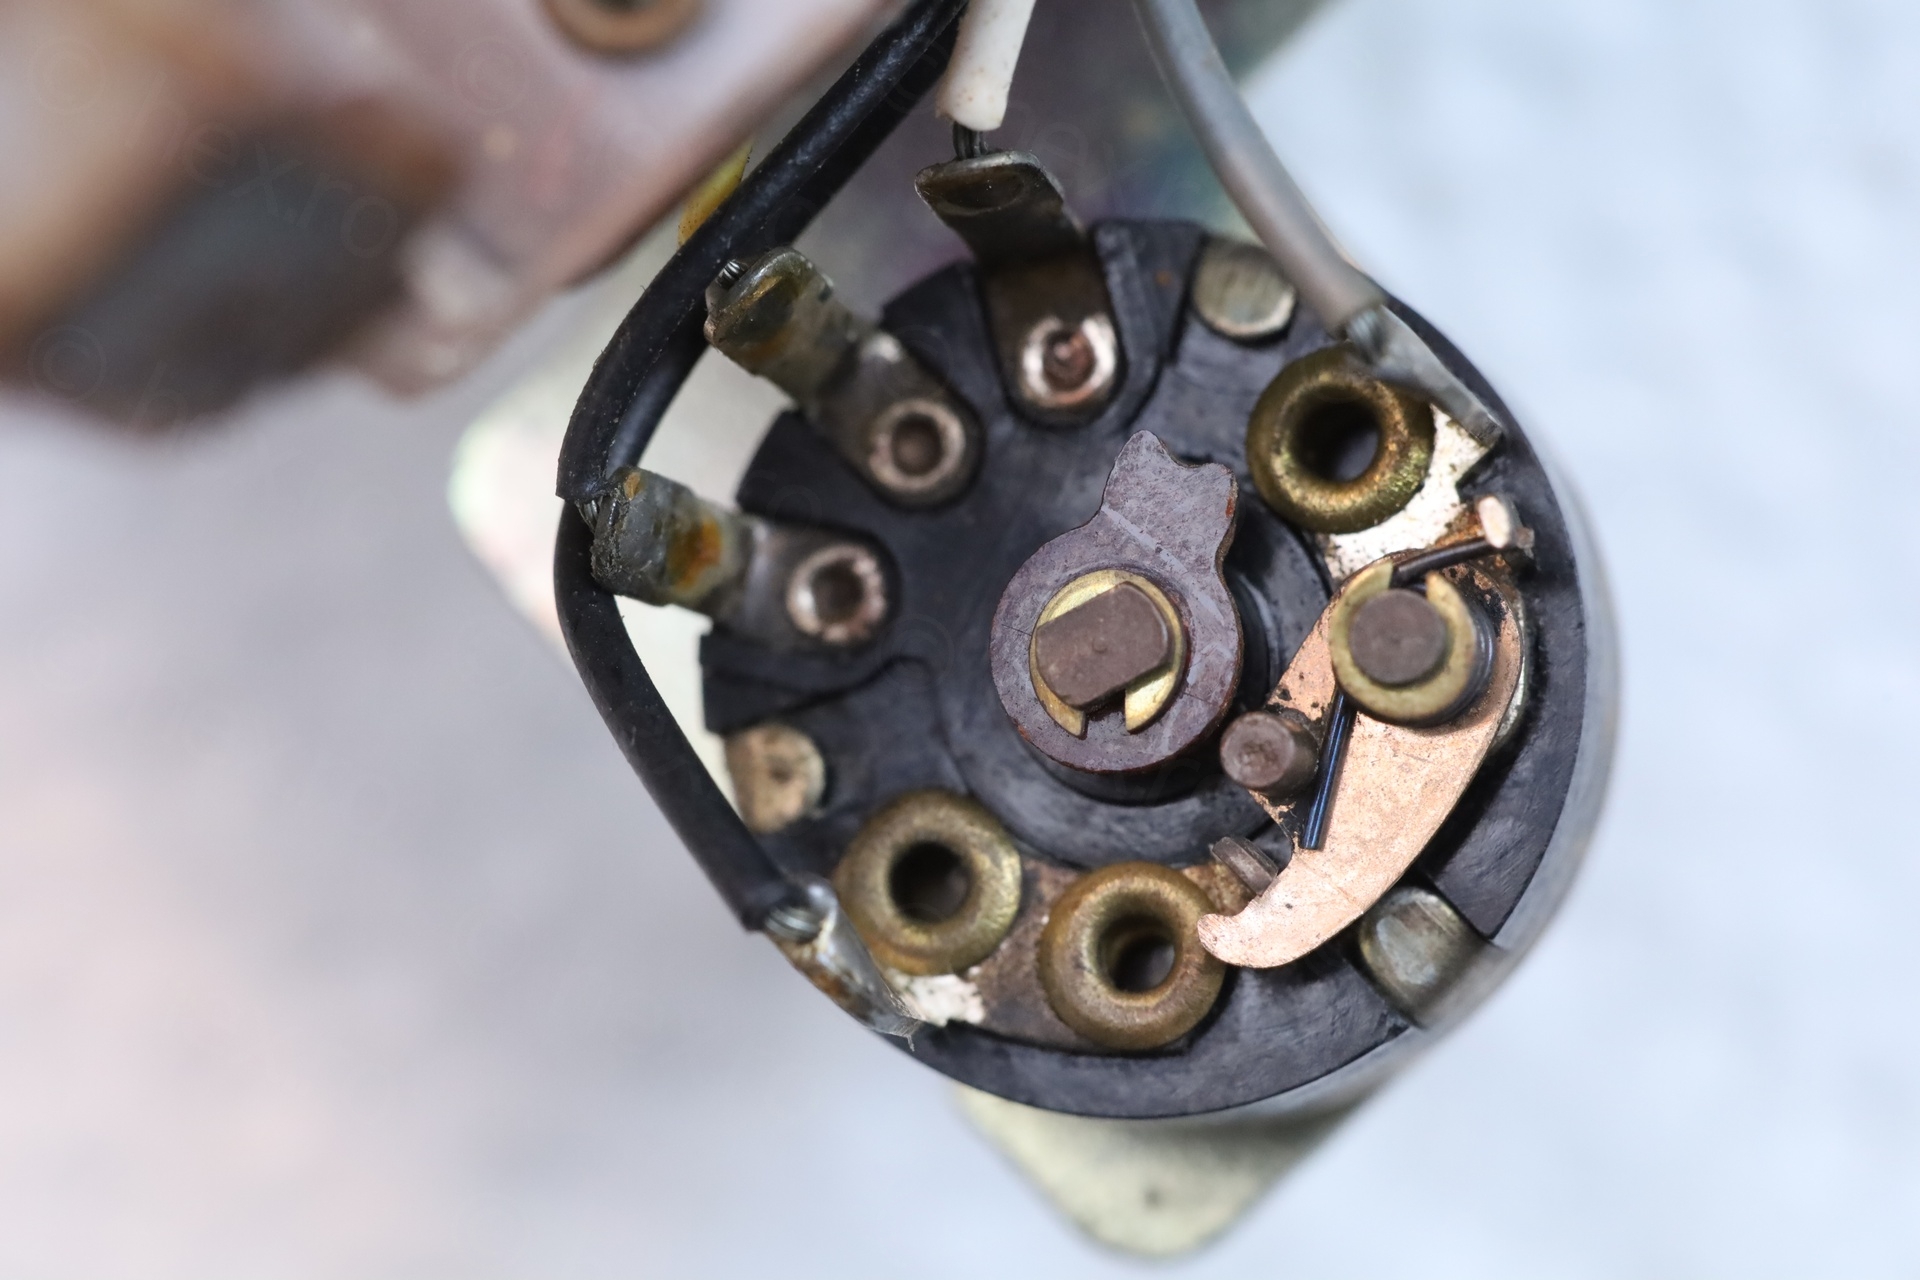
Found the bug:
I was dreading the realization Germanium transistors may have developed tin whiskers. I’d have to take the two boards apart. And there are so many wires, I would go dizzy following each of them.
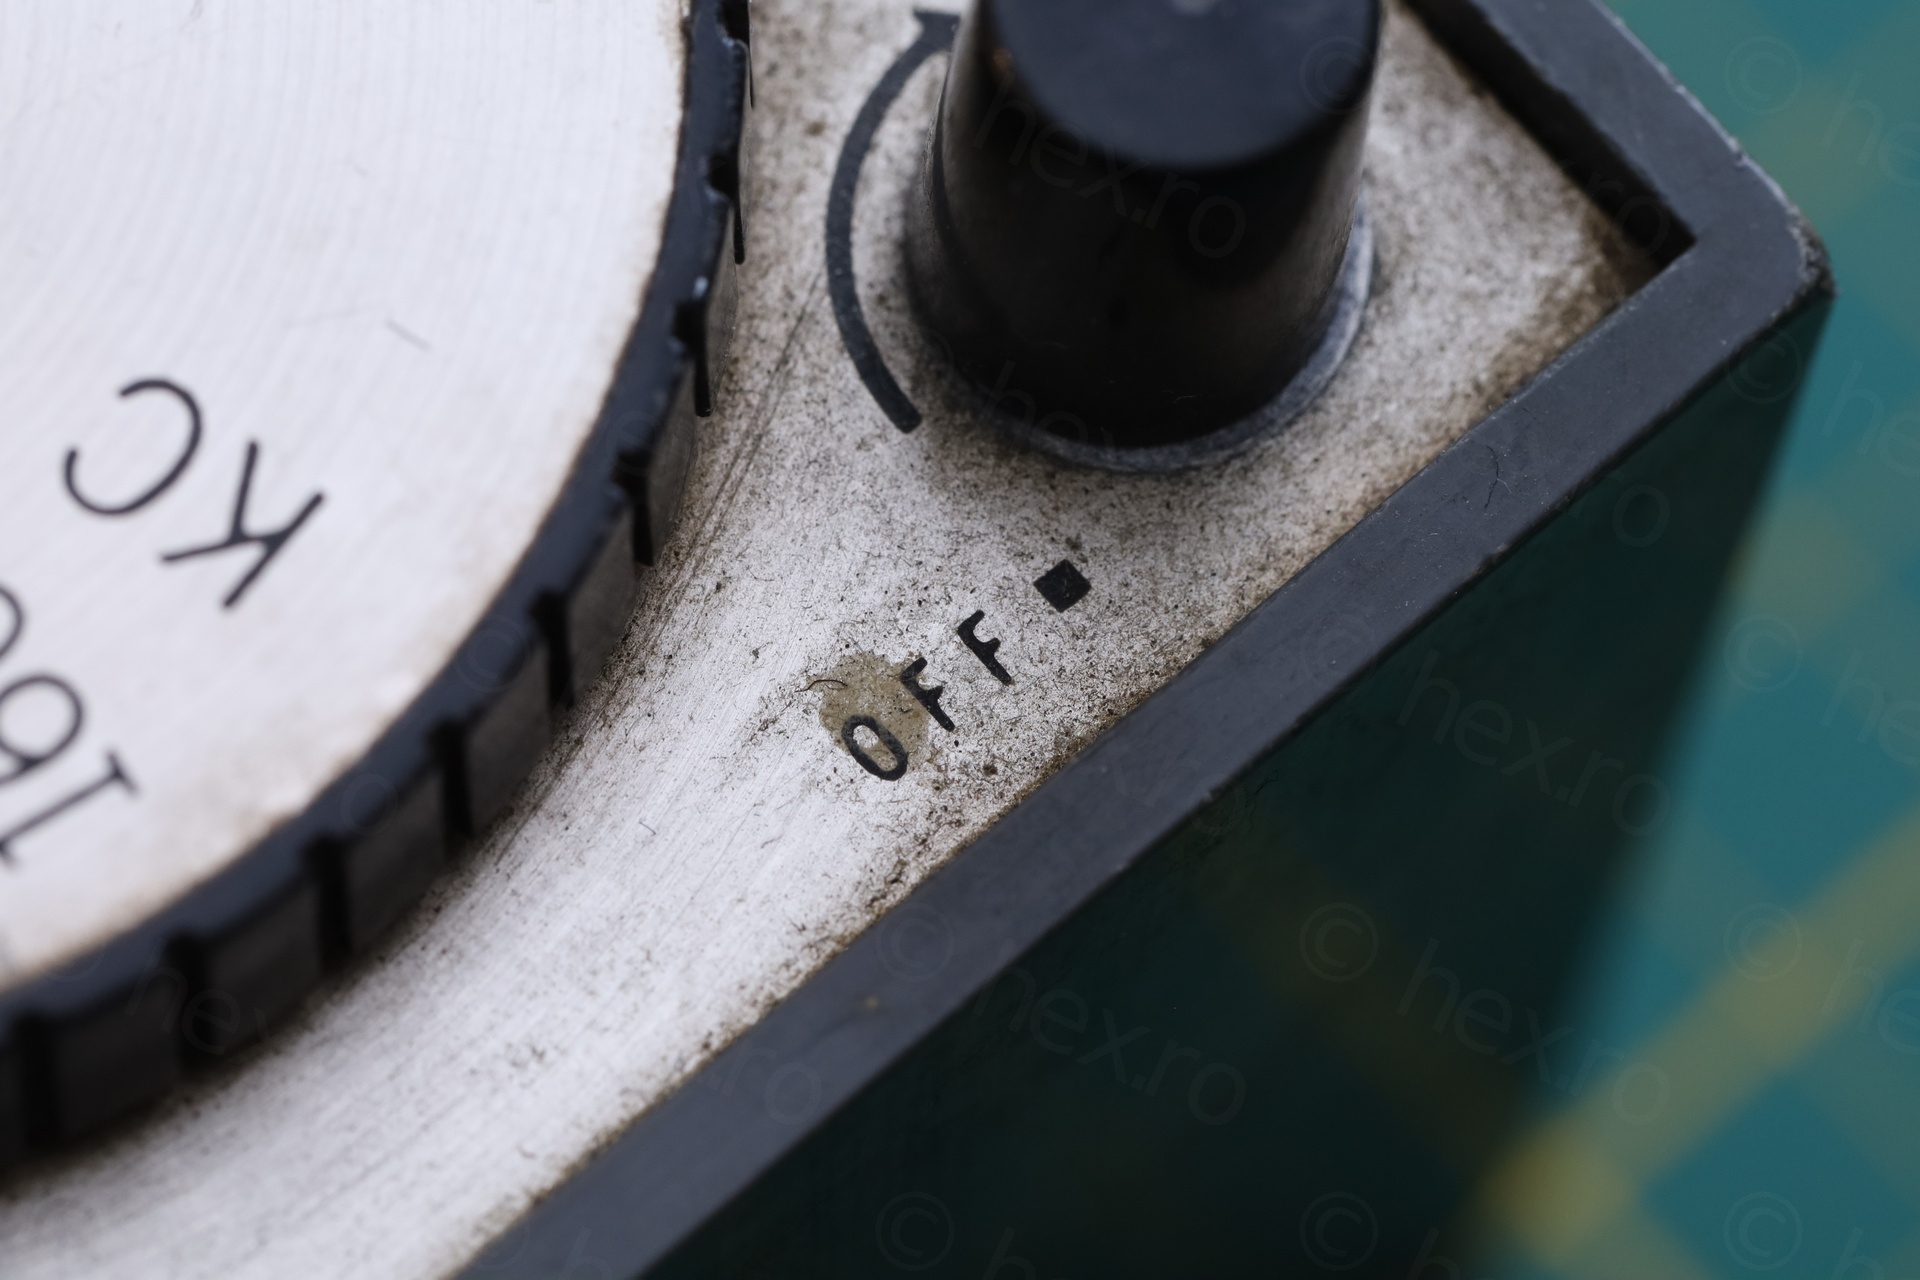
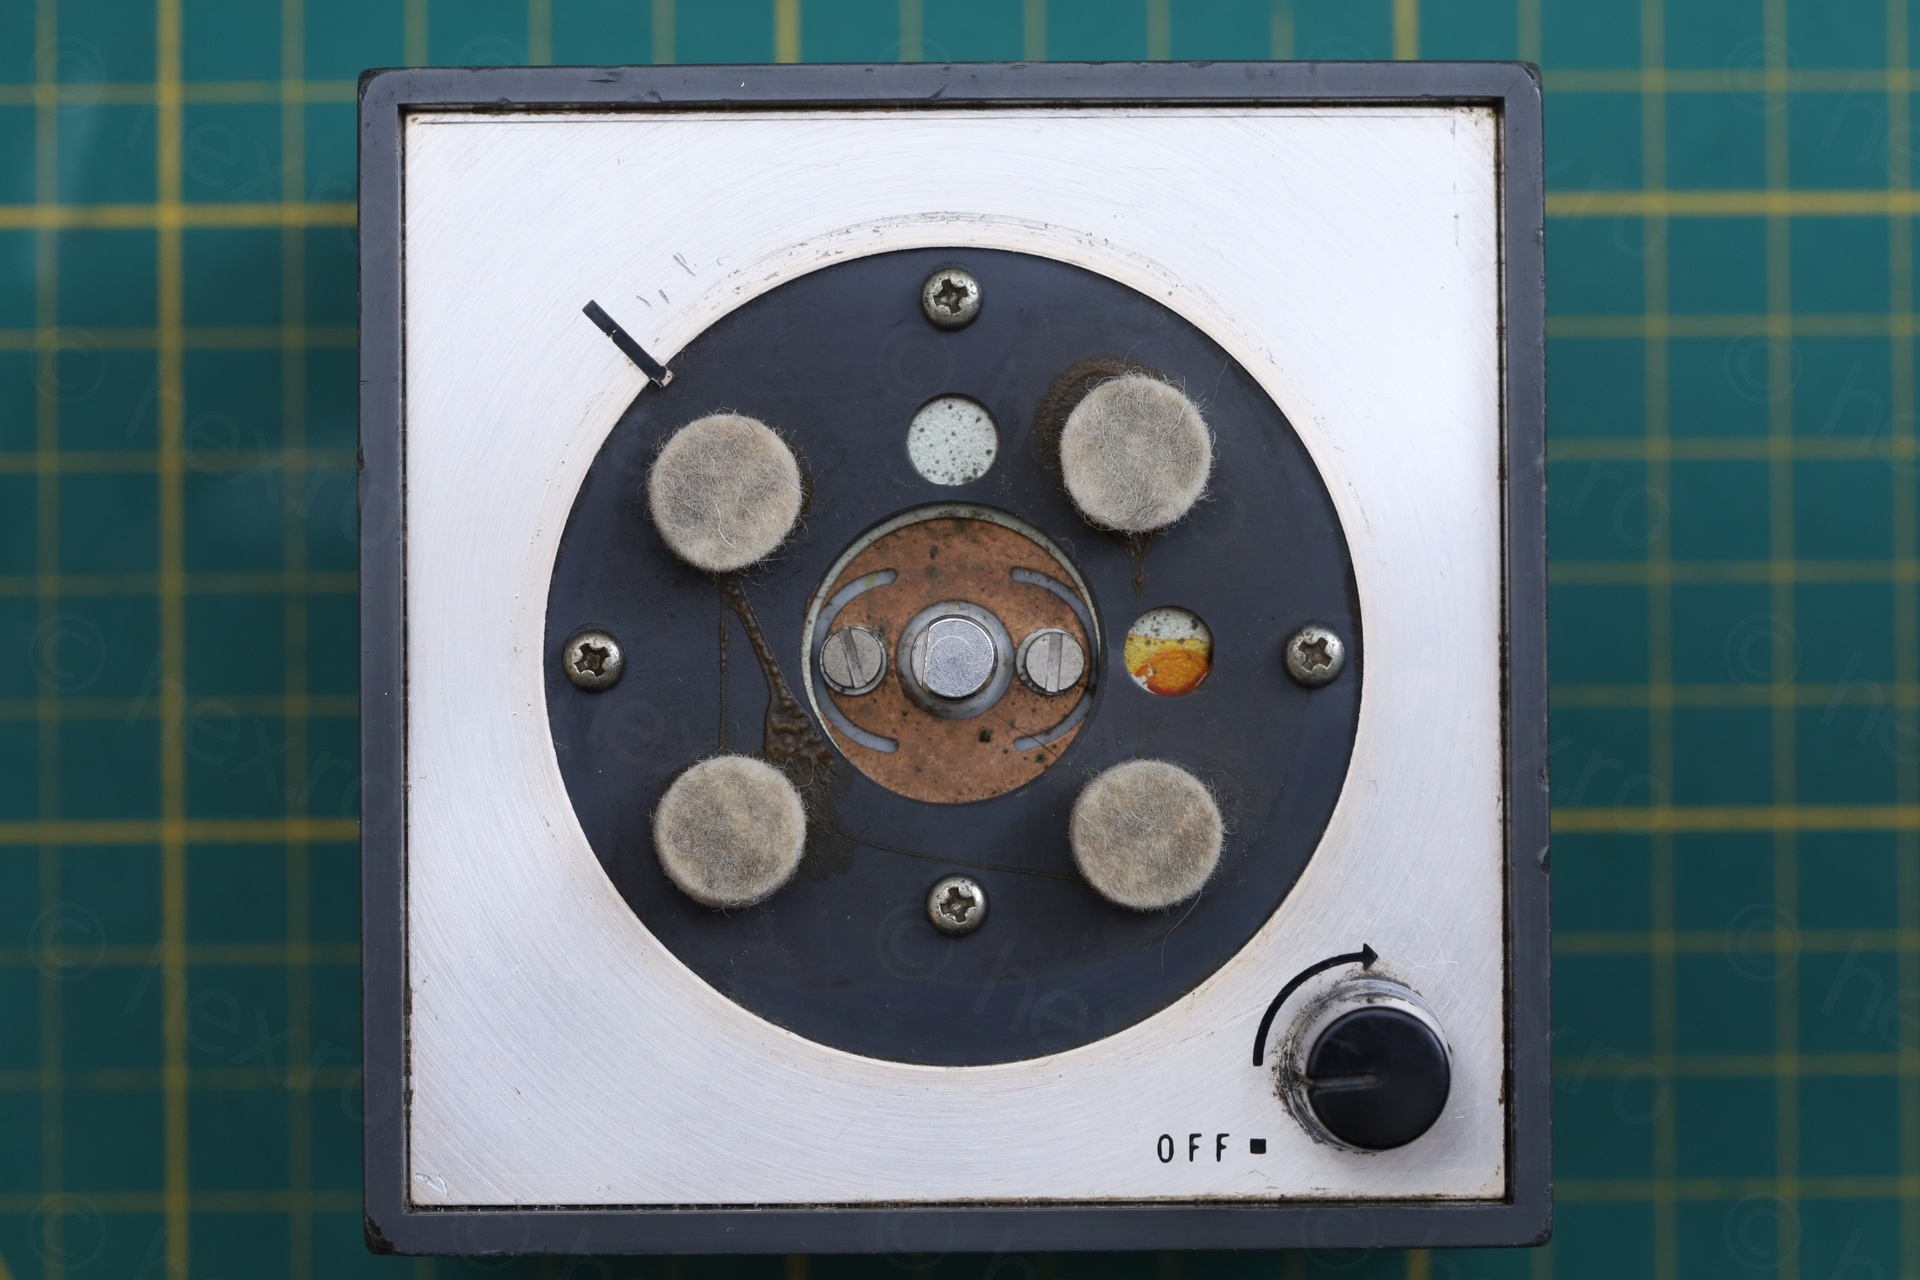
It turned out that the ON/OFF switch was so corroded, it didn’t make contact anymore. I started cleaning with Isopropyl Alcohol and most of the black deposits when away, but the button was still fiddly. I insisted using a most toothpick and that fixed the problem:
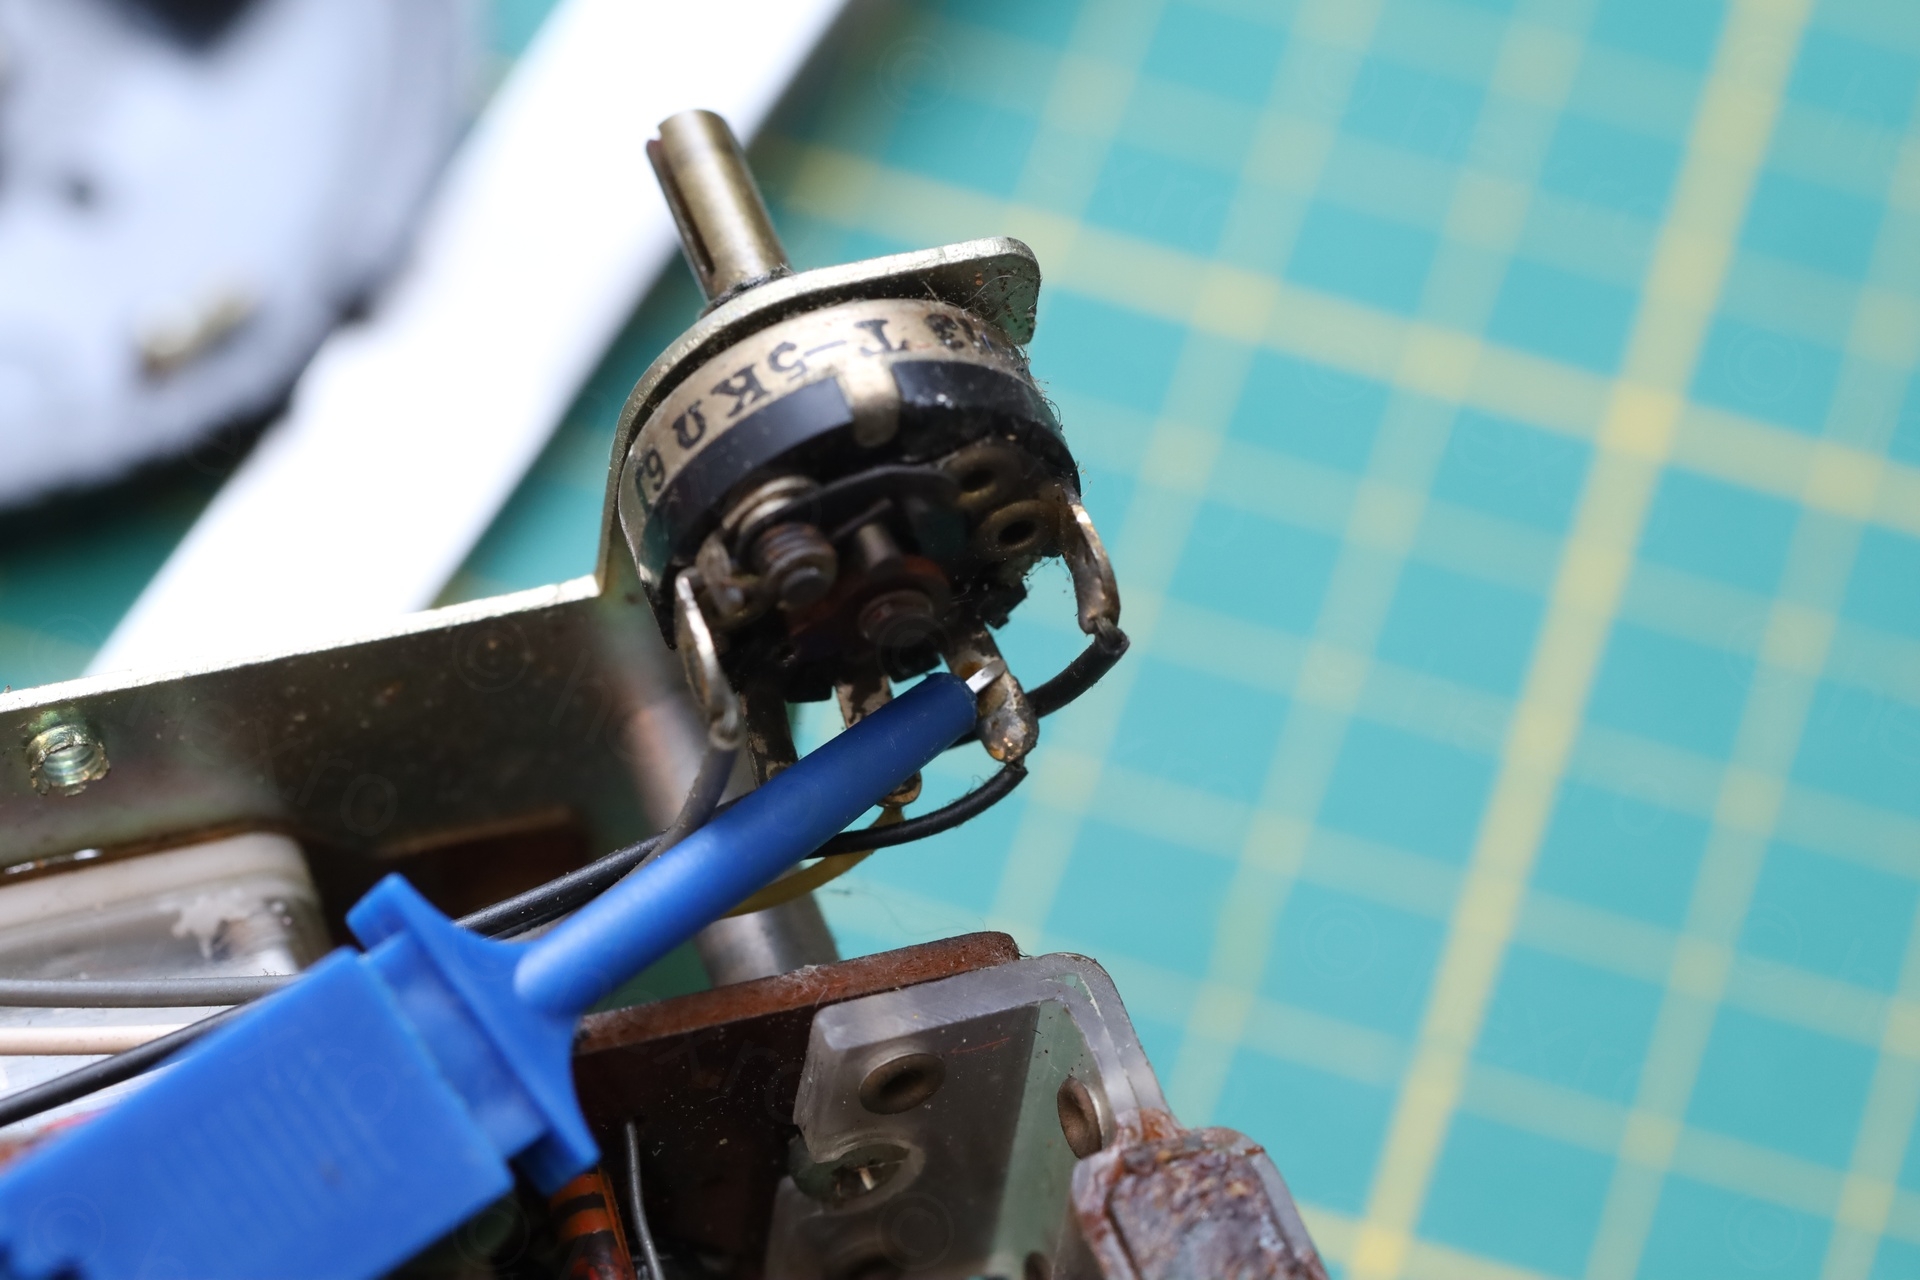

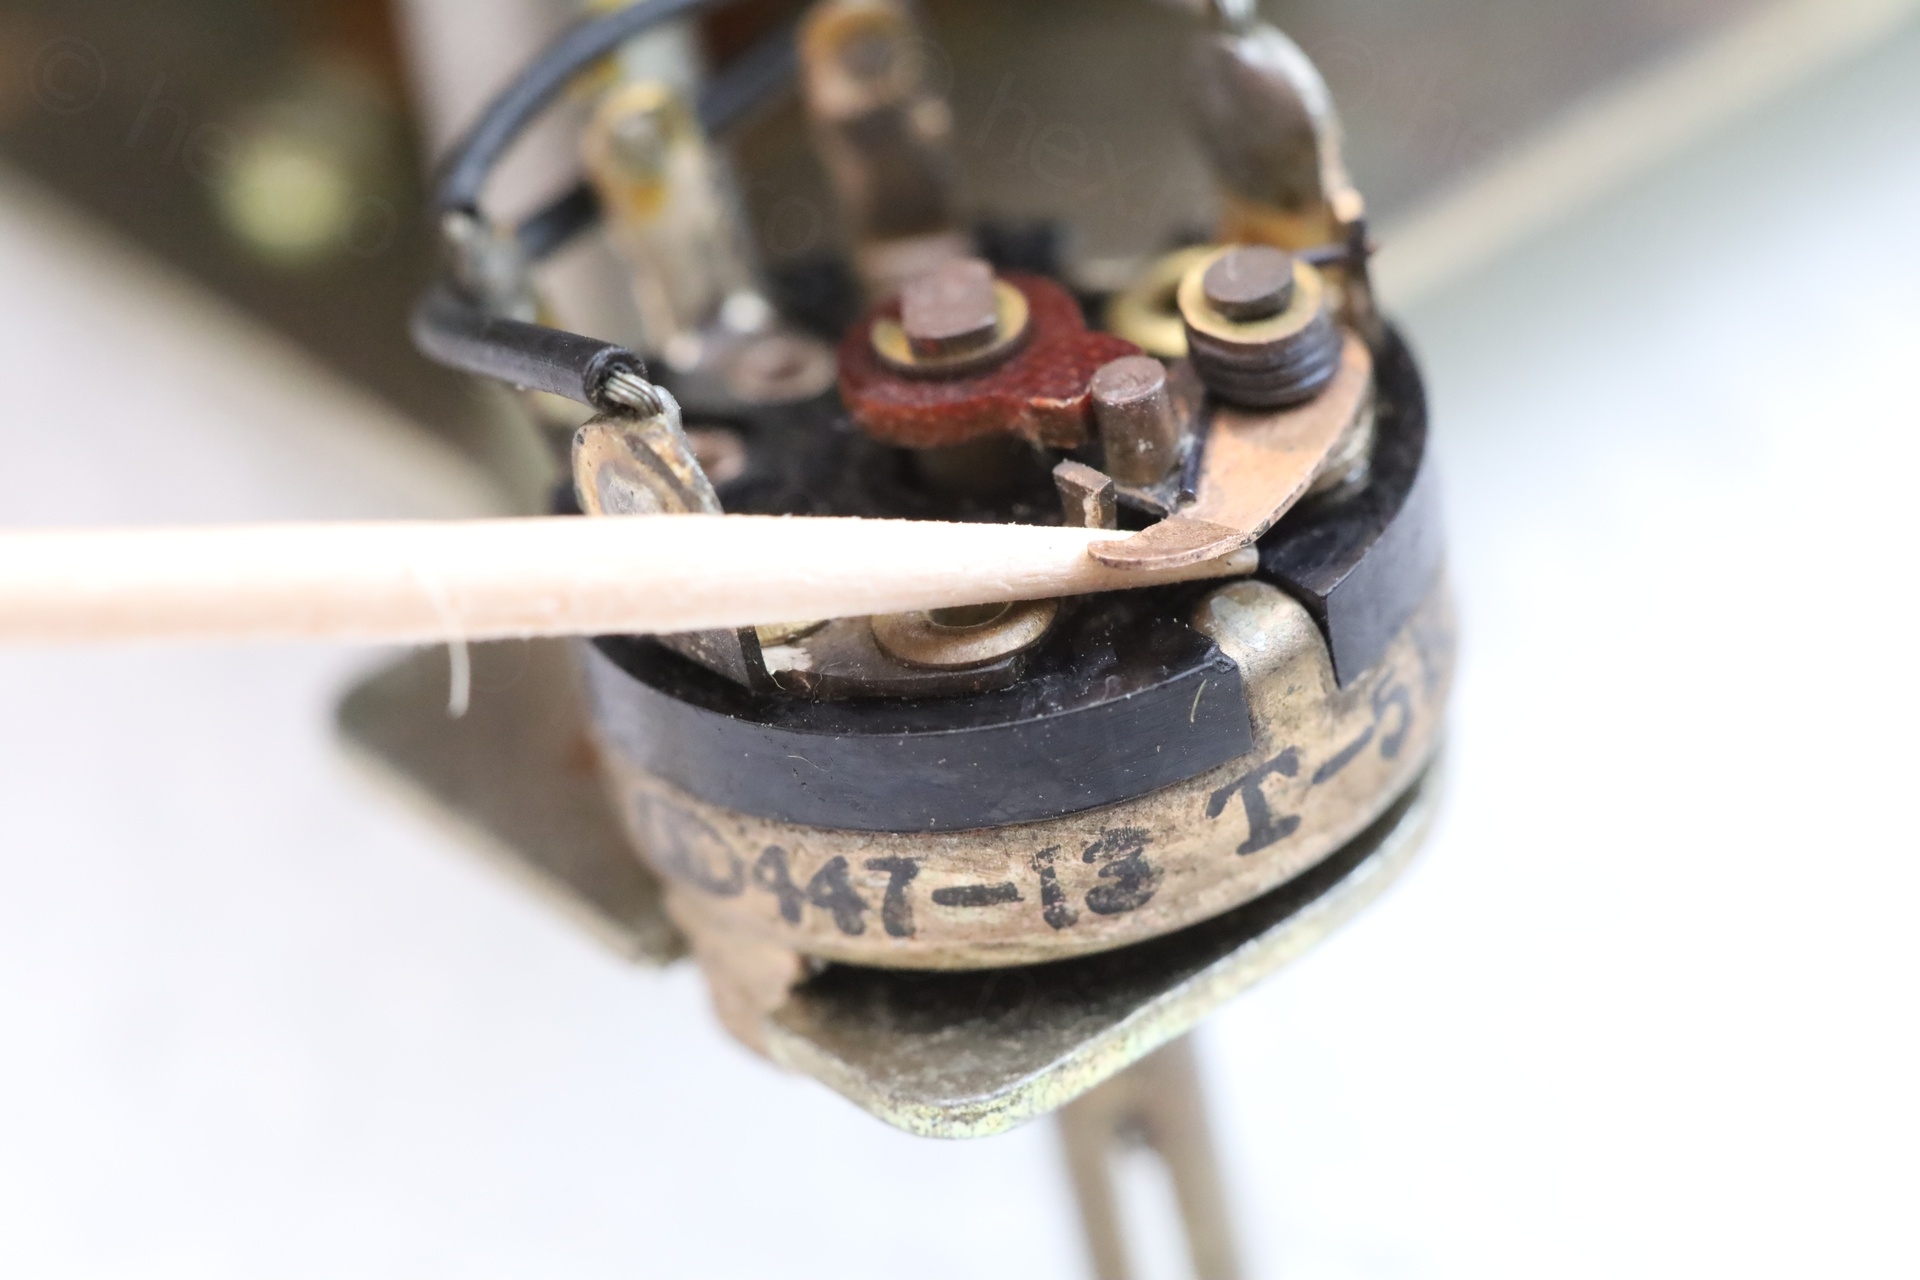
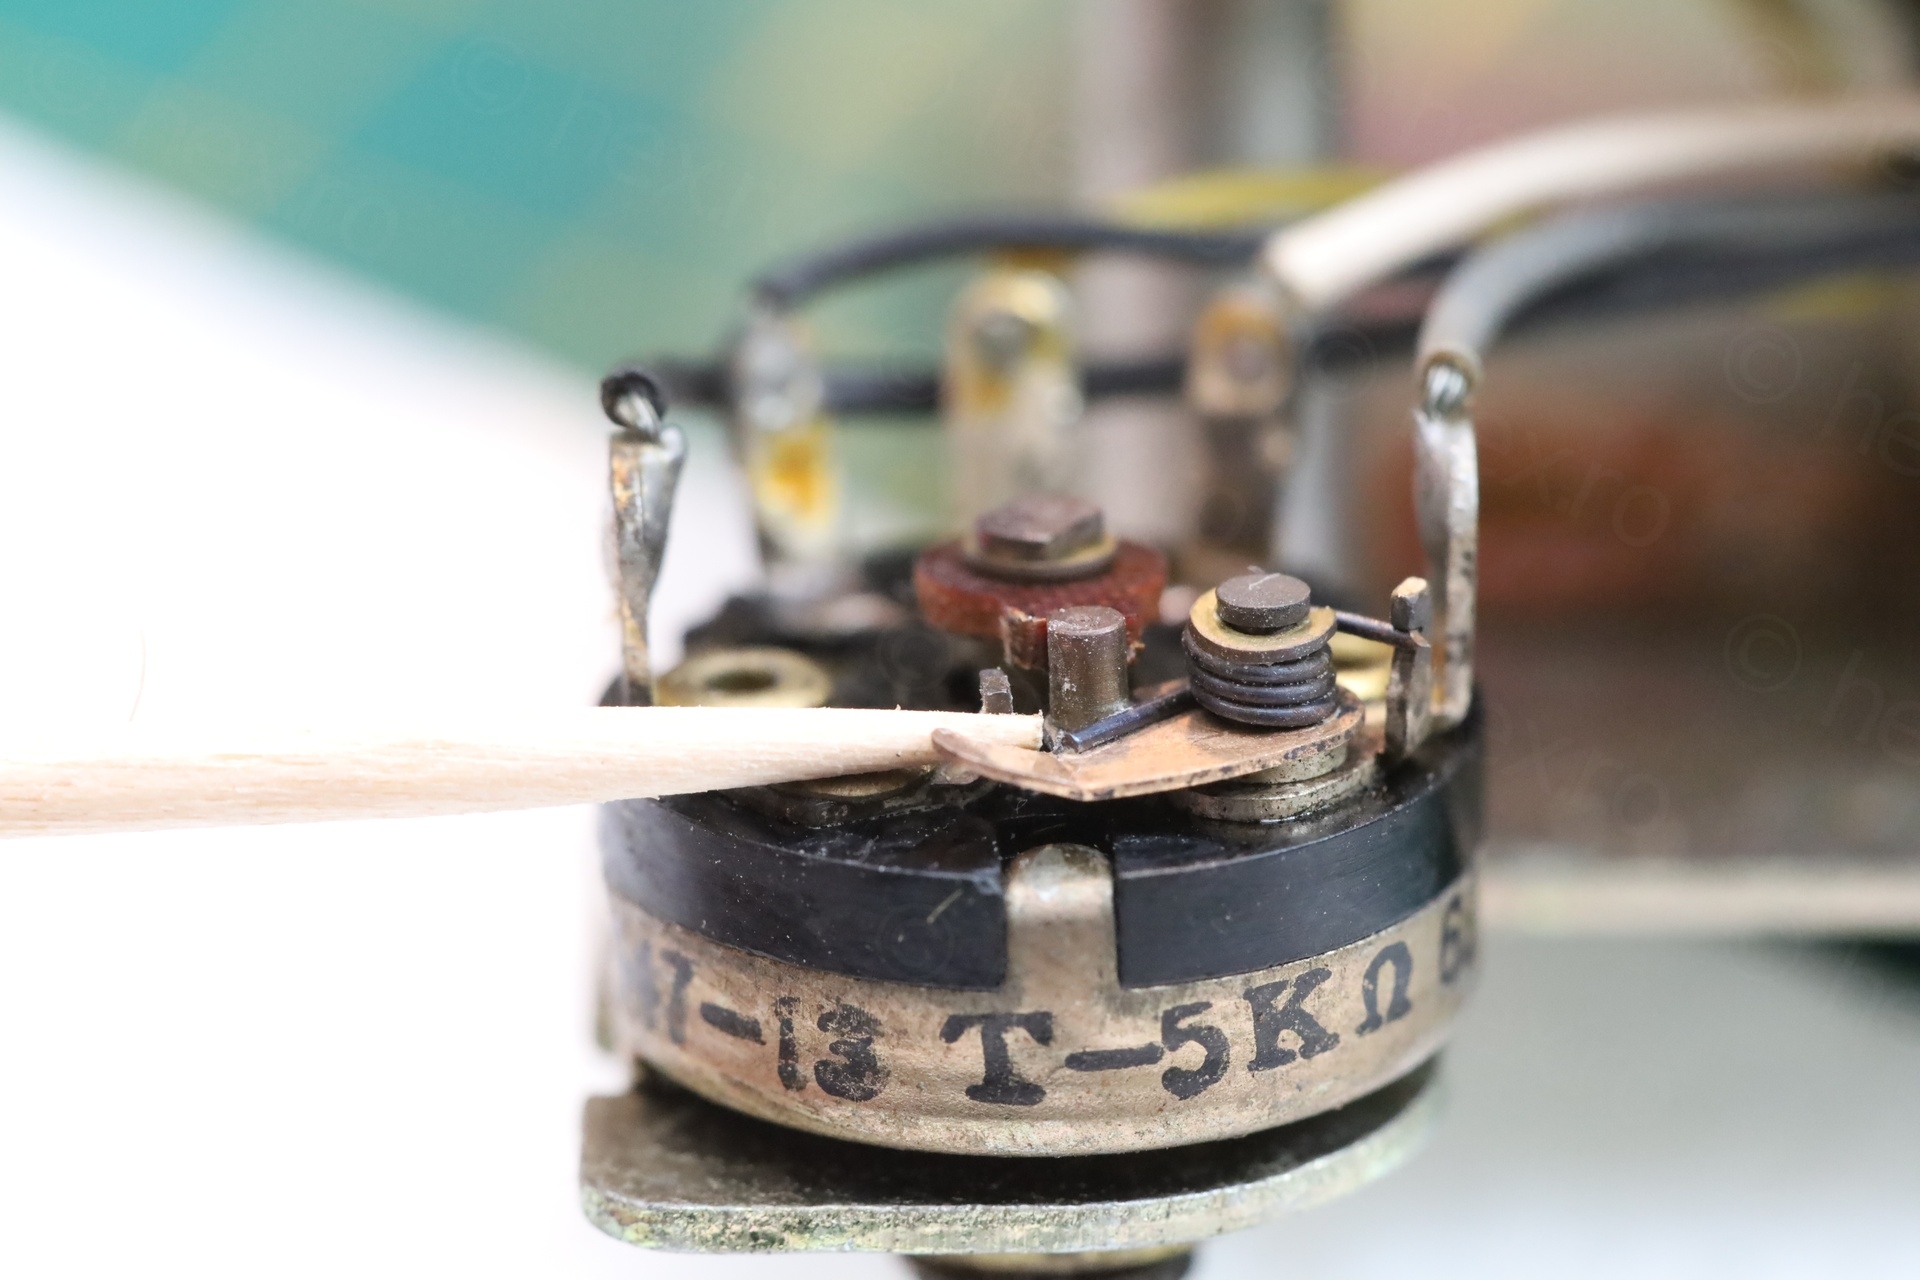
I prefer to use toothpicks while cleaning thin contacts and only go to metal to metal scraping for very stubborn deposits. Thankfully the toothpick was enough this time.
The radio was back alive and tuning properly! I was not in the mood to desolder all the interconnecting wires to hunt for a broken trace. Either it is an easy accessible fix, or I’m throwing it away.
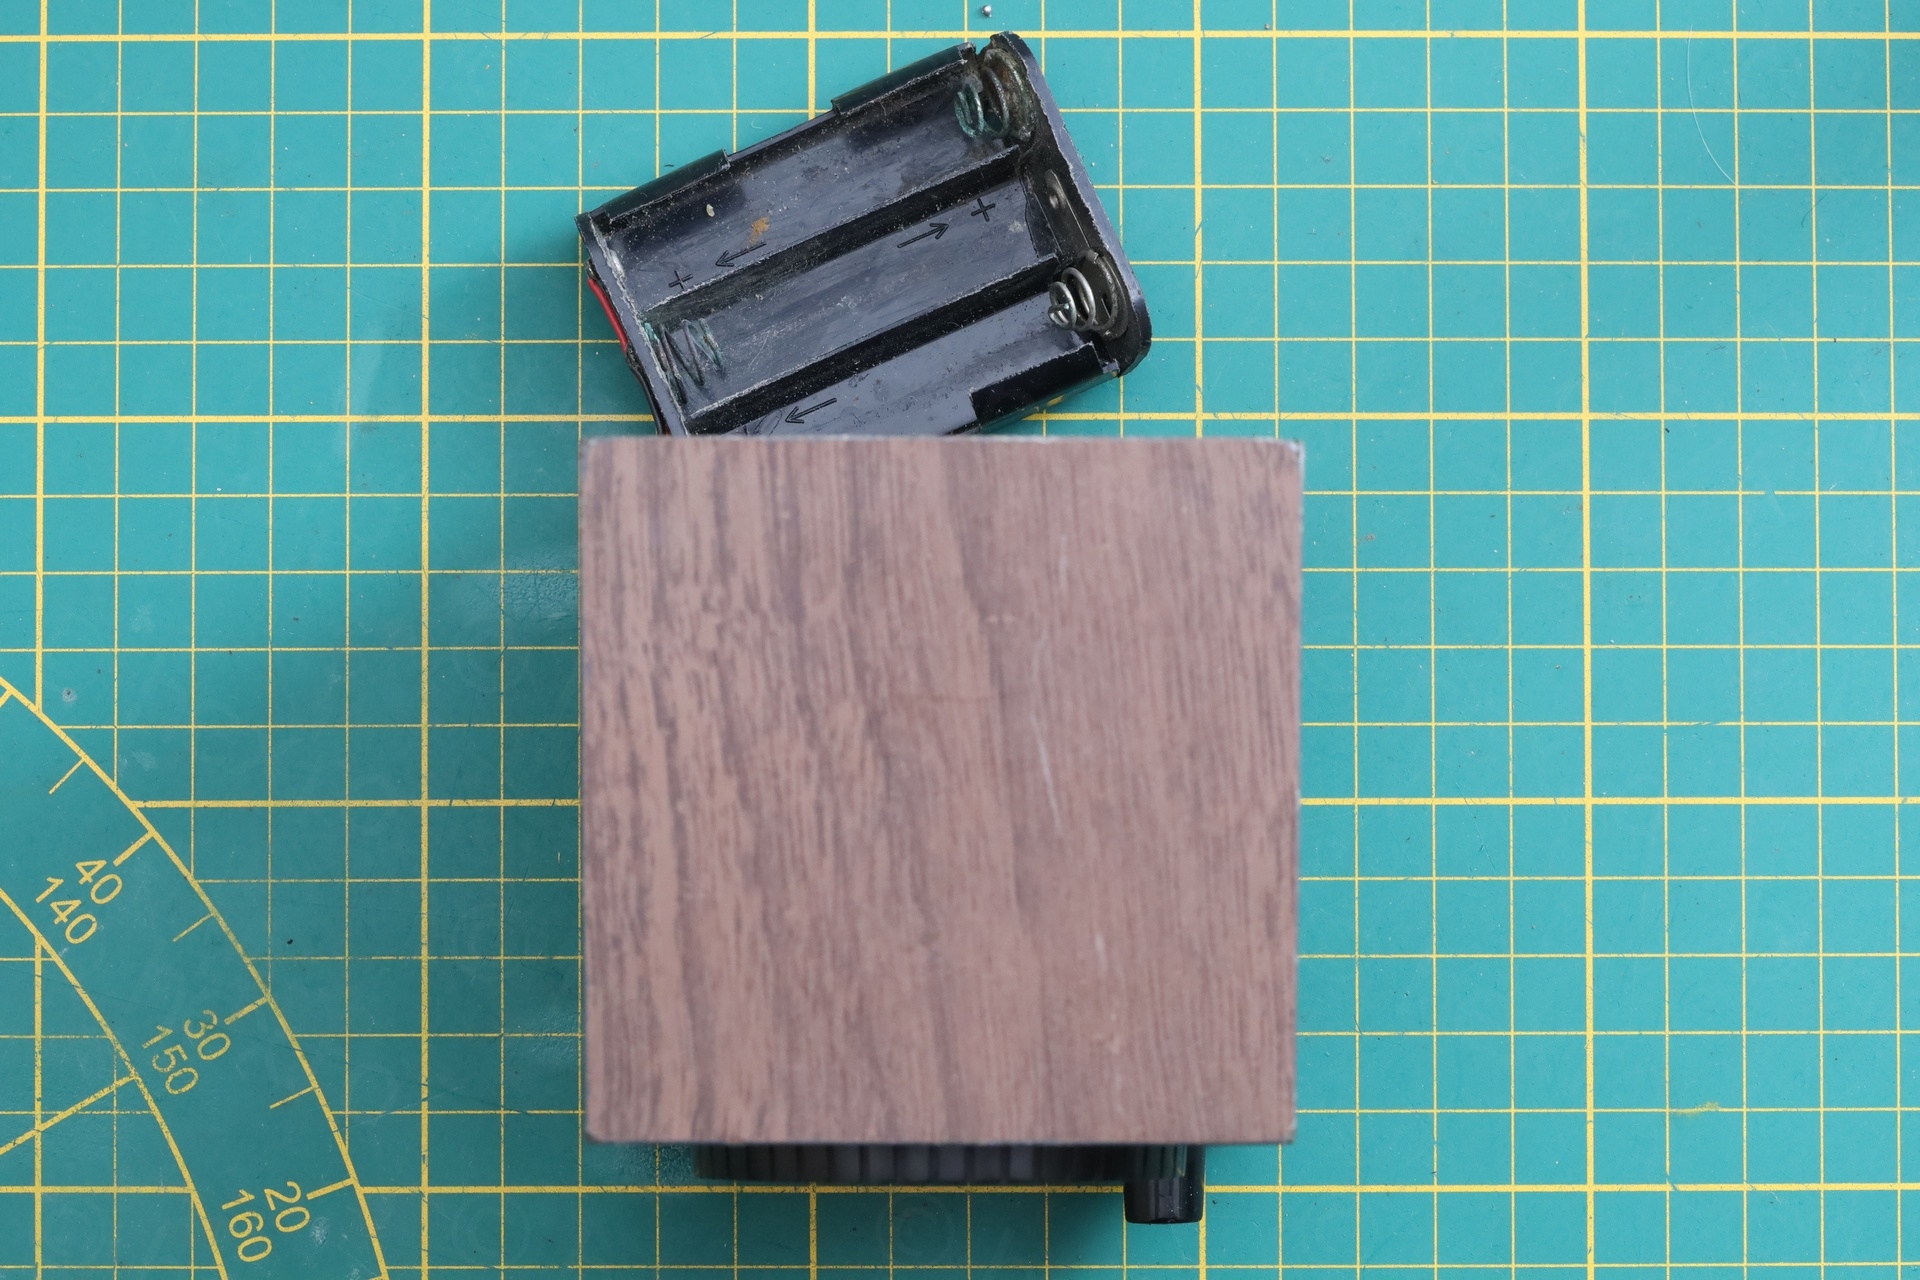
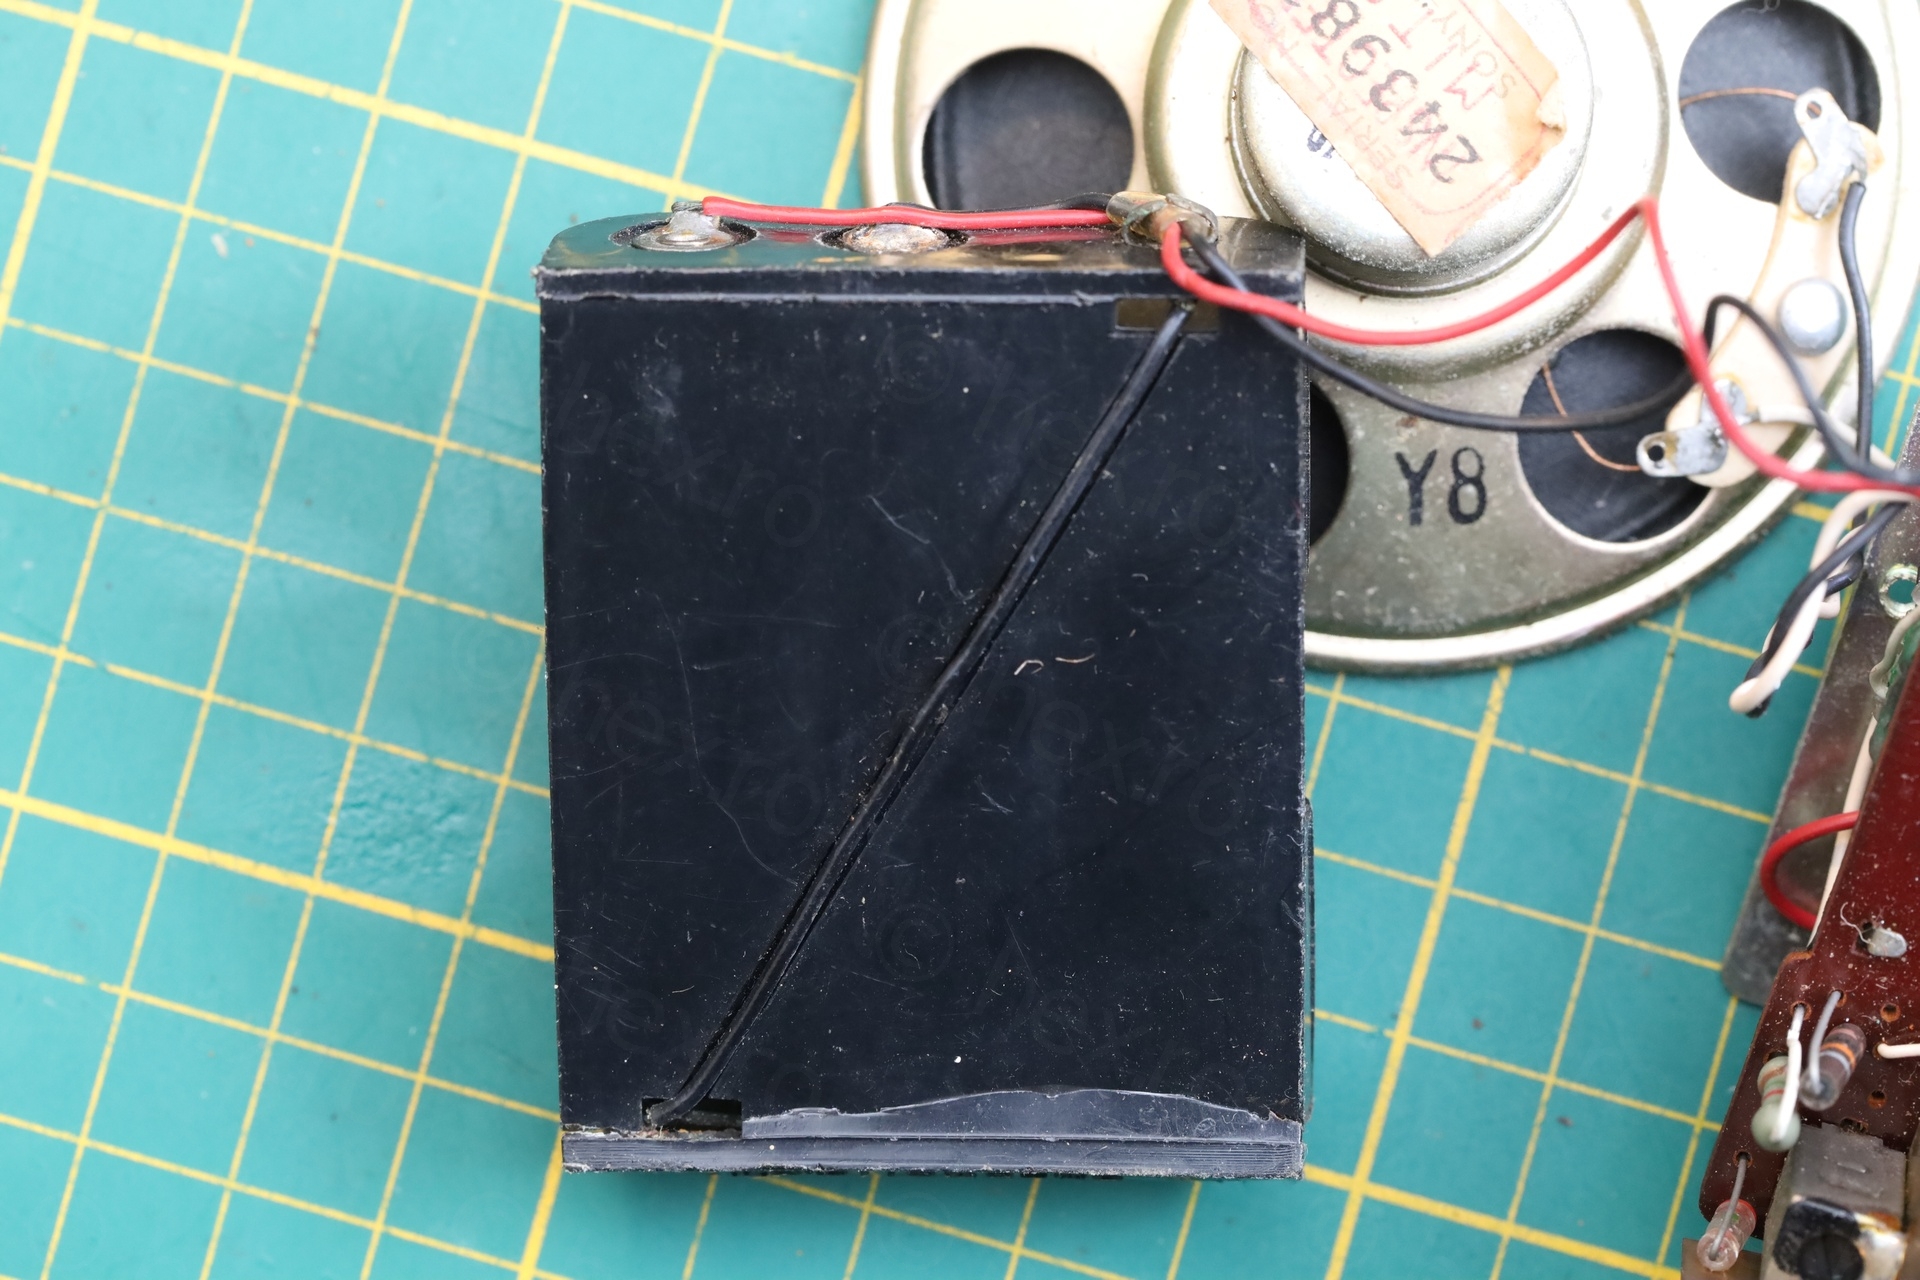
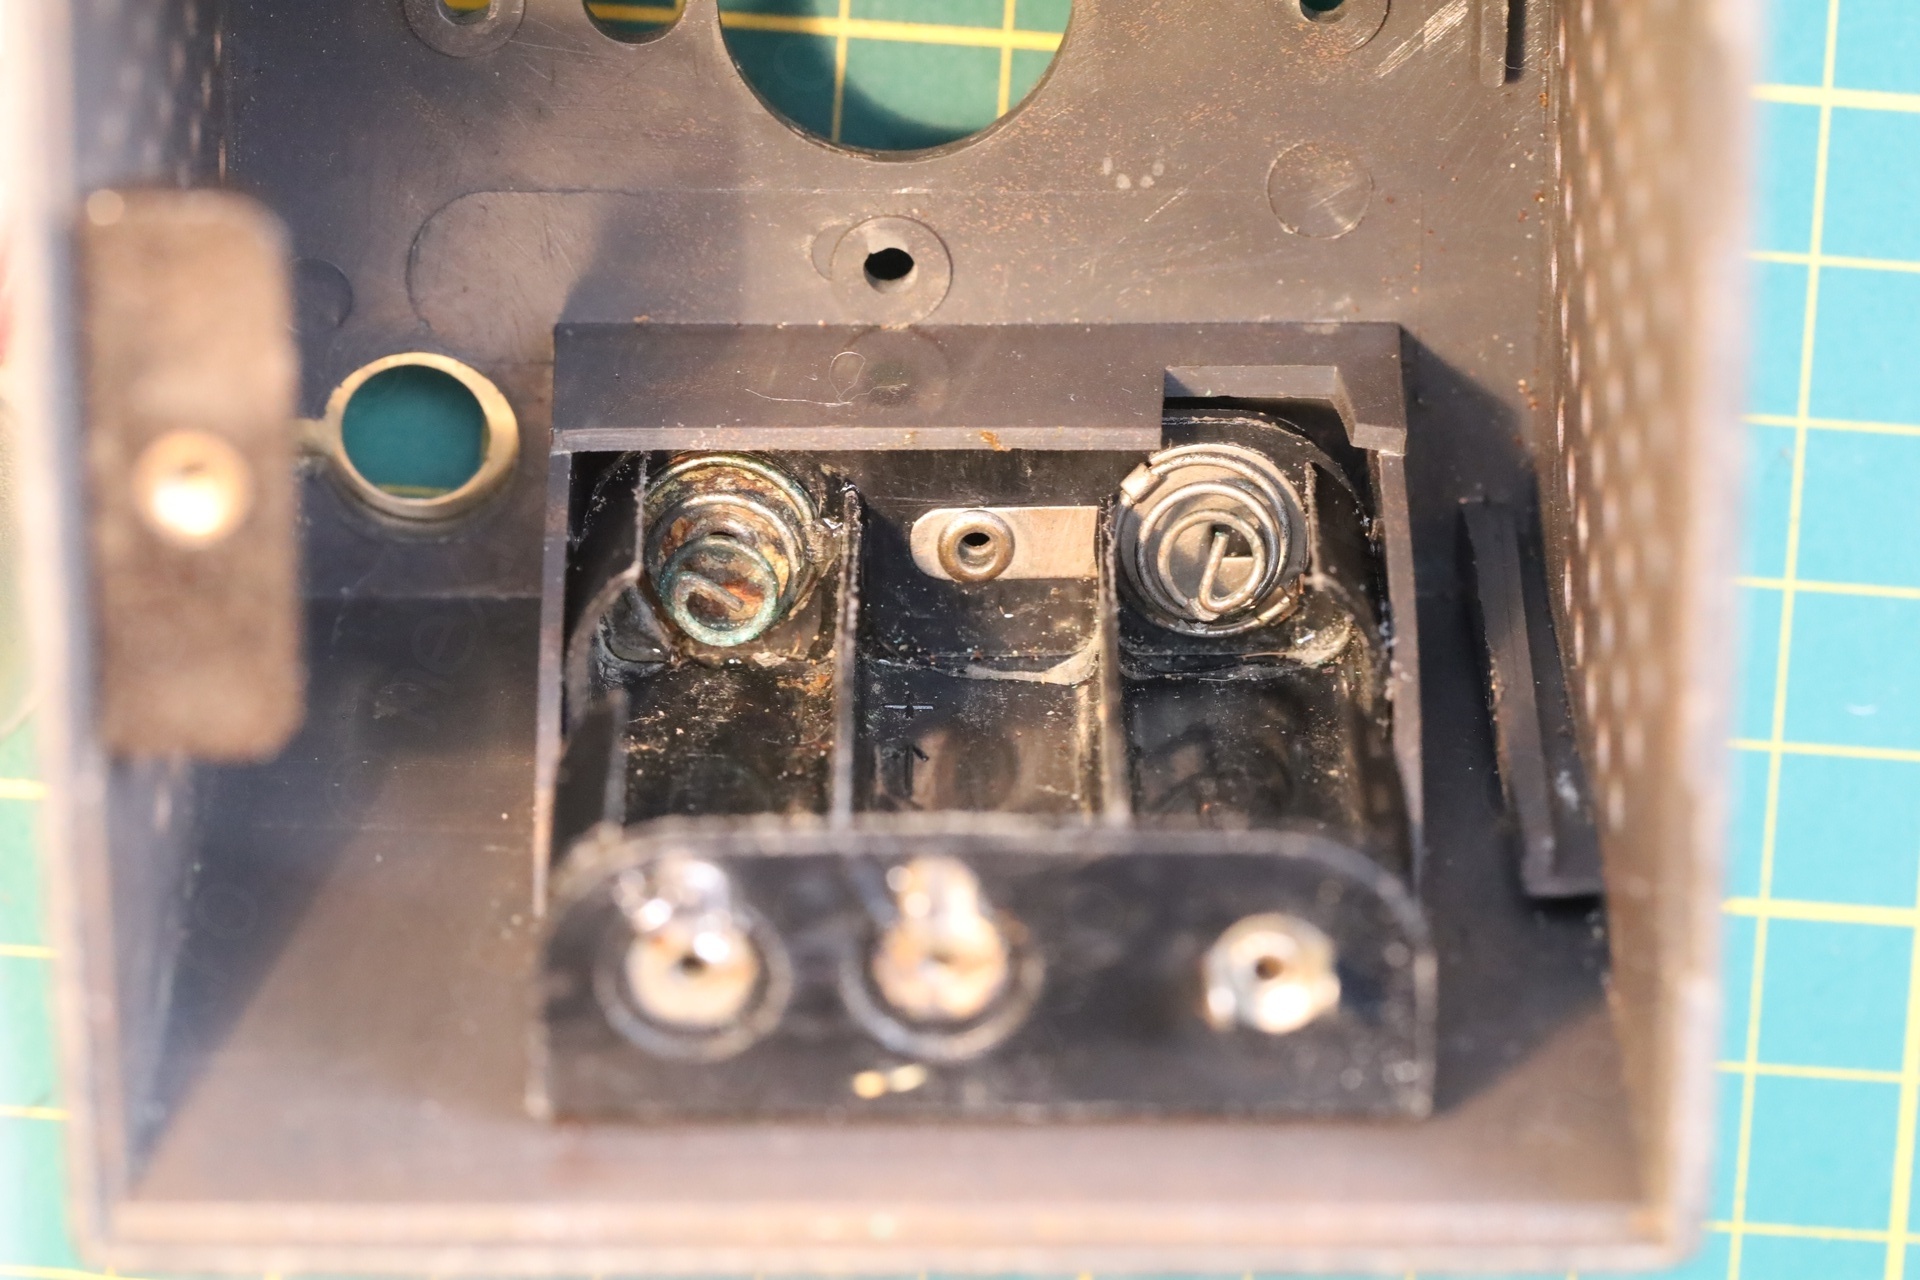
Battery holder
I tried using a two part Epoxy to glue the battery holder back, after giving it a deep scrub with IPA:

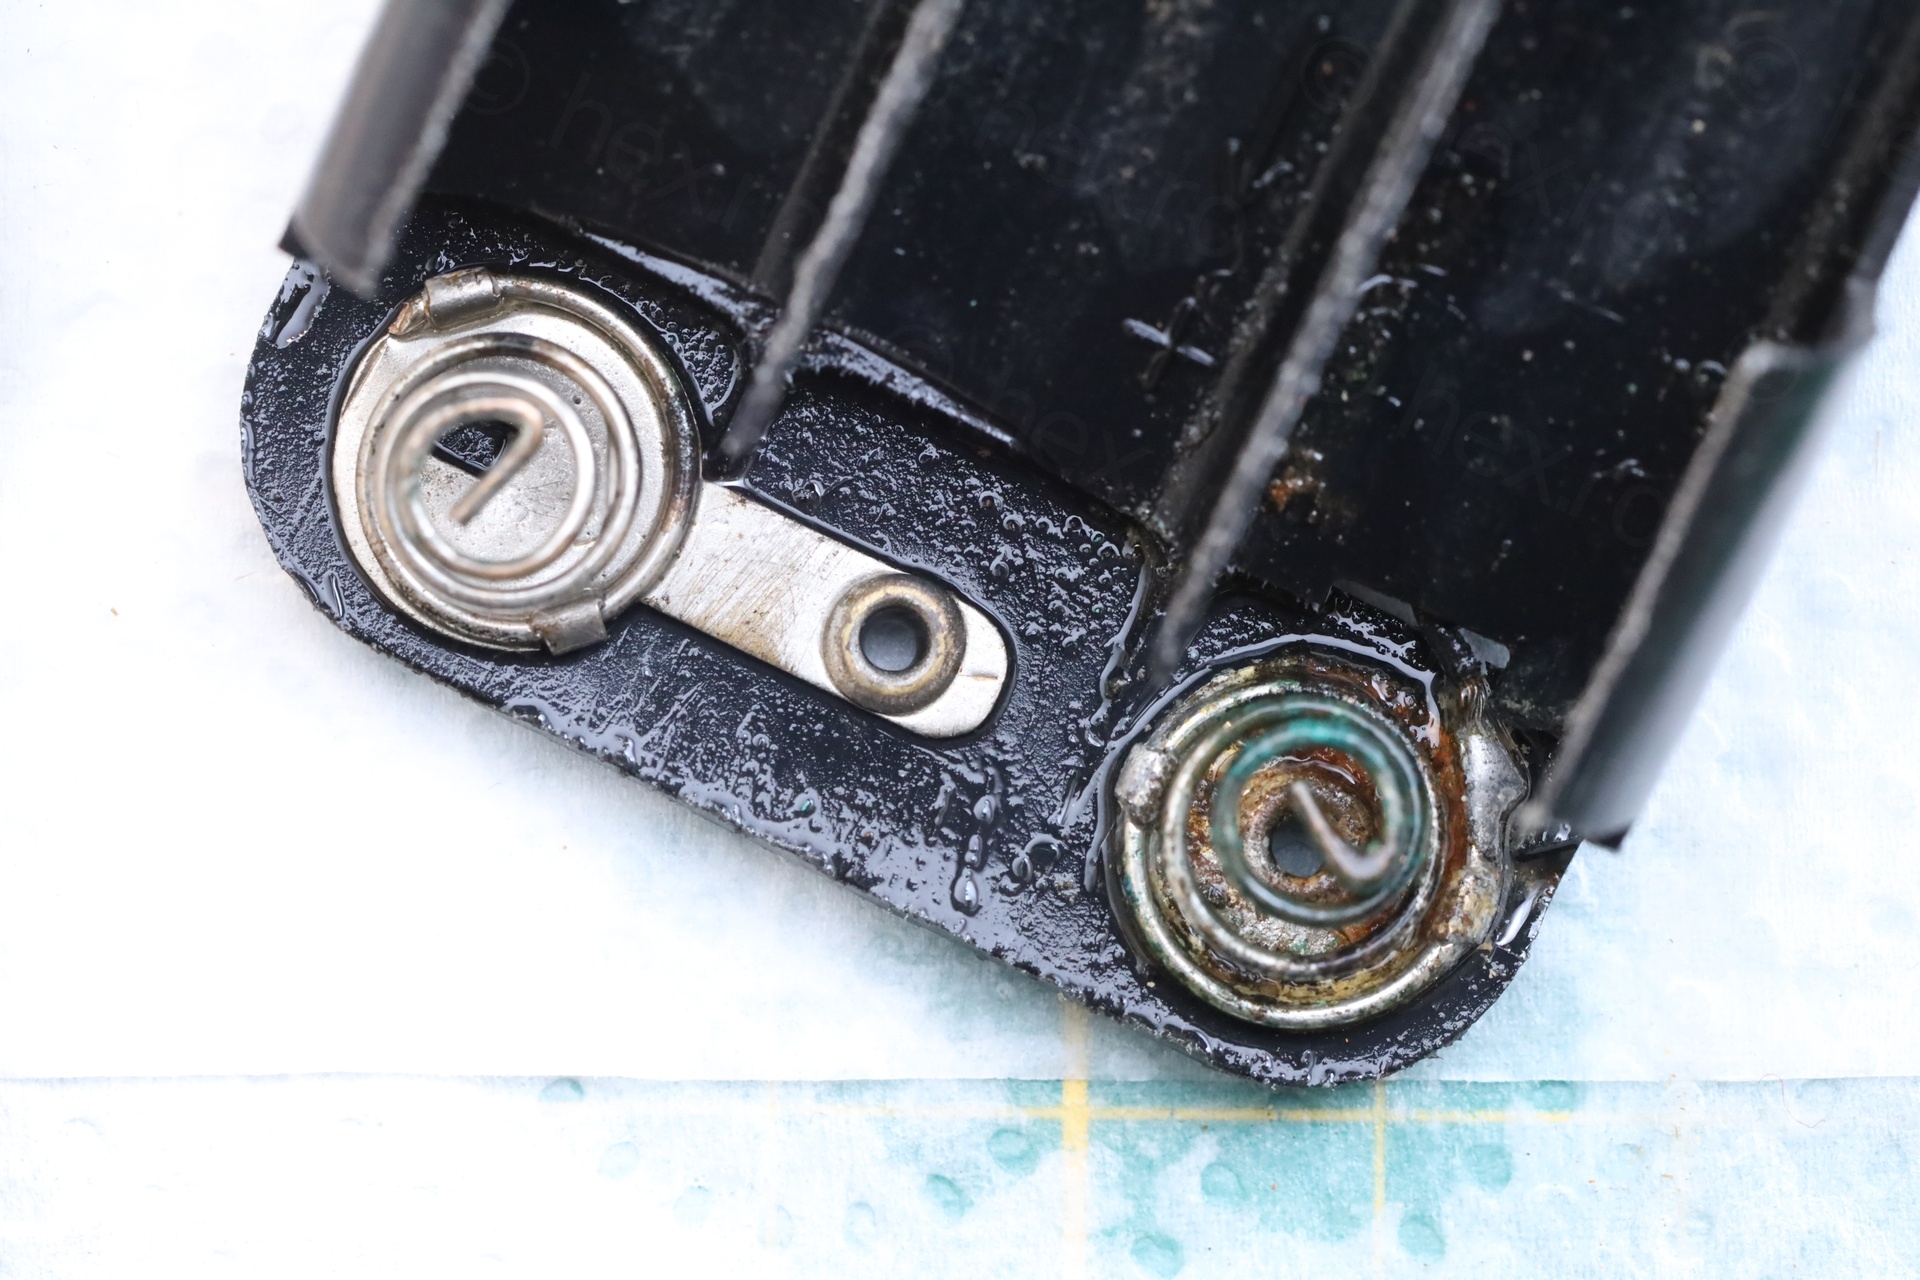
But, after leaving it to cure for more than 24h, the epoxy did not create a strong enough bond on the battery holder to contain the 3 batteries. It snapped when trying to insert the second battery. I tried to keep the original holder, but it was not possible.
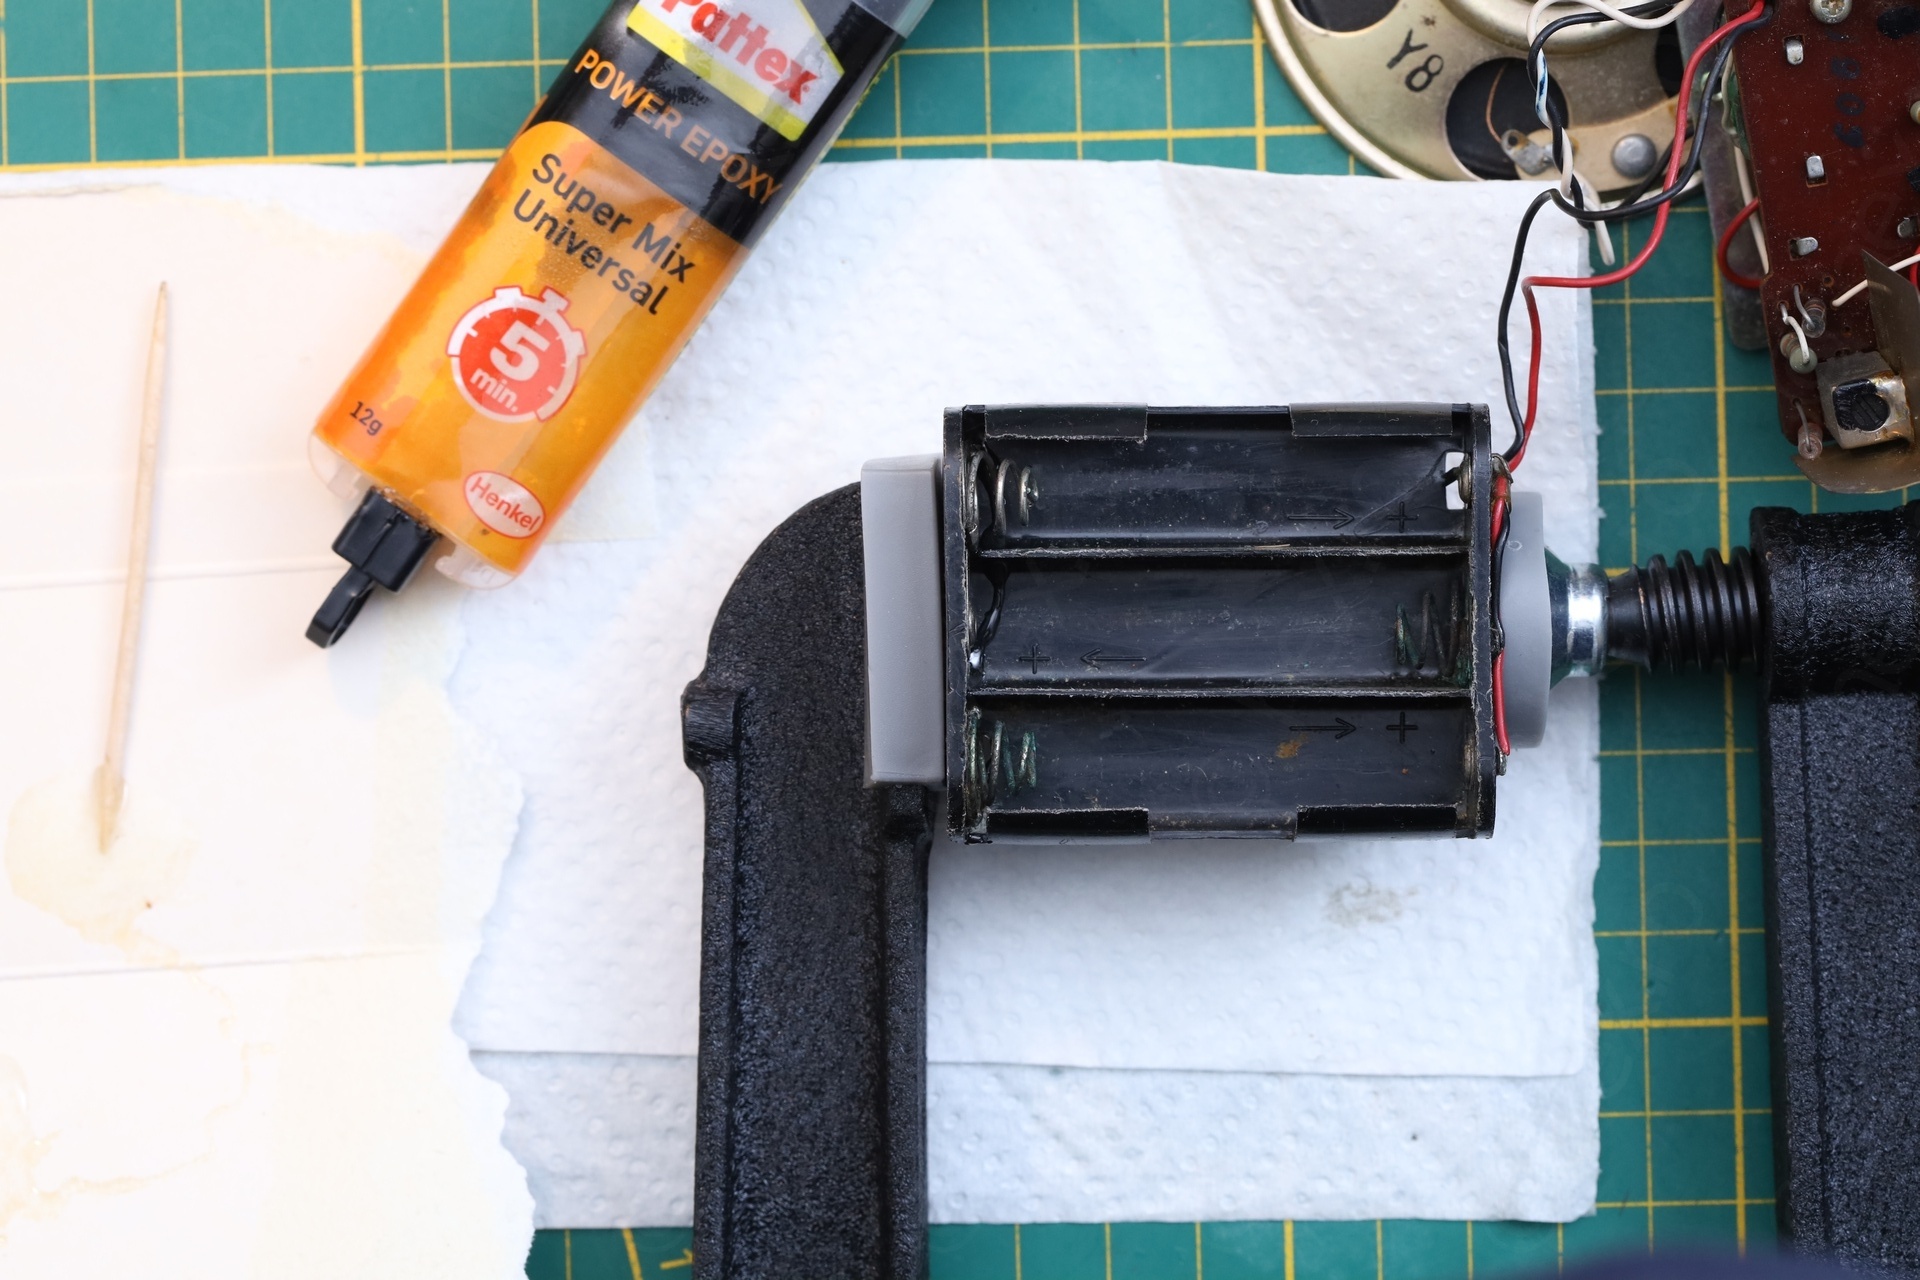
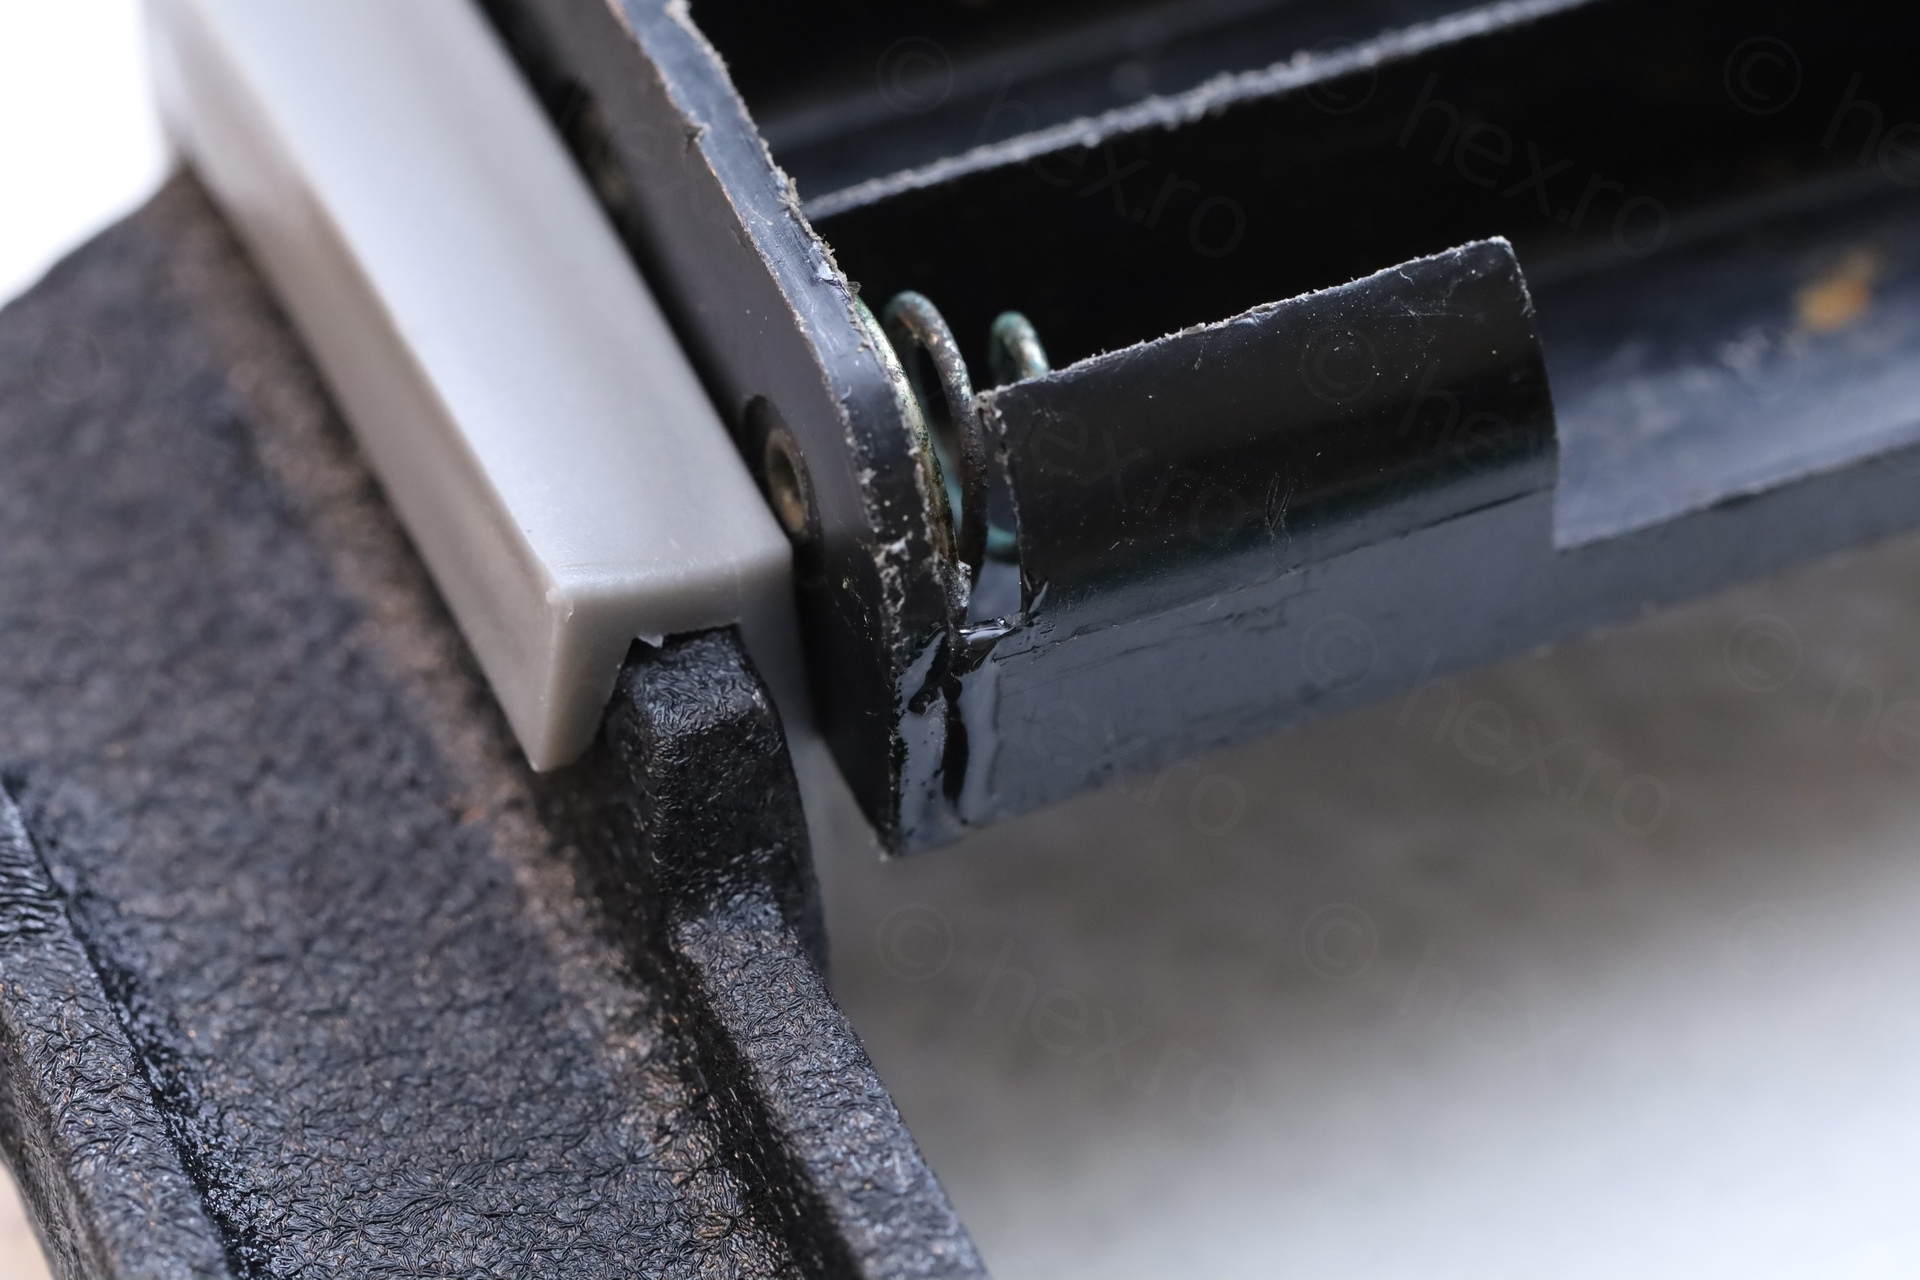
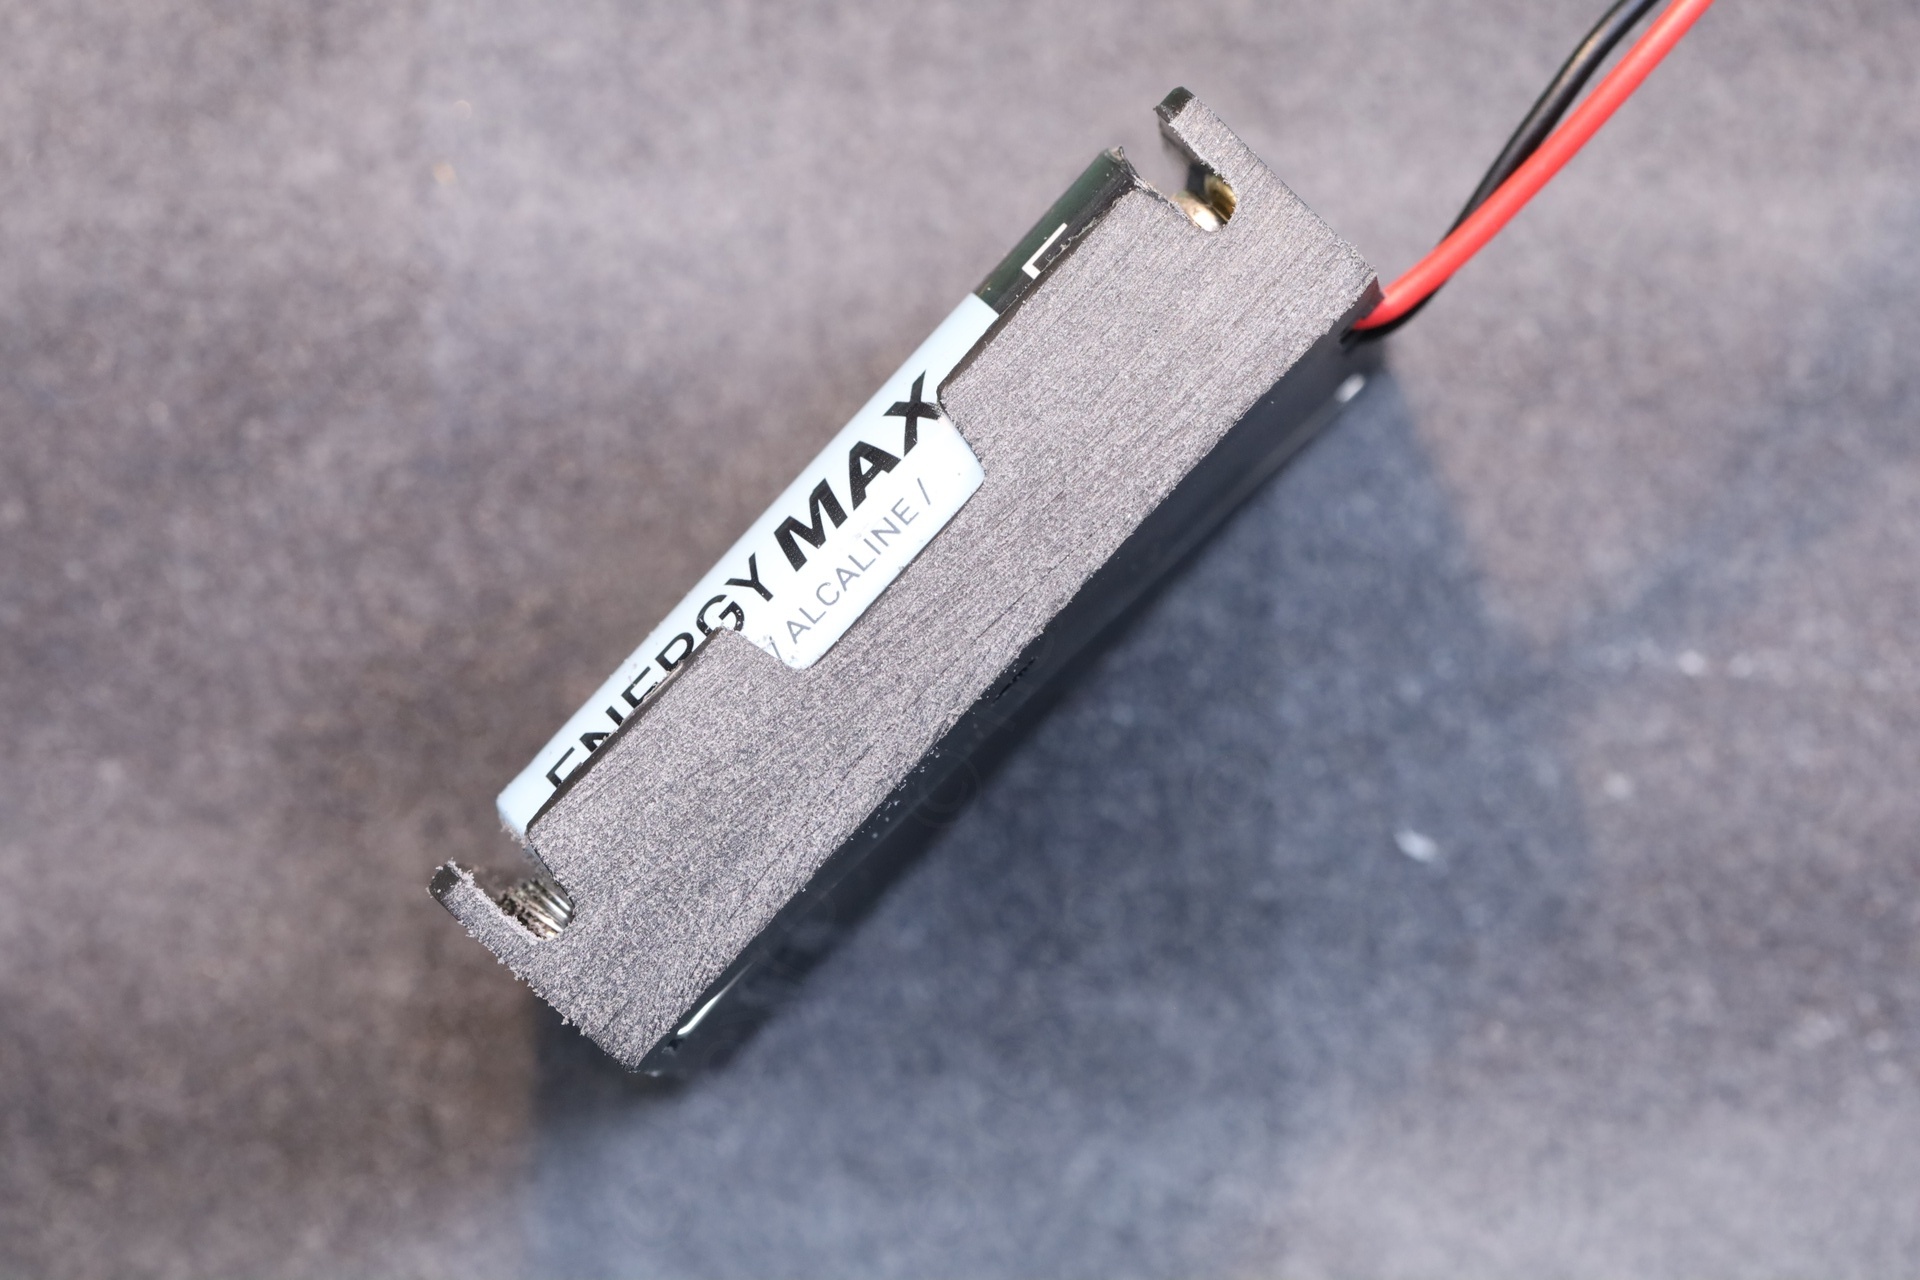
Installing a new holder proved difficult, as the ones I had were larger than the slot where they would have to fit inside the radio:
Time for some lengthily sanding of the new holder:

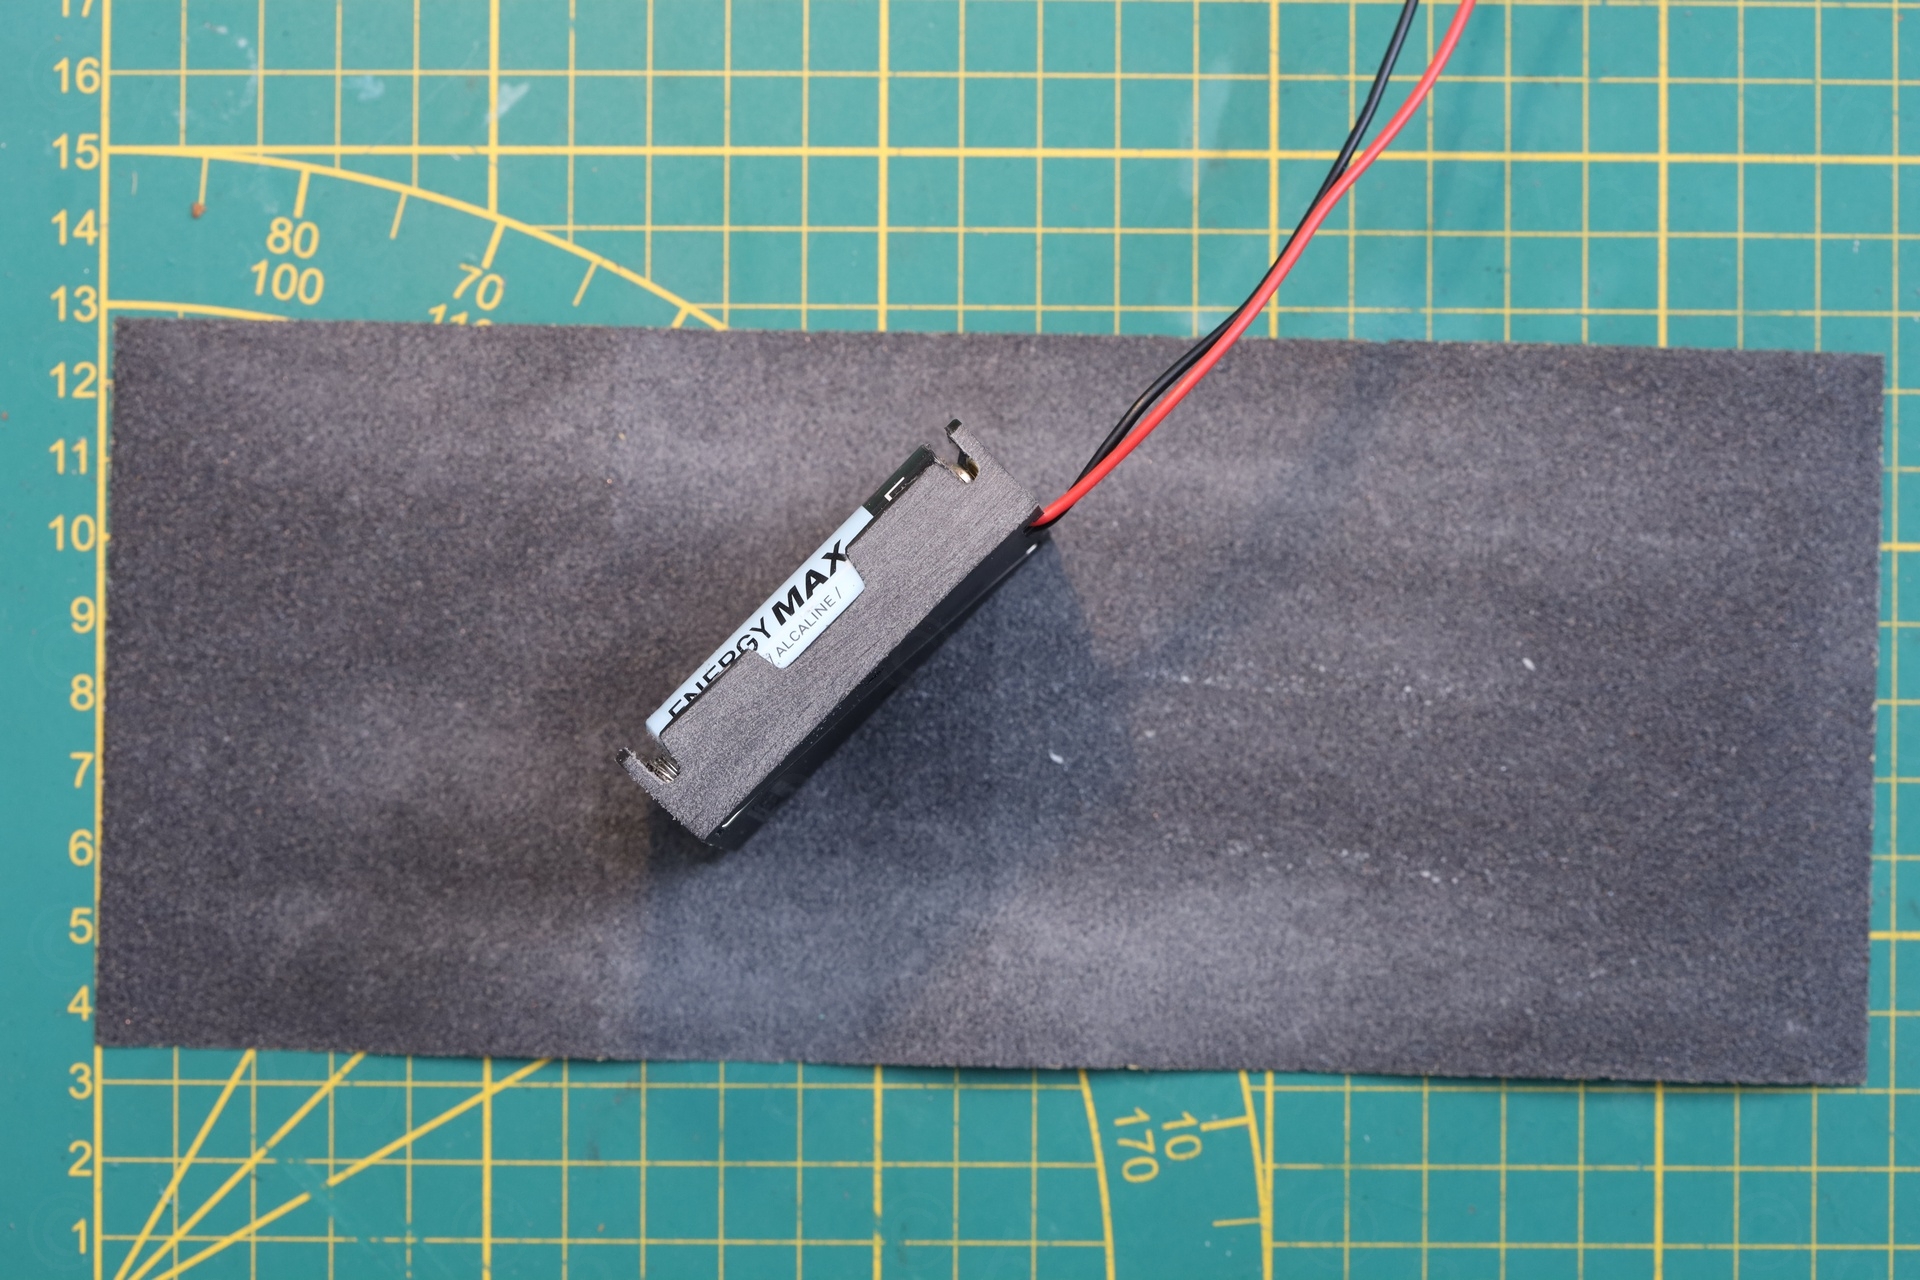
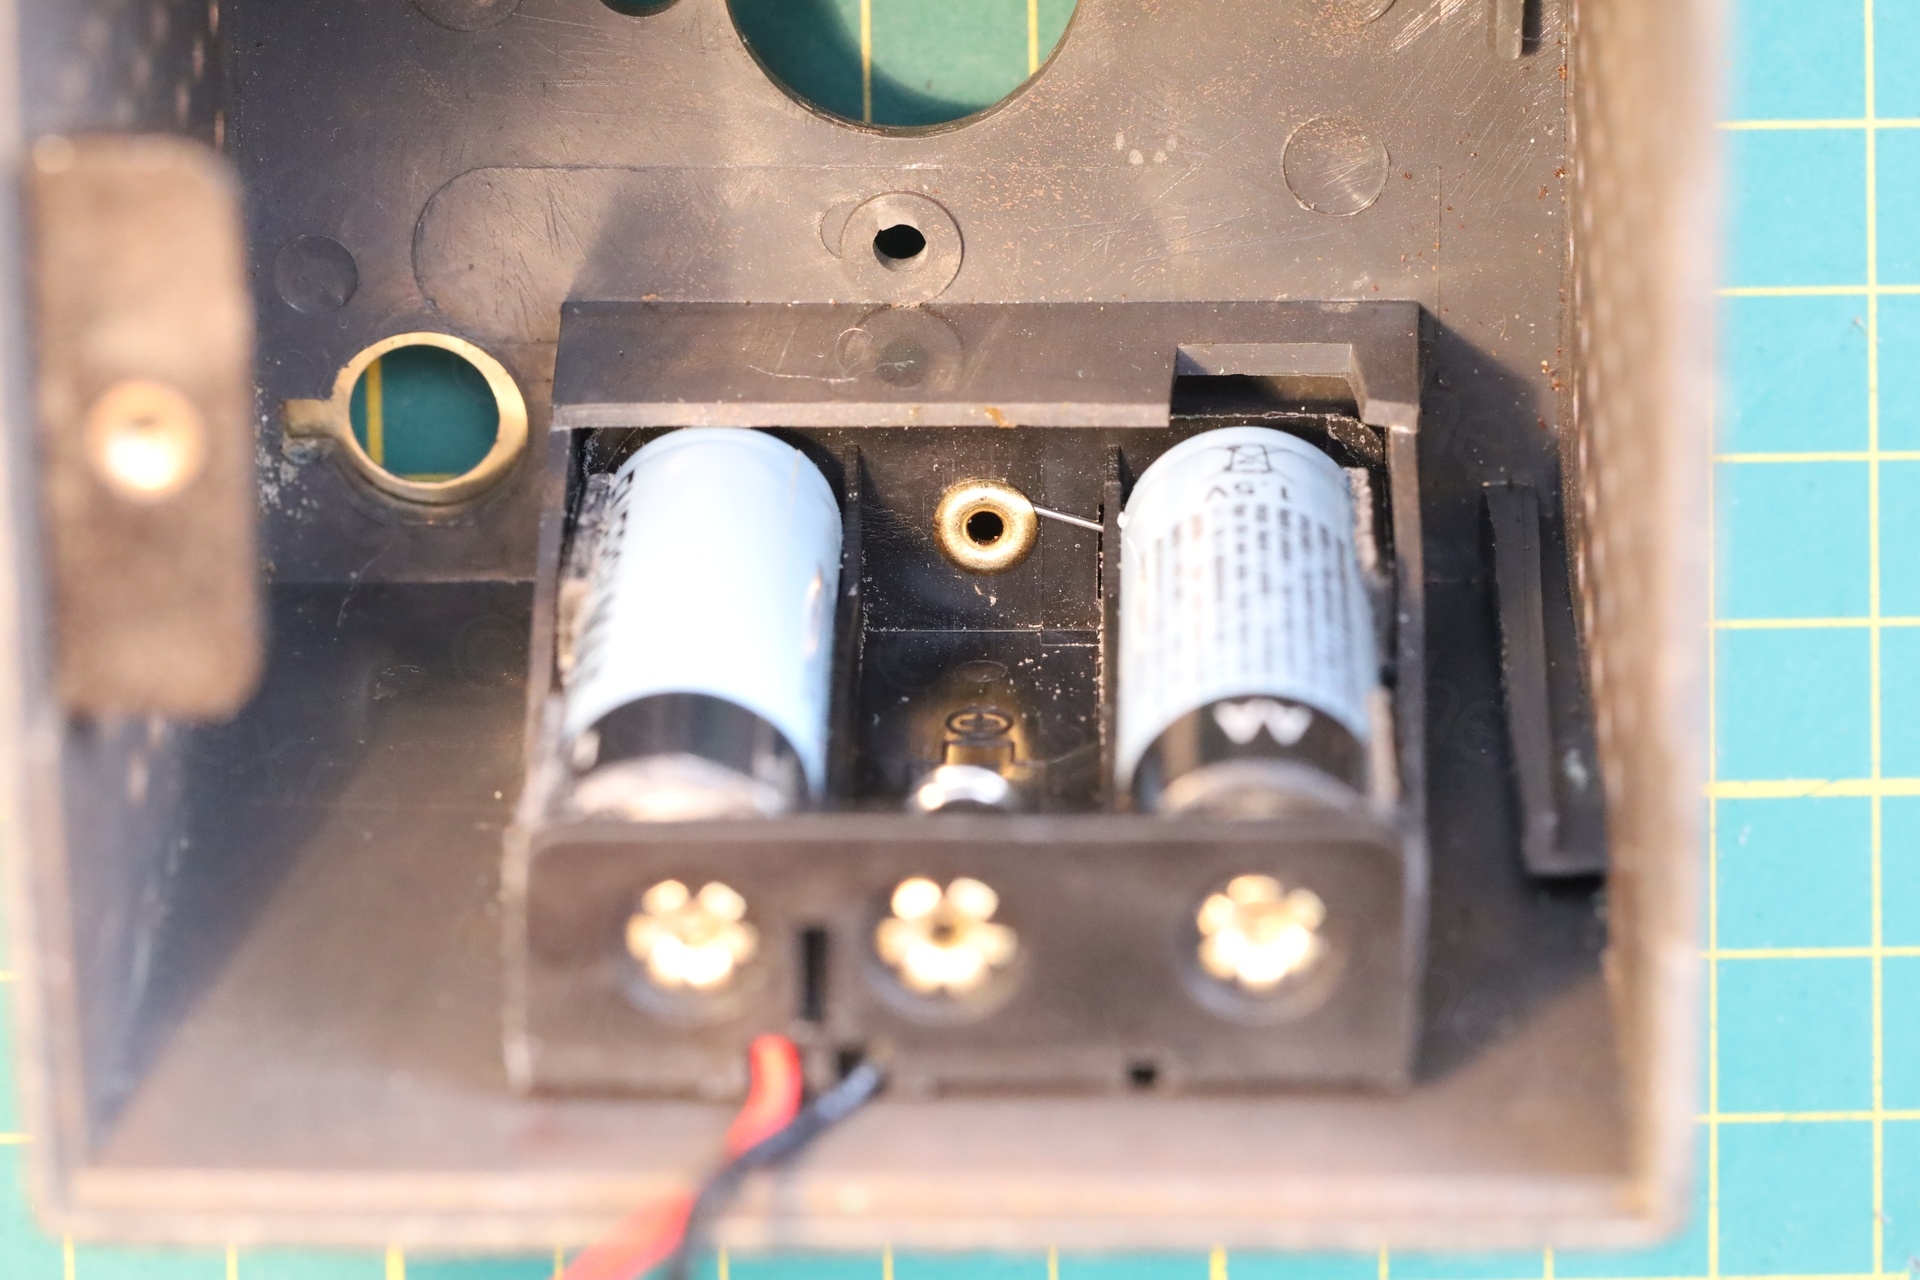
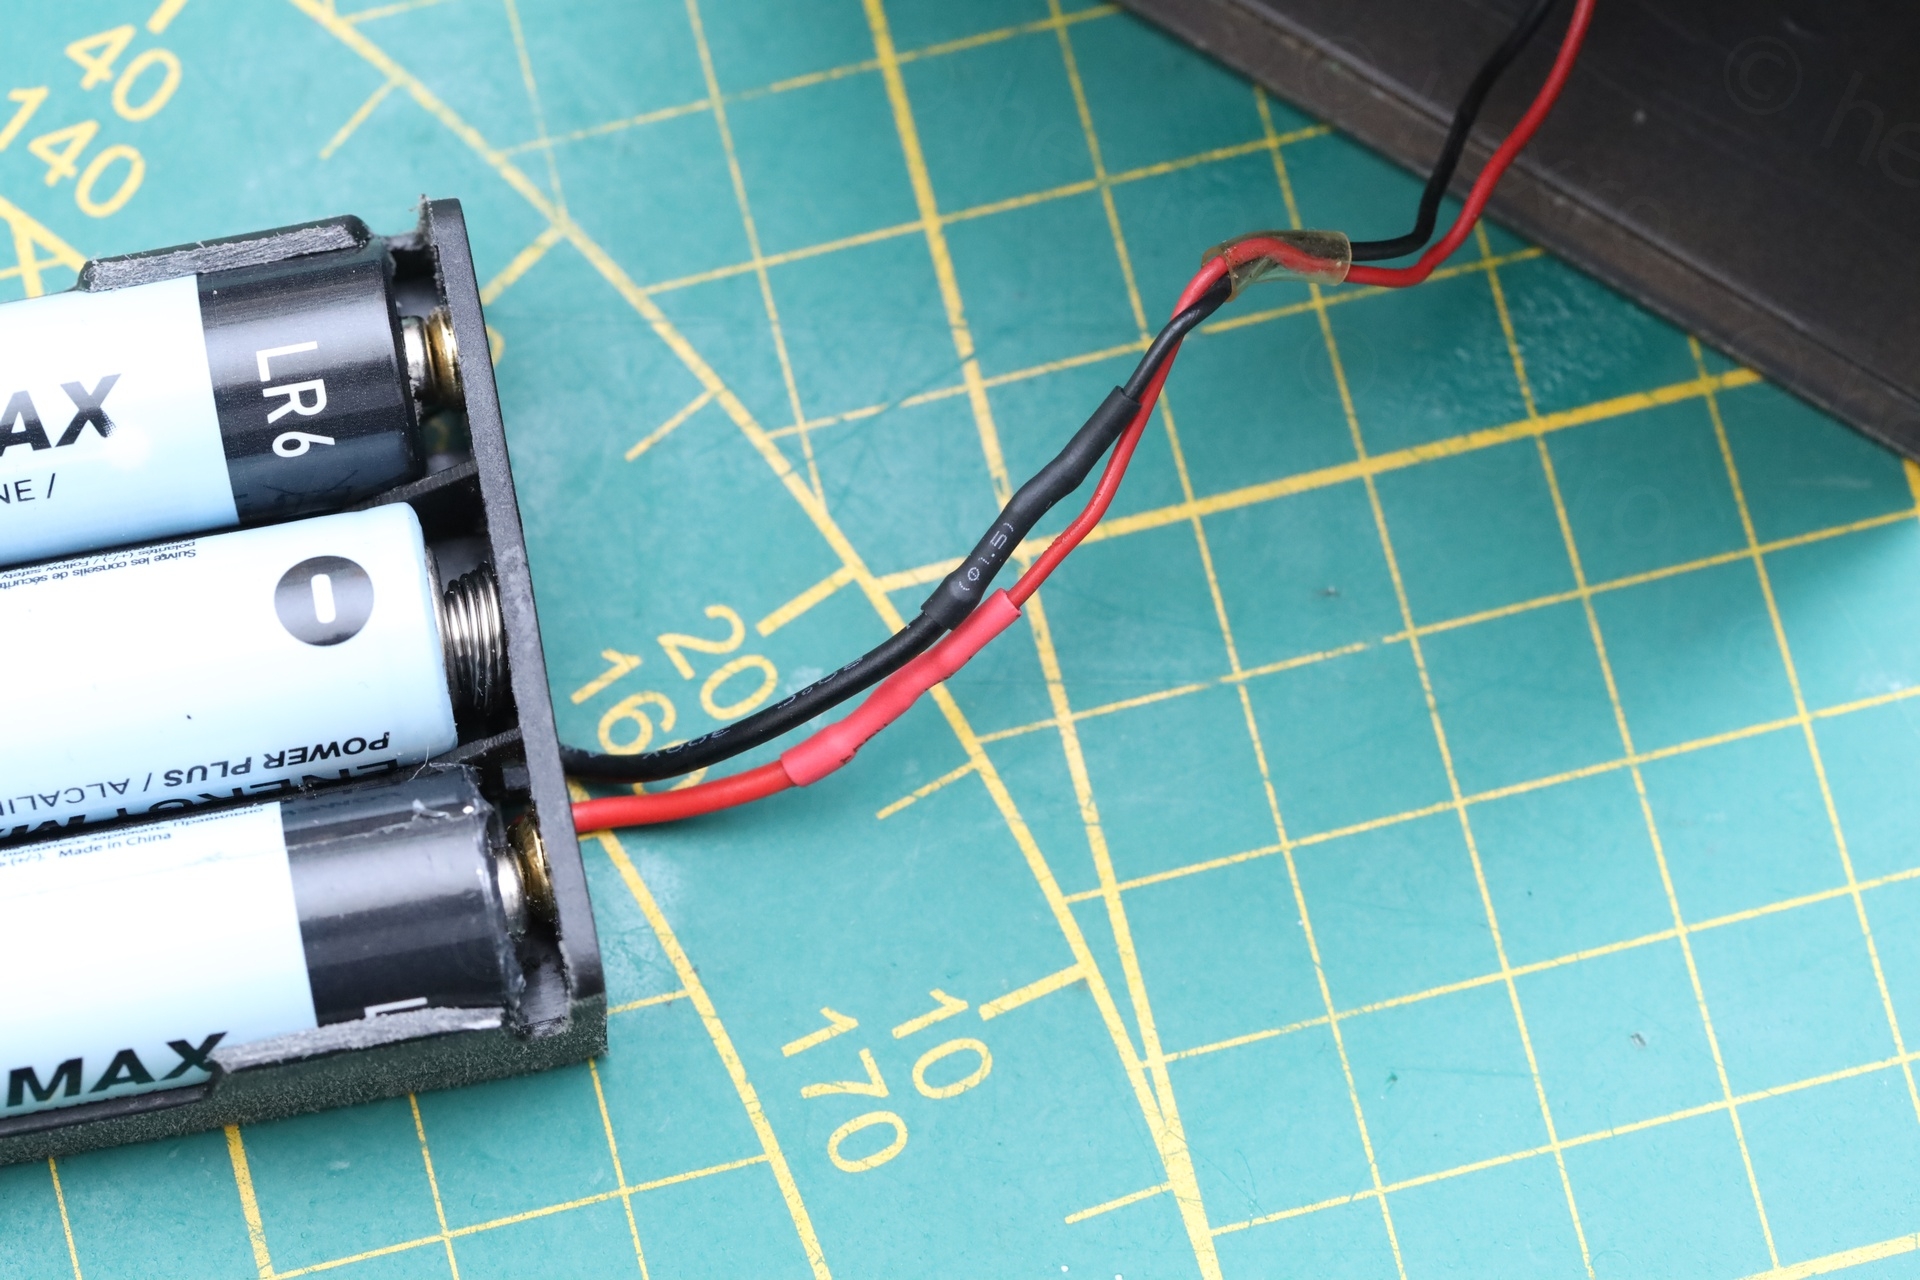
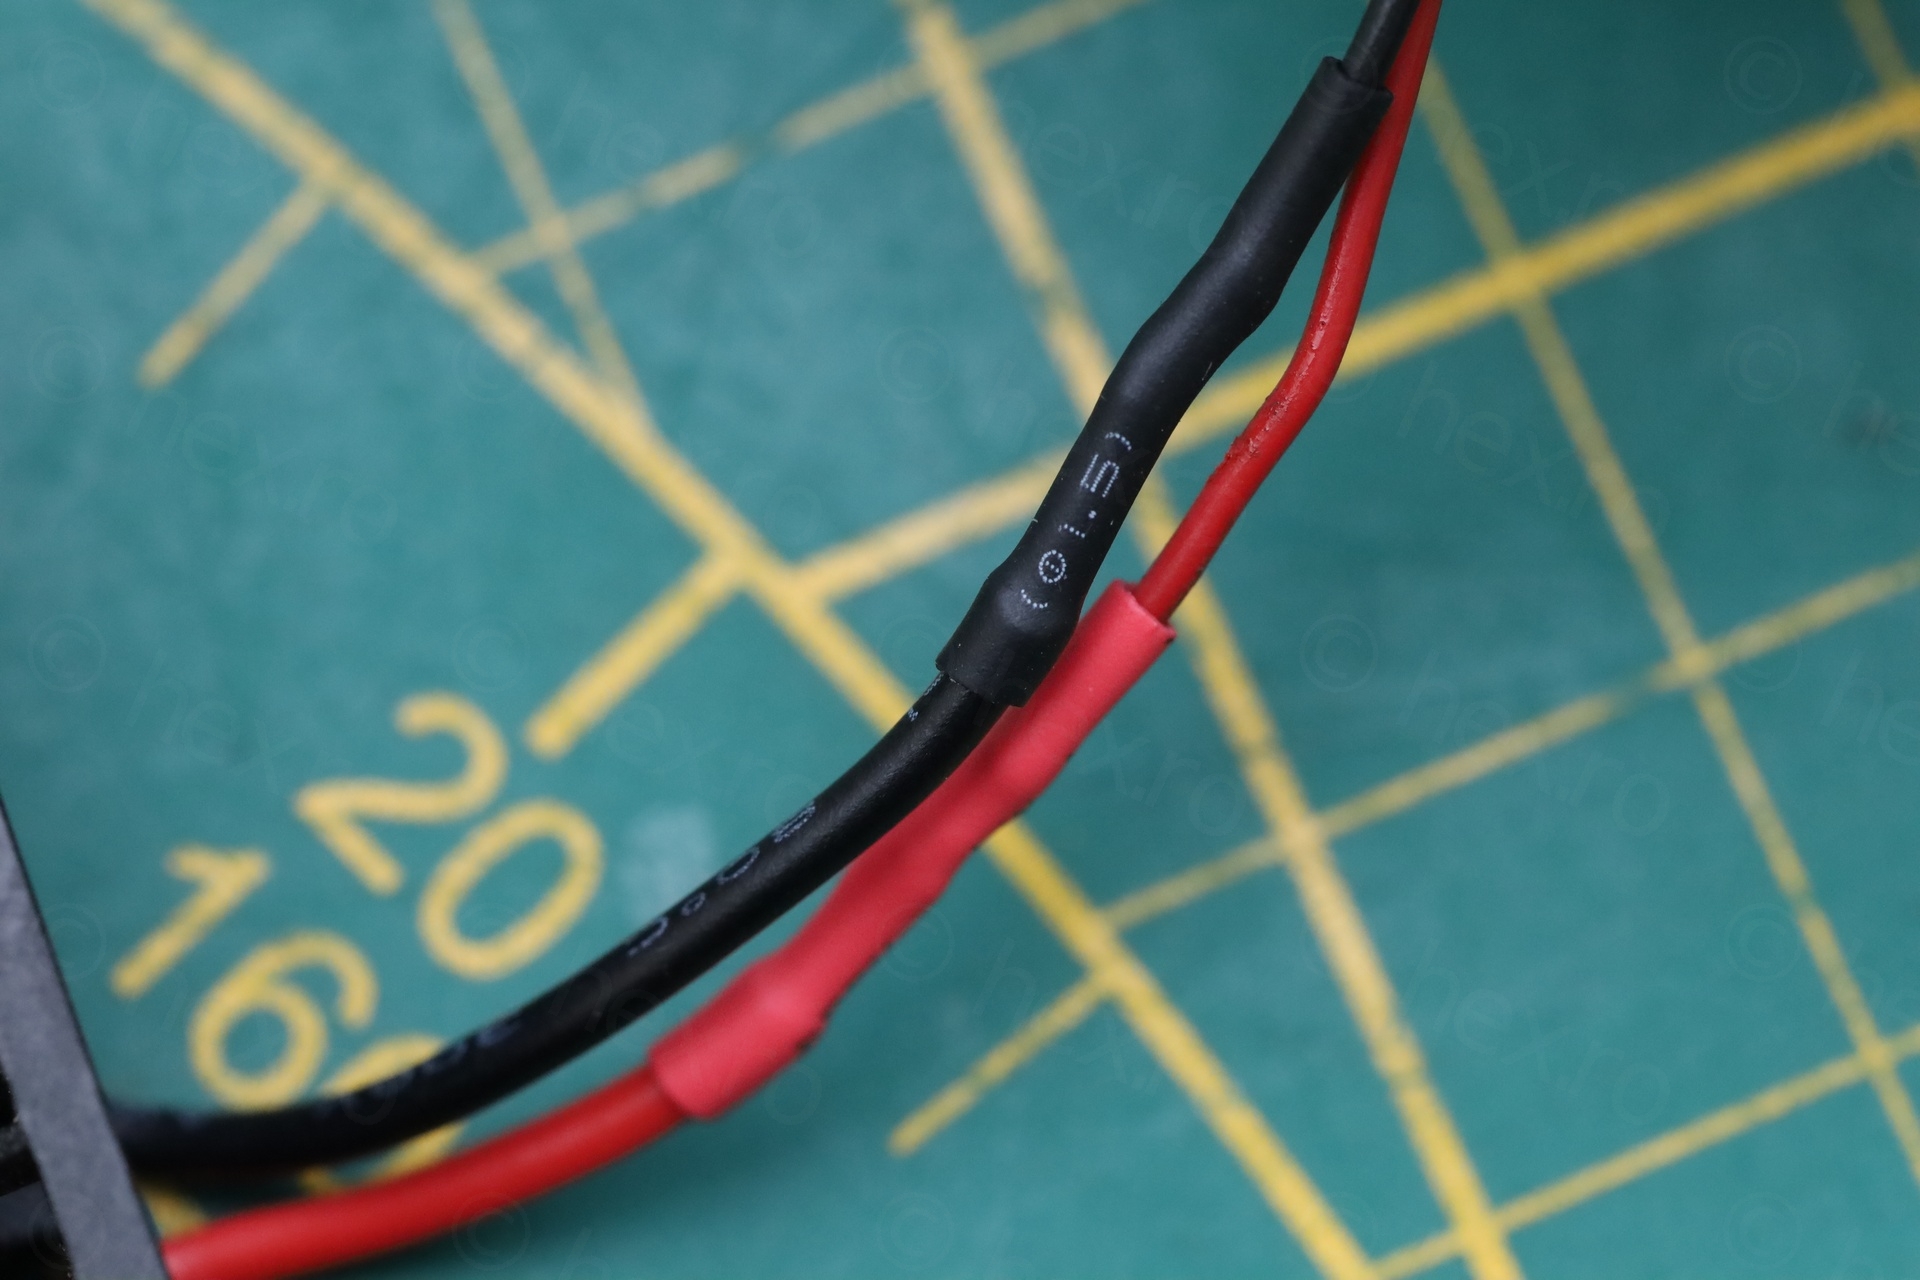
Since I didn’t want to touch the wires on the circuit board, I shortened the new battery holder lead wires and soldered them to the old ones:
Cleanup
While the case was still empty, I decided to give it a good clean. Used wet wipes on the wood case and soapy water applied with a soft paint brush on the metal parts, paying attention not to scrub the lettering.
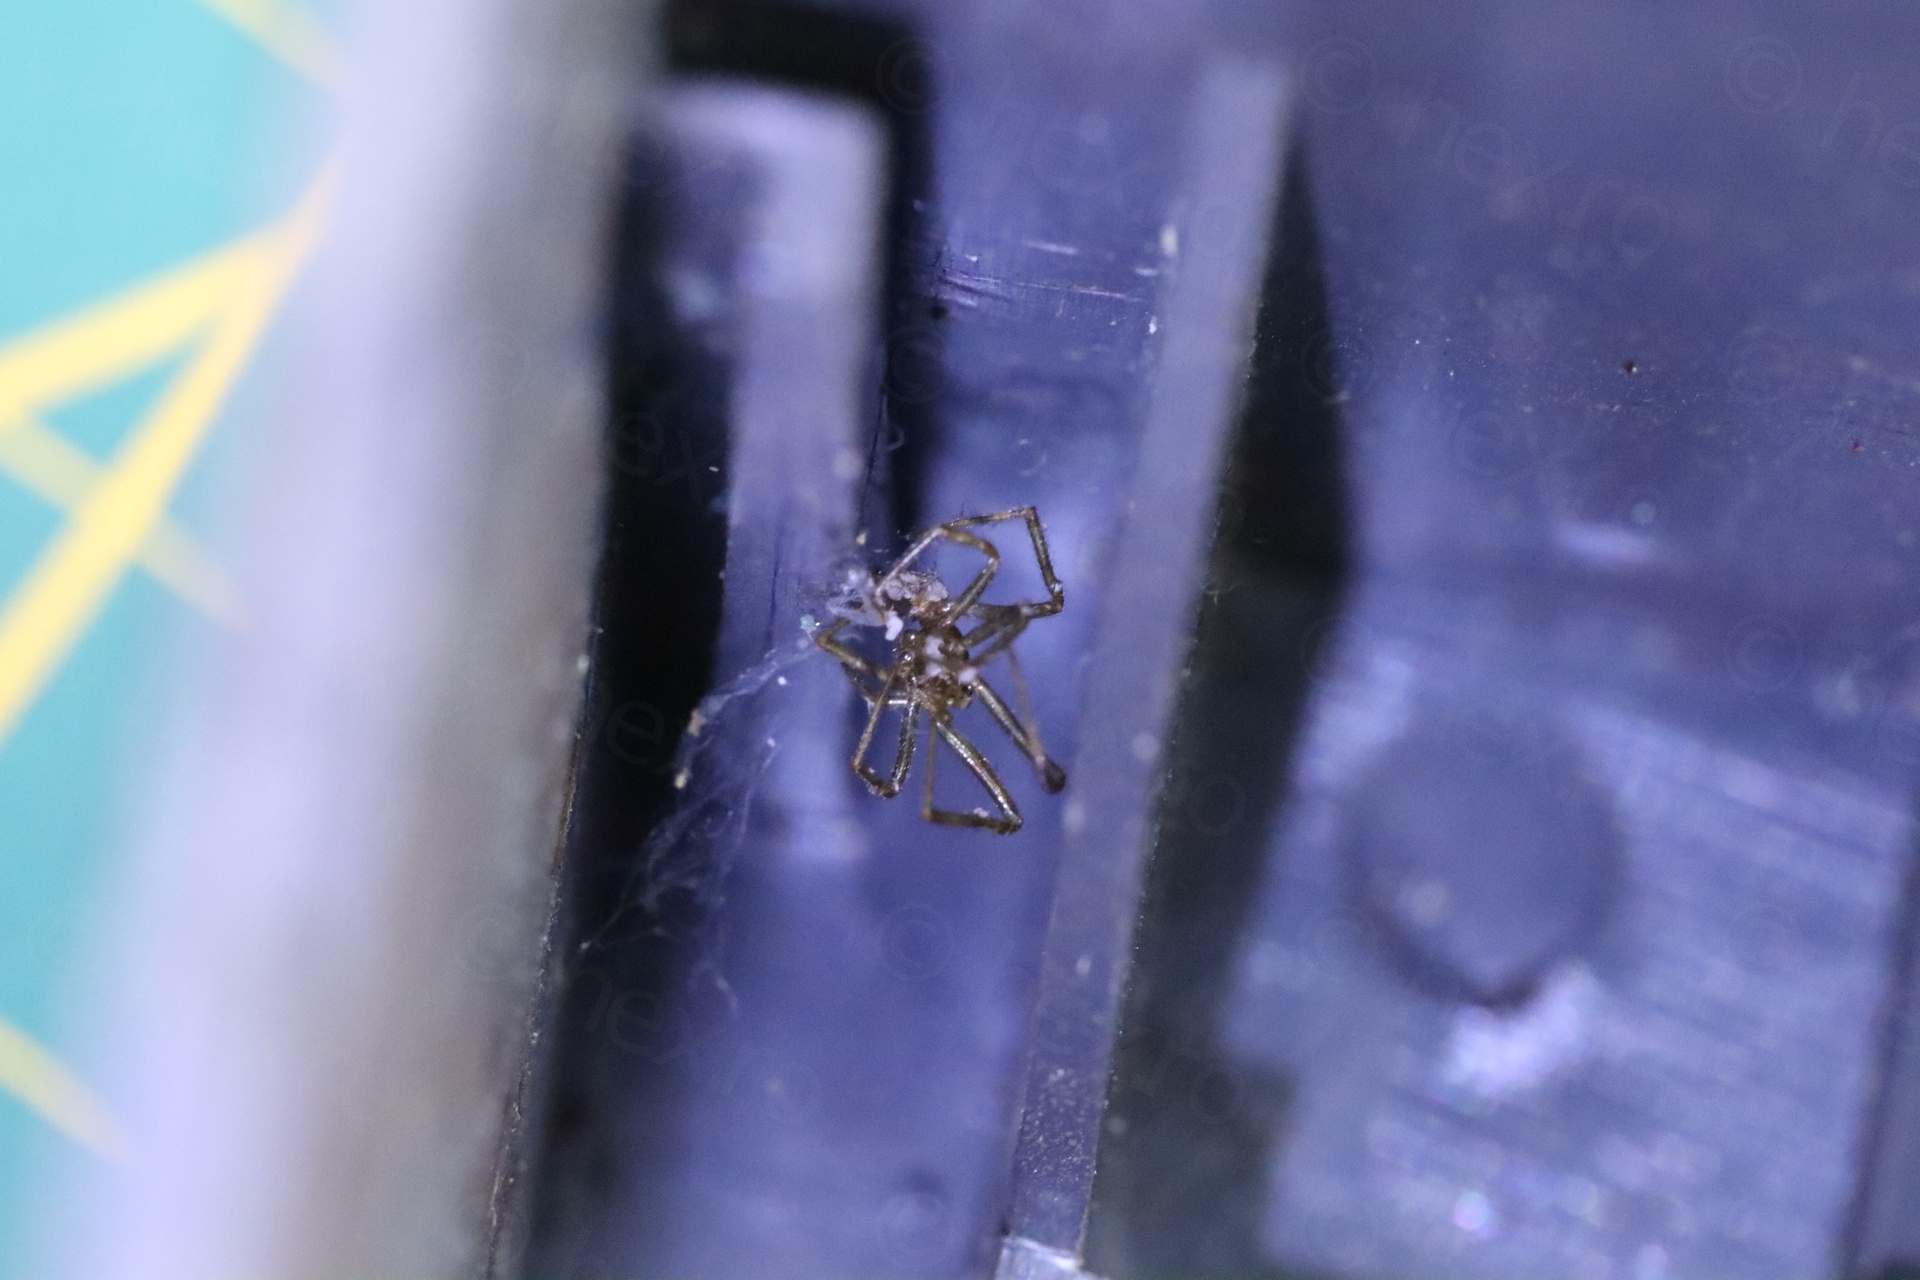
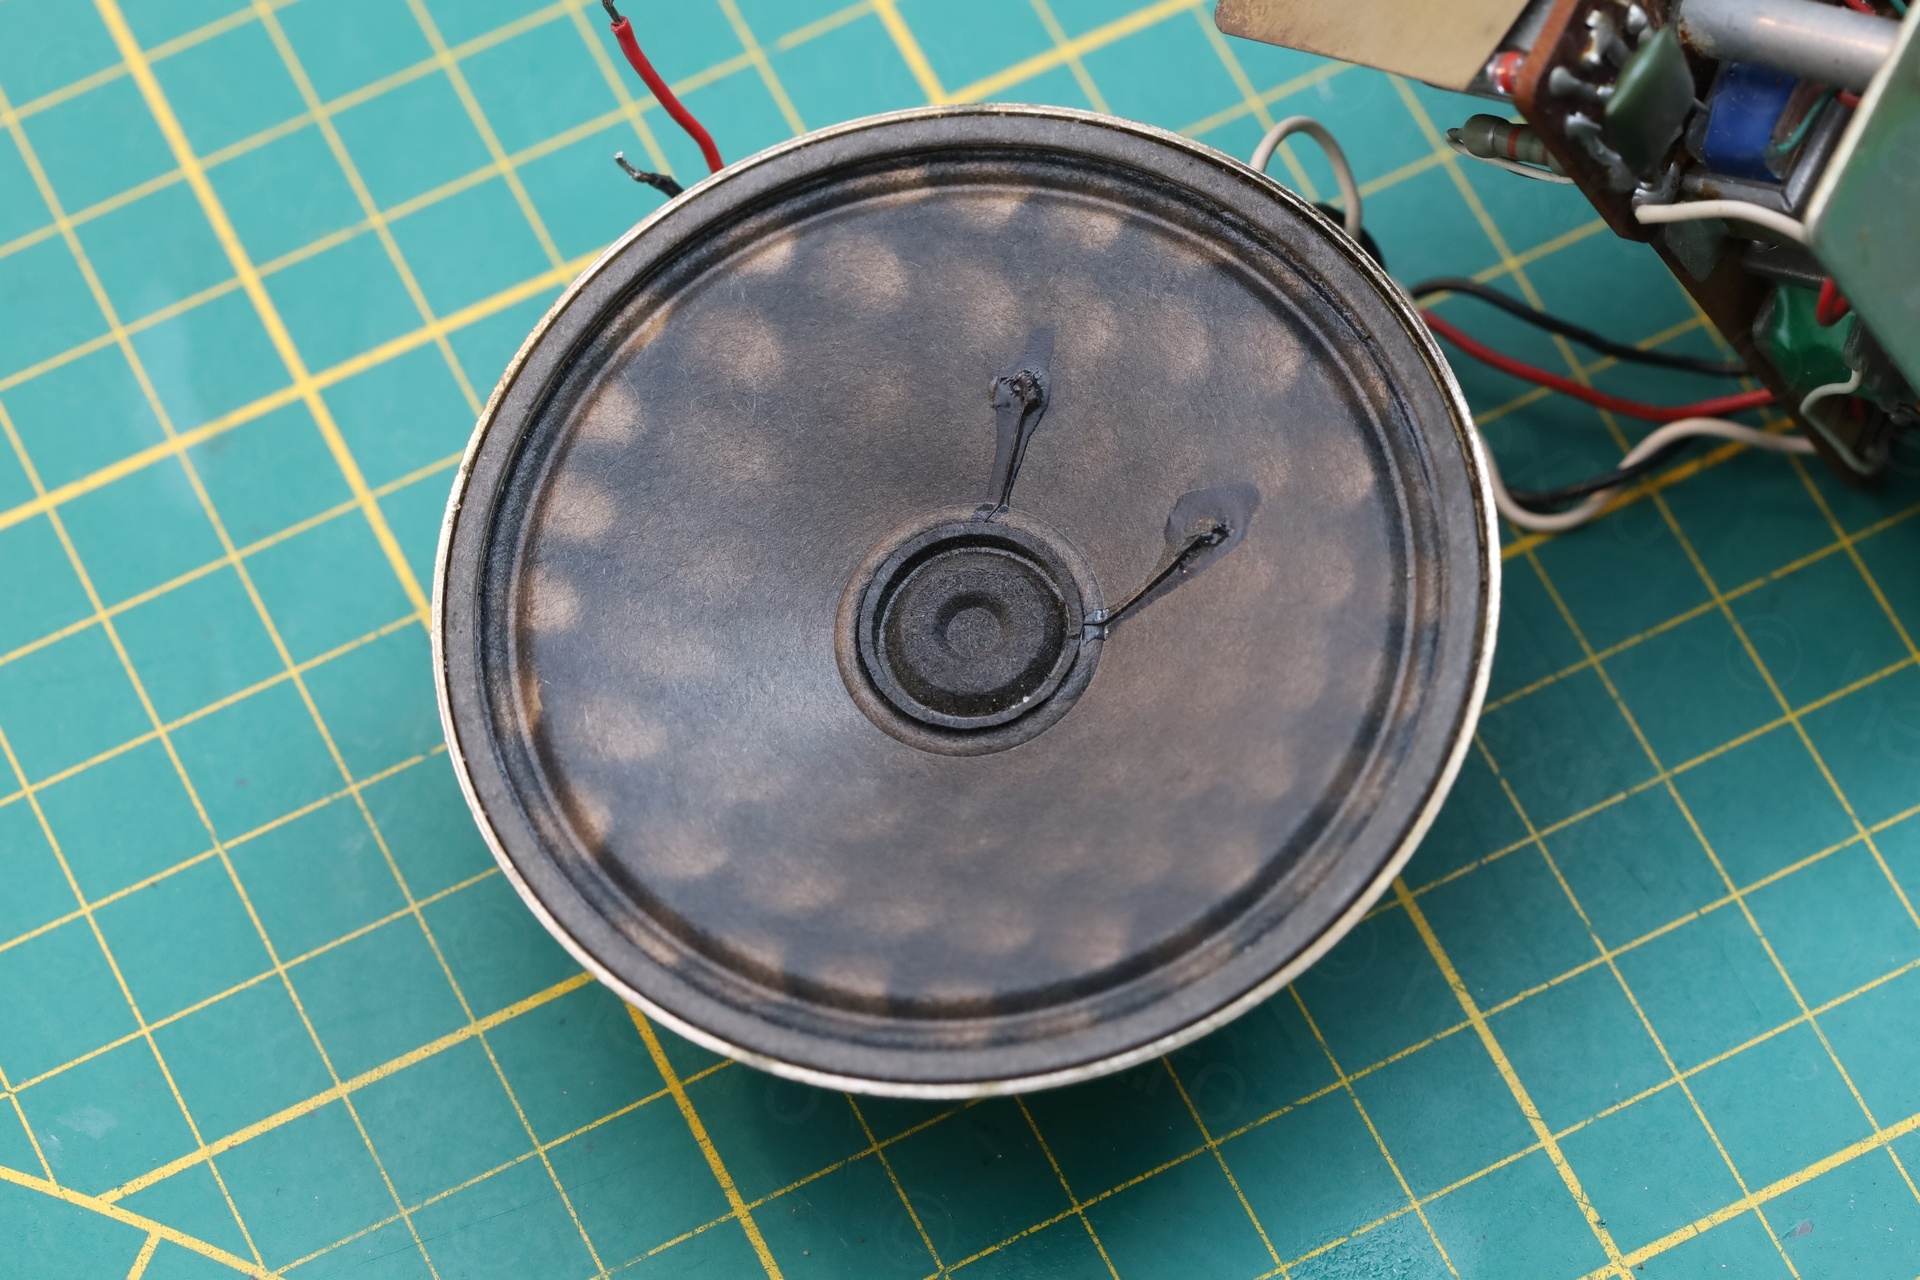
The poor speaker was checkered by the dust, but the dust would not come off when brushed.
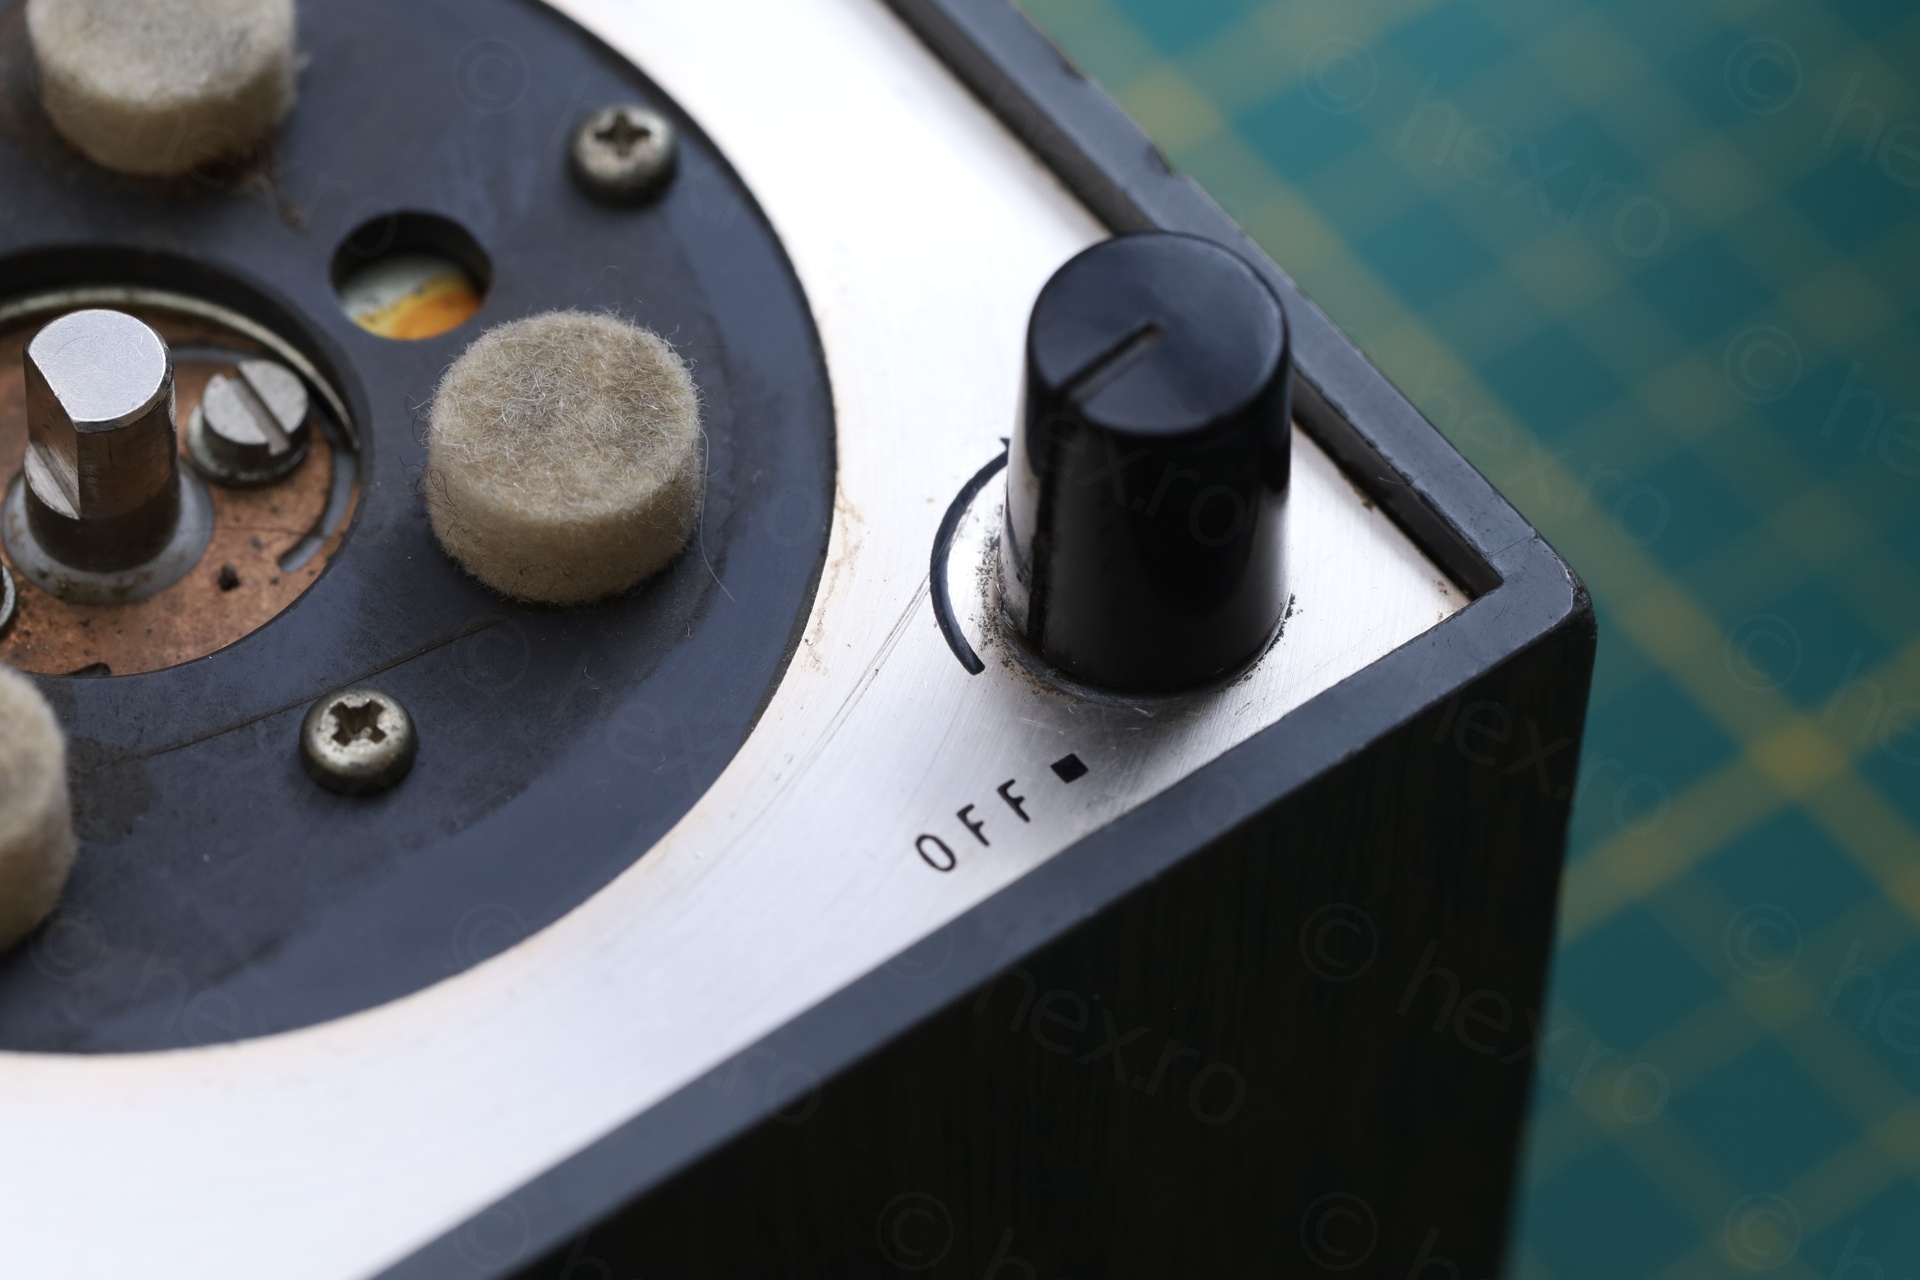
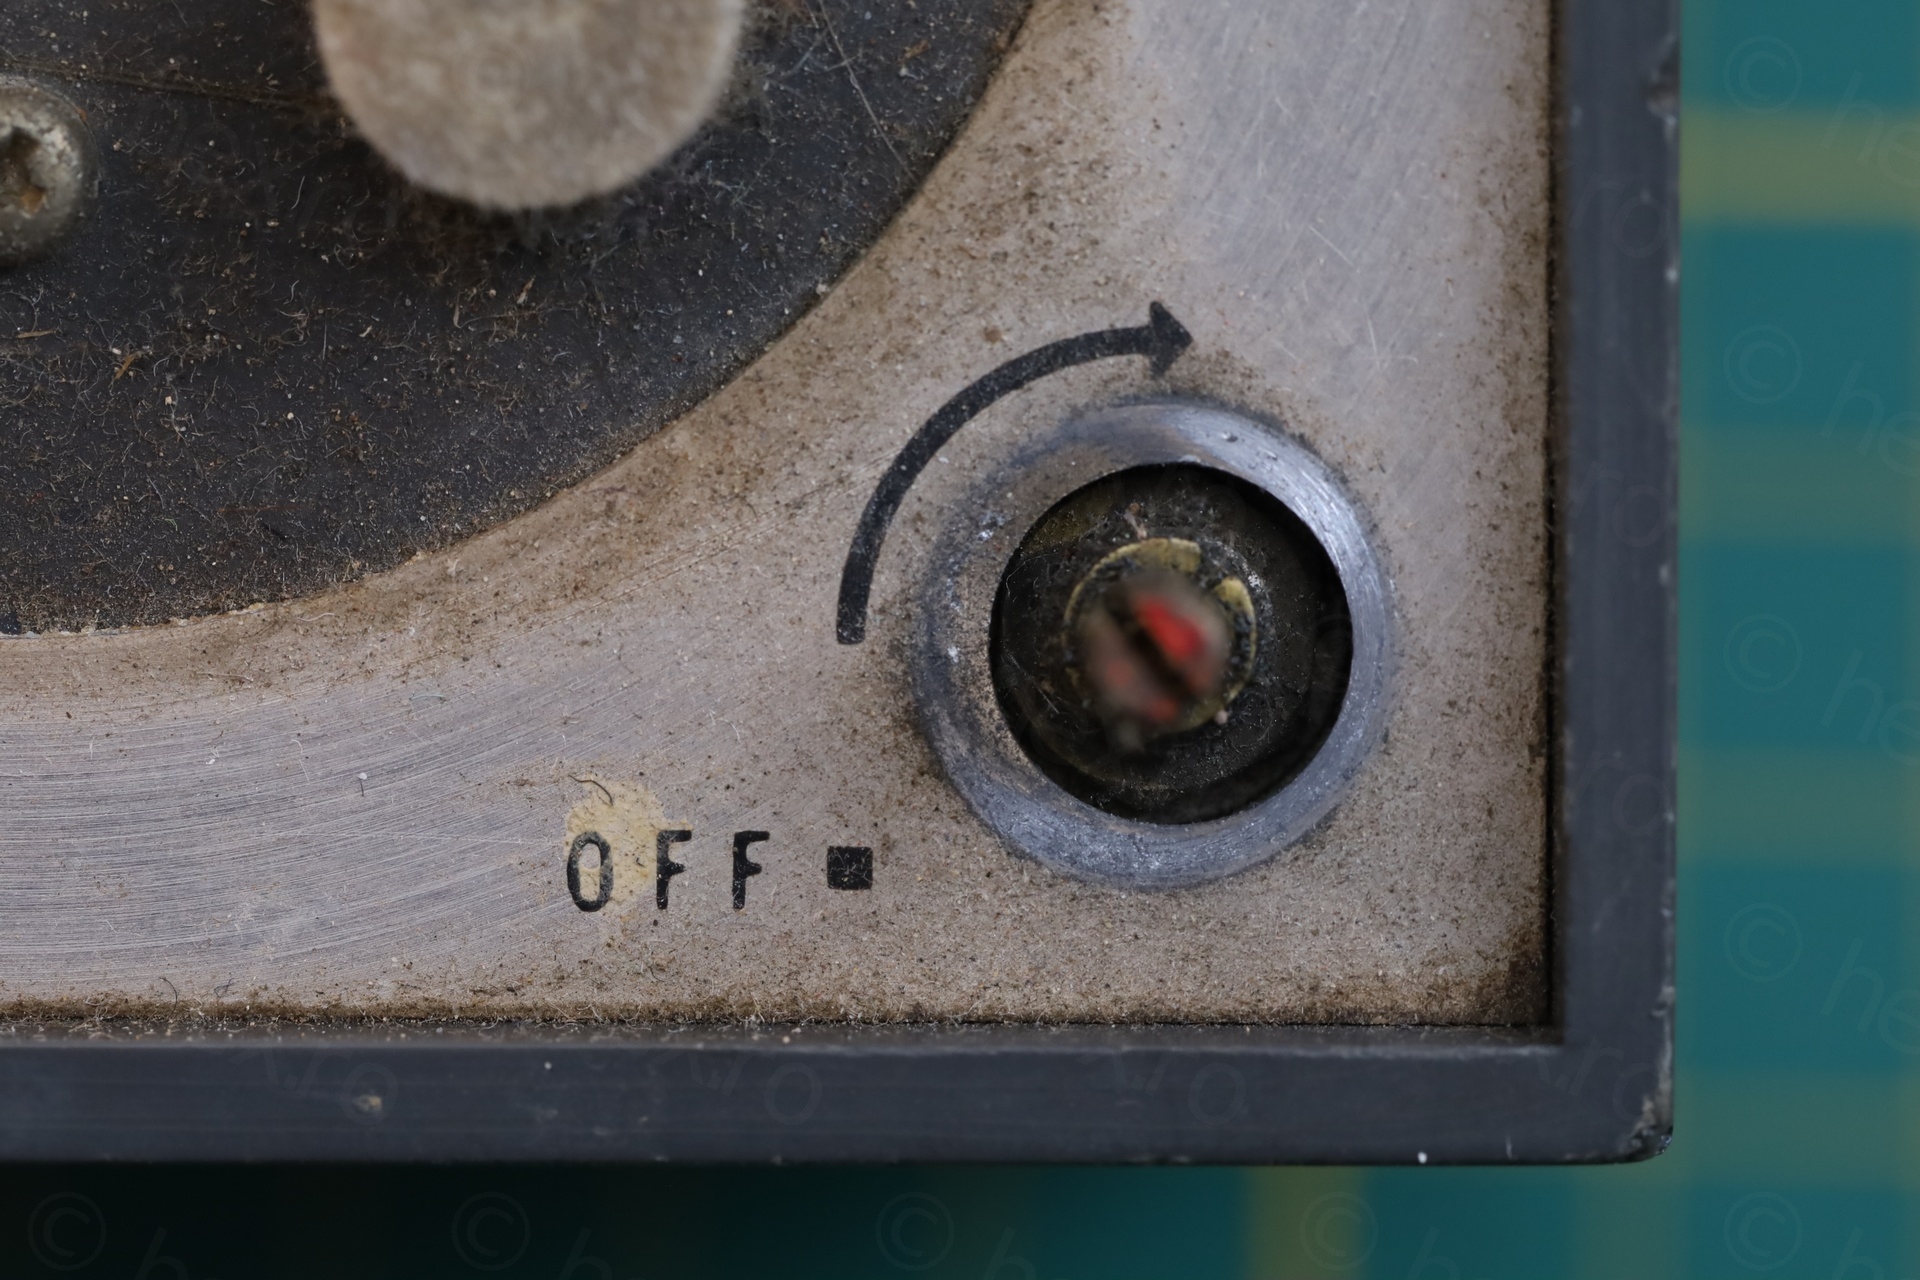
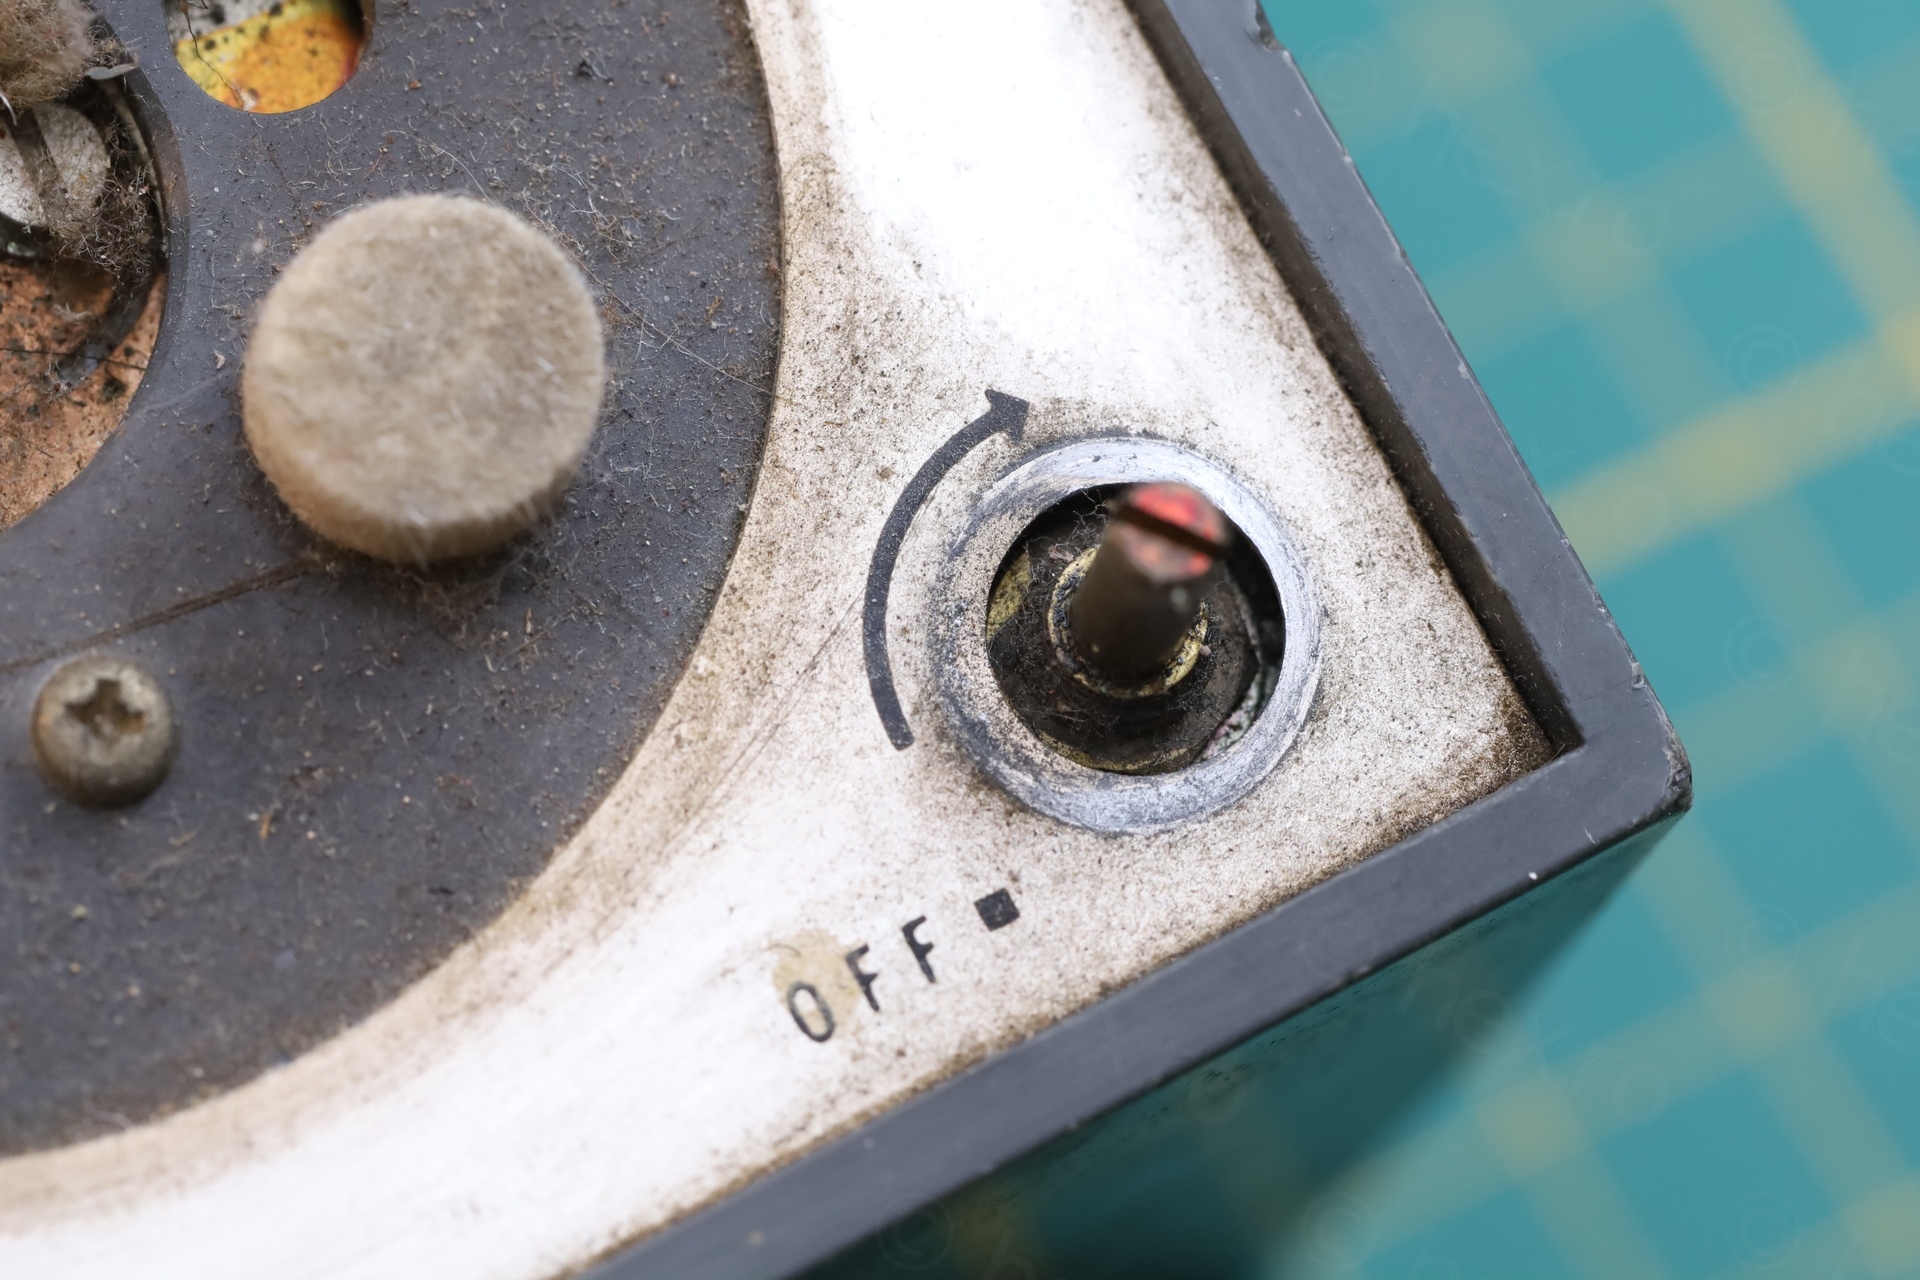
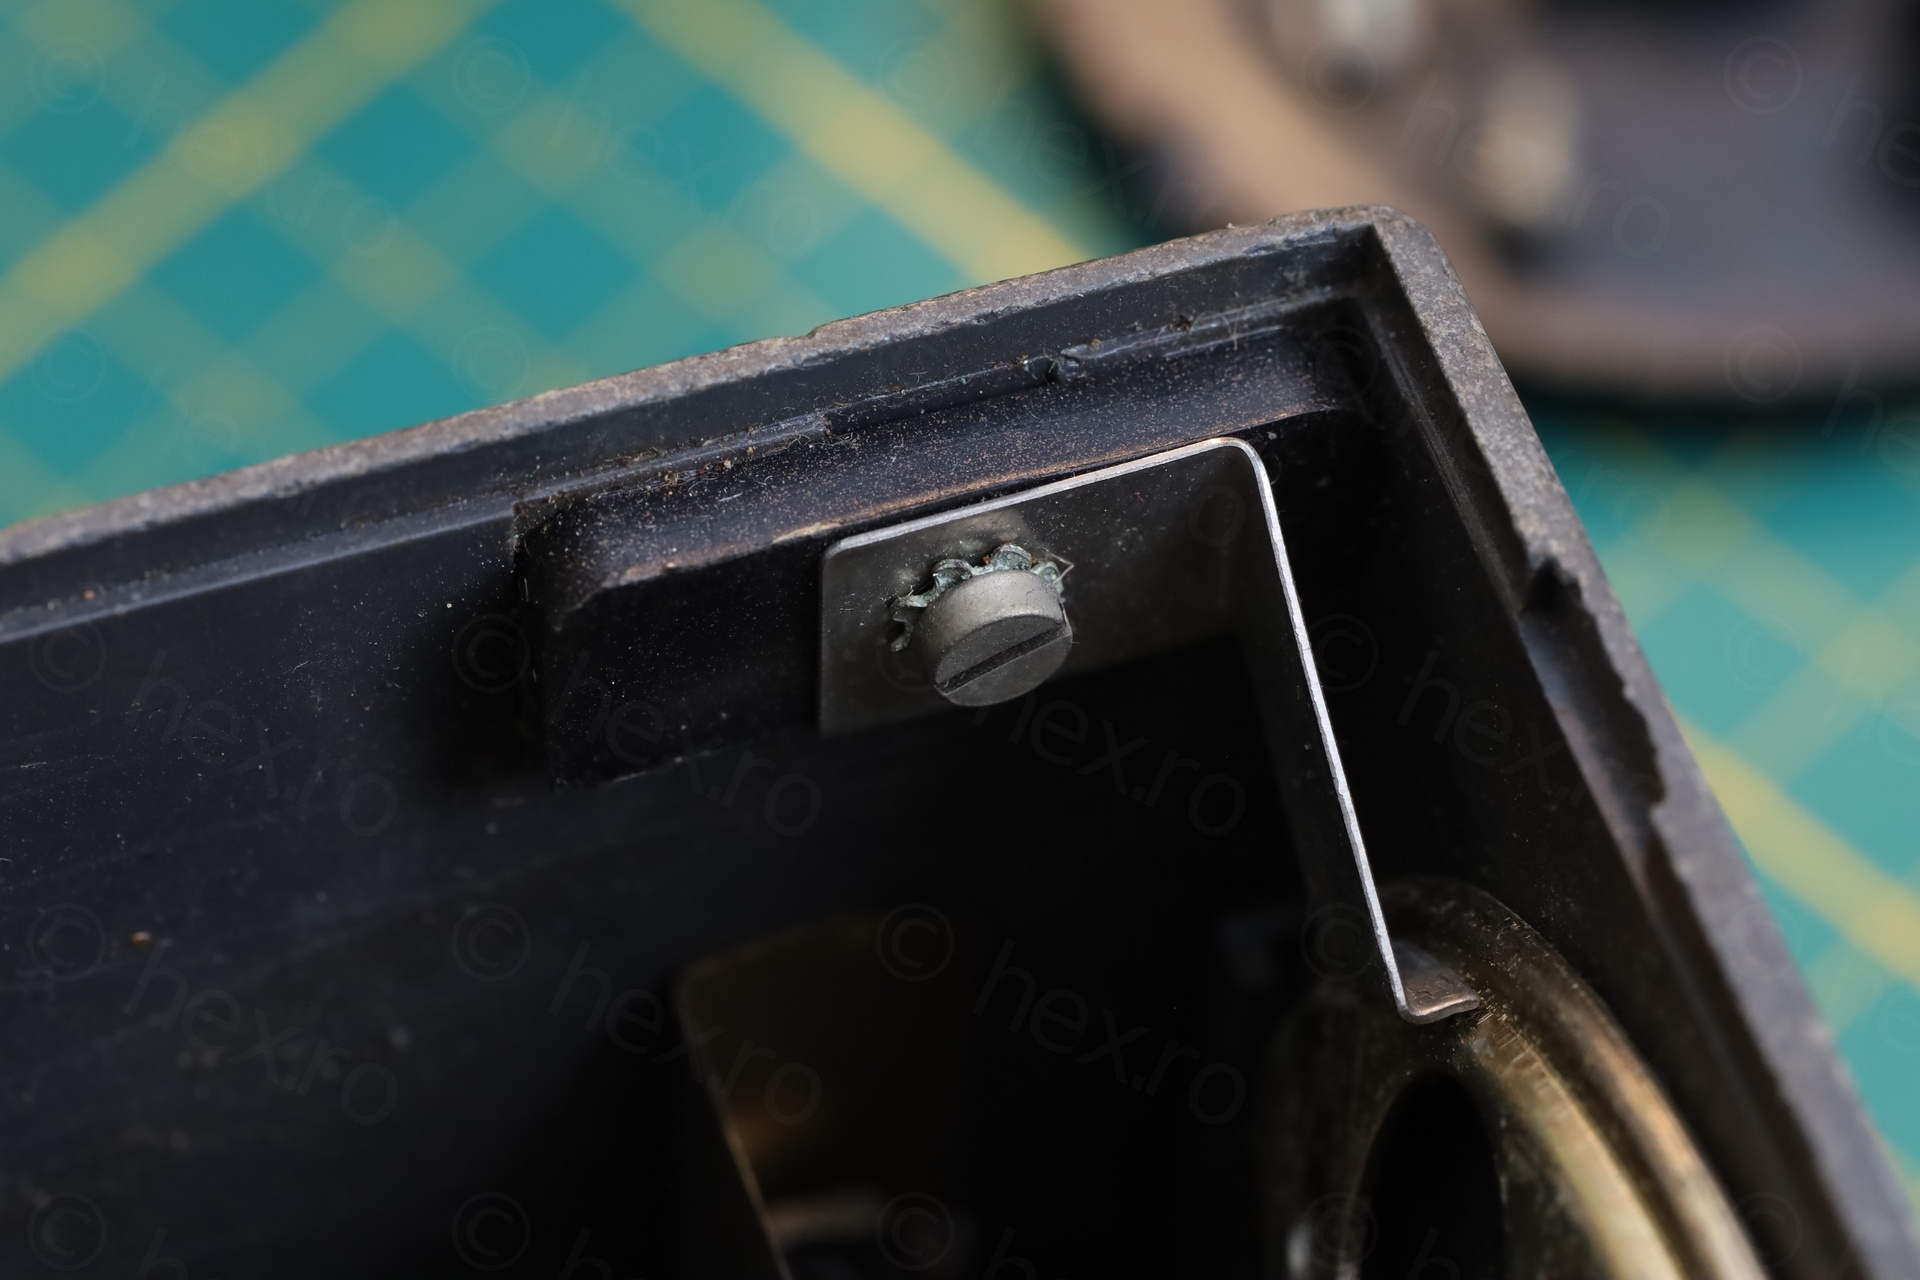
Thumb Screw Saga
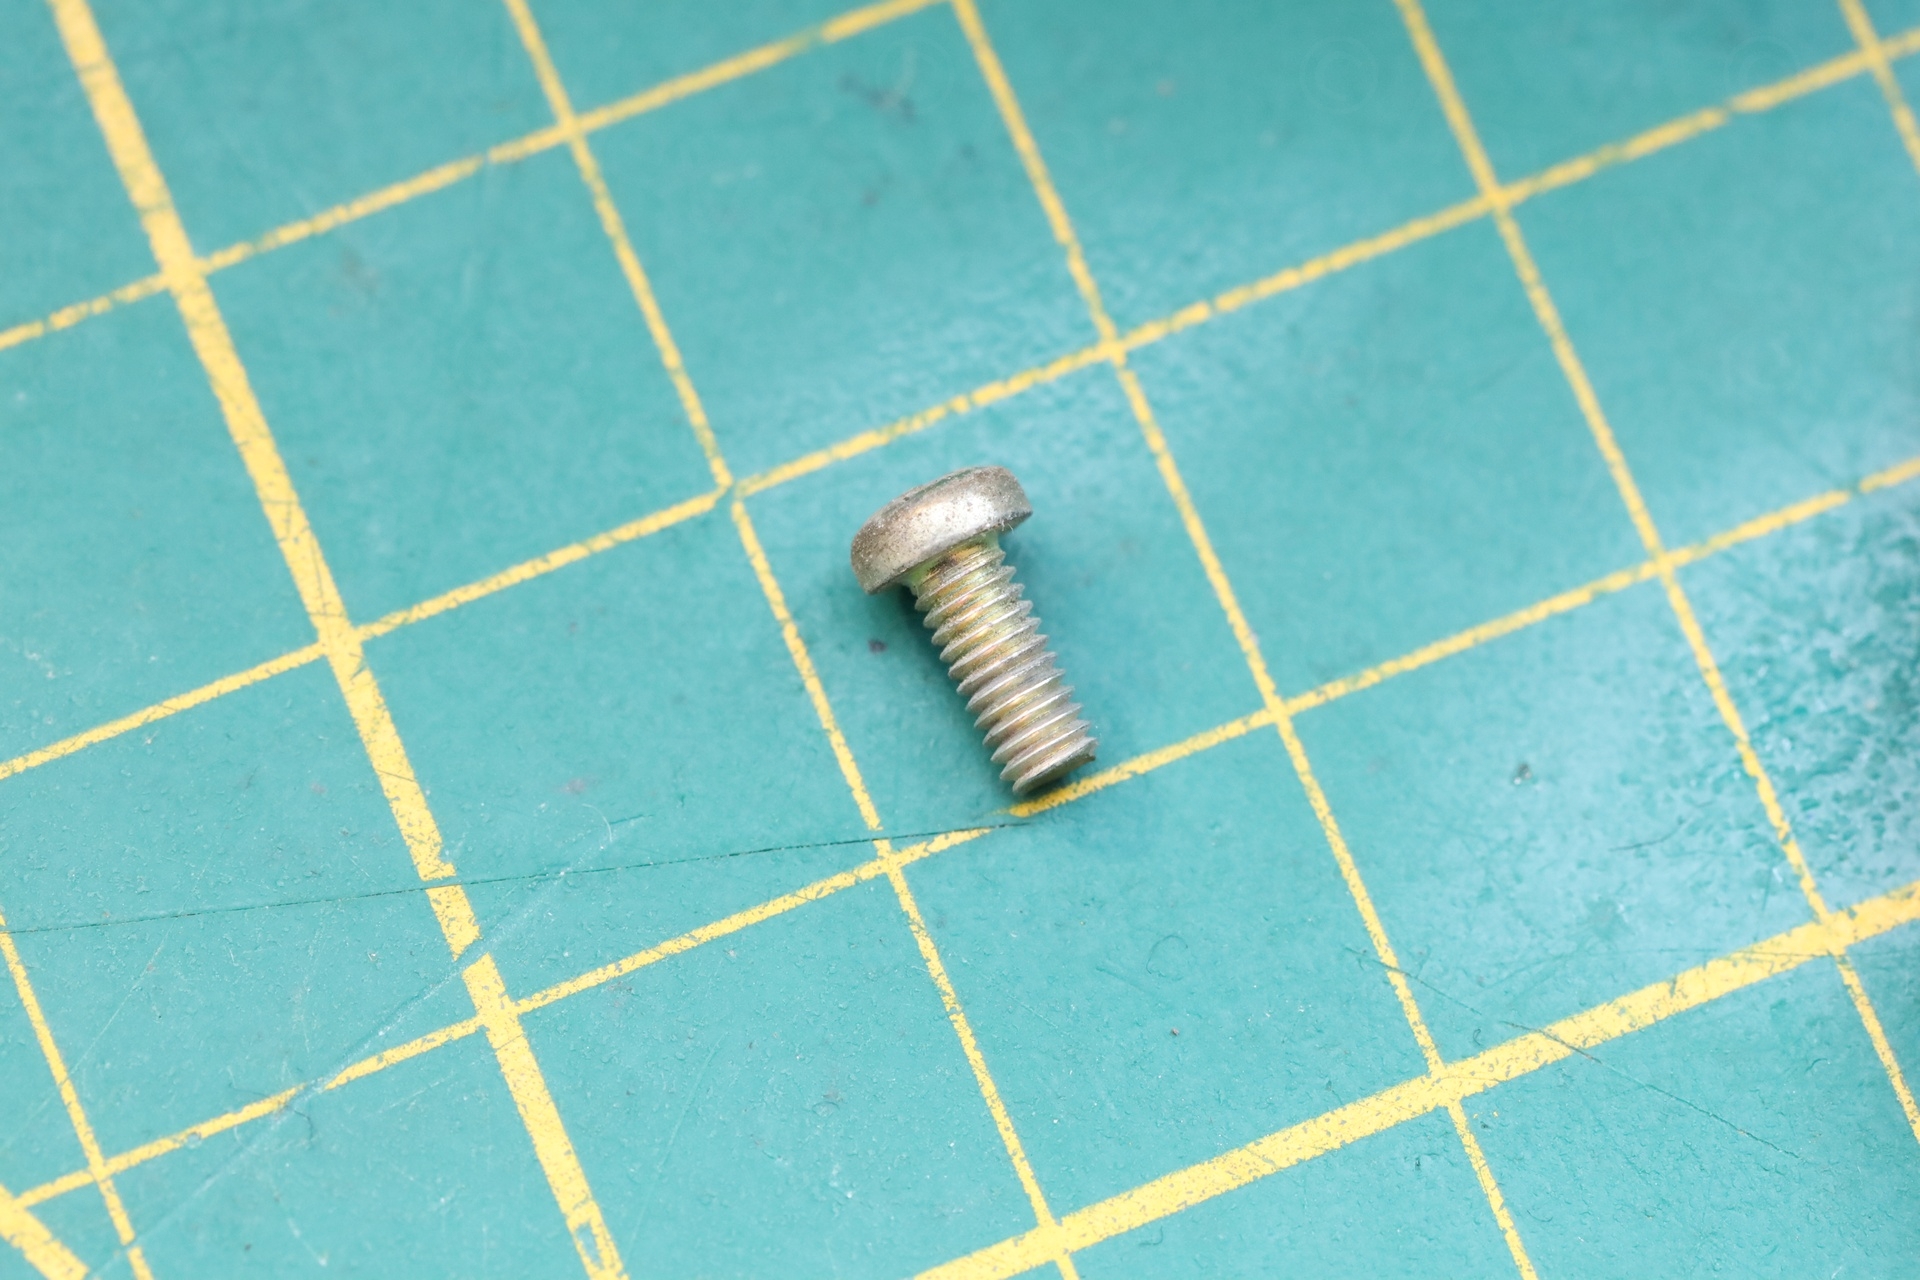
It took me a lot of time to find a suitable thumb screw.
I noticed that the screws in the radio (at least the one that was clamping down the loud speaker) does fit in the thumb screw hole. I measured it at 2.9mm diameter – thus, an M3. But, surprisingly, my M3 screws would not fit in. The pitch was different. Sony TR-1819 uses 0.6 pitch threads but I nobody produces M3 size, 0.6mm pitch thumb screws …
I spent a lot of time searching Amazon / Aliexpress. If the announcement mentions the pitch for an M3, it is always 0.5mm. I even bought a set from Amazon – but they don’t fit either. I finally had to remember that I once bought, from the same flea market, a box full of old electronic components. I should write an article once about things I find … But, of the trays in that box is full of screws from back in the day. I finally was able to locate one long enough that would serve as a thumb screw – it seemed part of a power resistor “slider”:
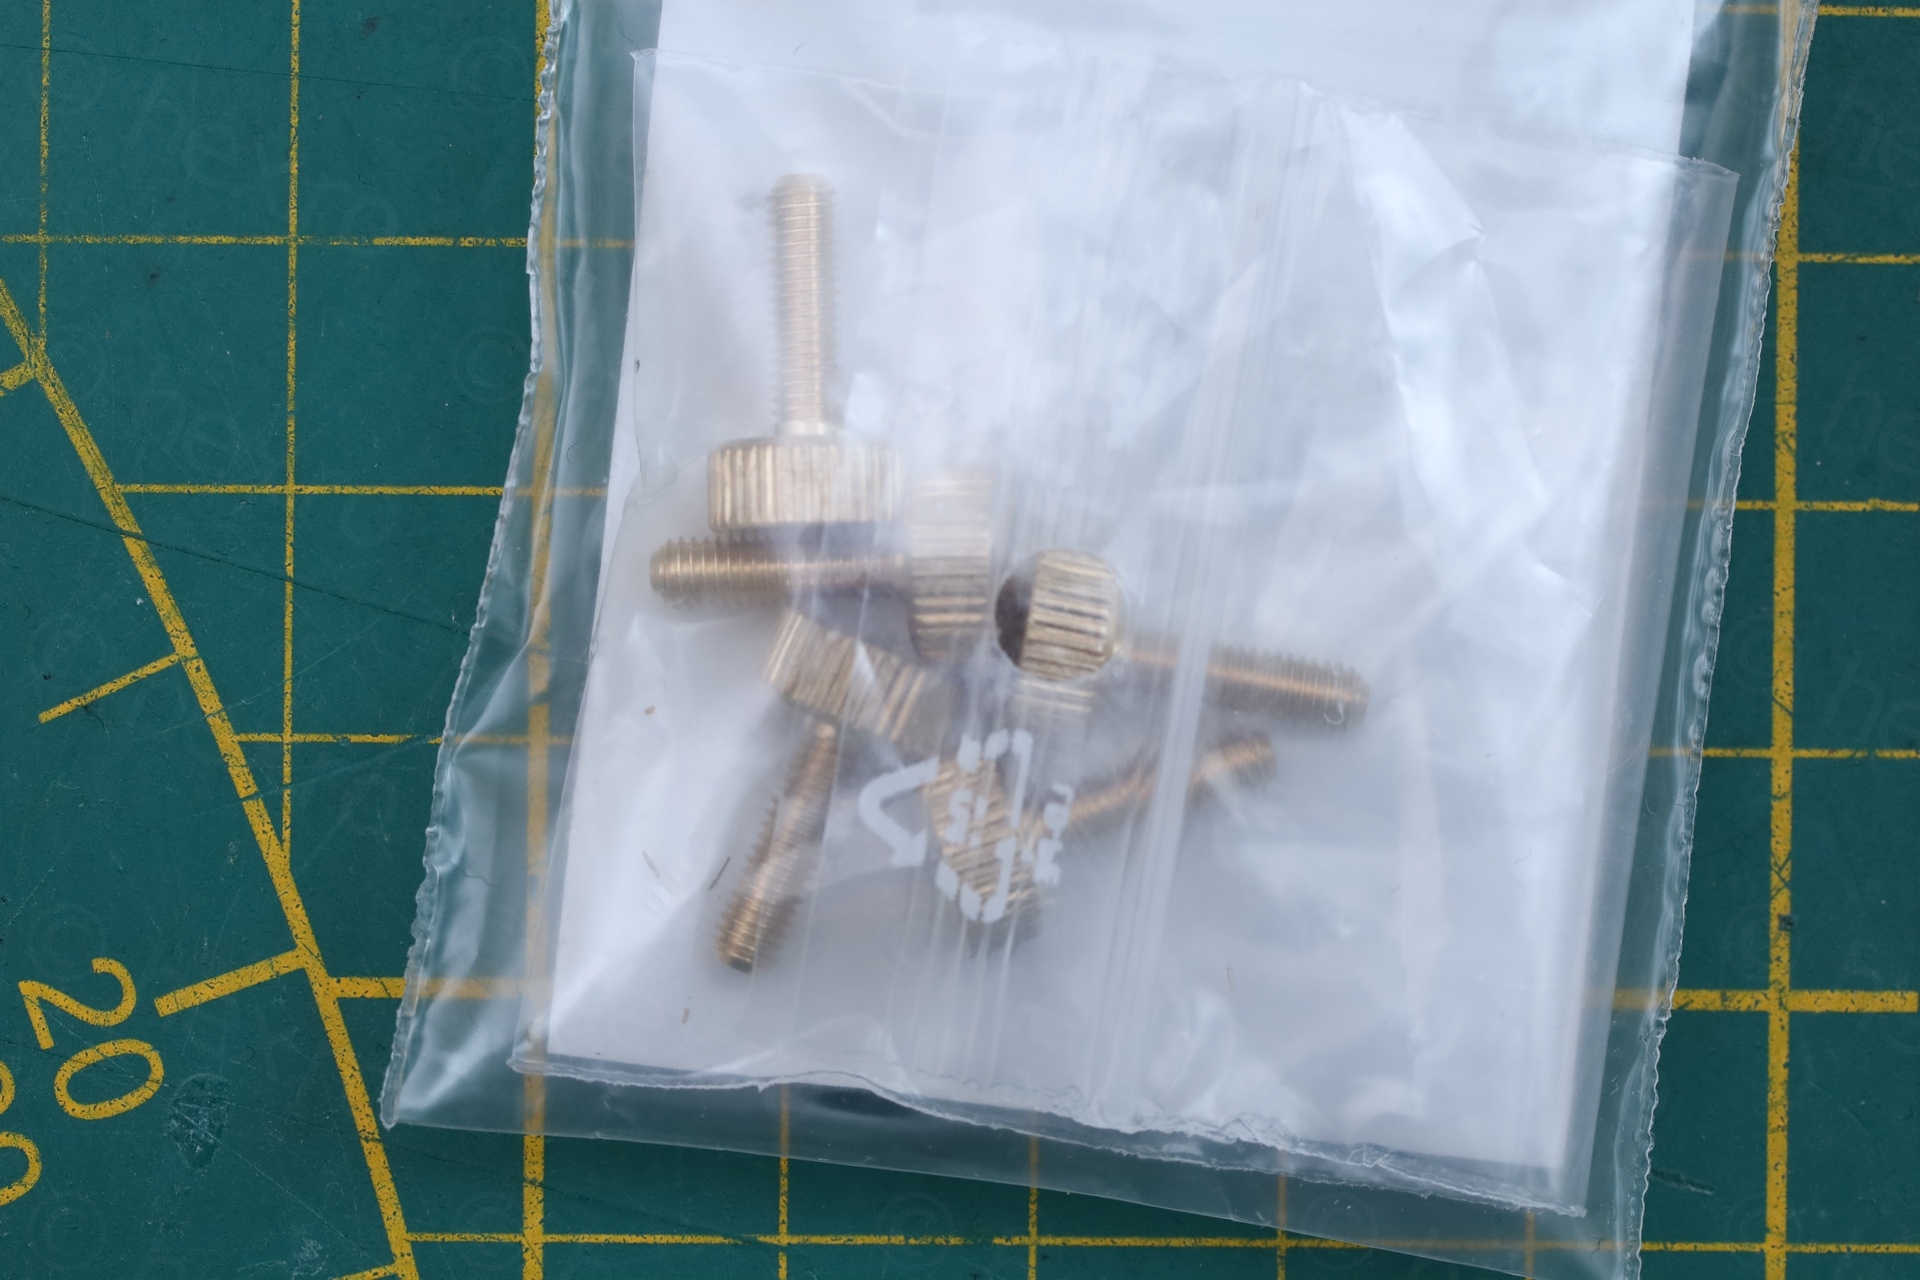
The replacement is also weird. While the long screw itself fits the radio nut, its nut does not fit the other radio screw. I have no clue what pitch this replacement screw is, but I don’t care anymore. I spent way to much time on this 🙂
3D Printed back cover
I looked at photos on the internet, and thankfully, these radios are common enough that I was able to find announcements showing the back of the radio. Except the thumbscrew hole, the original back has two more holes: a keyhole slot for hanging the radio on a wall, and another round hole in the center – which I had no clue what was meant for ? I decided to reproduce them all.
The AHA moment for the larger hole in the center was when I was trying to take the 3D printed back cover off and my fingertip slid naturally in it:
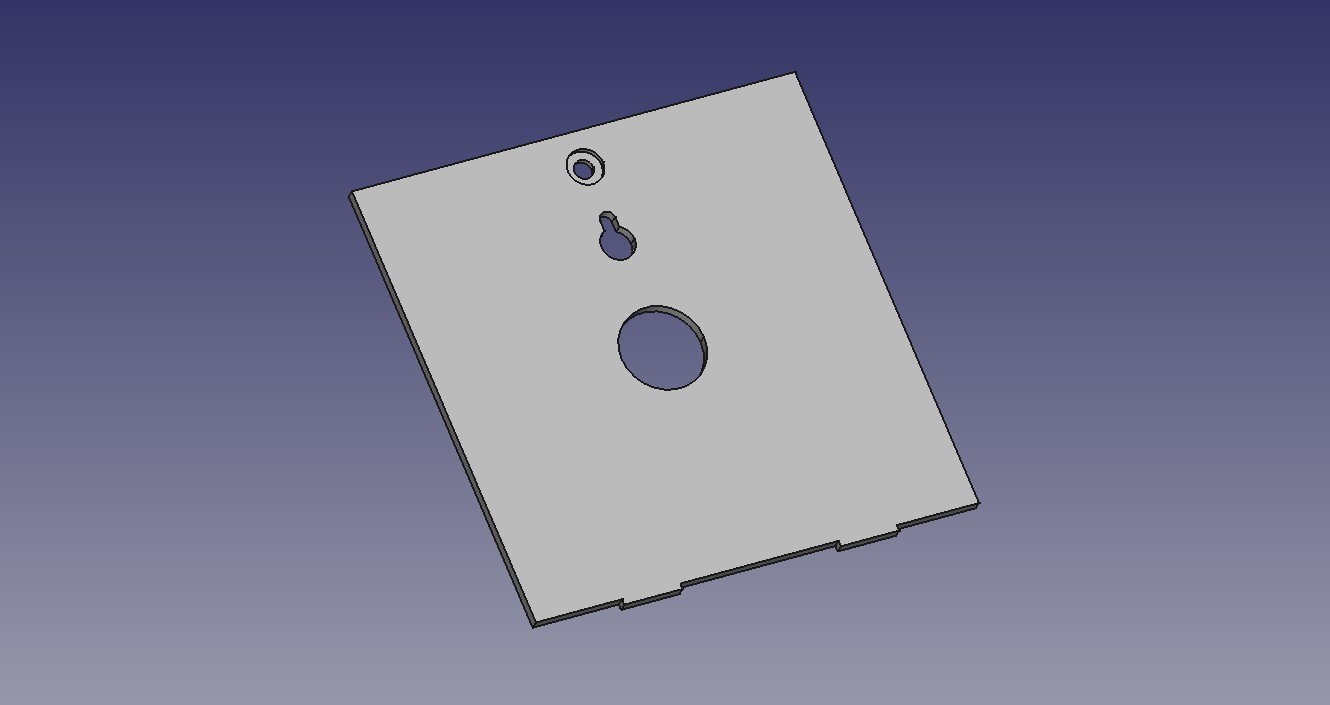
I took measurements for the location of thumb screw hole. Found it surprising that it is slightly off center. Not only that, but the holes are aligned horizontally on the radio, instead of vertically. Including the keyhole slot! Veeeery weird. I mean, couldn’t Sony design something that was centered ? And why would the poor radio rotate with 90 degrees when hanged on the wall ? Hmmmm.
The AHA moment was when physically handling the radio, once the back cover was fitted, just to see how it would hang. And then I realized. The weight distribution (speaker / batteries) imposes this arrangement of the holes – for the radio to hang straight down when put on the wall. Ahaaaaa! Good job Sony designers.

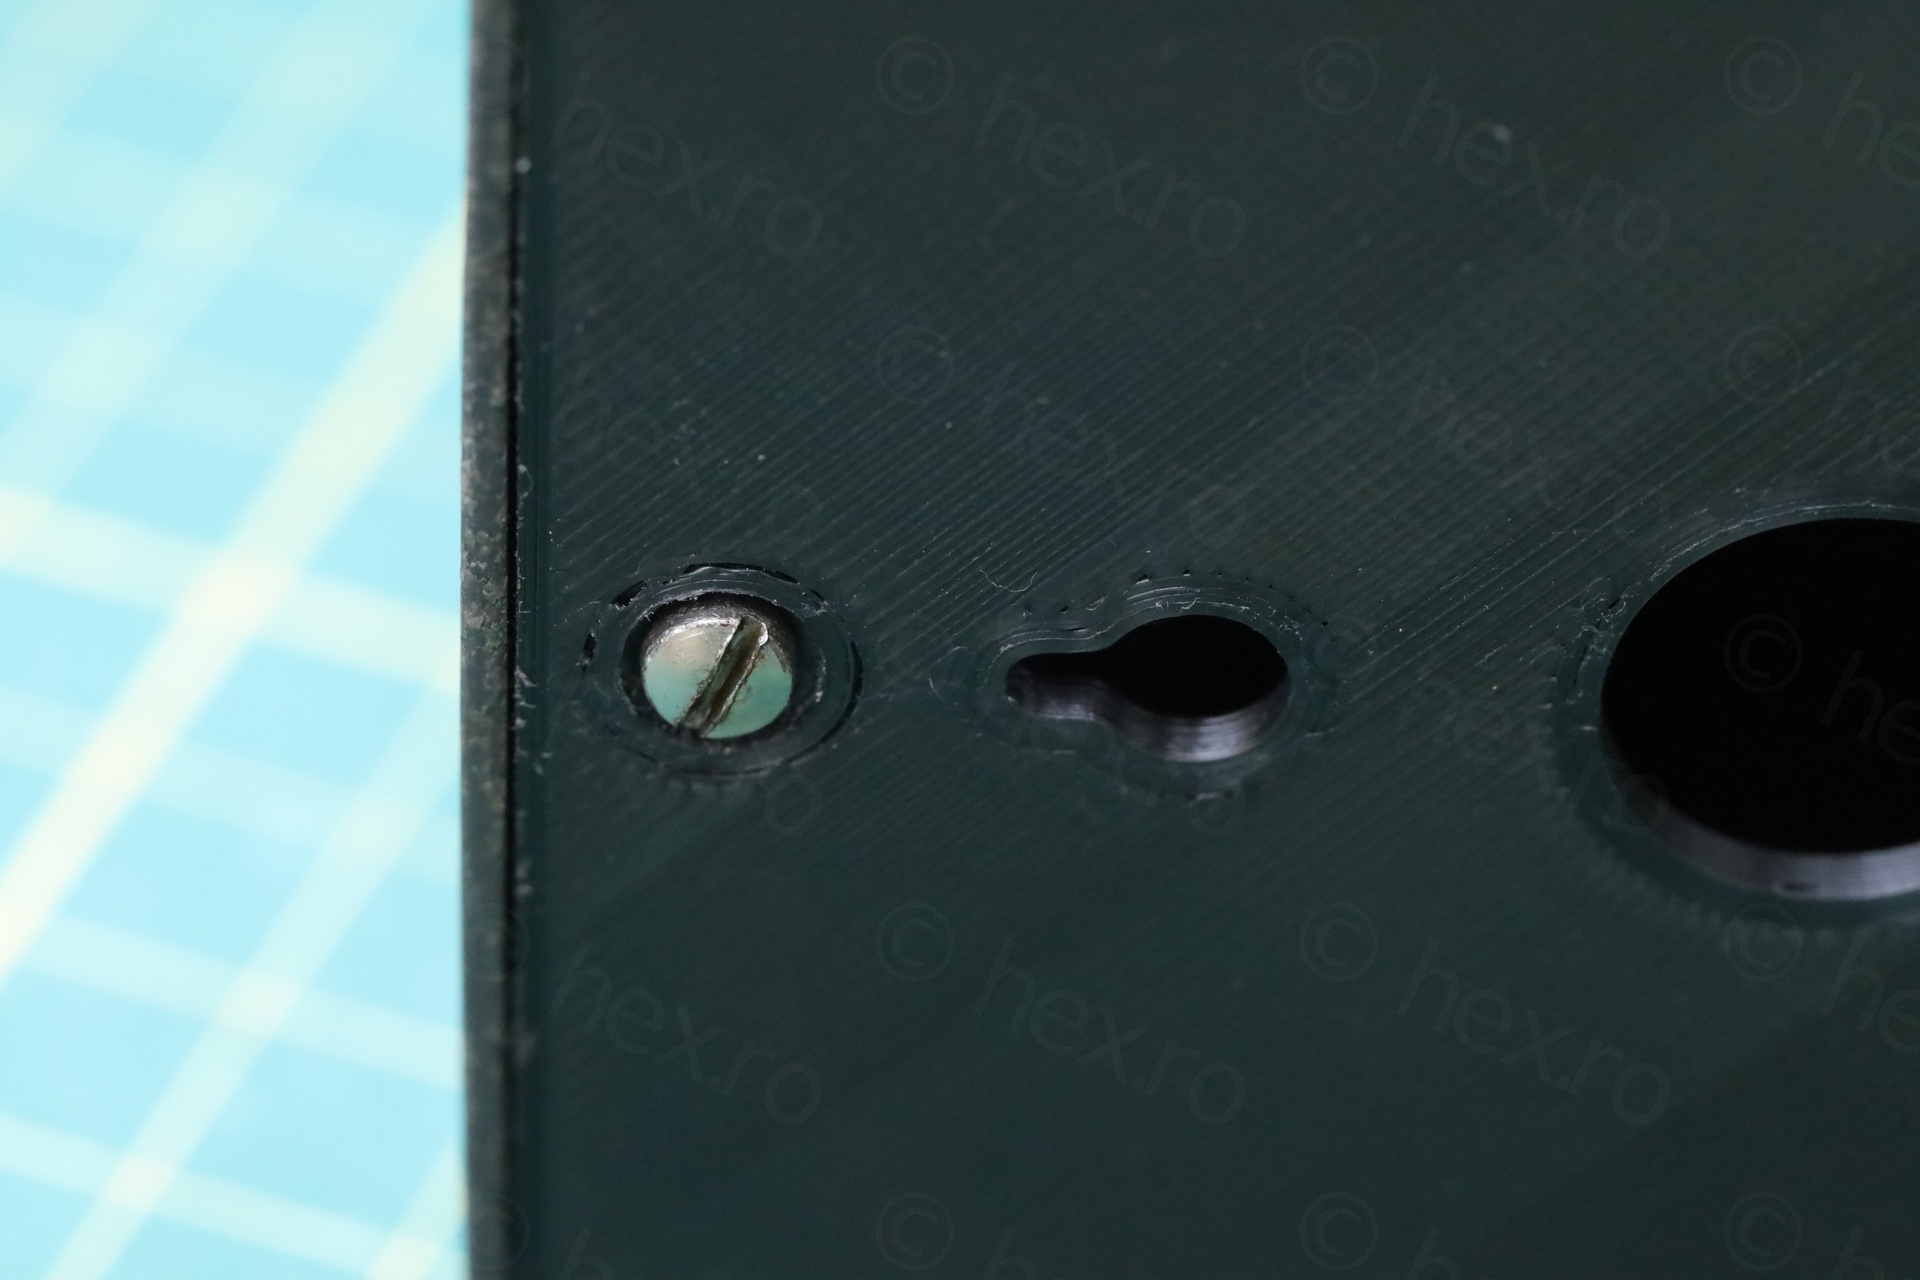
The thin plastic ridge of the two notches (that were supposed to hold the back plate) is cracked:

Thus, the 3D printed back plate is held in place only by the thumb screw, without the retaining grip of opposite two notches.
I had few attempts at printing the back cover – due to the fit. I wanted something that is tight a bit so that it doesn’t rattle, but not tight enough that would spread the wood case apart. Then small alignment issues and one attempt while waiting for the bronze thumb screws to arrive (which didn’t fit anyway).
Testing
Since AM broadcast is dead in Belgium (in fact, even the sale of analog radios is banned) I had to wait til night time to test it – and conditions weren’t that good. Radio is plenty loud:
The variable tuning capacitor inside is problematic, it makes popping sounds while being tuned. But I decided to let it be, as it is not that bad (I’ve seen worse). No capacitors were touched. Dial scale alignment is almost spot on (is perfect from 530KHz to about 1000KHz, but a 1600KHz signal is received around 1500KHz mark).
I spotted also two germanium transistors model 2SB136, but they do not appear in the schematic for Sony TR-1819. They do in the schematic for TR1829. Since this one seems to be the TR-1819, I guess Sony was improving their models as time went by, something that I saw also in other Germanium radios from the same era.
Onto the next project now!
Ferdinand Angeles
Congratulations from bringing back to life this piece of history. I just got mine today, a green one with its on/off cum volume knob missing. I’m still trying to figure out what to do. By the way, I’m from the Philippines.
Pepper
Thank you for an interesting article.
Just for your reference, regarding the M3 screw whose pitch is different from the common M3, I think it is a screw complies with JIS (Japanese Industrial Standards). This type of screw was used around 1970 and before in Japan, and after that, they were switched to ISO screws
Japanese large screw internet sellers still deal with some of this kind of screws, however, “+” head screw is popular and I can not find the original “-” head screw.