


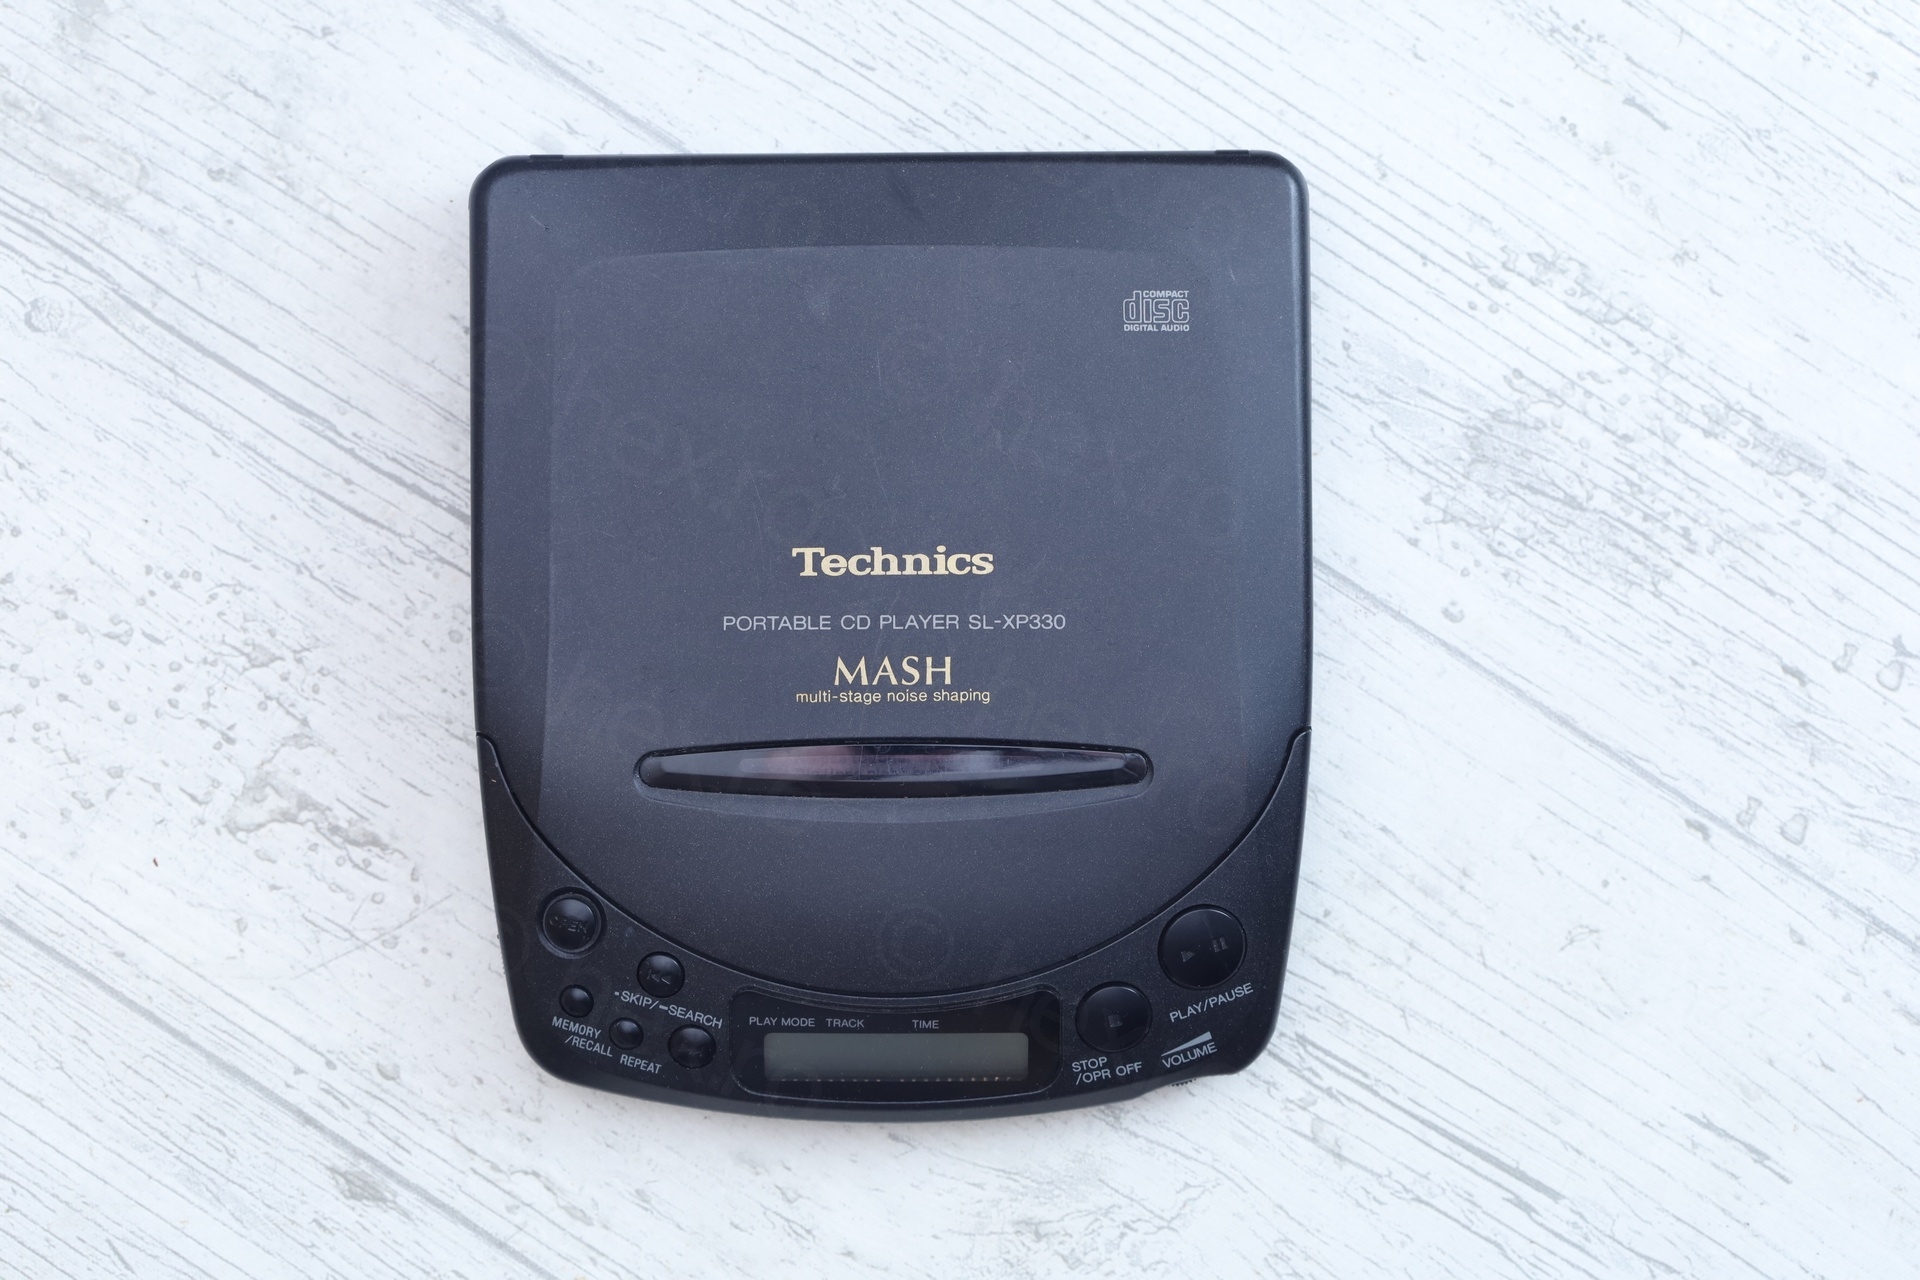
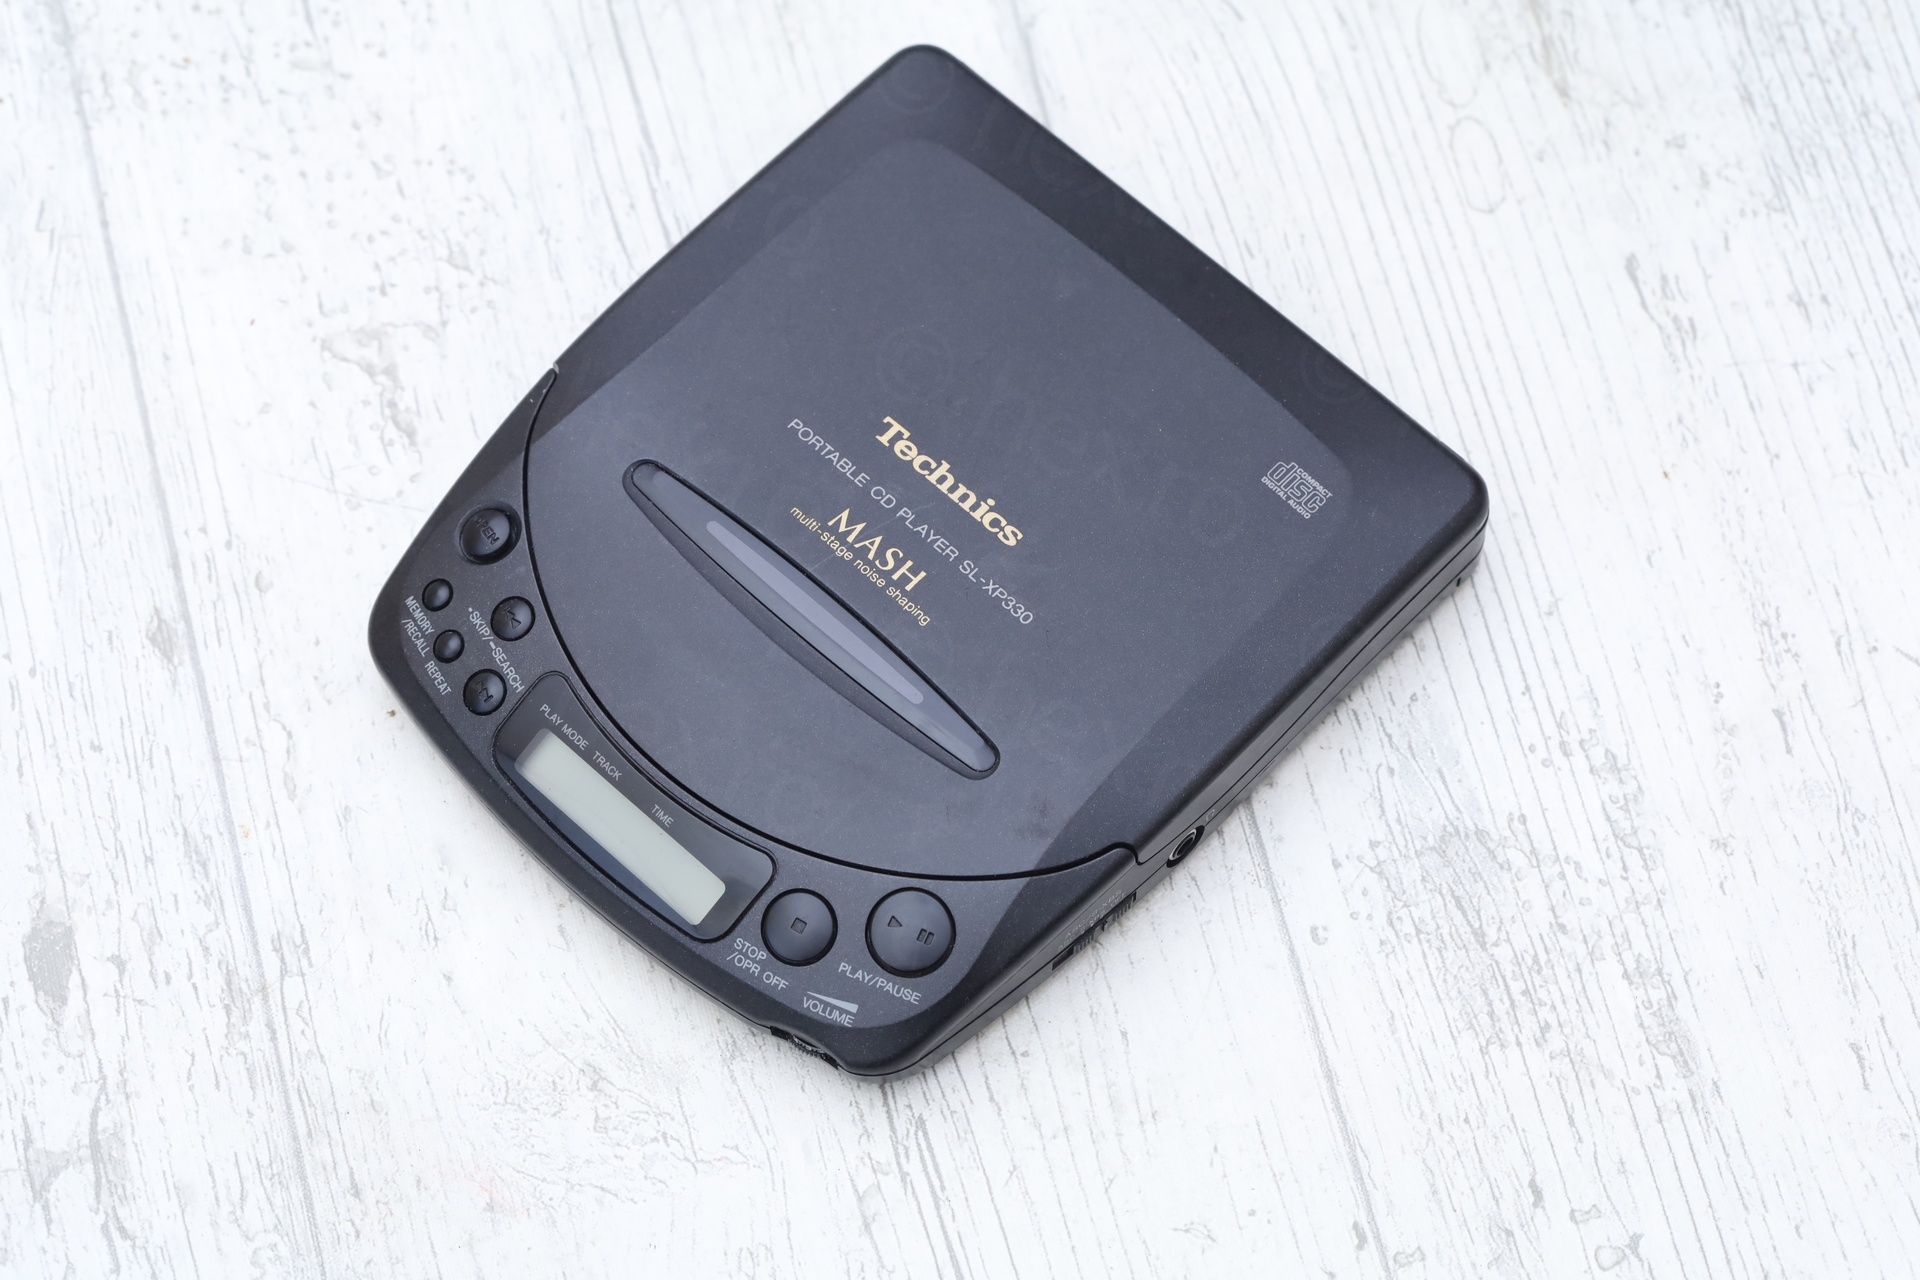
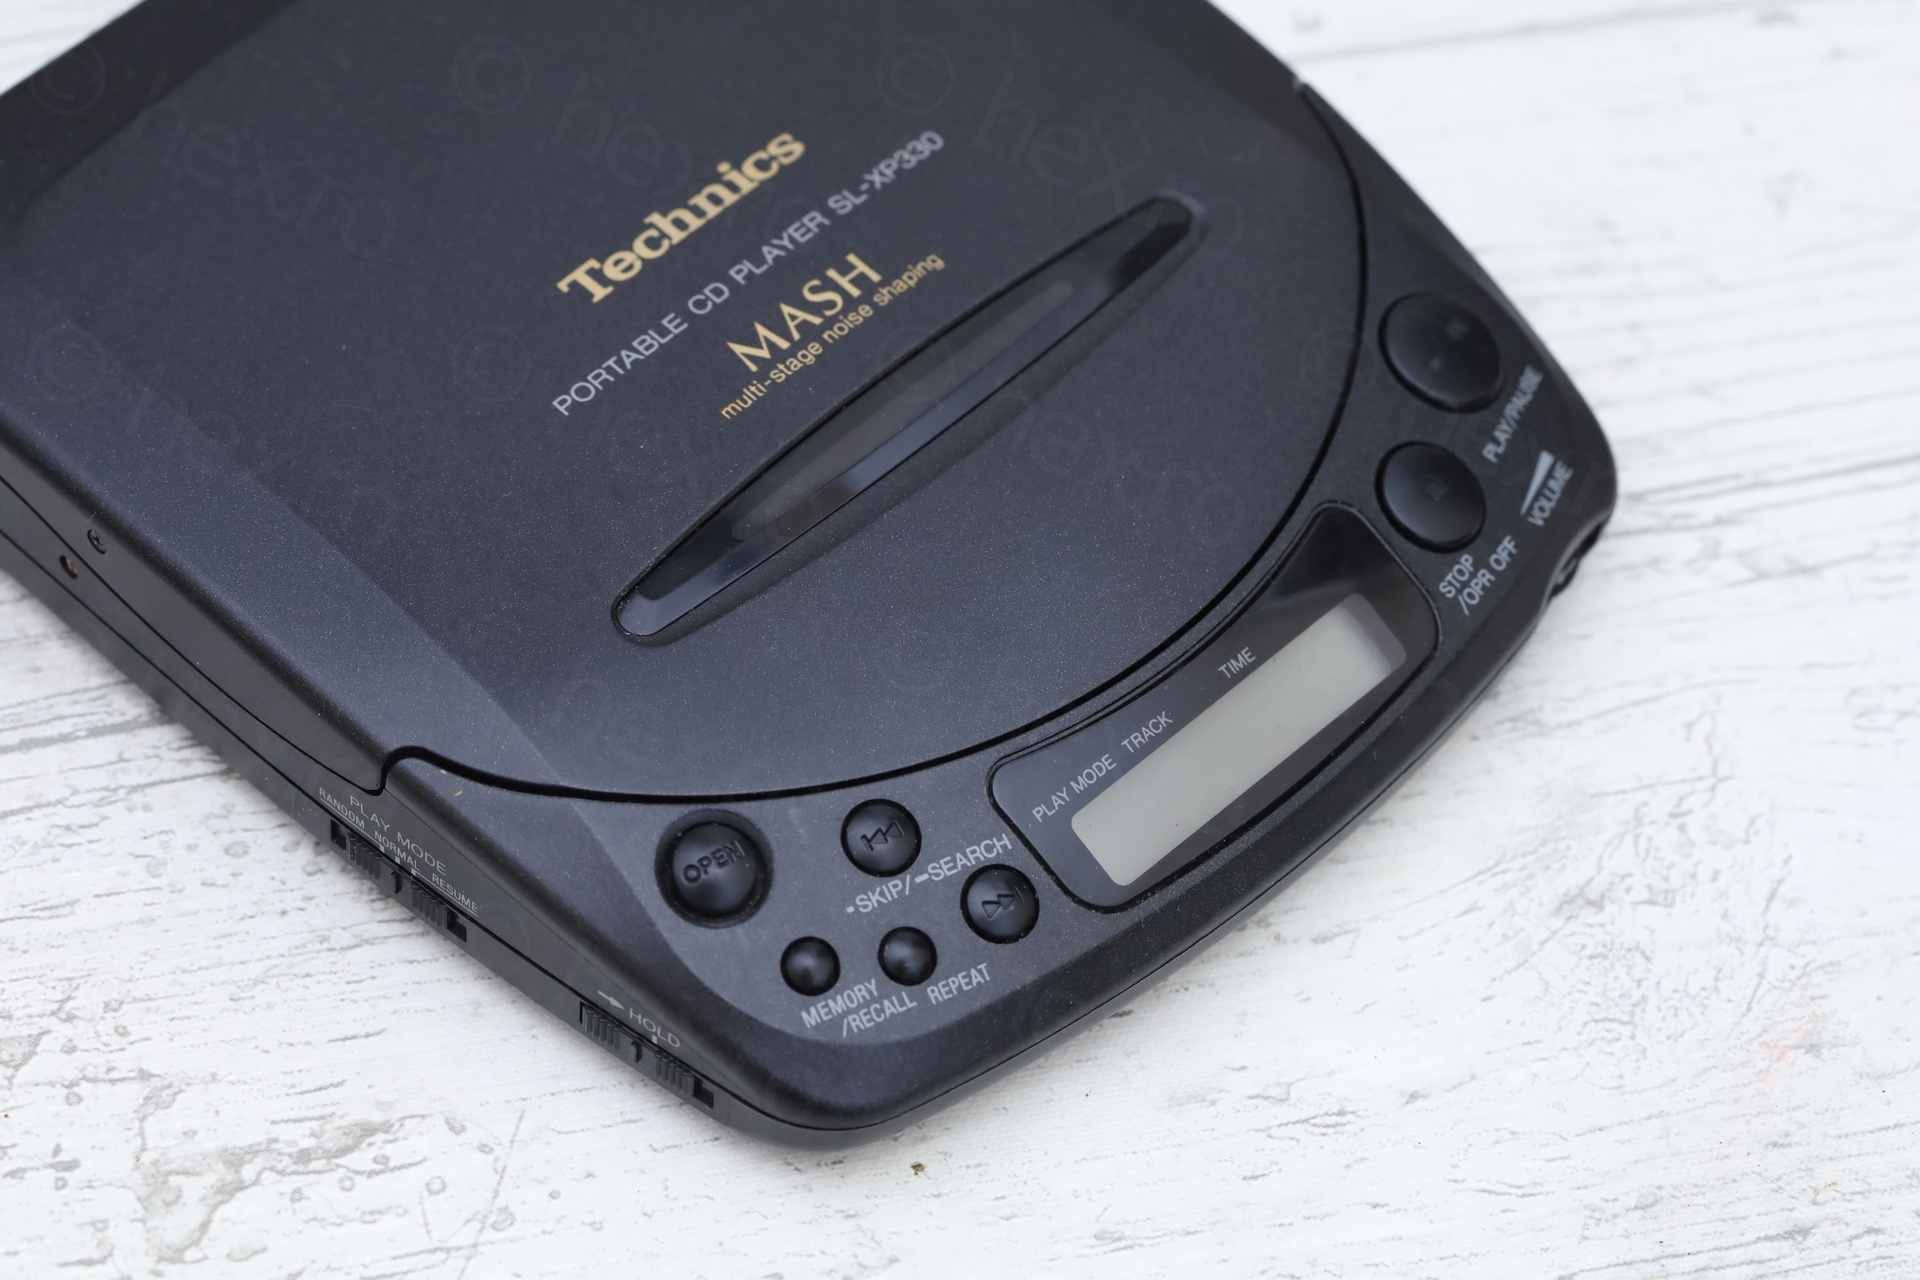
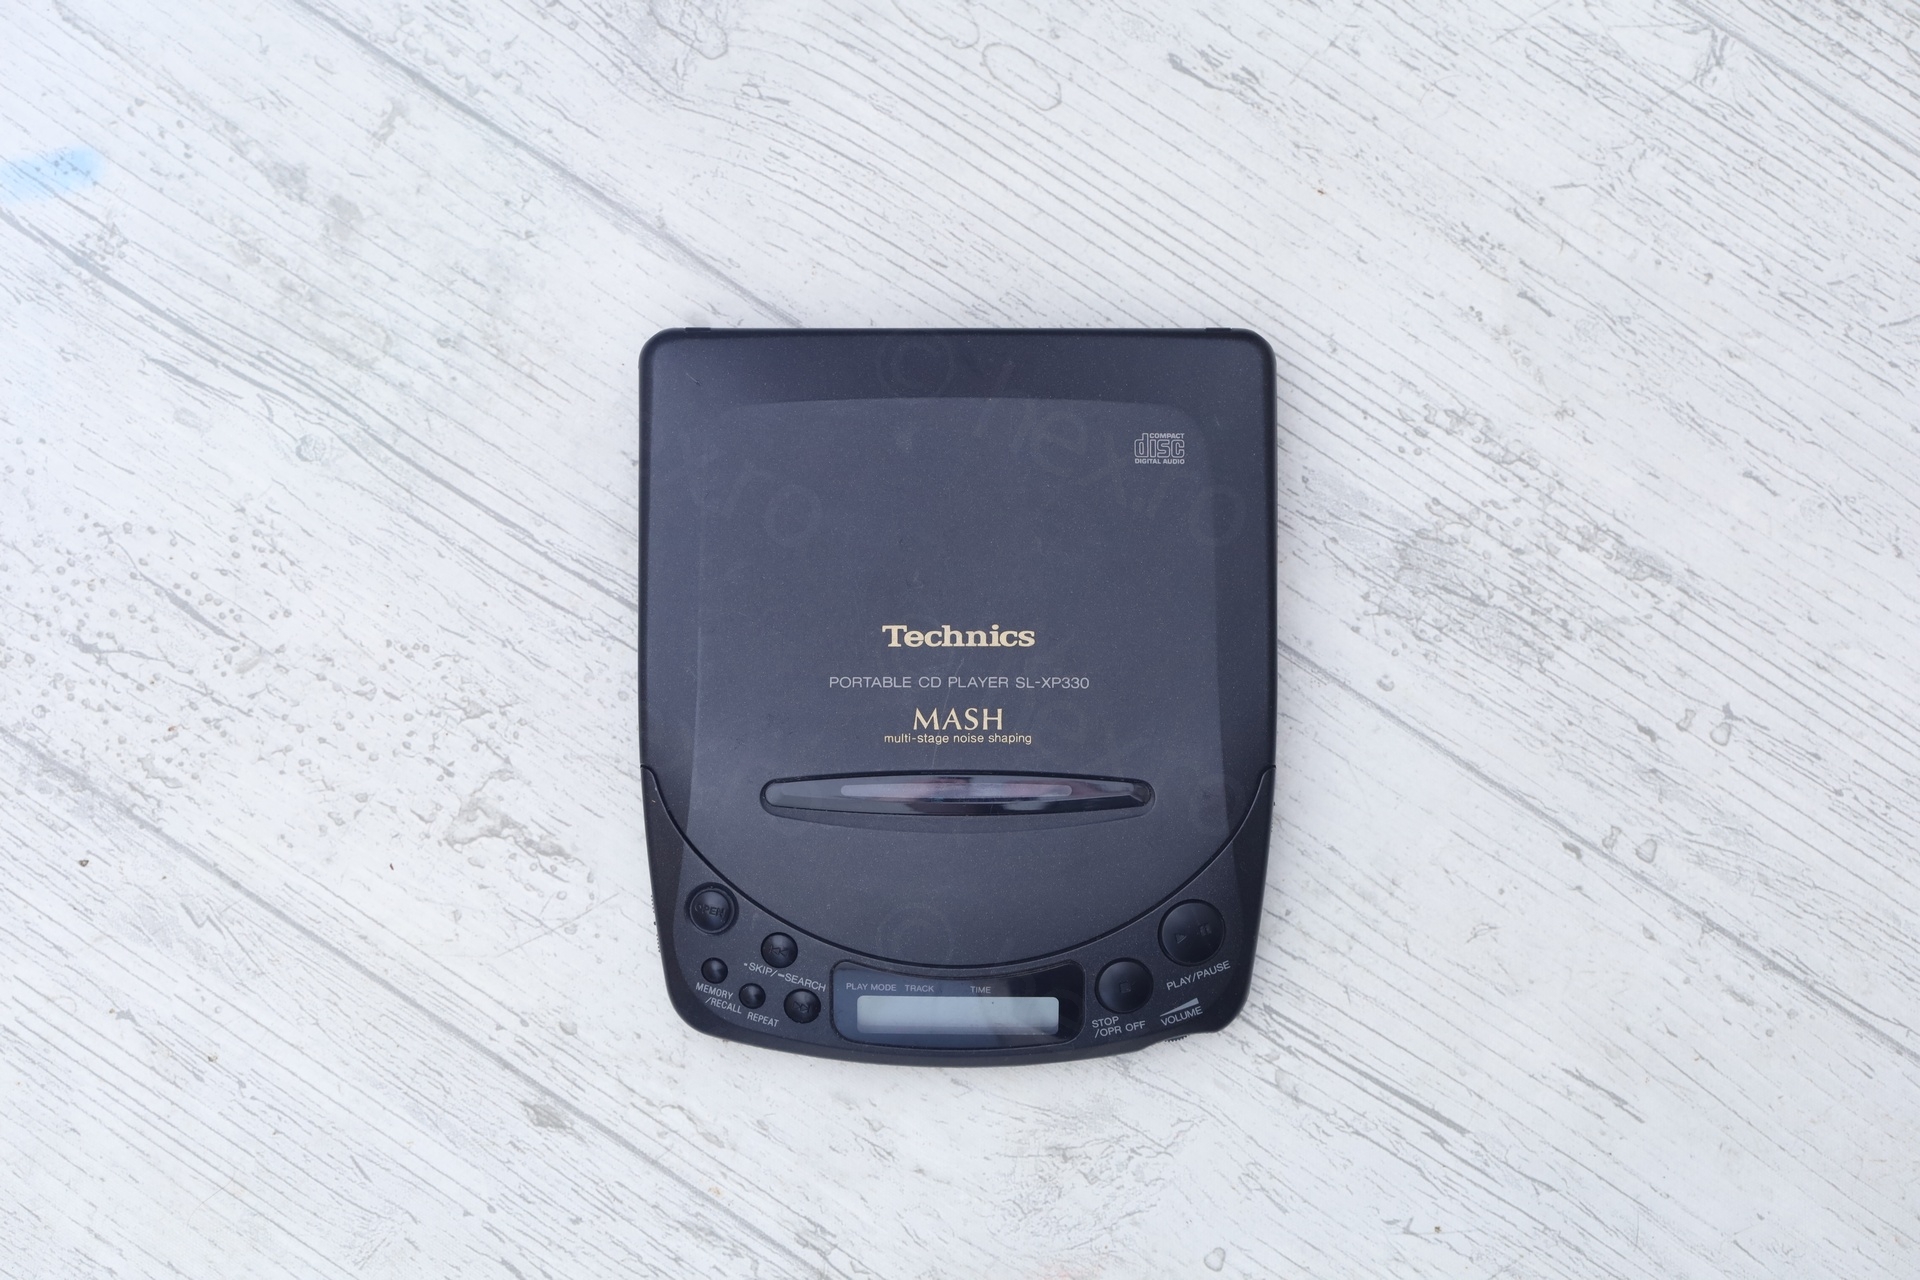
I have a soft spot for Technics and seeing this cd player at the market made me reach out and have a look at it. It looked awfully similar to another Technics CD player that I fixed in the past. At a very quick glance it looked way less corroded than the previous one, so I made a small calculation. If it is the exact same one, then it should be easier to get it going as it is cleaner. If is a different model, then perfect. The price was right too.
Table of Contents
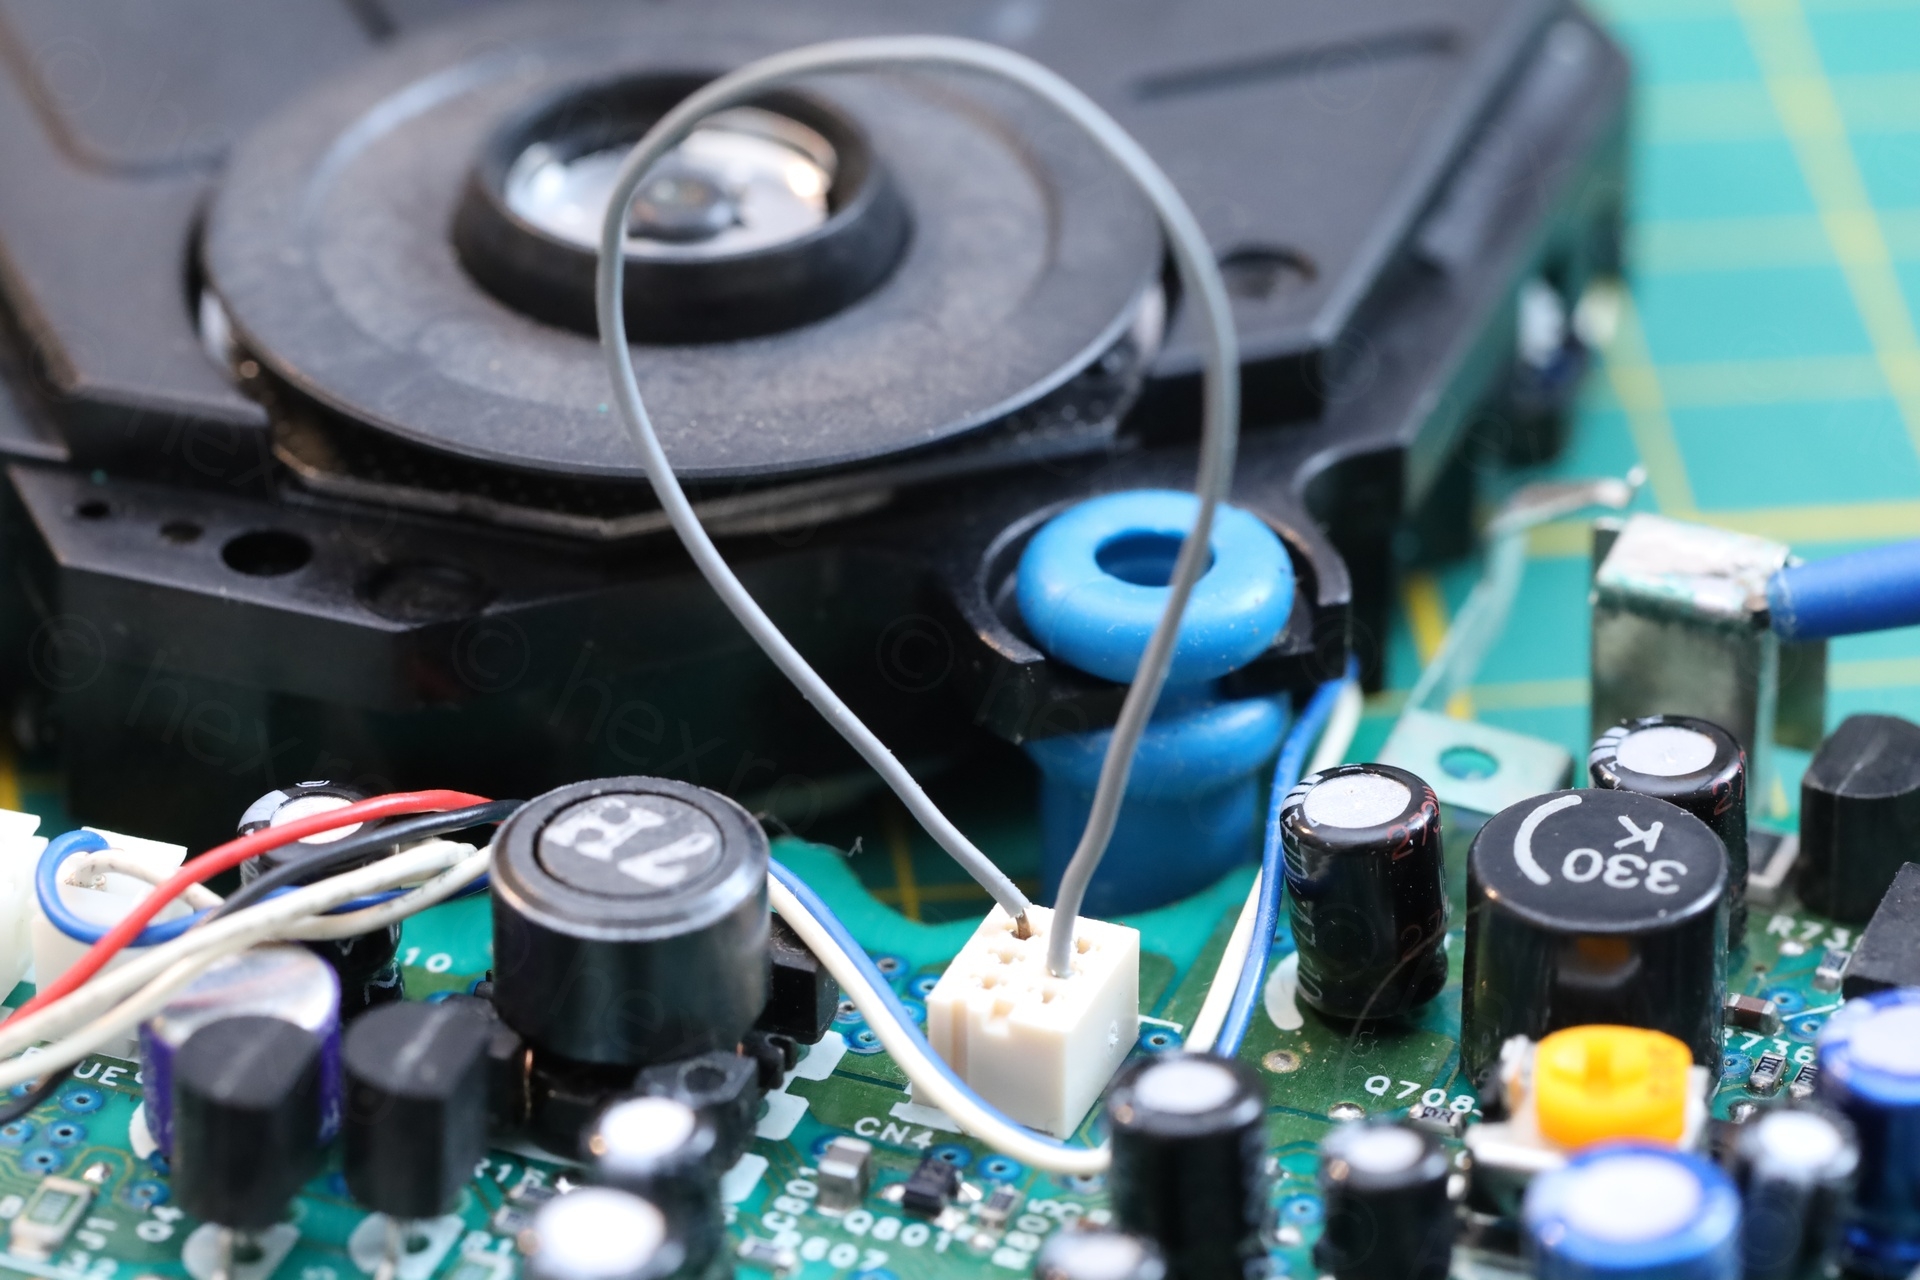
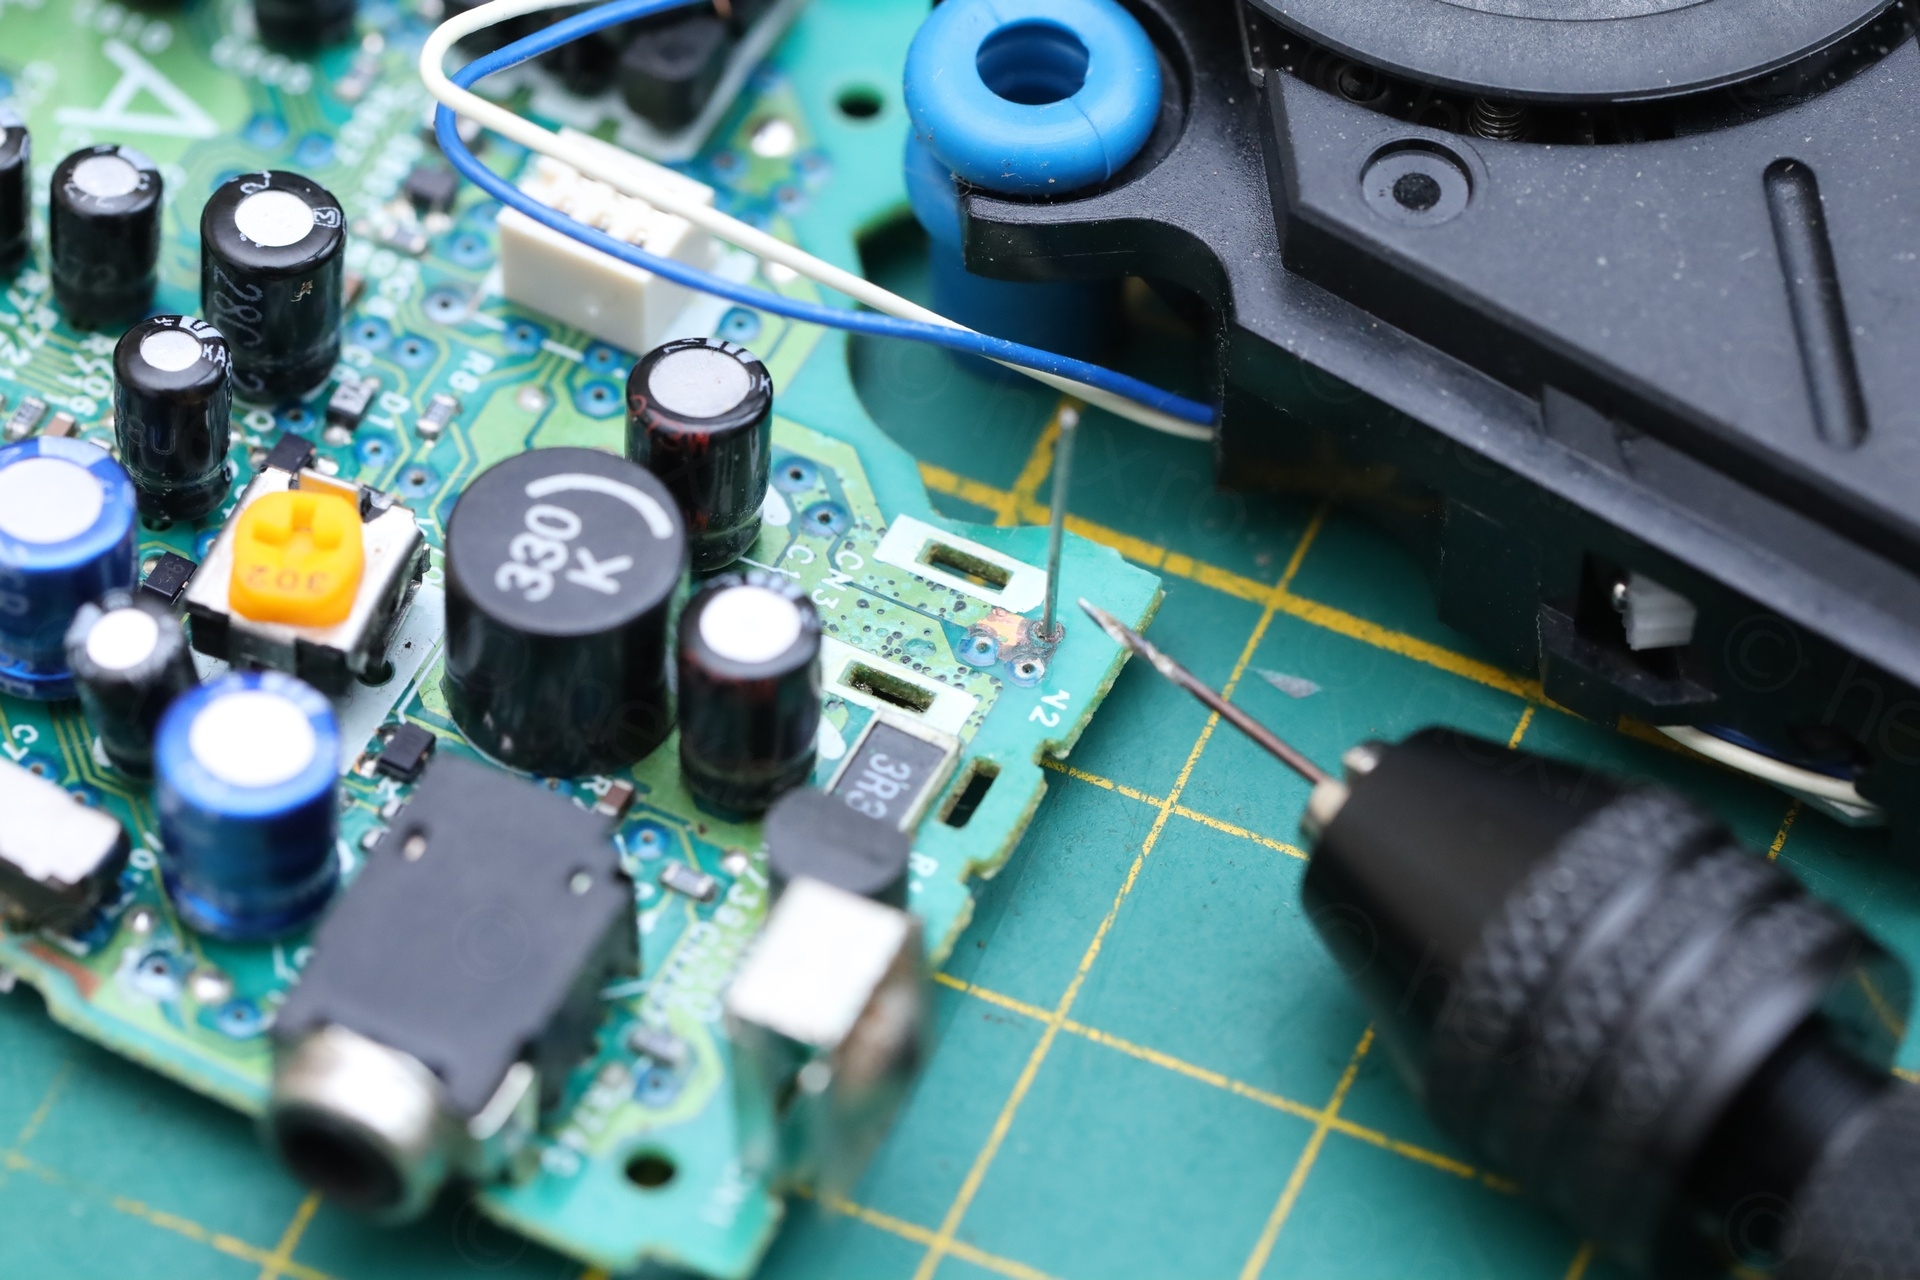
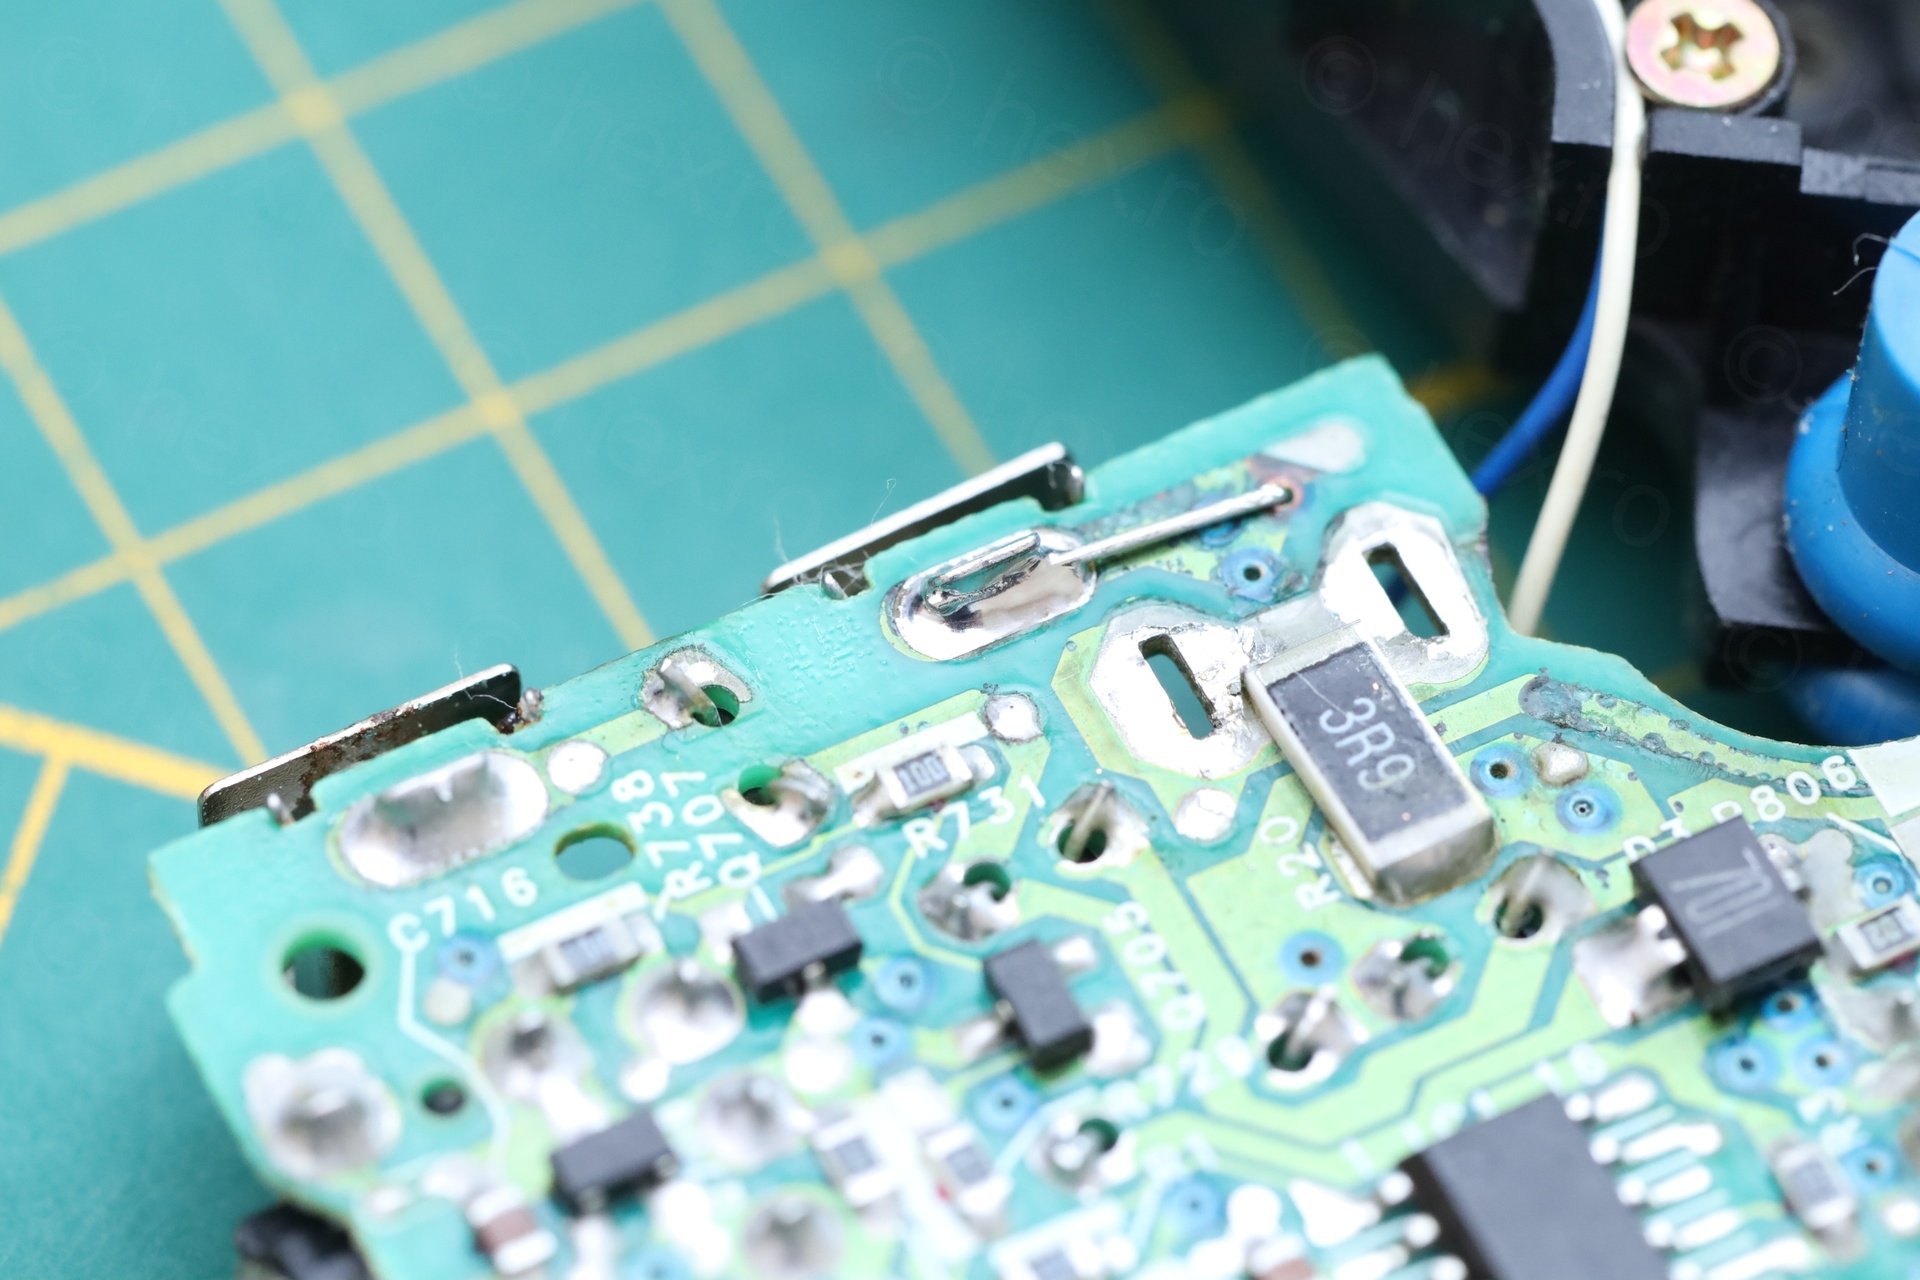
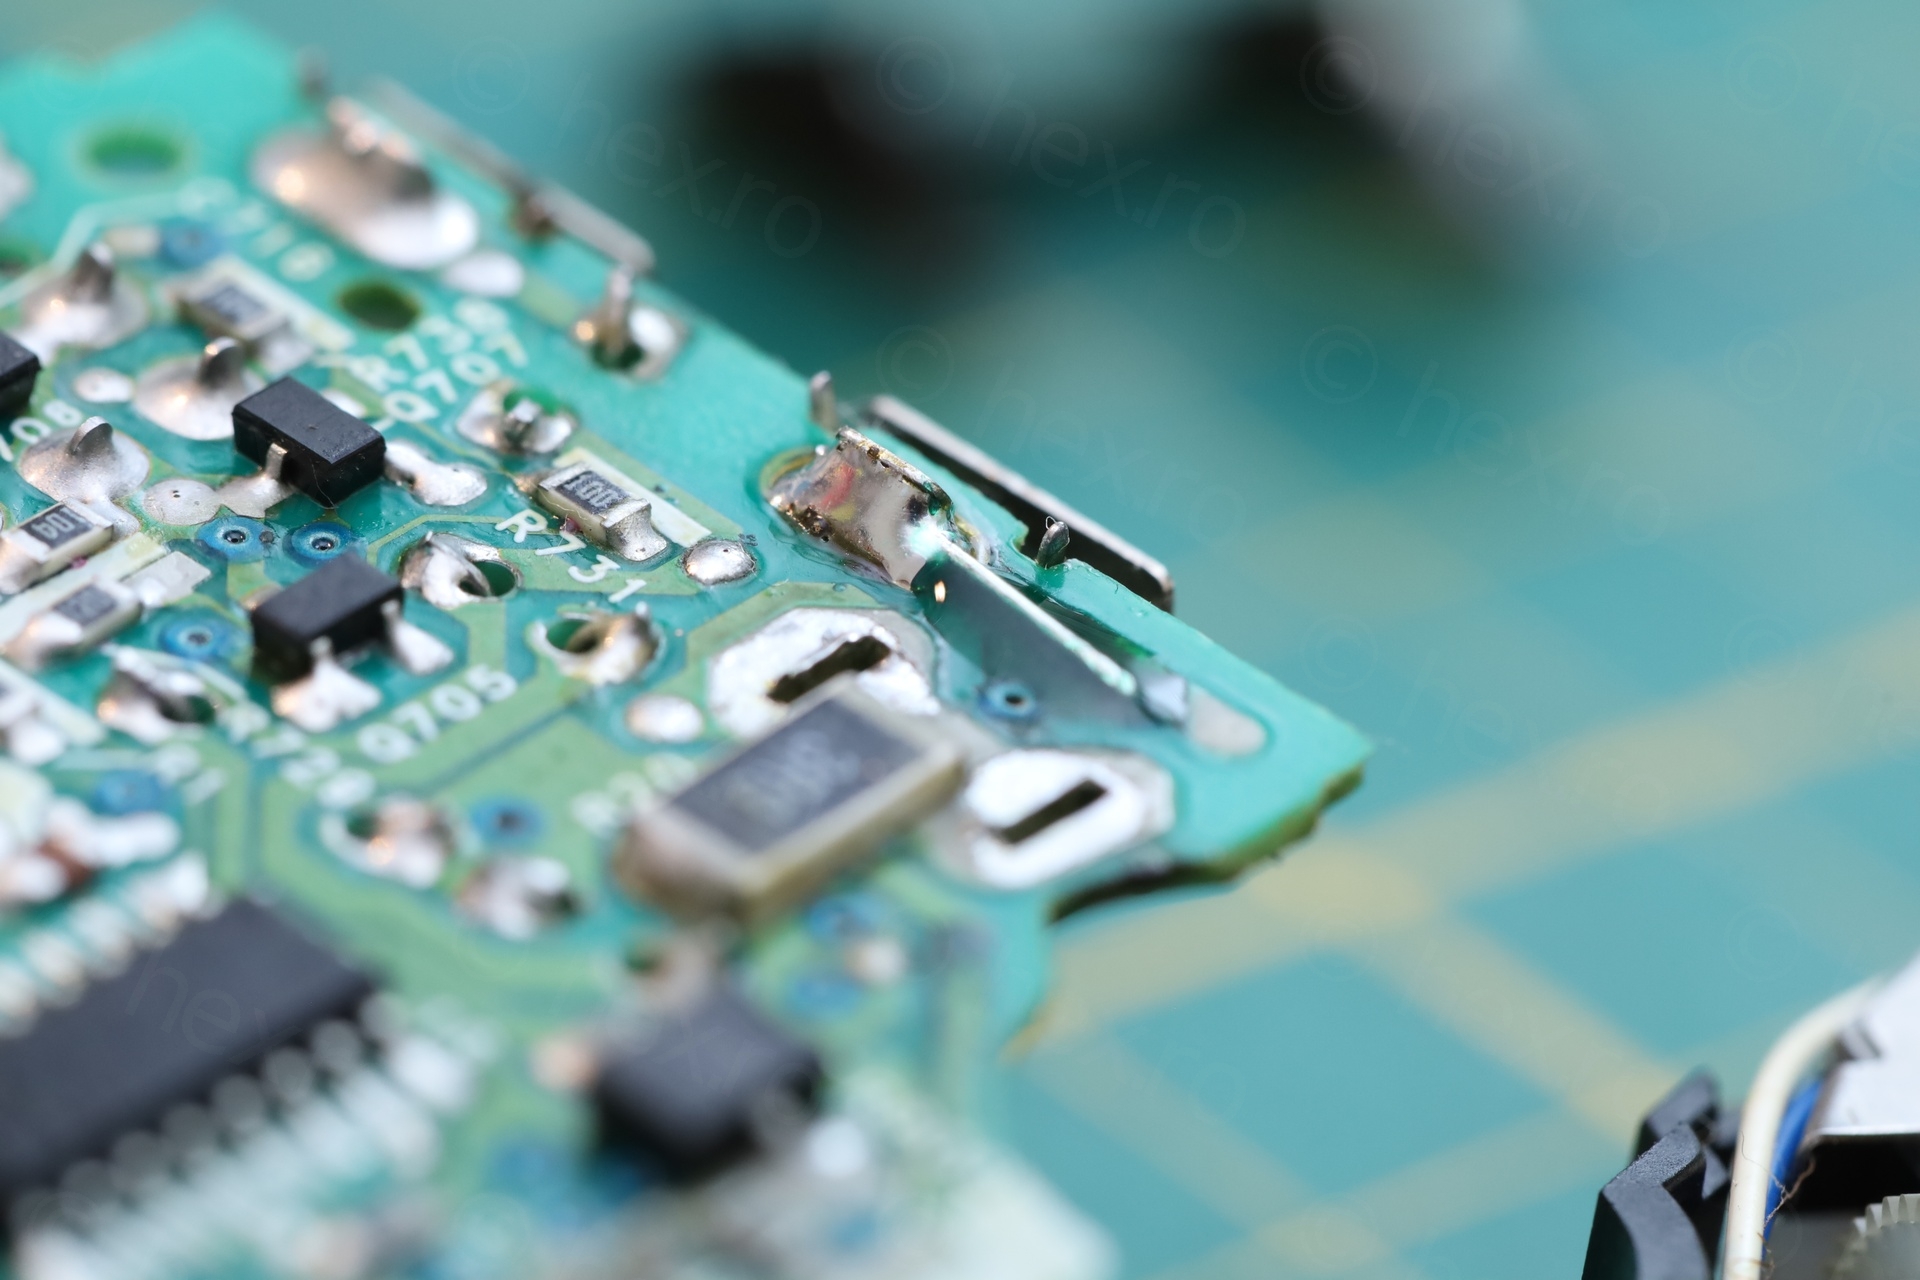
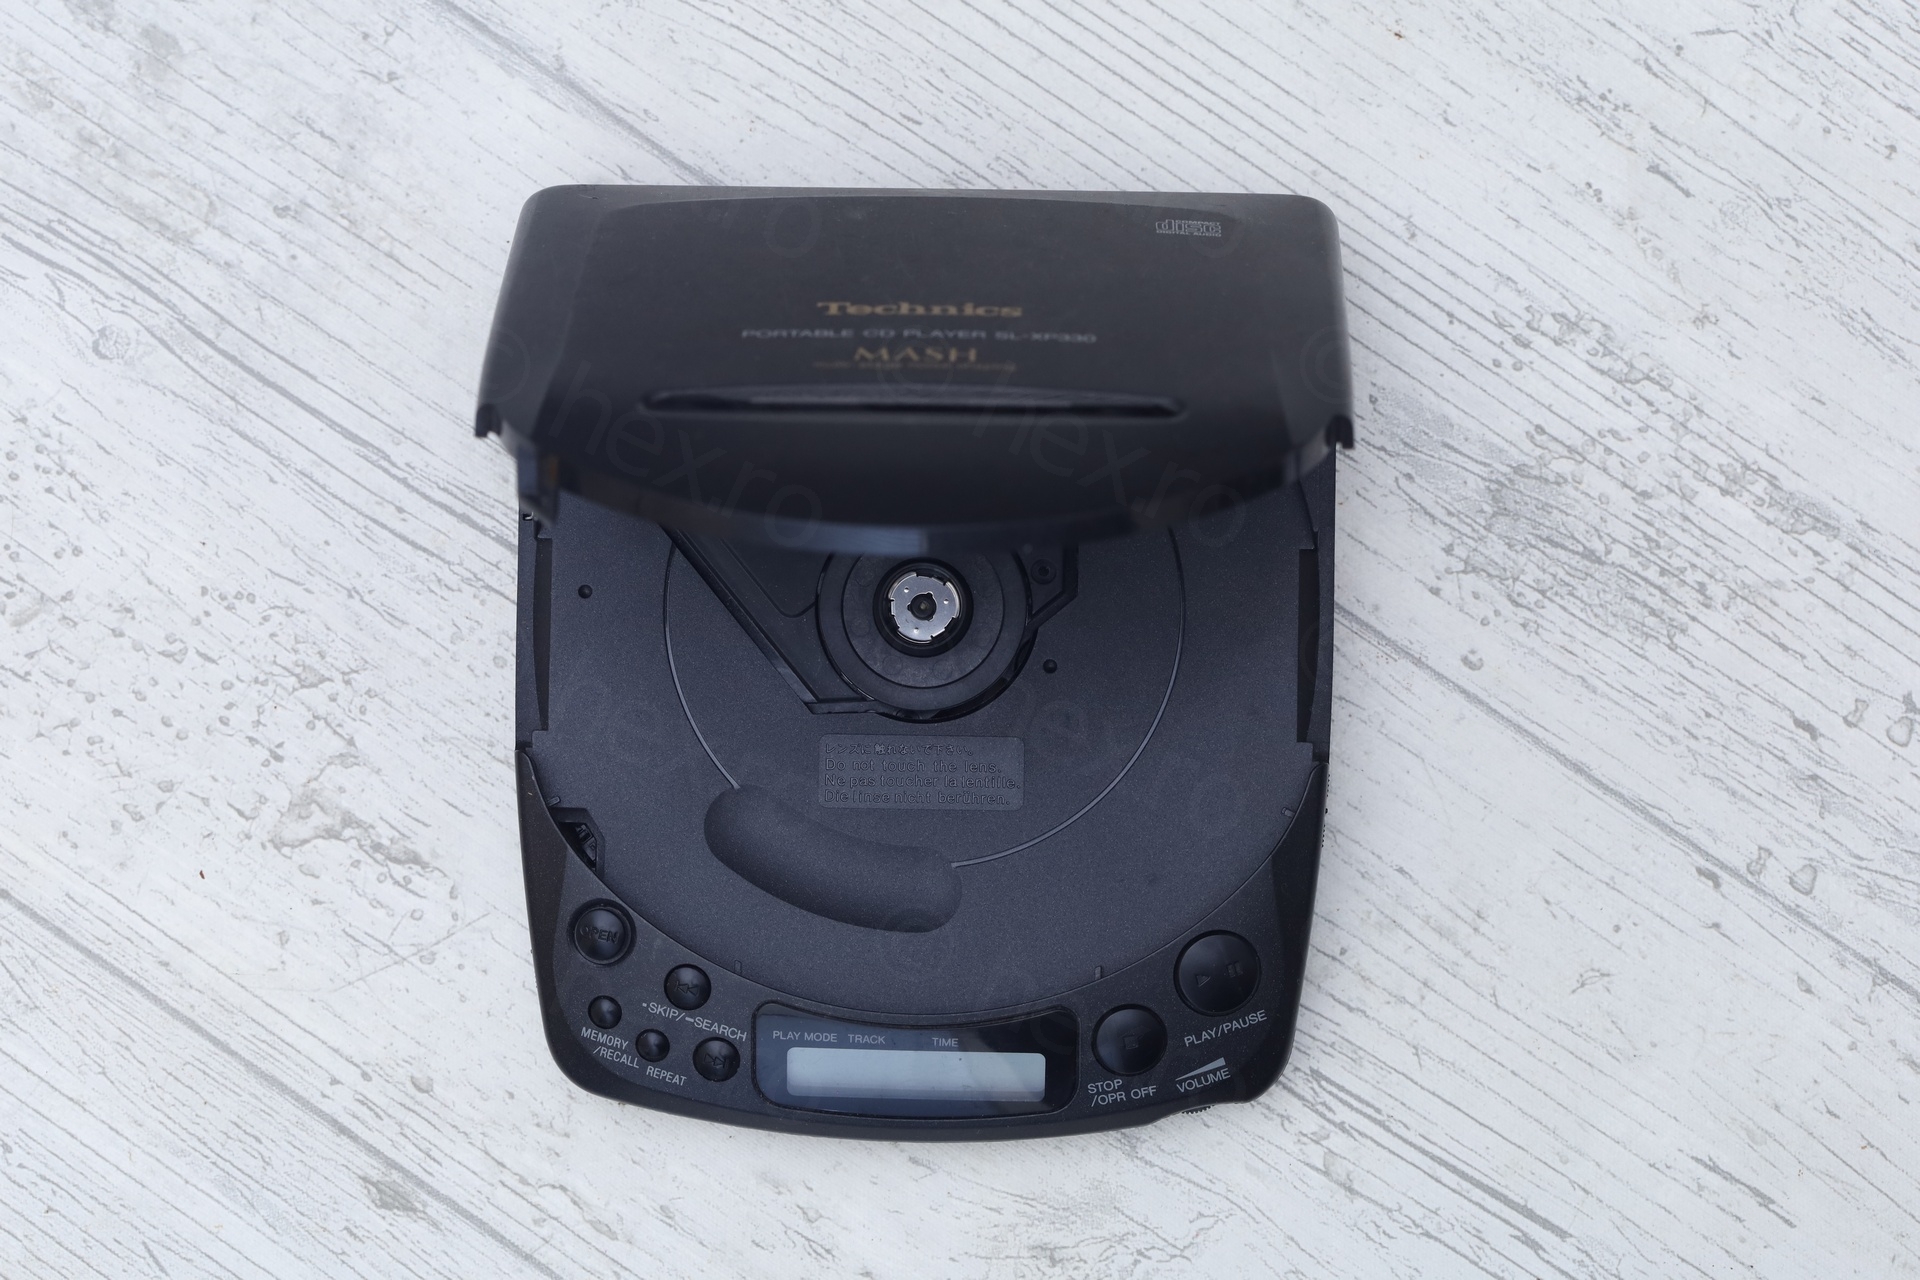
A look inside
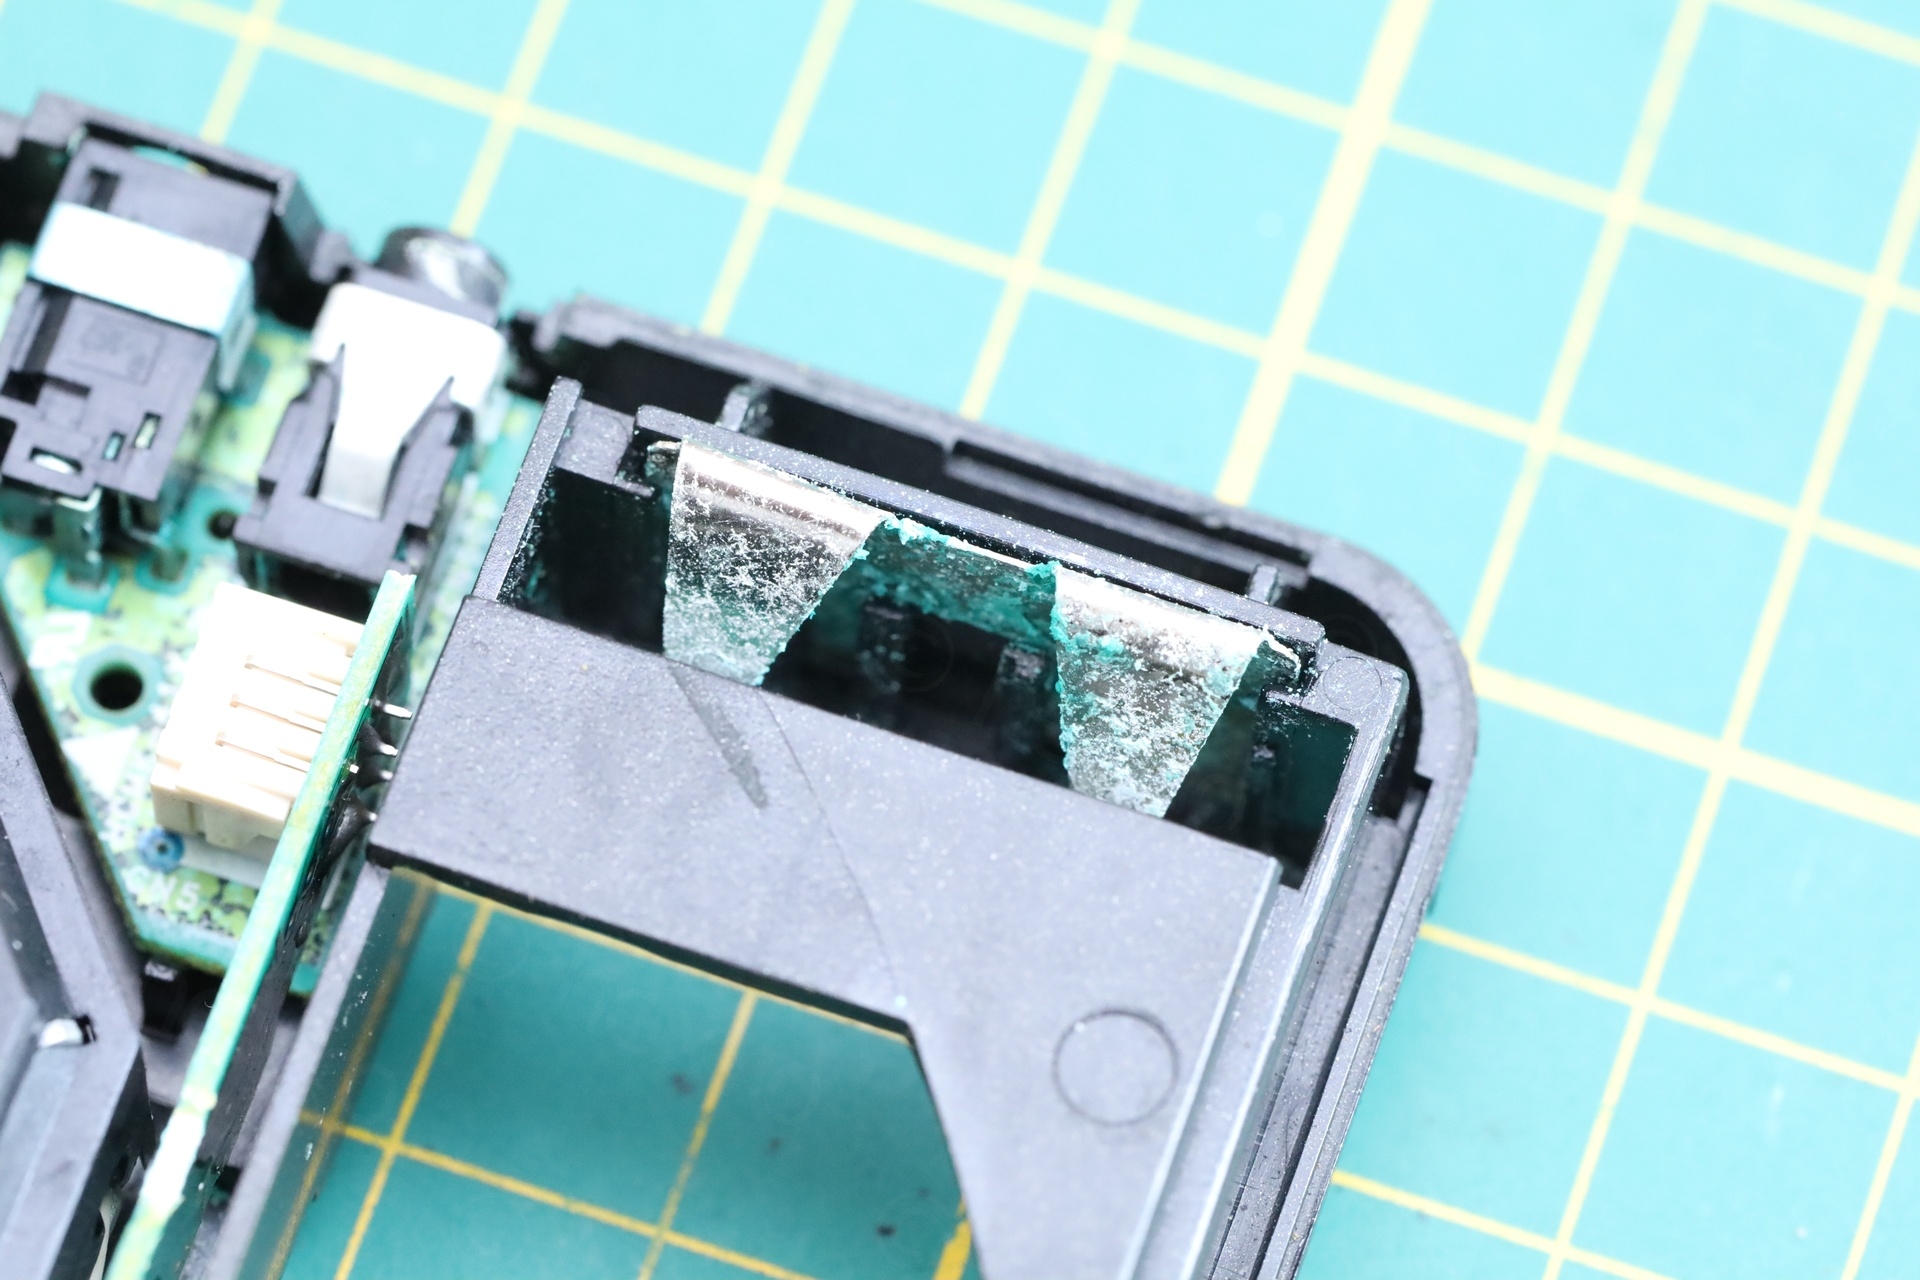
Unfortunately, I did not pay attention to look closer – a pair of batteries were left in, which did not look corroded (just old). The mistake was not taking them out to check, before buying it. I would have bought it anyway, but, although it looked clean, it was all but clean:
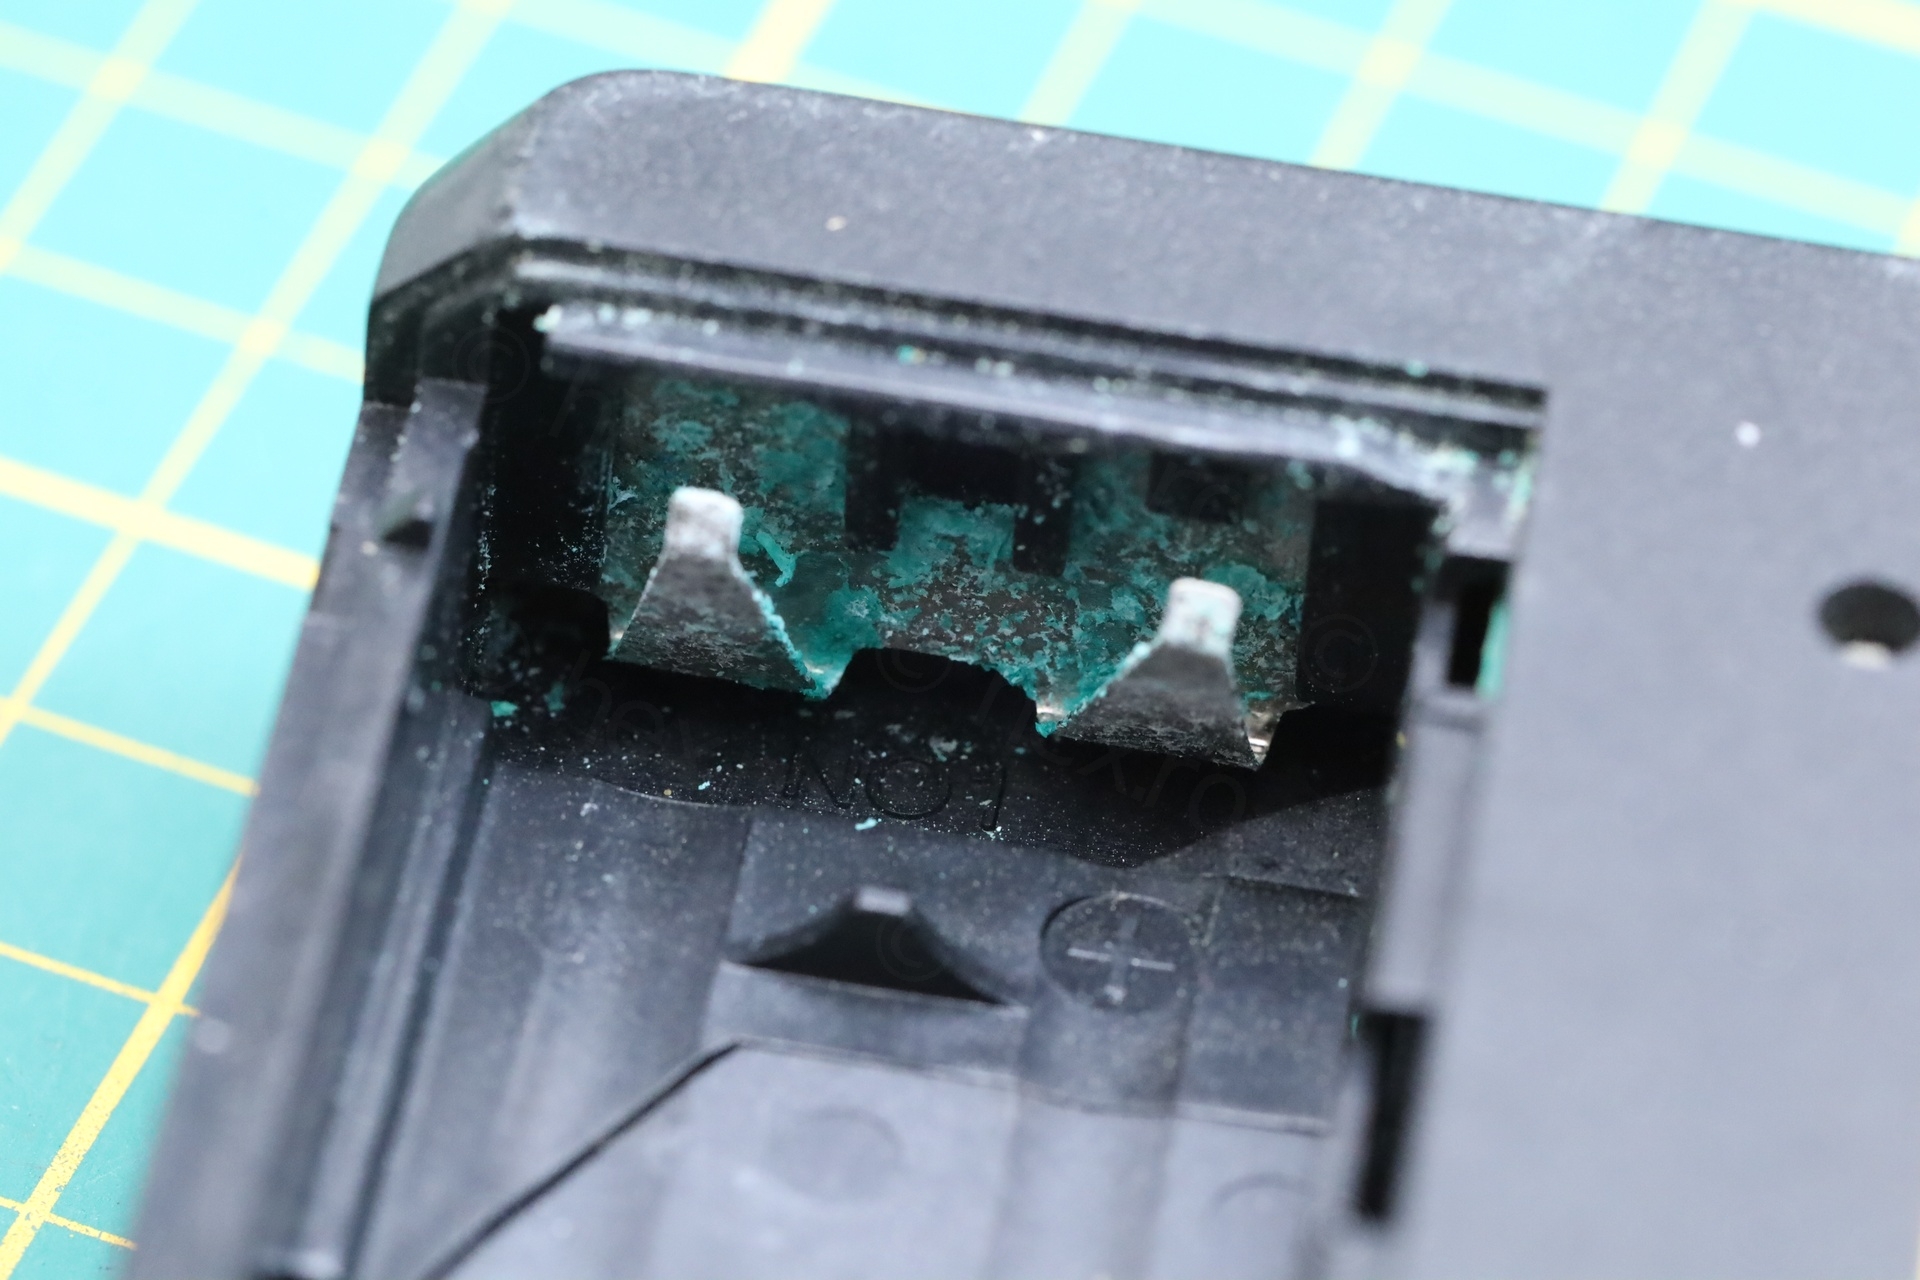
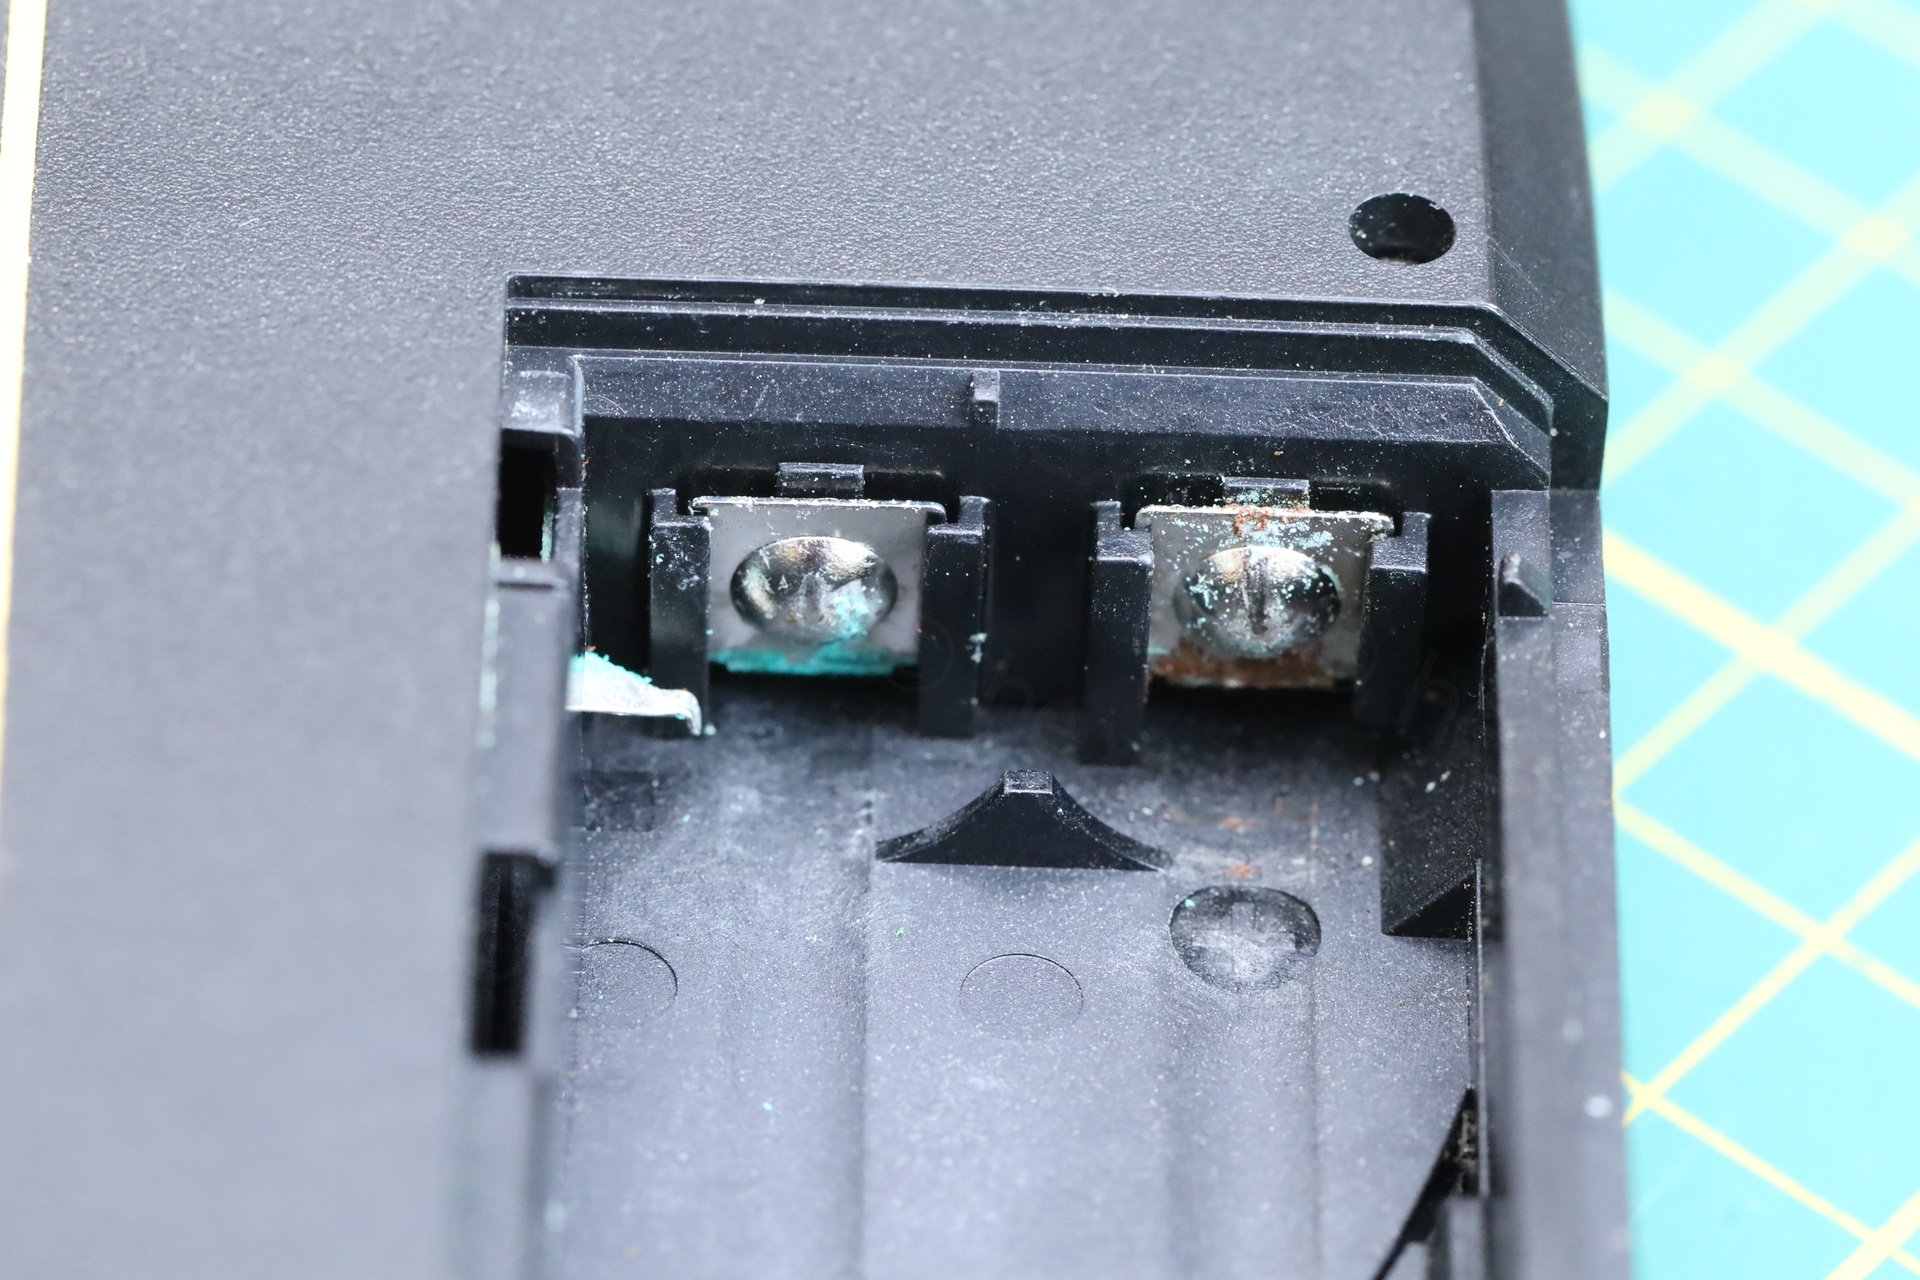
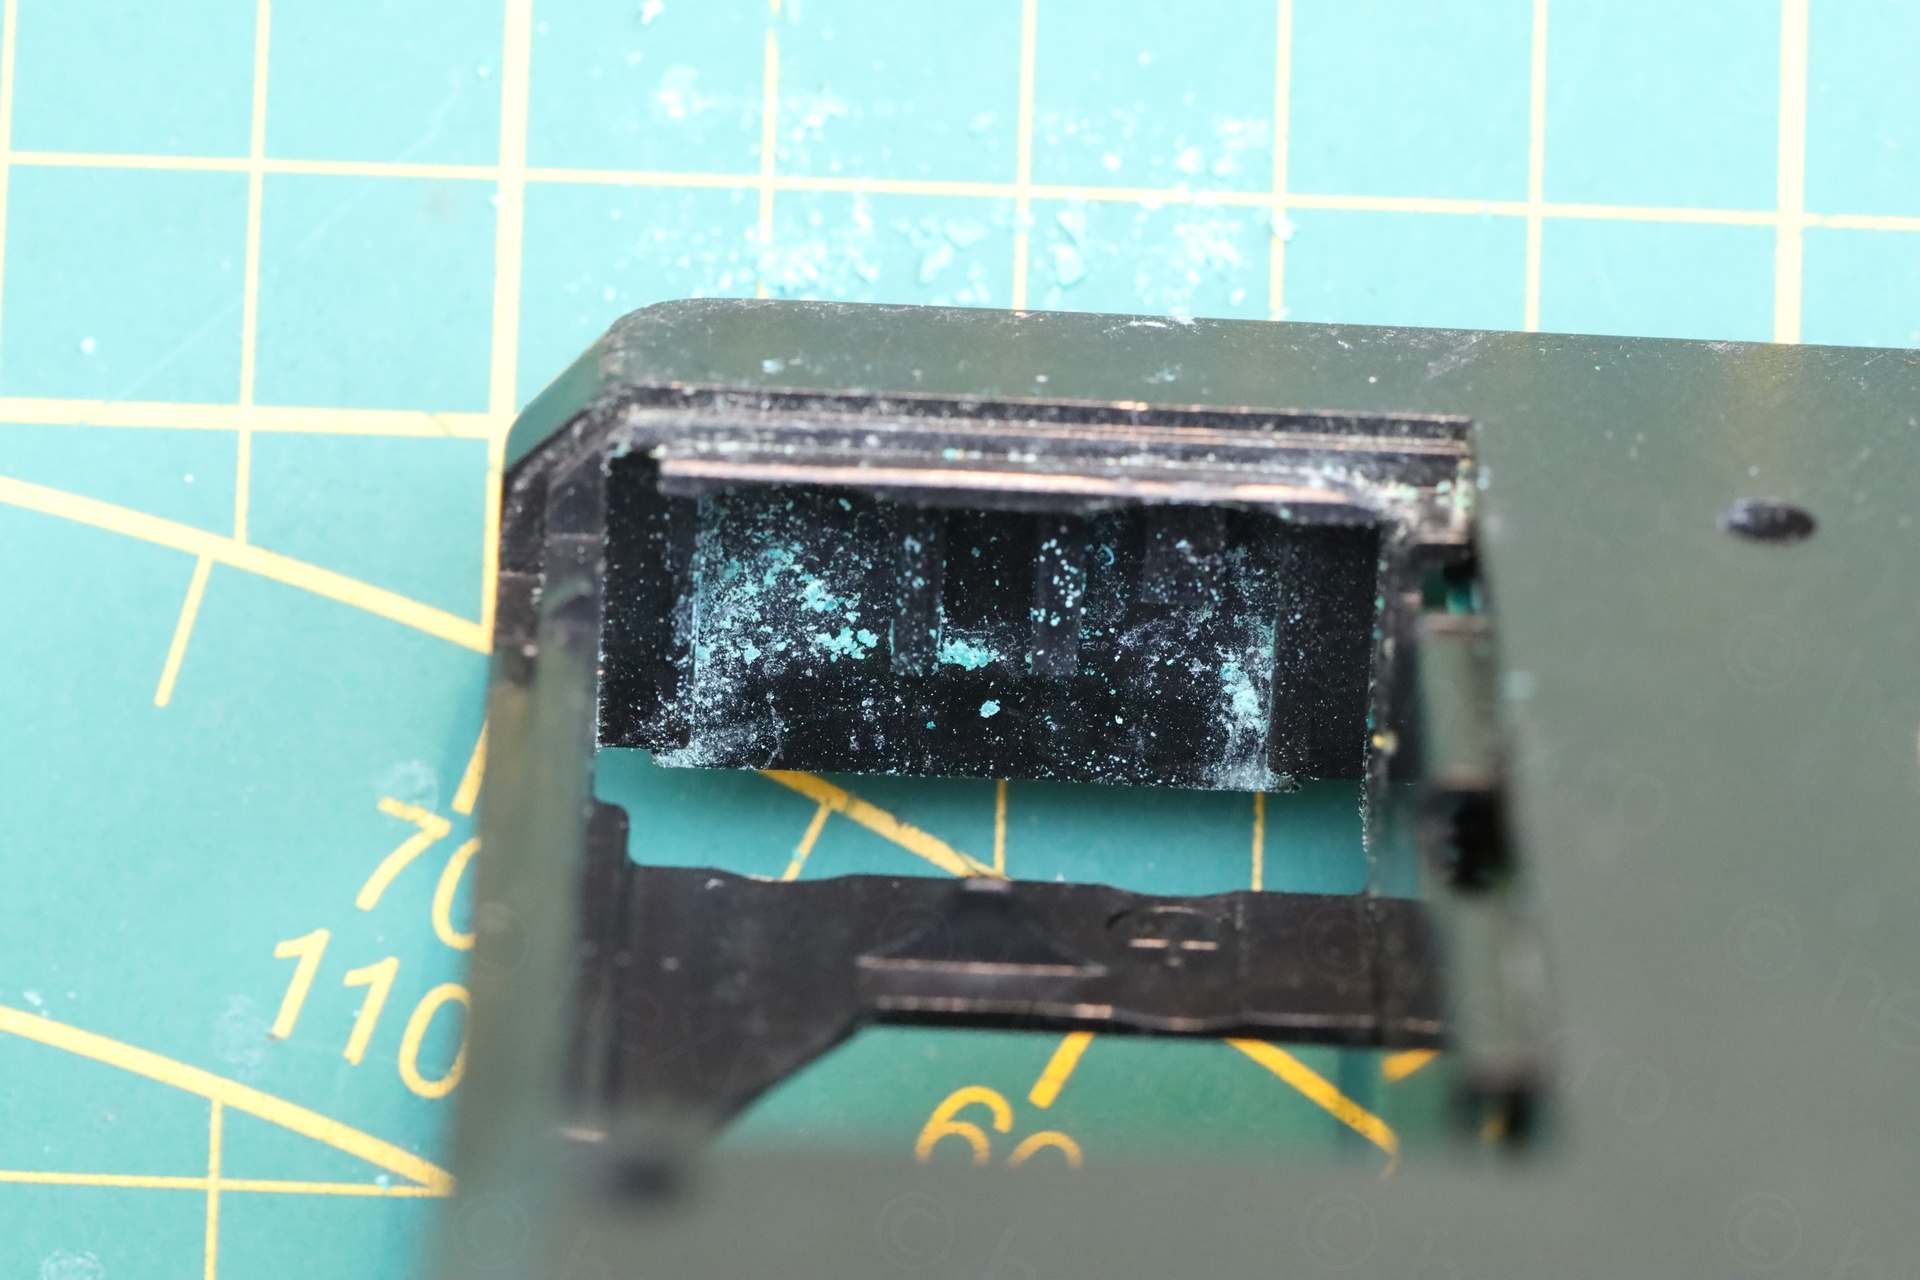
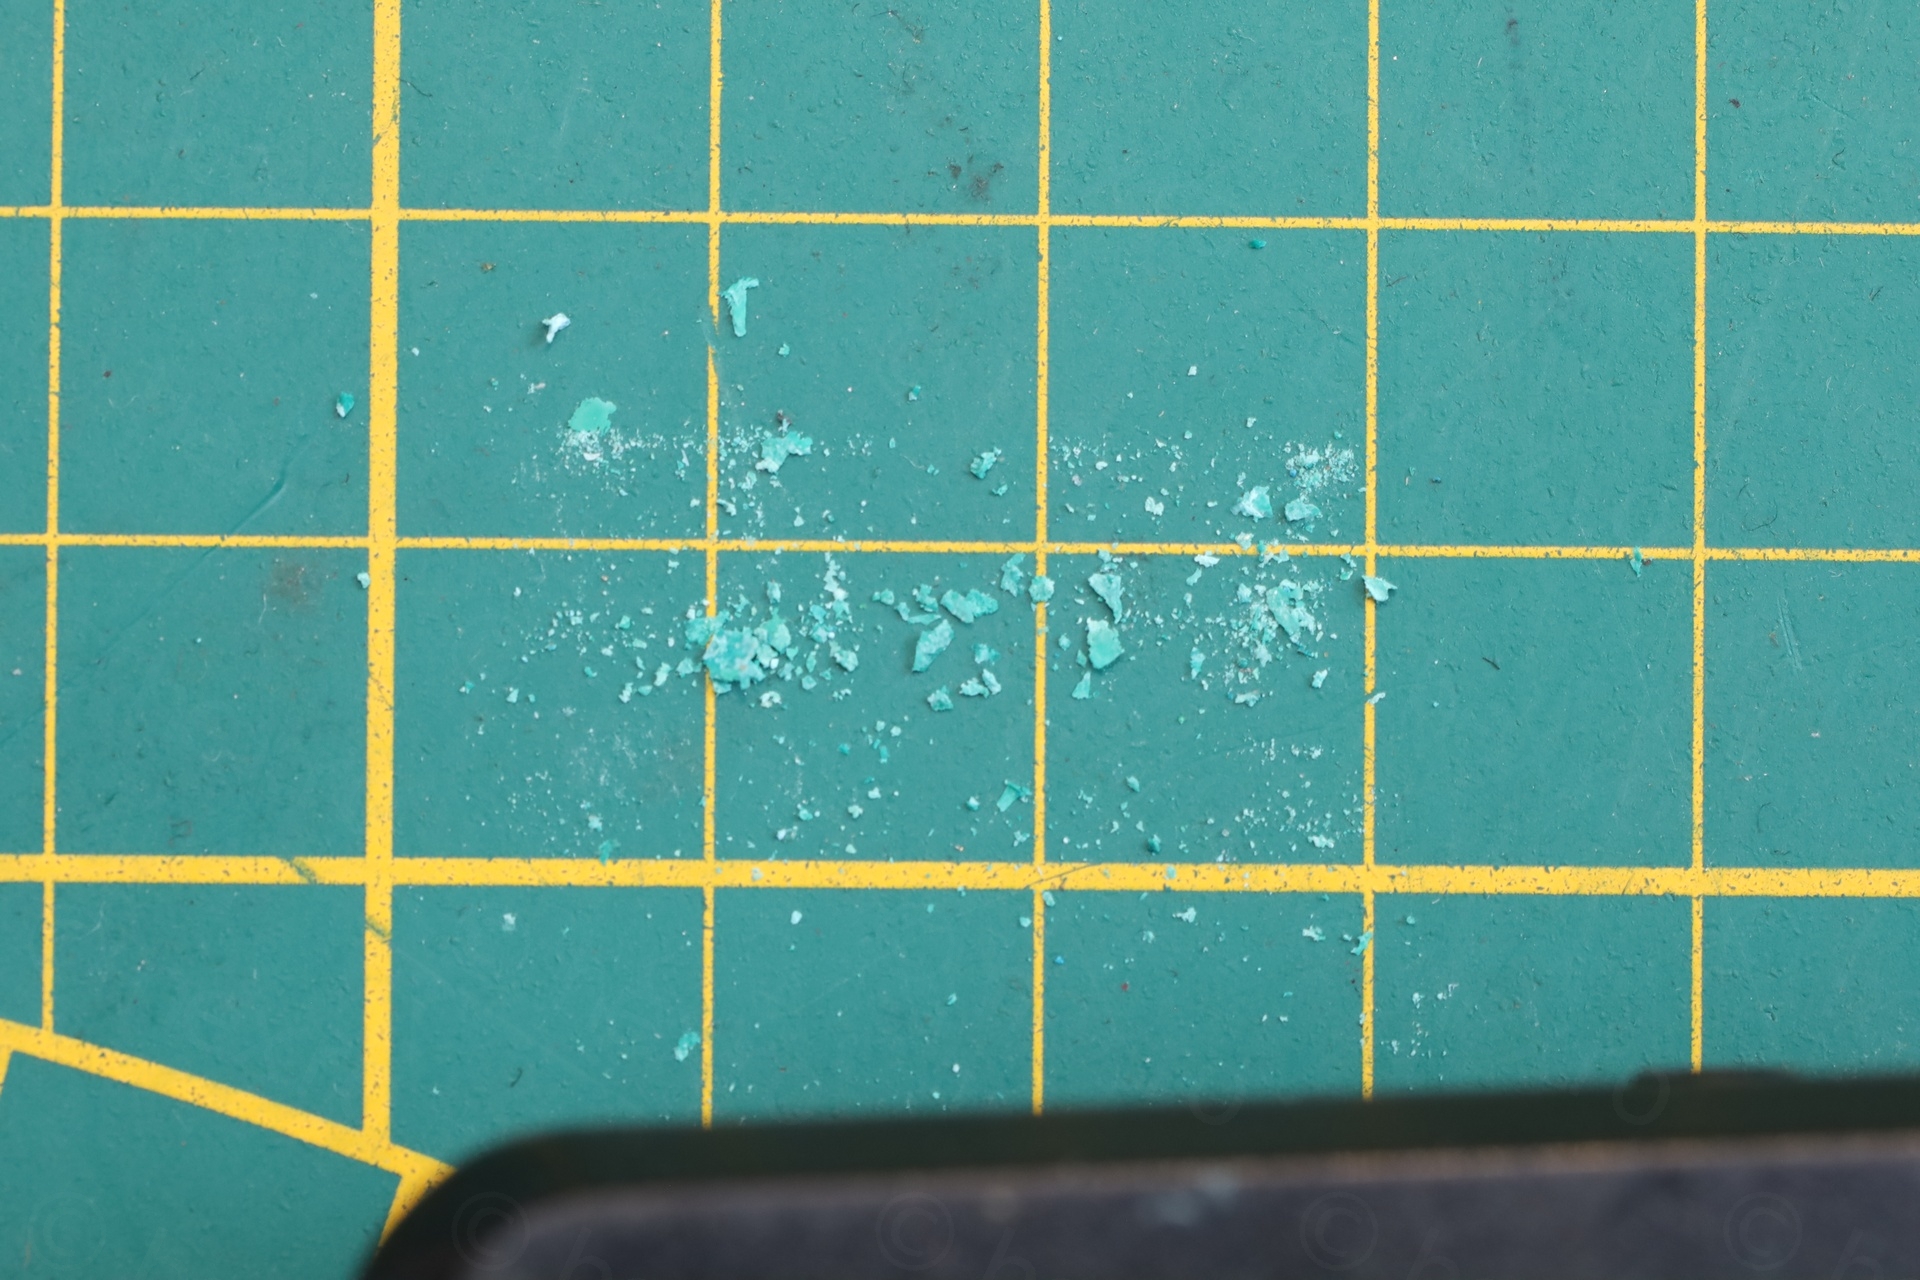
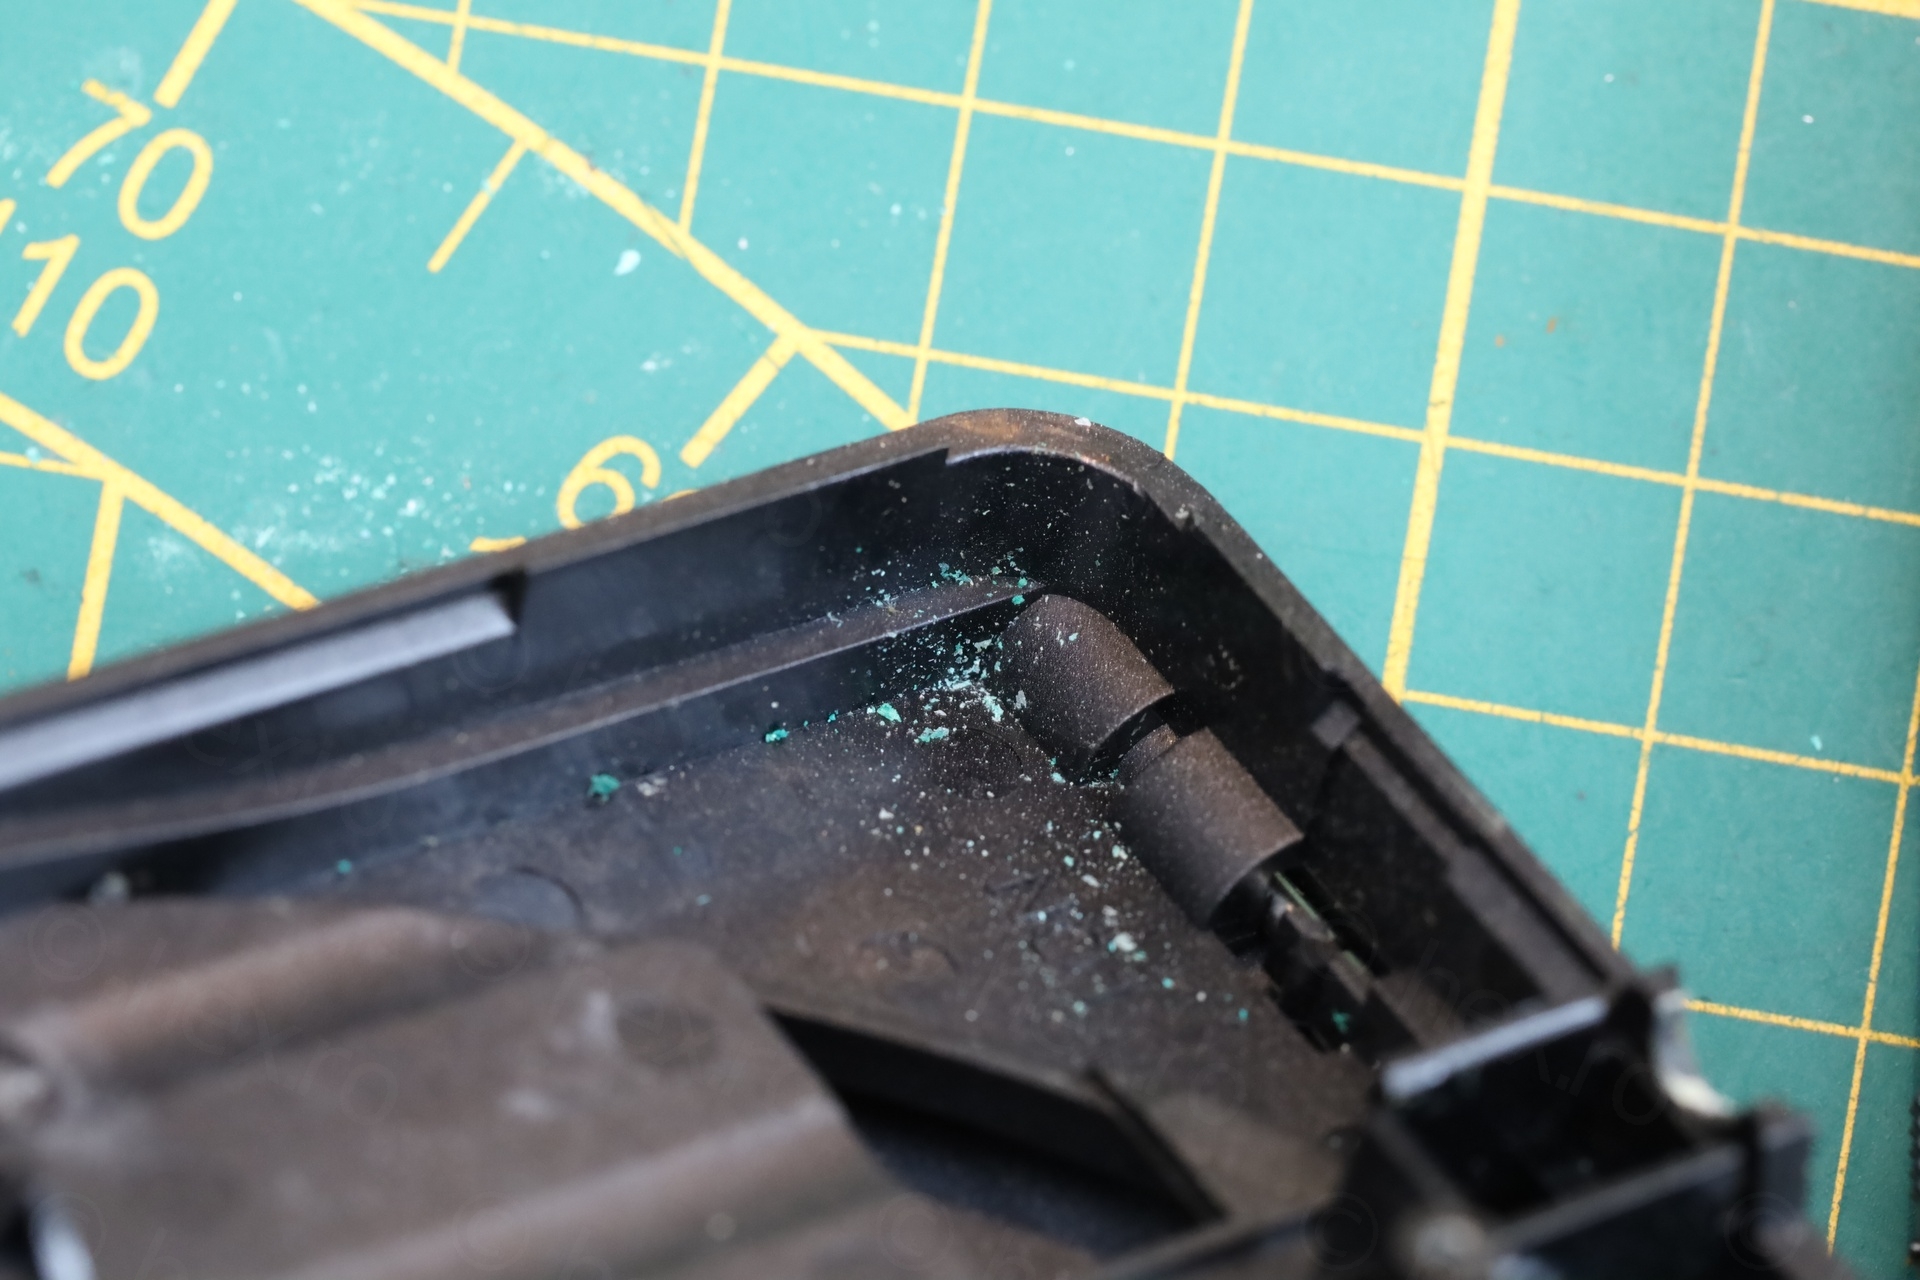
Still, it still looked a bit less corroded than the previous one.
It does not turn on
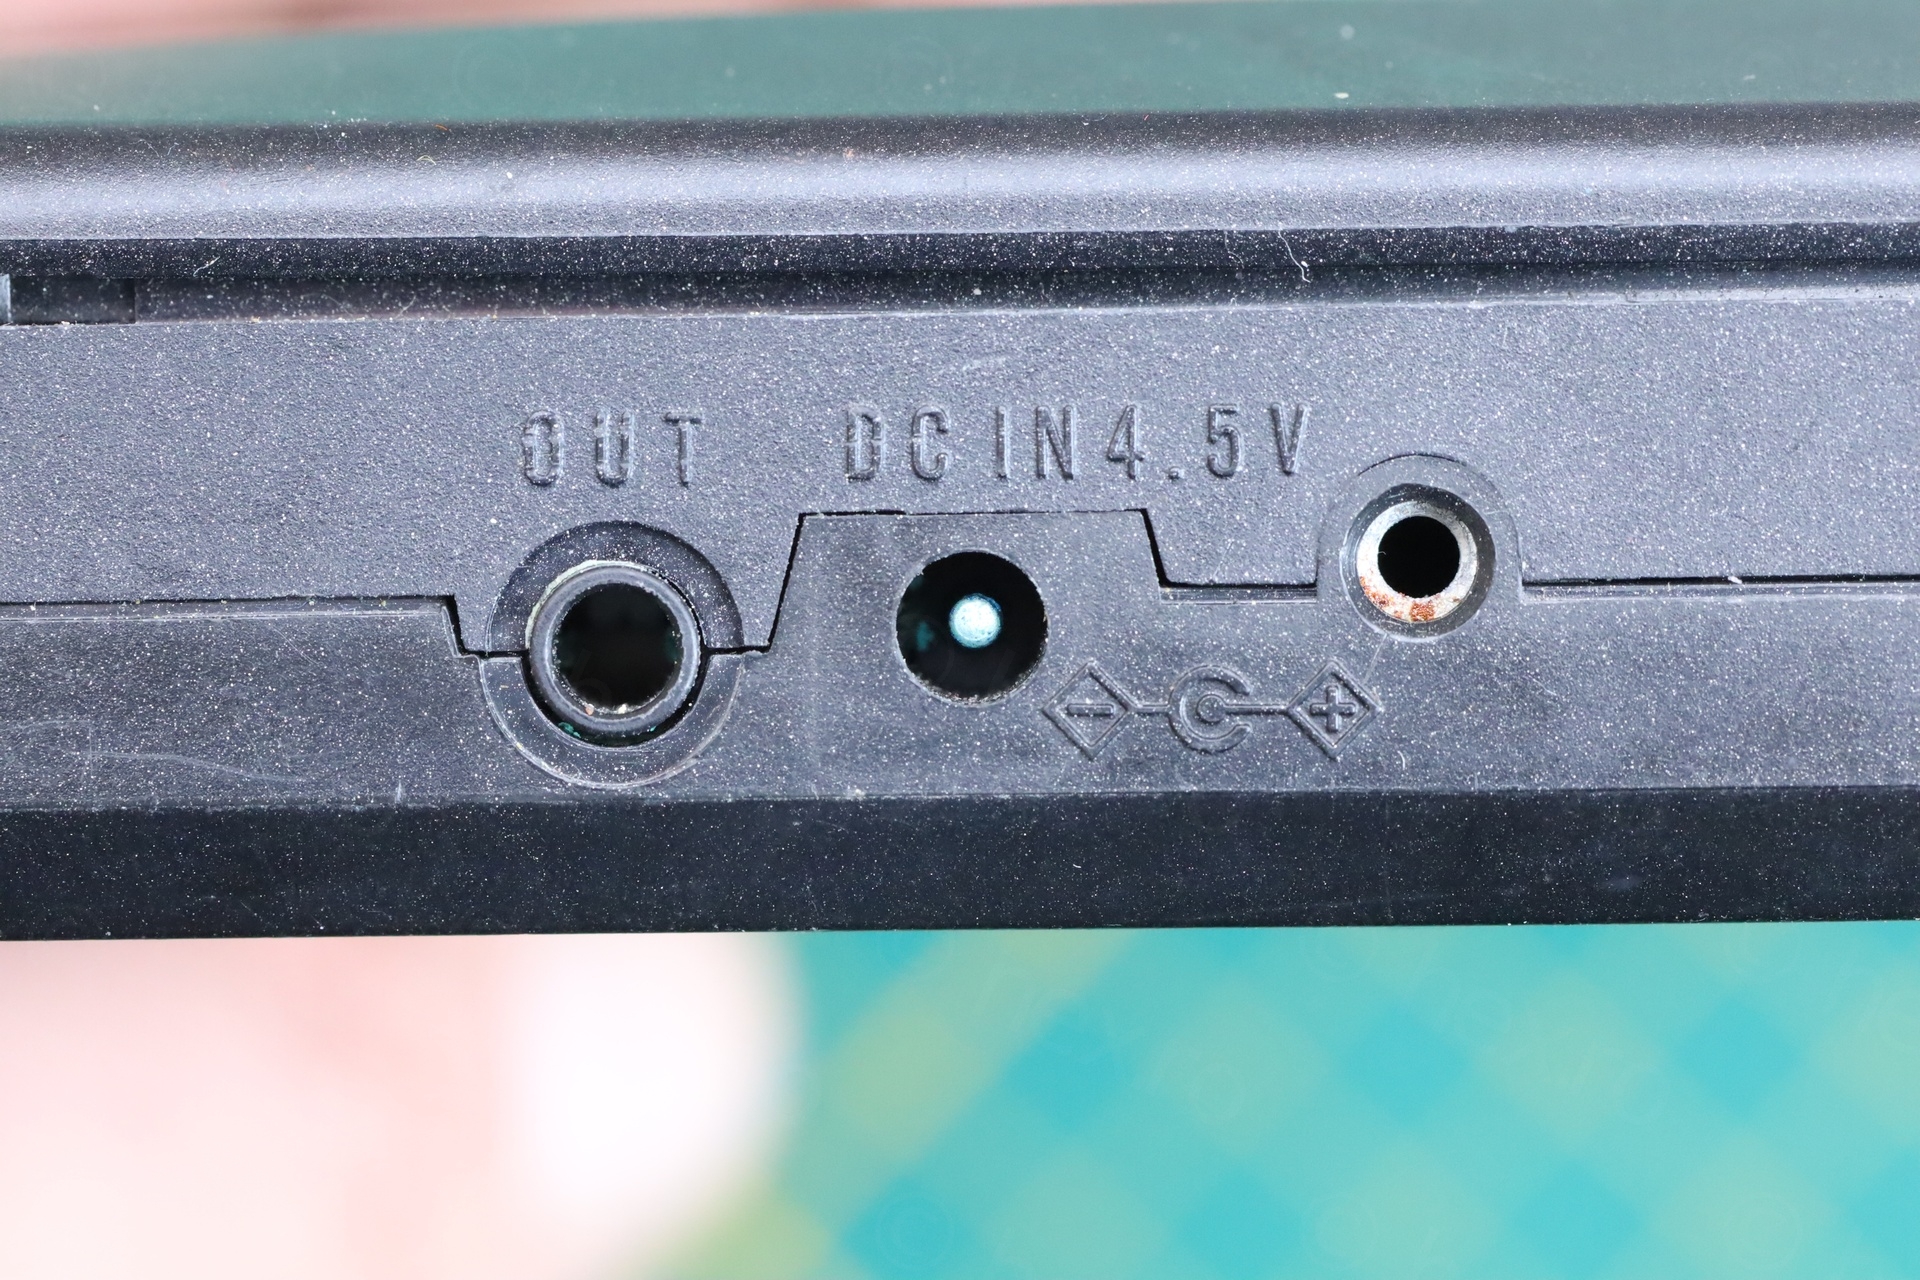
Before cleaning the corrosion, I tried powering it via the battery terminals. The poor Technics CD player was not having it. No sign of life. While it did work when powering with 4.5V via the DC IN jack, there was no reaction when feeding it via the 3V via the batteries.
The CD Player has a way to detect if power is applied via the DC IN jack. If nothing is inserted, two pins stay shorted inside the plug. They indicate that power should be taken from the batteries.
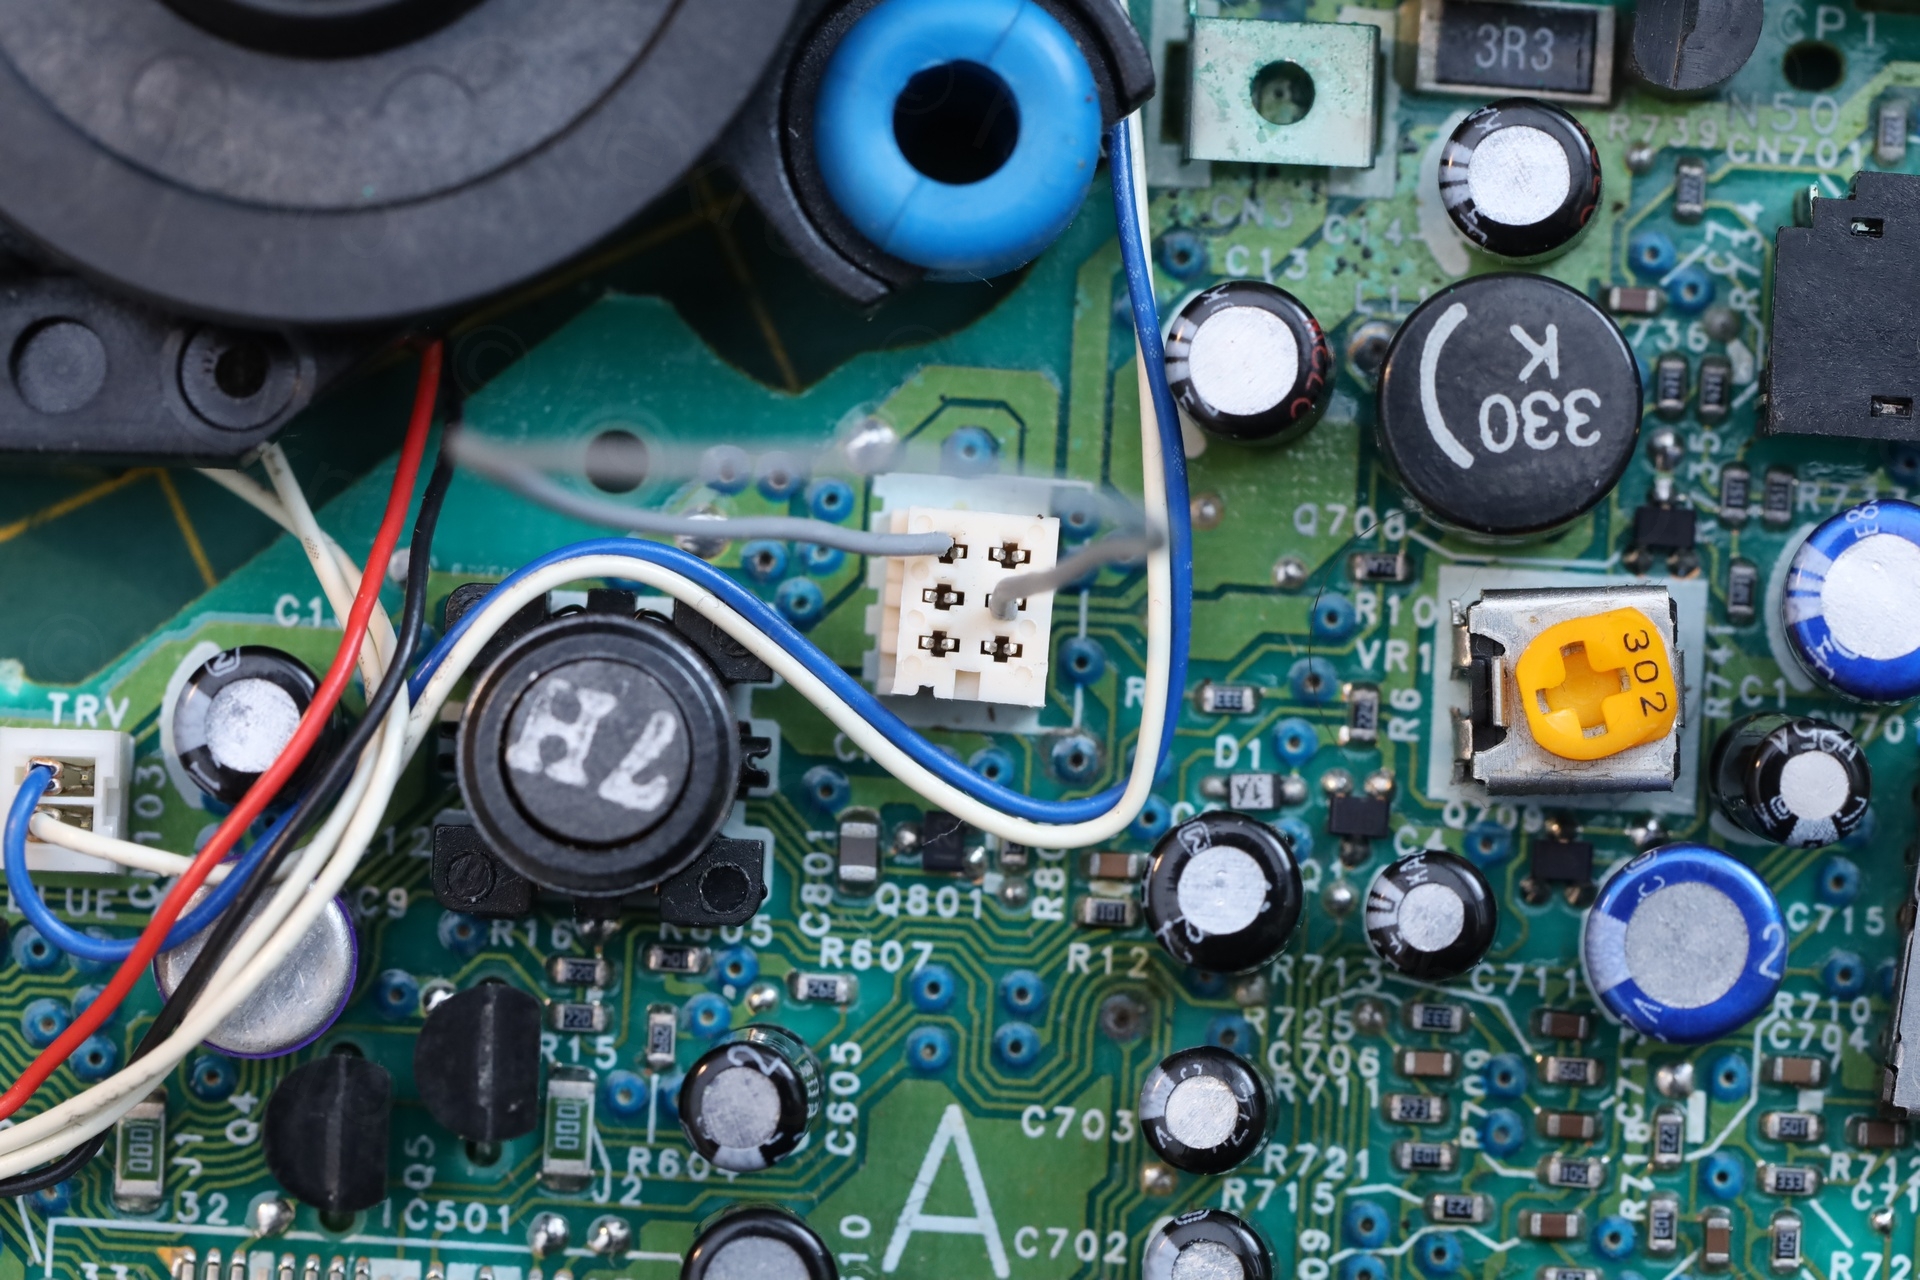
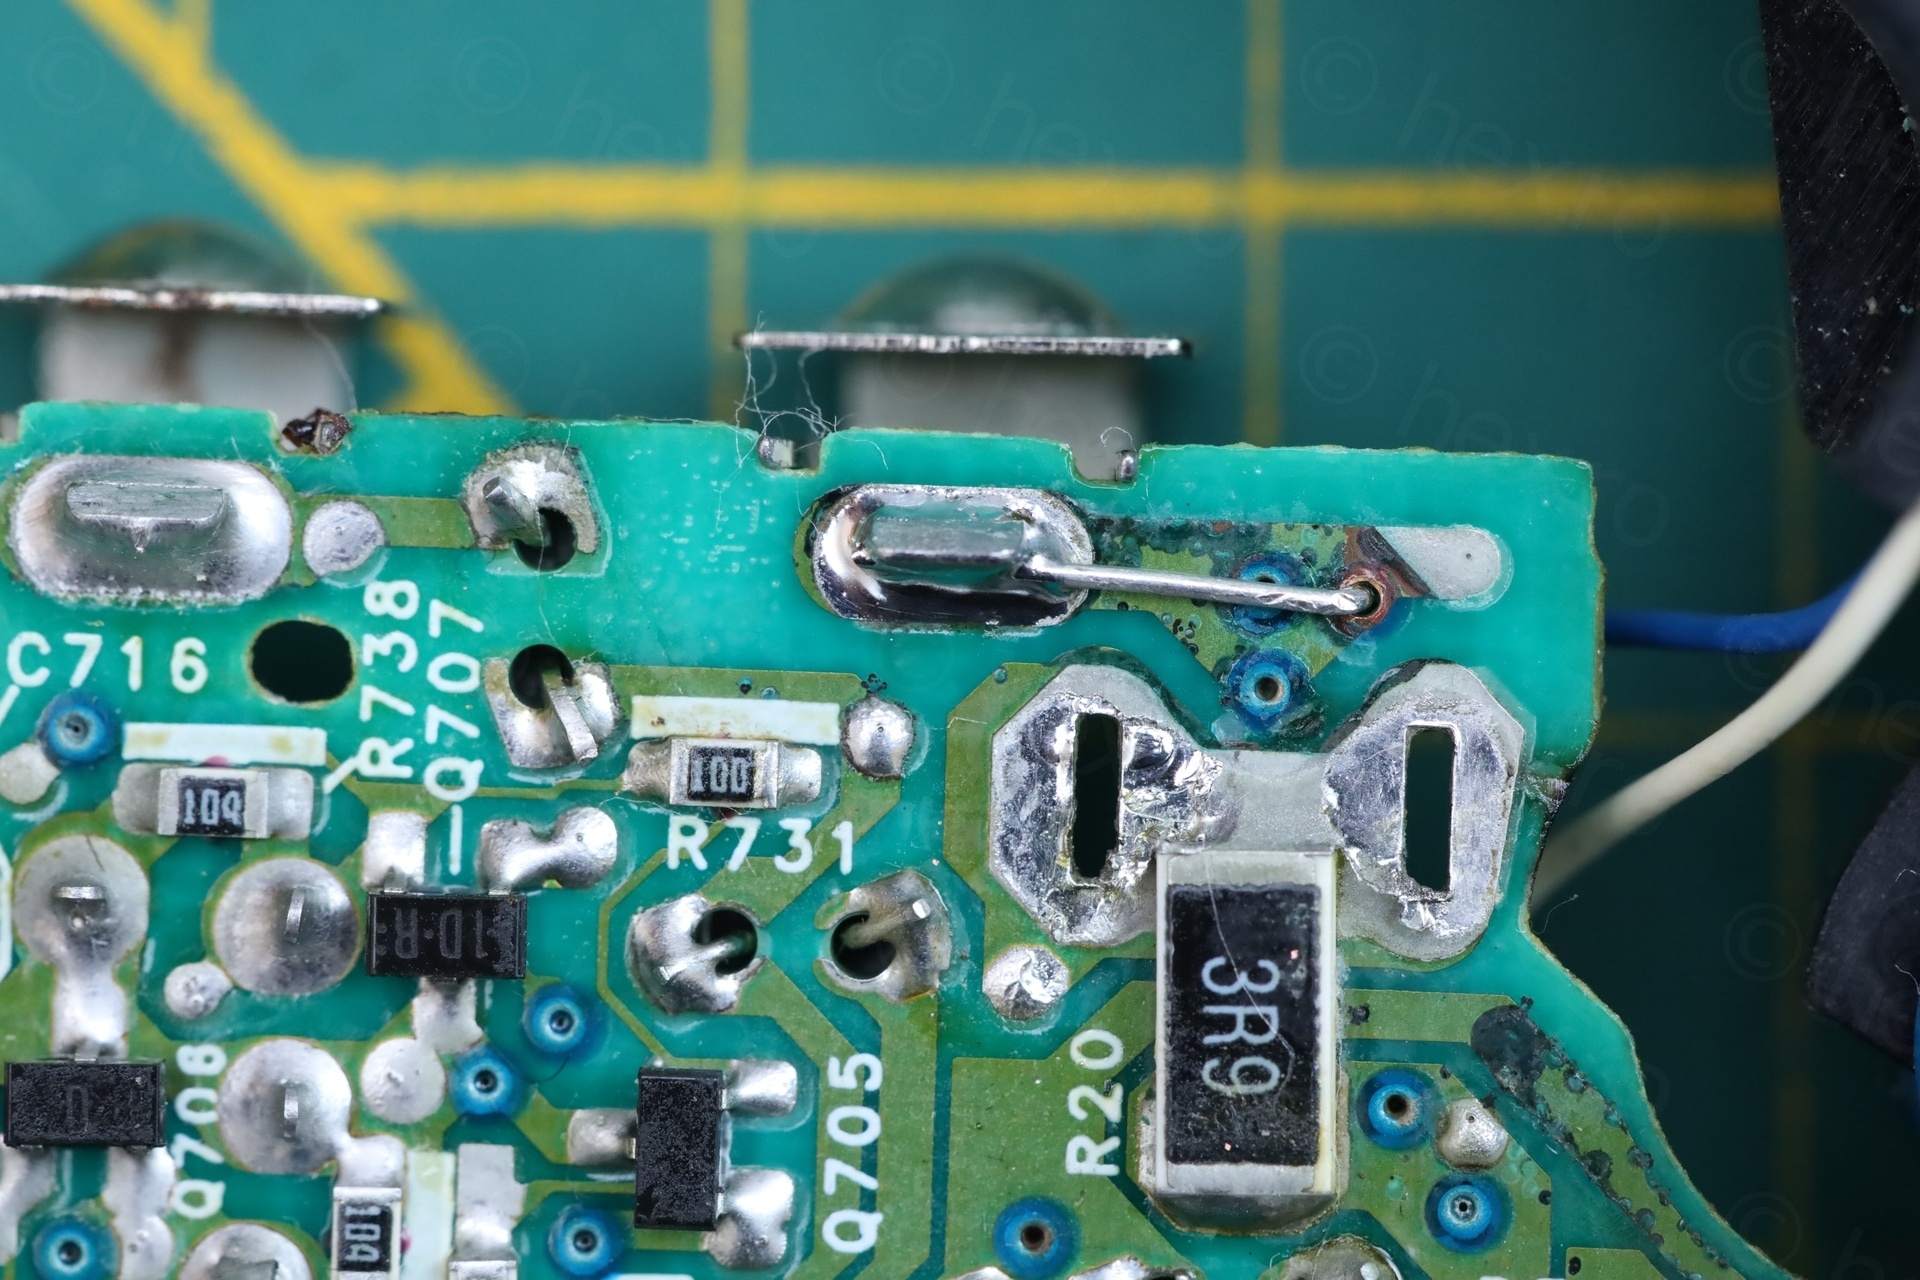
Those pins inside the DC IN jack stay shorted unless there is corrosion inside. To eliminate possible problems that could originate from the jack, I traced the two pins back to the motherboard connector and bridged those with a thin wire. This way, DC IN board is bypassed.
But il y a un pépin:
There is a problem, although the power supply was providing 3V, the LOW BATTERY symbol was flashing chaotically and the player would shut down 🙁
Diagnosing with IR Camera
The little desk bench power supply was providing upwards of 300mA during the startup routine. It may be normal, but still felt that it may be too much.
I said, let me see what is going on with the Infrared Camera, maybe there is an “almost shorted” capacitor somewhere and poor CD does not have enough power:
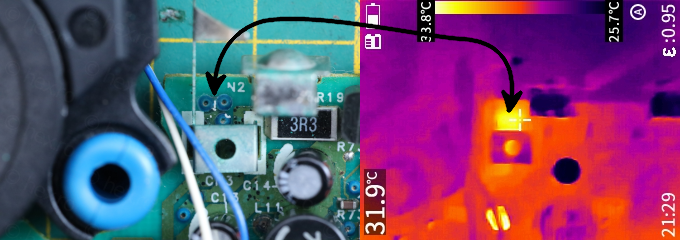
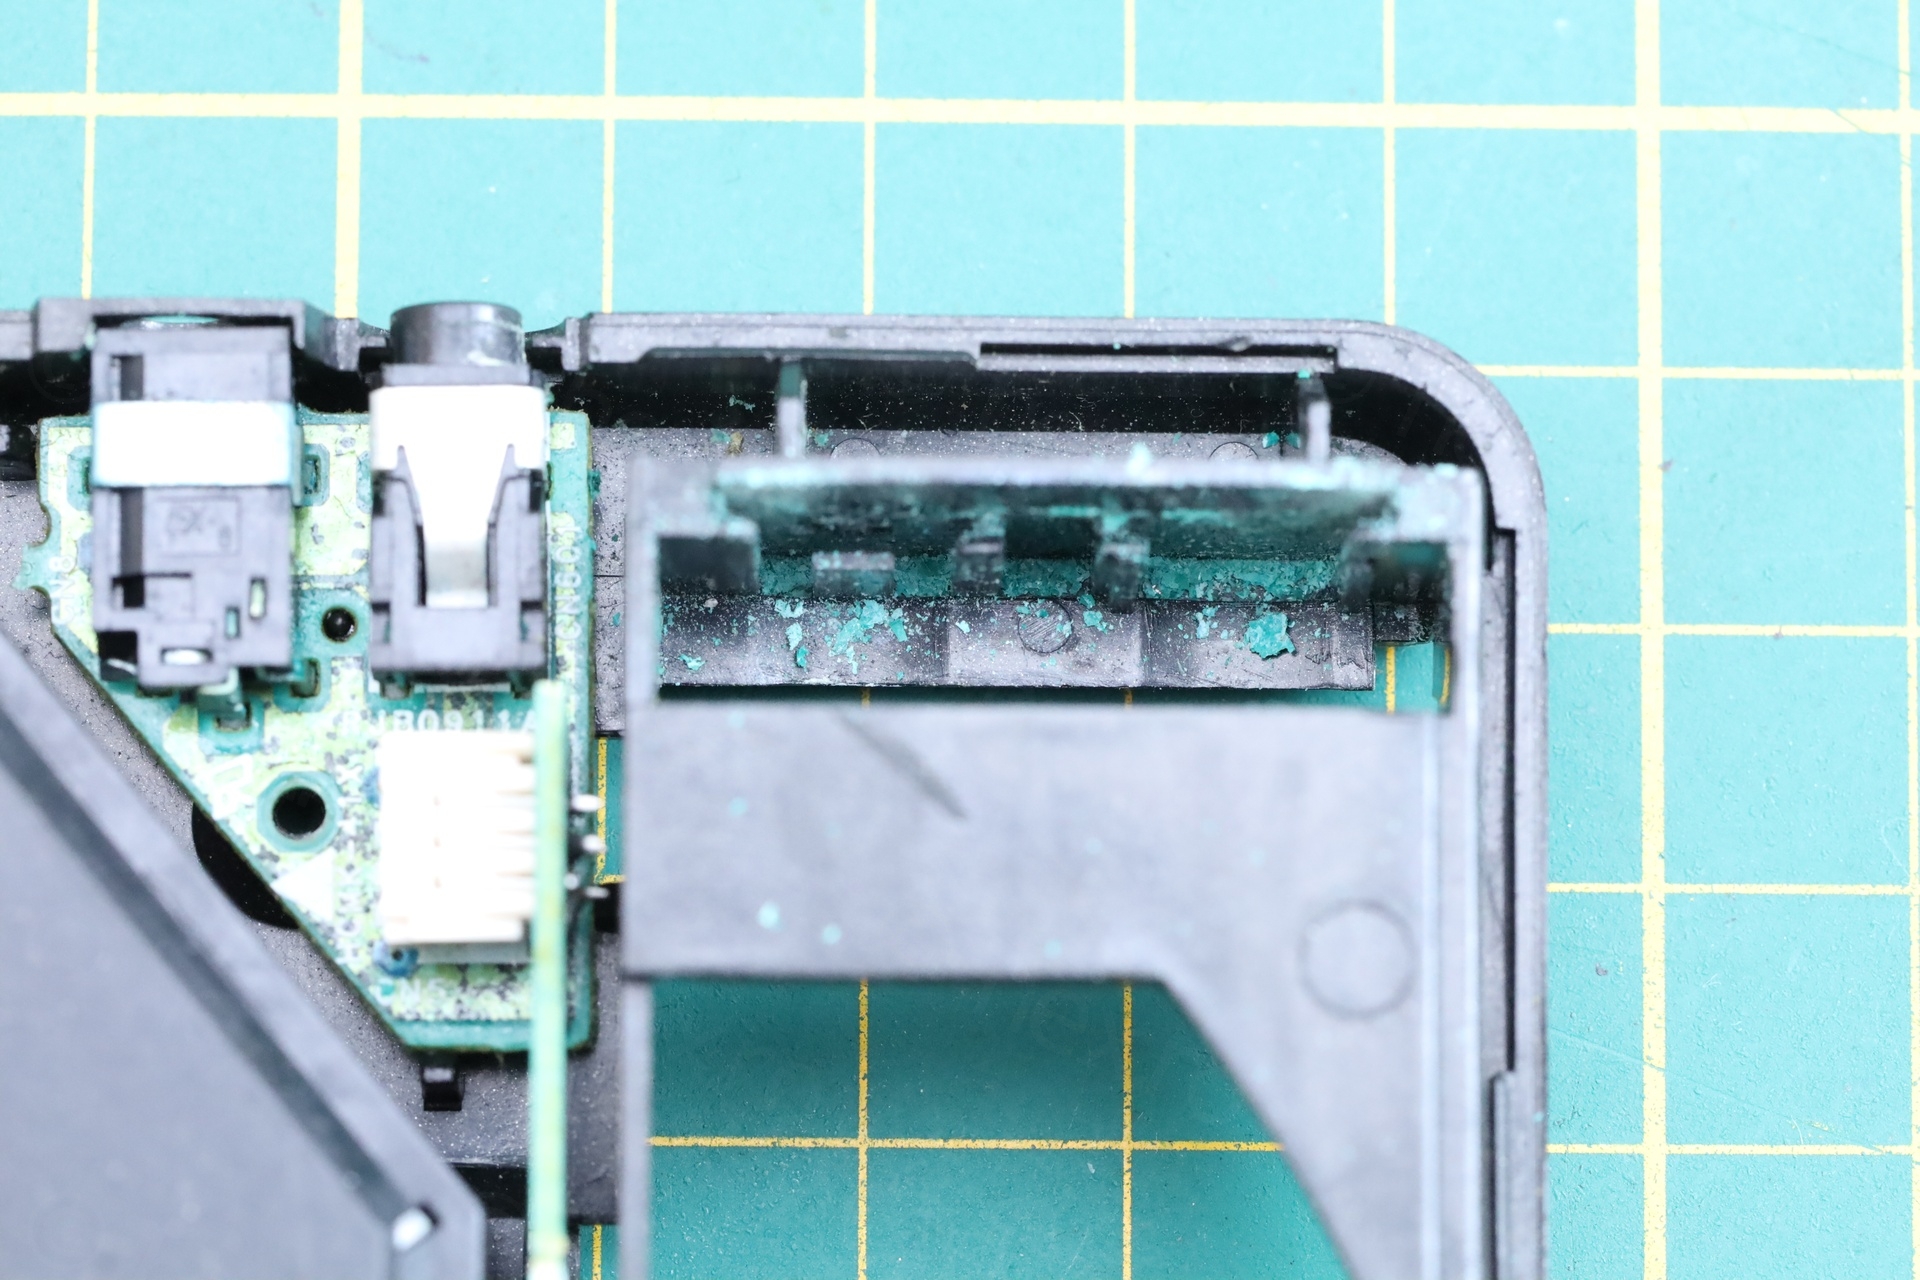
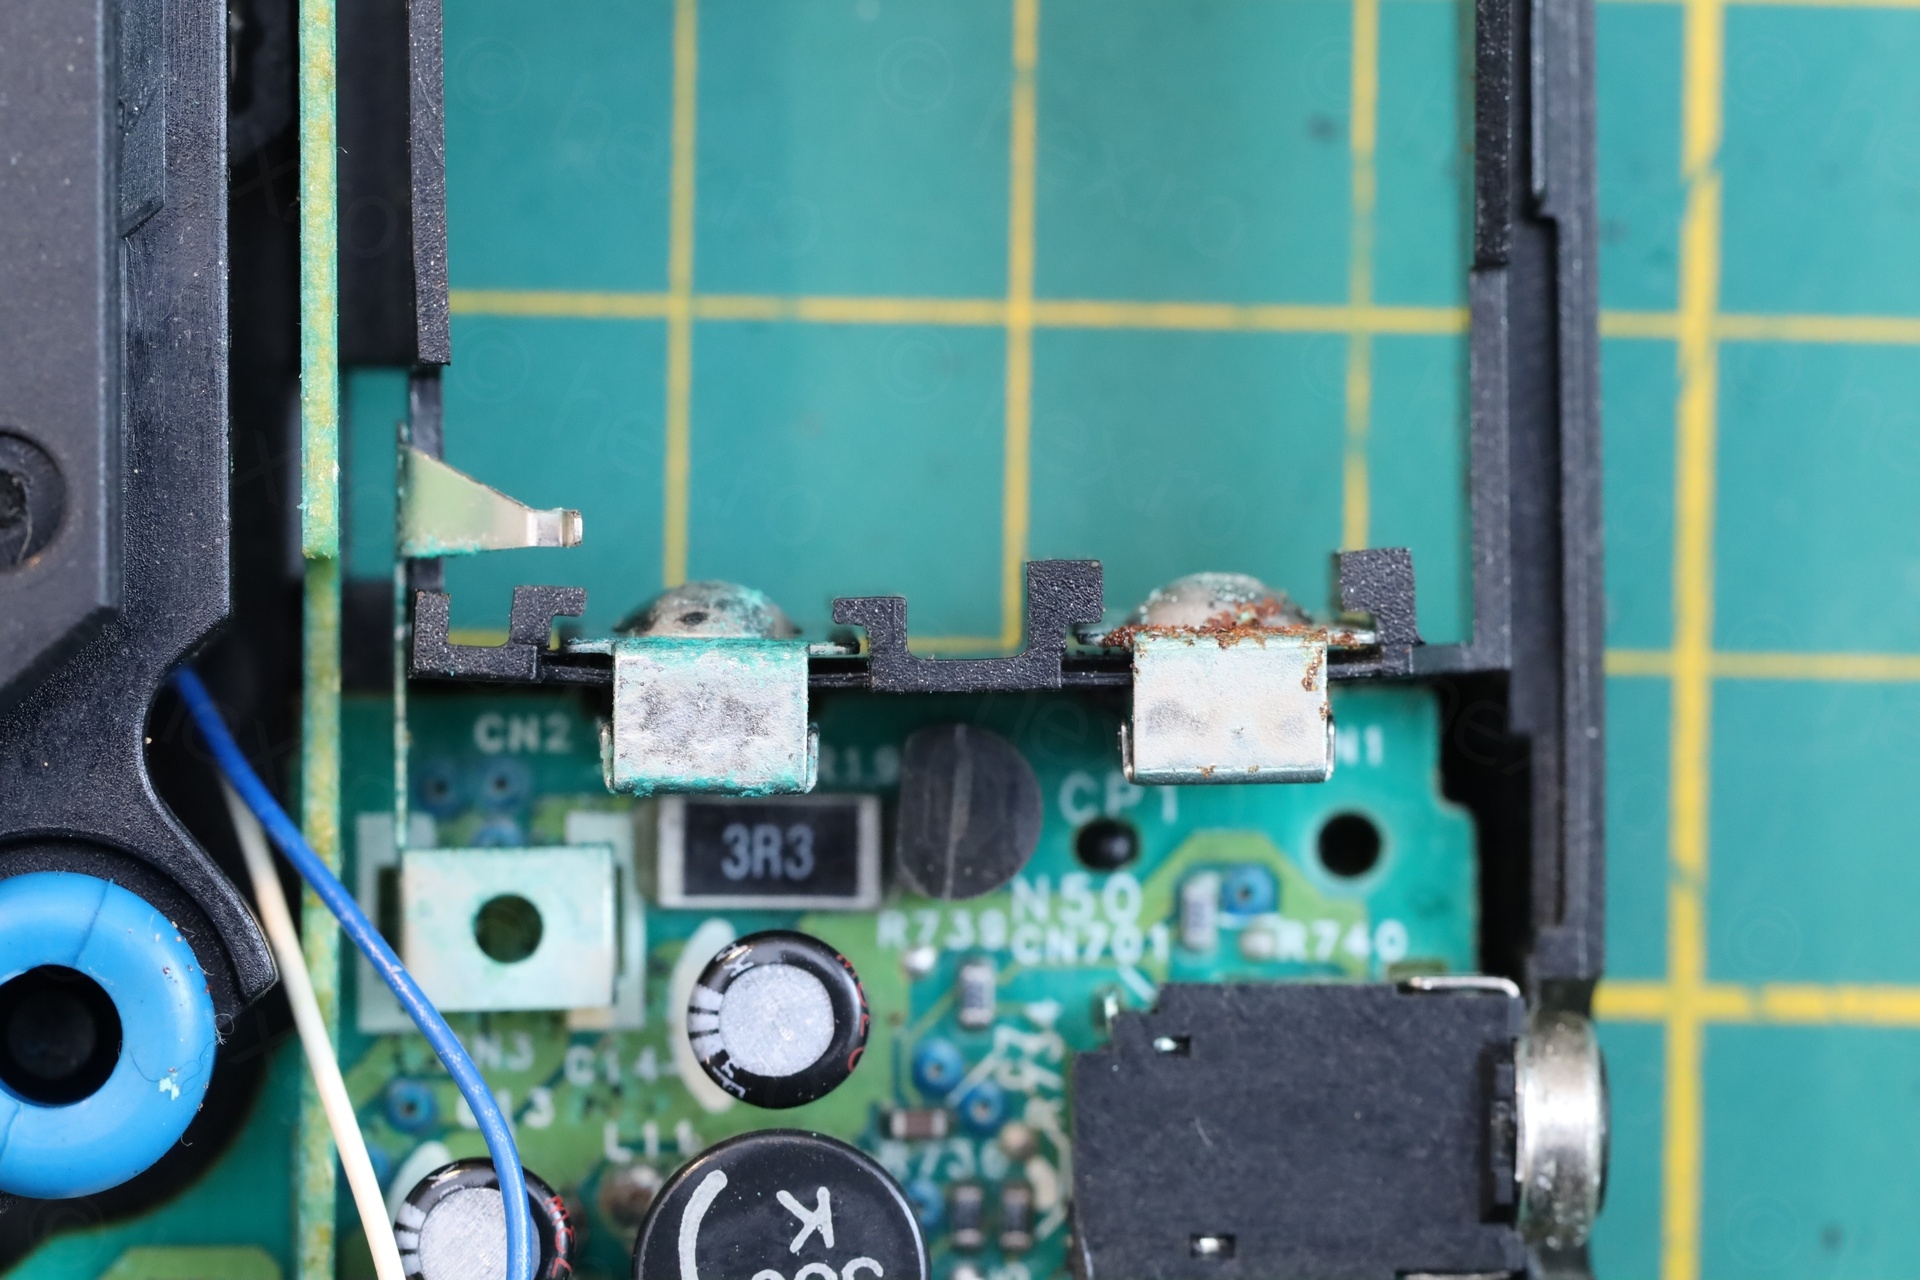
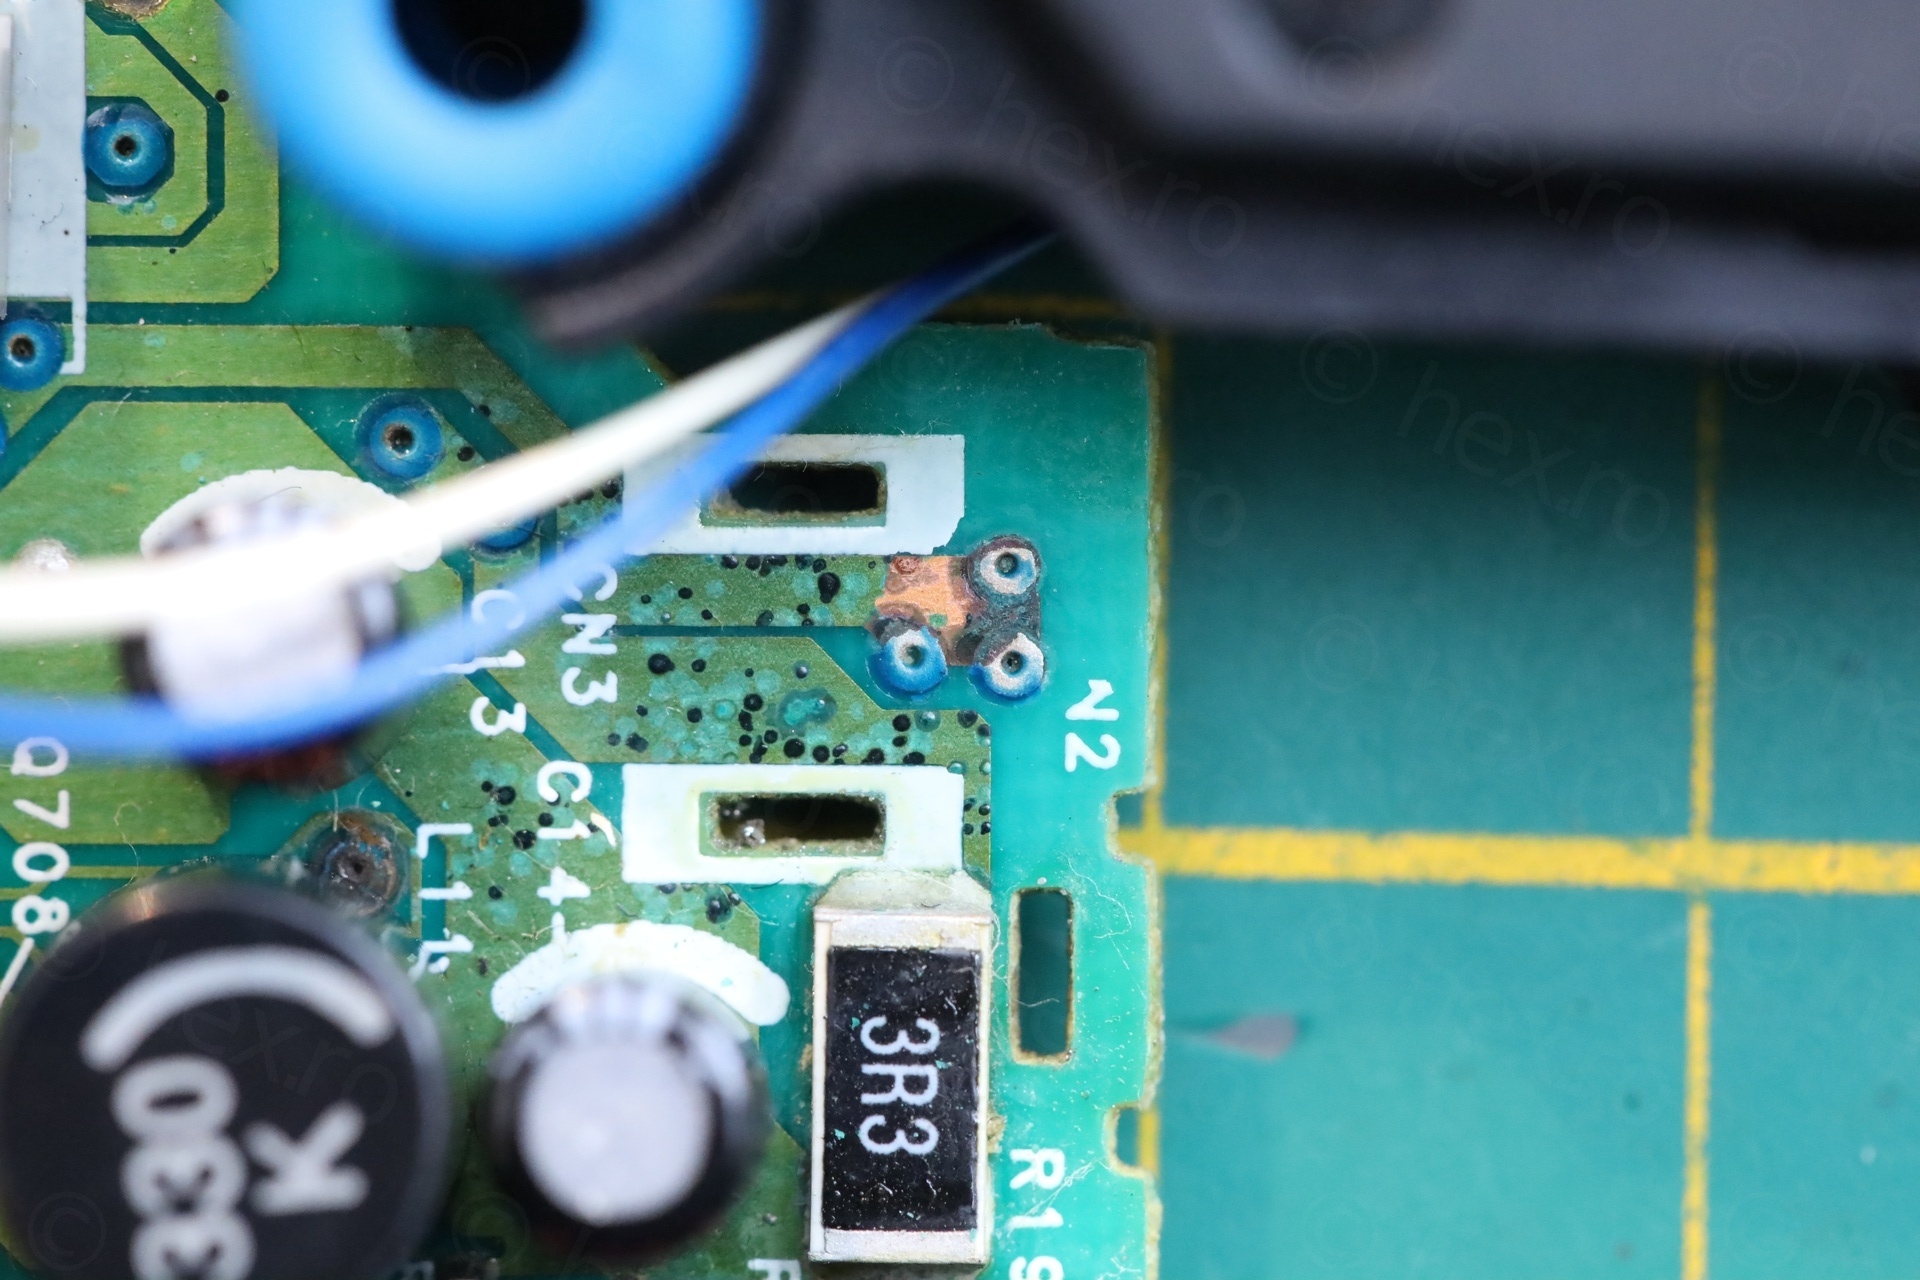
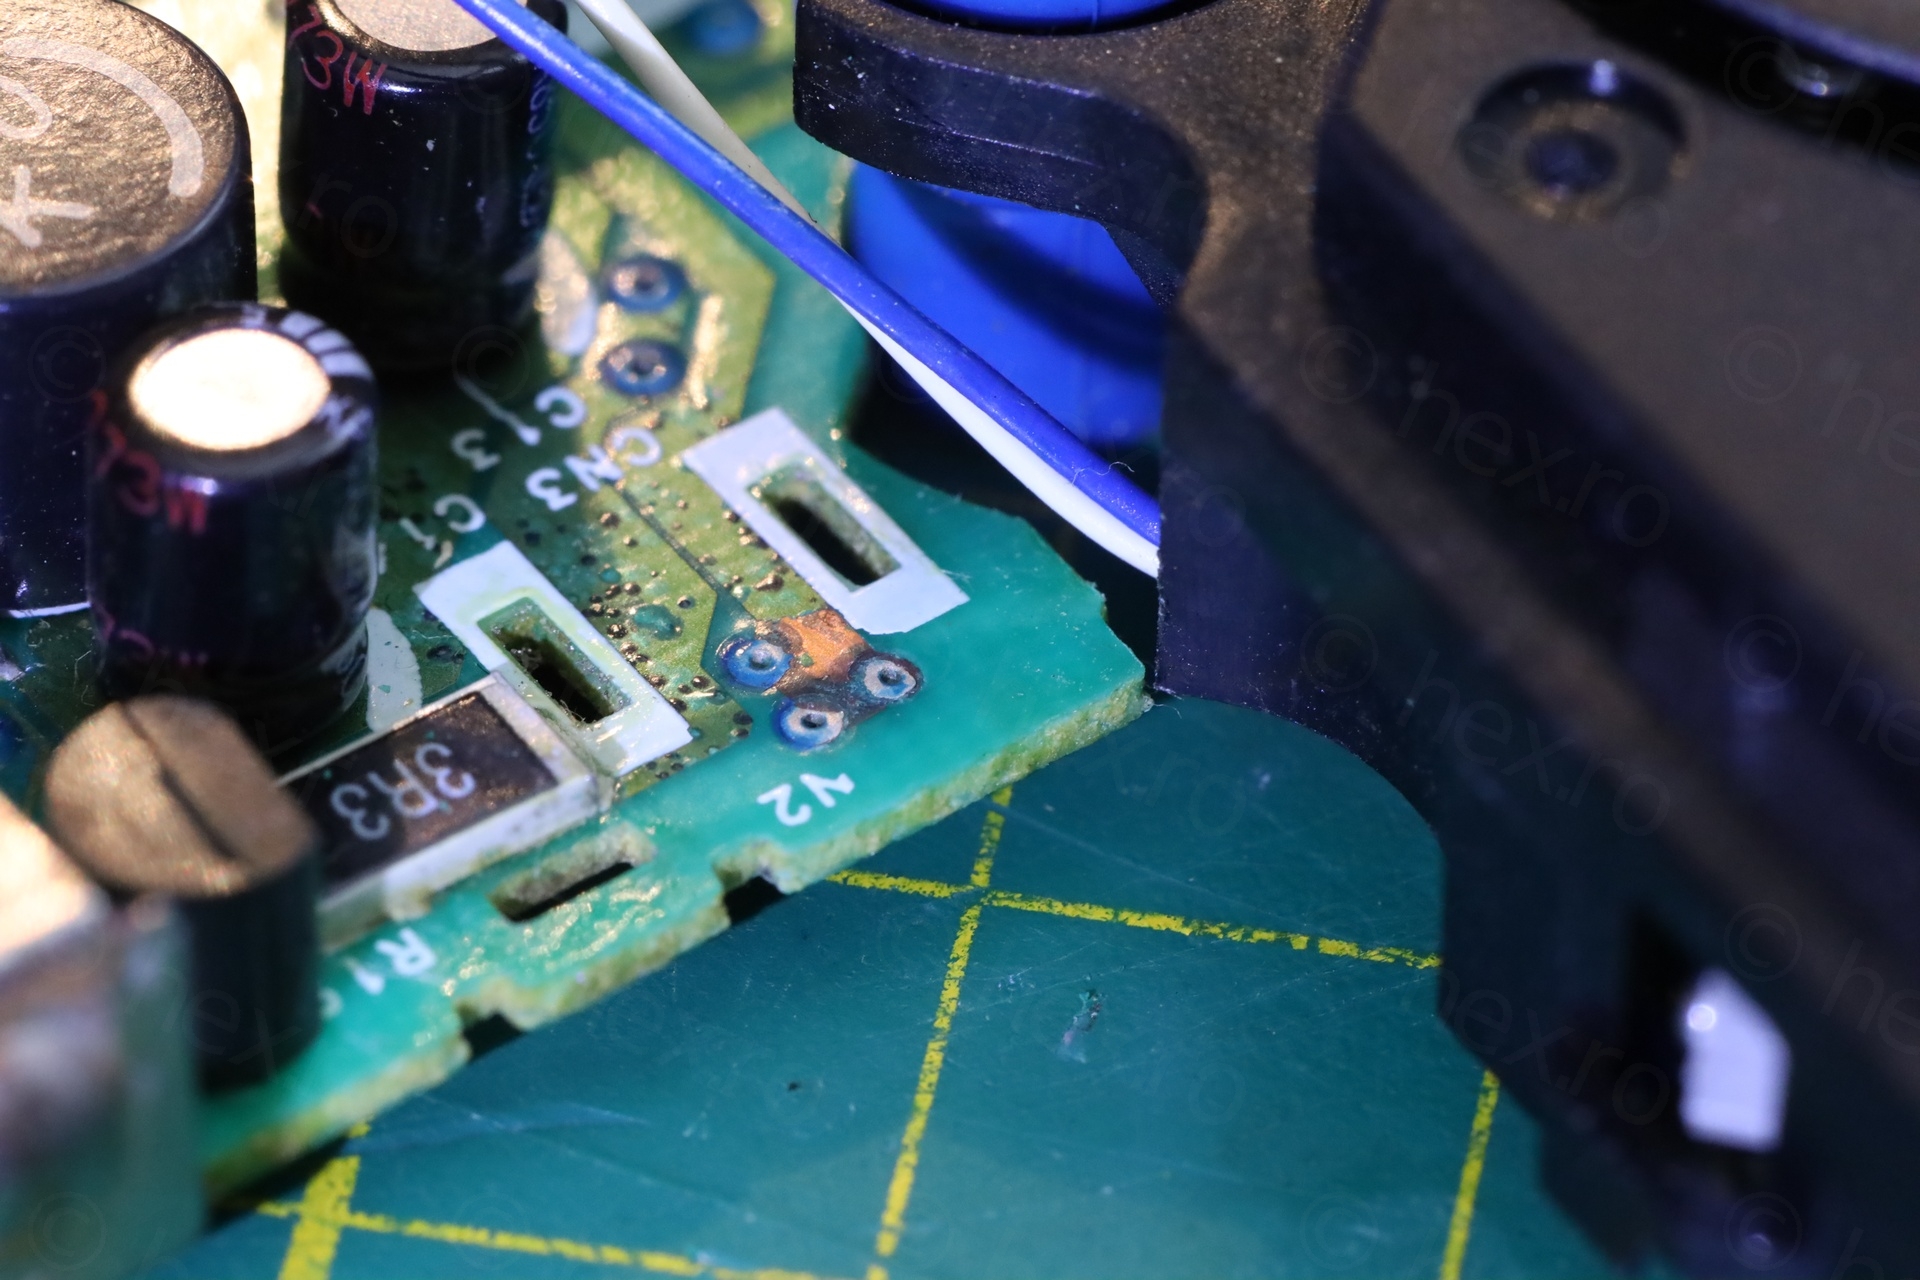
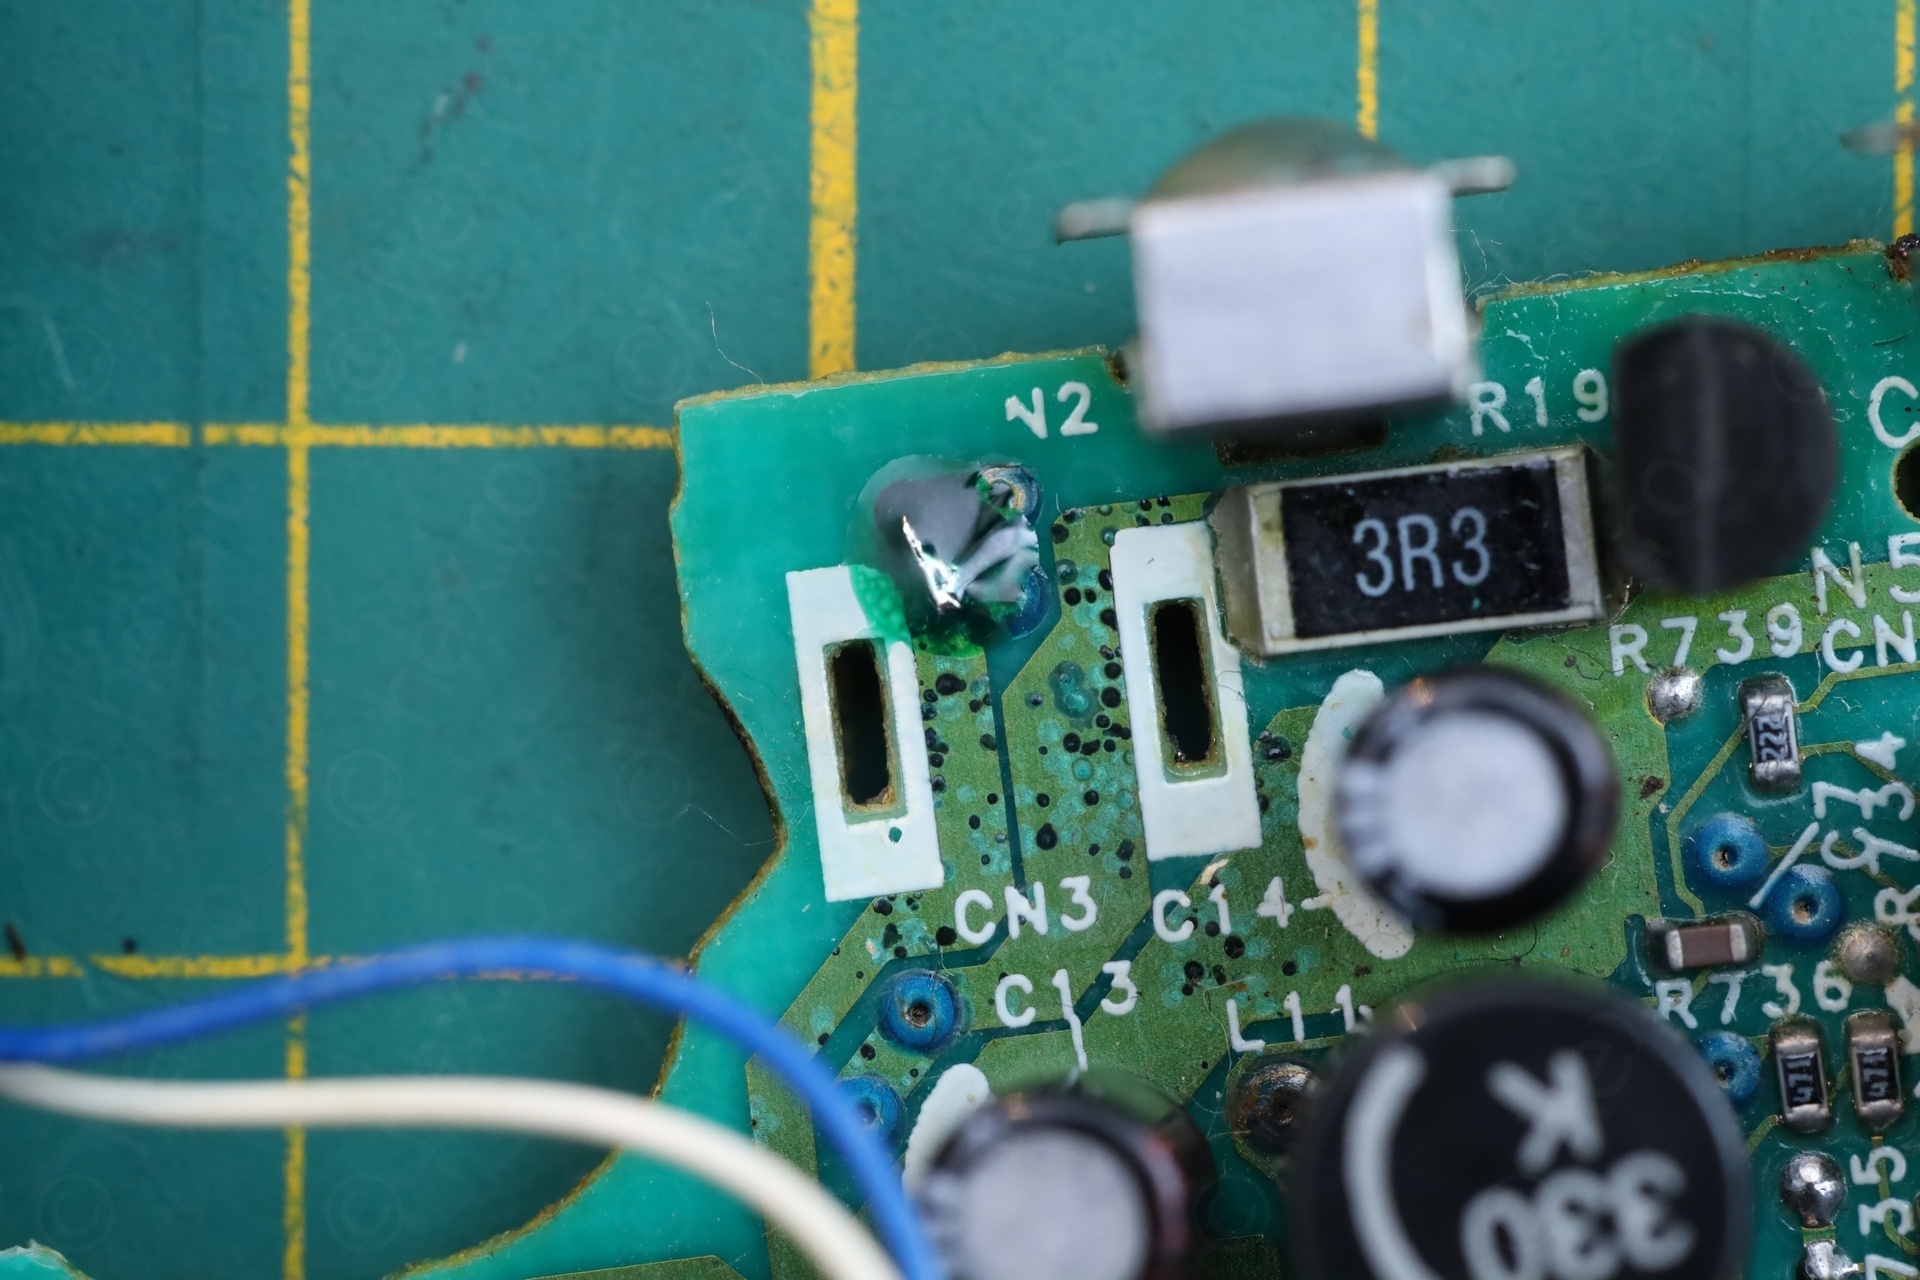
To my surprise, the hot spot was not a component, but the 3 VIAs that bring the Battery Negative connection from the bottom side of the board up to the top side. This got me confused for a bit, as the VIAs look spotless with the blue overcoat they had:

So how come those VIAs get hot ? It makes no sense. Kept wondering where is the short, but it slowly dawned on me that this is a corrosion problem. Instead of heat due to a short, it was in fact heat due to 3.9Ω resistance between the battery terminal and the circuit board.
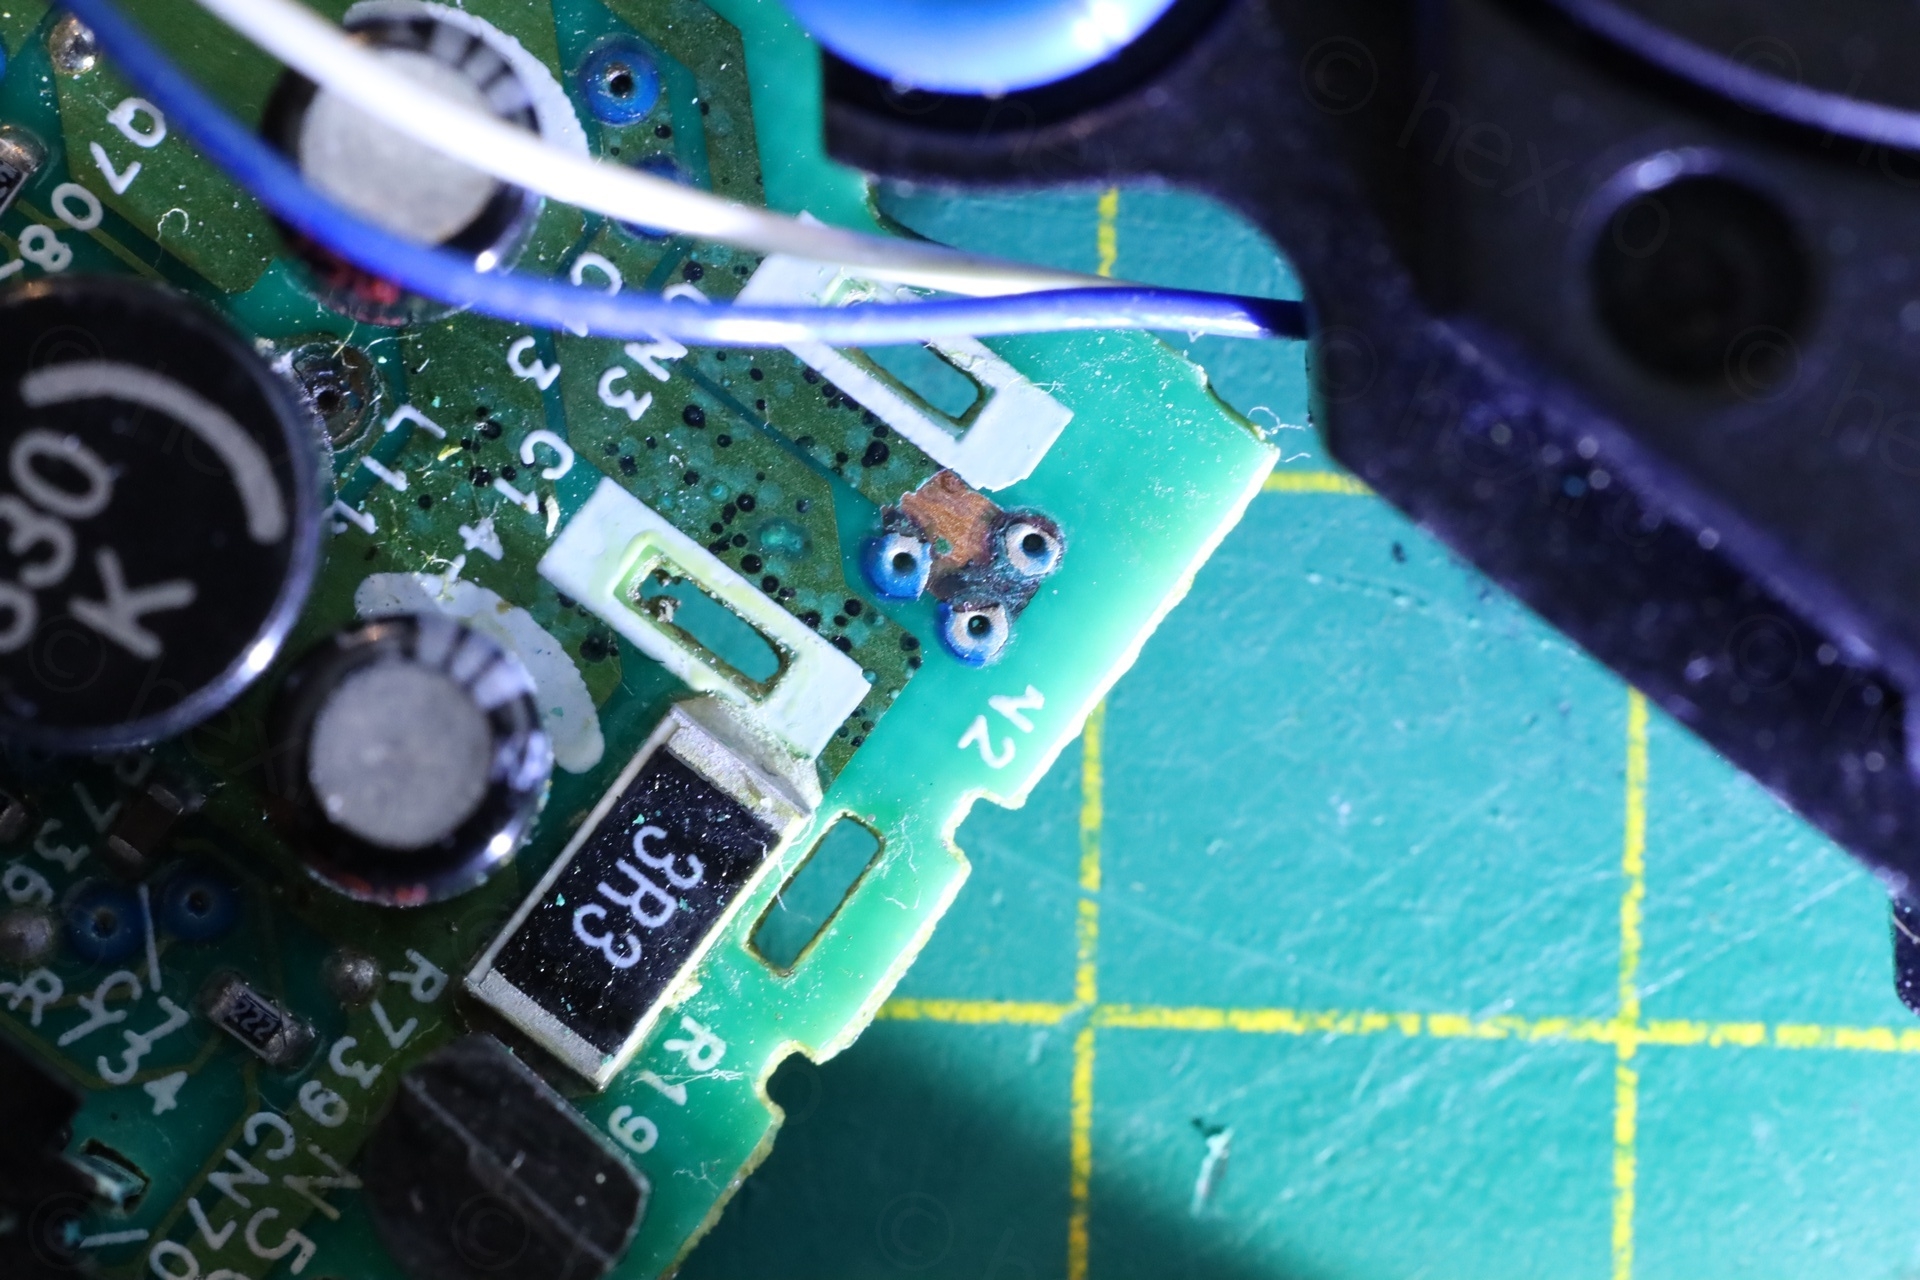
The corrosion ate away the copper replacing it with oxidation compounds that have a higher resistance. That 3.9Ω resistance multiplied by 0.2A means about 1W of power being dissipated due to corrosion ..
I started scraping at the blue overcoat and discovered that the copper was almost all eaten away …
Fixing
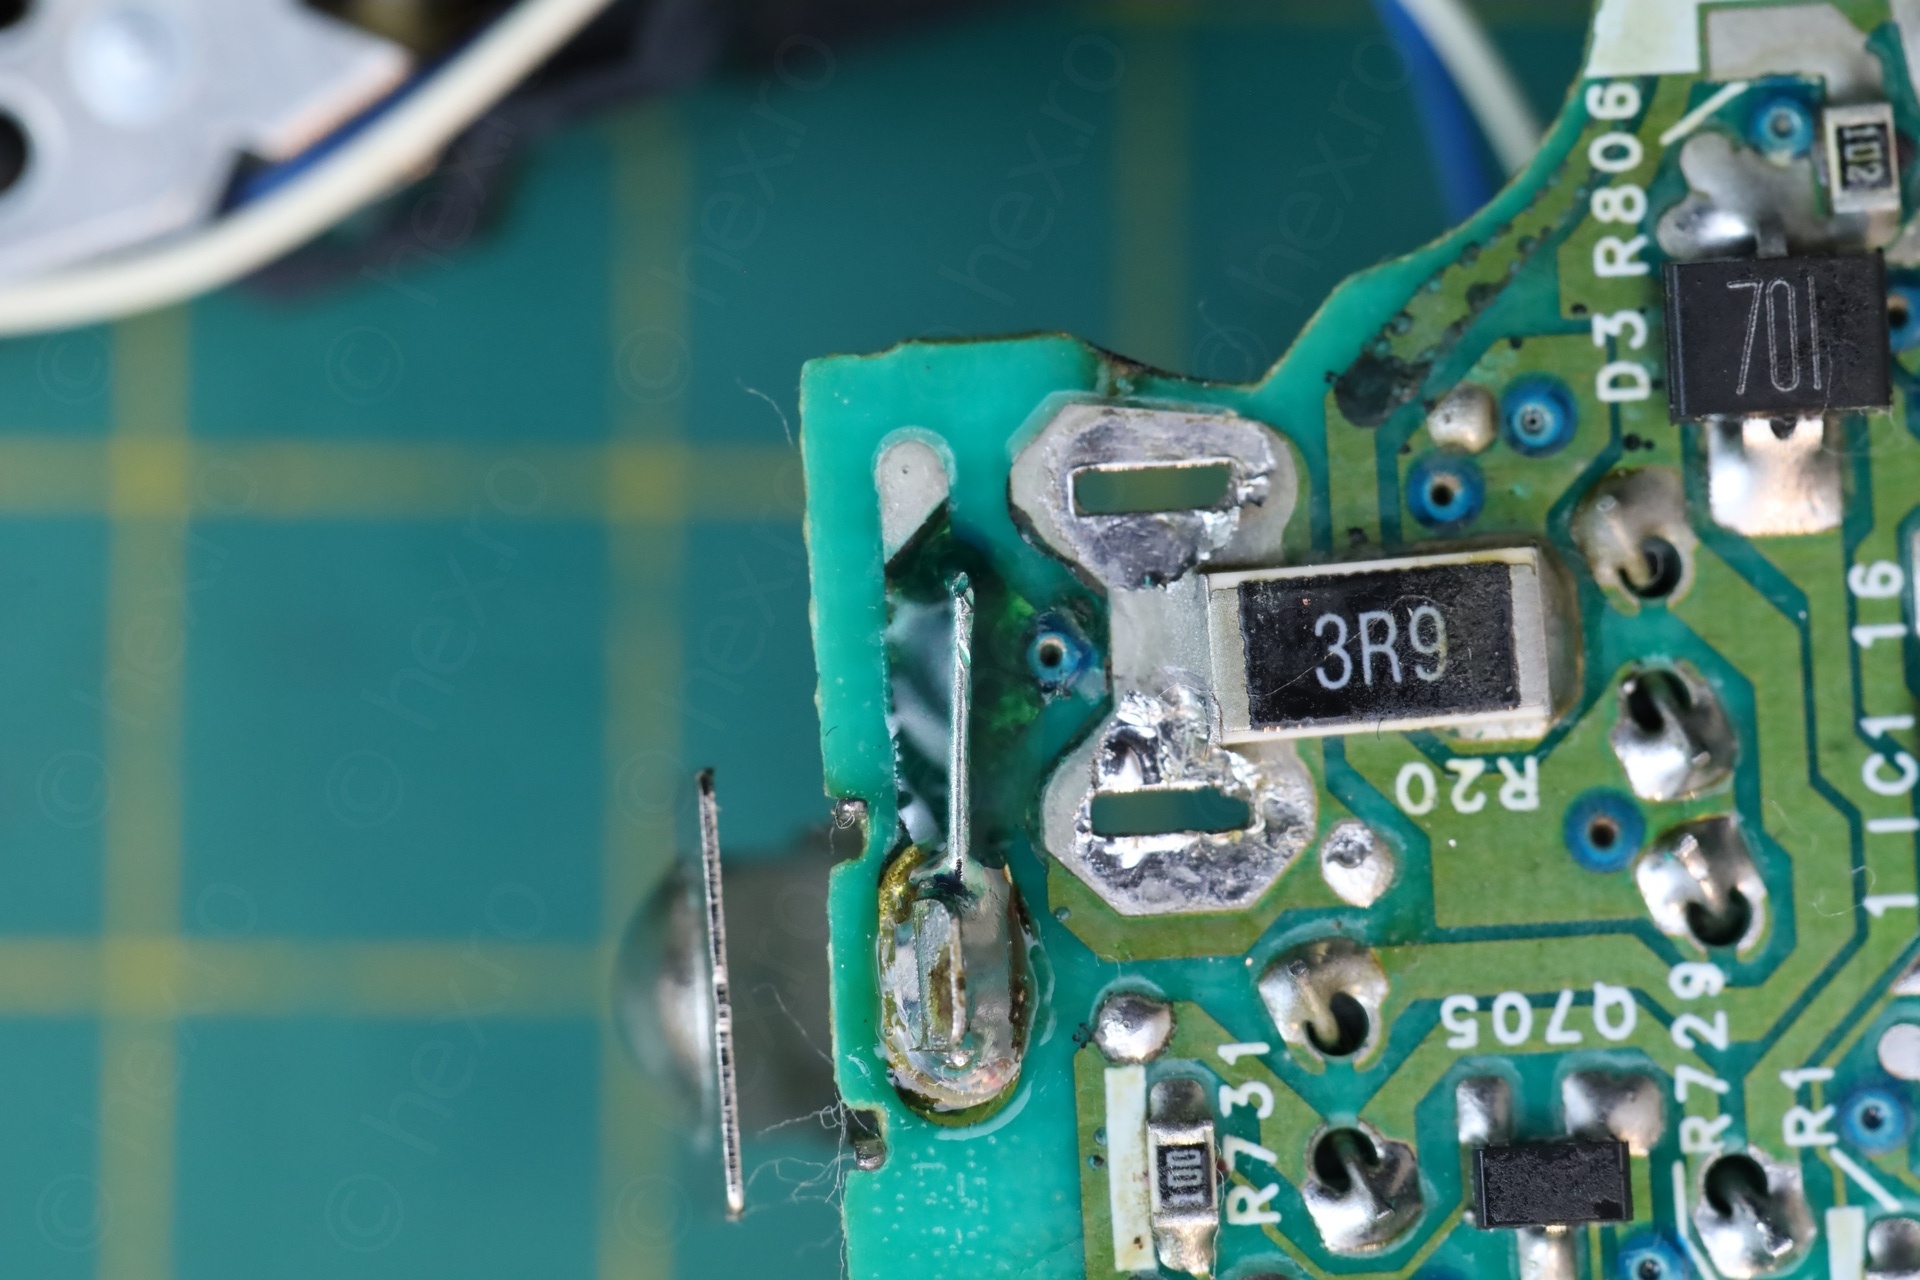
Wire instead of VIAs
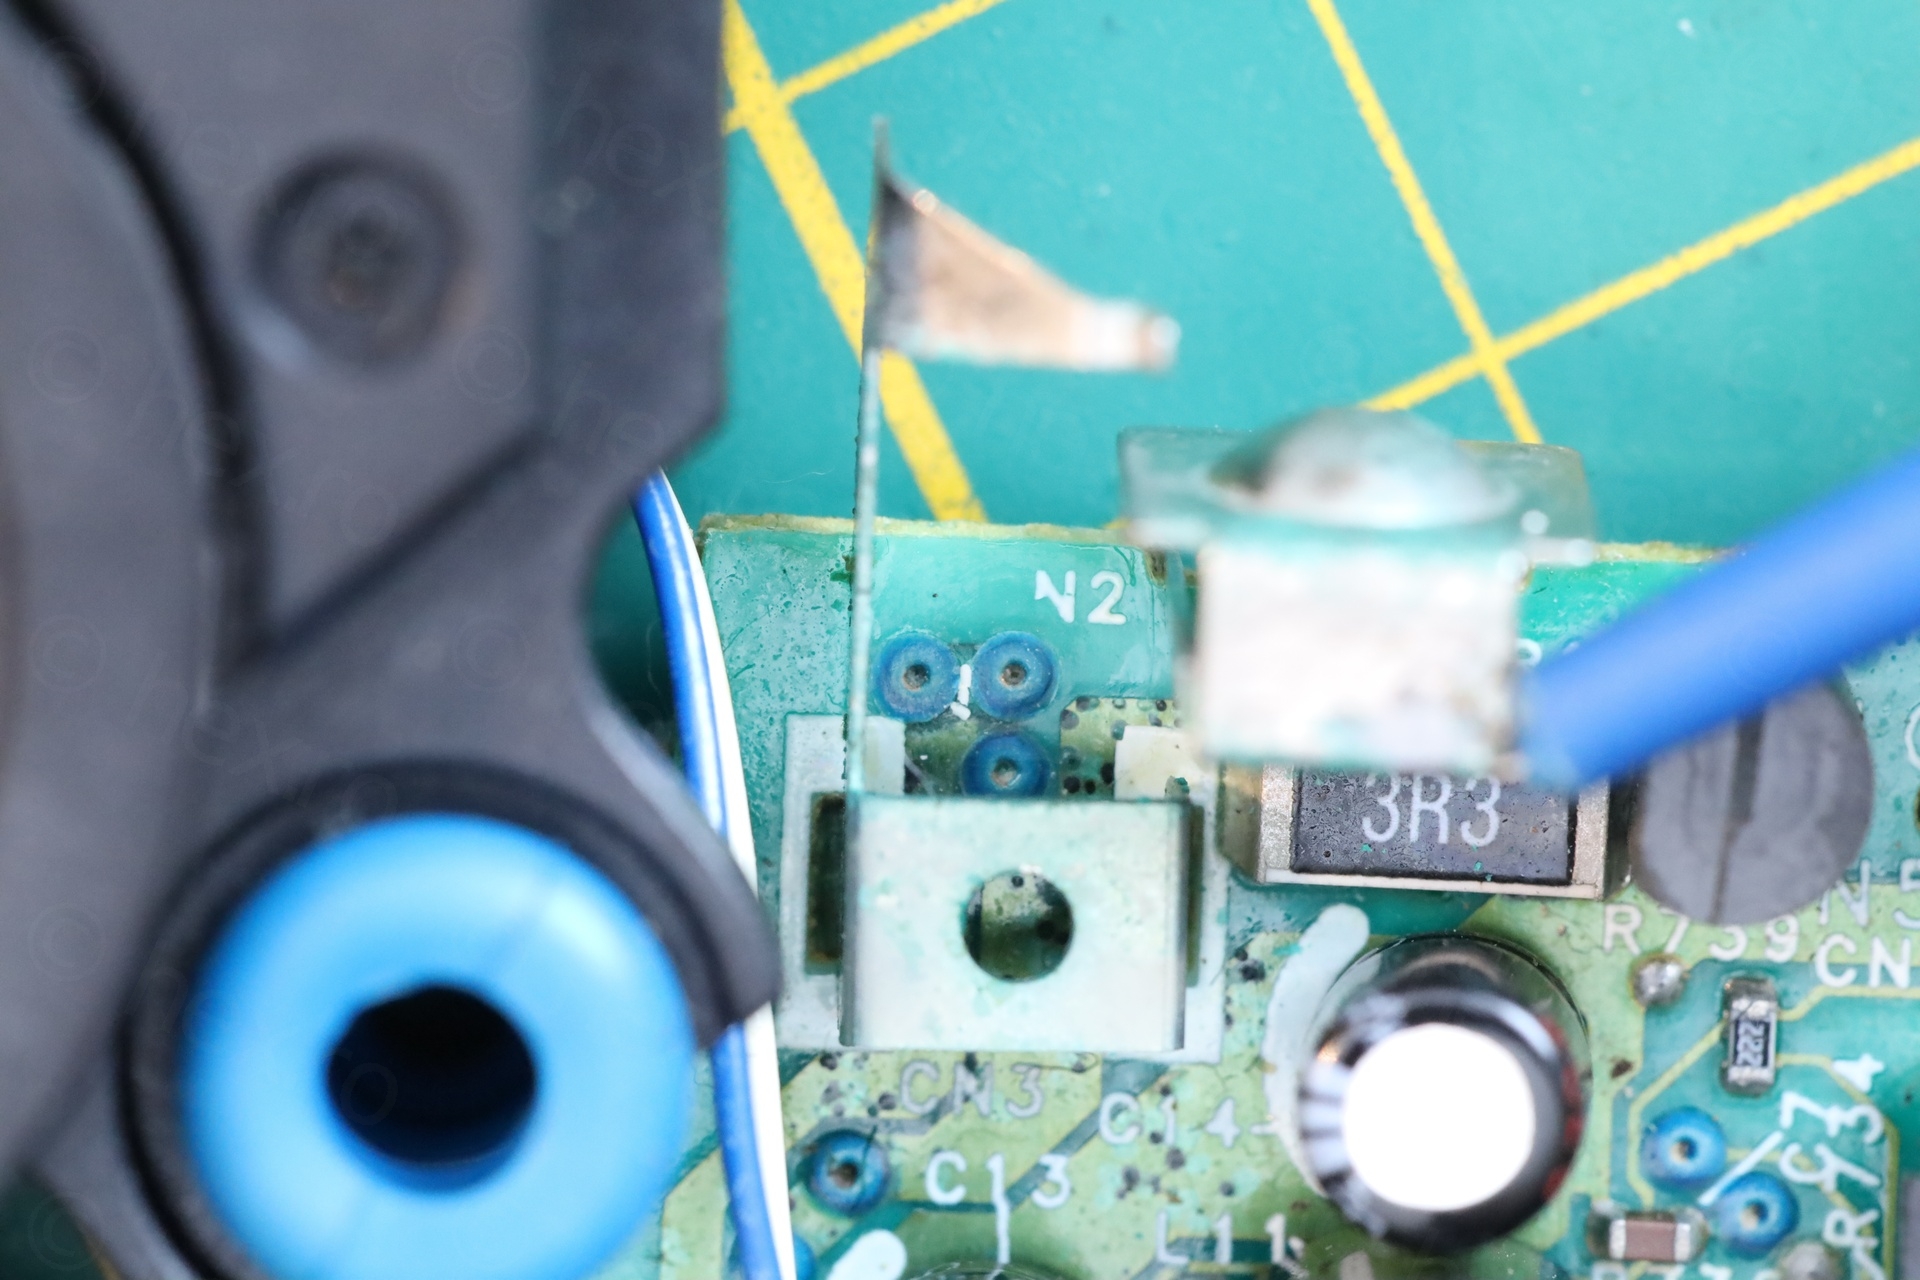
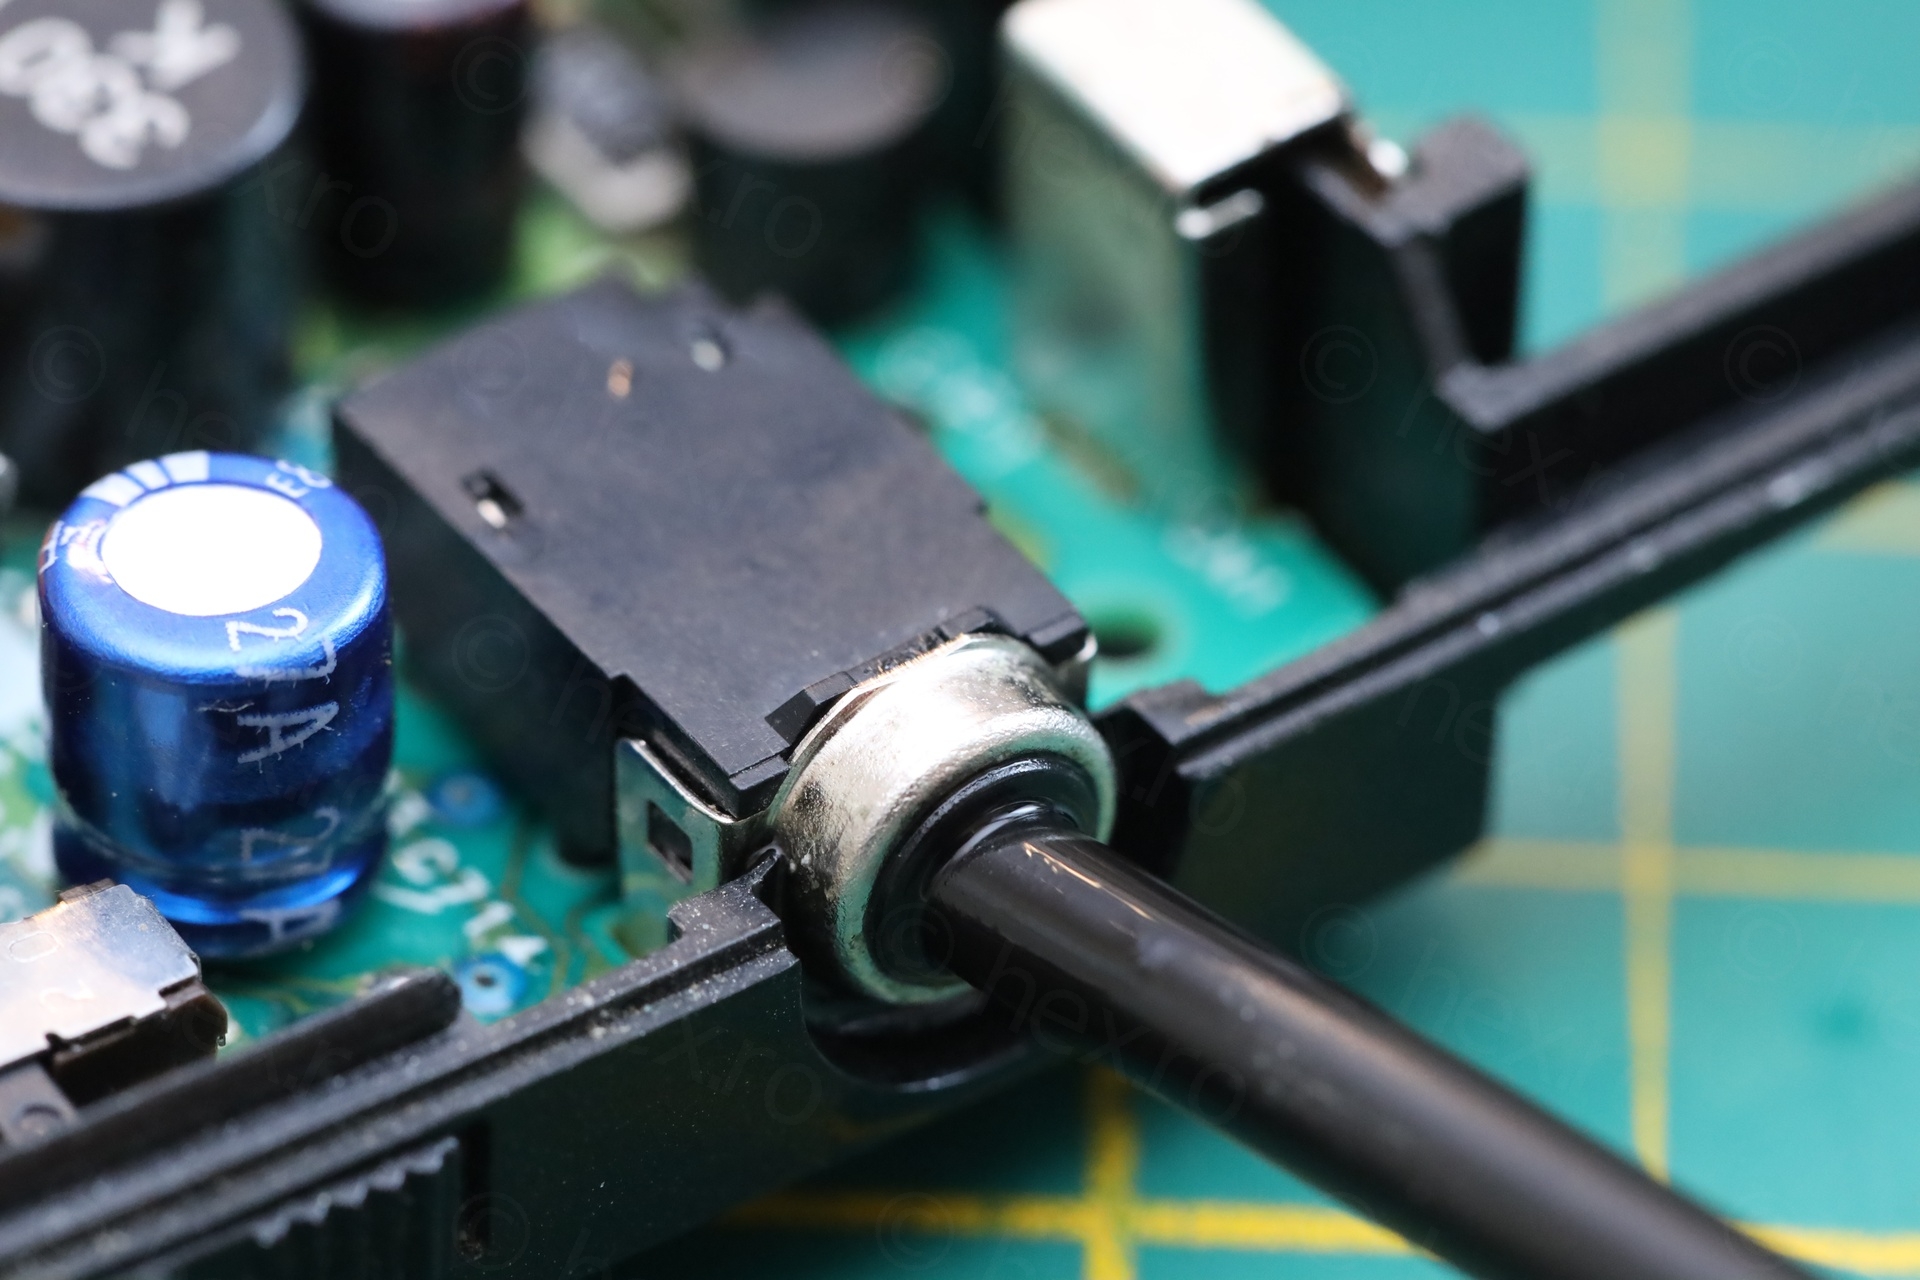
Fix was a brute way of routing a small piece of wire, through one of the VIAs, between the battery connector solder point and the remaining “good” trace on top of the board:
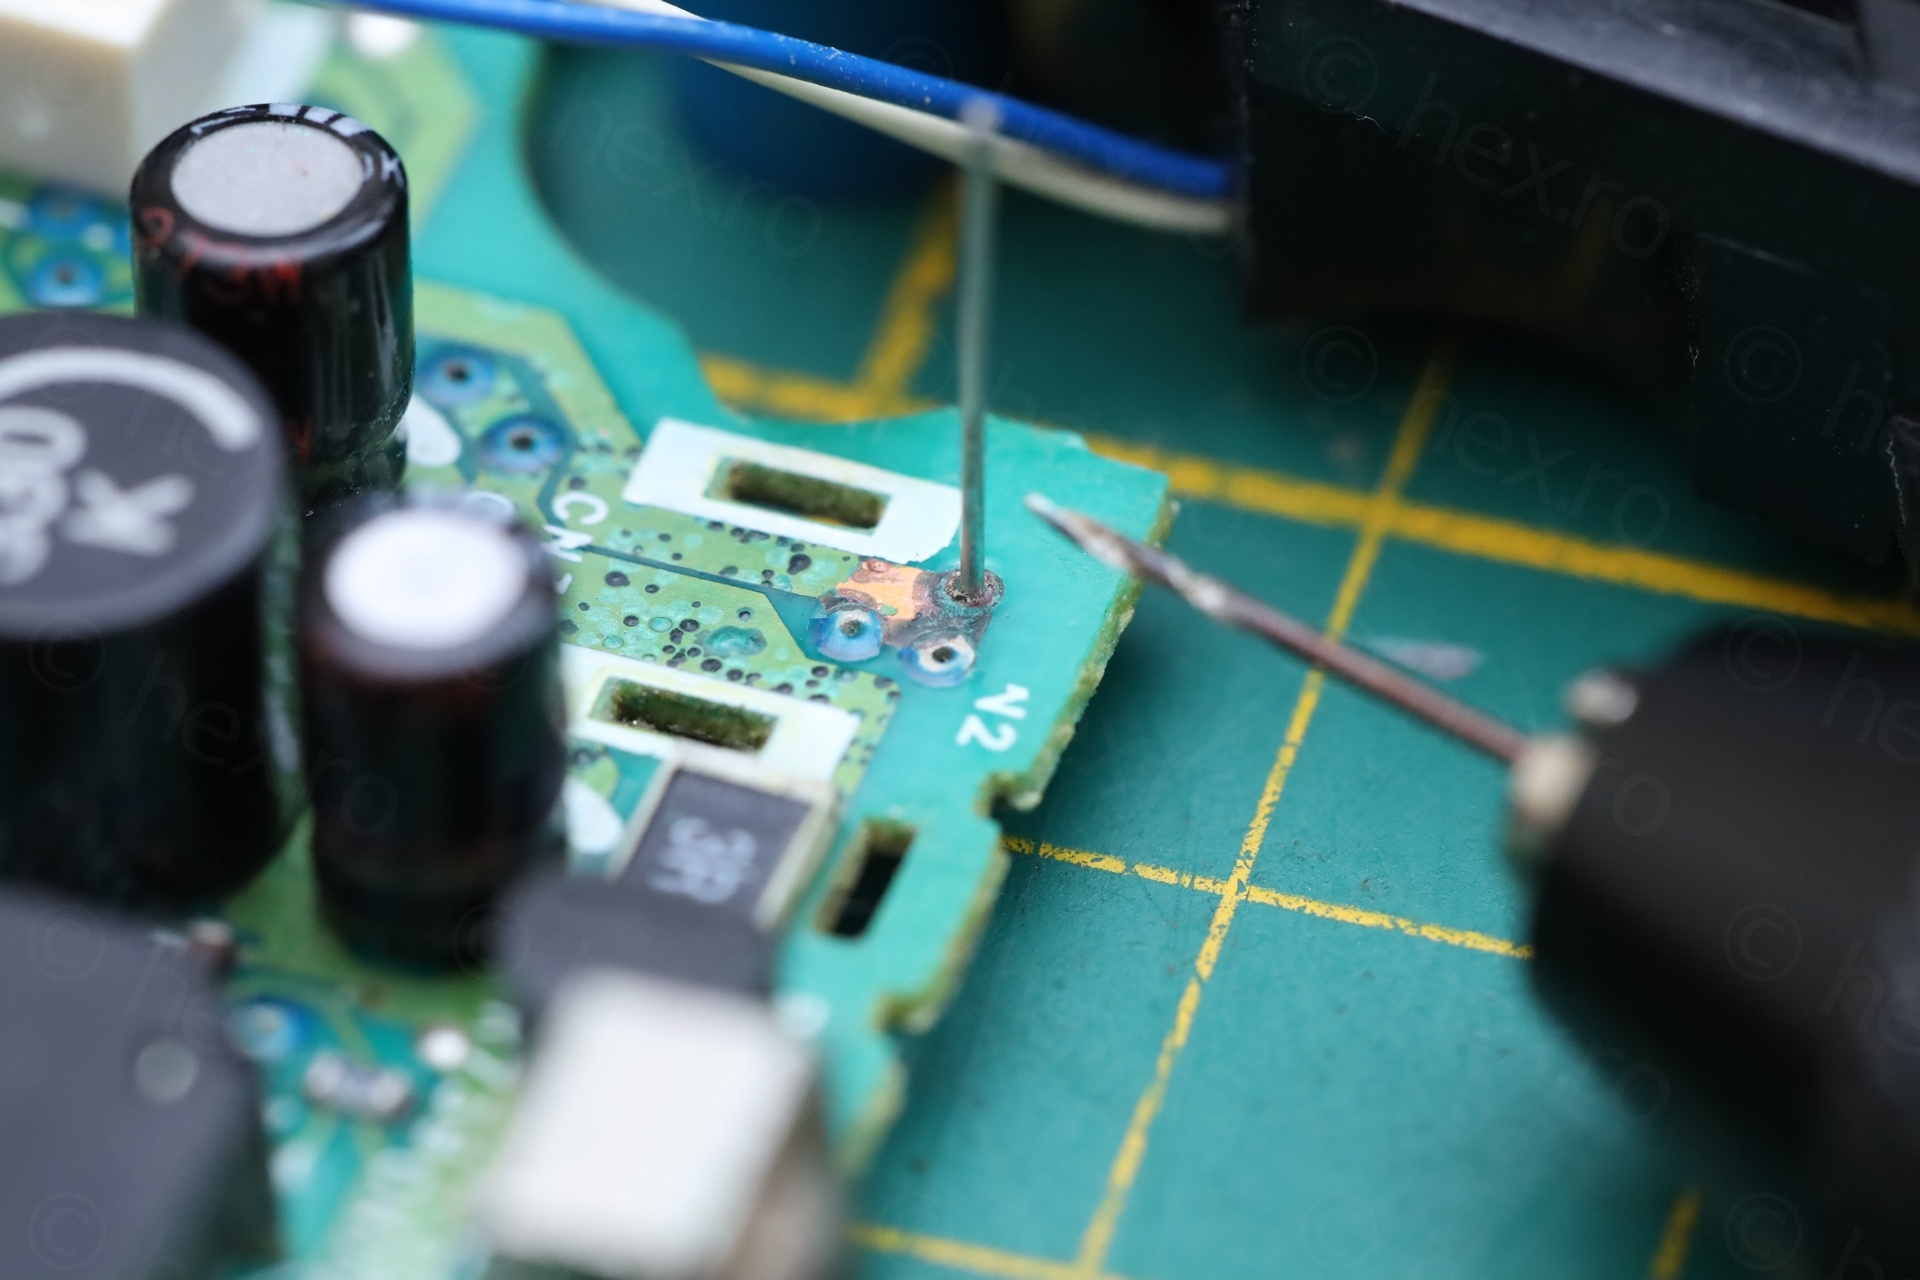


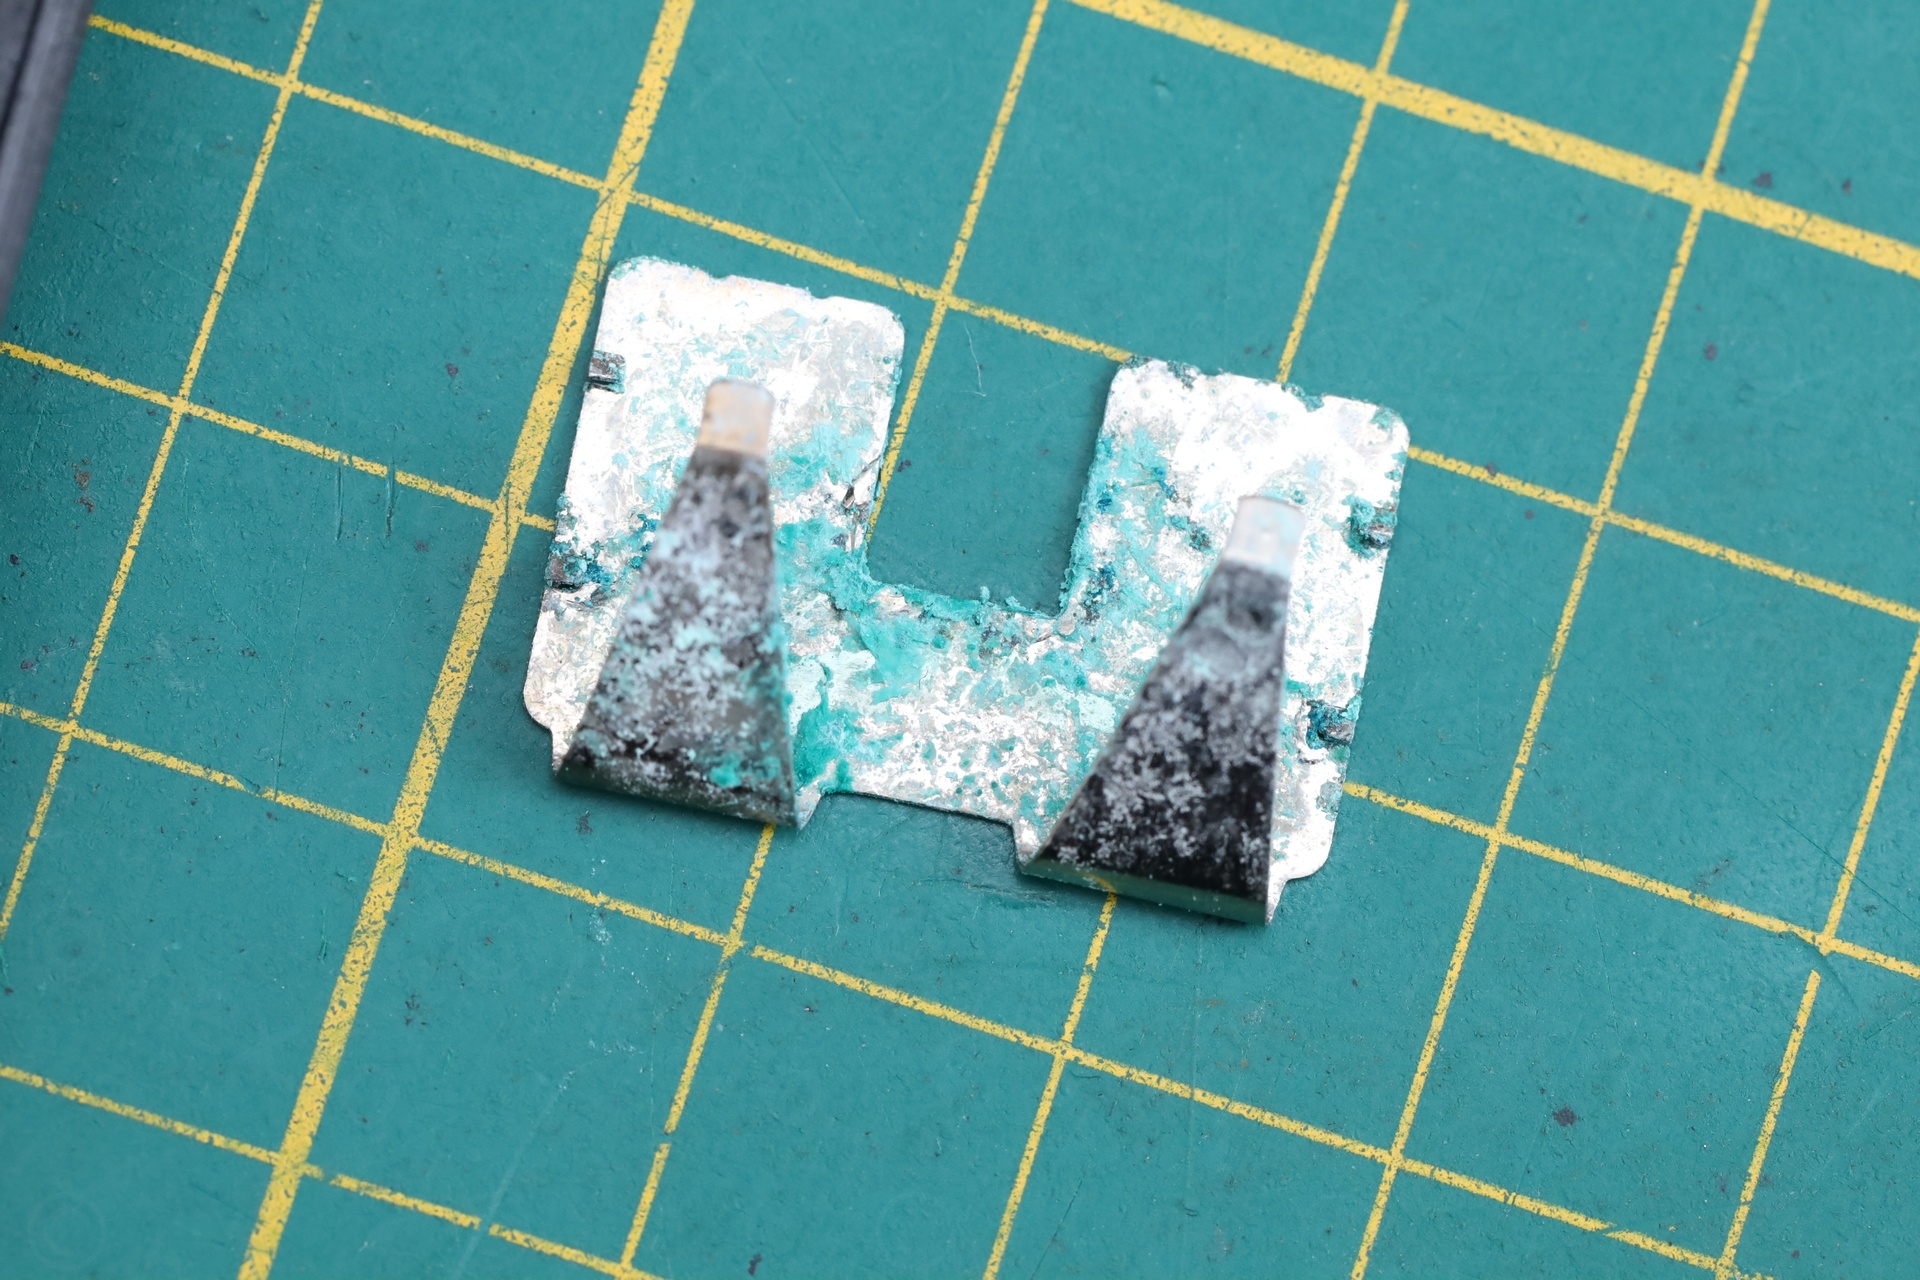
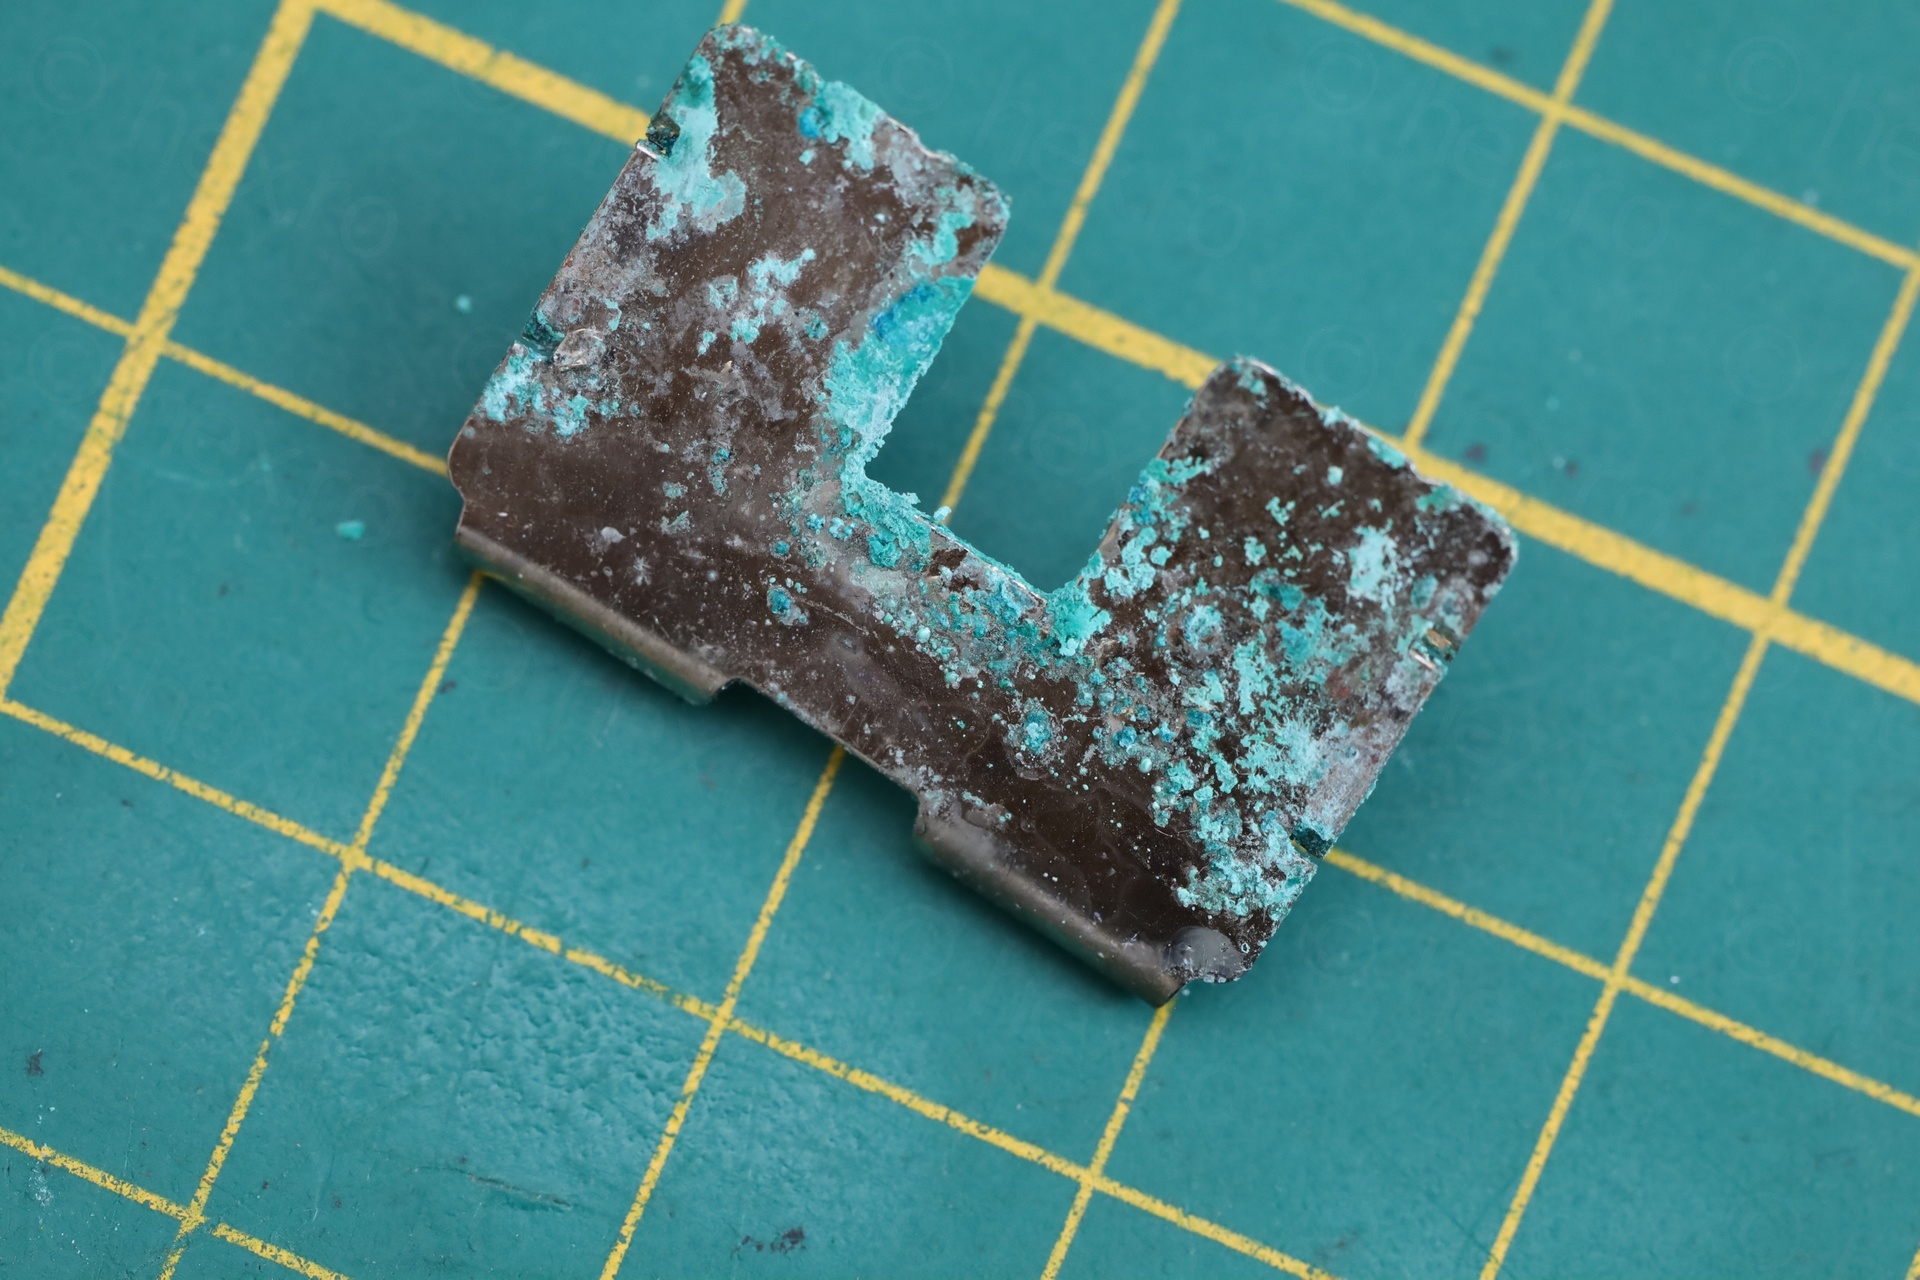
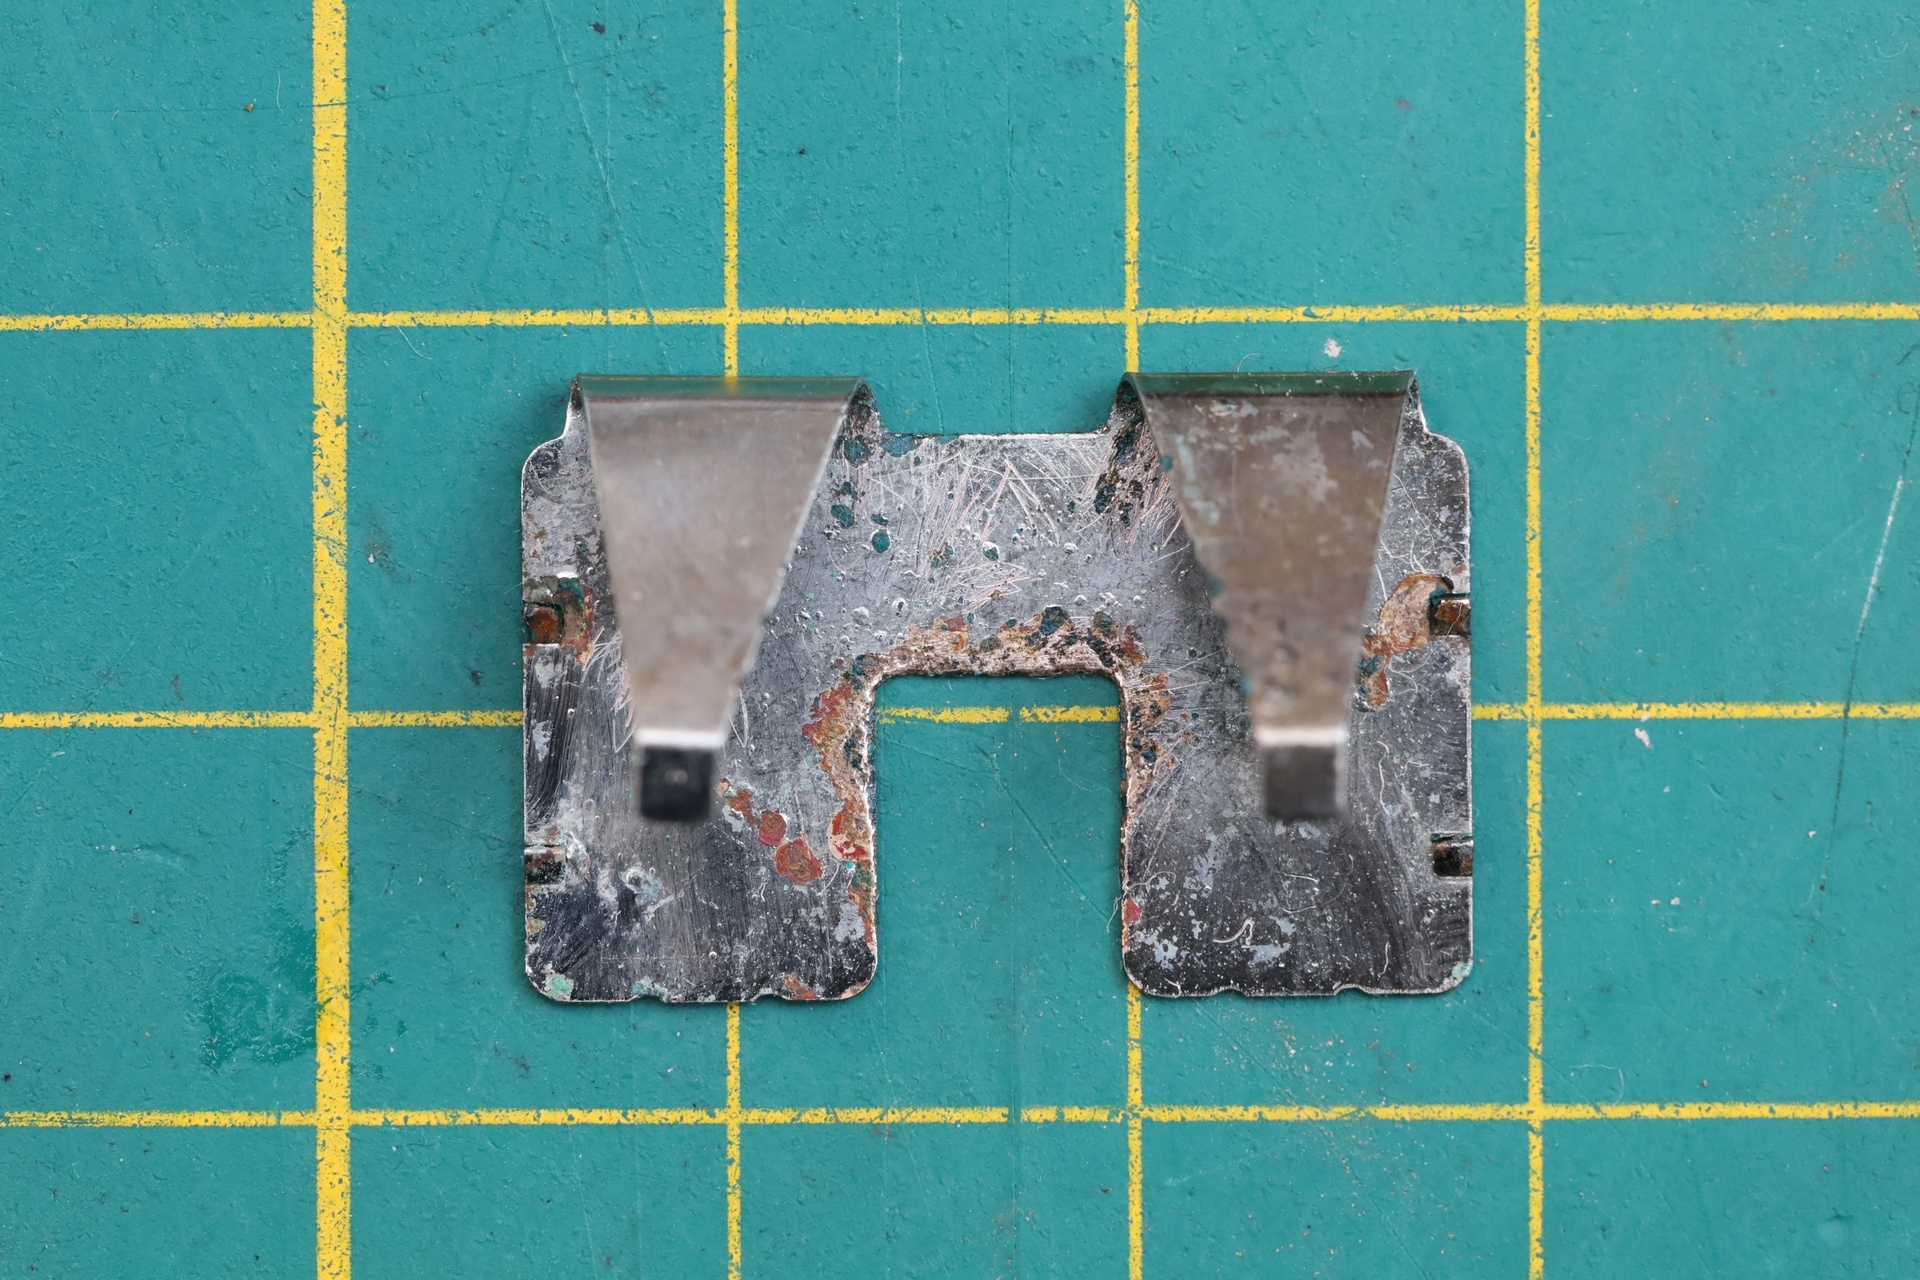
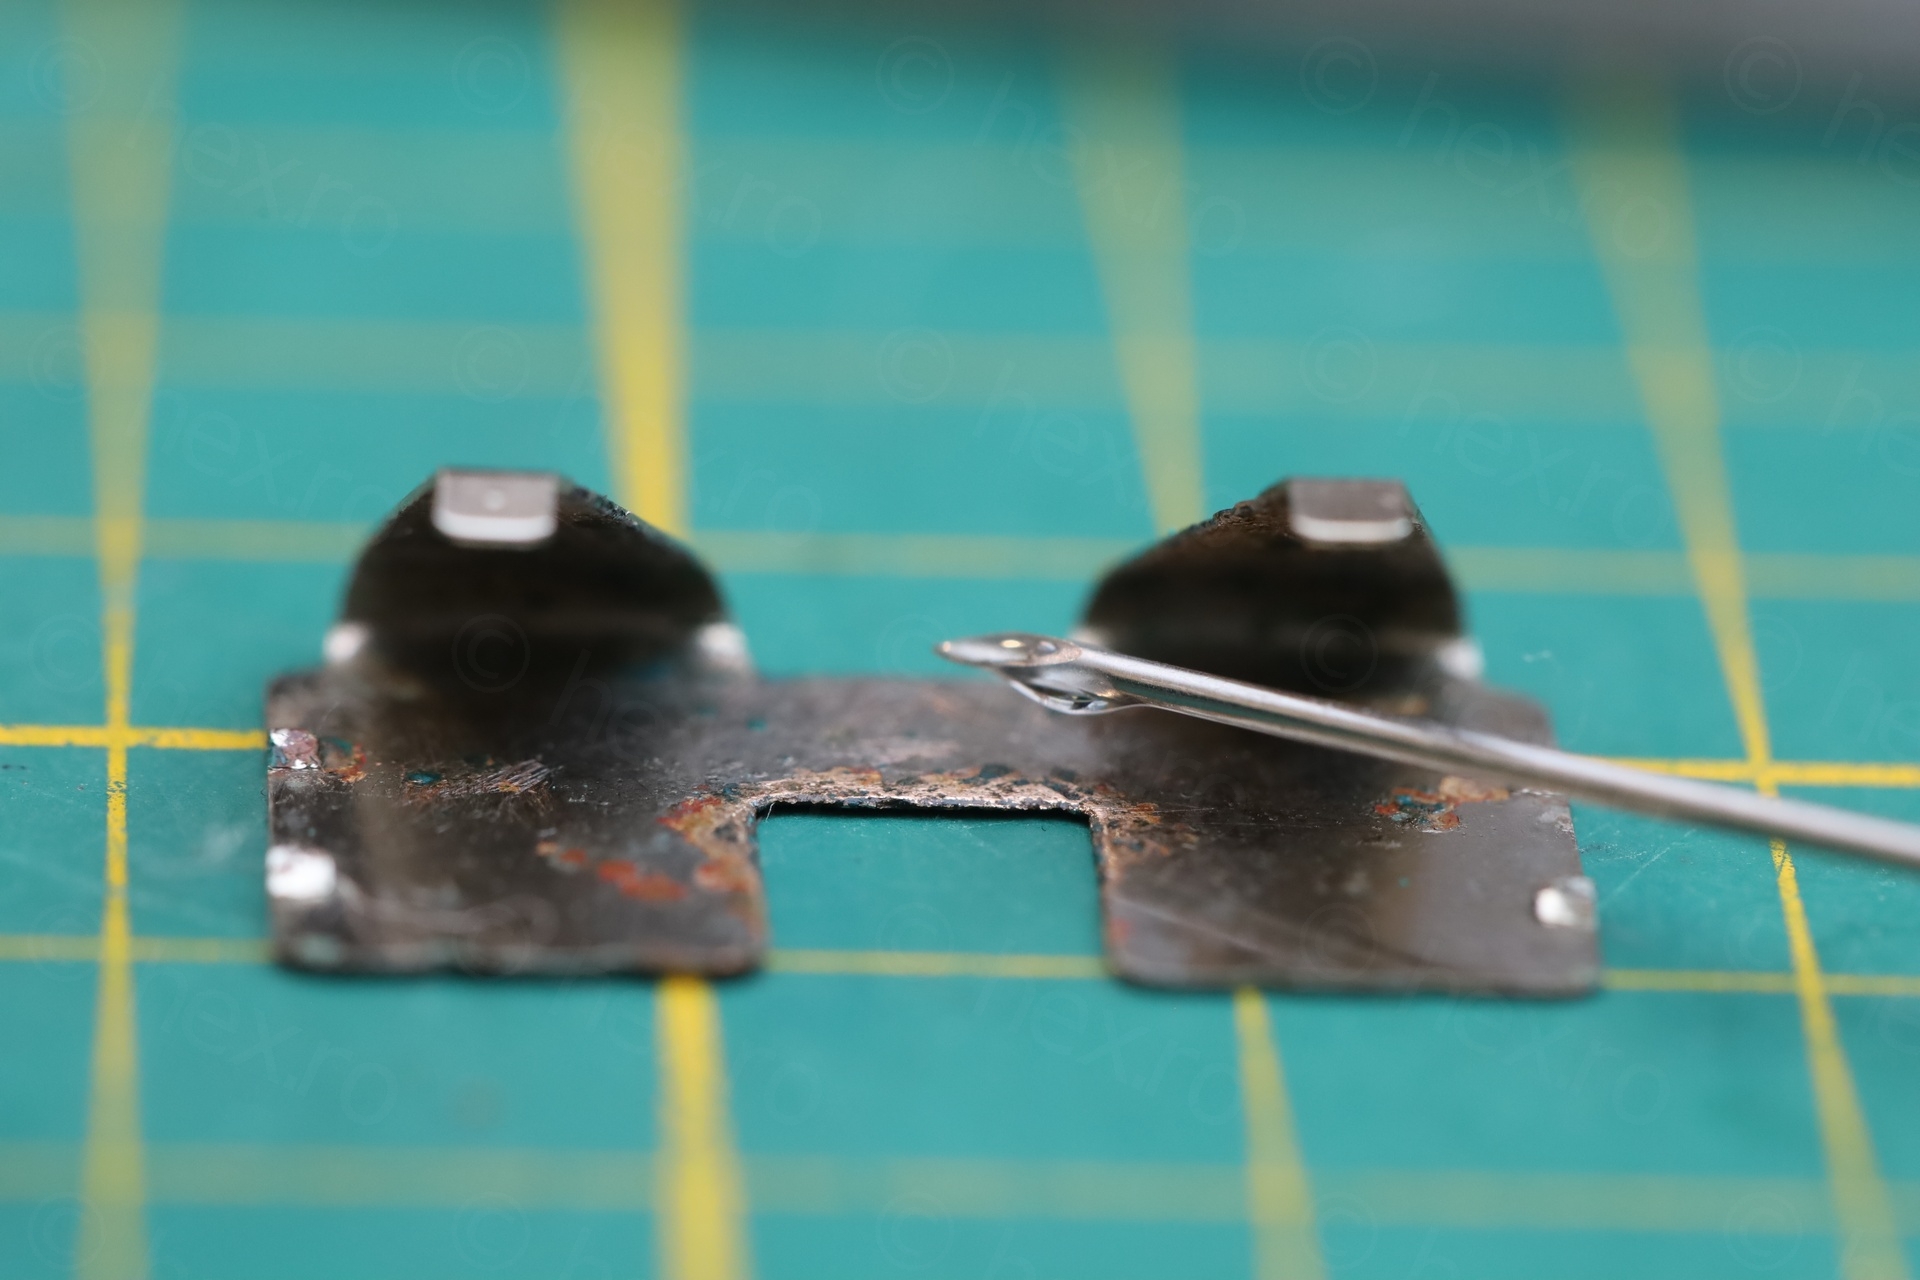
To make more room to work, removal the metallic connector (that was almost covering the VIAs) was needed. I also used a small hand drill to enlarge the VIA enough for the wire to pass though.
The CD Player started working afterwards 🙂
The next steps were rather boring, but had to be done:
Using epoxy overcoat to shield the new wire:

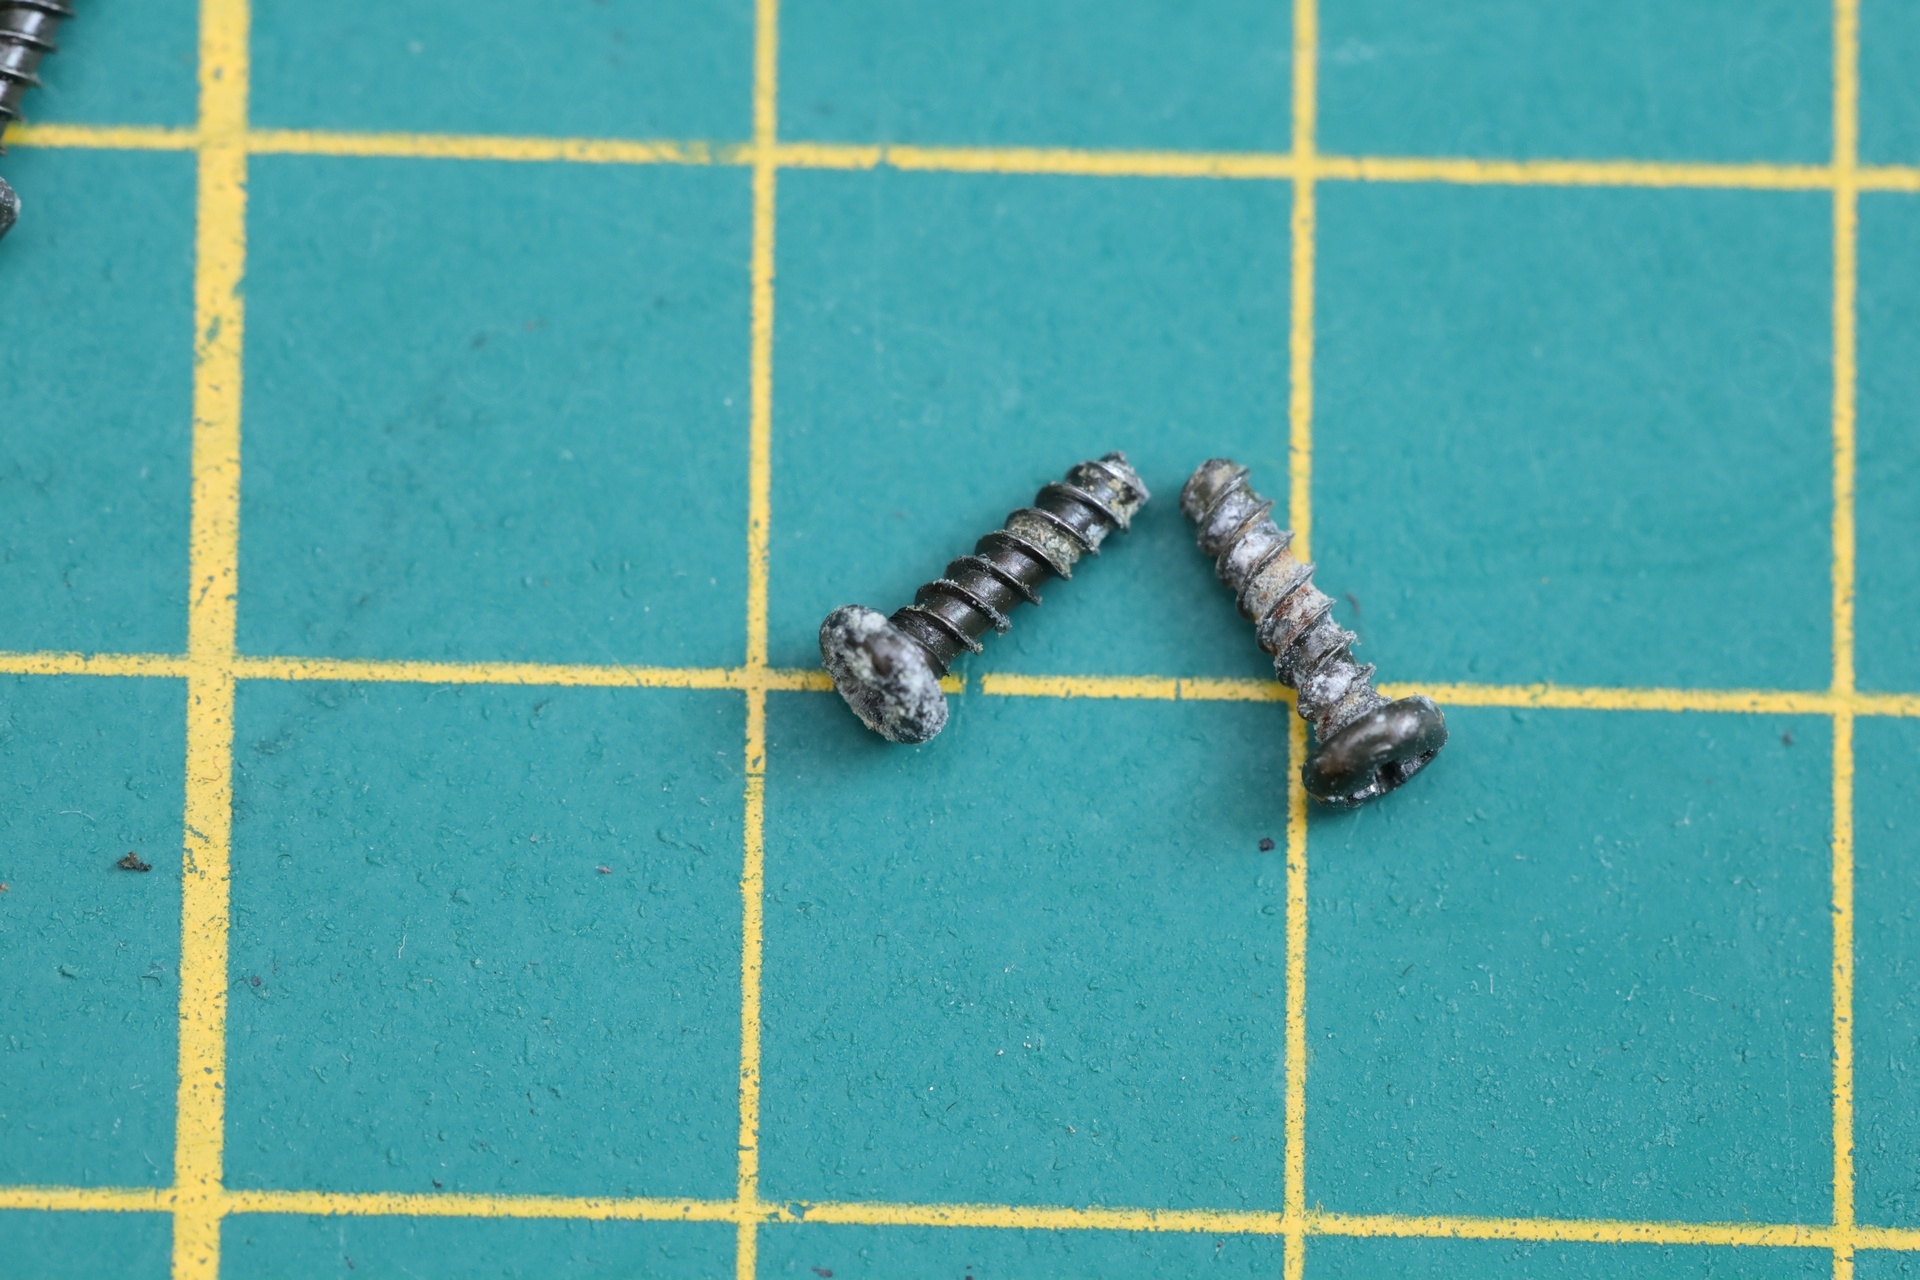
Remove more corrosion

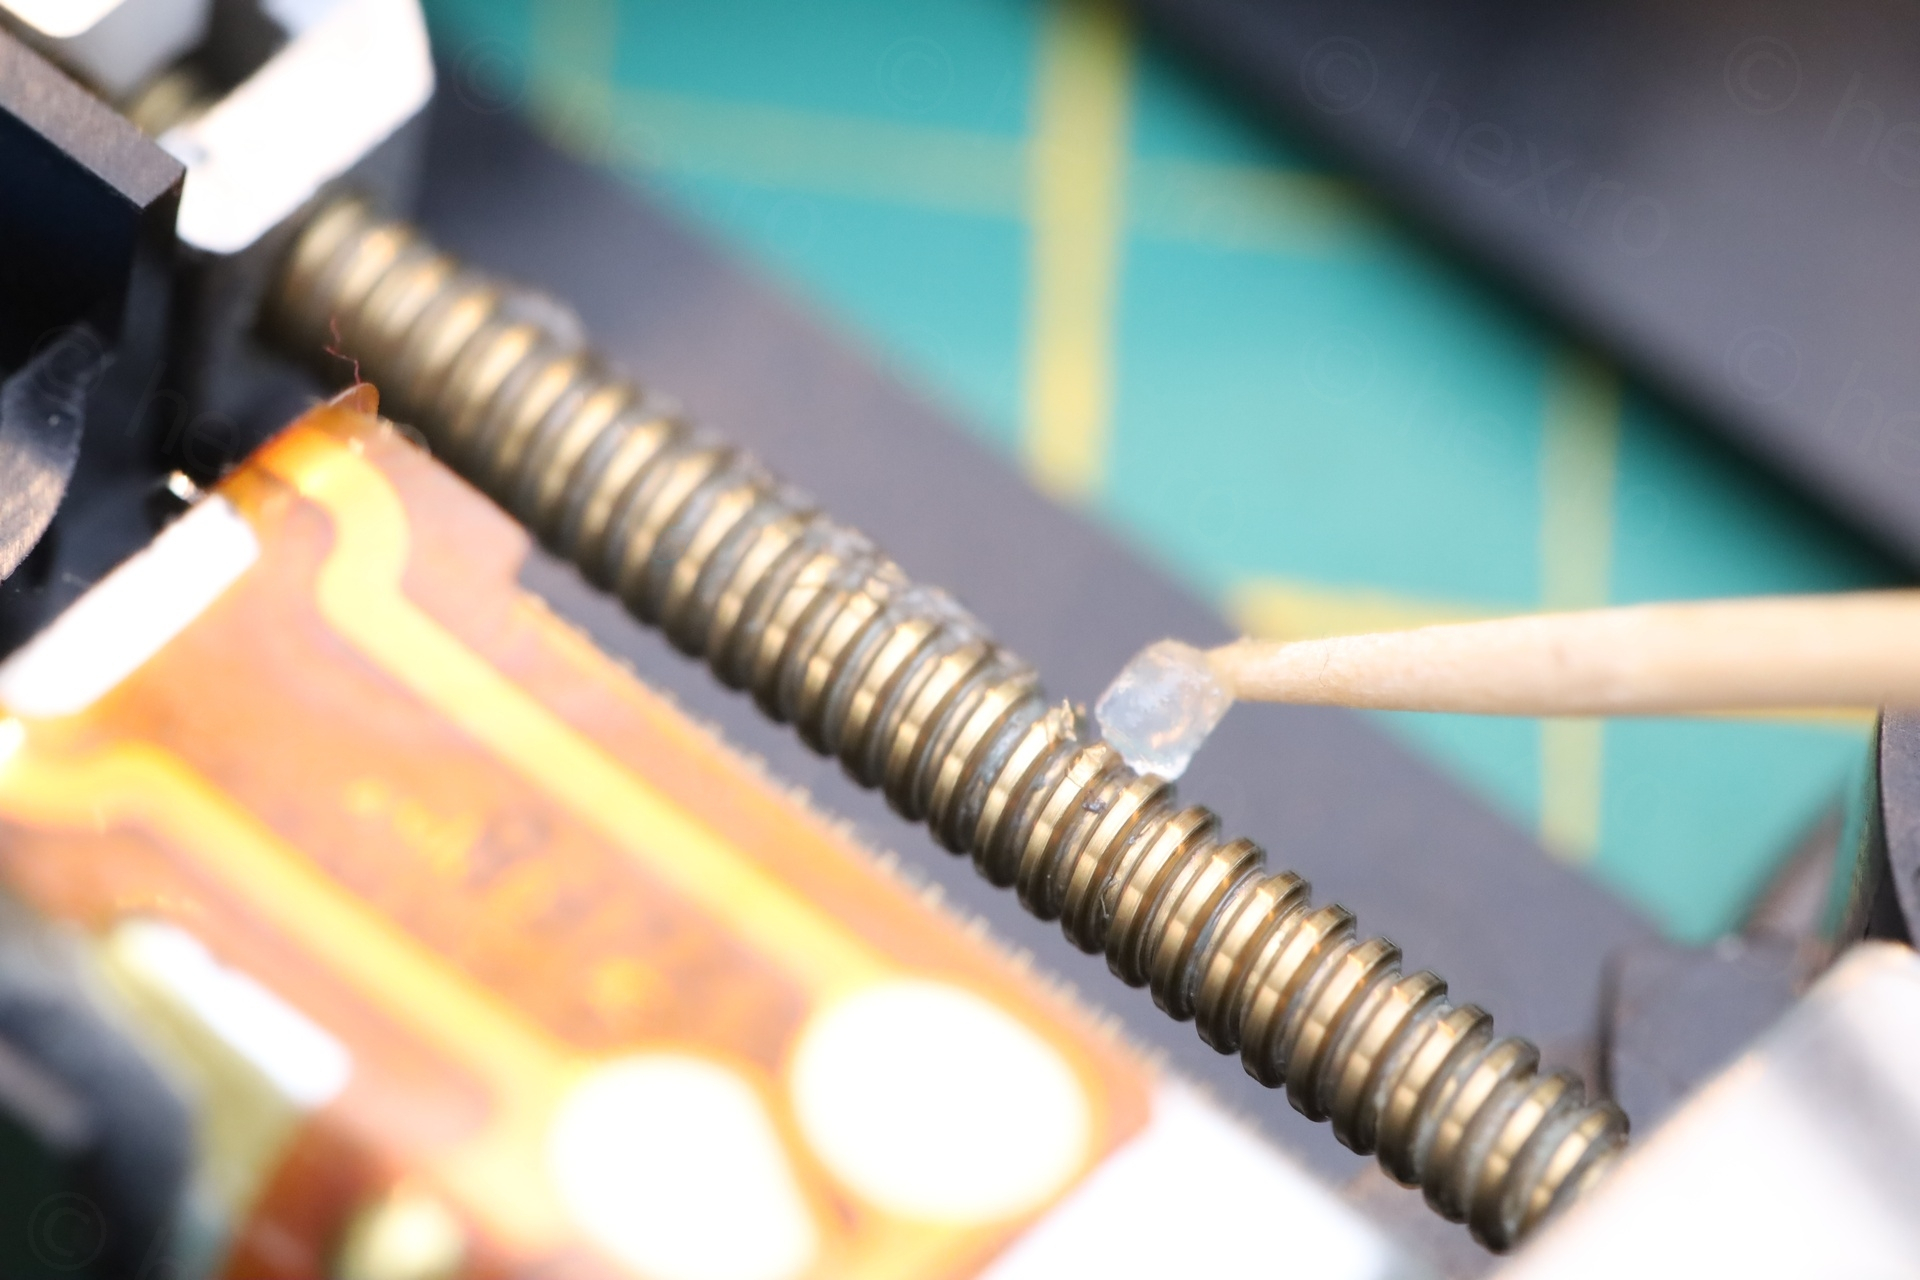
Also used a bit of sewing machine oil, spread all over the connector, to try to slow new corrosion.
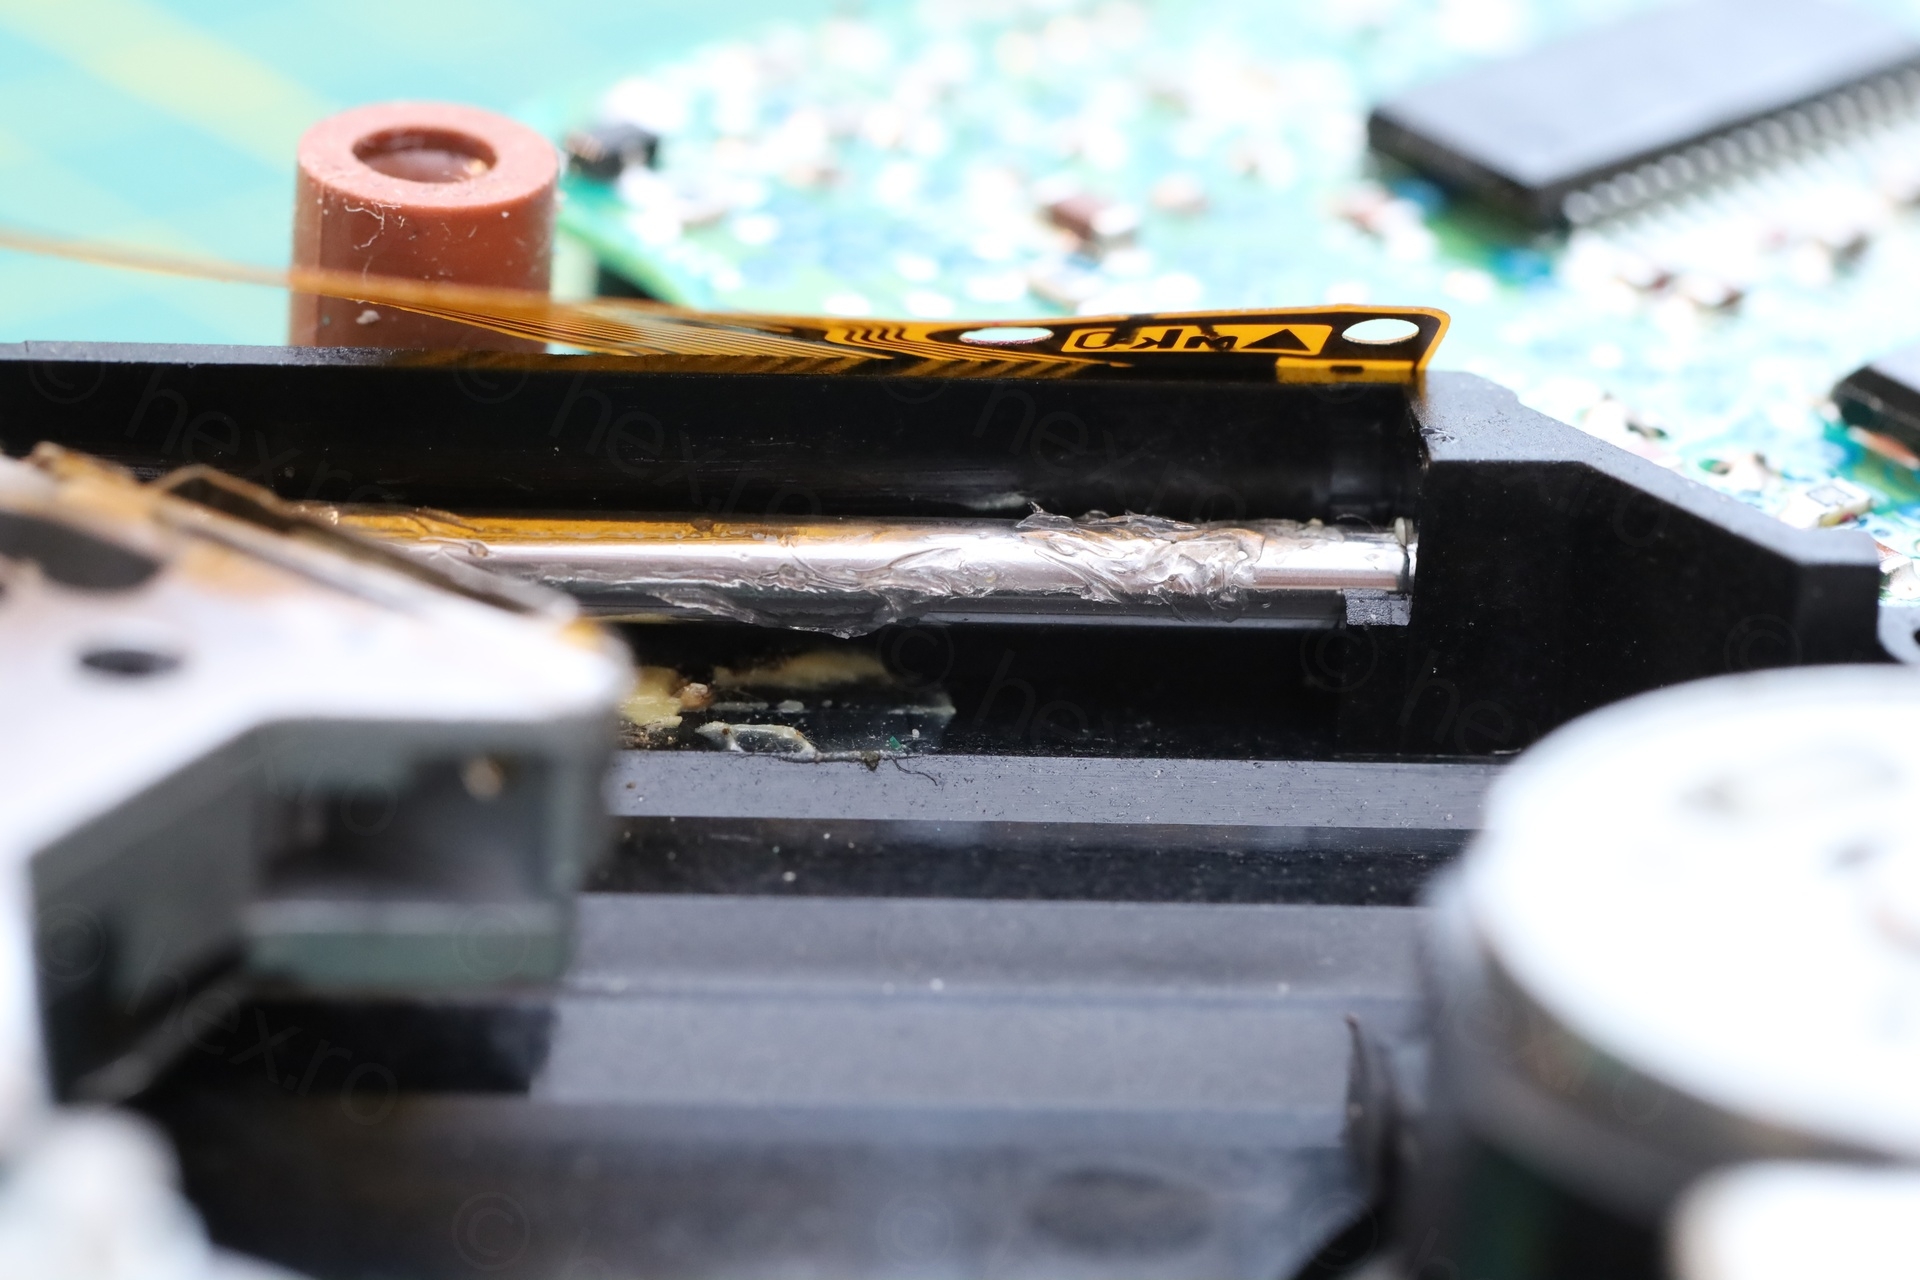
Silicone grease on the metal parts
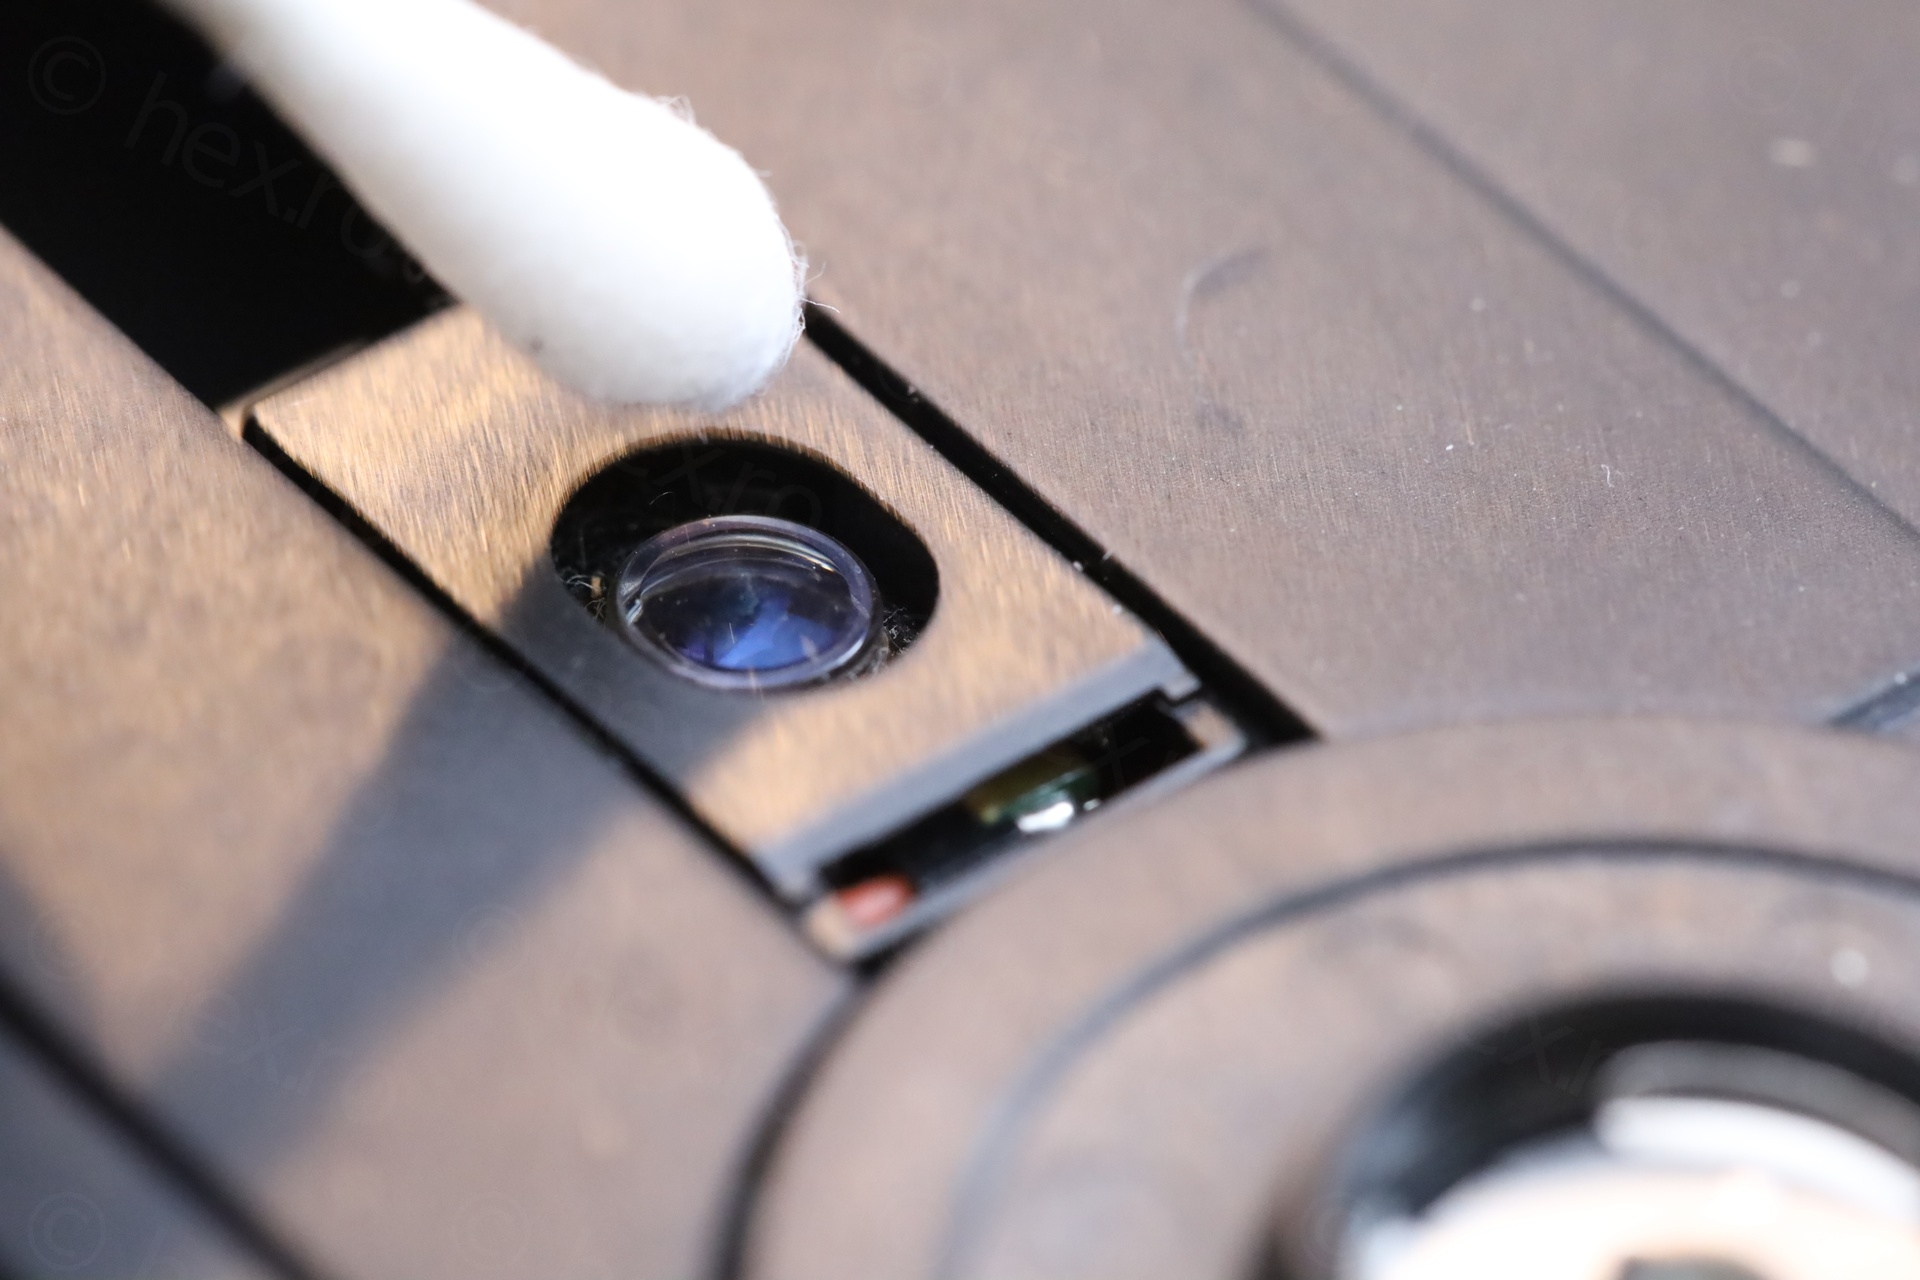
Contact cleaner
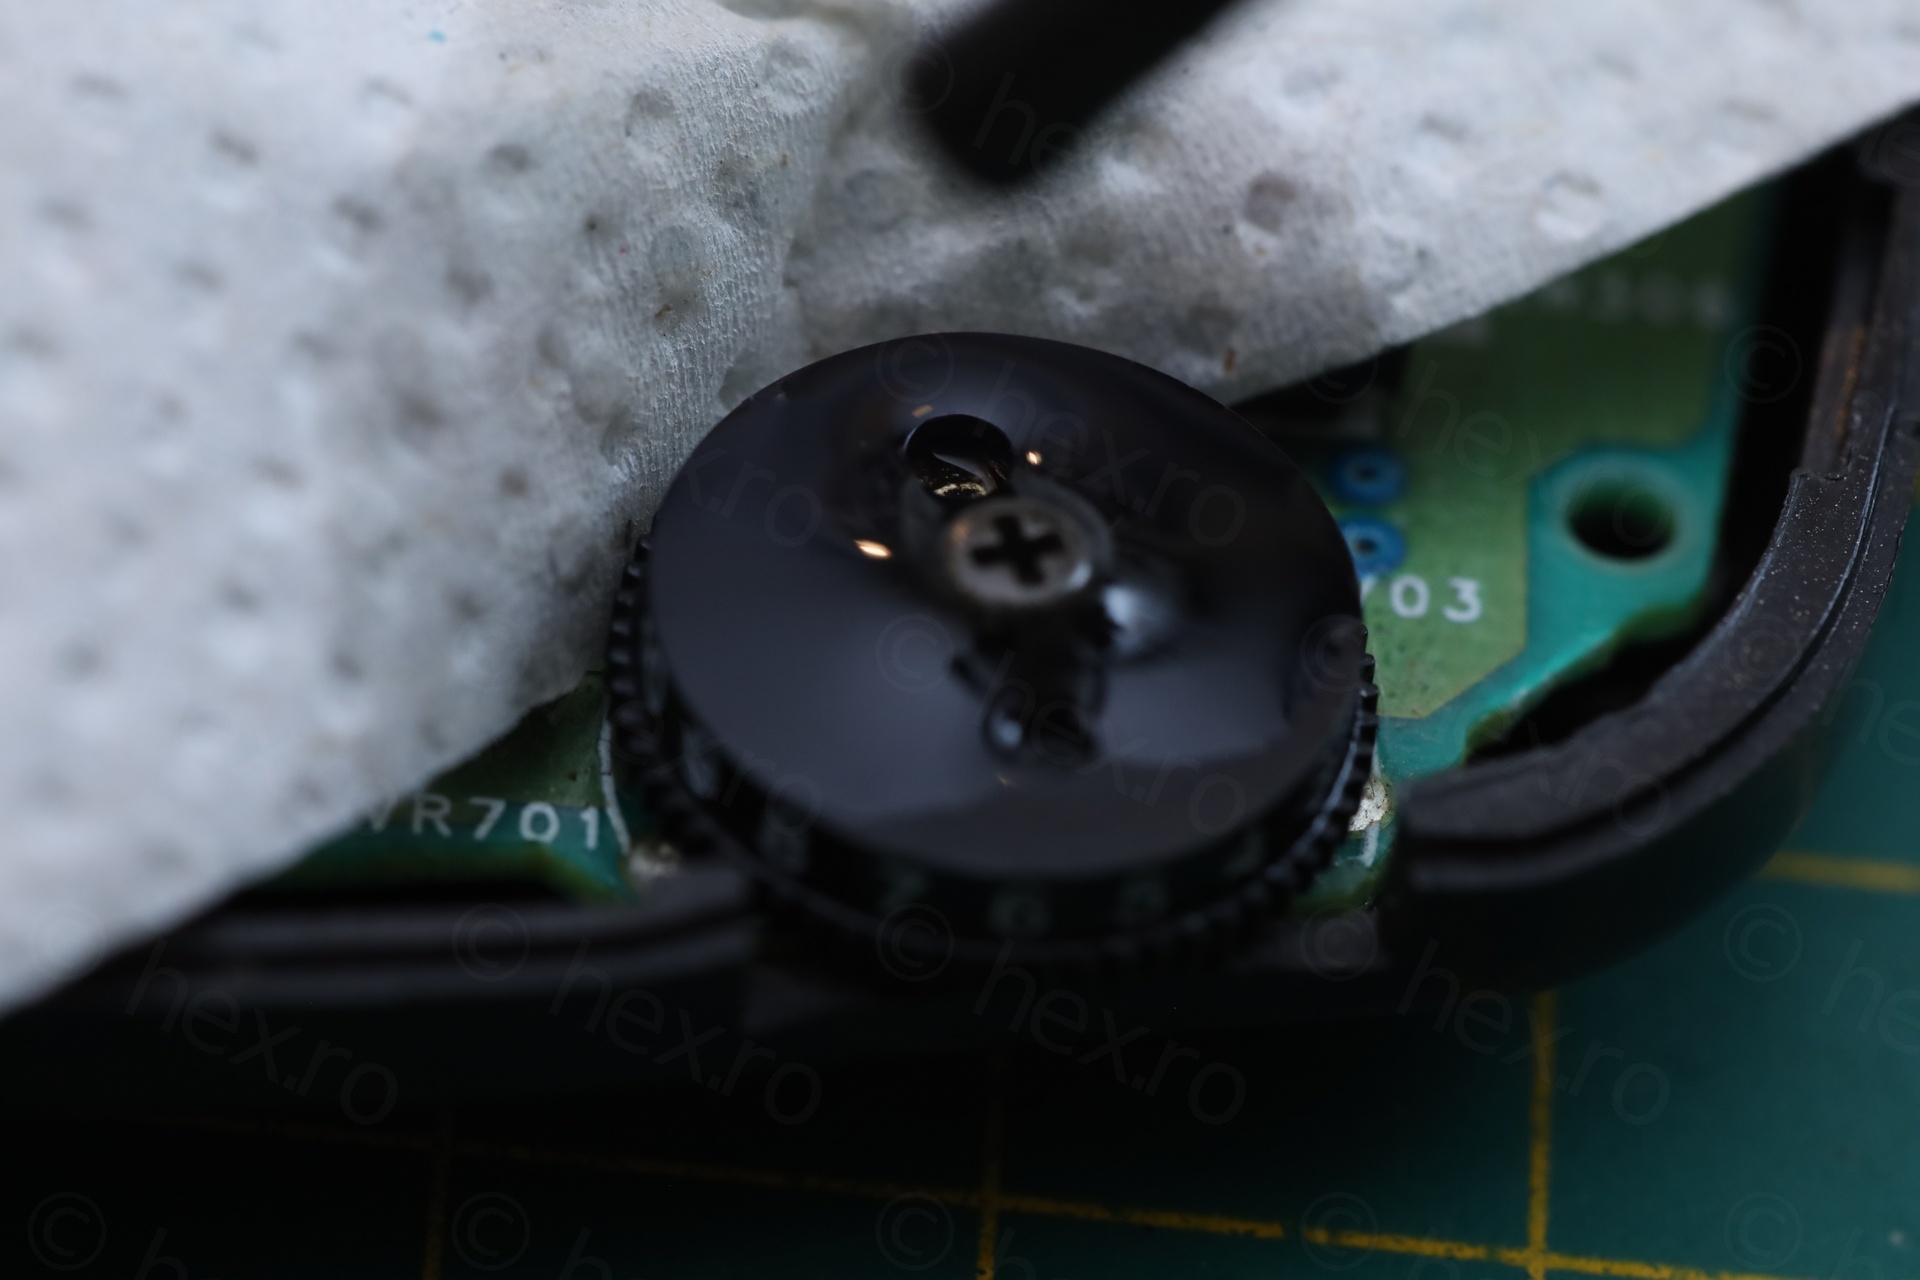
Copious amount of contact cleaner applied over the volume pot and on the audio jack:
Conclusion
In conclusion, this required more invasive repairs than the previous Technics. It was both cleaner and worse 🙂 at the same time.

Marco
Ciao Viulian, I also have a soft spot for older Technics portables, the SL-XP300 being my all time favourite. I just bought a XP330 on Vinted, and I think it has a mechanical problem since it does a “stomping” sound and it produces vibration during play. One channel sounds quieter than the others, maybe it’s related to the aforementioned mechanical problem, maybe not. I’ve put some silicone on the two metal rods, everything else seems ok, but the stomp sounds stayed. What parts you think I should inspect next? Thanks!!!
viulian
Hey Marco,
I had a similar issue with the other Technics SL-XP330 – where sound quality was not good. It was due to corrosion inside the audio jack and around it.
Other than that … I can’t suggest anything else 🙁