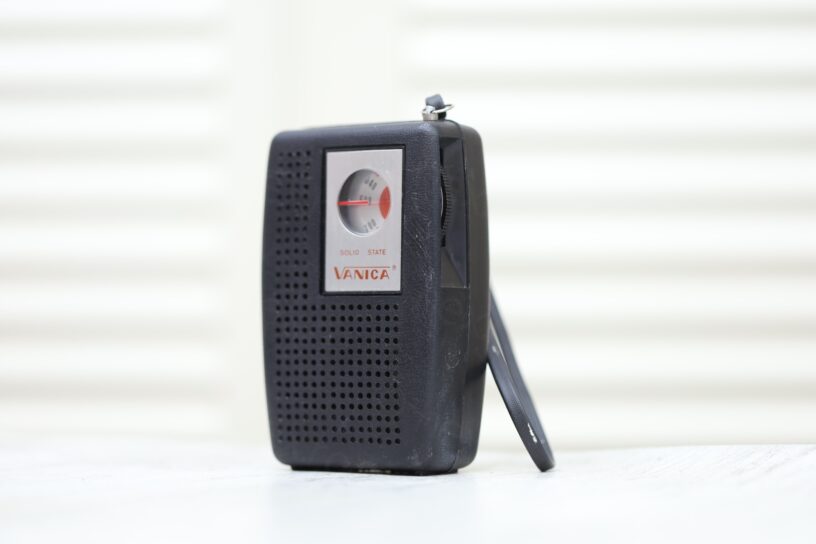

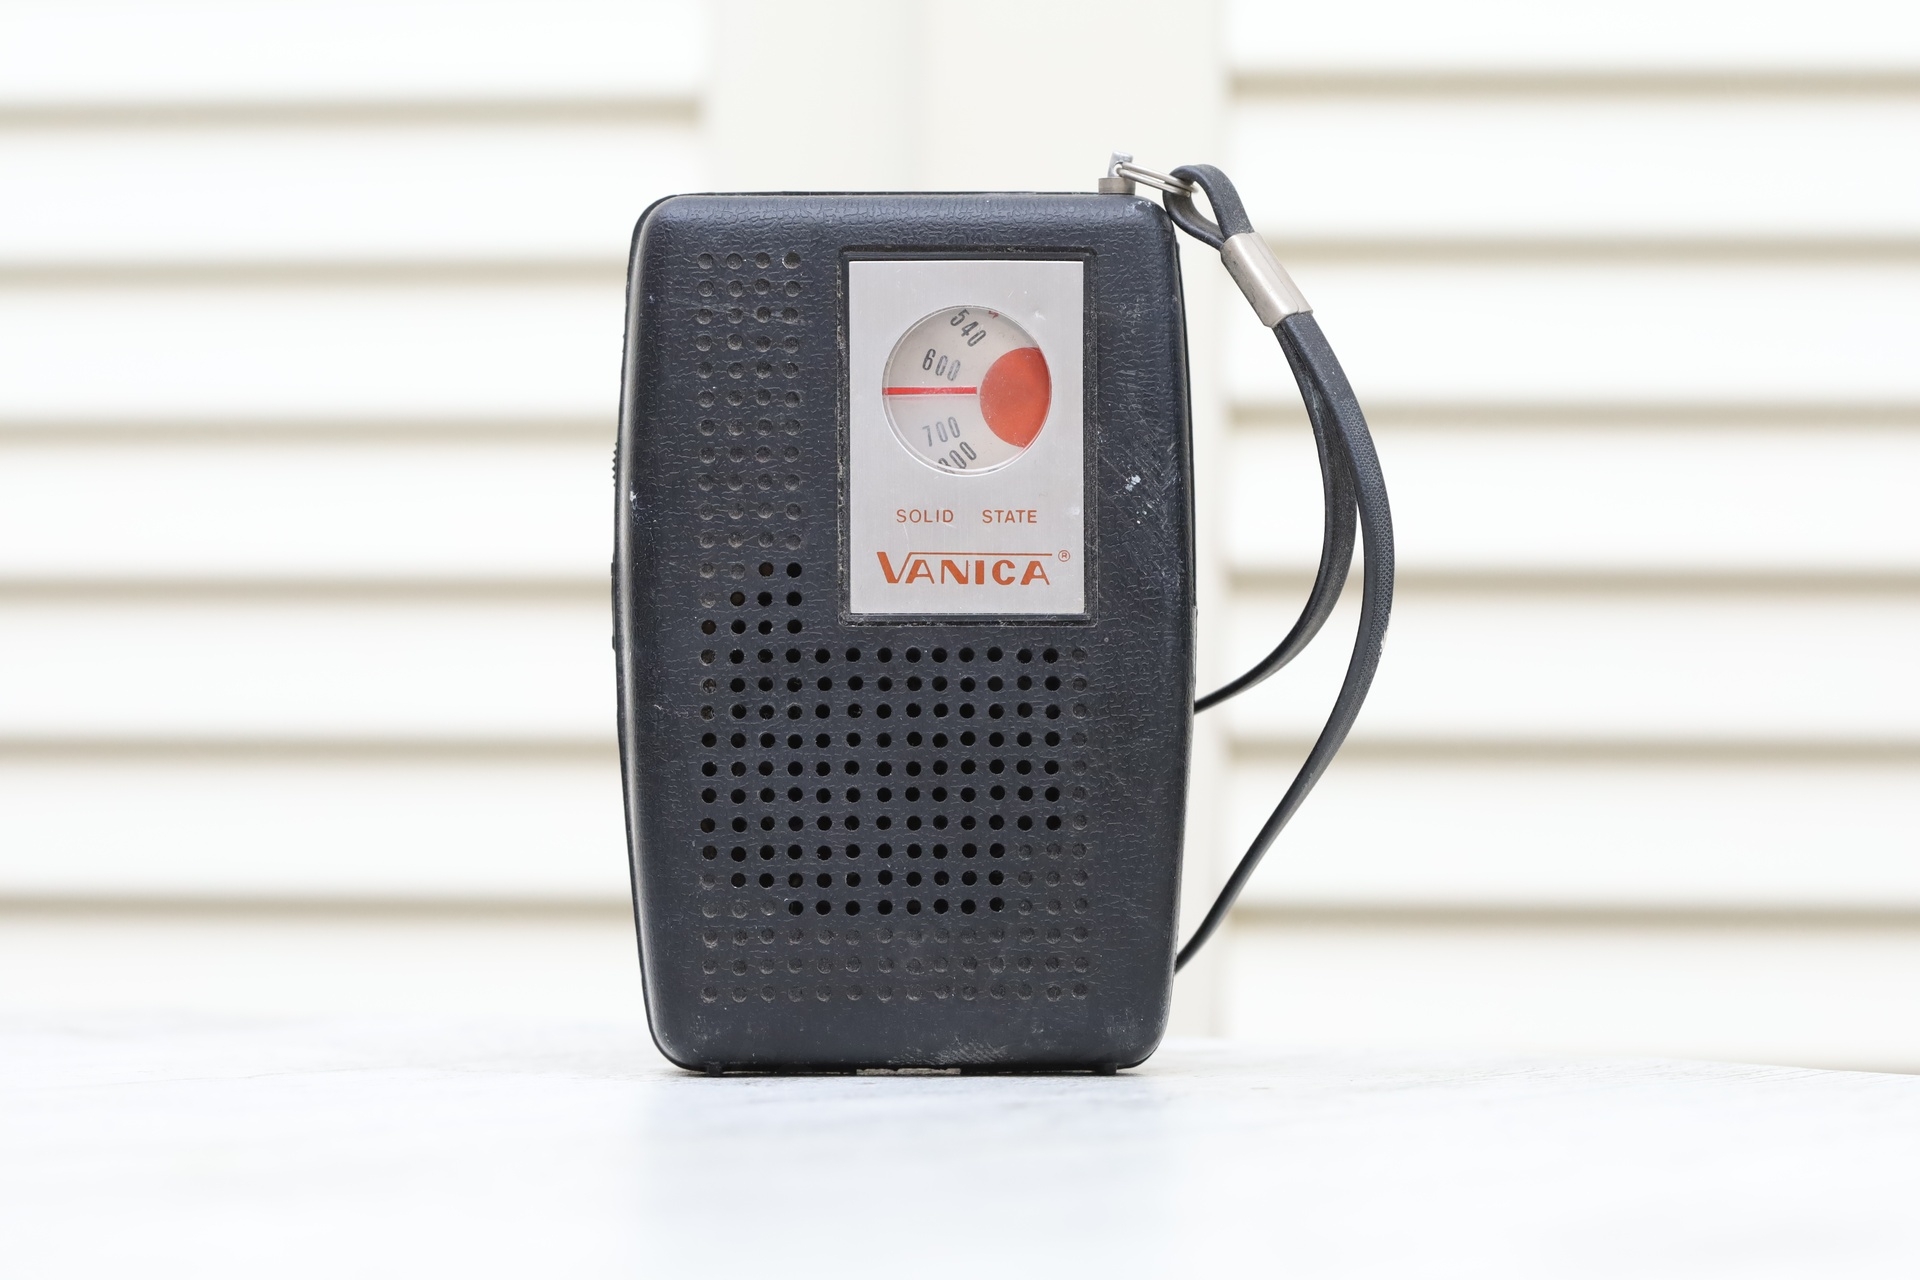
Bought this cheap radio just as a companion for my Browni Radio. Happy to found an identical looking one 🙂 hope I will find more in the future. There is a huge list of them, compiled on the Radio Museum website.
Table of Contents
Overview
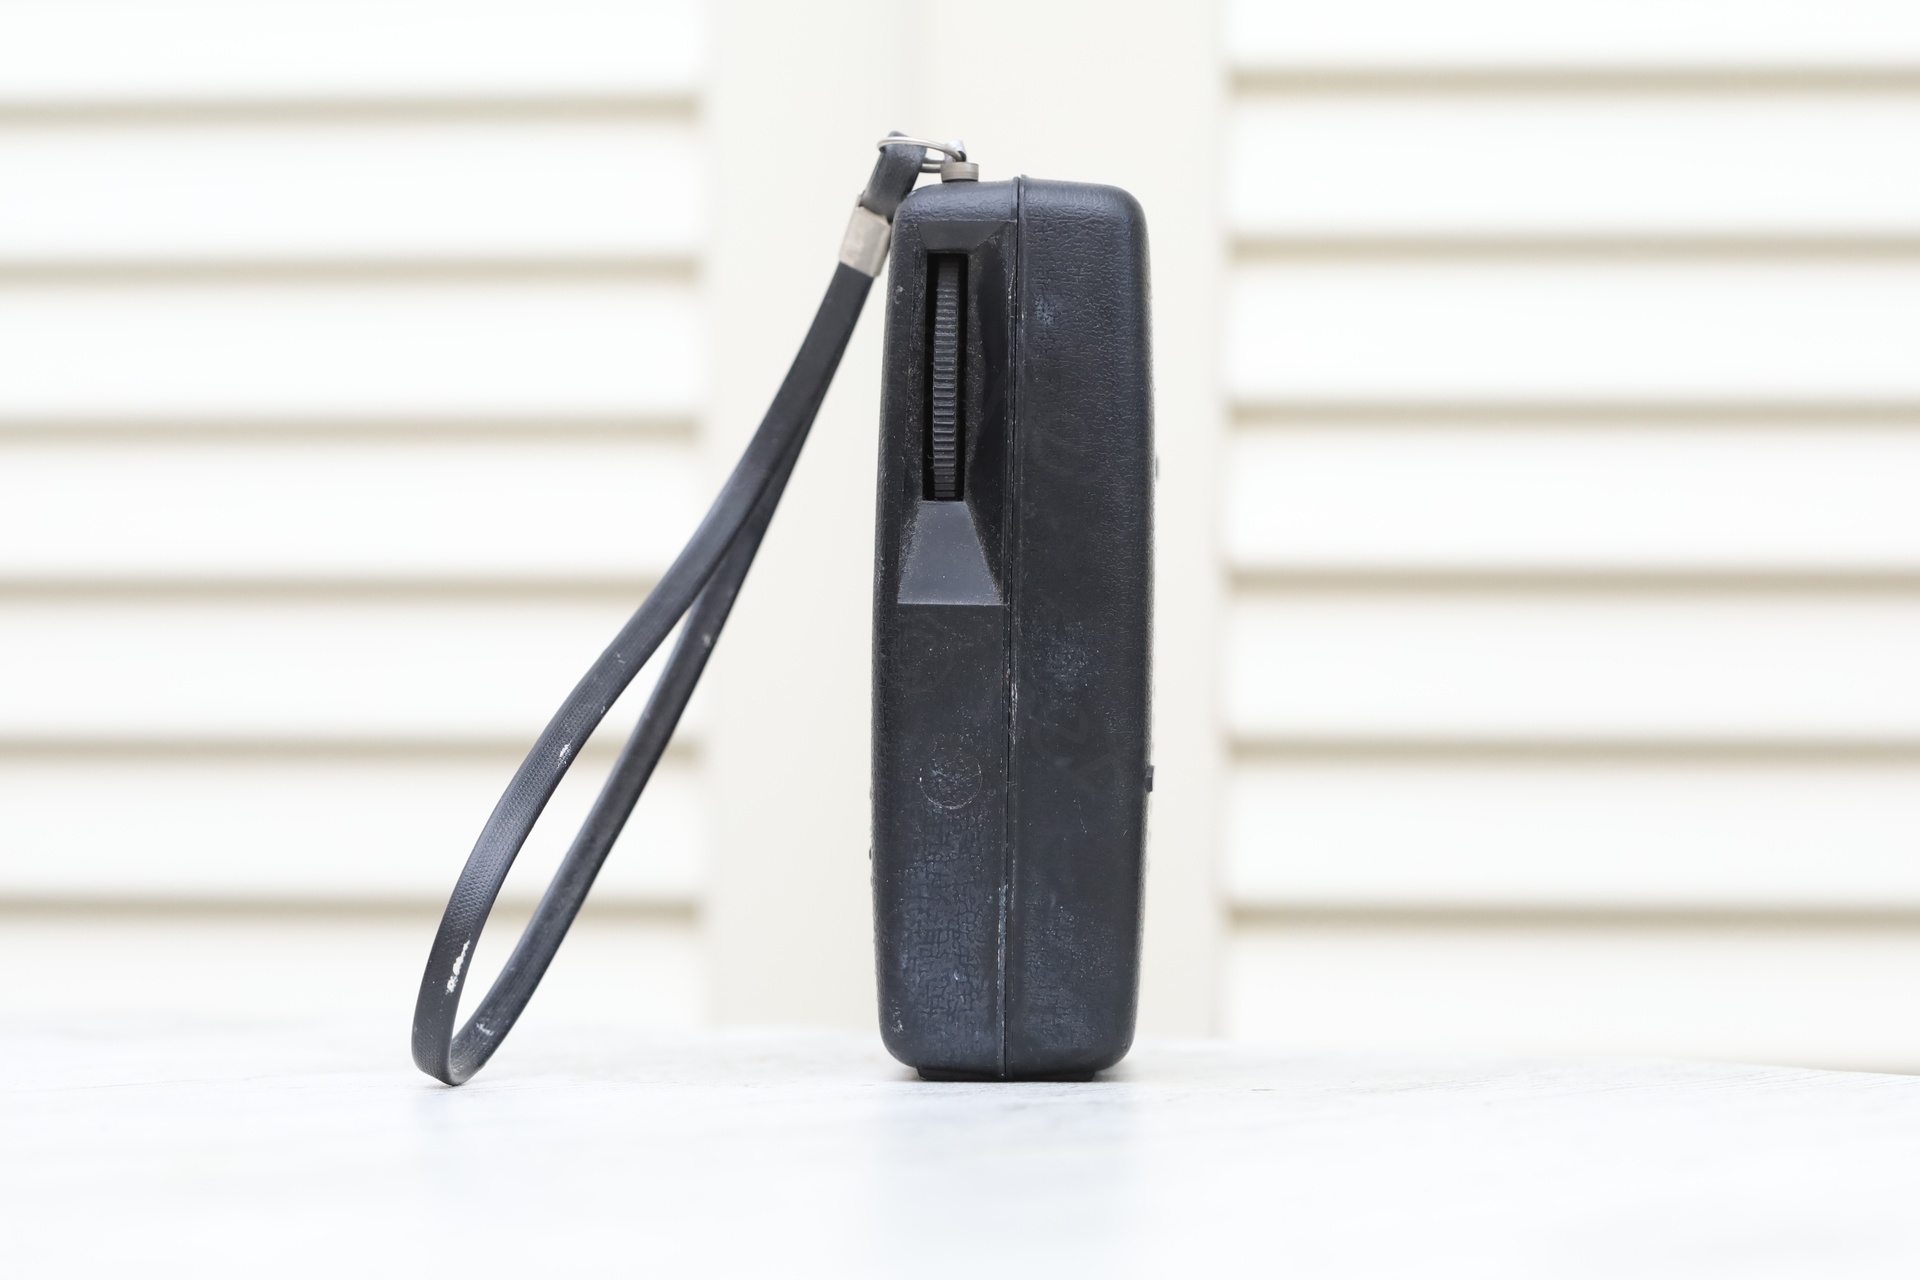
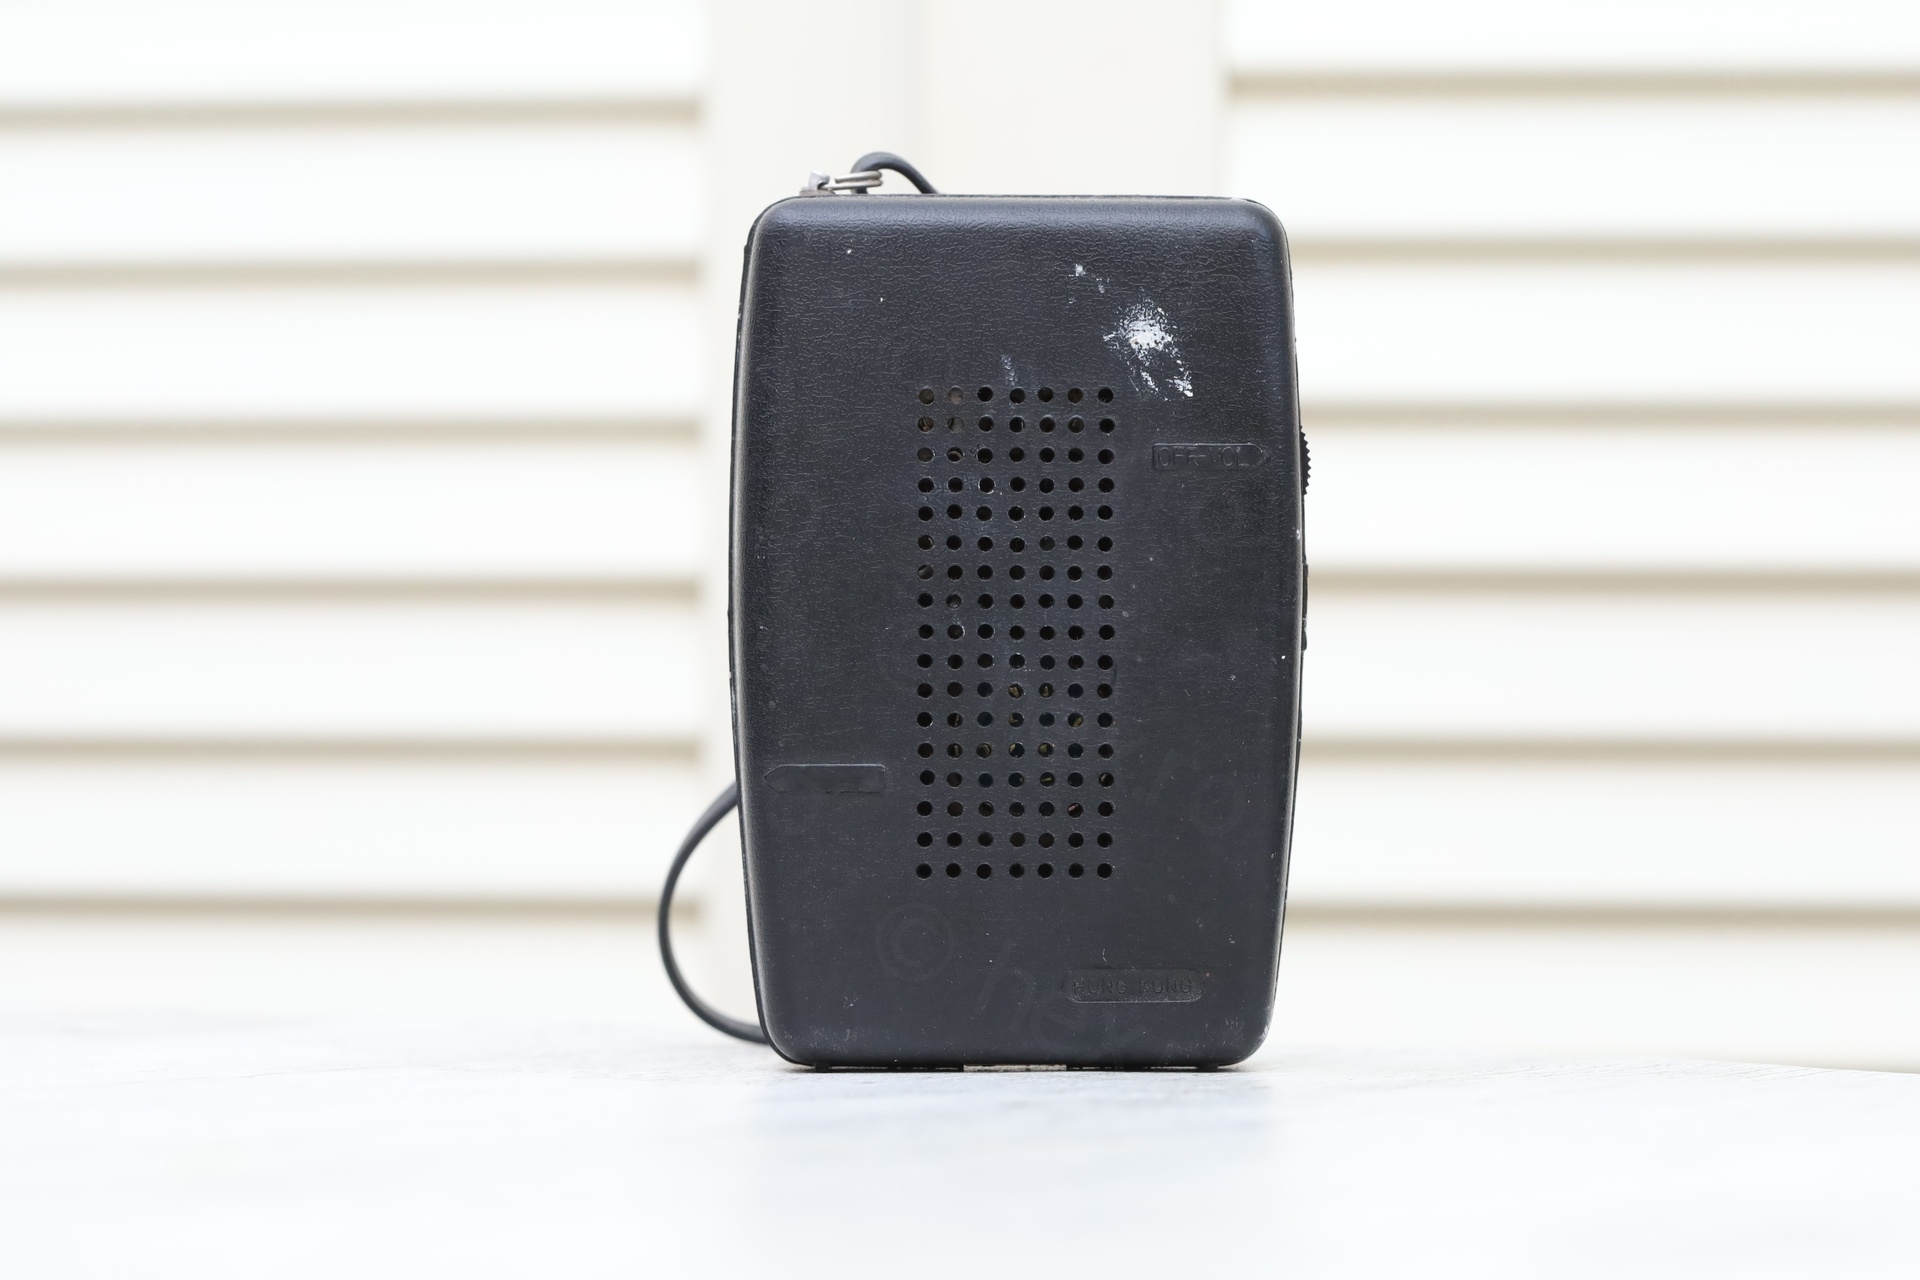
The radio was dirty: dusty, with some large spots of white paint:

Testing it revealed that it sometimes stations were normal, but immediately were very faint. Few times when it was working, moving the tuning knob around got it to motorboat.
Thus, it was time to take the the circuit board out and have a look.
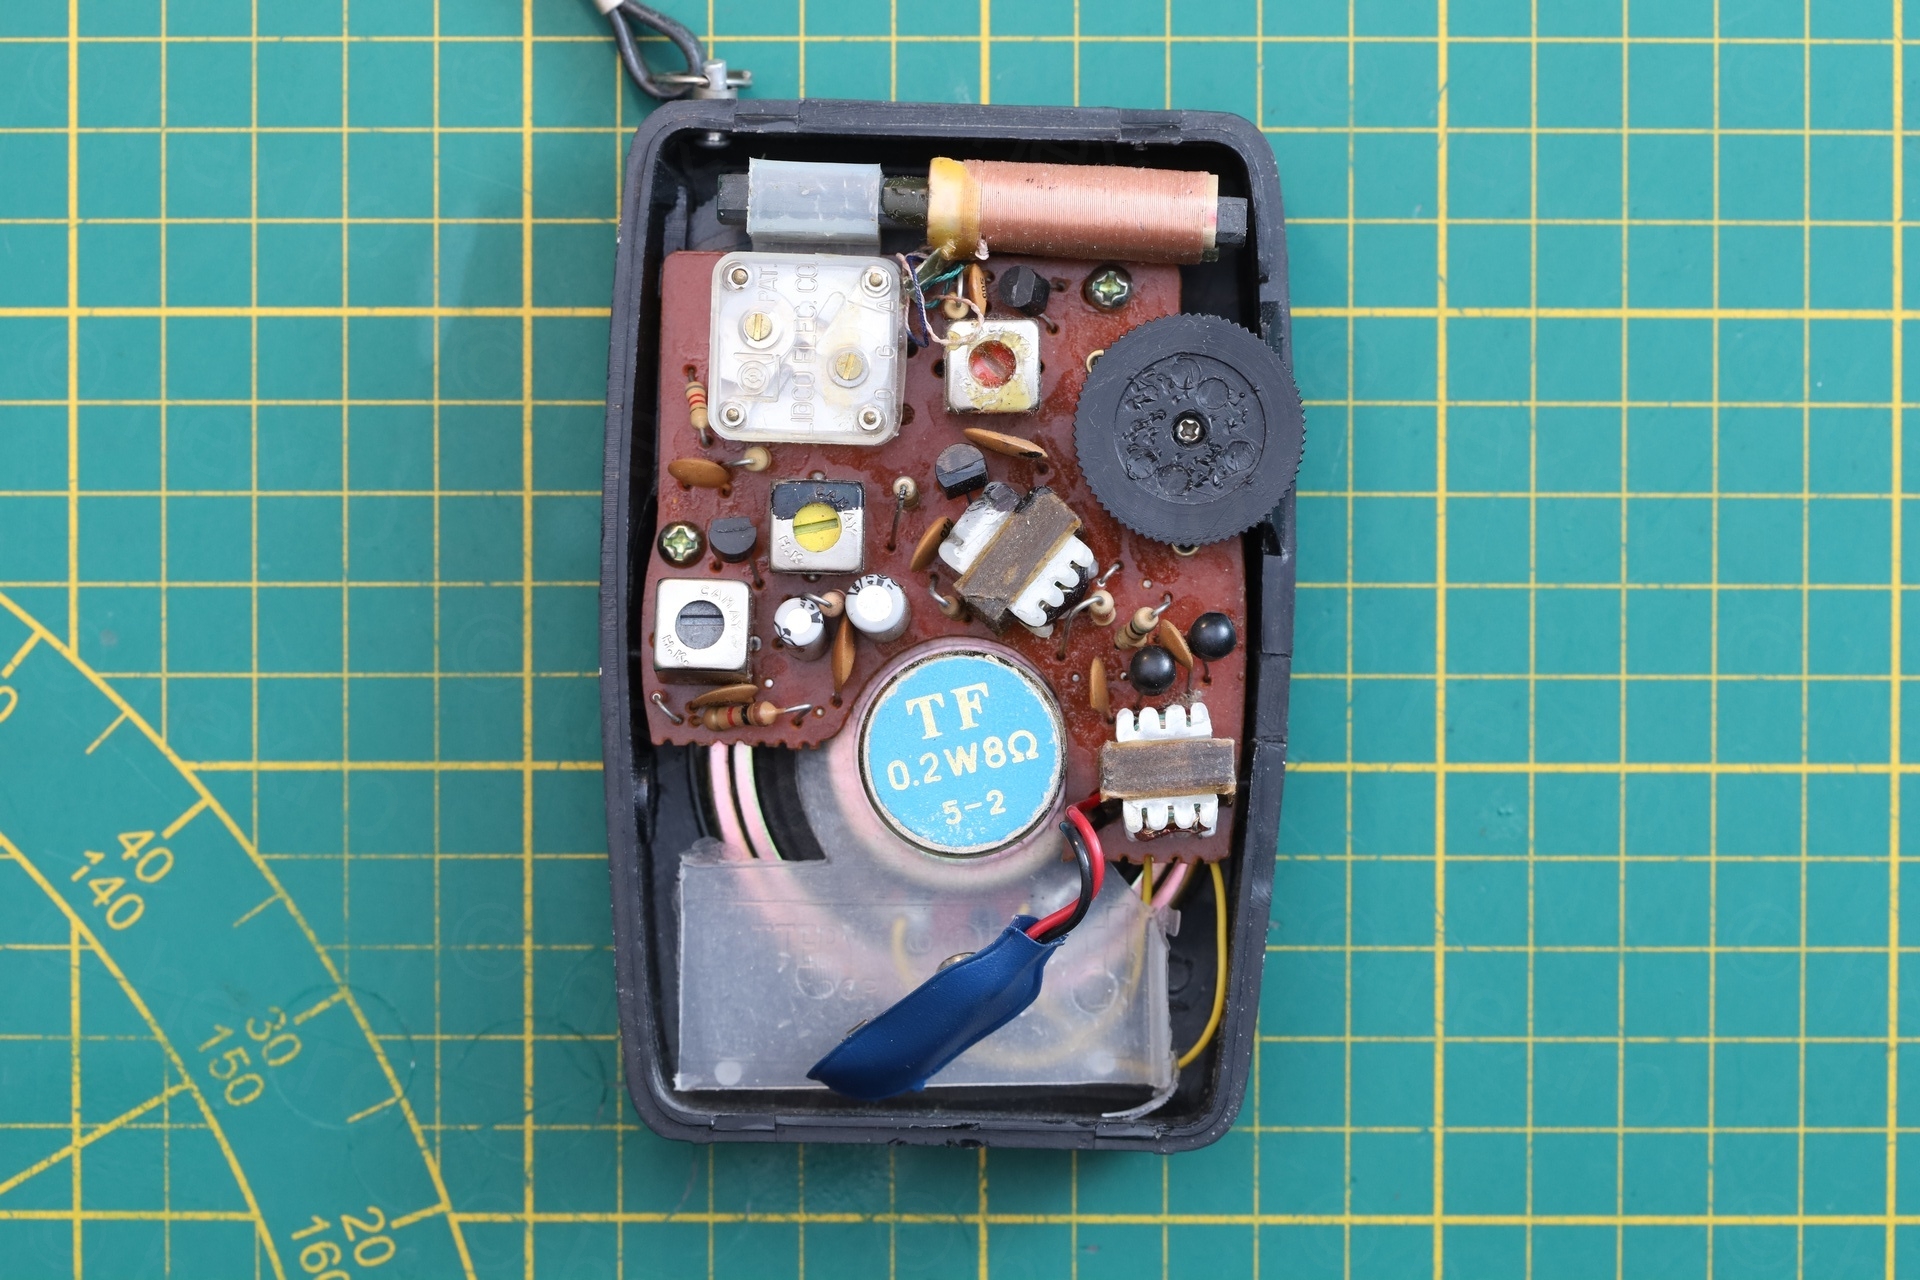

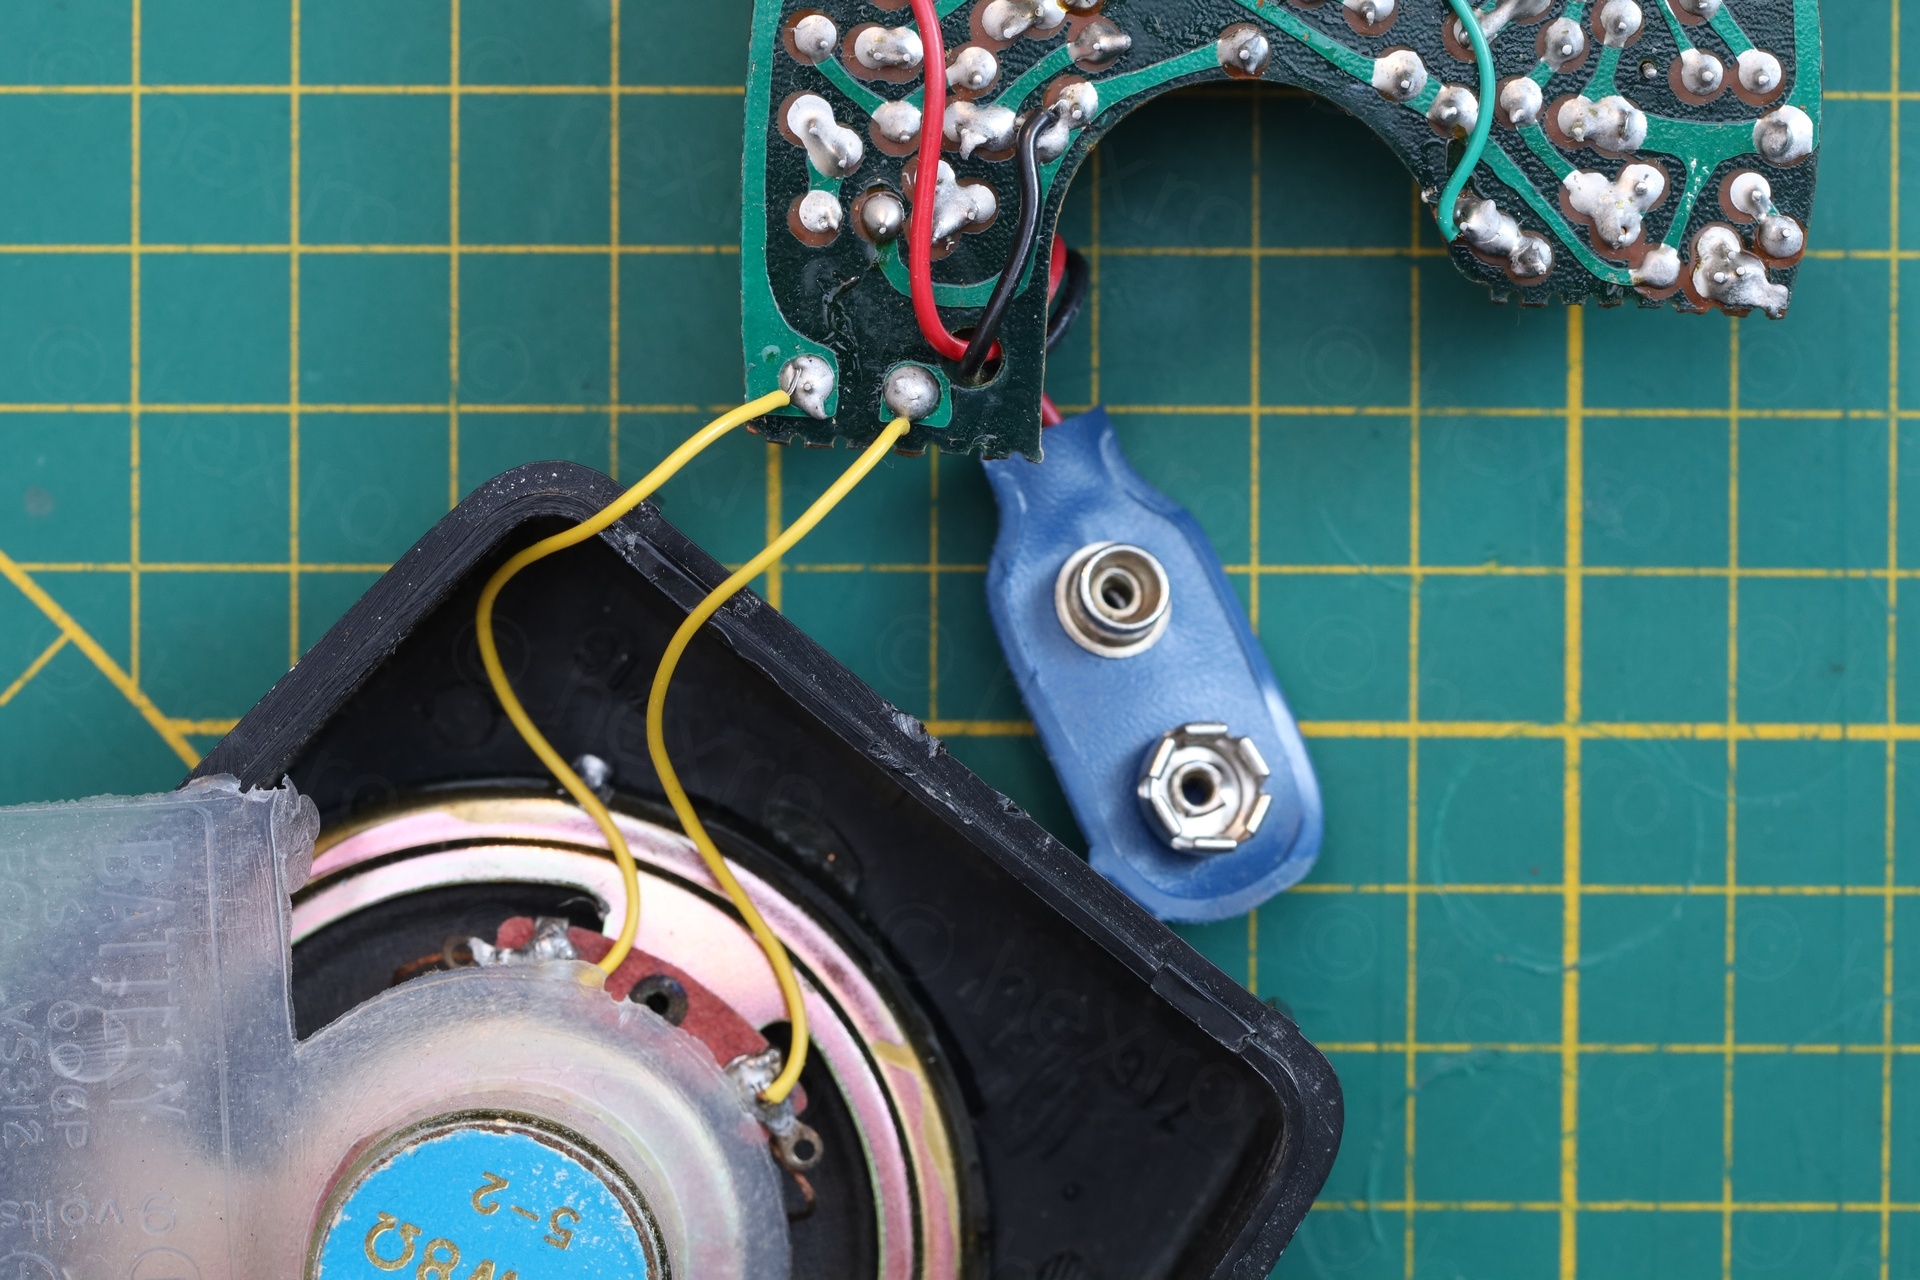
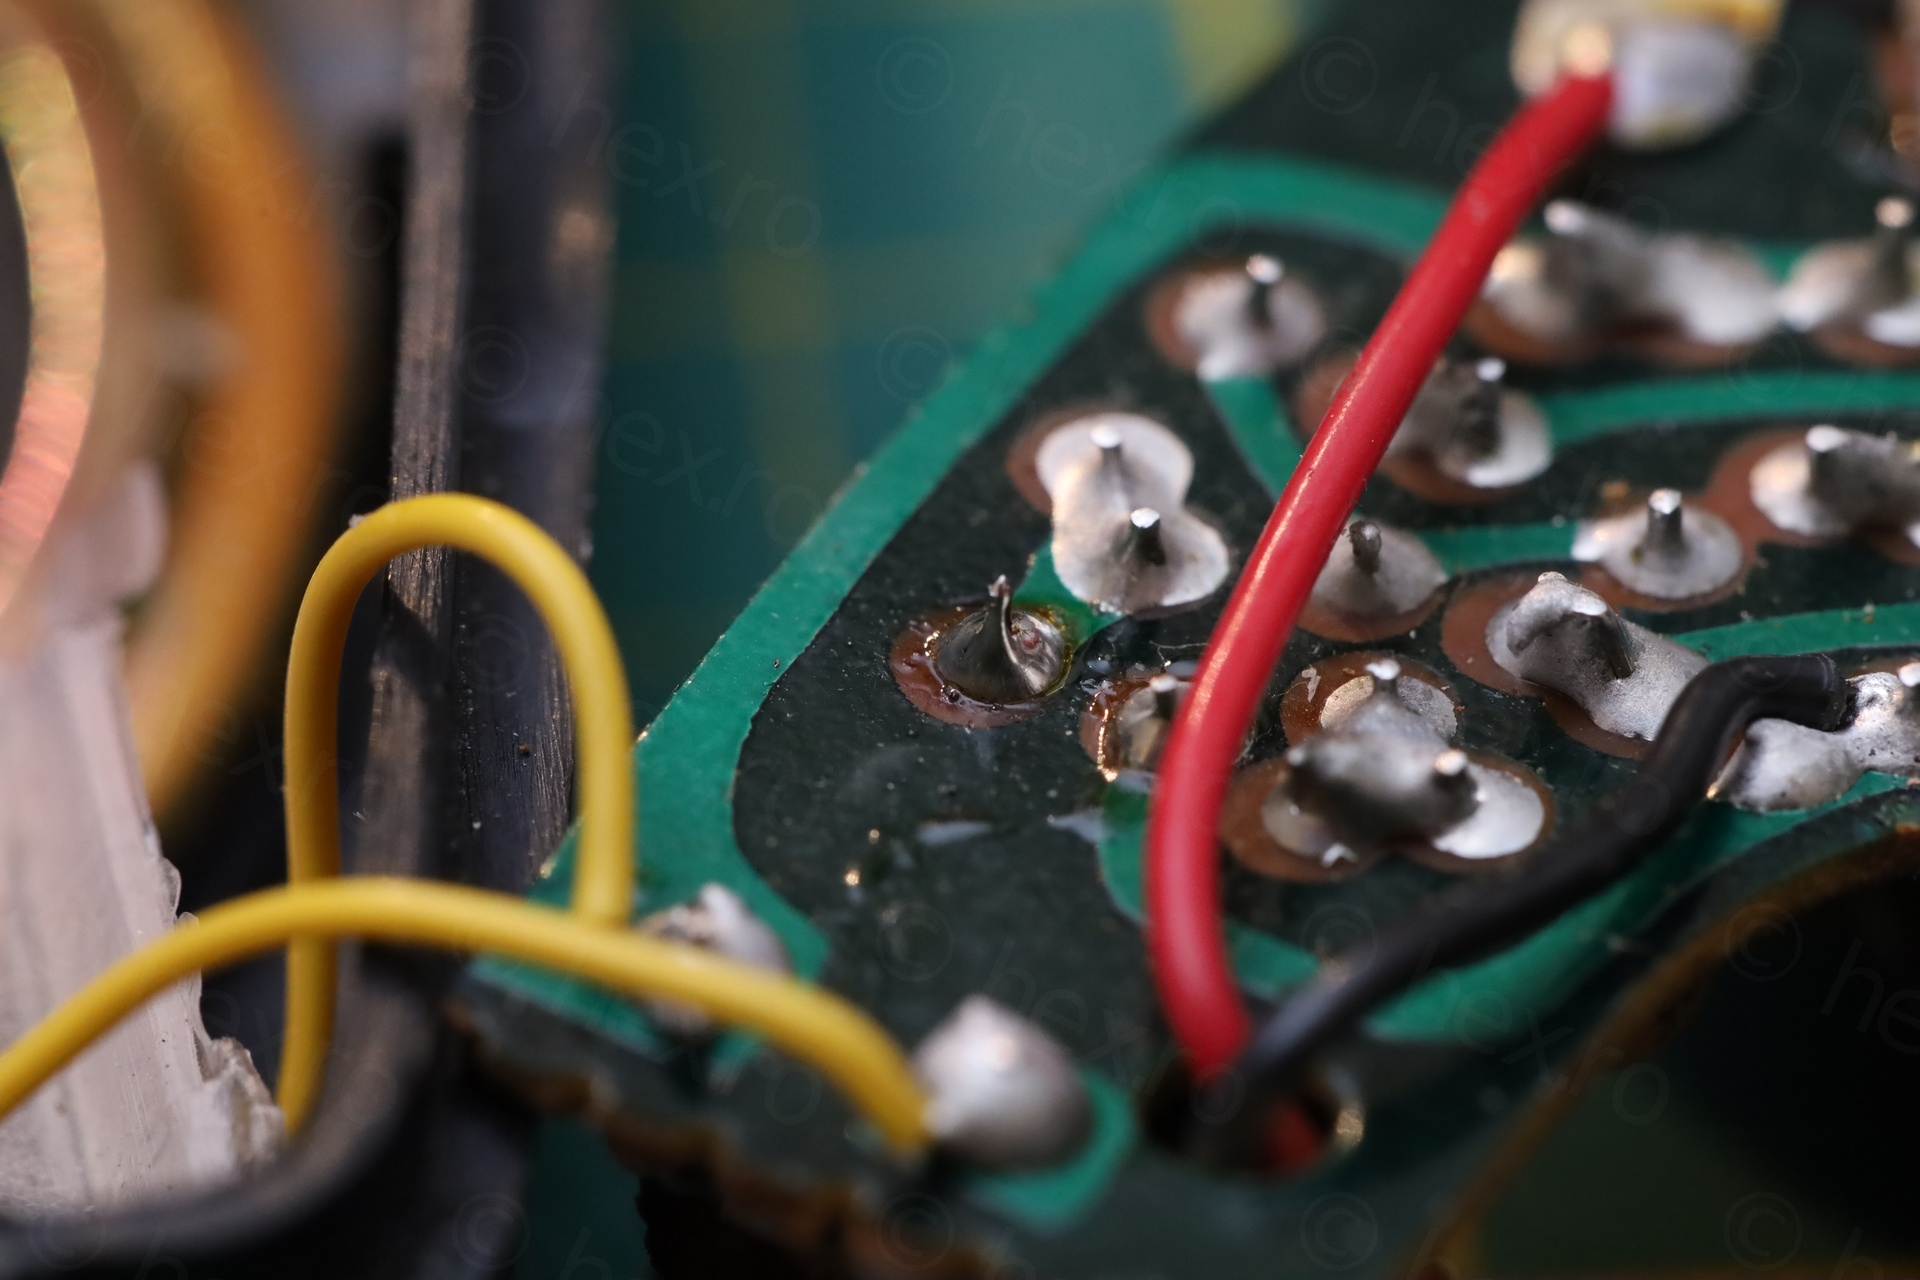
There are two screws that hold the circuit board attached to the case. I tried not to flip it many times (as in not having to re-solder the yellow wires that connect to the speaker, since they may break).
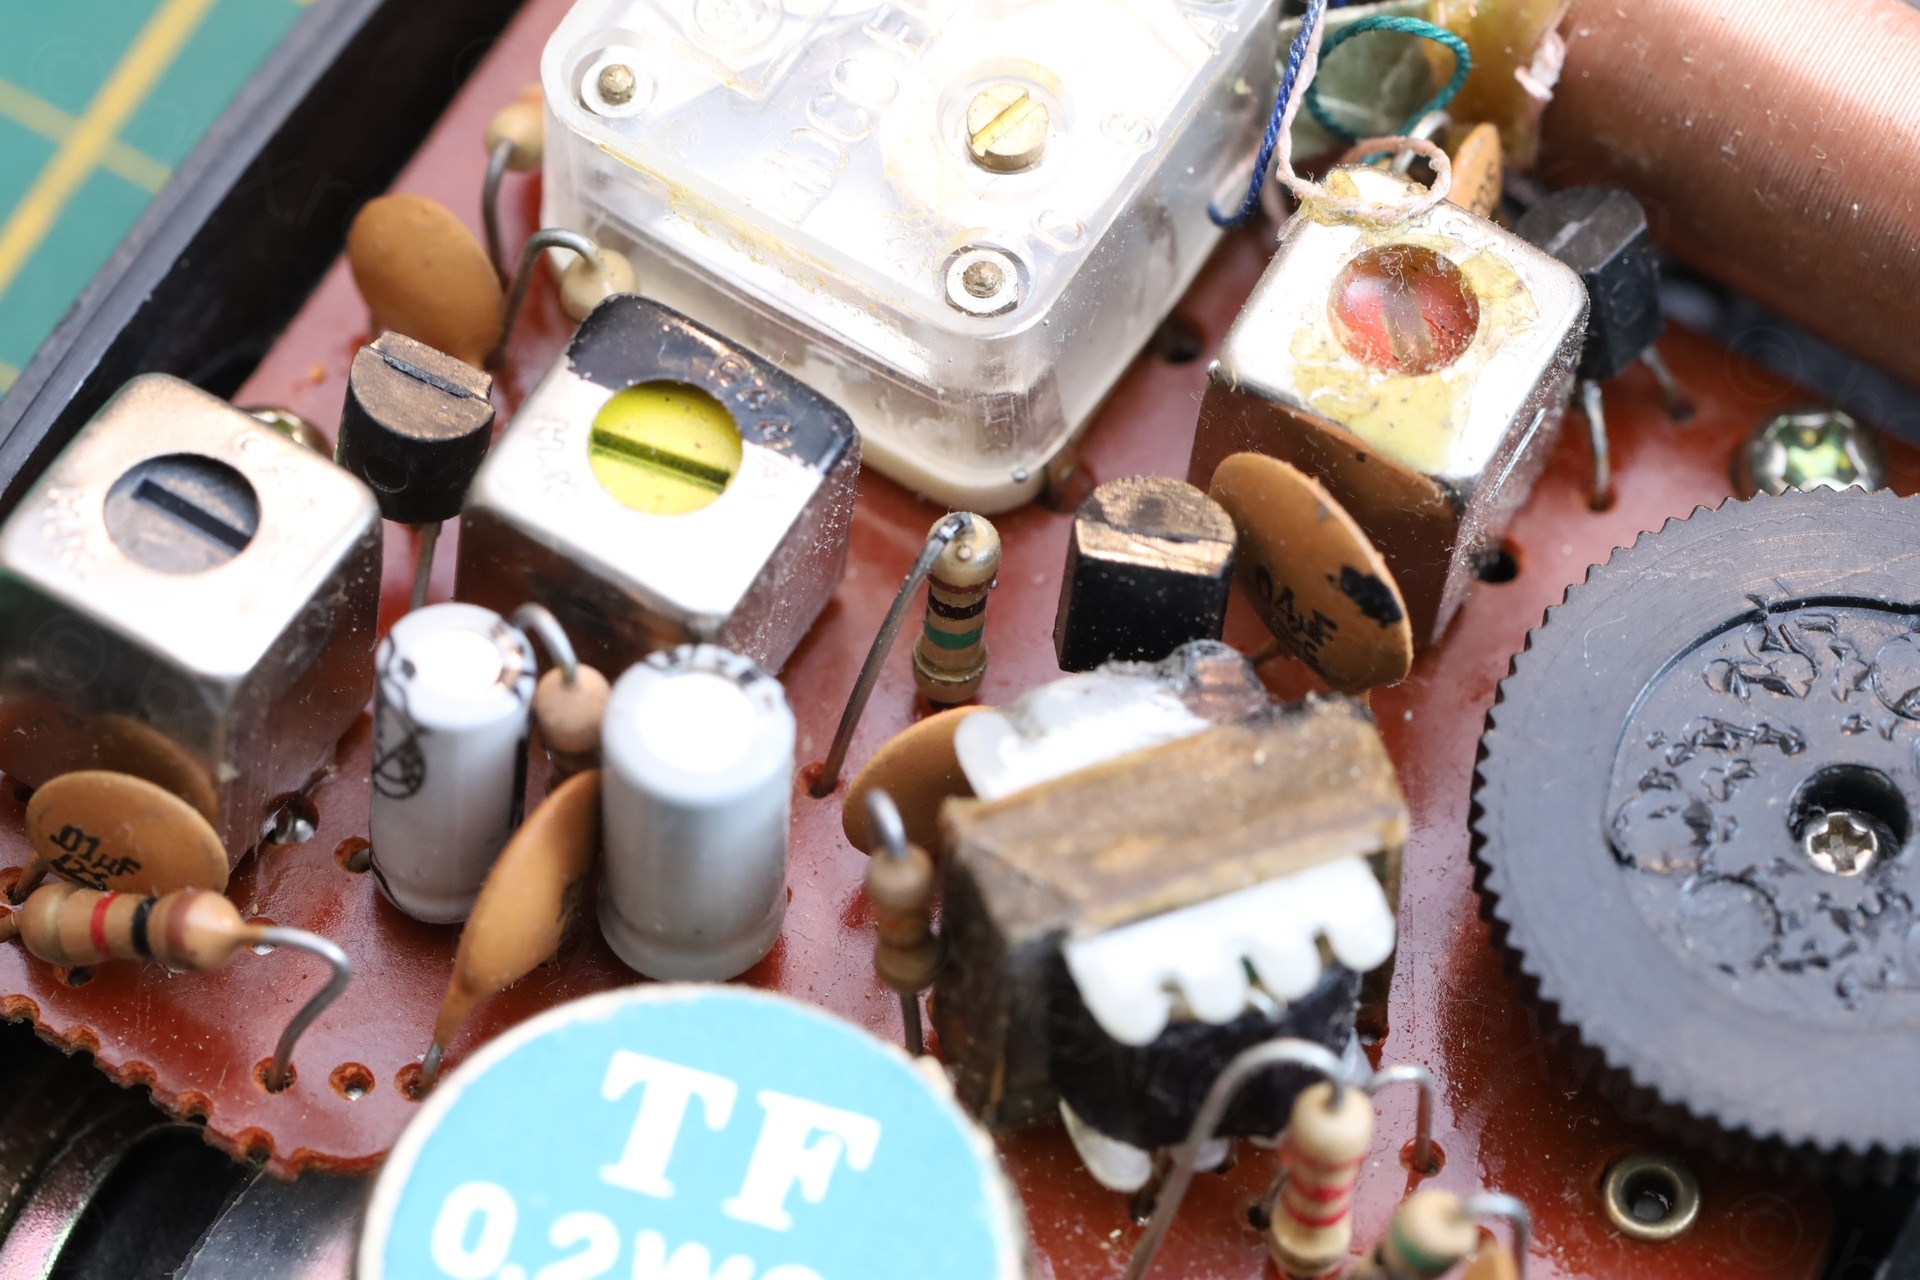
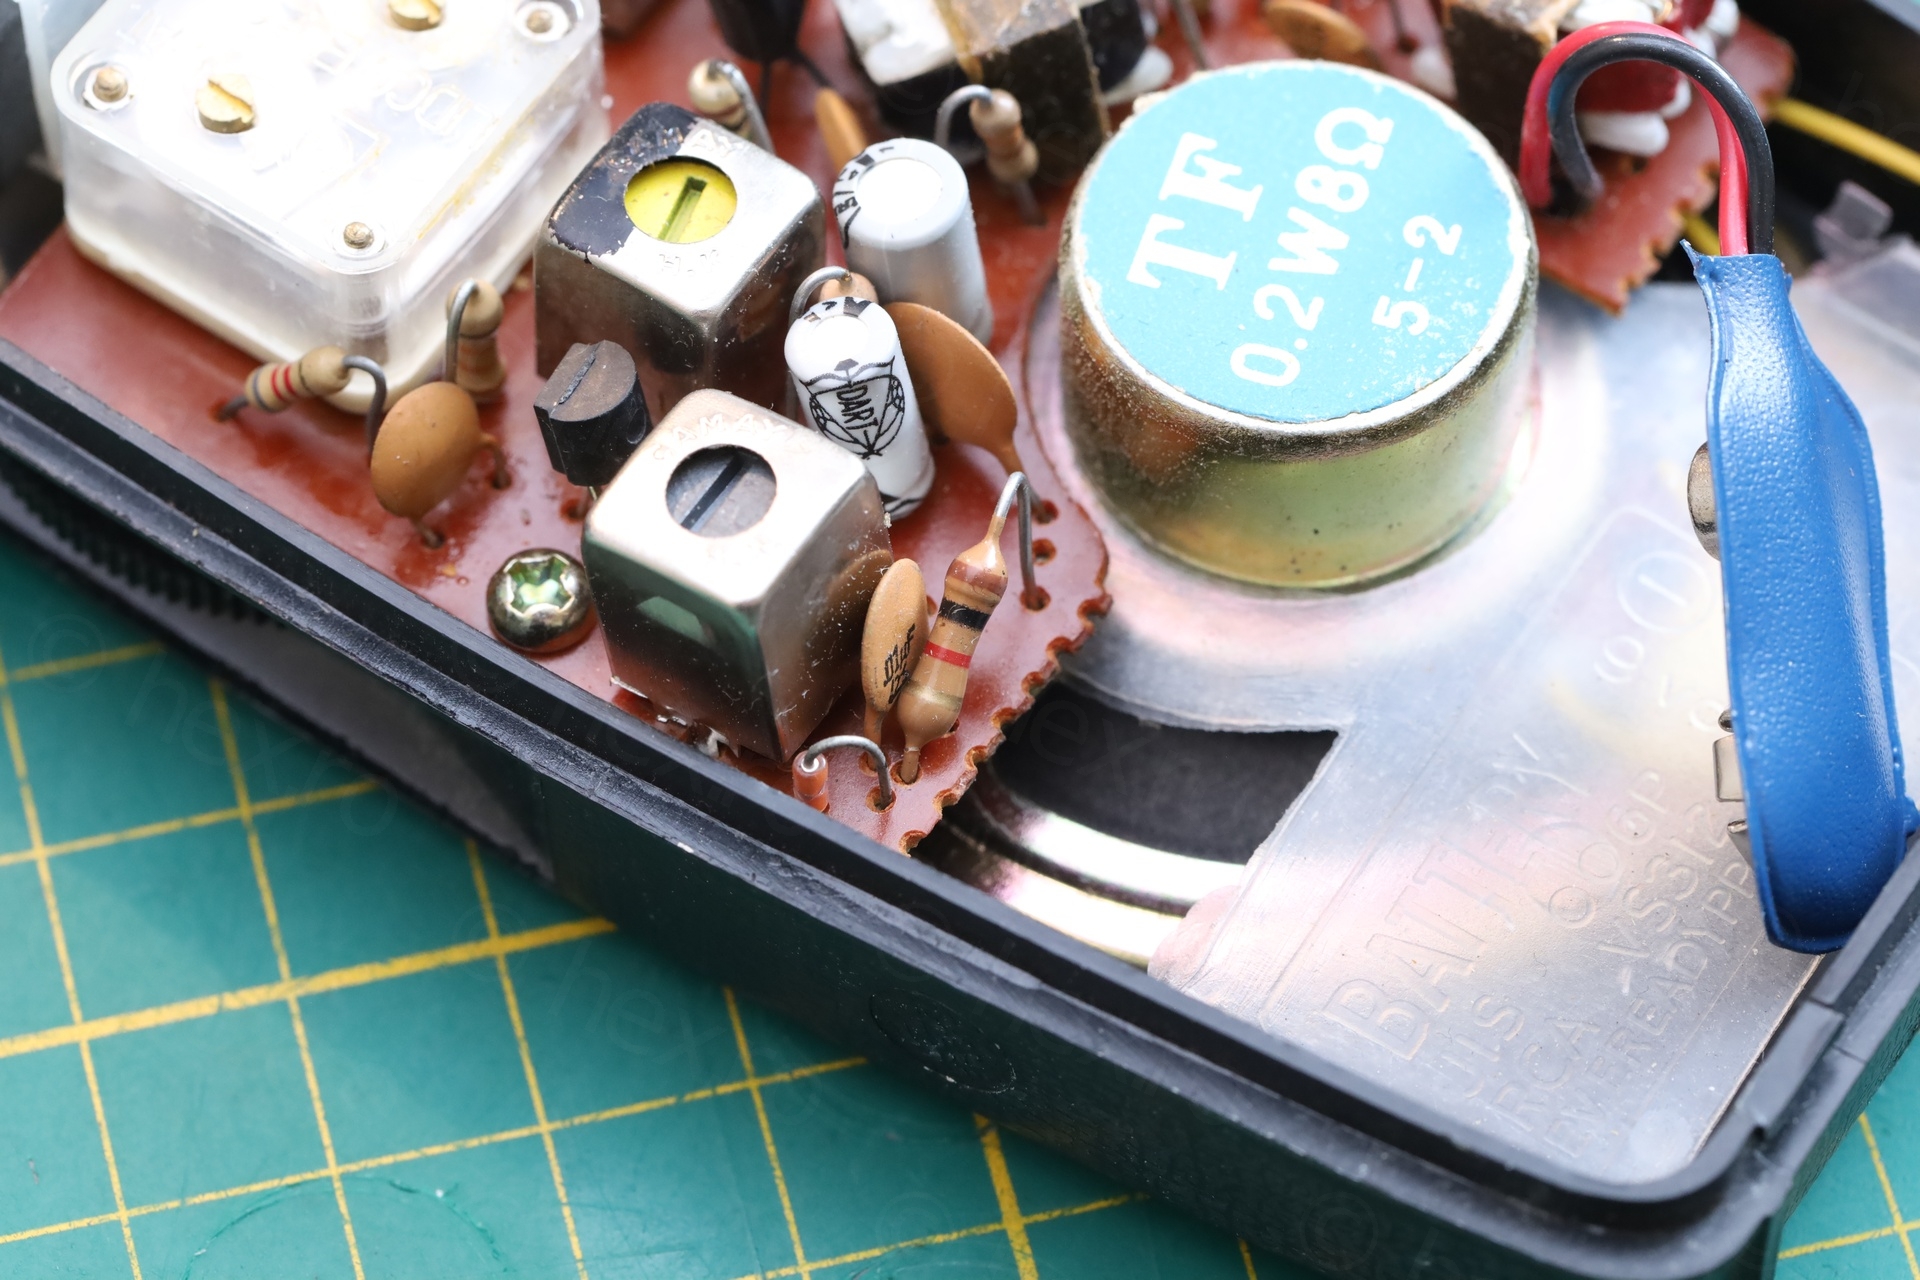
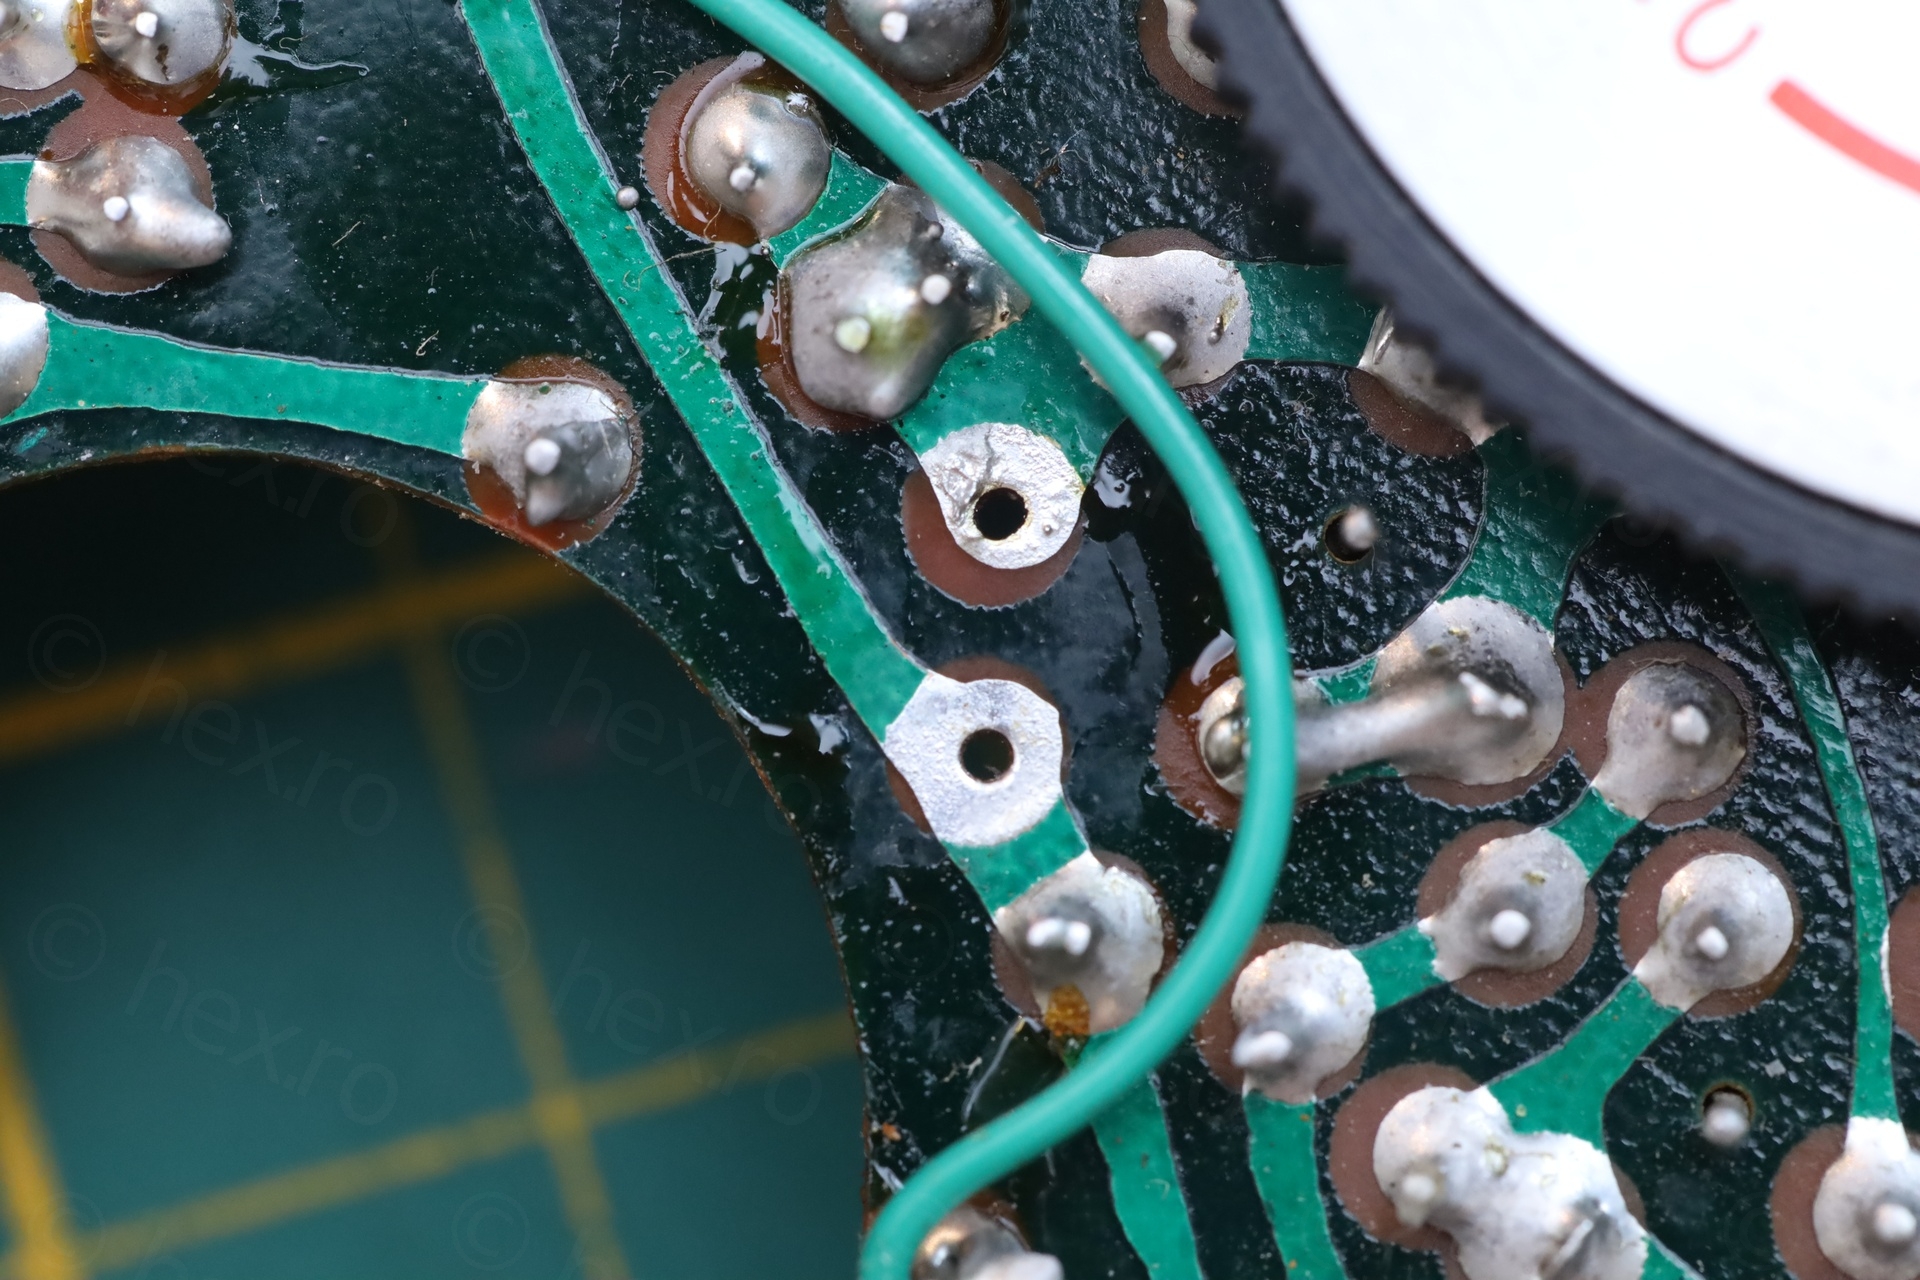
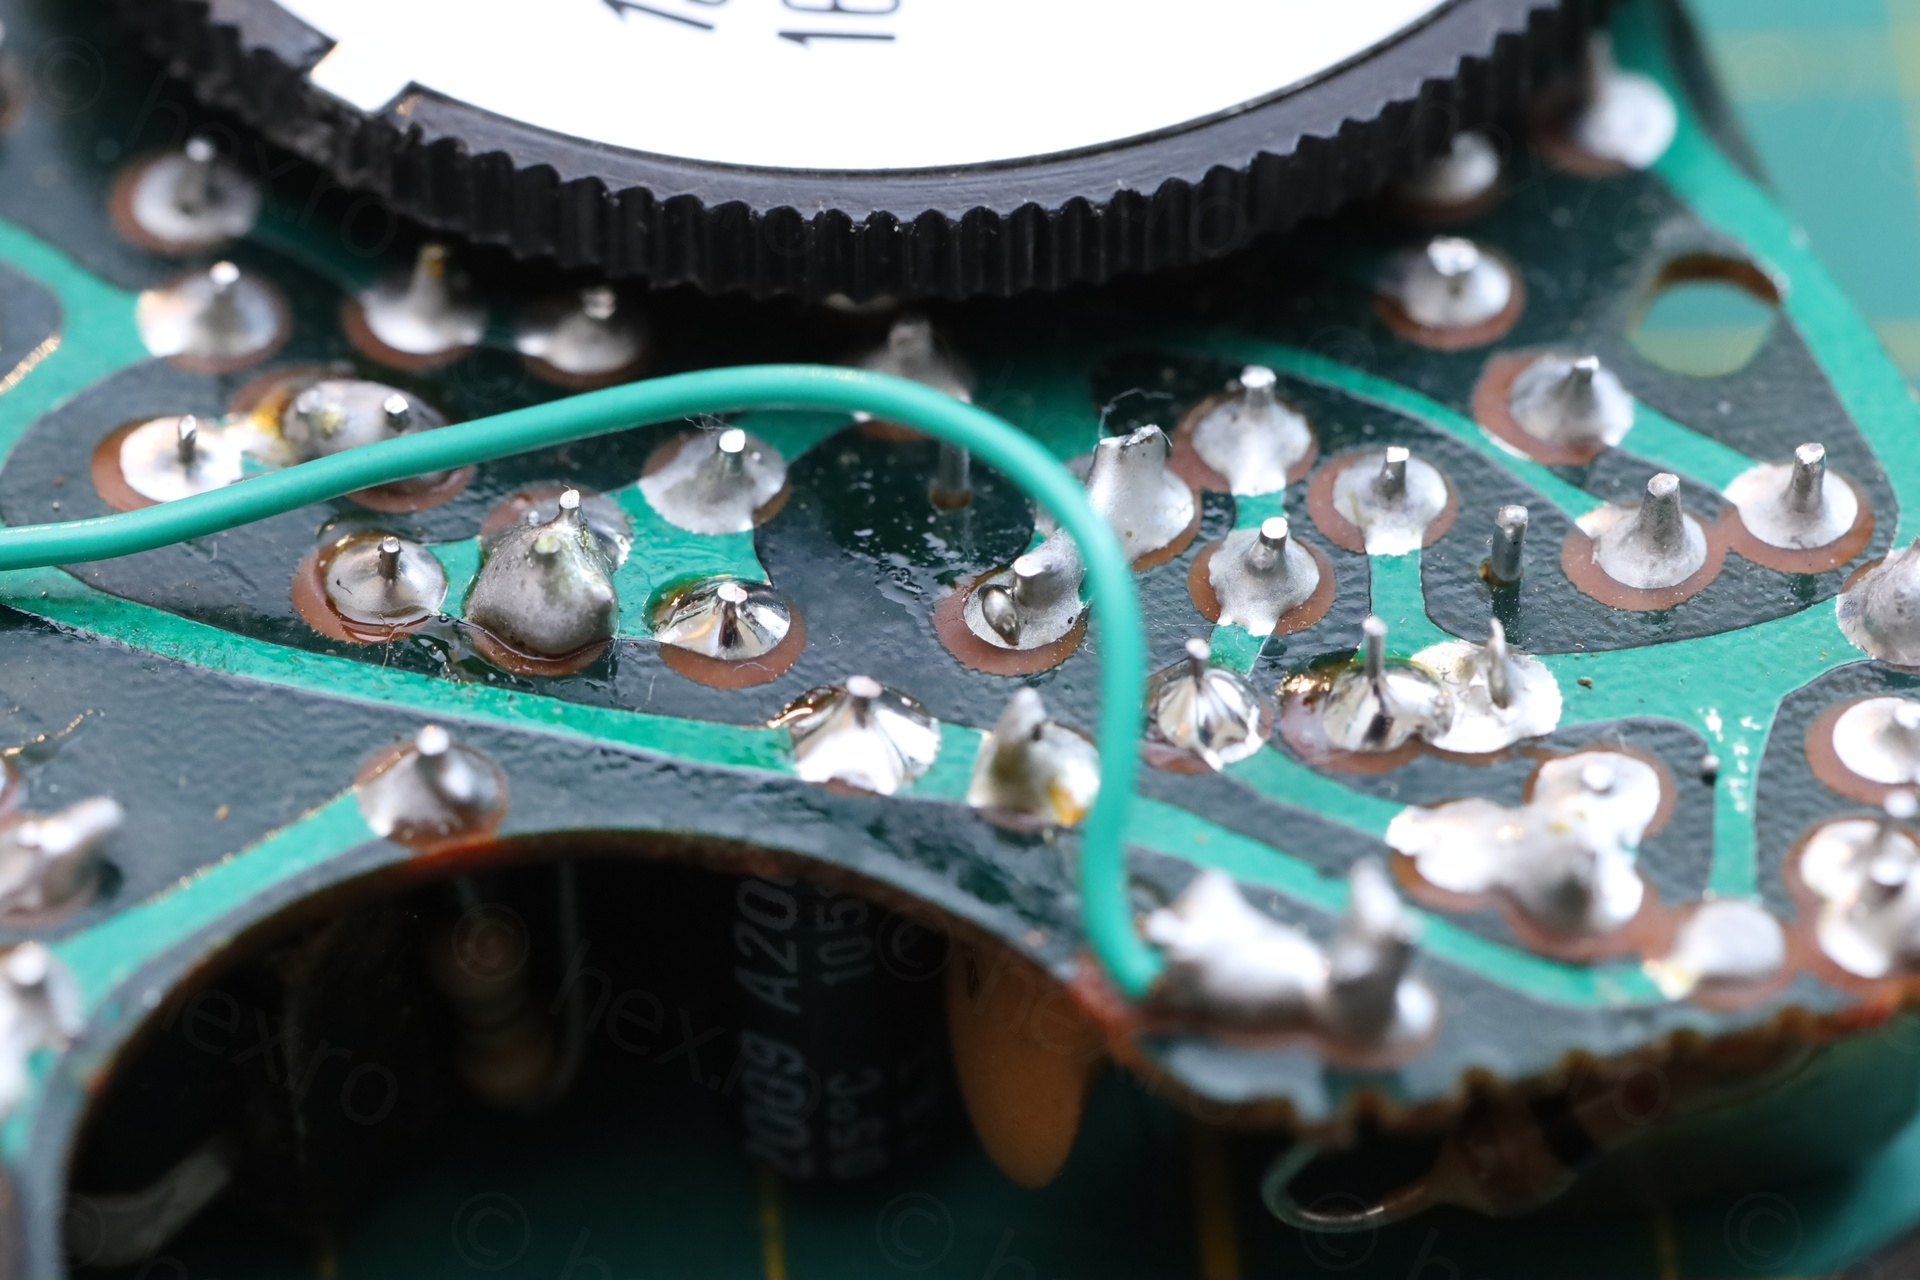
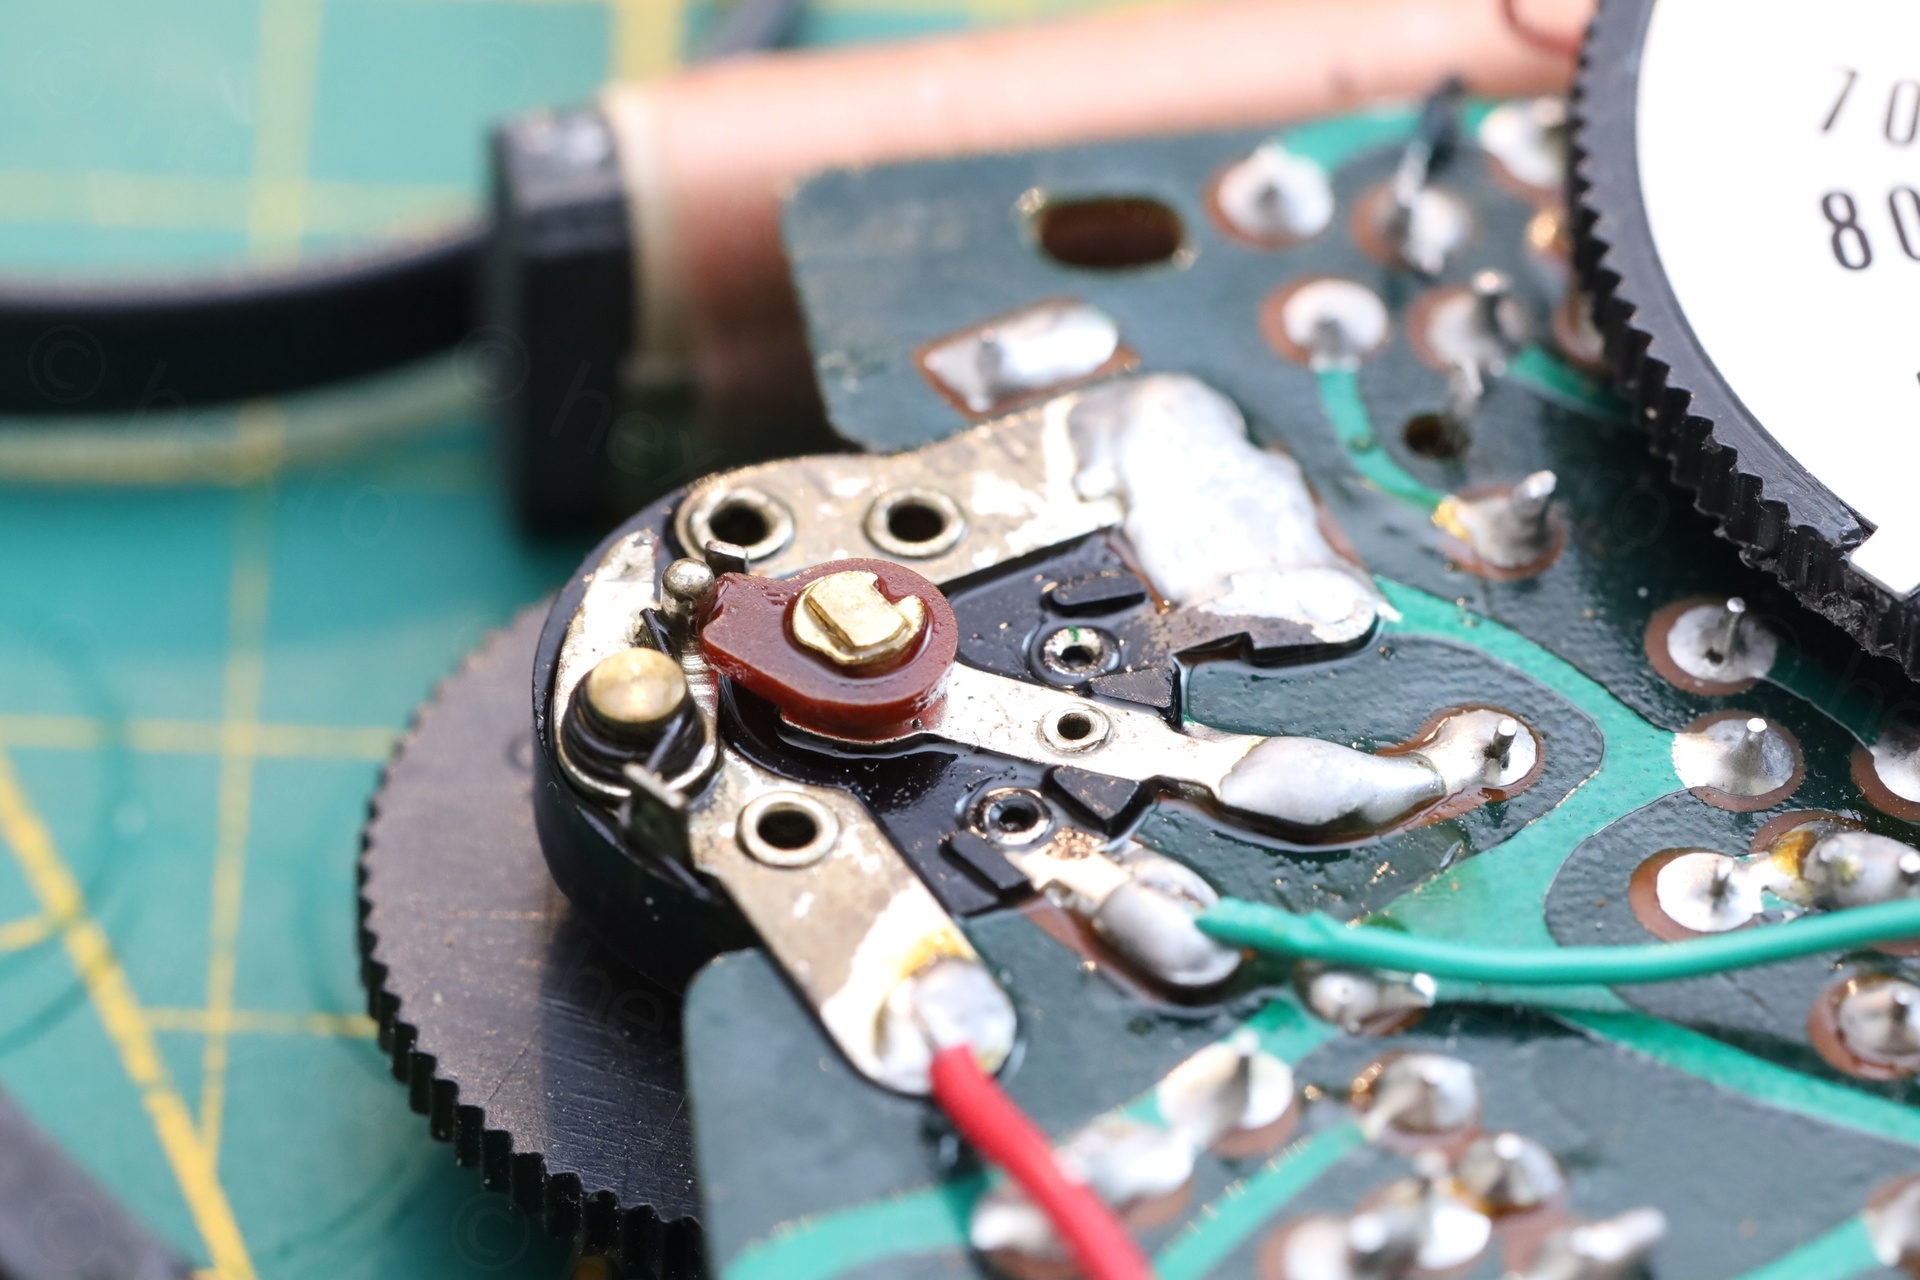
Cold solder joint
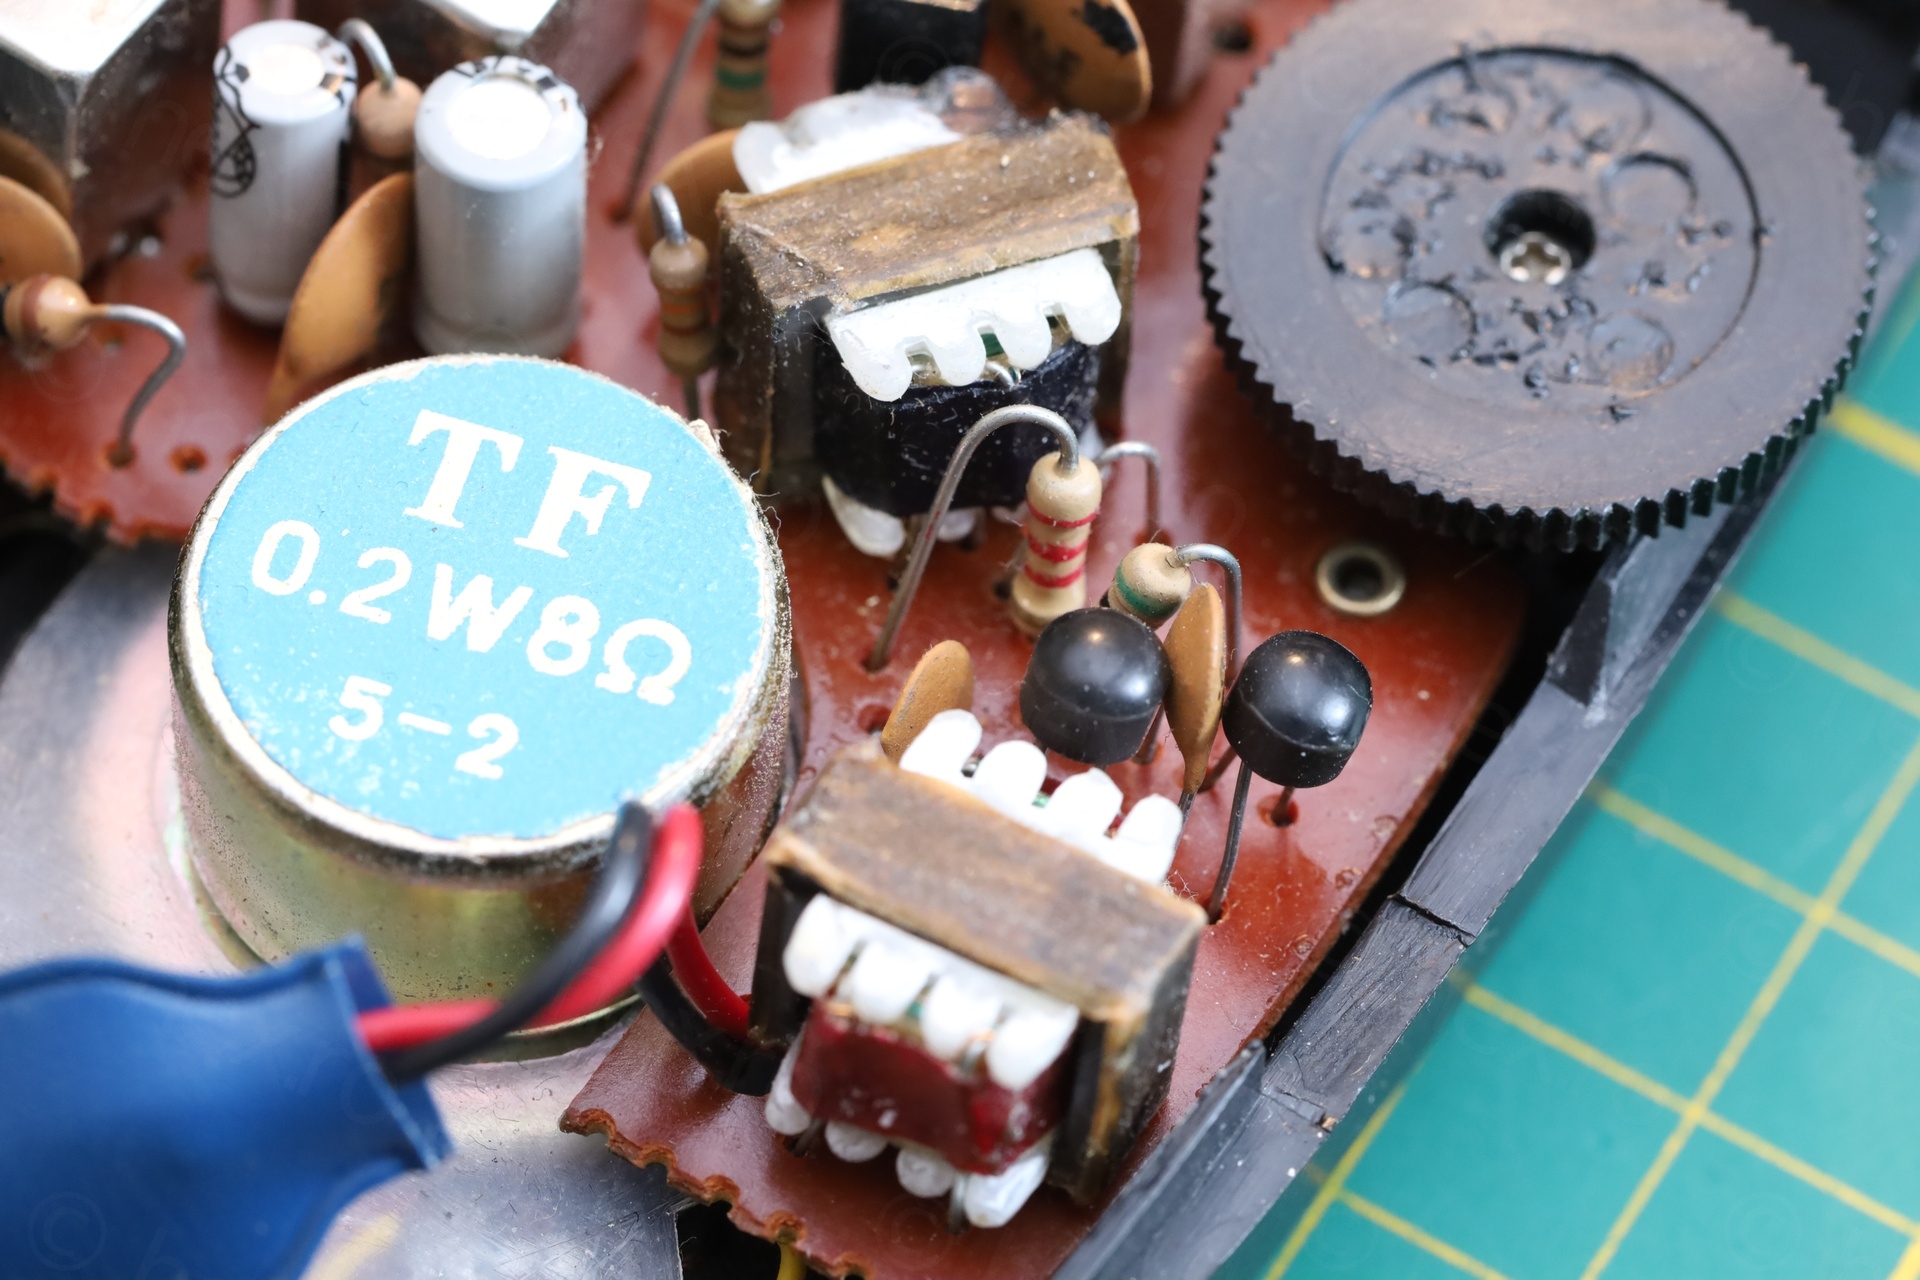
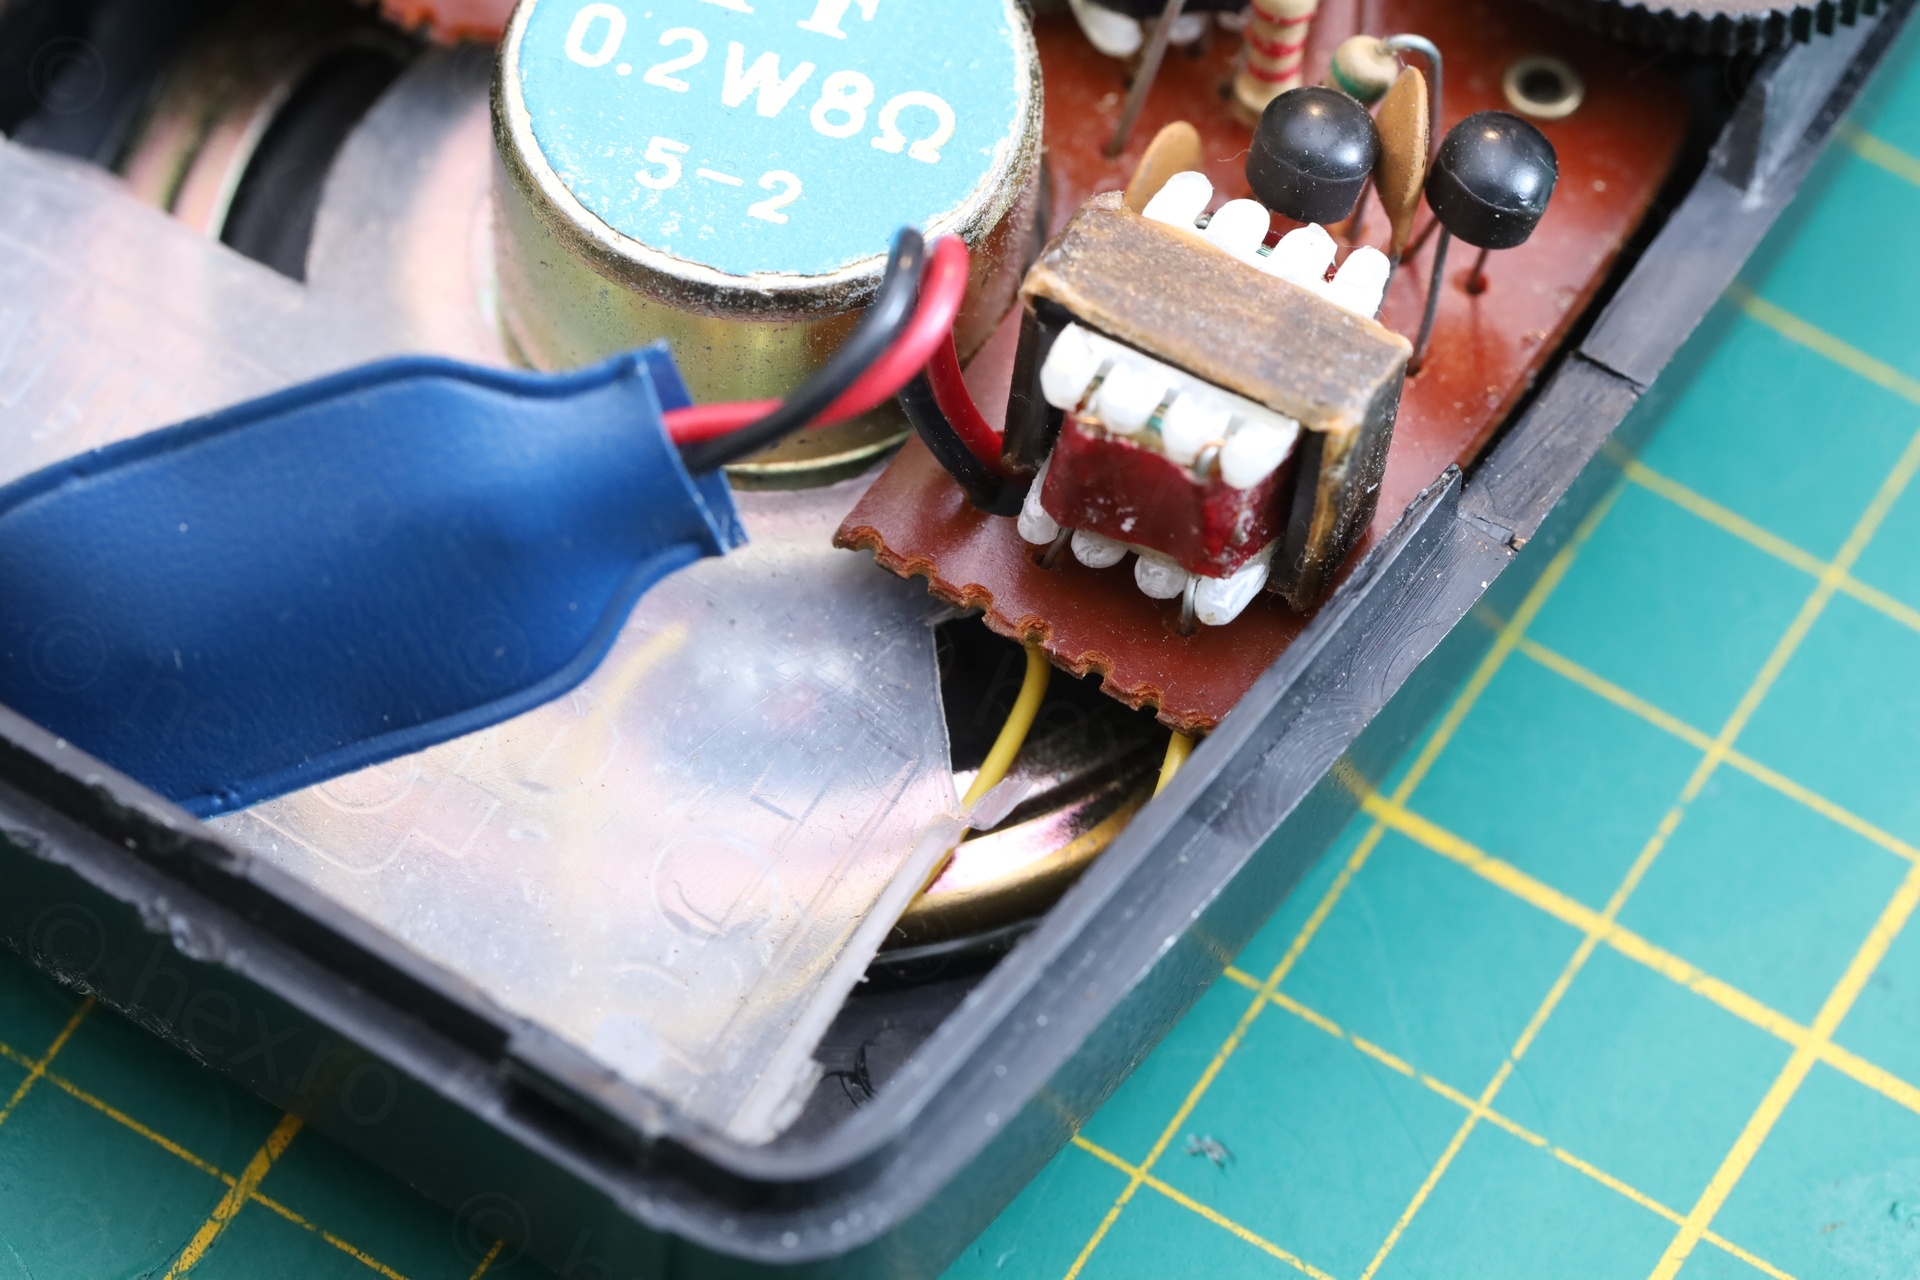
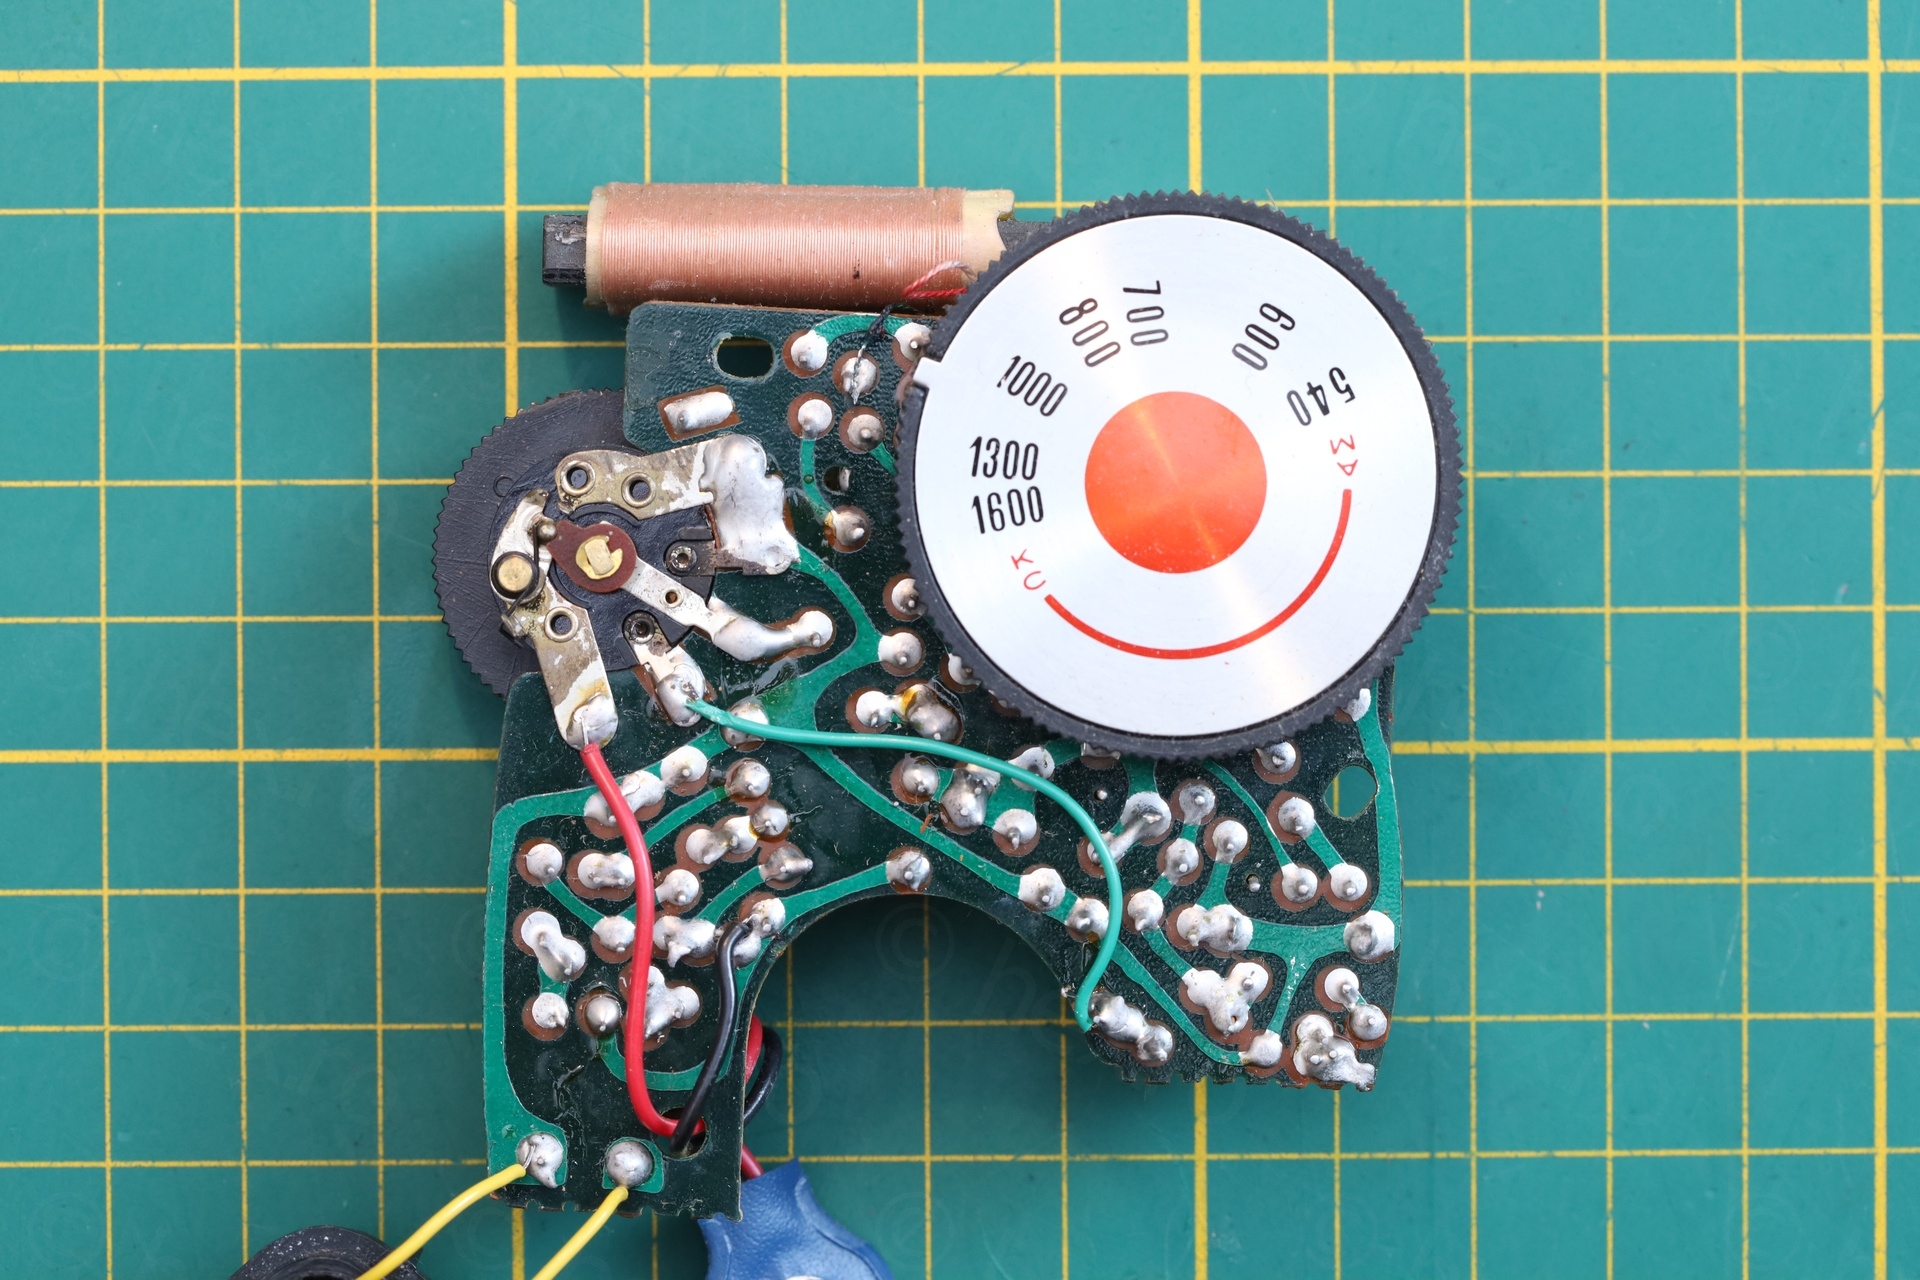
I managed to localize the loud / not loud to a corner of a circuit board, while still believing that most likely a trace is bad. Why ? Every little knock on the circuit board would ‘echo’ to the speaker. Putting pressure on the audio output transformer triggered the problem:
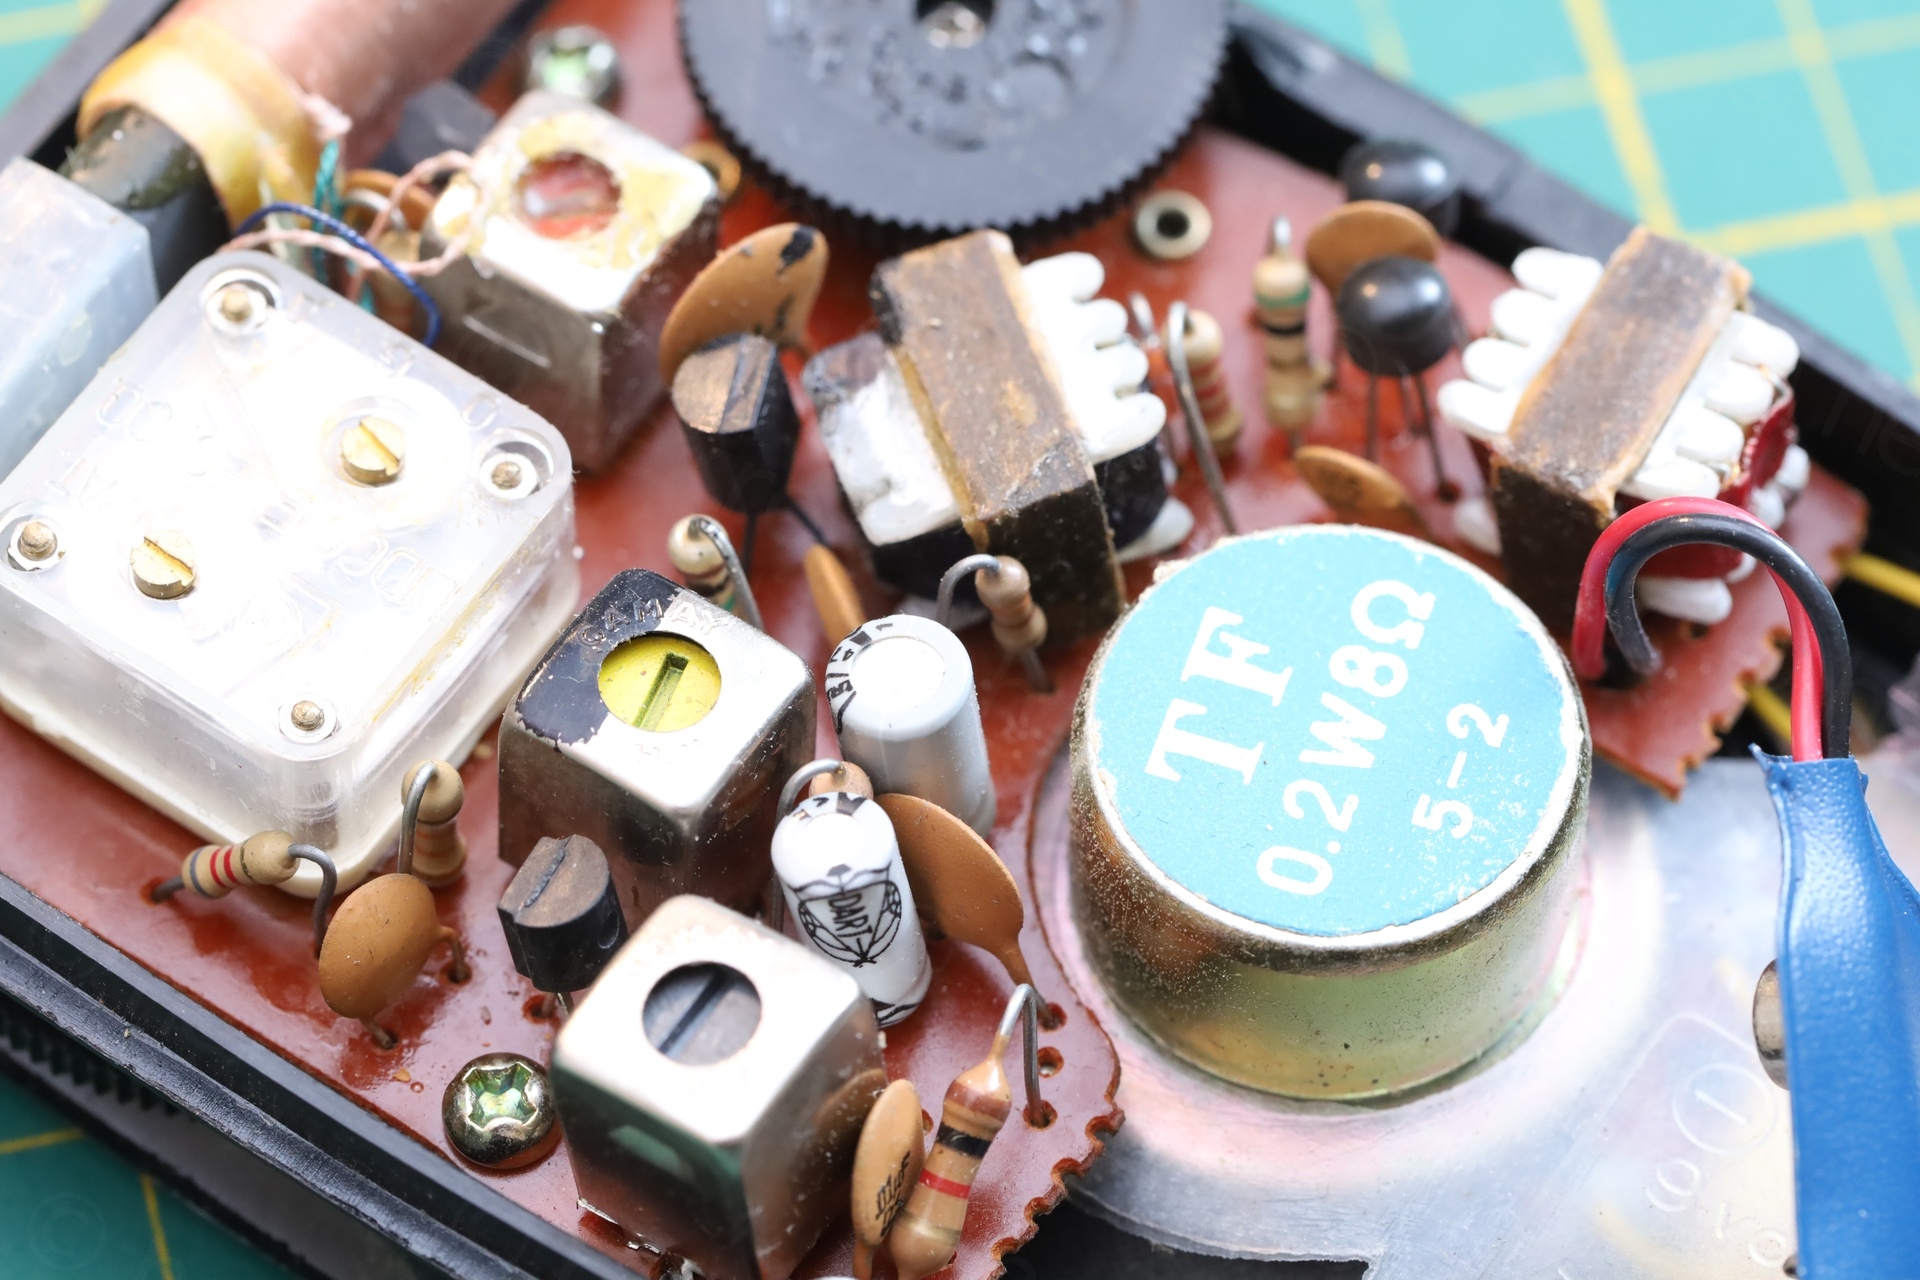
While having a look in the corner for the so-called broken trace, I spotted a cold solder joint:
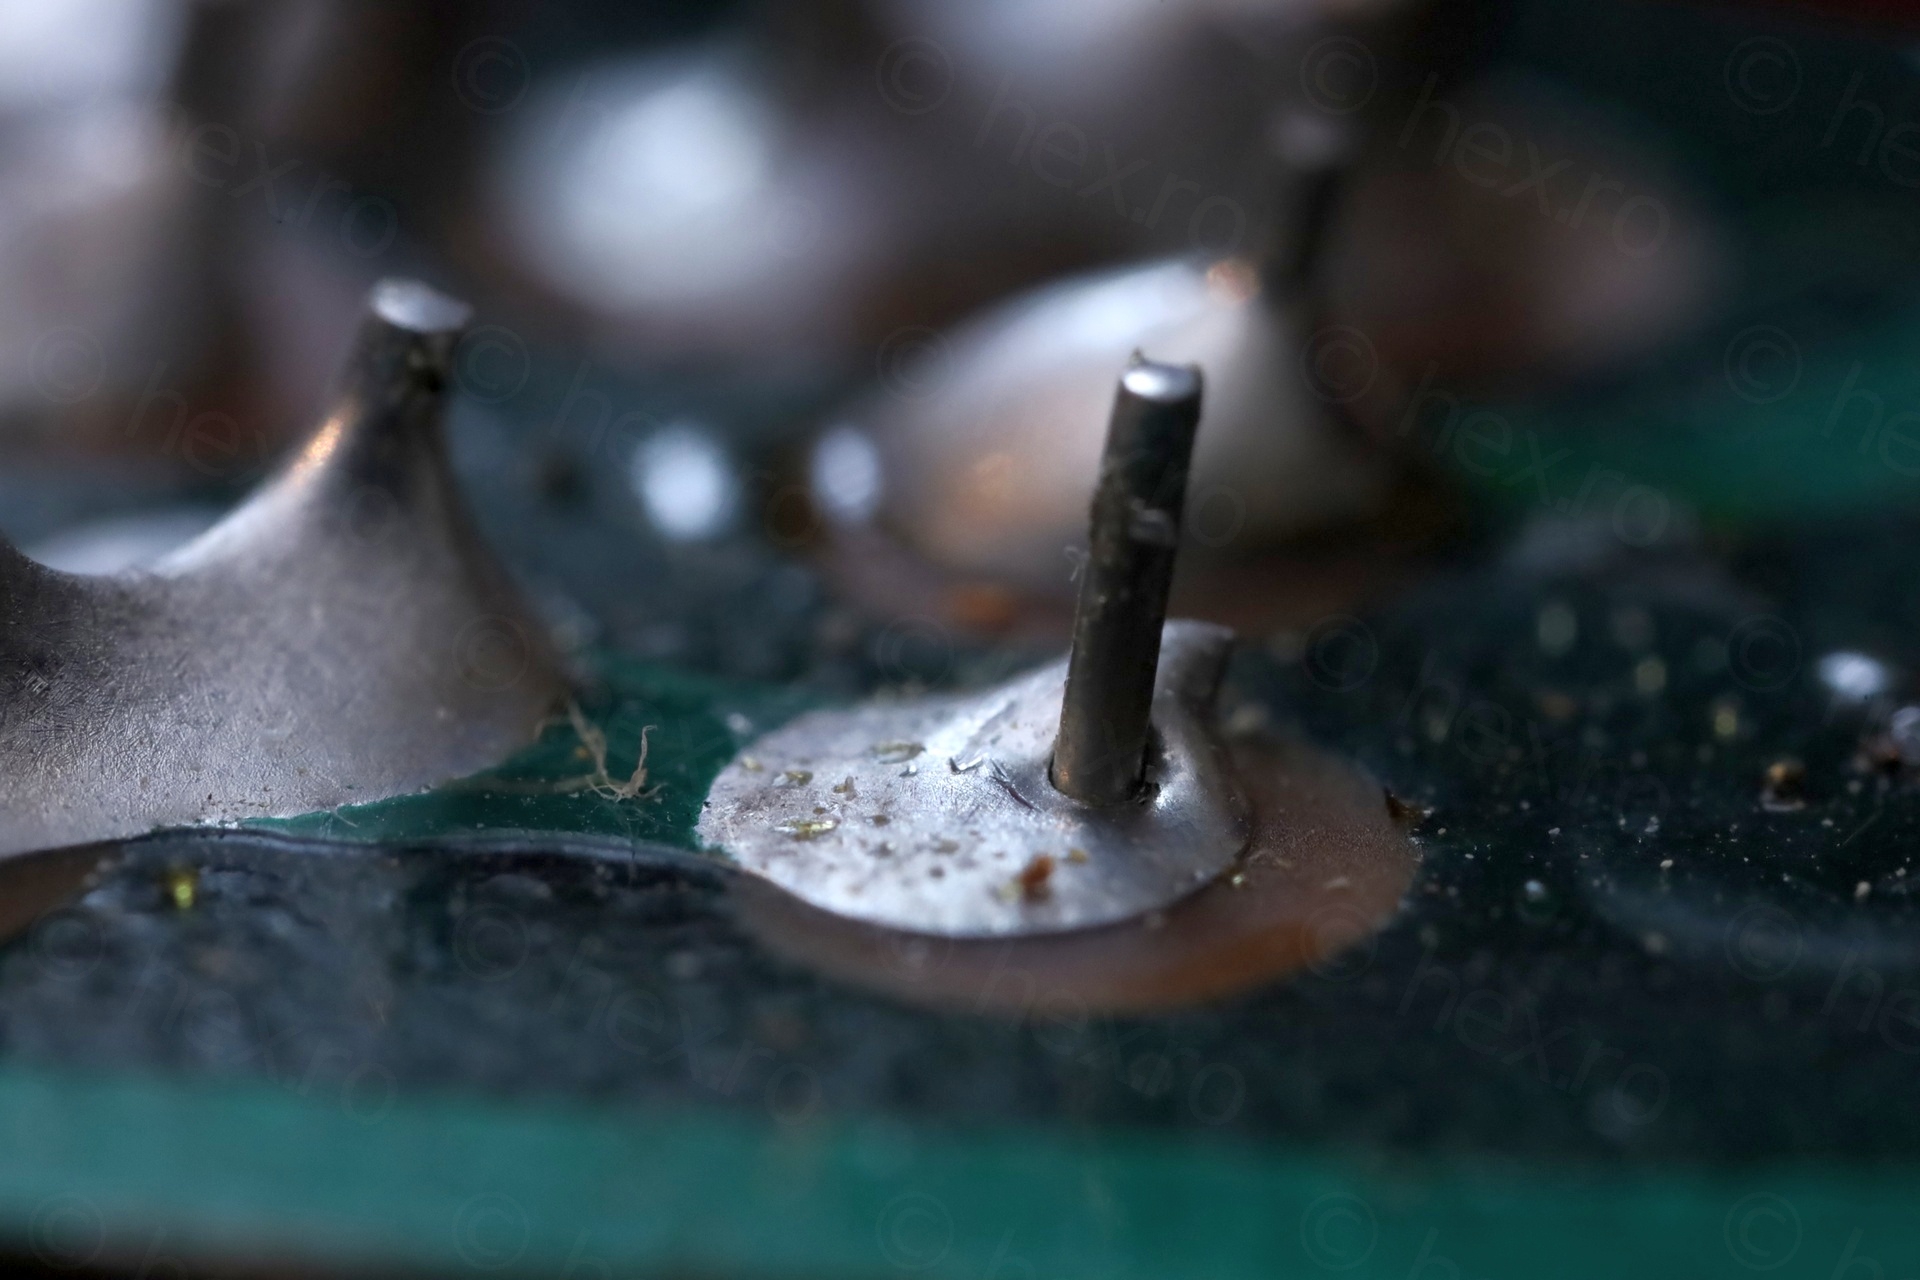
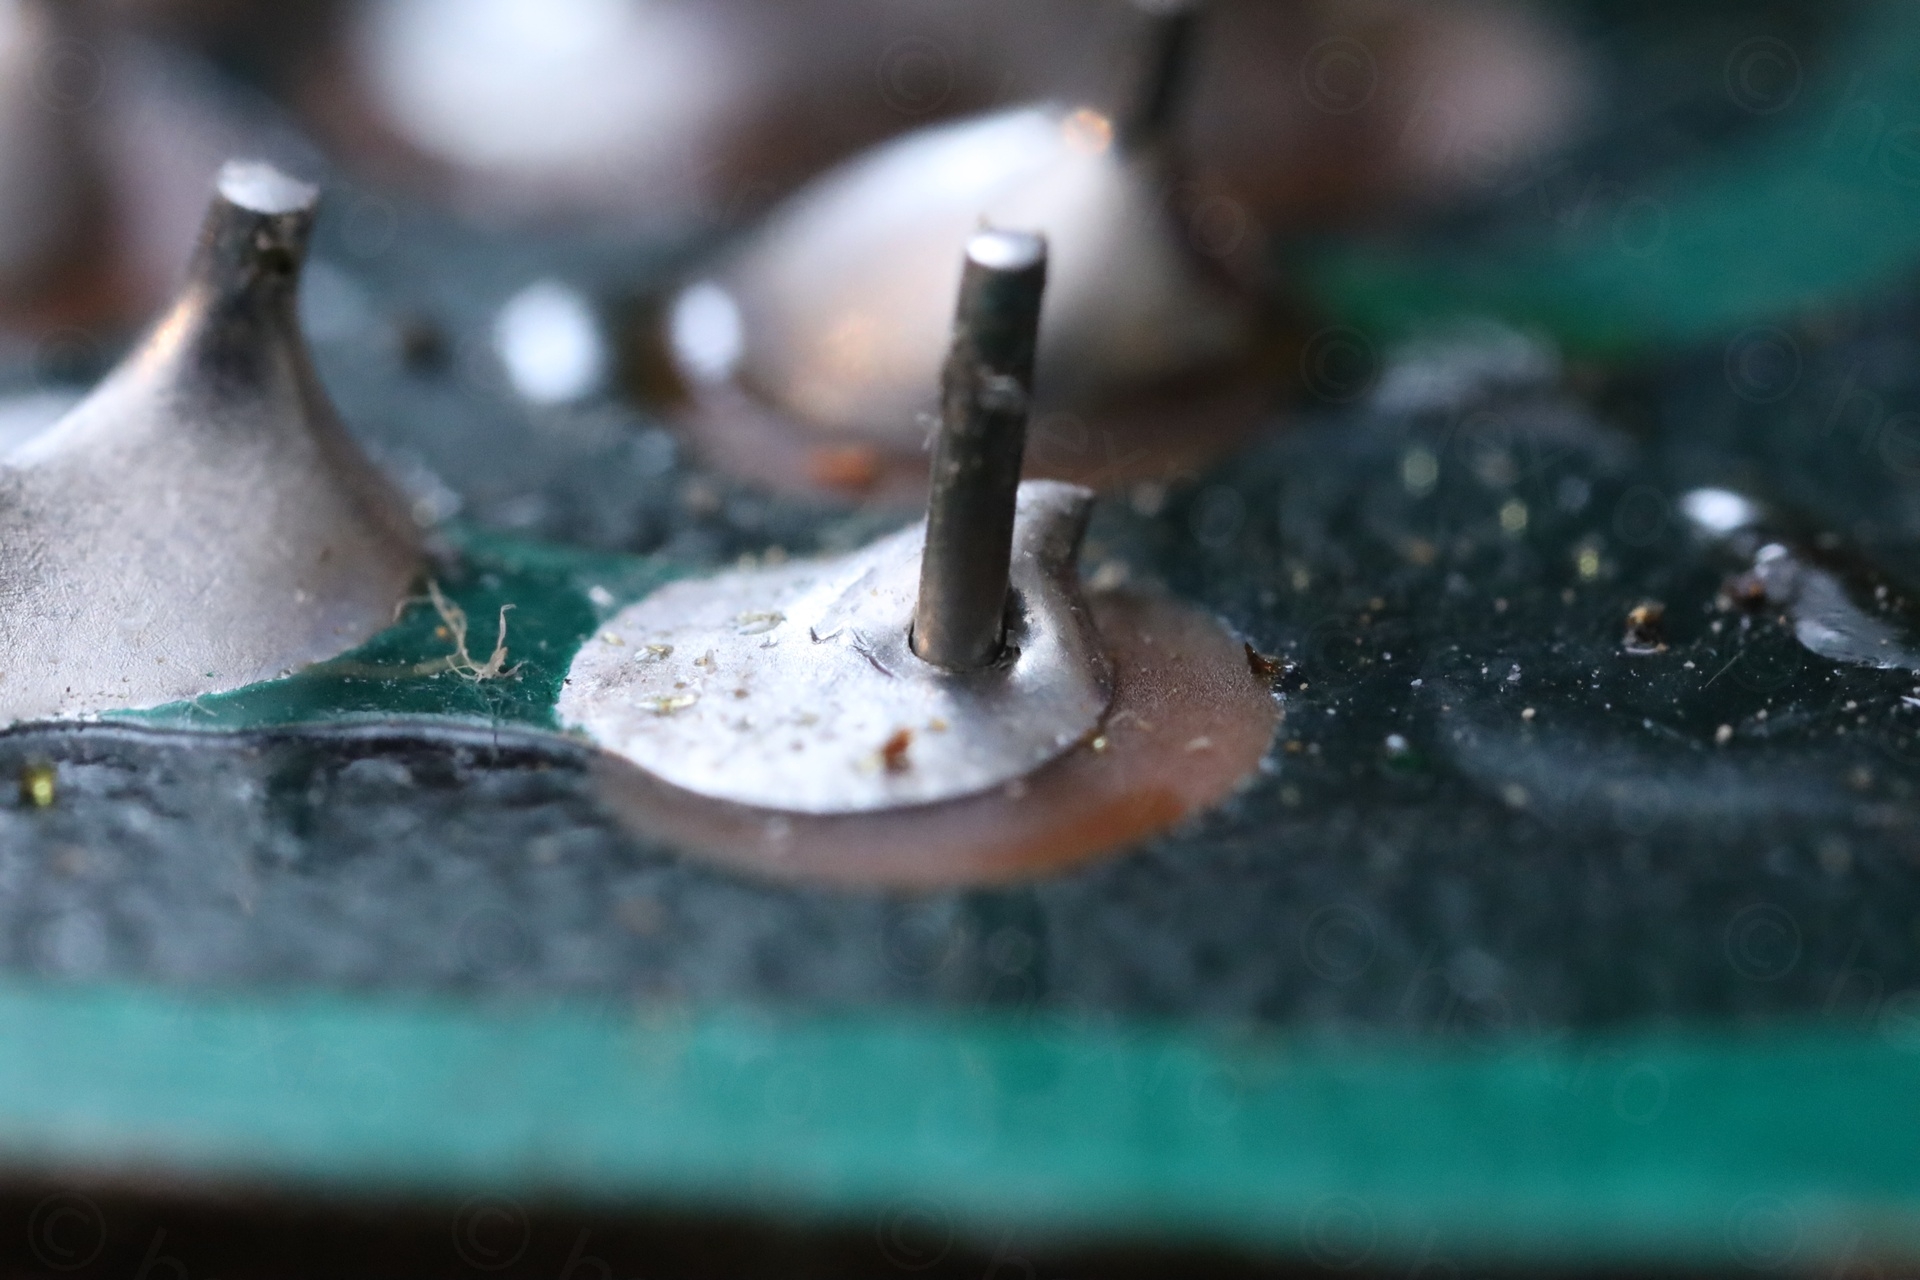
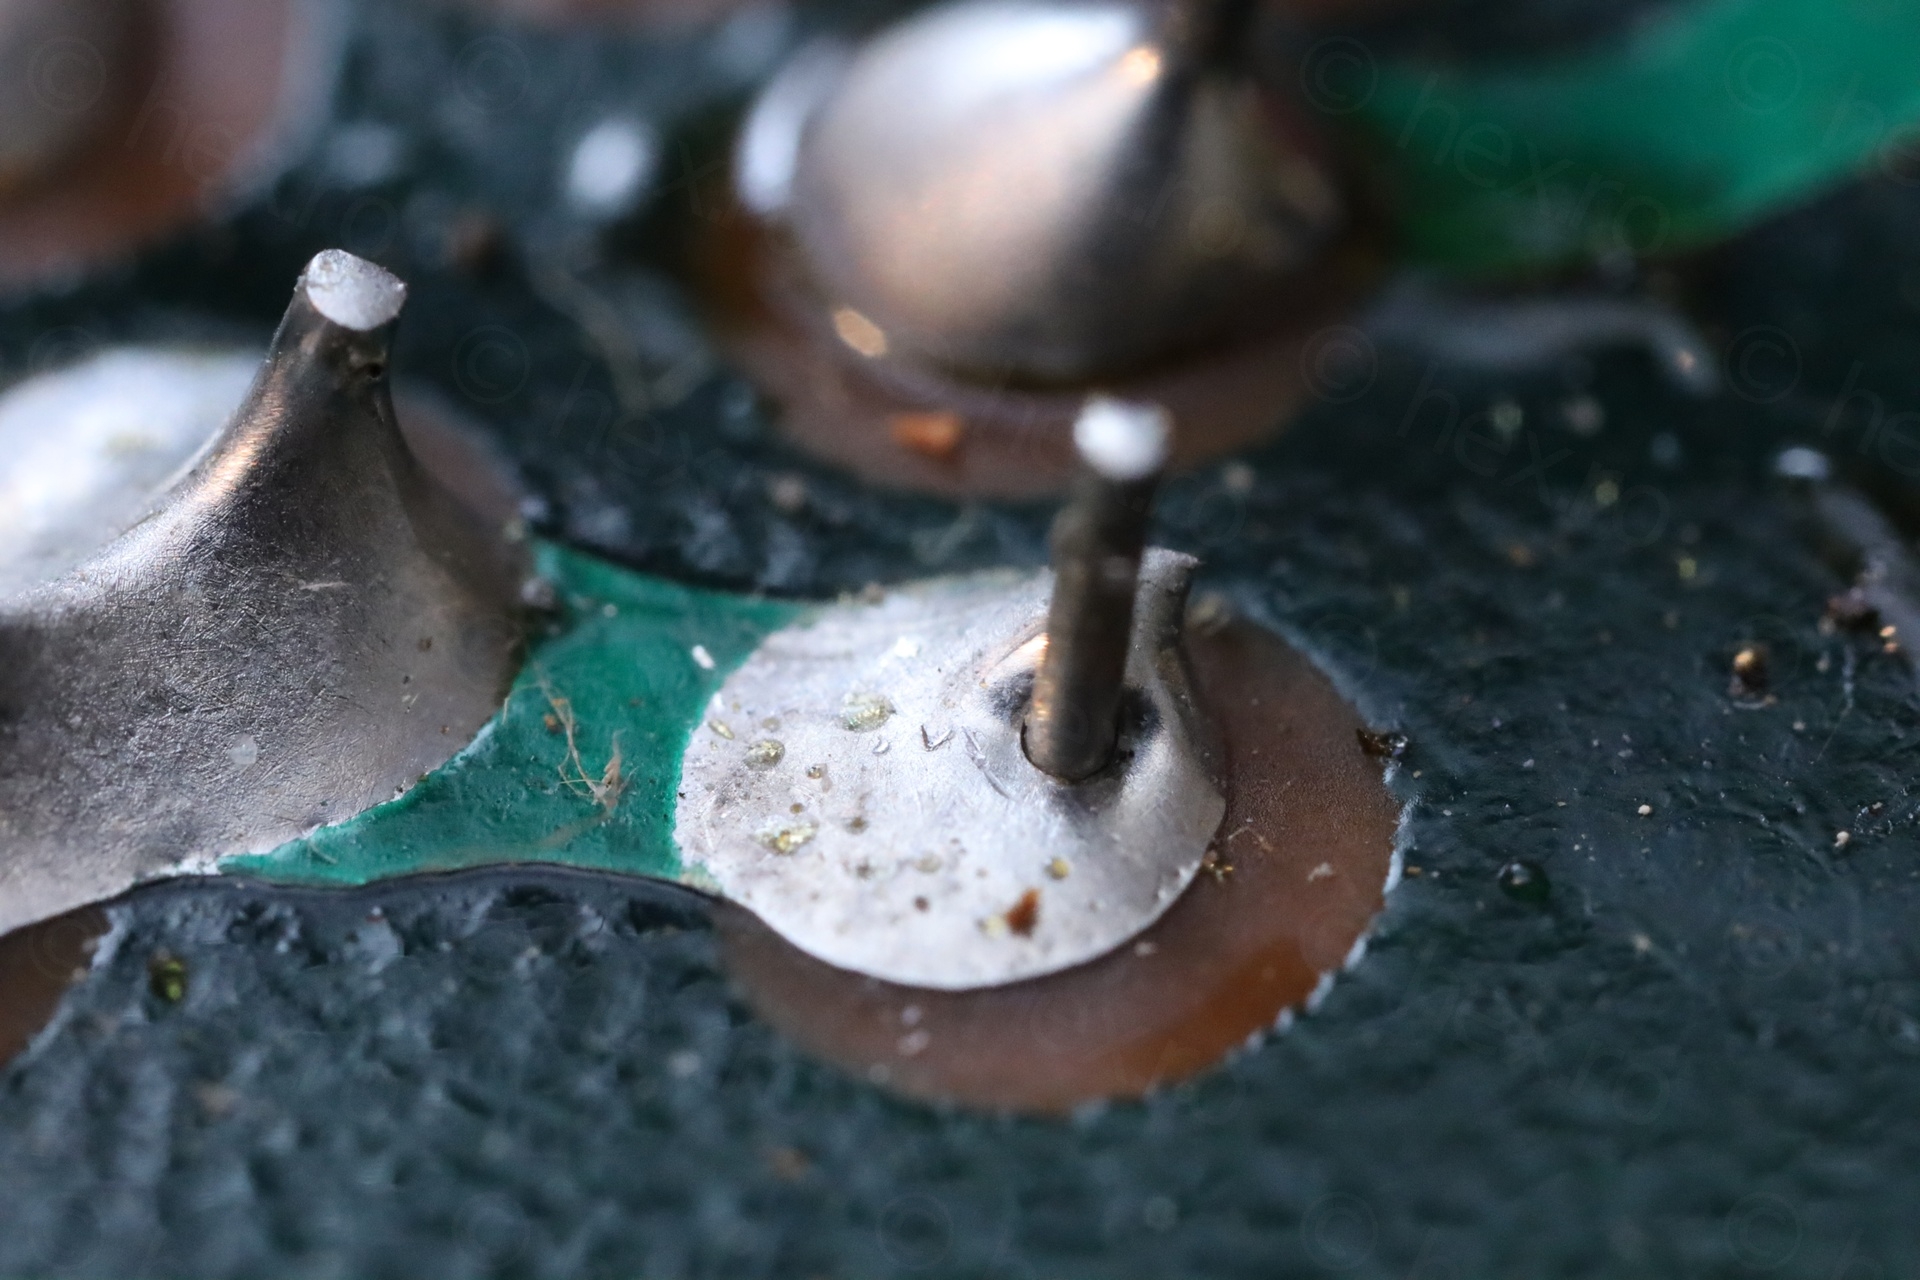
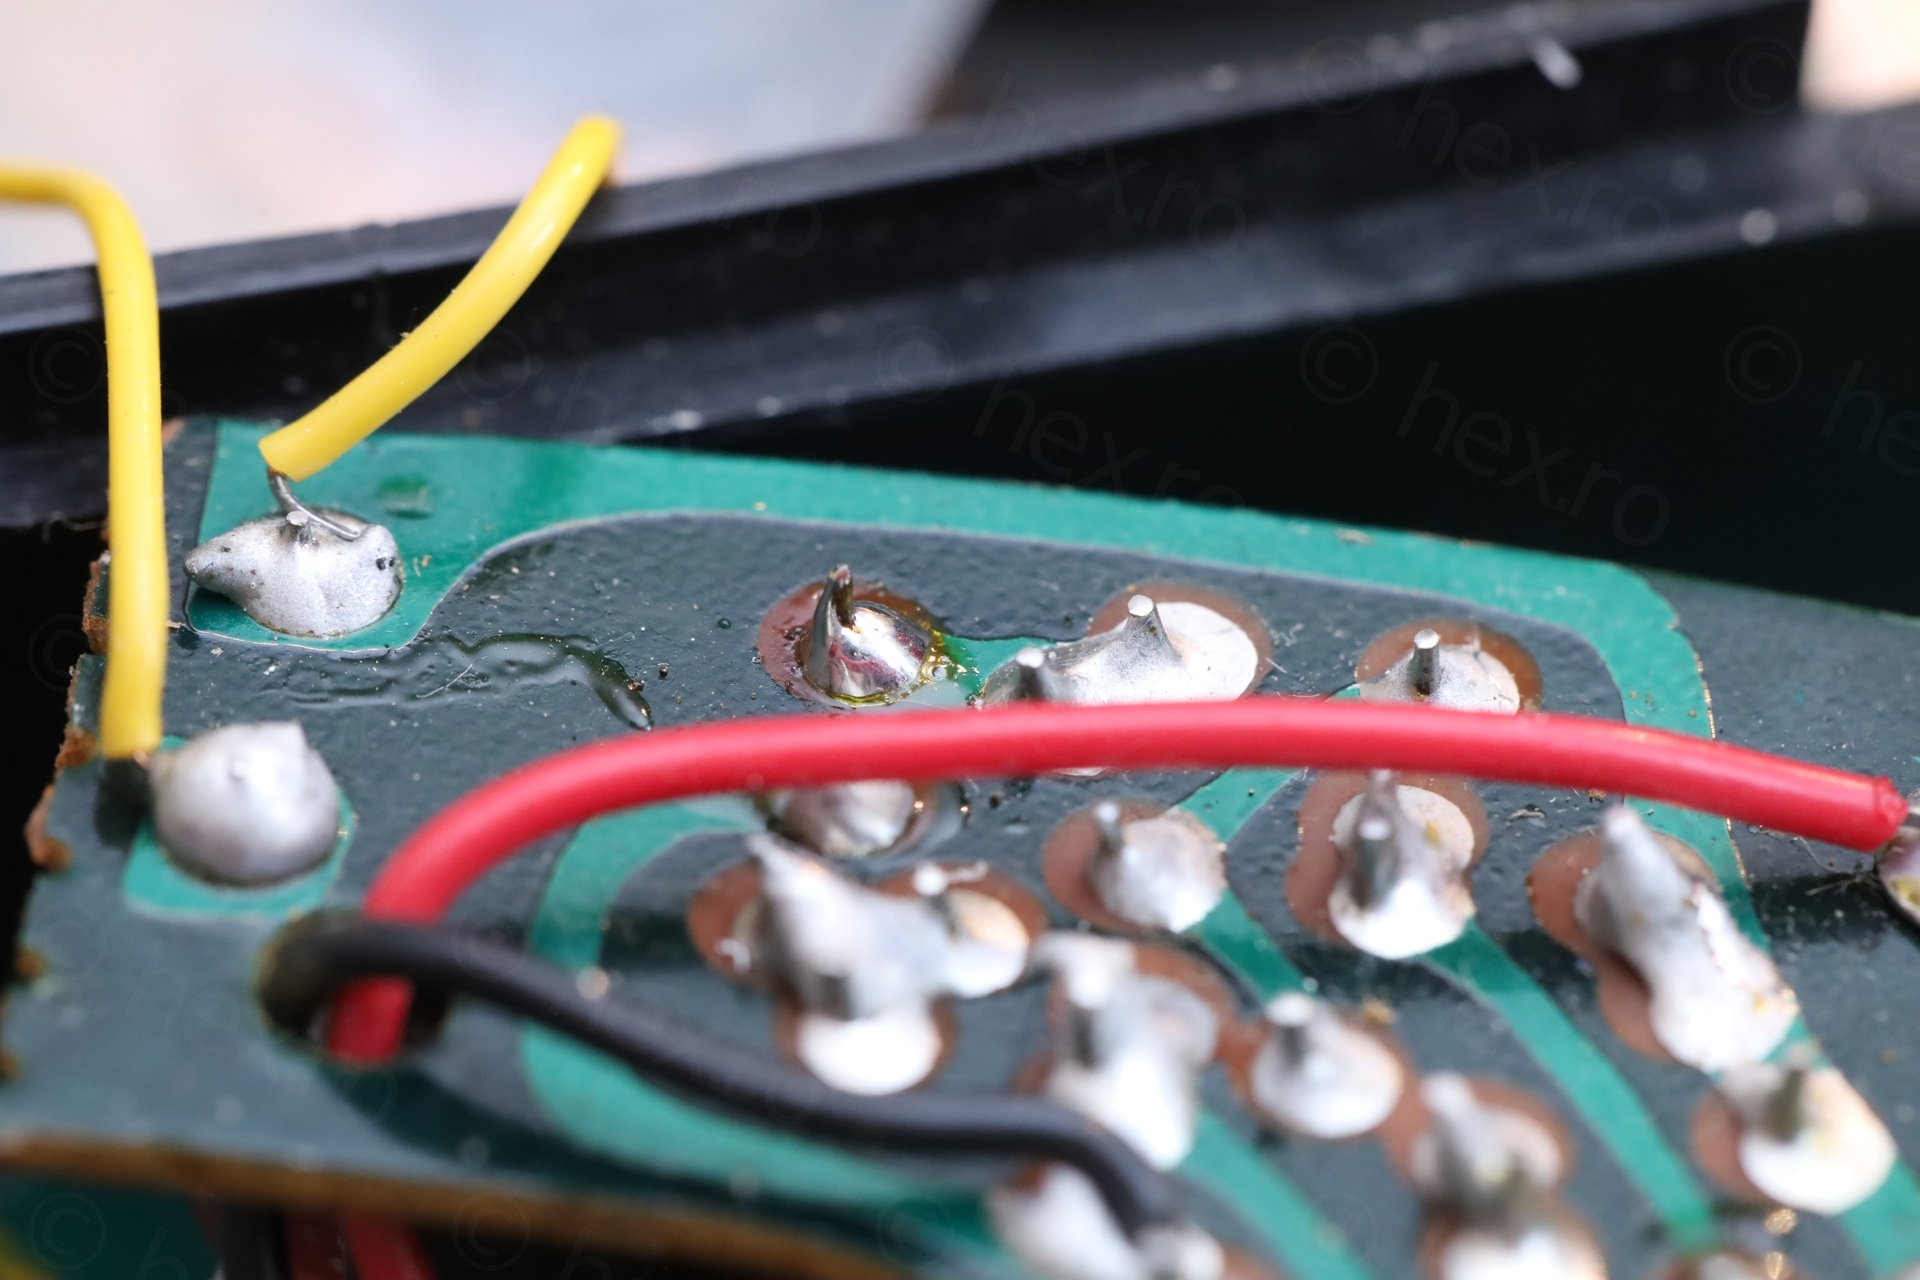
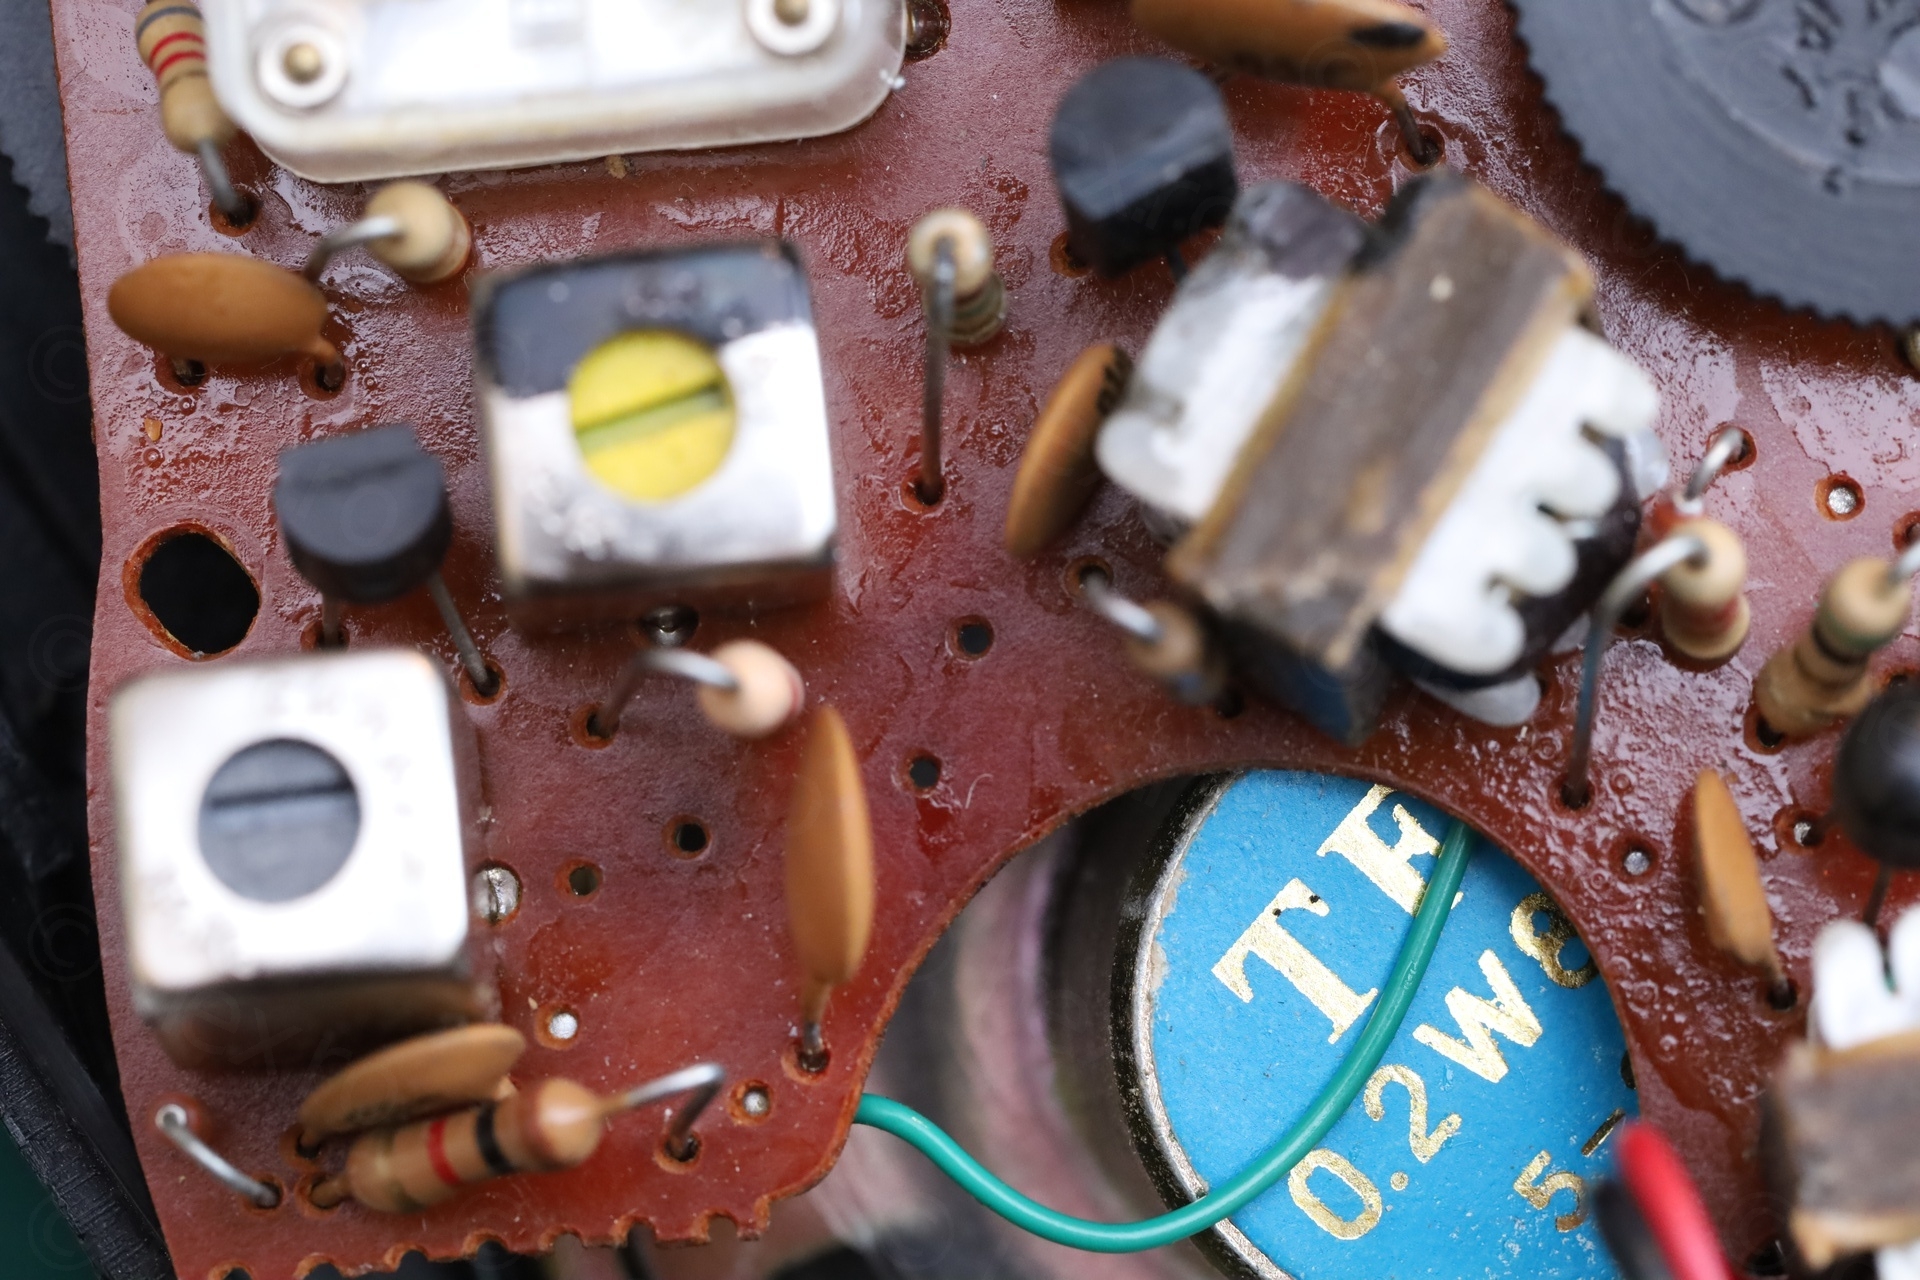
I tried re-soldering, but the transformer leg would not take to the solder. I cleaned the solder, scraped the oxide off the leg and re-soldered it. Now it feels secure.
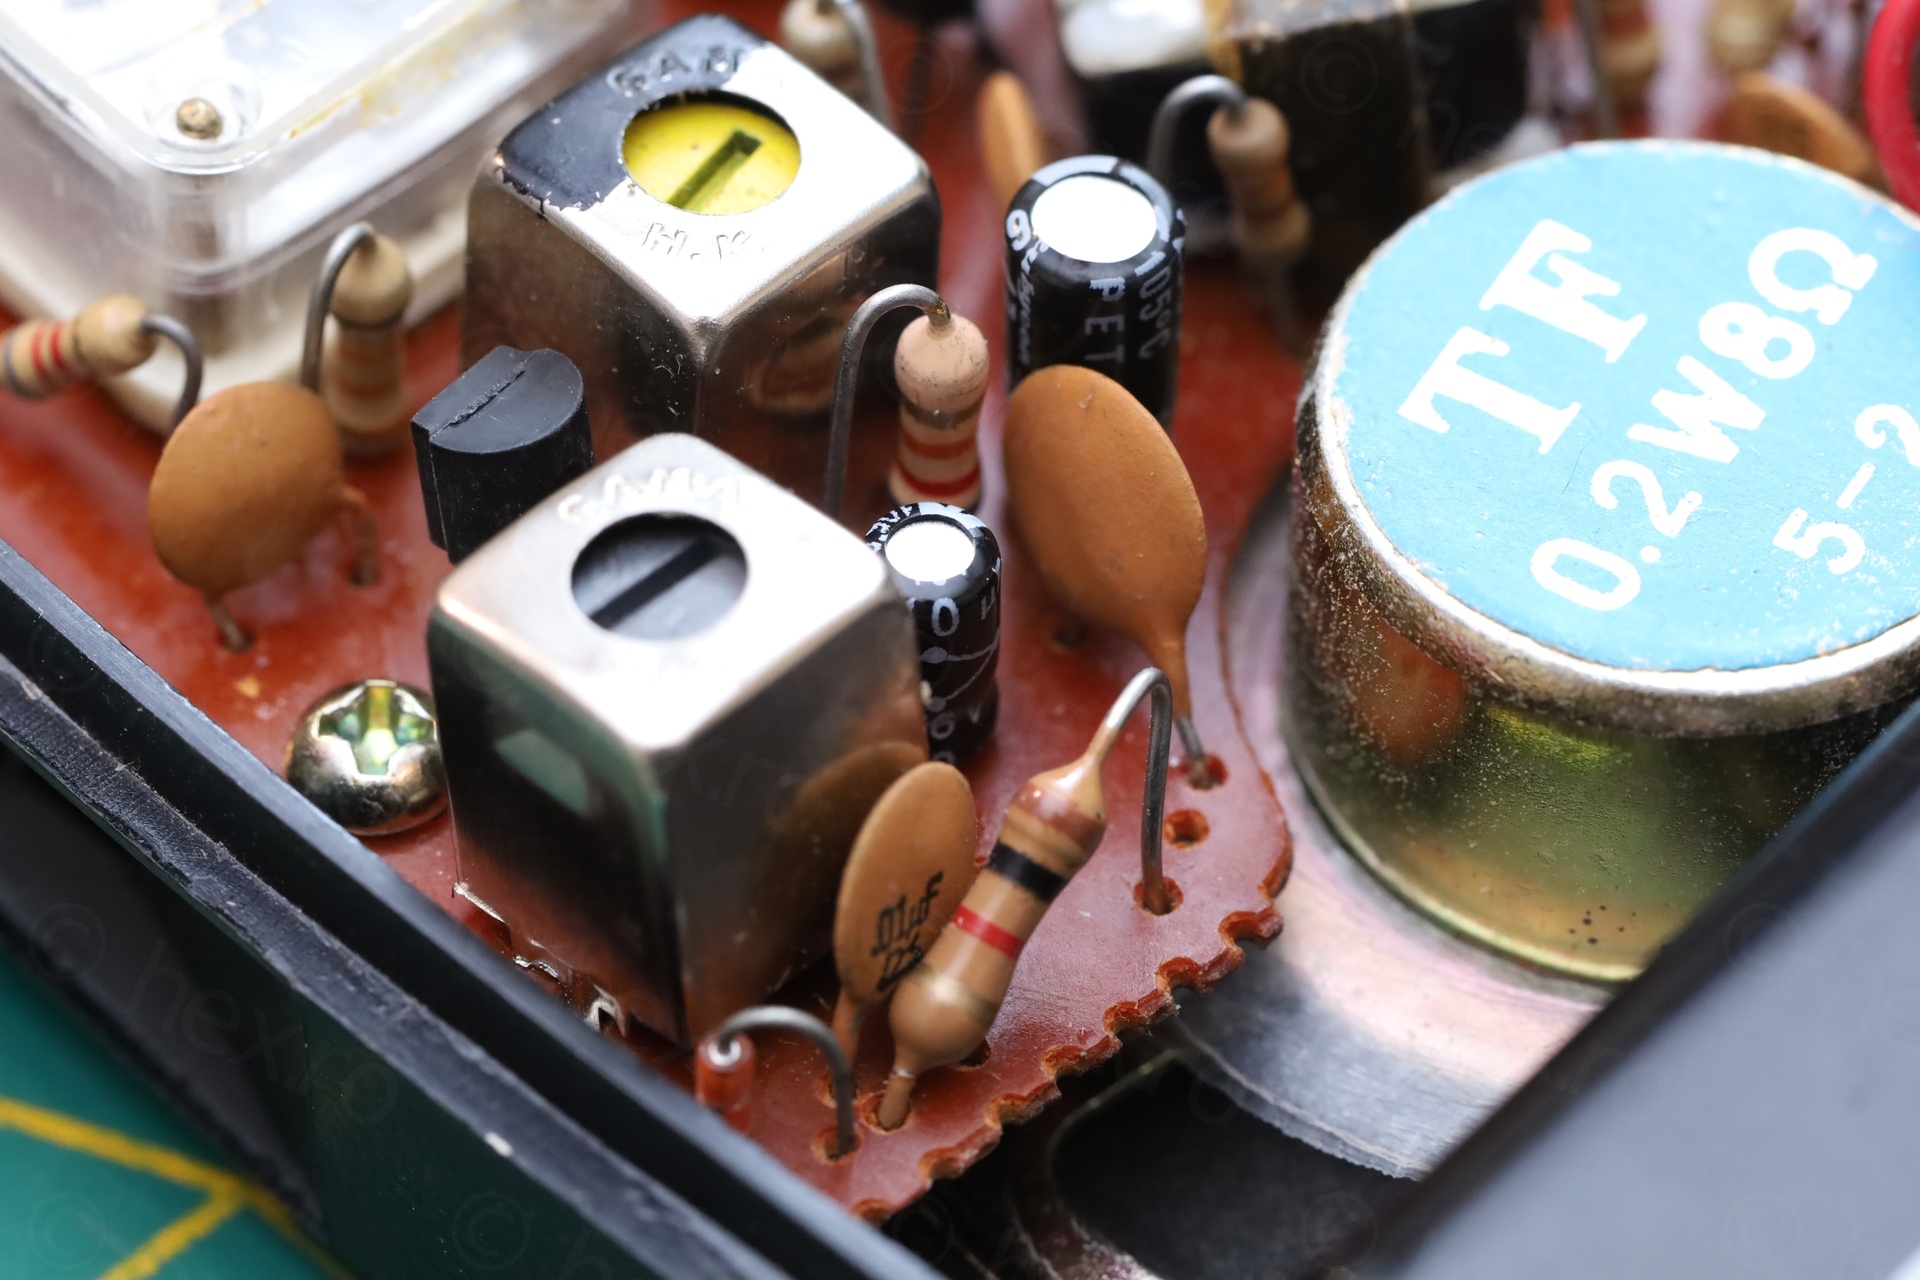
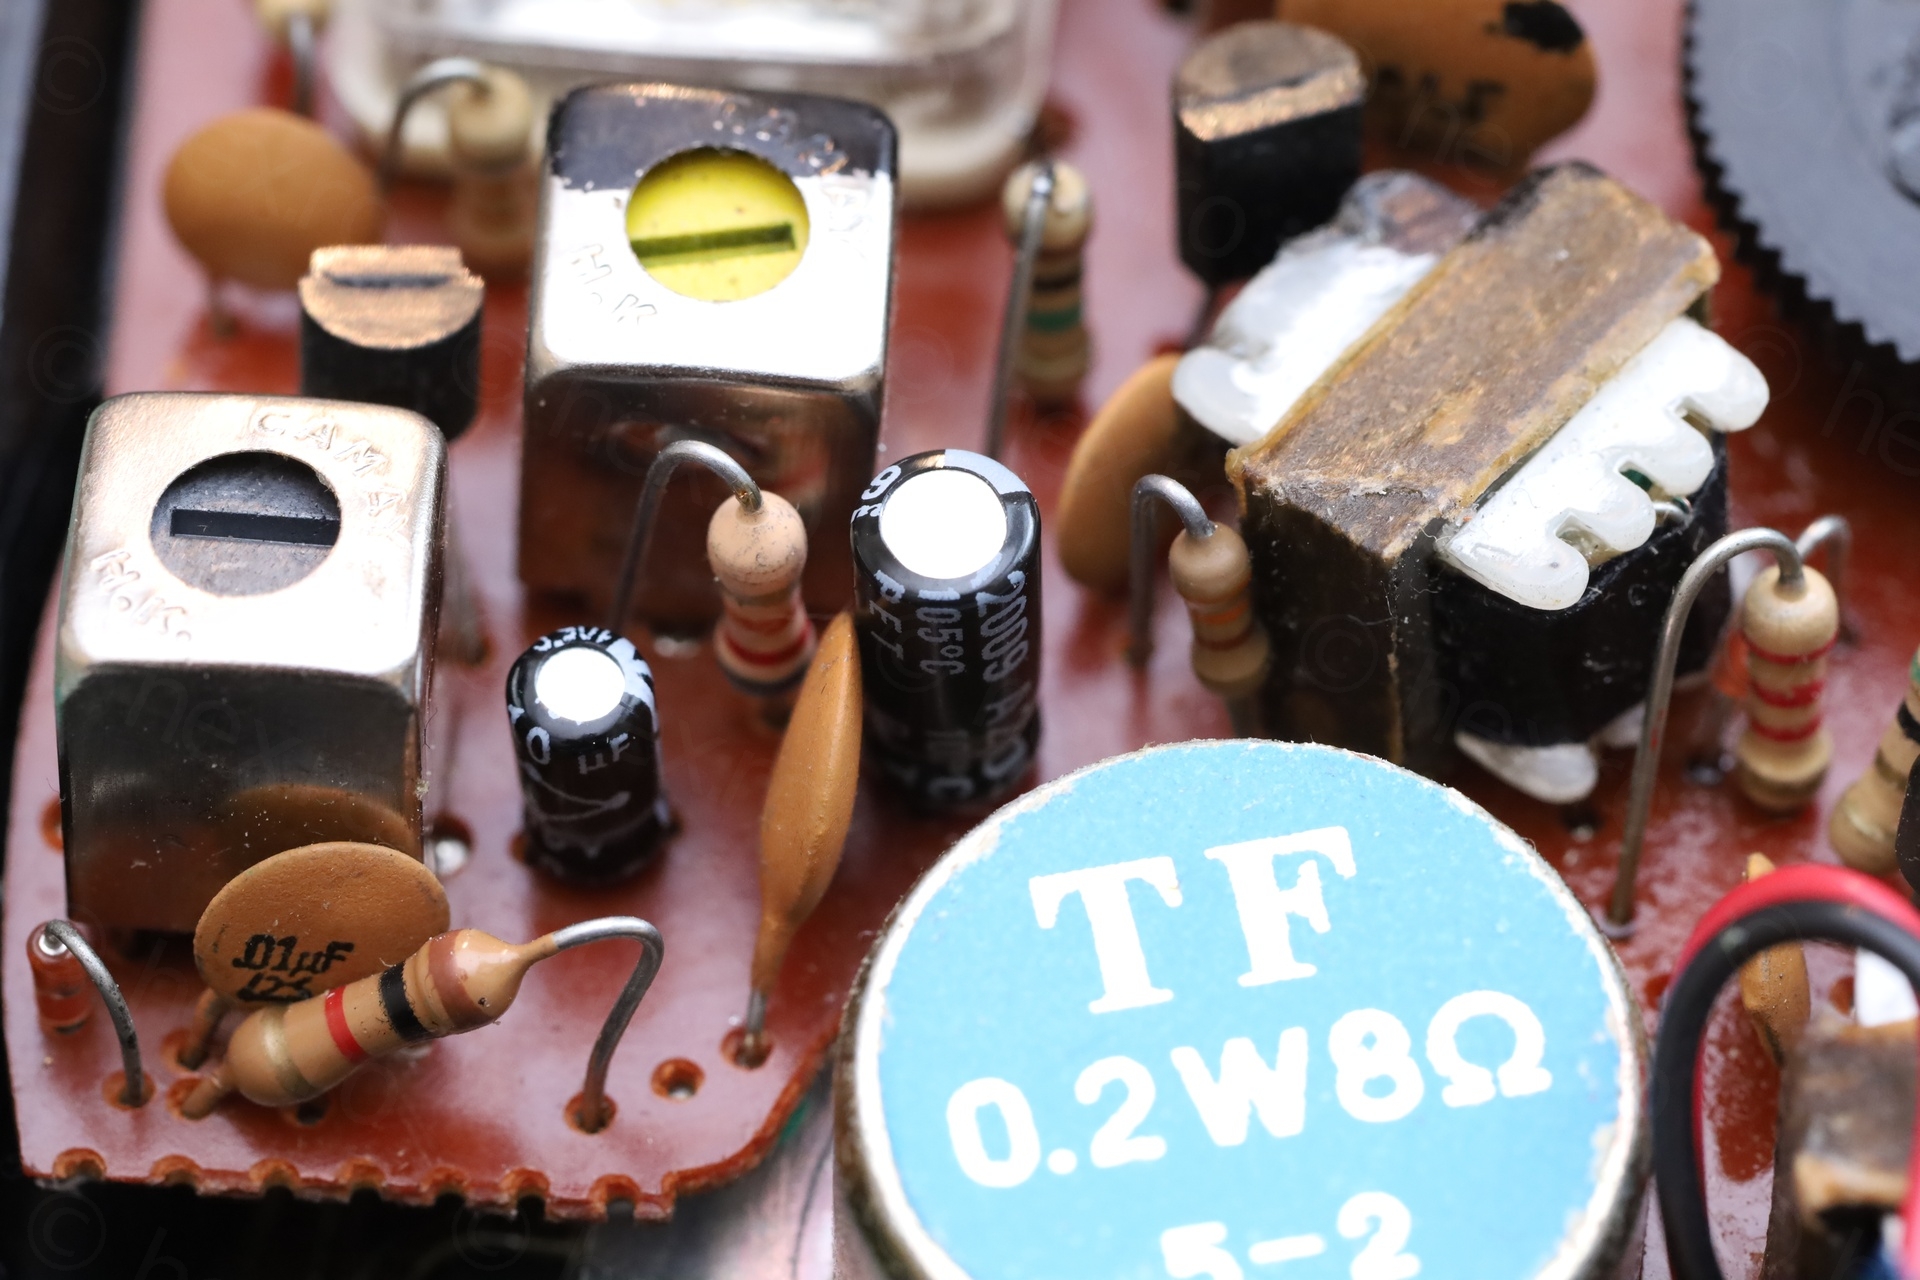
Dead capacitors
Happy that it was now working without interruptions (and no more ‘echoes’ to the speaker when knocking on the circuit board), and while I was testing it, it again started to motorboat.
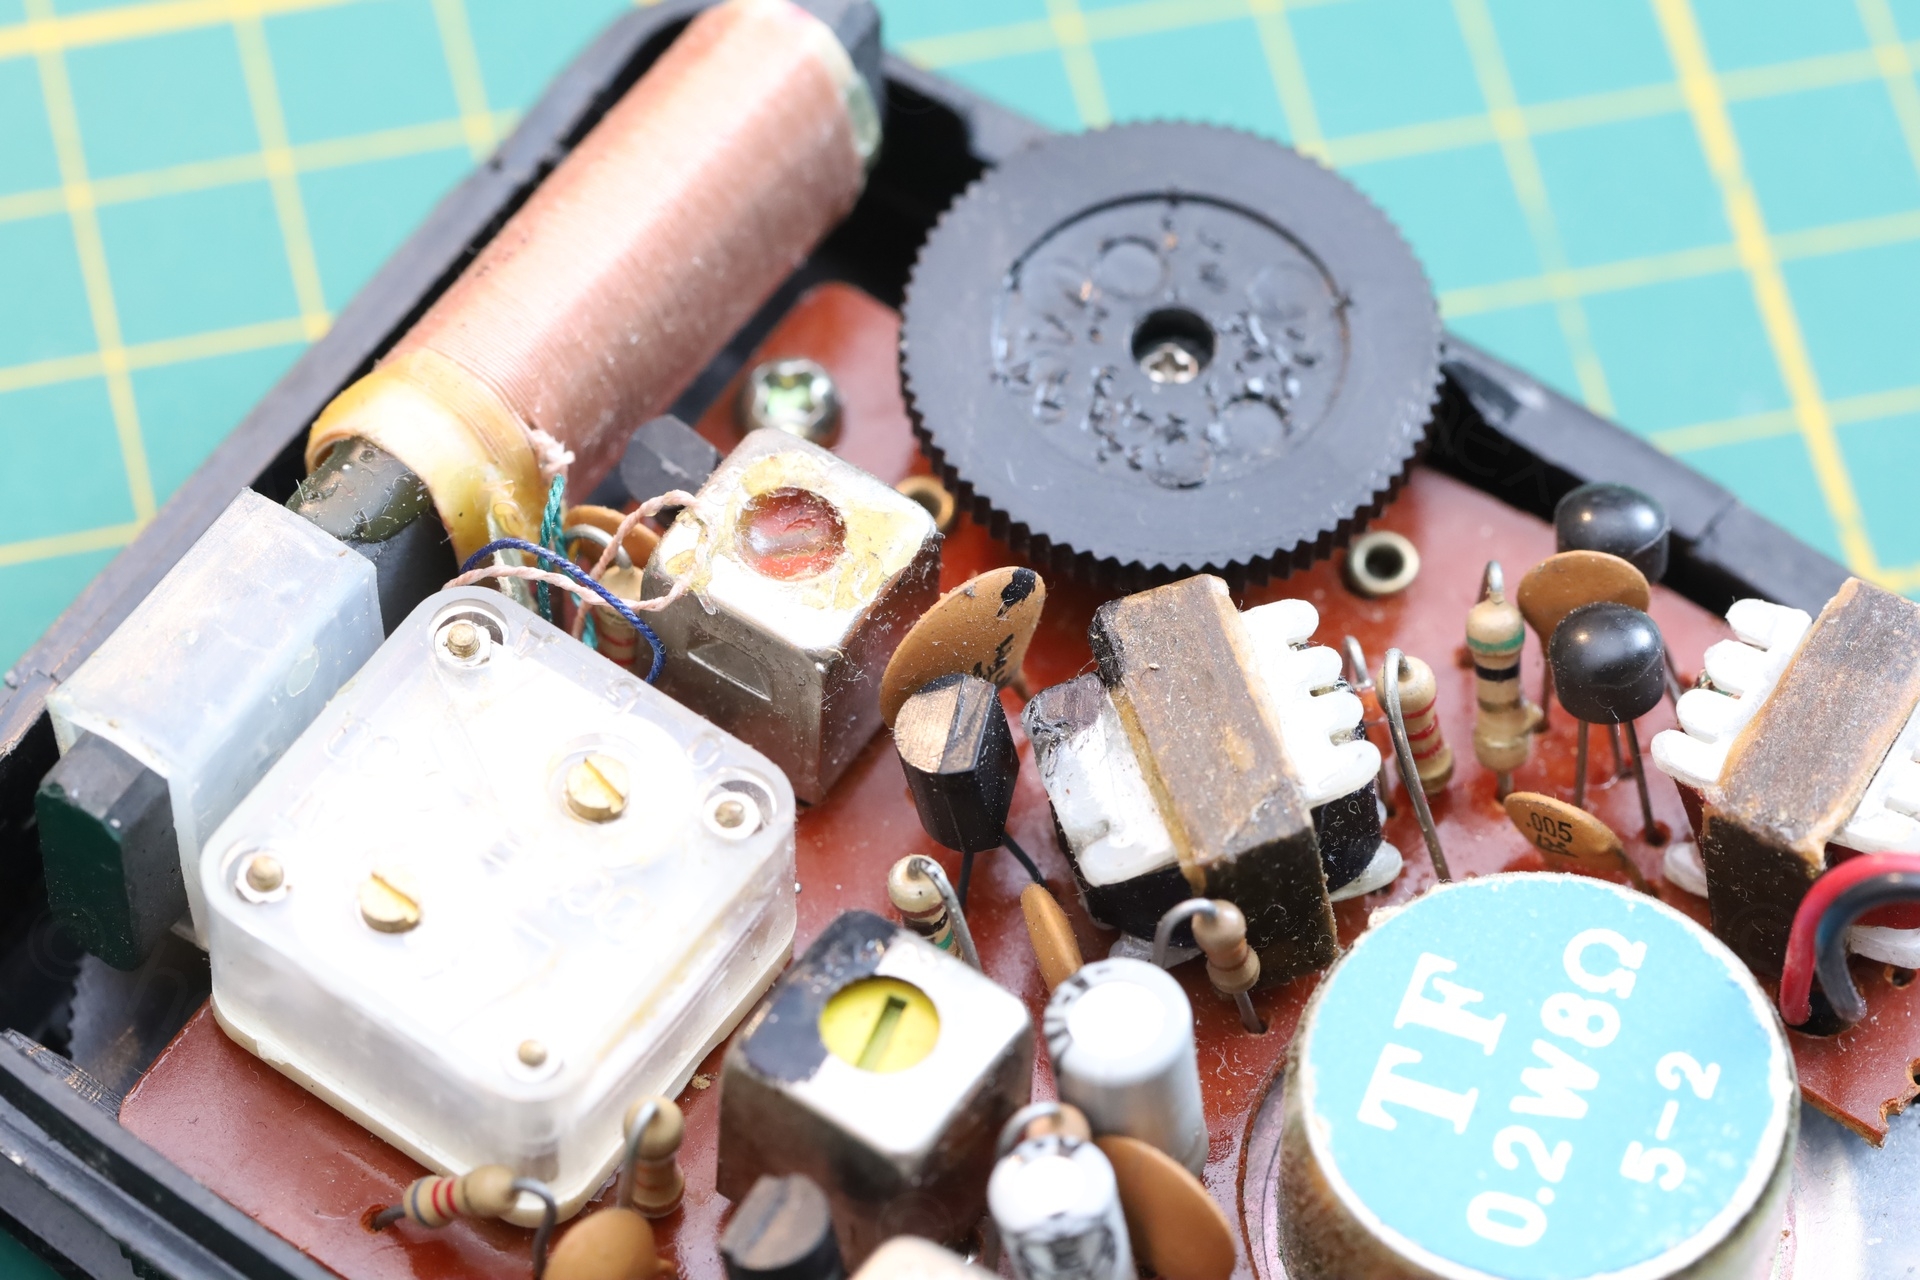
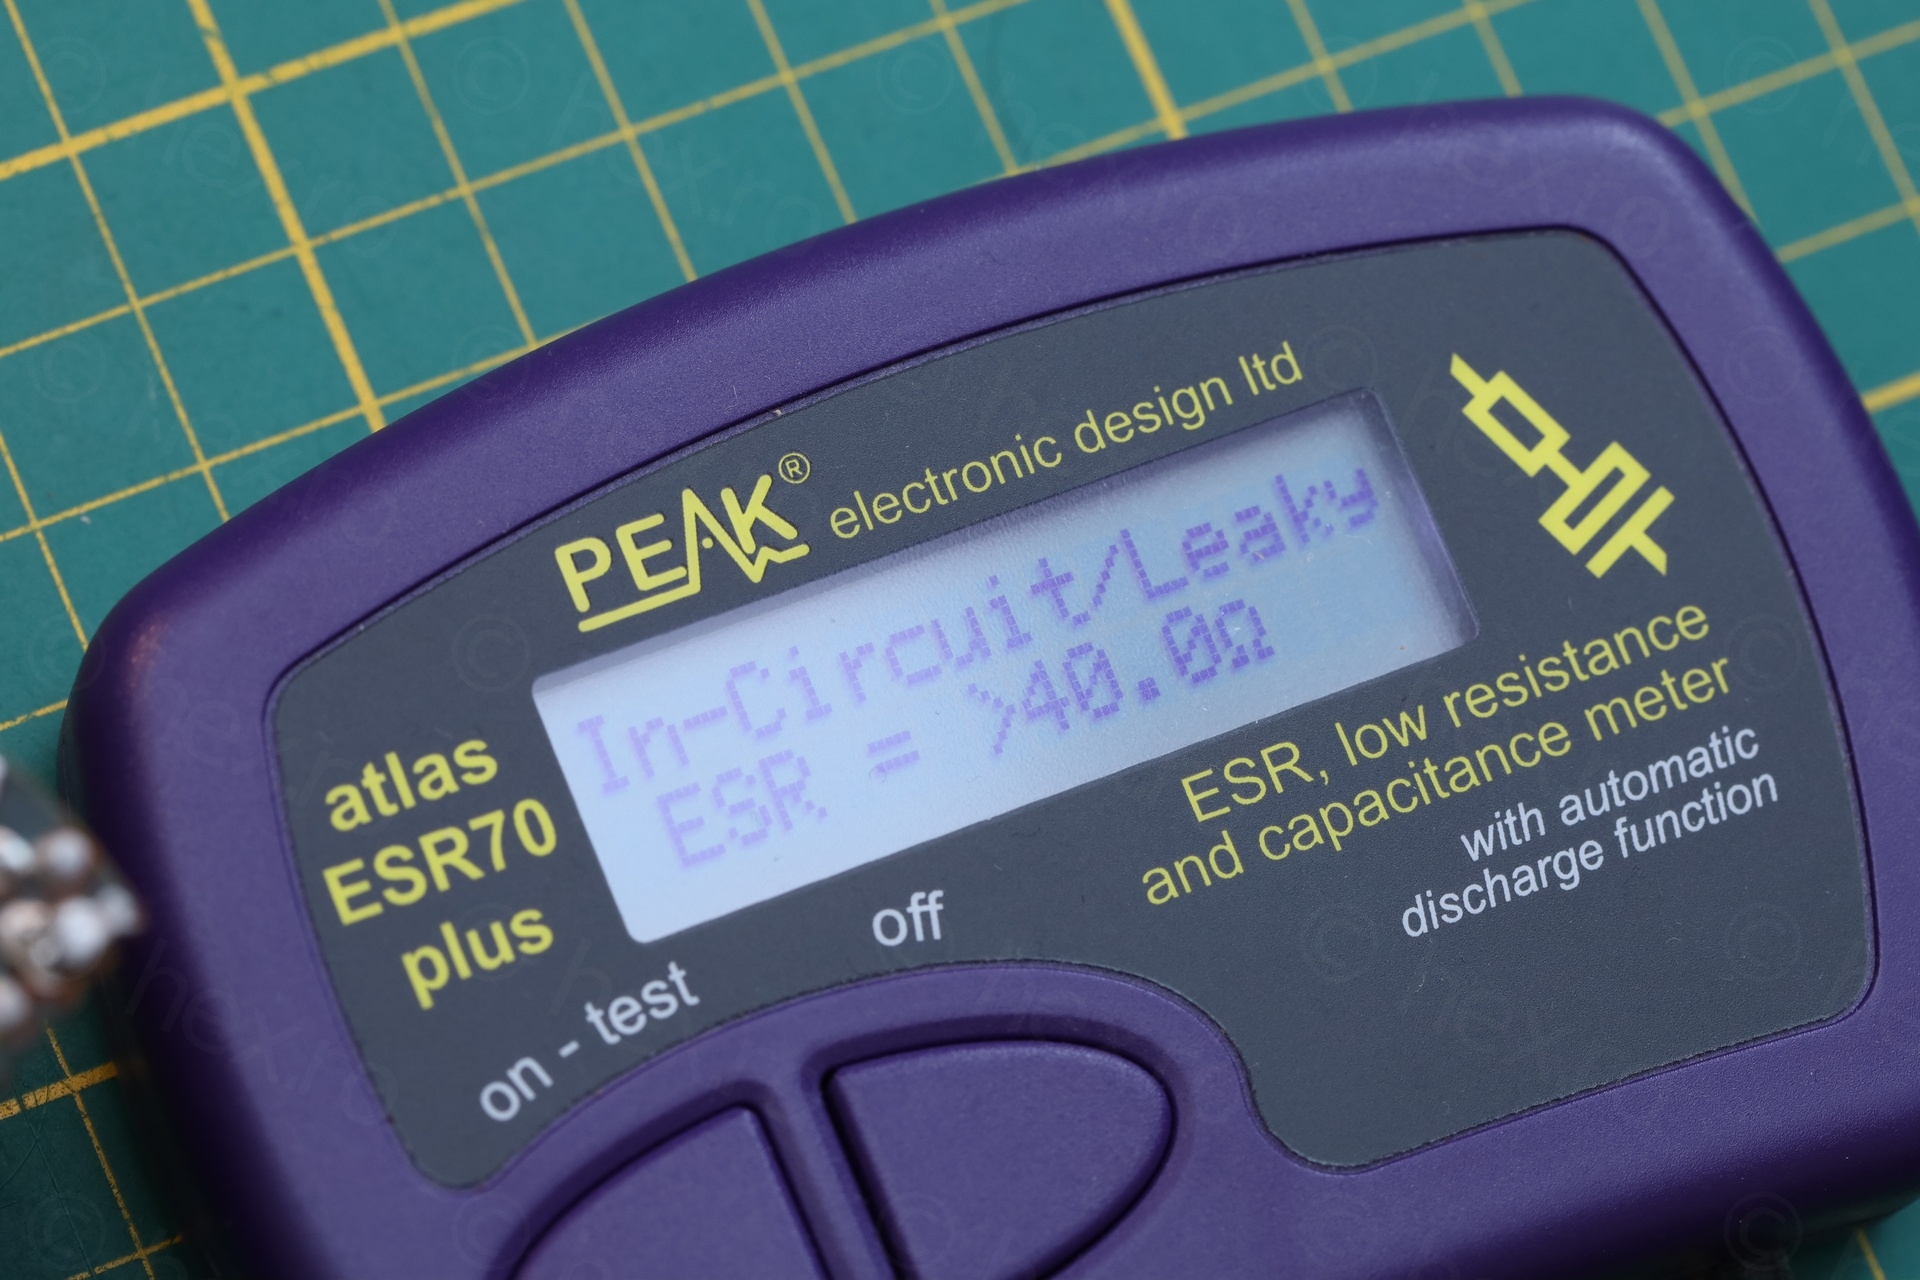
This usually means that the capacitors in the Automatic Volume Control could be bad – so I had a look. The larger of the two capacitors was open (47µF @ 10V), while the smaller one (10µF @ 16V) was still passable with ~9Ω ESR.

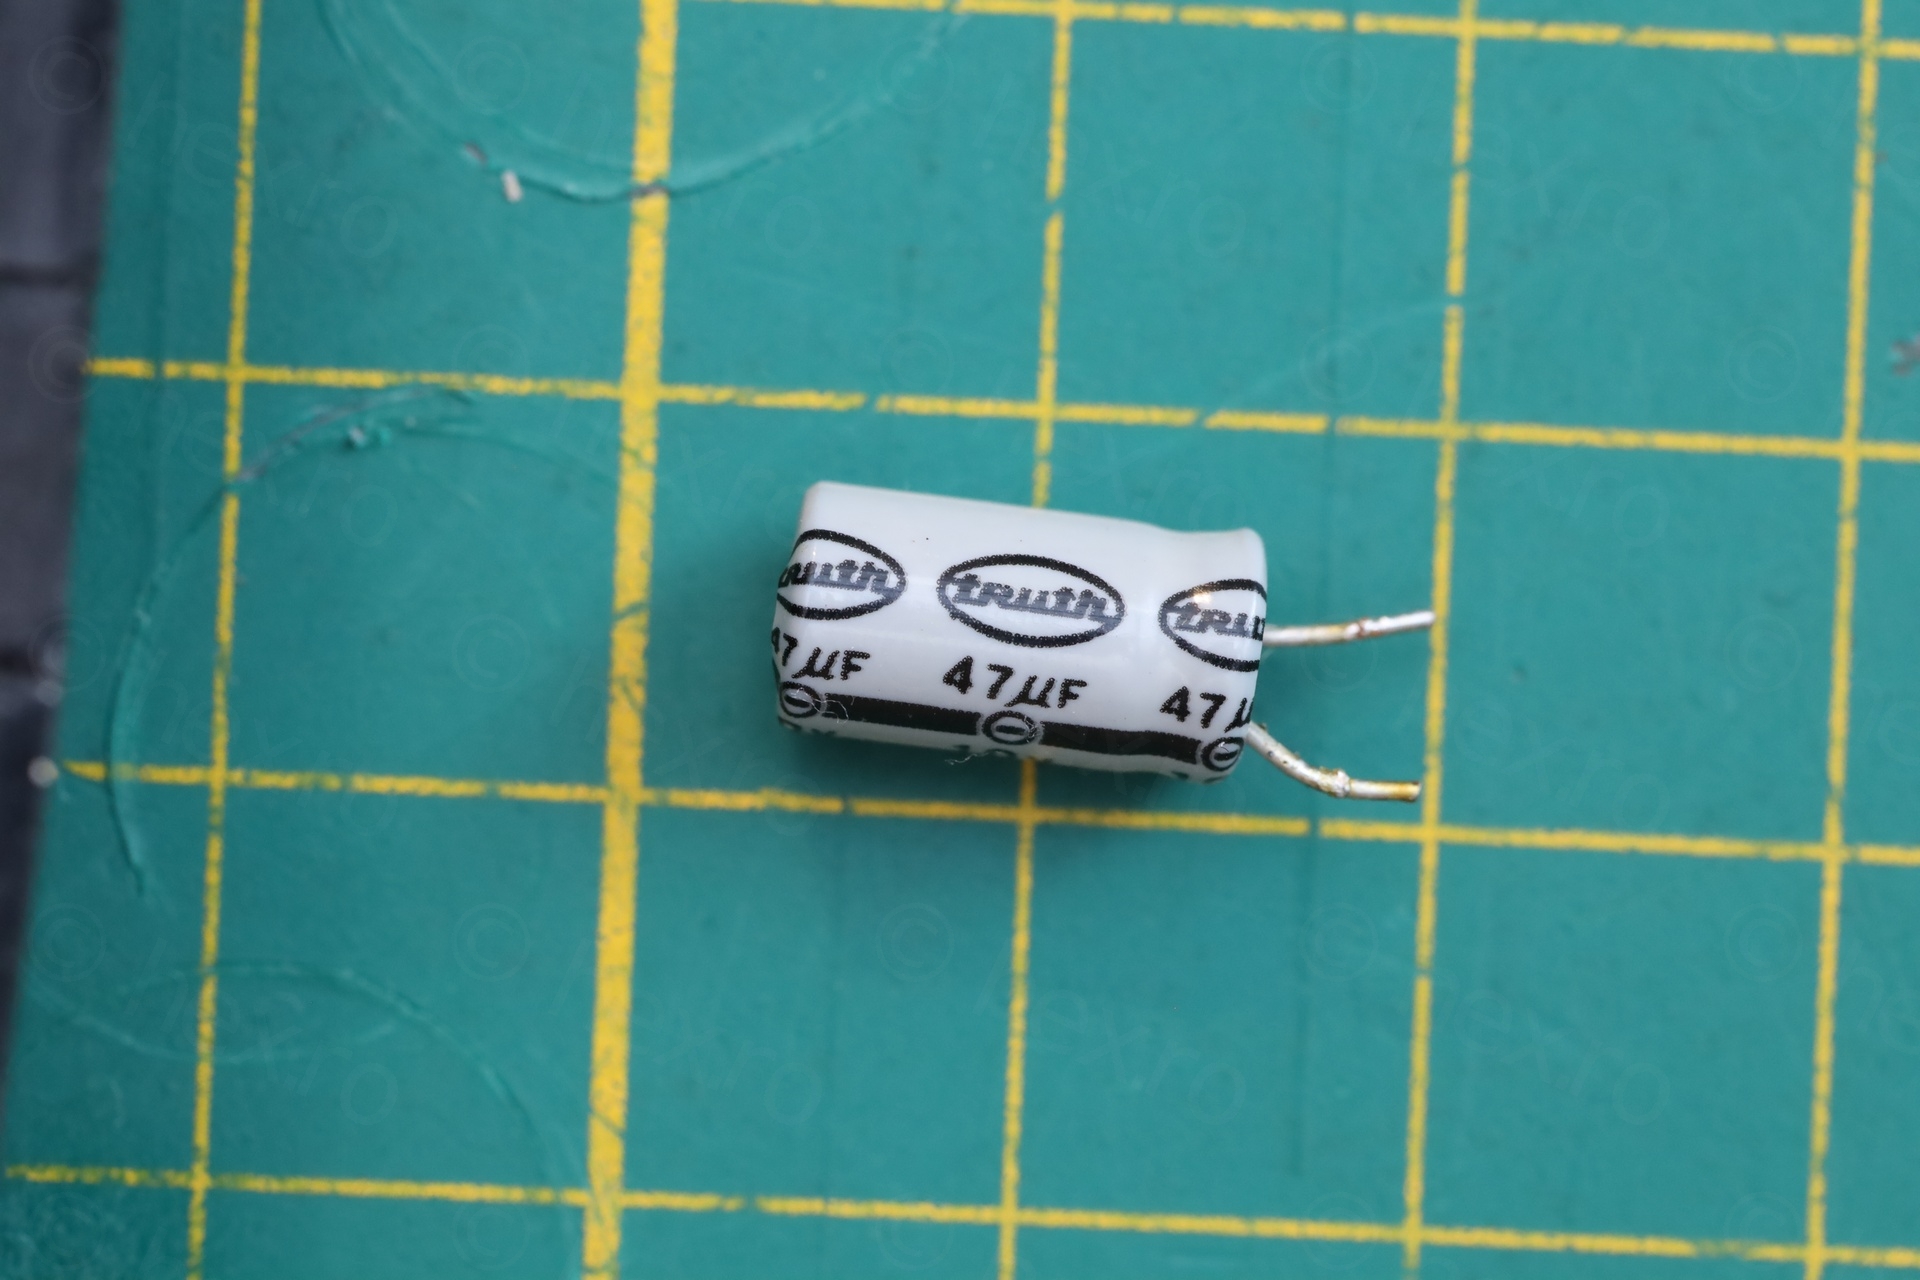
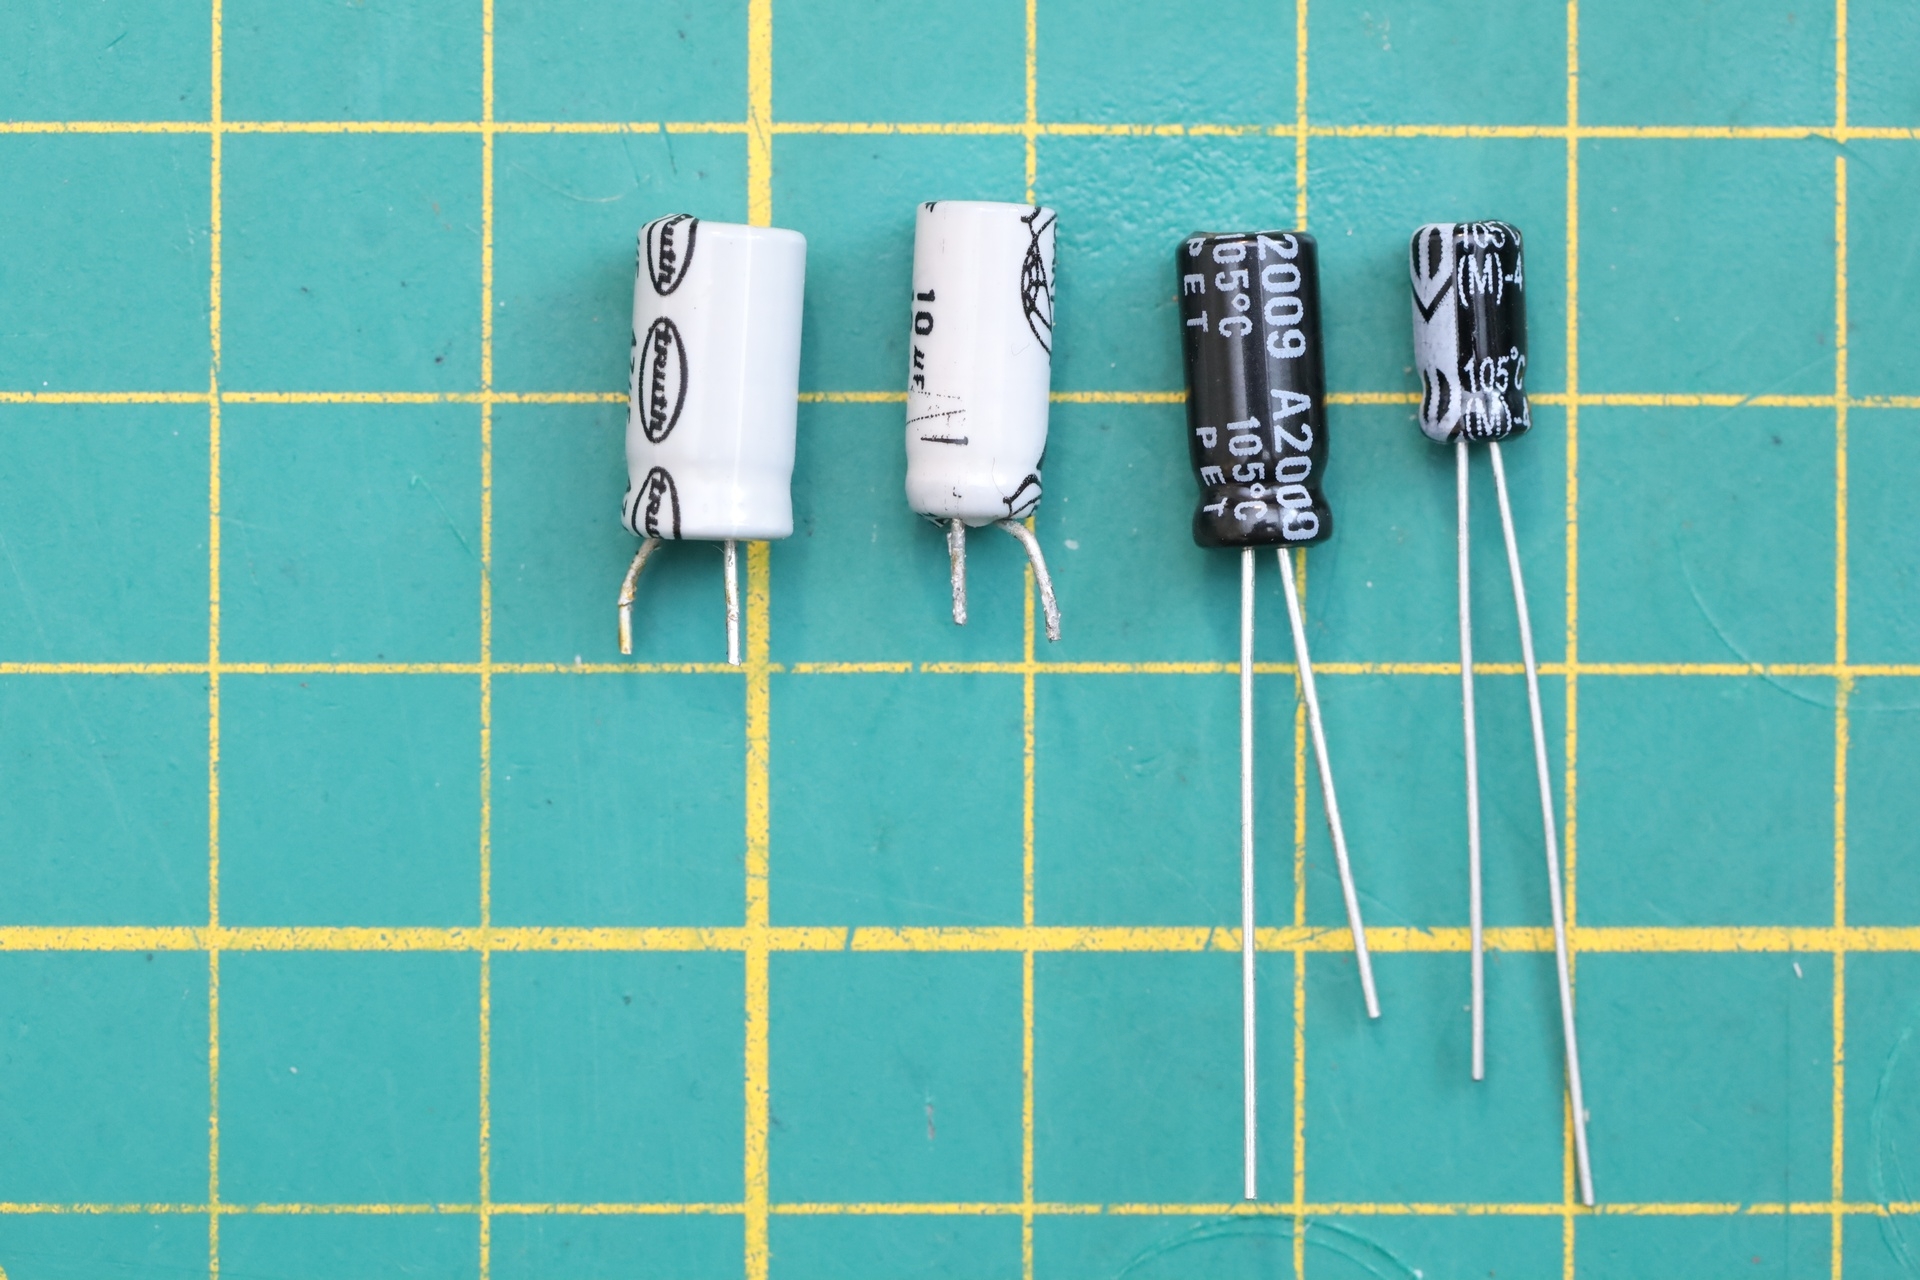
While I tend to keep the capacitors for the original look, there are so many of these radios out there, that there’s nothing unique about this one. Thus, I swapped both.

Wrapping up
Volume pot was a bit scratchy, so I drenched it in contact cleaner:
I also cleaned the white spots with alcohol and cleaned the case.
Aligning it was easy. 463kHz would pass as the loudest through the IF chain, but IF was not exactly spot on, and I adjusted them a bit.
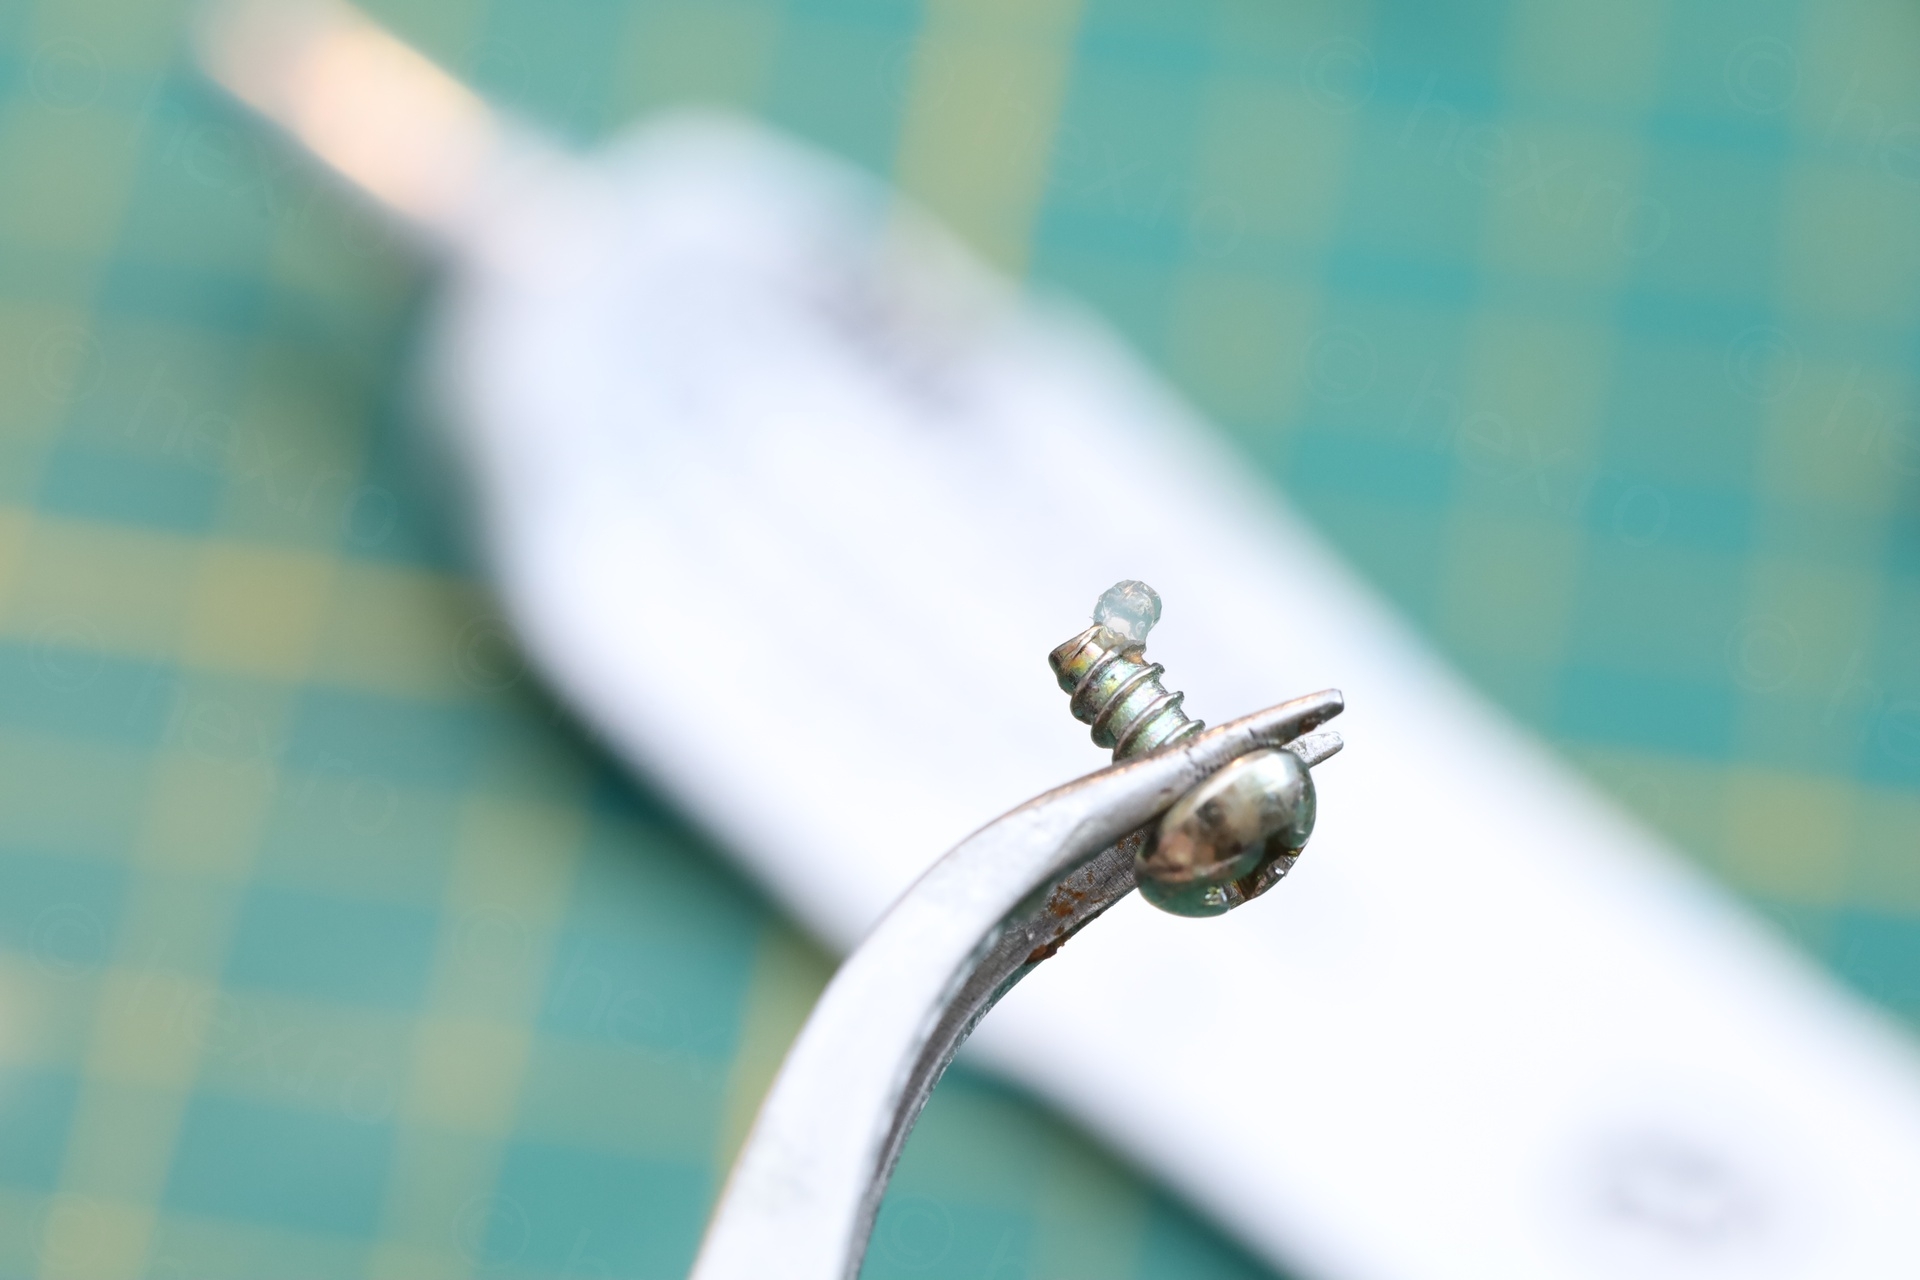
I put a bit silicone grease on the screws that are holding the circuit board to the case:
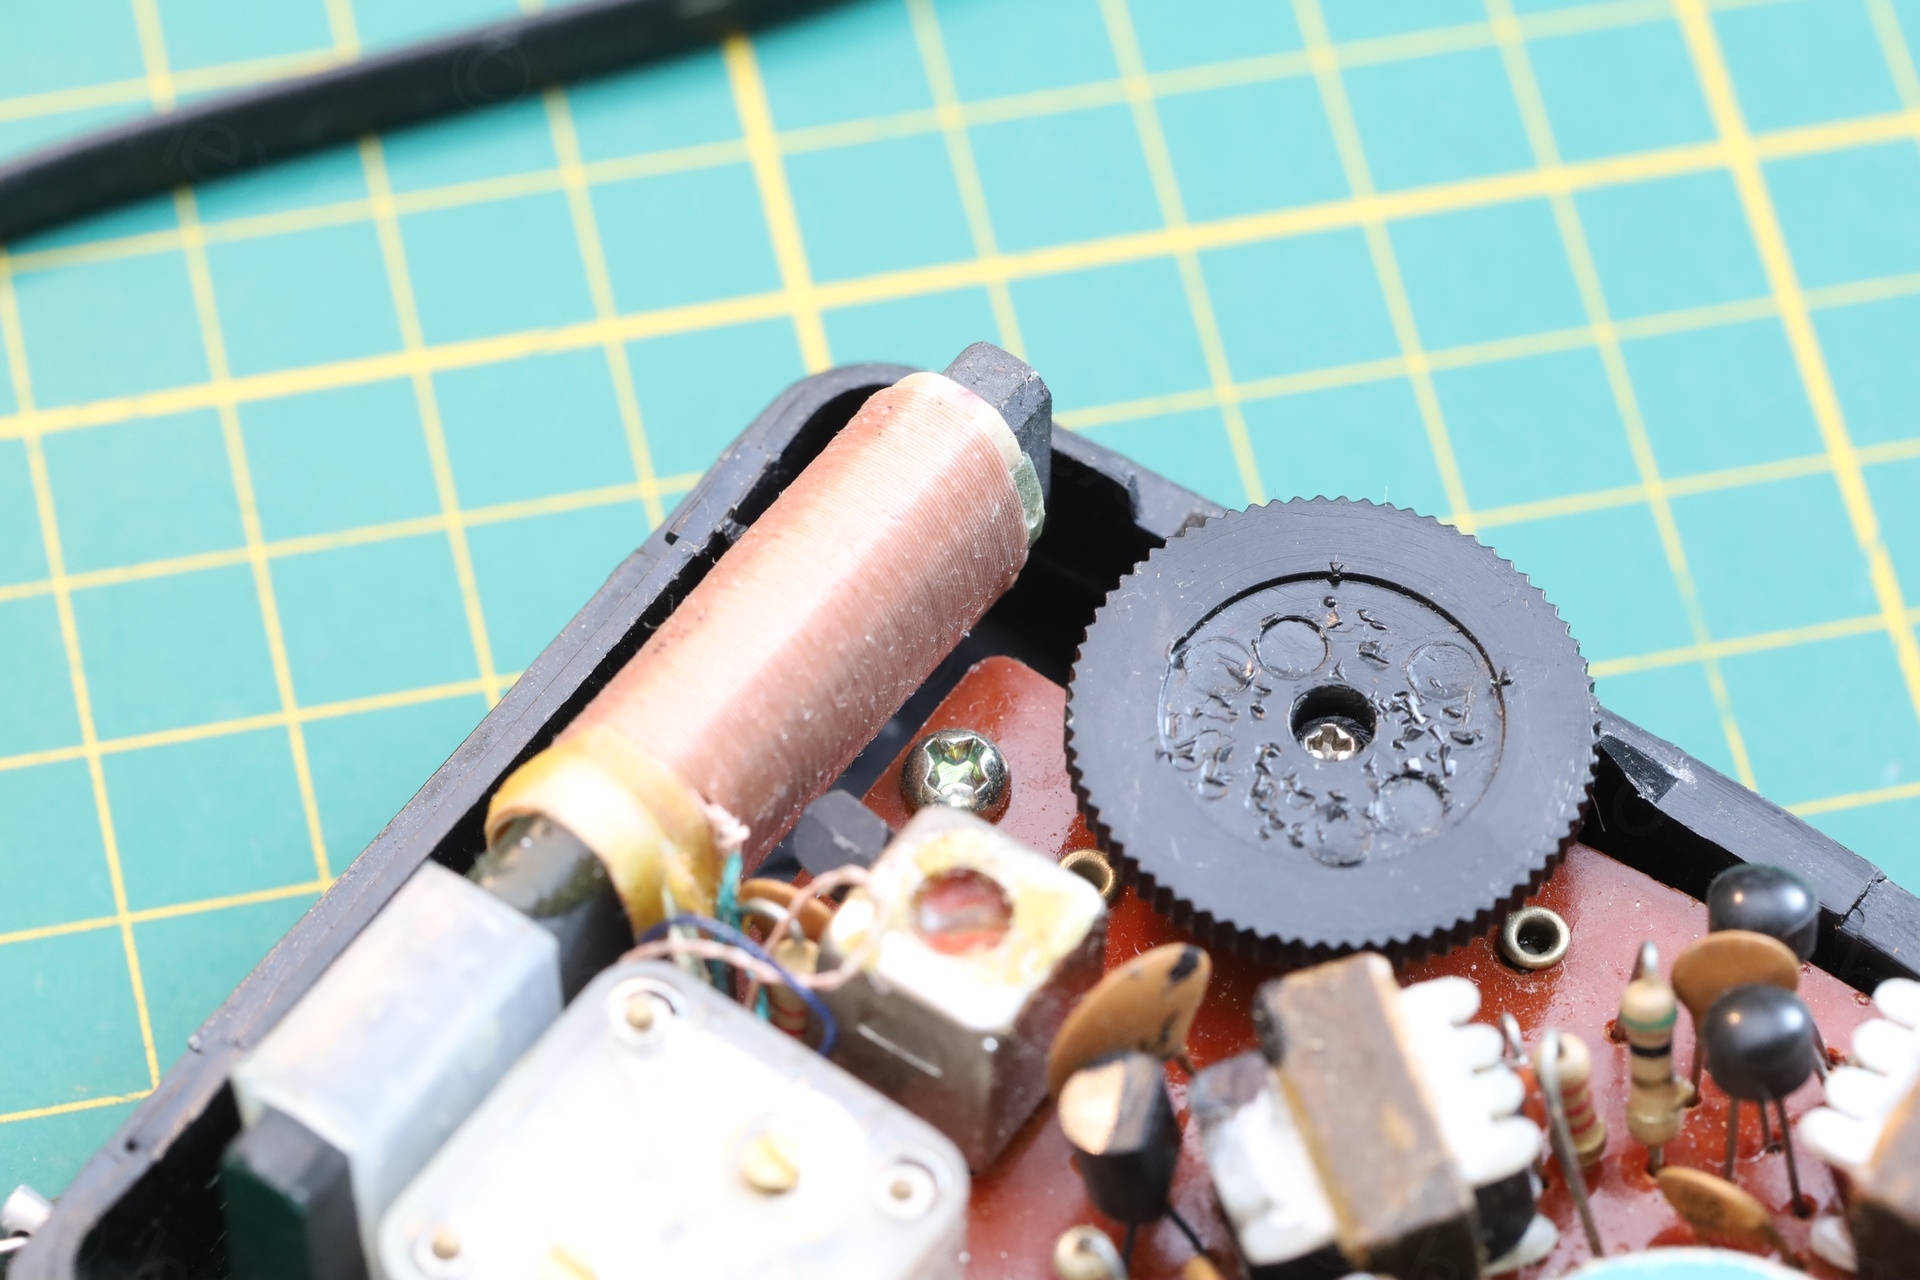
There is still one problem left, the tuning capacitor is a crackling. Even if I tried moving it a lot, still crackles are there. Thus, I was not very motivated to record a video of the radio working, but it does work – similar with the Browni one.
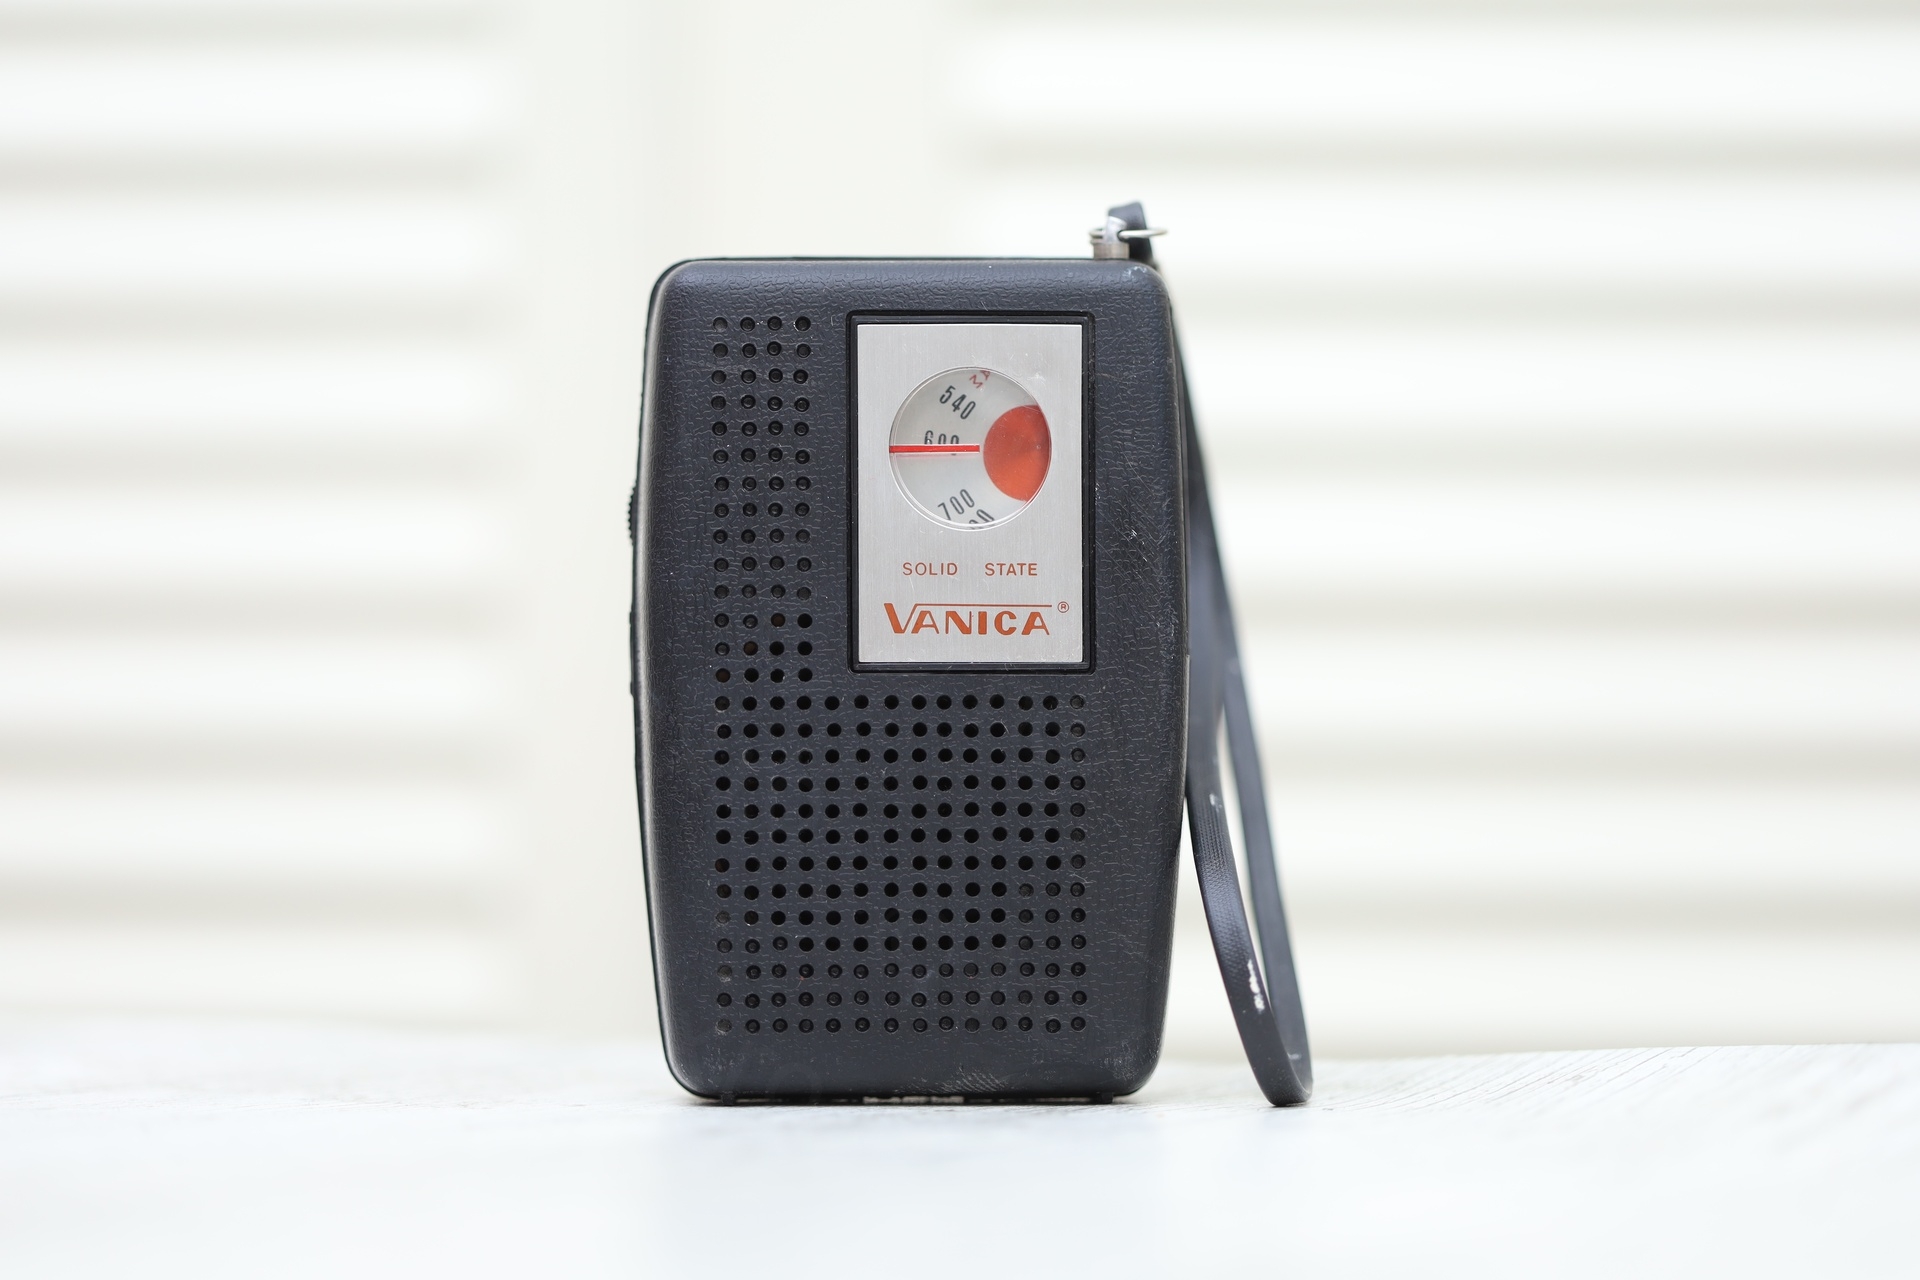
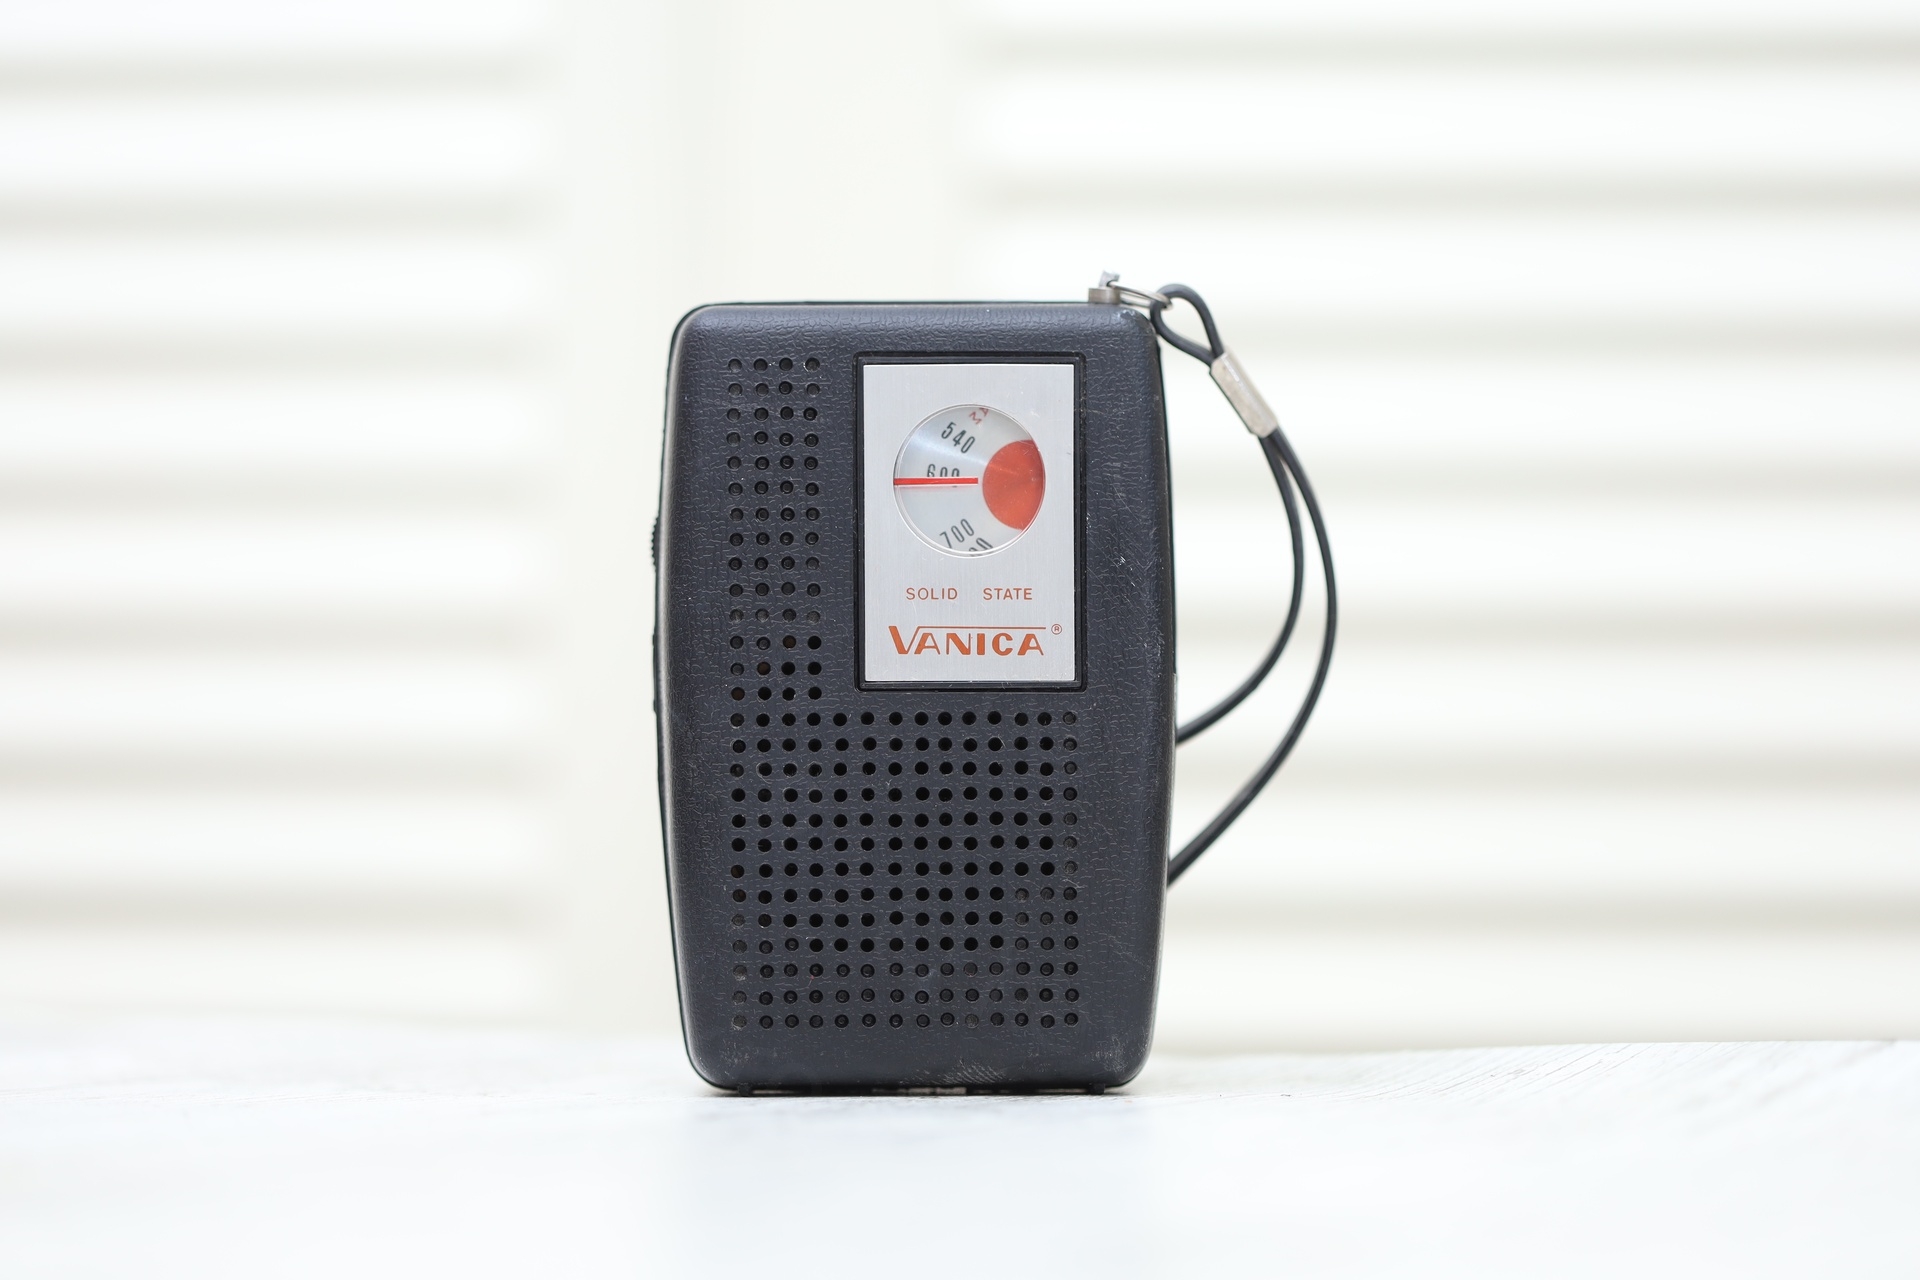
Few photos with it cleaned up and ready for storage:


Leave a Reply