

While walking through a flea market, I spotted this very large and old looking Video camera. Having a closer look, I noticed that the viewfinder CRT was larger than the ones in more ‘recent’ cameras, I thus decided to buy it.
Camera
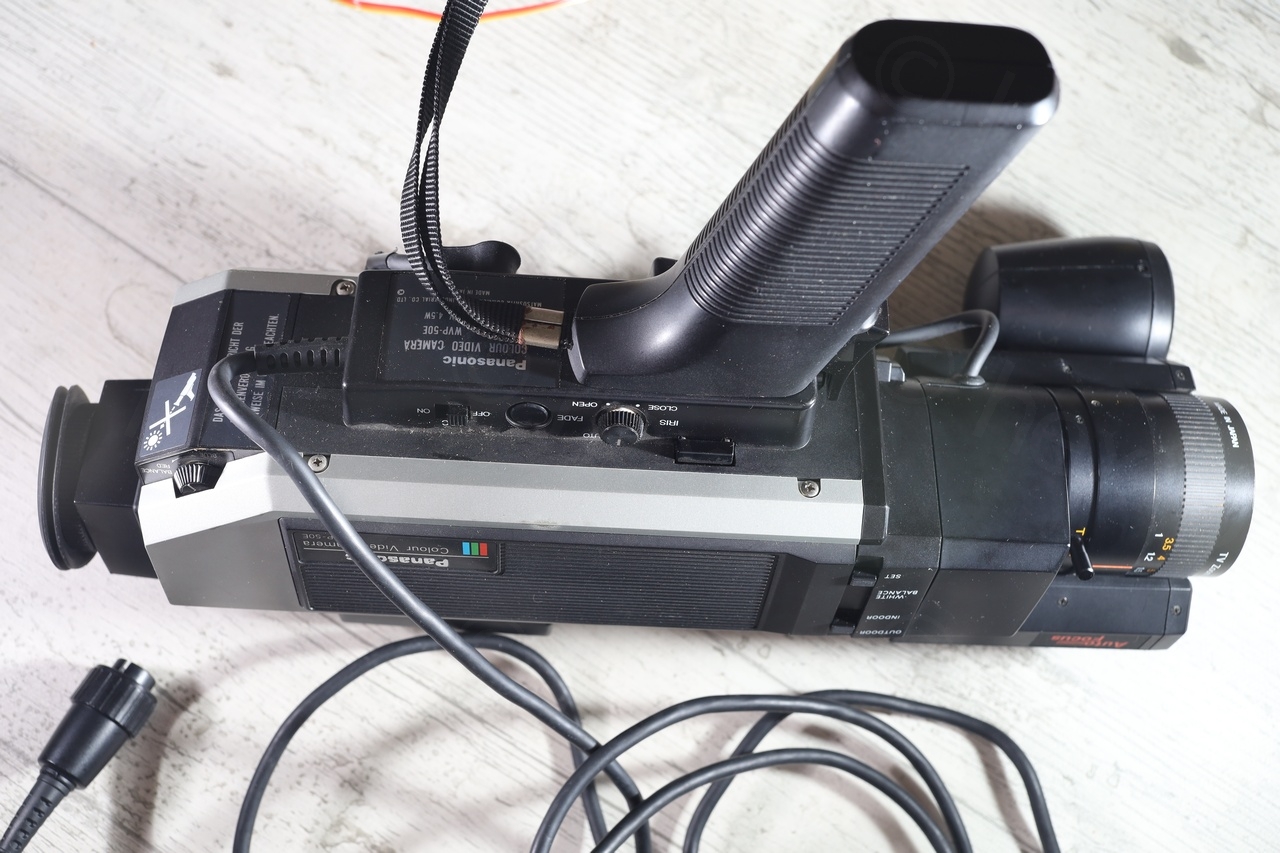
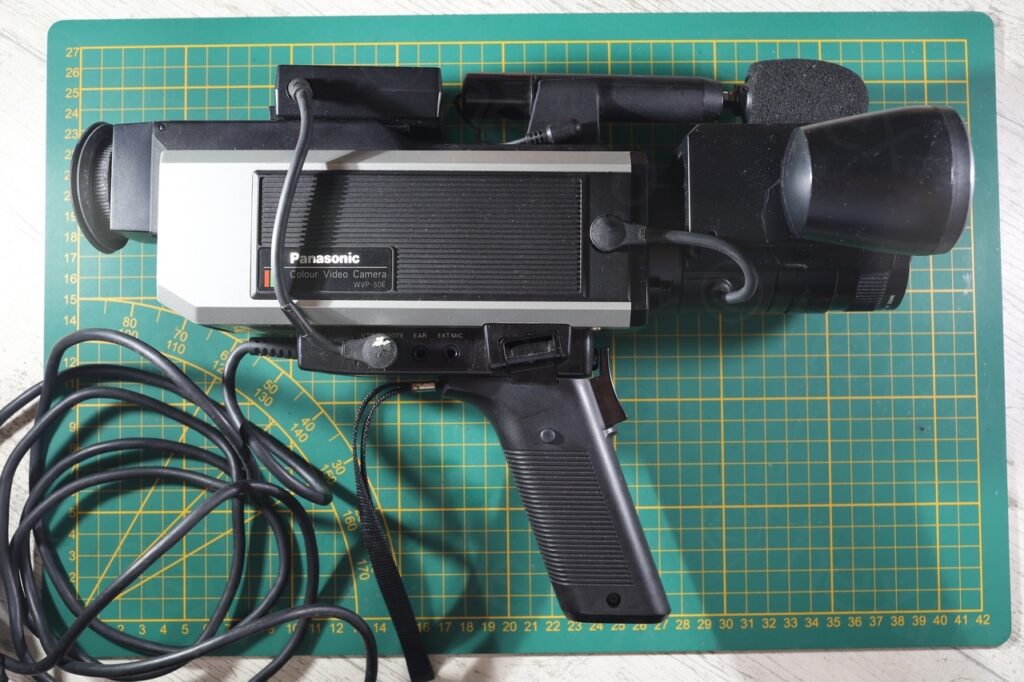
Camera was a Panasonic WVP-50E. Large camera with a very long cable and no place to put a tape in.


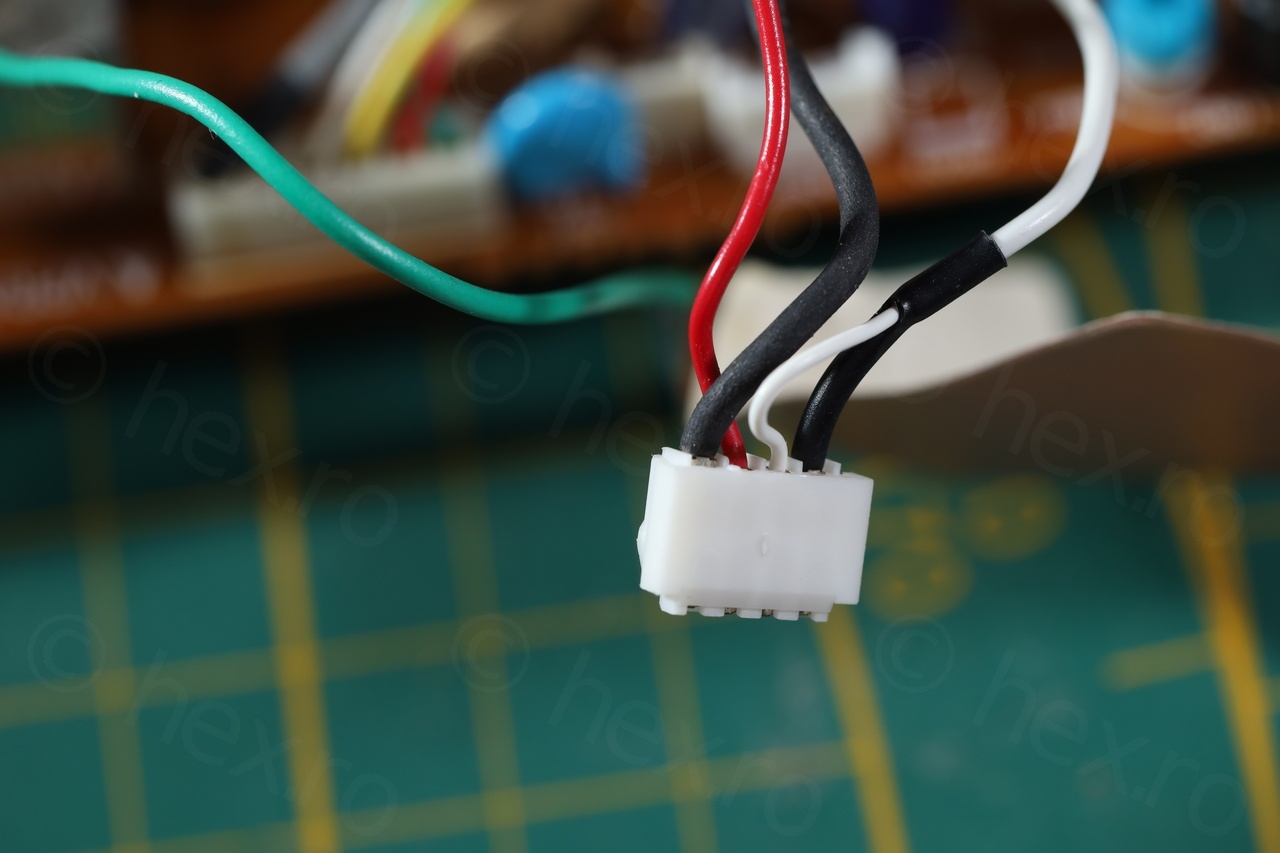
I was curious about the long cable, as it had a very weird connector and unfortunately I was unable to locate the schematics for this specific model.
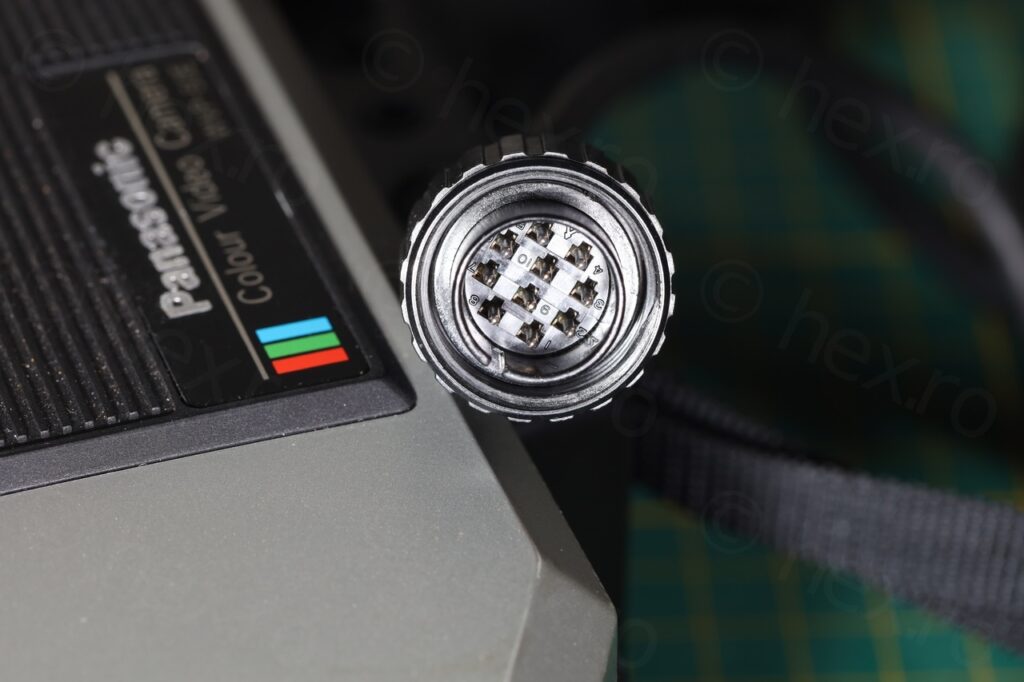
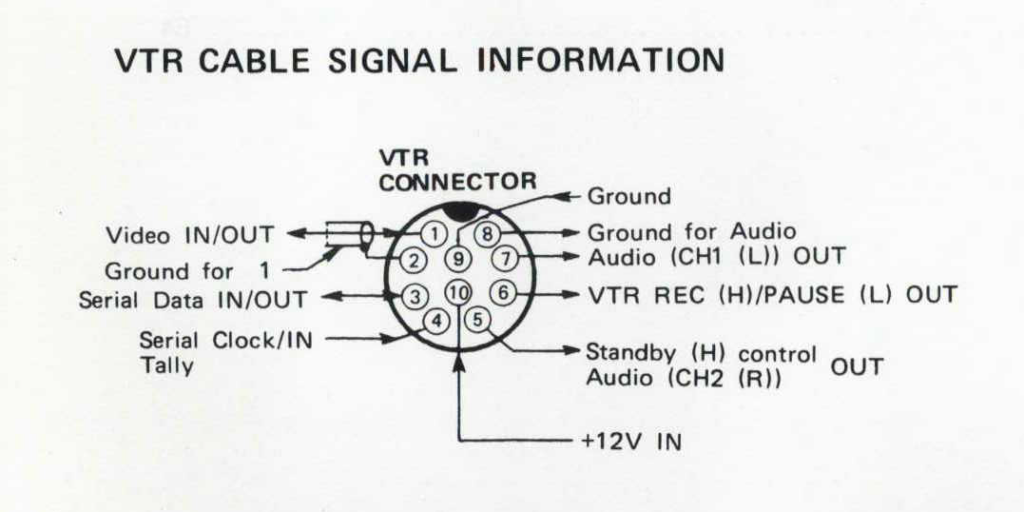
However, I was able to locate the schematics for Panasonic WVP-200E on the internet and found the connector:
I would just hope that modern devices also are delivered with their schematic instead of a QR code on how to download the user manual ?
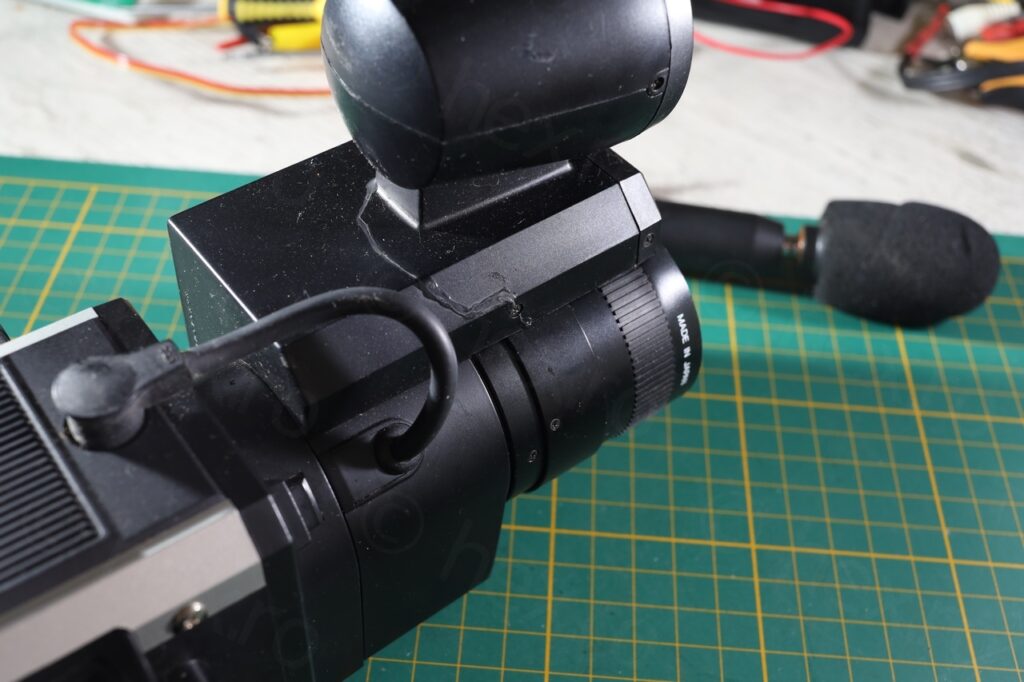
Camera was working – and I could see the image on the CRT! For recording, I have not tried it, as it was meant to be used with an additional bag containing the battery and the recording device. There was also a crack in the auto-focus lens – the camera was dropped at one moment but somebody did a good job of gluing it back:
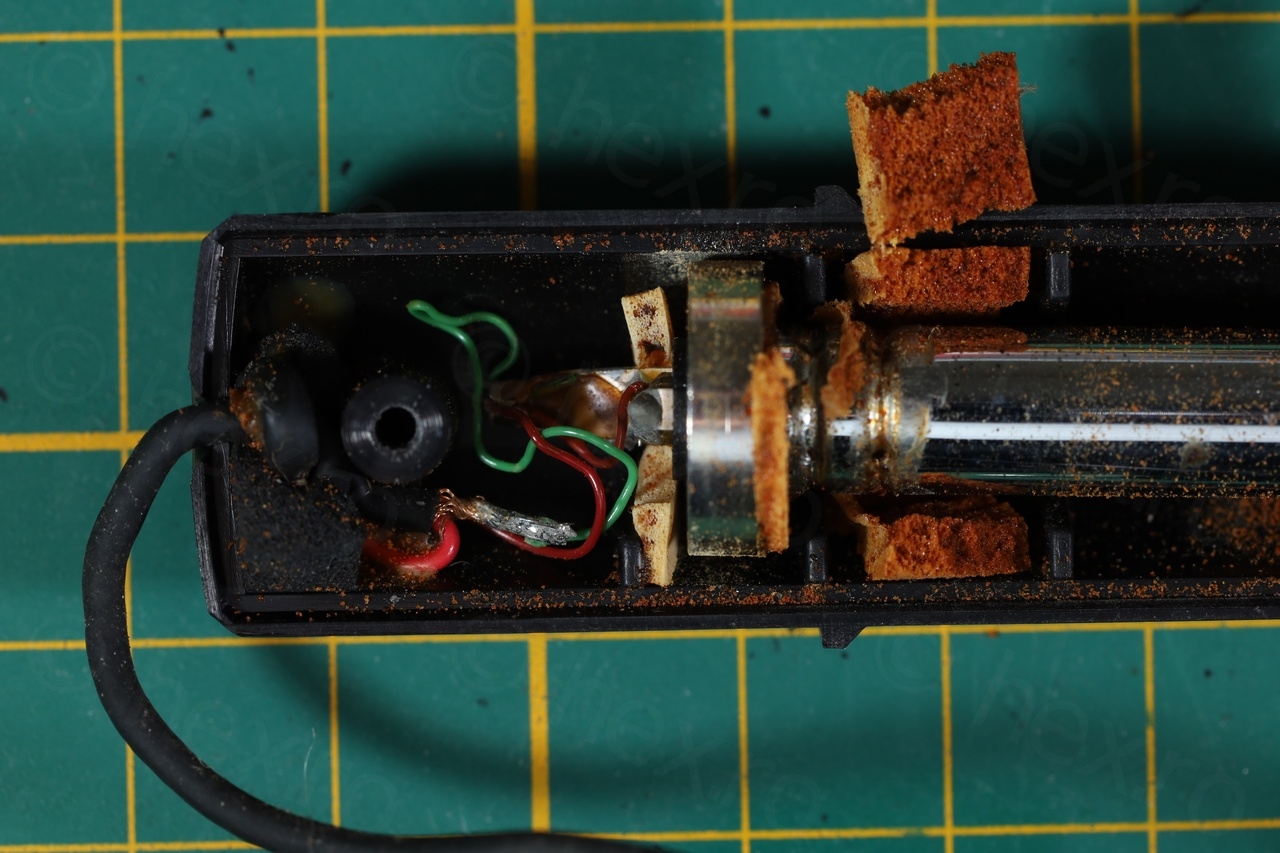
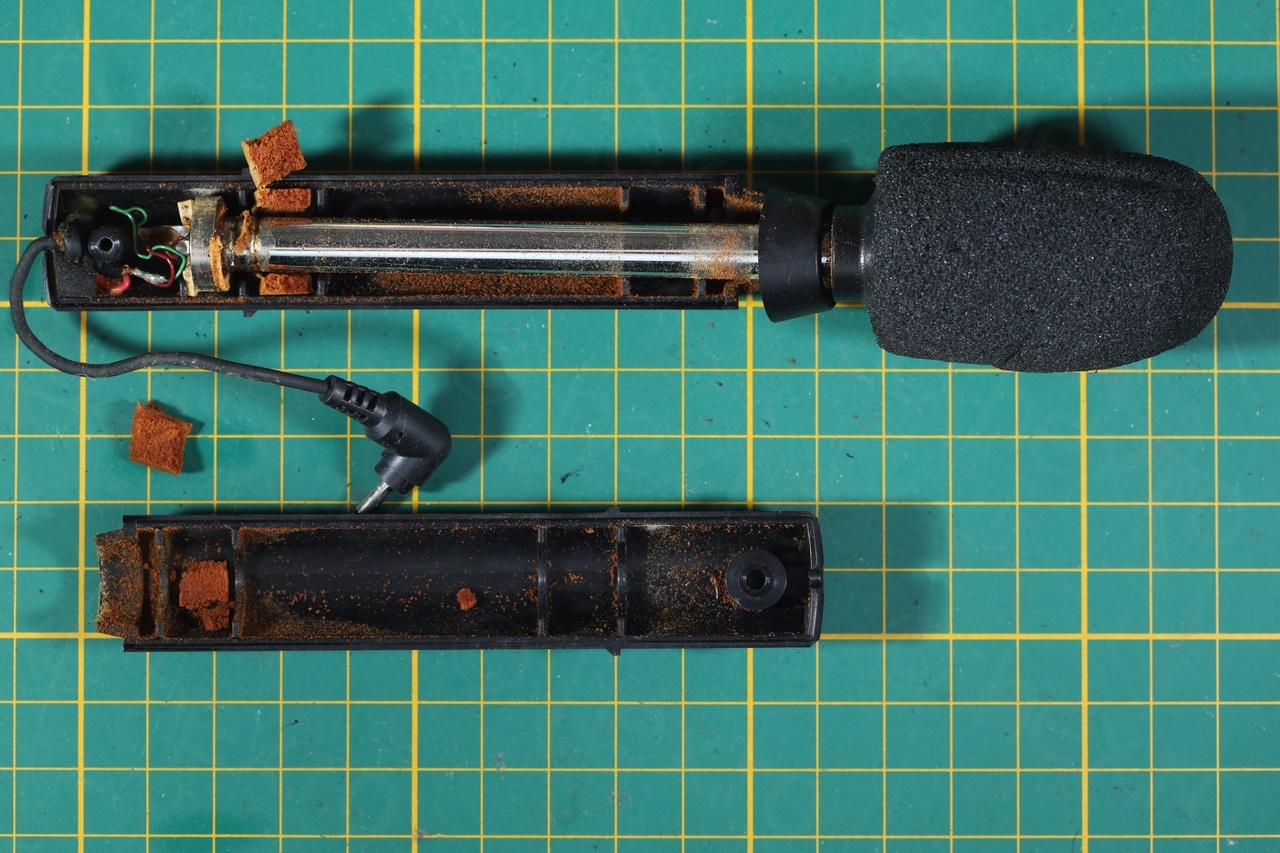
Before dismantling the camera, I was curious to see inside the microphone – as it was rather loose when trying to extend it. Found very brittle (and turned to dust) sponge as well as the telescopic base loose. Luckily the wires survived intact.
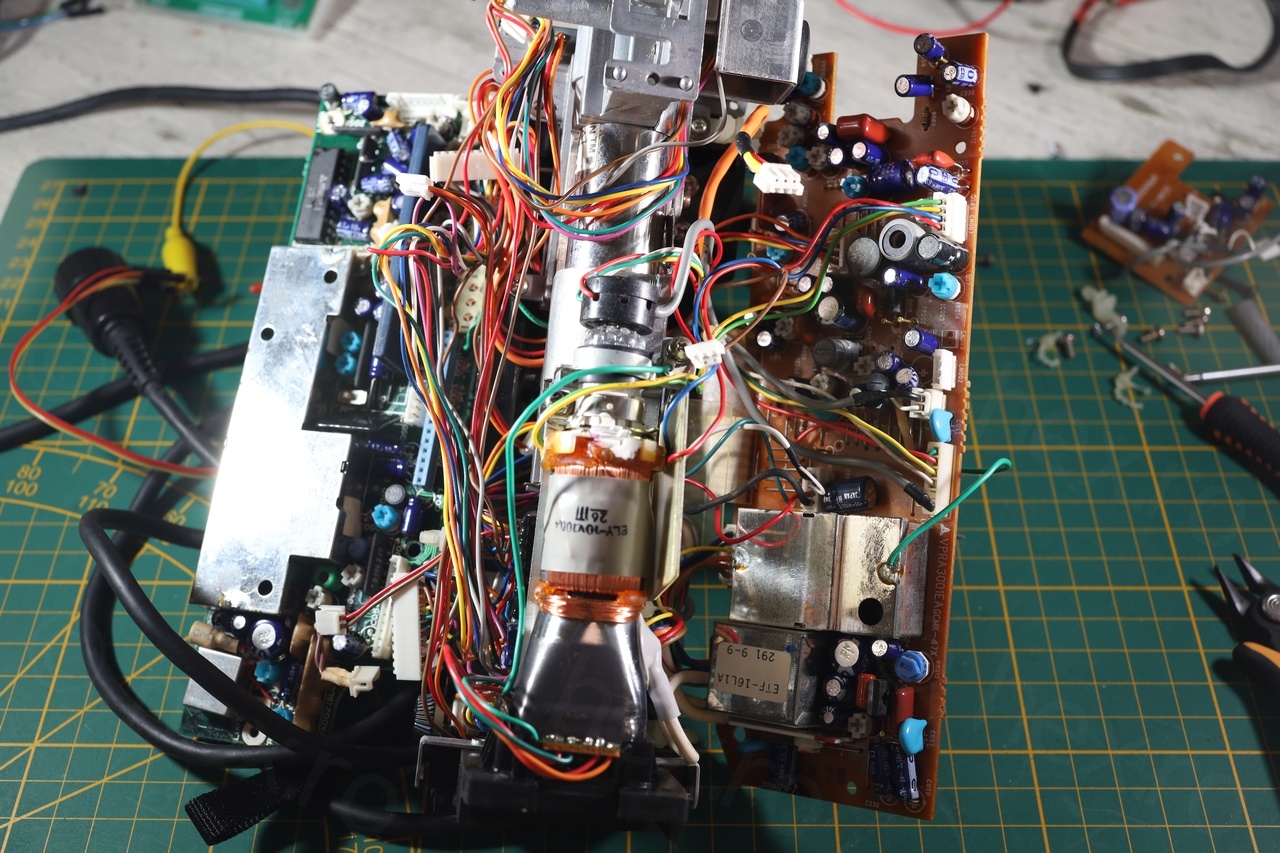
Proceeding with the camera dismantled, I was impressed by the amount of interconnect wires and the amount of analog components that were housed in. Knowing that the picture tube works was detrimental though, since I payed no attention on how the cables were connected – this slowed down the process of finding the input signals – but more on this after.
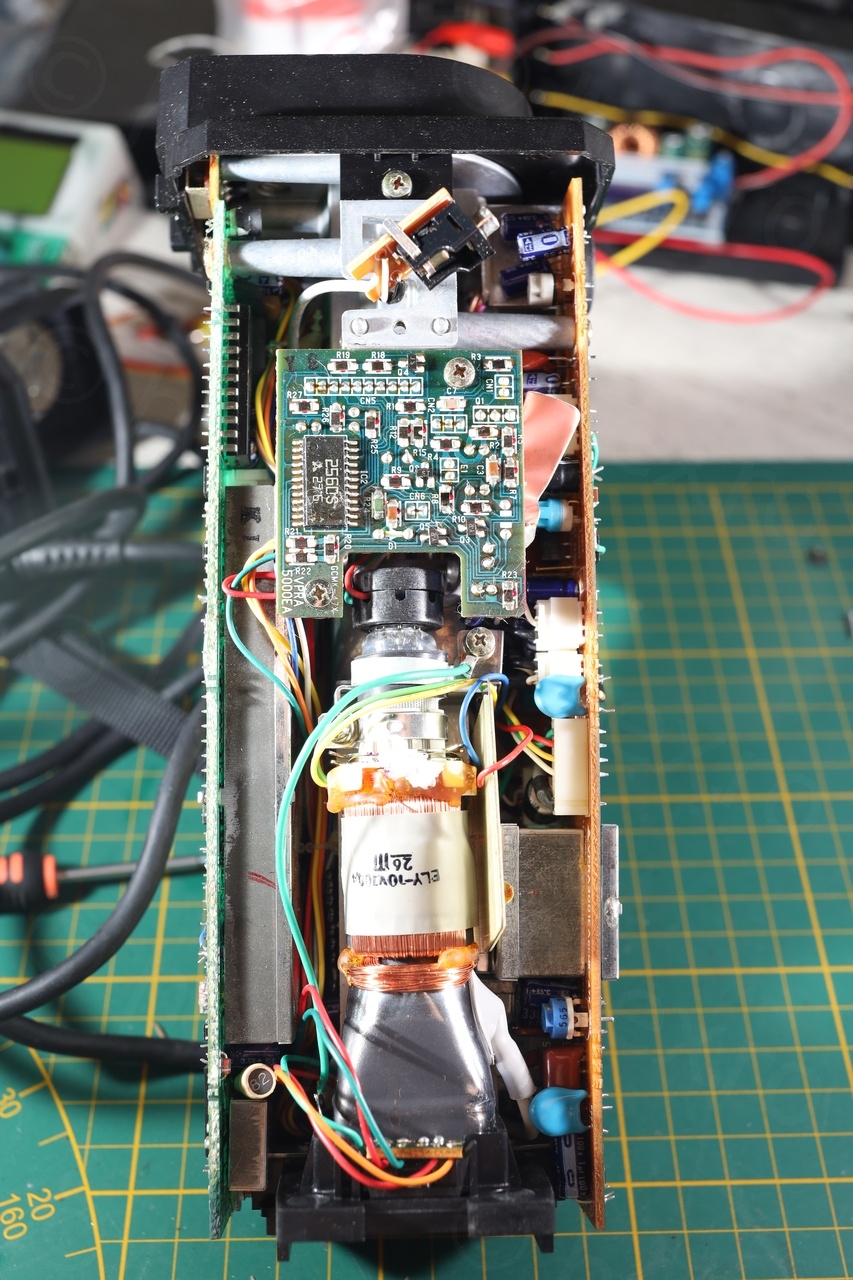
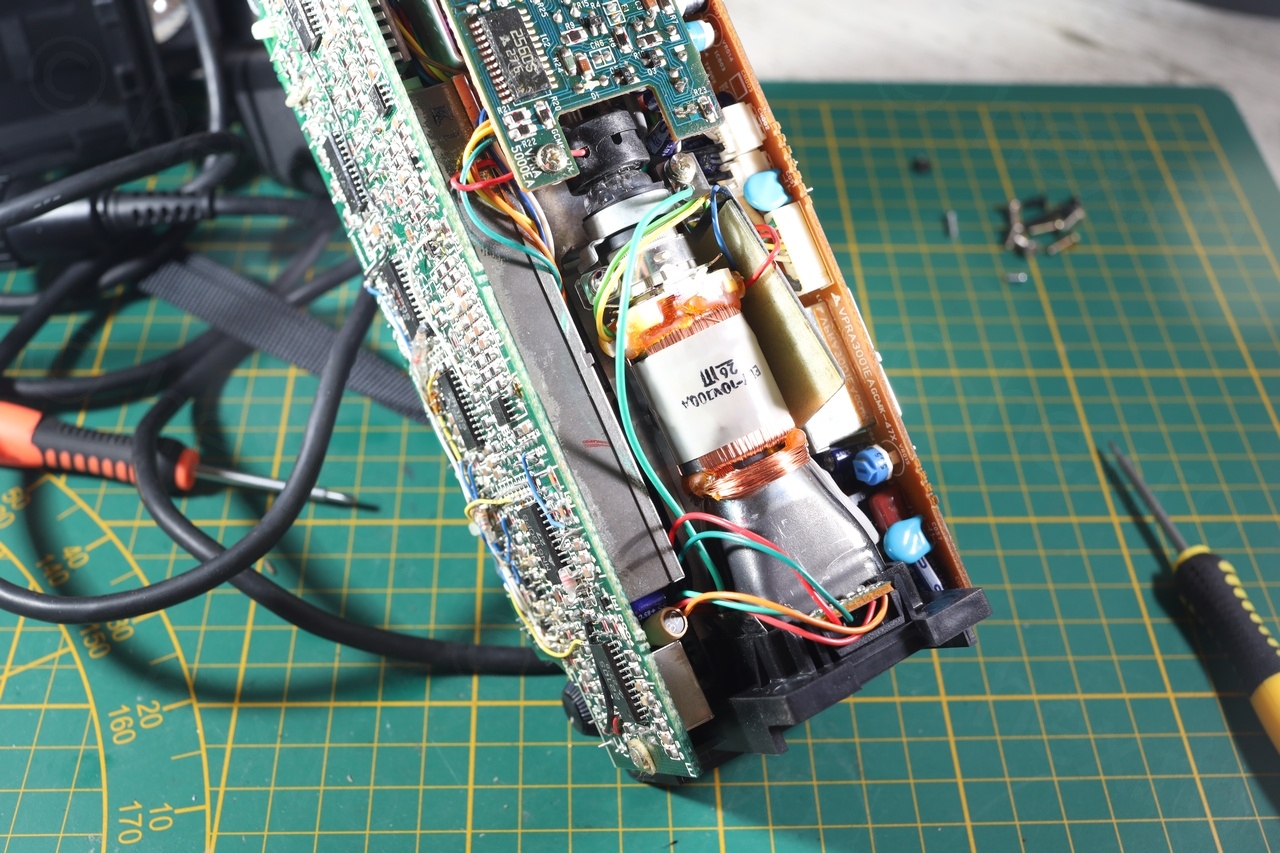
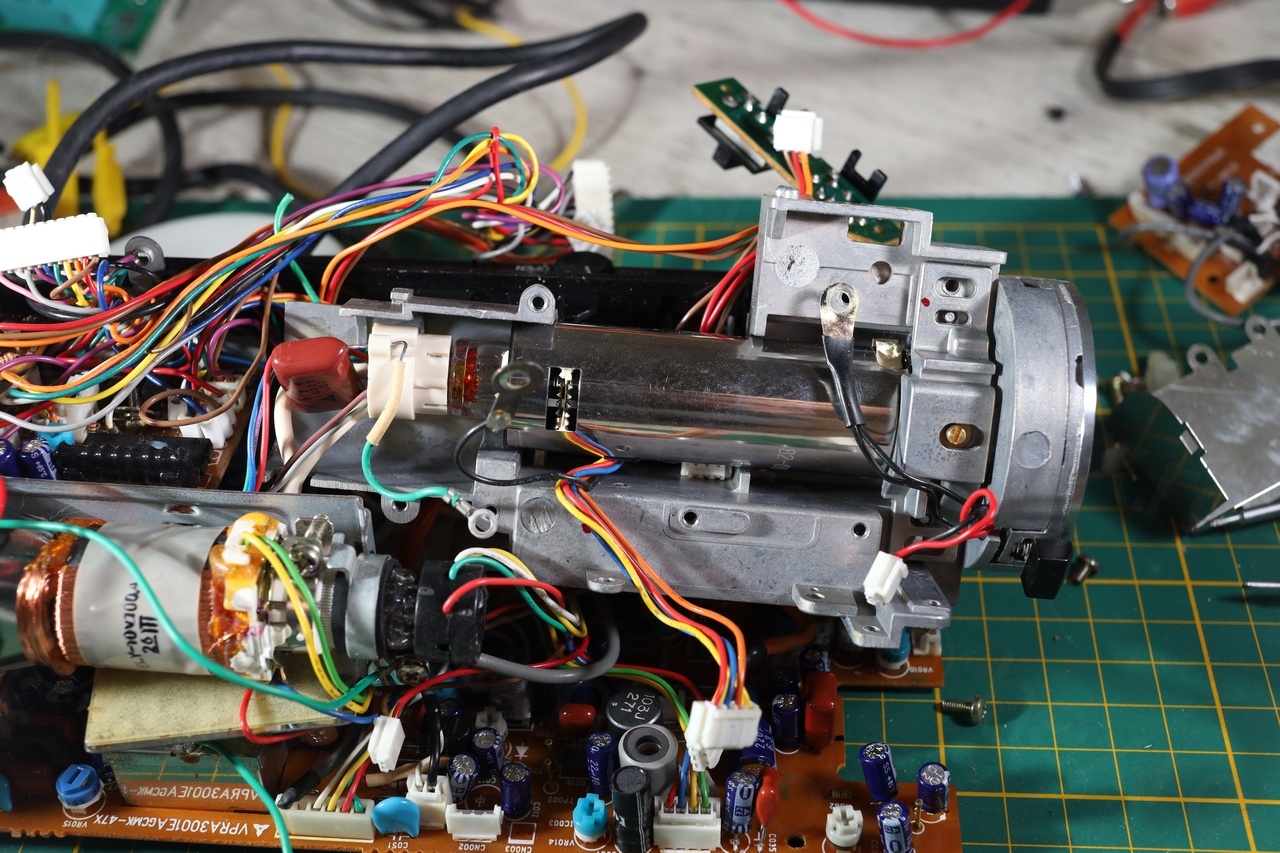
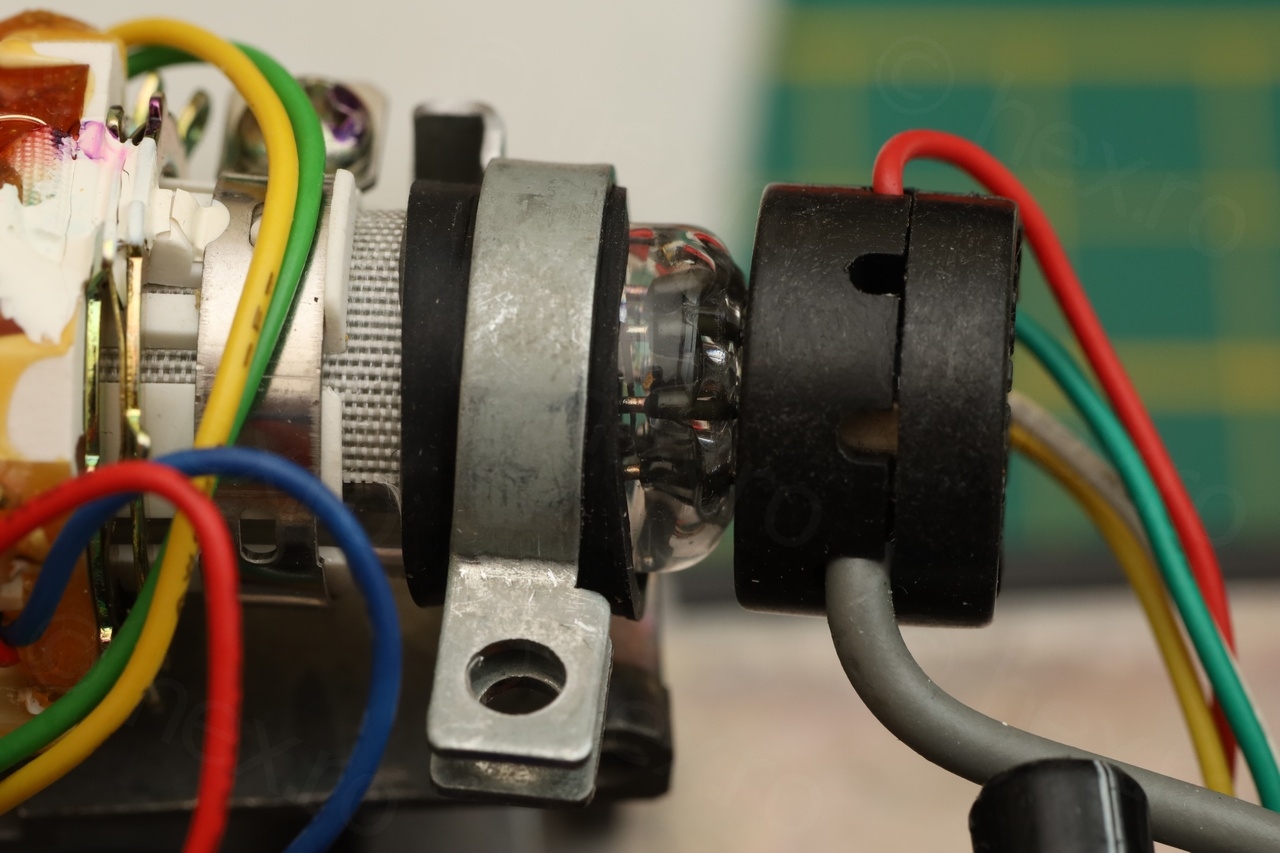
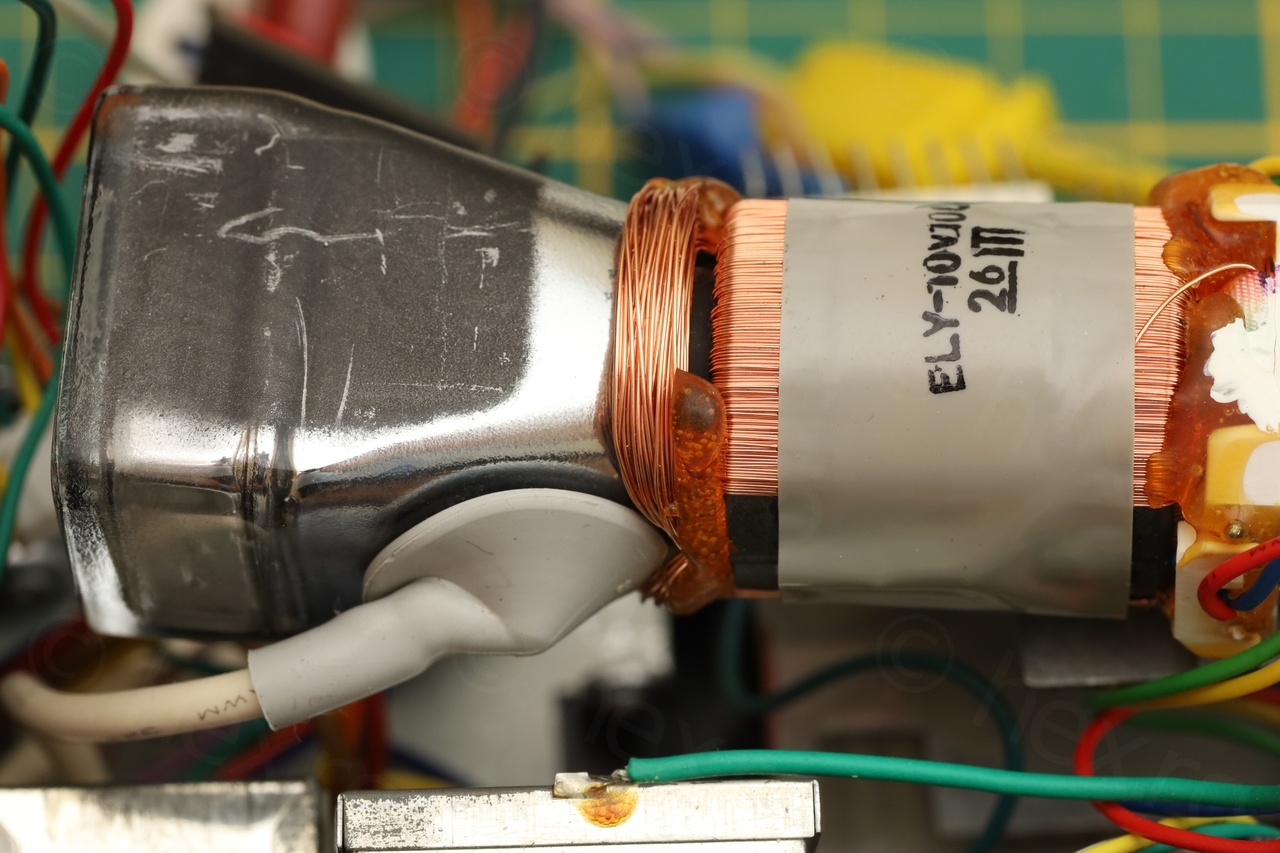
Dismantling it was rather straight forward, but a surprise was awaiting inside, one even better that the smell of old books! The imaging sensor was also a CRT. It felt like a message in a bottle, sent long time ago … I never saw a tube like this before and is incredible the length people went just to be able to record their memories.

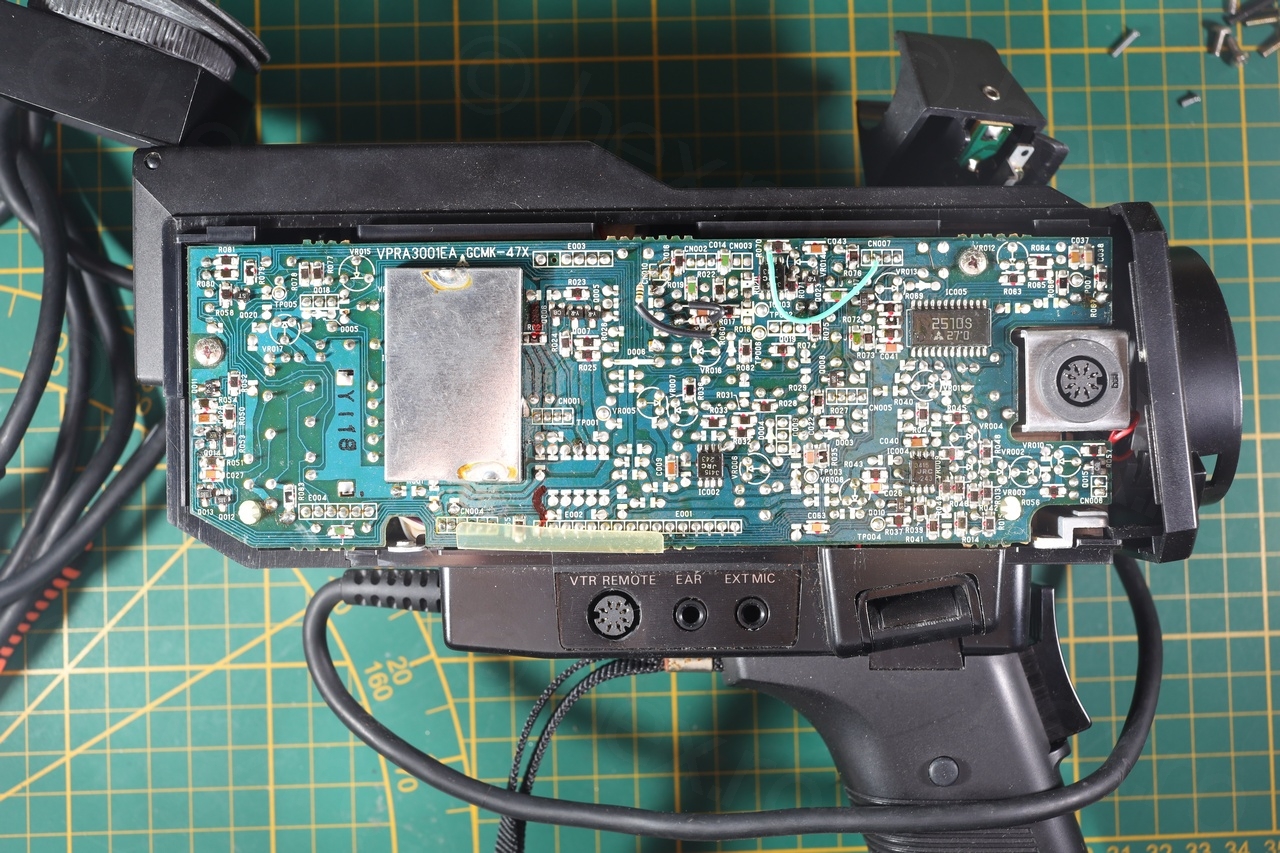
Having a look at the boards I was able to identify the IC that is driving the view finder CRT, an AN2510S. This too looks old school, all the ‘modern’ ICs I found so far have maybe 20 pins, this tops them out with 24:
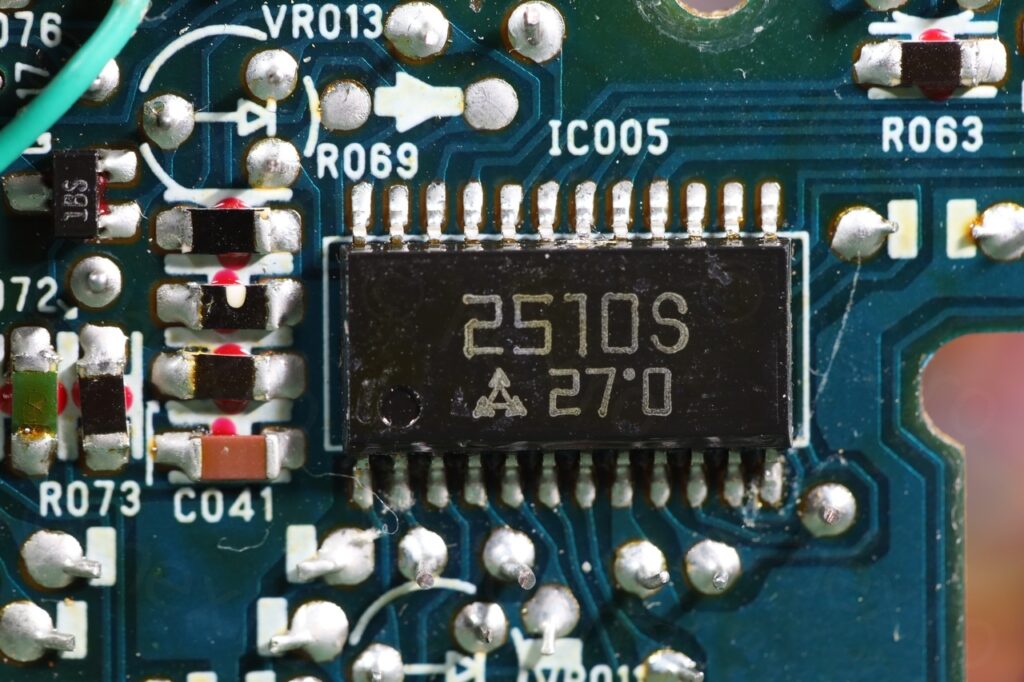
While I was able to find a schematic for AN2510S (2 and 12 are VCCs, 4 and 8 GNDs and 18 is Video In) and also find that VCC has continuity to connector CN004, feeding it 5V did not bring on the CRT. This was a set back, I knew the CRT is functioning so it meant I was clueless how to go on further – without having the schematic.
I realized that I still had the parts of the camera and wondered where did the weird connector go and how was the power coming into the board ? There couldn’t be so many sockets where the cable would fit and I had taken pictures all along the dismantling process.
Finally a break through, I now knew how to provide 12V to the board, as power comes in to CN001.
Disappointingly, this was still not enough. Even provided with 12V, the CRT would not light up. I went to check the new voltages on CN004, where I saw that the AN2510S was connected to, and while I did find 4.6V on the connector, it was not on the PIN connected to AN2510S. Ah. I was a little afraid to start bridging things around and I realized, what if this CN004 was actually where the Stand By switch was connected to ?
And finally the CRT turned on 🙂
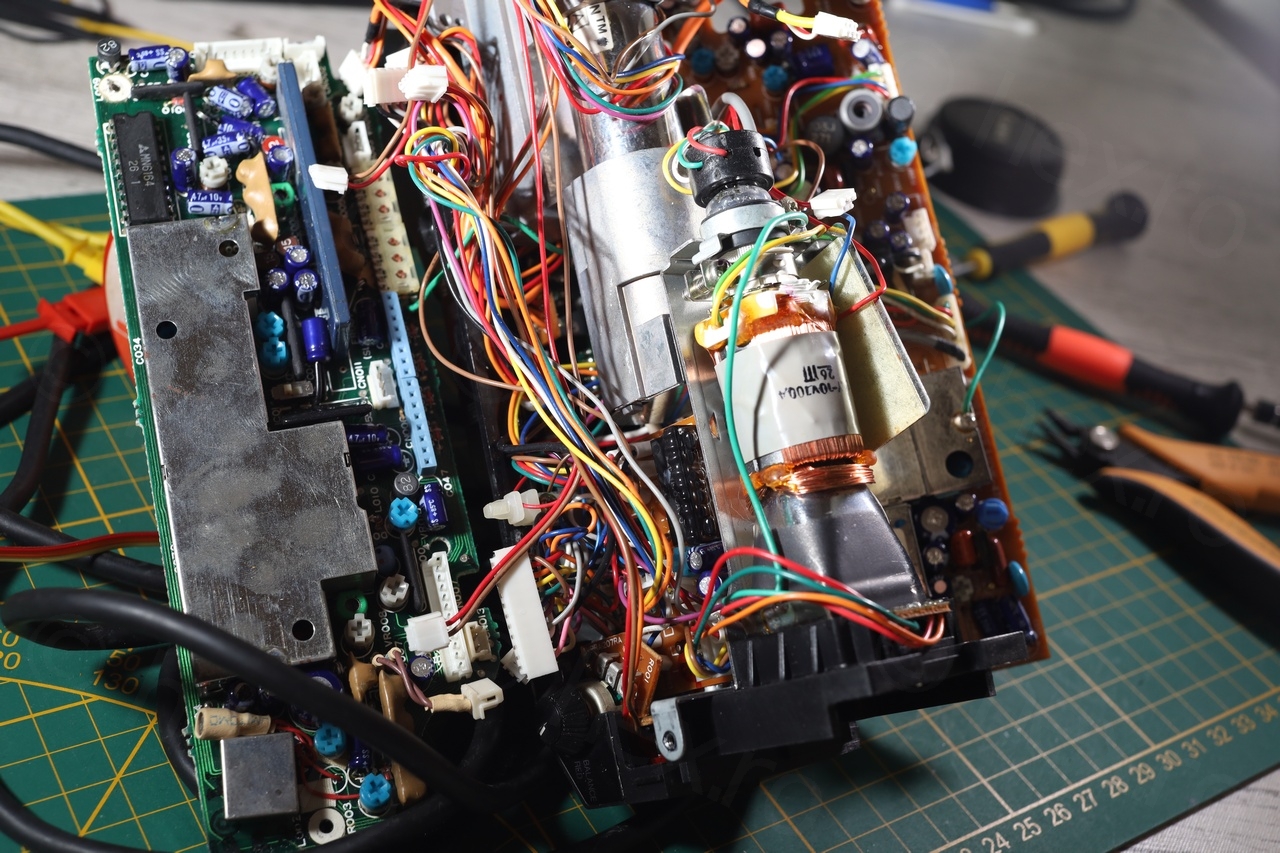
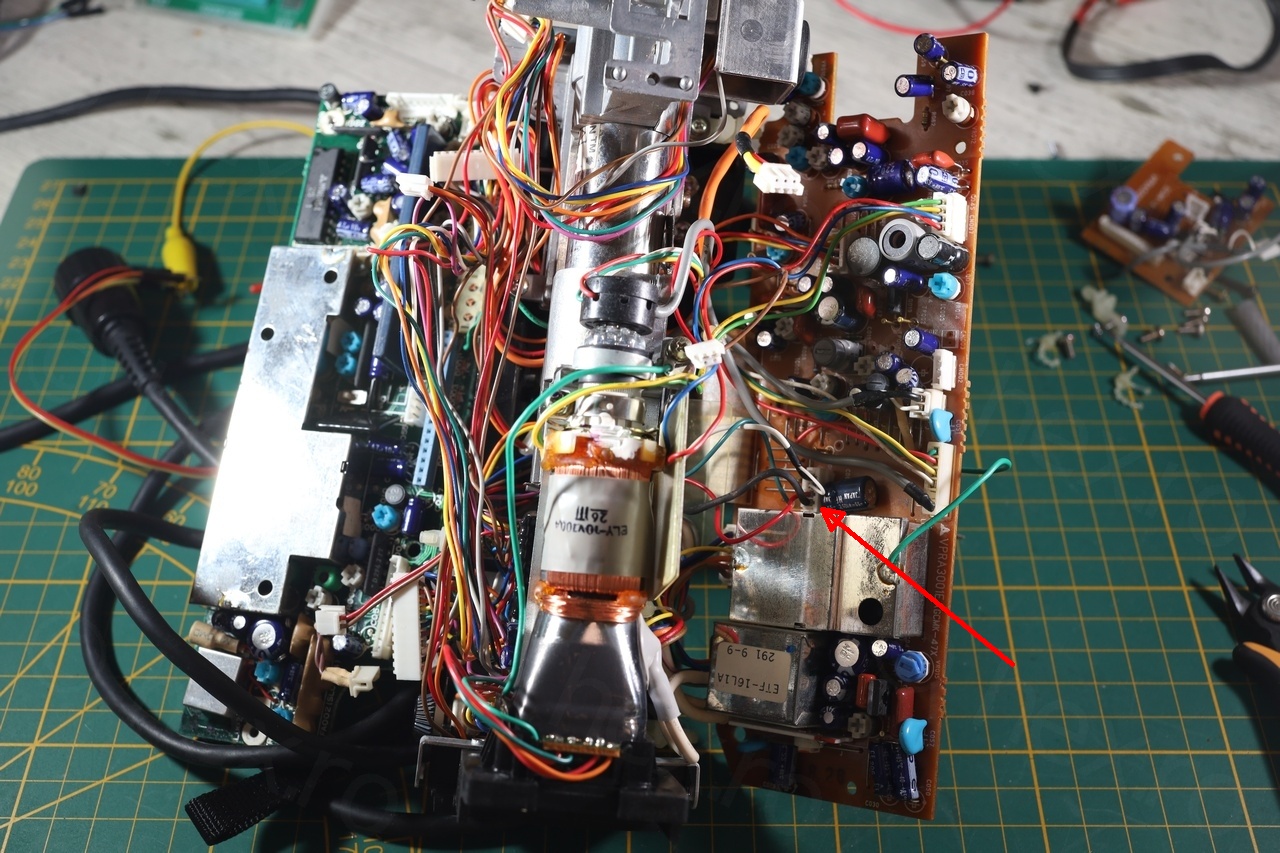
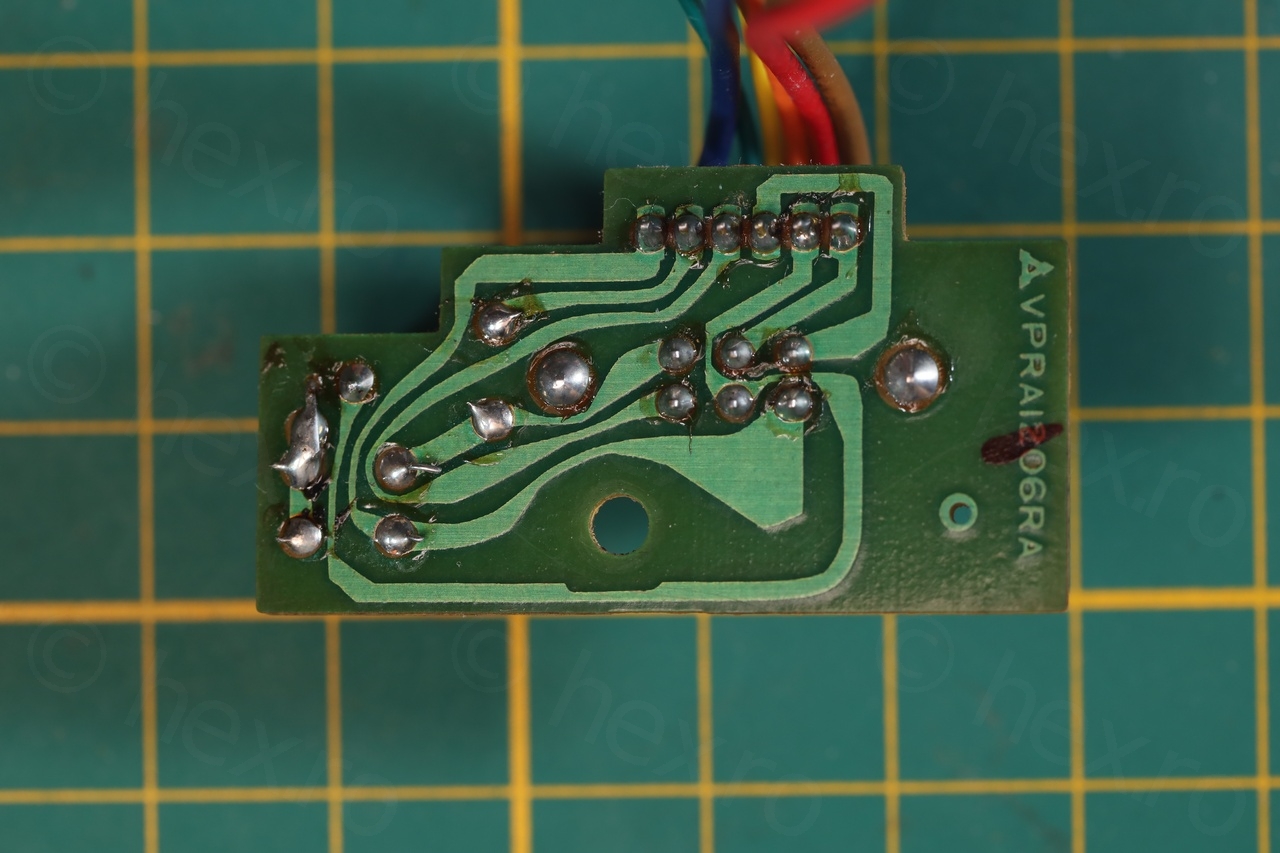
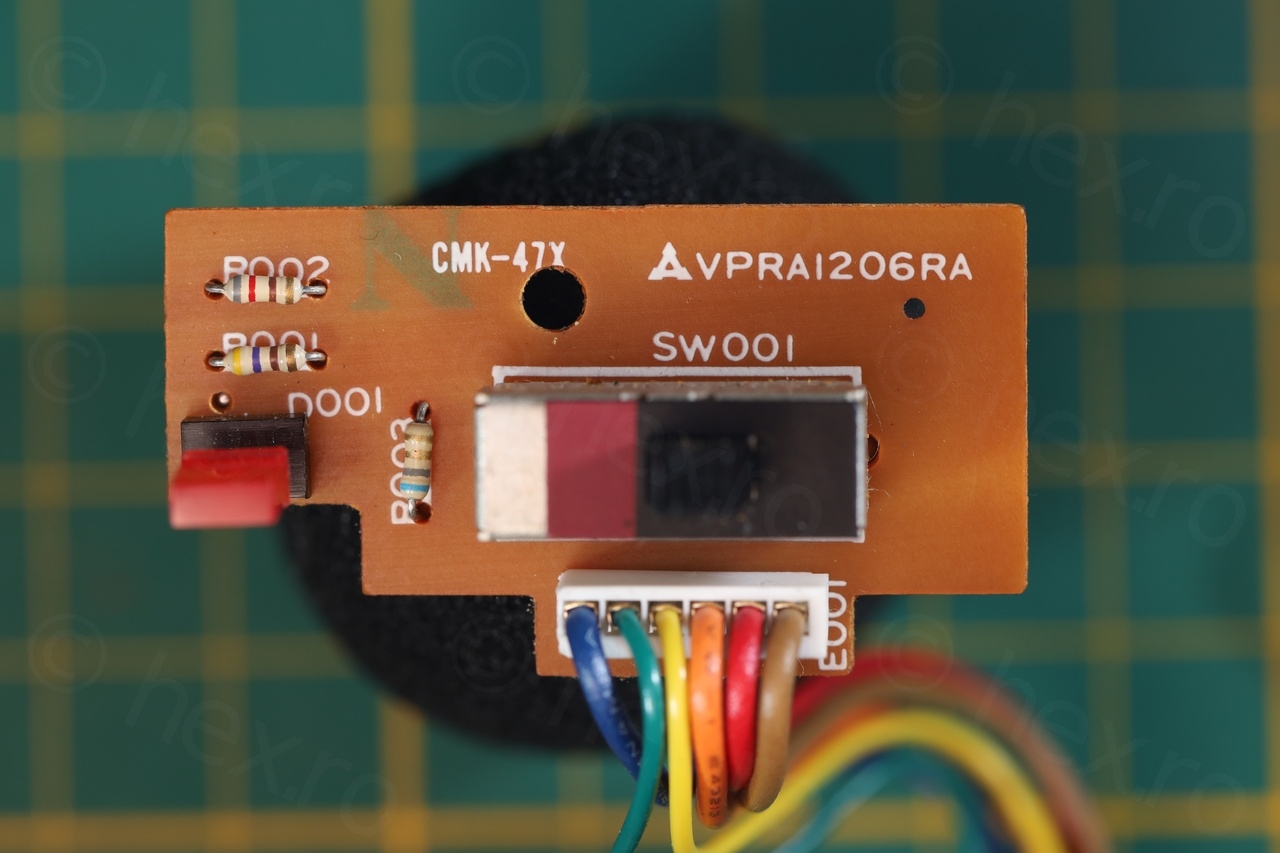
Next step was to identify how did the Video Signal arrive from the Saticon sensor back to the EVF driver board ? After some tracing around, I was able to identify the path:
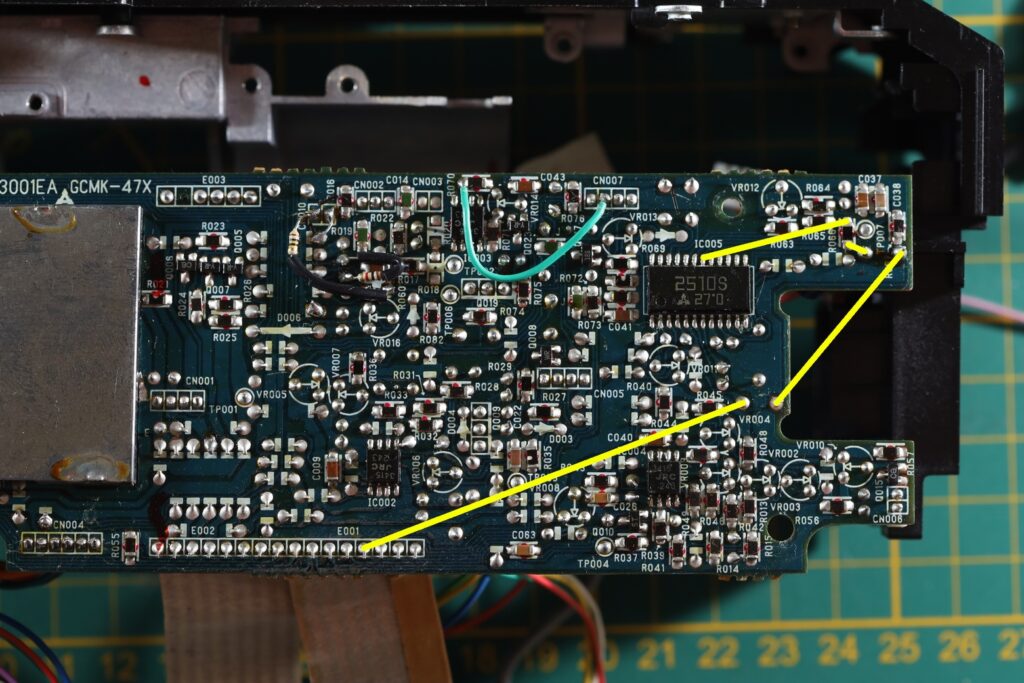
Thus:
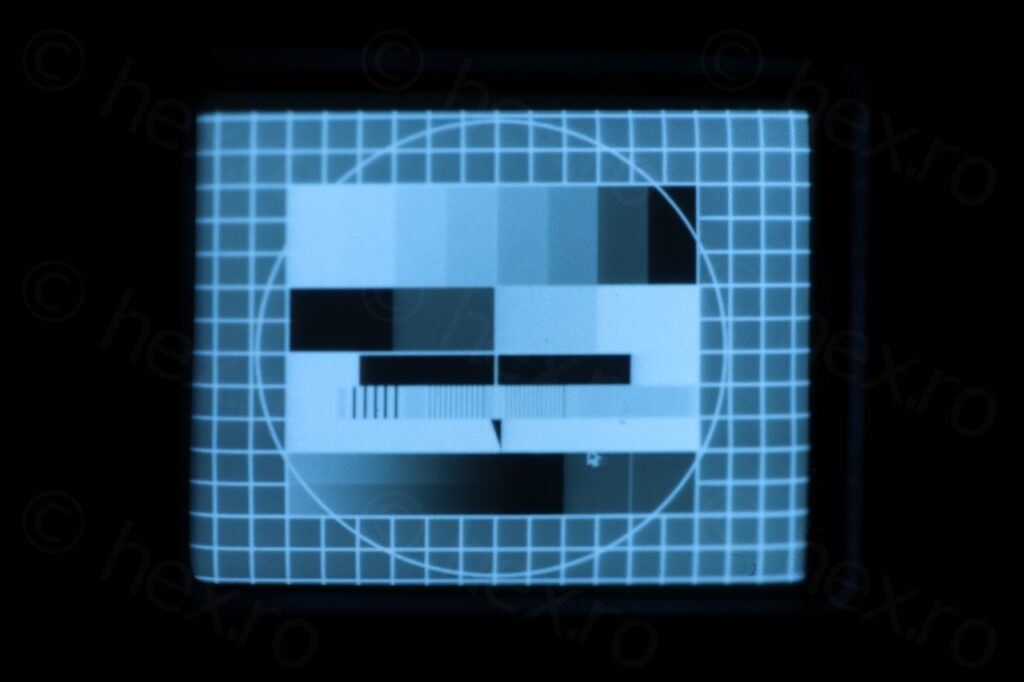
I could not help but play a round of Manic Miner 🙂 where I think I beat my own record, 1661 points on first level. The watery sounds you can hear is from my aquariums – but I have set the video to default to Mute:
I also observed that the CRT has a very nice ‘CRT off’ behavior – with a fading dot (at 5s into the Video below):
I am very happy with the quality of the CRT, and is pleasant to look at even with sdtv_mode=2 (the flicker-y mode) on Raspberry PI.
Notes
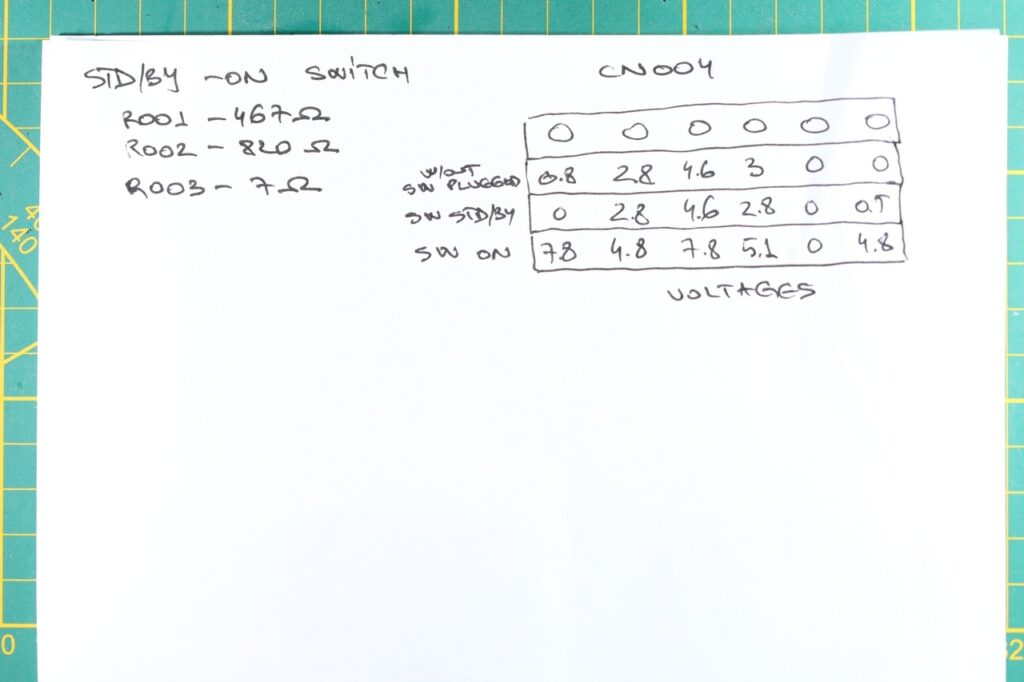
Voltages on CN004 when the board is provided with 12V, first without the Stand-By switched plugged in, then with the switched plugged but on Stand-By mode, then with the switch in ON position:
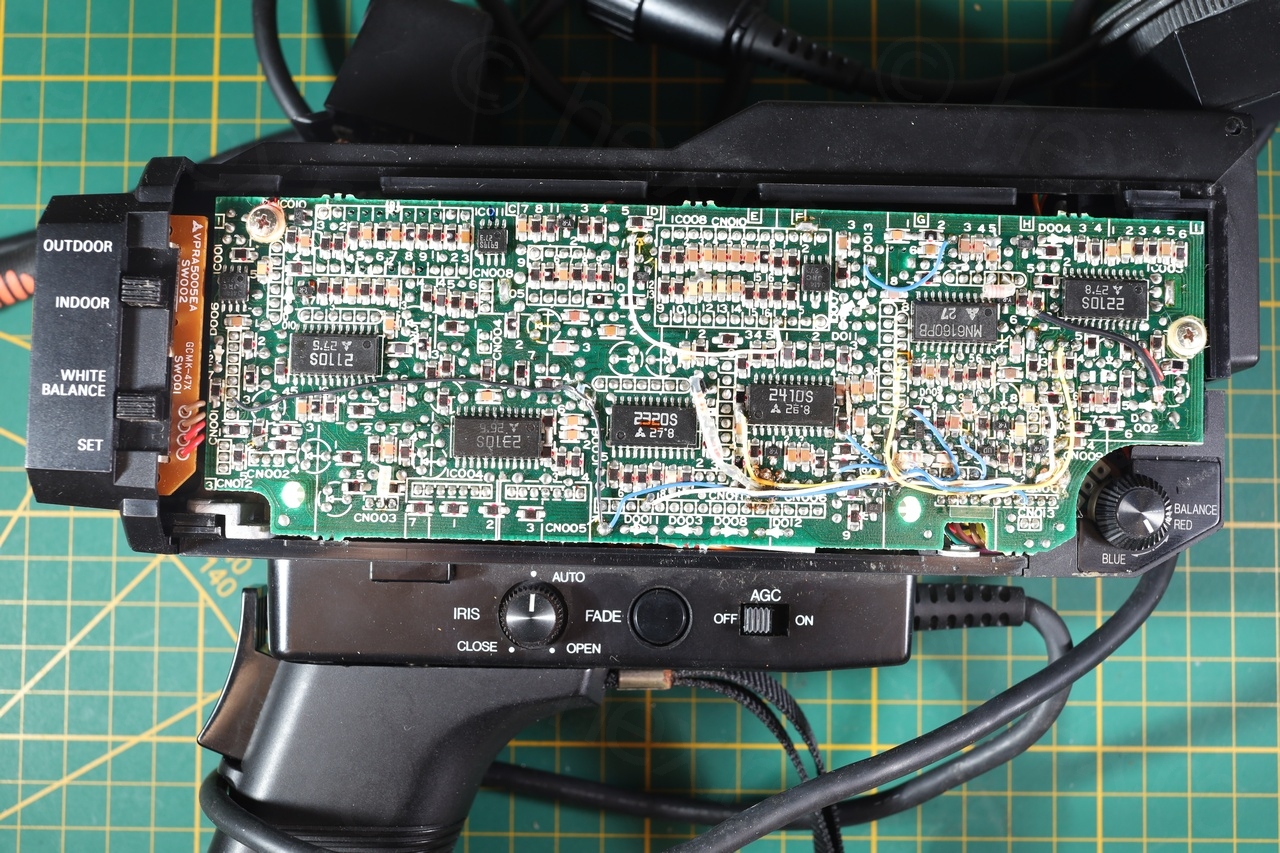
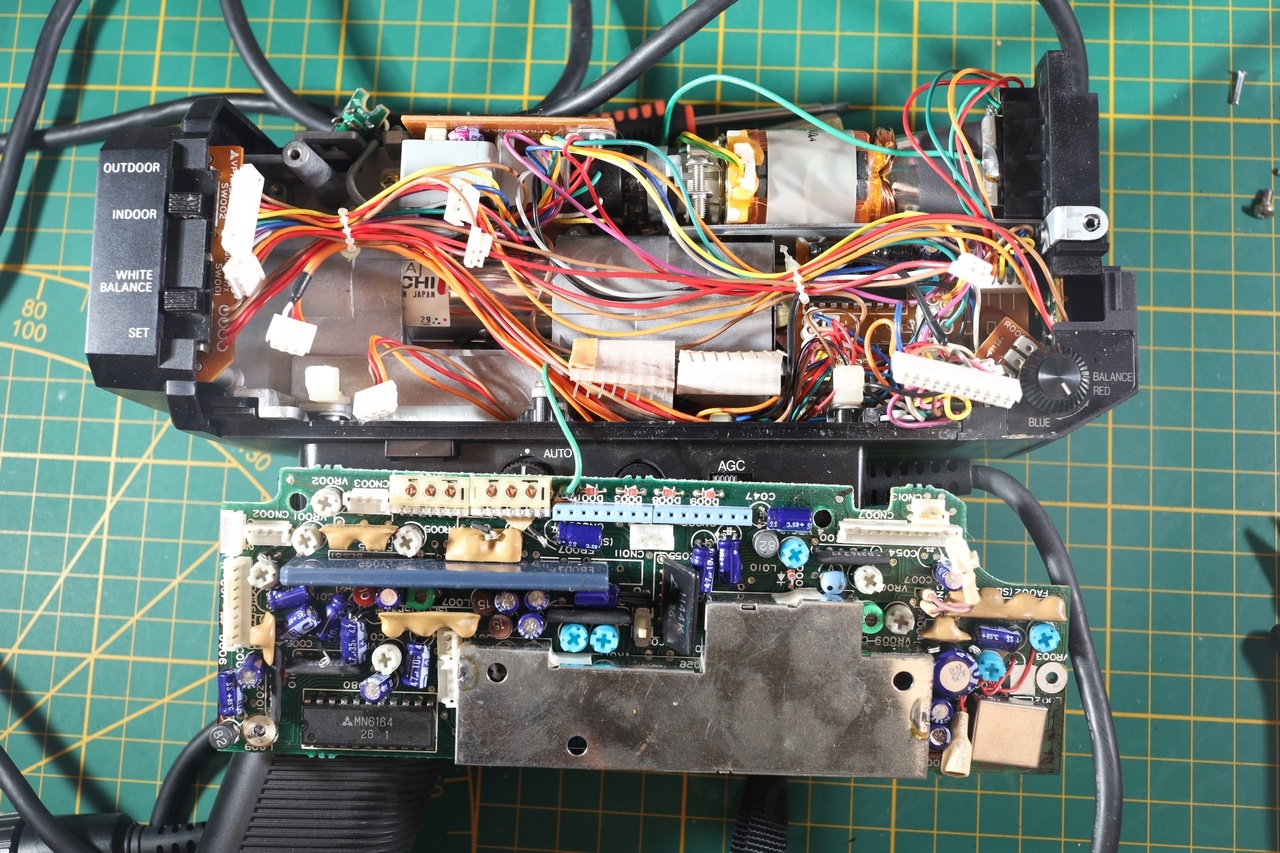
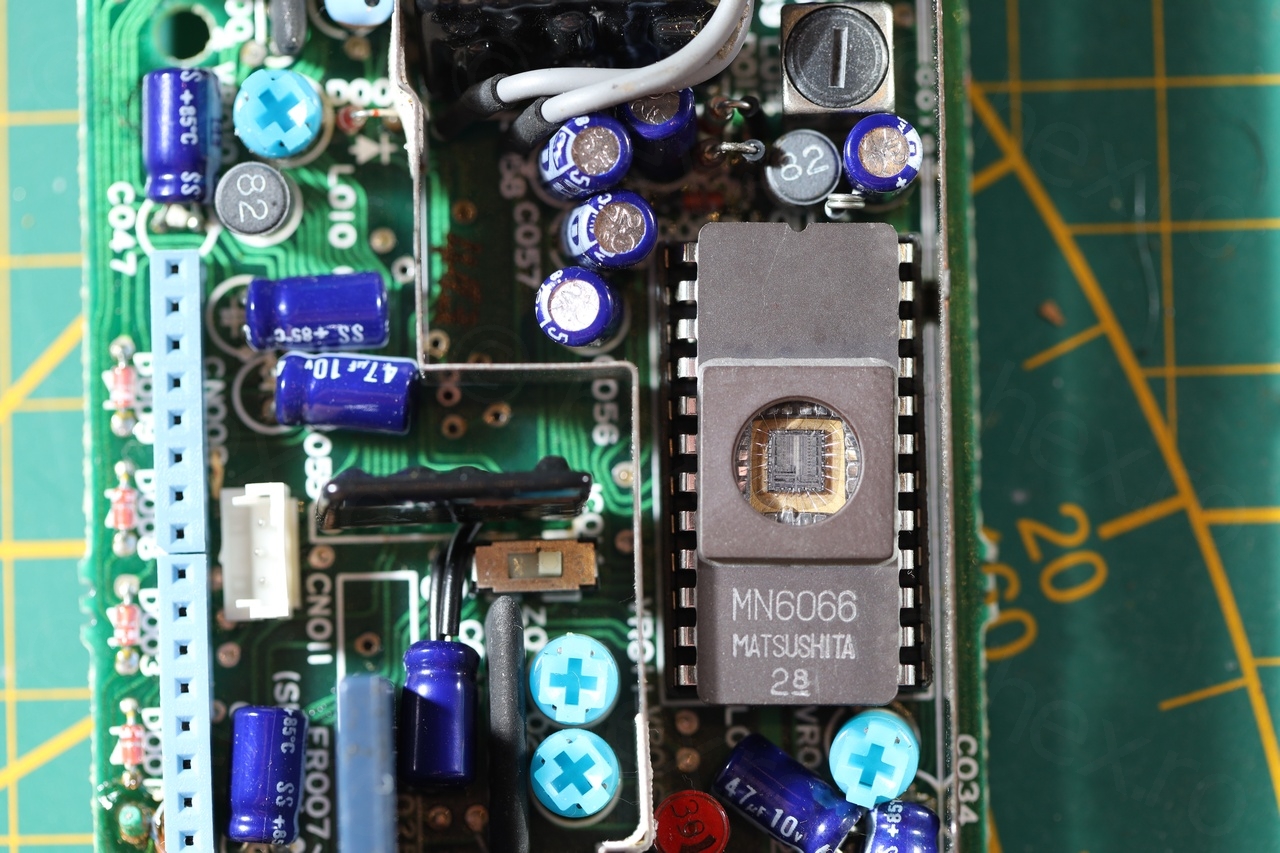
The other big board in the camera seems to take care of the image sensor, and it had a big shielded box which I decided to open. I found an MN6066 IC, which, according to 1990 – Panasonic Semiconductor Selection Guide is a “Shading Correction / Waveform generator):
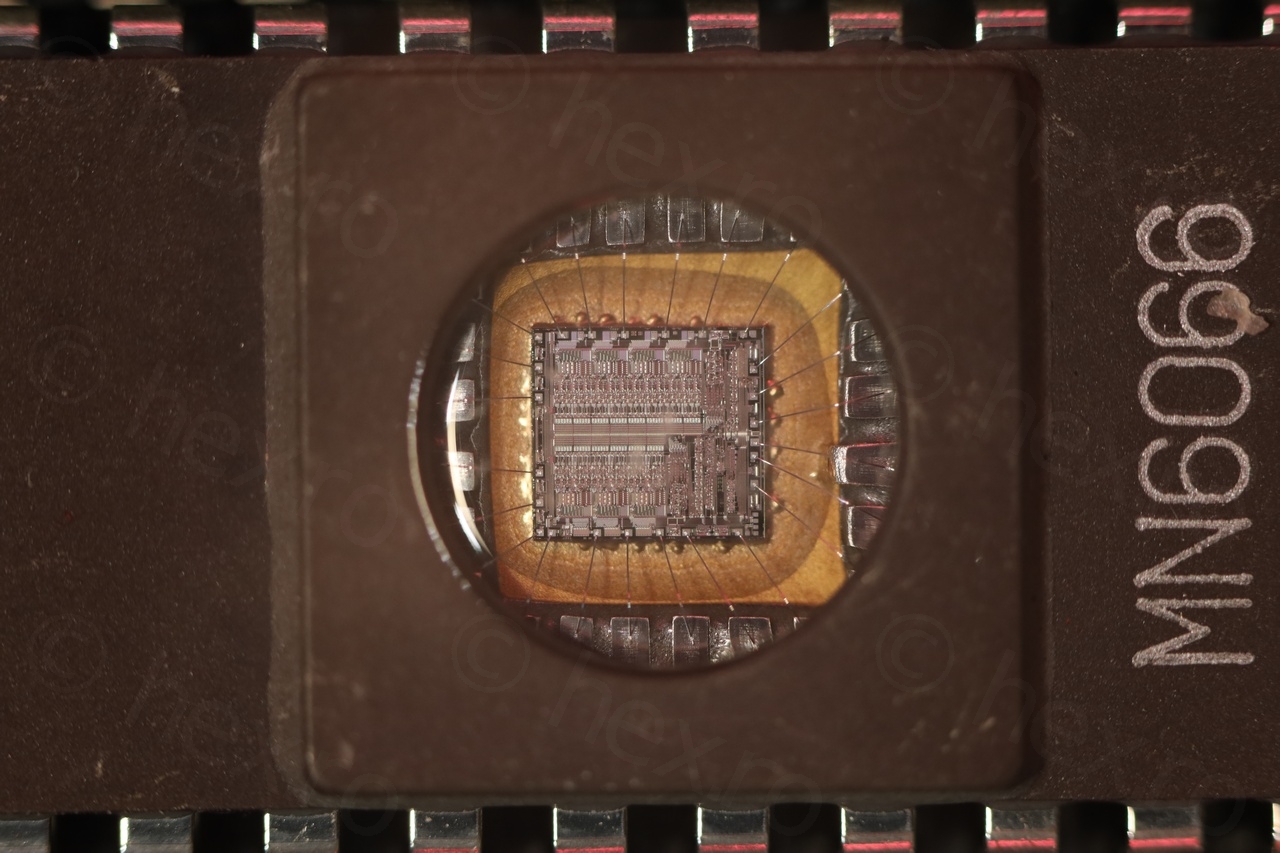
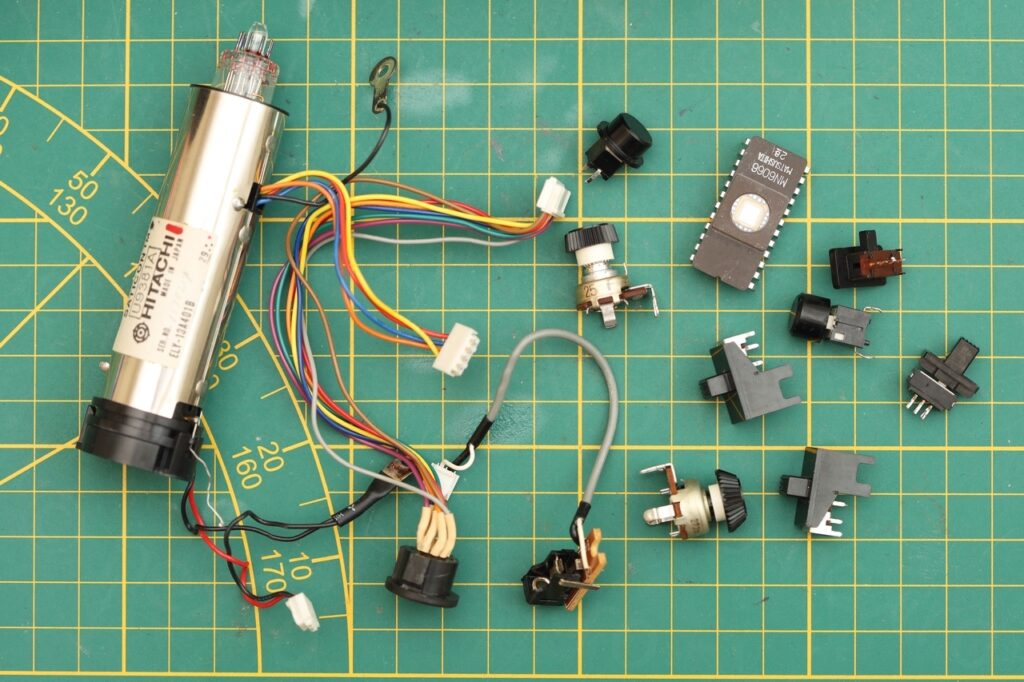
I decided to keep the MN6066 (for when I will buy a metallurgical microscope) and also few more spare parts, mostly the buttons (could come in handy when doing other projects), the potentiometers with caps, the Image sensor CRT:
The camera is also mentioned in page 19 of the Panasonic Catalog of 1983.
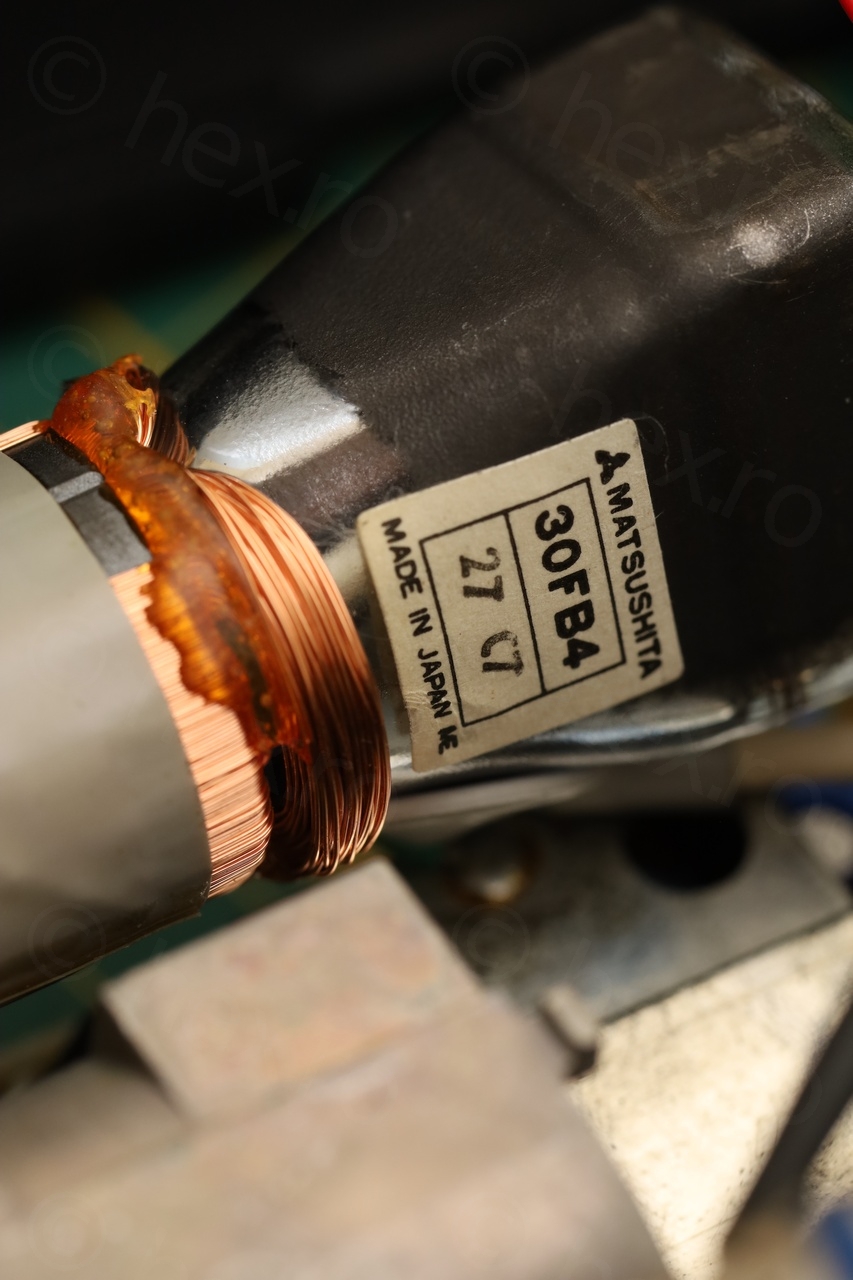
While searching the internet to see if I could find any other cameras that came with the Matsushita 30FB4 CRT, I found a twitter post by Emily Velasco where she used the same CRT for a very cool small art installation. Checking the discussion, she mentions that the CRT came from a Canon VC-10 camera. Also interesting, a comment about the artist Peter Vogel – very interesting creations!
Few more macro shots with the CRT:


Giuseppe Andrea
Il 30FB4 l’ho trovato anche nella JVC GX-N70E .
Se ti serve ti posso mandare il View Finder (VF-C514E) che non ho ancora distrutto al solo visto della spedizione. Posso mandarti anche una foto se vuoi. Ciao
viulian
Thank you very much for the offer, you are very kind. Since I have many, I have to politely refuse, but I am grateful that you provided the camera model in which you have found it.
name
Sorry to bother you, I’m from China, so I’m translating some sentences with a translator. I also found this chip with model MN6066 when disassembling a Panasonic camera with model number WVP-A2N, and at first I thought it was EPROM because it looks very similar to EPROM. When I searched online for the repair manual and schematic of this camera, I found that the manual marked the chip as YFS4161PK1T, which is different from the chip I disassembled on the circuit board. I can’t find any information about YFS4161PK1T on Google, is this a mistake in the repair manual? If you have some information about this, please contact me by email, thank you very much!
I downloaded the repair manual from here:
https://archive.org/details/manual_WVPA2E_SM_PANASONIC/