


I found this radio at a flea market (Jeu de Balle) and it got me really skeptical while looking at it. It looked new. Was it a cheap modern radio imitating older ones ?
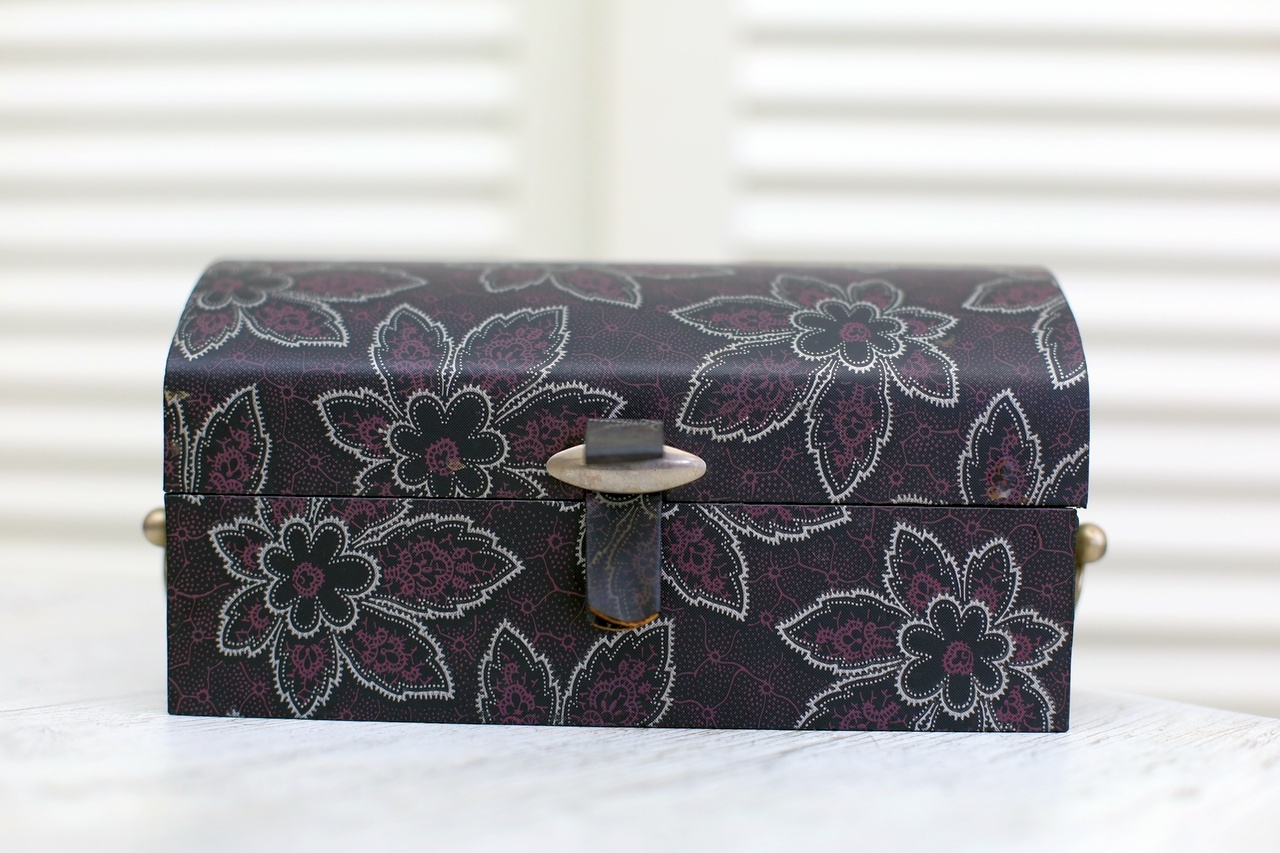
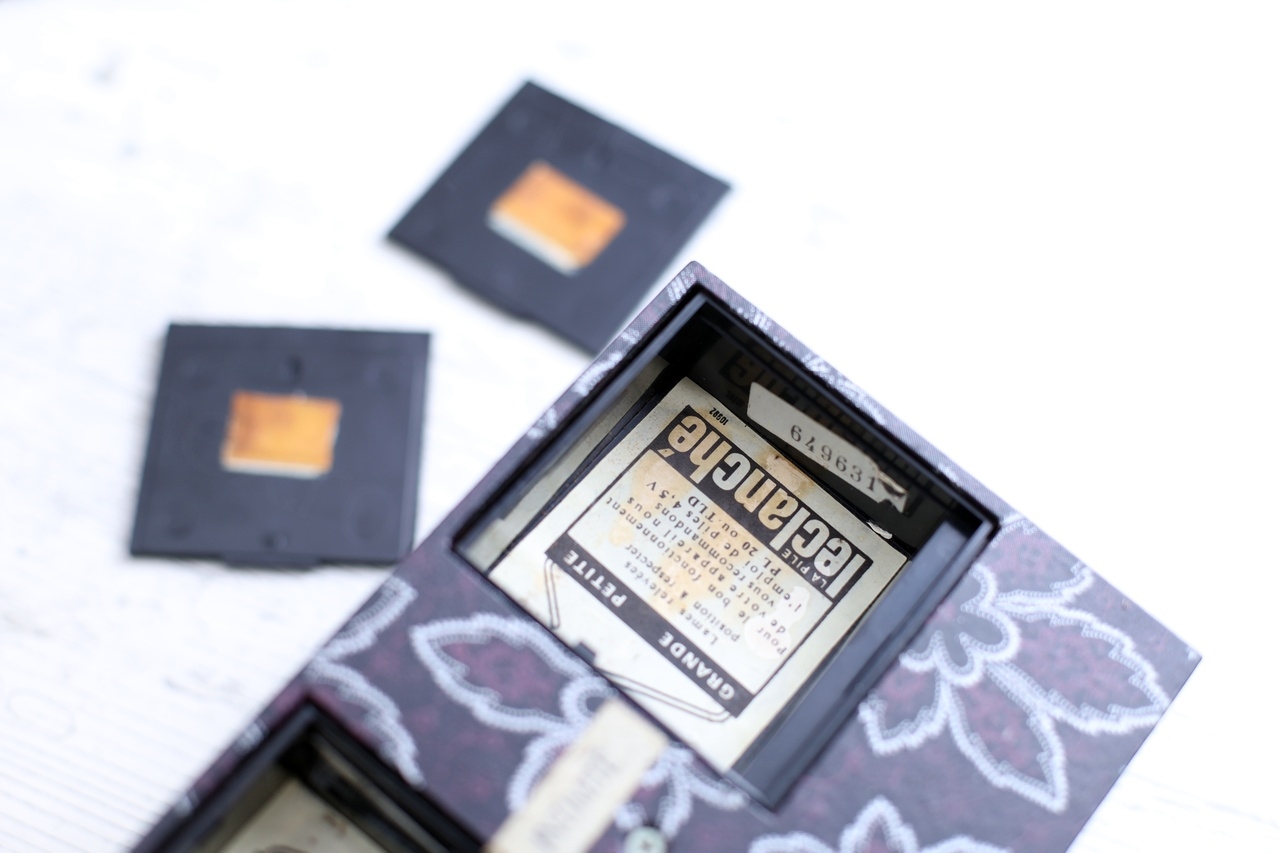
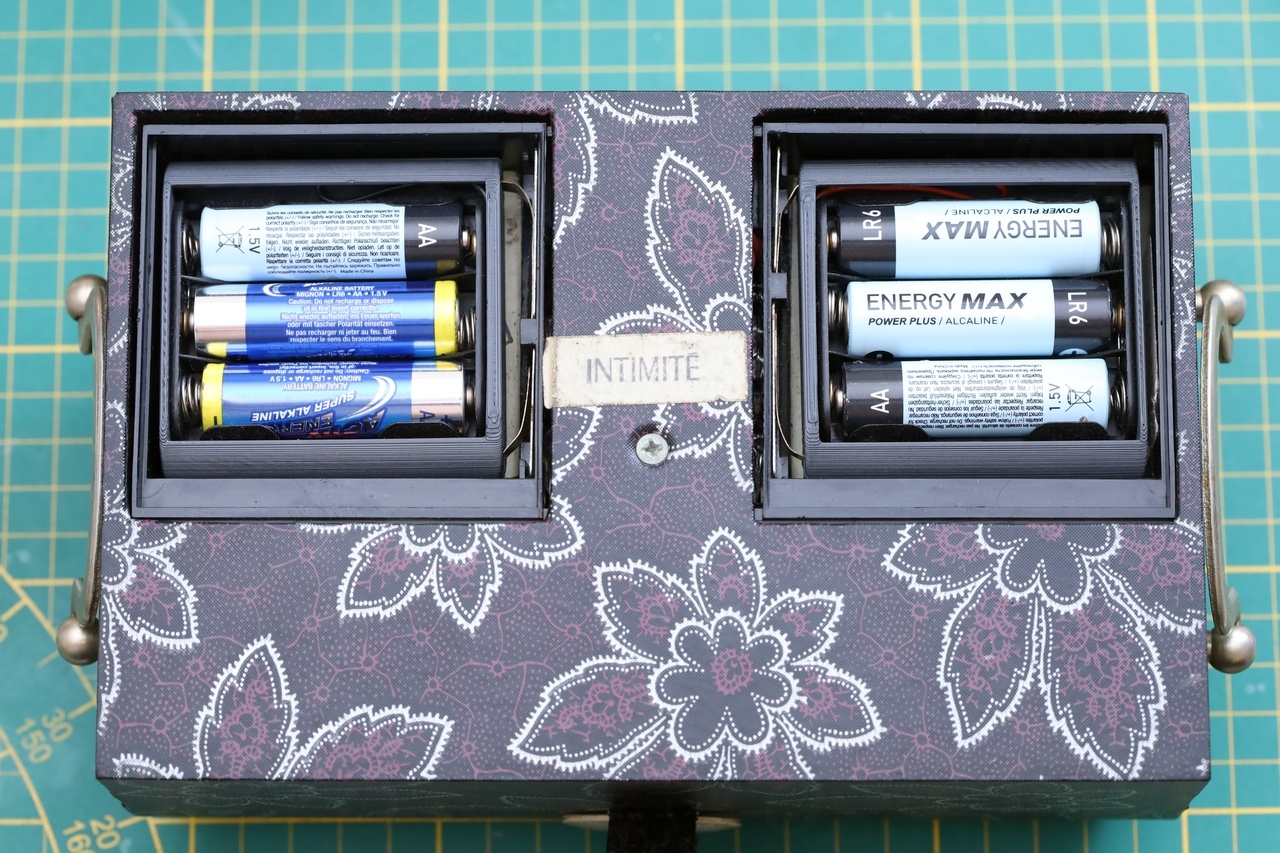
Made to look like a treasure chest, I flipped it on its back. Powered by 4.5V square batteries ? Battery lids still present, but labels inside were yellowed and old.
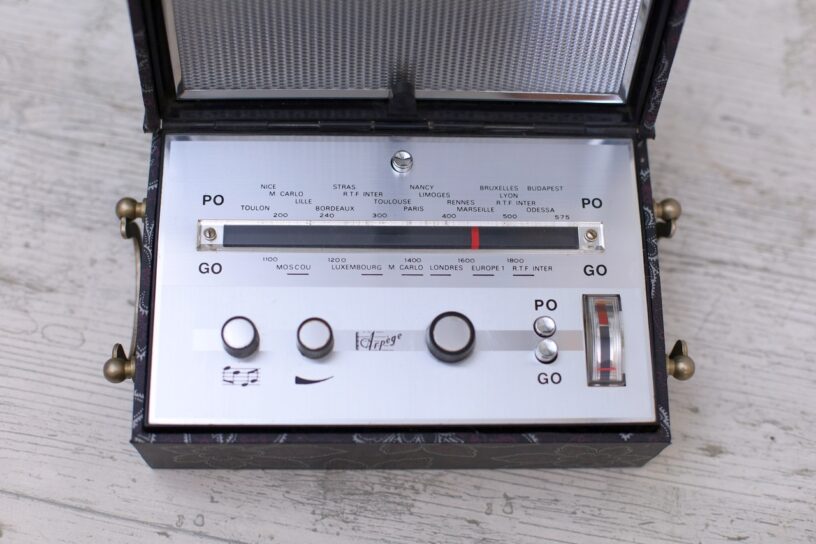
Back on its face – a signal needle indicator … really ? If this is modern, how come is not using an LED ?
I guess the seller saw my dilemma and thus agreed to sell it for a much lower price. I wasn’t going to pay what he asked just for something so confusing.
Table of Contents
- Overview
- Replacing broken audio wires
- Power button
- Loose PO button
- Maintenance
- 3D Printed 3LR12 Batteries
- Pay it forward
Overview
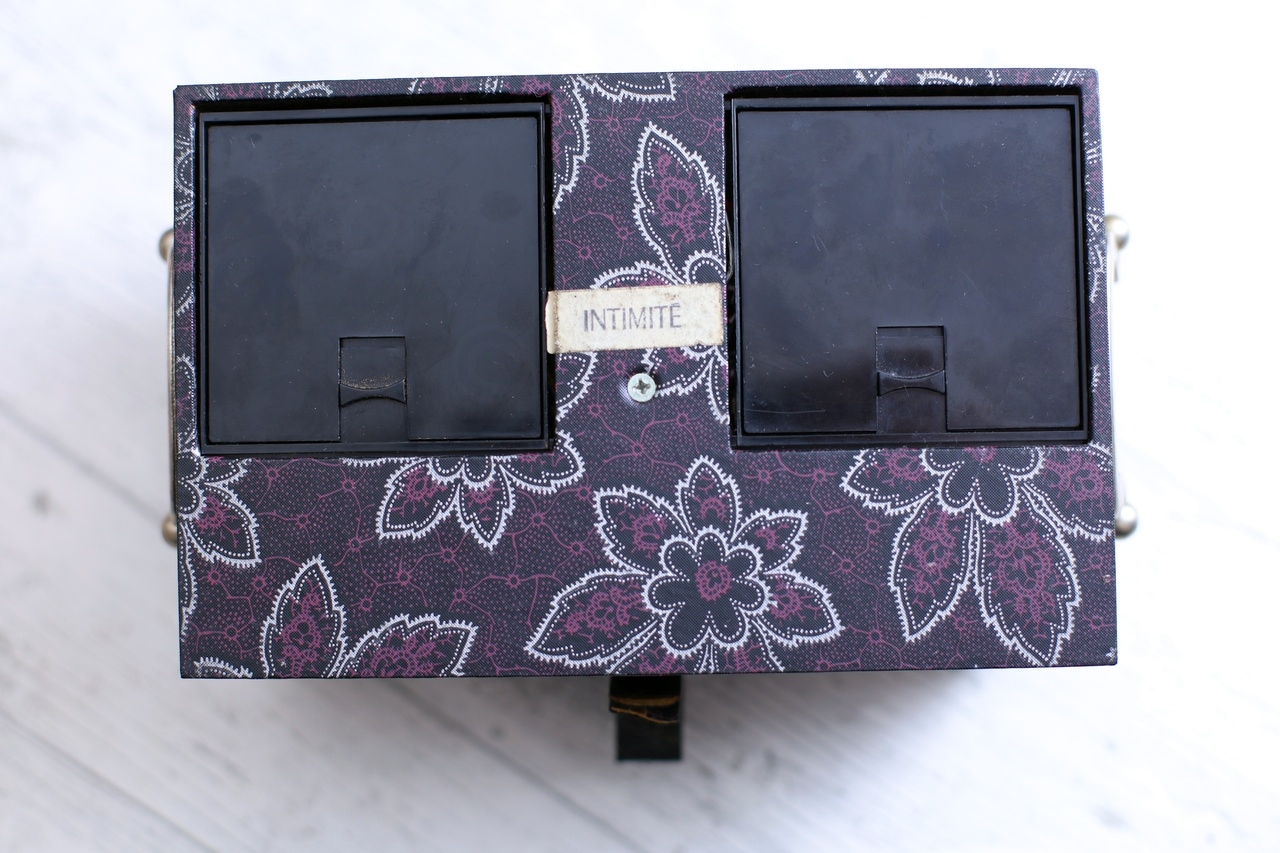
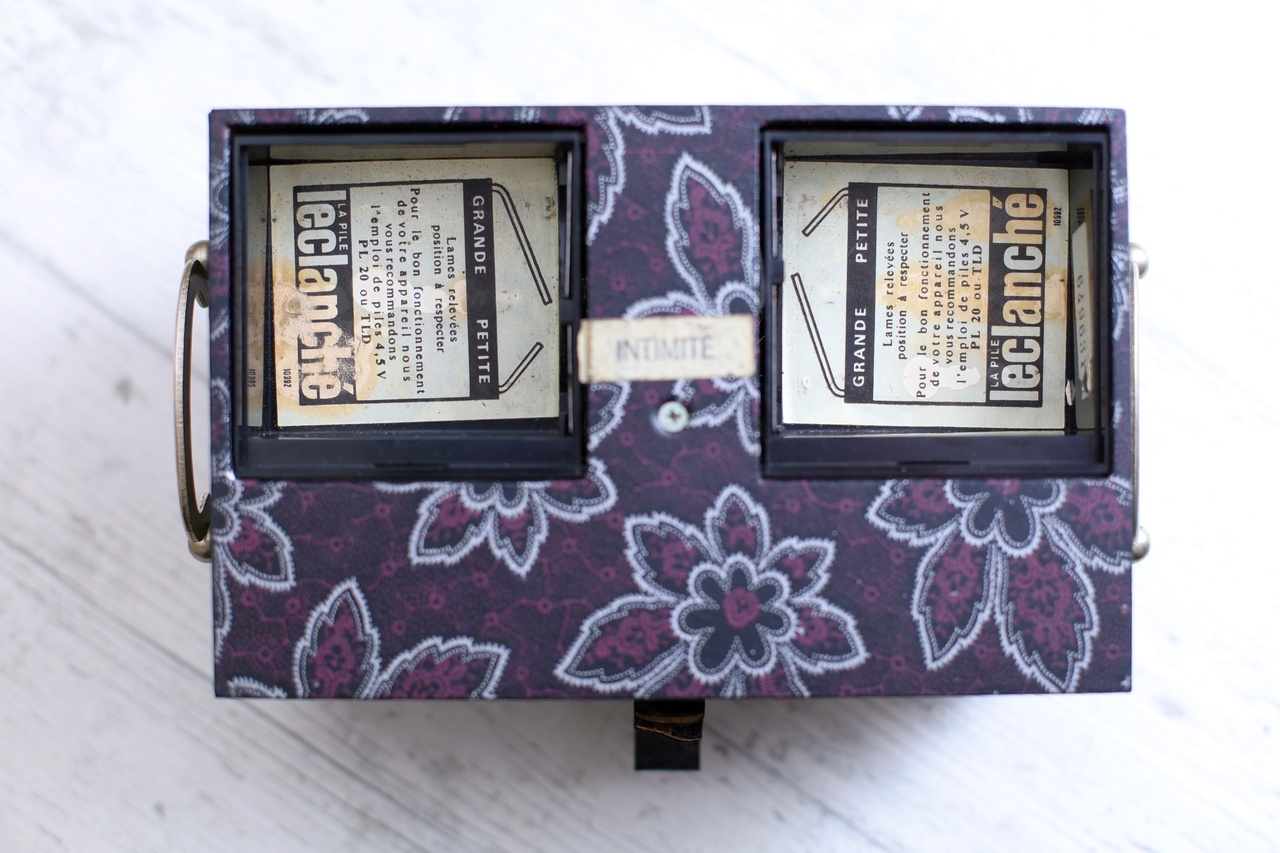

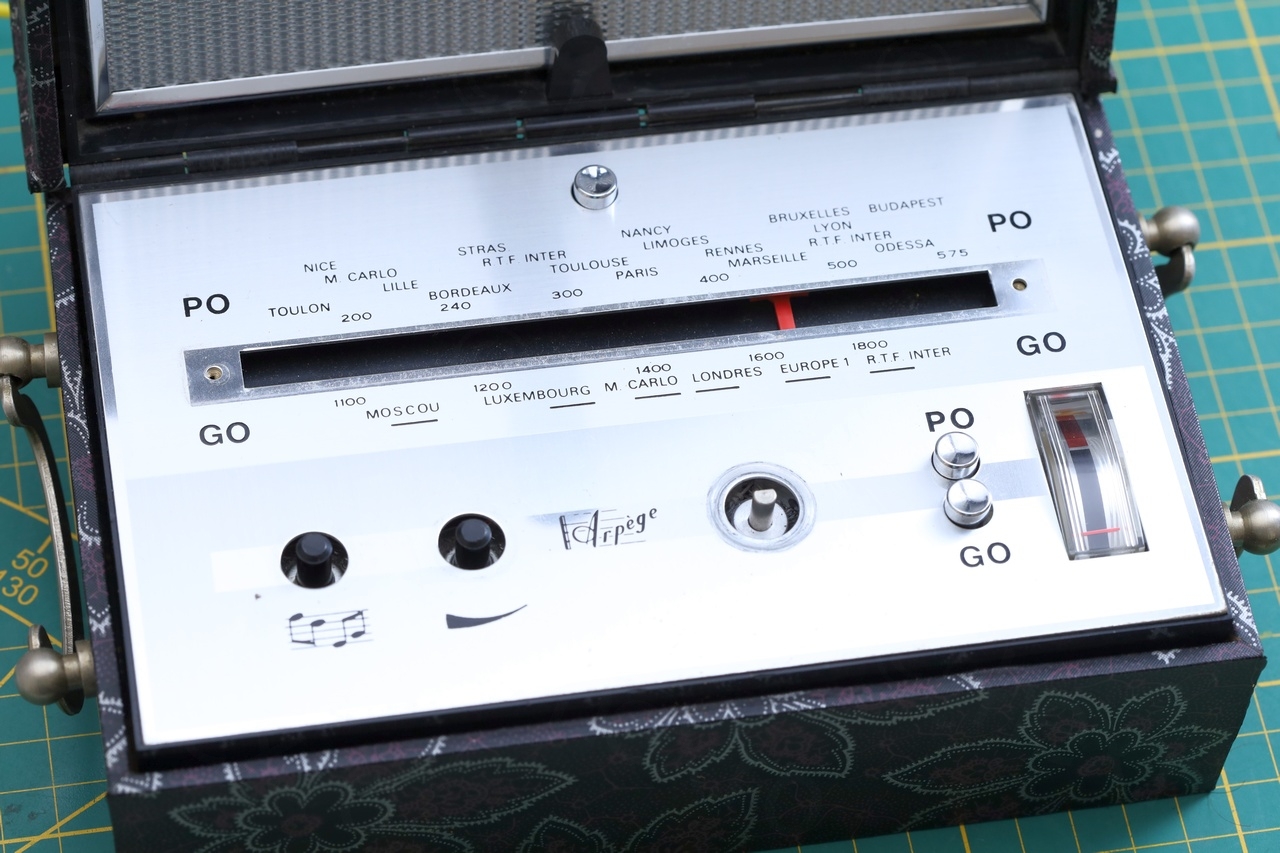
One thing to mention is that on Radio Museum, this radio is presented as being “Arpège Corsaire forme coffre au trésor”, but on this one, the label underneath, mentions model “Intimité”.
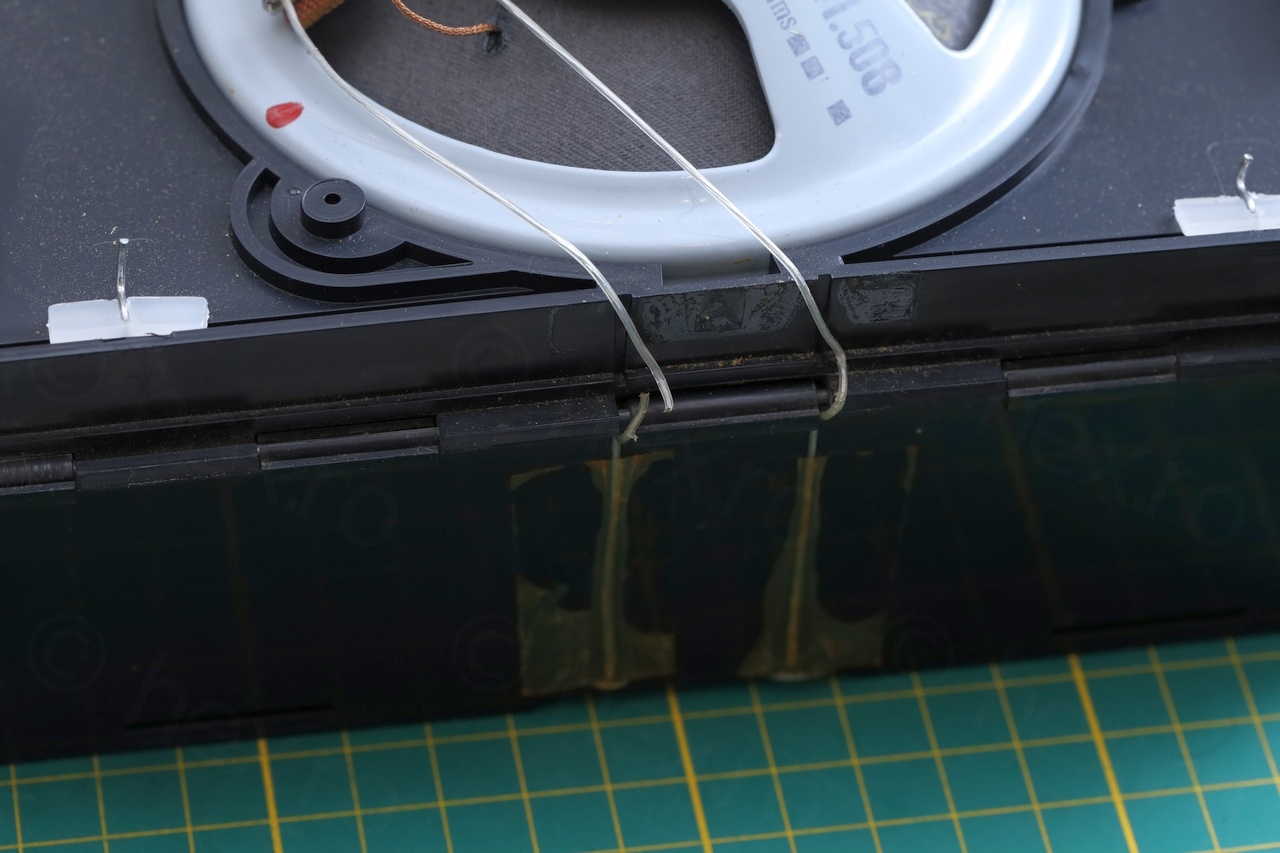
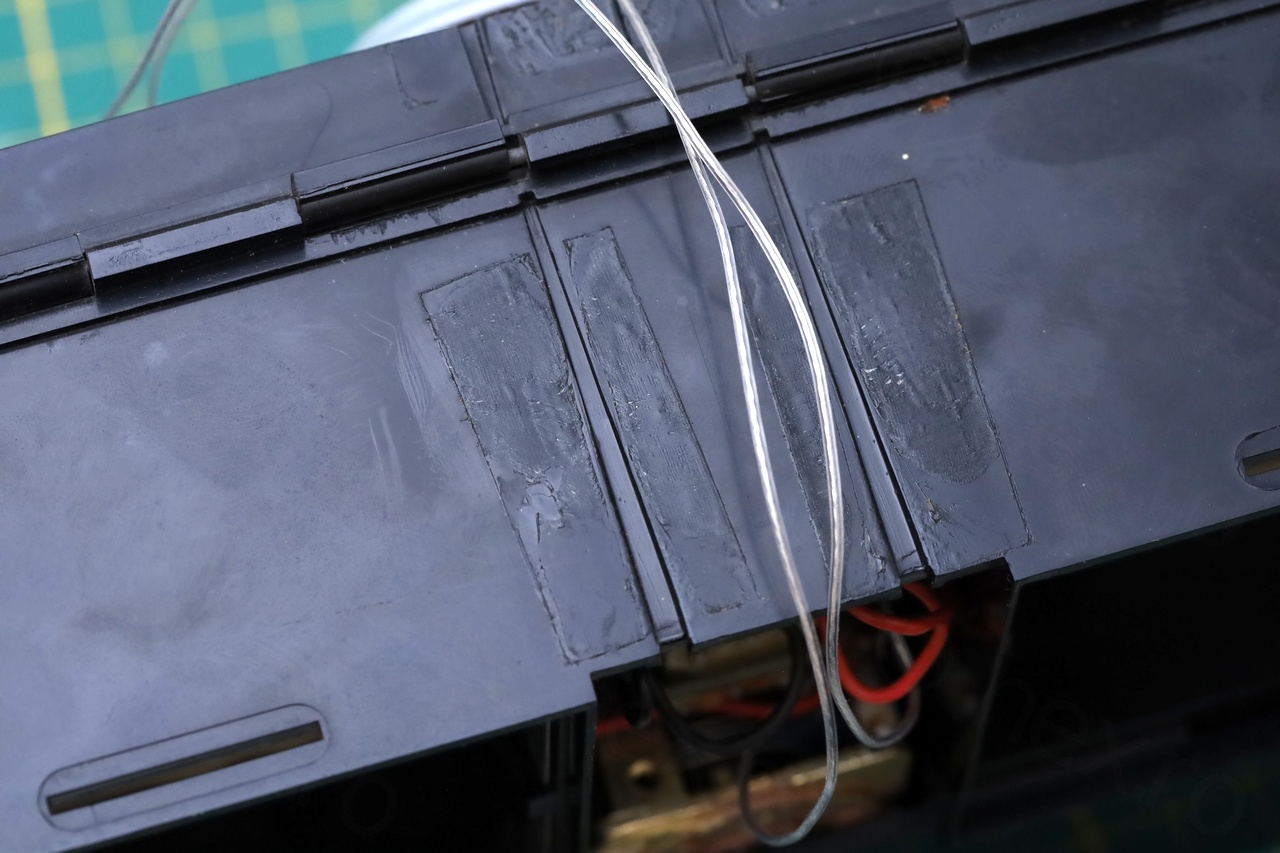
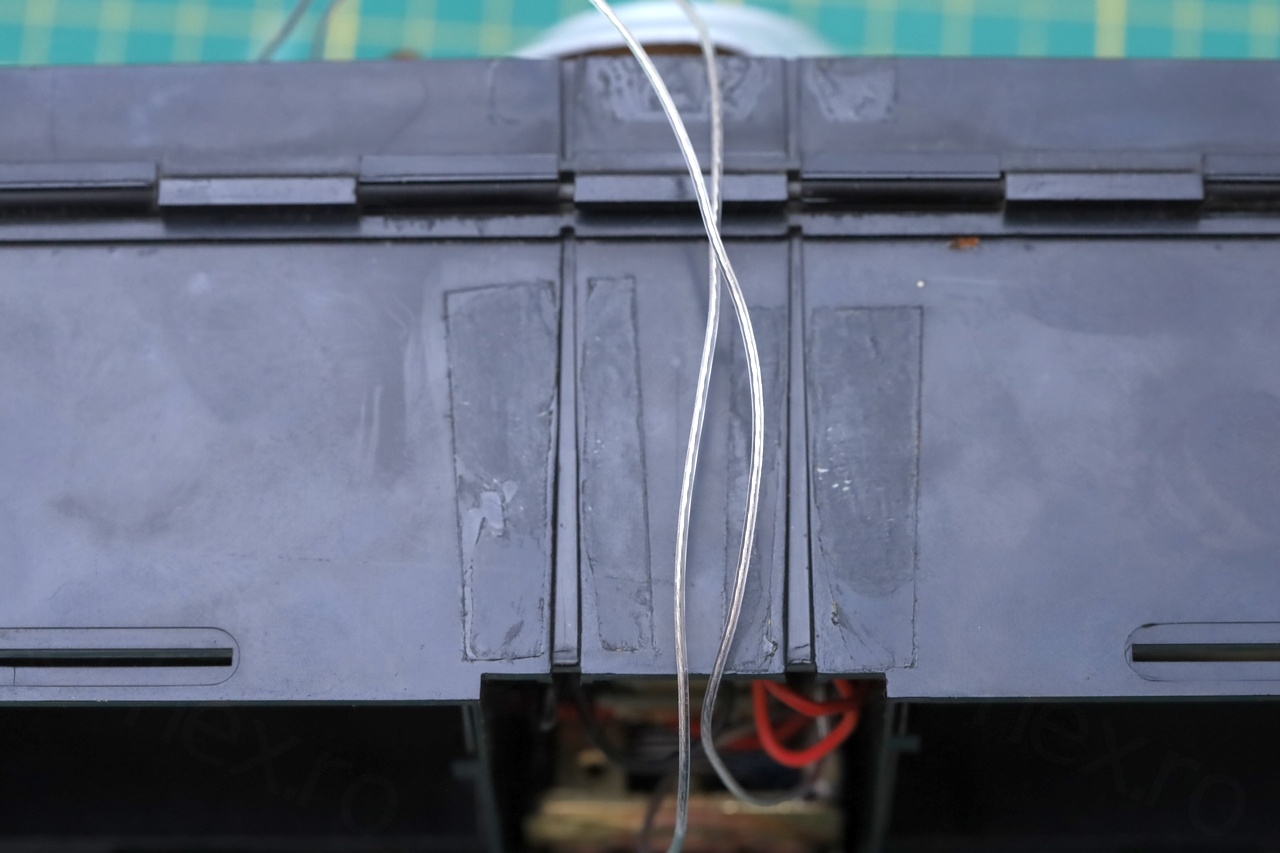
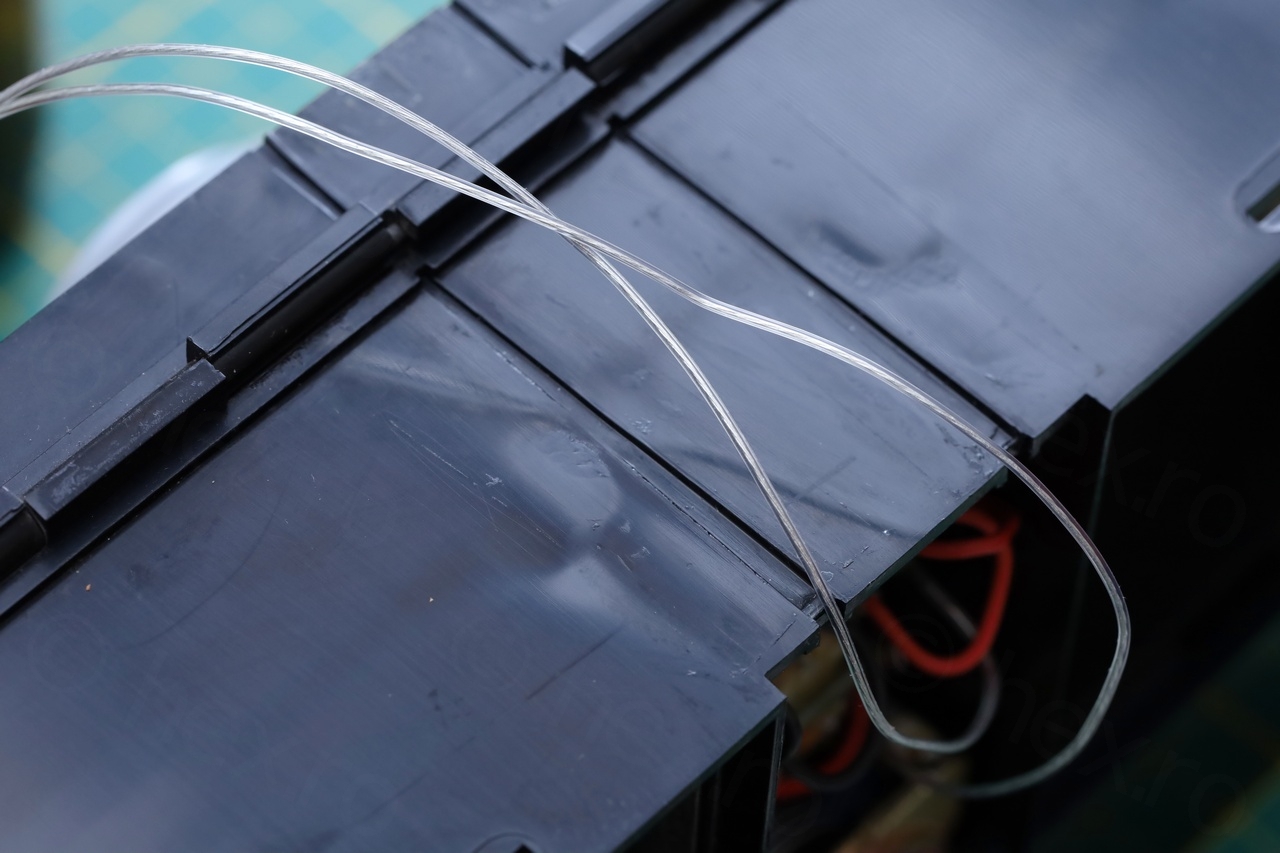
While doing a visual inspection and playing with the buttons, I noticed few problems. The audio wires were broken where they were passing over the hinge, having suffered regular bending, the PO (“Petites Ondes” in French, MW) button was jumping when the GO was pushed, and the On/Off button wiggled too much, probably it was broken inside.
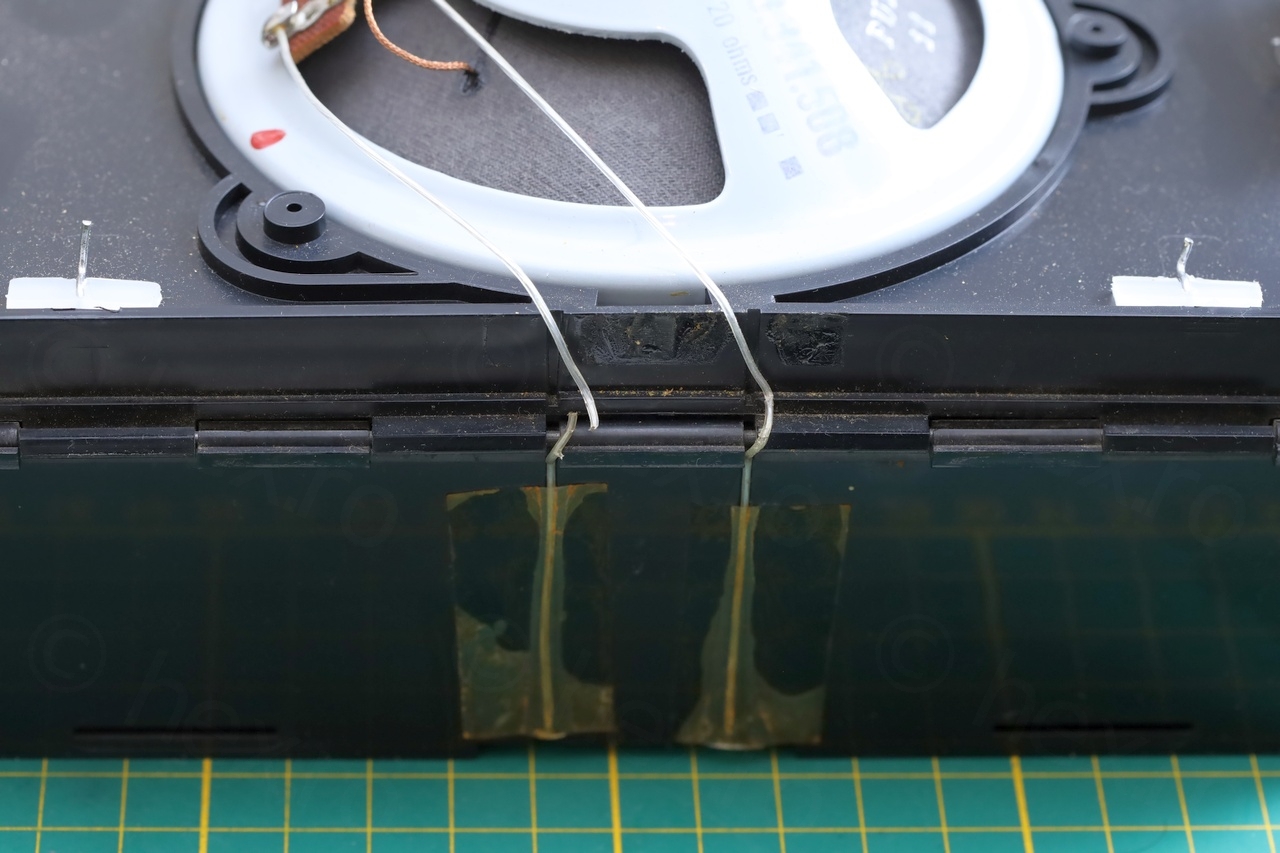
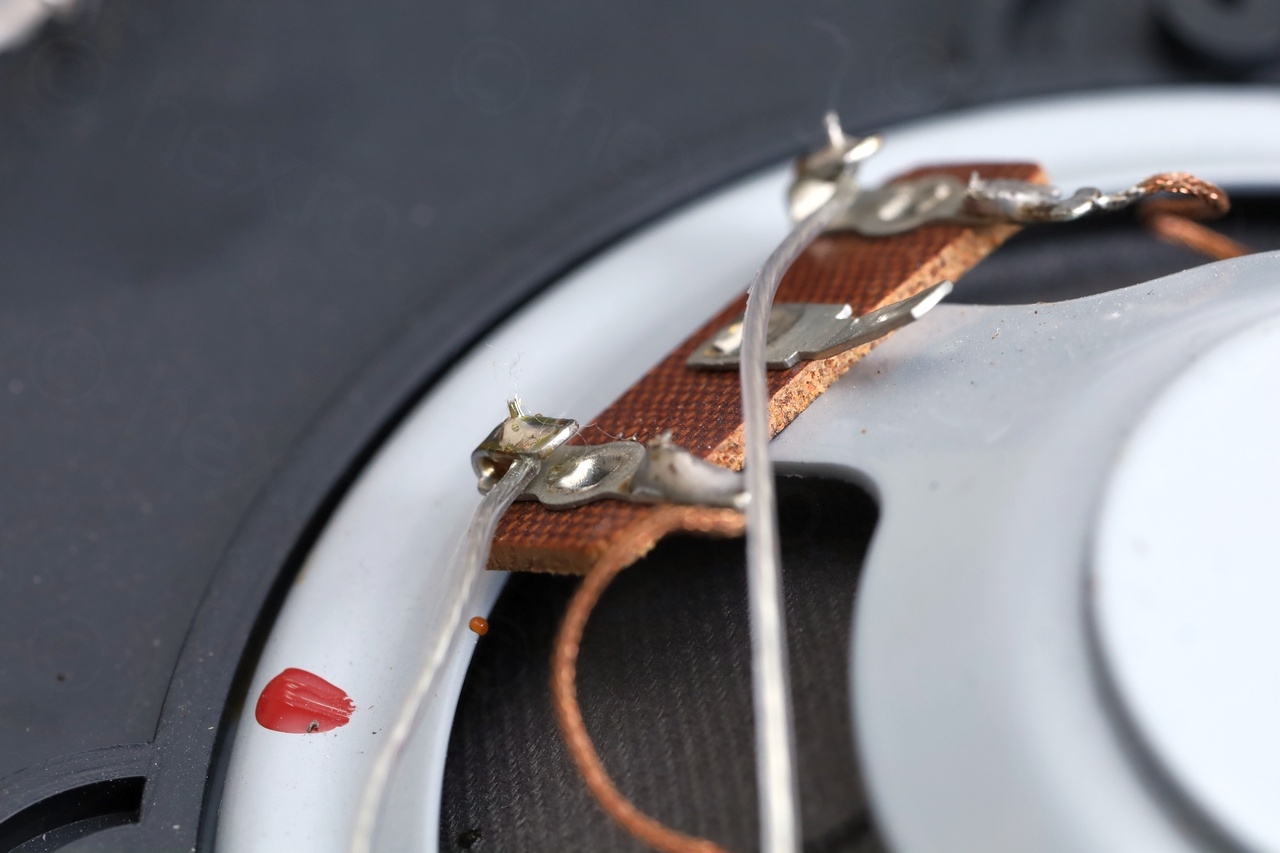
Replacing broken audio wires
The status was bad:
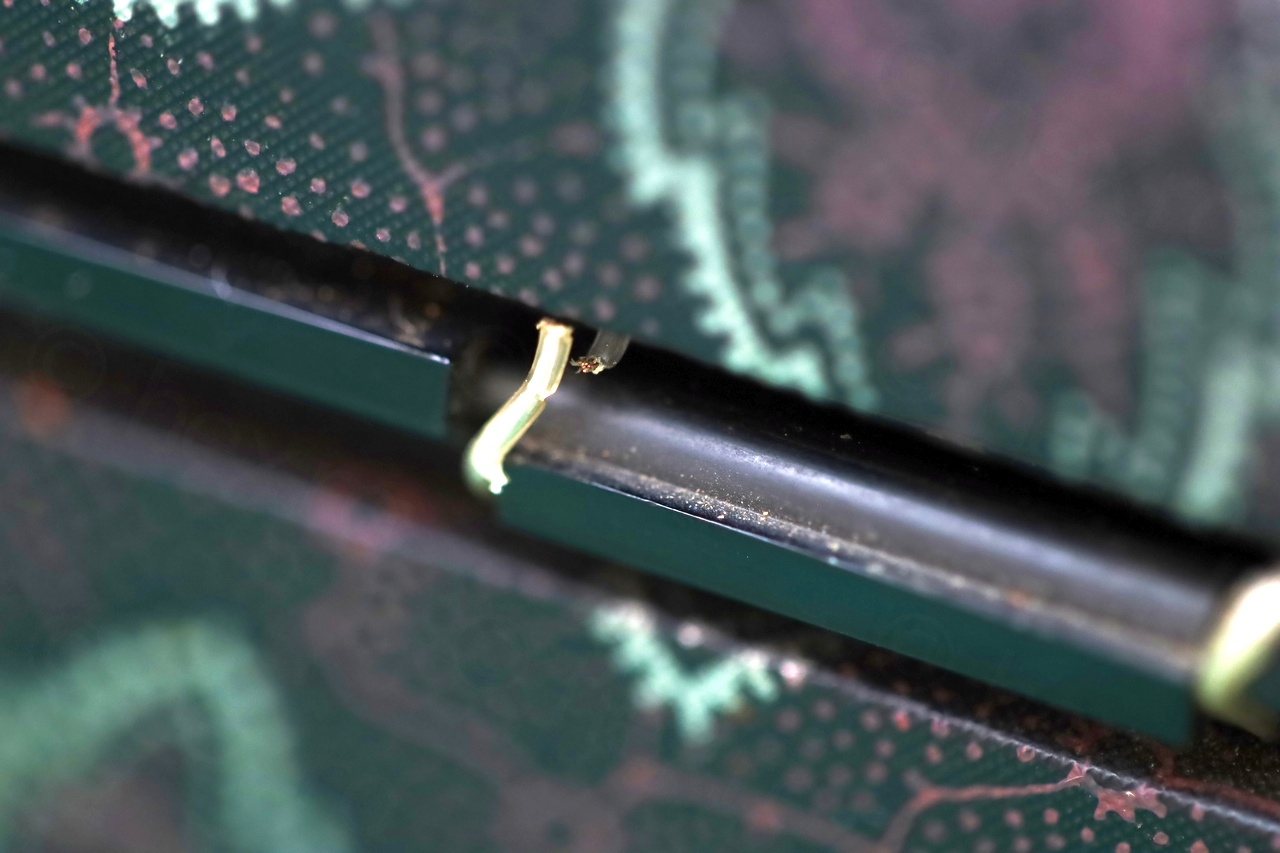
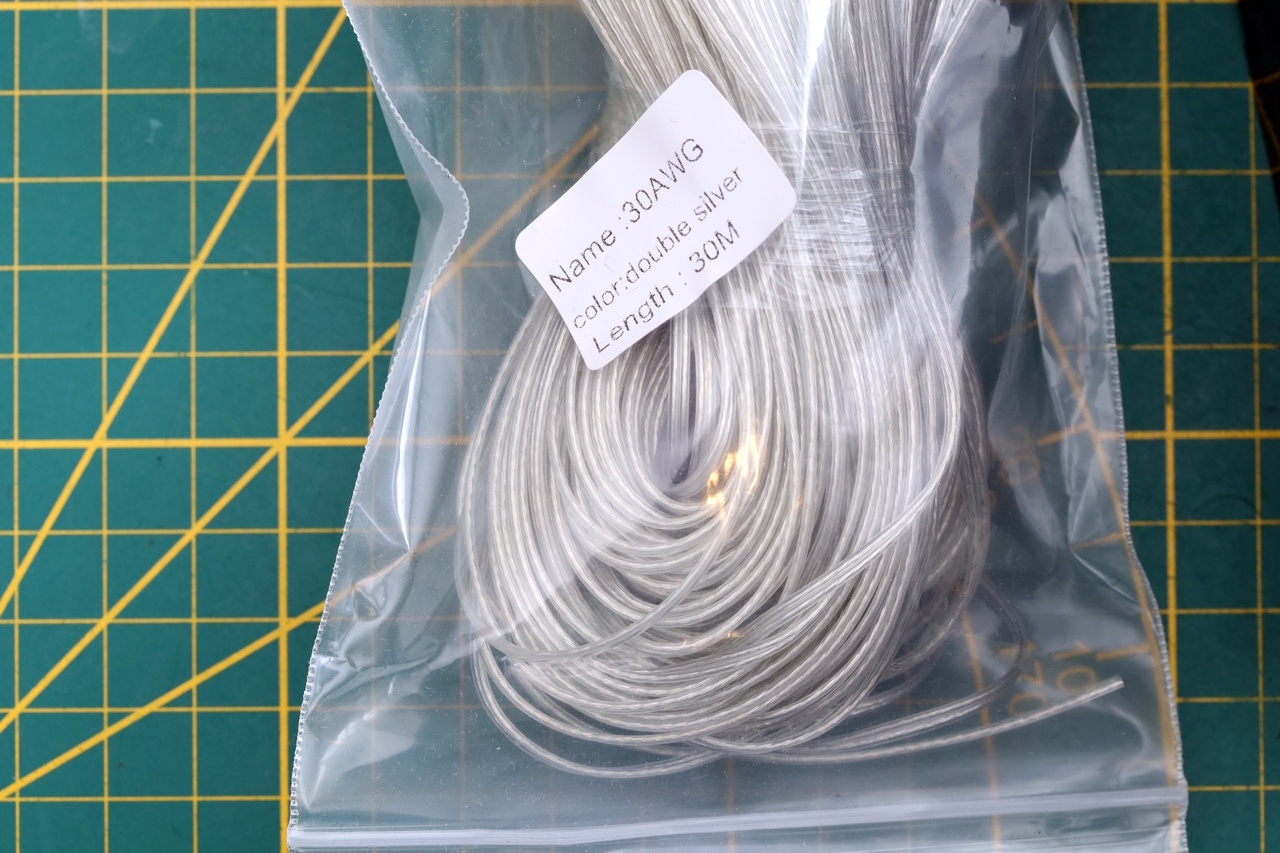
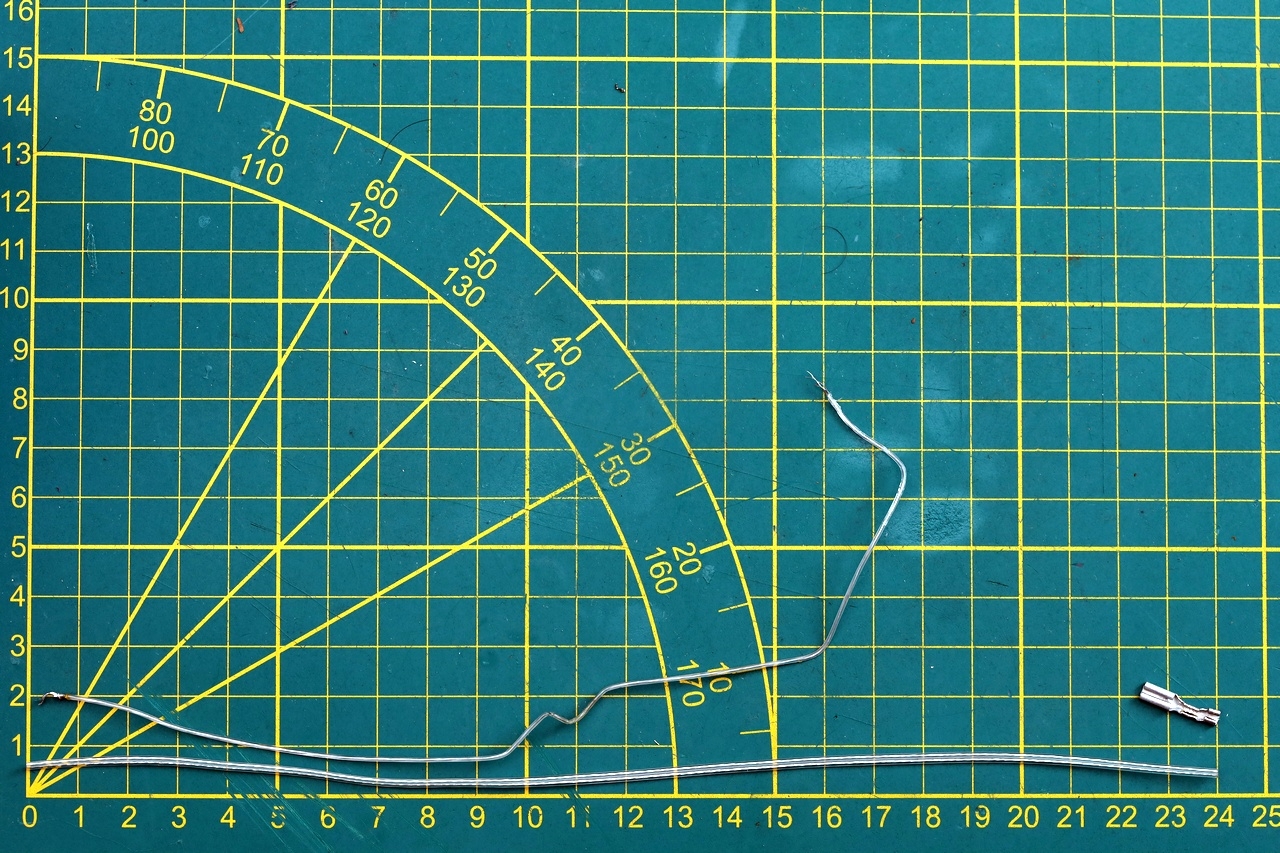
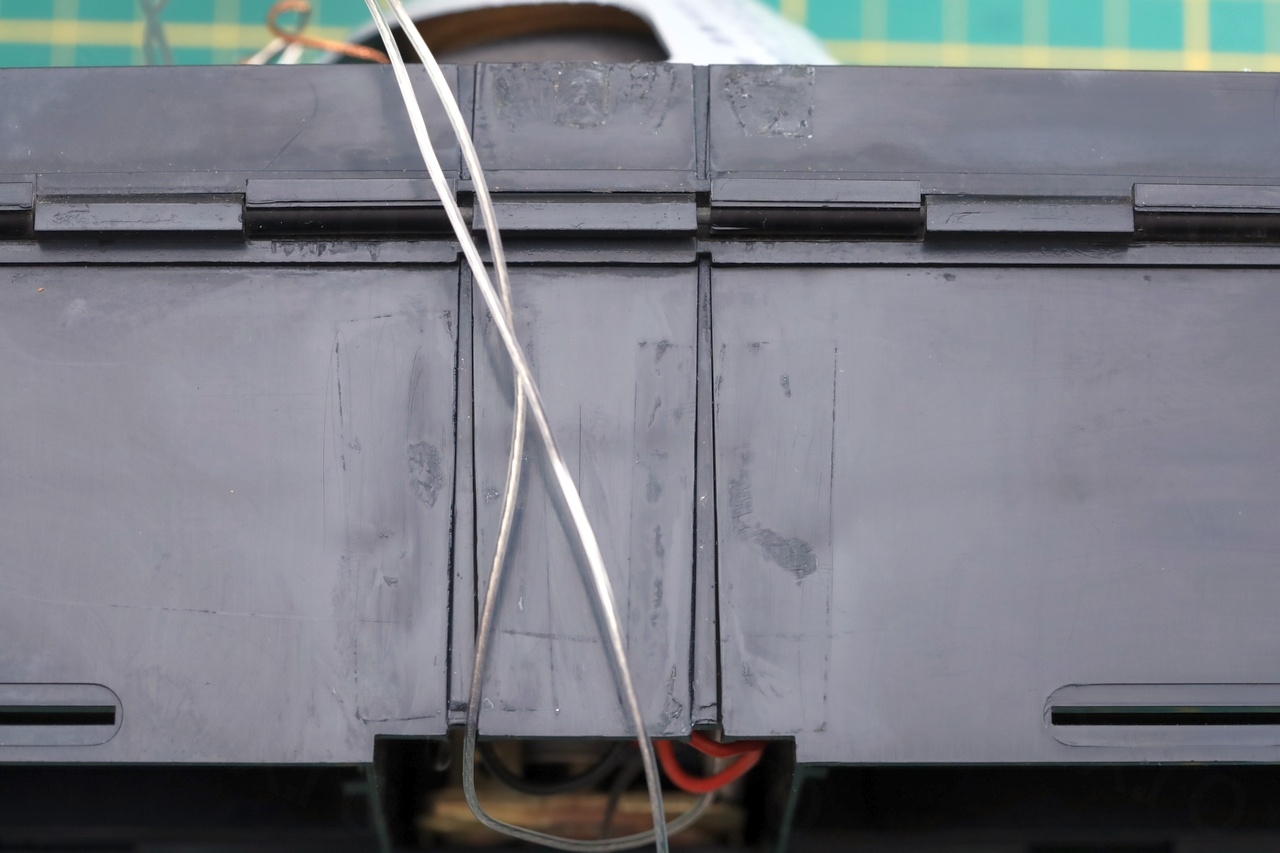
Problem was where to source these transparent thin wires ? I looked at some distributors in Europe, but while I could find 1mm wires easily, none were transparent. Wanting to preserve the look of the radio, I had to wait 1 month until wires arrived from Aliexpress.
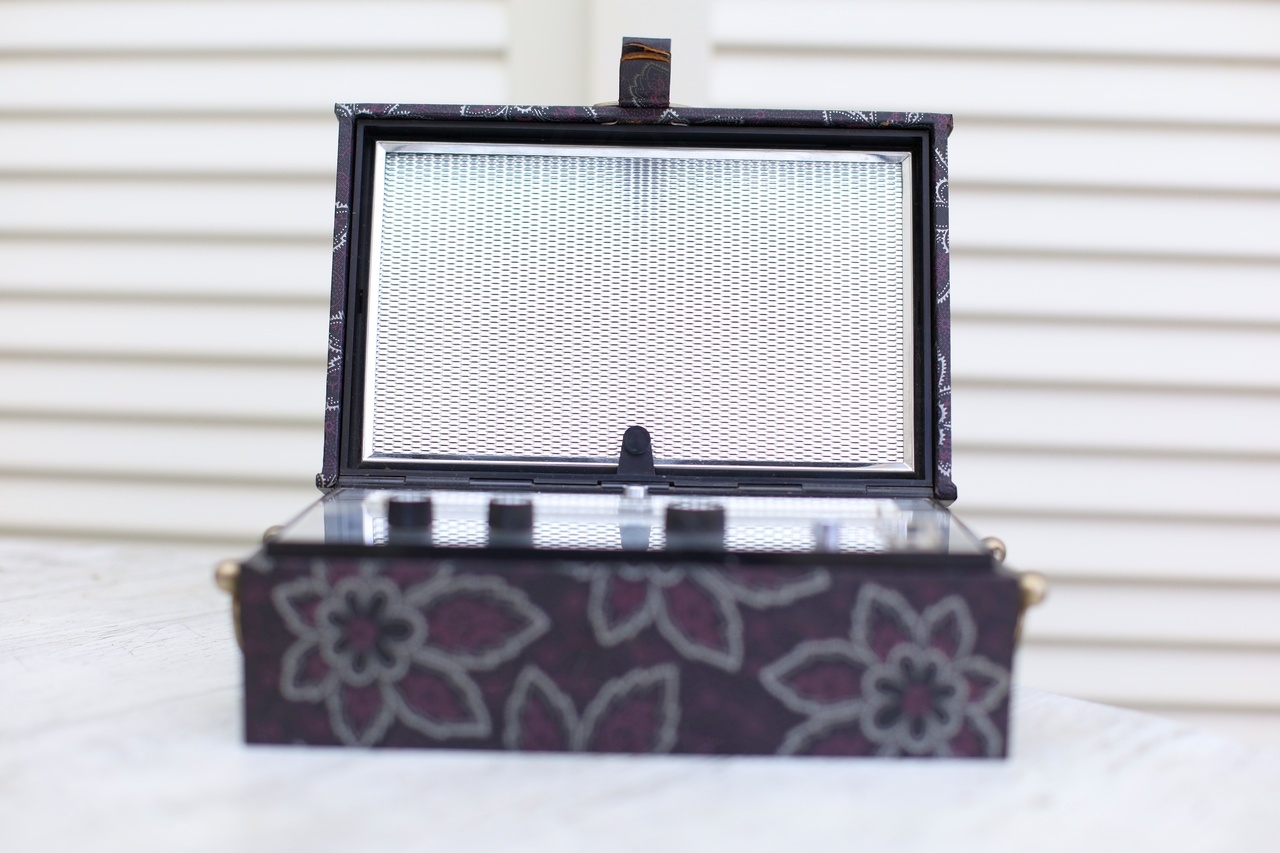
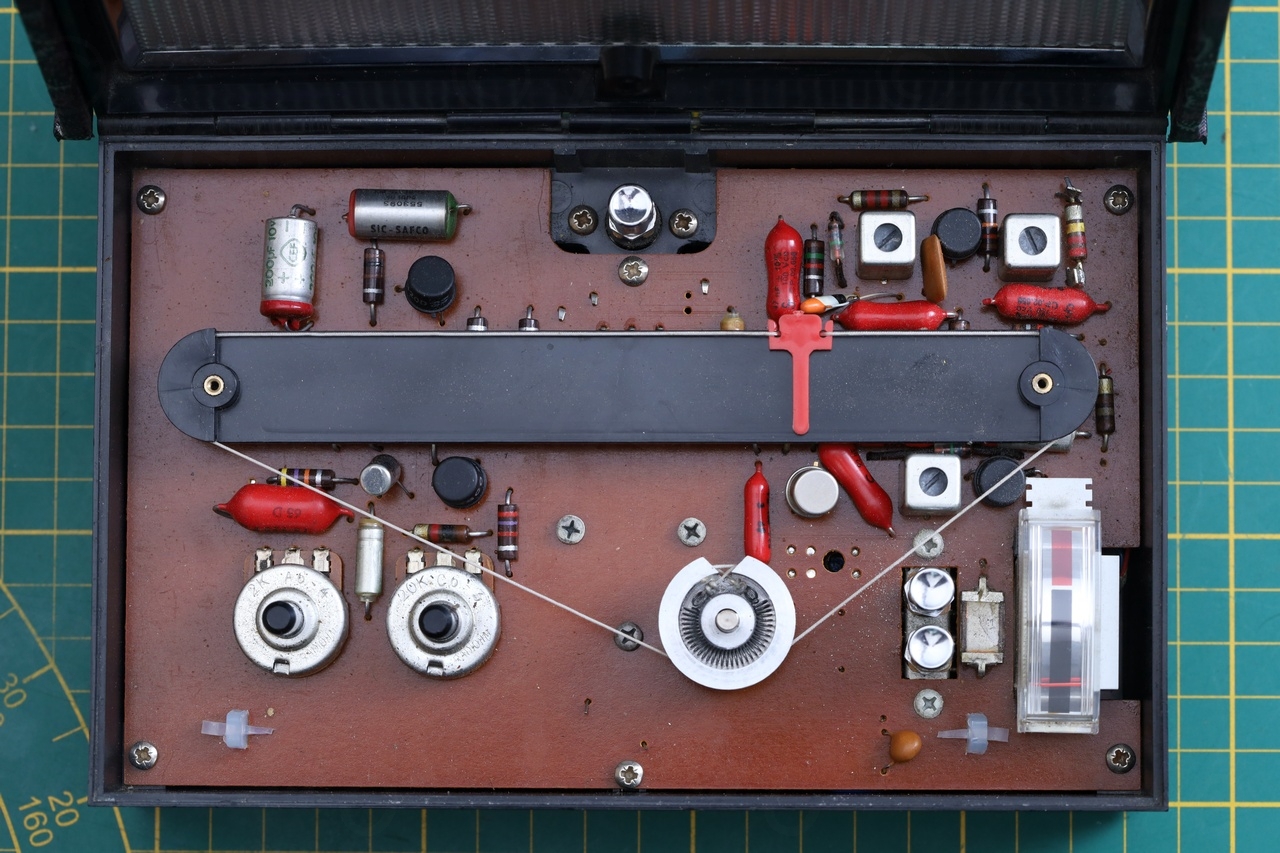
Opening the radio is easy, few screws and a gentle pull on the lid since there are some metal spring clamps holding the lid down:
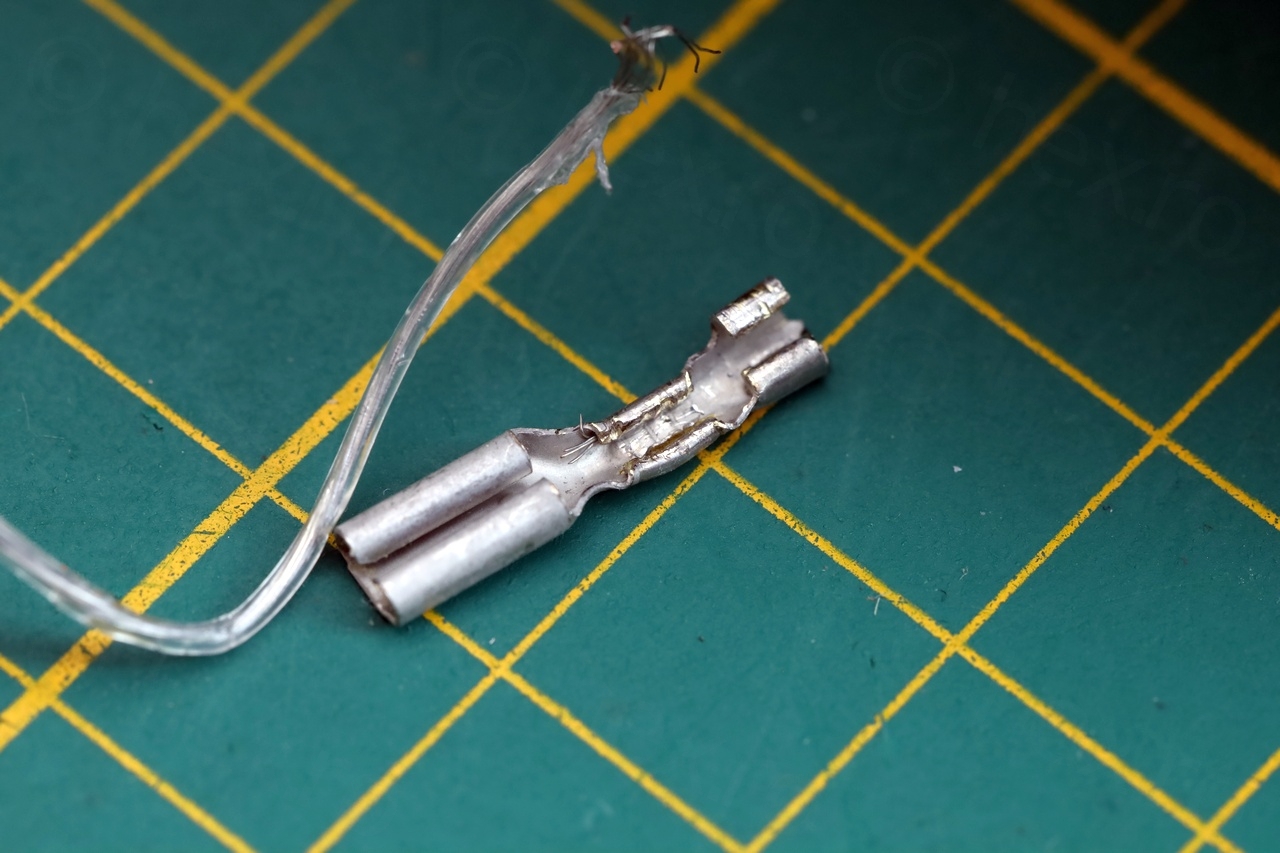
I tried to salvage the spade connector and cut the wires to length:
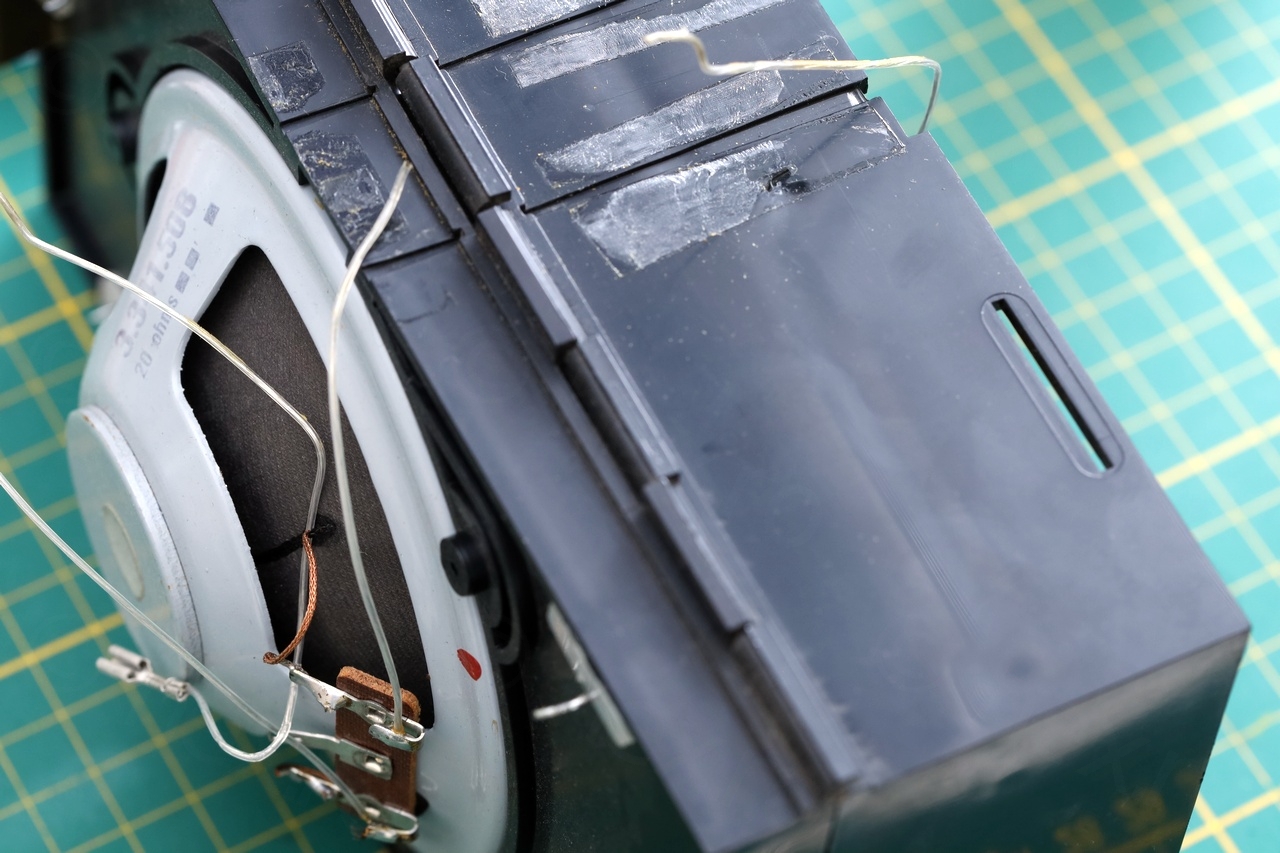


Before putting the radio back together, at the end, I removed the glue residue from the old tape and added fresh yellow one, to preserve the original aspect:
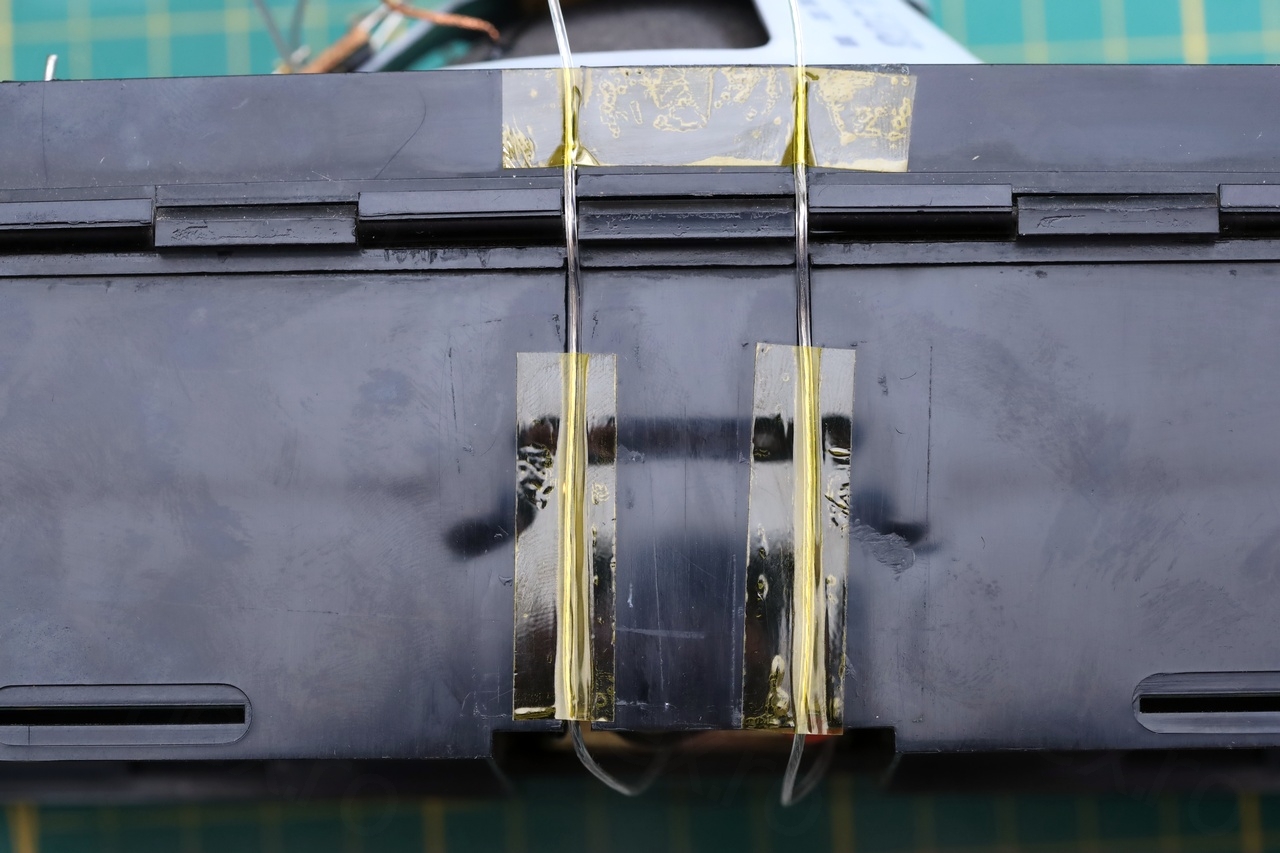
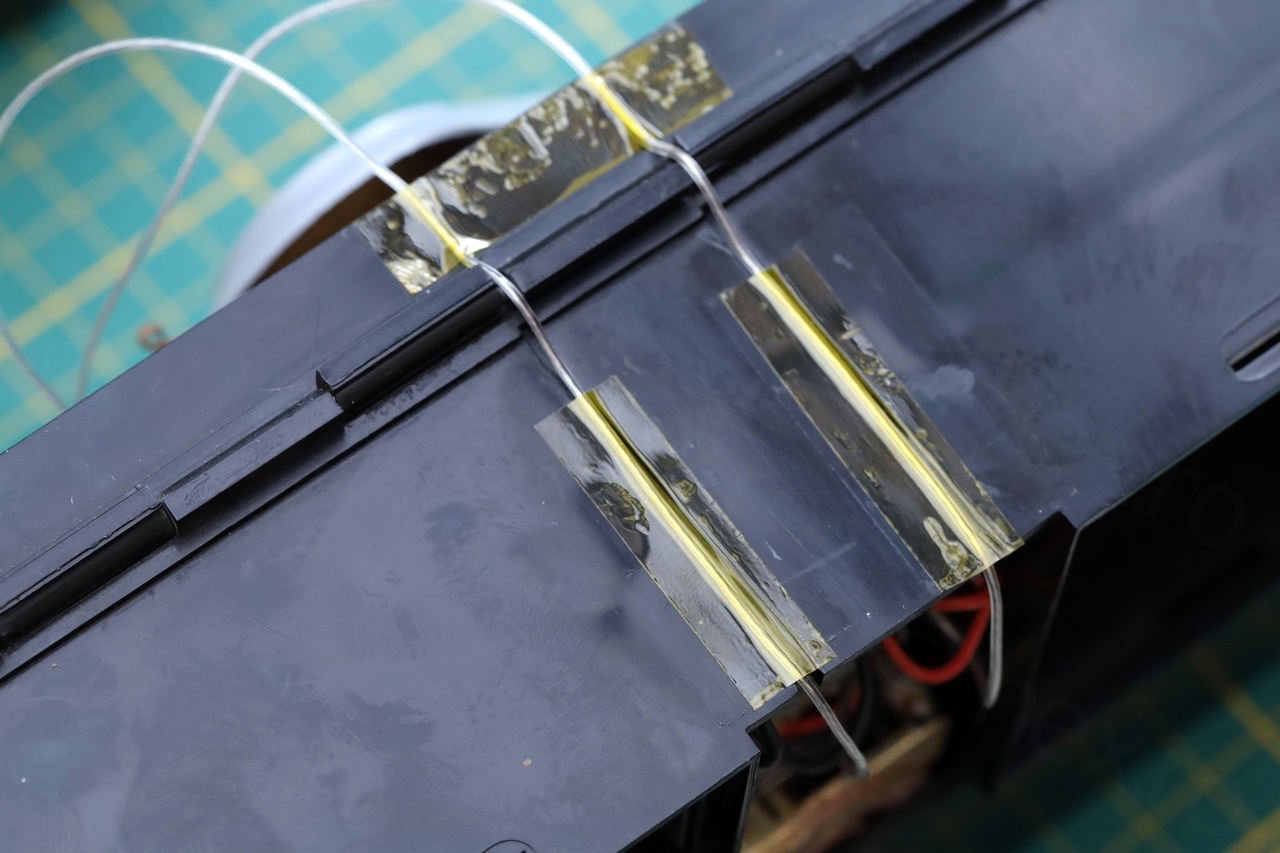
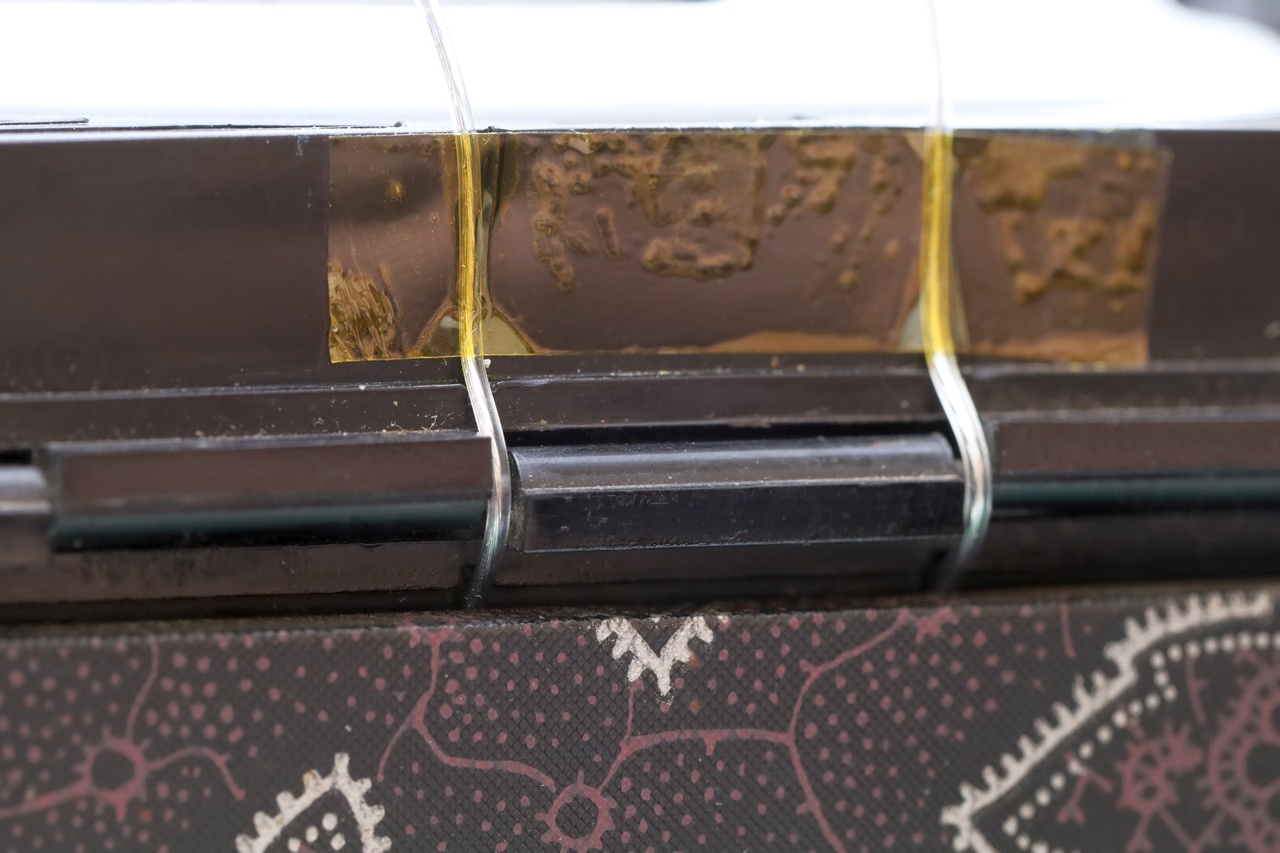
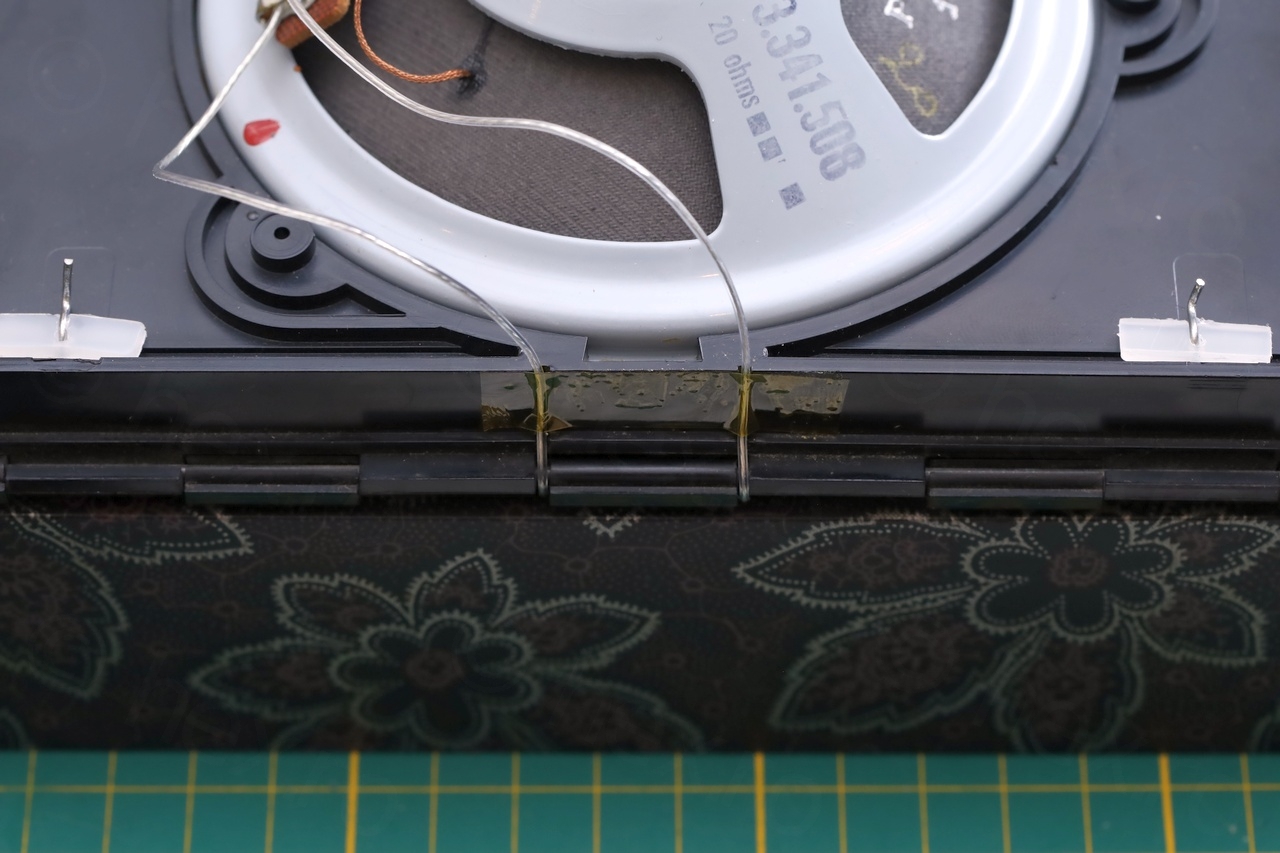
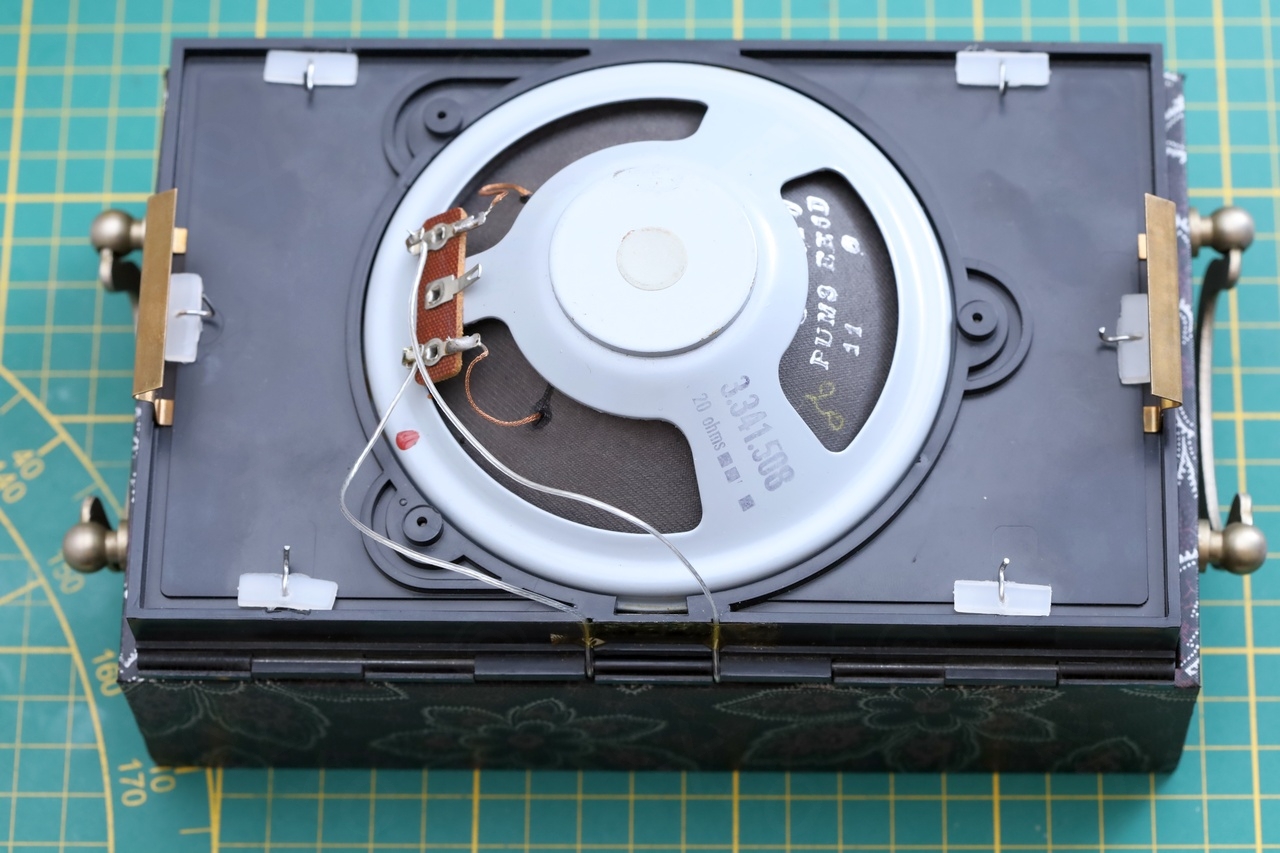
Of course, both wires were replaced.
Power button
Once I took the top place off, I realized that the Power button was snapped. While I could have unscrewed the little bit that was still captive inside the cap, and glue it first, it might have torn apart when trying to screw the cap back in:
I don’t like this type of repair, since now the cap may be permanently attached to the shaft. Somebody in many years from now on will not be able to the take the cap off and service the original switch. I just didn’t see any other option how I could secure the little plastic bit without risking more damage.
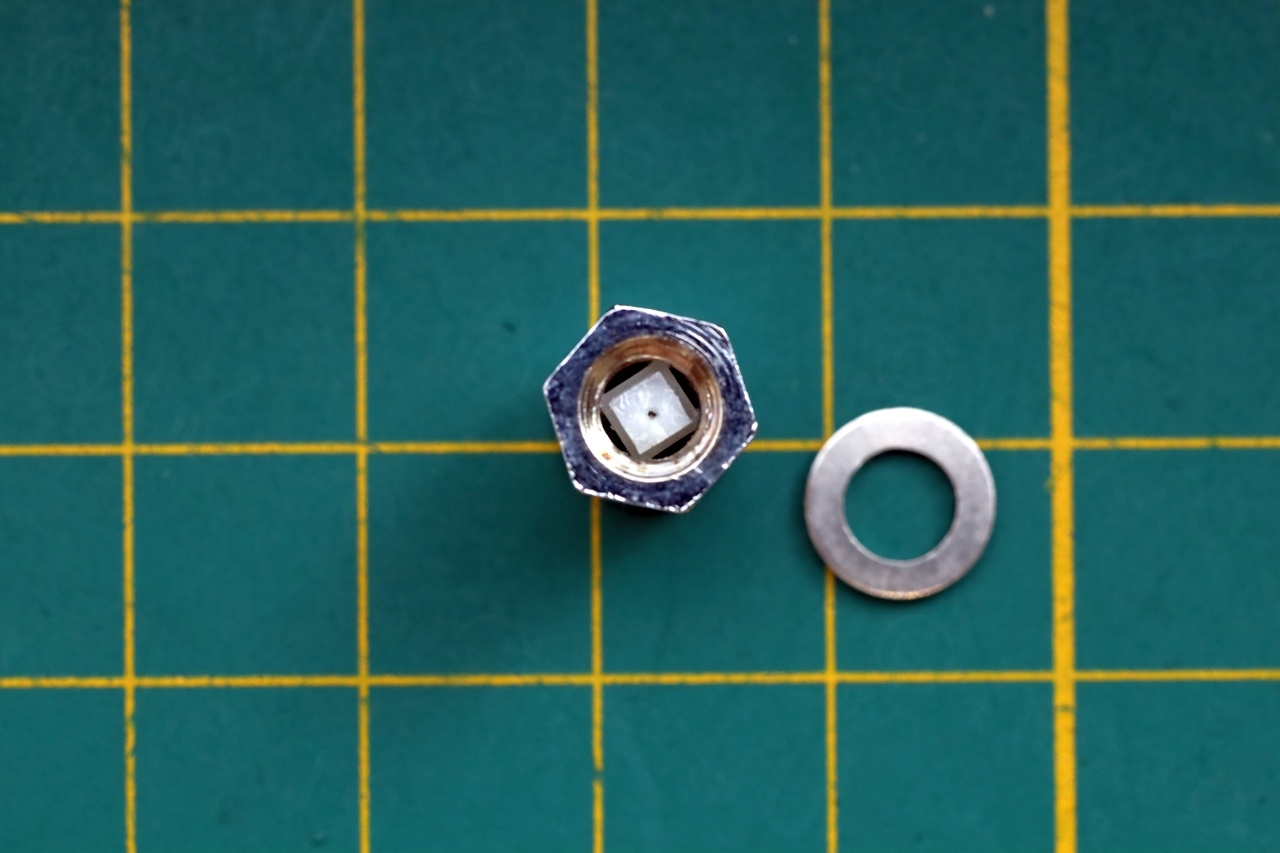
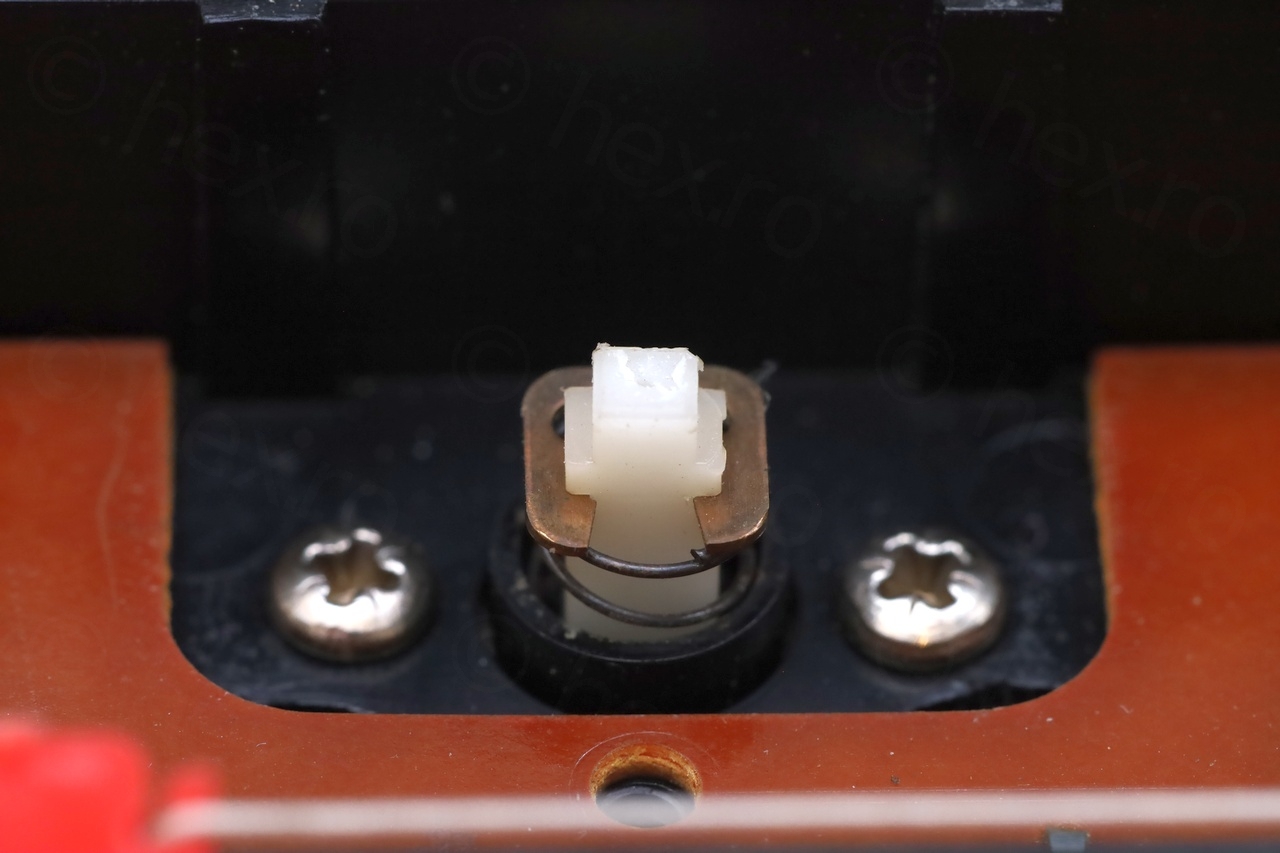
Loose PO button
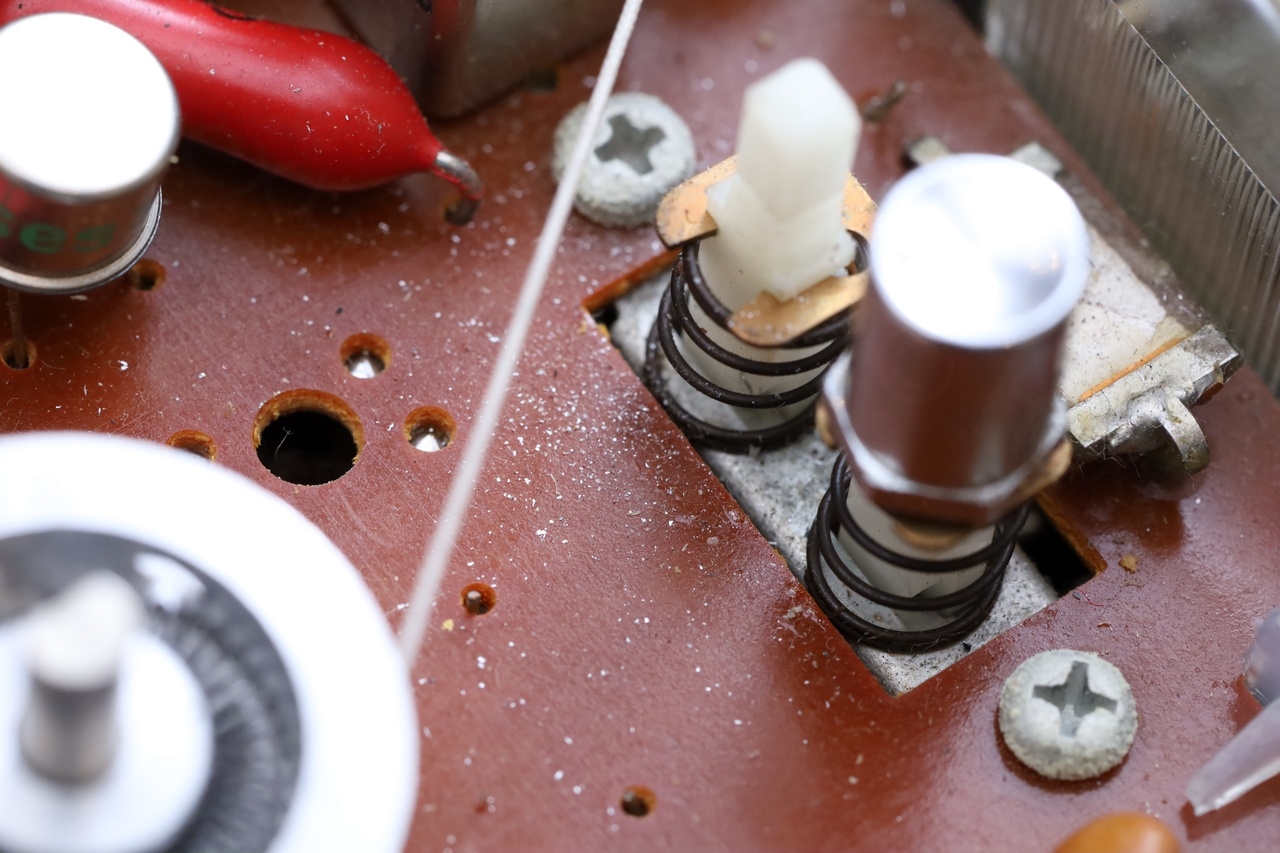
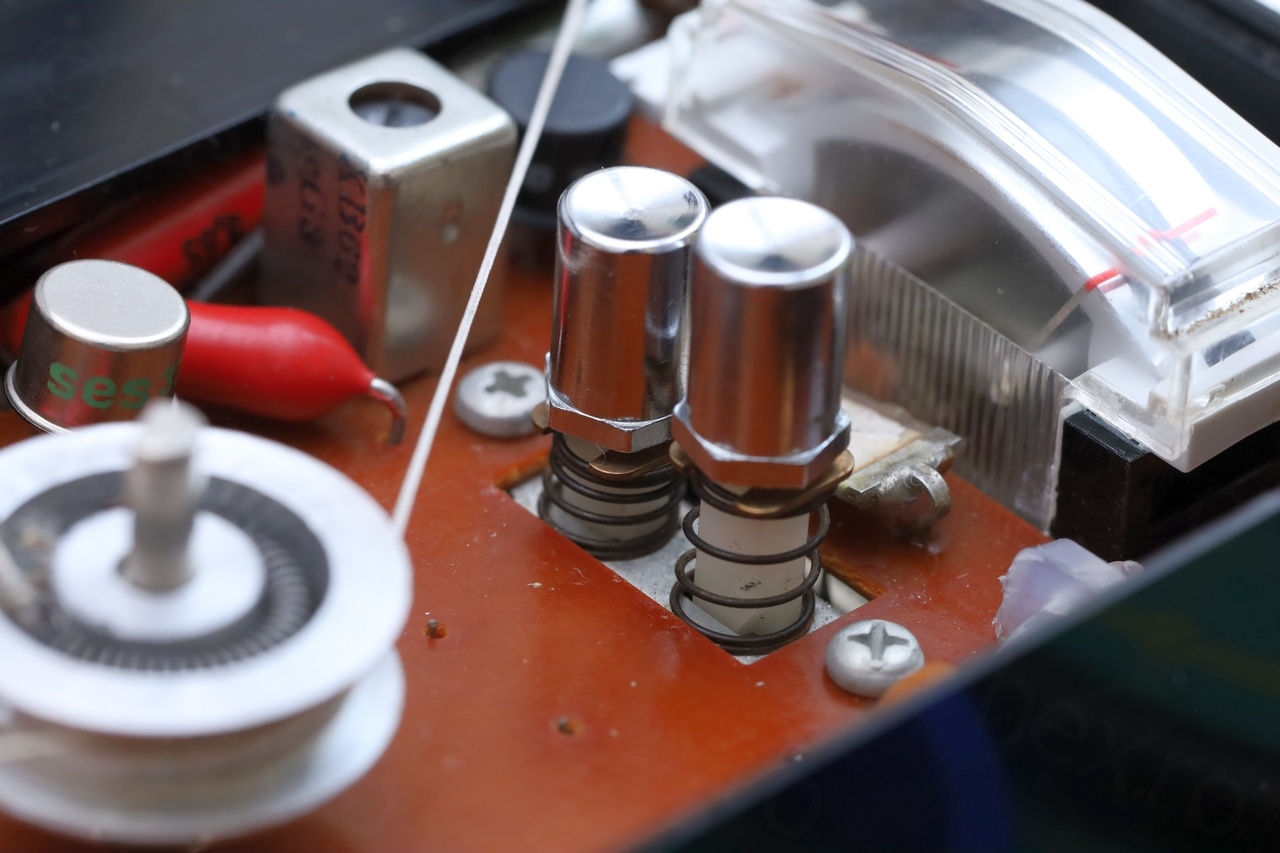
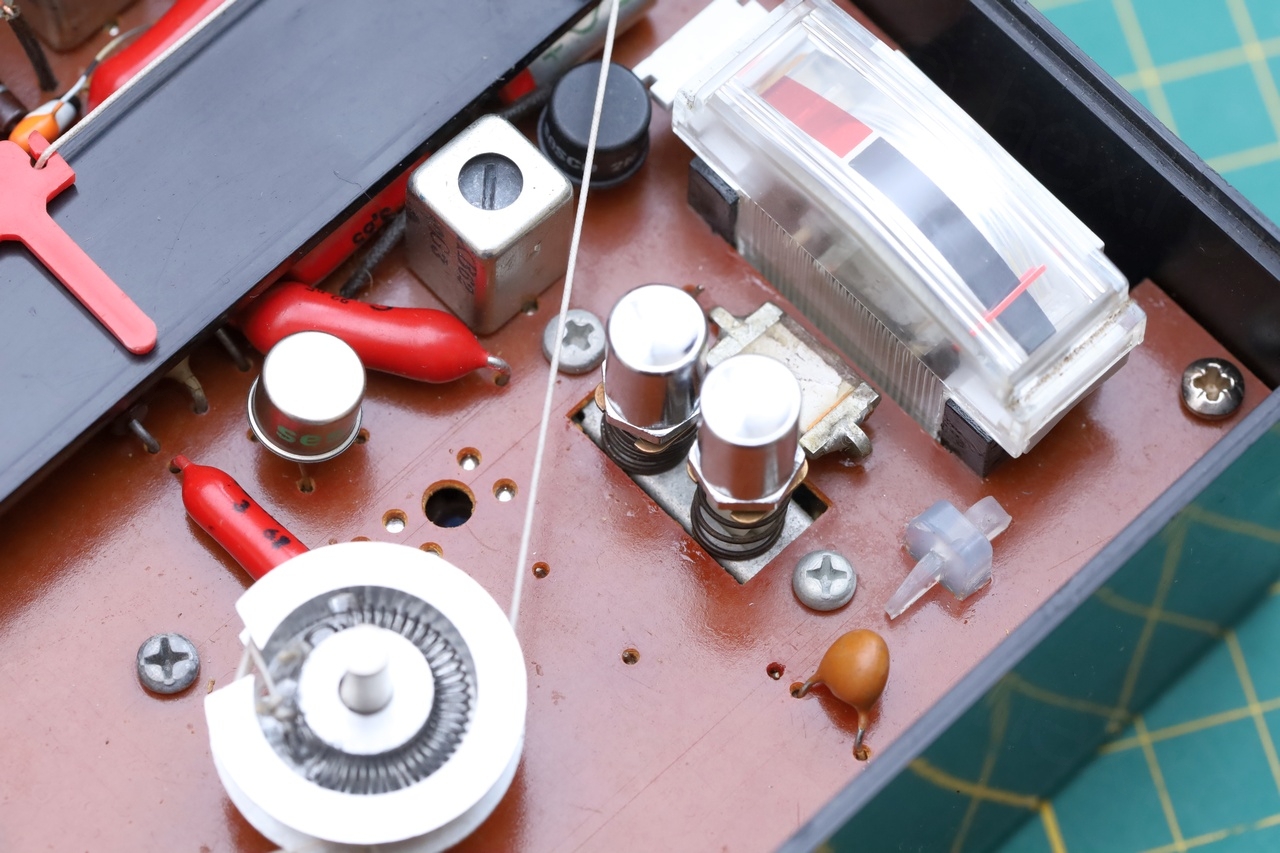
Another trouble was that the PO cap managed to wear down the plastic shaft. Only the top cover was keeping it in place from not jumping far away when the GO button was pushed.
Remains of the plastic were on the board:
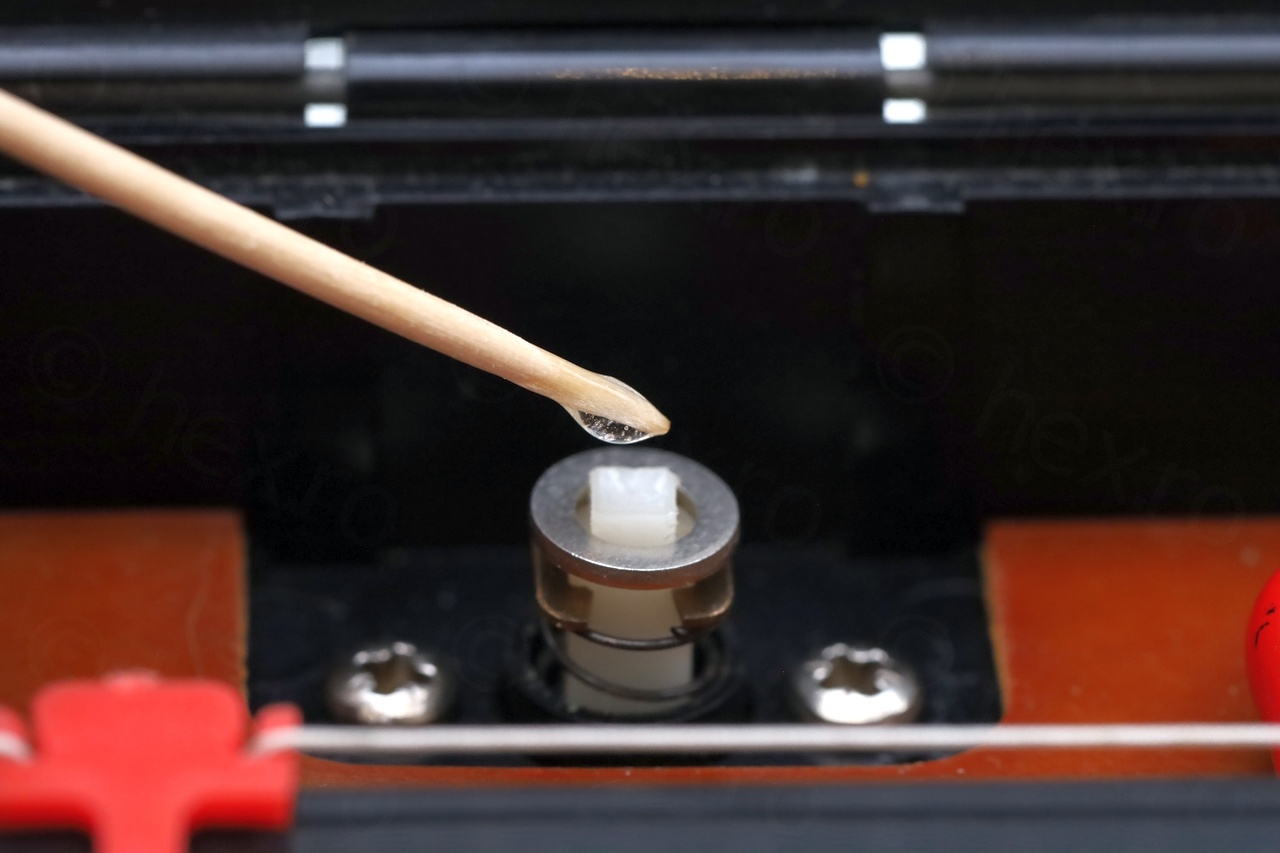
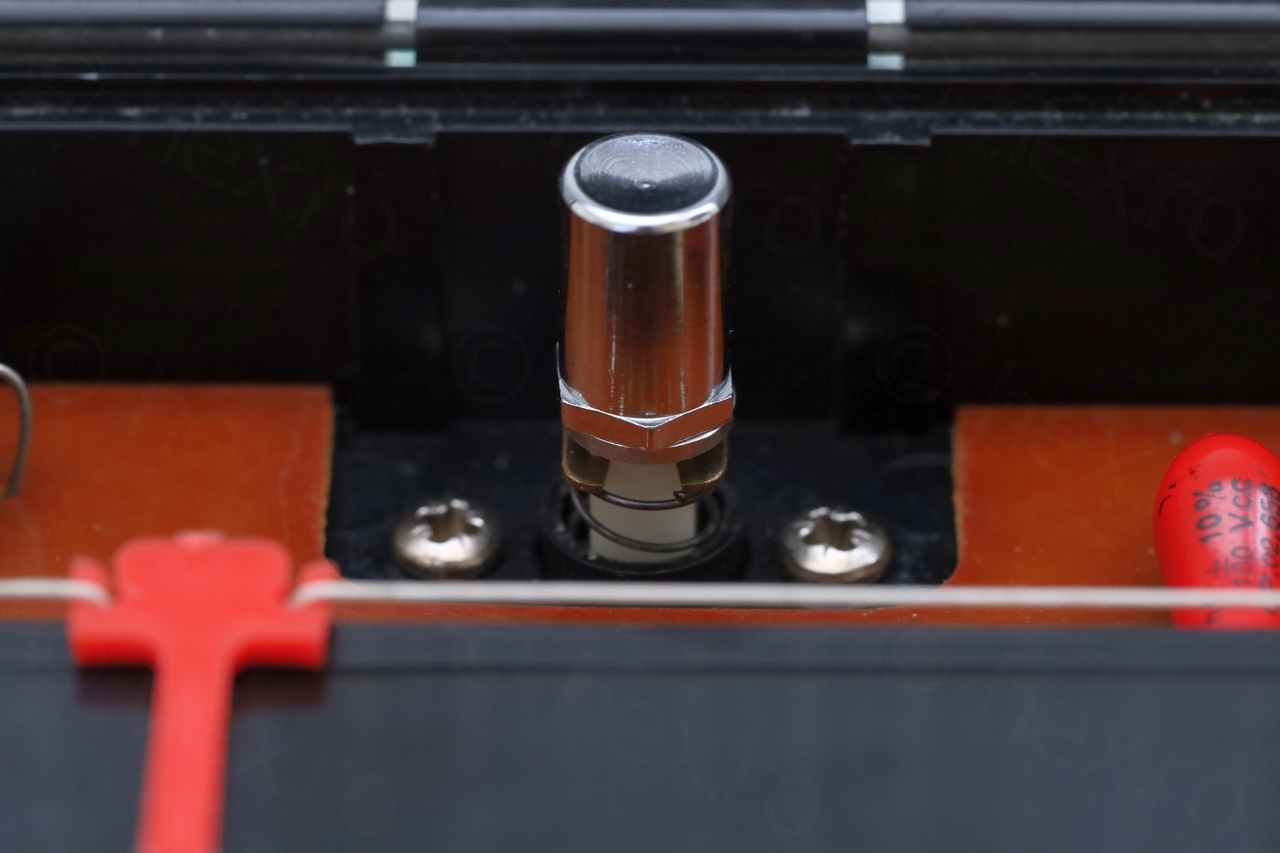
Initially I tried surrounding the plastic shaft with some plumber’s tape, but it was too slippery on the plastic. I tried a softer glue, but it still didn’t work out. I had to do the same type of repair, where I added a drop of SuperGlu on the bottom of the cap and just slid it on.
Another irreversible repair, but in this scenario, the circuit slot is wide enough that you could extract the switch and service it independently.
Maintenance
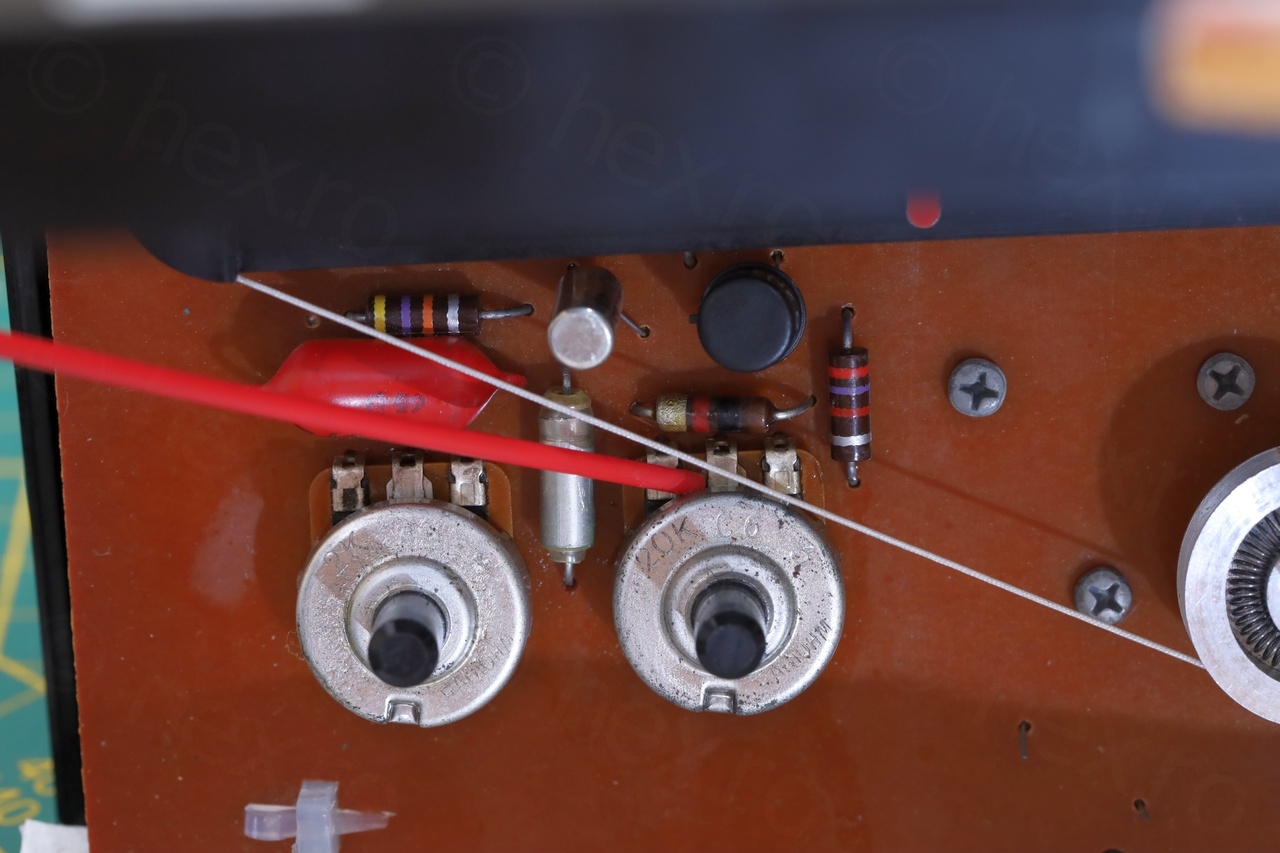
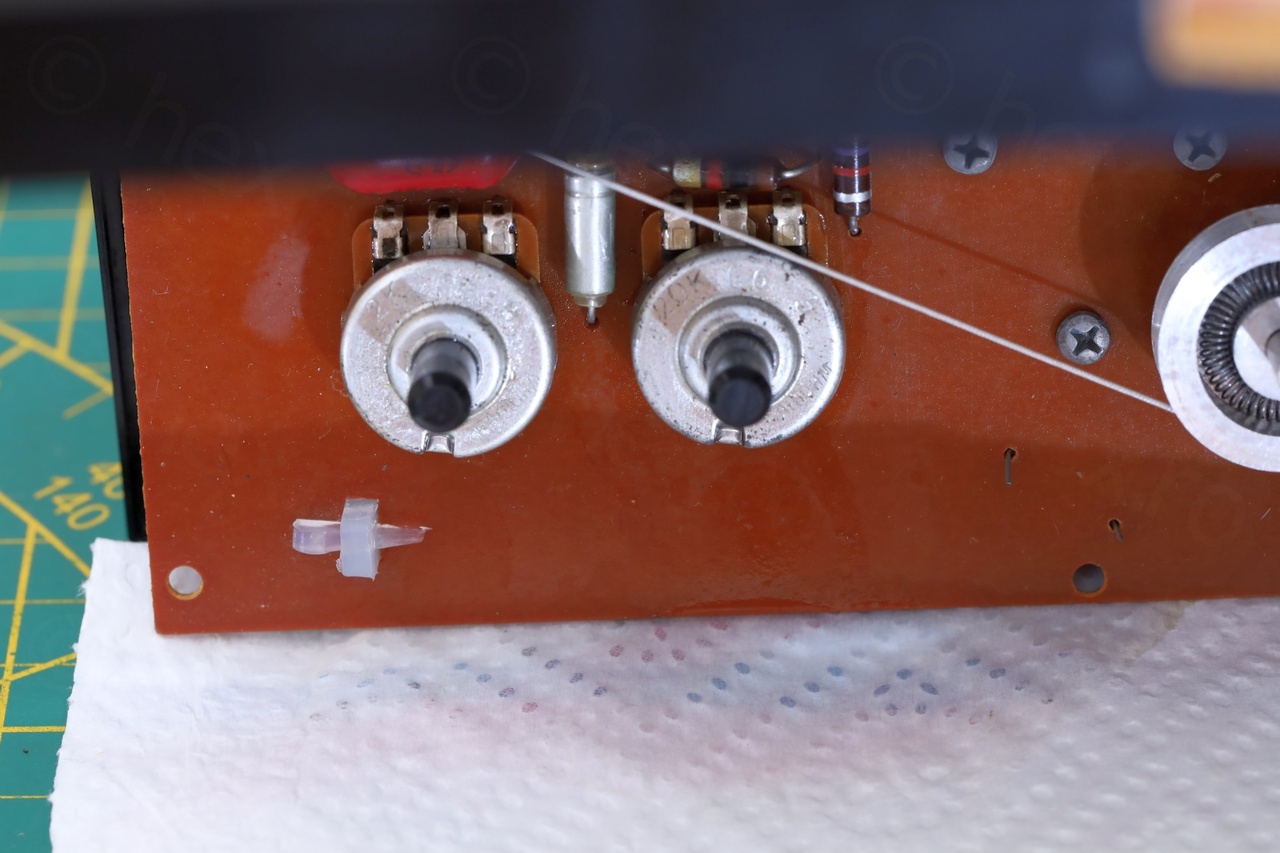
Cleaning the potentiometers
I decided to clean the Tone and Volume pots with some contact cleaner – but they weren’t as scratchy as I would have anticipated. Tipped the board vertically so that the cleaner just runs down, without reaching other parts:
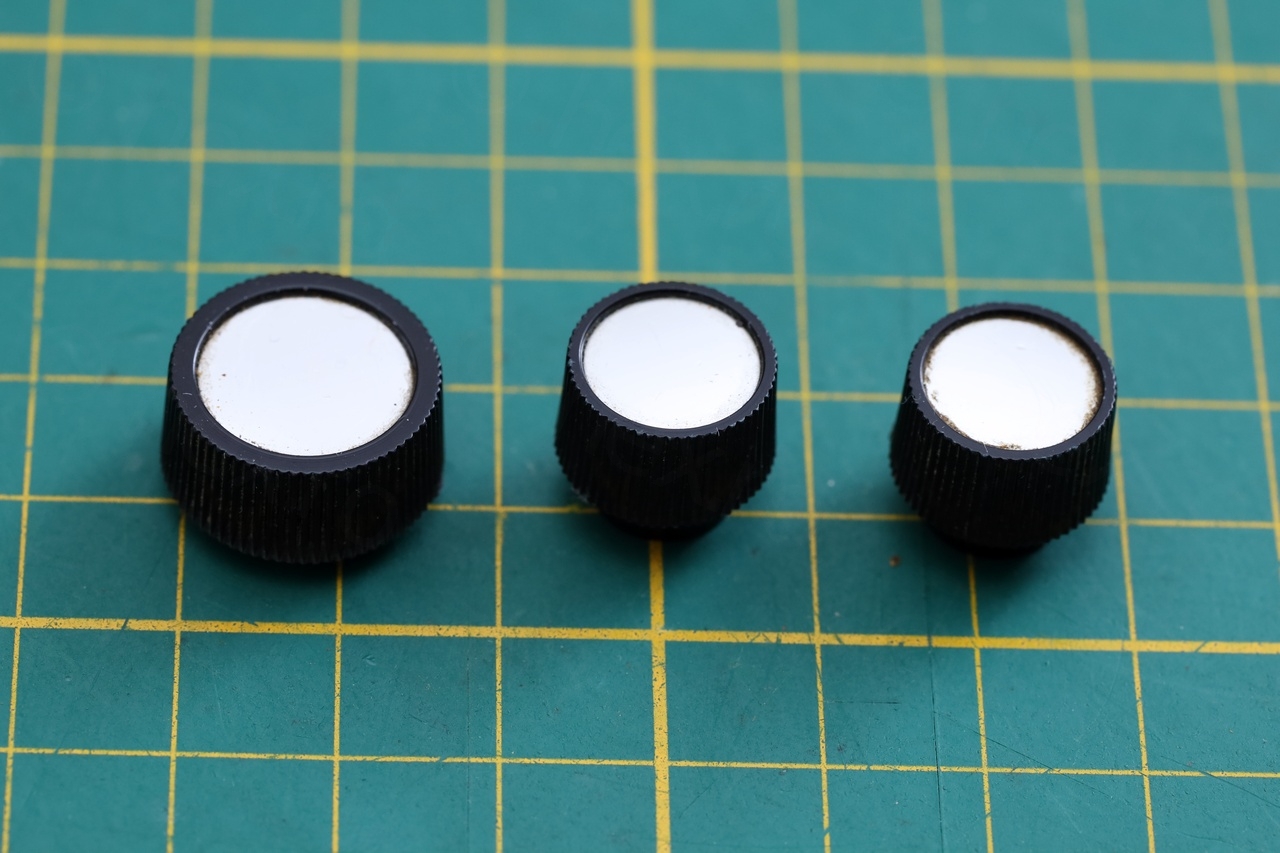
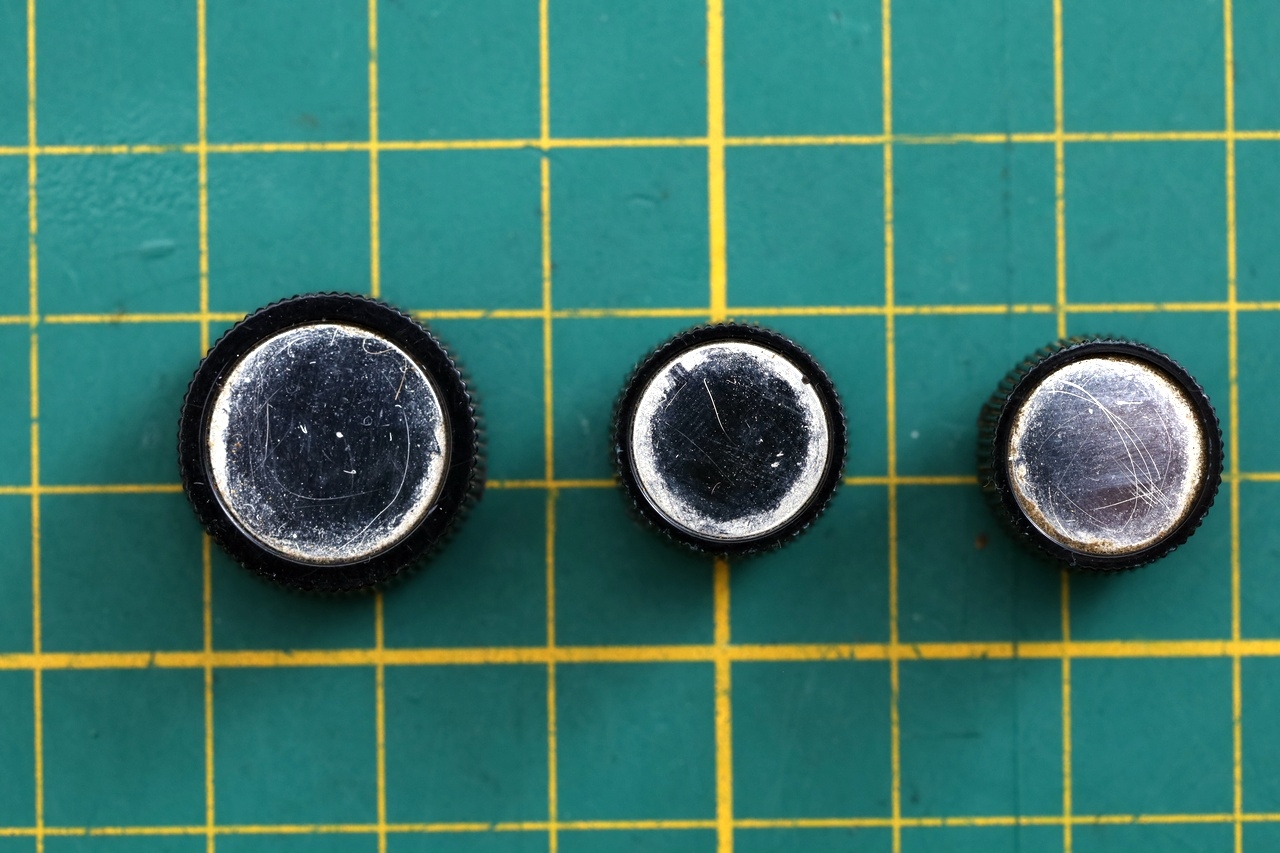
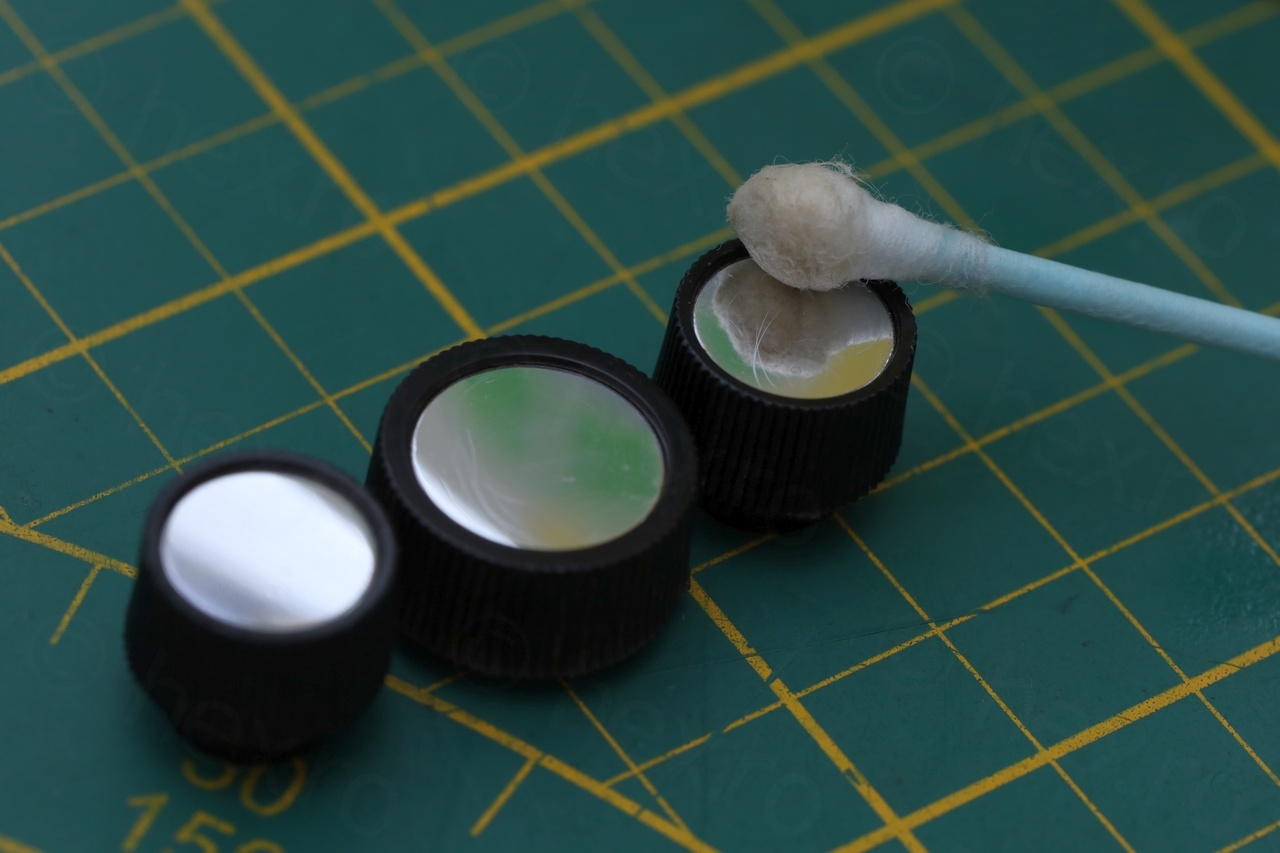
Cleaning the knobs
The knobs also had some gunk accumulated, small cleaning with a cotton bud and some kitchen de-greaser:
Swapping the capacitors ?
The capacitors still conduct. I have tried paralleling a known good capacitor, without any improvement to the sensitivity or the sound output. And even if I do have axial replacements for them, and even if some of them have high ESR, I decided not to swap. The radio still works when a loud station is present (unfortunately only at night in Belgium) and it still receives BBC on LW and MW. Using a tunable passive loop antenna (Tecsun AN-200) makes it very loud and even moves the indicator needle.
Proof:
Since the radio looks almost pristine – I decided to continue preserving it as is, with the original capacitors. The bigger problem will be the Germanium transistors. On a different Germanium radio that exhibited even poorer sensitivity (only picking up a very strong station and nothing else) the fix was to replace the 3 transistors in the AM chain. Those transistors had low Beta (maybe due to tin whiskers?). But it was easy to tell since that schematic was mentioning the expected voltages levels.
But I decided not to touch existing transistors. Again, it is amazing (for me) that the radio still works without any parts _needed_ to be changed, and I’ll keep it that way.
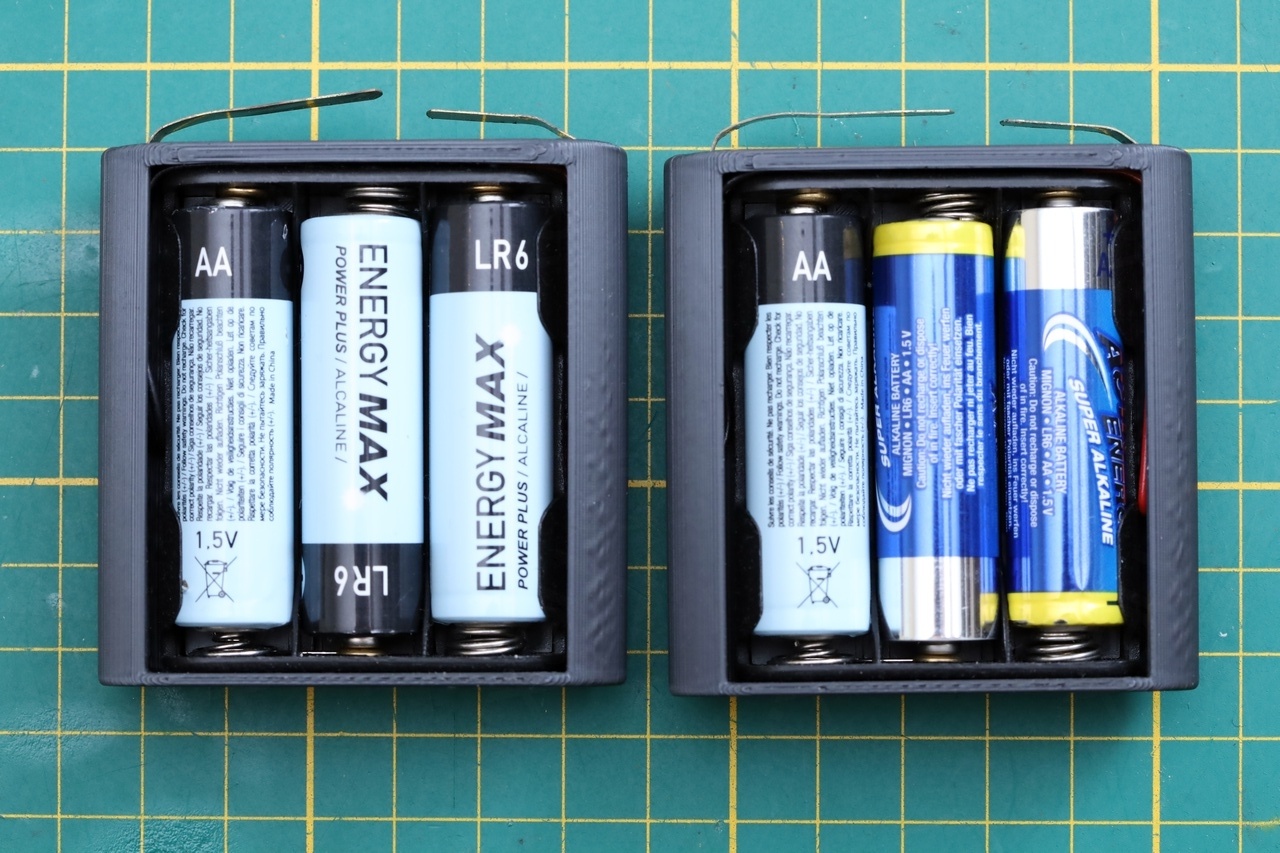
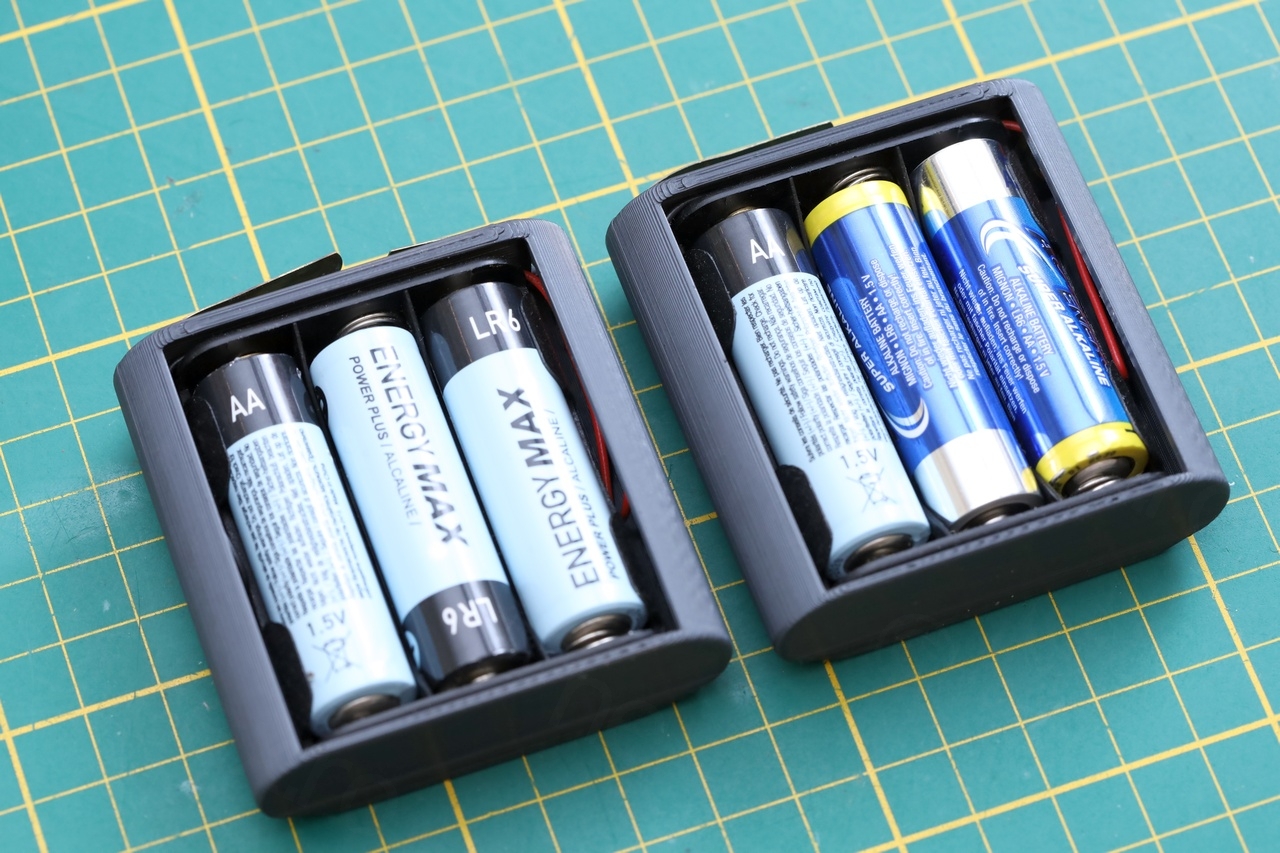
3D Printed 3LR12 Batteries
I found a 3D Printed model for 3LR12 batteries as long as you have a 3xAA battery holder and I decided to make two of them. I will probably make a small post for this, but here they are:
Pay it forward
I am grateful for the people sharing the schematic of an almost identical radio here: https://www.doctsf.com/radialva-arpege-capri/f2185
It is not for this exact model, however, I’ve found only found two small differences:
R6 = 180Ω in device (brown gray brown), 220Ω in schematic
R7 = 220KΩ in device (red red yellow), but 100KΩ in schematic
I am also sharing a component layout diagram. Photographed the top and the bottom of the circuit board, flipped one and overlayed them in GIMP with transparency. Most components are identified:
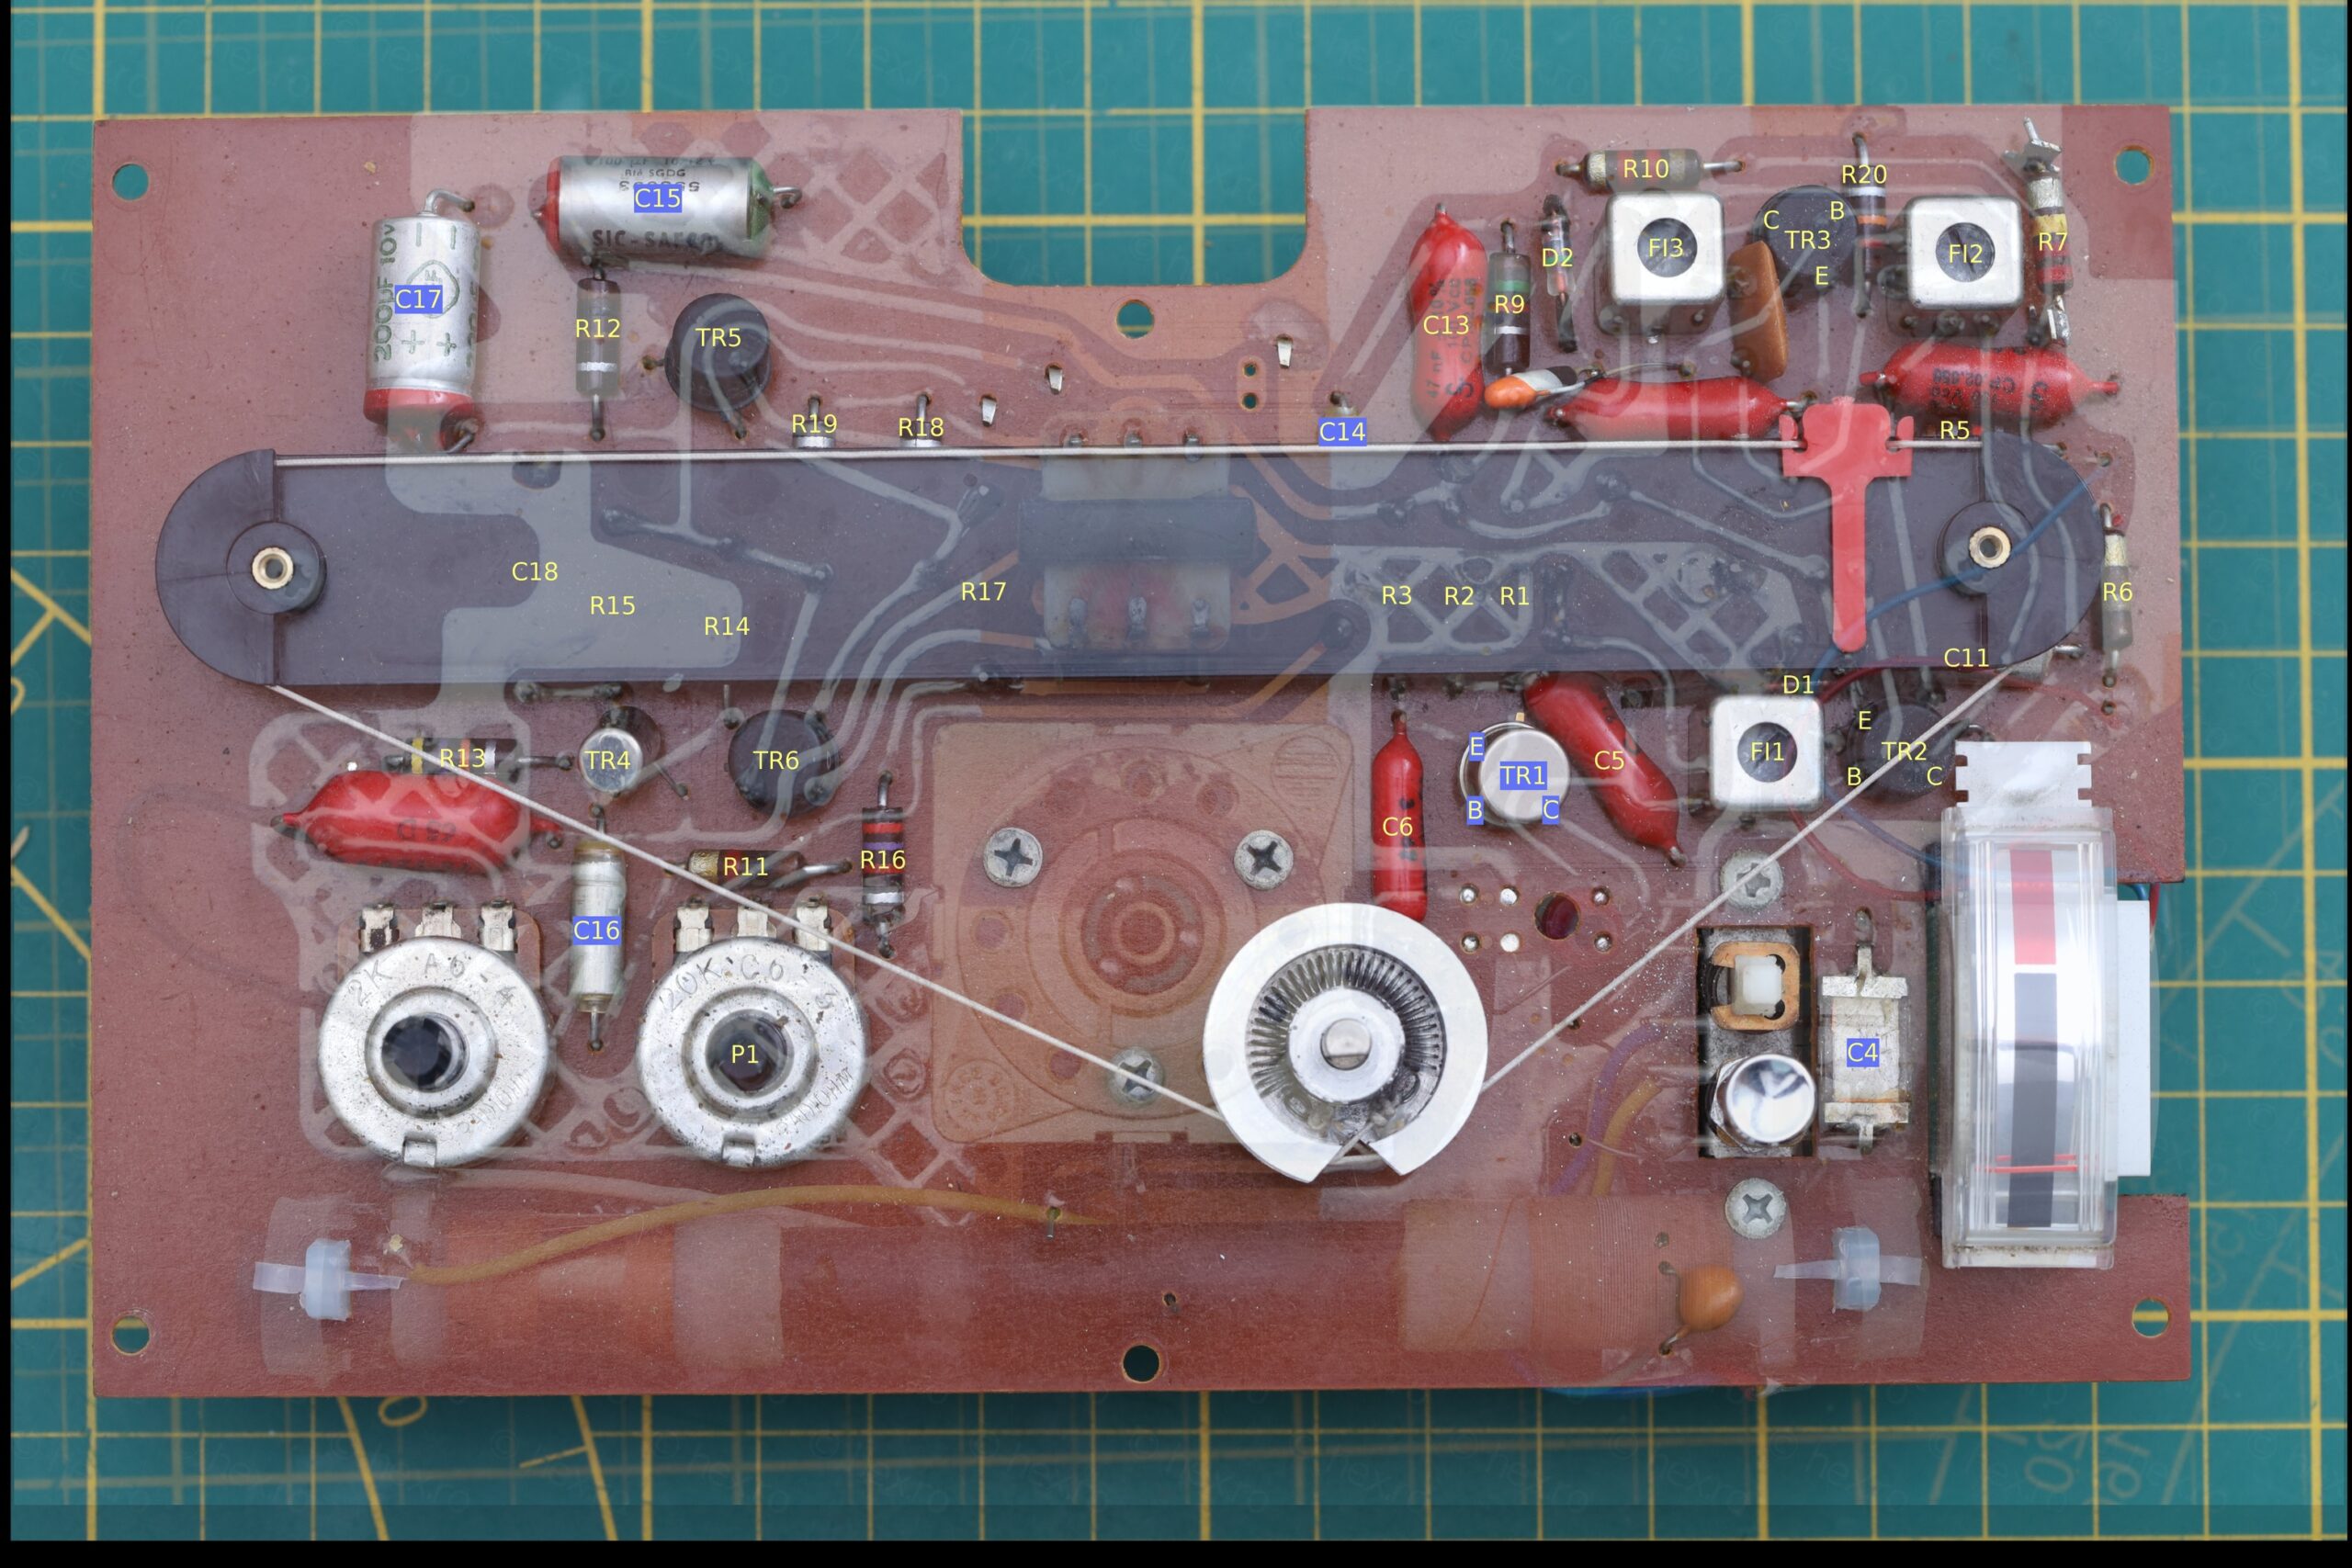
And if somebody is working on a similar radio, below are the voltages on the three AM transistors, with meter ground connected battery ground:
| Transistor | TR1 | TR2 | TR3 |
| Base | 7.56V | 8.3V | 6.37V |
| Emitter | 7.65V | 8.44V | 6.53V |
| Collector | 0.41V | 3.67V | 0V |
Cute radio 🙂
Dieter Schulte
Hallo Vuilian,
recently I buyed the radio Arpege at ebay. It is the model Corsaire , the interior is like yours, the box is designed like the treasure console with nails decorated. Restauration
just started and your text and the pictures will give me a helping hand.
Thanks Dieter
viulian
Good luck with the repair / restoration 🙂