This radio belonged to a friend. Radio was bought by his father in early 1970s to be used for camping but also in the car … with the only letdown that radio performance wasn’t good while driving. Then it spent a long time in the family kitchen, later to be stored away until it was finally found by my friend, and I got it a while after. Thank you!
Overview
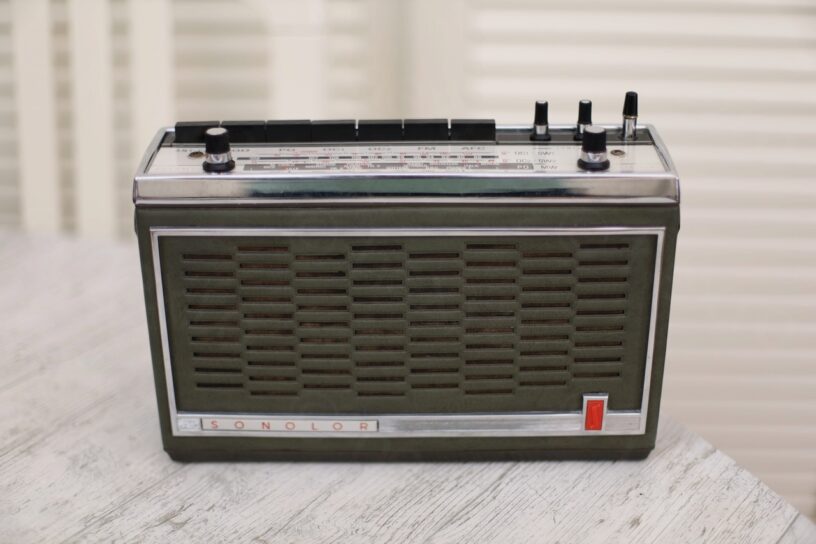
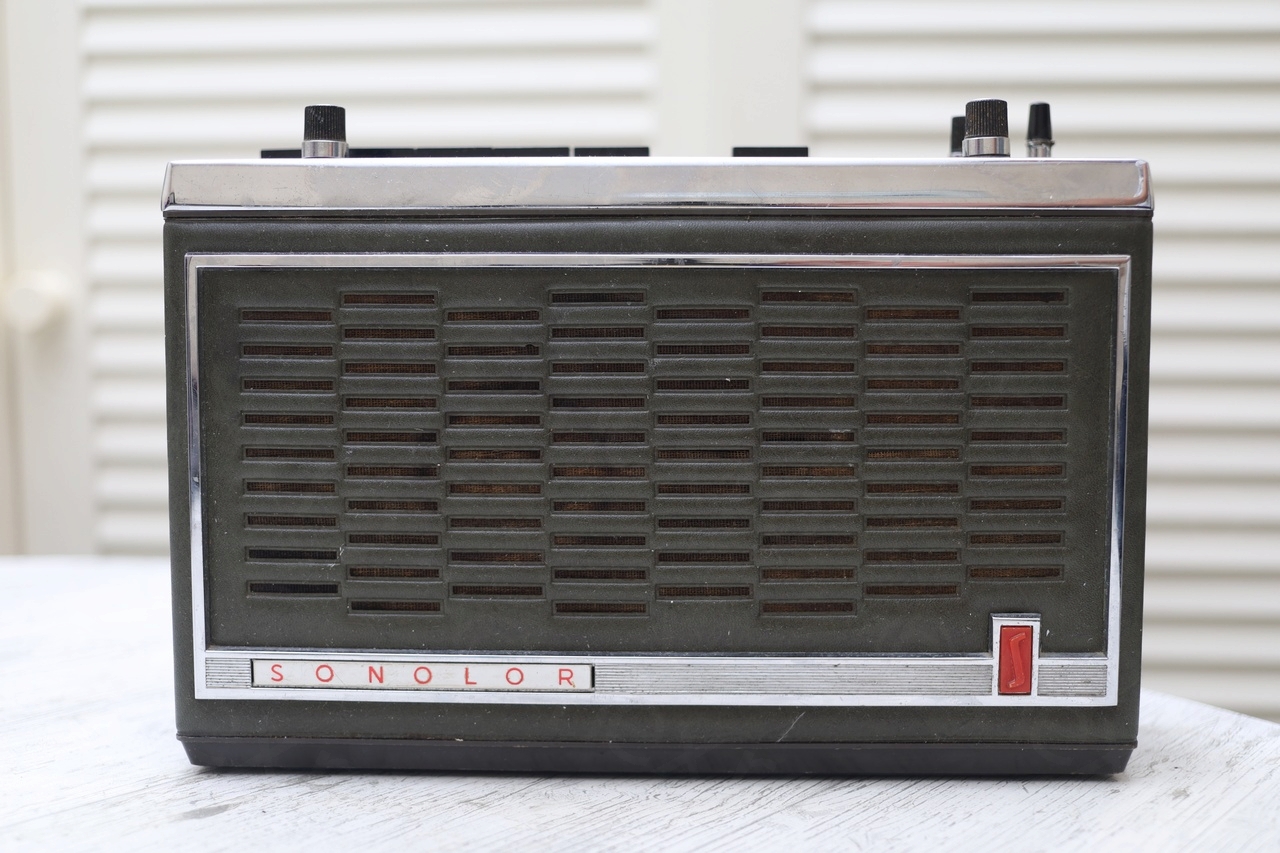
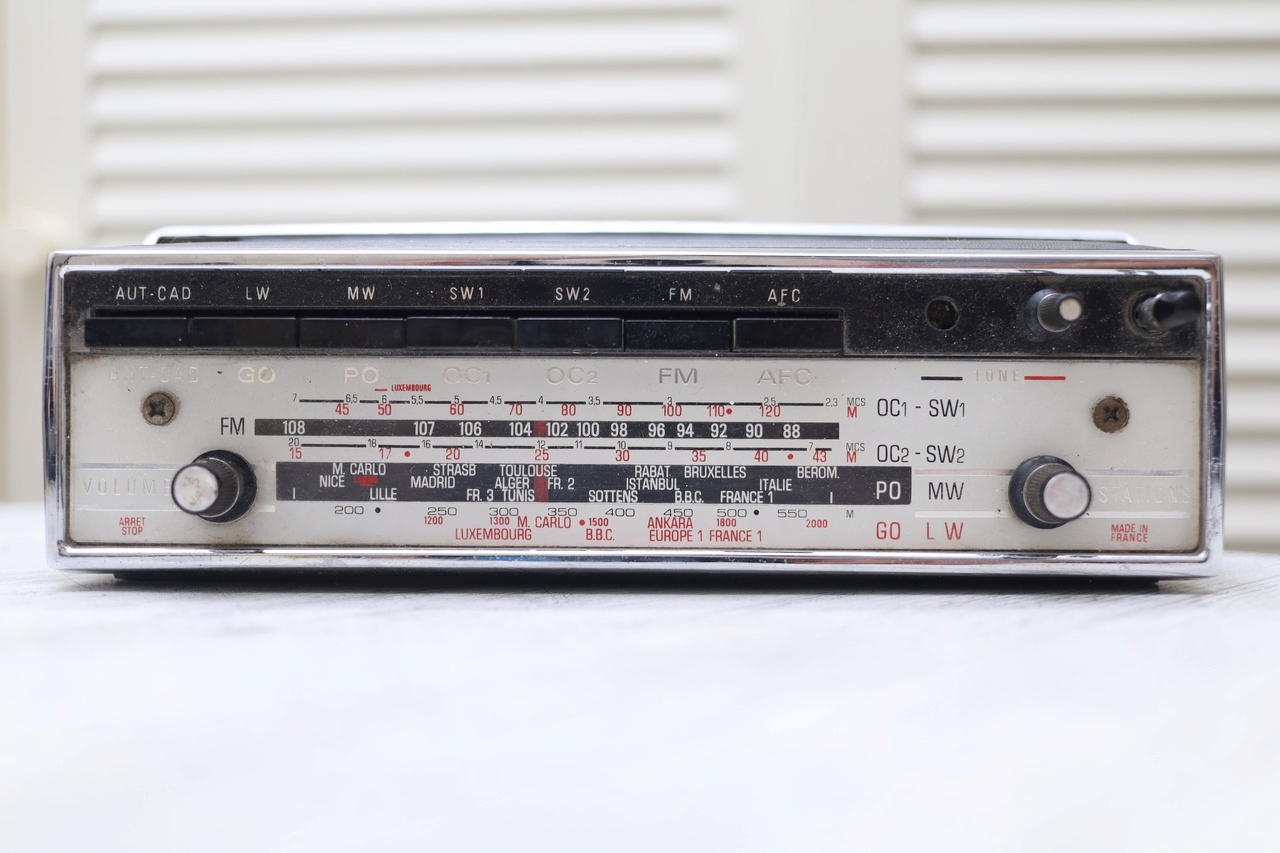
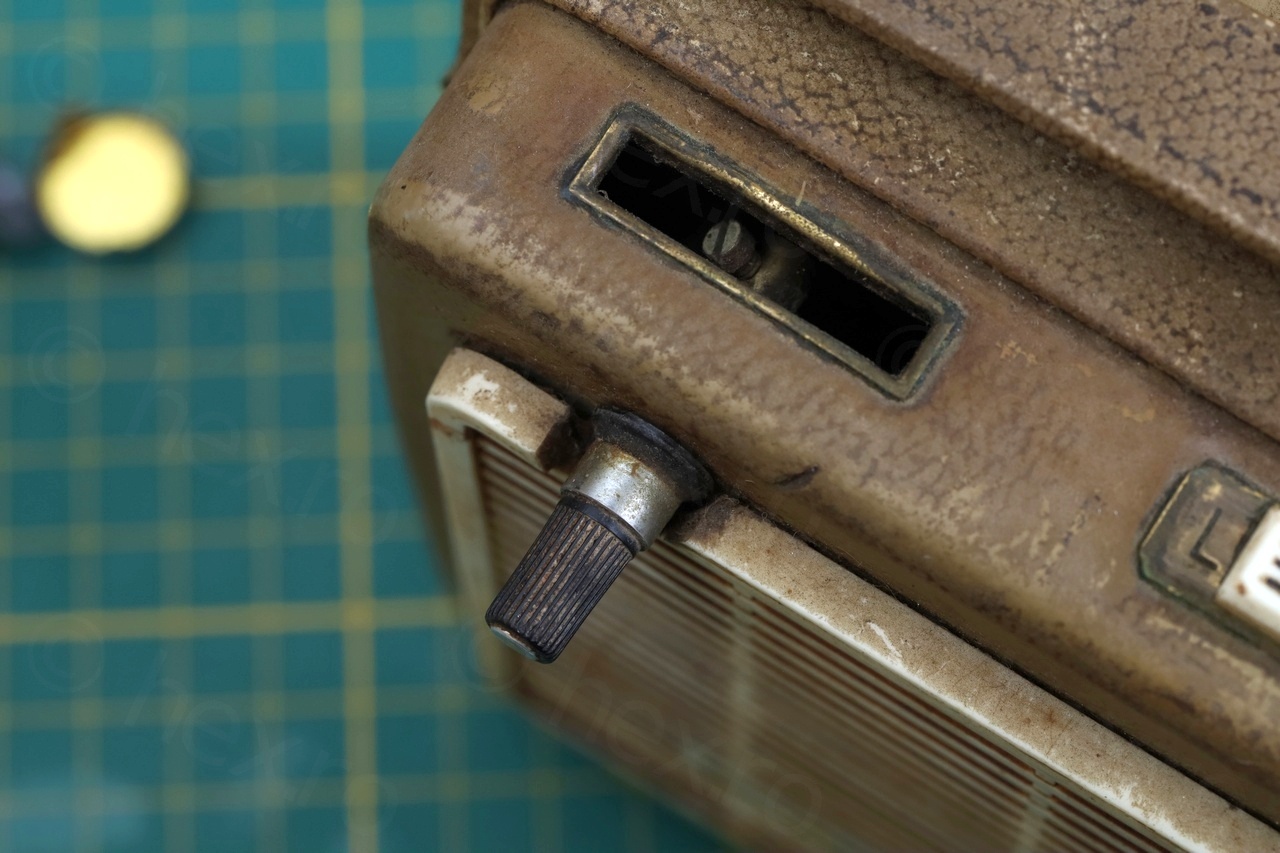
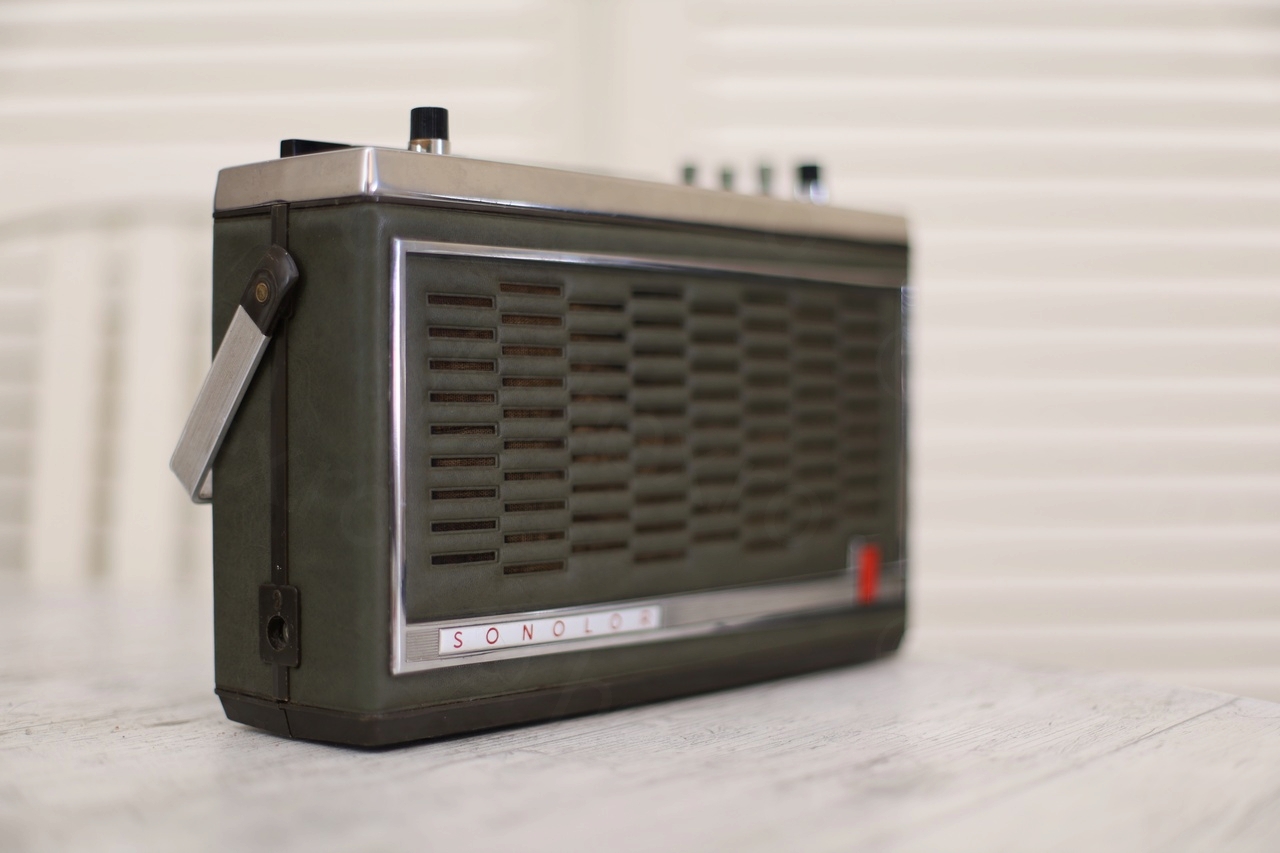
Radio was in good looking shape and no dents or deep scratch marks. There was lots of dust on the top side, a hole where a potentiometer should have been and the battery lid seemed to have suffered an incident.
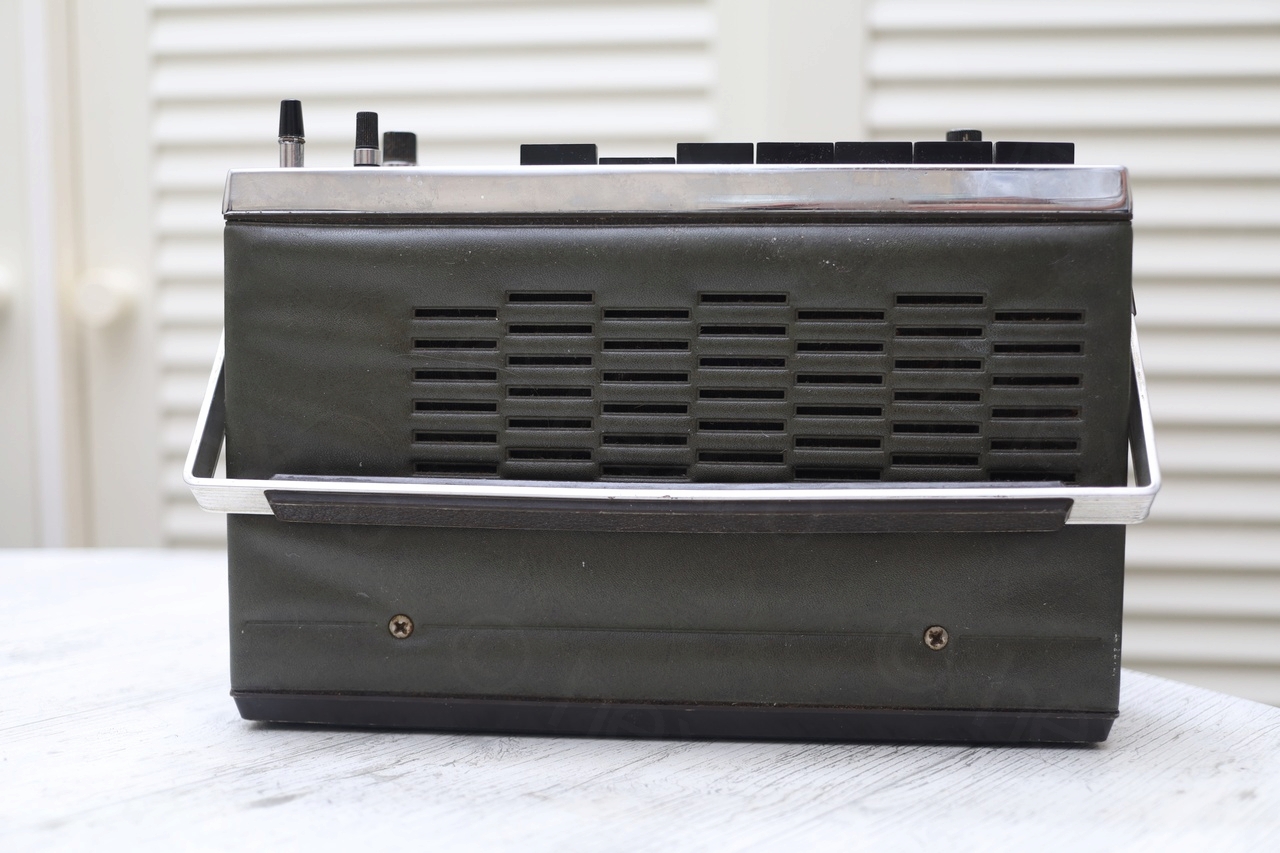

The radio is very easy to take apart – first the knobs have to be pulled and then the top part with the dial scale can be lifted. Then there are two screws for the back, and once the back comes apart, there are two more screws inside holding the front cover.
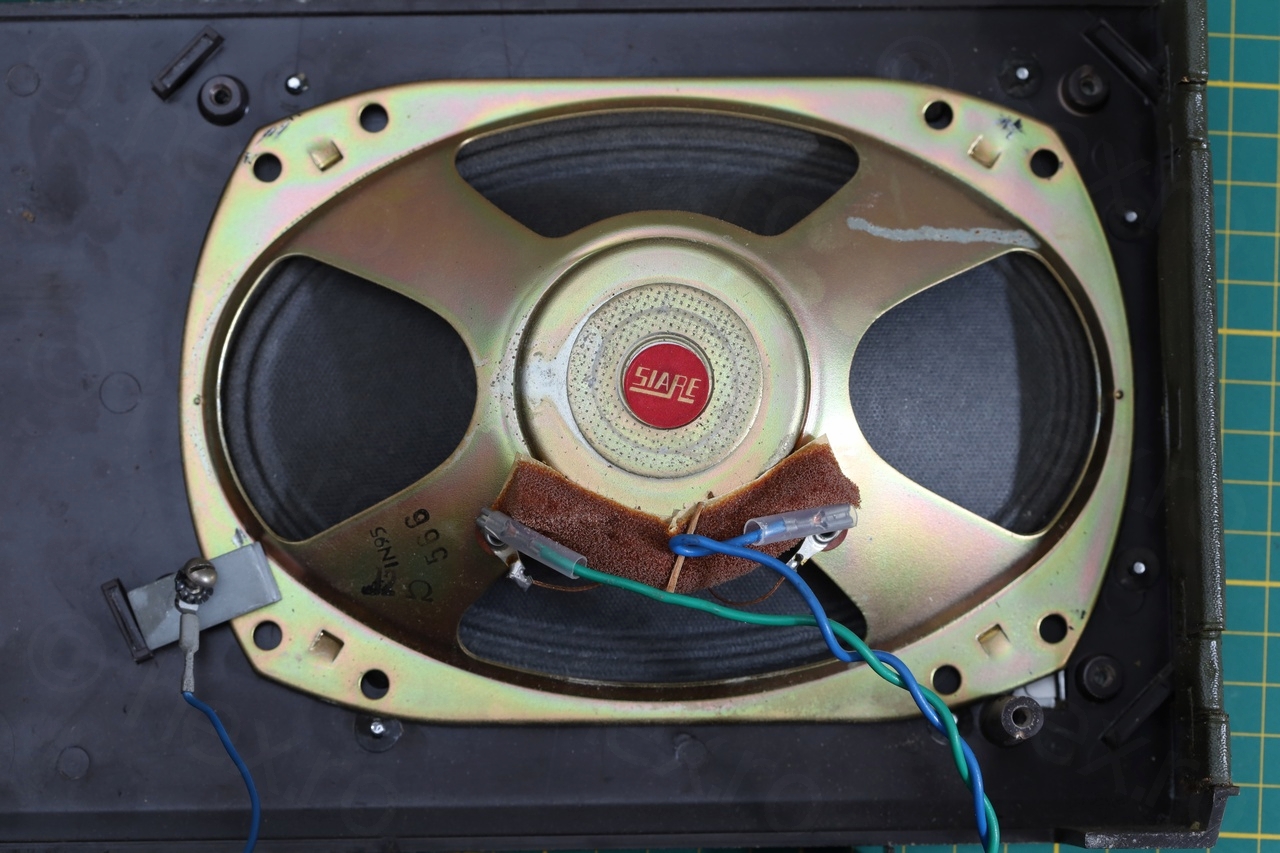
Initial tests showed the radio was working fine (except needing some alignment) and it was indeed very sensitive to interference – using a cheap power adapter for 9V just washed away all sensitivity on MW. I had to use a 9V battery to get it to receive on MW. All potentiometers and buttons were very scratchy to the point I feared for the integrity of the loud speaker.
Cleaning sticky plastic case
The radio was a little annoying to manipulate since it was very sticky. It looked like a type of vinyl that became sticky in time …
Having separated the to covers from the radio, I tried washing them with warm water and soap. This did seem to fix the stickiness on the front cover, but not the one on the back cover! Weird. I then applied Isopropyl Alcohol with a soft cloth, getting into all the corners and folds and this has solved the issue.
Rebuilding missing potentiometer
The second most annoying thing was the missing potentiometer.
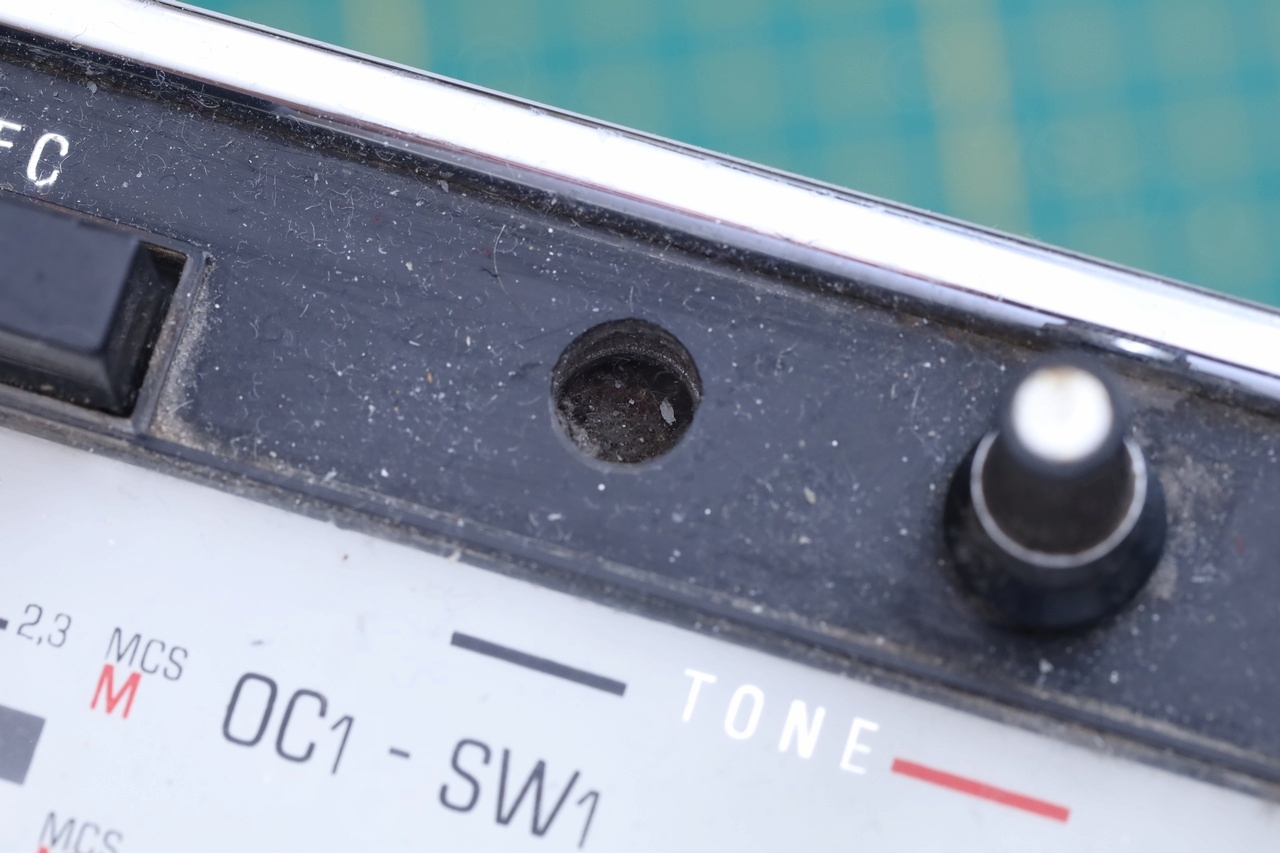


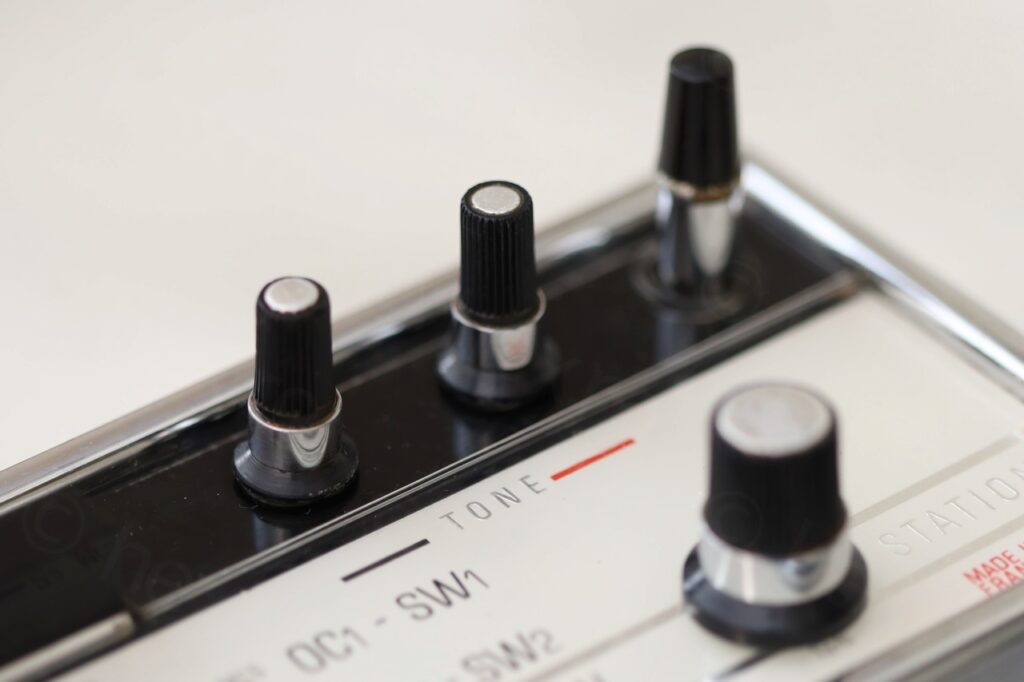
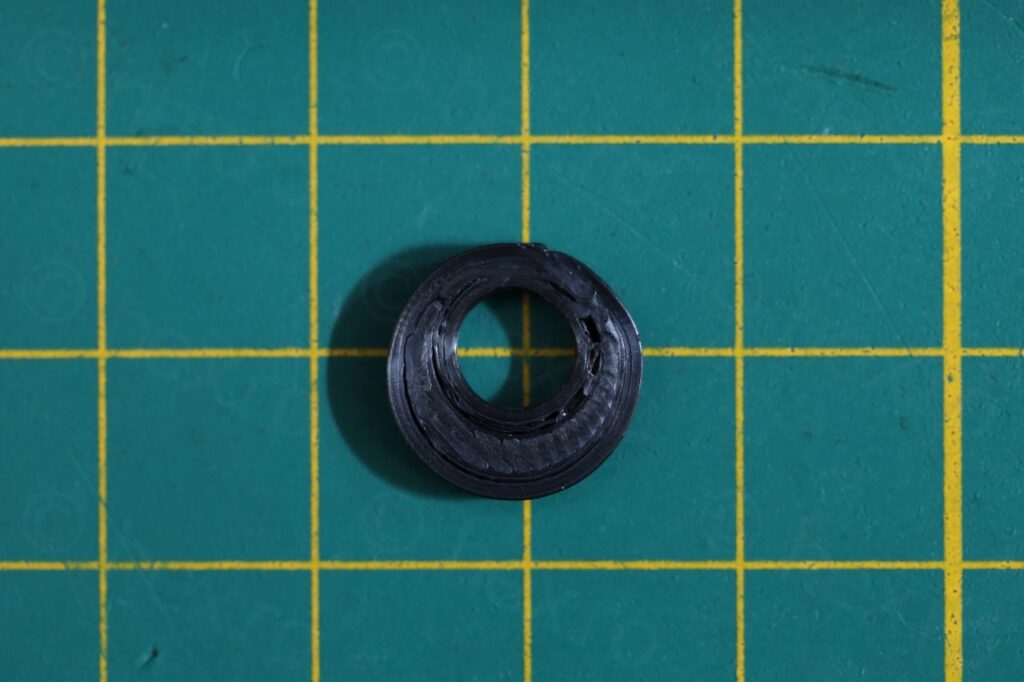
While I could try to swap the potentiometer (25K) with a new one, the question still remained, what to do about the missing knob ? I could have designed and 3D printed a similar knob – but I would not be able to reproduce the initial chrome plating. My dilemmas had an unexpected answer.
Having a stroll through the local flea market, I happened to spot a very bad looking germanium based radio from the 1960s. It looked bad, a big hole where the volume wheel should have been. Somebody drilled a hole and using a coupler, the potentiometer was now extended outside of the case.
I bought the radio thinking I could salvage the transformers and the transistors and make a small germanium mono amplifier. However, surprise surprise when I got home and realized that the knob used for the makeshift potentiometer was EXACTLY the one missing from the Sonolor radio. WOW!
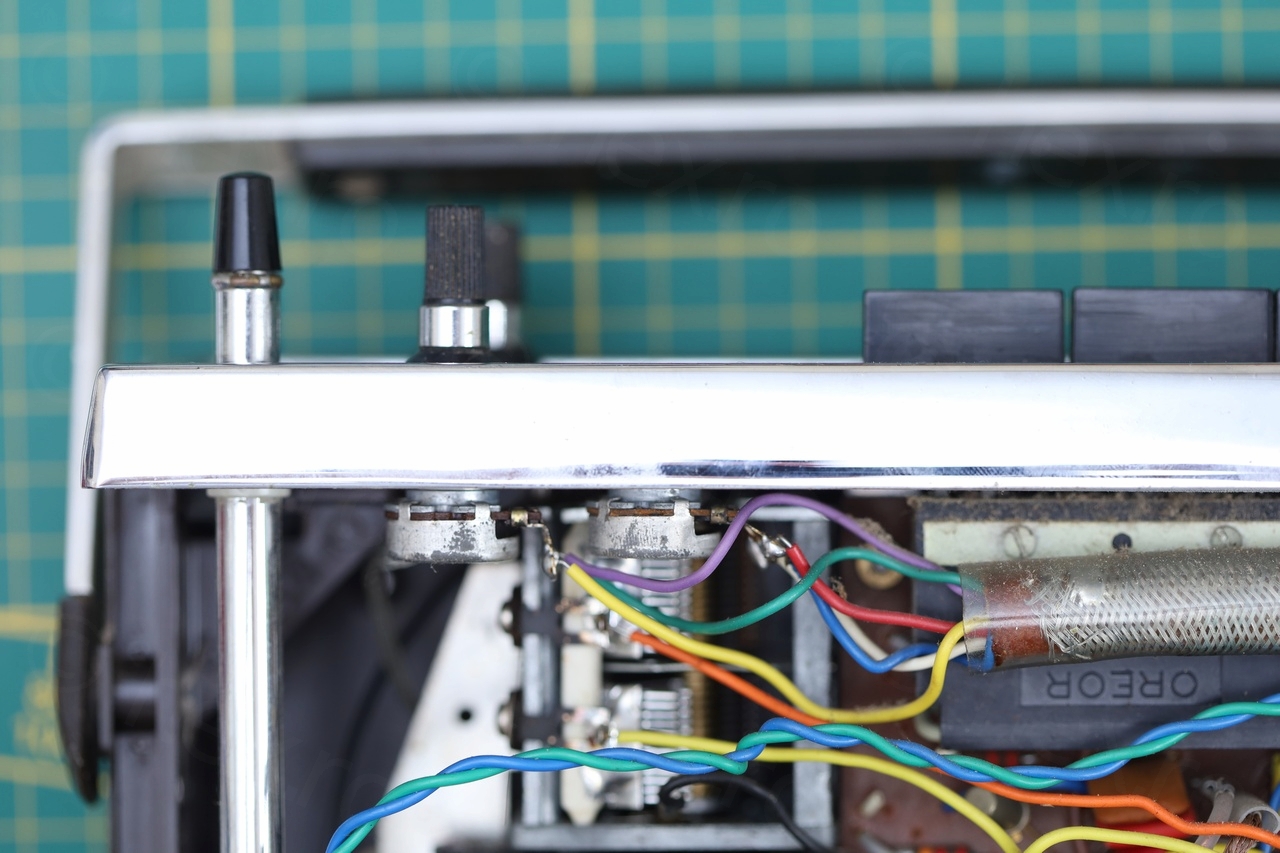
Now I was keen on trying to 3D print the missing potentiometer shaft and restore the radio to its original look while using the same potentiometer – and thus, keeping as much as possible the original parts.
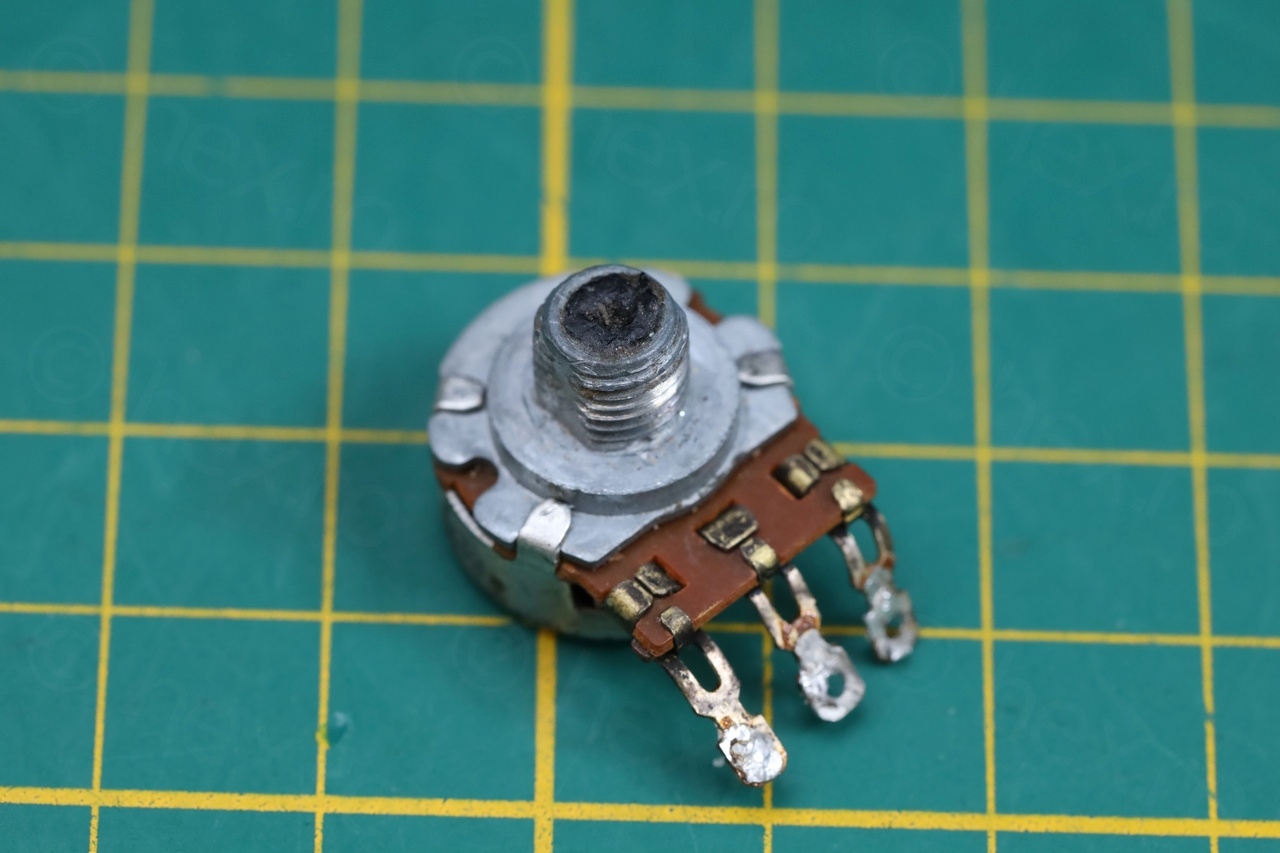


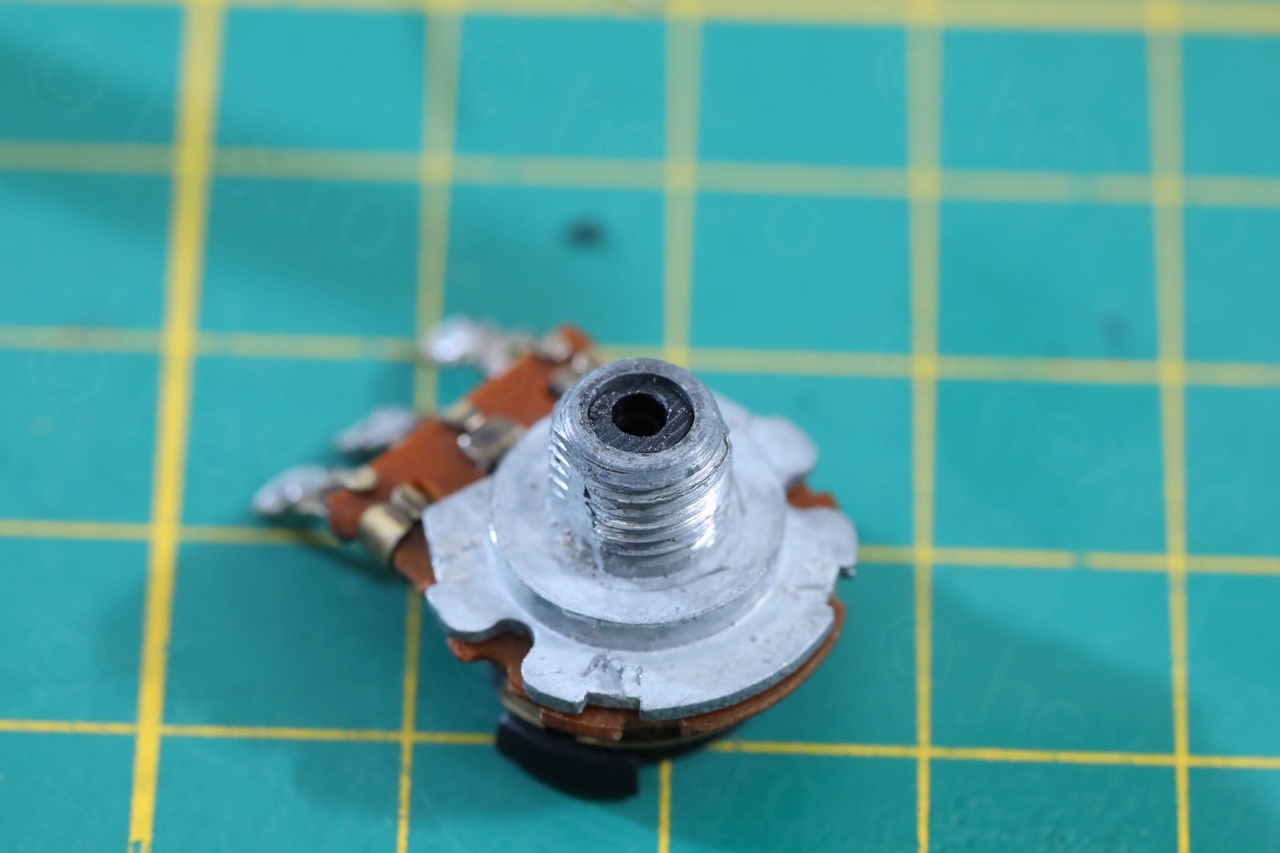
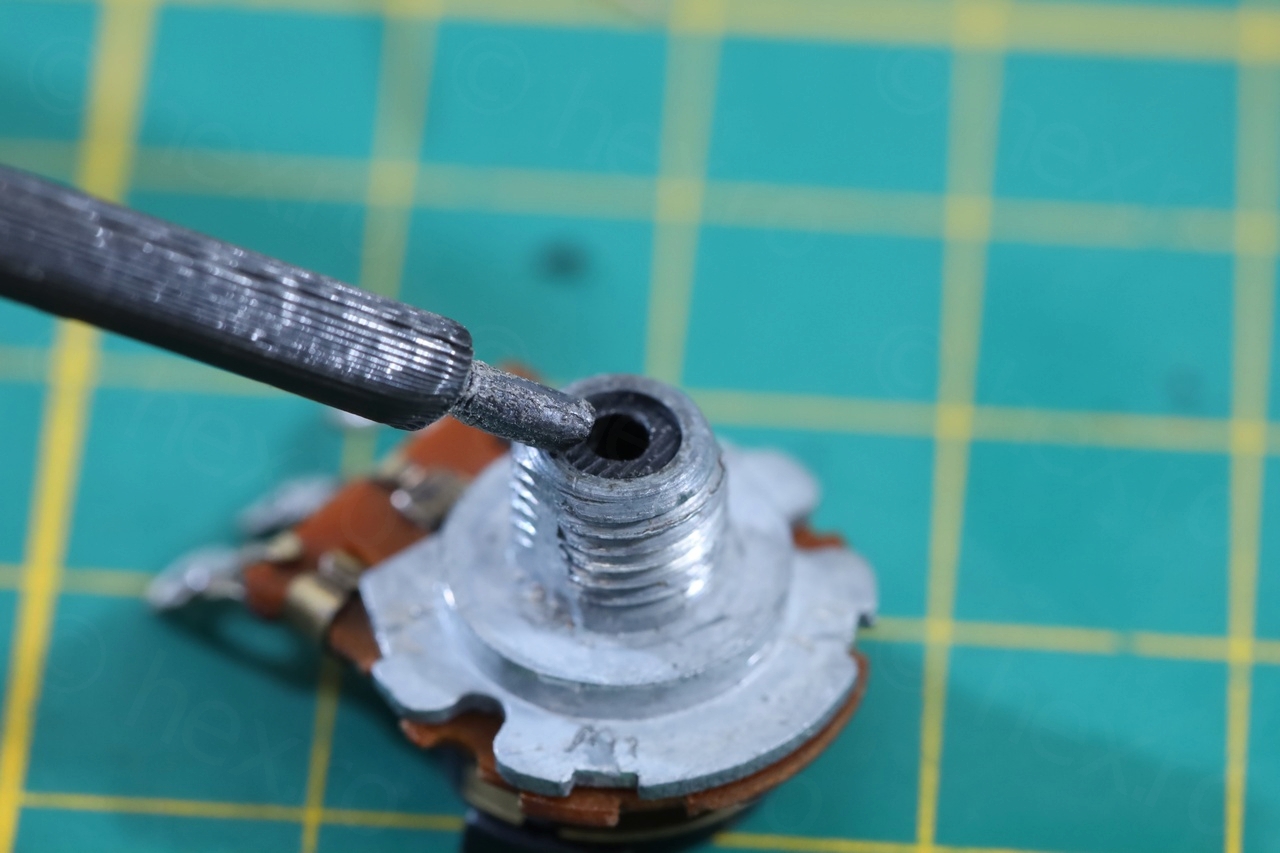
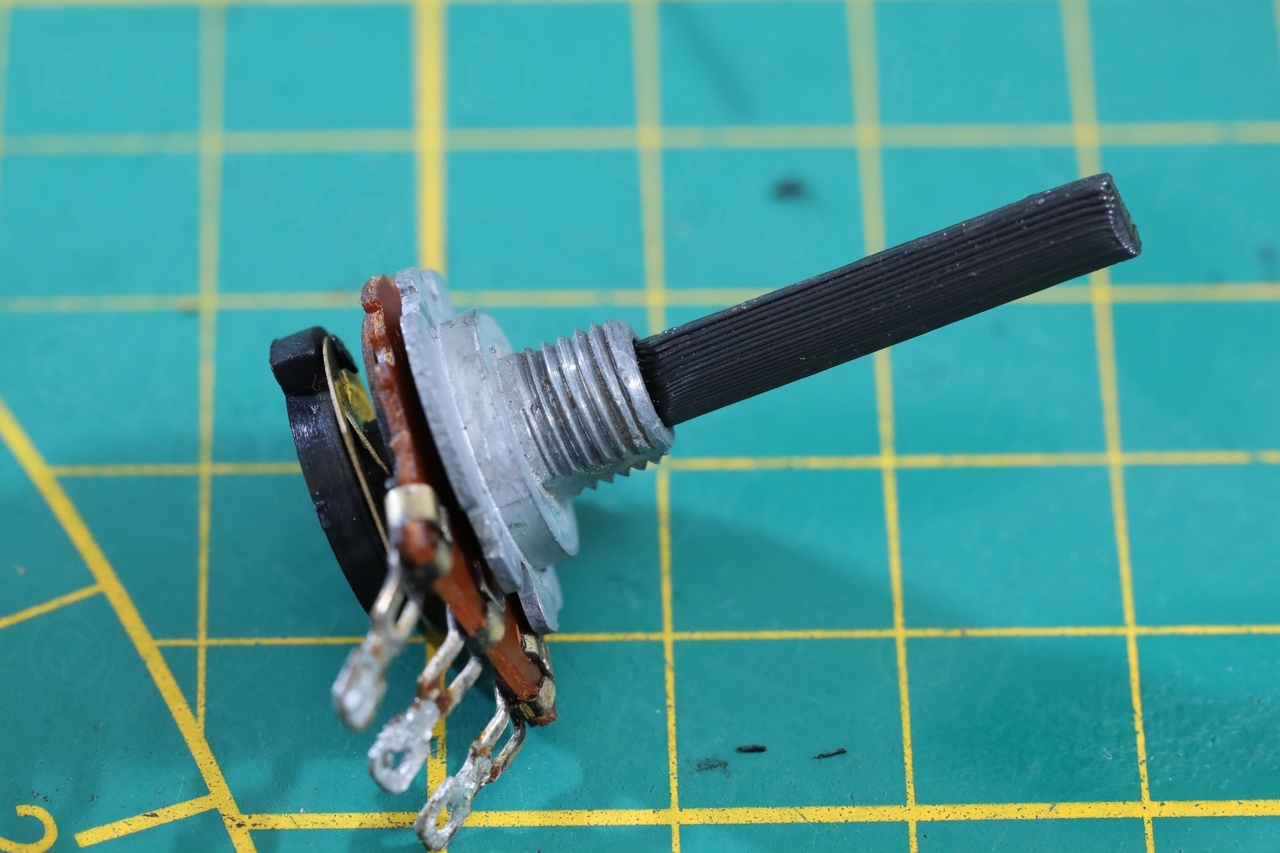
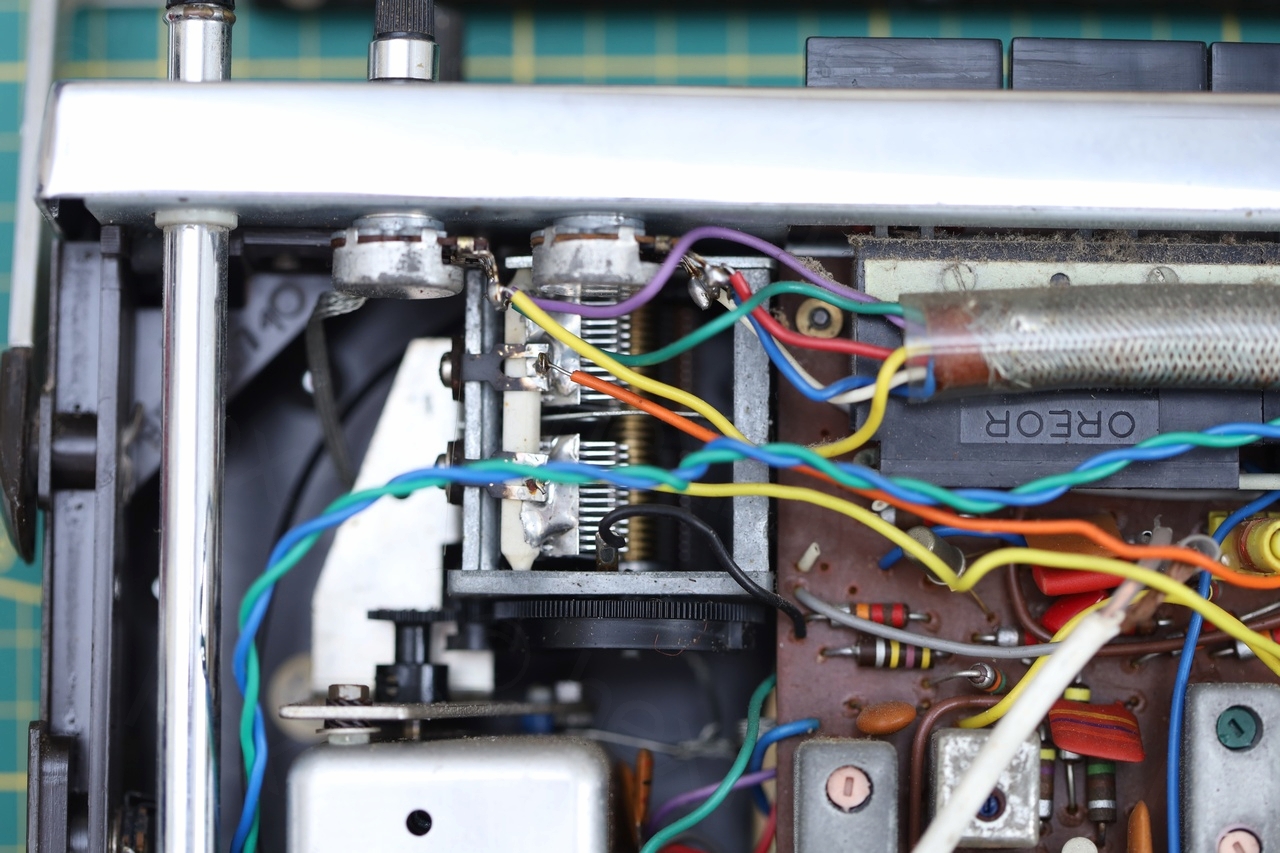
The potentiometer shaft diameter is 4mm. I settled on a 2mm hole drilled in the little stub that was still present inside the metal housing.
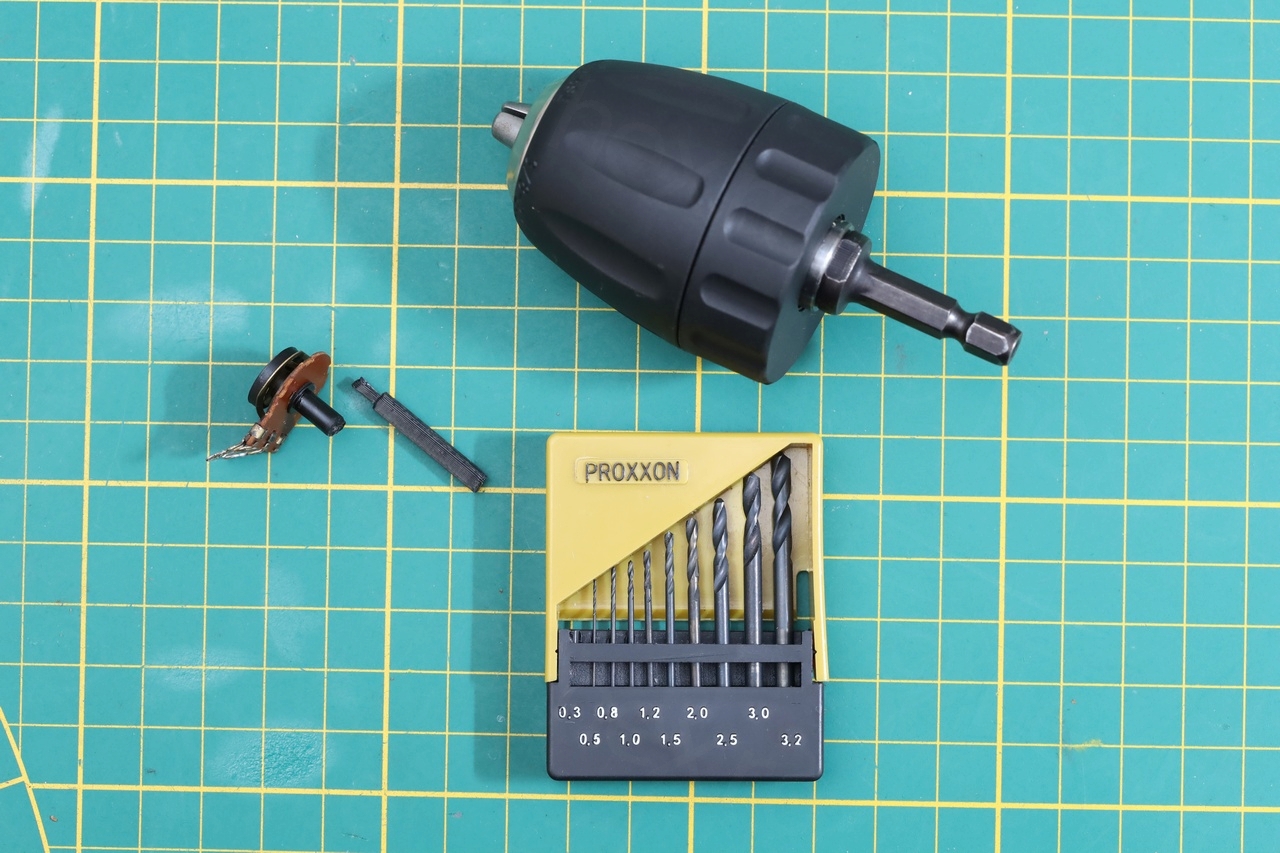
I manually drilled the hole starting with a 0.5mm drill, then 1mm and then the 2mm drill (otherwise I was afraid I may crack the existing shaft) – while trying to be as vertical as possible. To prevent destroying the potentiometer wiper while drilling, I took the potentiometer apart so that I can hold onto the other end of the shaft.
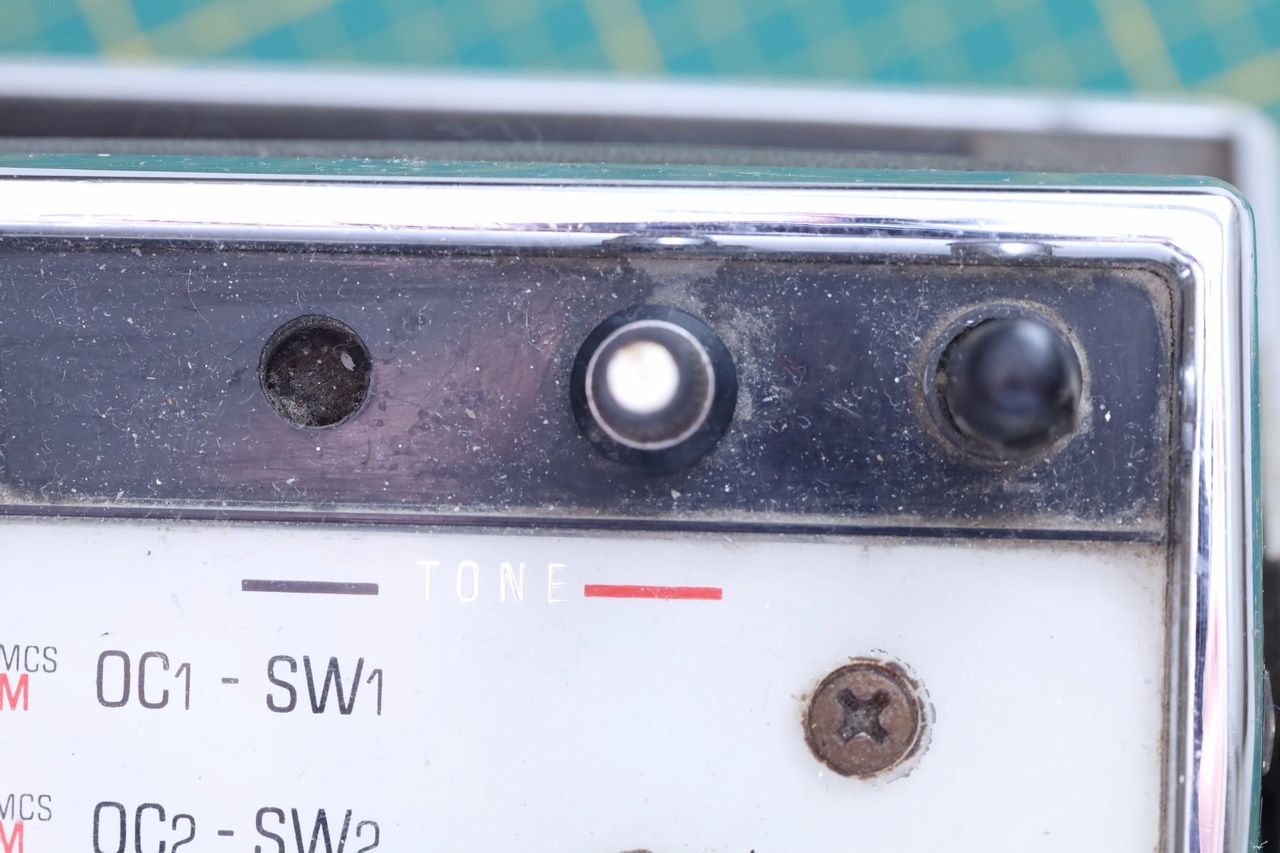
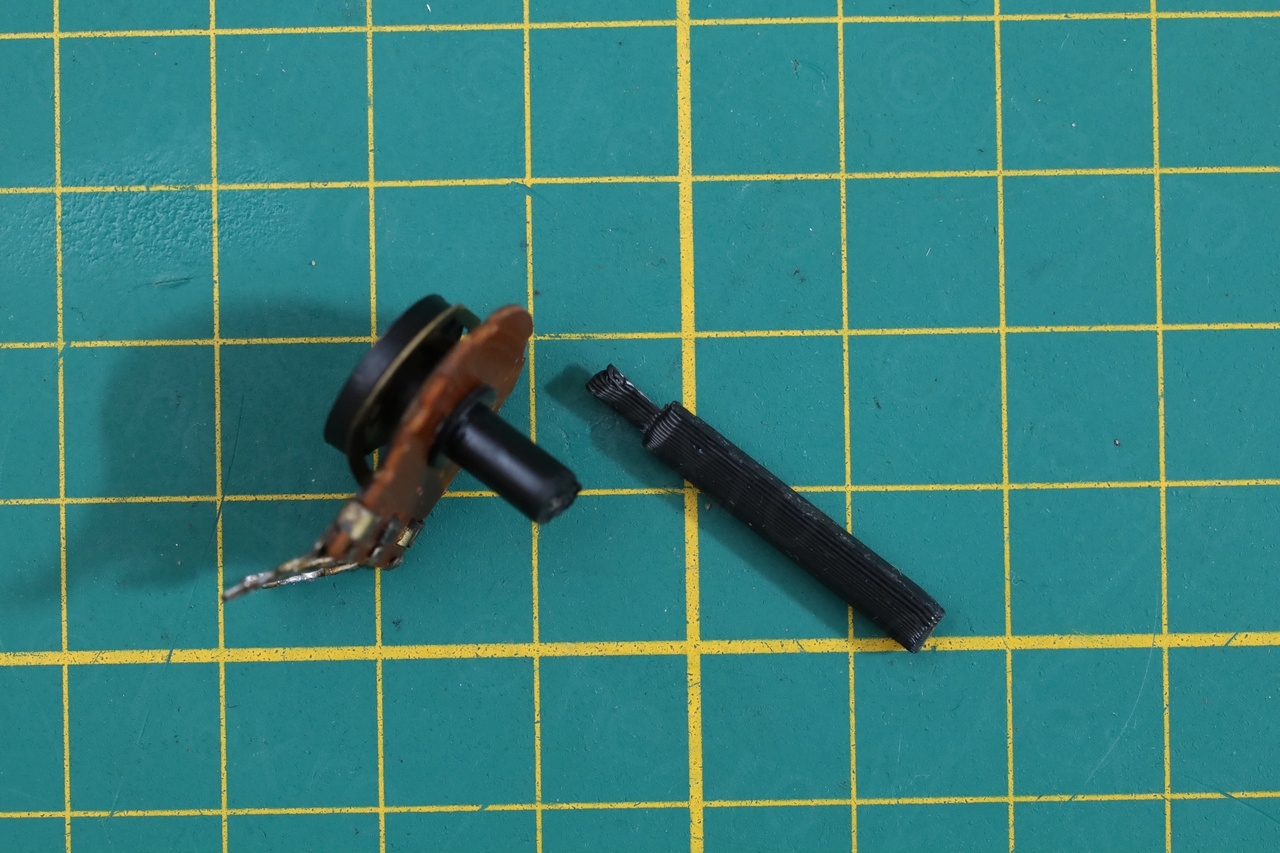
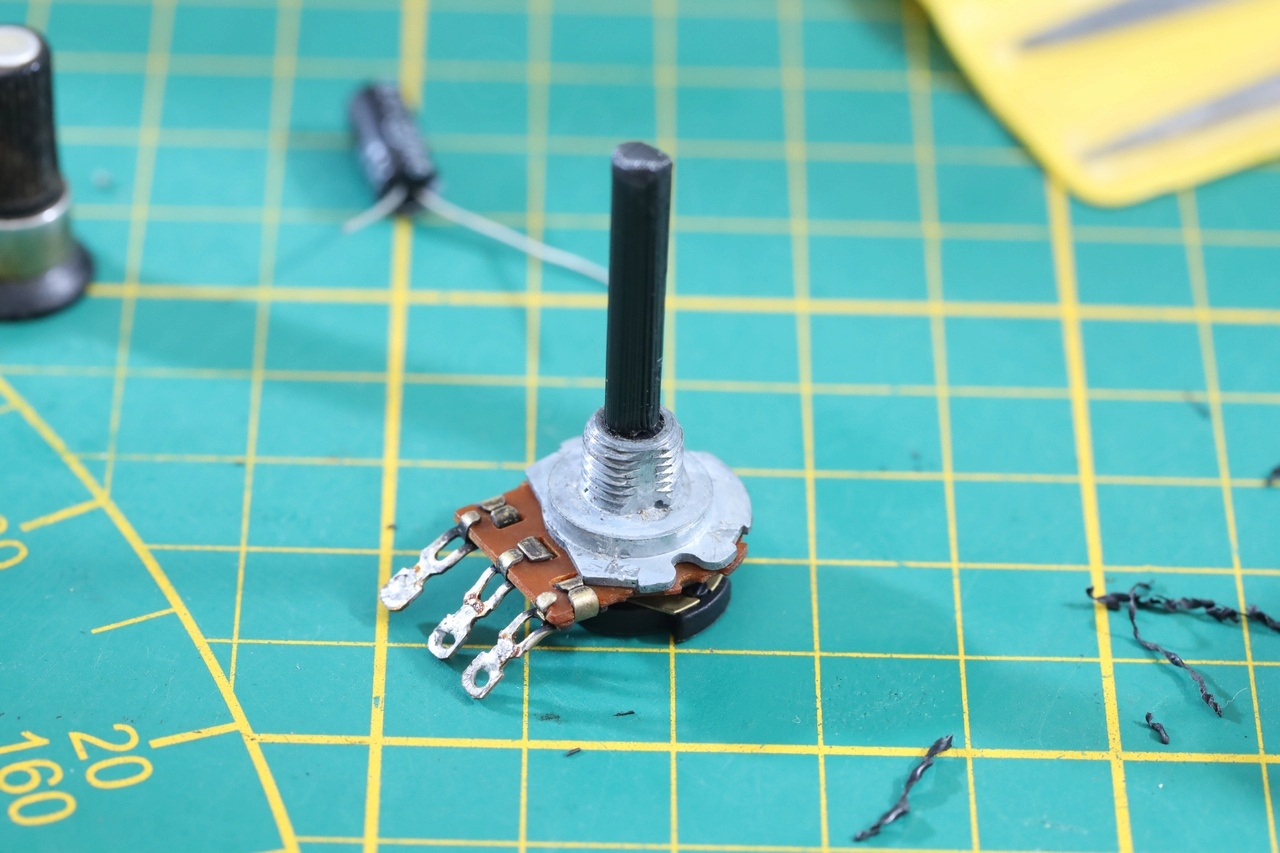
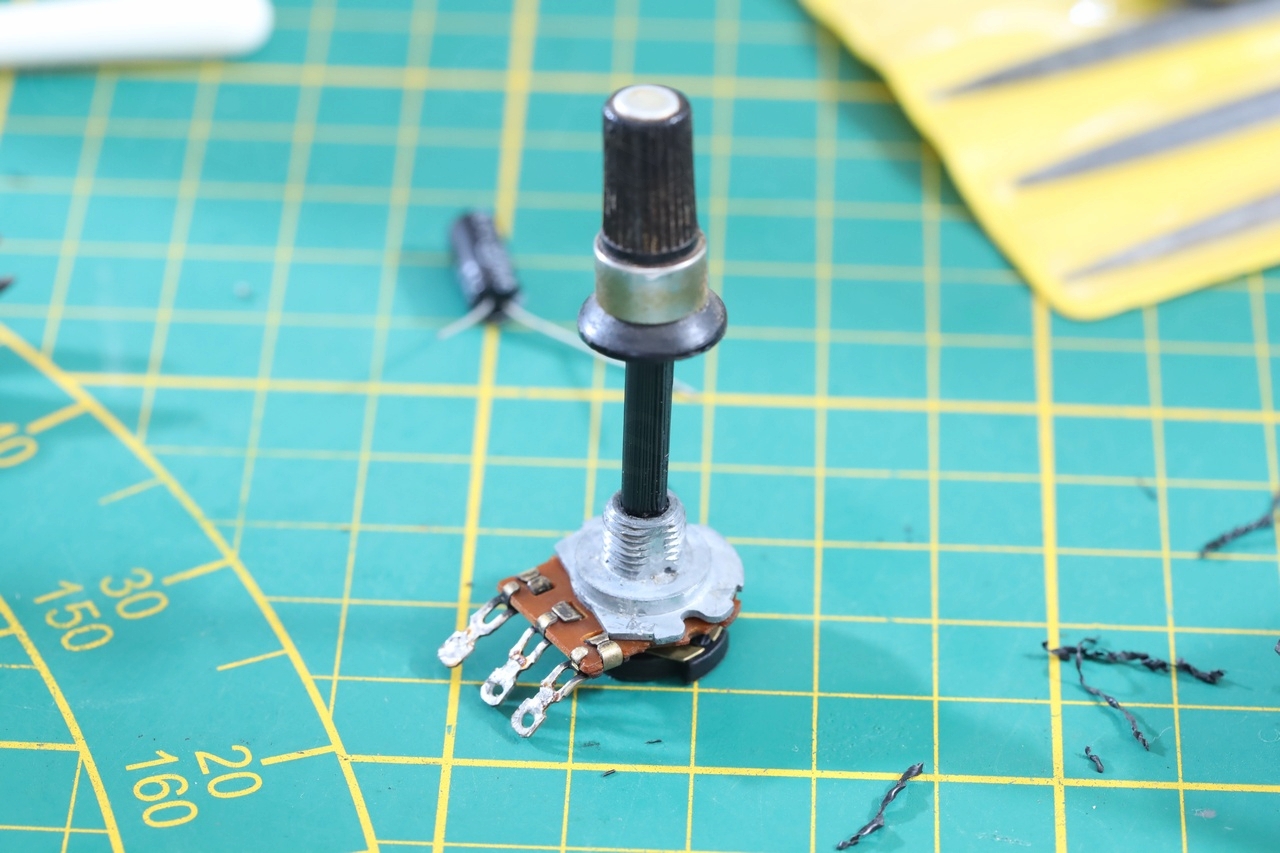
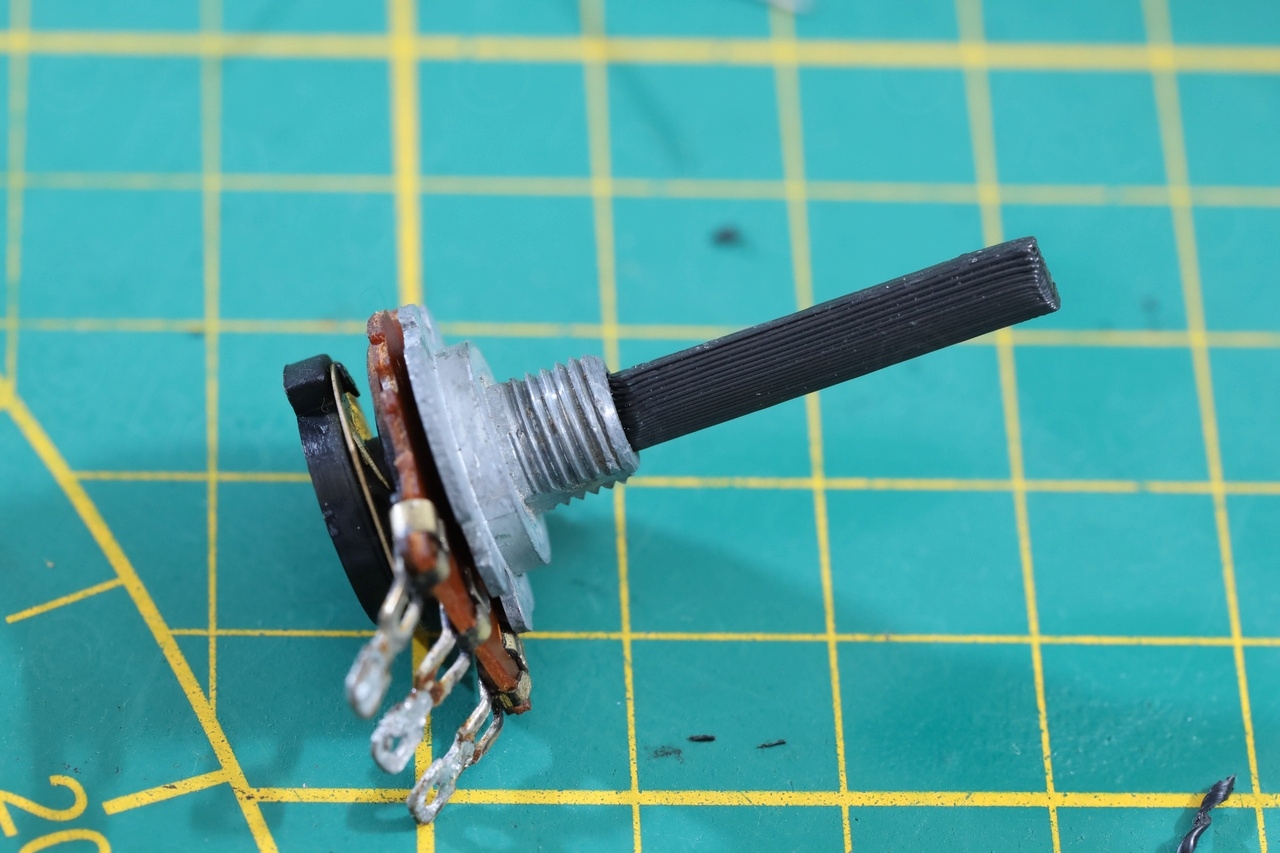
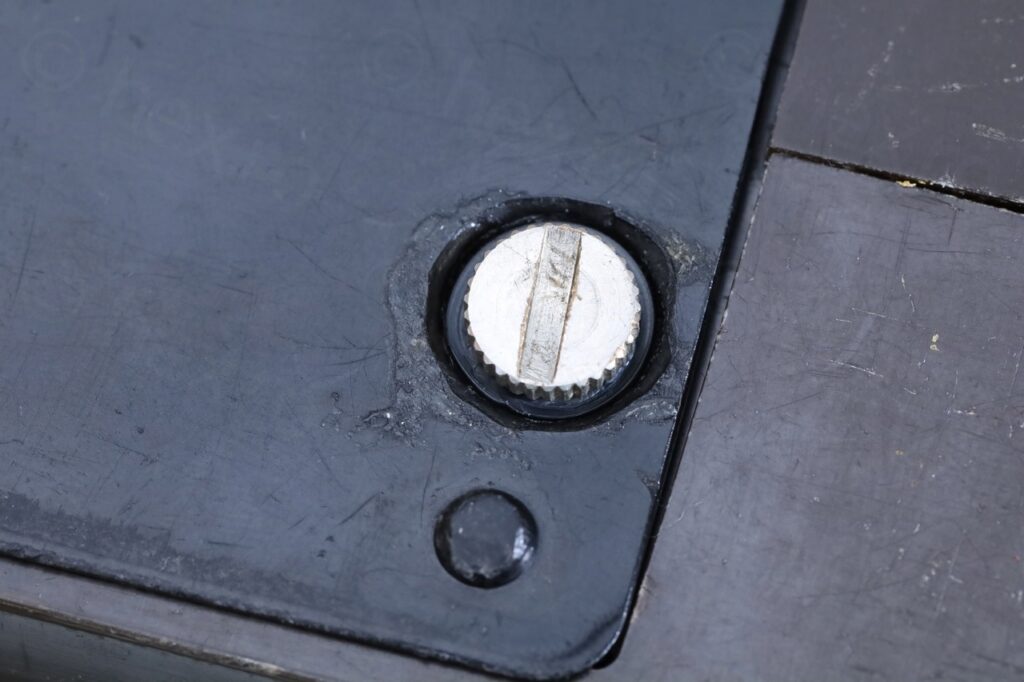
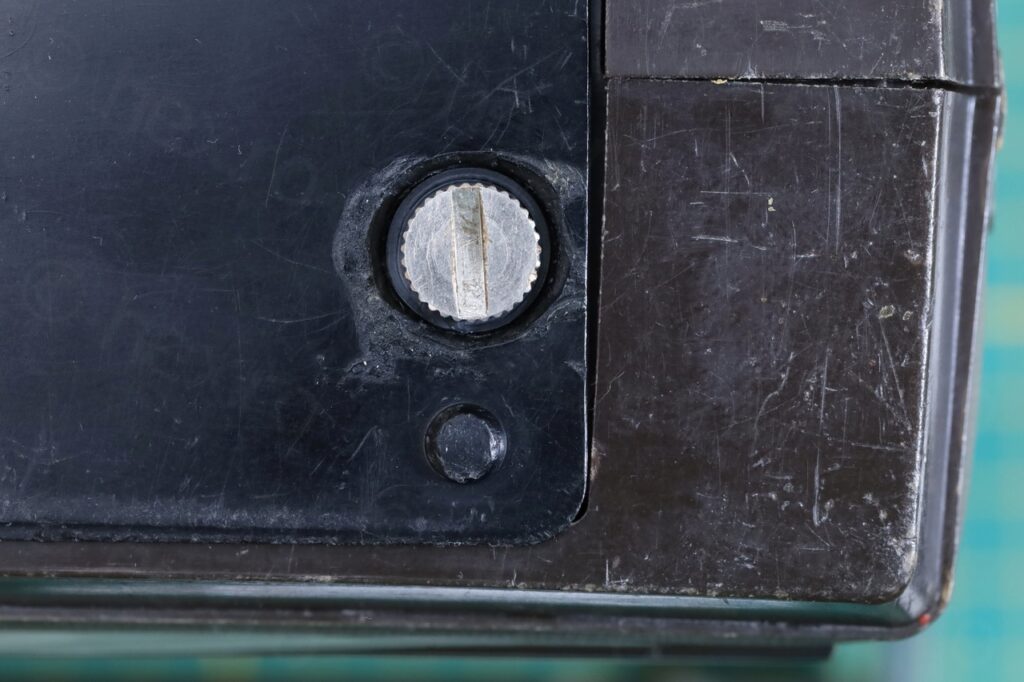
It all worked out beautifully. I decided not to glue anything together – they are just press fitted since I may come back to print a smoother shaft once I have a resin printer. But for now, it worked and looks perfect.
An idea why the shaft was snapped is friction. I had a very hard time taking the knob off the other existing potentiometer, fearing it may give way at any moment. But combination of patience of not pulling too hard payed off.
Battery cover mystery
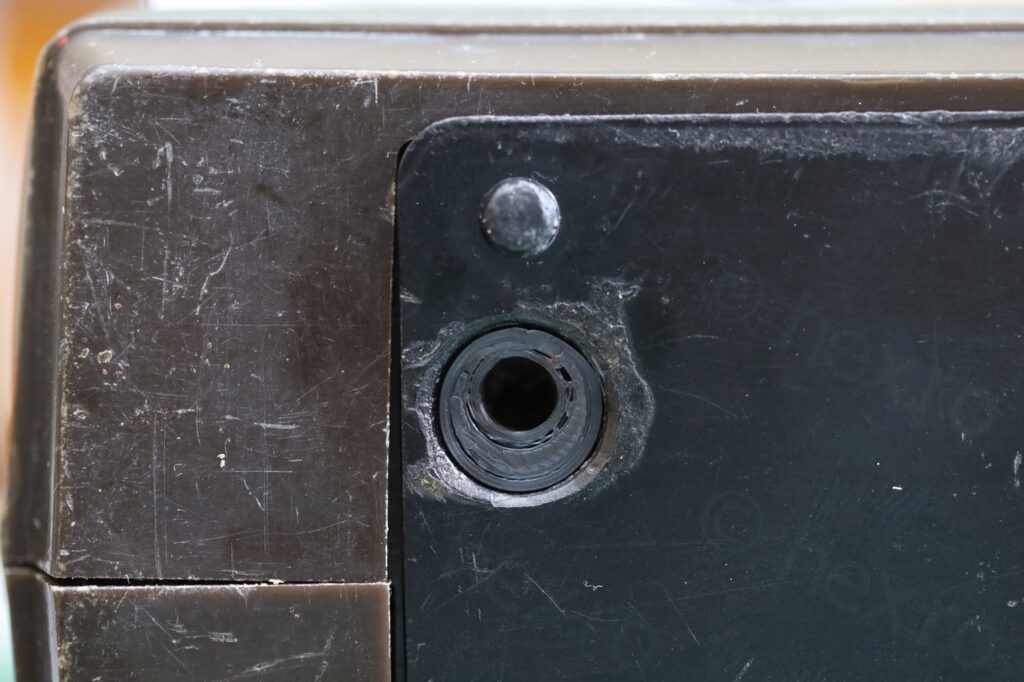
It still puzzles me why the battery lid suffered damage around the holes where the screws were supposed to go through. I also didn’t find any photos on the internet of an original to understand how I should proceed about it.
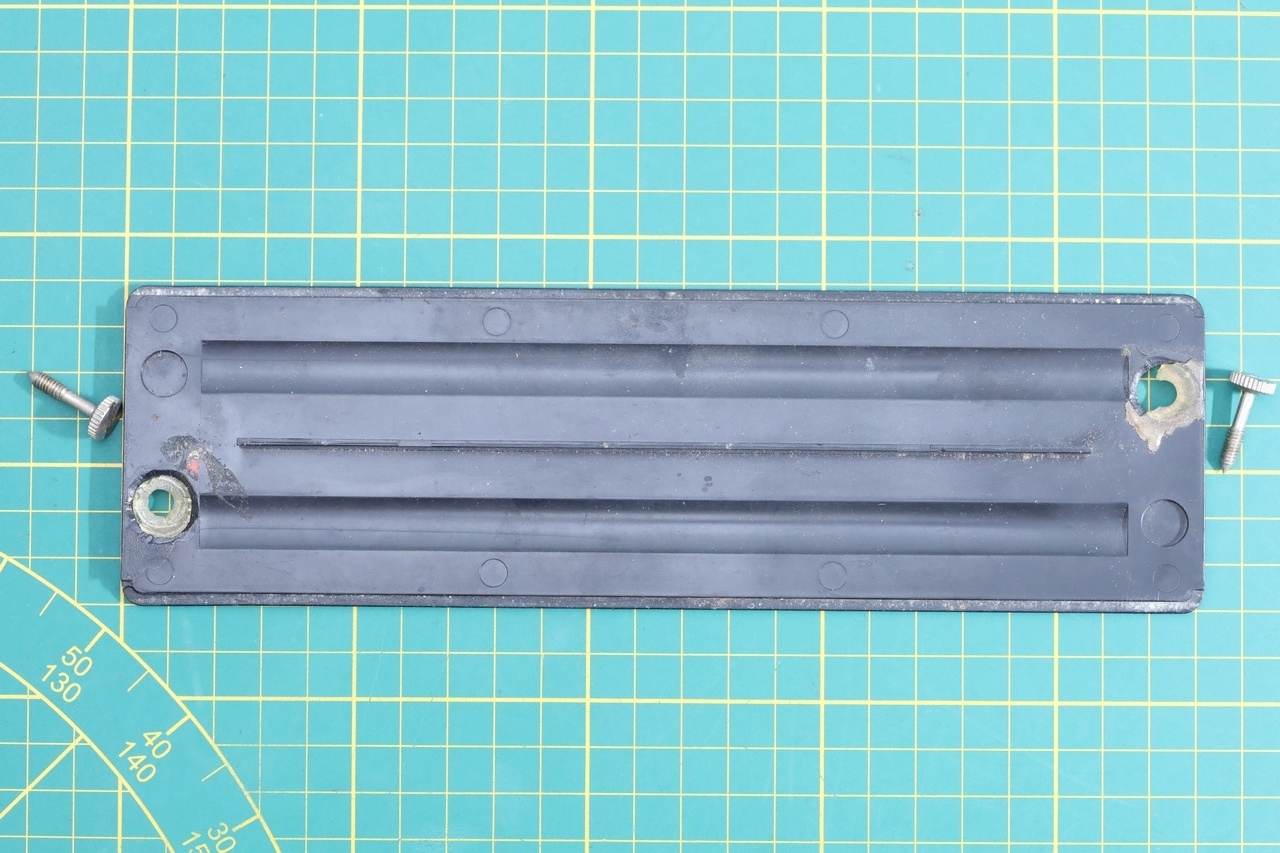

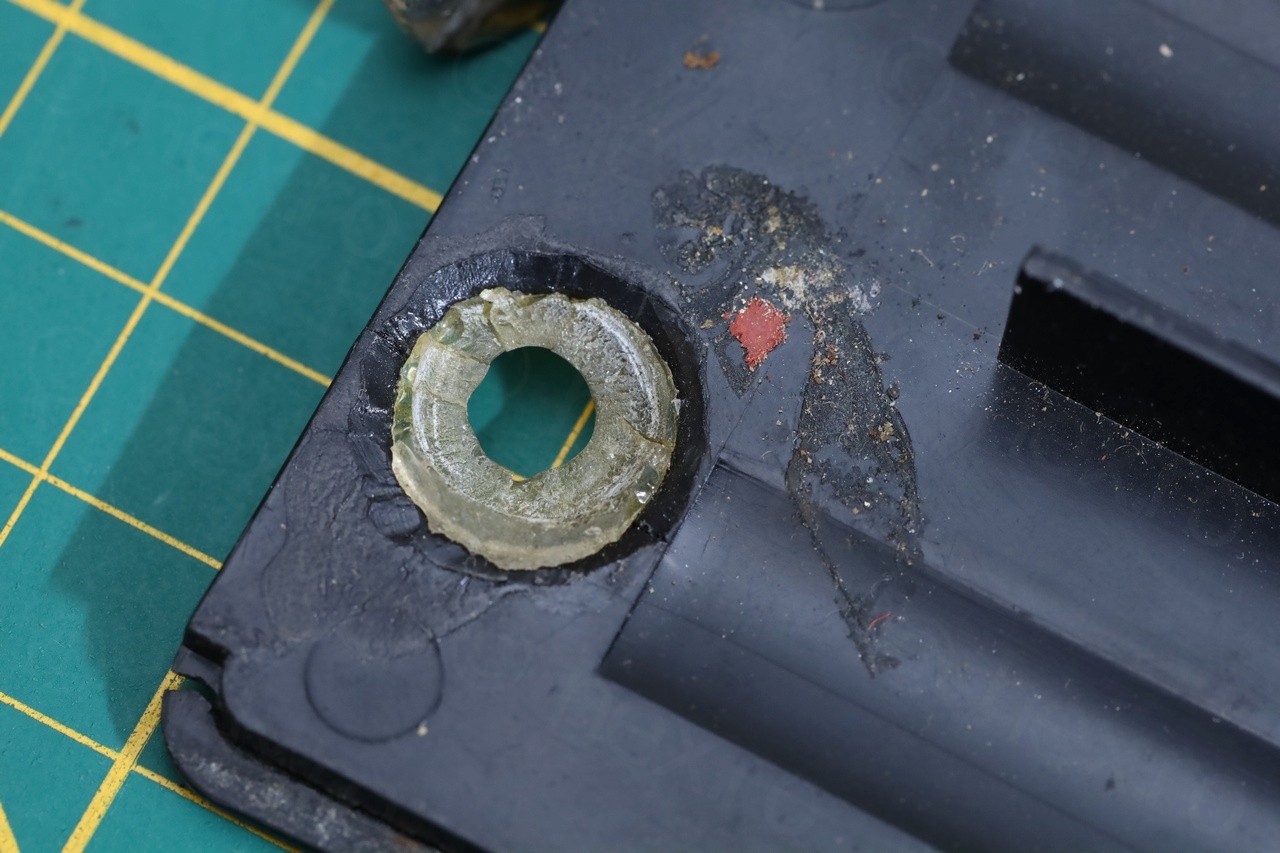
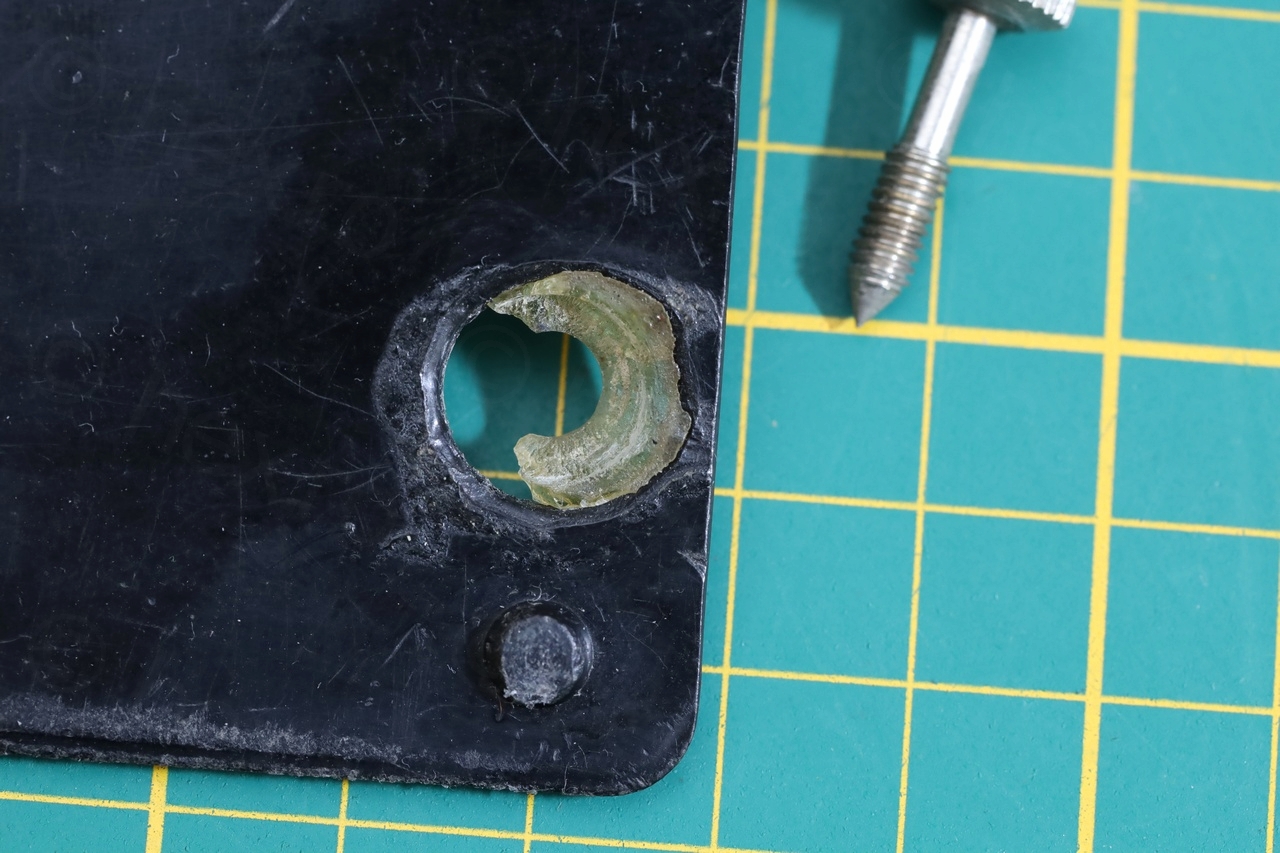
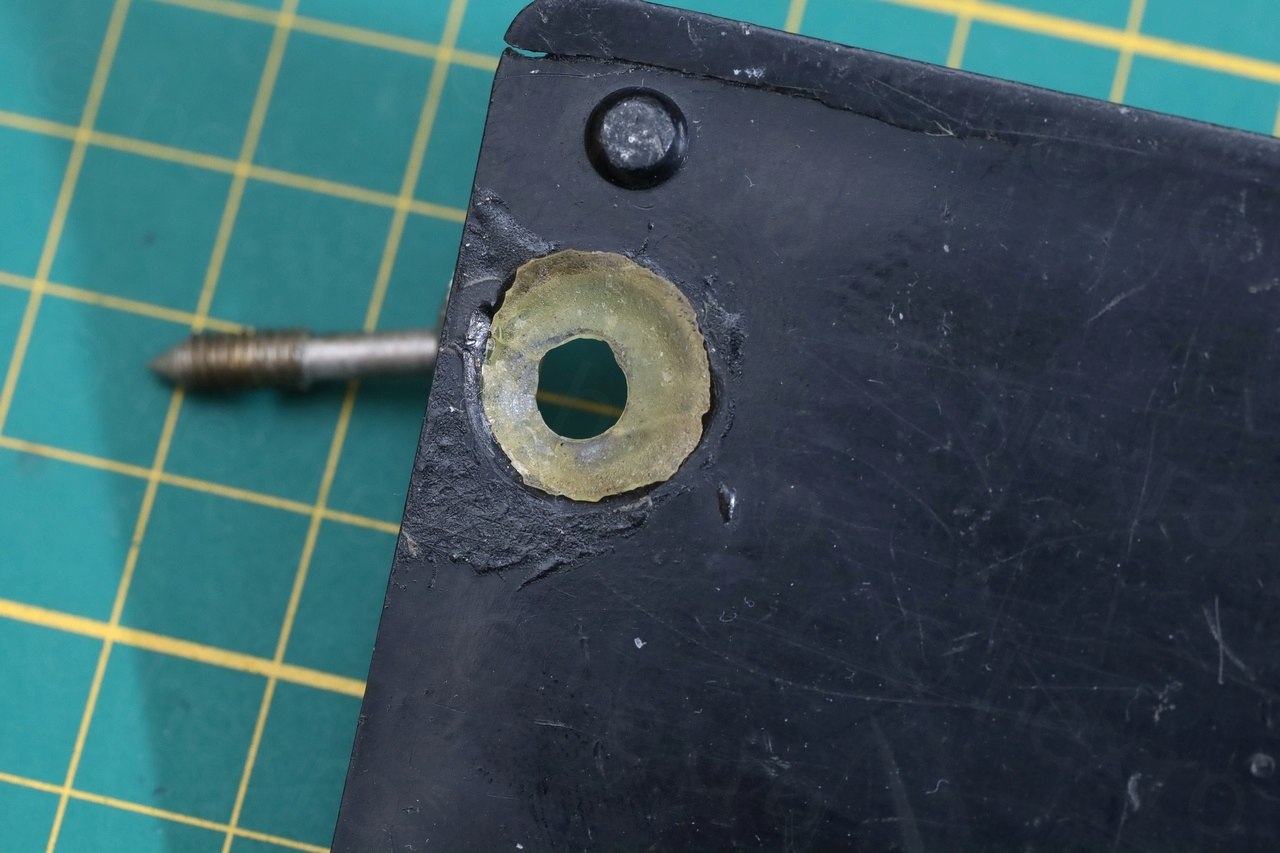
Somebody decided to drill larger holes and fill them with a sort of epoxy, which was then re-drilled for a smaller hole to allow for the screws to go through.
Neither of the drilled holes were centered and while trying to inspect the epoxy, it crumbled on one of them.
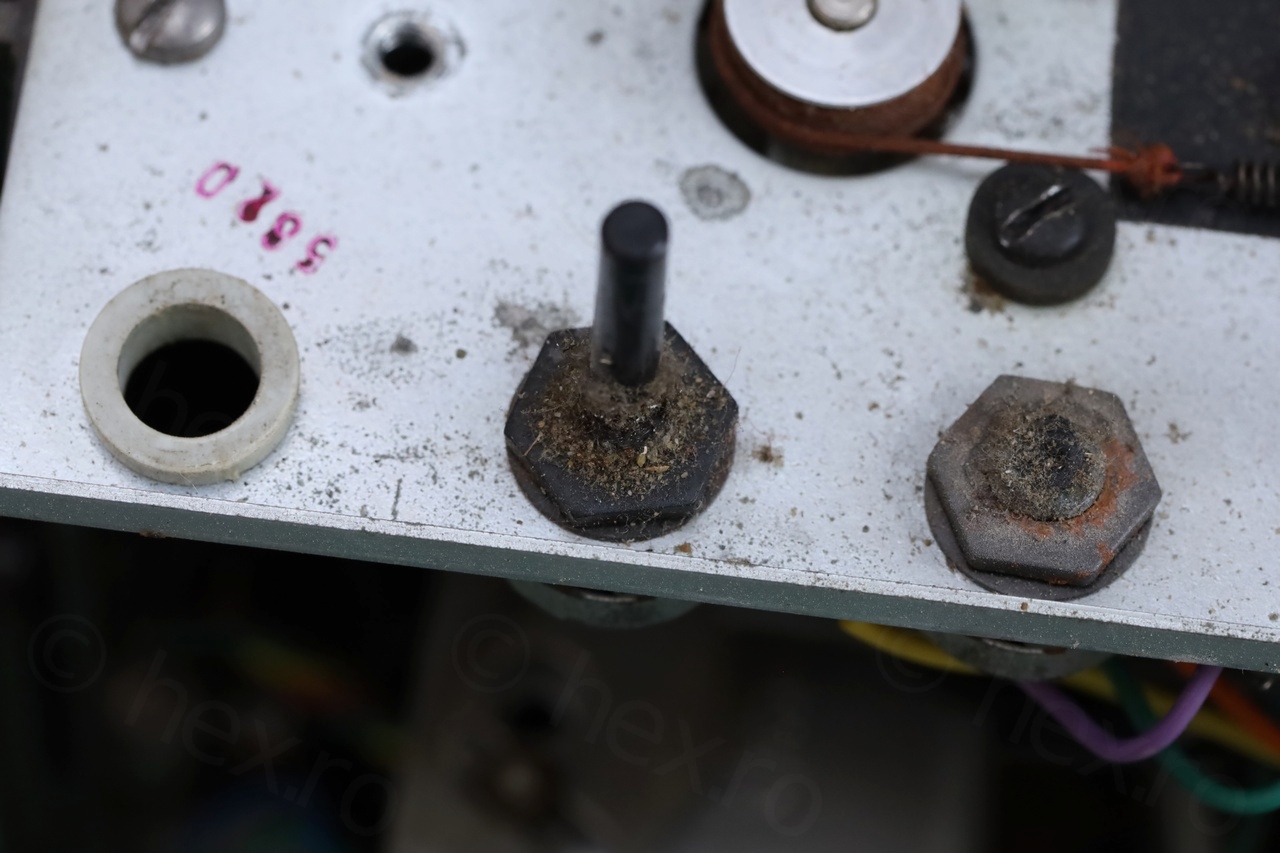
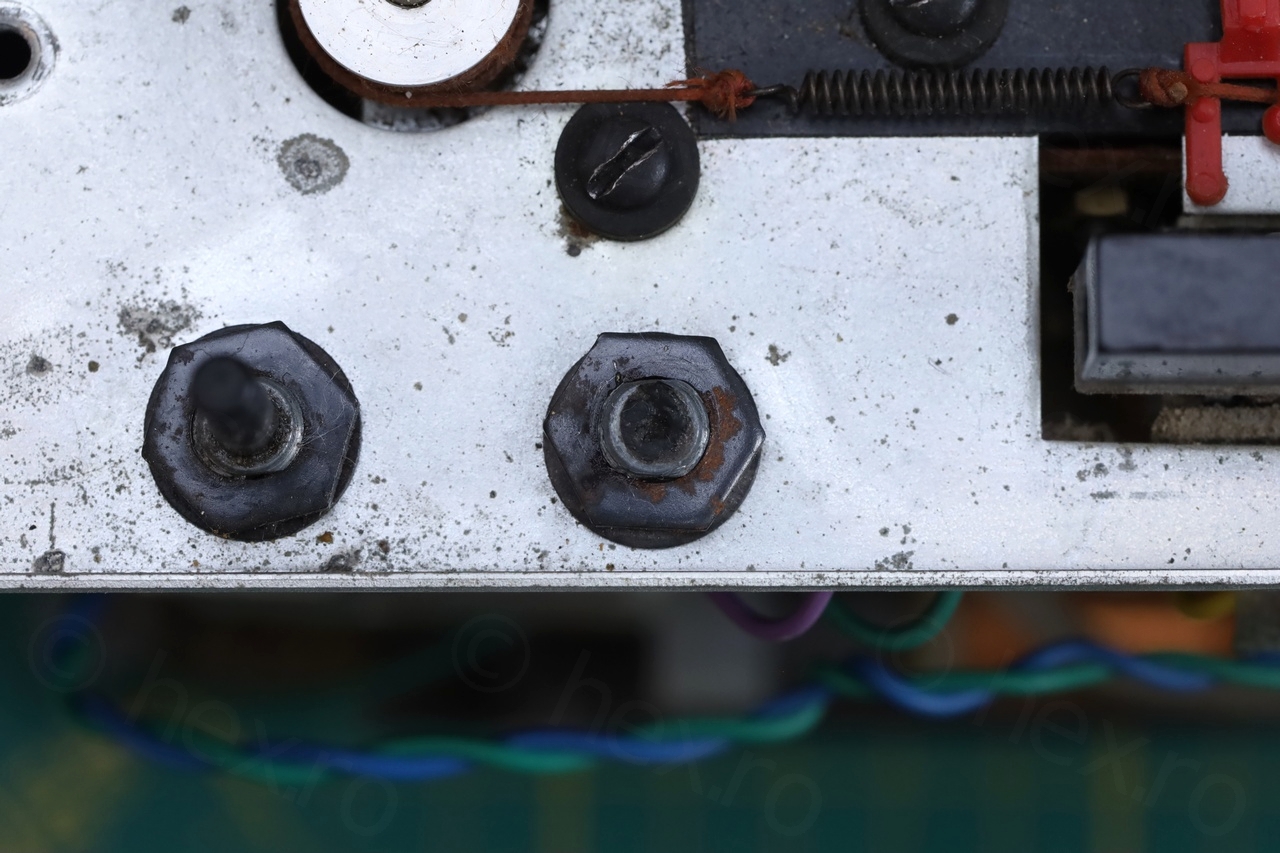
Looking inside the radio, I also saw a big goop of glue:
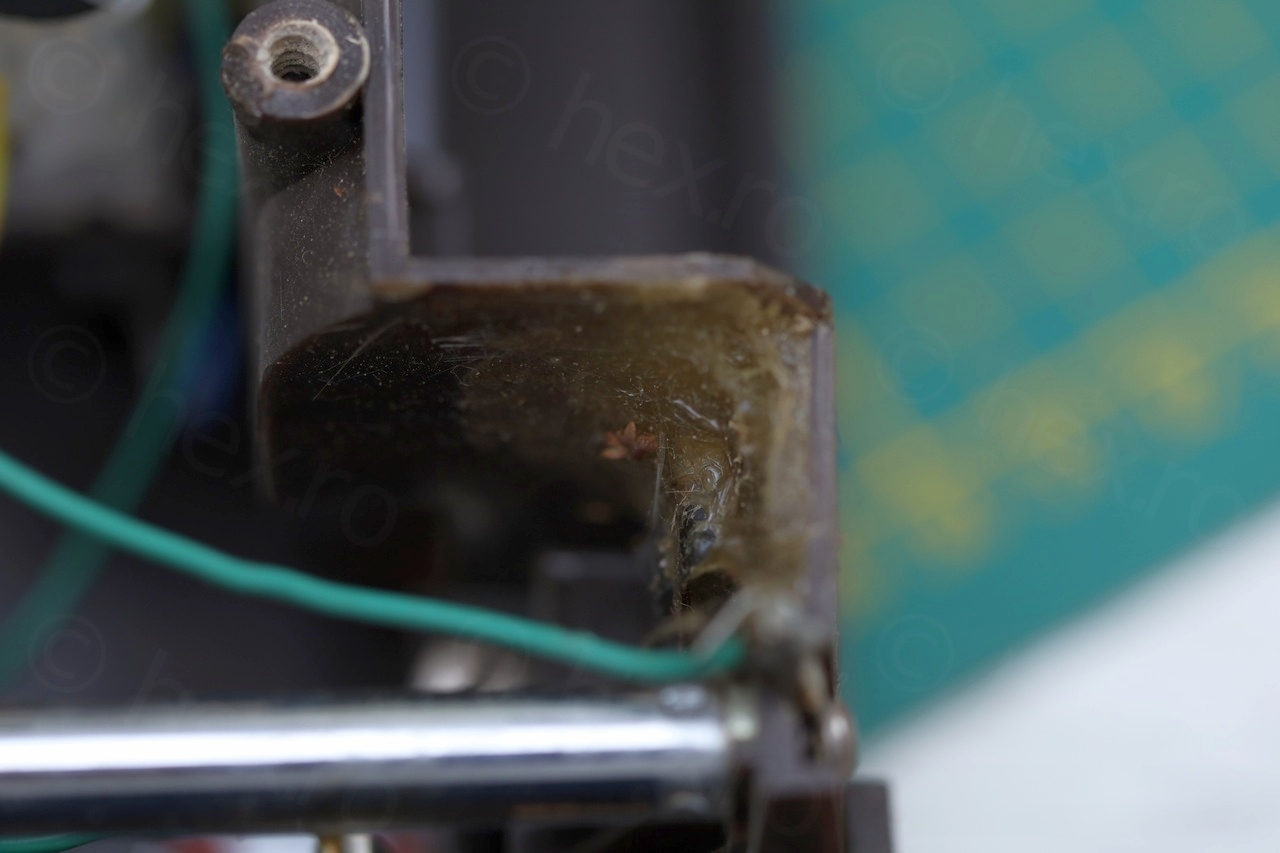
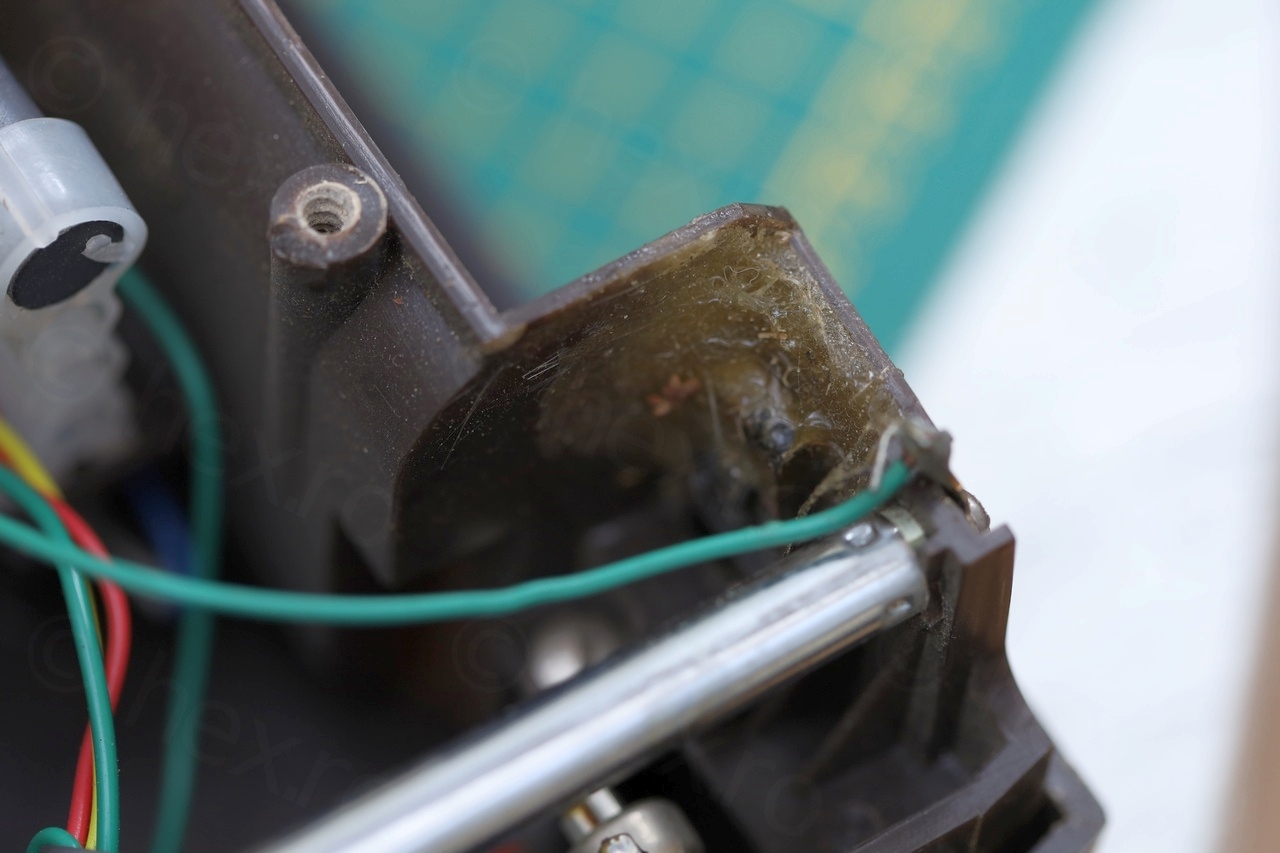
This leads me to believe that the support of the speed nut (to which the battery lid screw goes in) was damaged, there was an attempted repair, but the nut was glued a little sideways. The corresponding screw had to also go a bit sideways. Not to mention that the enlargement wasn’t concentric with the initial hole, so the new screw-hole had to be off-centered too.
I decided to 3D print a plug for the hole with the crumbled epoxy – just to see if it works:

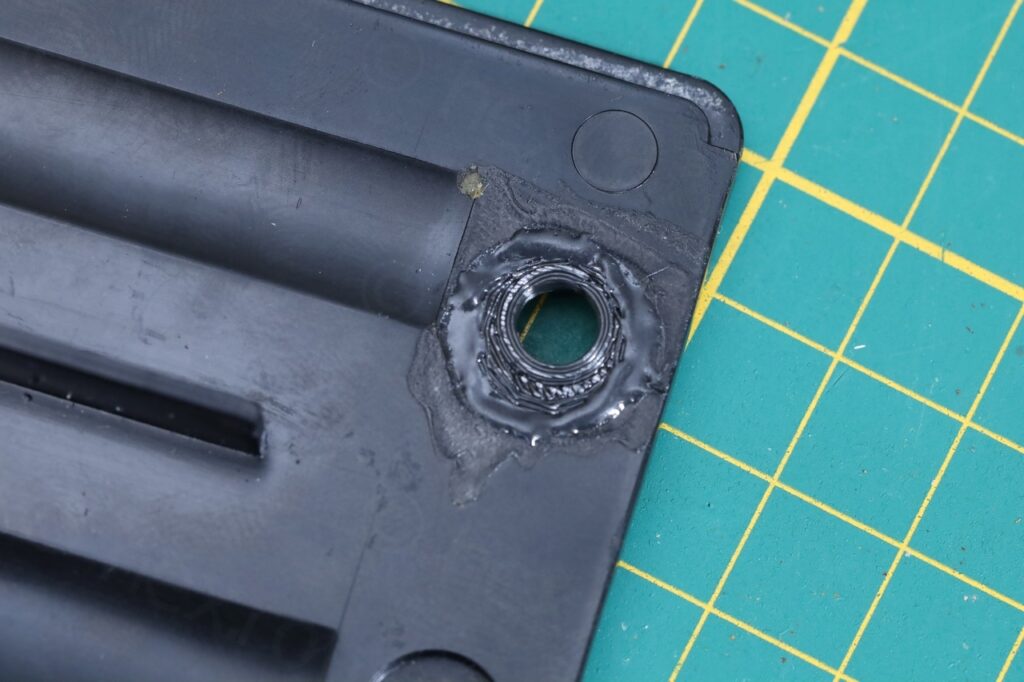
This worked just fine for one of the holes. For the other one I decided to leave the epoxy in place – as a bookmark of the past 🙂
Minor fixes
FM / SW antenna had a bit of a rough time too – I needed to bend a broken lip back:

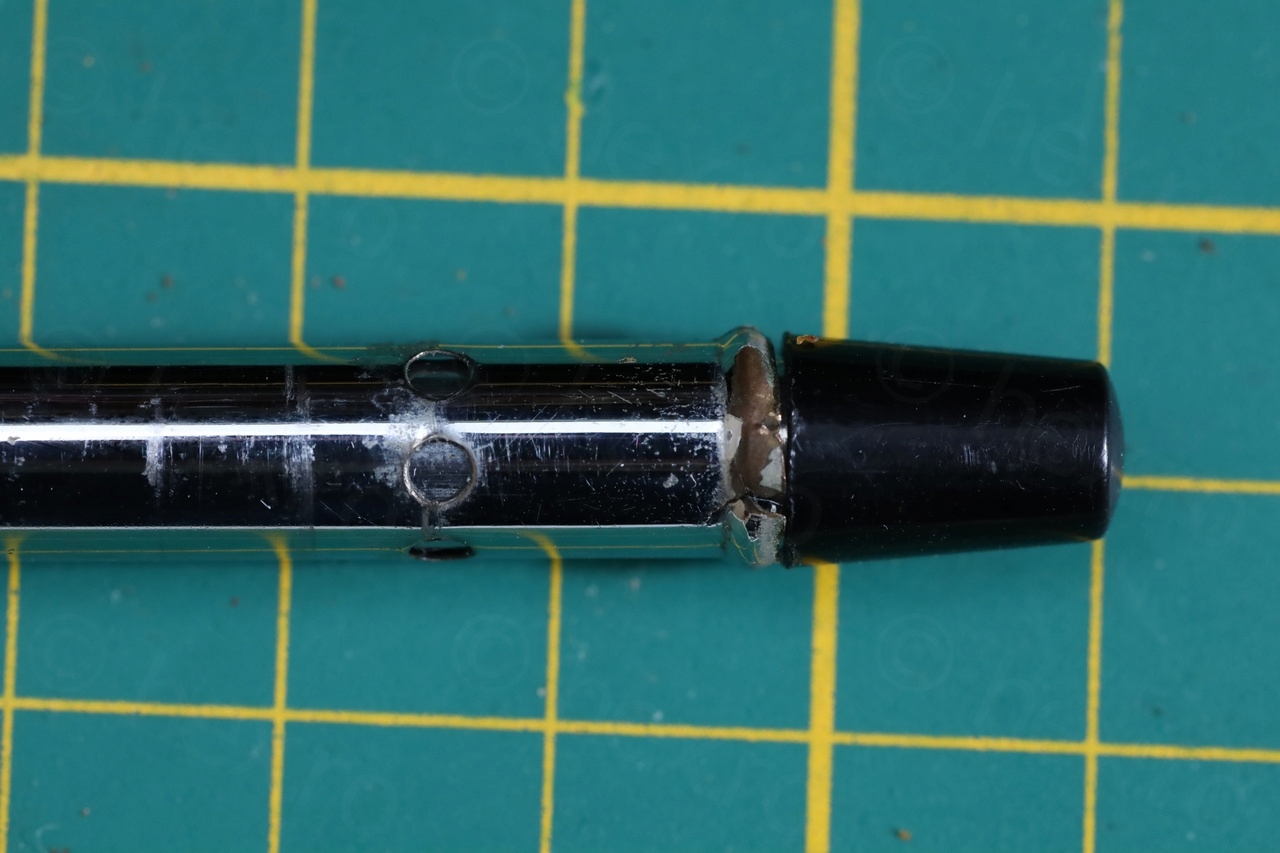
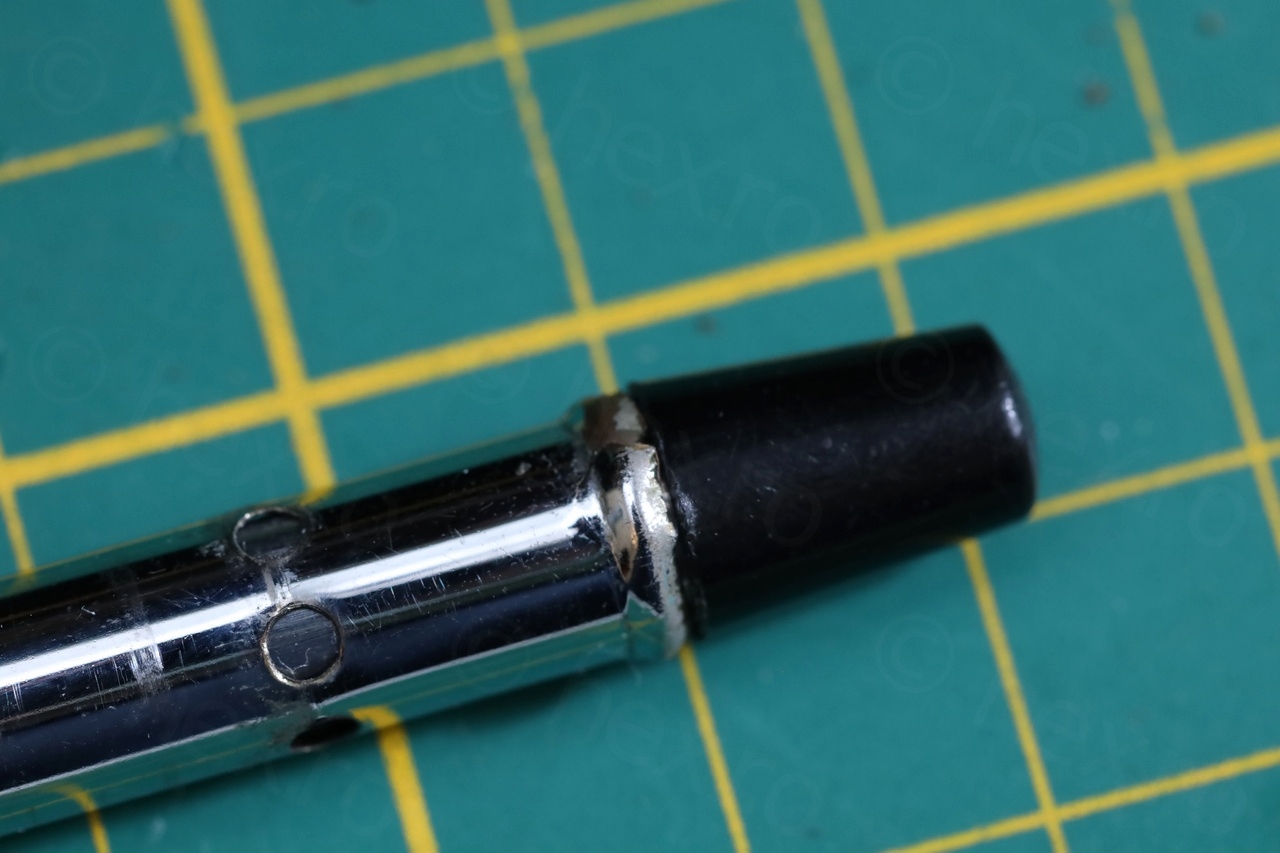

You can’t push too much inwards otherwise it tends to deform as the metal is soft. This is now better than when I got it – you can’t even see the small gap – it becomes apparent on the macro shot only above.
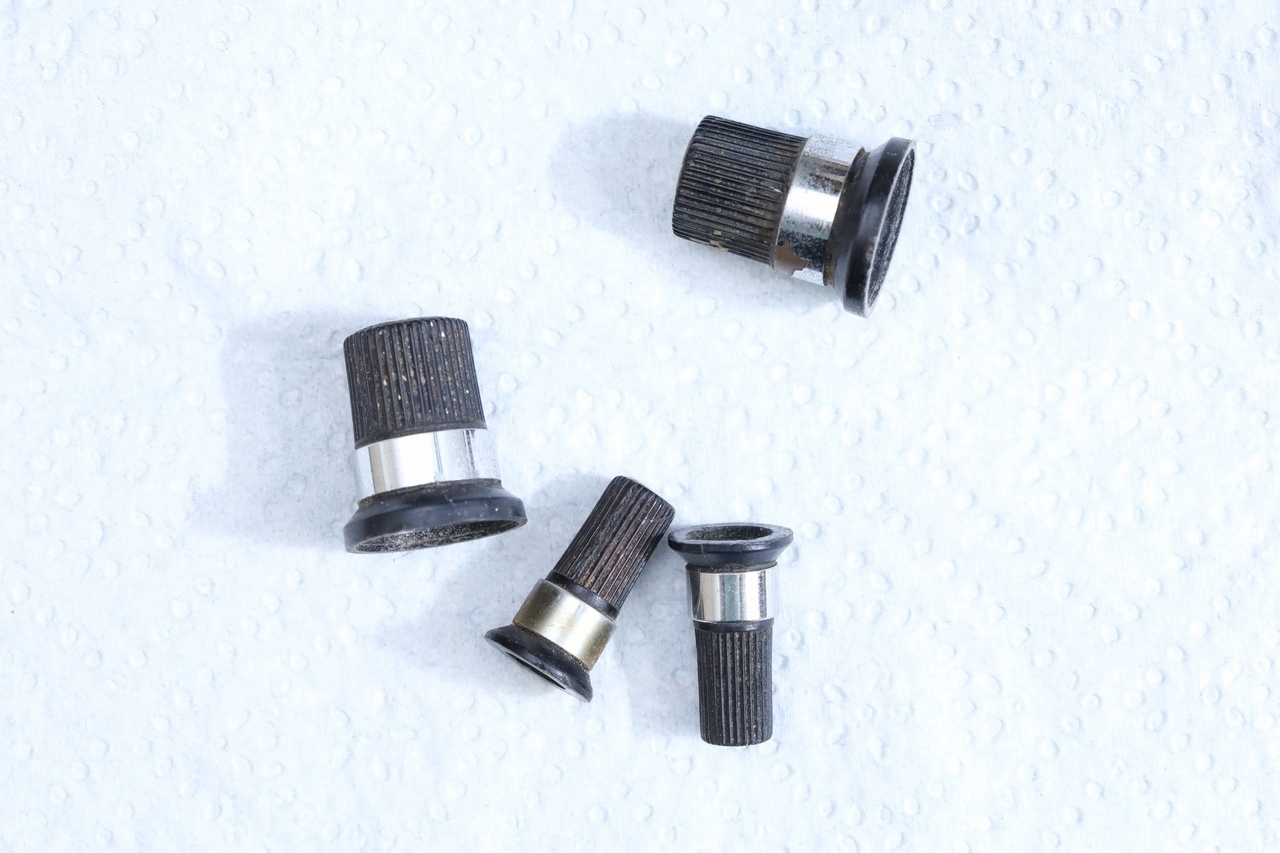
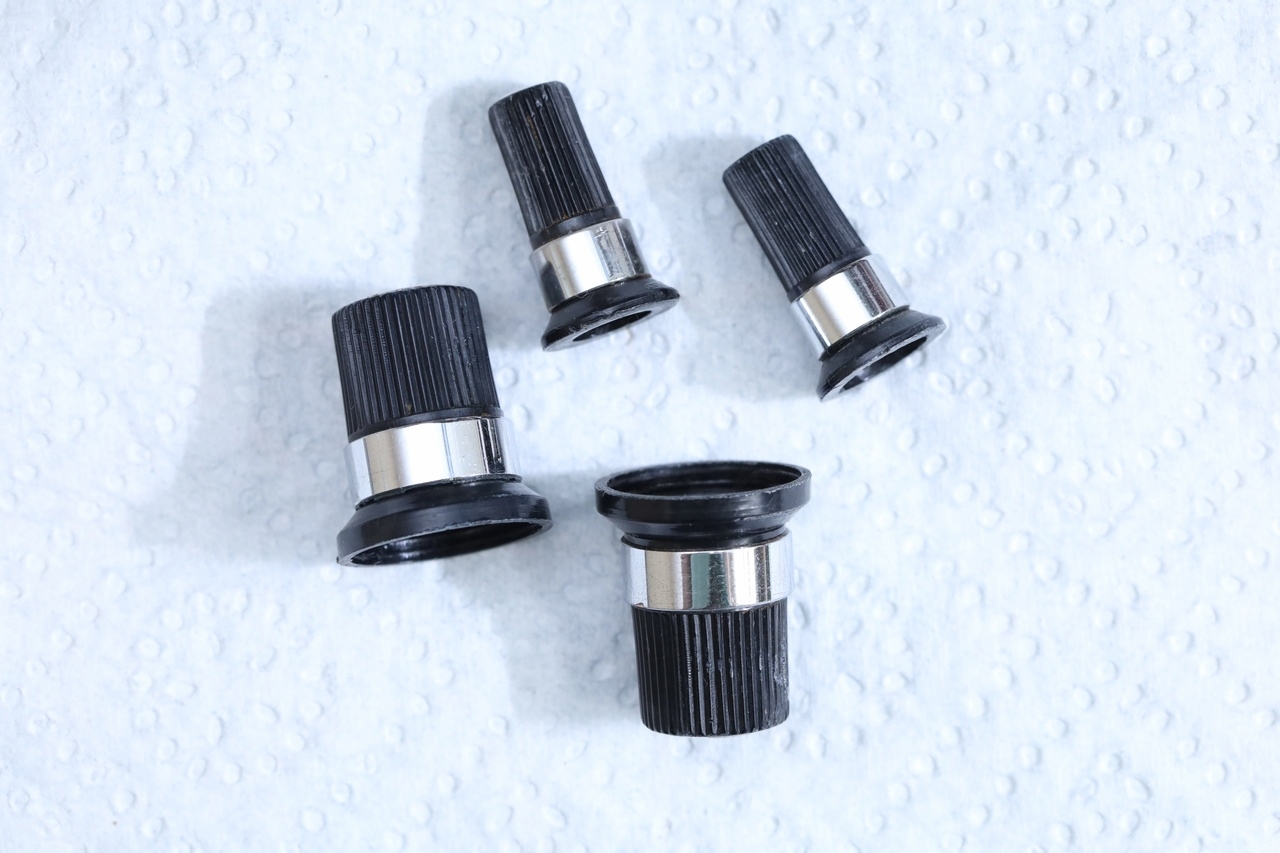
Also, the buttons needed some deep scrubbing:
Contact cleaning and de-dusting
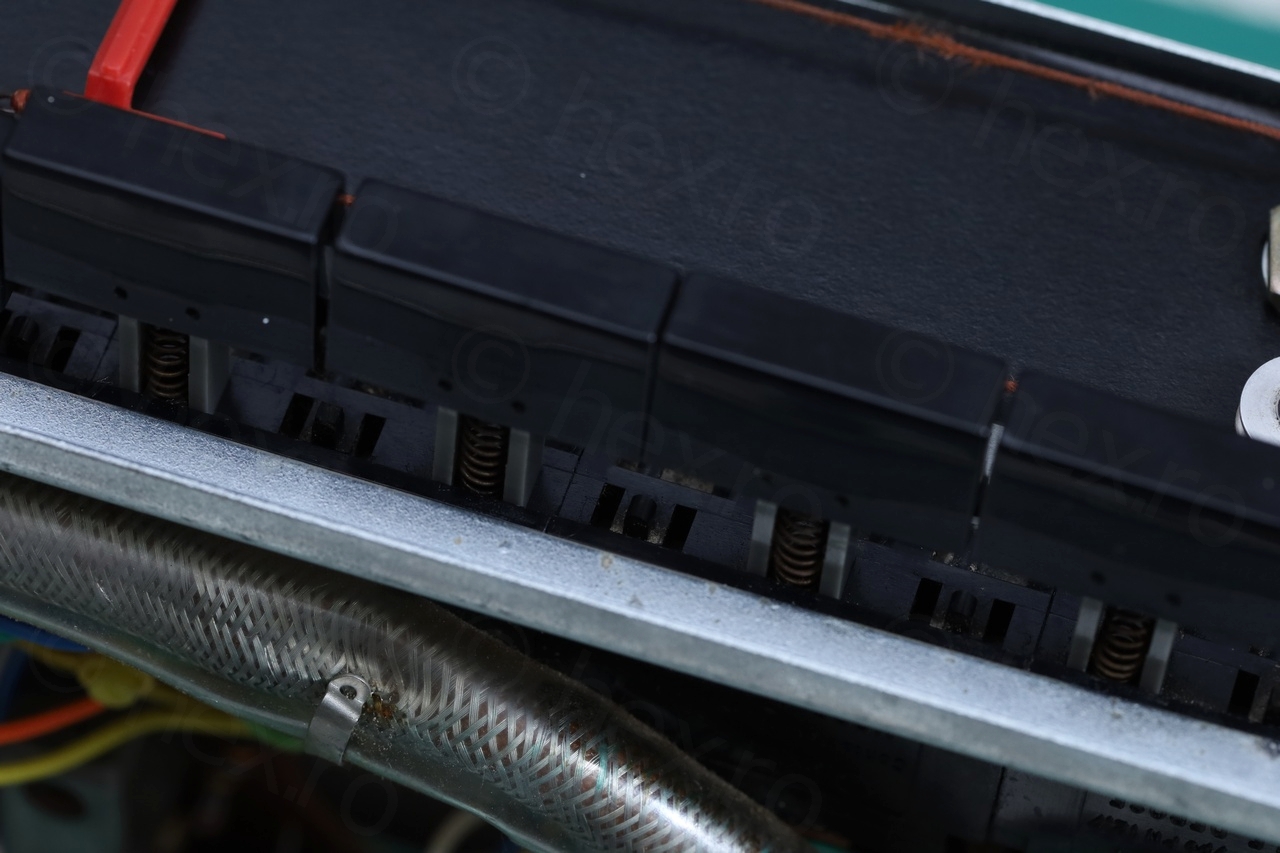
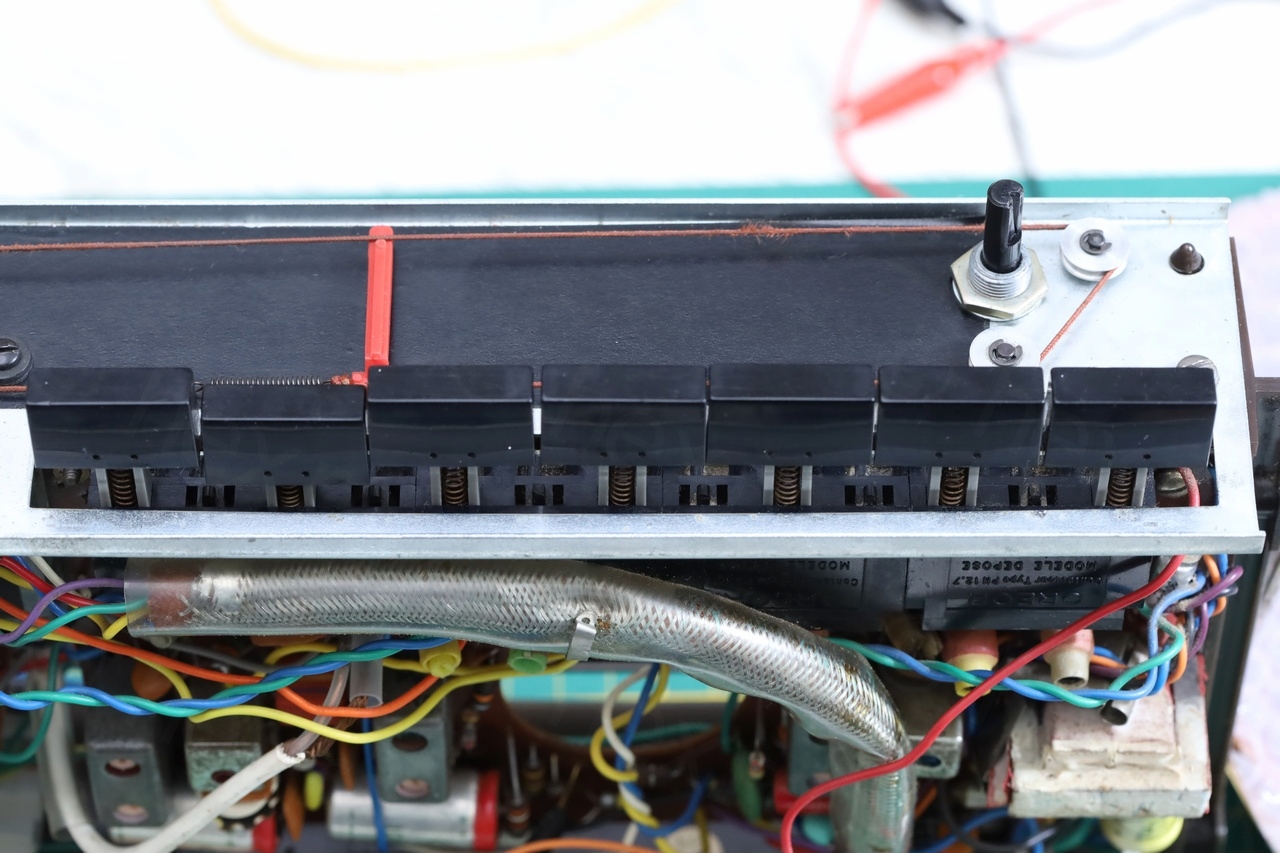
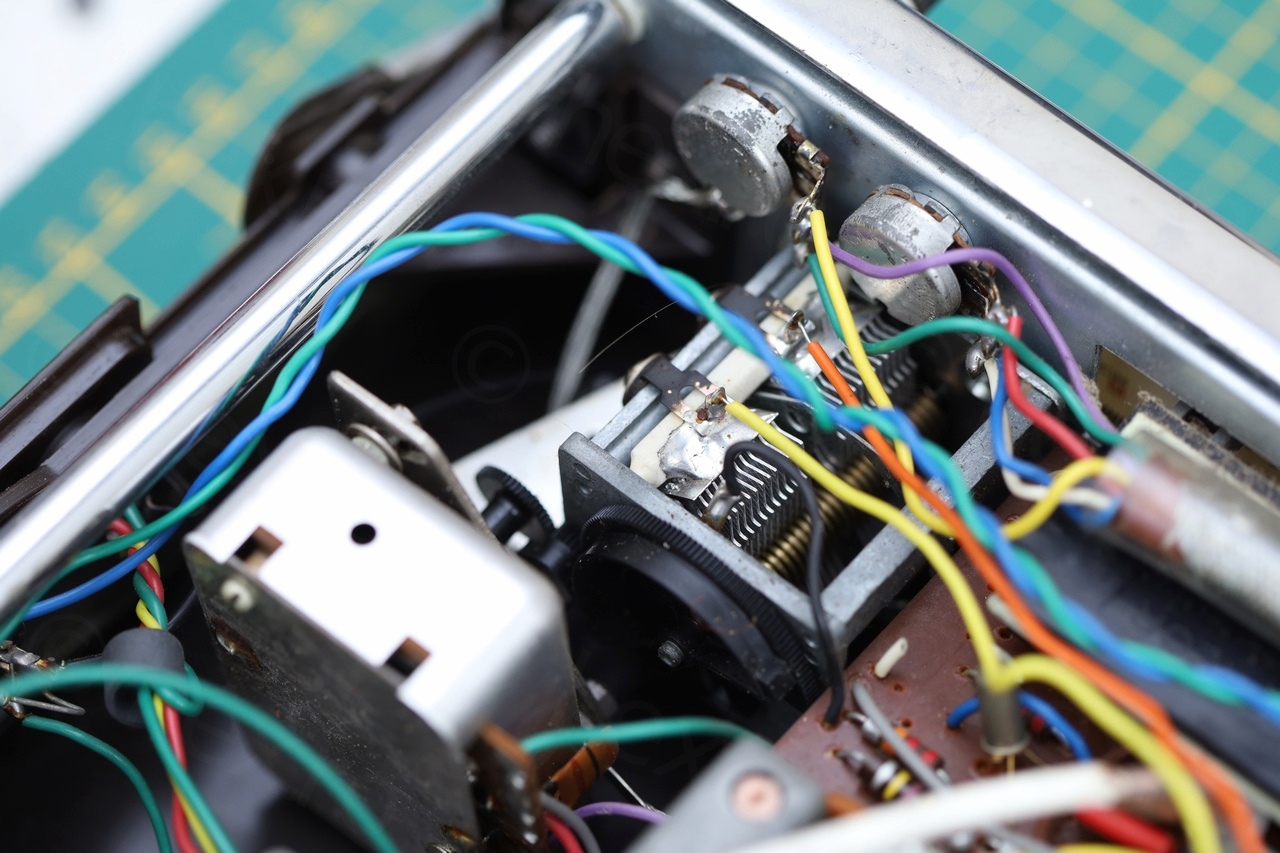
The whole tuning block was very very scratchy – with loud pops even if volume was set to minimum.
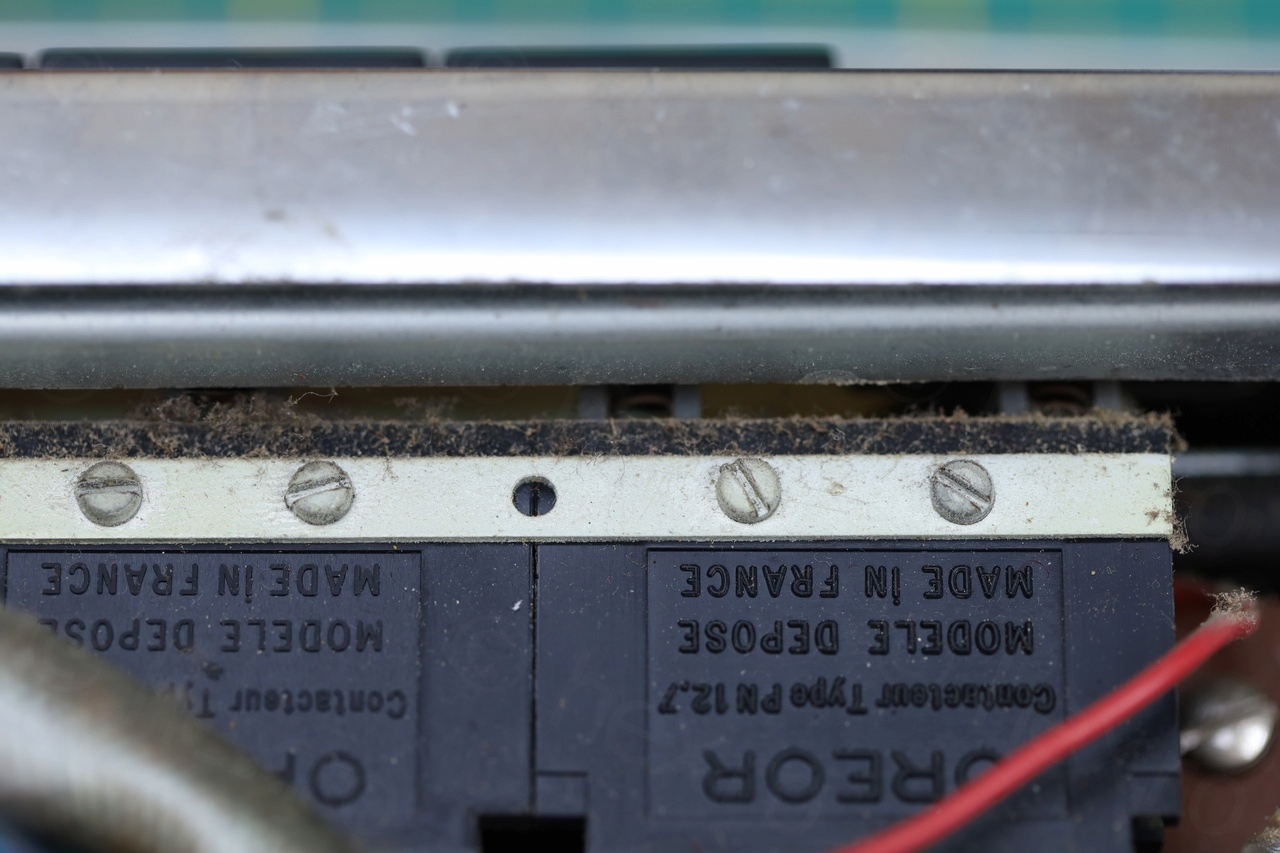
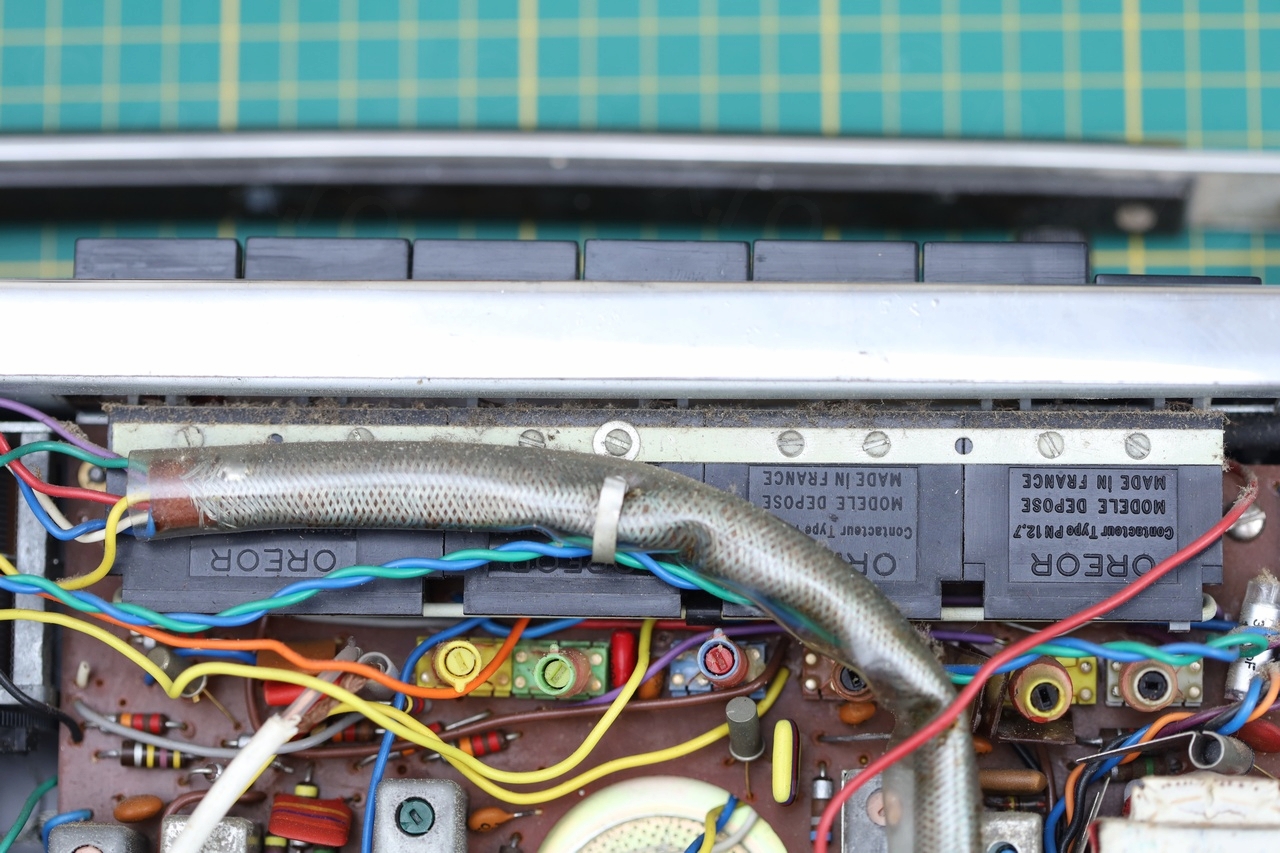
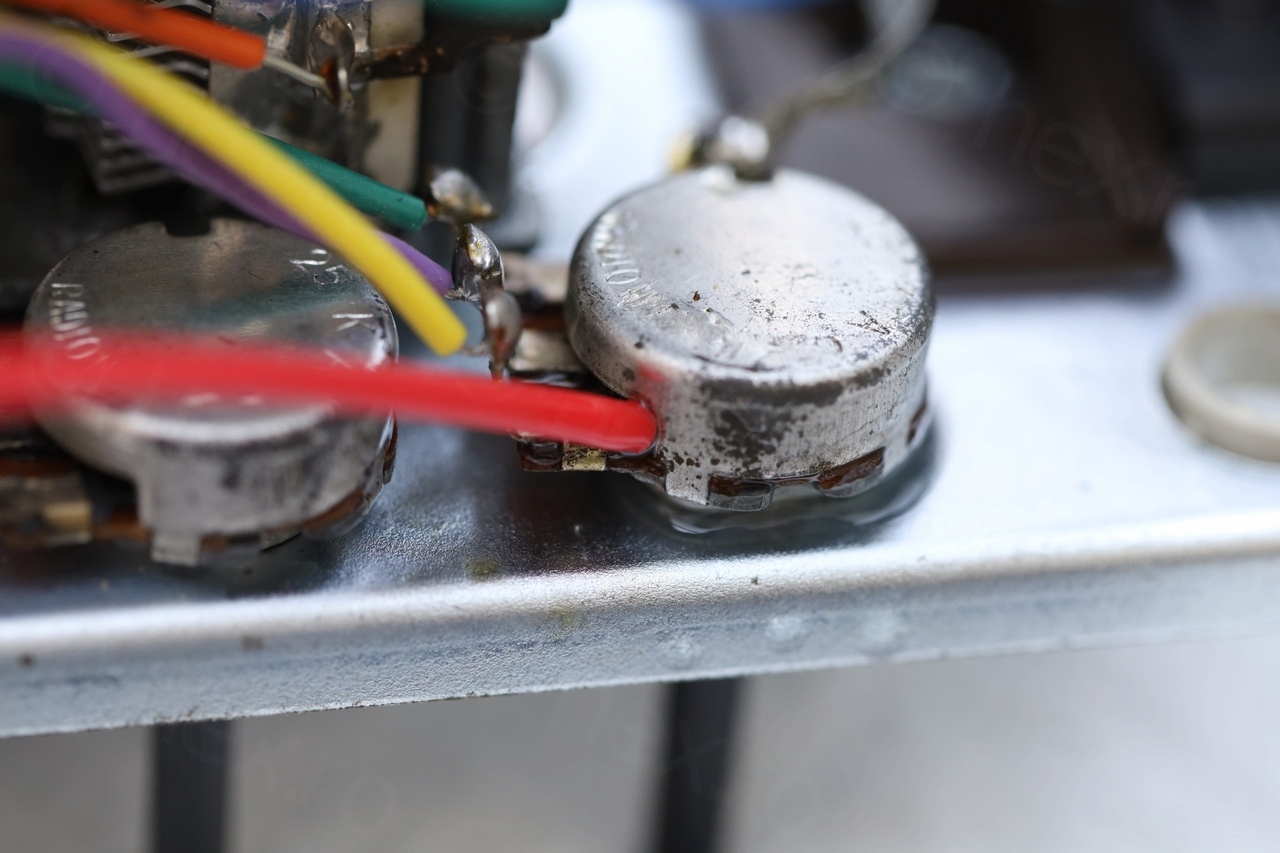
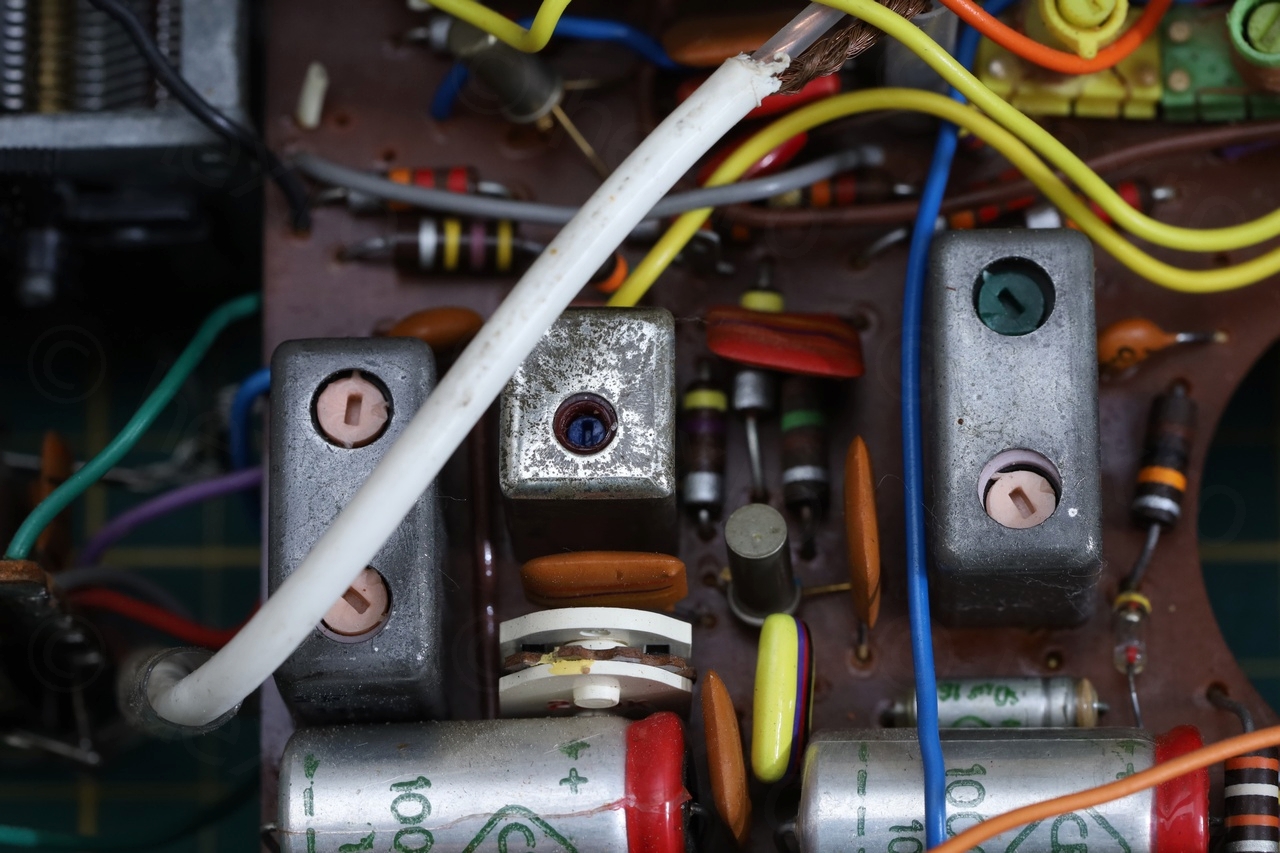
I’ve de-dusted it as best as I could. Then flooded everything with Contact Cleaner and kept activating the buttons and turning the pots. I took care of positioning the radio in such a way that the liquid would just drip on a towel underneath instead of insides. There was also a sort of white corrosion on the IF filter cans, which I decided to just cover in a thin layer of sewing machine oil.


Radio now is quiet when switching the bands, except when going to LW where there is still a faint pop which is audible (but you can still hear the button click).
Other observations / Photos
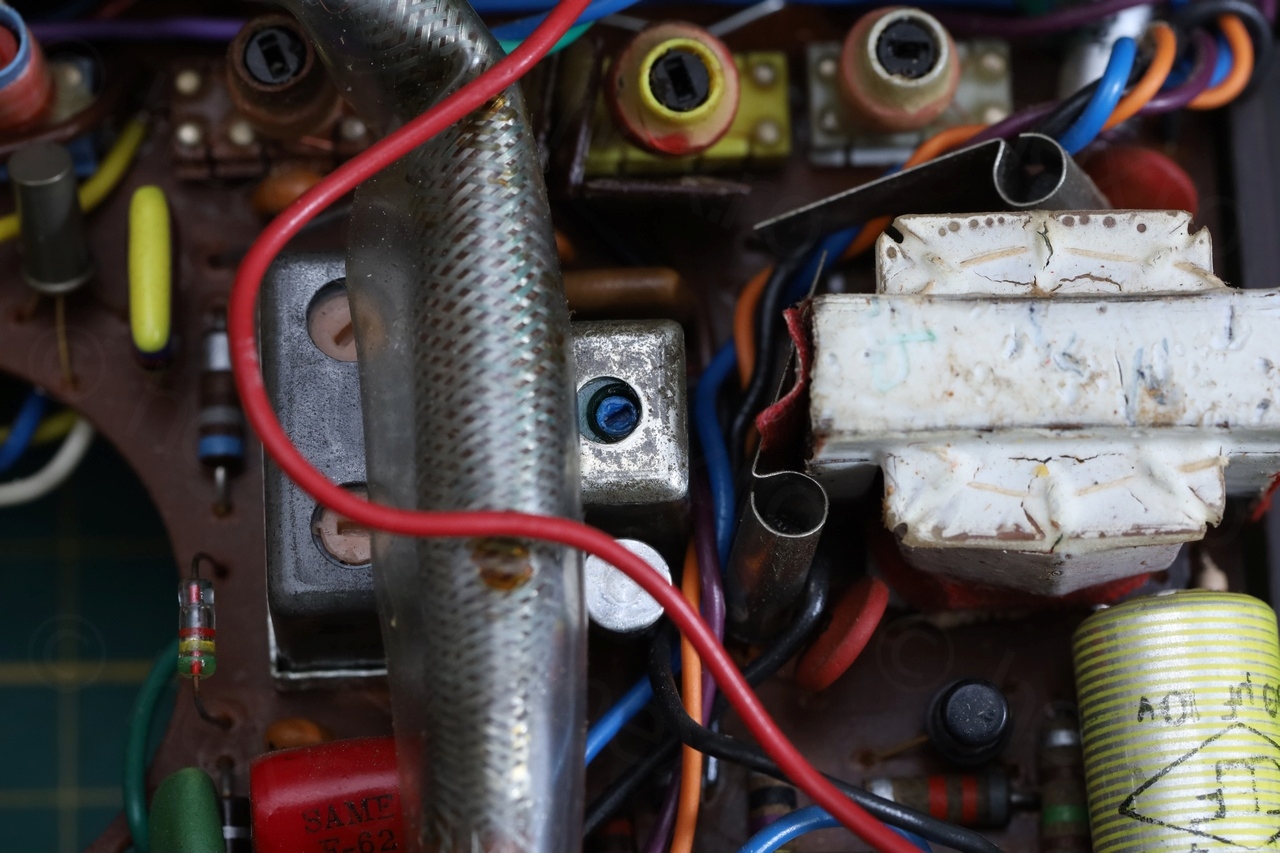
Radio seems to be working acceptable. There was the temptation to swap out all the capacitors, but as the inside of the radio was very clean, I chose to keep the original look. As long as the radio still produces sound and enough volume, better keep it original.
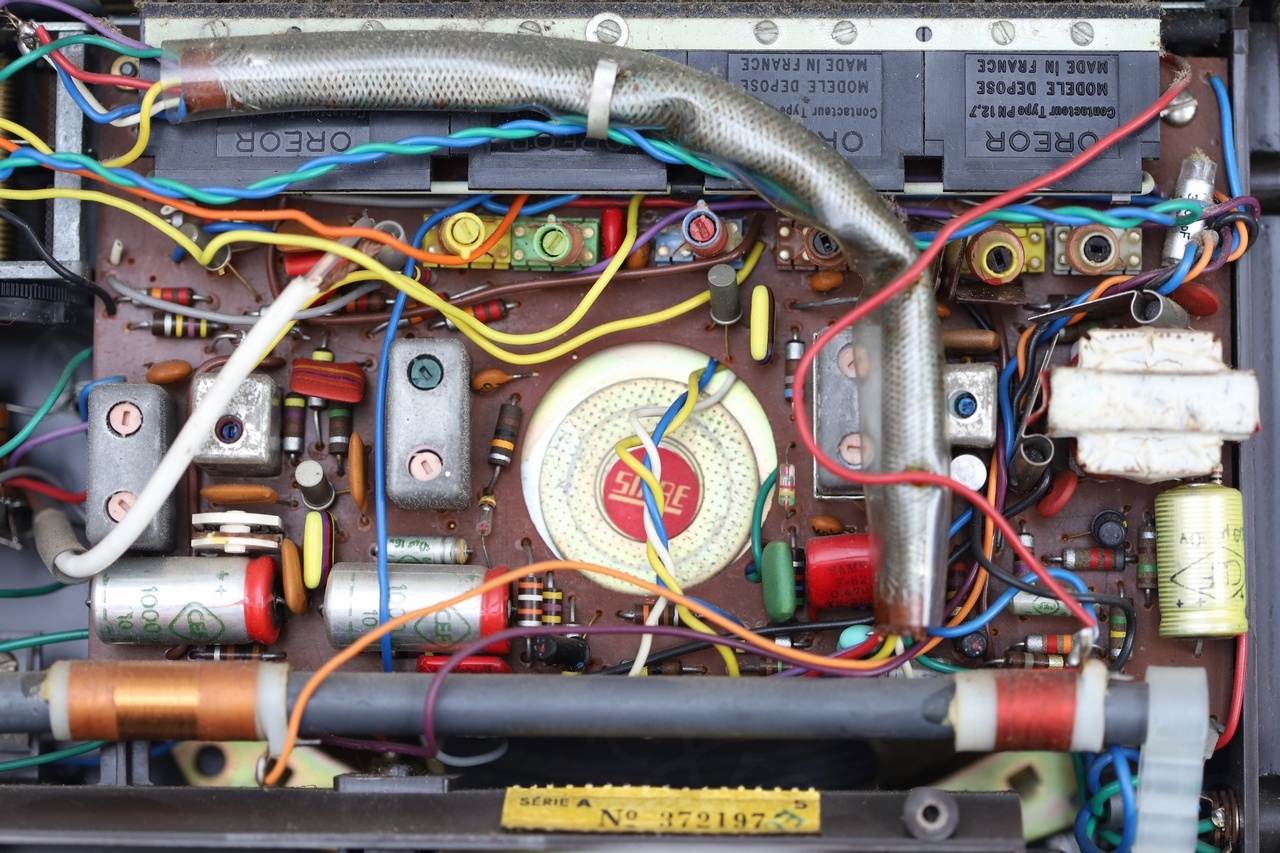

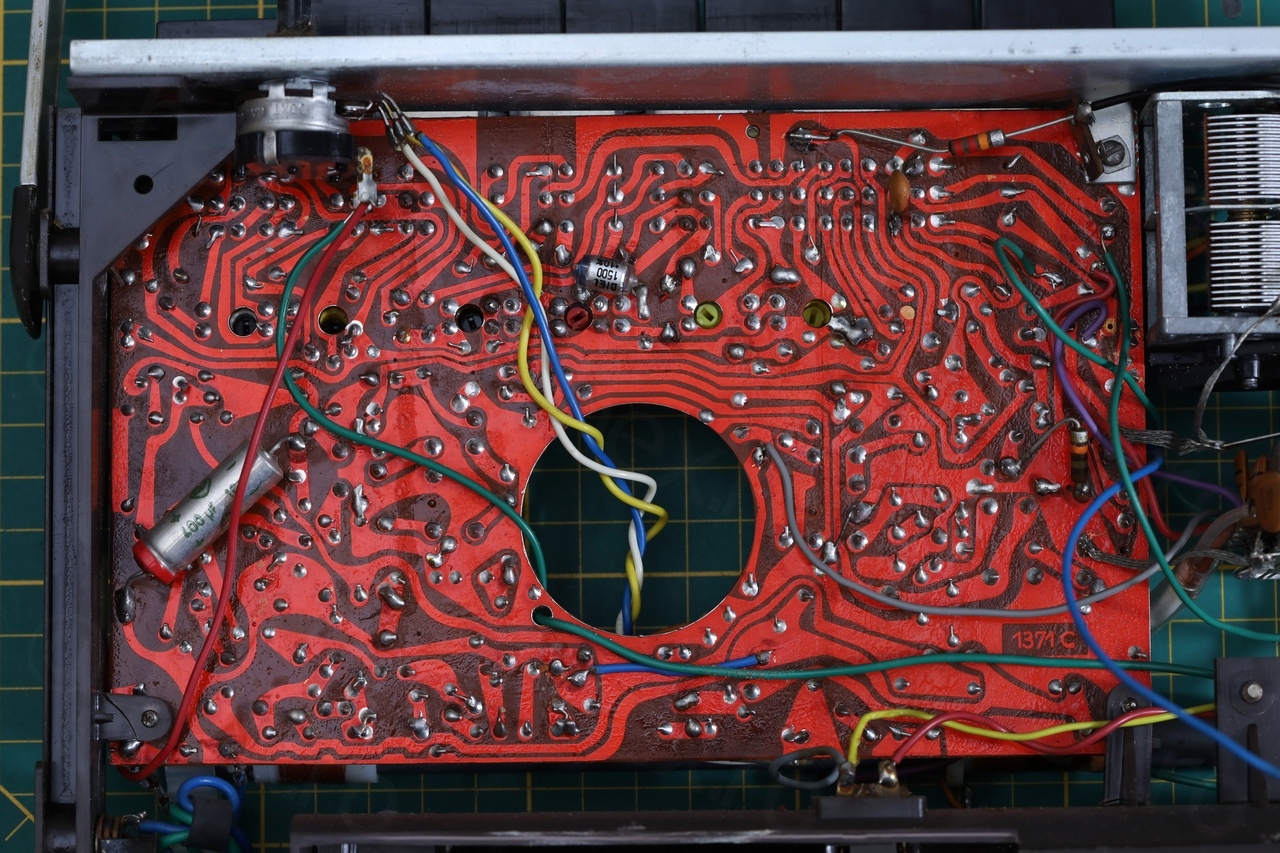
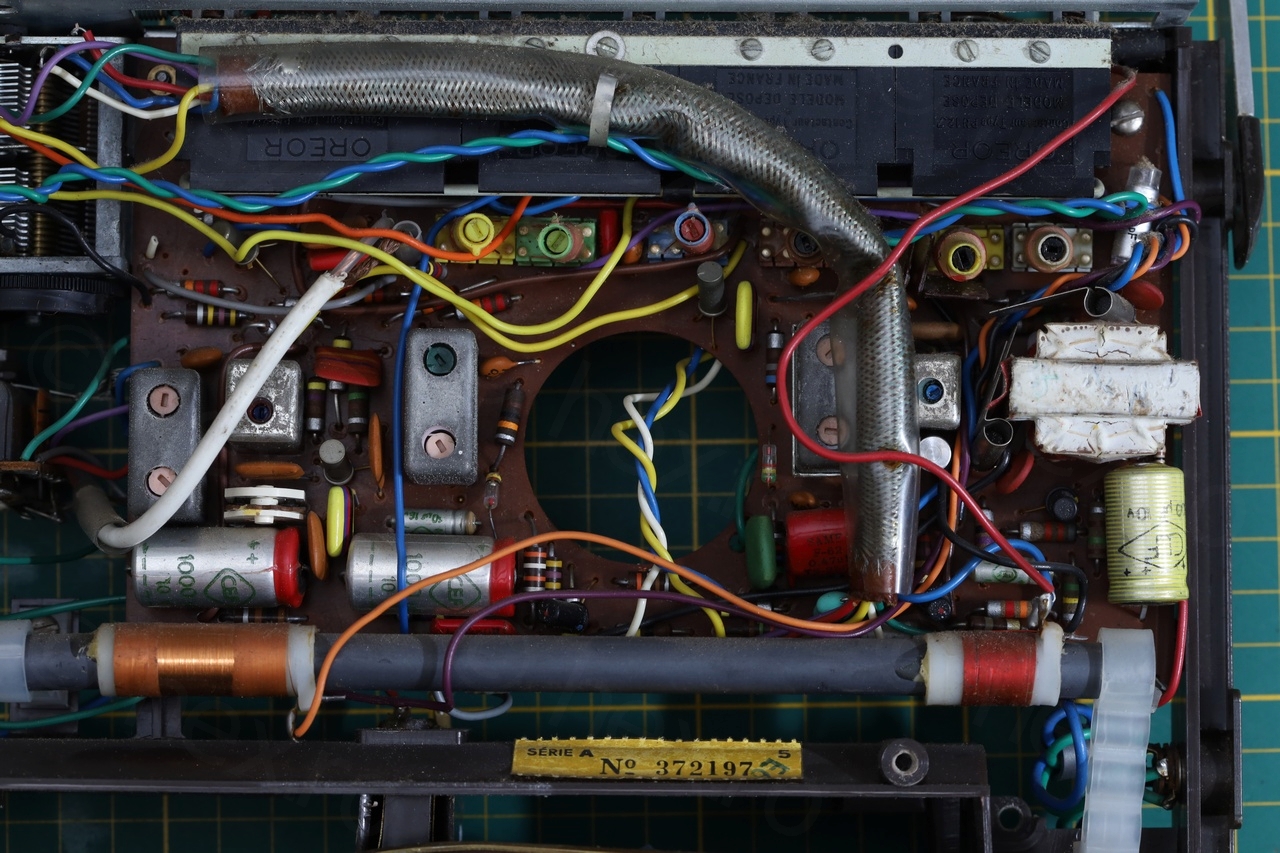
I think one drawback of this radio is that the service manual is missing the component layout. On top of it, the components don’t seem to match – I remember checking the resistors around a transistor – the installed ones did not match those that the schematic was calling for. Luckily it was well preserved and it still works – otherwise it would have been tedious to try to isolate faults.
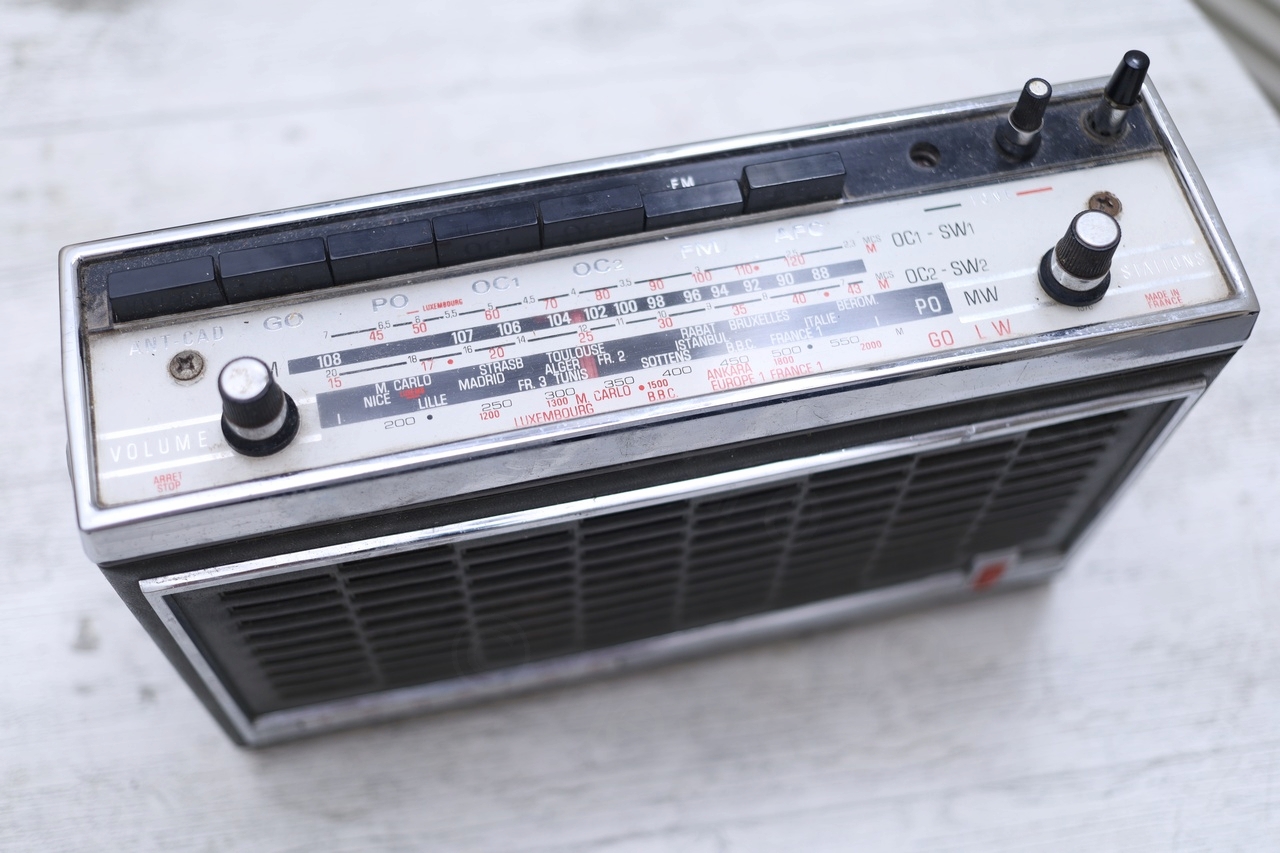
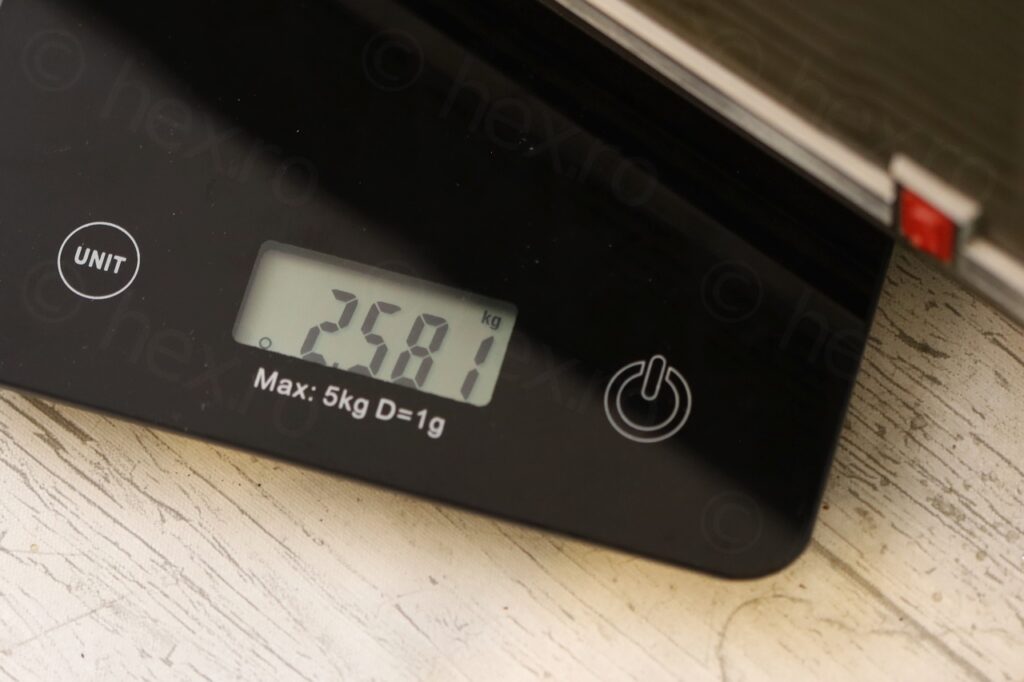
It is a hefty radio, about 2.6Kg with batteries installed:
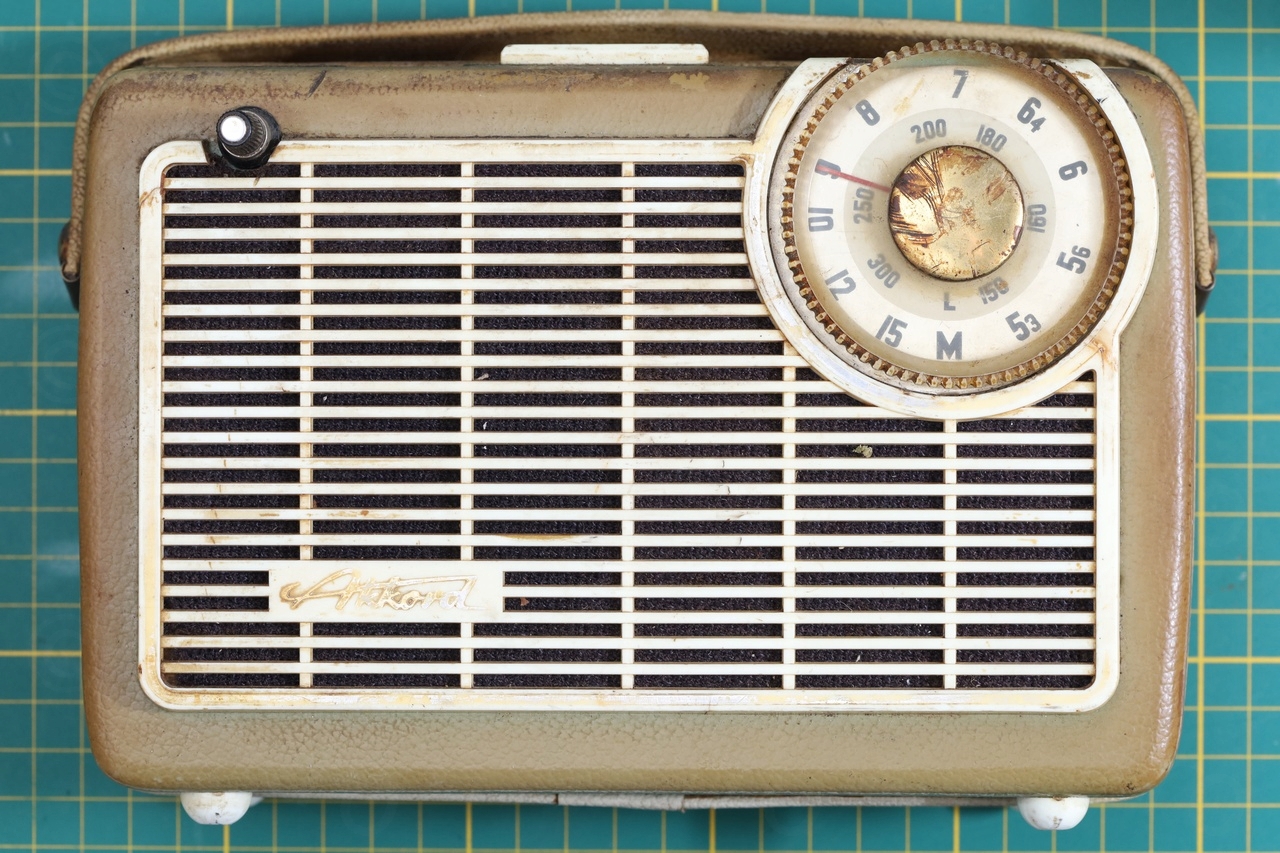
As I was trying to clarify the meaning of a restore vs refurbish, a restoration means doing everything possible to get the radio as close as possible to factory, while refurbishment is more like a repair. Thus, this work on the Sonolor Diapason qualifies more as a refurbishment – I payed more attention to the looks and I did not re-calibrate it nor dismantle it fully. Results are below:
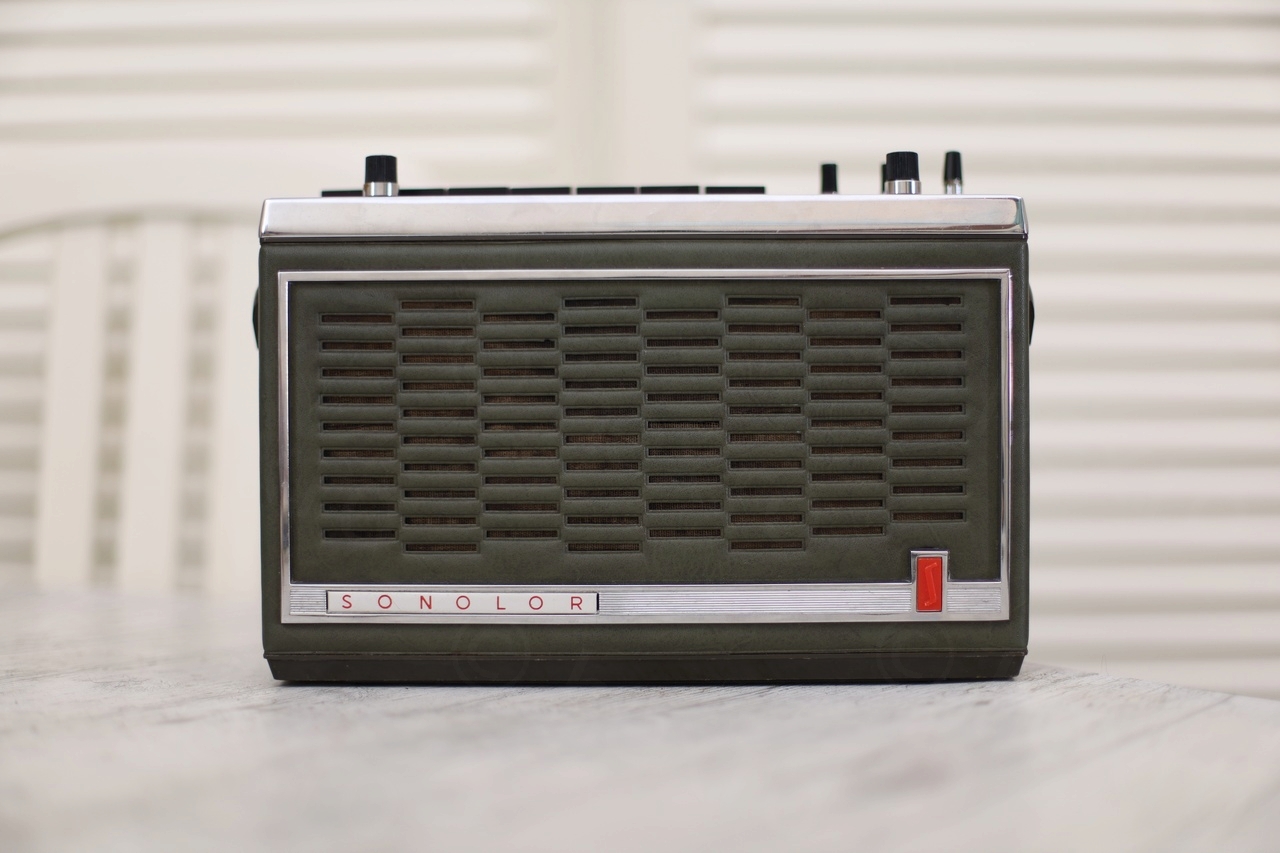

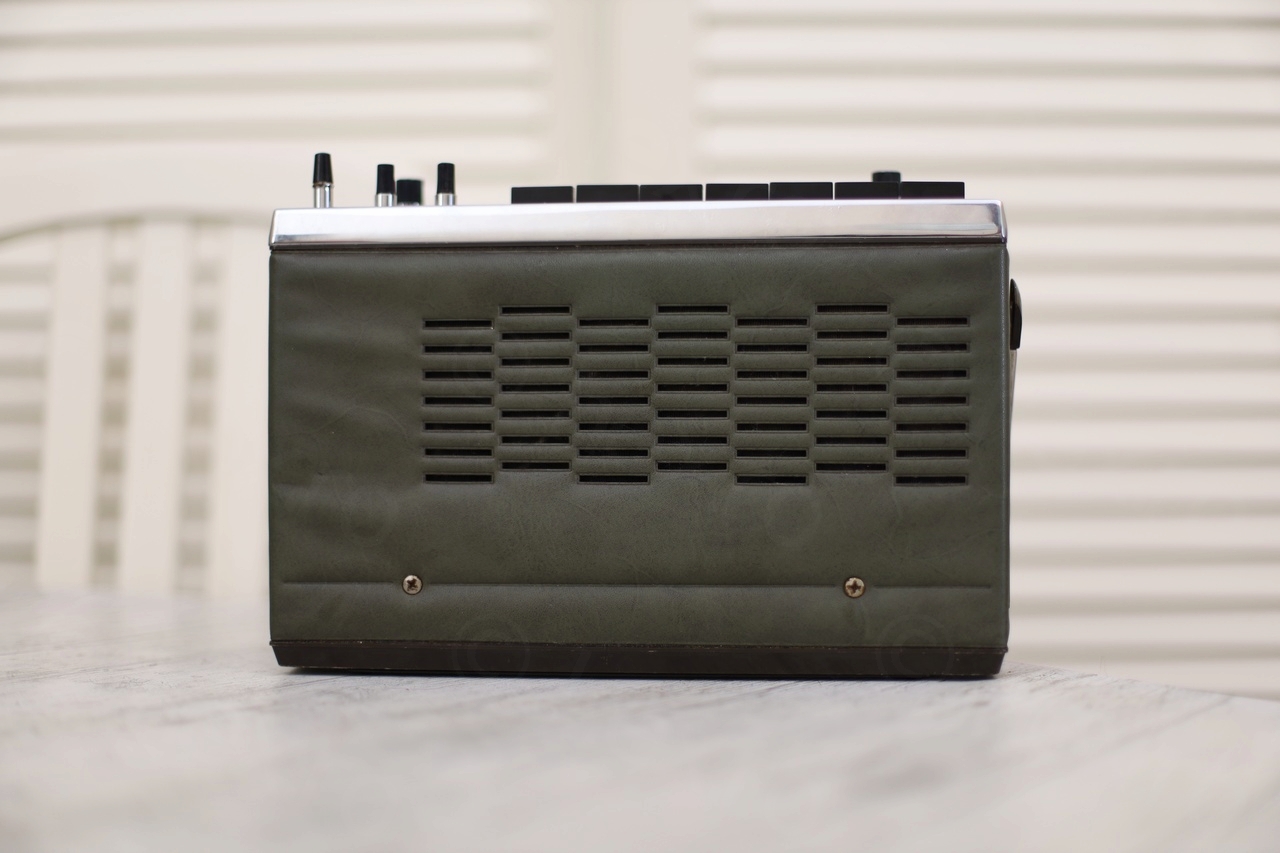


The radio got its dark green coloring back – and looks almost like new!
Leave a Reply