


I am not sure how I ended on this announcement on EBay, but I did.
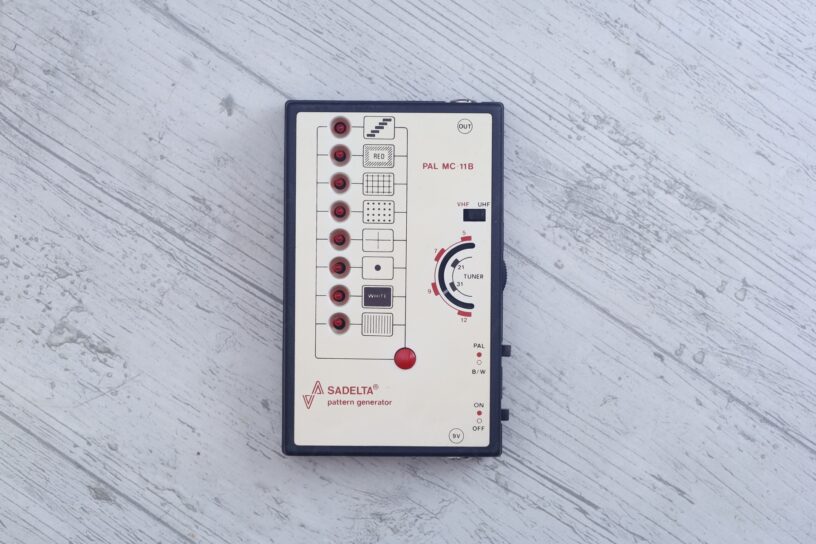
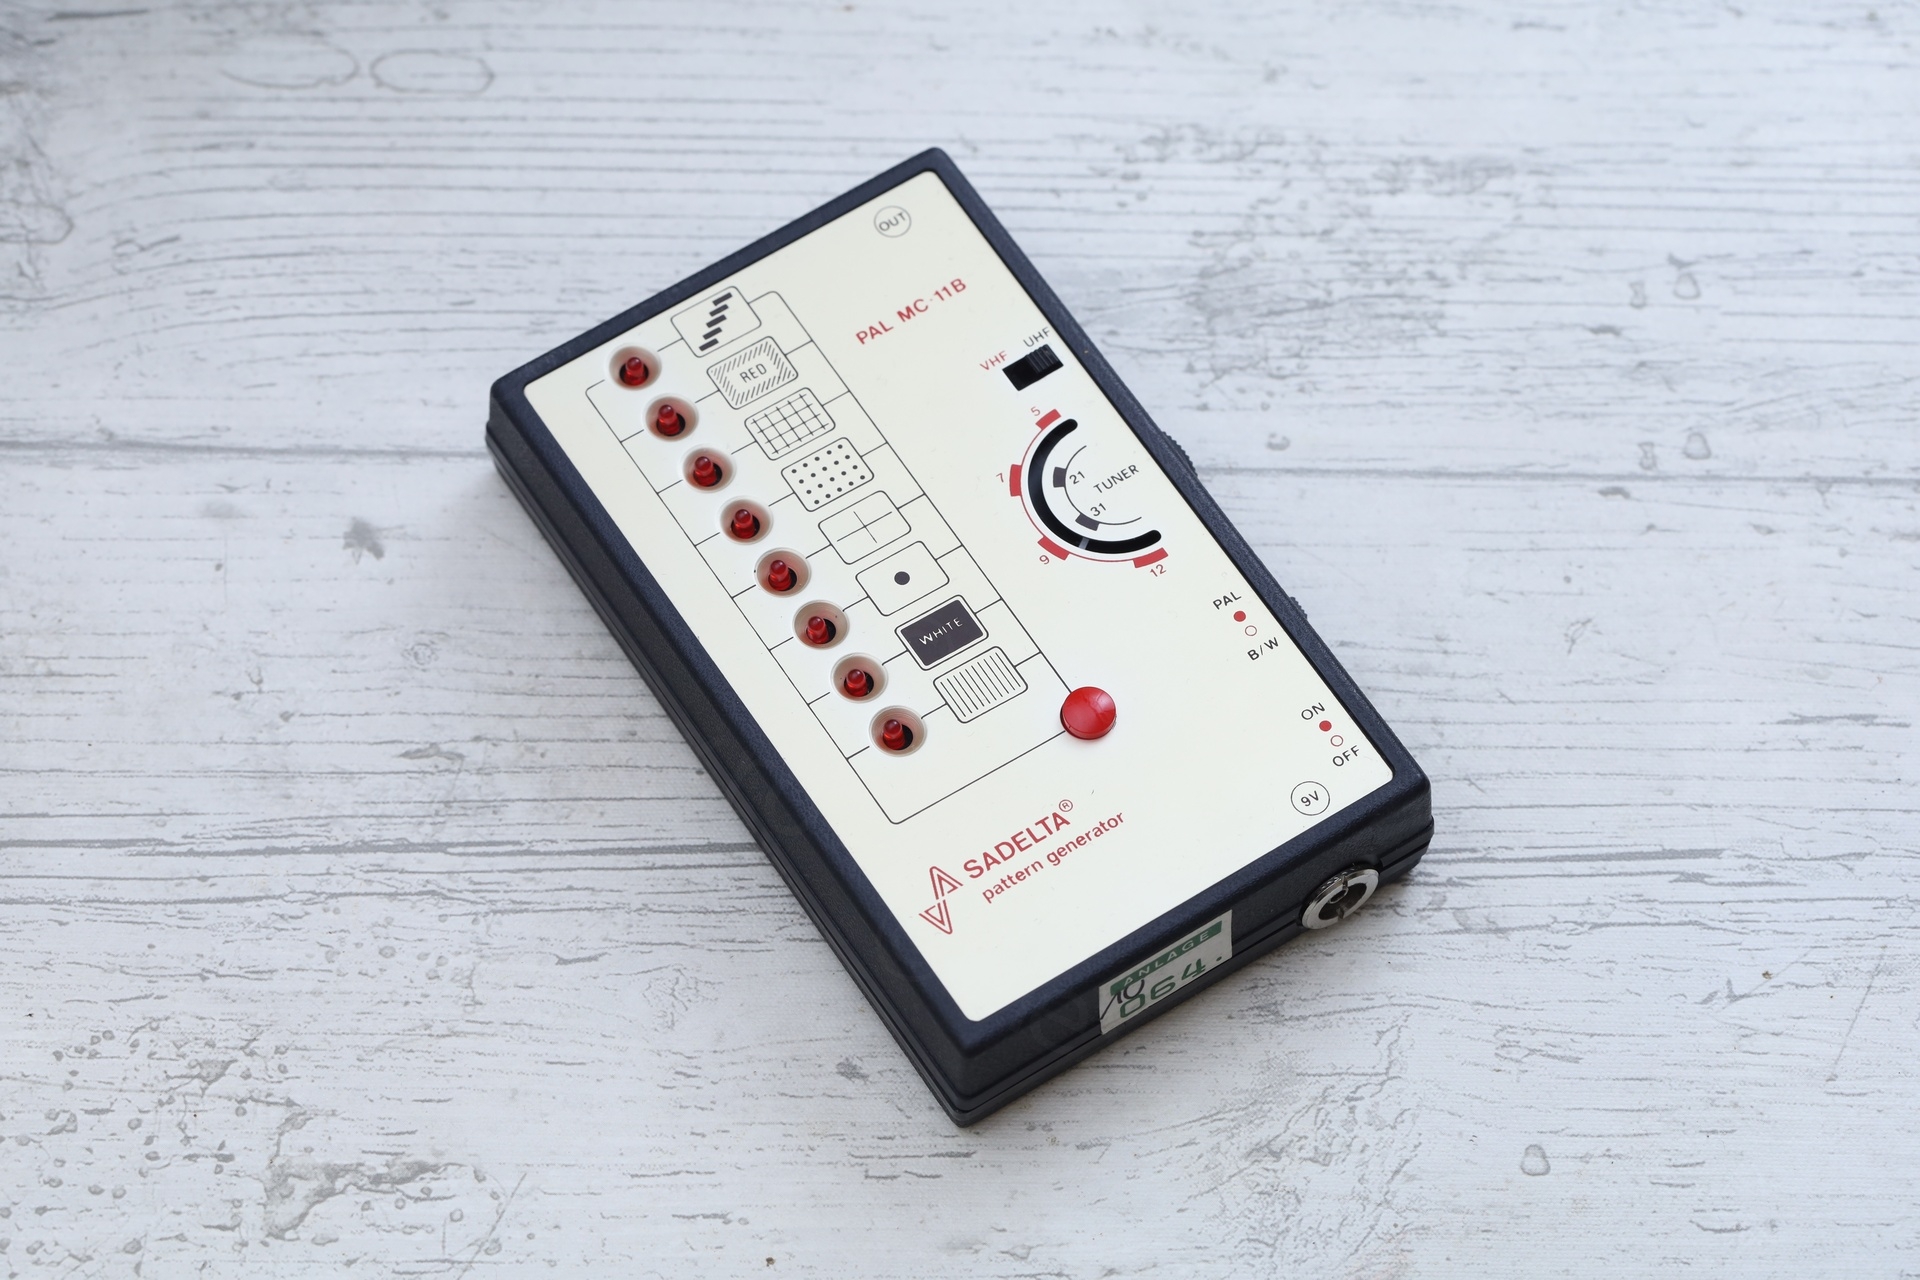
TV Pattern Generators in general are bulky and pricey. Workbench stack-able style – to use in an electronics repair shop. Seeing this little portable device, and rather affordable, I said … why not ?
Table of Contents
Initial tests
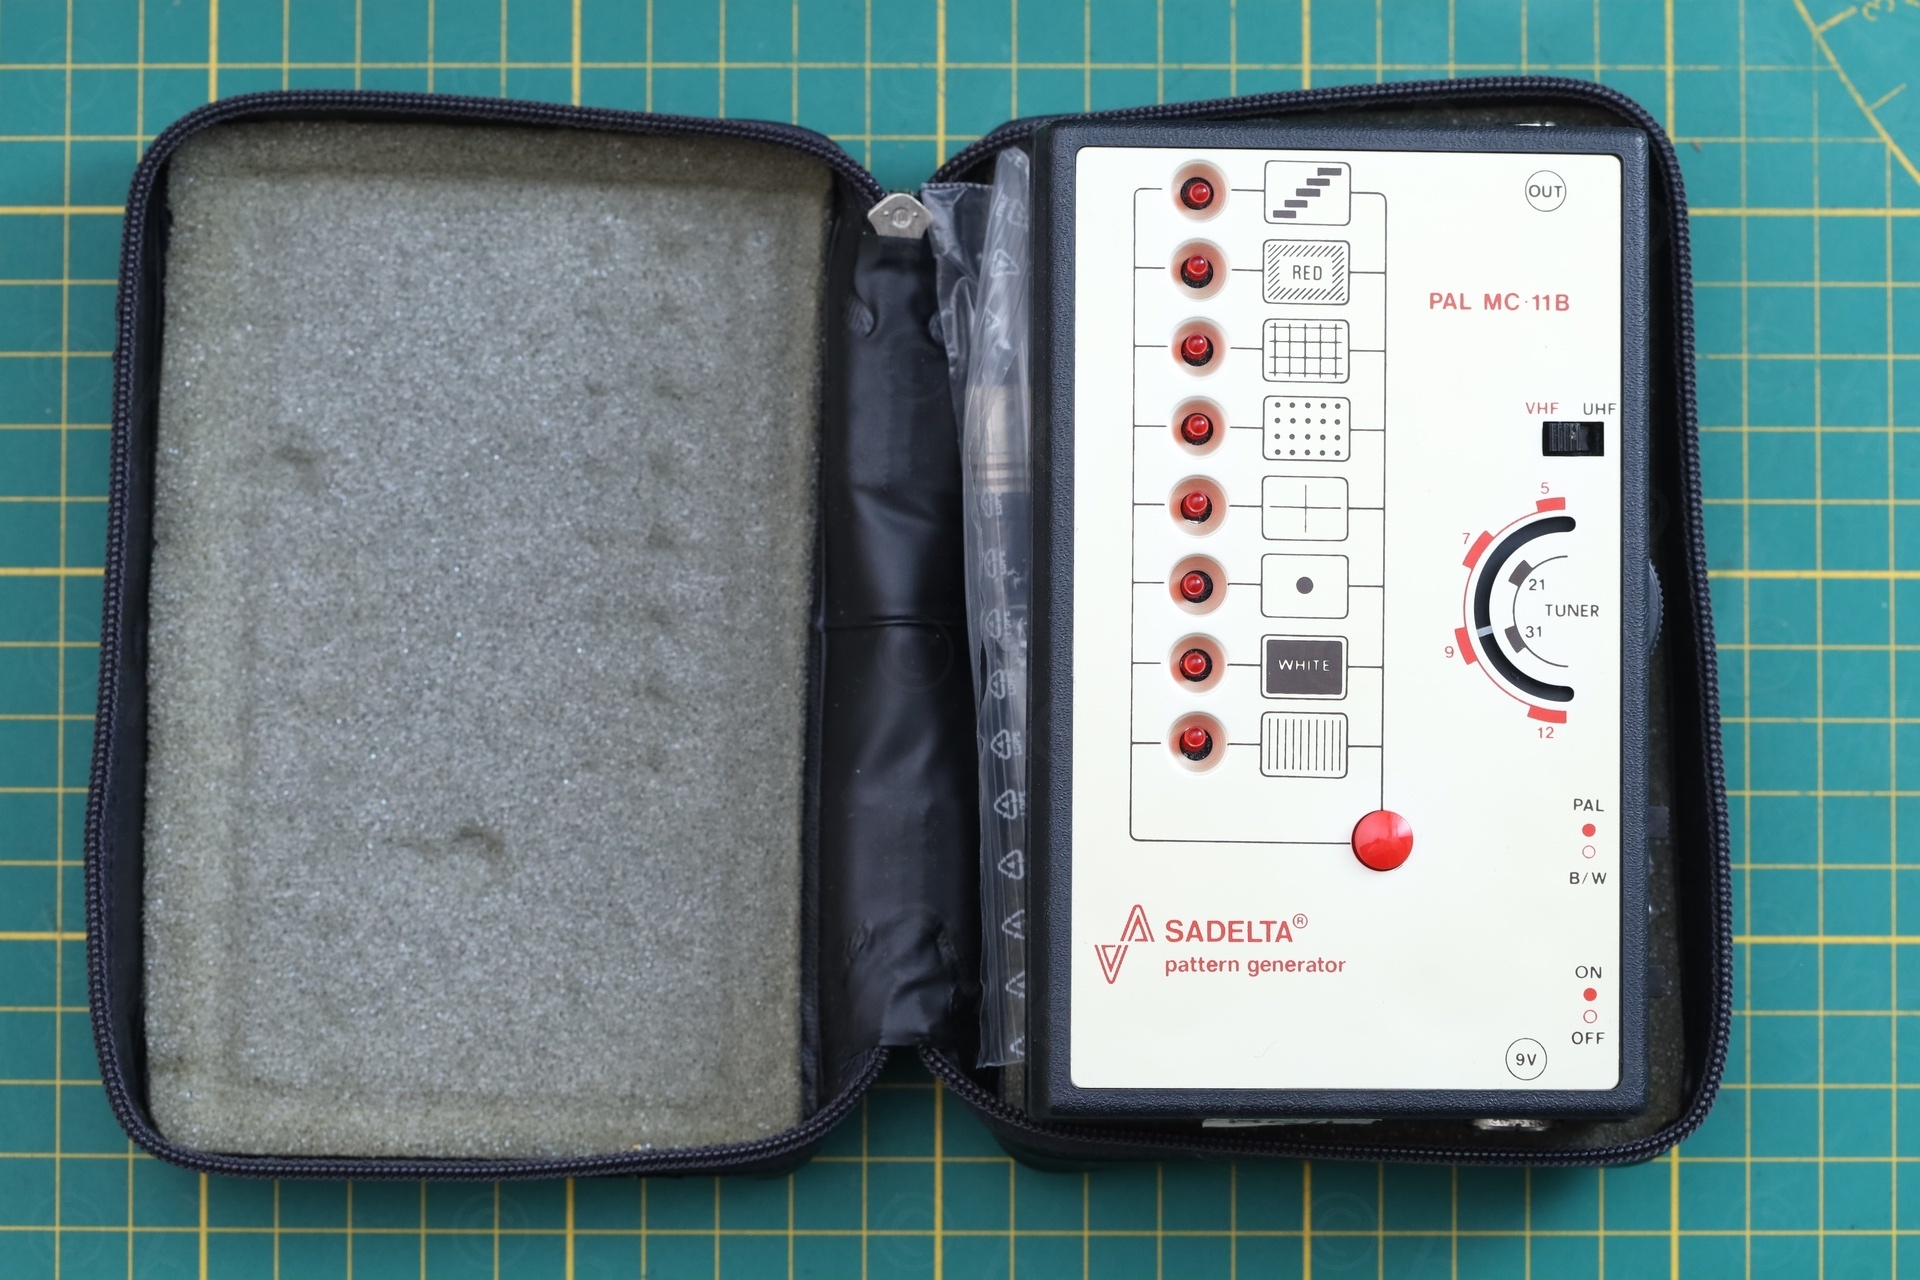
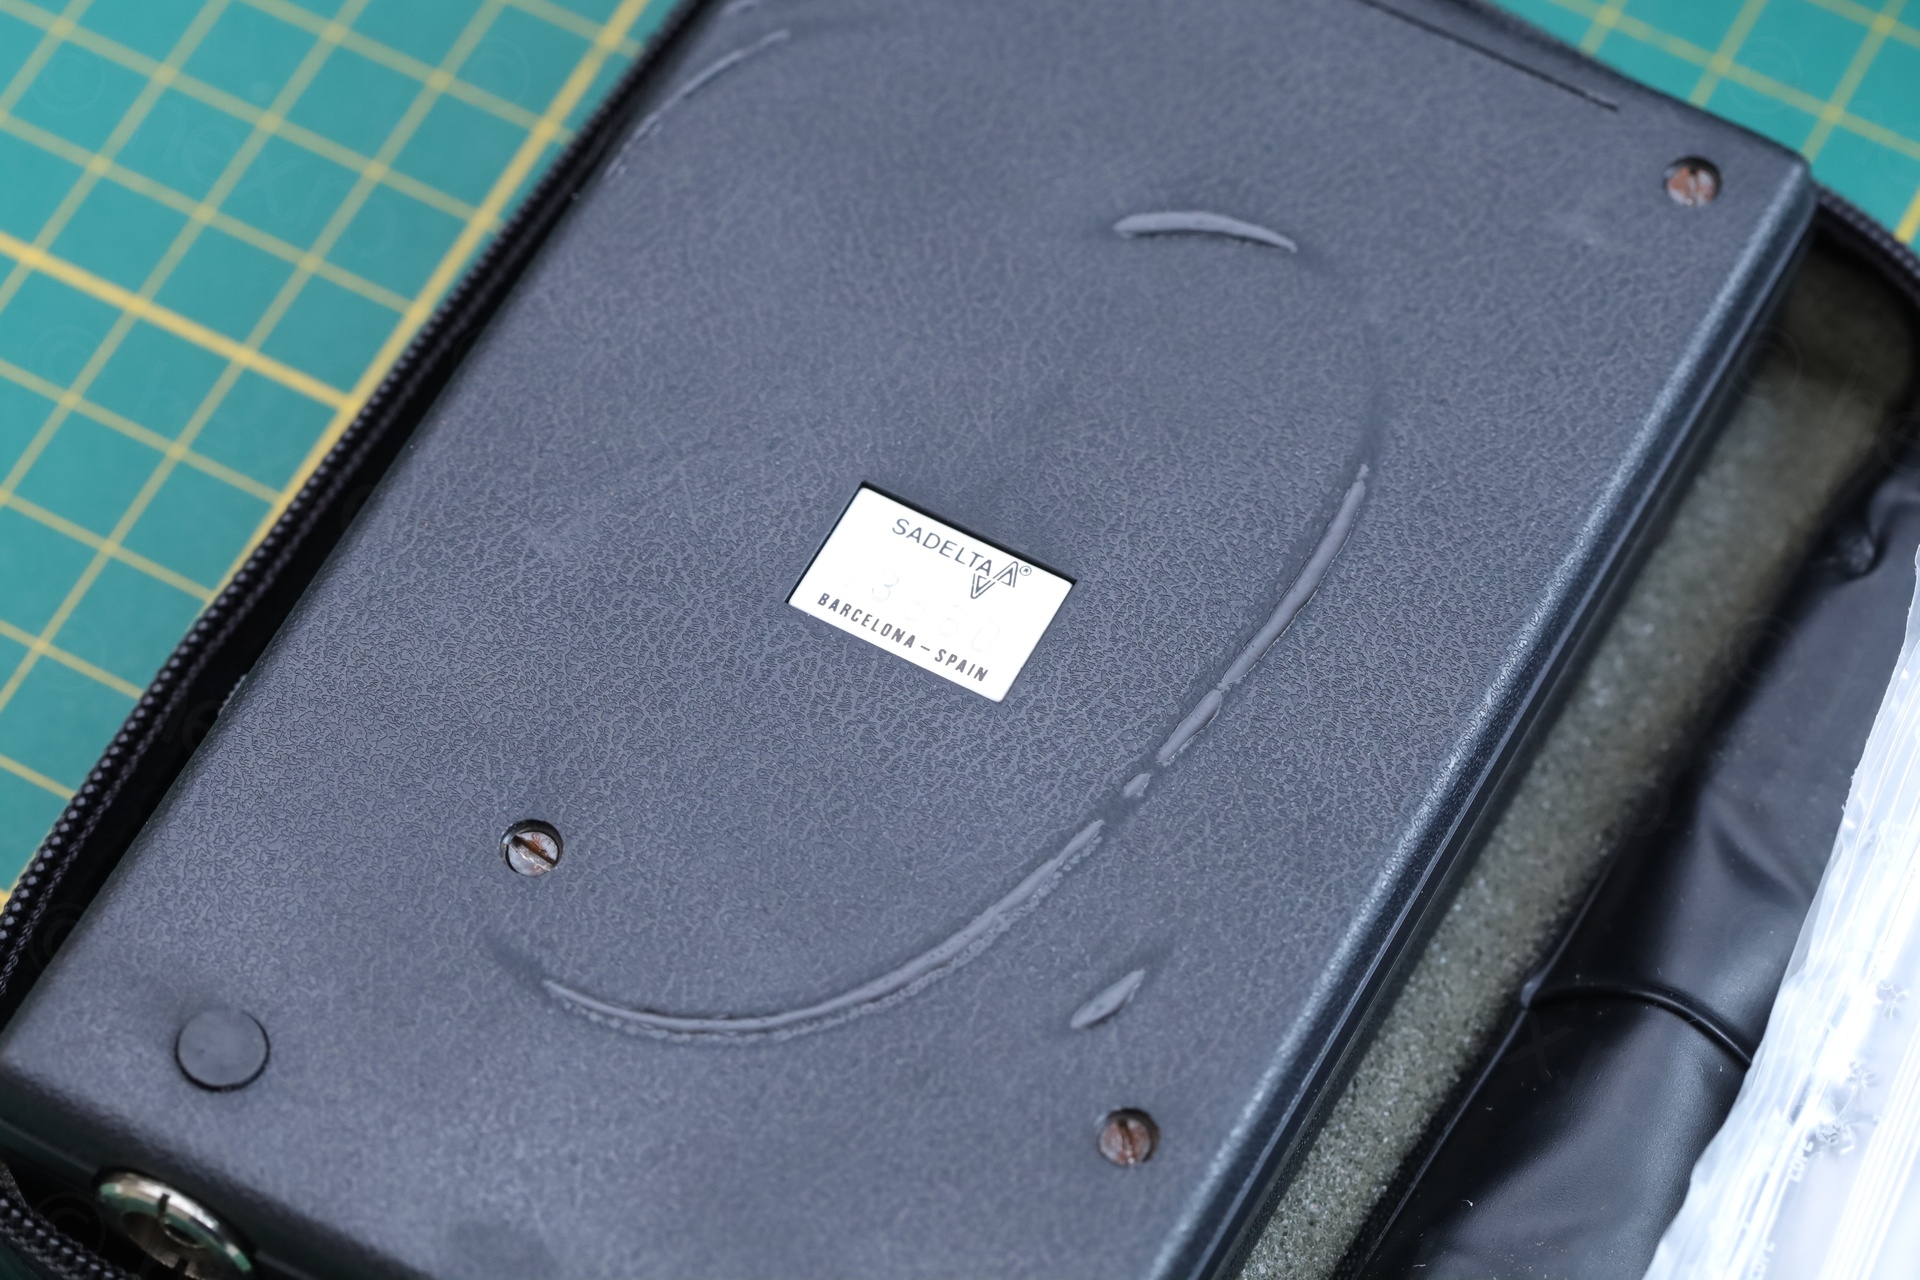
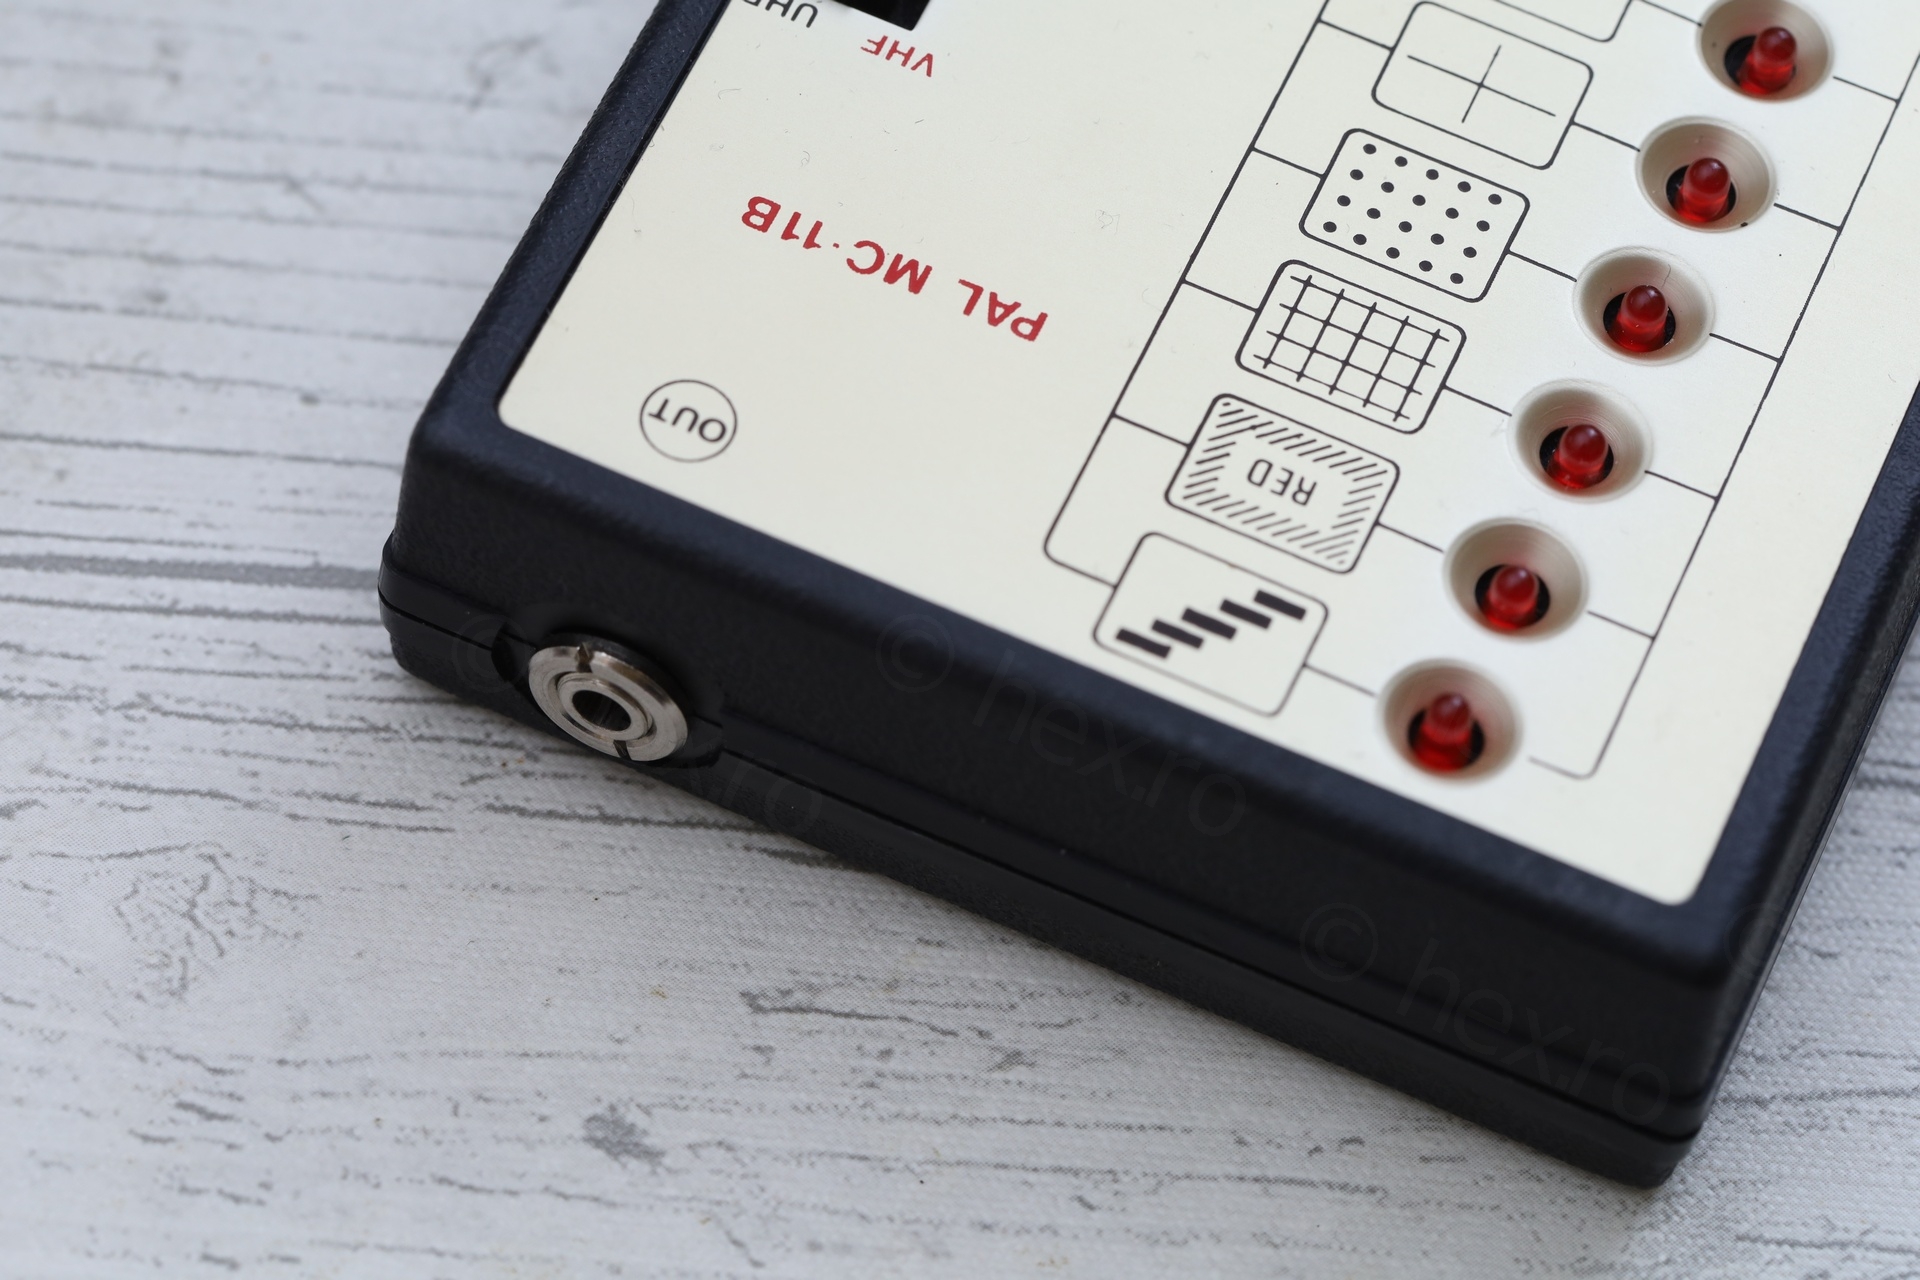
The device is clean, but has a burn mark on the back. Carries the label “Barcelona – Spain” on the back:

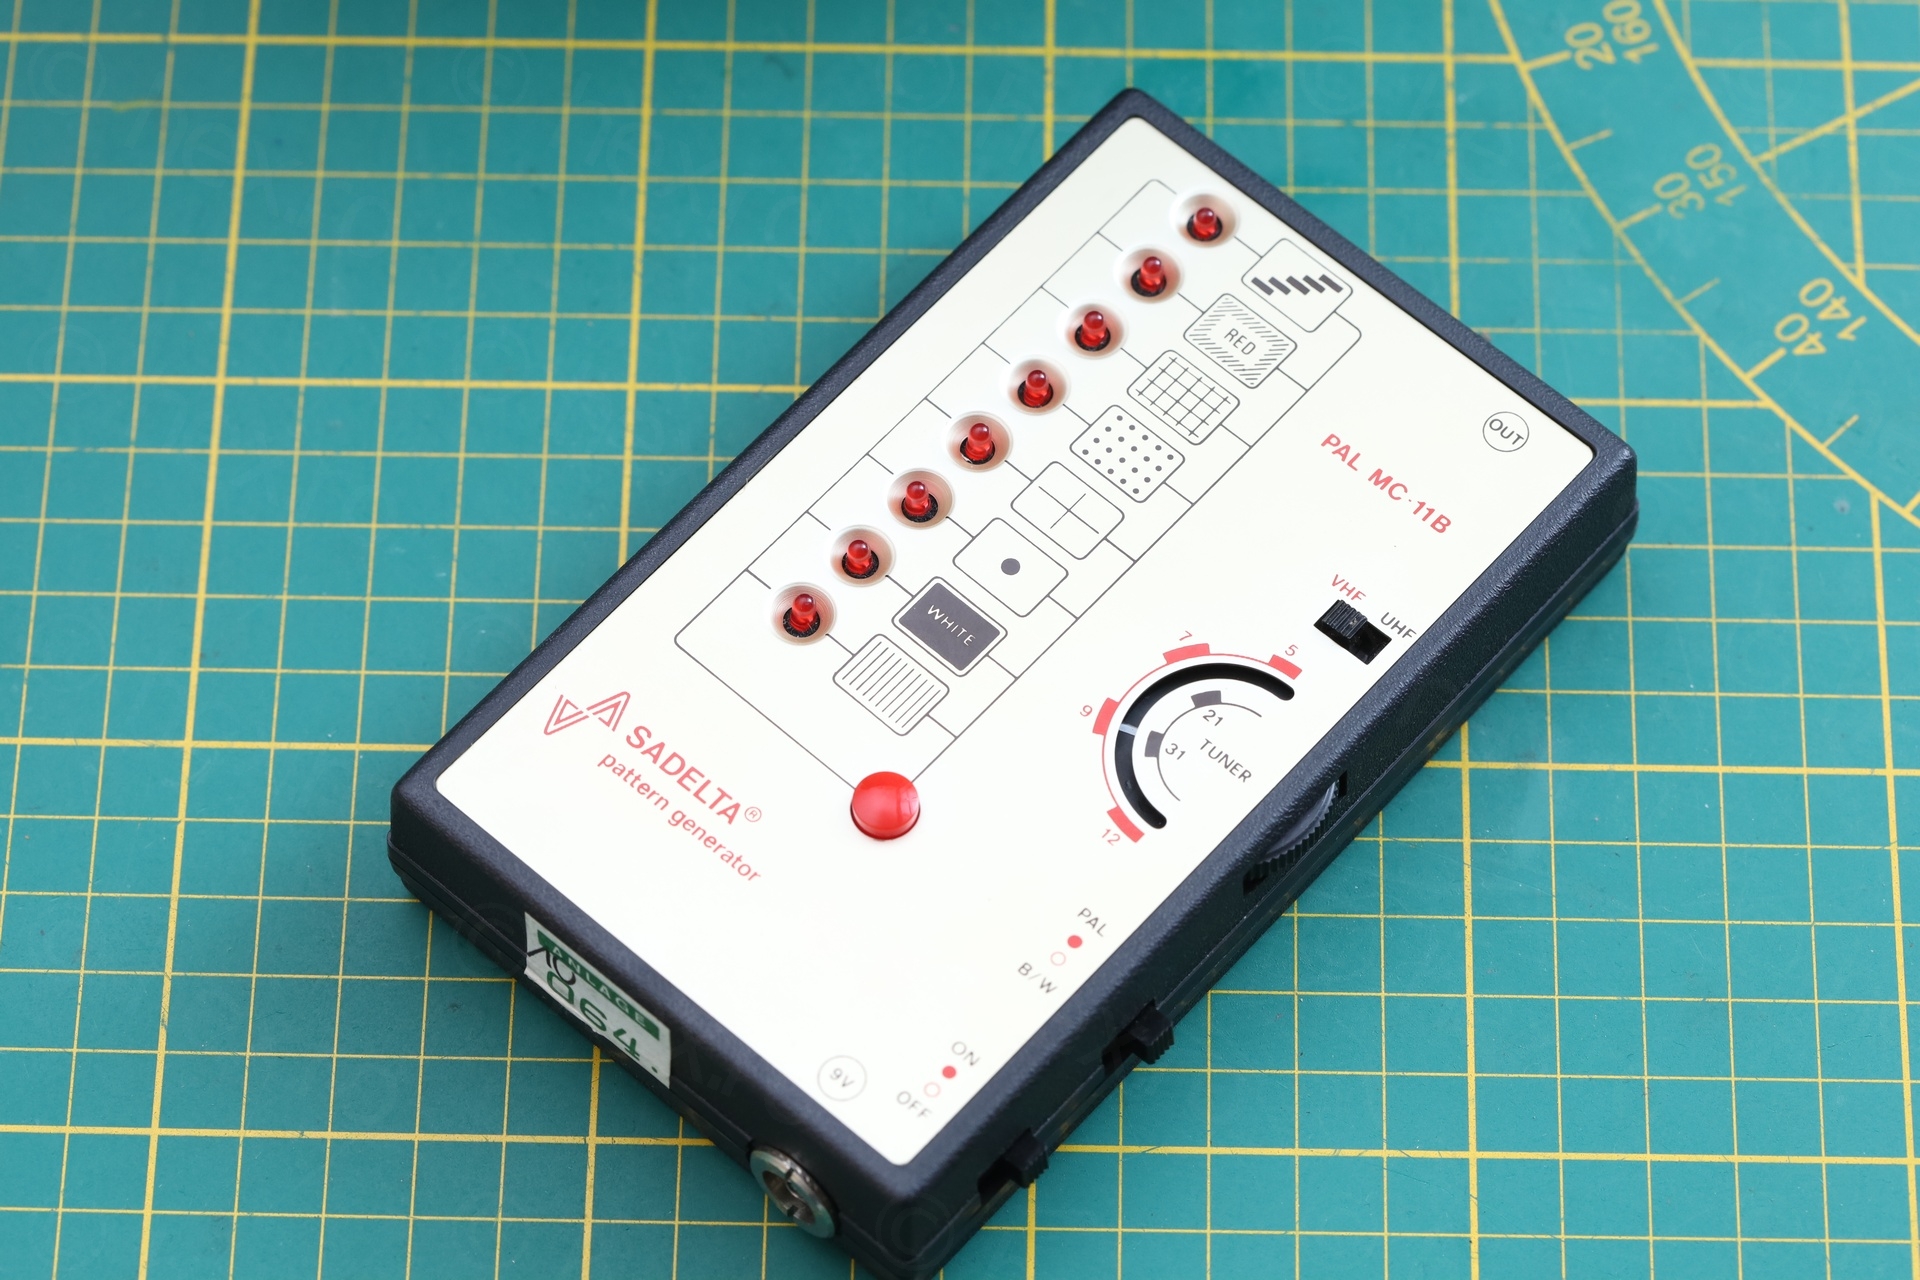
It was rather difficult to gather details about it and seems rare. There are no schematics. I only found few mentions, in form of ads, in old magazines dedicated to TV repairs. There were few variants it seems. Same model device was sold with a black face-place and white plastic body. Mine is an yellowish color with black plastic body.
Initial tests proved that is is broken: random LEDs turn on at the same time and no reaction from the RED button (that is supposed to cycle between the patterns):
One more reason to stay away from electronics that have no schematics available. Where do I start ?!
Inside
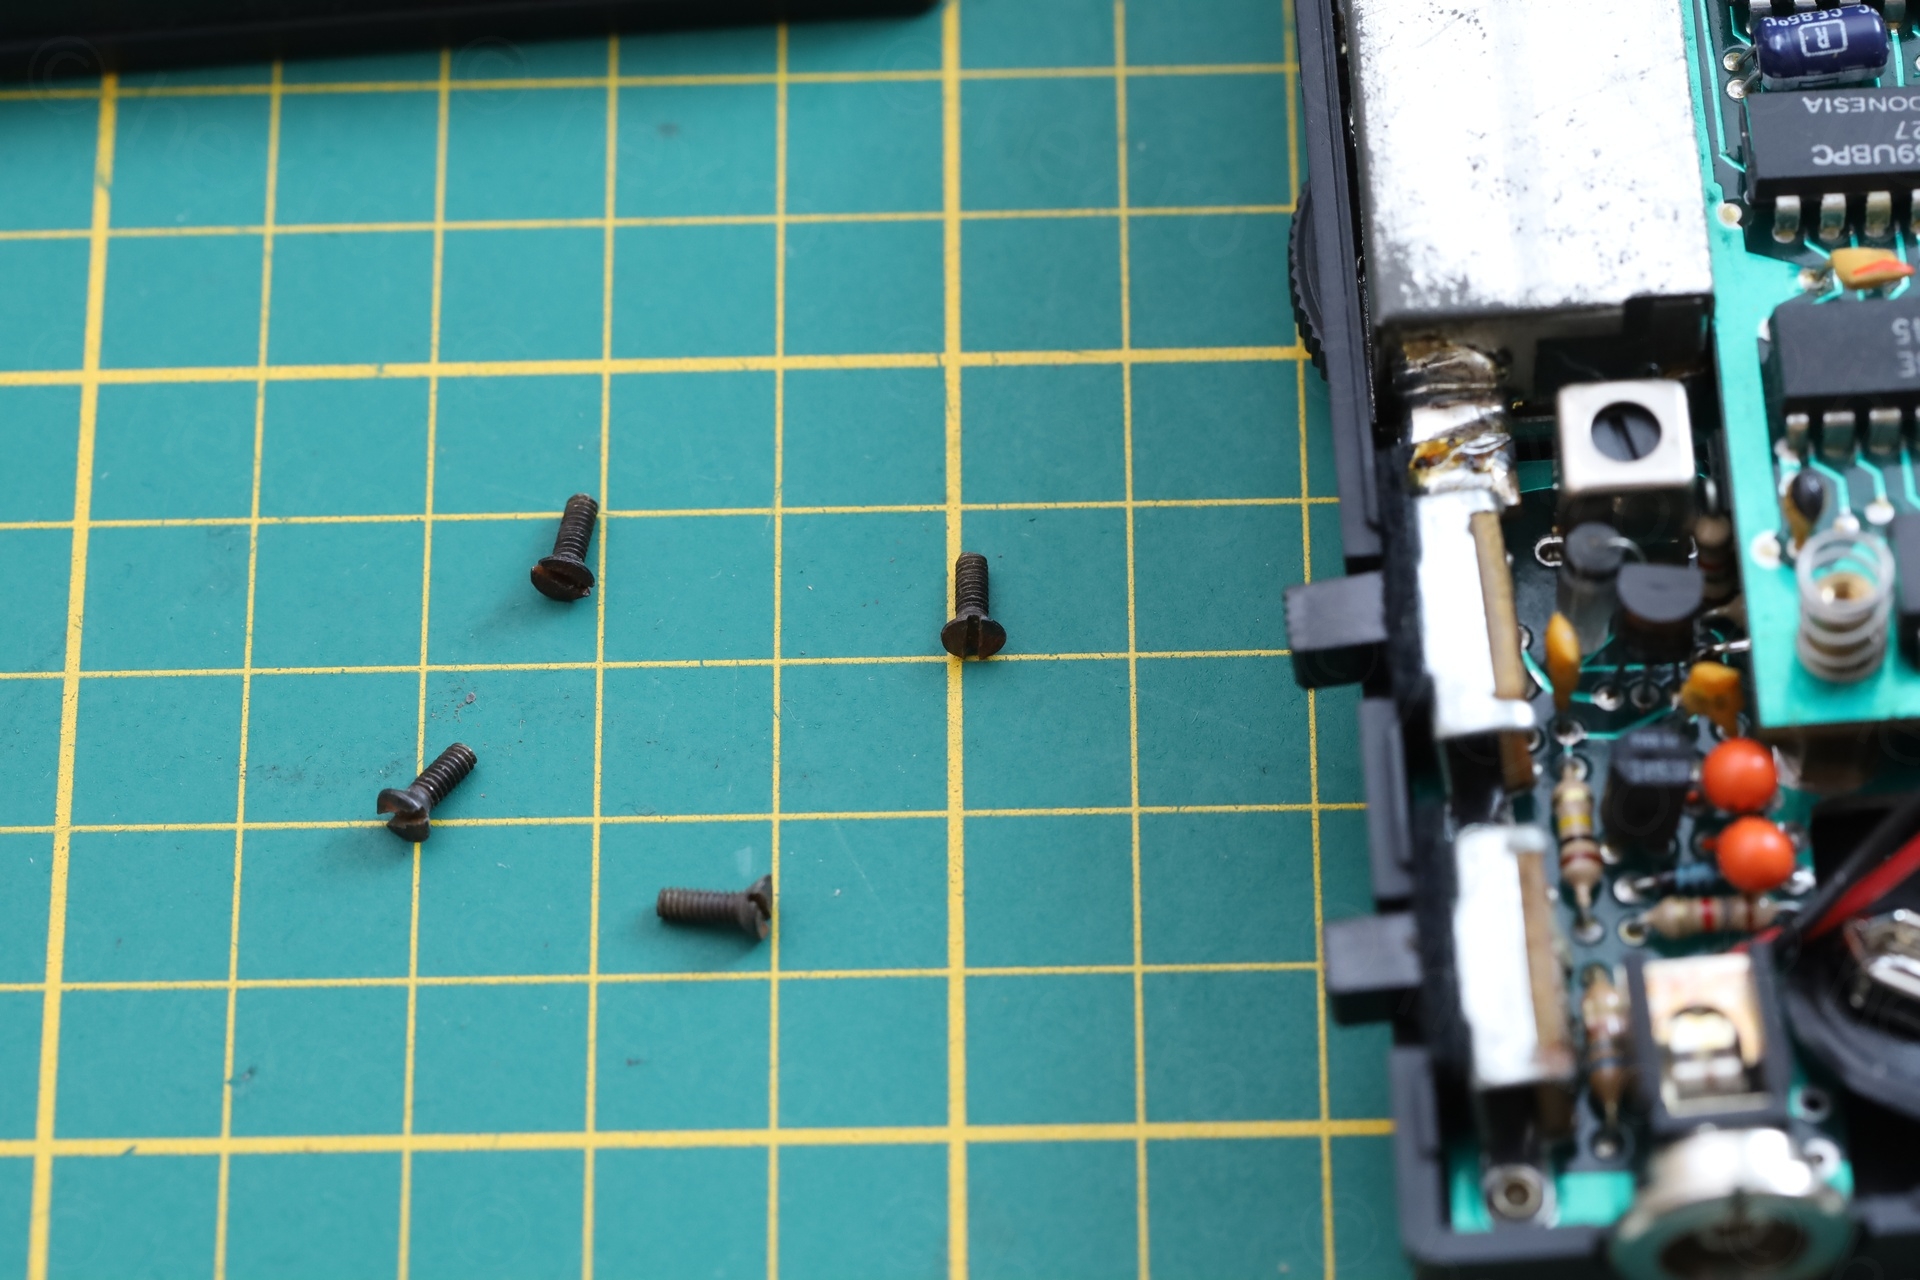
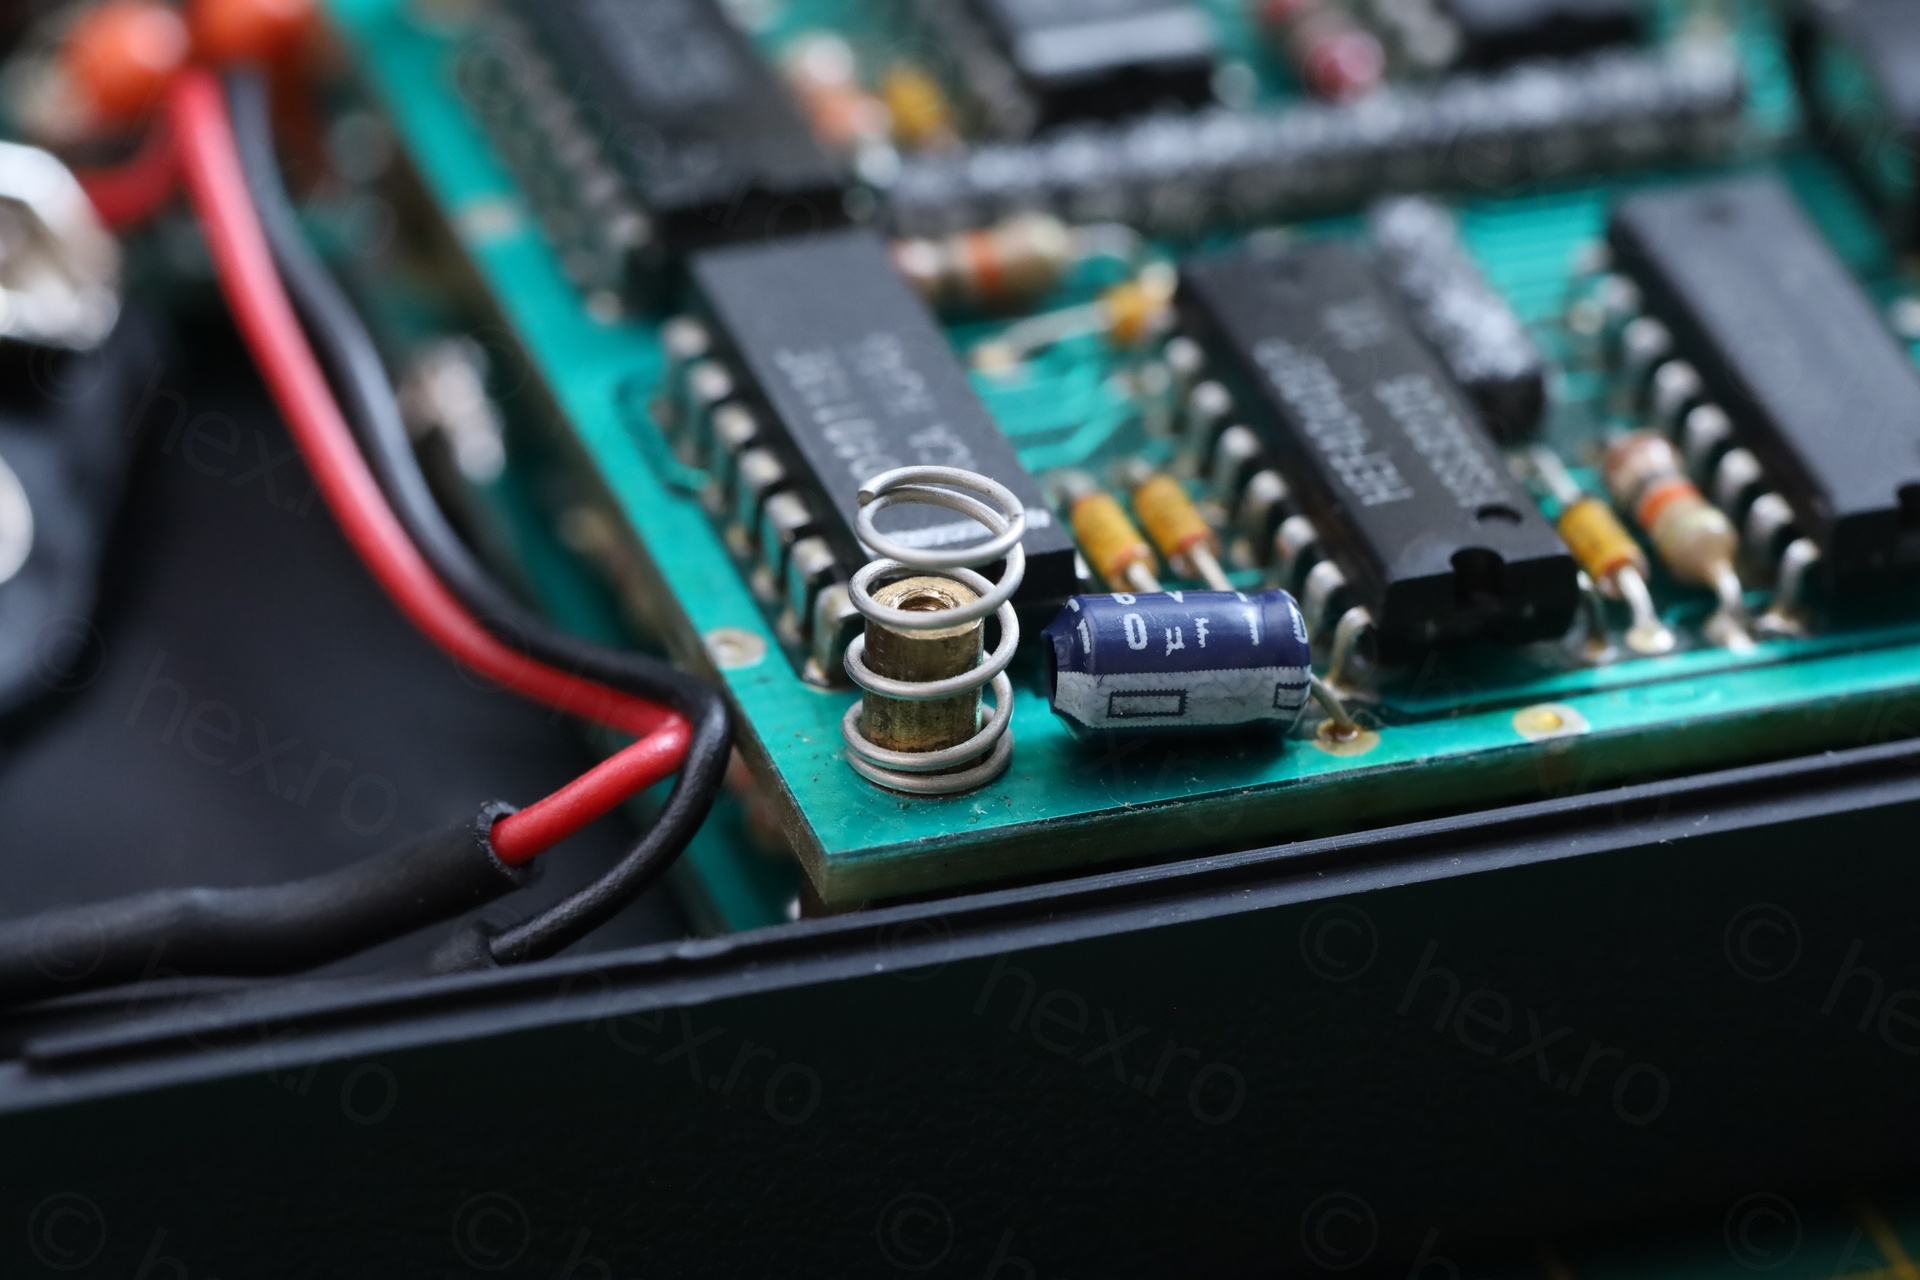
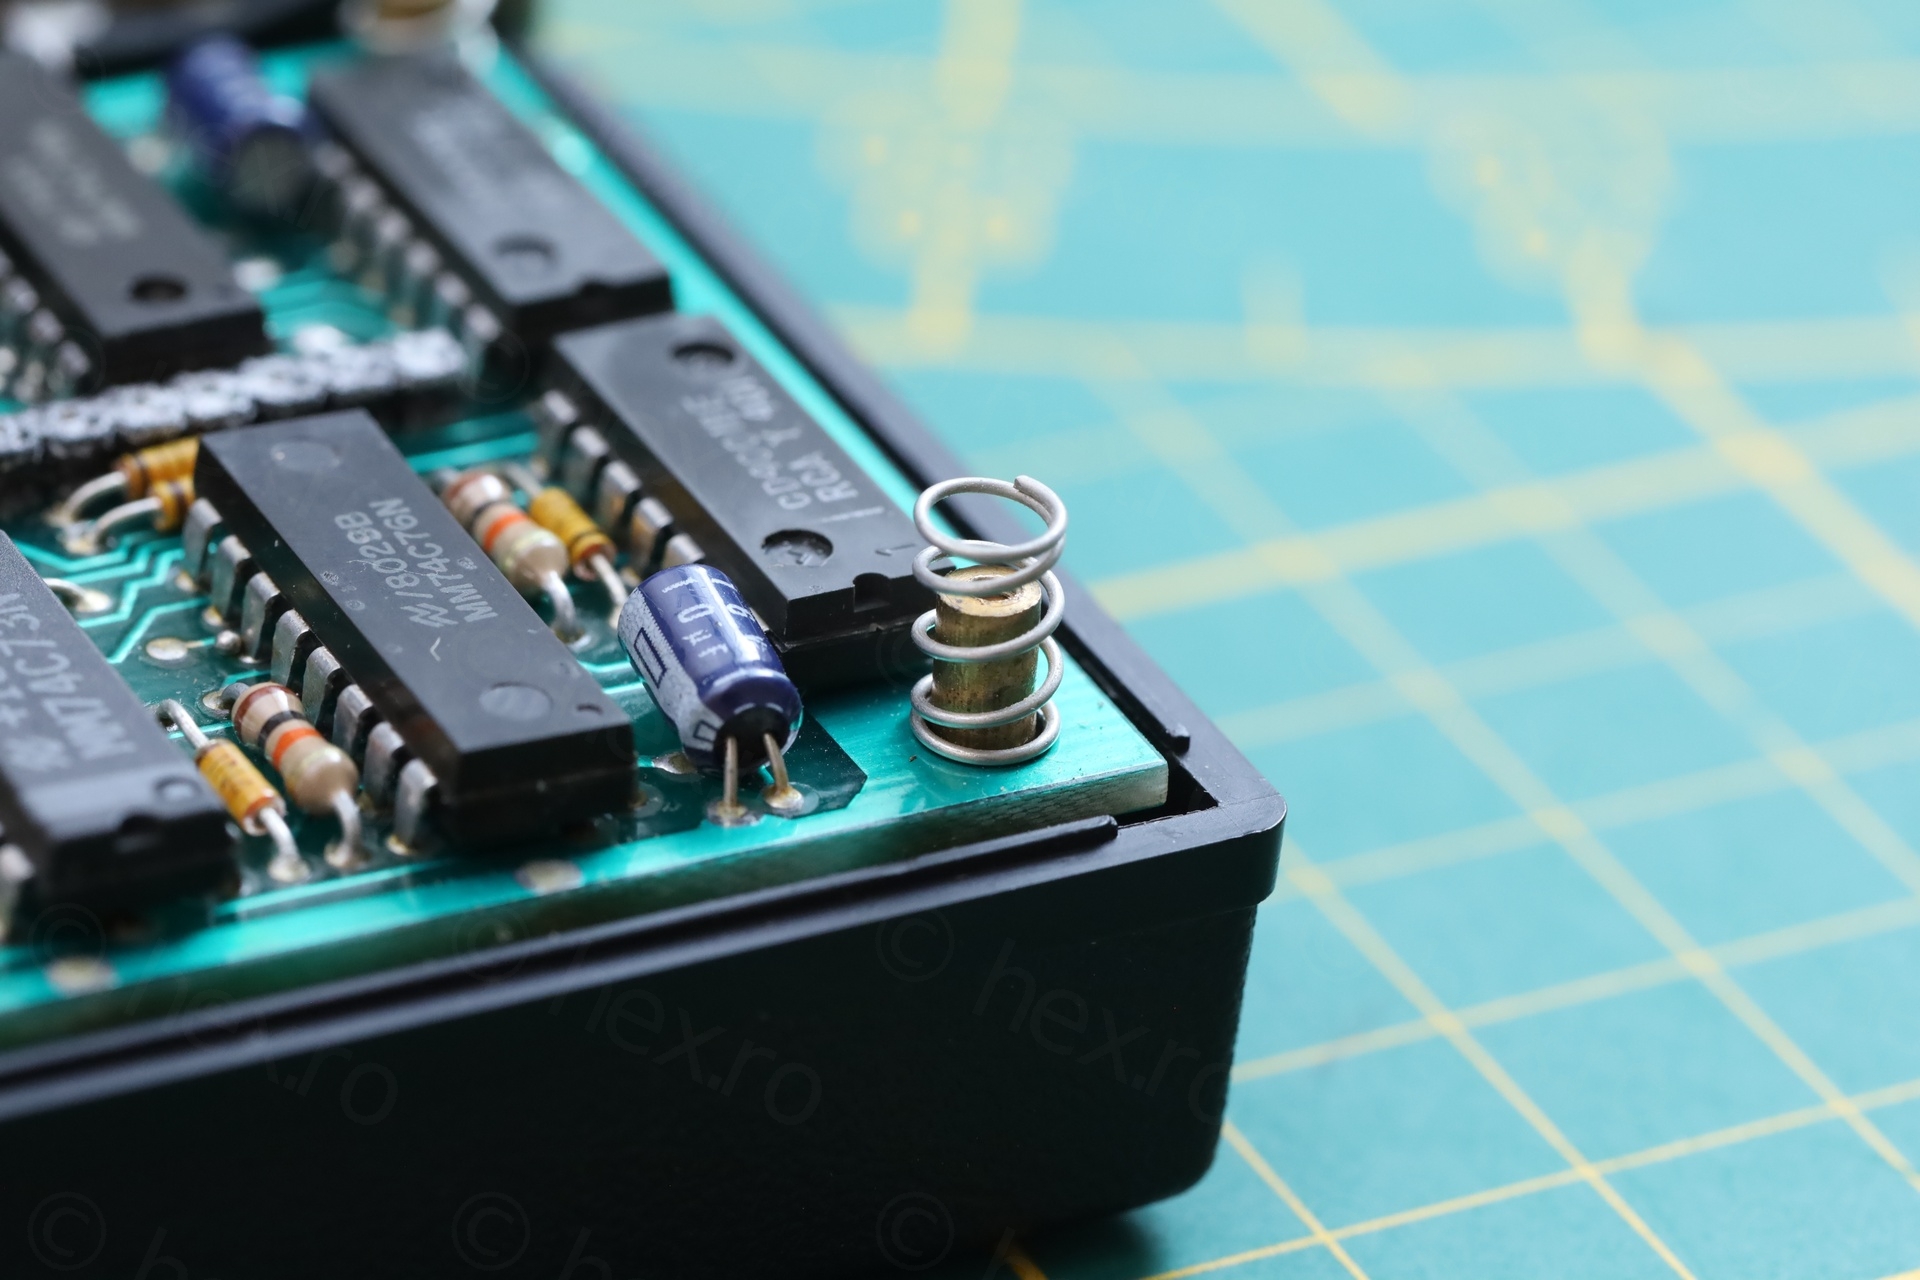
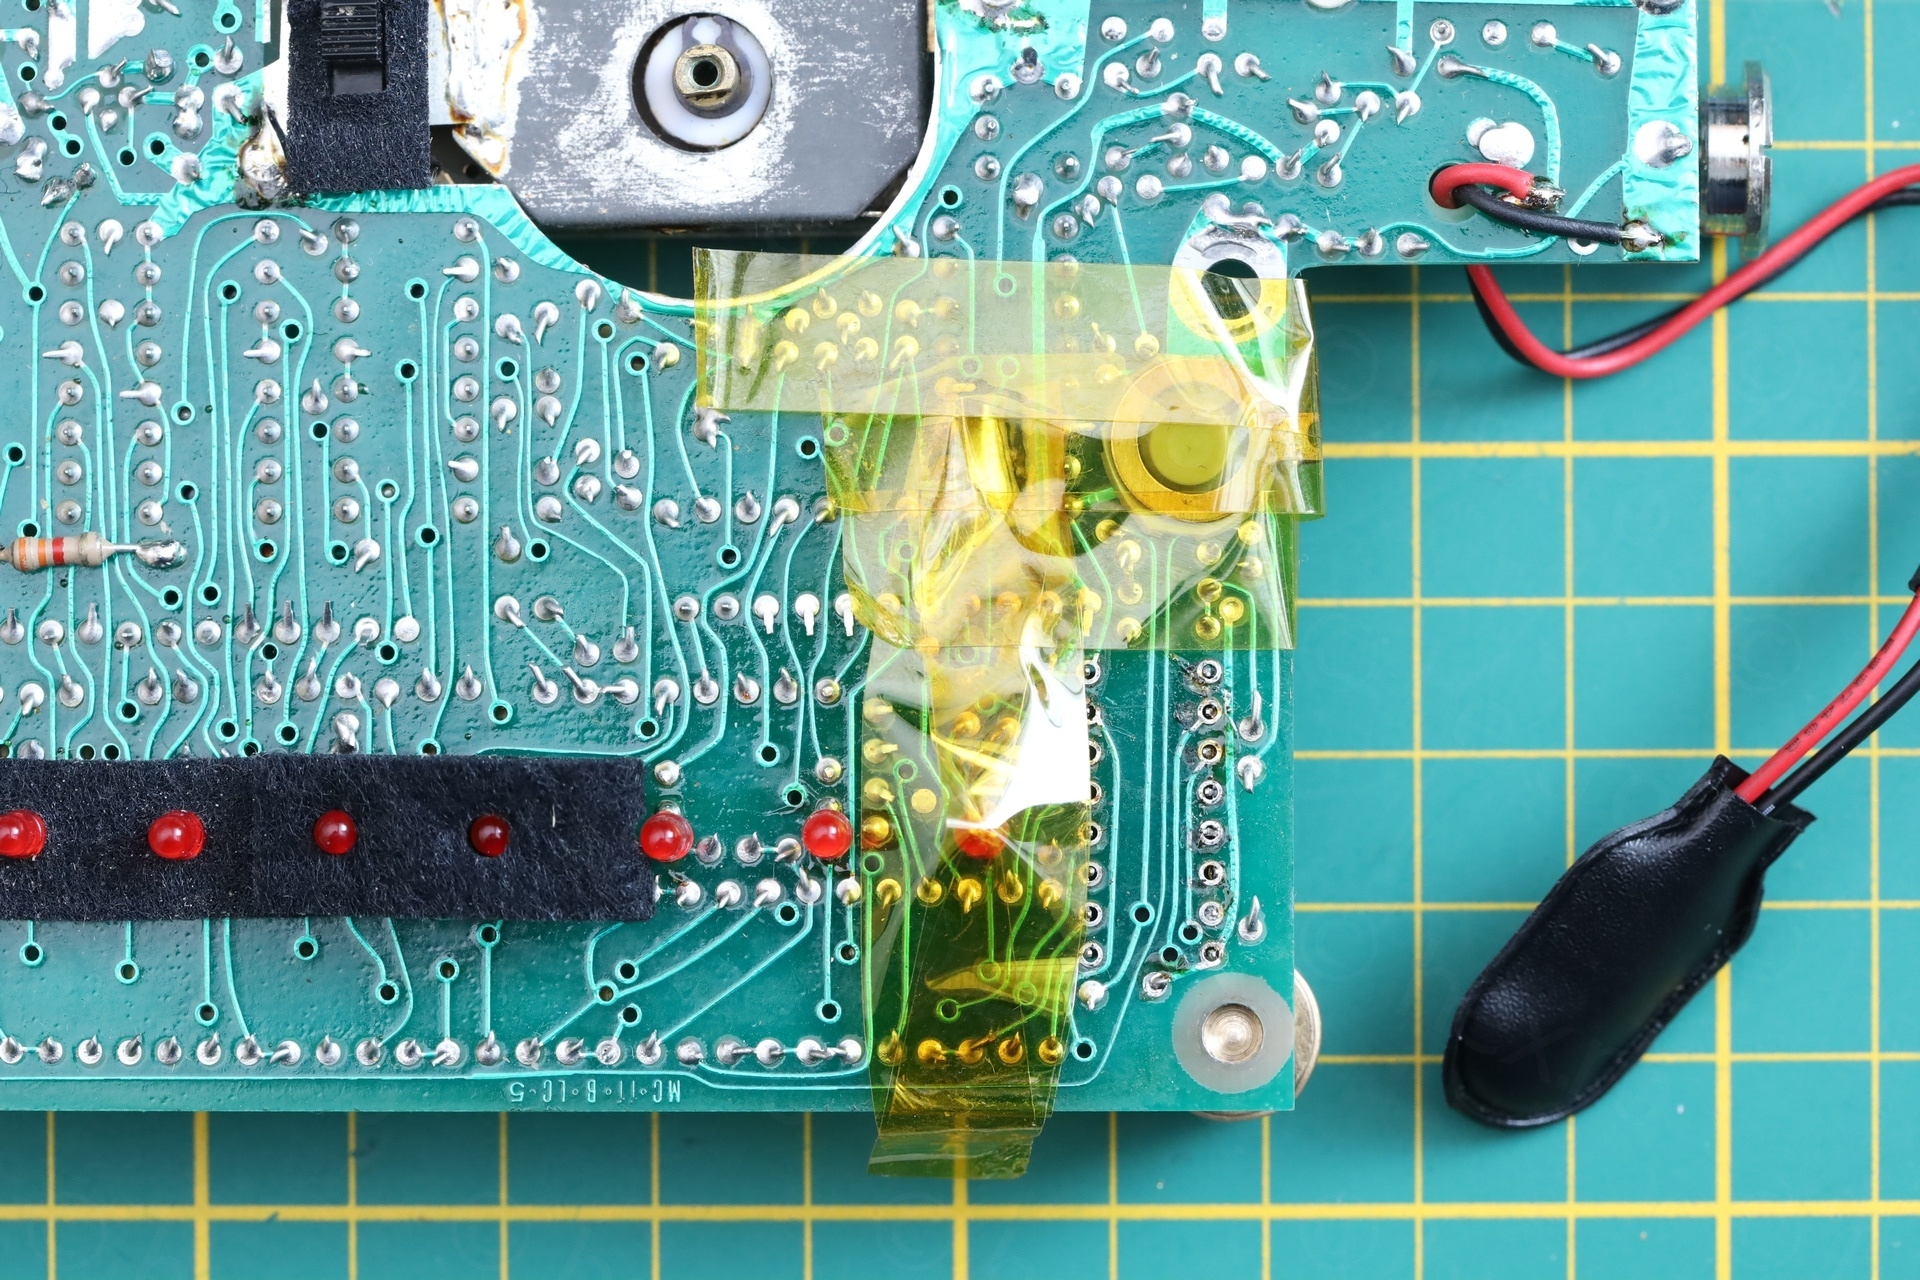
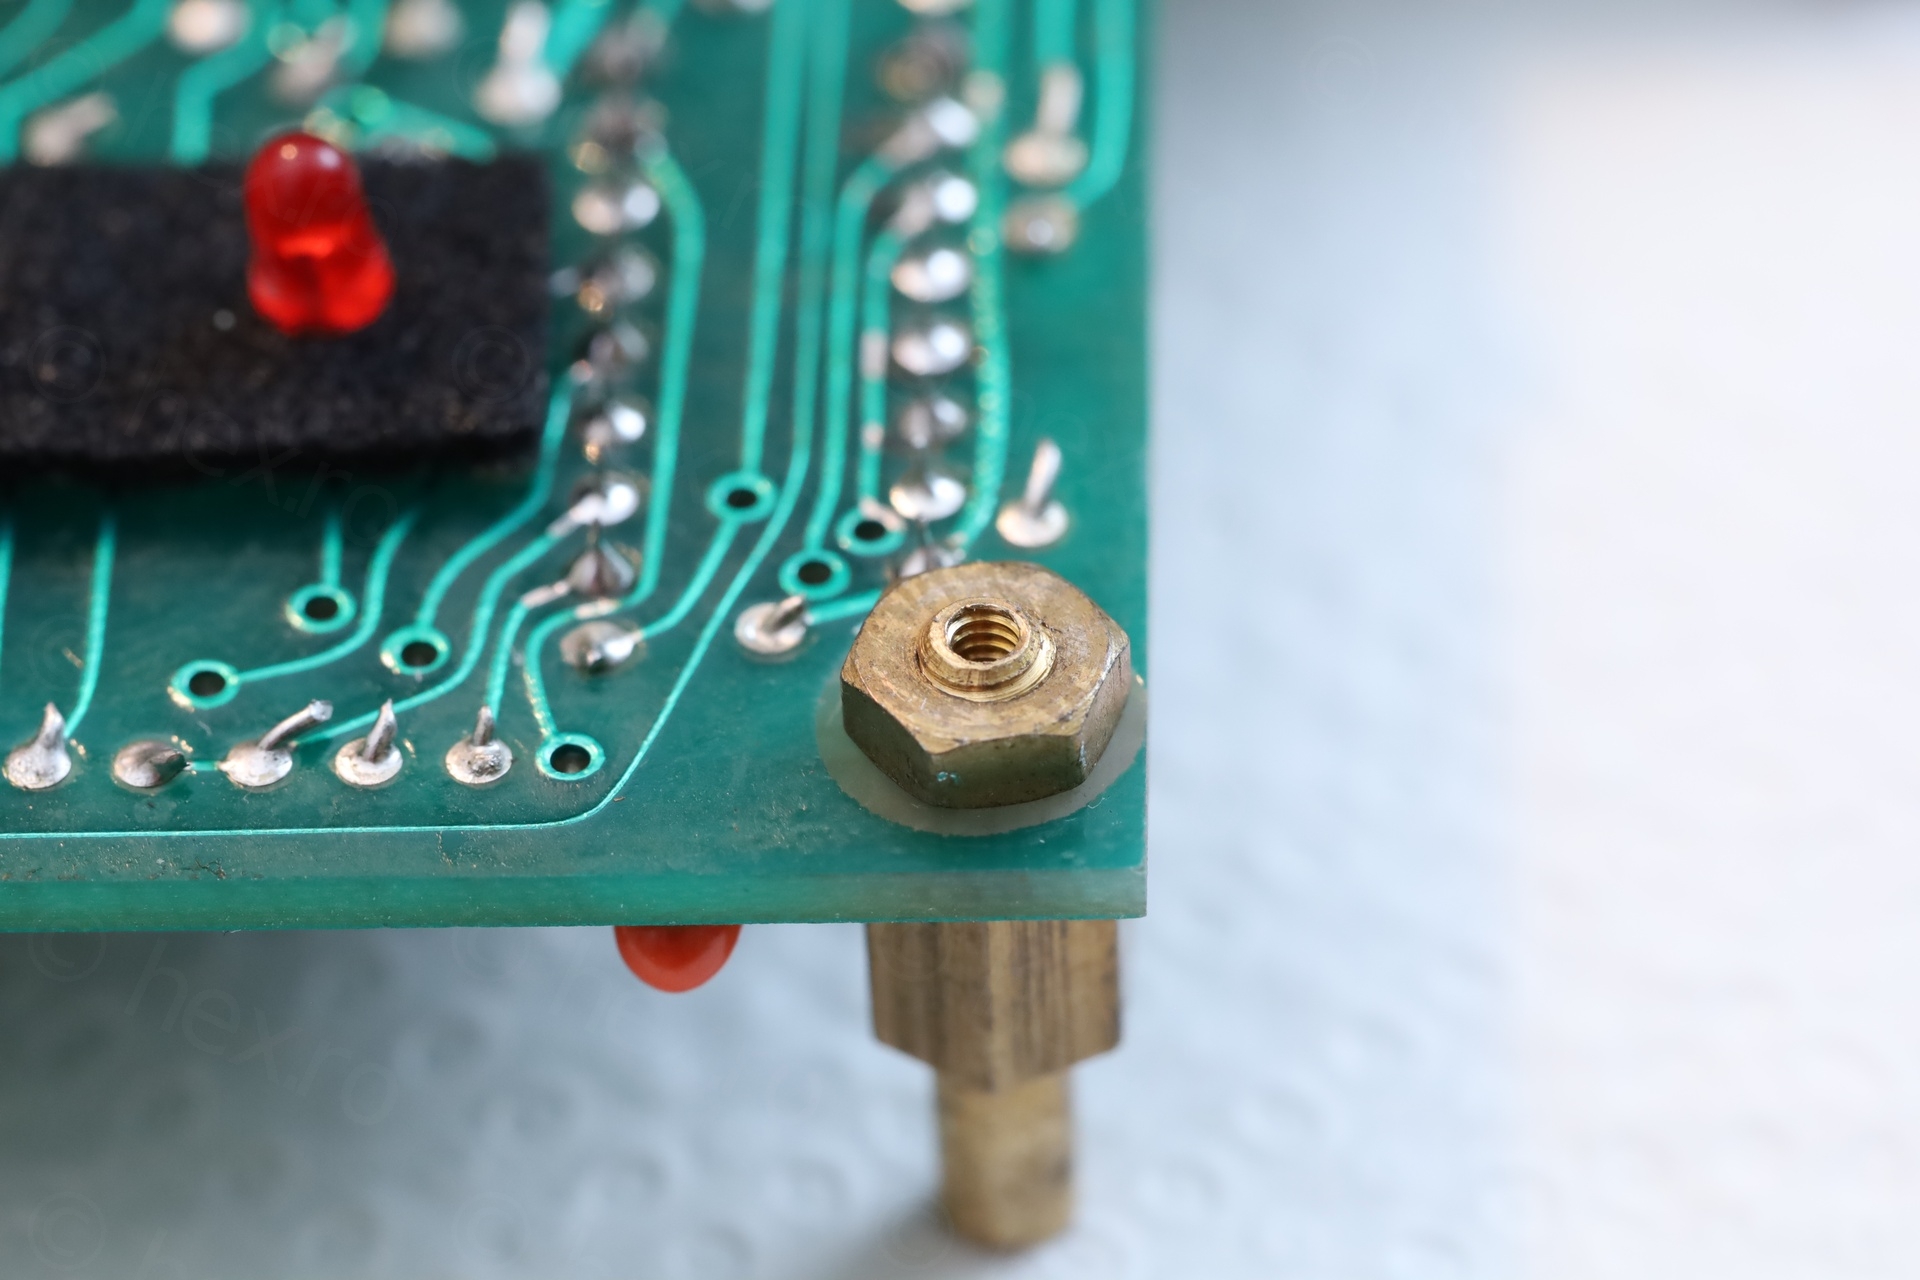
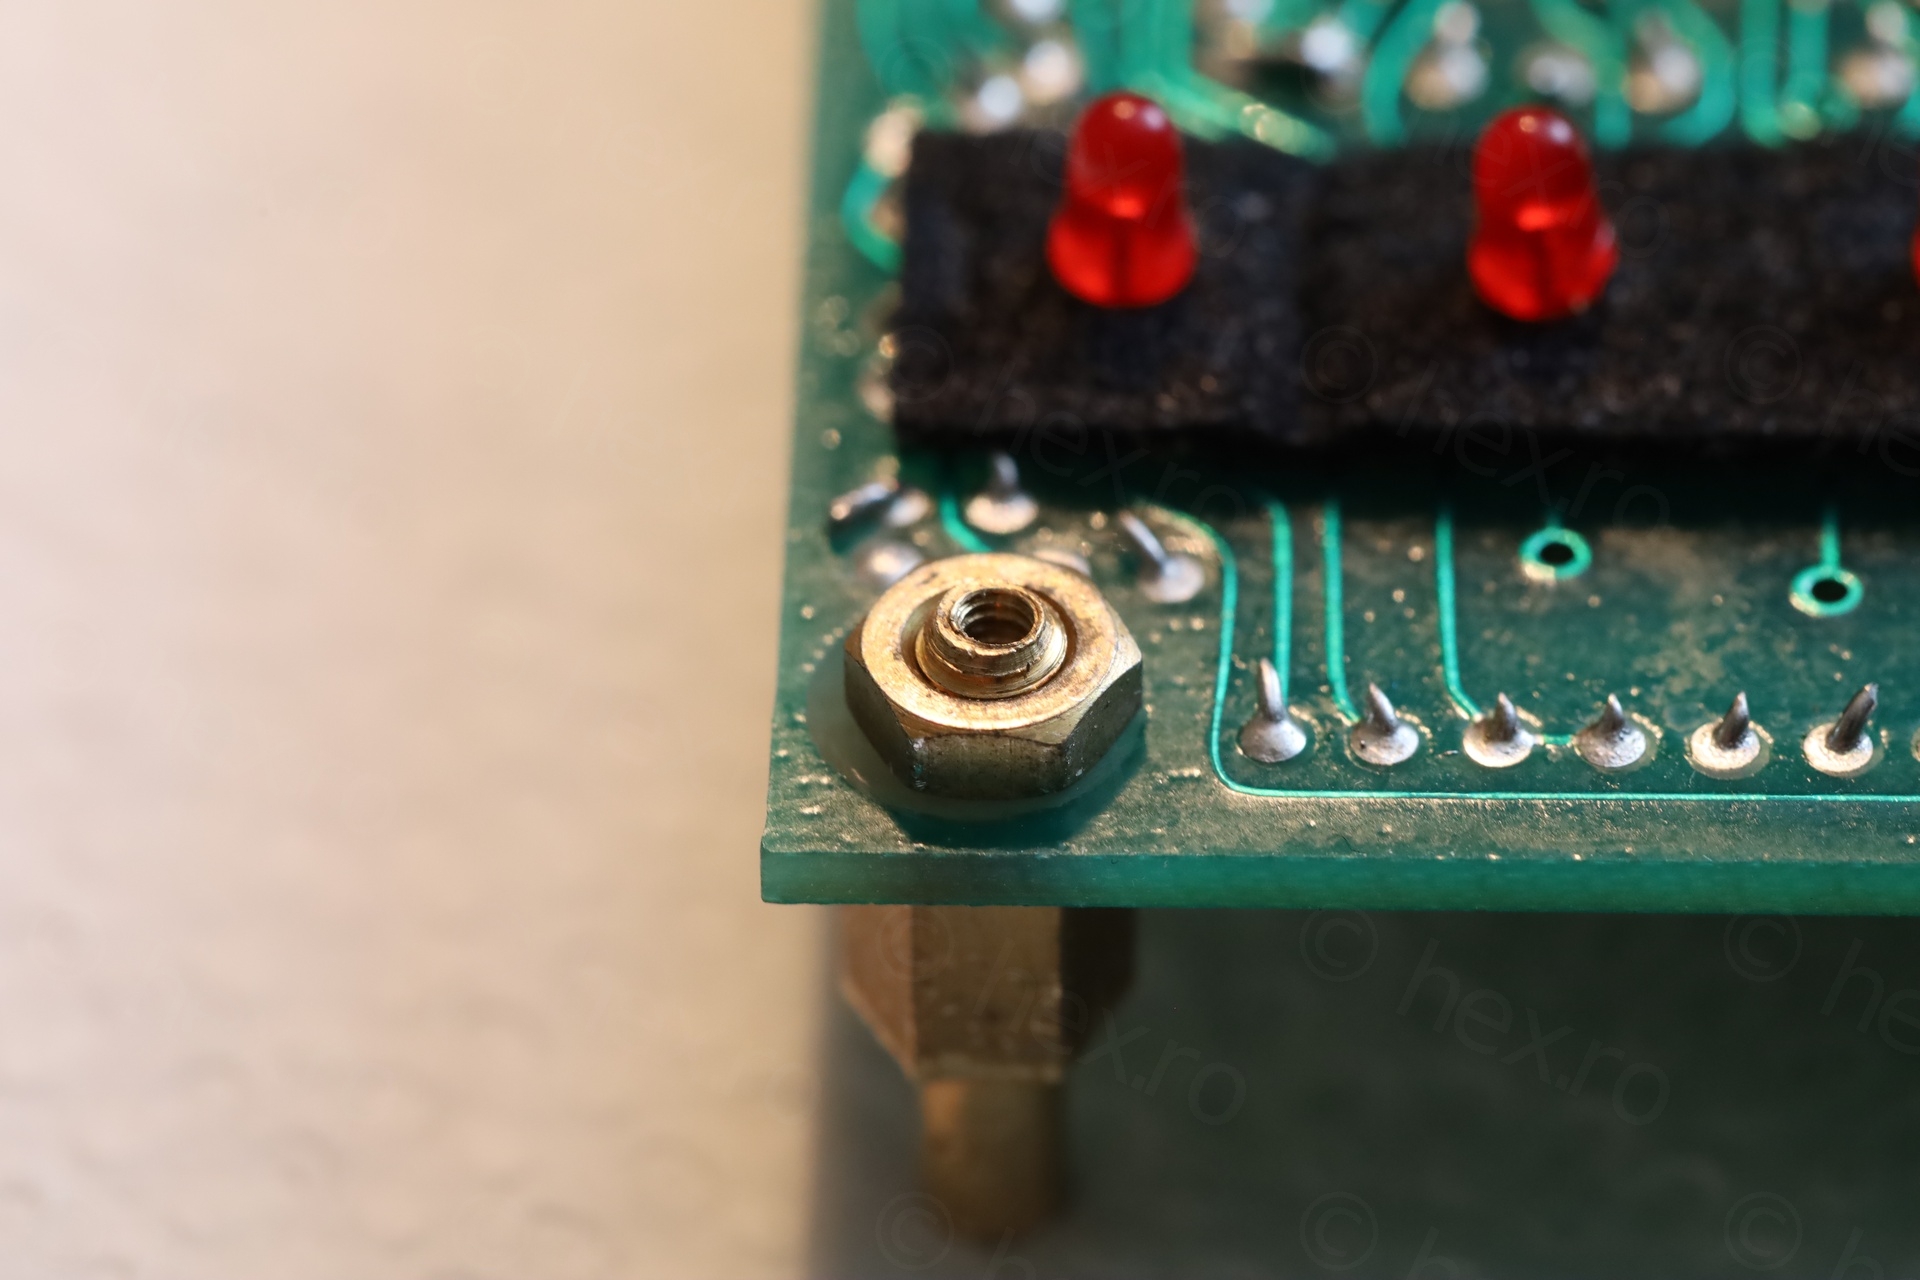
I already had to open it to have a visual check and install a 9V battery. There are 4 screws holding the back on. There are two boards sandwiched together that are plugged together via normal pins. 4 springs (slid on the 4 standoffs where the back cover attaches to) keep the two boards squeezed together.

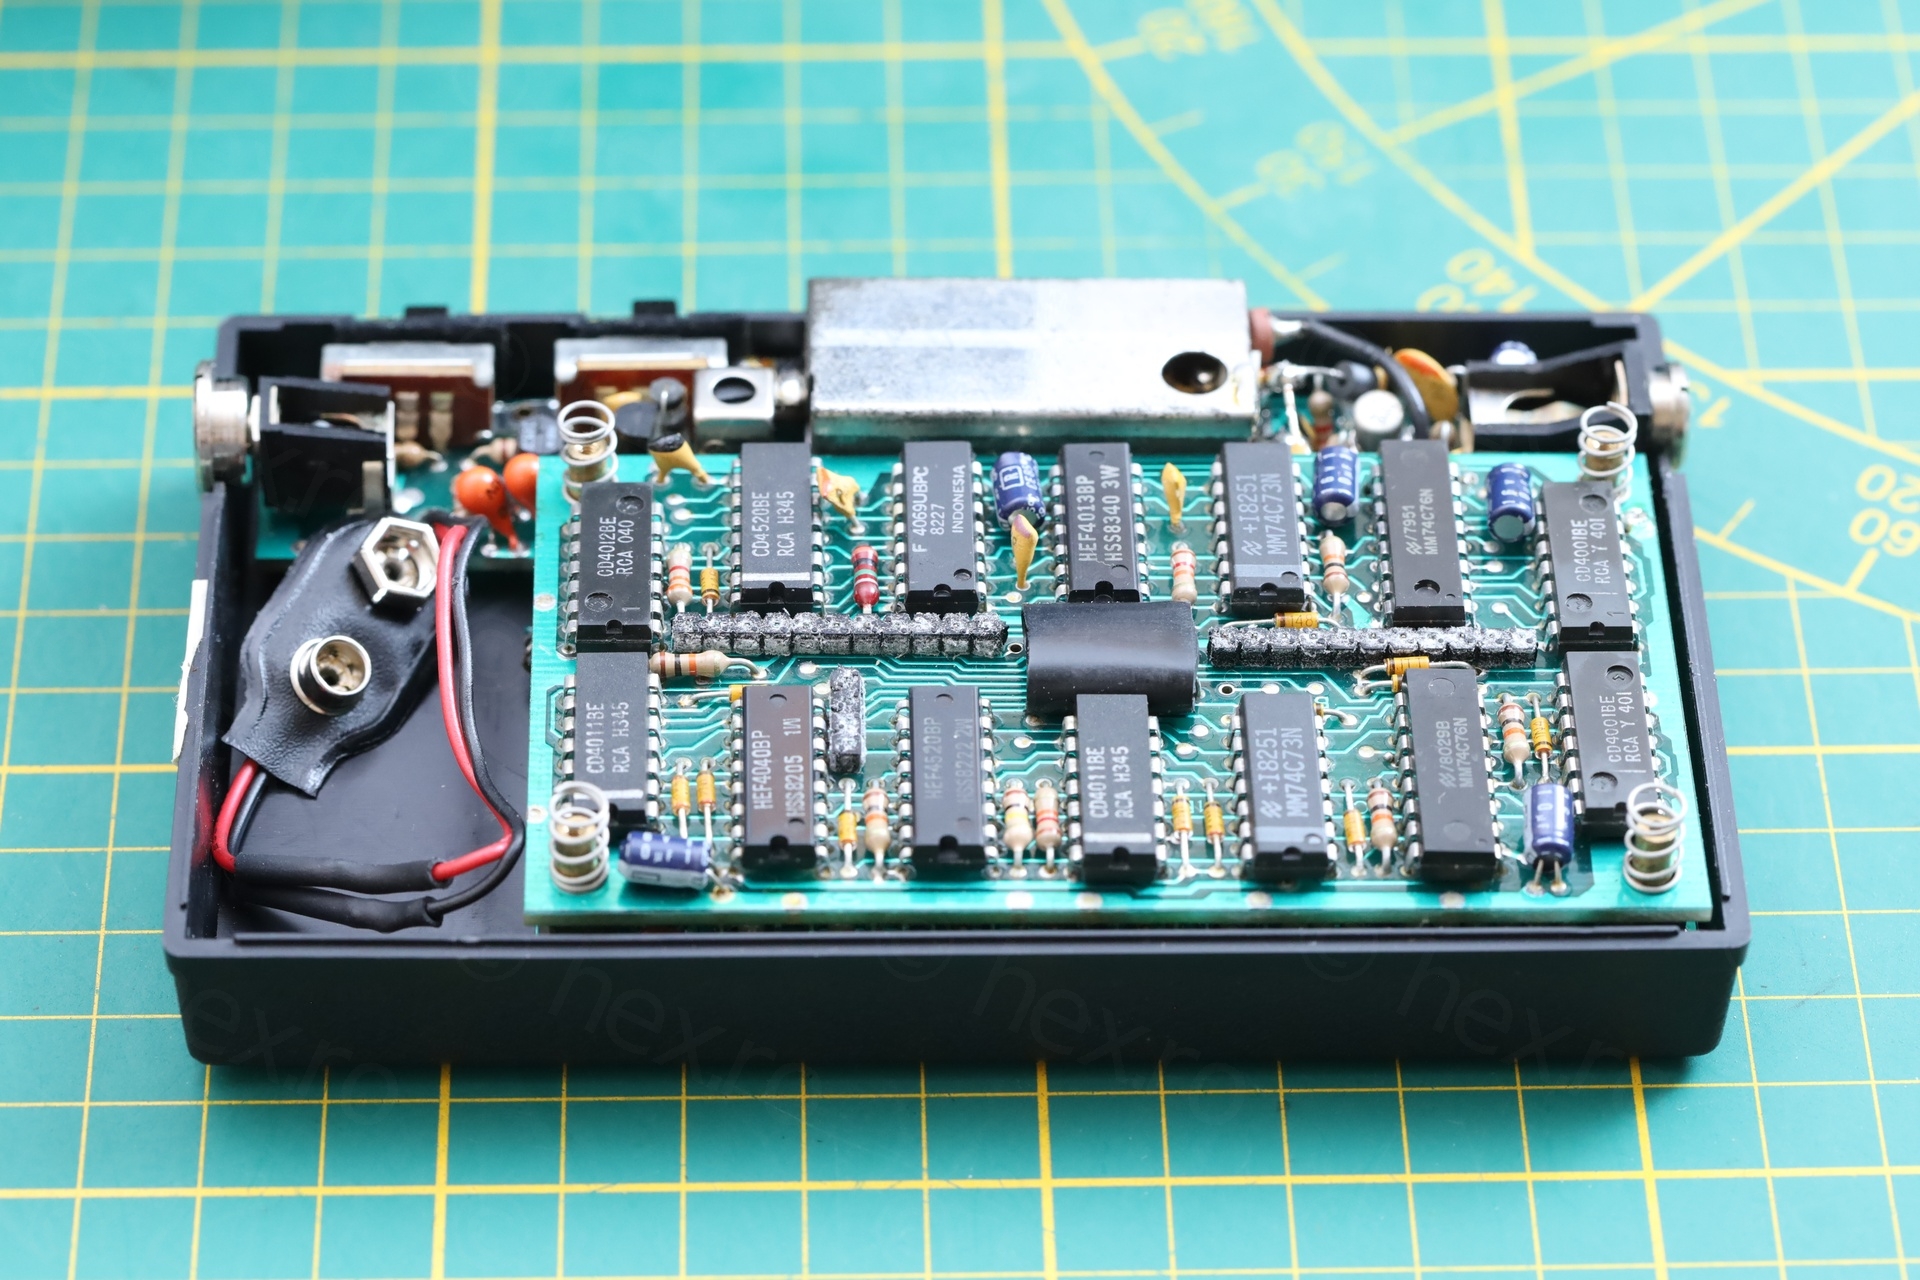

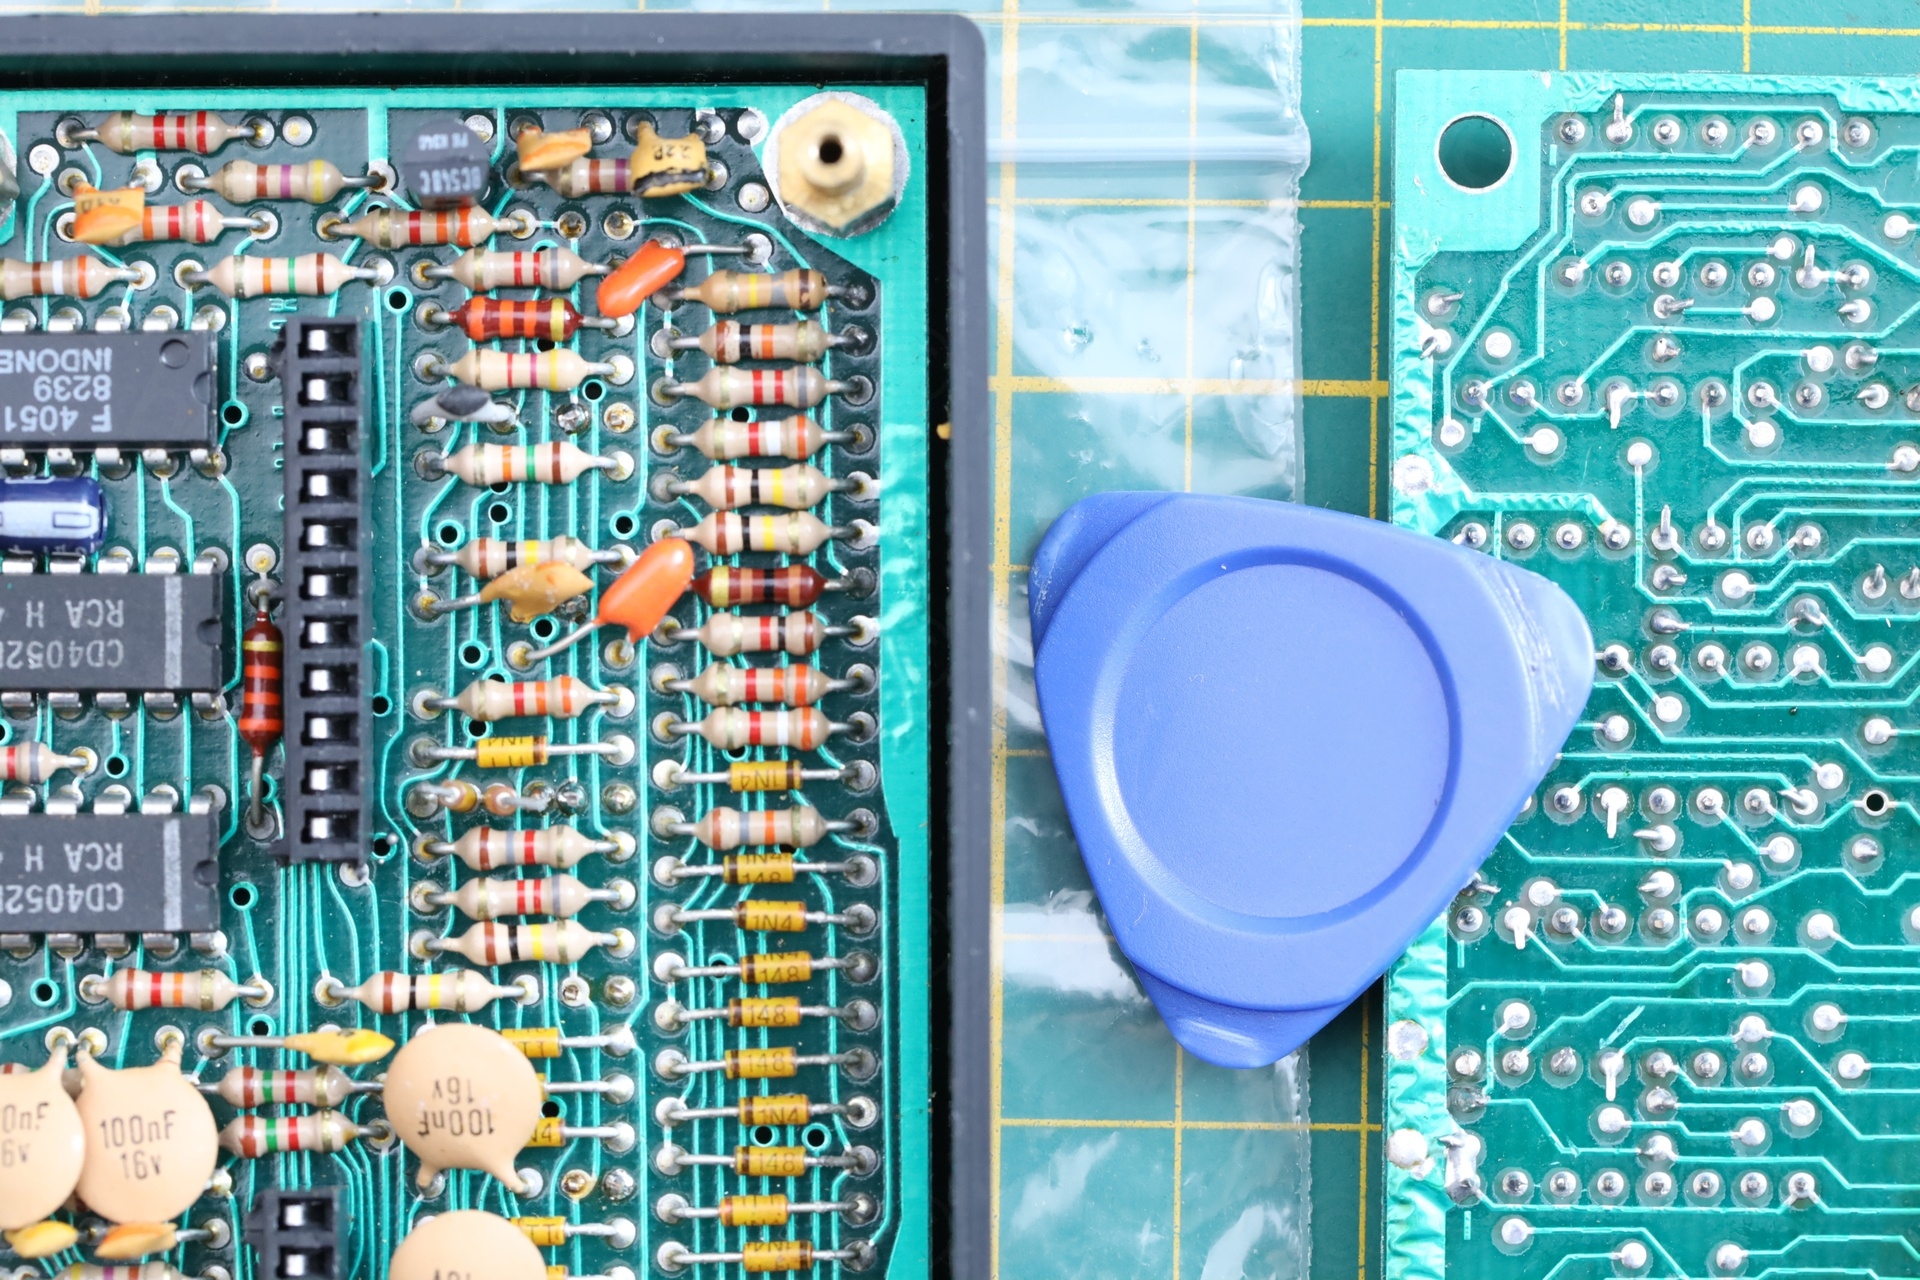
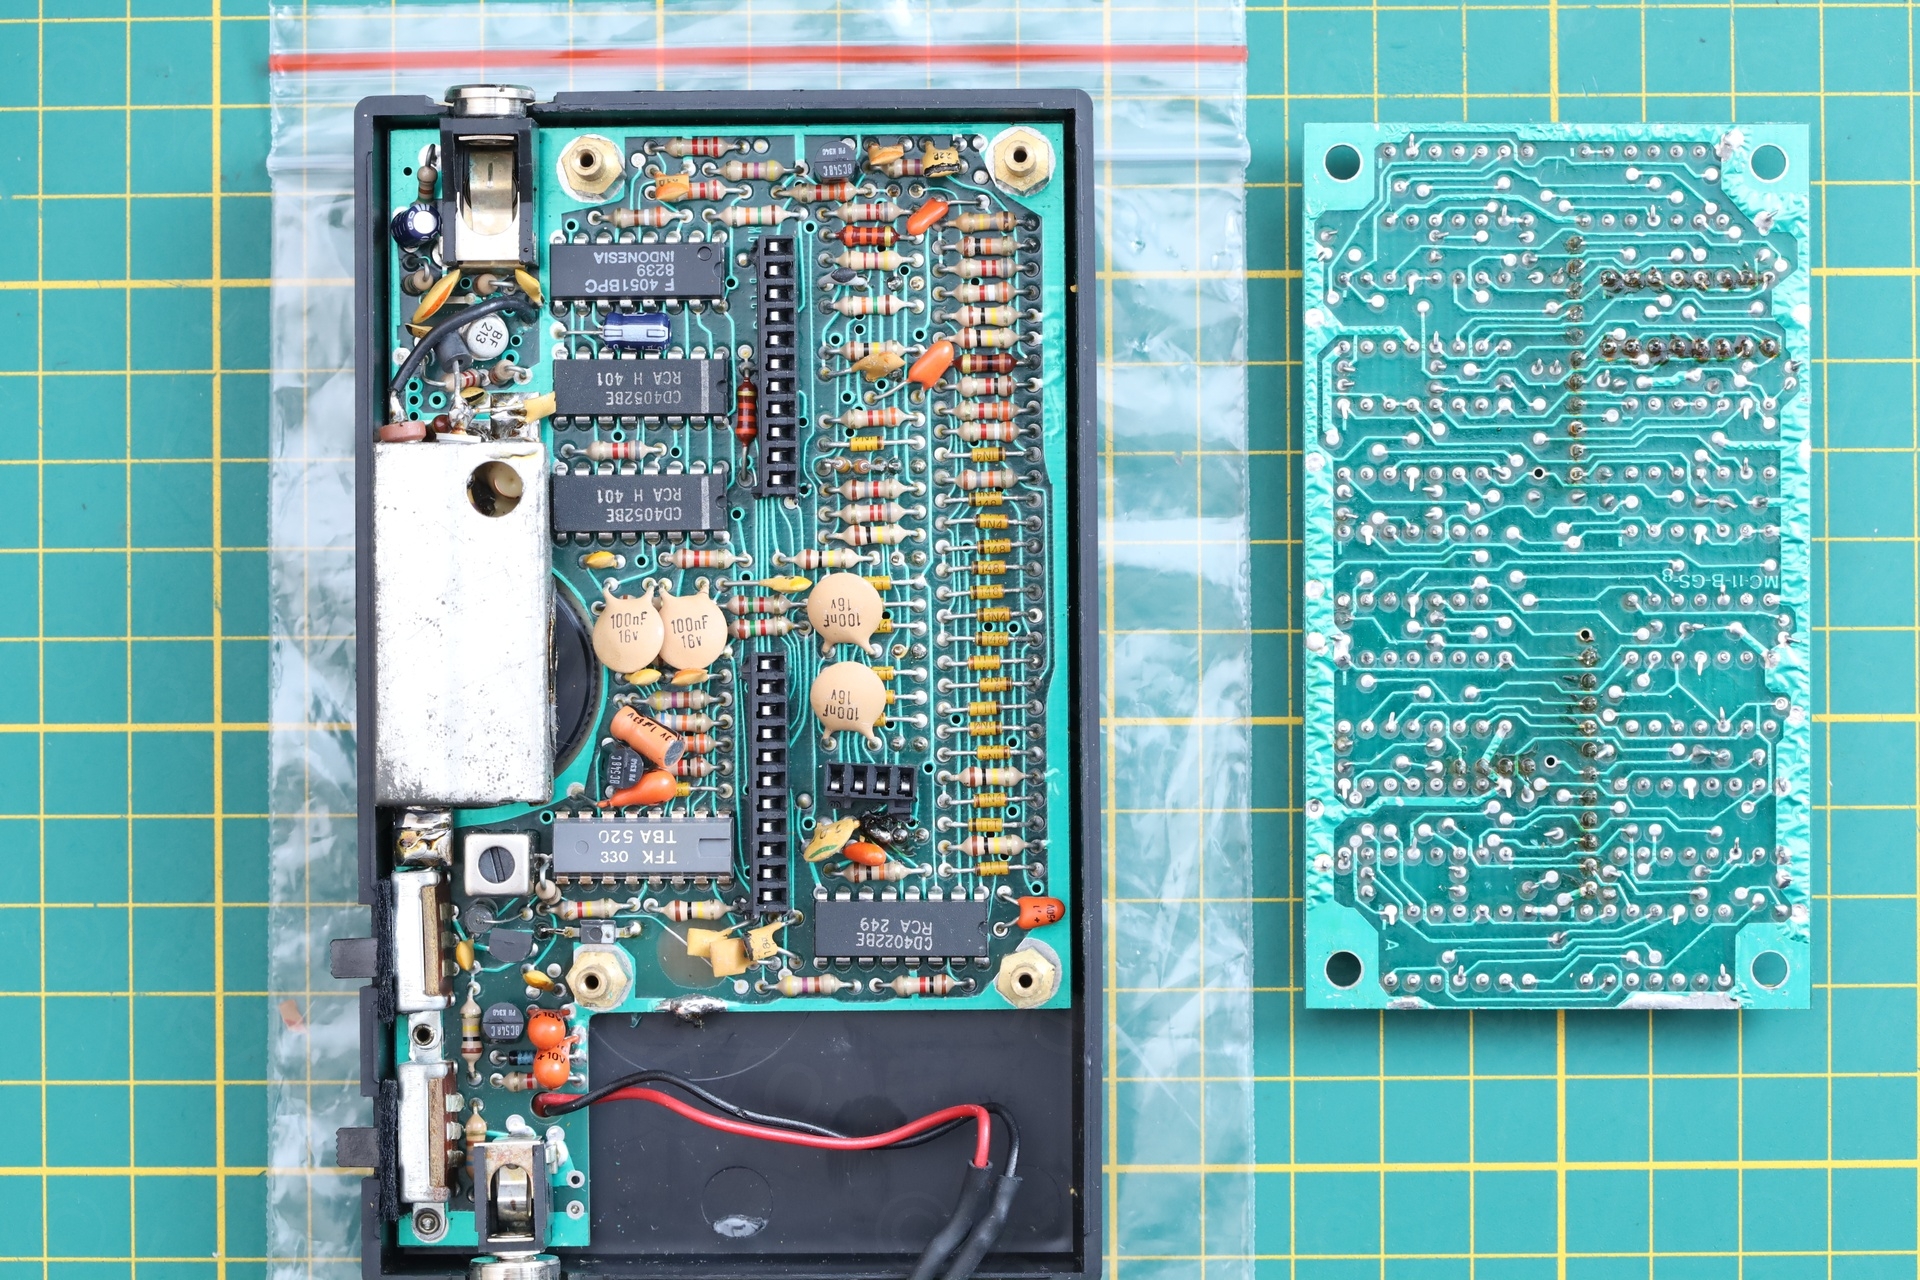
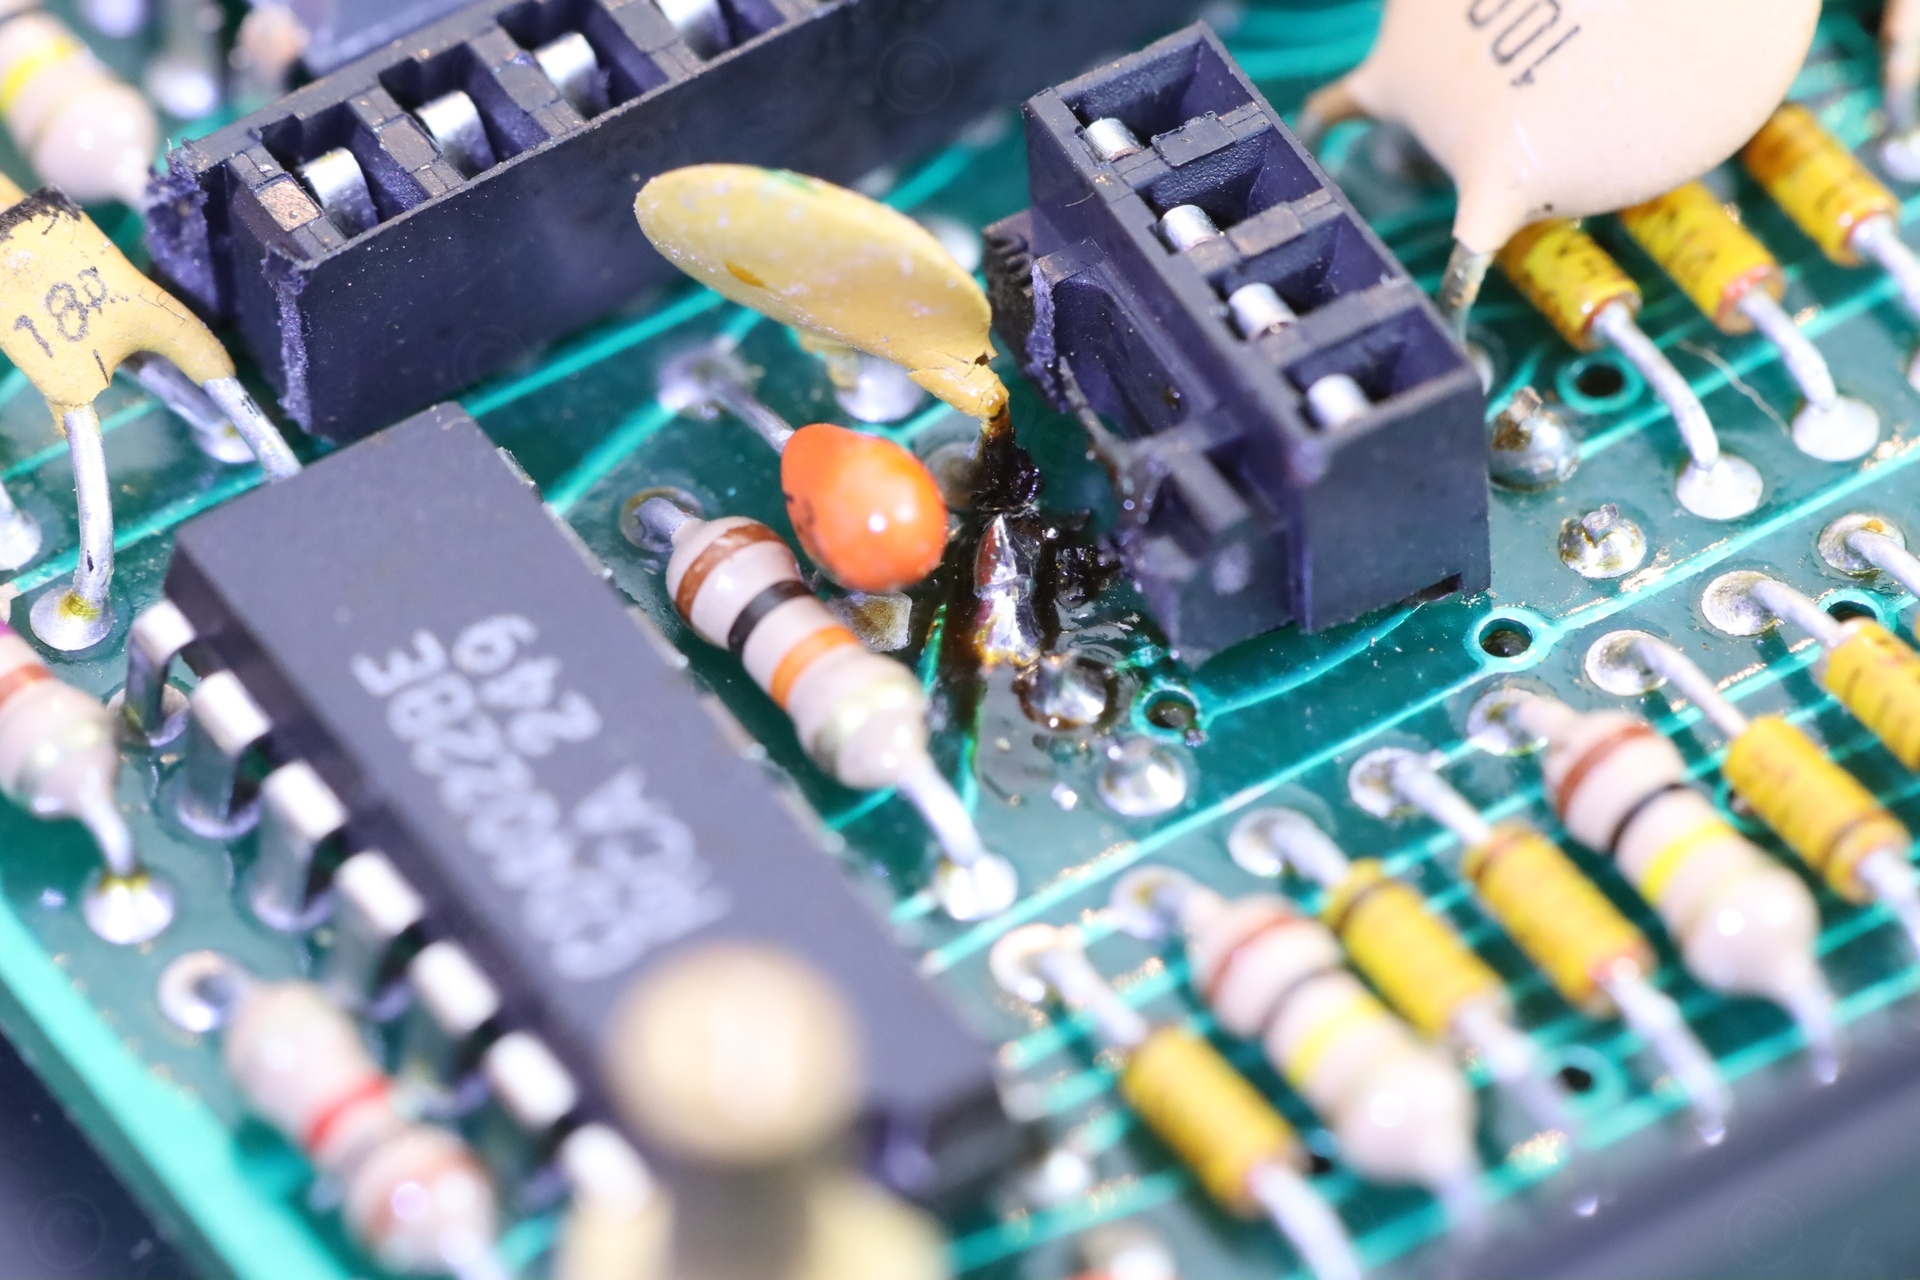
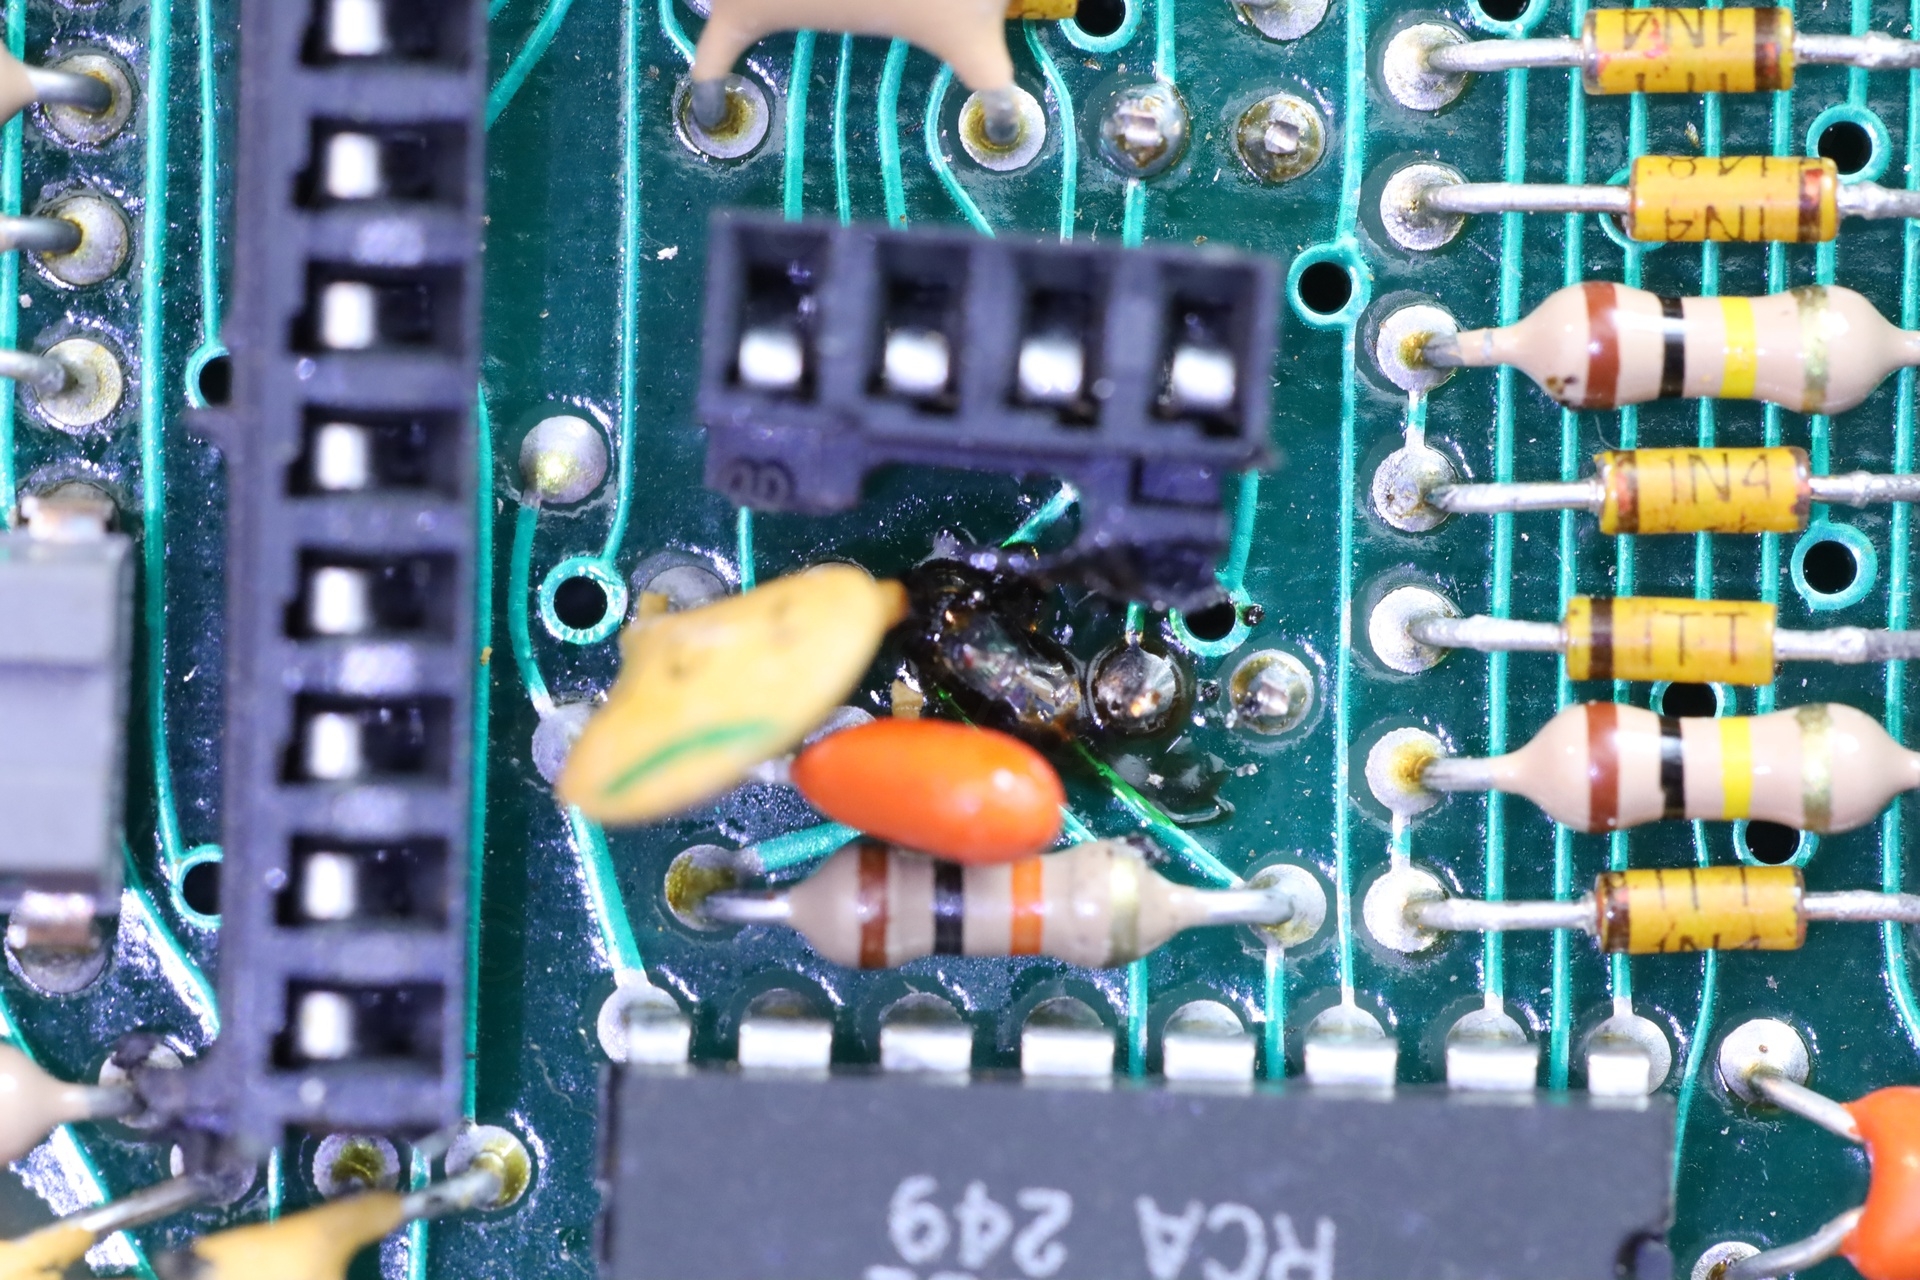
There were signs of somebody having already opened up the device before: one IC seemed re-soldered (having flux around the pins). One the female headers on the bottom board was melted with the soldering iron – but I cannot tell what they were trying to fix:
It was also puzzling that you have to open 4 screws to get to the battery ? The 9V battery clip seemed to have been replaced:
I didn’t see it at first mentioned in the ads, but the battery clip mystery is easy: the device was sold with a internal rechargeable Ni-Cd battery and a 9V adapter / charger. Thus, somebody took out that battery and installed 9V battery clip leads.
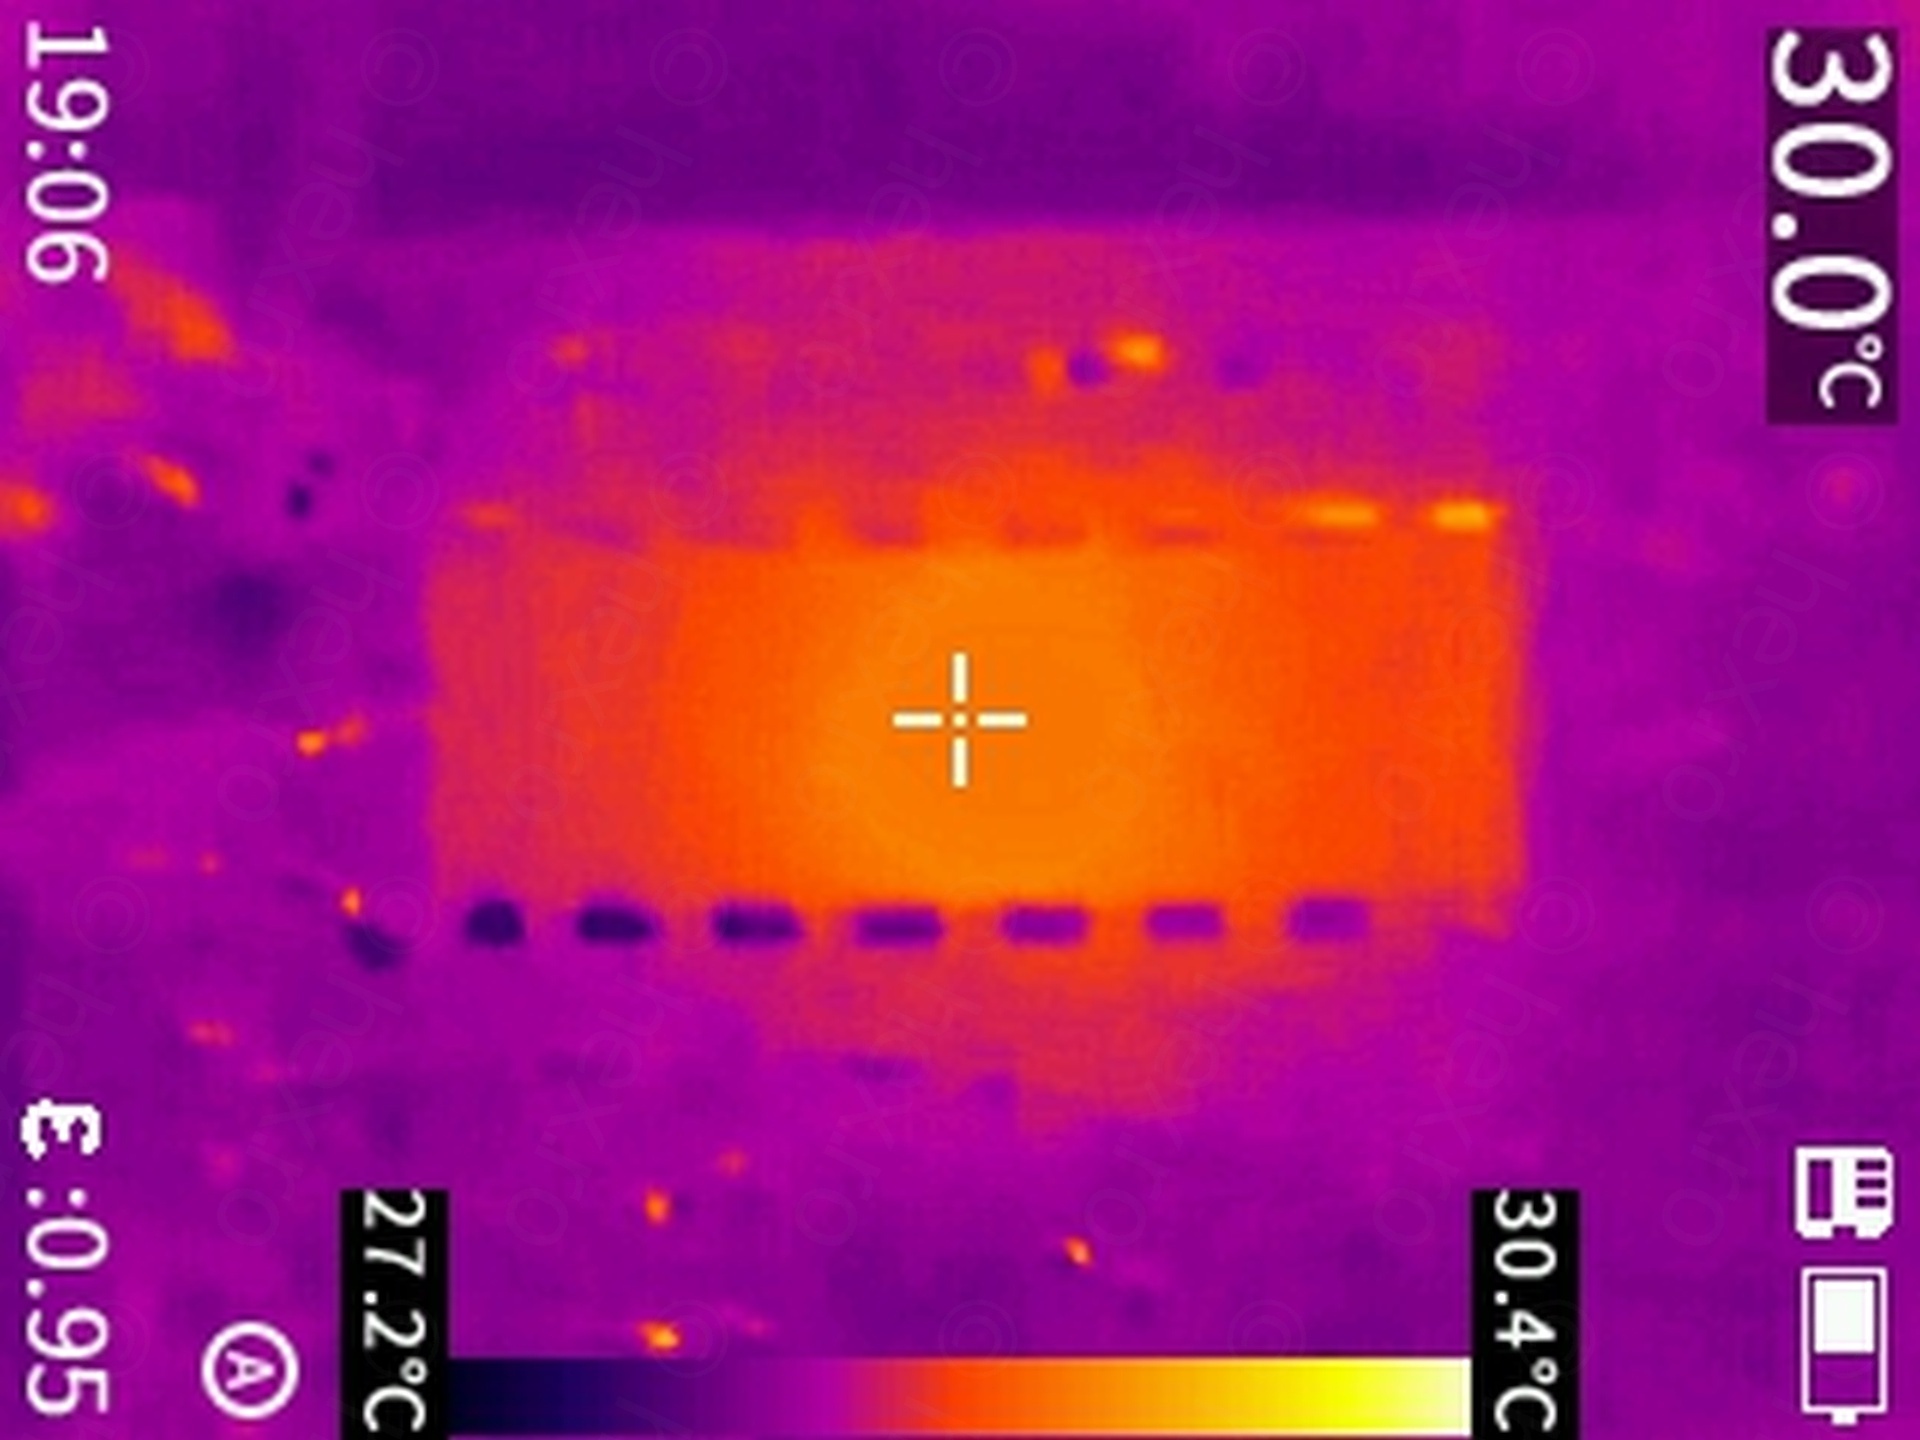
Without anything to go with (I mean schematics), the only idea I had was to look at the thing in Infrared:


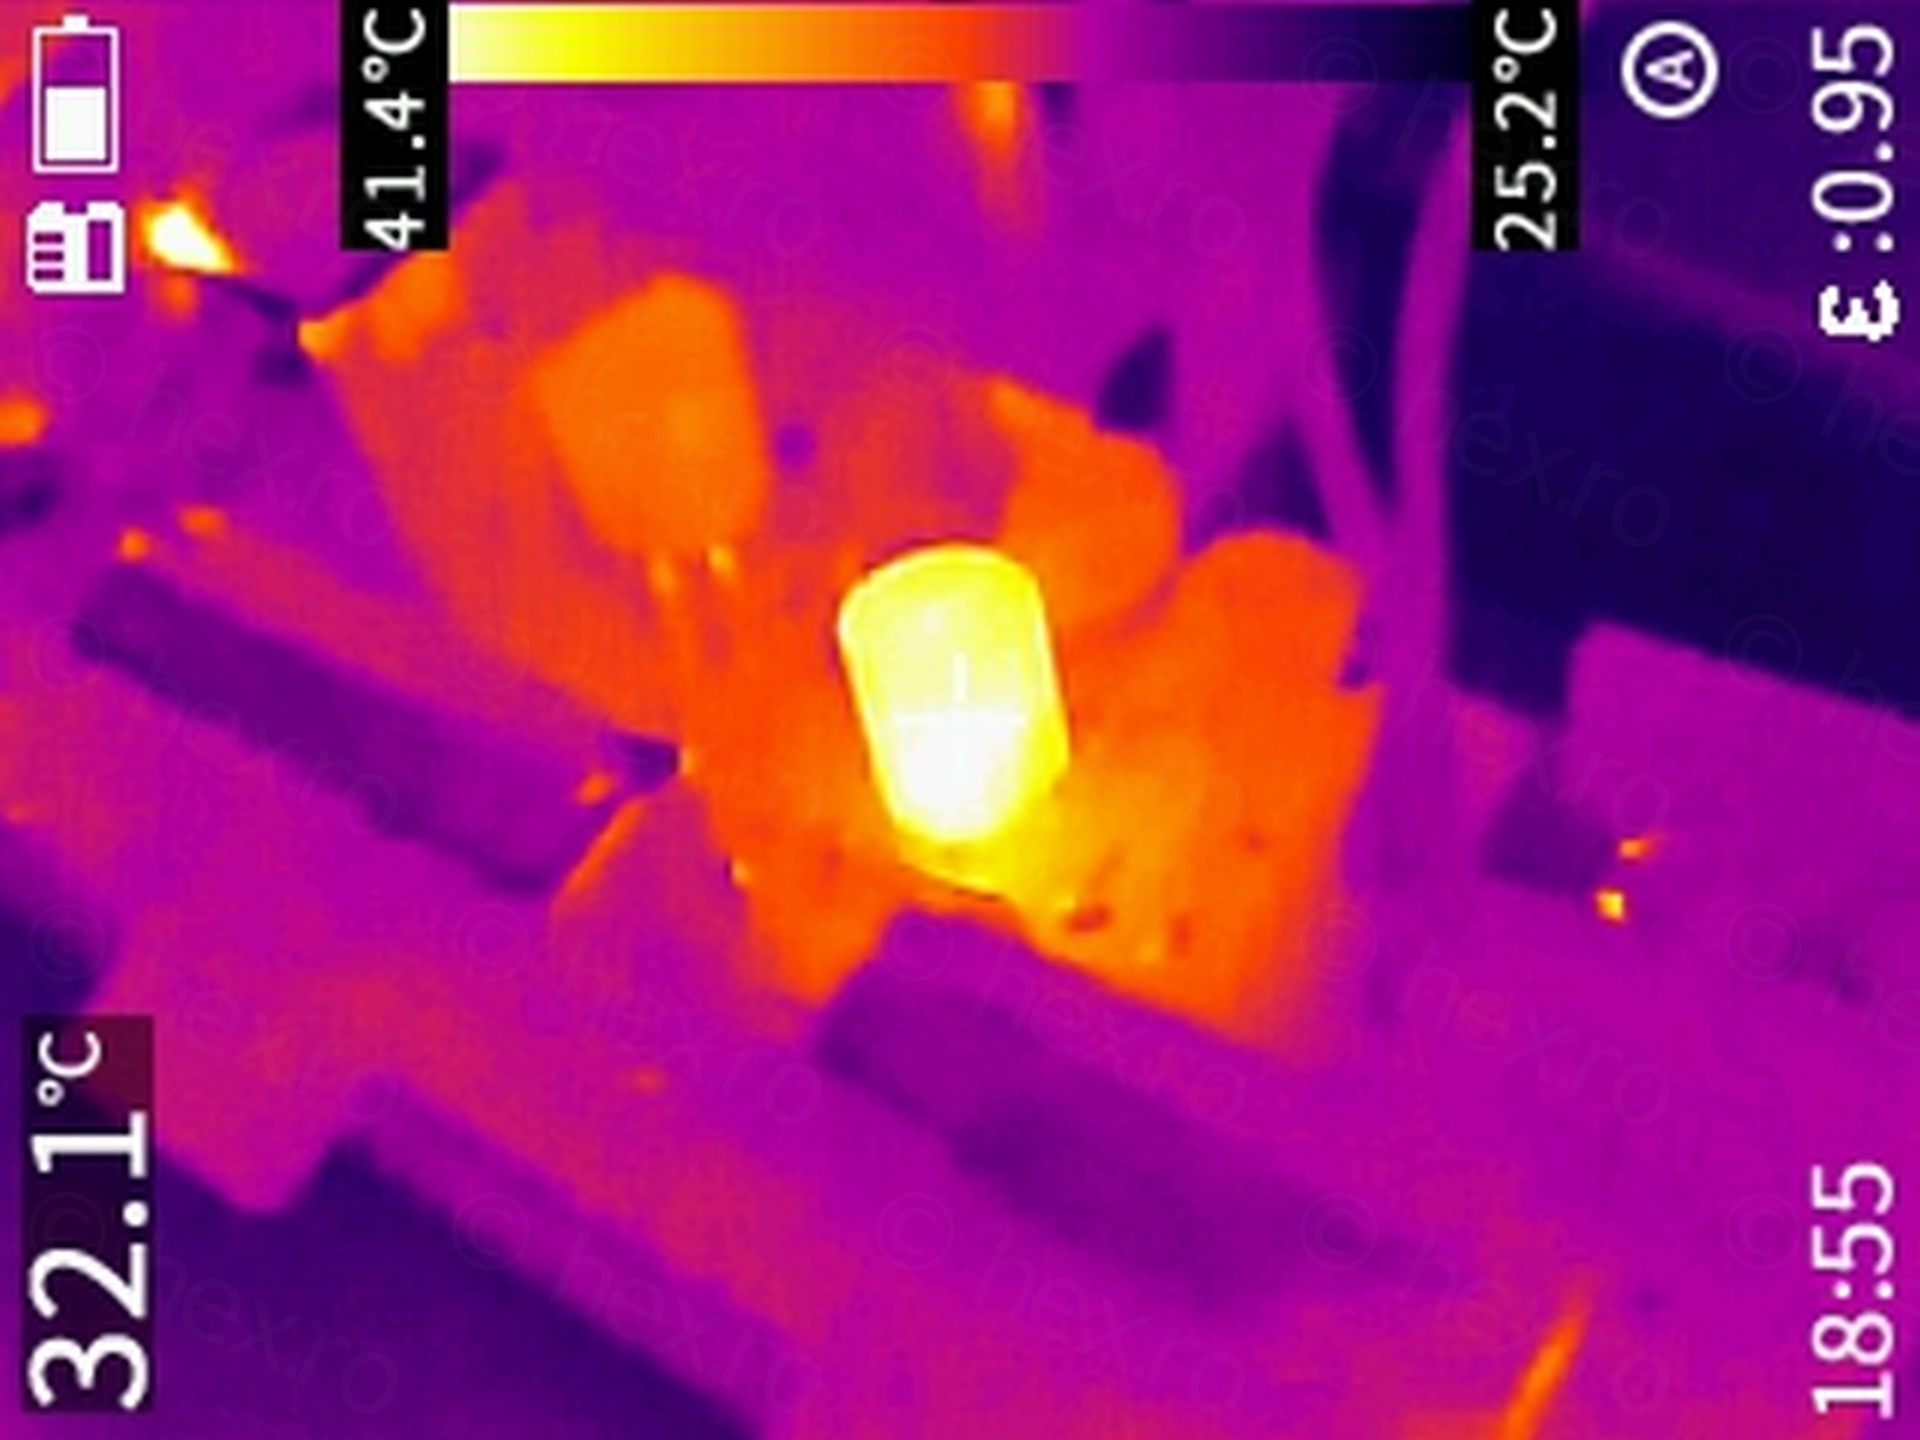
Handling the boards gave me a strong feelings of “Sinclair Spectrum”: ICs very close together, thin traces, hunting down bad ICs with the infrared camera…
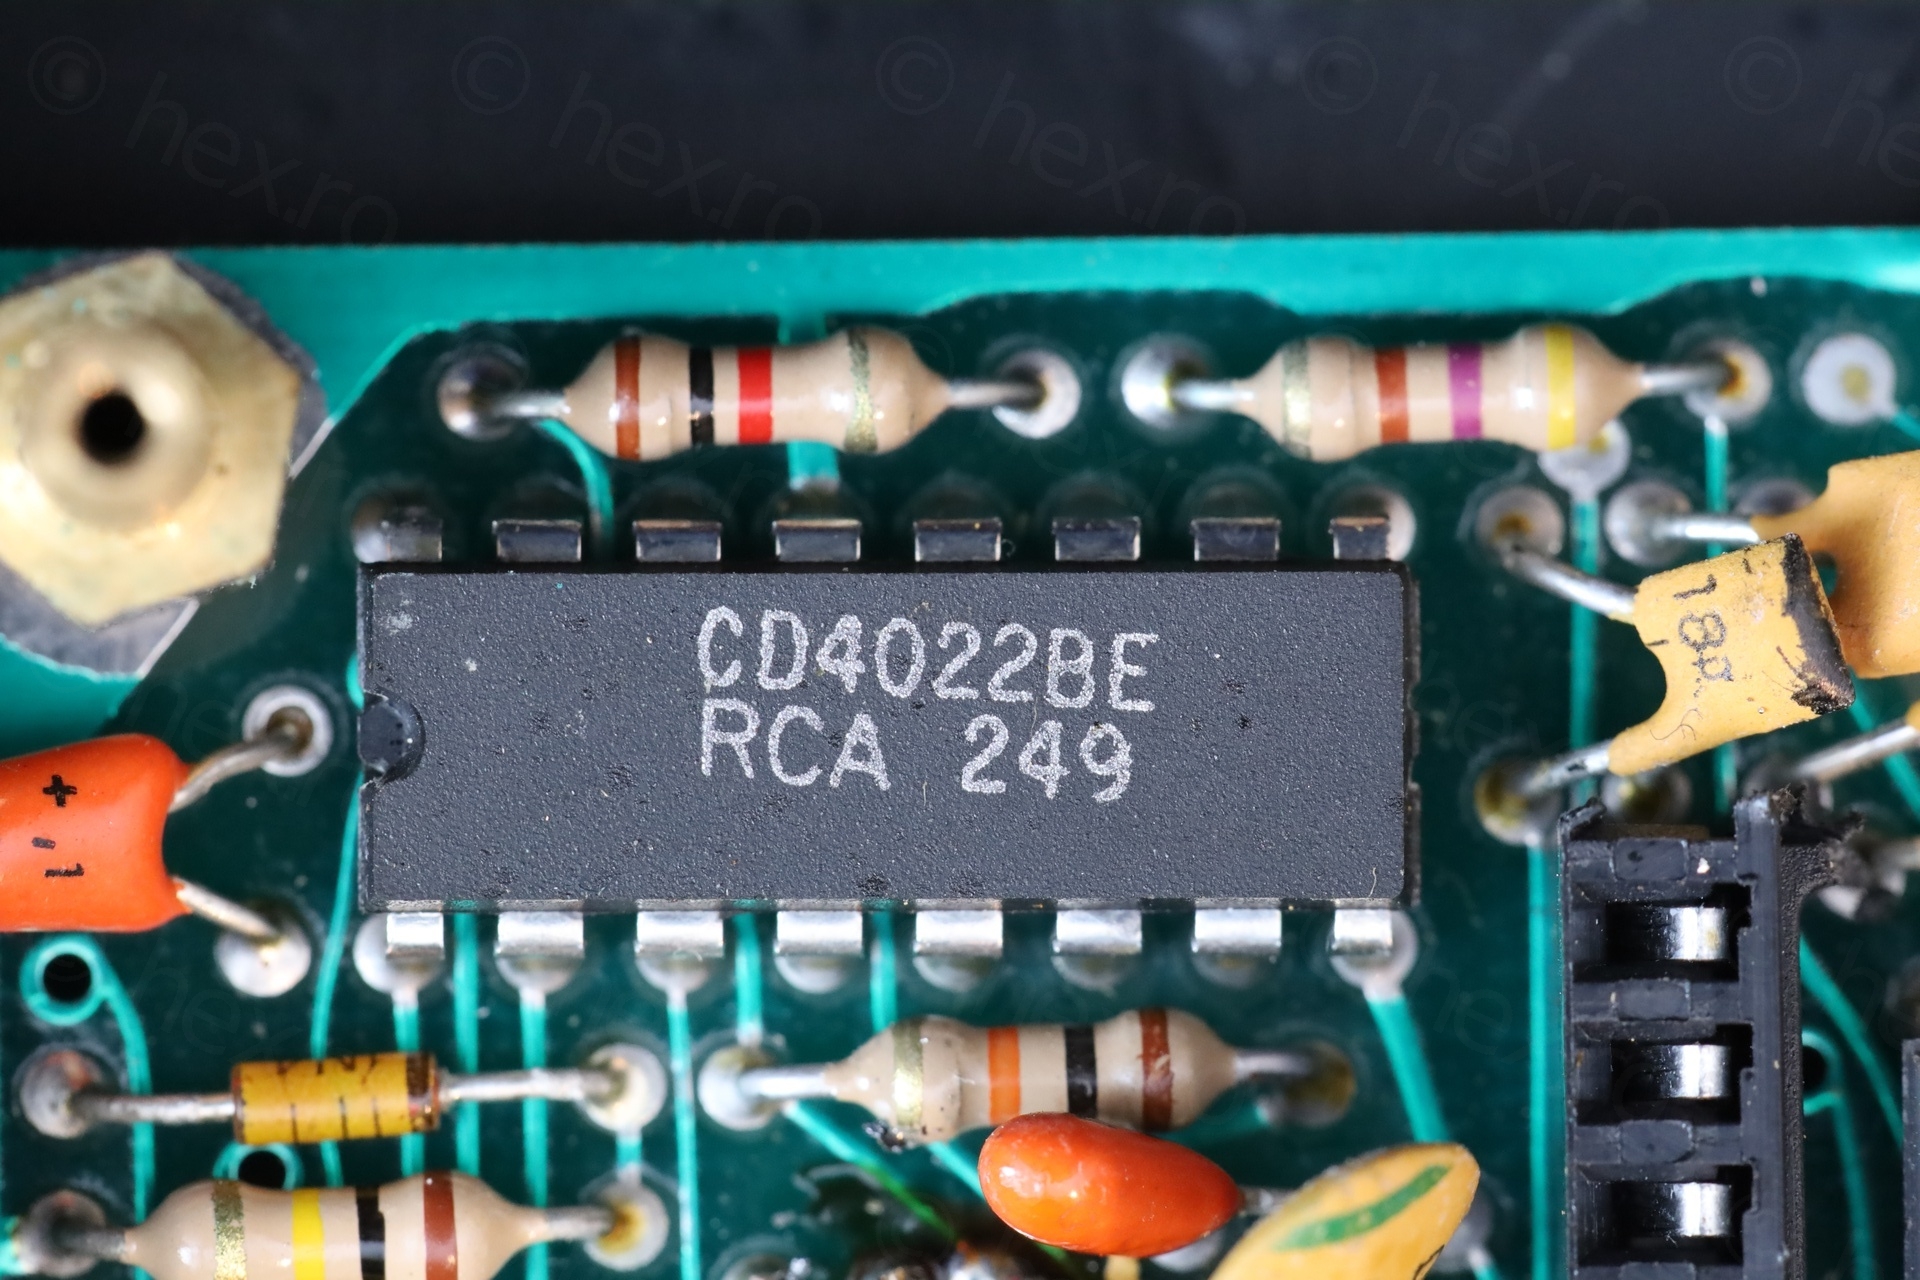
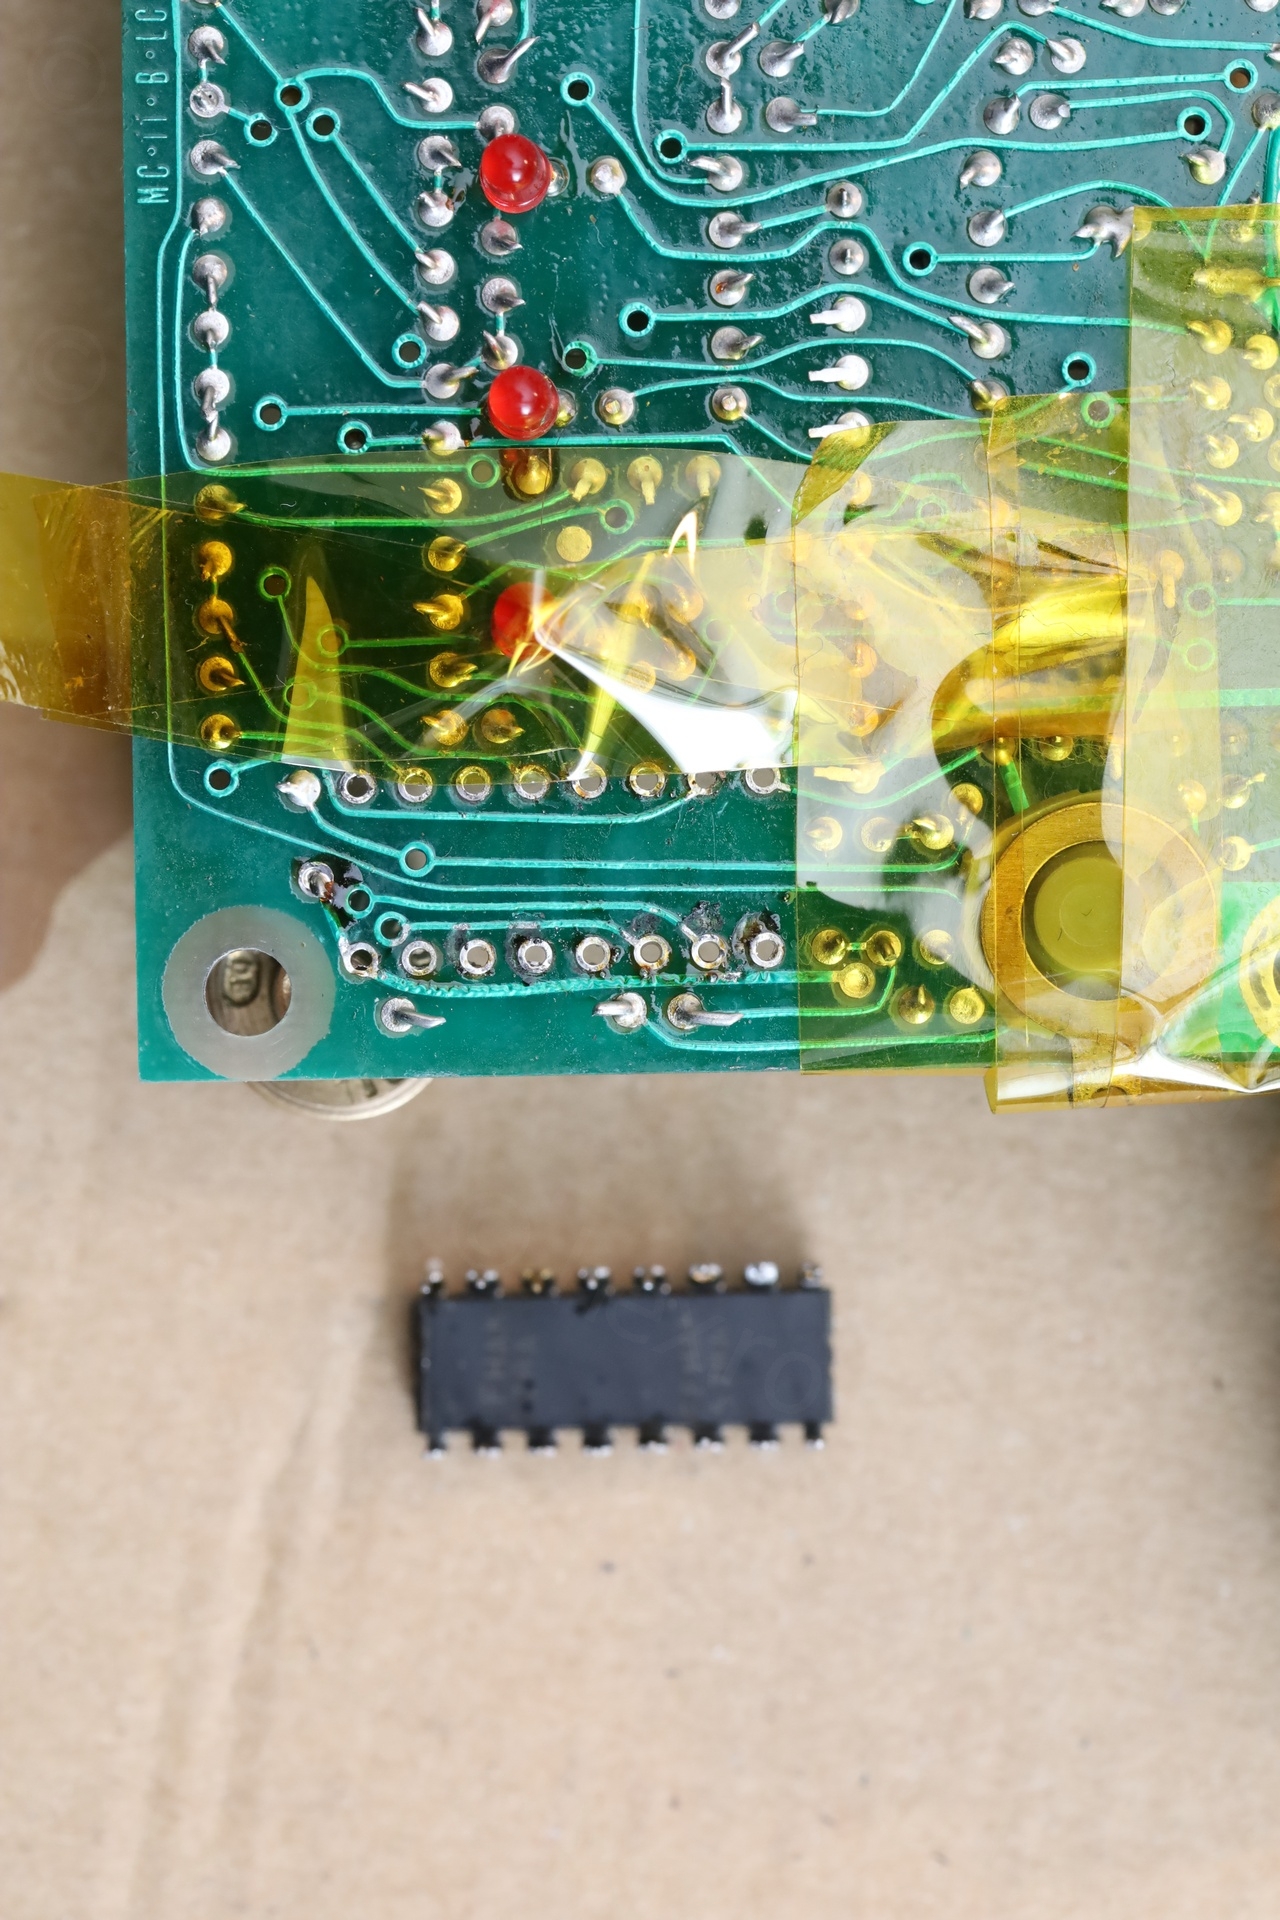
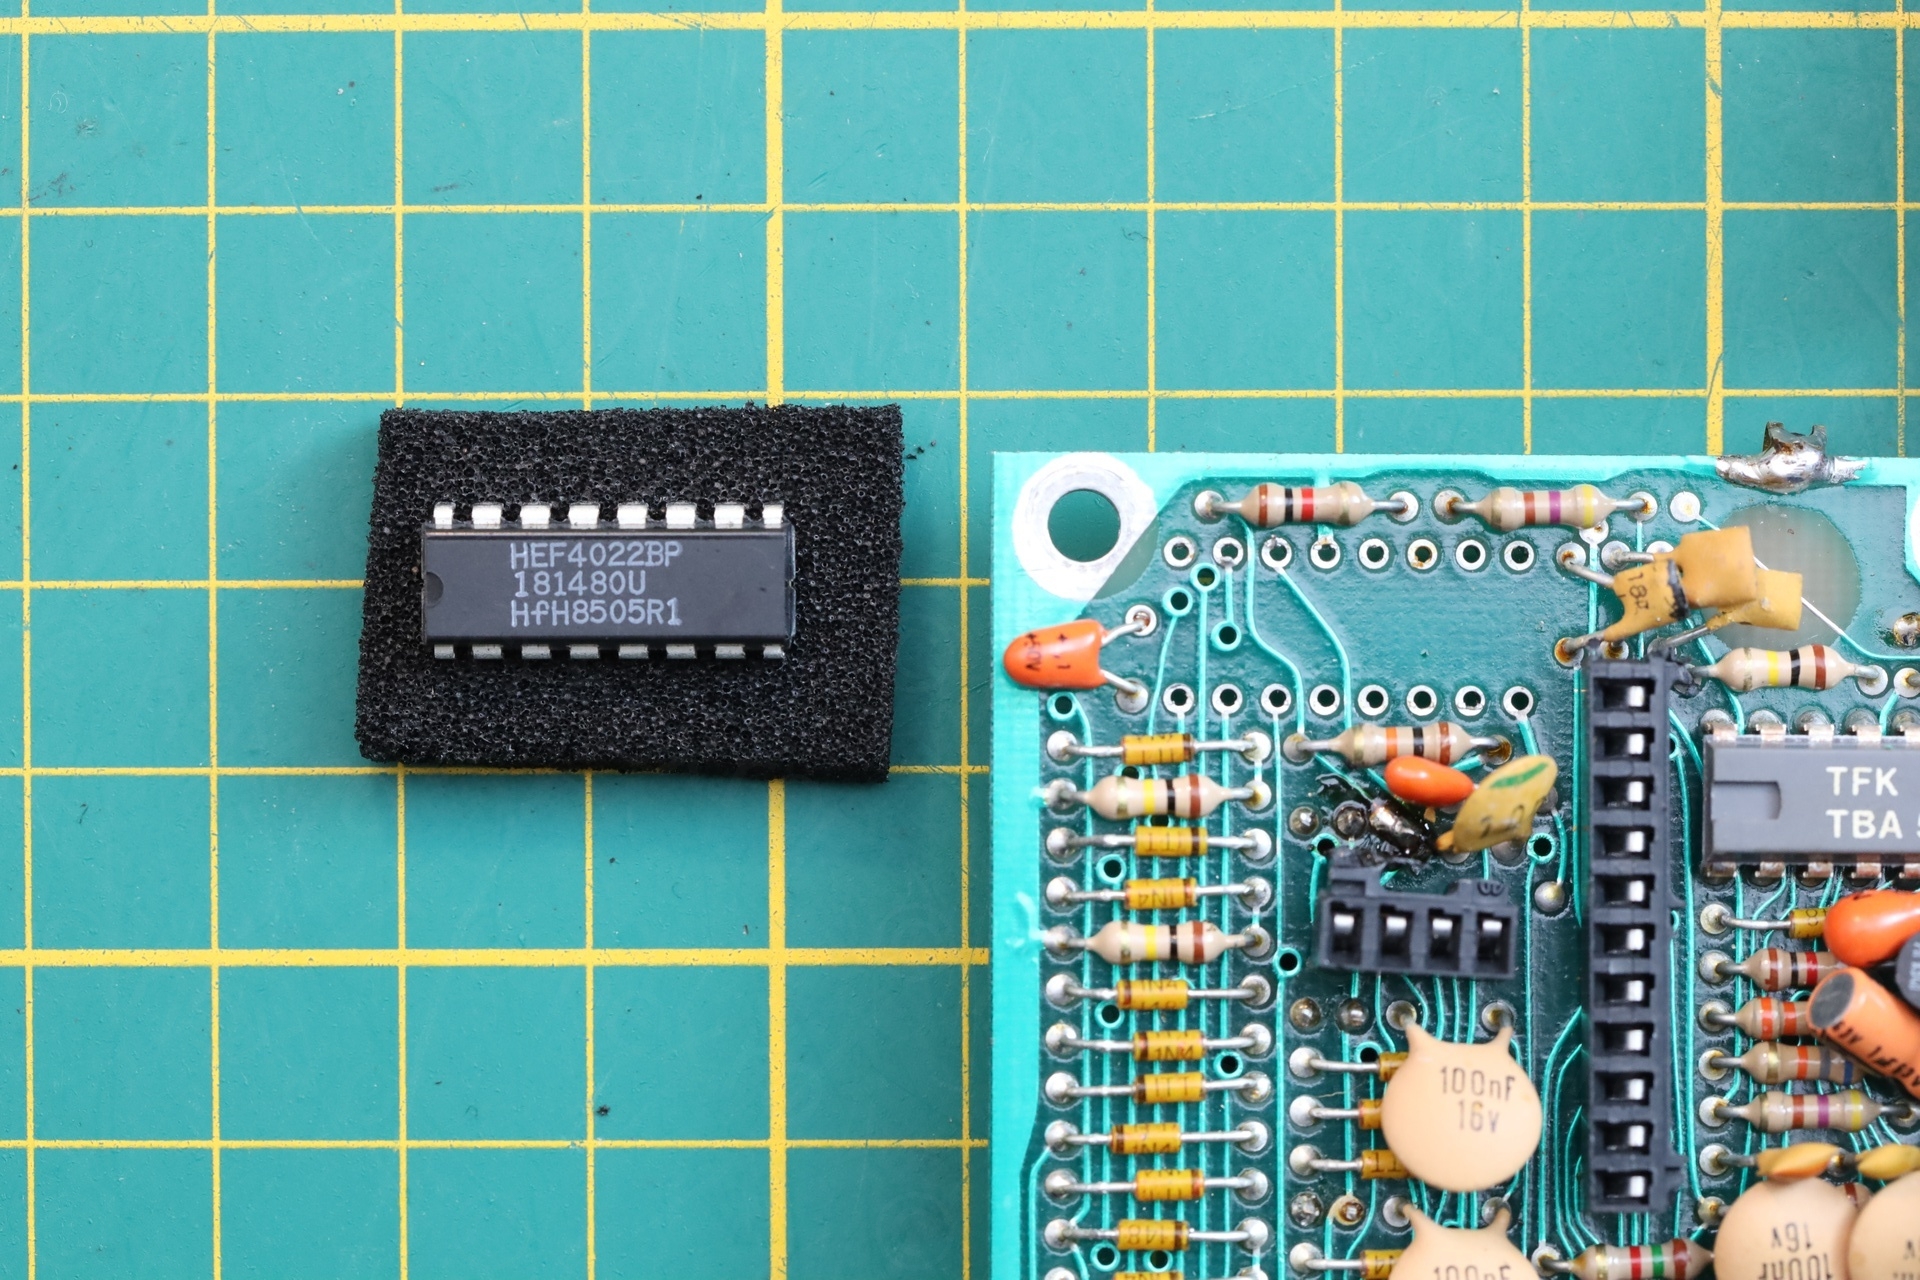
One IC stood out on the bottom board, a CD4022BE. It wasn’t very hot but … unless something else is shorted and may put the poor IC into a weird state, it was suspicious.
I contemplated ordering from reputable vendors, but shipping is too expensive for the days it takes to have it.
Thus, I went to the local electronics shop. Which is not physically far, but hard to reach with public transport. The website was stating they had CD4022BE in stock. What they really had was were HEF4022. I quickly checked, parts were compatible. I came home with 4 HEF4022 ICs.
Repairs
Replacing the CD4022BE
This was not at easy as I was hoping. It was impossible to take the bottom board out. The standoffs are attached both with a nut (securiting the bottom board) and with a screw (freely turning) buried on the back on the top case.
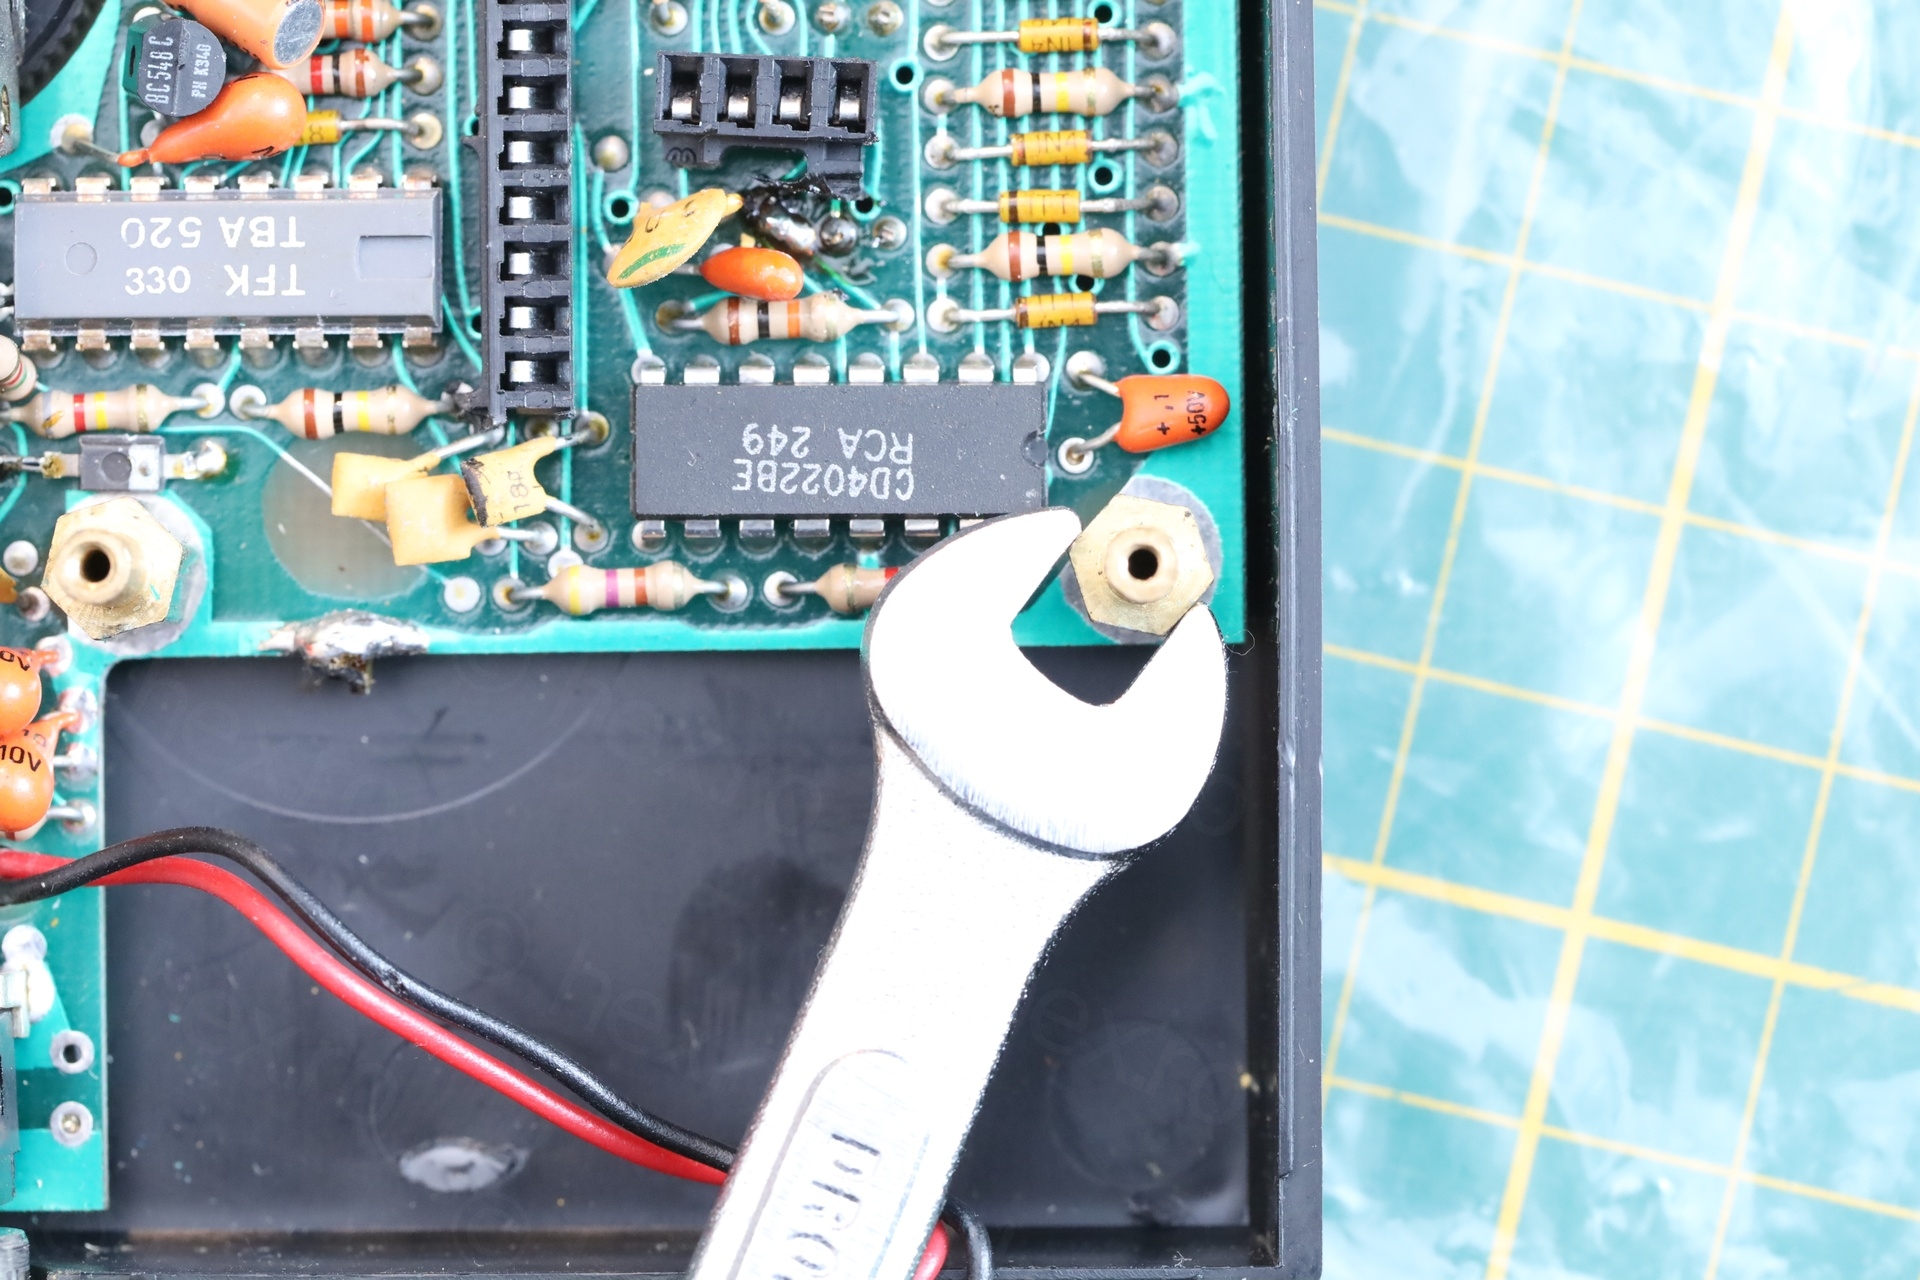
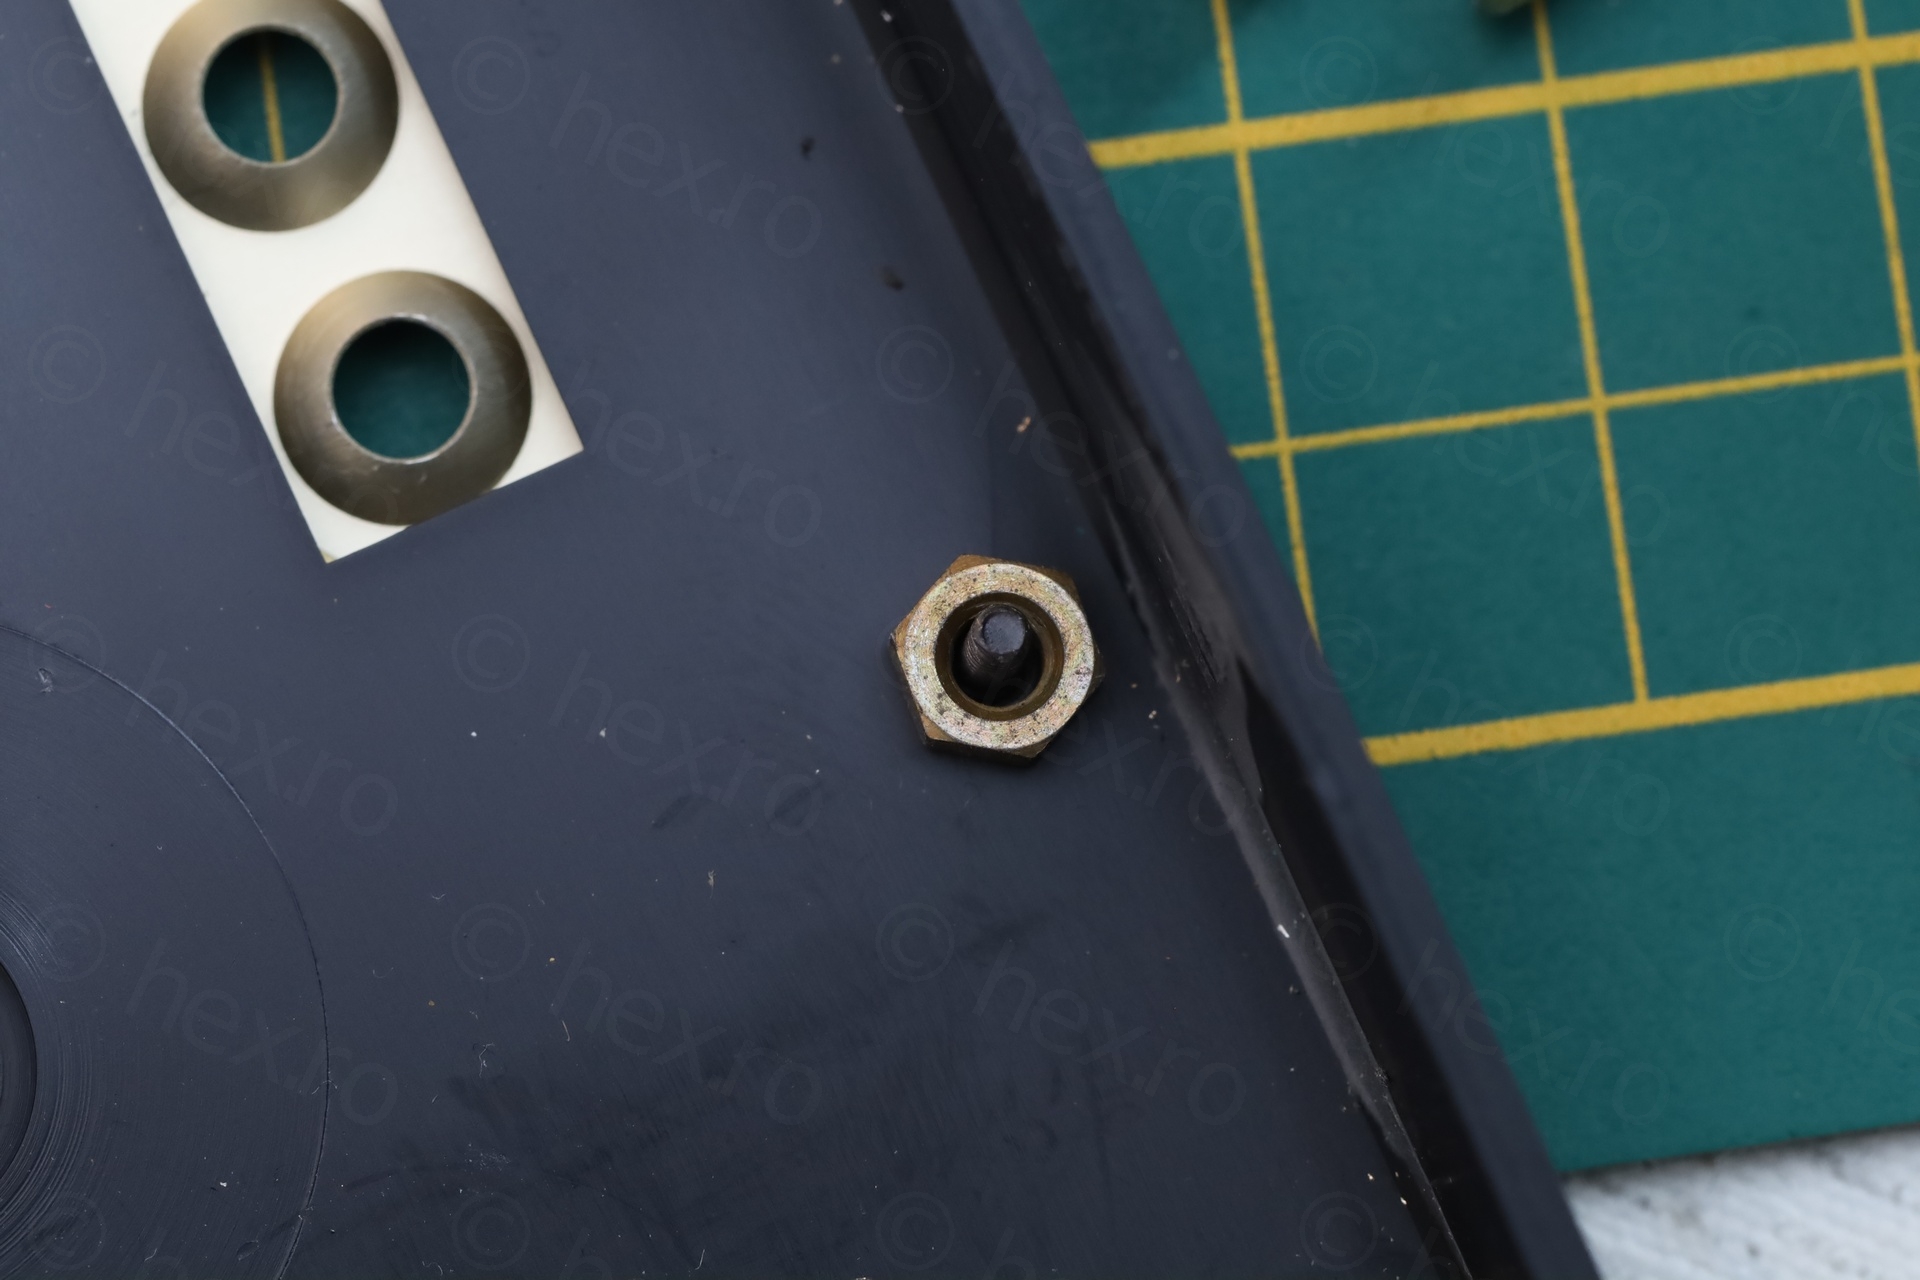
3 of the standoffs came out easily, but the fourth was stuck and just spinning without coming out. I tried to spray some de-greaser – without knowing what actually happens underneath – it was in the top right corner. But no luck. I had to rip it apart from the case. The de-greaser actually melted some of the plastic ?
It was very disappointing and I realized this device deserves no glory. It feels “home made” – cheap plastic, primitive attachment methods – the nut is to grip the bottom board, and the tiny screws buried into the top case are to center the standoff for the screw that comes through from the back case.
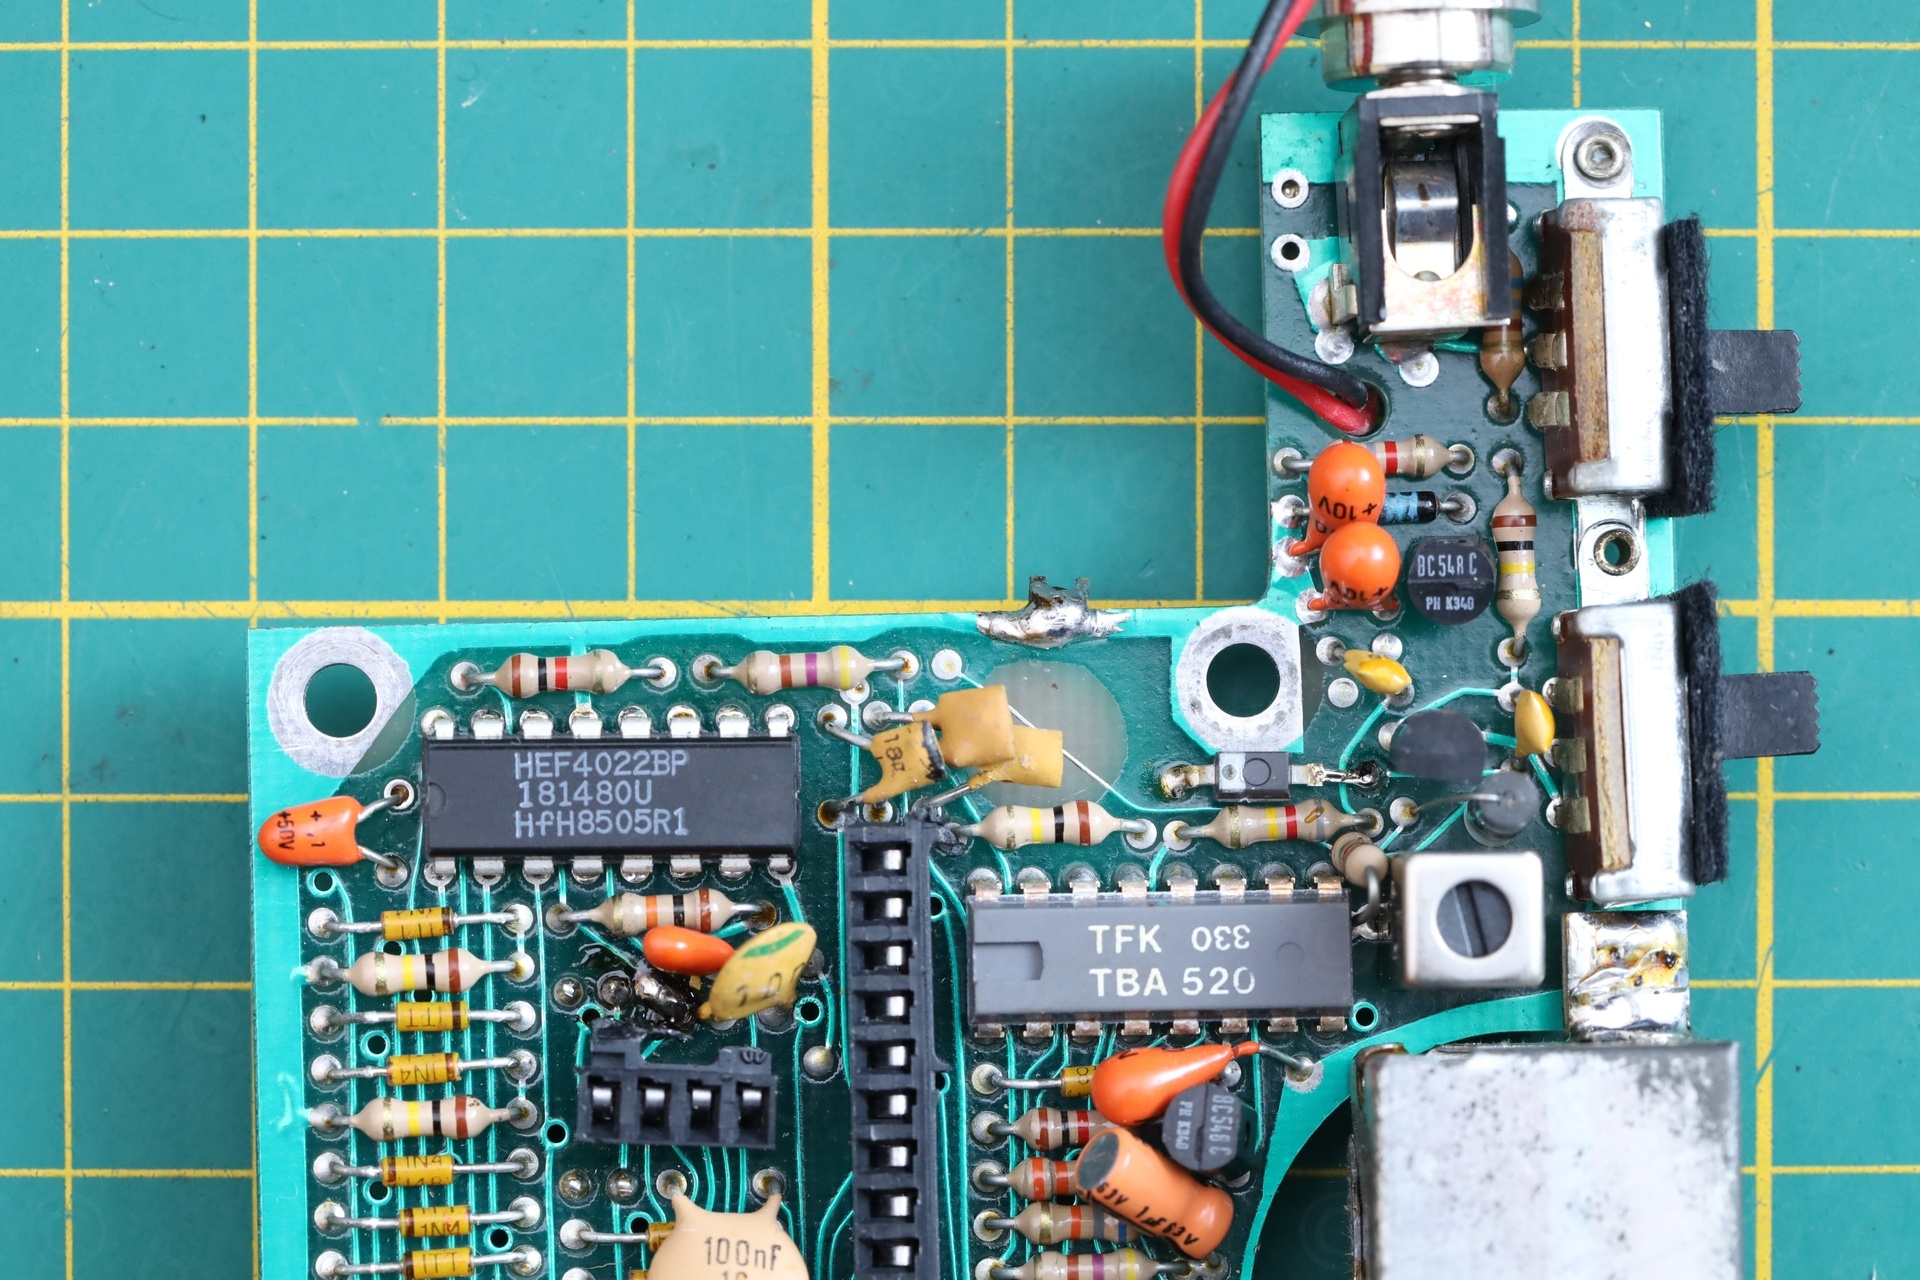
Once I swapped the IC, it started working 🙂 I consoled myself with the fact that at least I saved the face-plate. It is glued to the top case and it would have been destroyed – but I was pondering if I should attempt to take it out to access the tiny screws.
The problems continued though.
Jumpy Cycle button
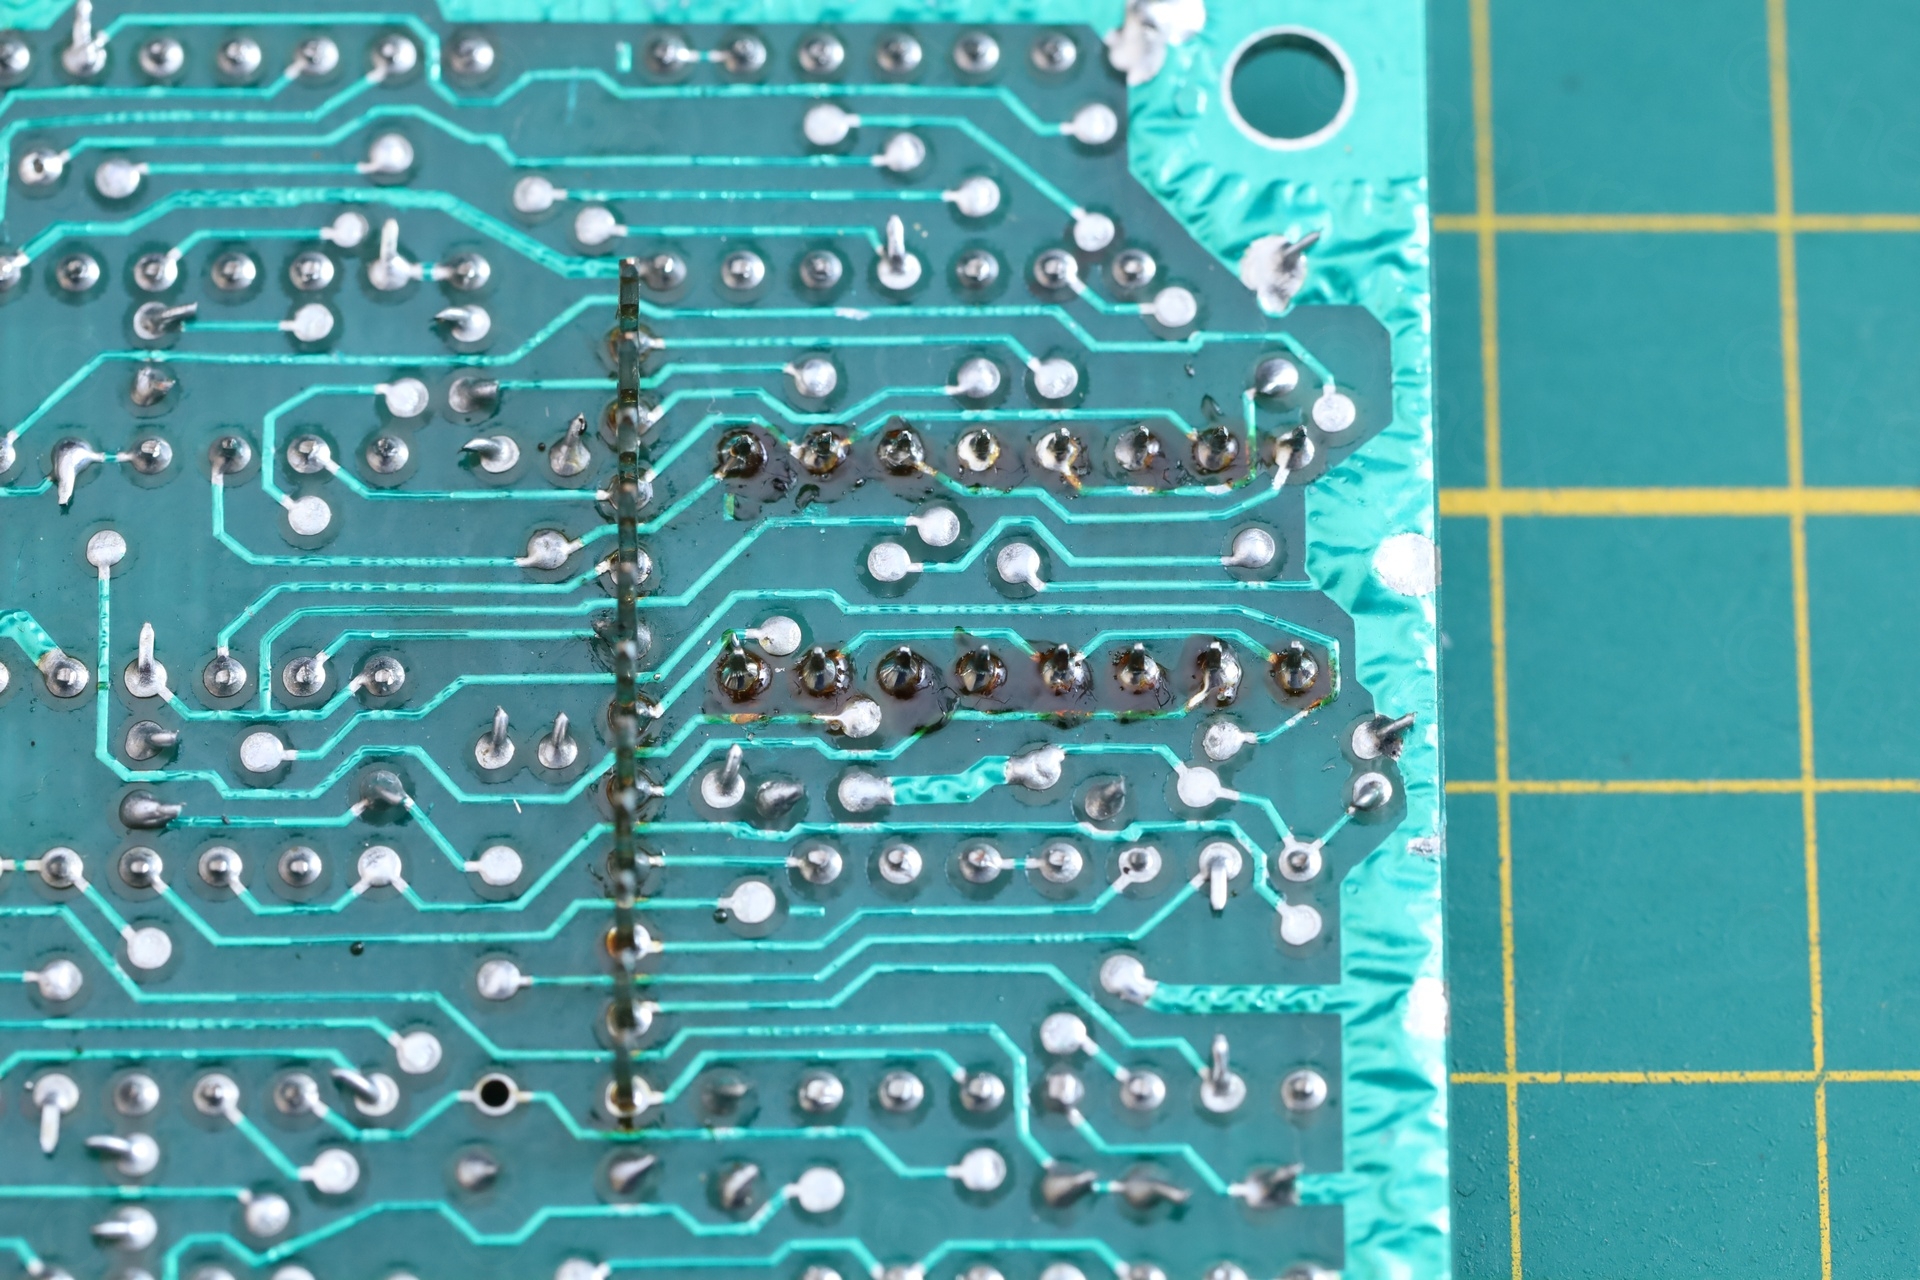
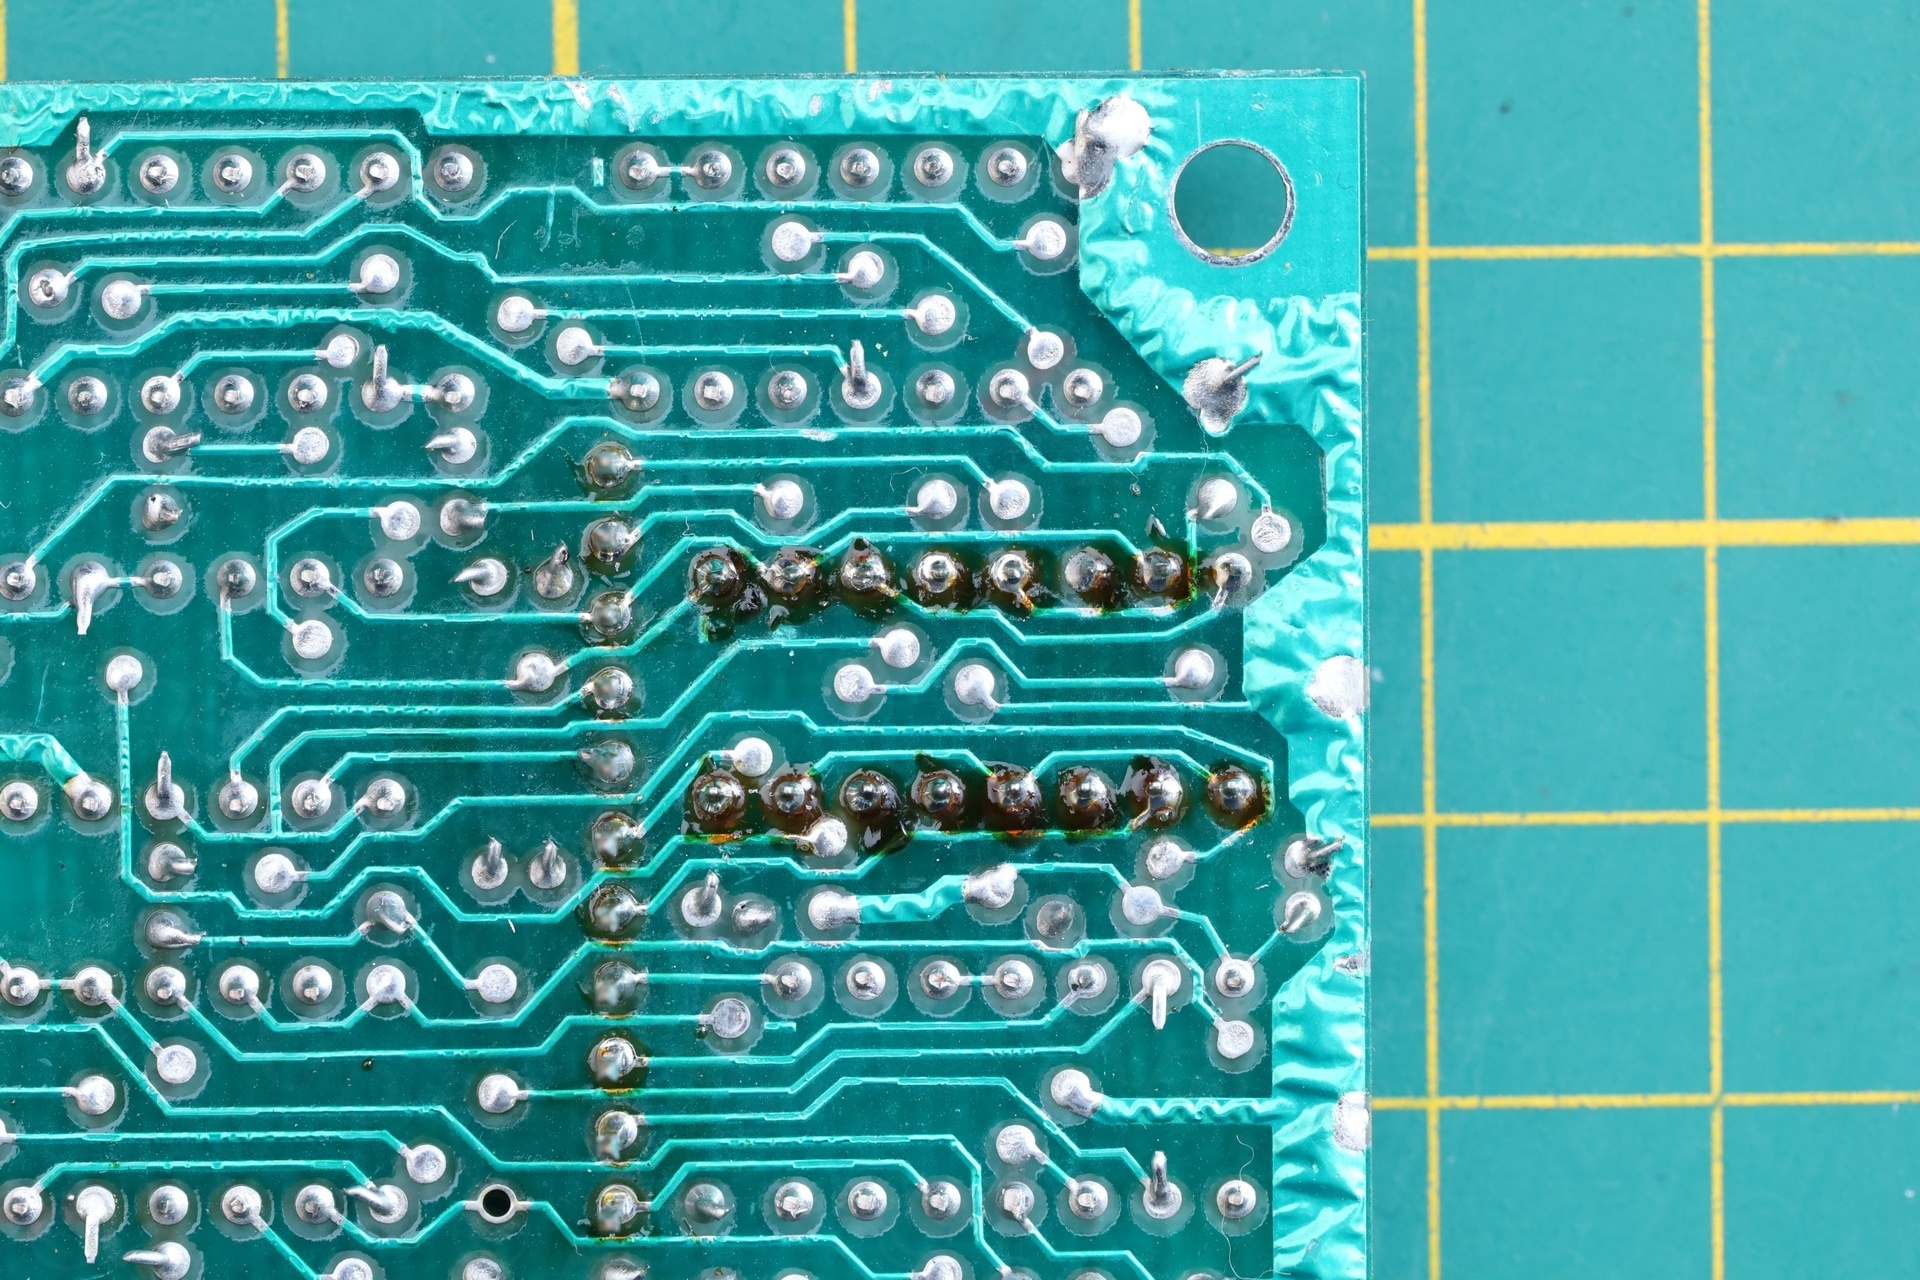
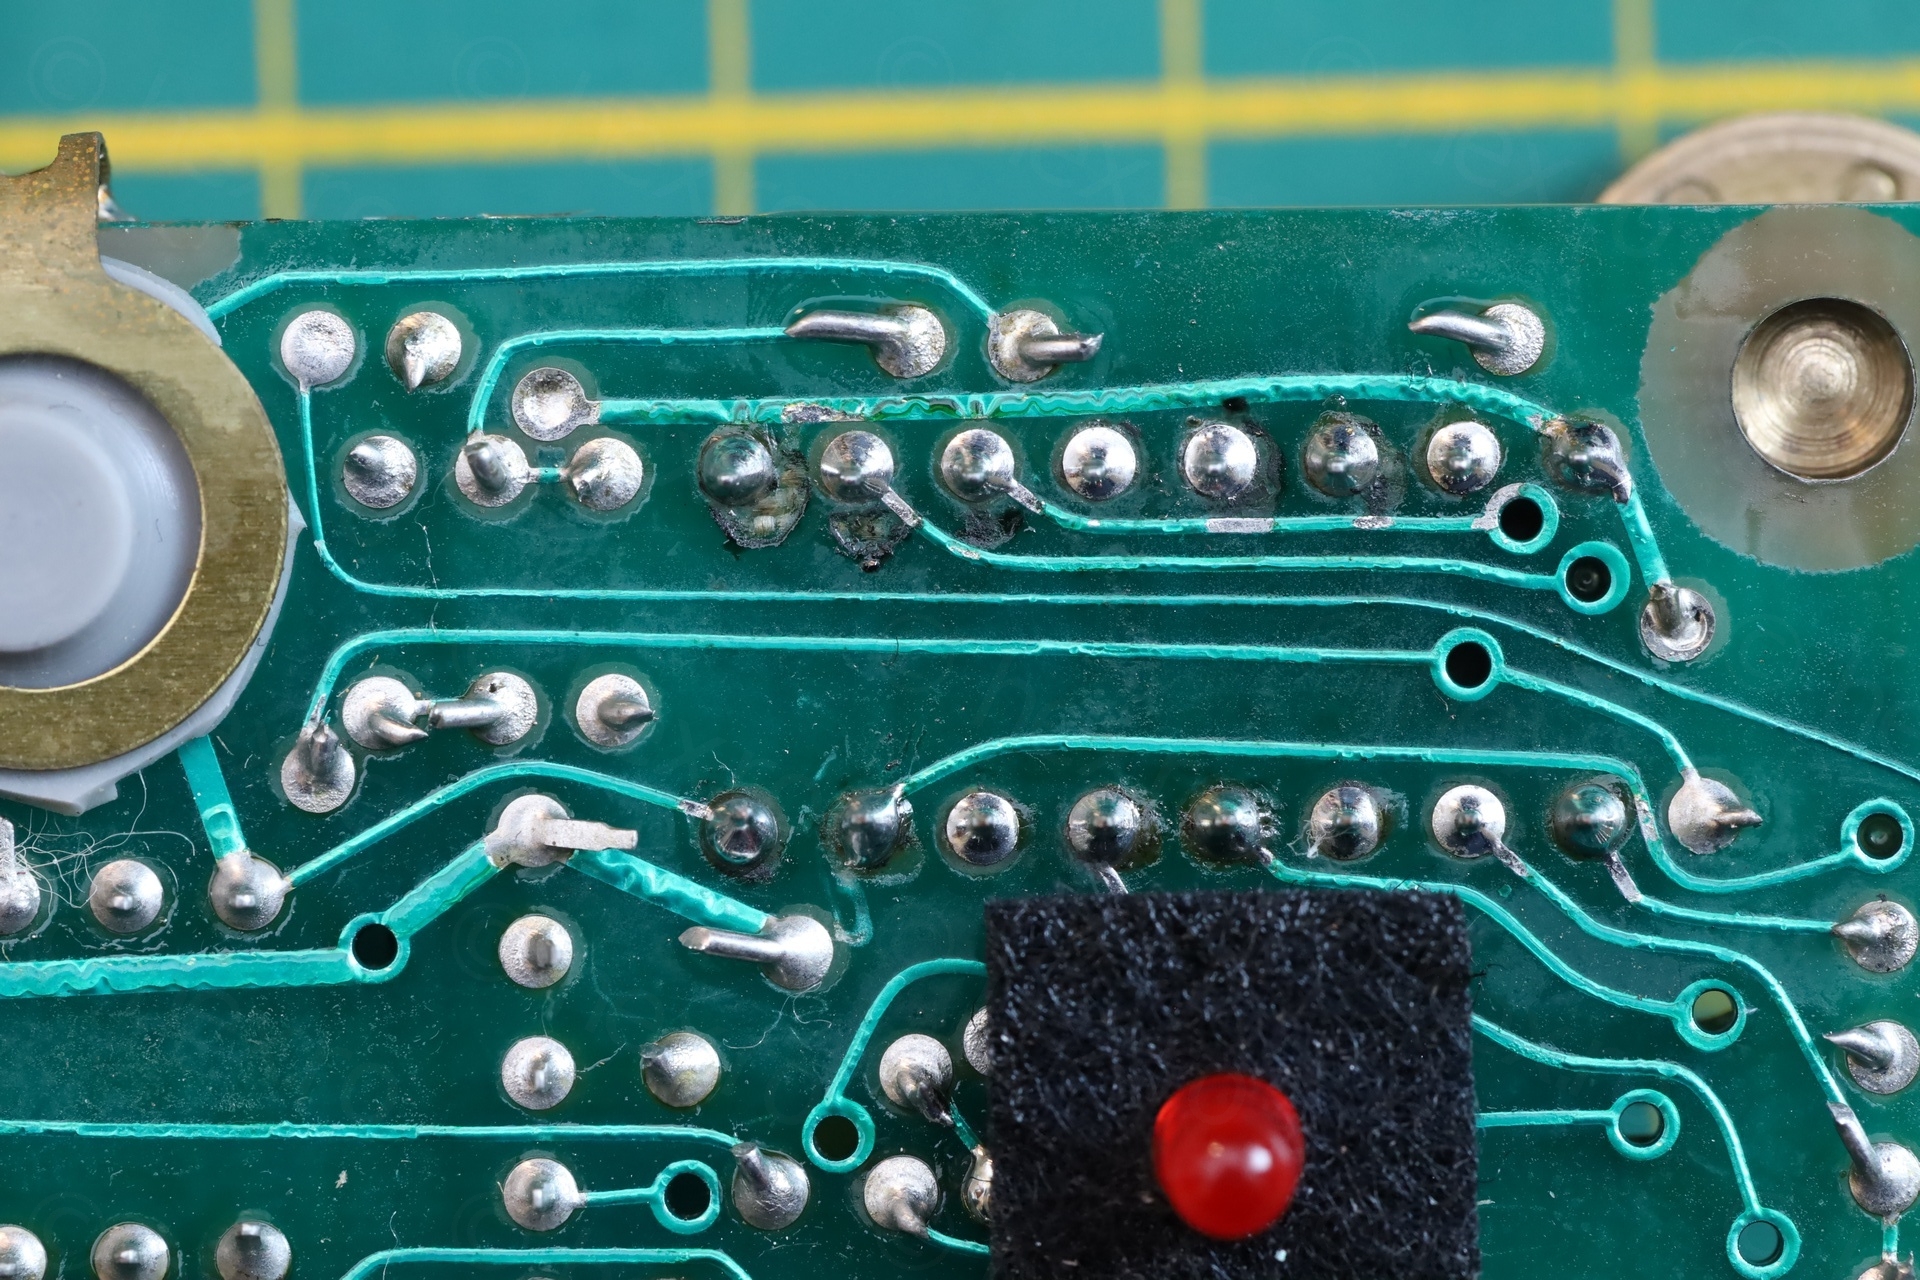
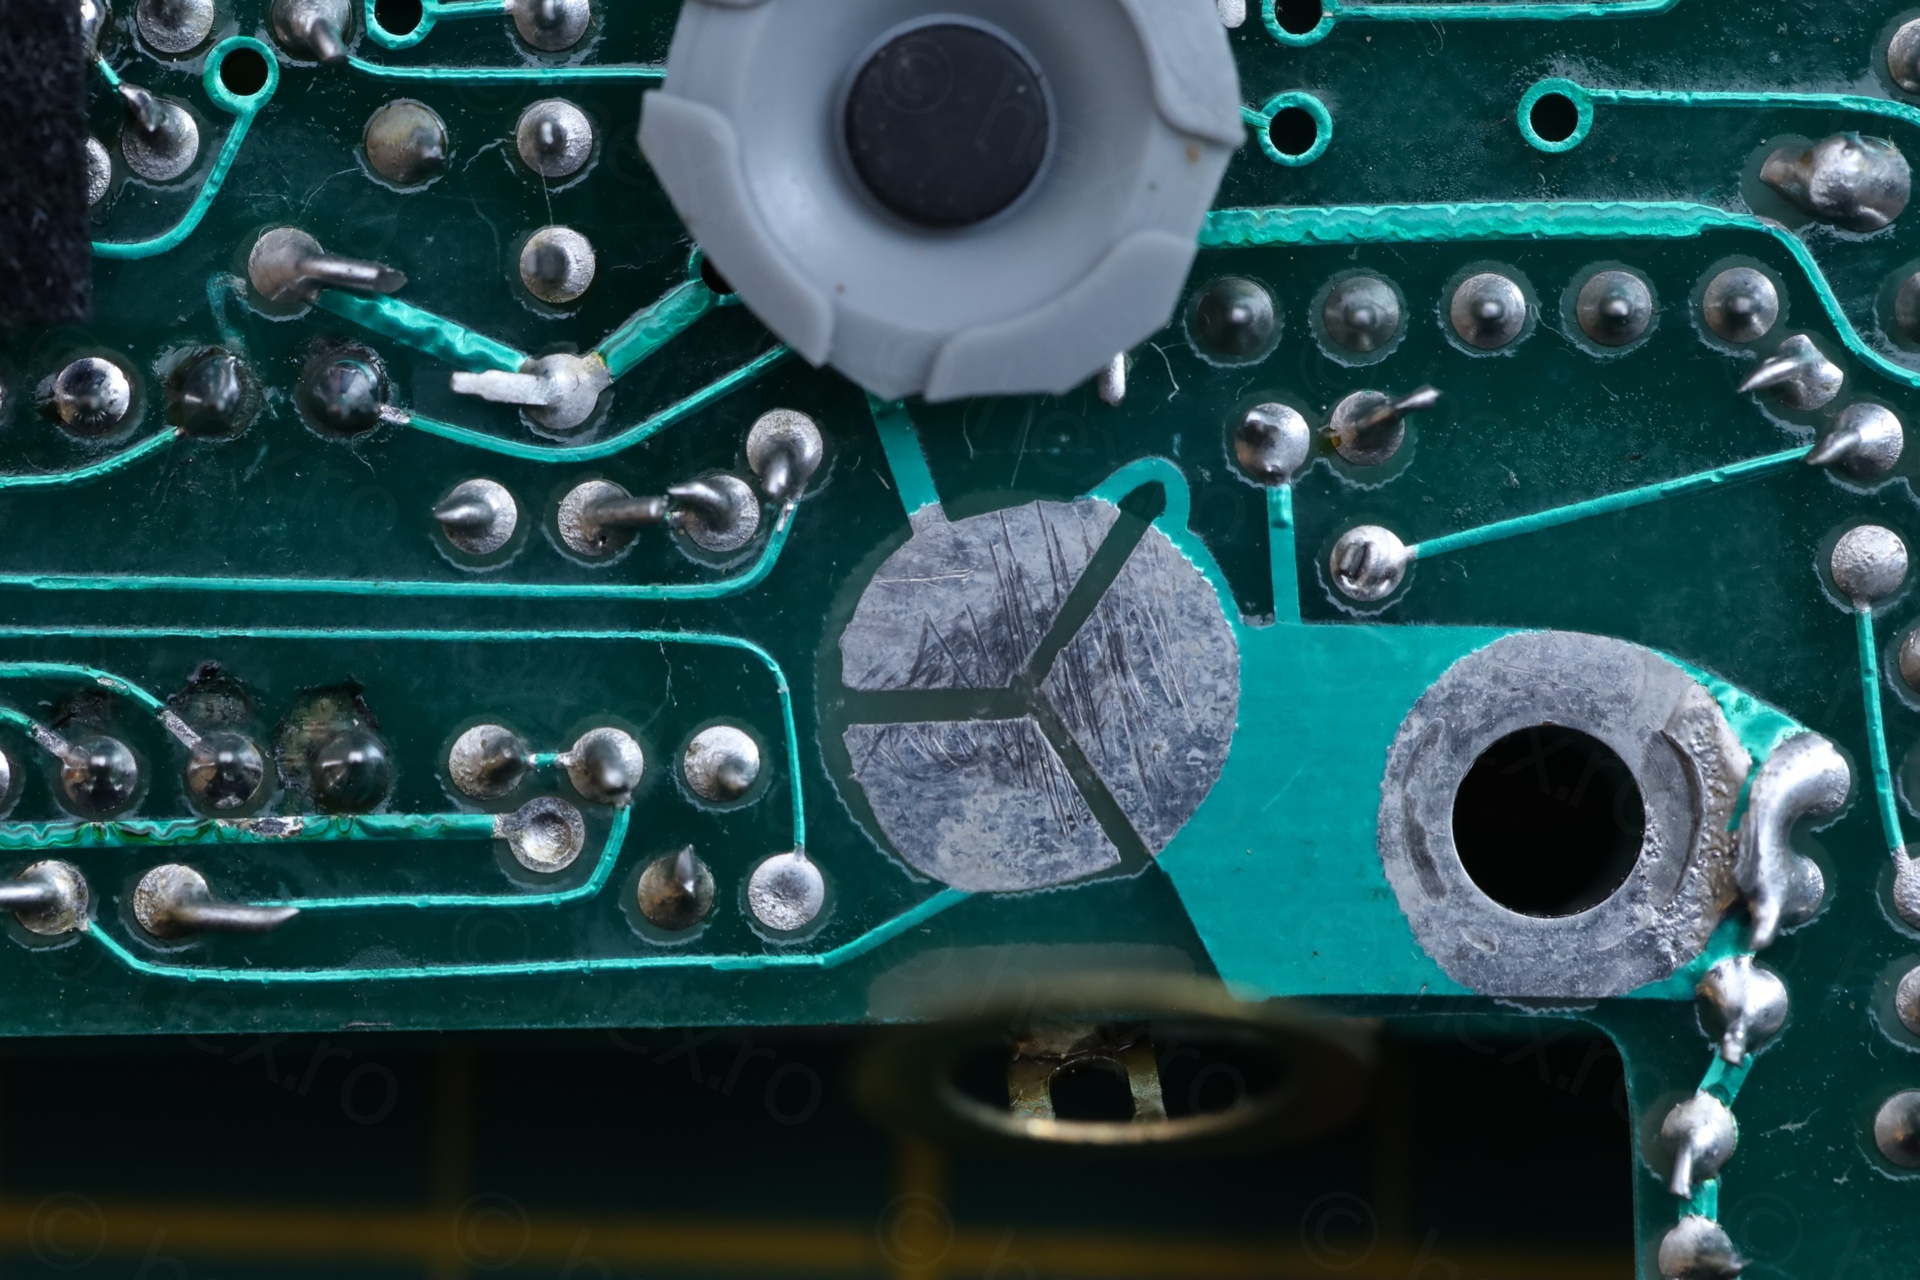
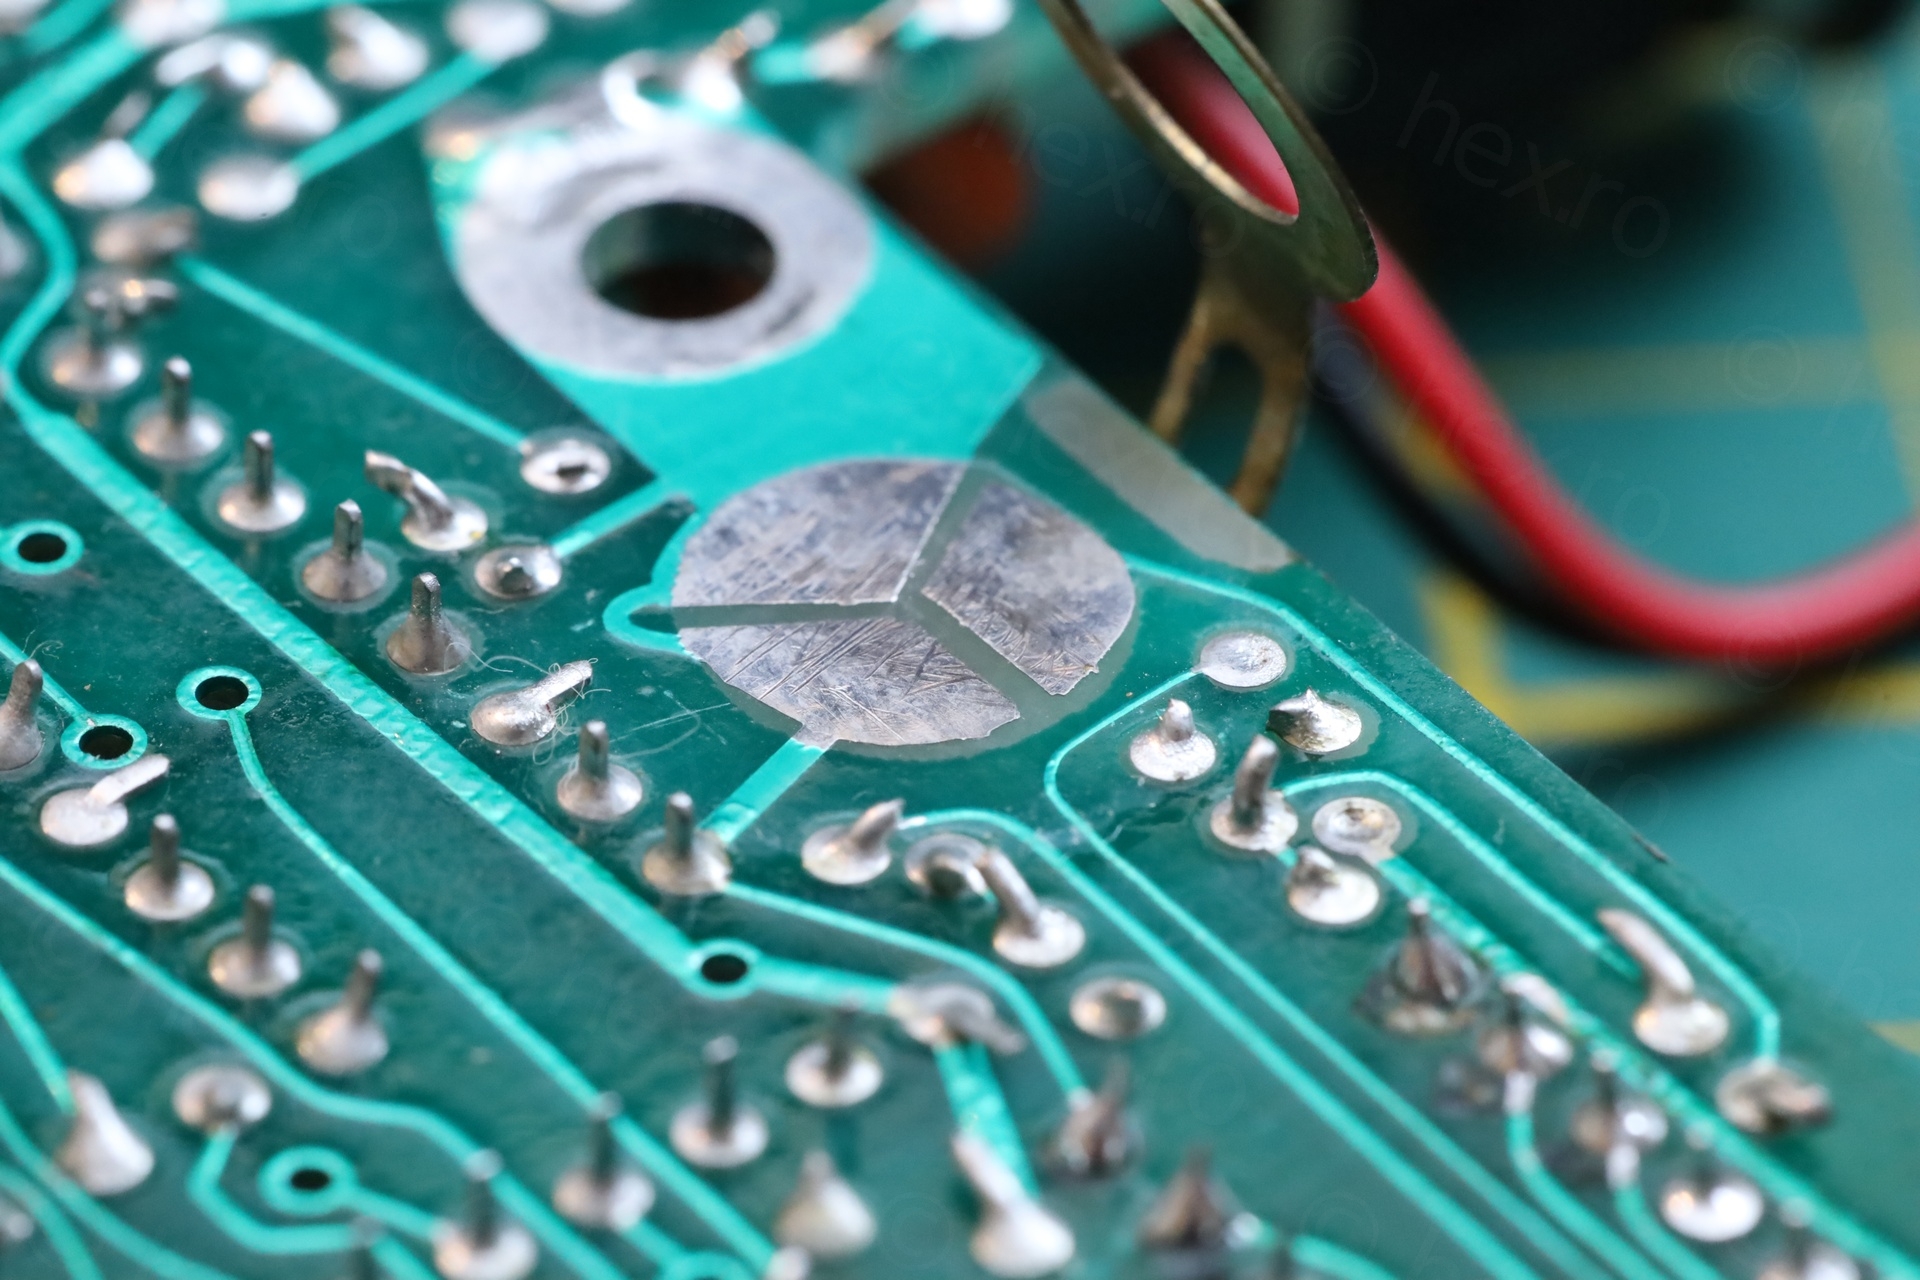
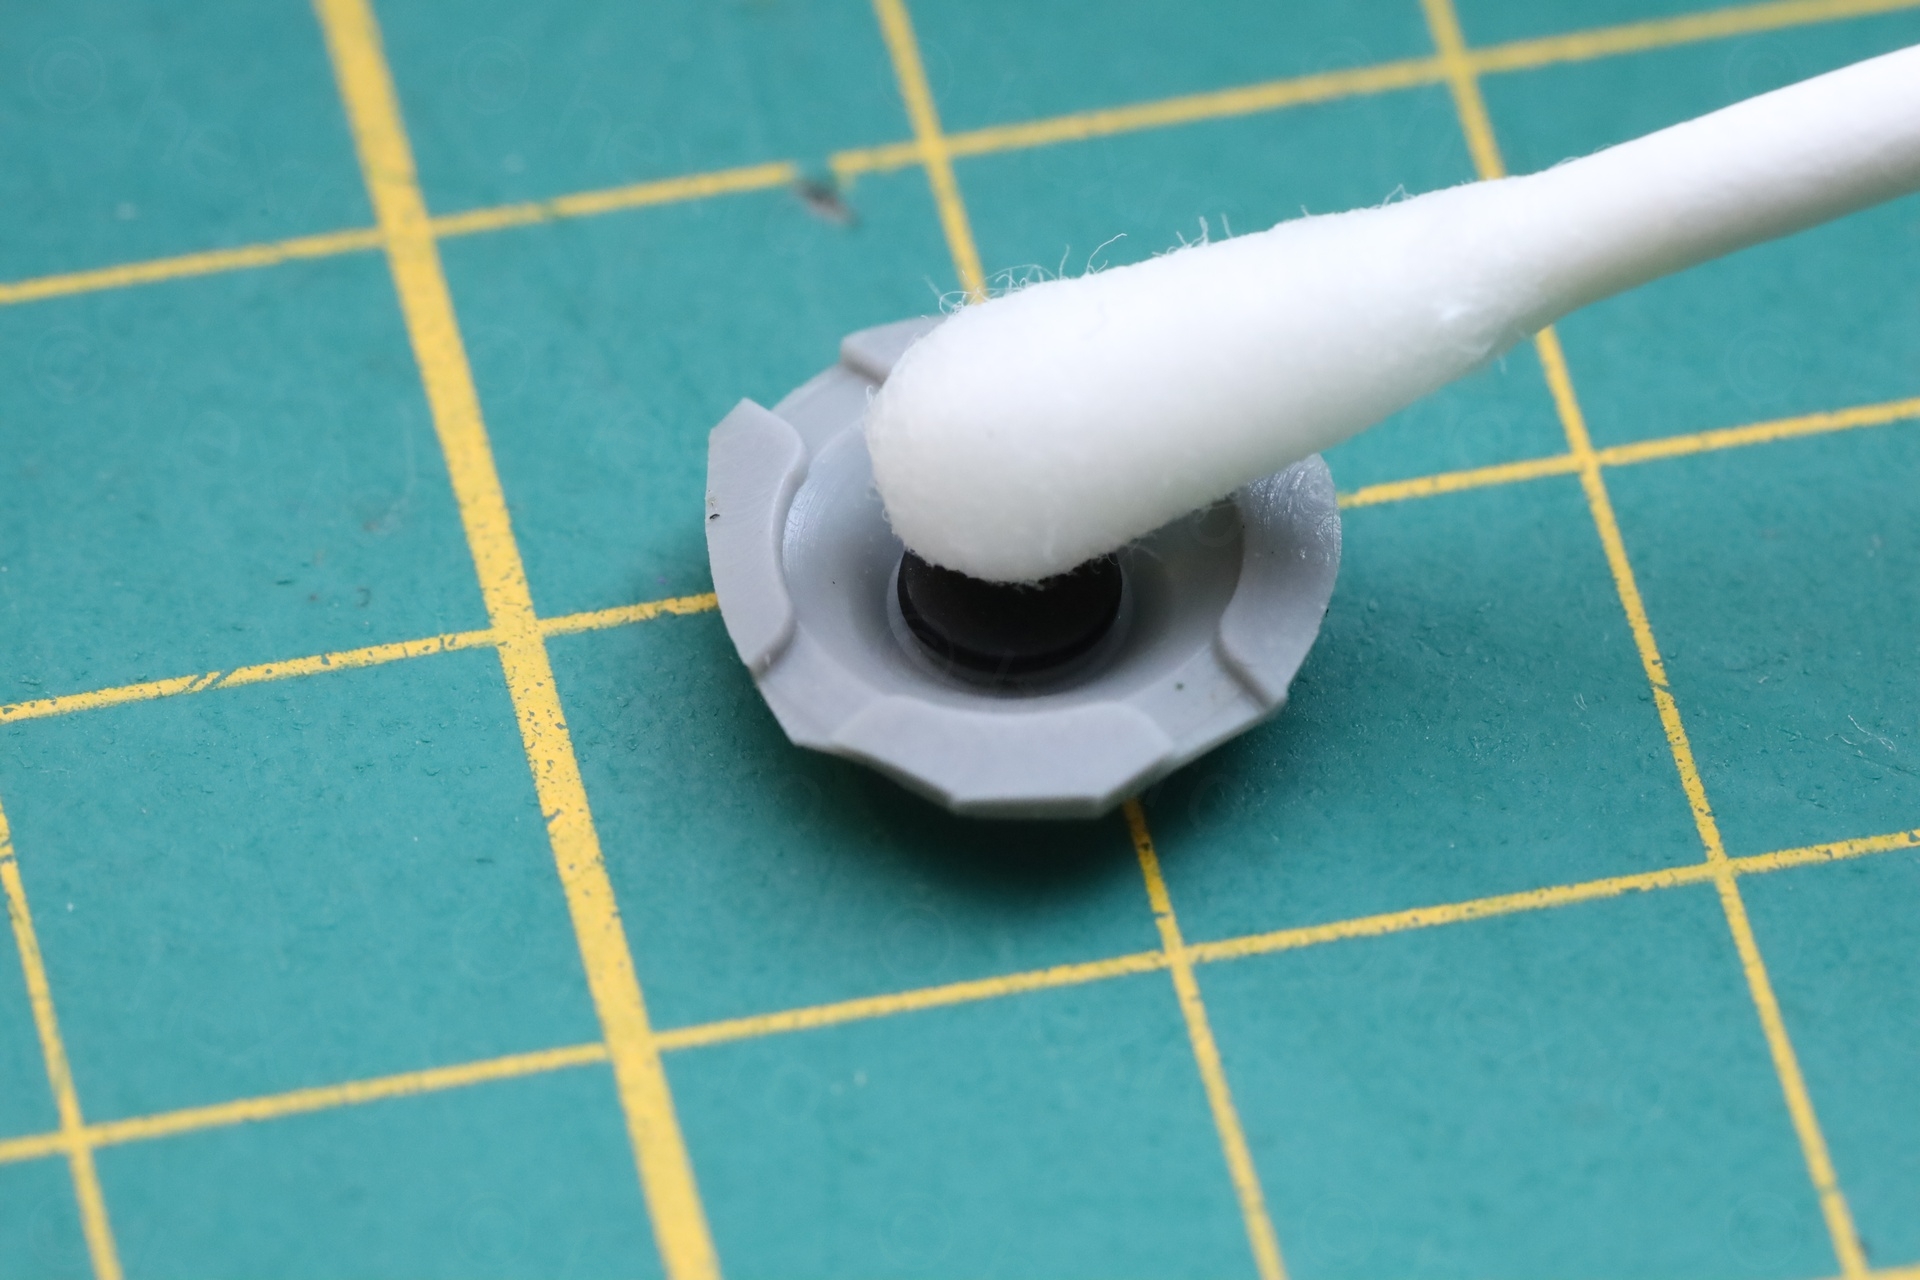
The button to cycle through the patterns is very jumpy, one slight touch and it jumps through many patters at once. Since I had the bottom board out, I decided to clean the pads and button – just to discover that somebody had the same problem before – I found the pads being scratched:

This did improve a bit the situation but not dramatic. It really needs debouncing.
Re-attaching the bottom board
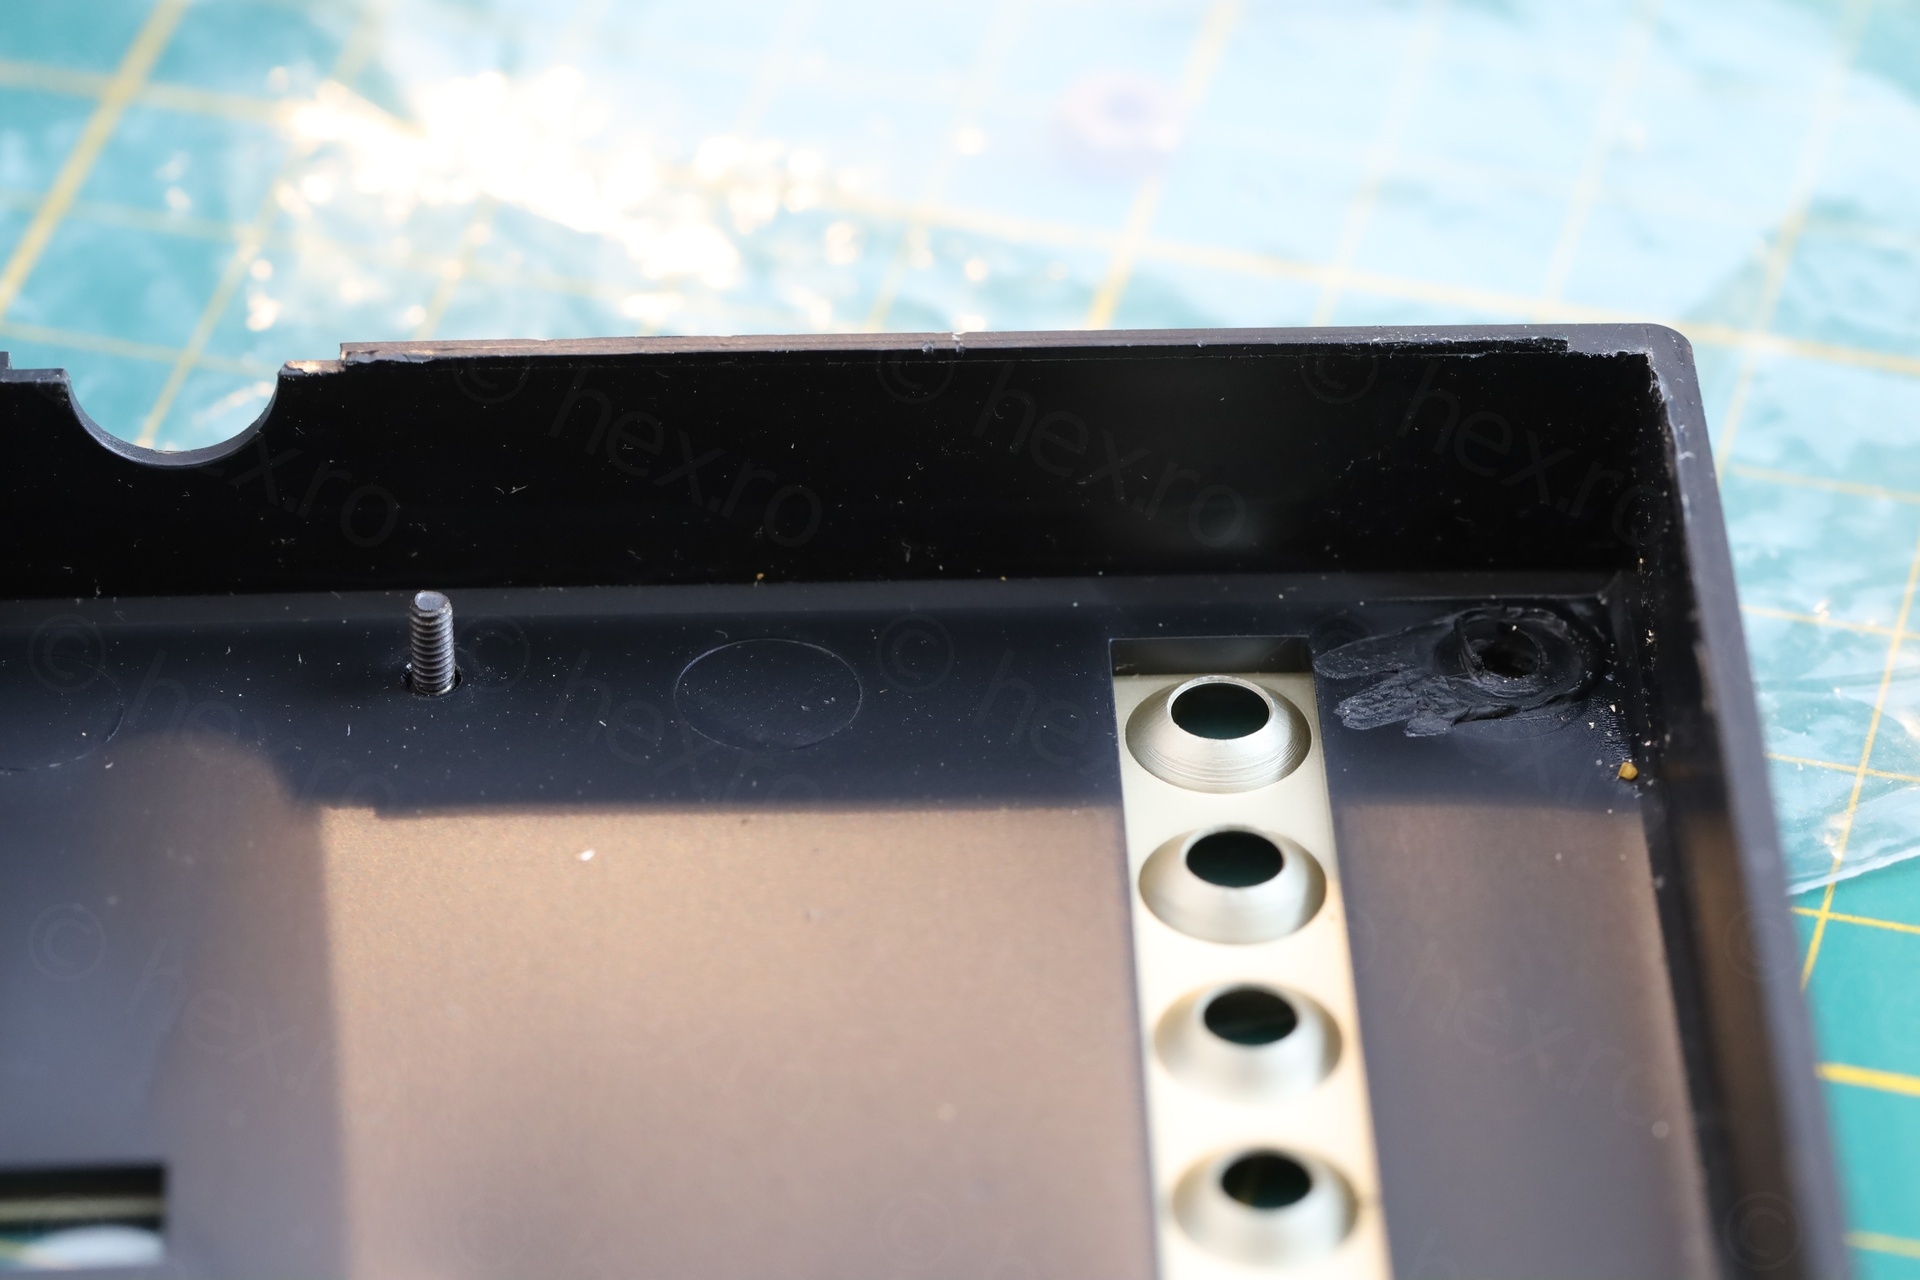
I was thinking how I can attach the bottom board – how to screw the standoff back onto both the nut and the smaller centering screw ? And not having same issues in the future, another one becomes stuck again ?
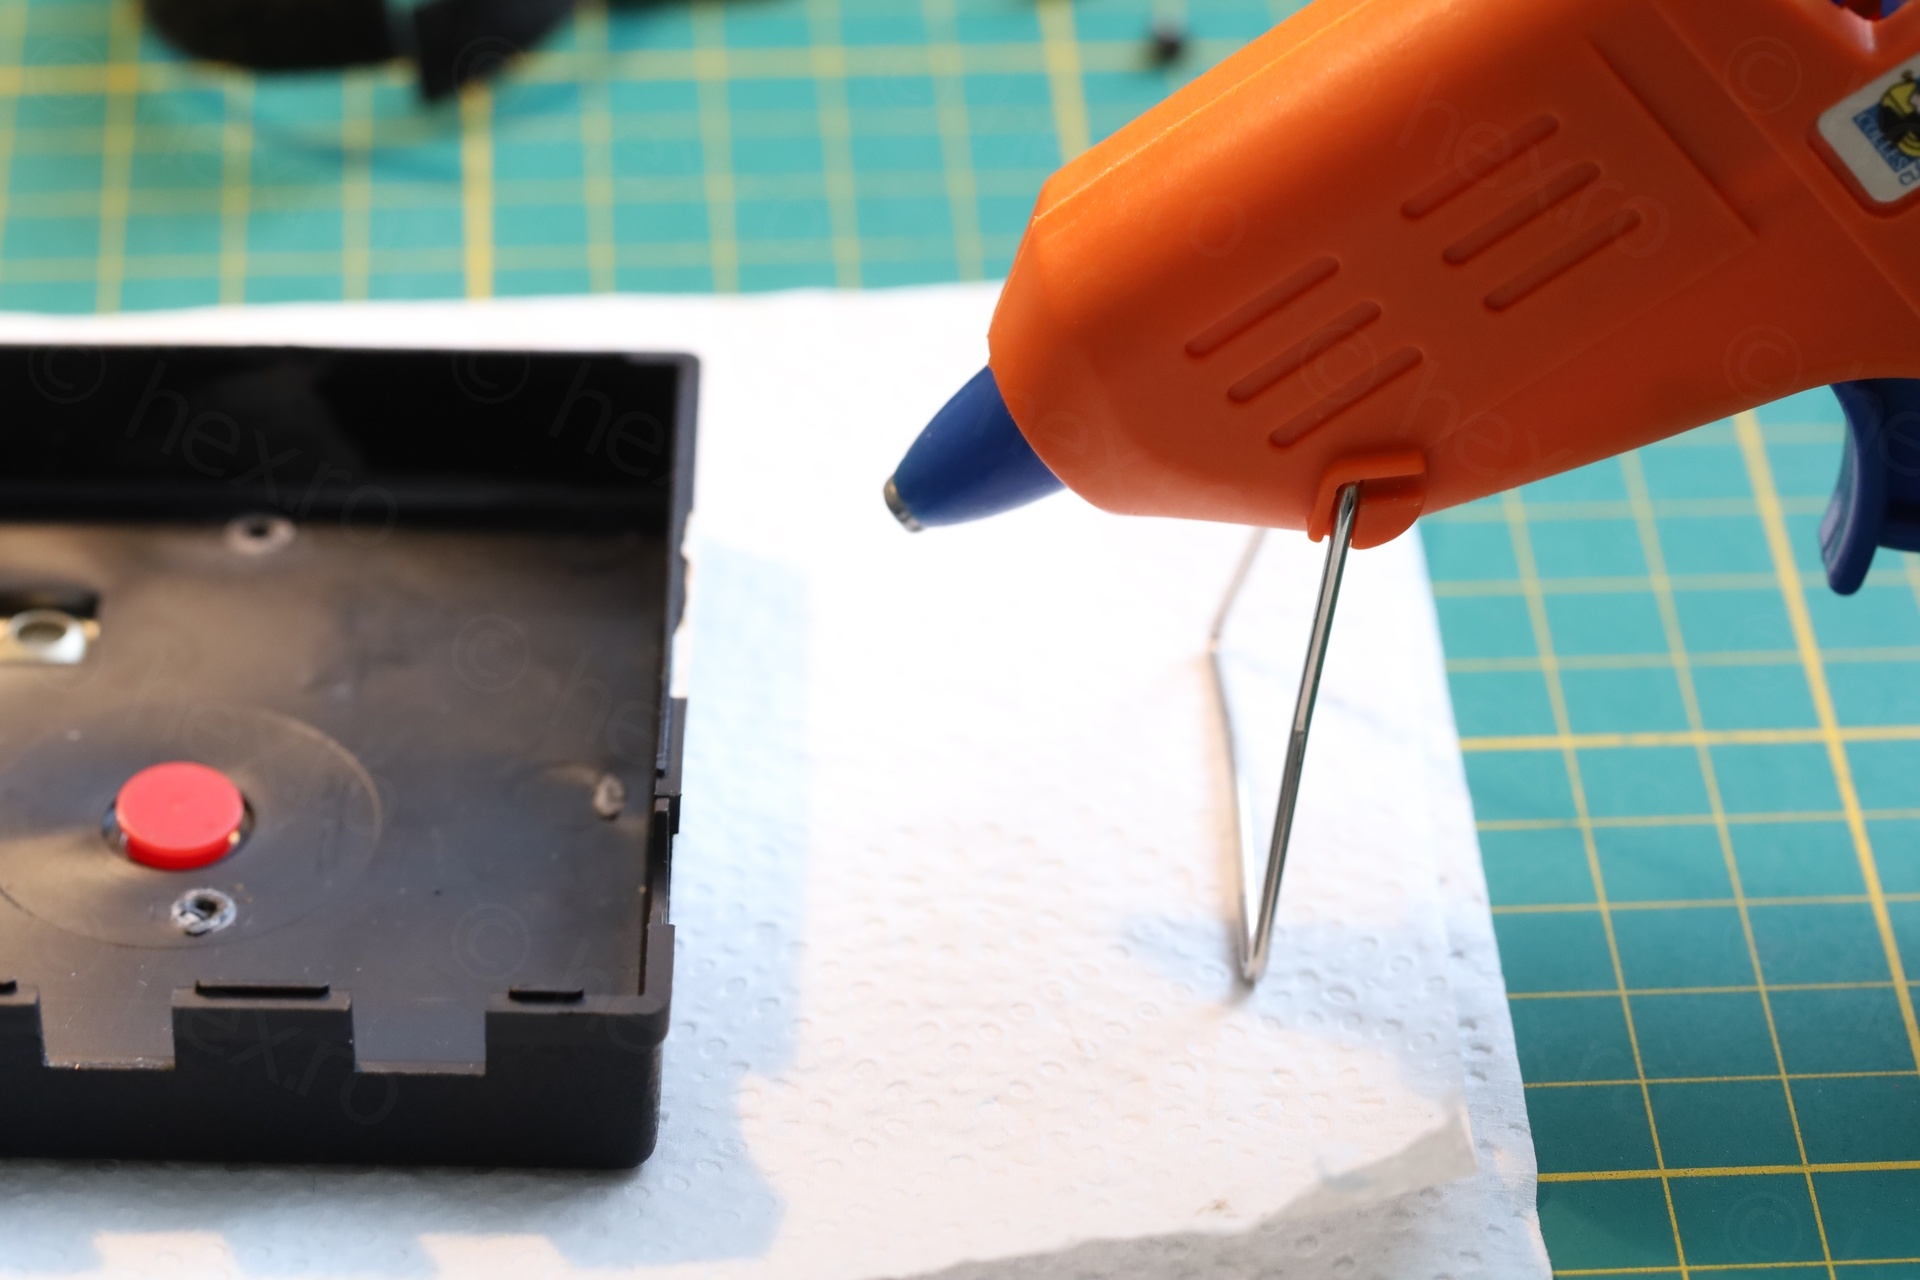
I realized that if I superglue the little screws buried onto the top cover – the superglue will break at the tiniest stress. Without options, I just ripped the remaining three screws from the top cover. This will make it easy to take the board apart in the future. Used a bit of hot-melt glue to provide some support instead of the standoffs rubbing against the very soft plastic:
Other problems
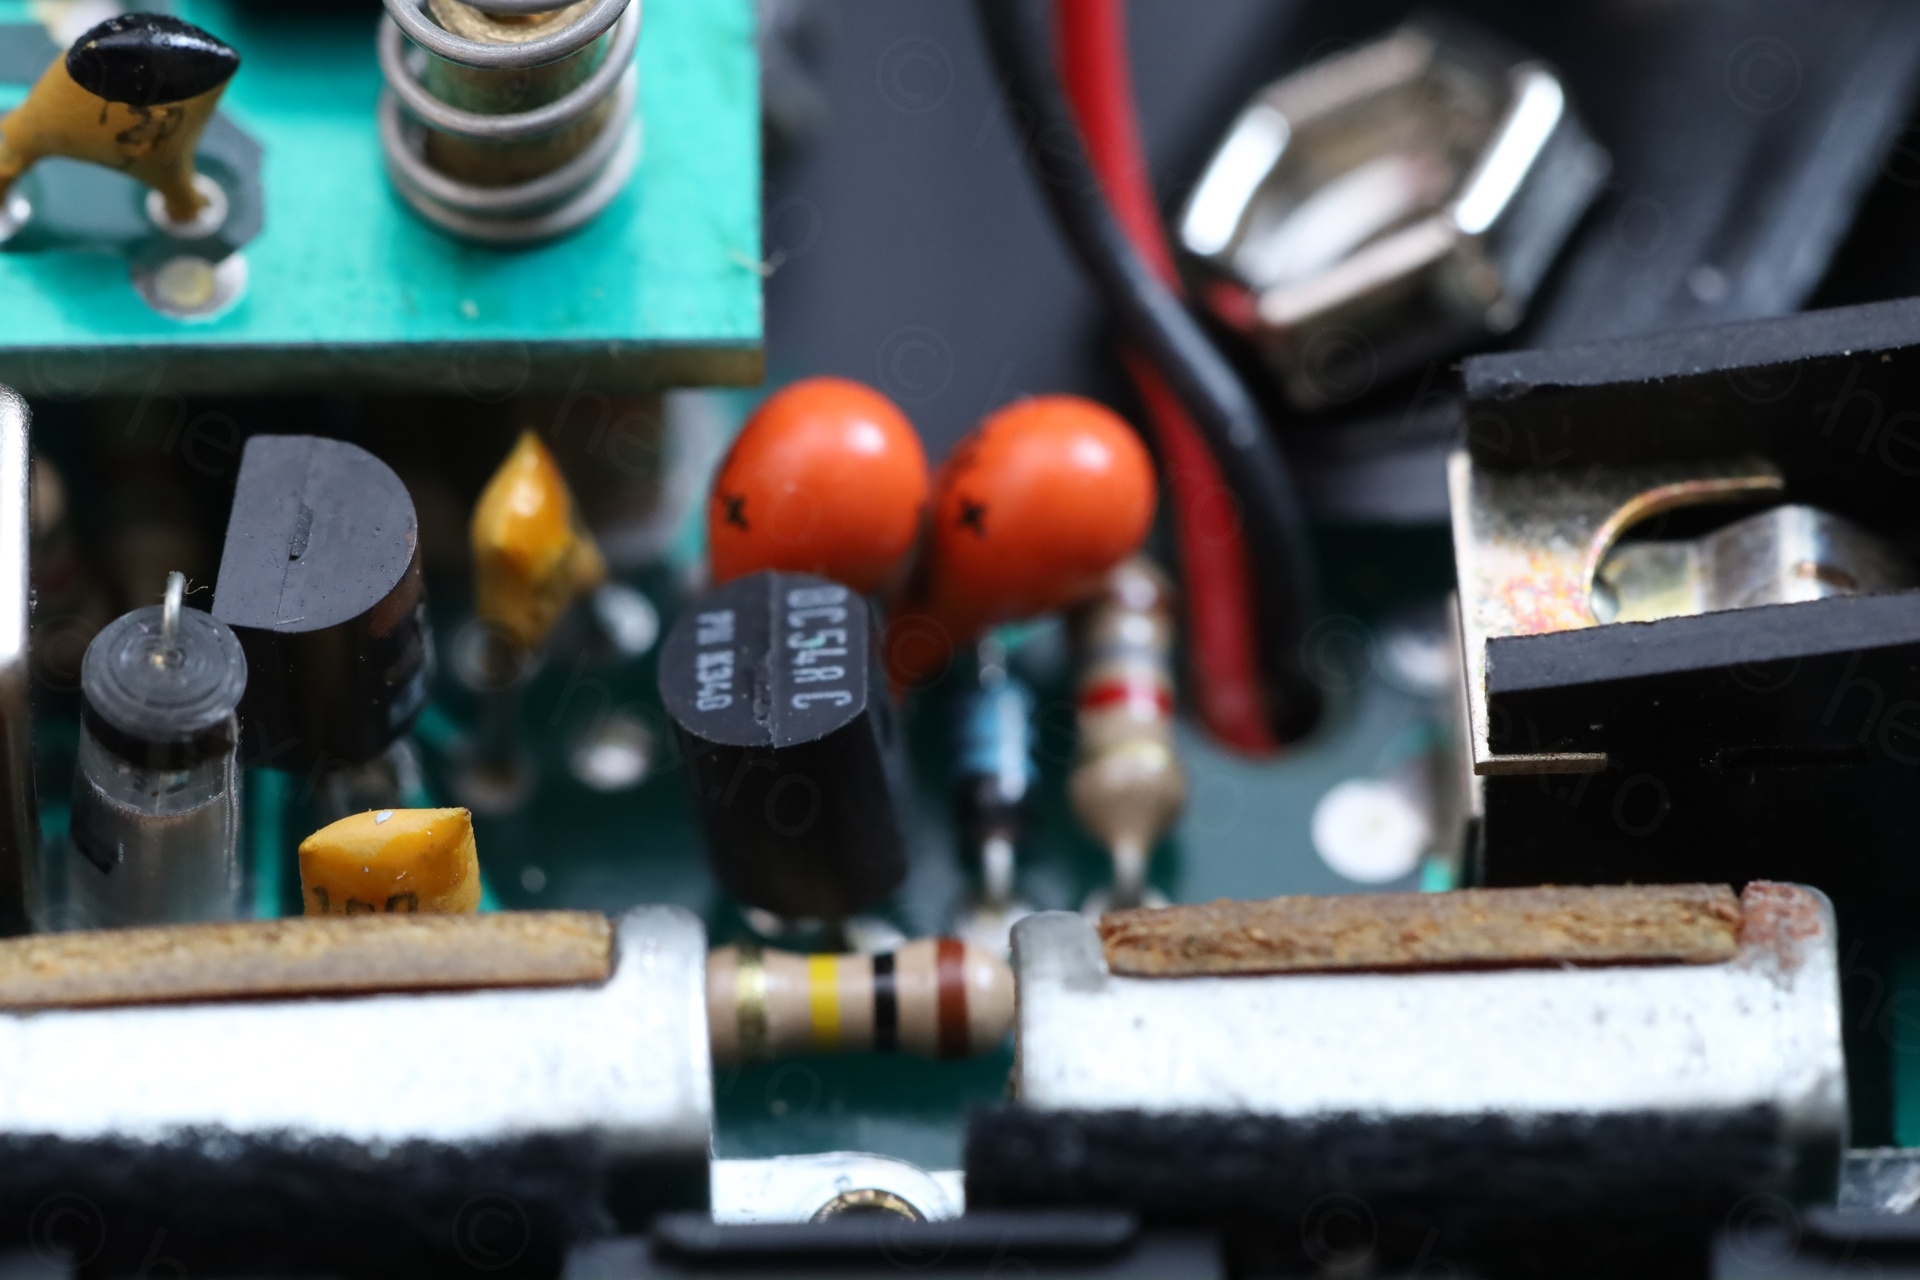
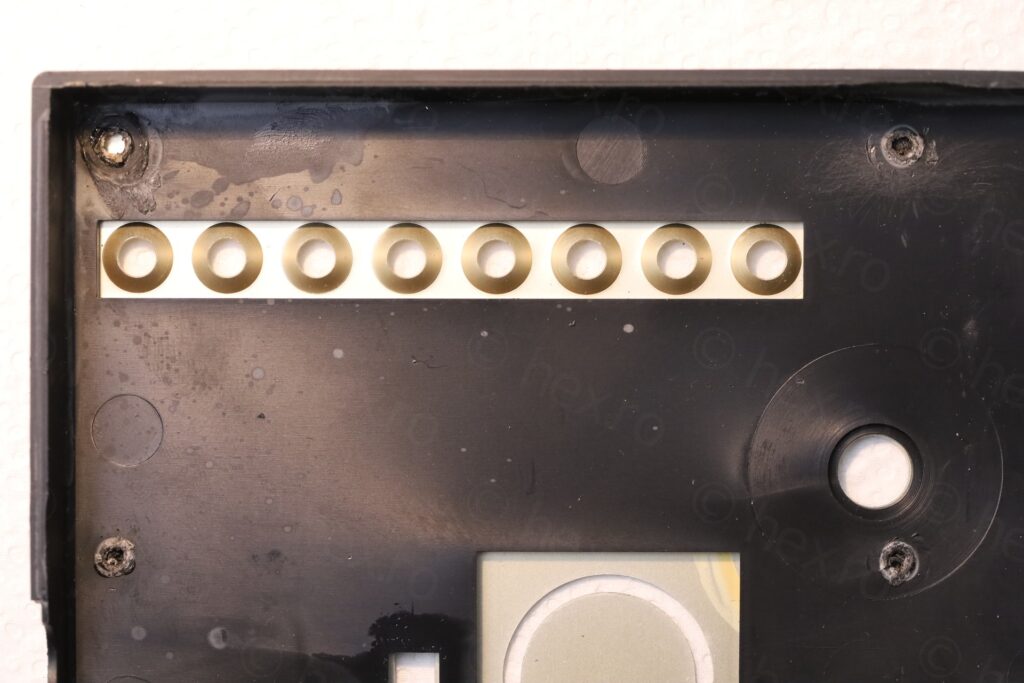
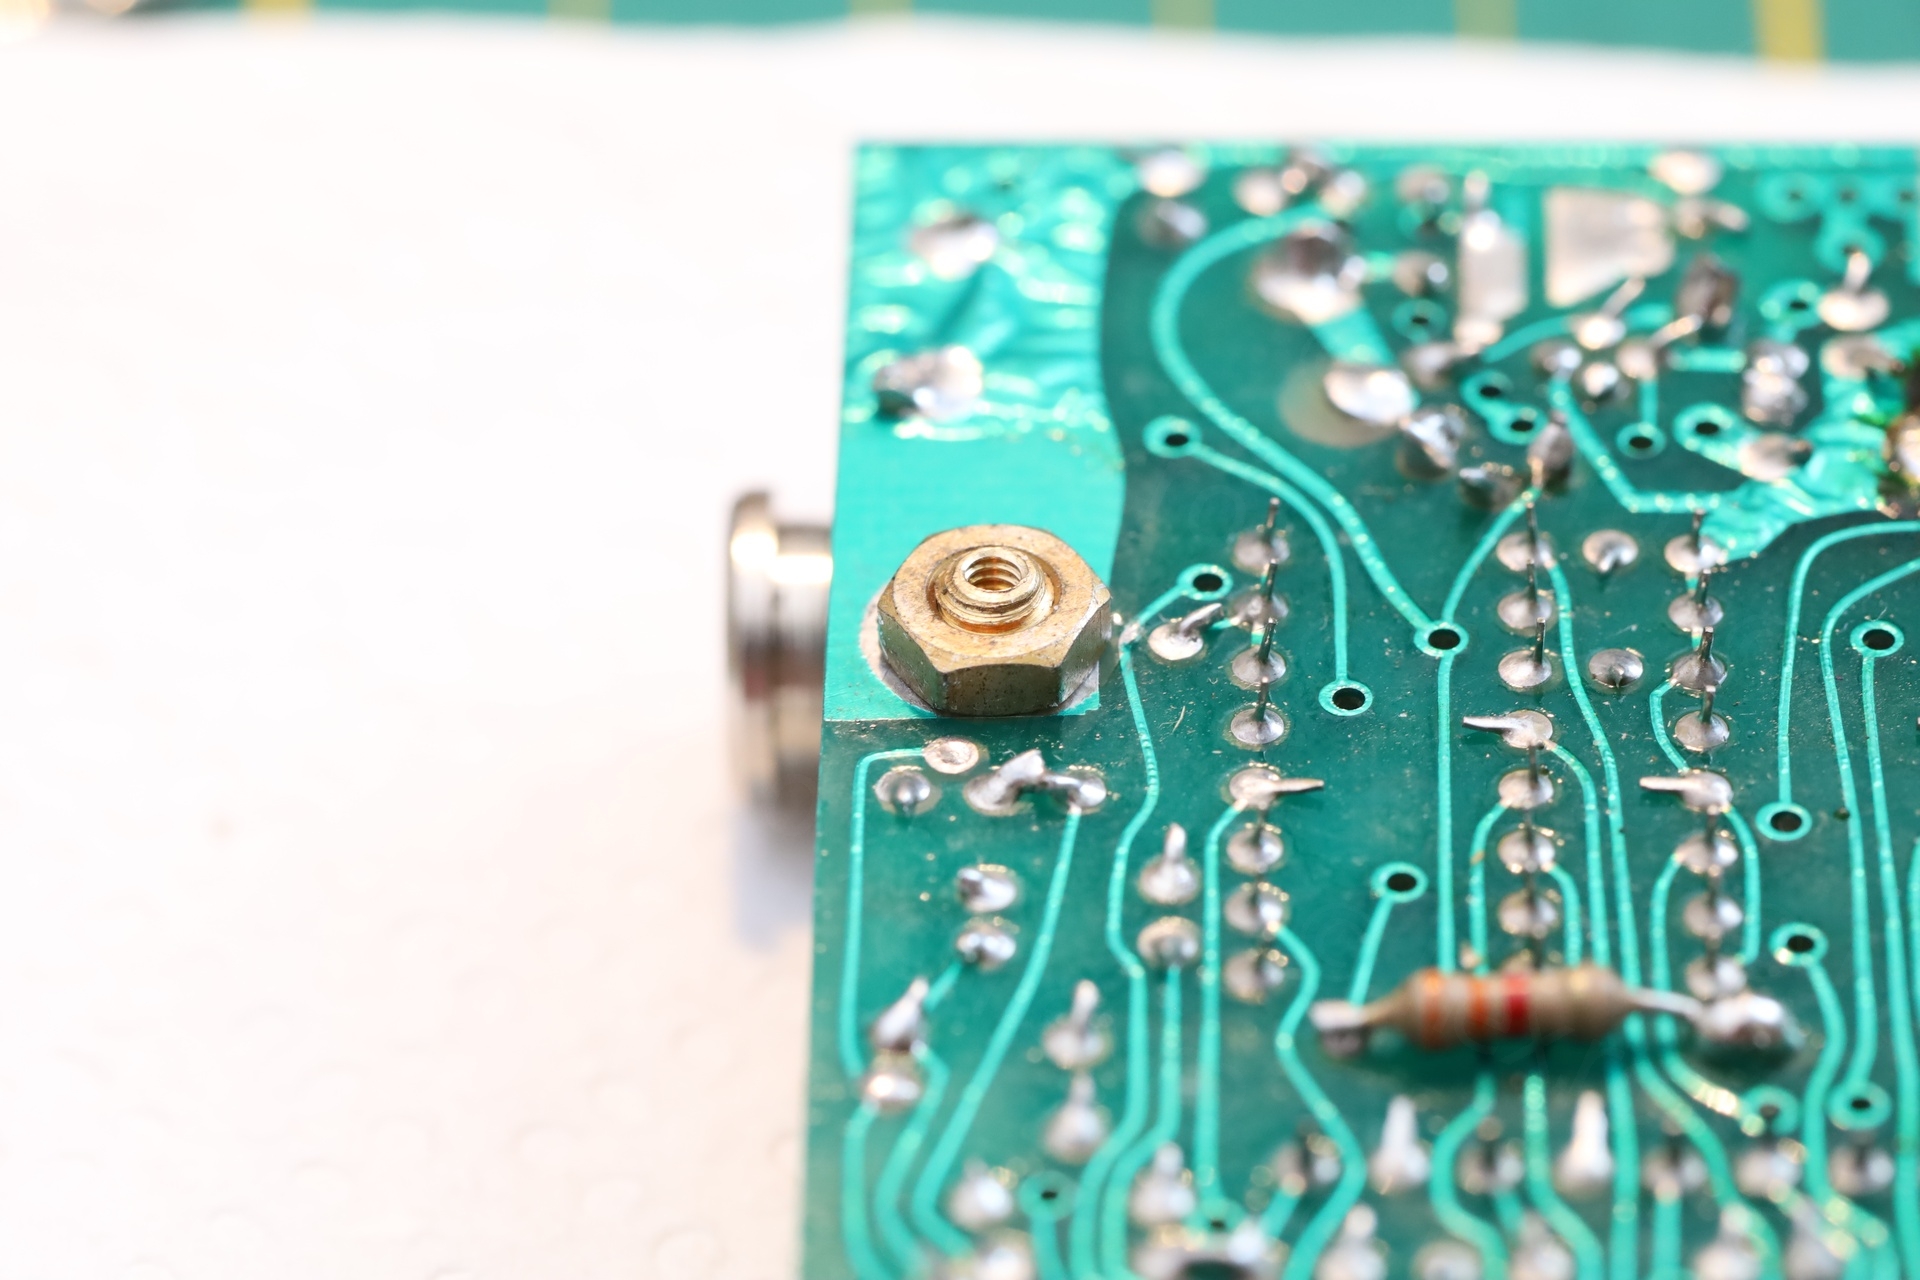
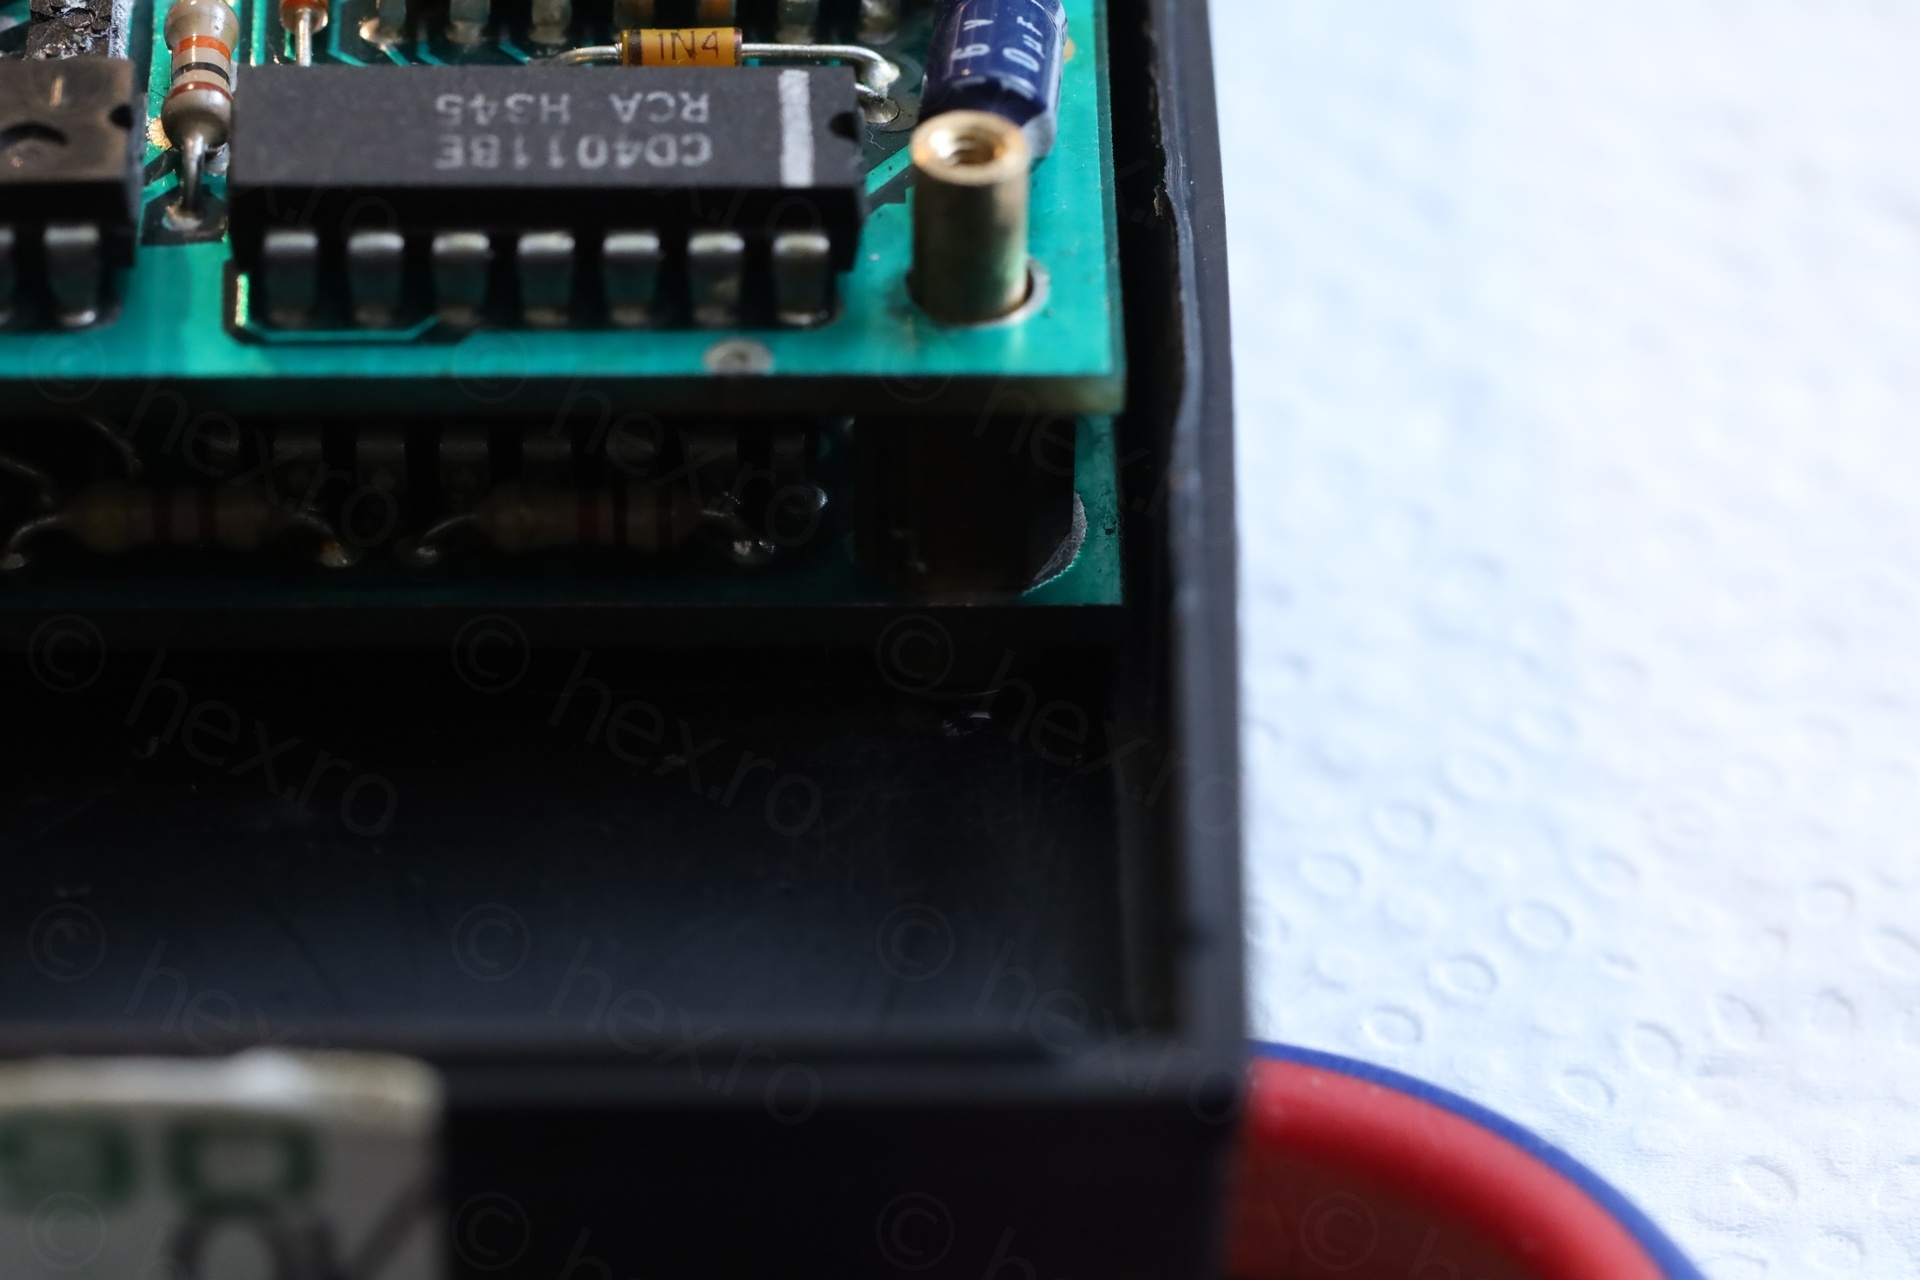
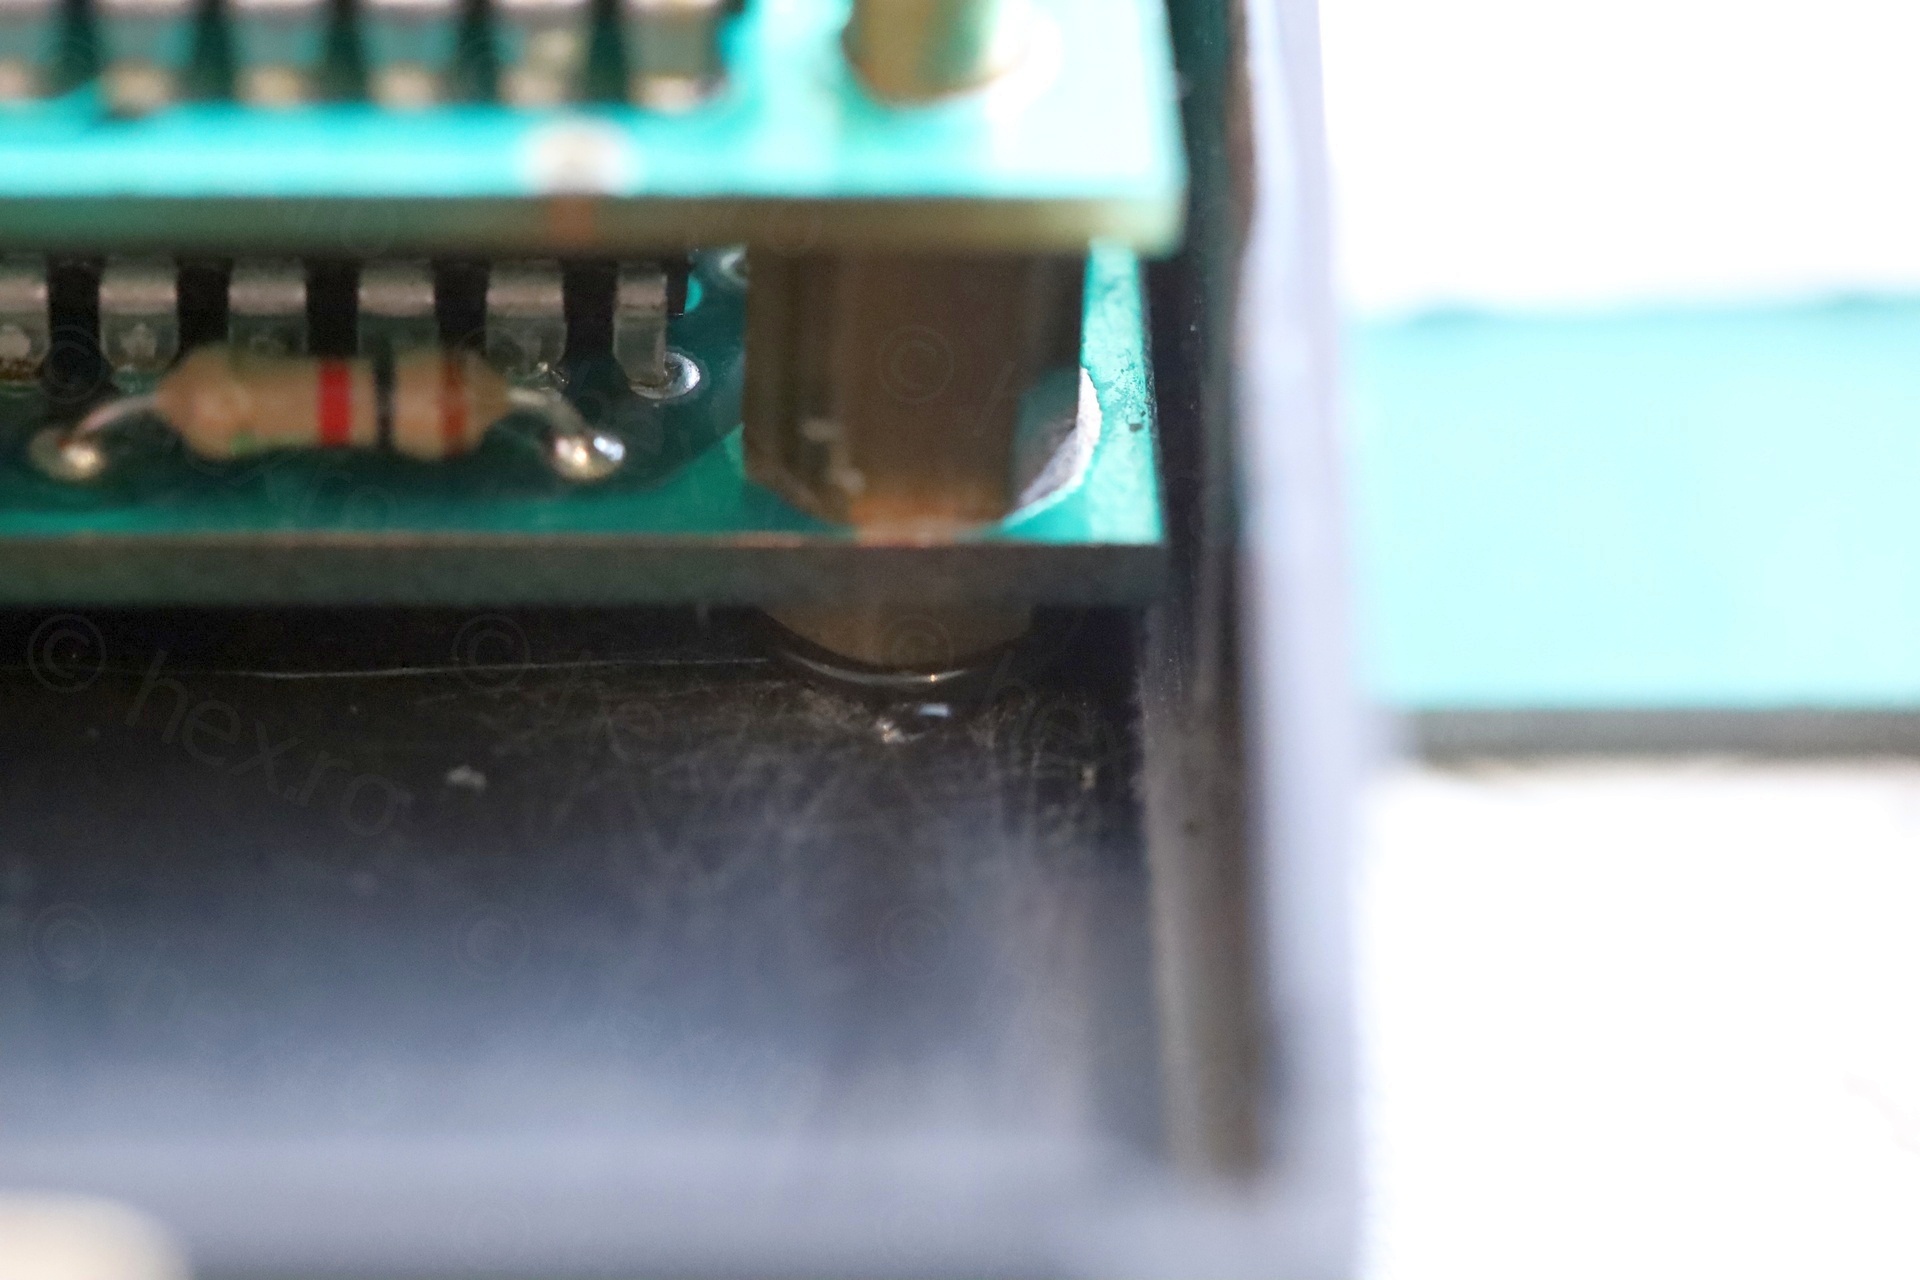
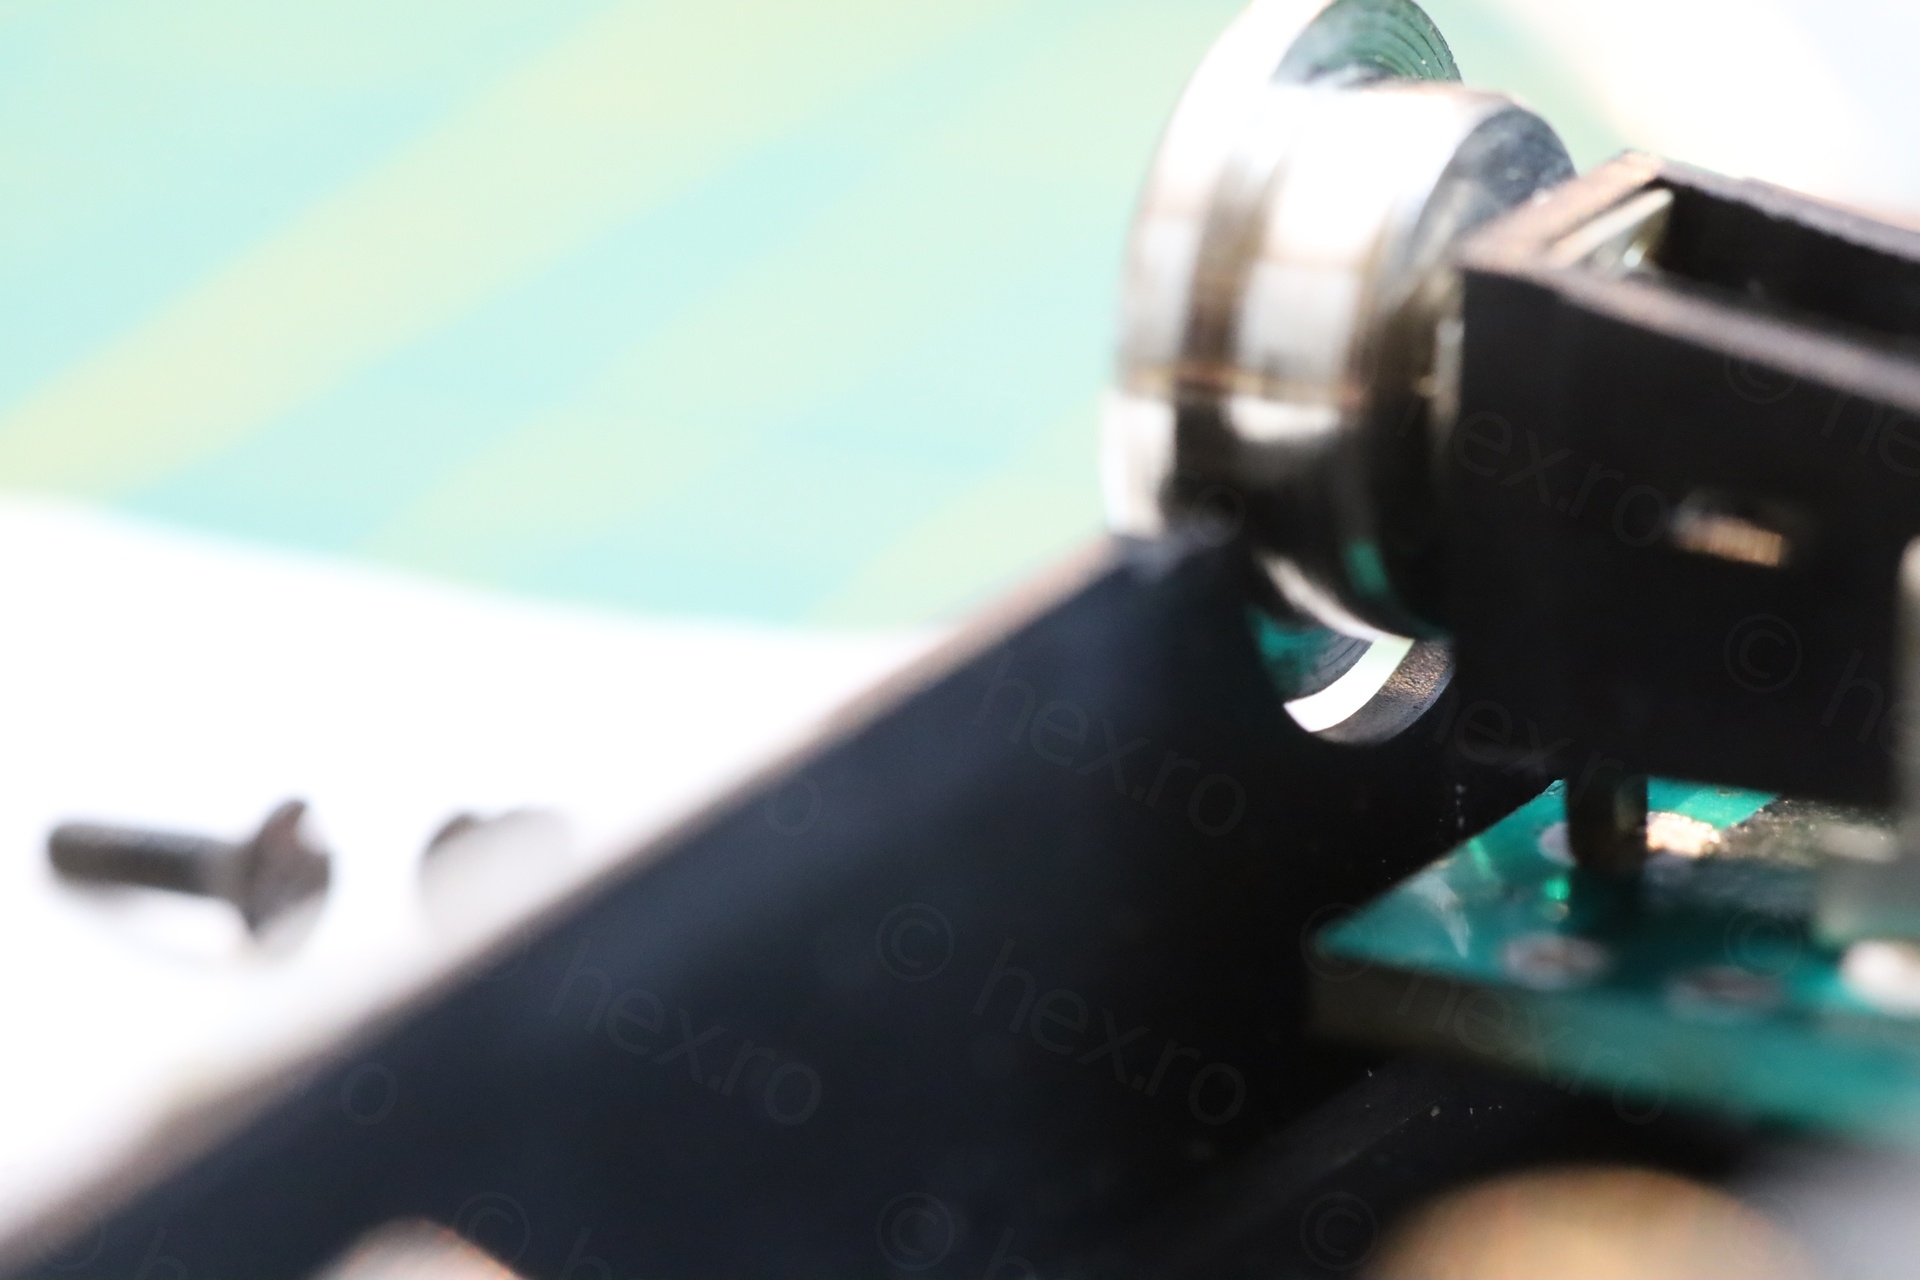
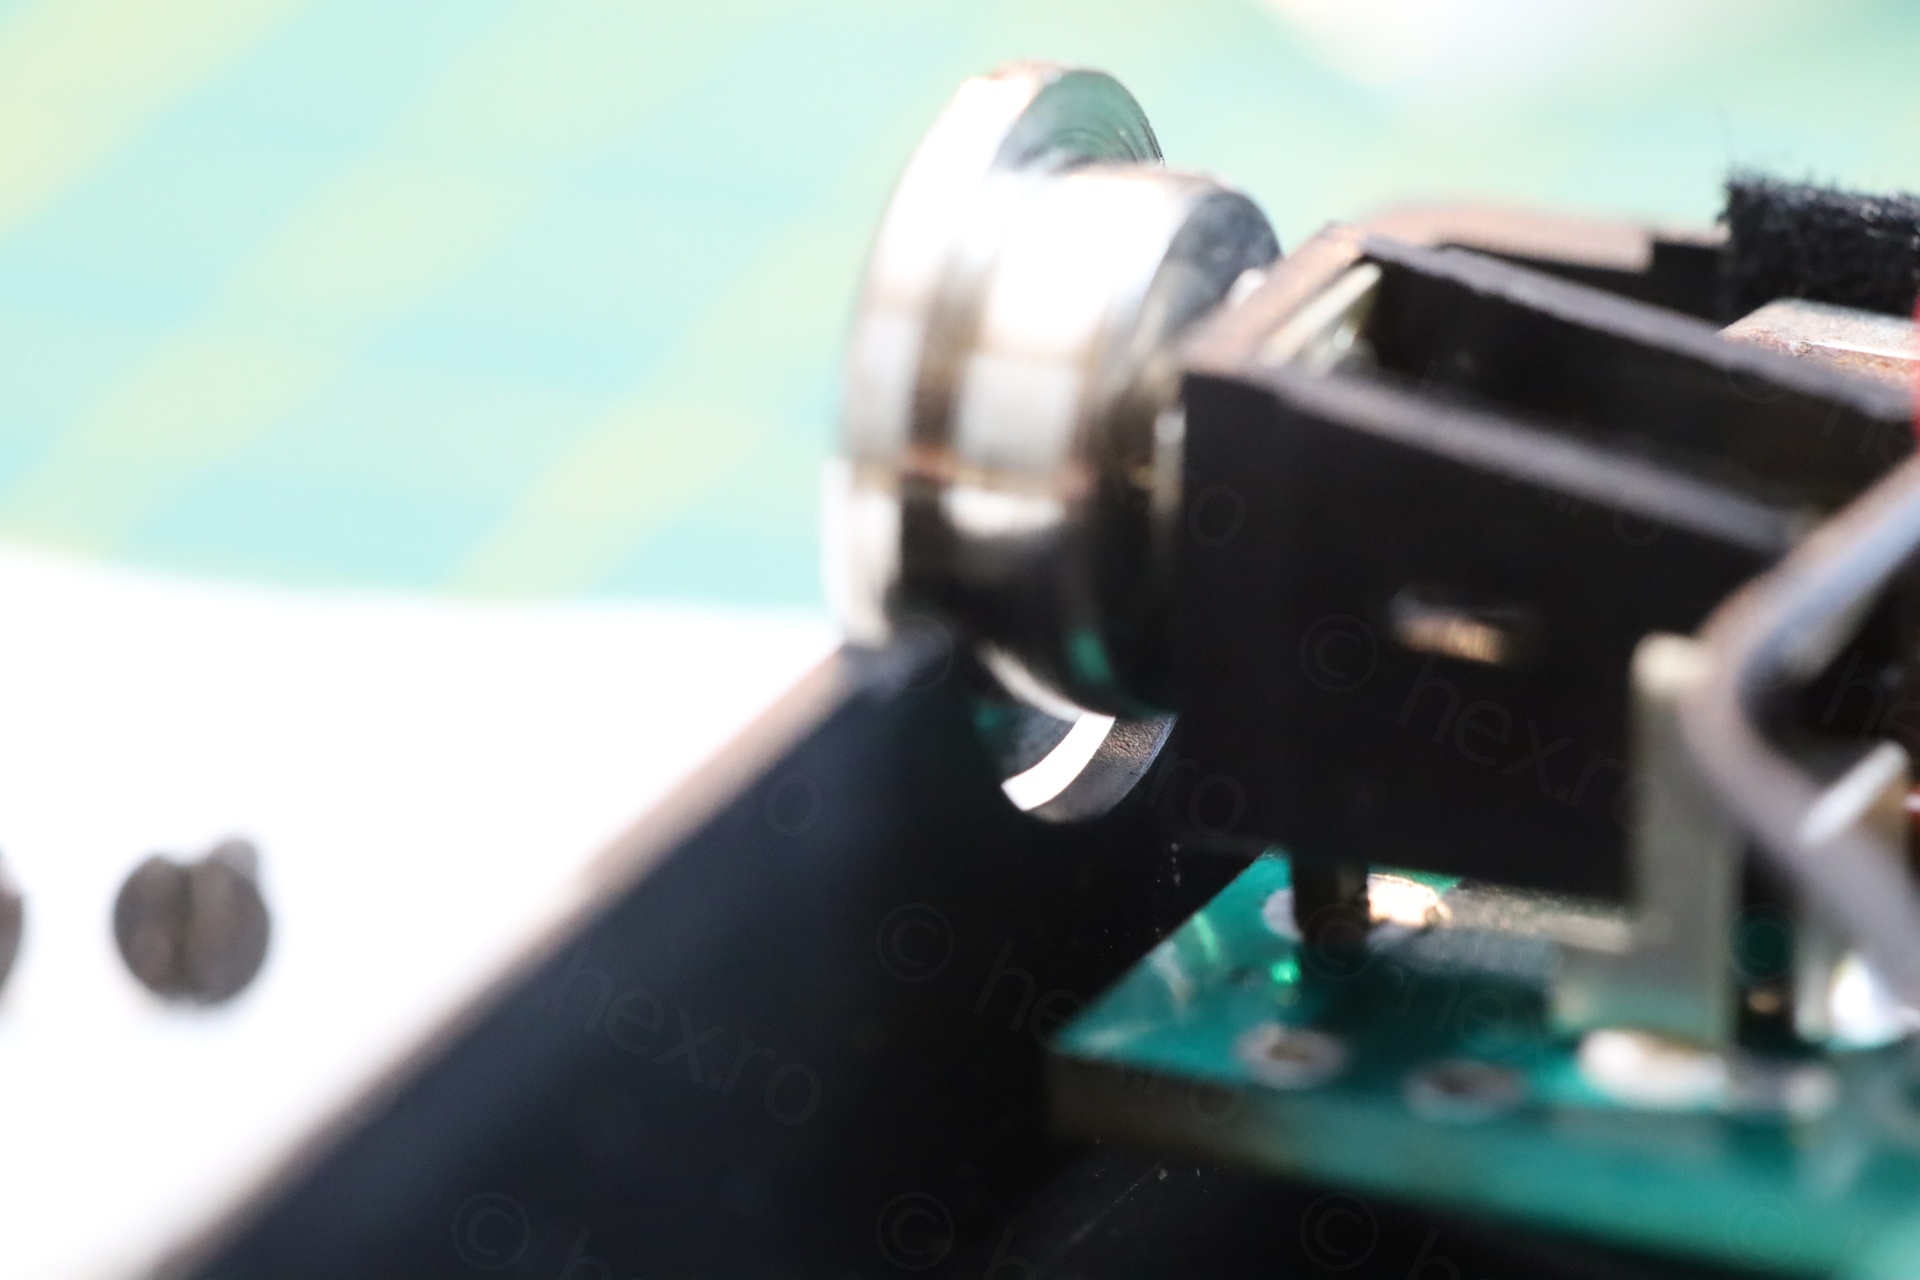
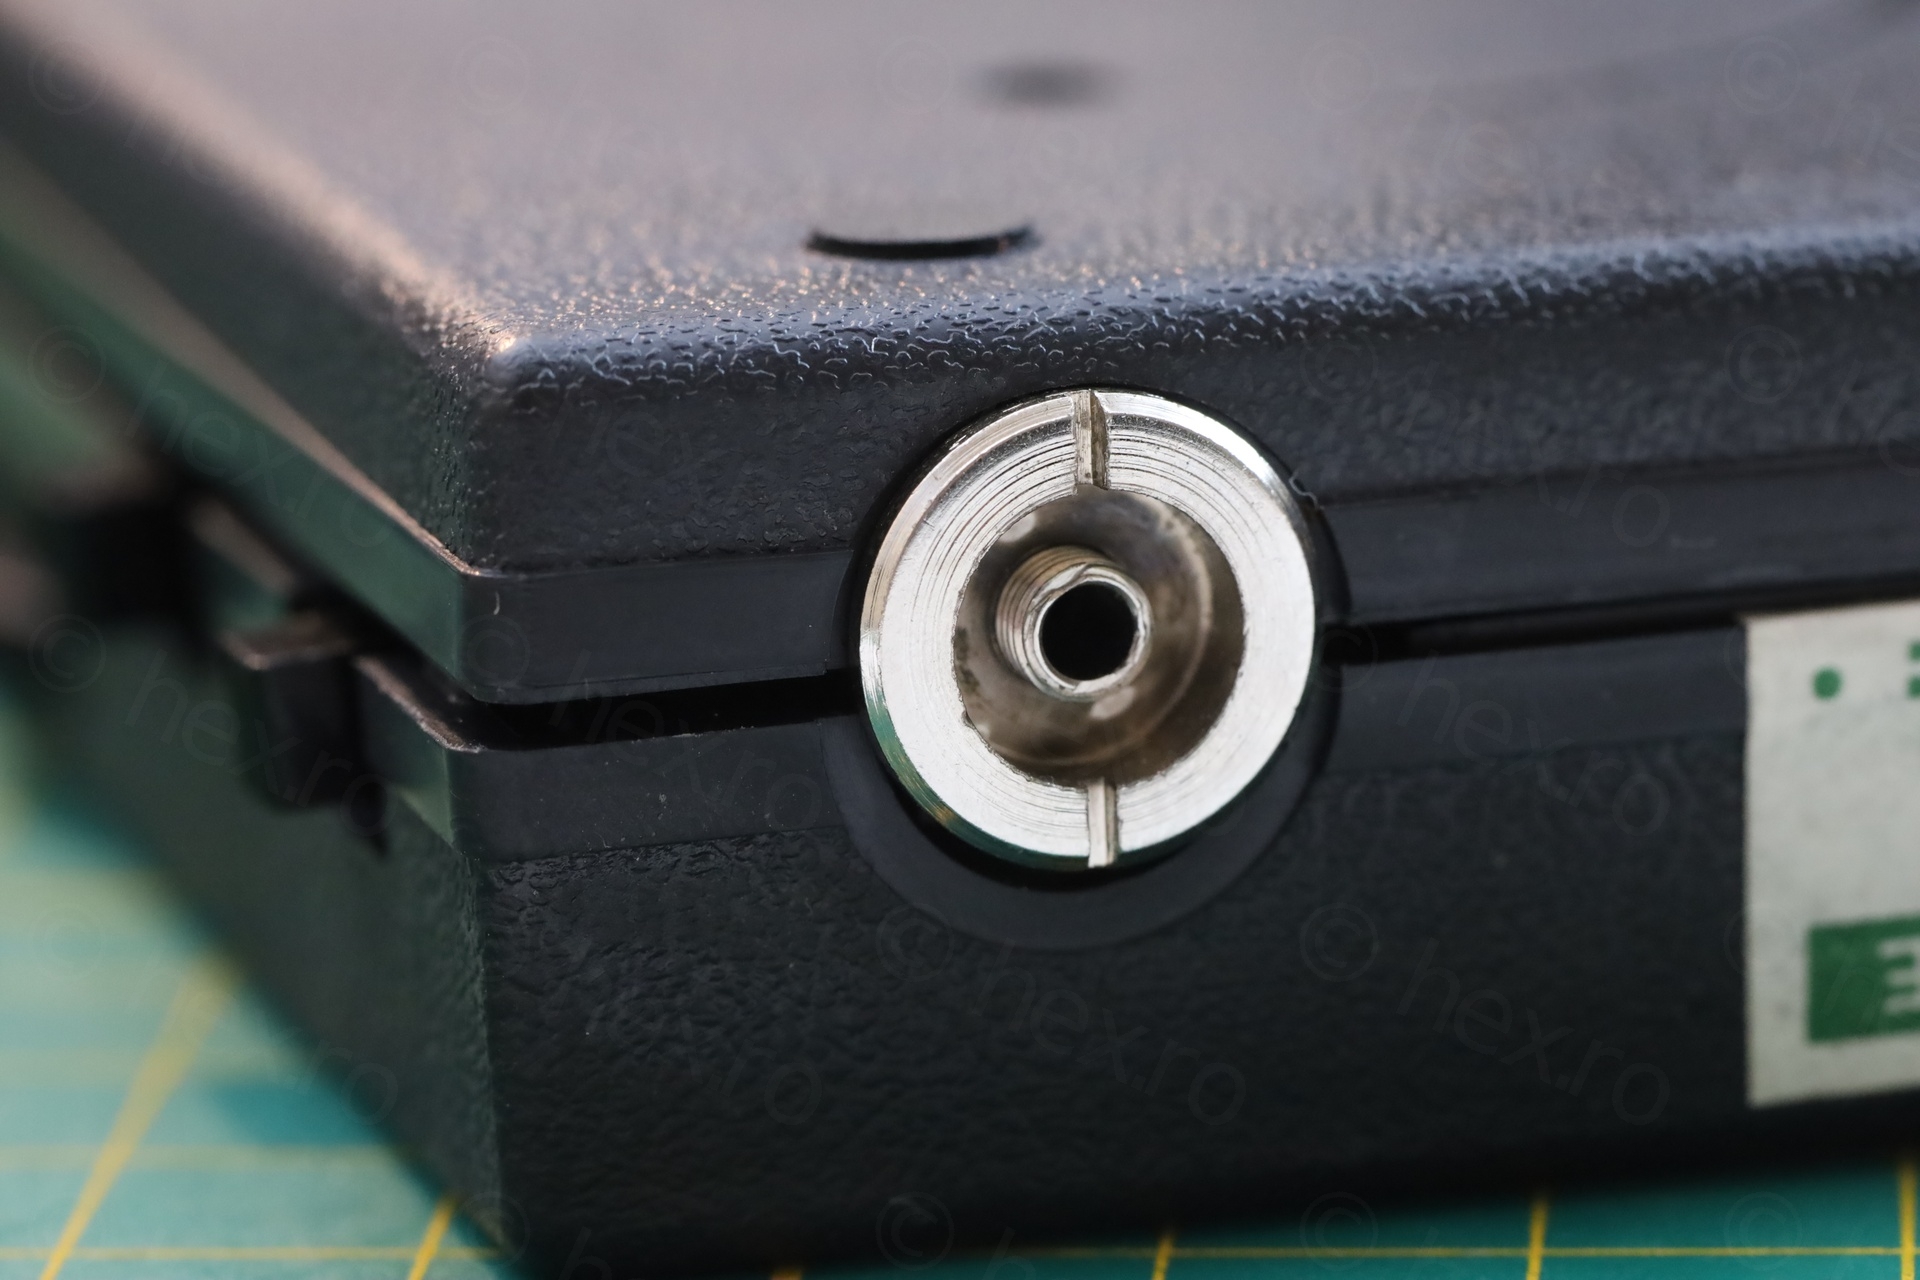
This is really a cheap, poorly made product. For example, the 9V socket sits way above the circuit board – you can’t really put the two covers back together:
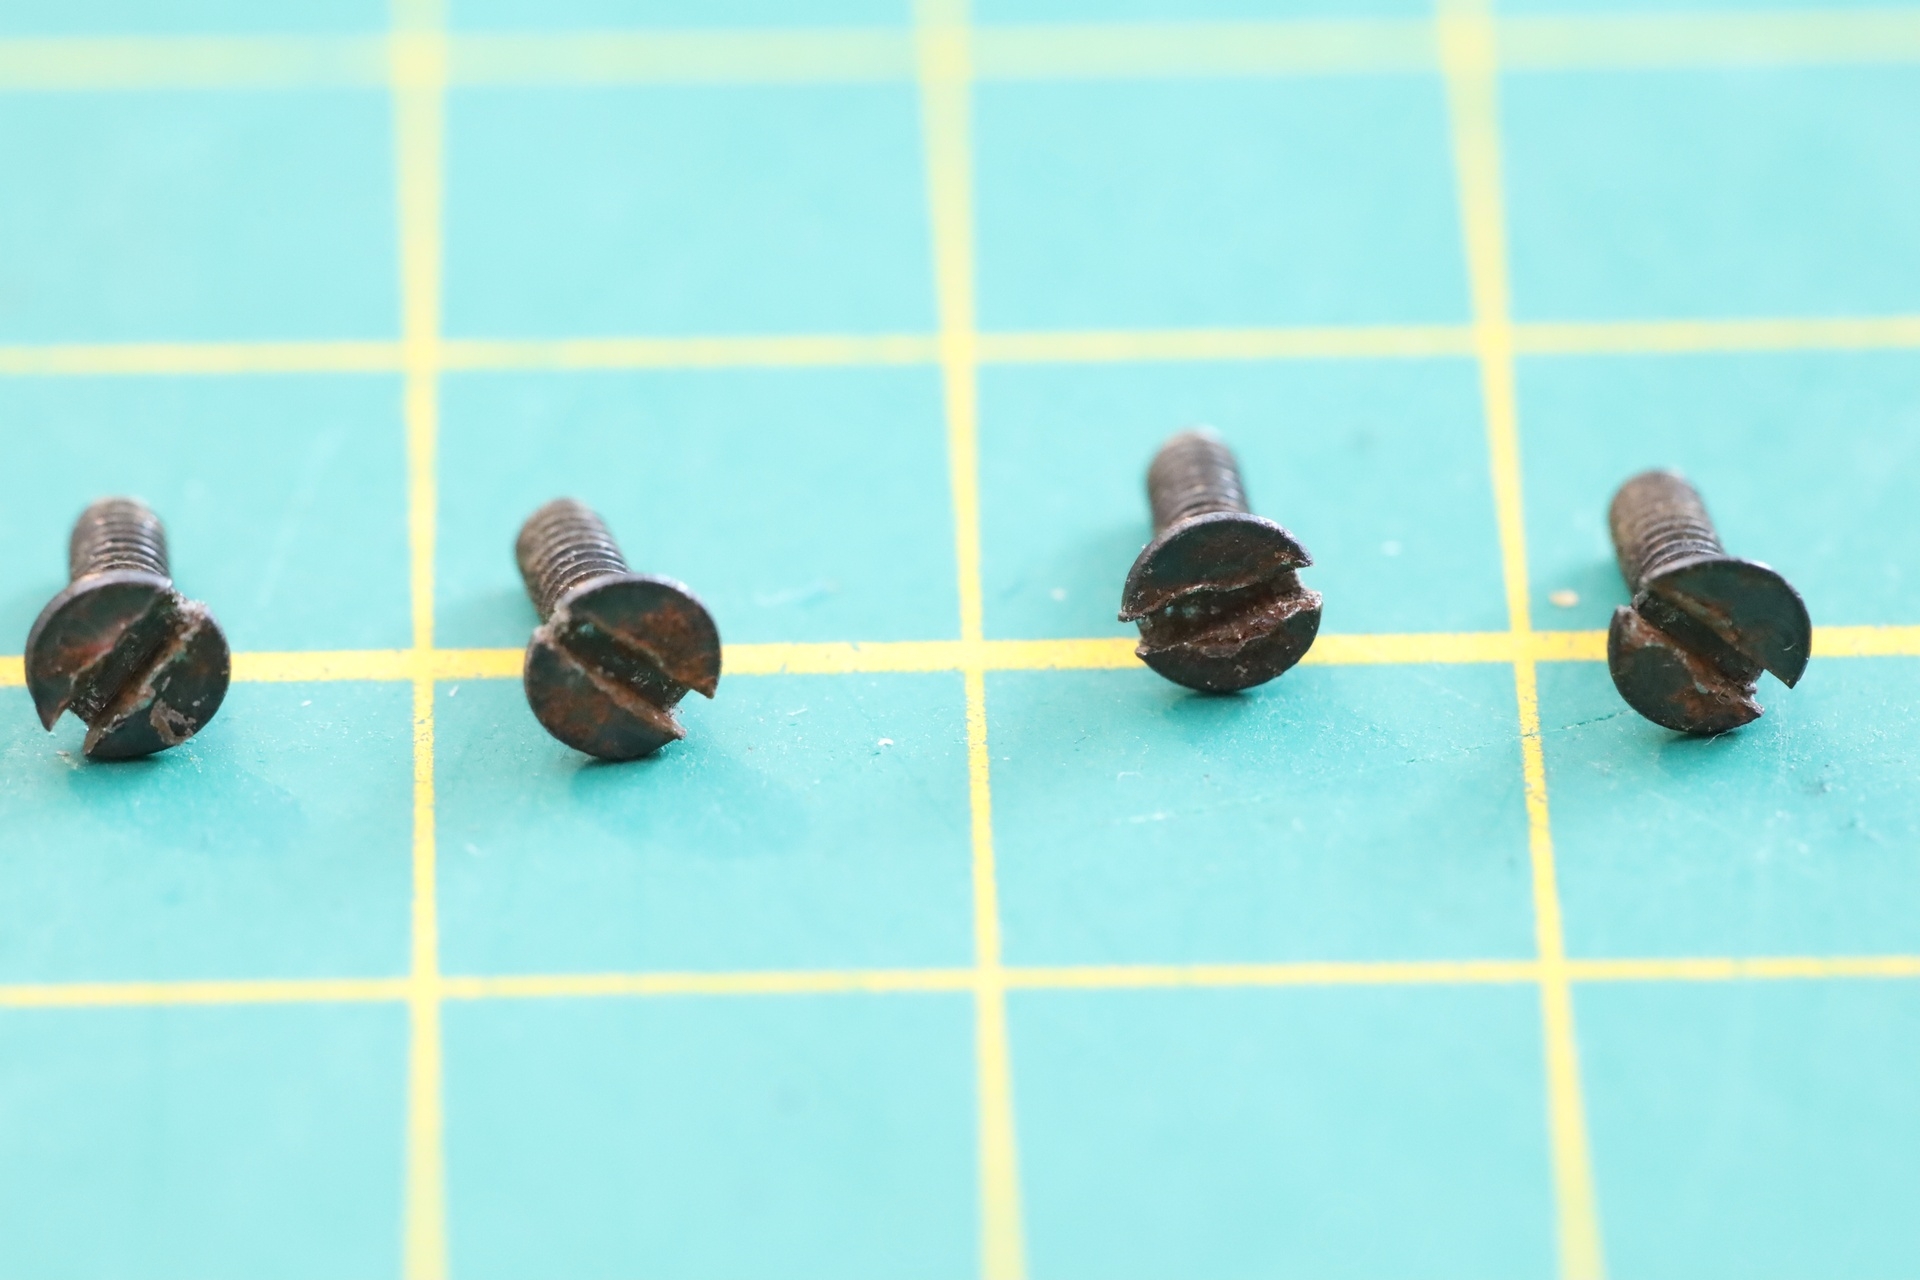
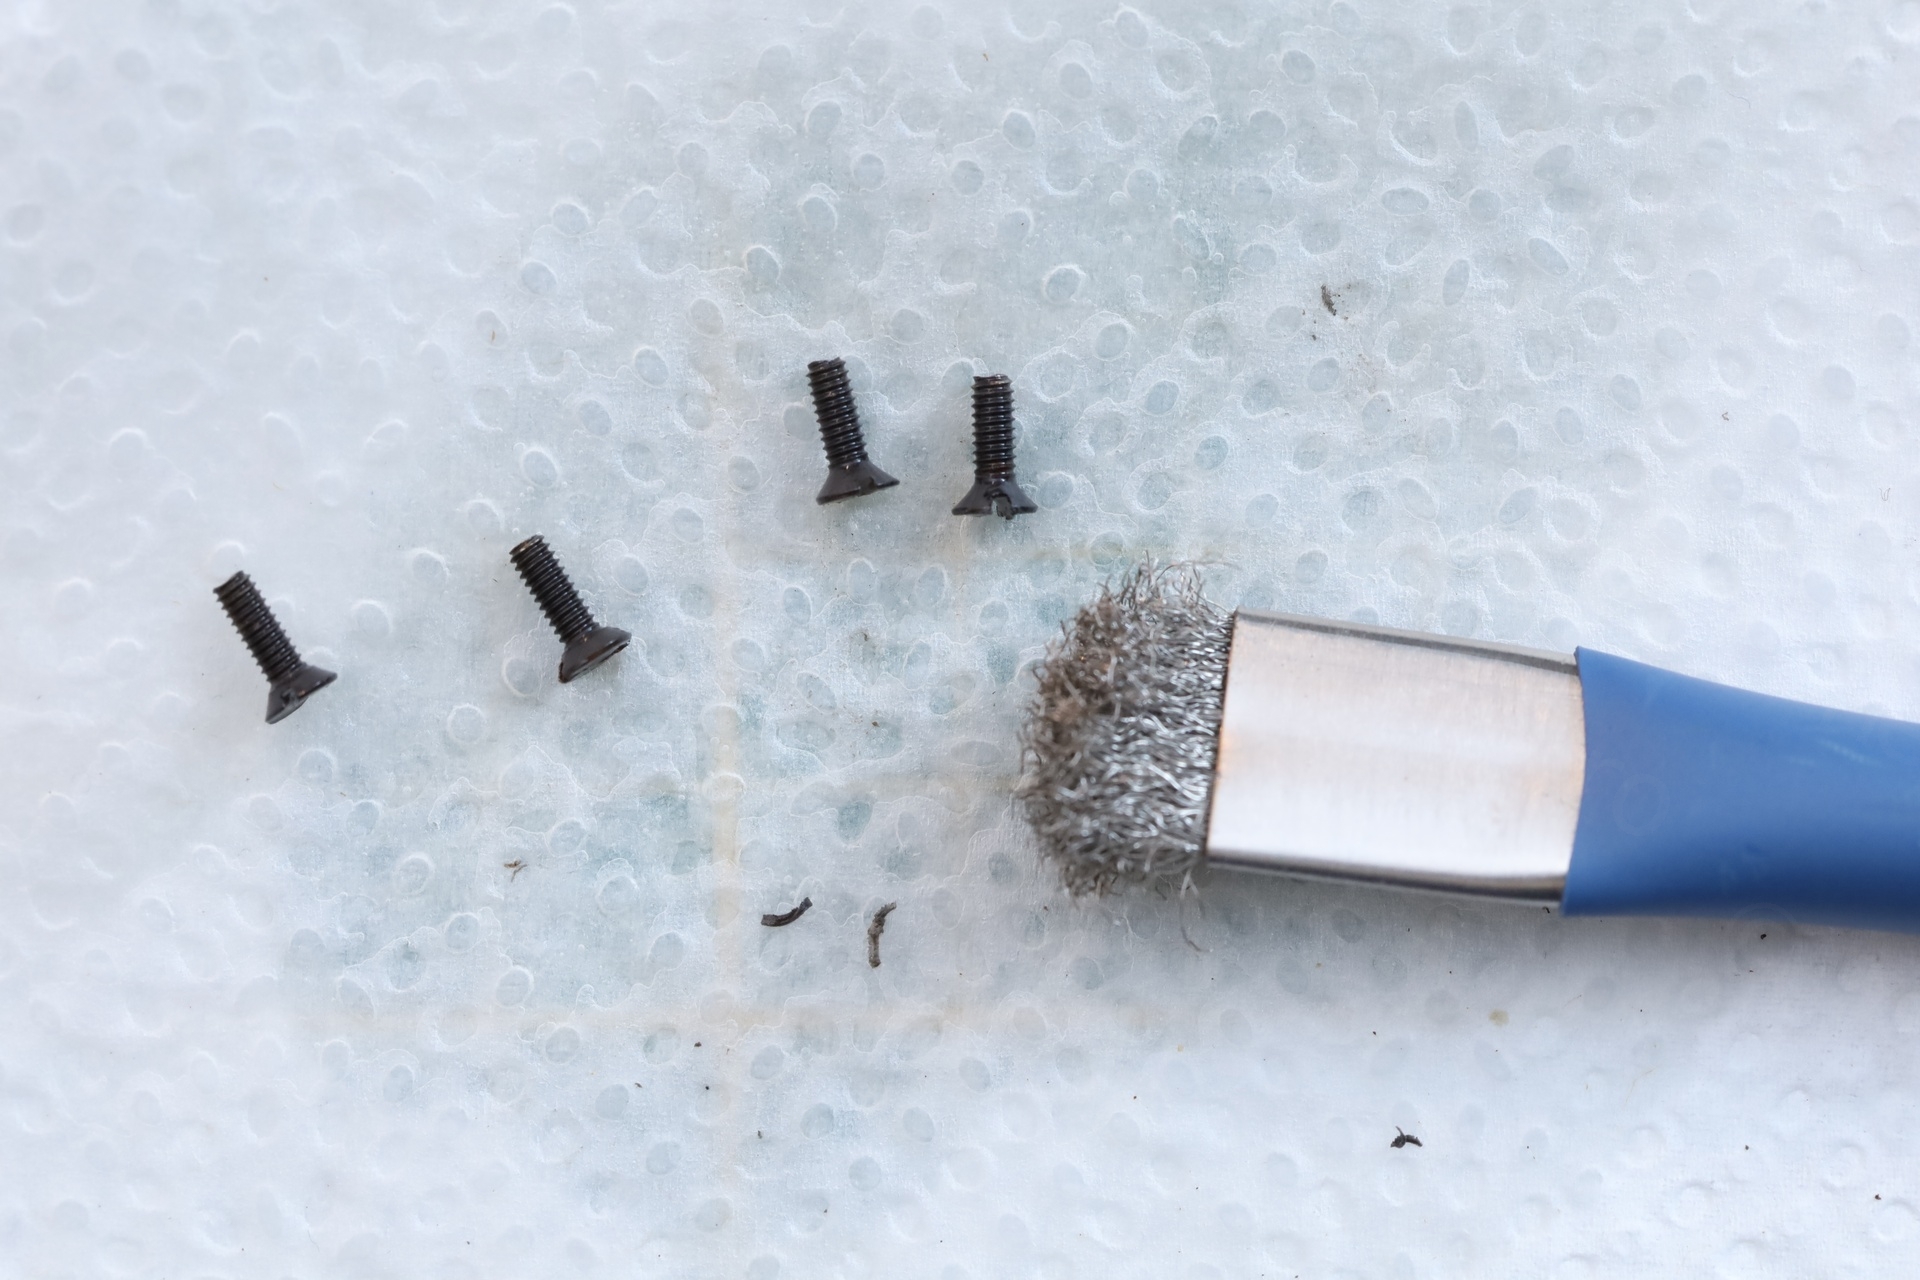
The back cover screws were already rusty. I tried to scrub them with a small metal brush and clean with Isopropyl Alcohol. Applied a bit of oil before putting them back.
Conclusions
The device mostly works, in the sense that the patterns appear correctly and that the red button makes them cycle. I recorded this many times, to try to avoid the jumpiness of the red button:
But there are some confusions:
a) The second pattern is marked as ‘RED’, but it takes a long time to become a pale red. You can see above. It appears as a flickering gray mixed with red, which finally decides to switch to full pale RED. If I de-tune the TV a little, I manage to get it to show a bright RED, but then the sound will be off plus the other patterns will start showing weirdly.
b)Assuming I leave the TV in this de-tuned state, where the RED color appears brighter (with the poor sound). Then the first pattern (which, surprisingly is called “color-bar” in the advertising) also appears in color – alternate RED / BLUE lines. But one color bleeds strongly into the adjacent one. If I re-tune the TV back as to play the sound right, then the color-bar pattern stays in black and white.
I saw at least another ad, where the black face-plate with white plastic body was pictured next to the https://en.wikipedia.org/wiki/EBU_colour_bars pattern. Mine is not showing the color bars like that, but alternate gray colors.
Thus, I can’t say for sure that I have fixed it.
Without a schematic is hard to say that some other IC is not bad and messing up the colors. The button is still jumpy even after cleanup. The RED is pale. I was so disappointed with the build quality, I didn’t even want to try to test it on a modern LCD TV.
Most likely I’ll have to buy a 9V wall-wart and adapt it to an audio style 3.5mm jack – to save the pain of opening 4 screws to take the battery out / put battery in.
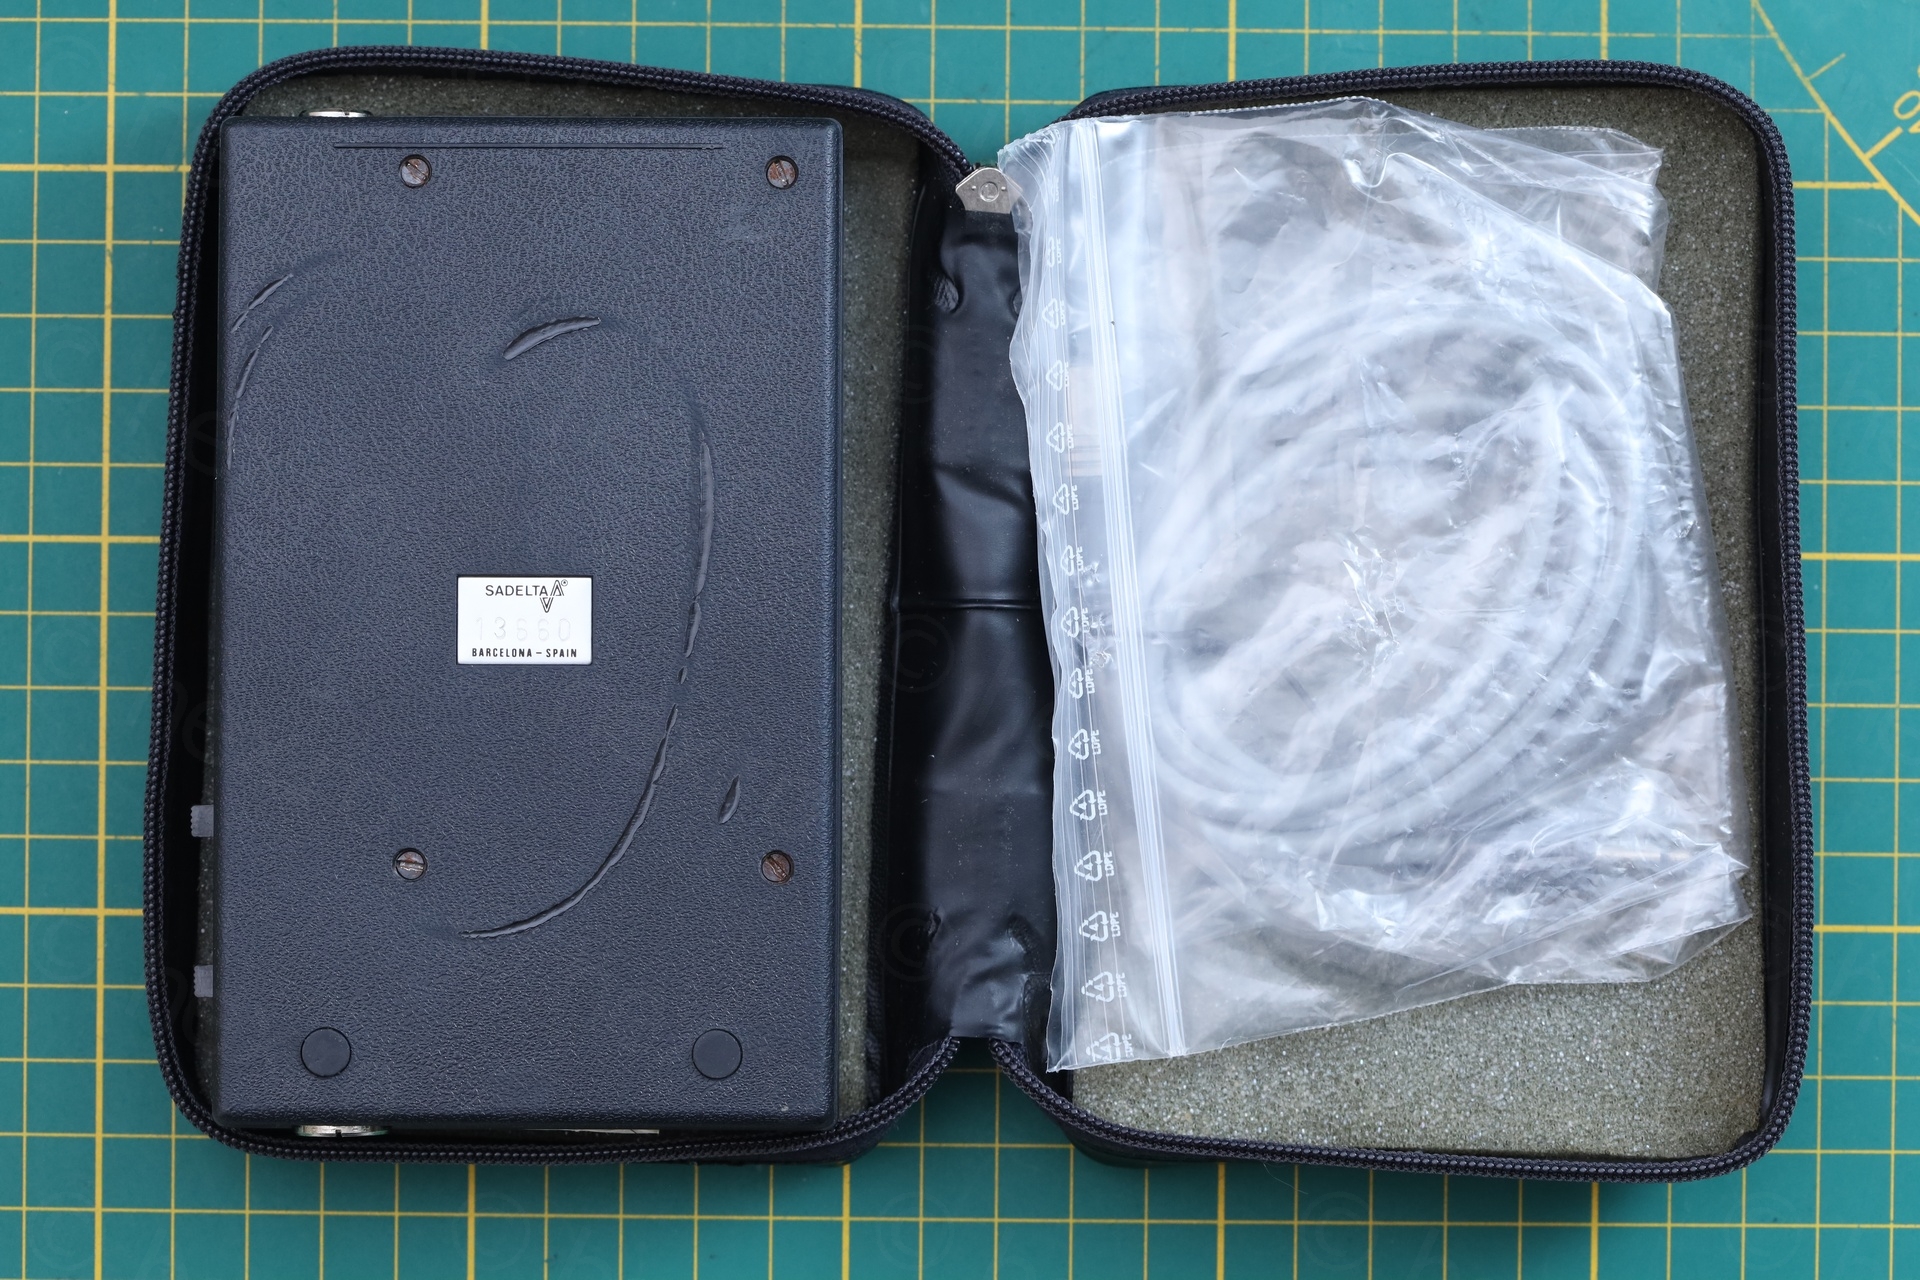
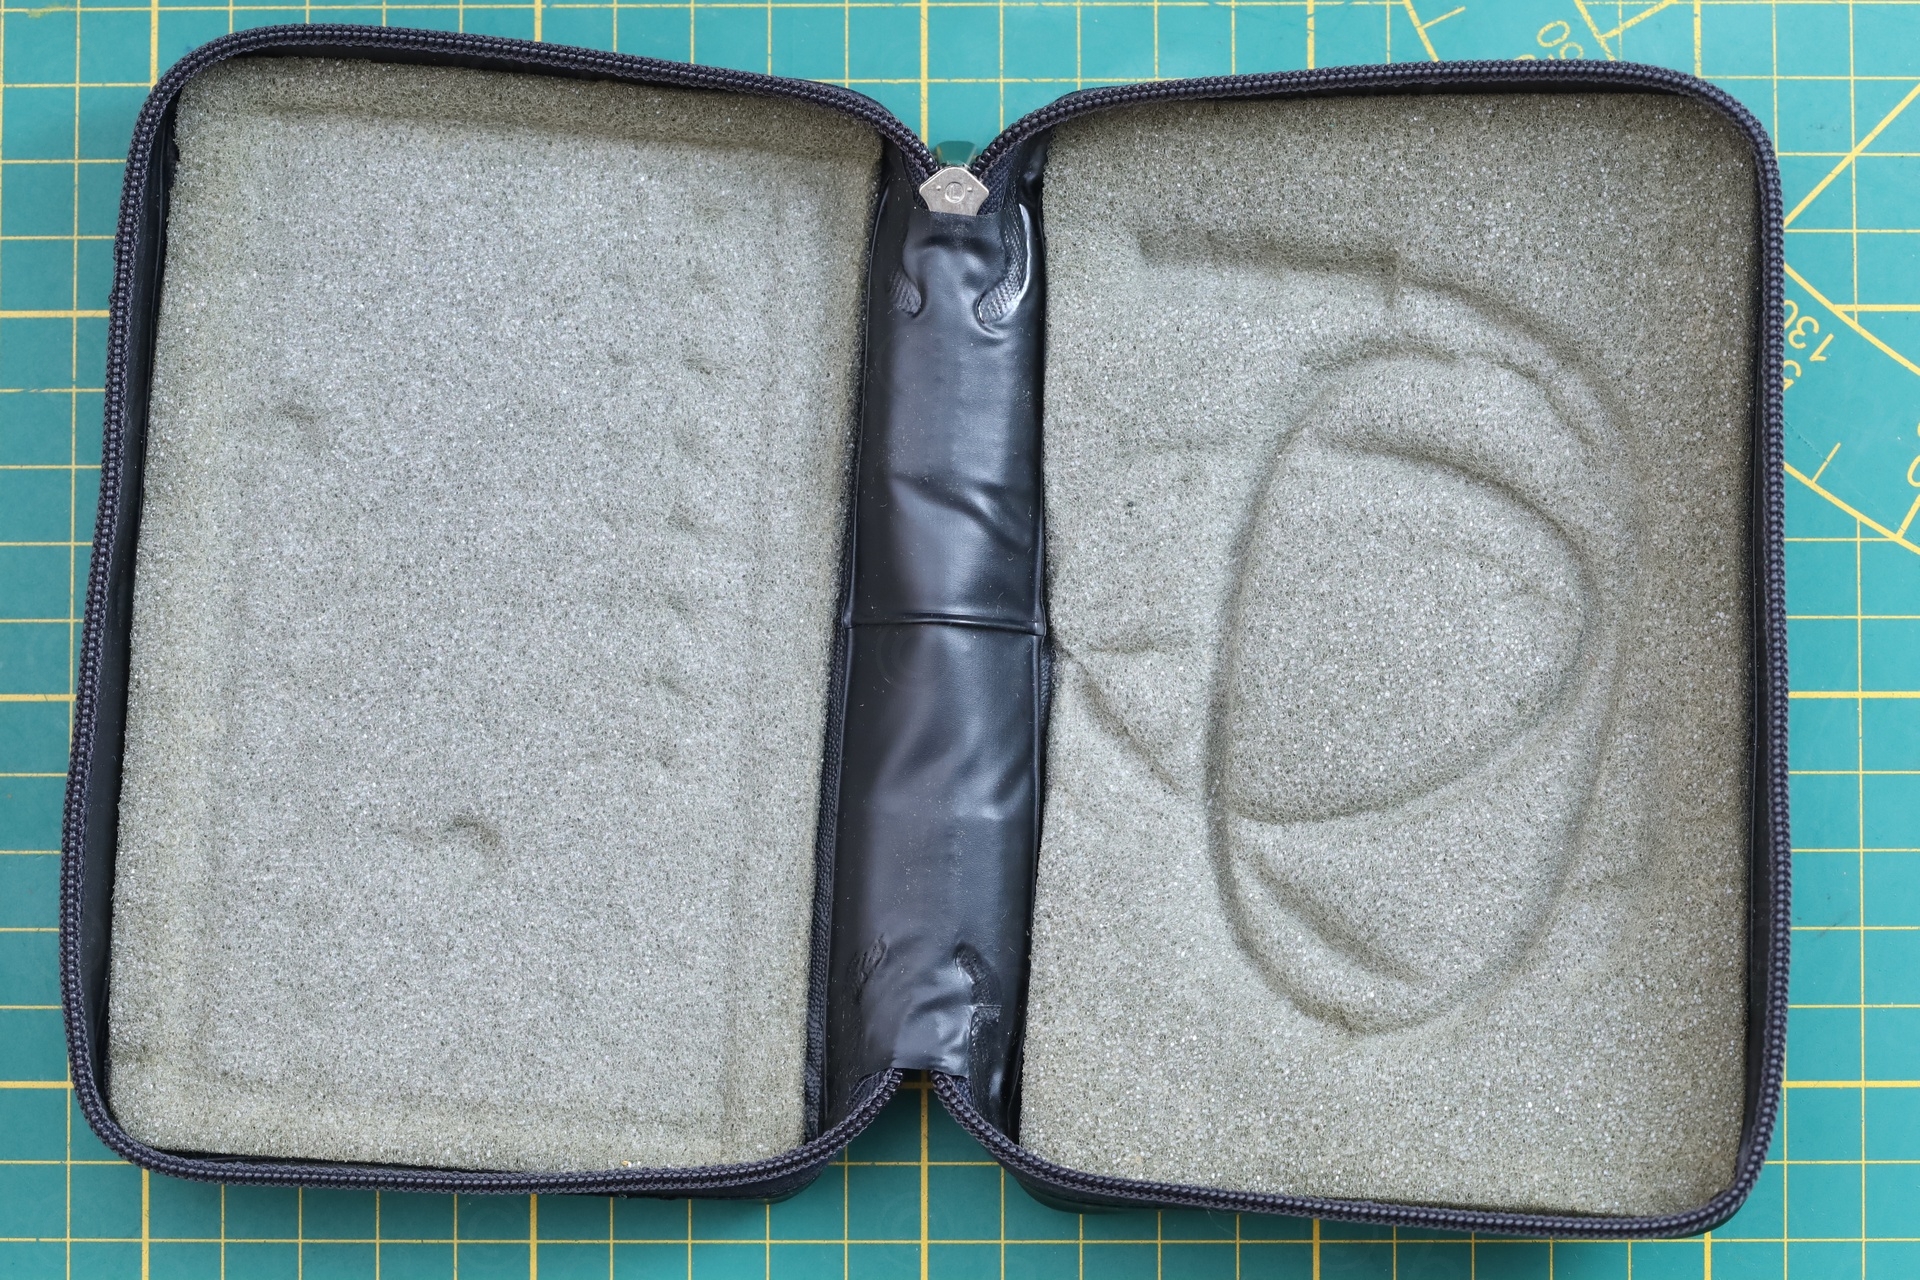
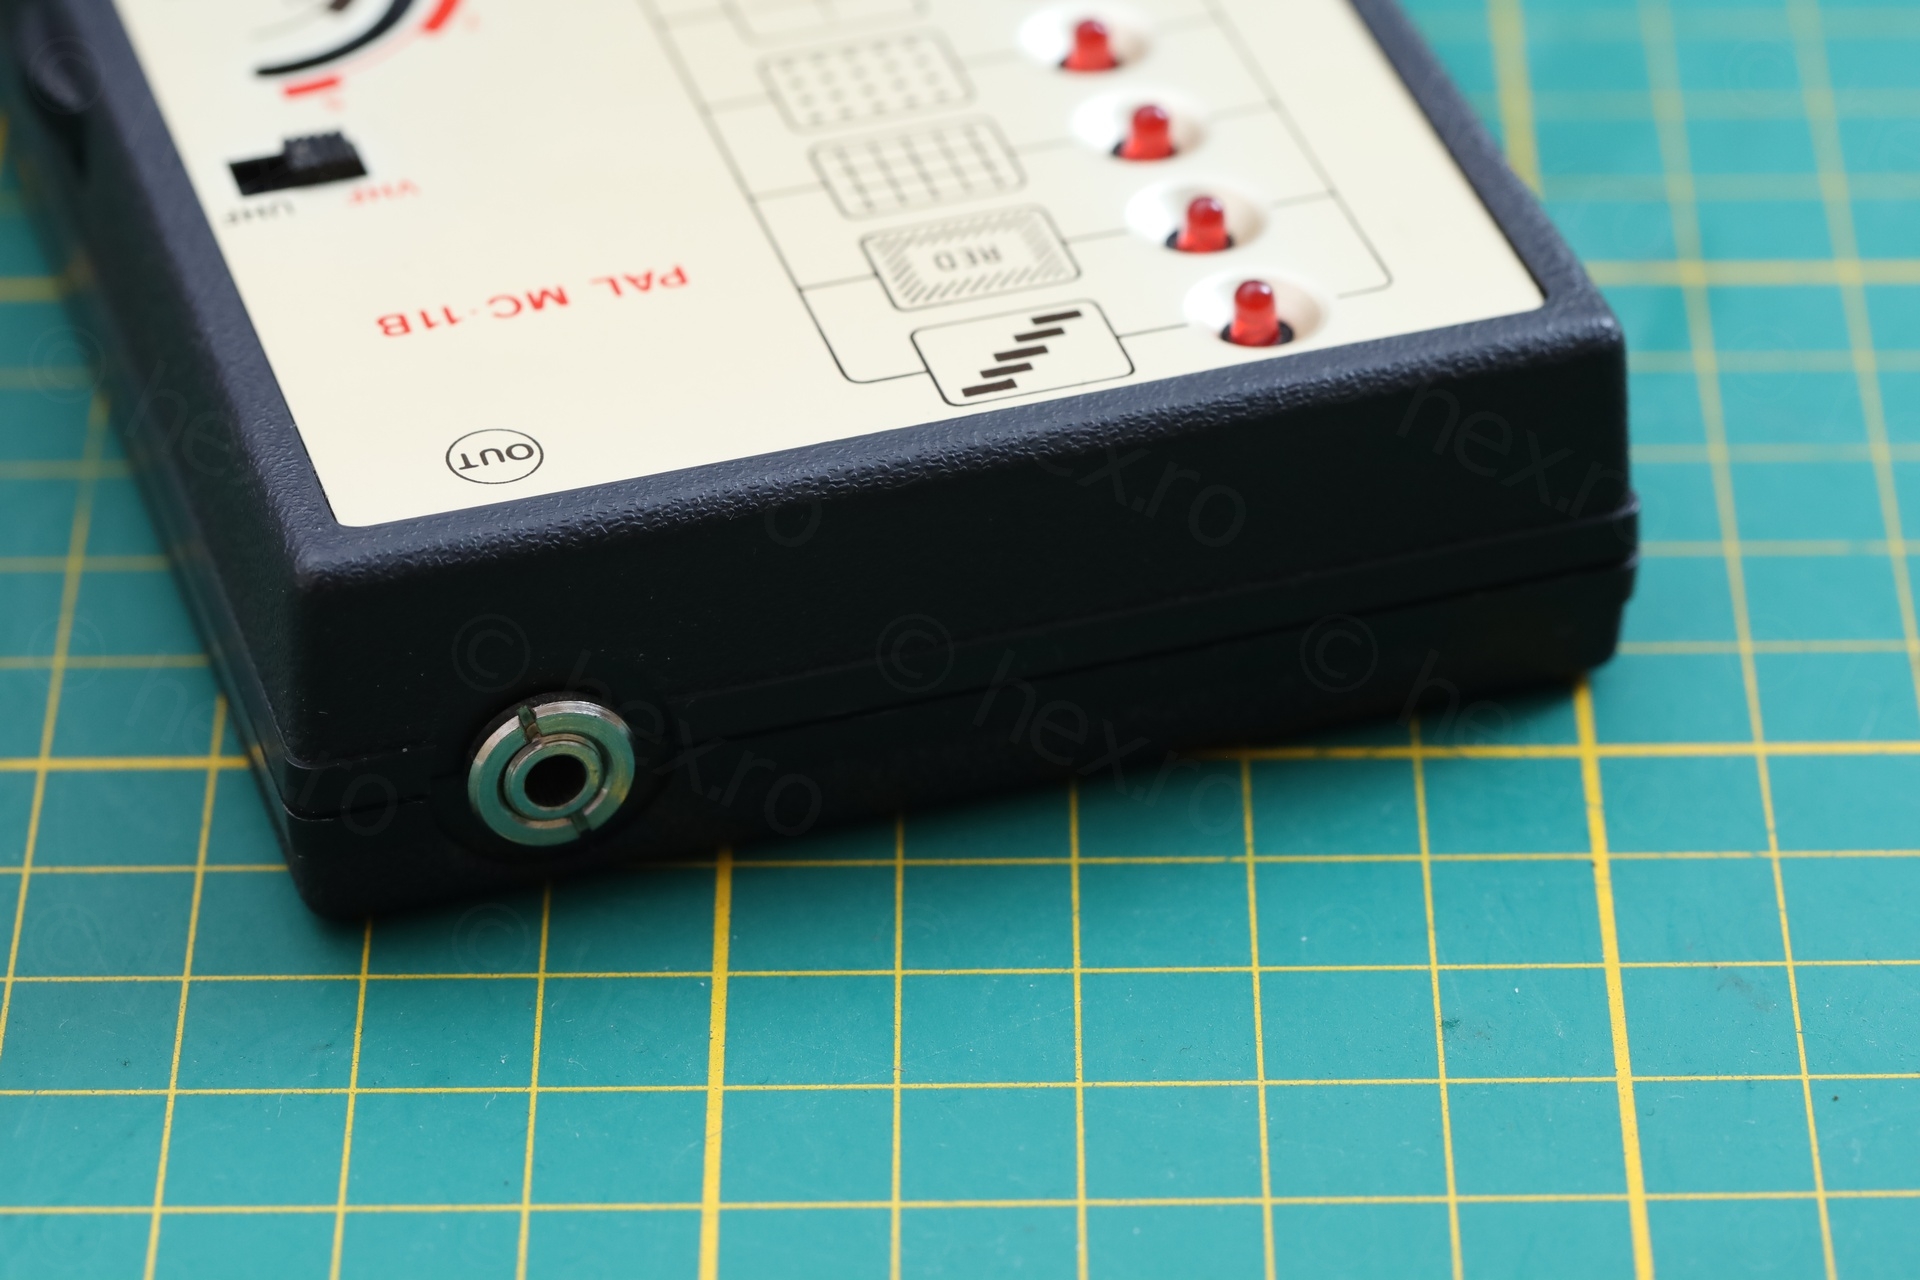
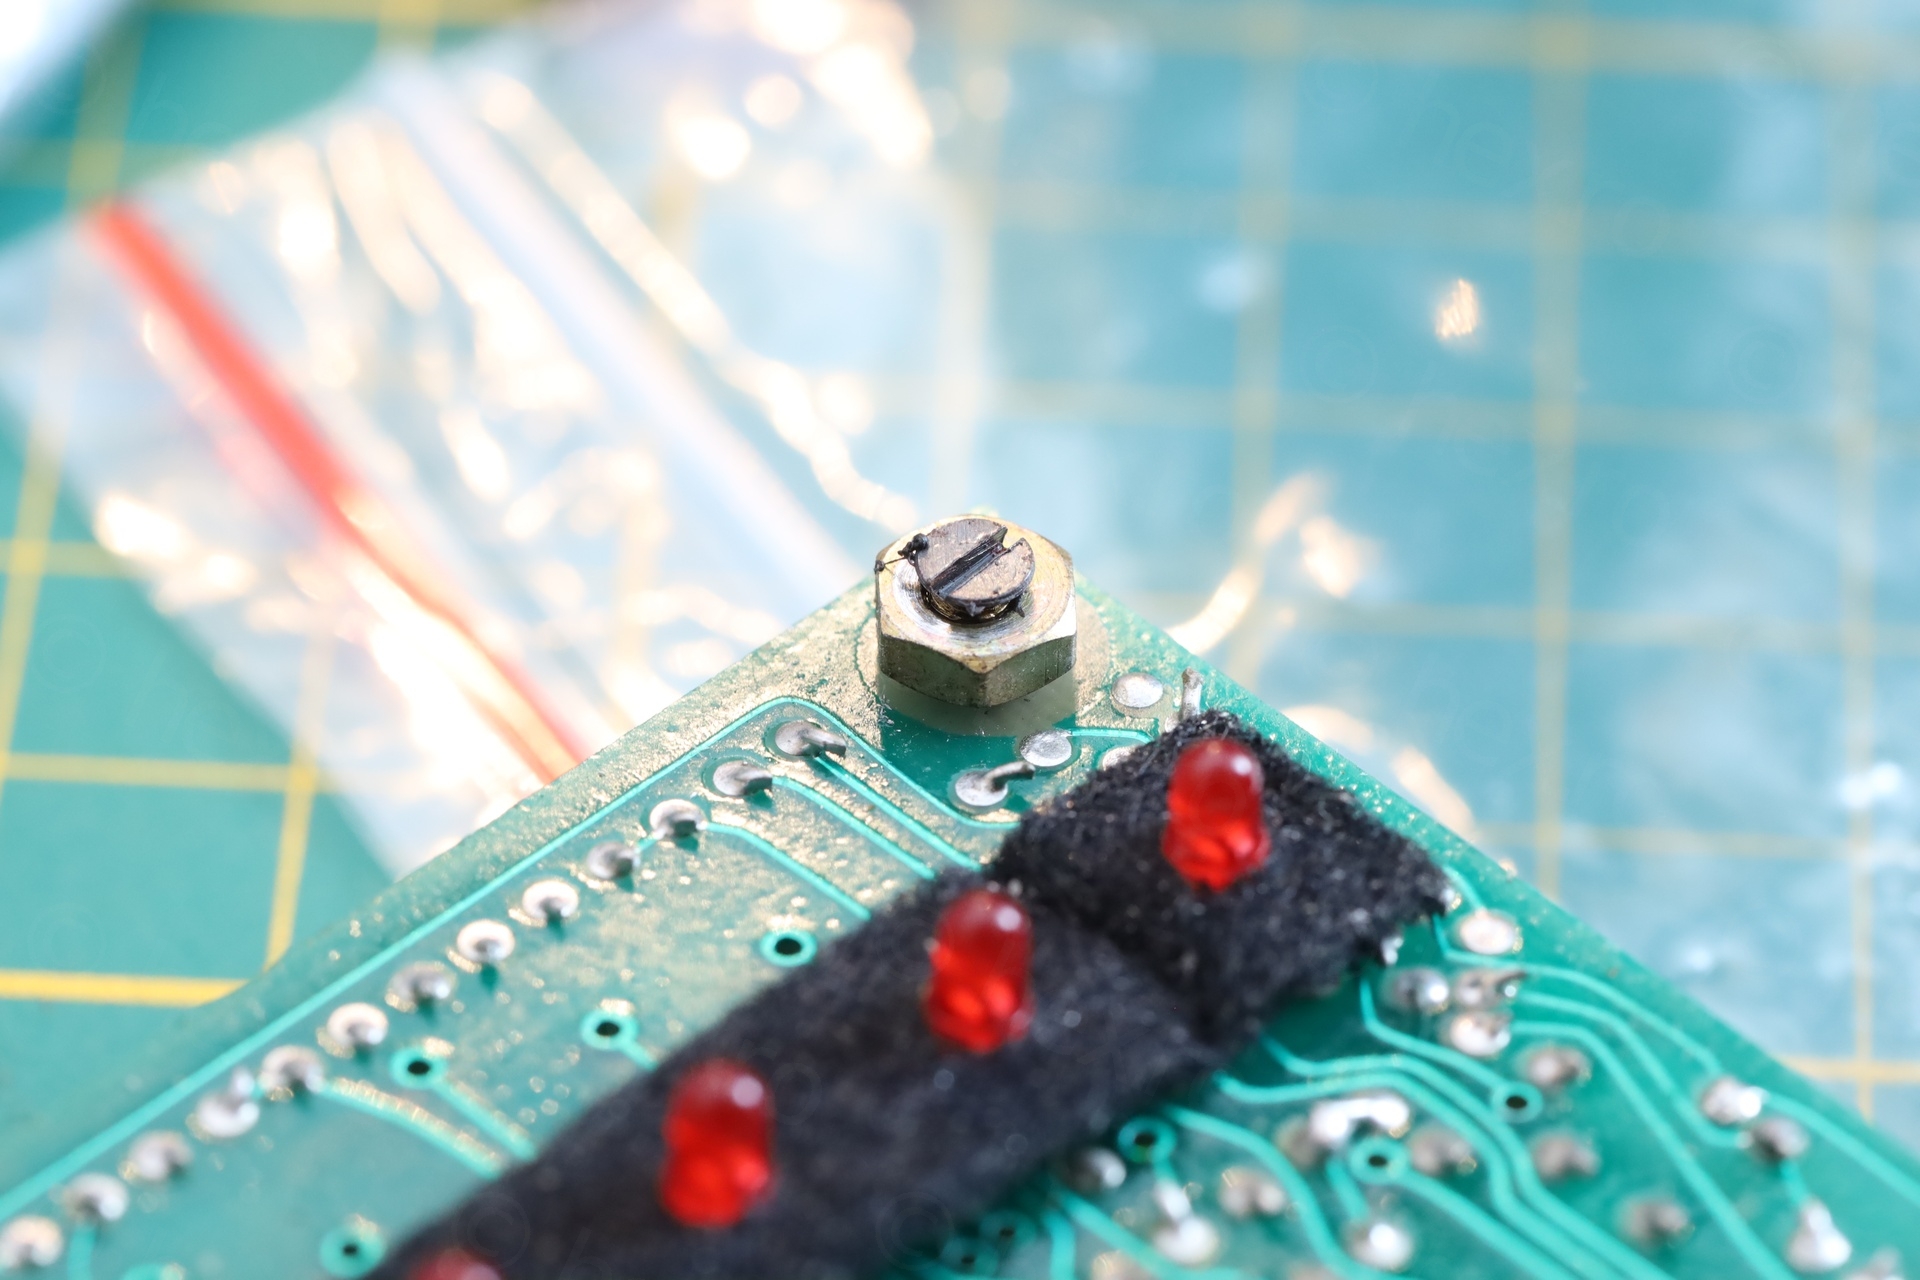
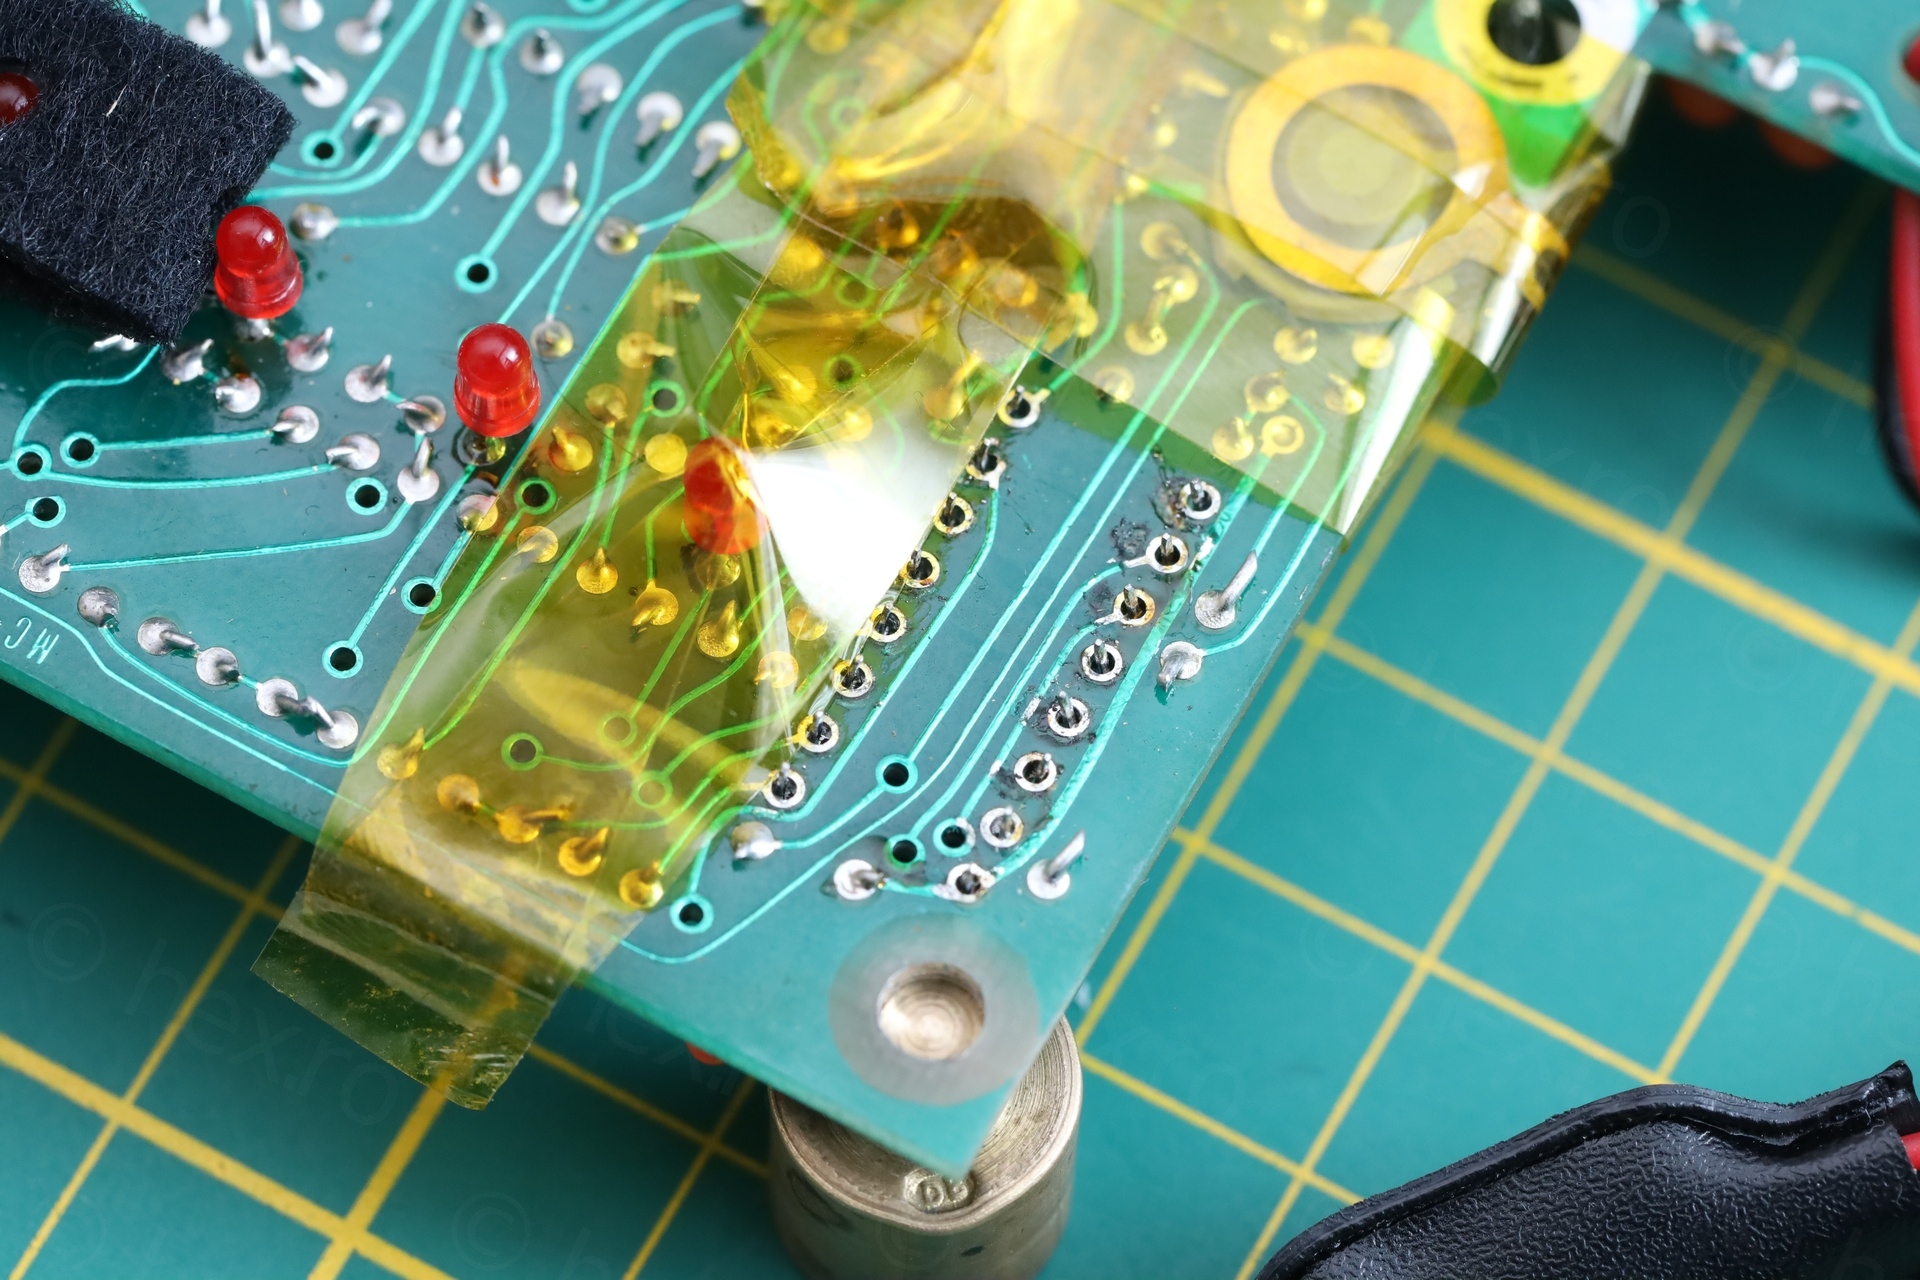
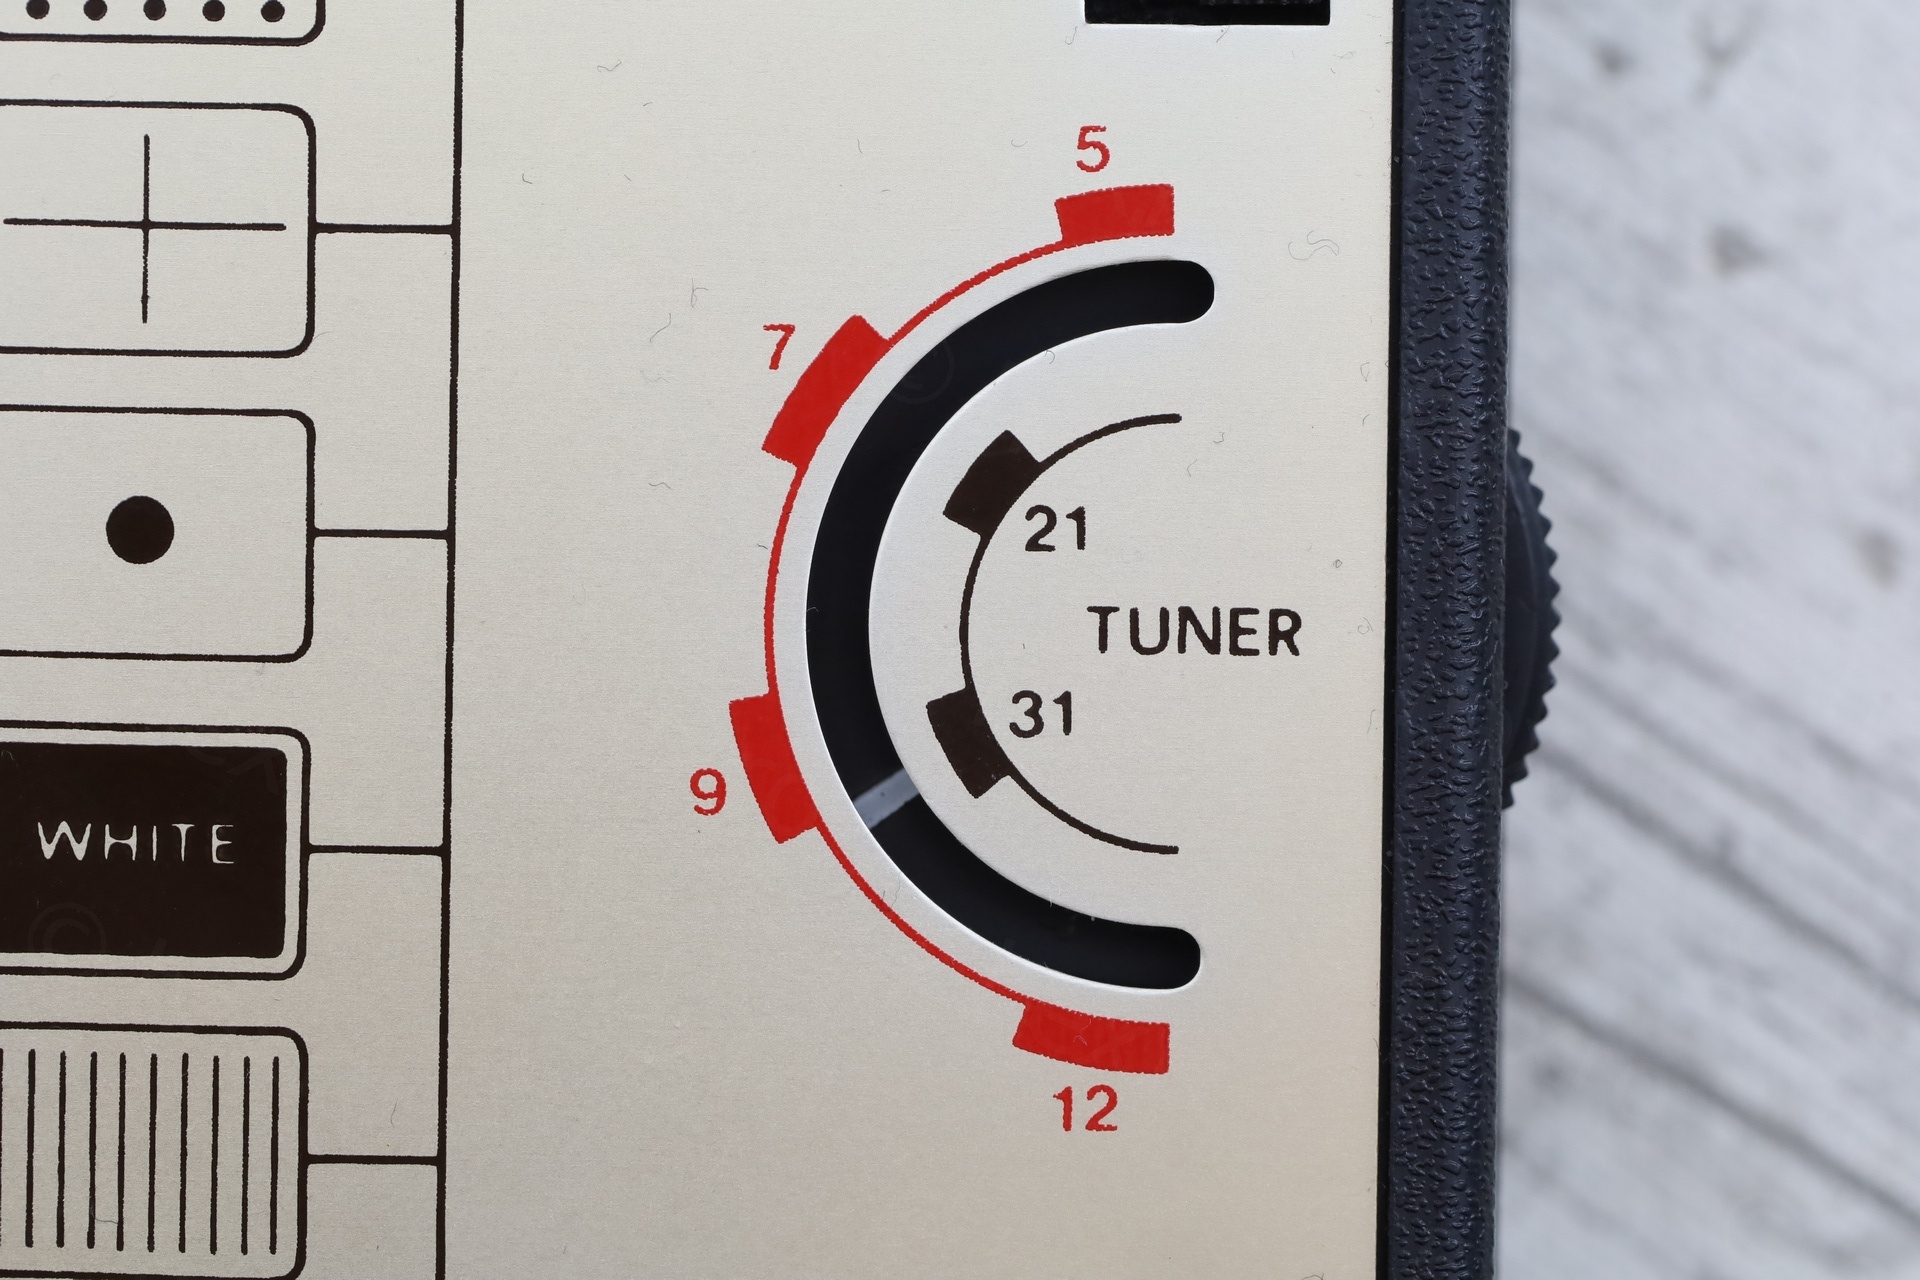
Few more shots:


Leave a Reply