


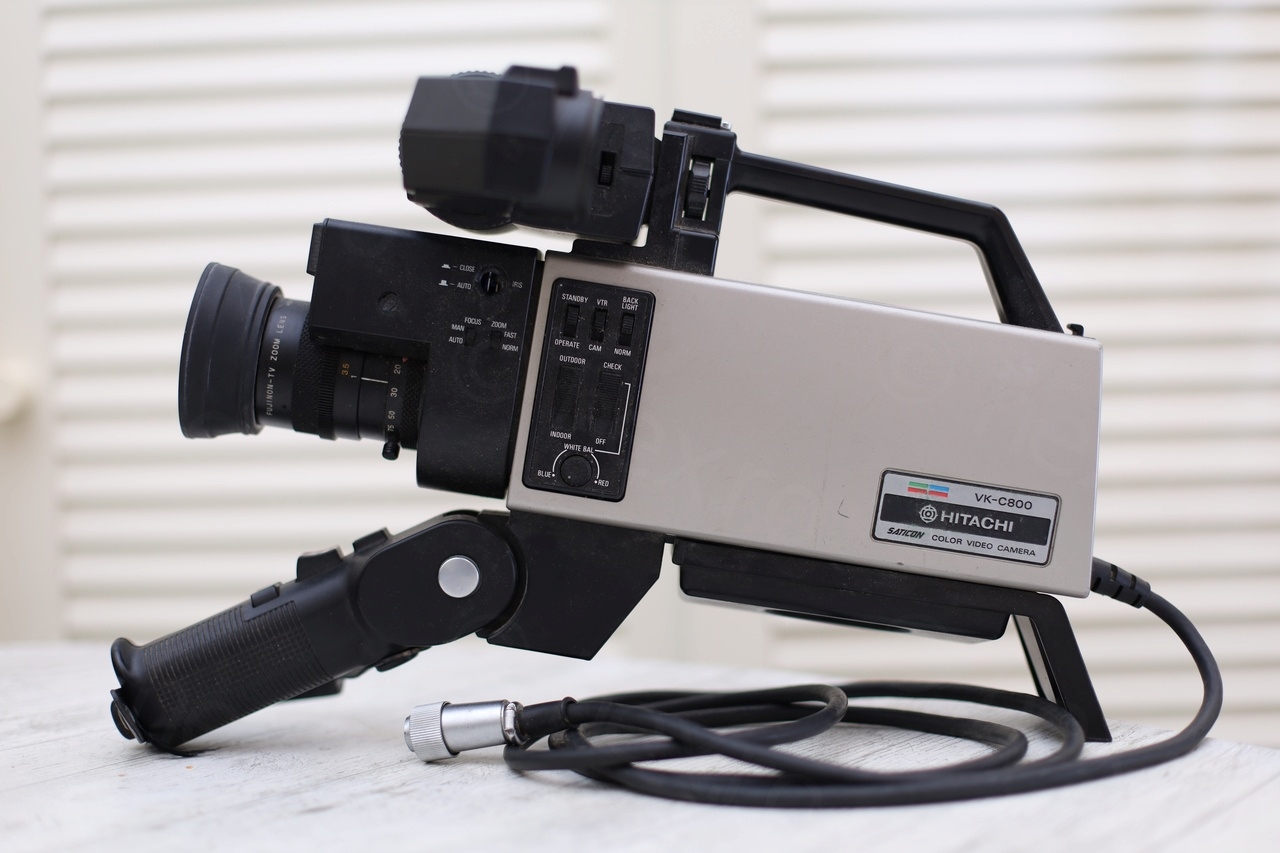
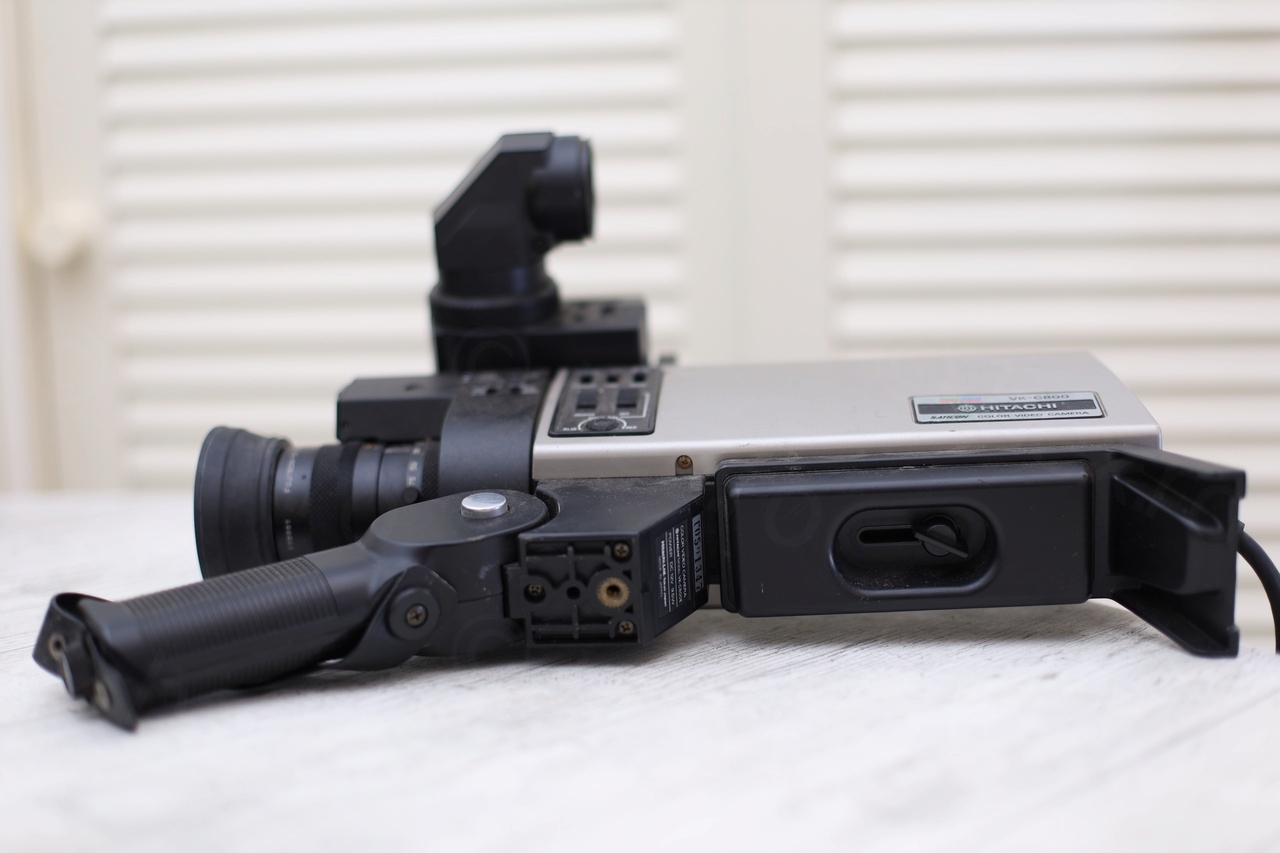
I found an old Hitachi VK-C800E camera at a flea market and I decided to buy it – because why not ? A larger viewfinder means a bigger mini CRT!
Few weeks later, strolling through the same market, I see the same person selling an identical camera, but this time, camera was dismantled and its viewfinder was available interdependently. So why not ? I bought only the second viewfinder.
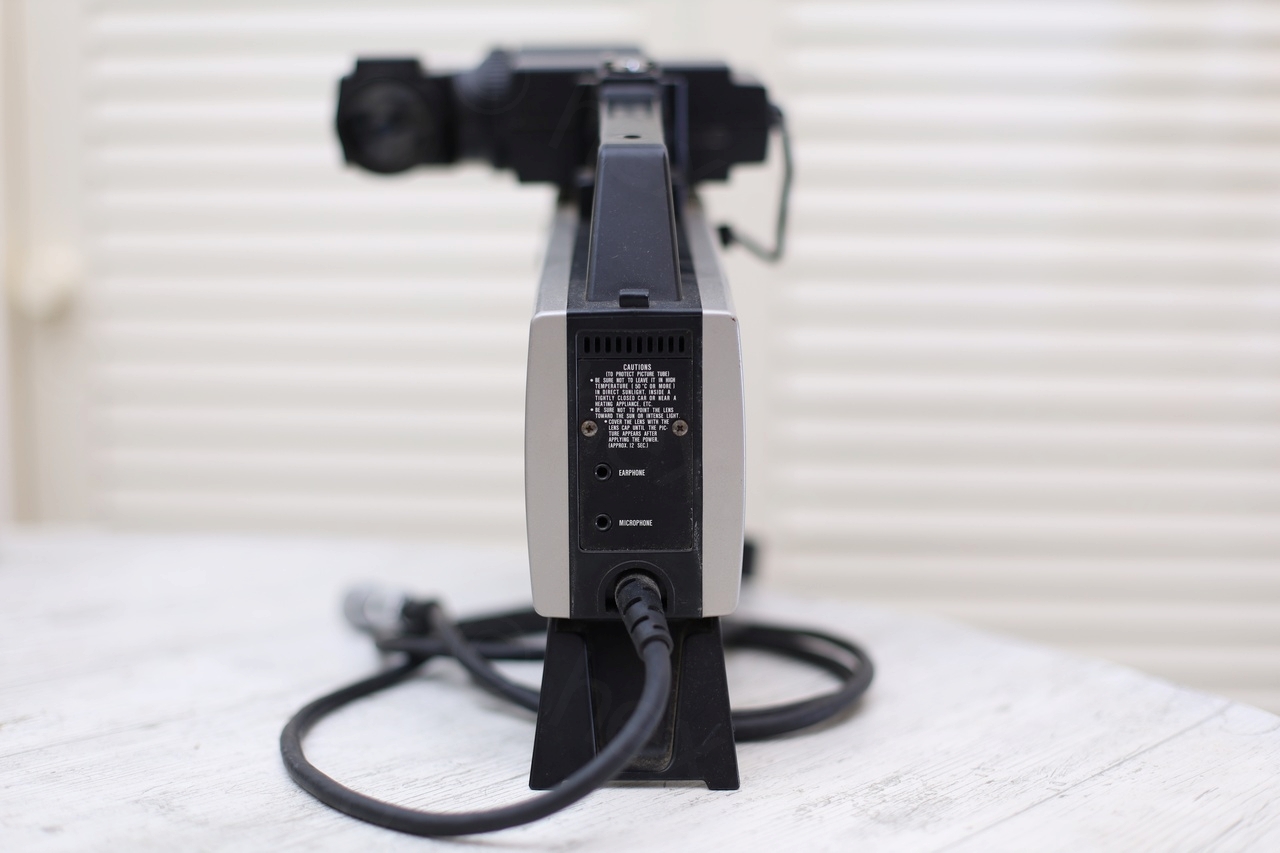
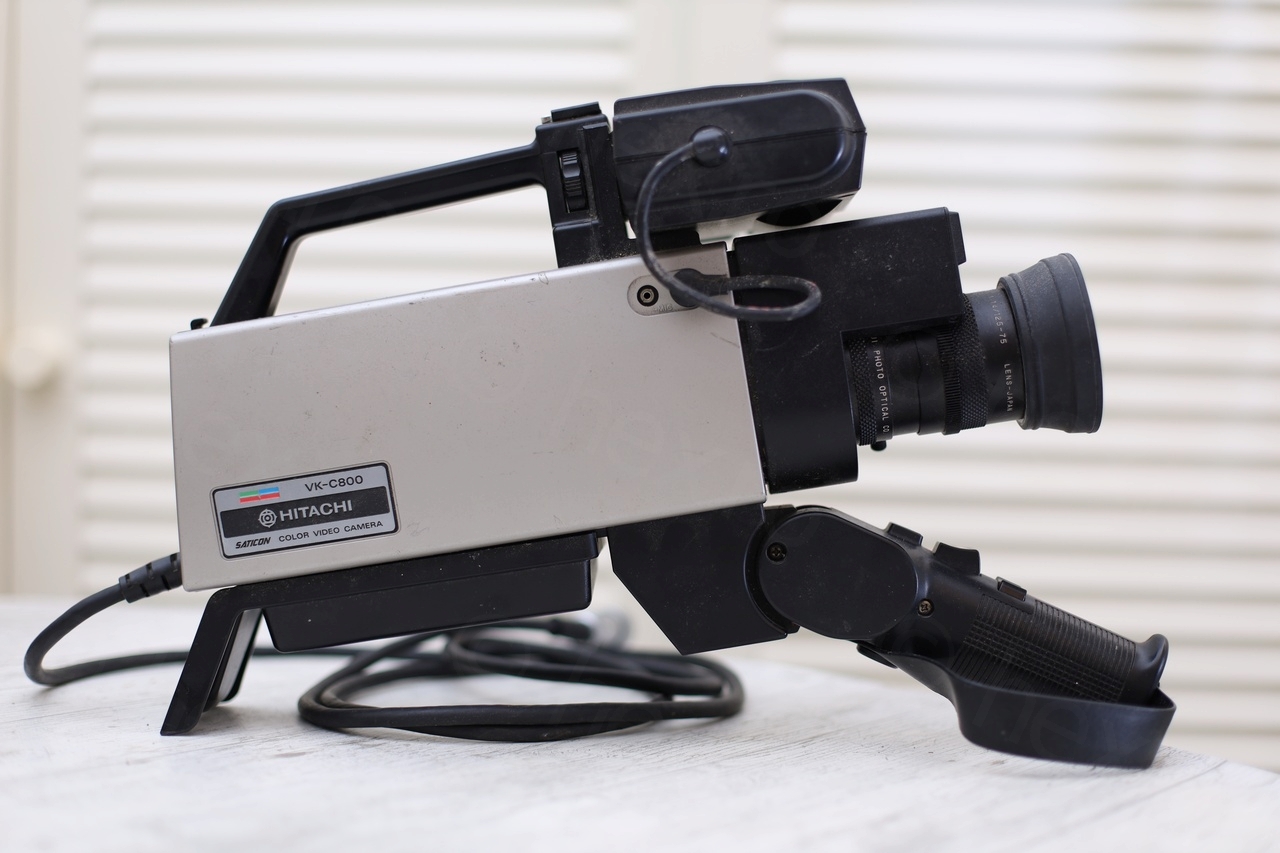
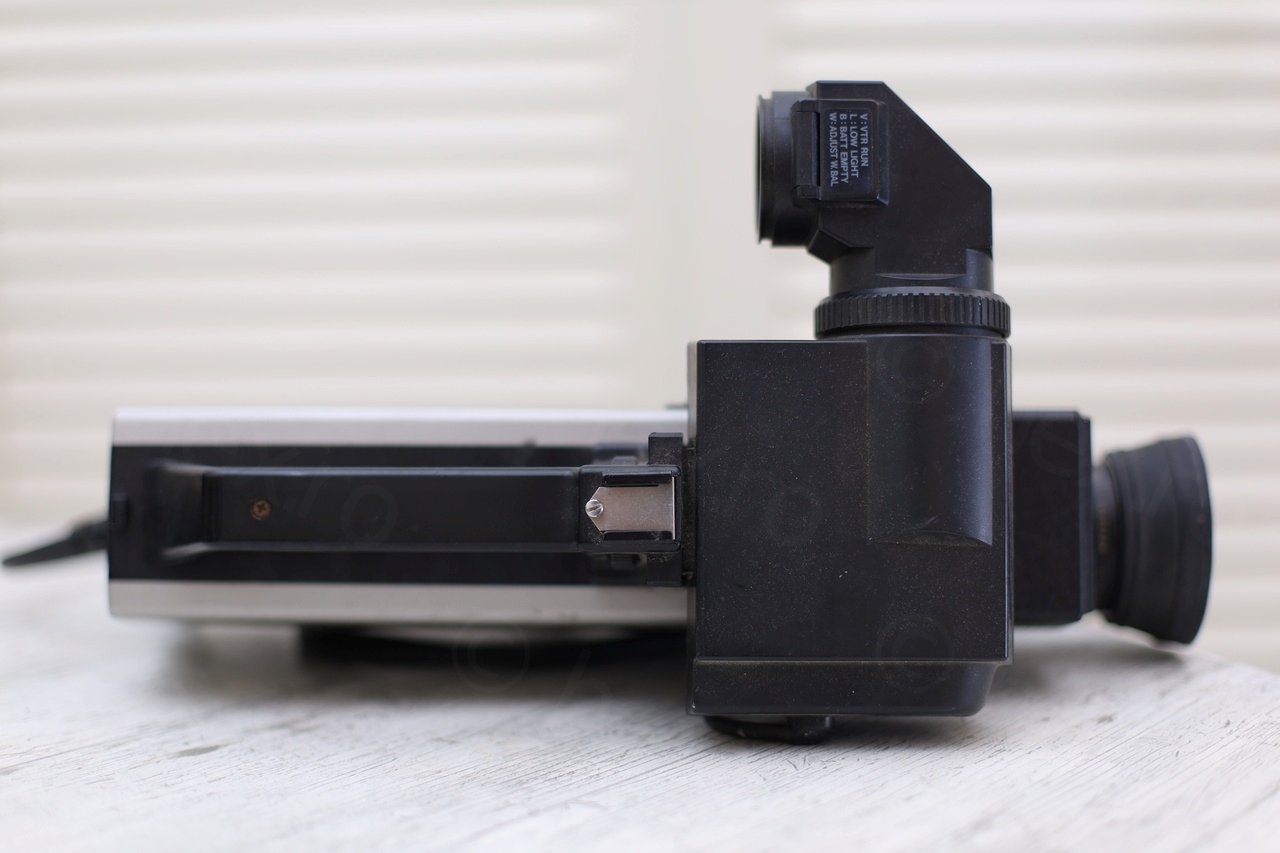
Camera overview
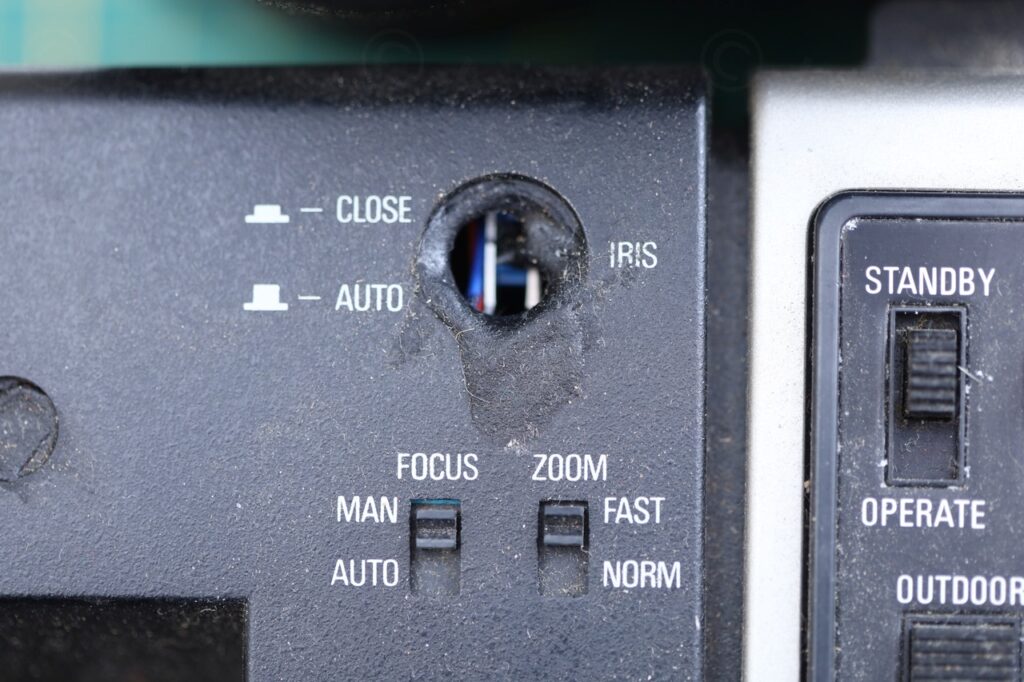
Camera looked like was well used. There were two missing buttons that somebody tried to fill out to keep the camera going.

Example of the attempted fix:
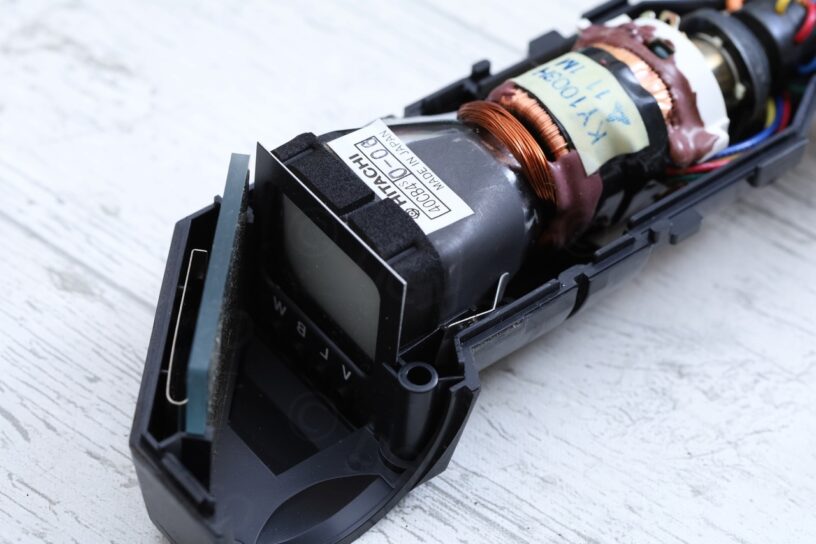
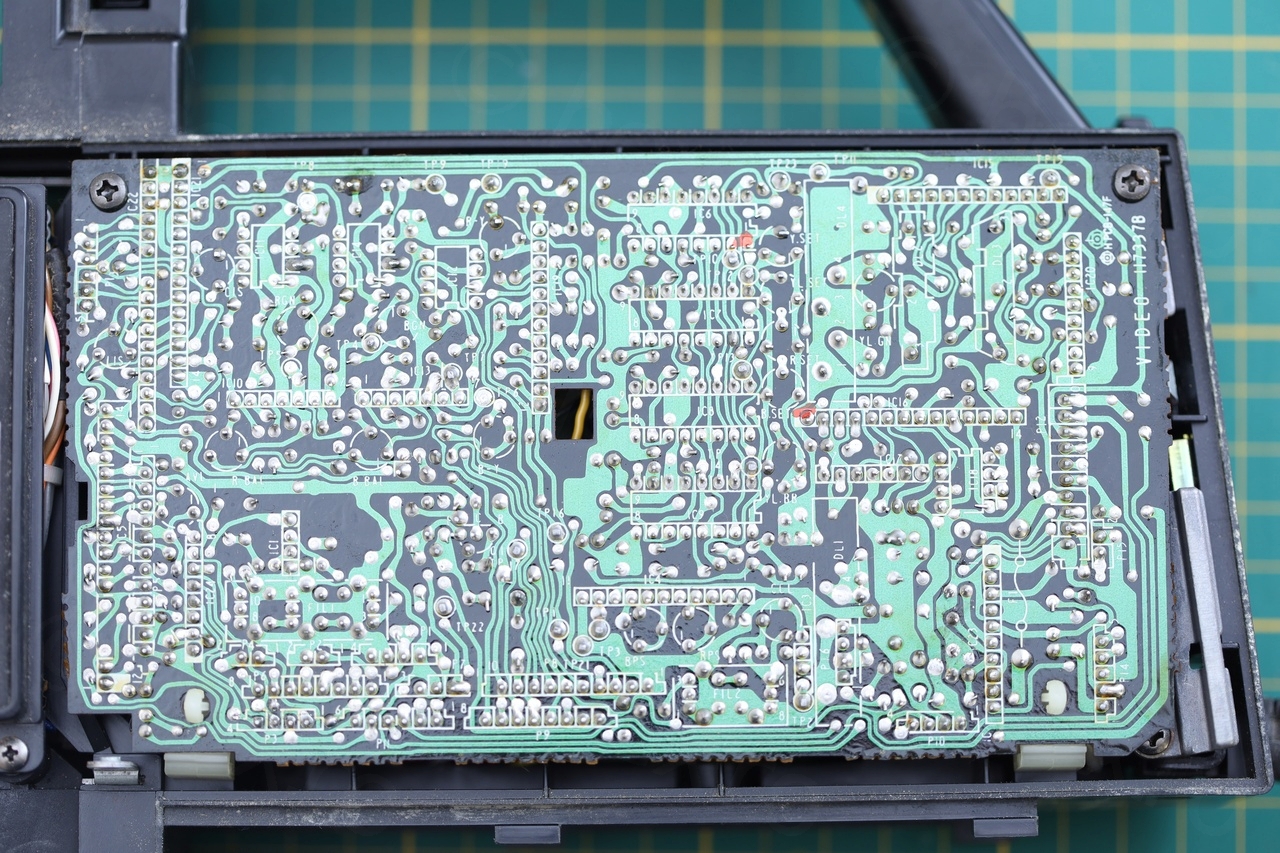
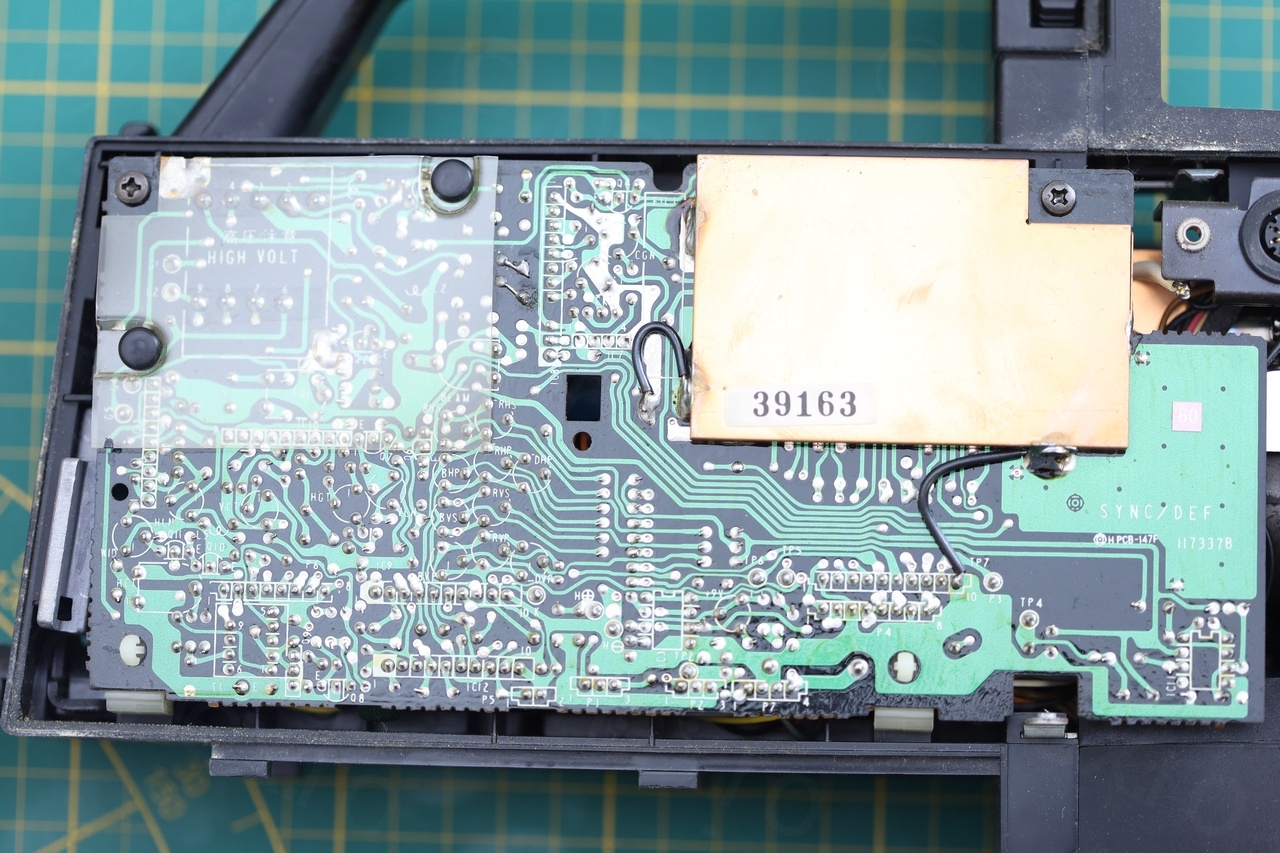
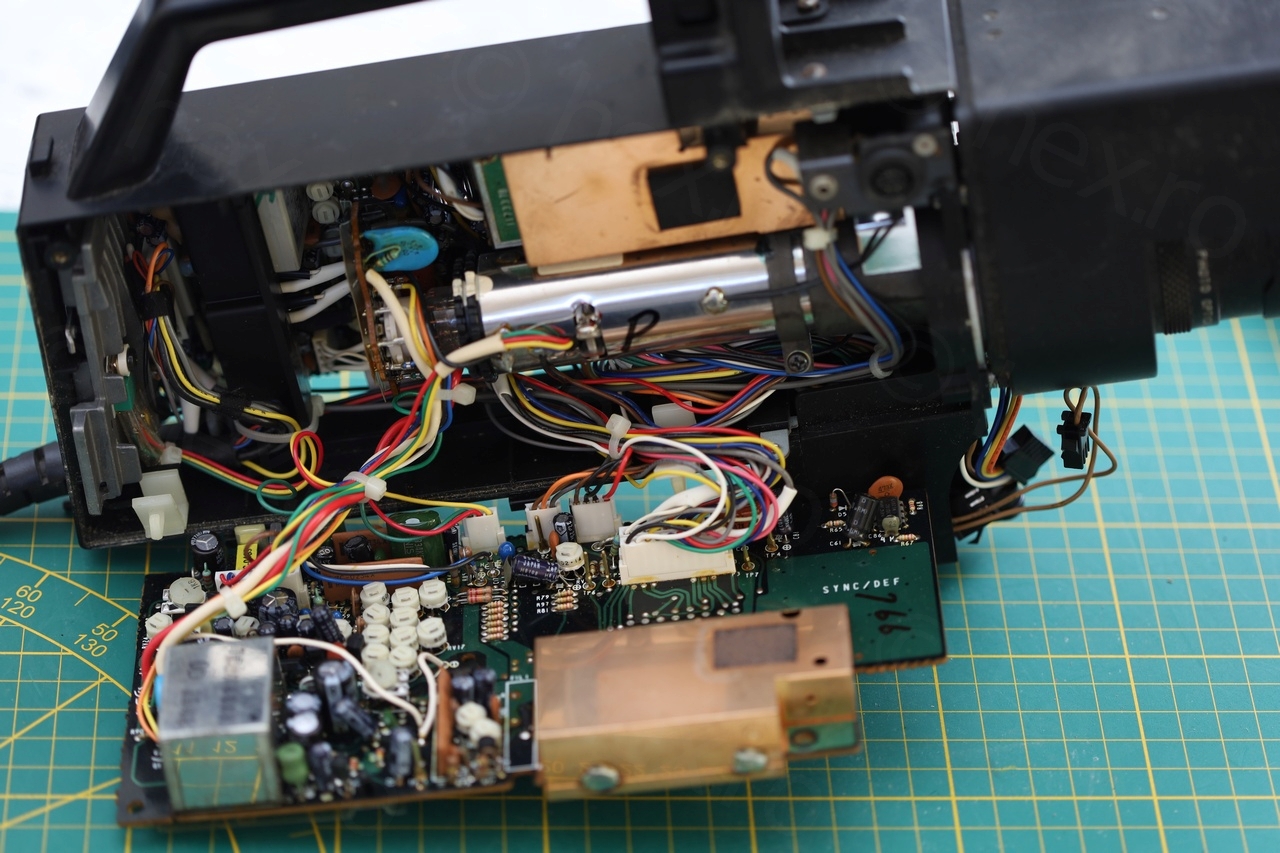
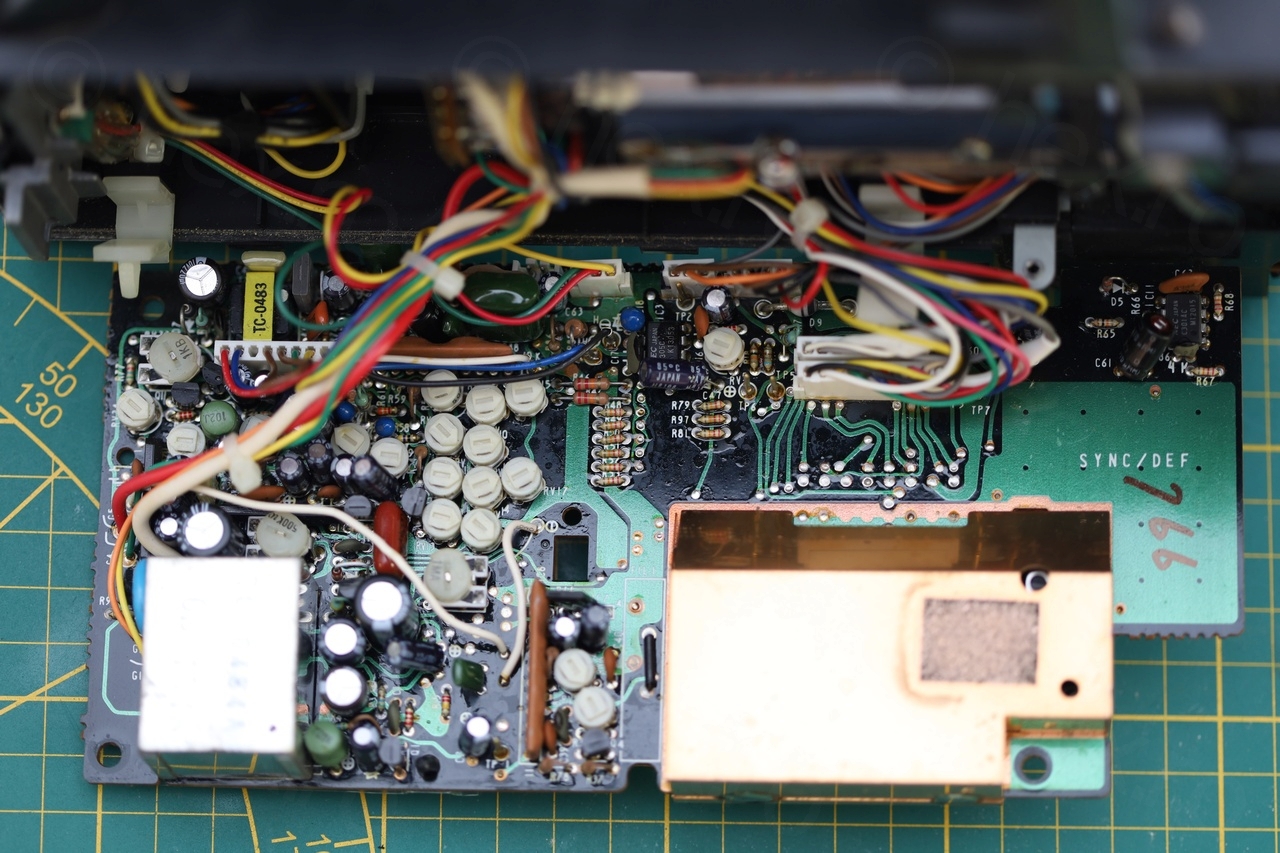
Camera insides
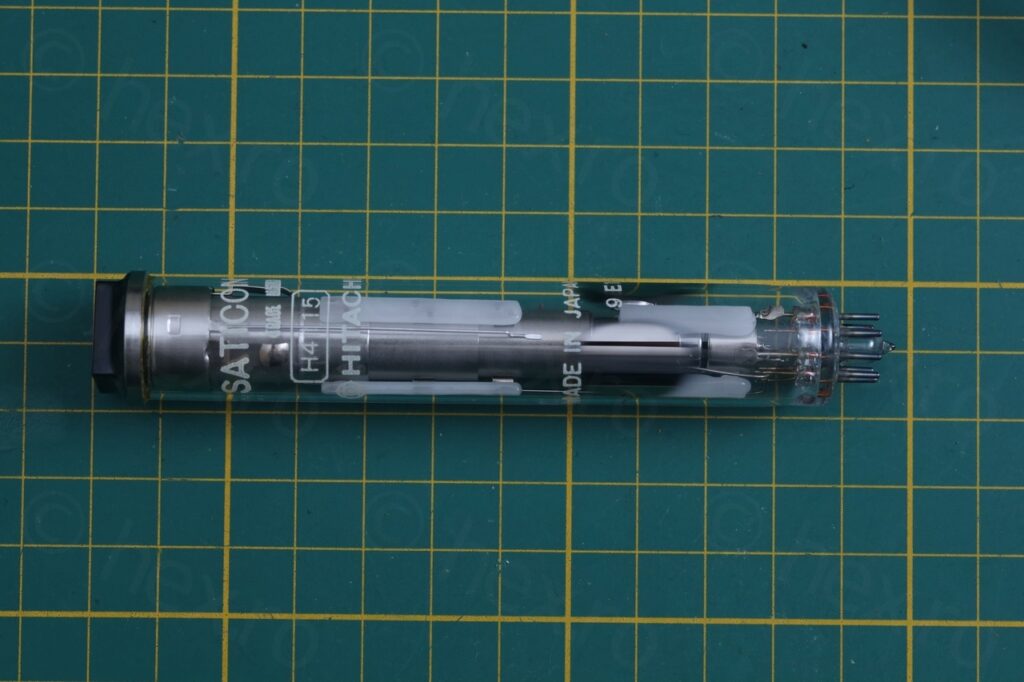
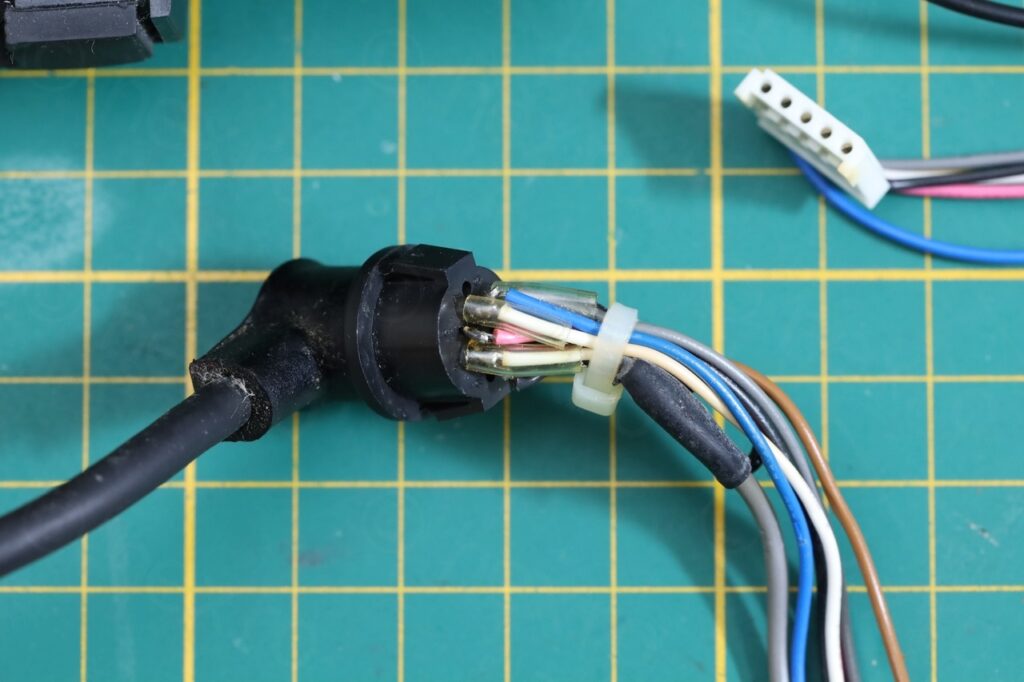
Since camera had no place for the tape, I figured it was still the type with the tube image sensor. Confirmed also by the advertising on its body: SATICON. So, I proceeded to take it apart (having an additional reason, to fetch the plug where the view finder connects to – since this makes testing easier).

The image sensor itself:
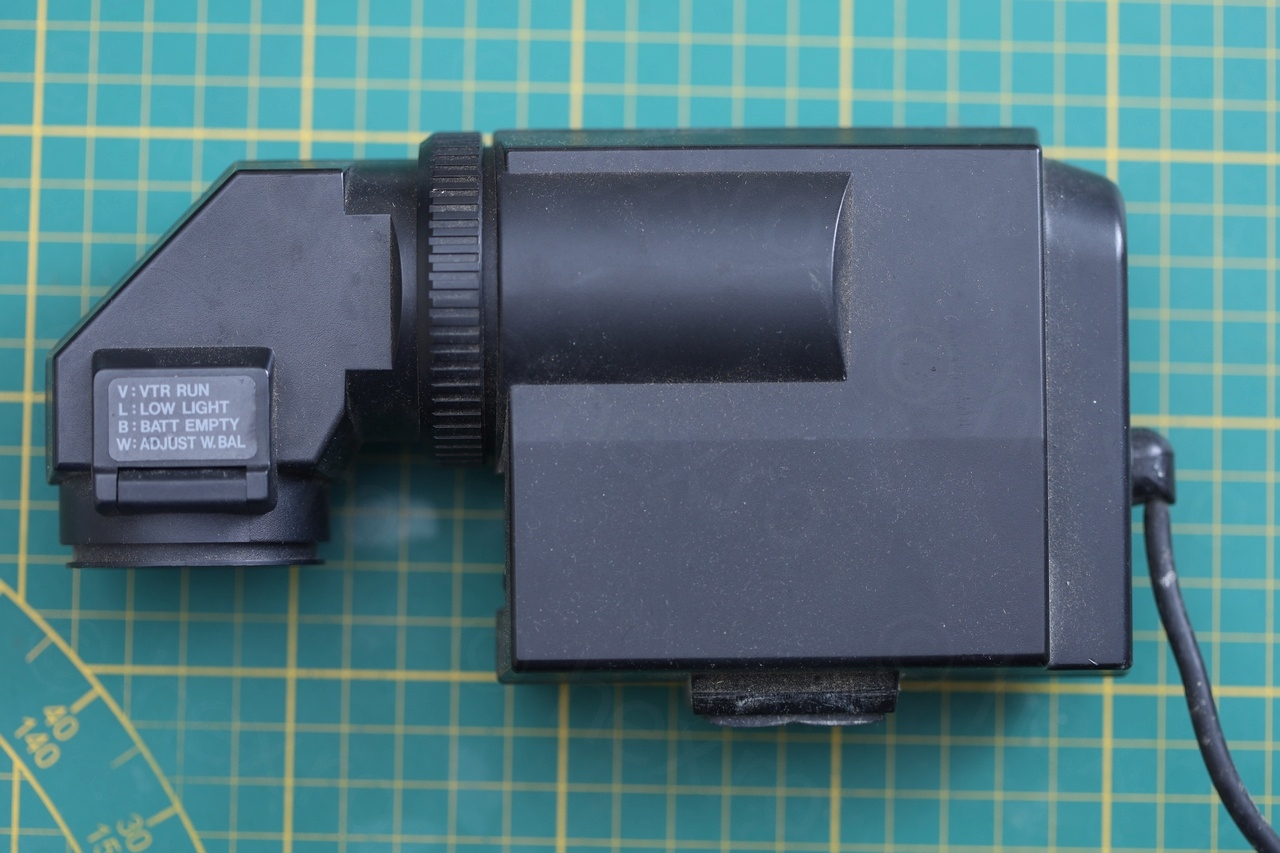
Electronic View Finder
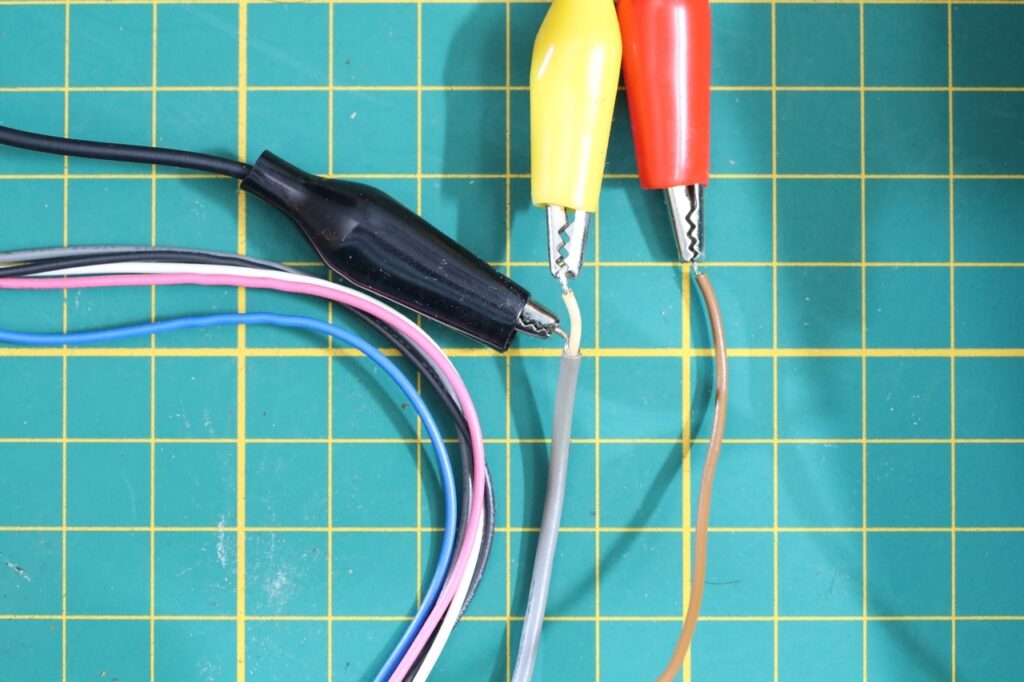
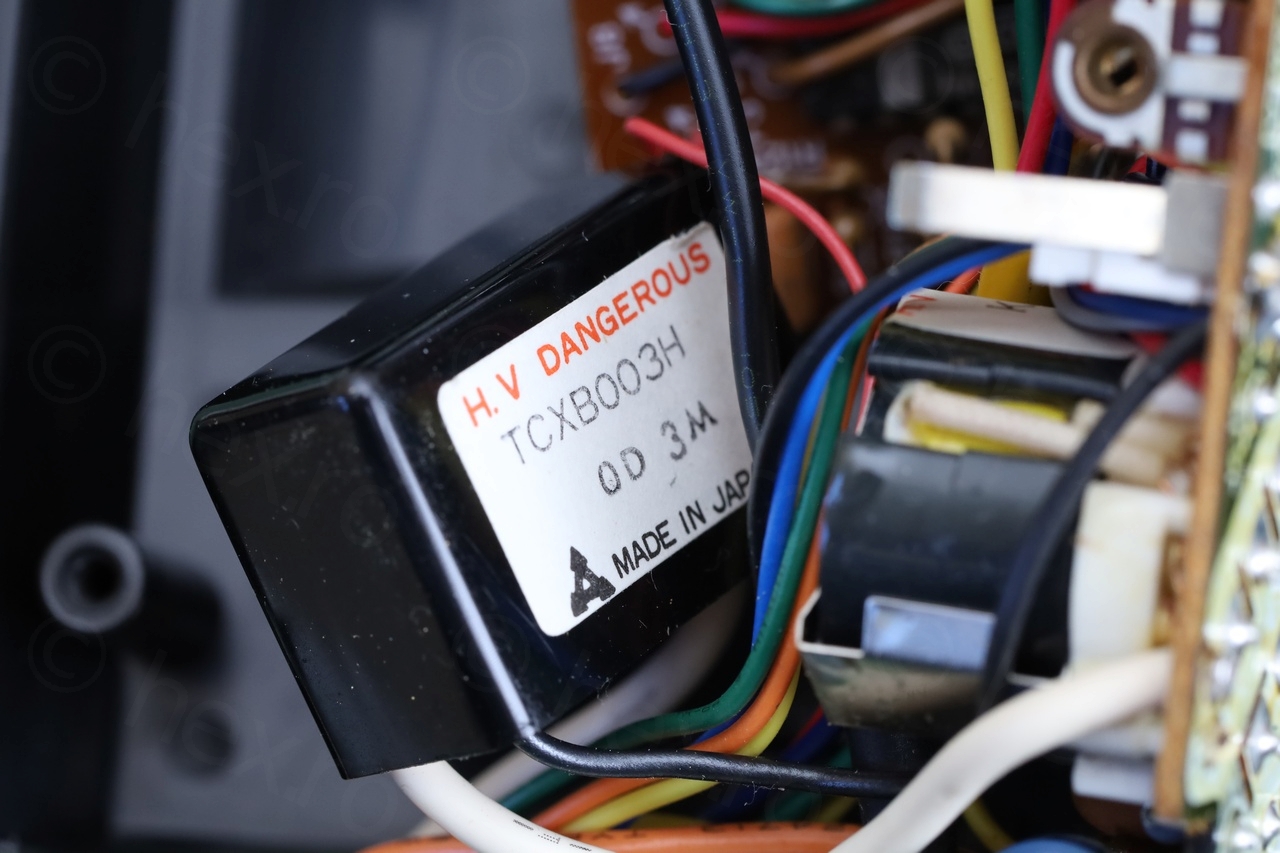
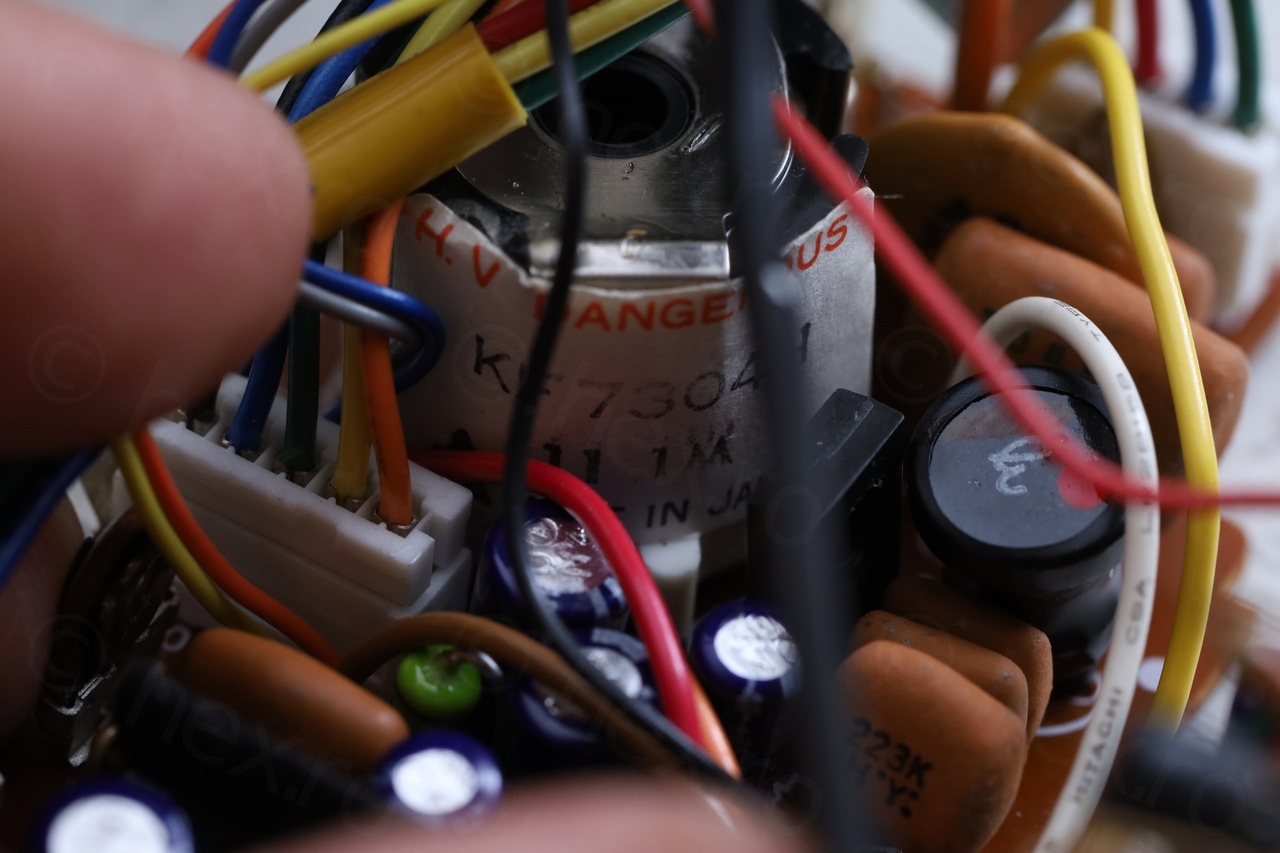
The EVF was large enough to house one of the bigger miniature tubes and my hopes were high to try to get them to work. Thus, I proceeded to have a look inside, looking for hints to help identifying the signal wires.


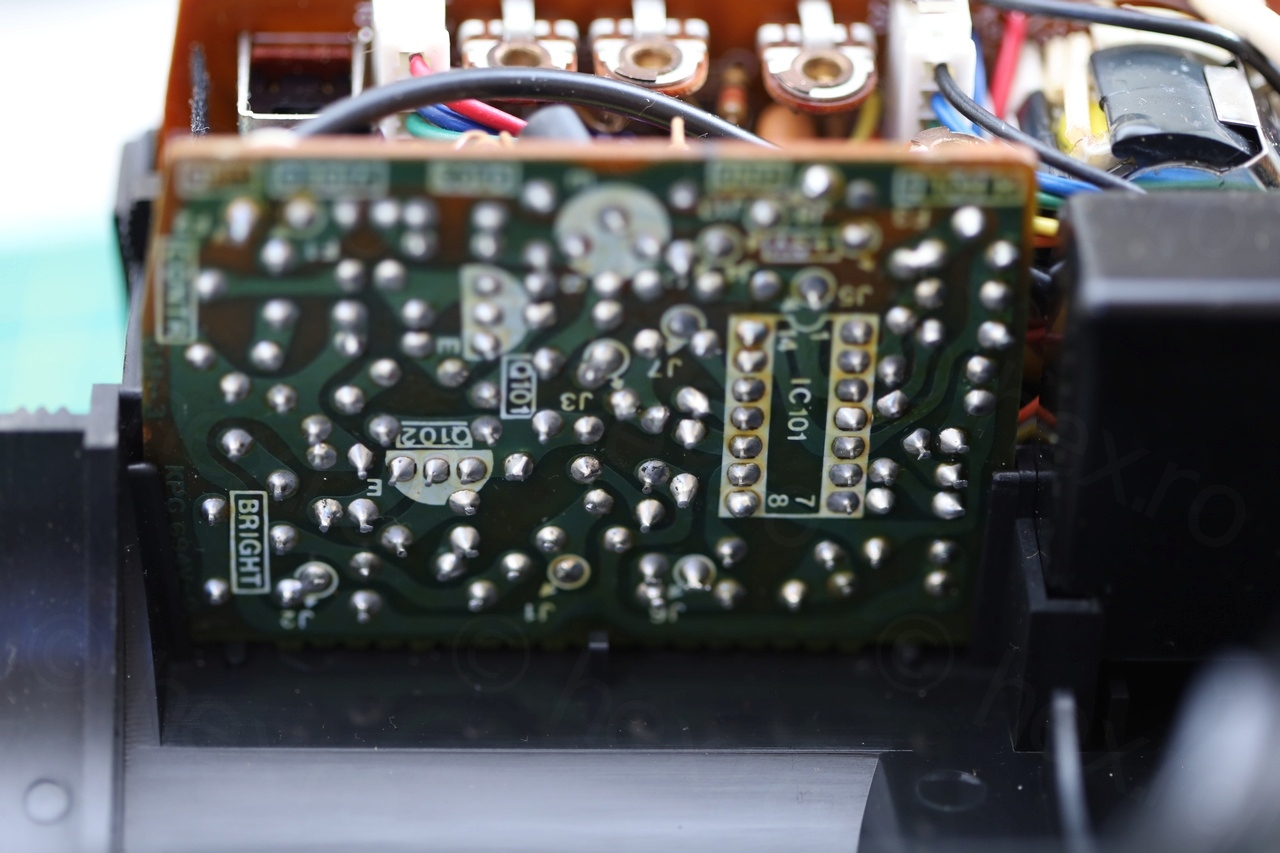
As opposed to many other cameras which have no silkscreen hints, this board clearly stated the 9V, GND and Video In connections. Yey! Using the continuity meter and the salvaged EVF plug, I was able to power up the unit and provide a signal:
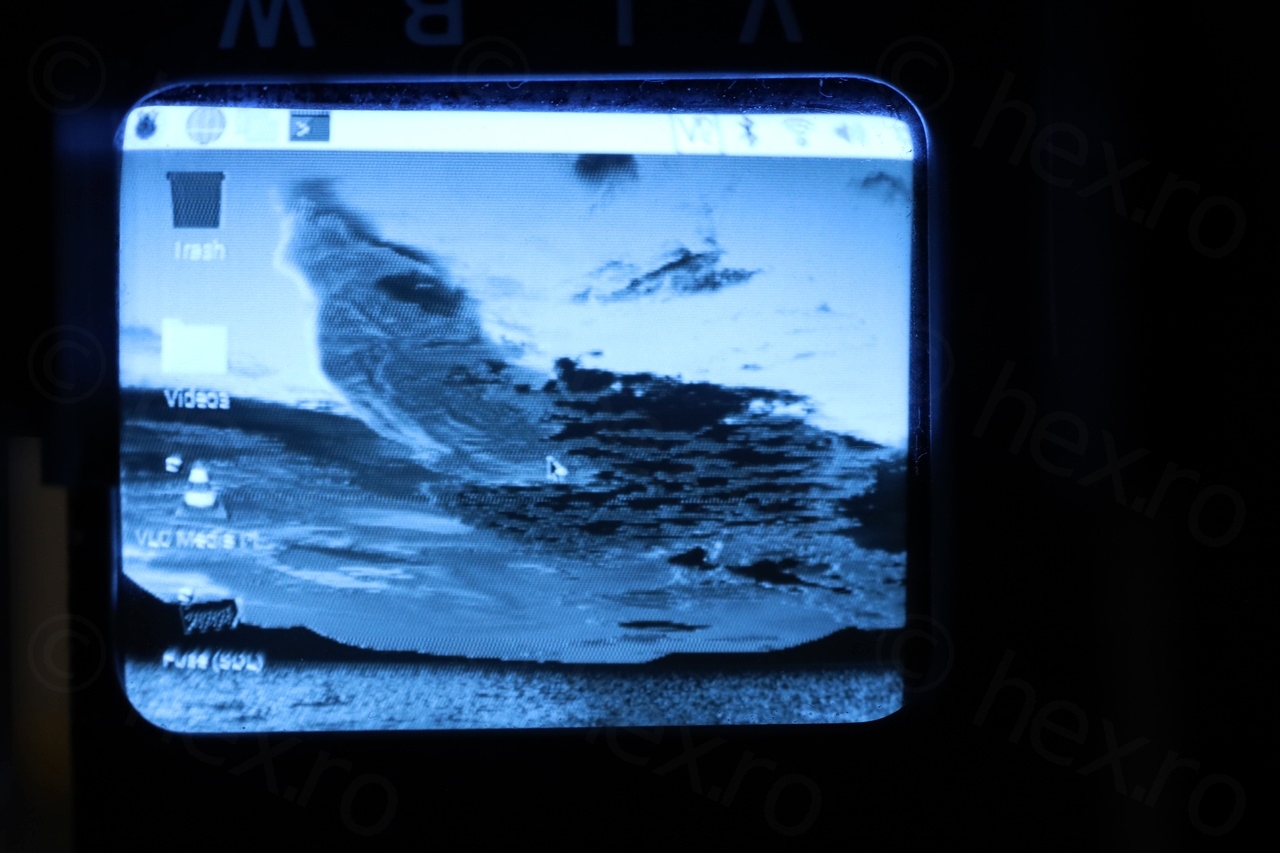
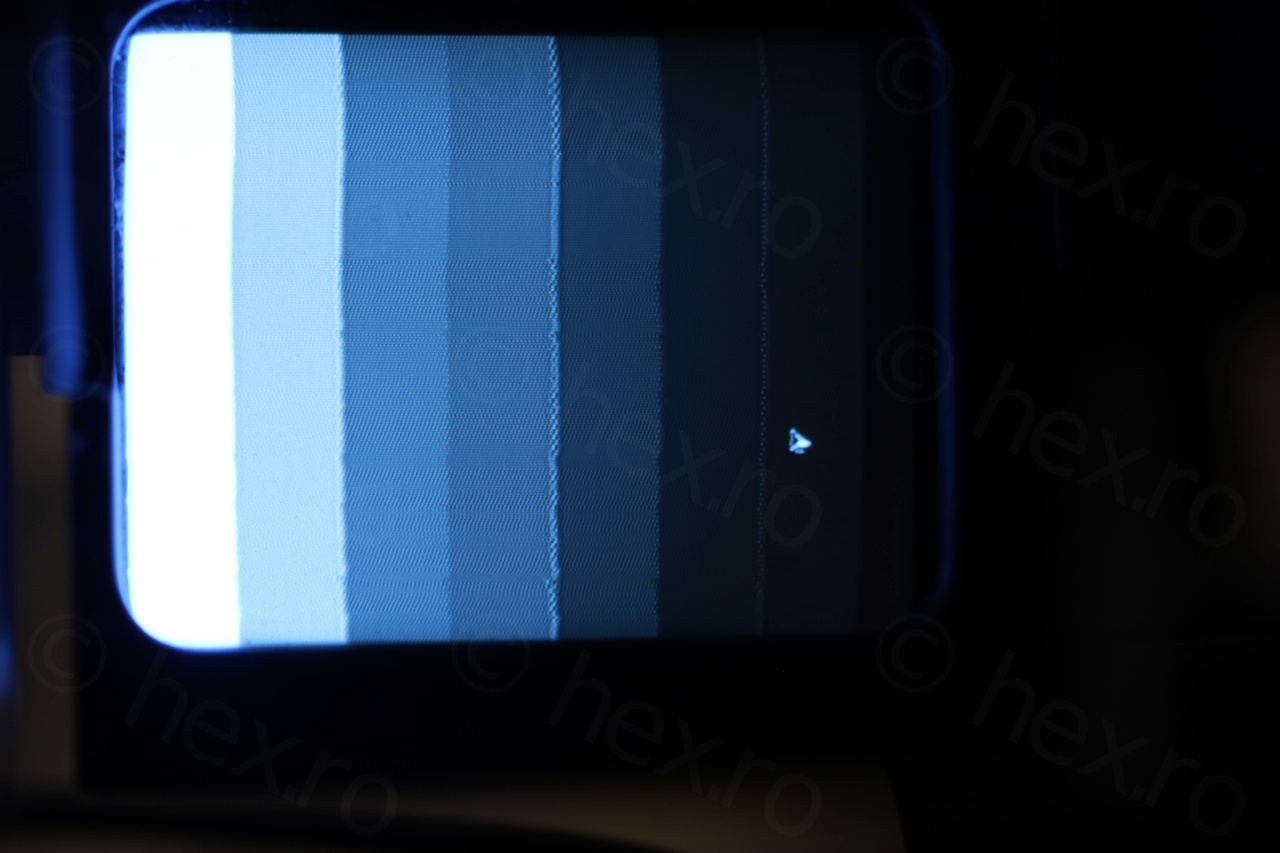
Test images
The image quality is very sharp, but I had to fiddle with the controls to get the image a little more squared (as it was very deformed). I assume that by replacing the capacitors some little ‘ringing’ on the left may go away, but I’m not too concerned about the driver board quality as long as I can see that the CRT is running:
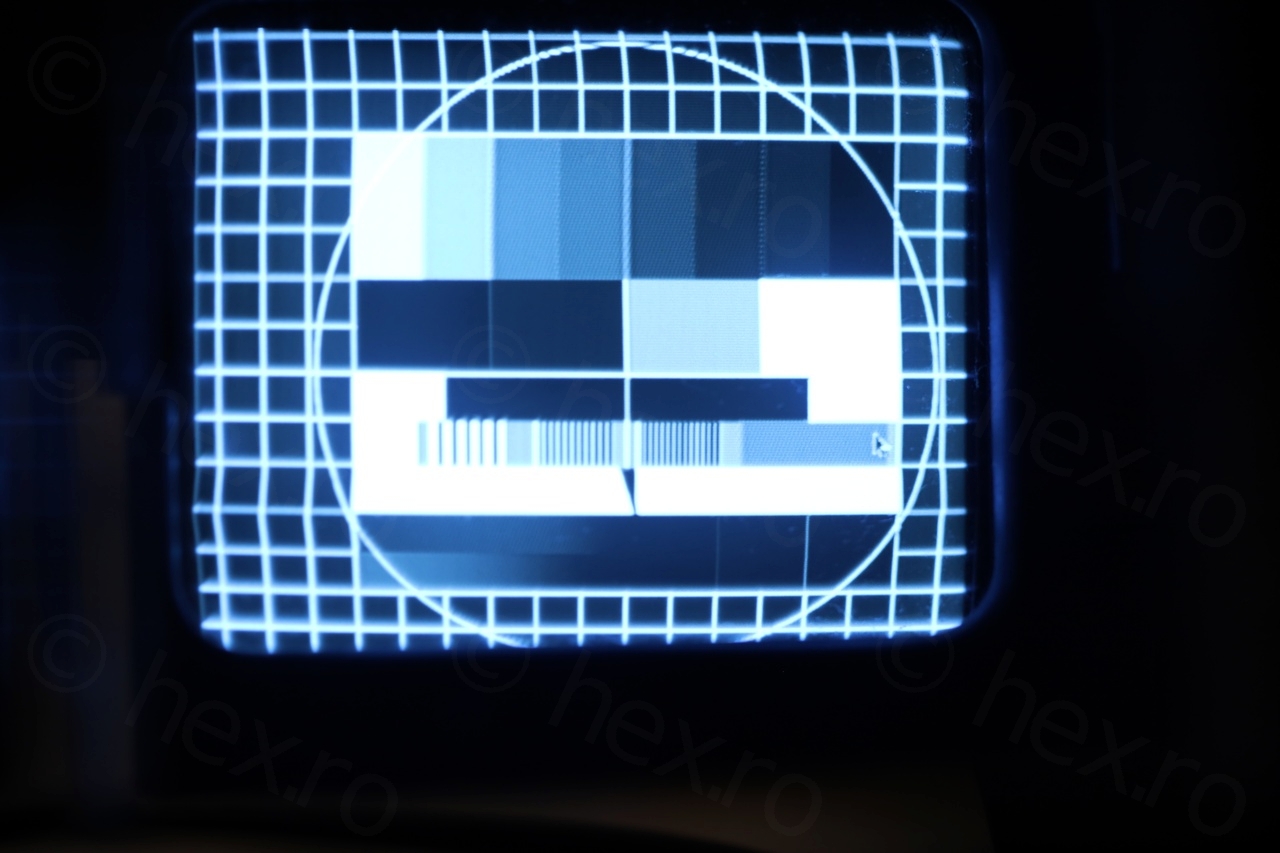
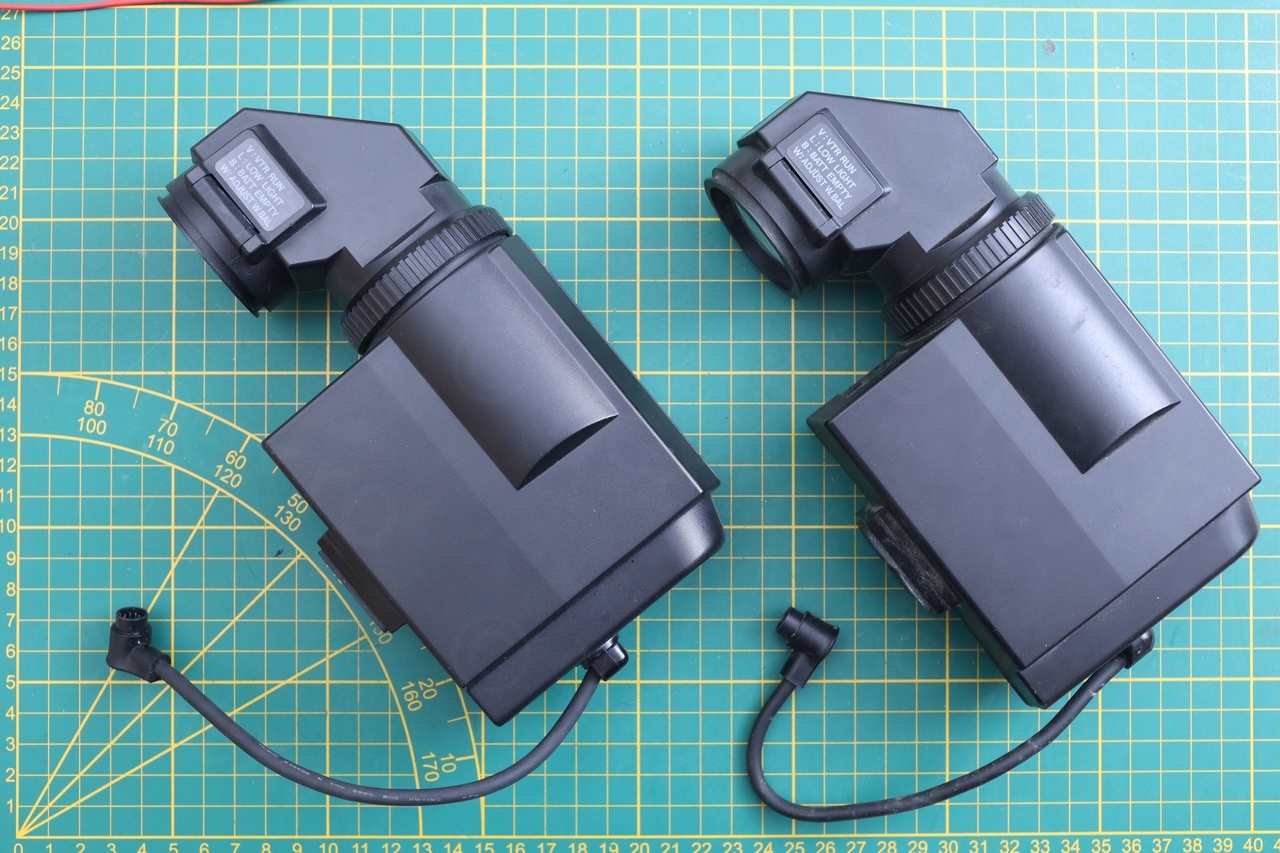
In fact, by comparing the two EVF units – this one I chose to document is the underdog. The other EVF unit has less distortion and less rotation.
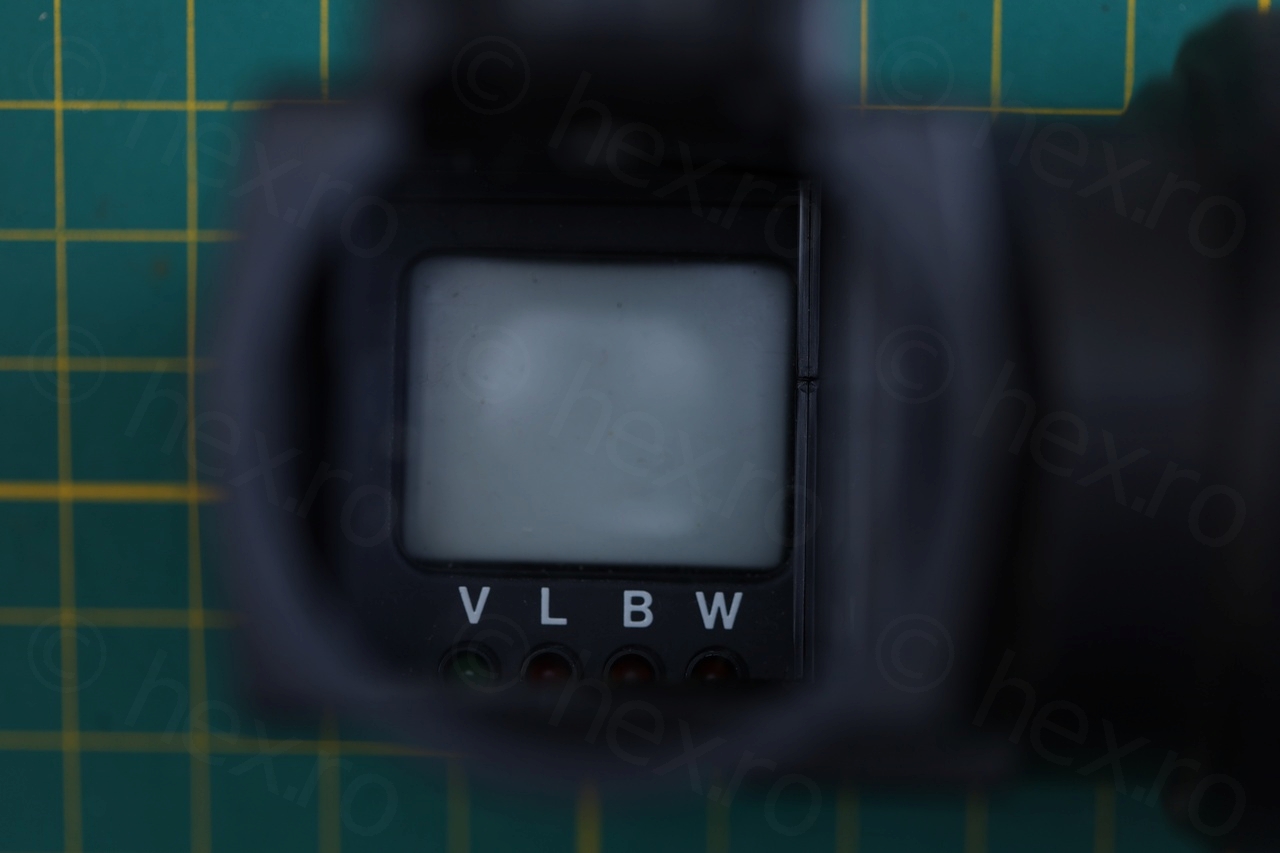
I had an idea of a special holder that could hold the two EVF finders and run a 3D movie 🙂 but that is for another day. Oh, and I forgot to mention, there is a button on the unit that allows you to flip the image orientation. And that the remaining wires are for the 3 LEDs visible as you look inside.
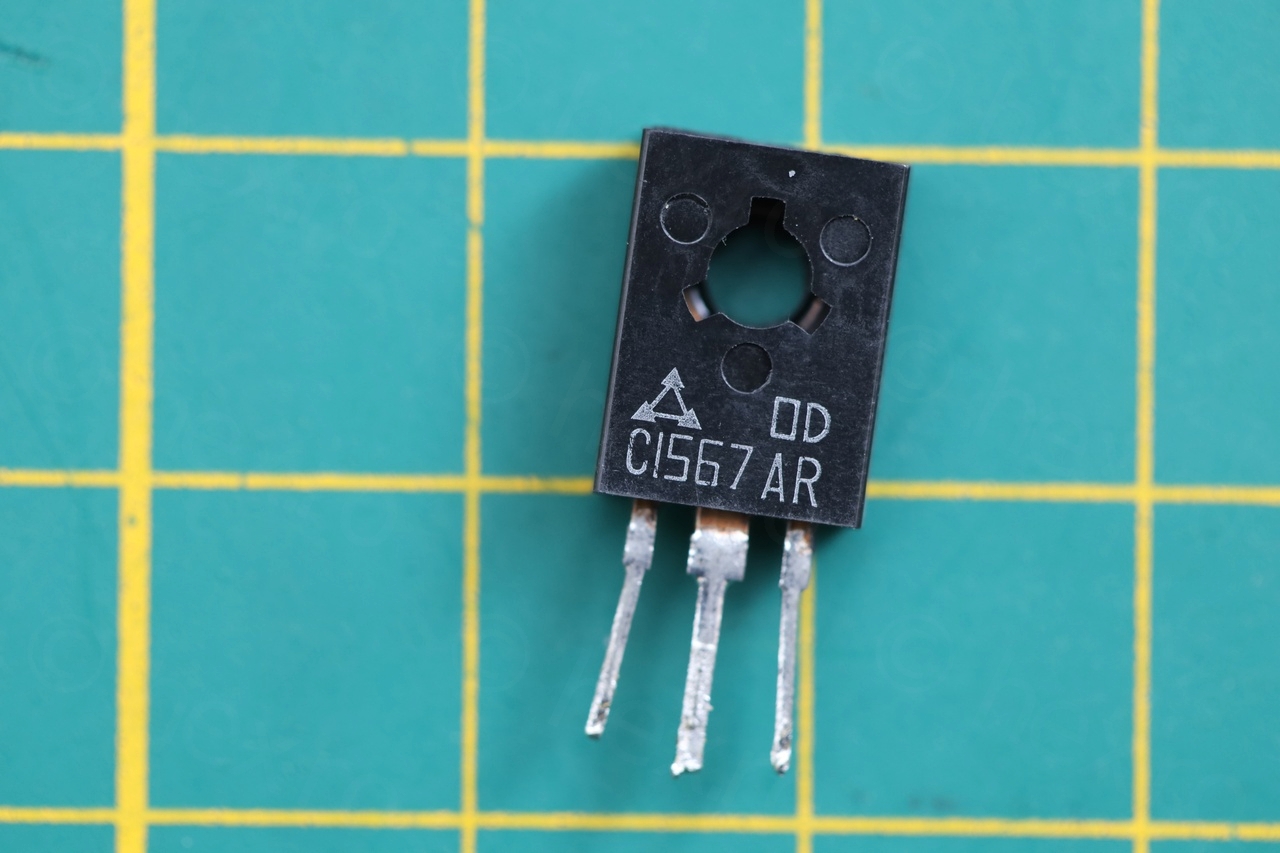
Additional components
For documenting process, below few photos of other components found inside the viewfinder:

And the two units side by side:
In conclusion, very easy to power (9V and about 150mA draw, but I saw the initial draw is about 250mA as it powers up) and run EVFs.
Leave a Reply