


From the corner of my eye I saw this turntable buried under a pile of other old, dirty and useless things. I was conflicted. I didn’t need another Dual, it was too dirty and simple, but there was something else about it. It still had its dignity. It still had its original cartridge and Dual stylus. Arm moved freely and the platter the same.
I walked away.
I came back and bought it.
Table of Contents
- Overview
- Checking inside
- Taking the platter off
- Motor vibration
- Re-gluing some wood chips
- RCA Jacks or DIN 5 ?
- Designing a new label
- General cleanup
- Output
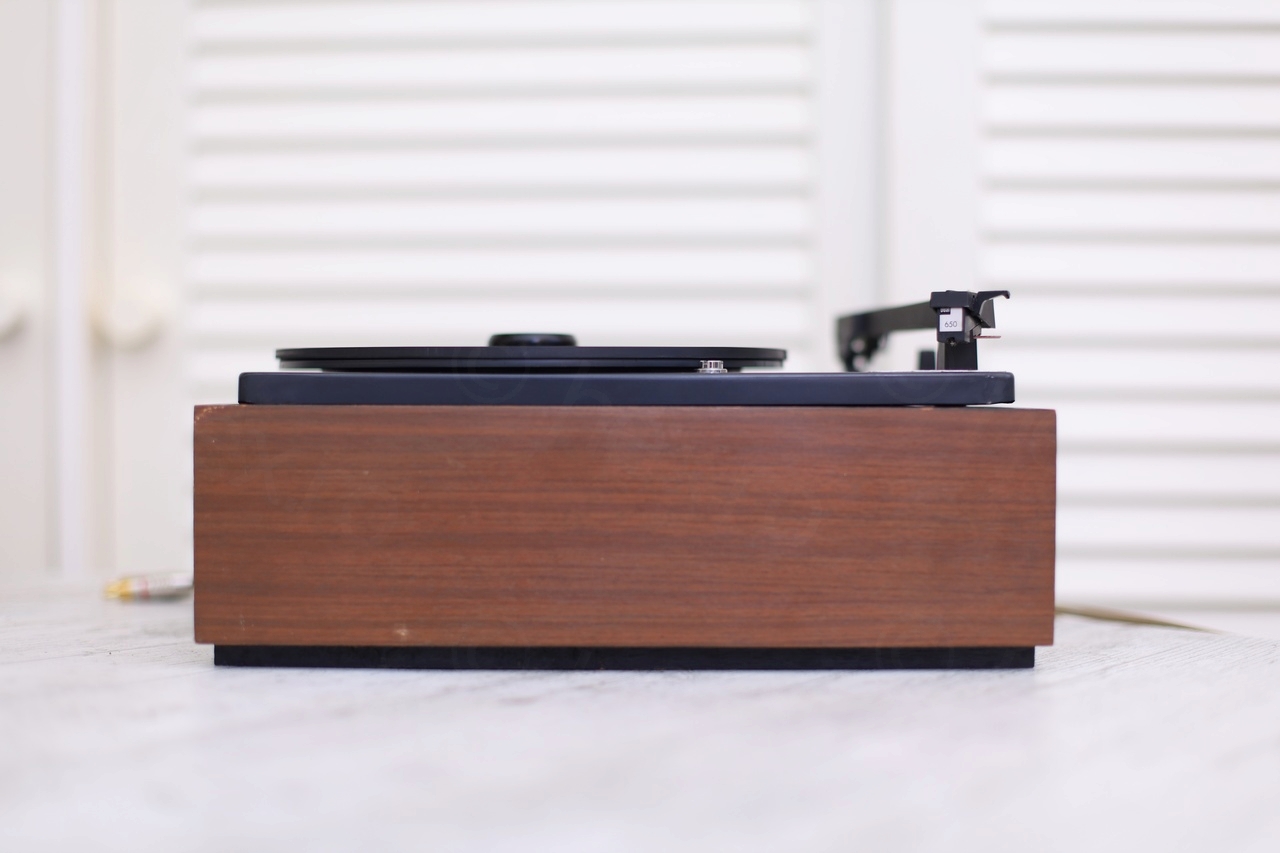
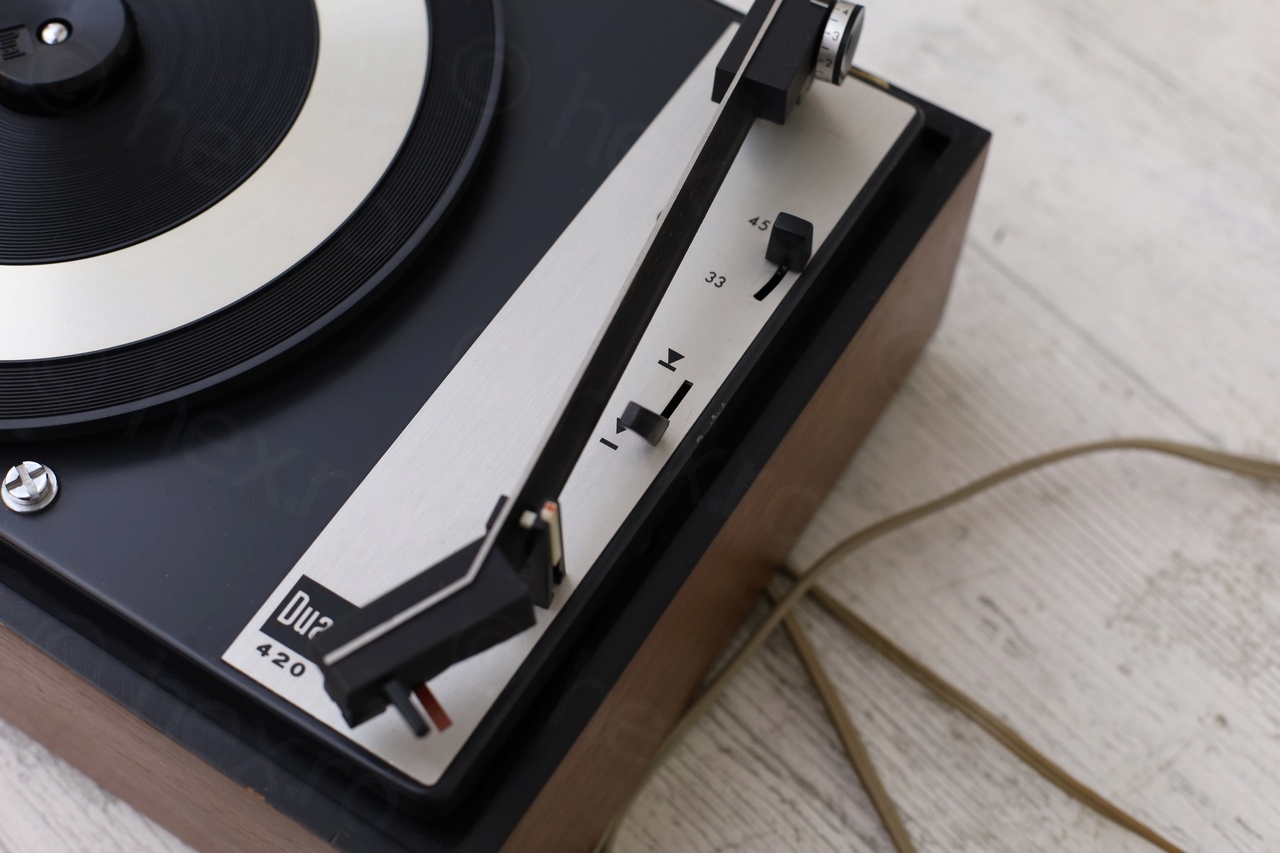
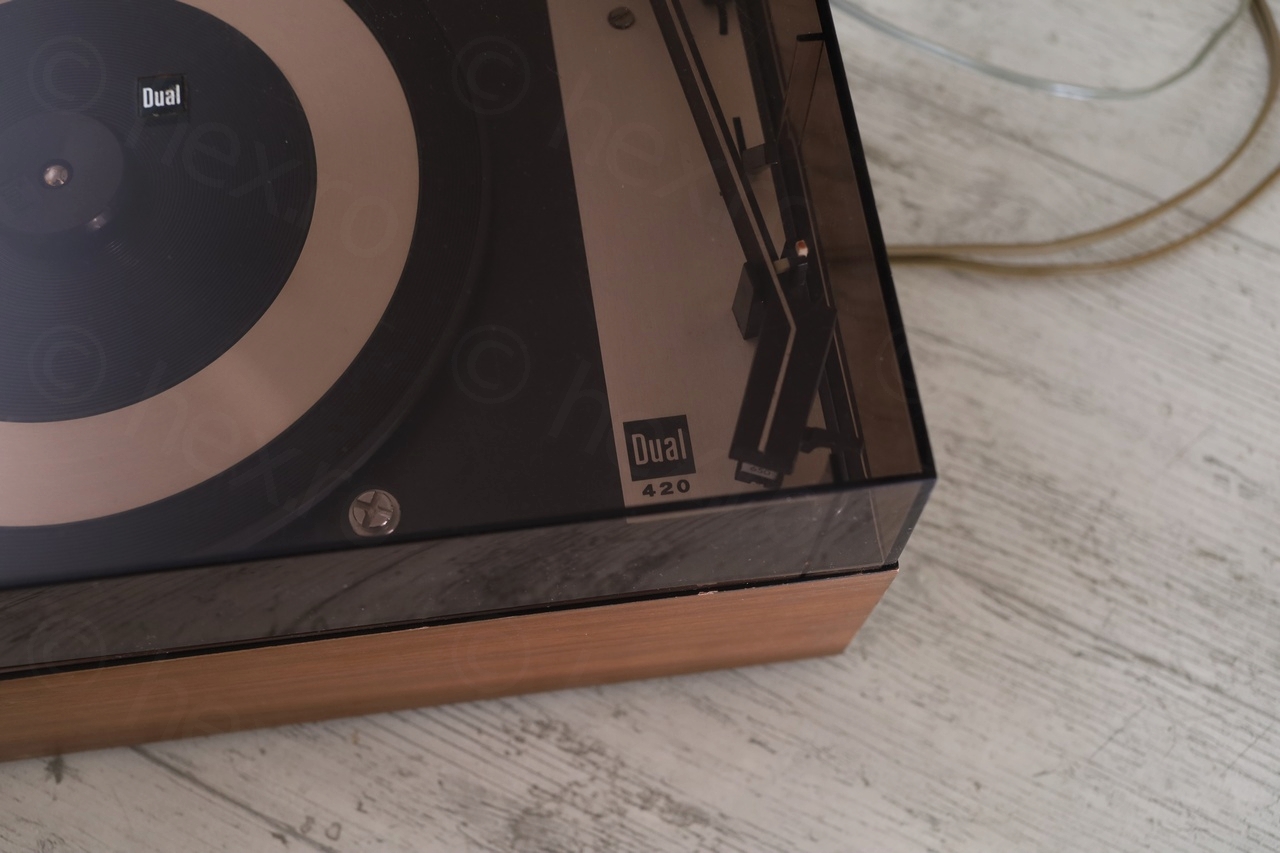
Overview
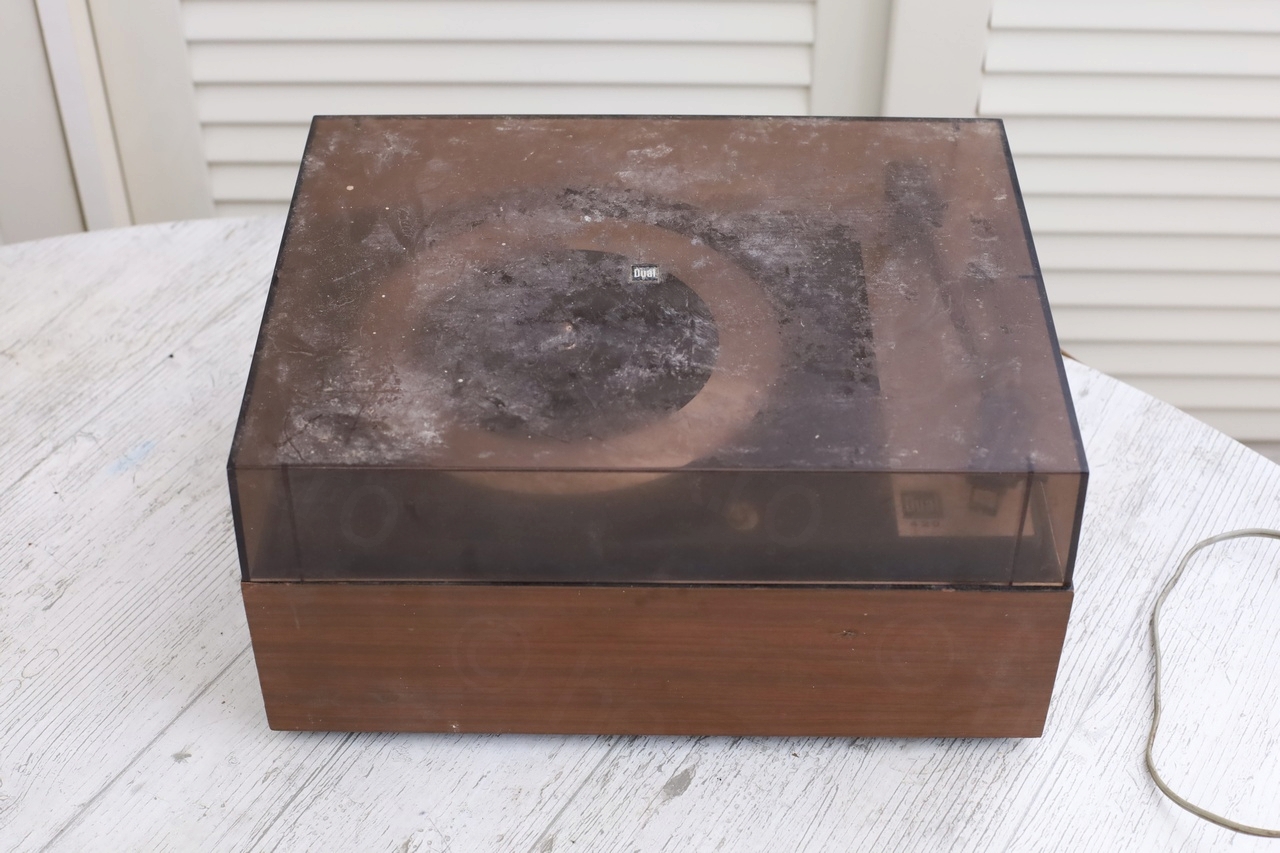
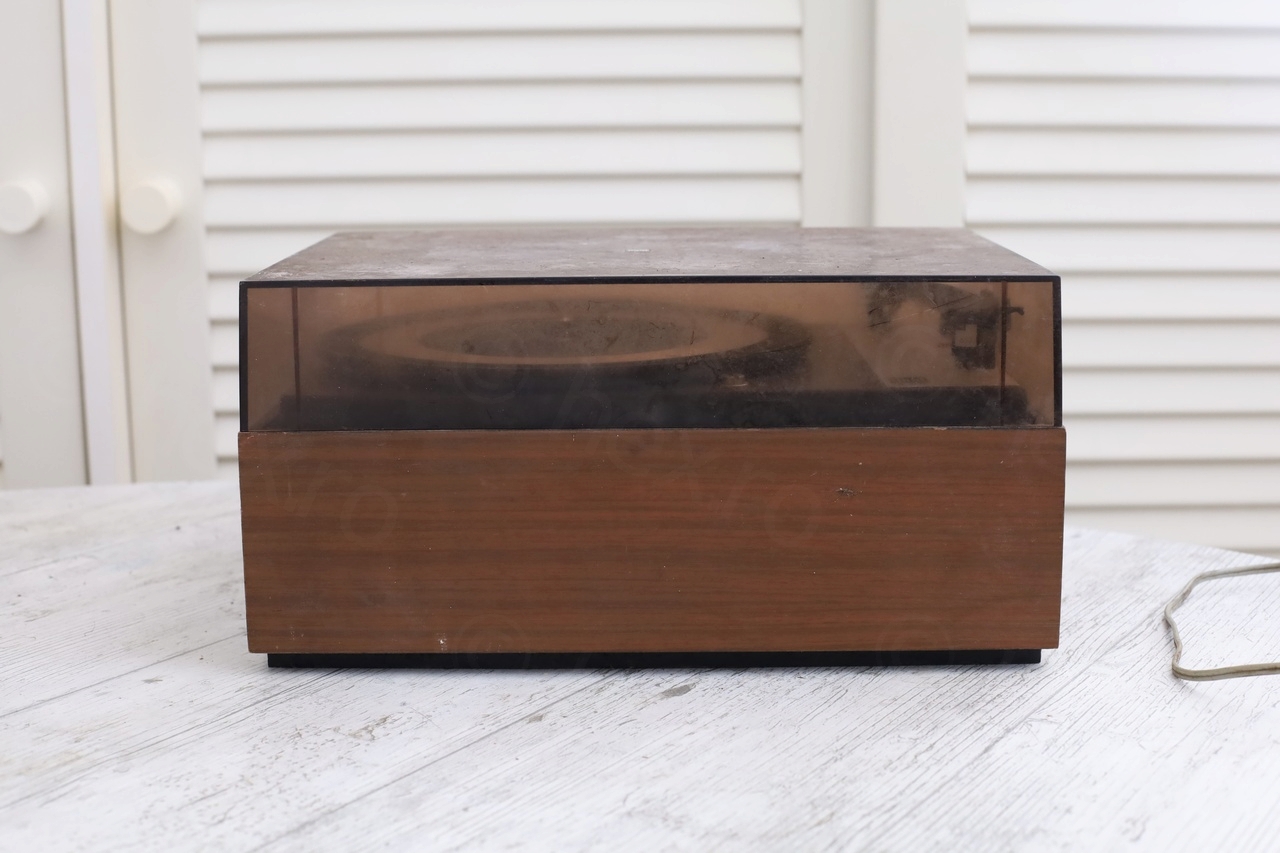
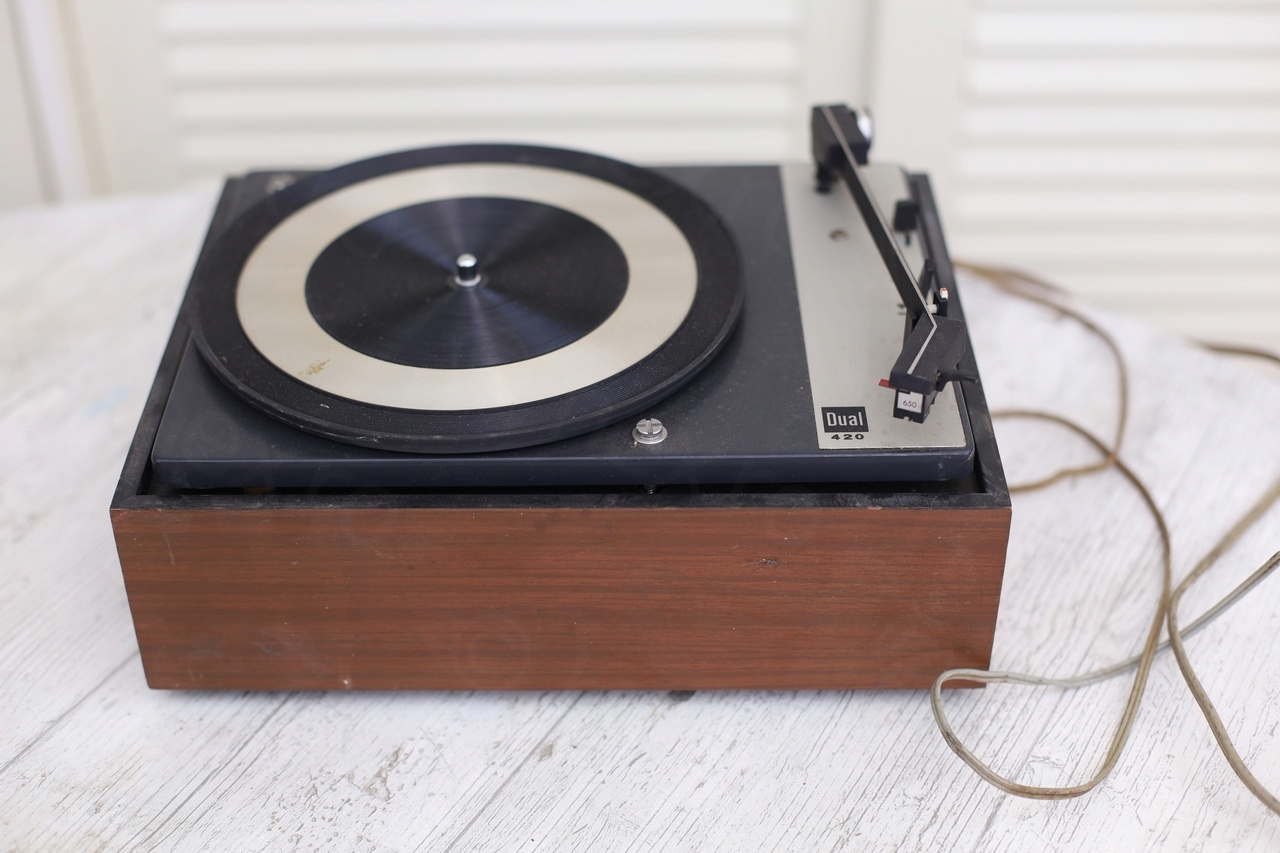
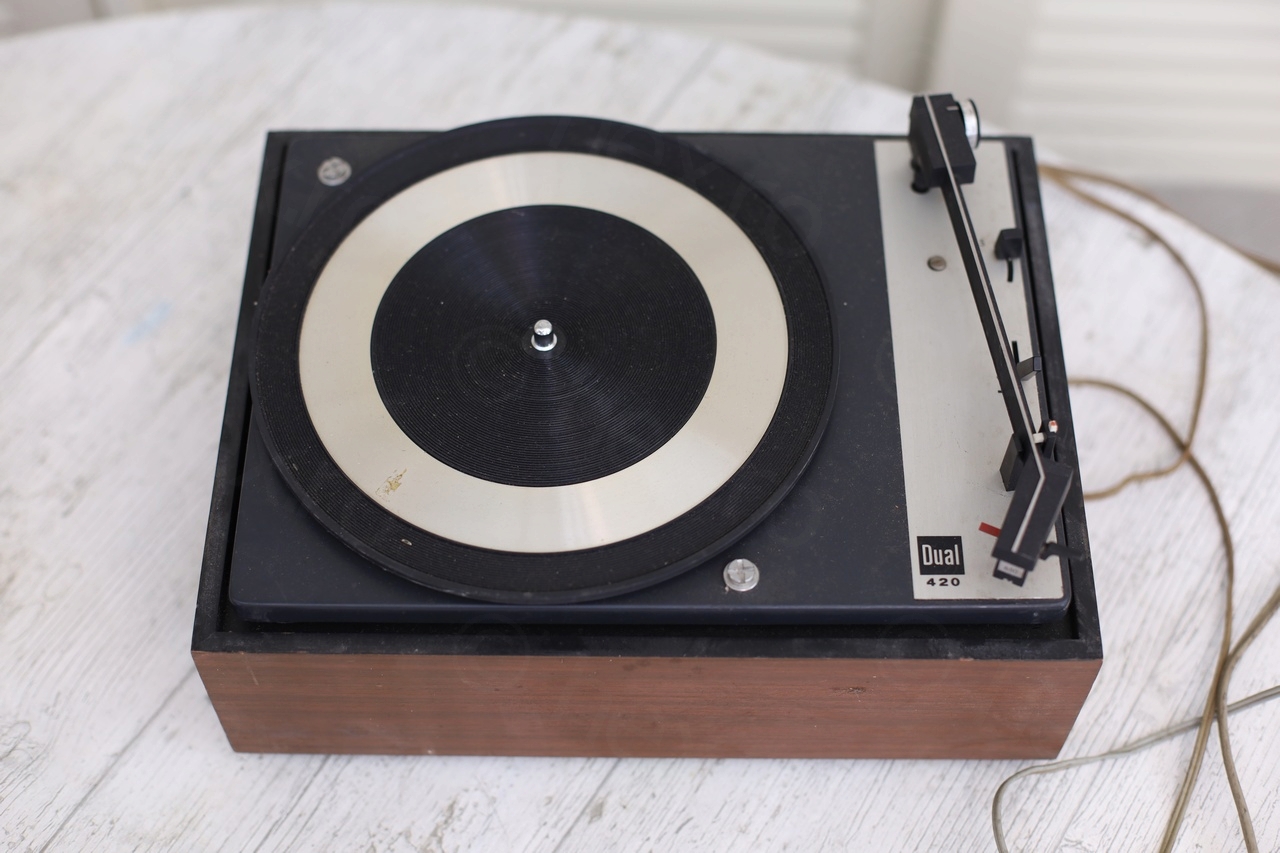
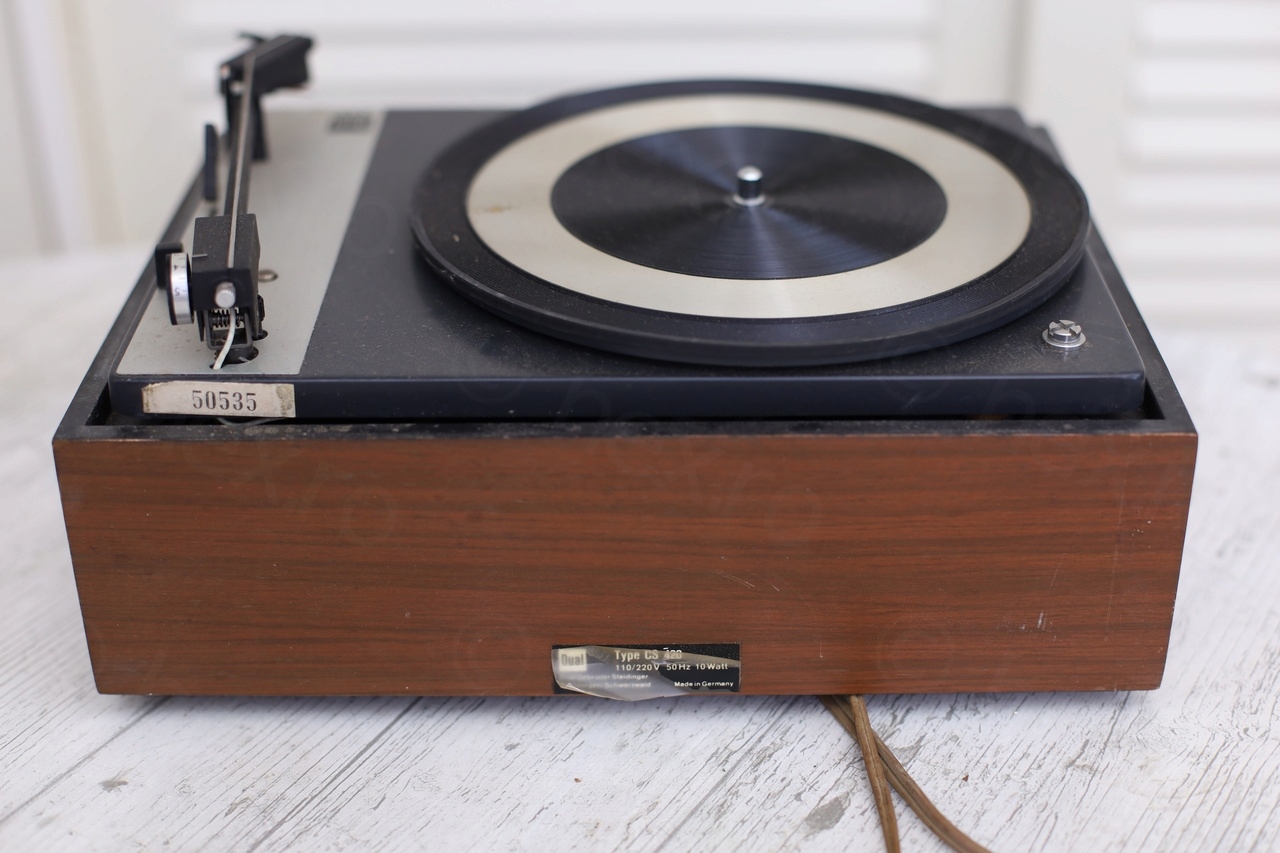


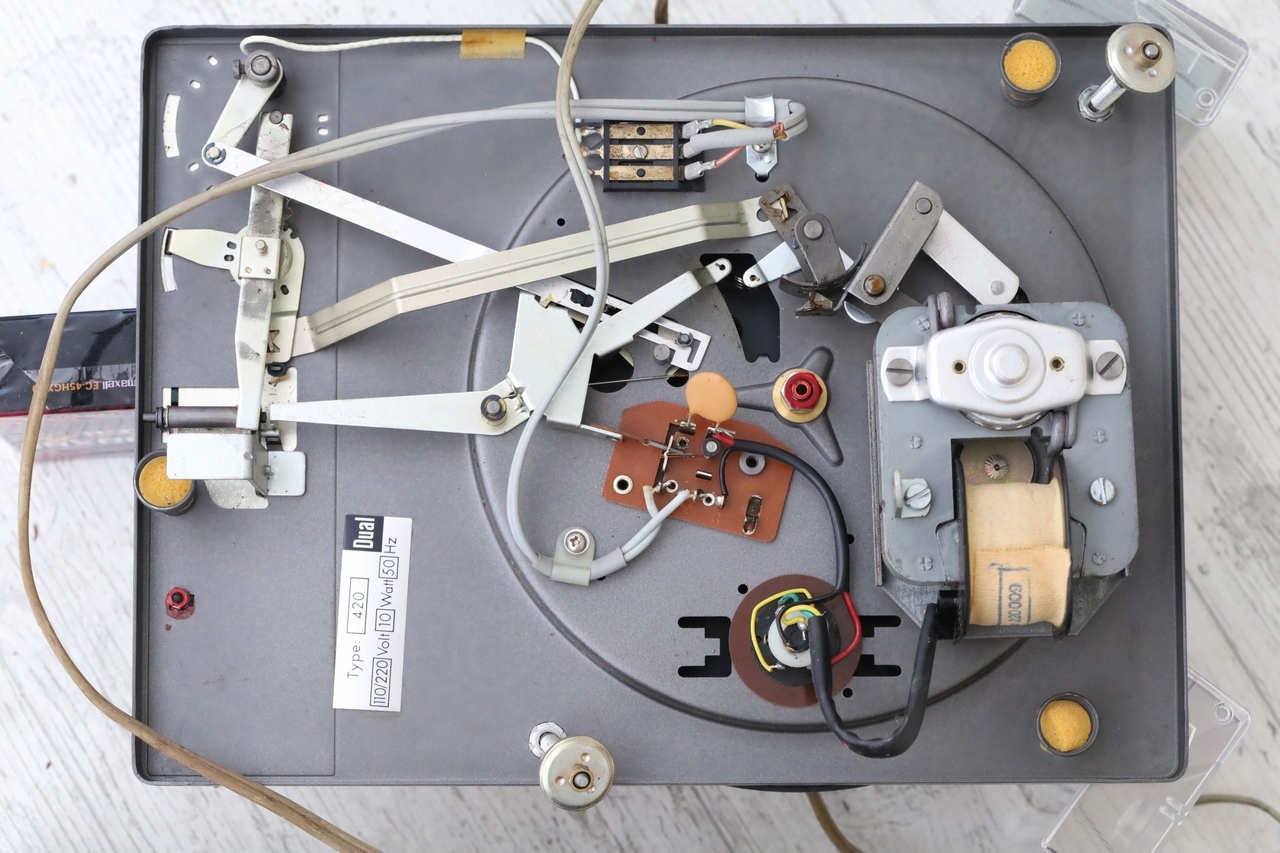
First step was to open it up and have a look inside. Again, a lot of dust, but everything else looked like new.
Checking inside


Taking the platter off
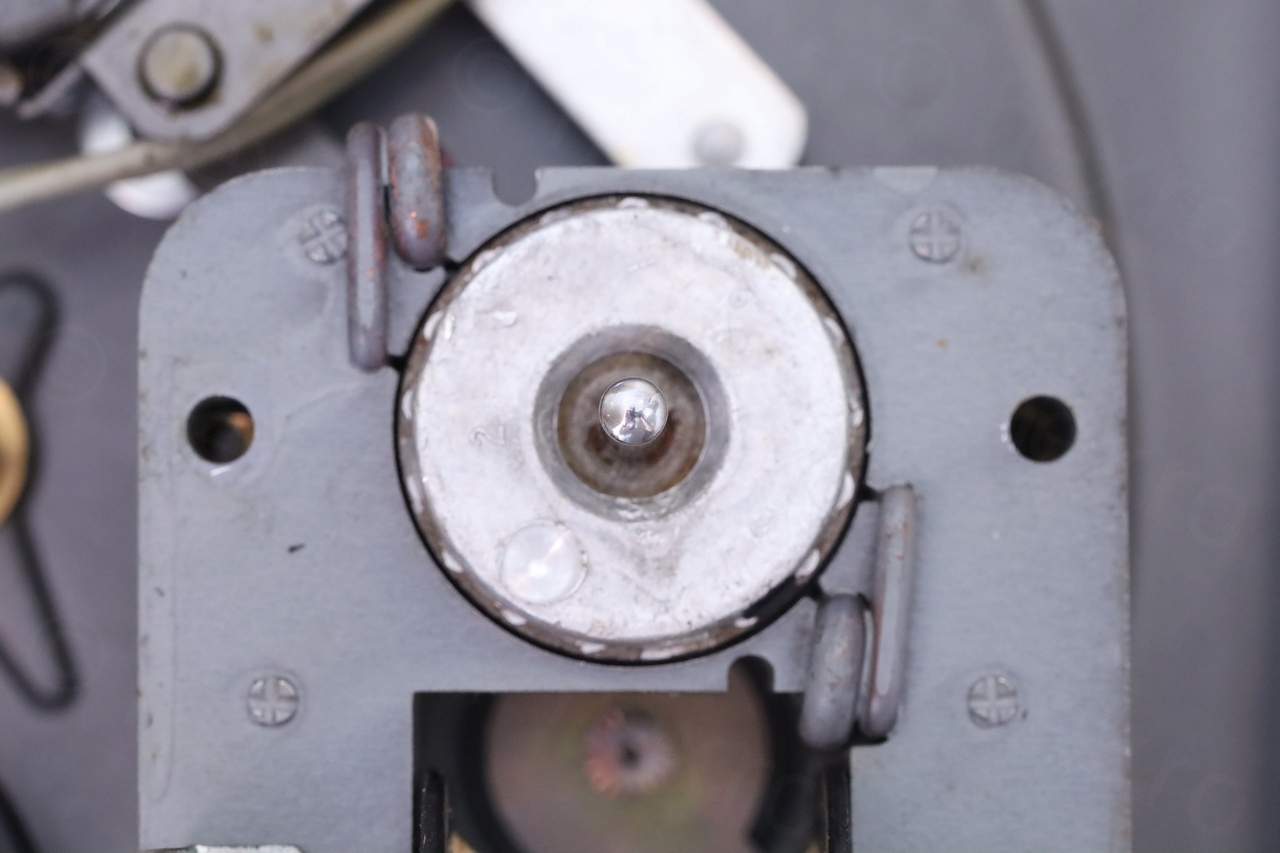
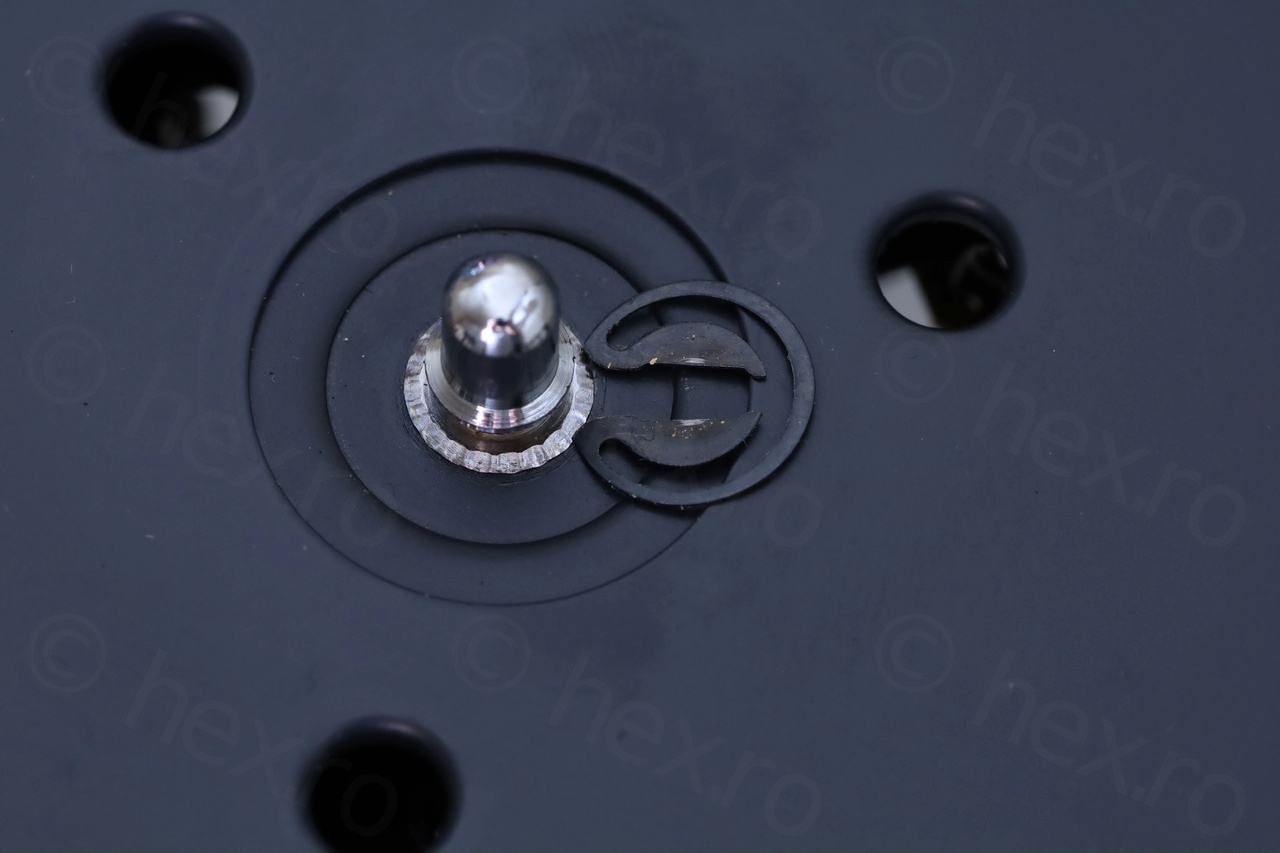
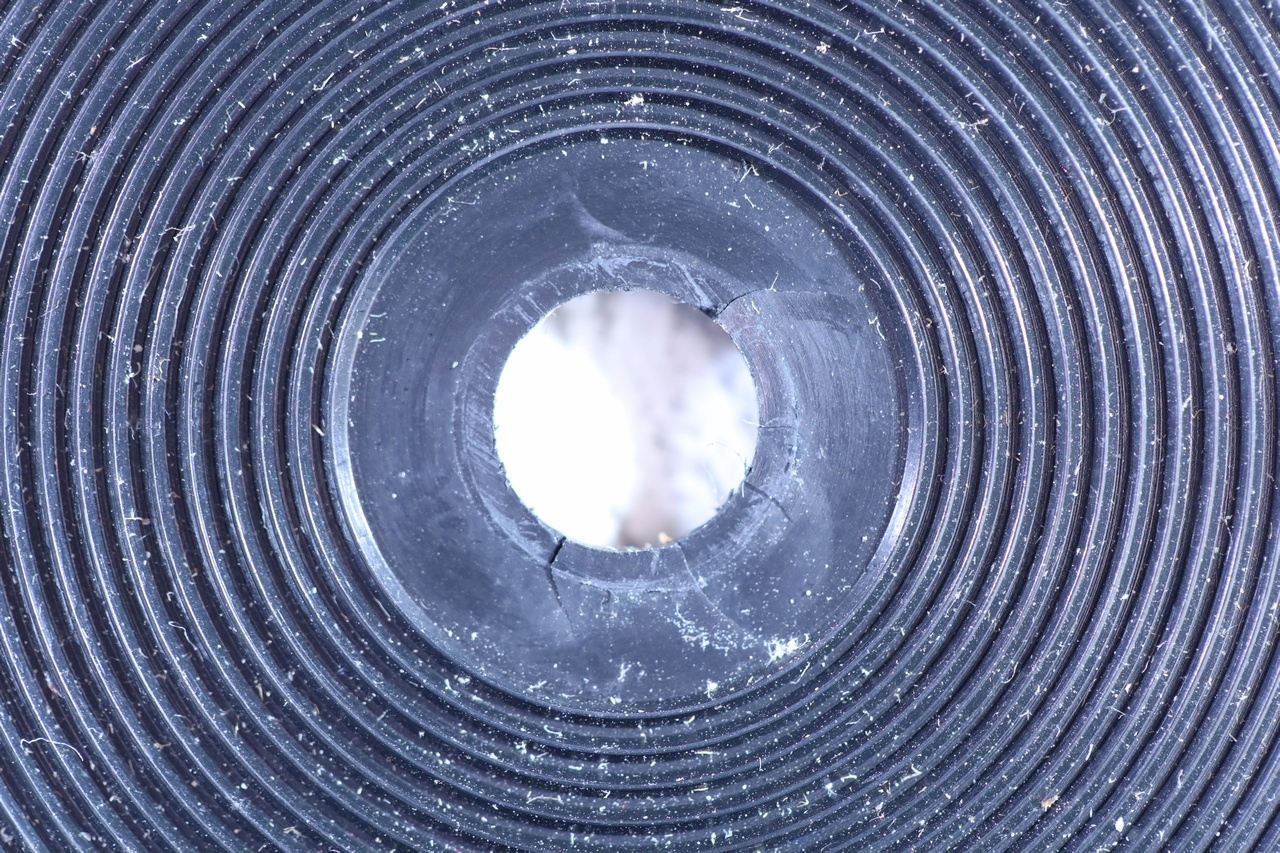
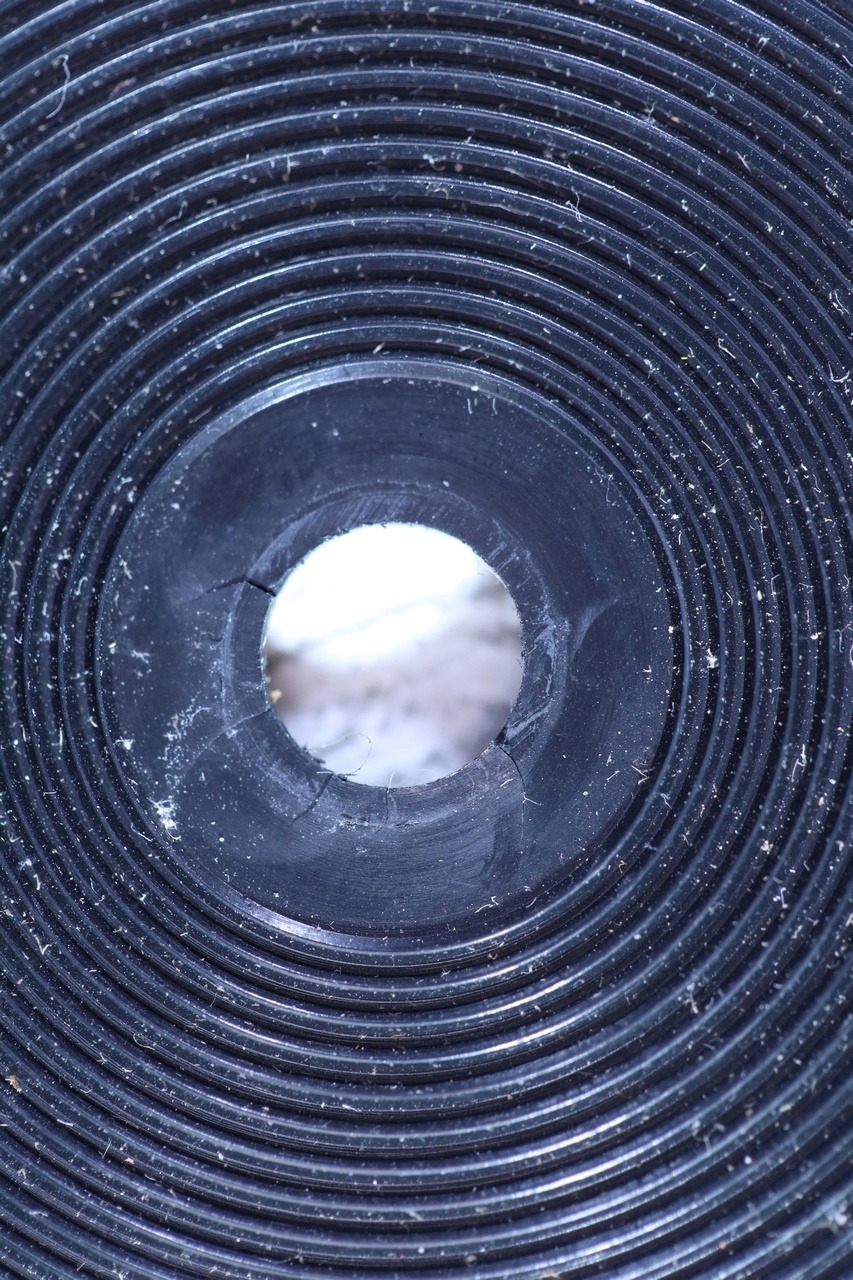
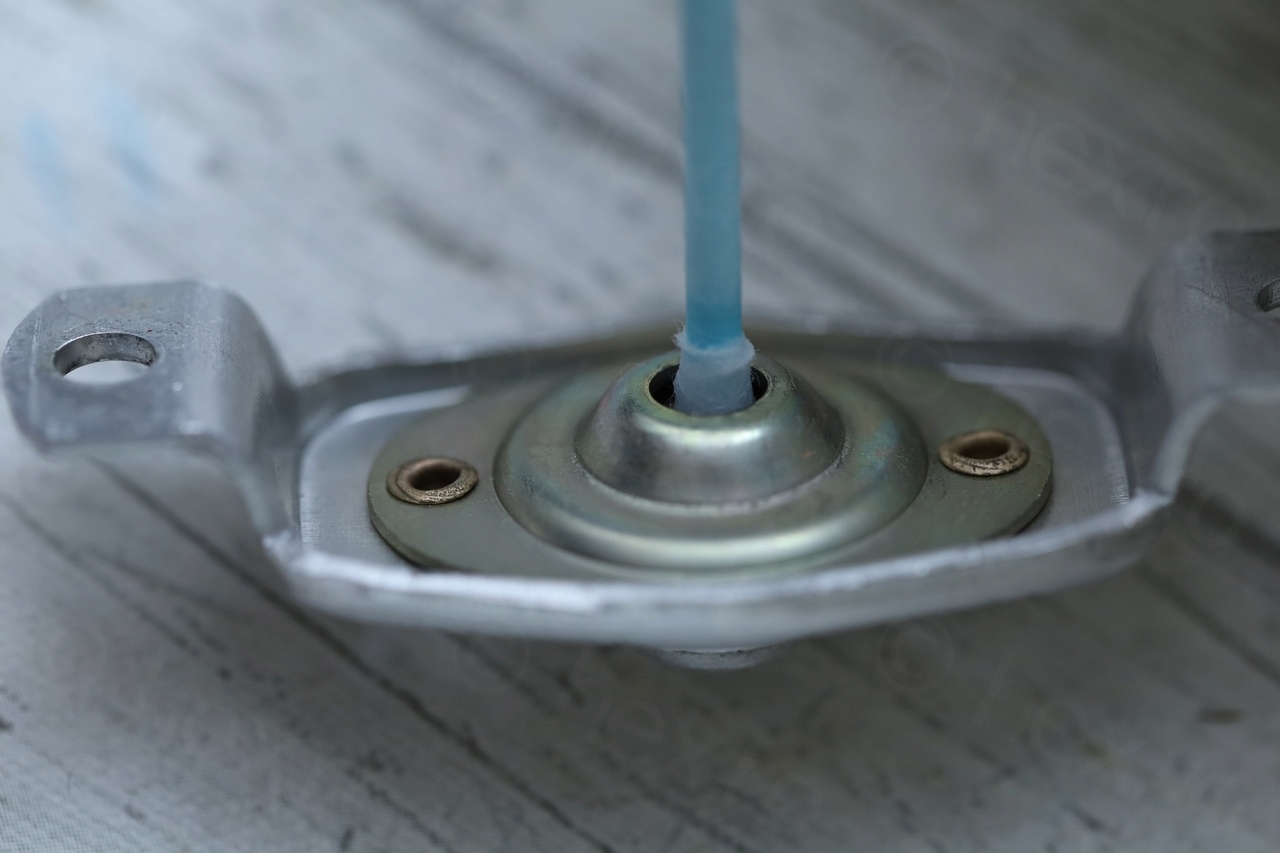
The first challenge was to take the platter off. After a bit of trial and error, the approach was to gently pull the rubber mat to the side and upwards. It is rubbery and eventually it will slide out from the central spindle.
In my model, the rubber mat had many small cracks – and it was not good having to pull it to the side and upwards to get it released. At least it kept its shape.
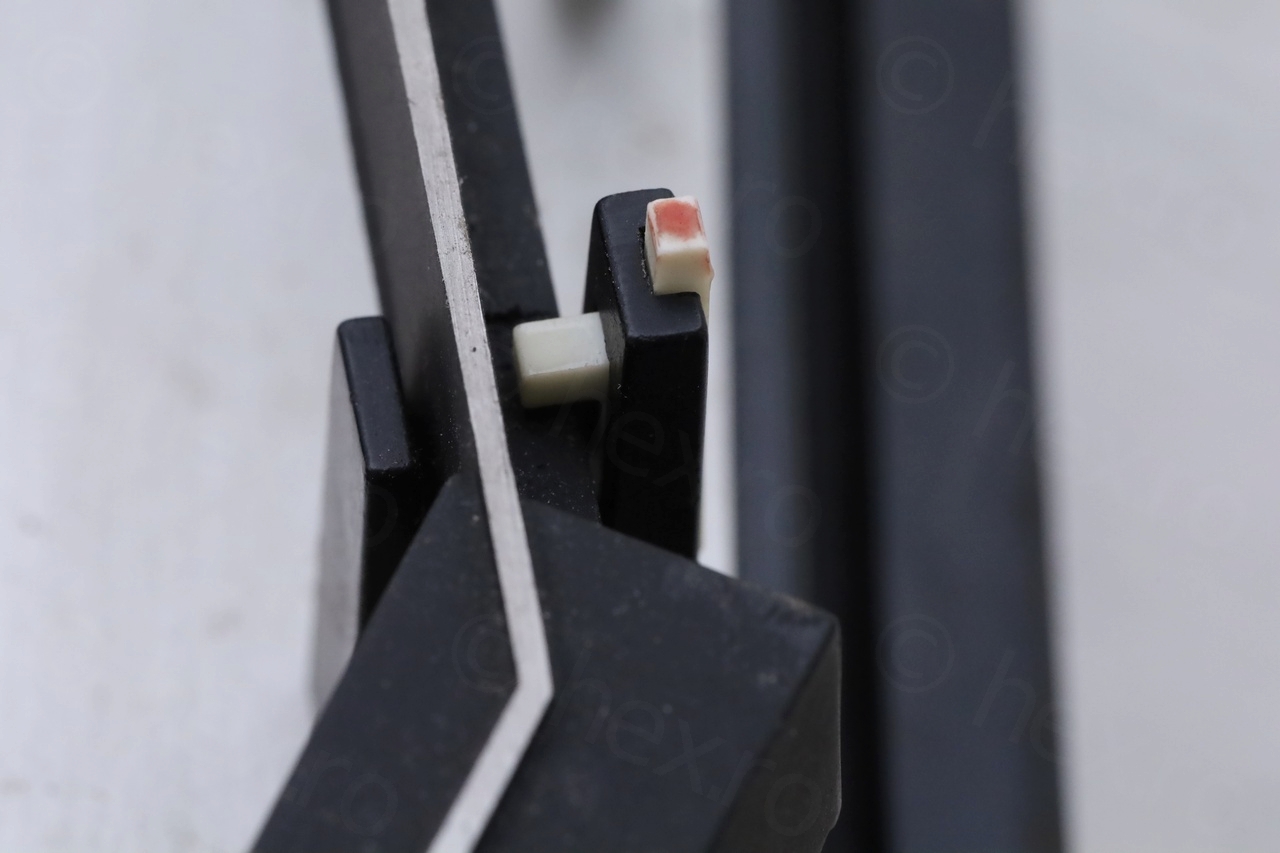
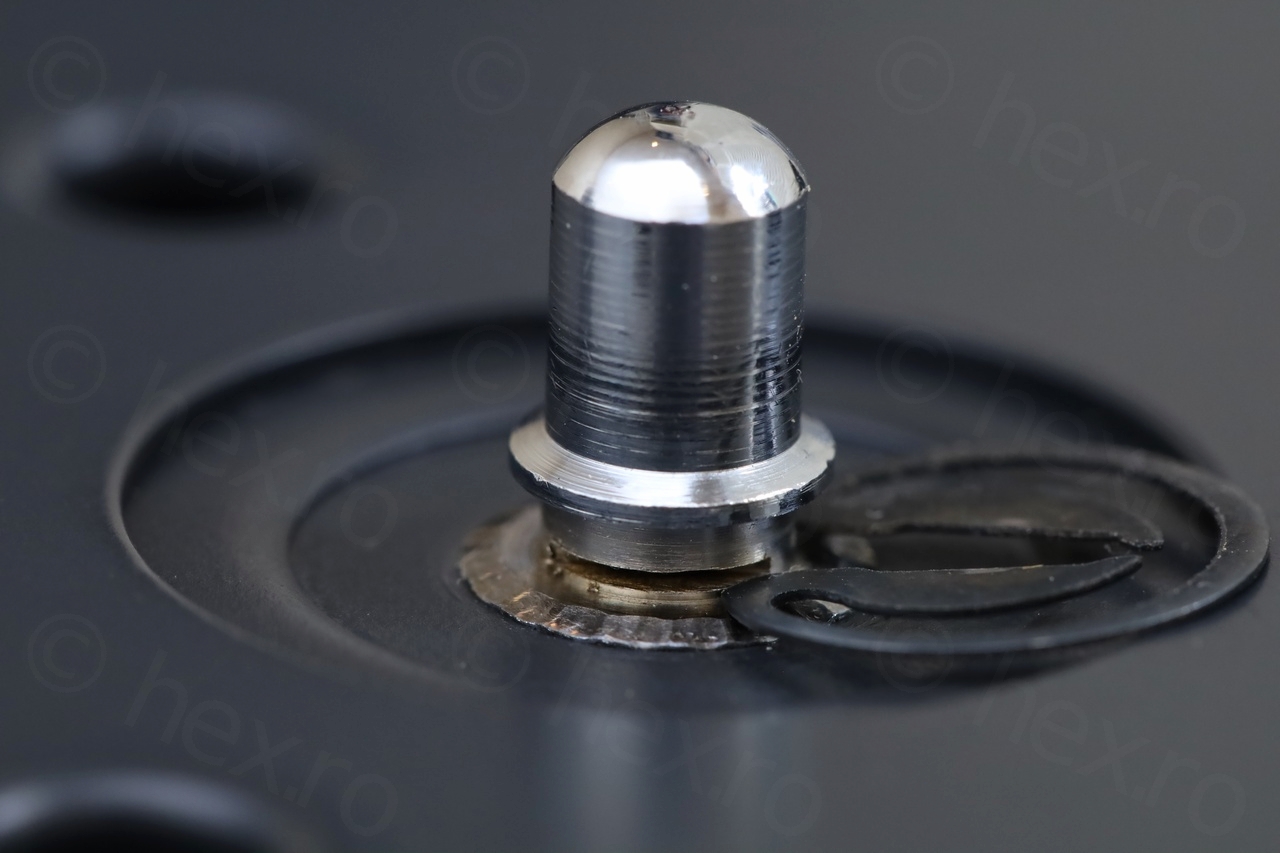
One more thing, the C-Clip can’t be installed back in any position, there are two thin slots in which it has to slide once it has to be re-installed.

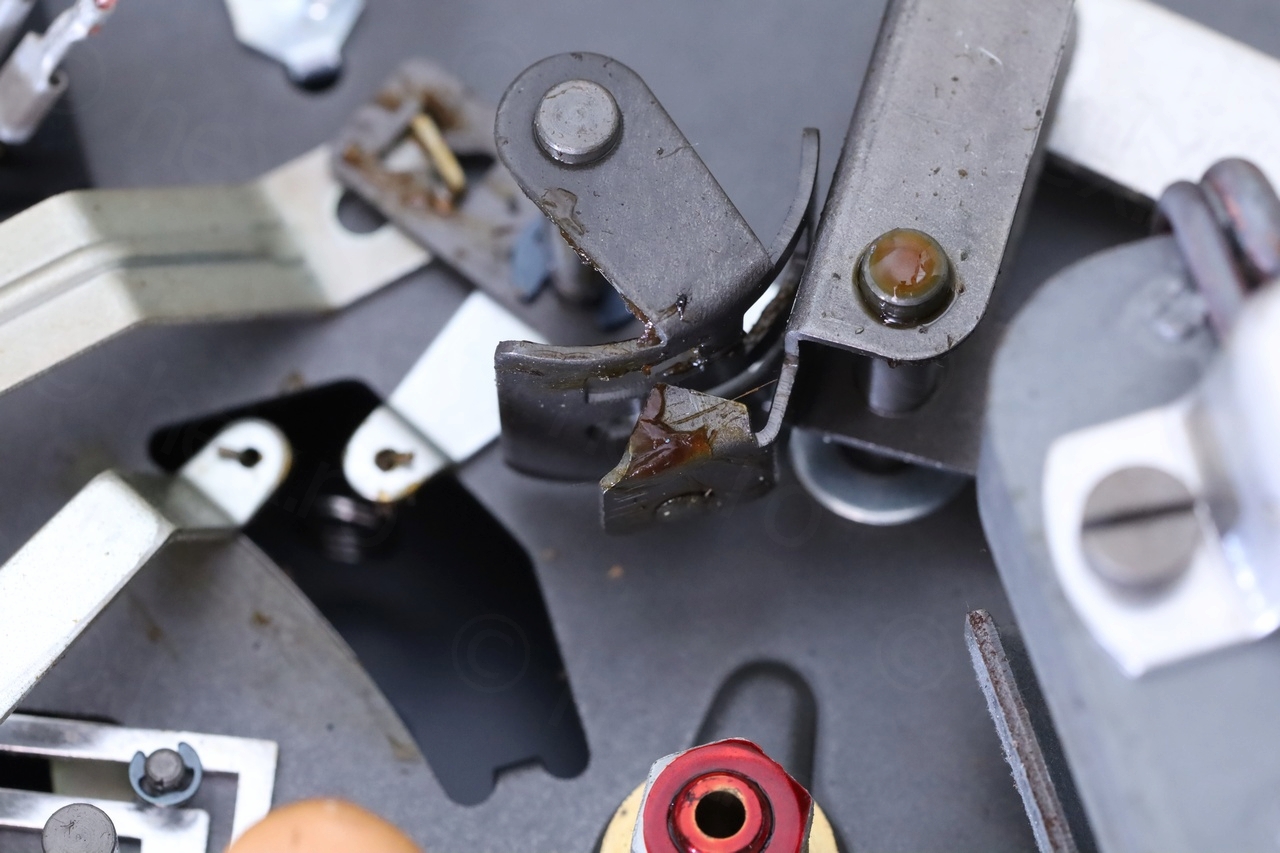
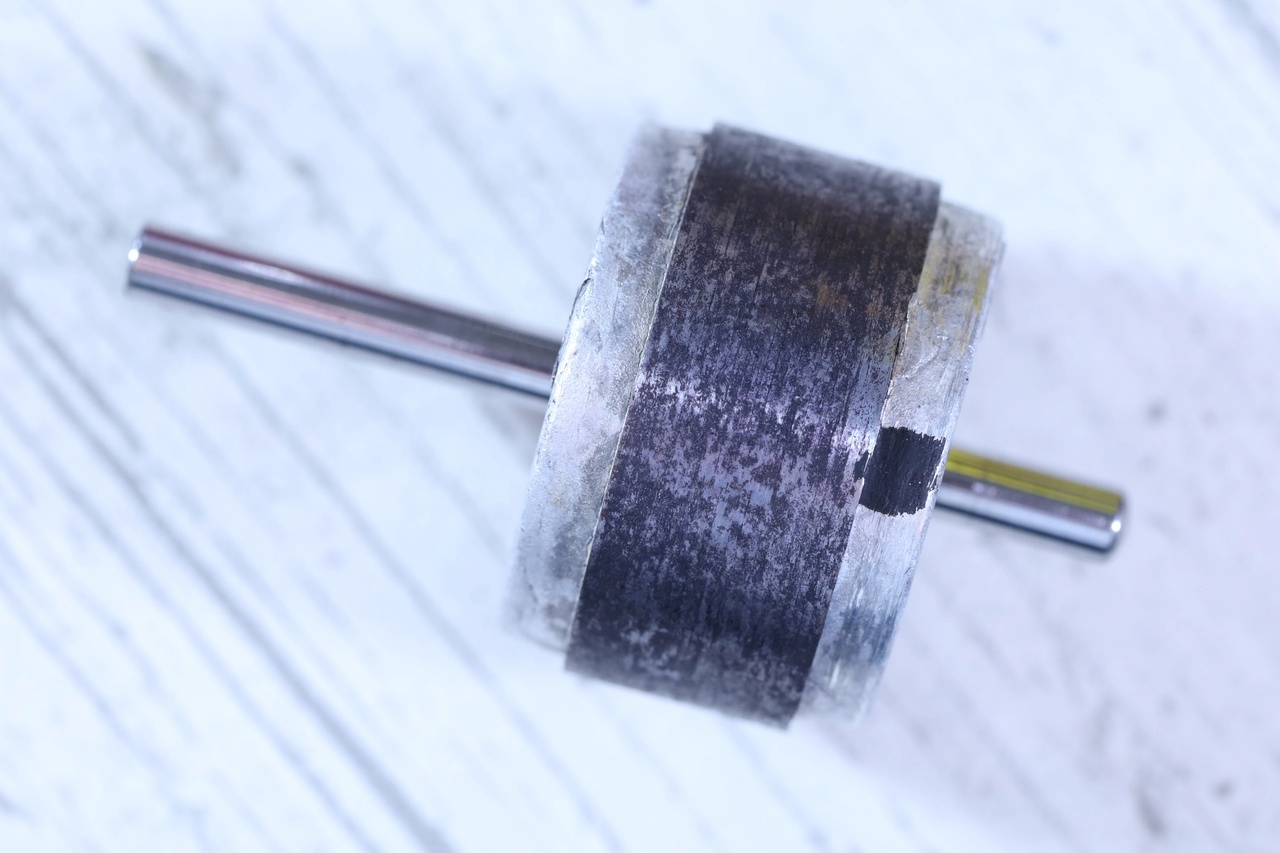
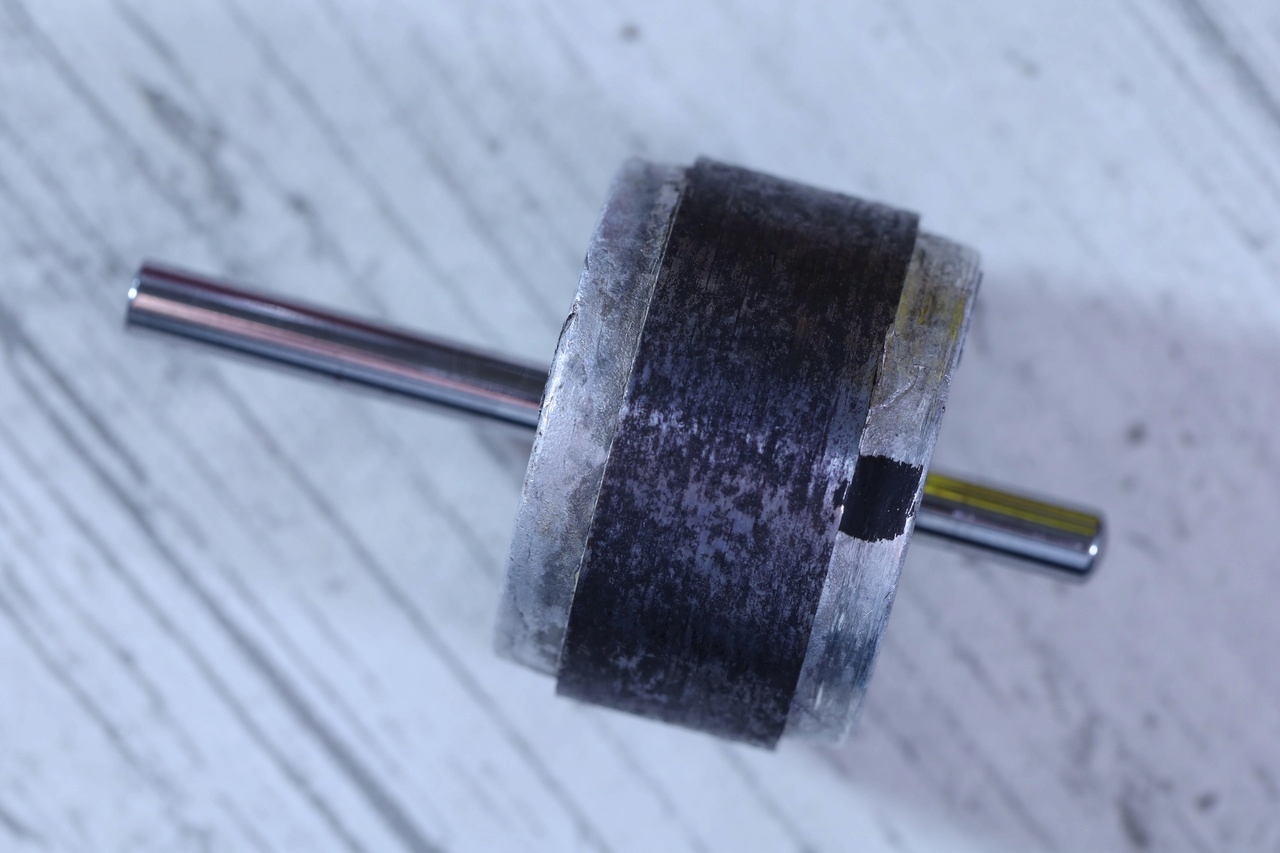
Motor vibration
When powering on the turn table, there were two obvious things: a whirring noise / vibration making the whole turntable resonate, plus, the platter was spinning faster than it should.
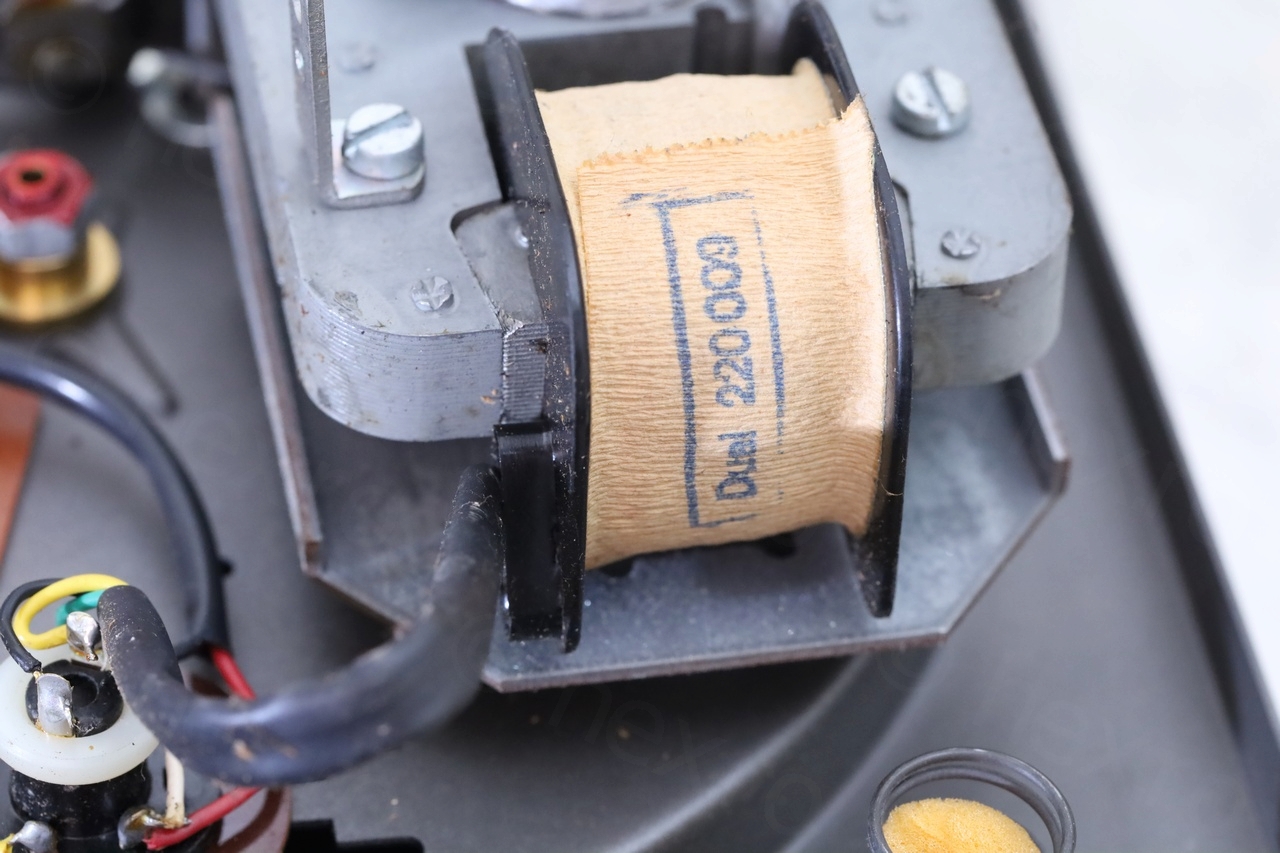
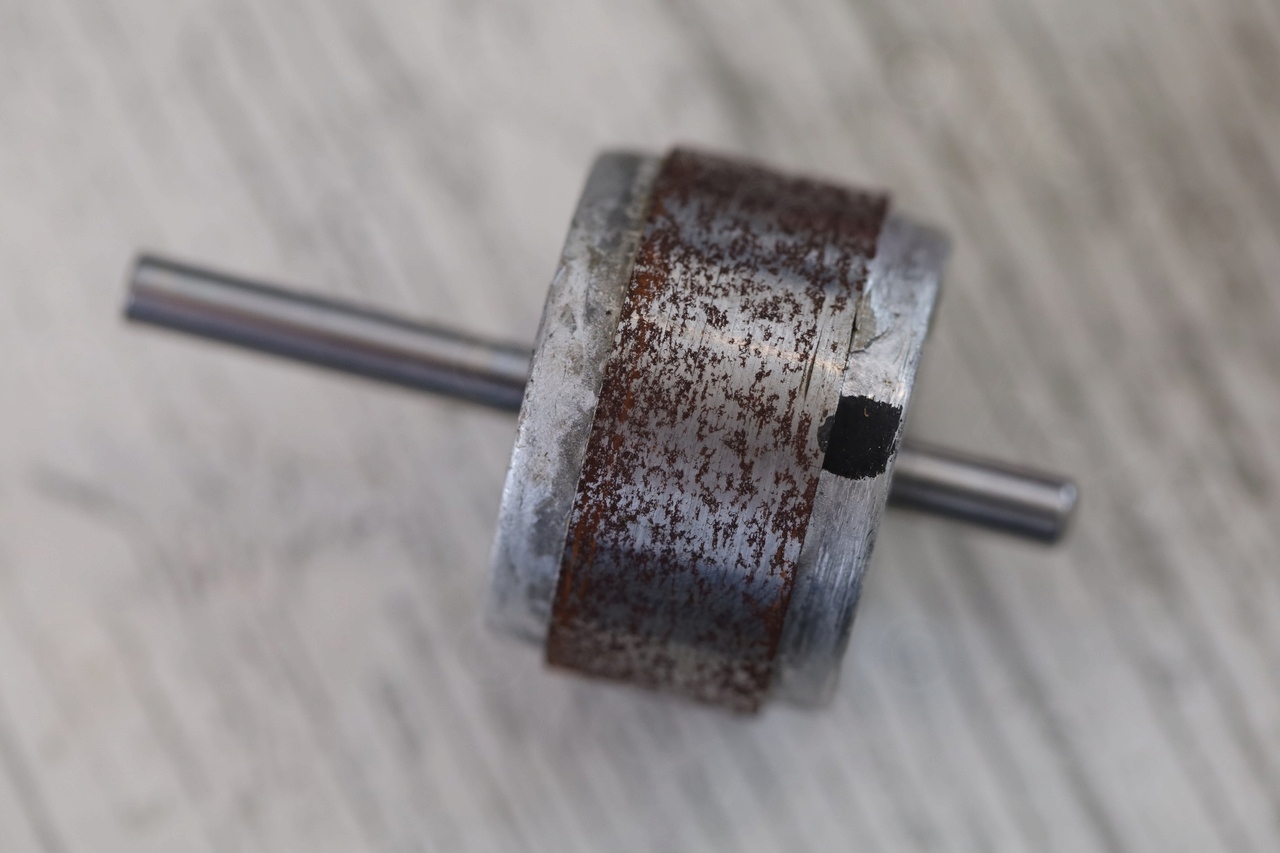
I decided to take apart the motor to see what is going on. The Dual 220 009 is a two pole asynchronous motor, thus, its speed is locked to the speed of the AC line. I didn’t find a way to adjust the speed, except hoping the spindle would be tapered (the spindle transferring the movement from the motor to the idler wheel). But to me it didn’t look tapered.
Anyway, proceeding with the motor disassembly – an ugly surprise: the rotor was rusty. It didn’t look like the rust was causing rotor scratching against the stator, but not having the rust accumulate would be better.
Initial state:

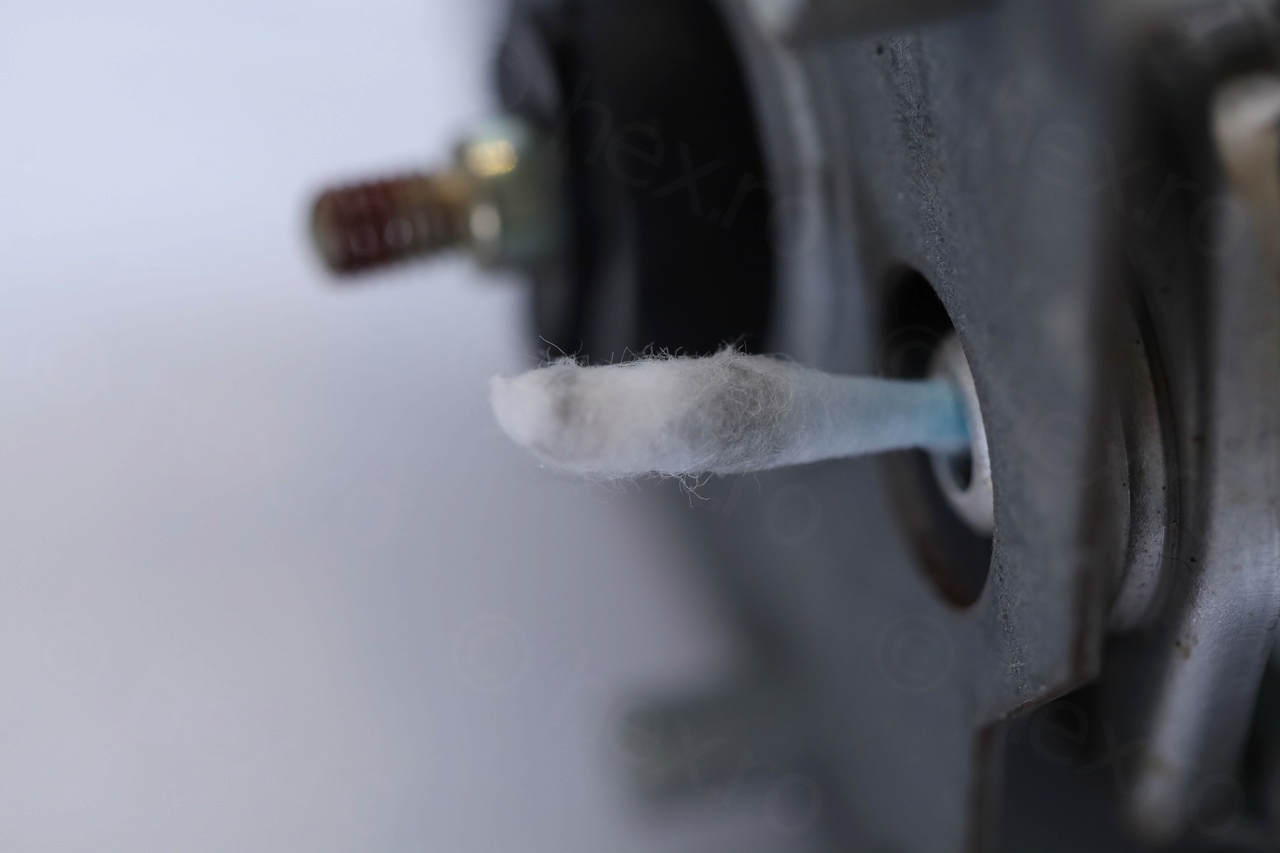
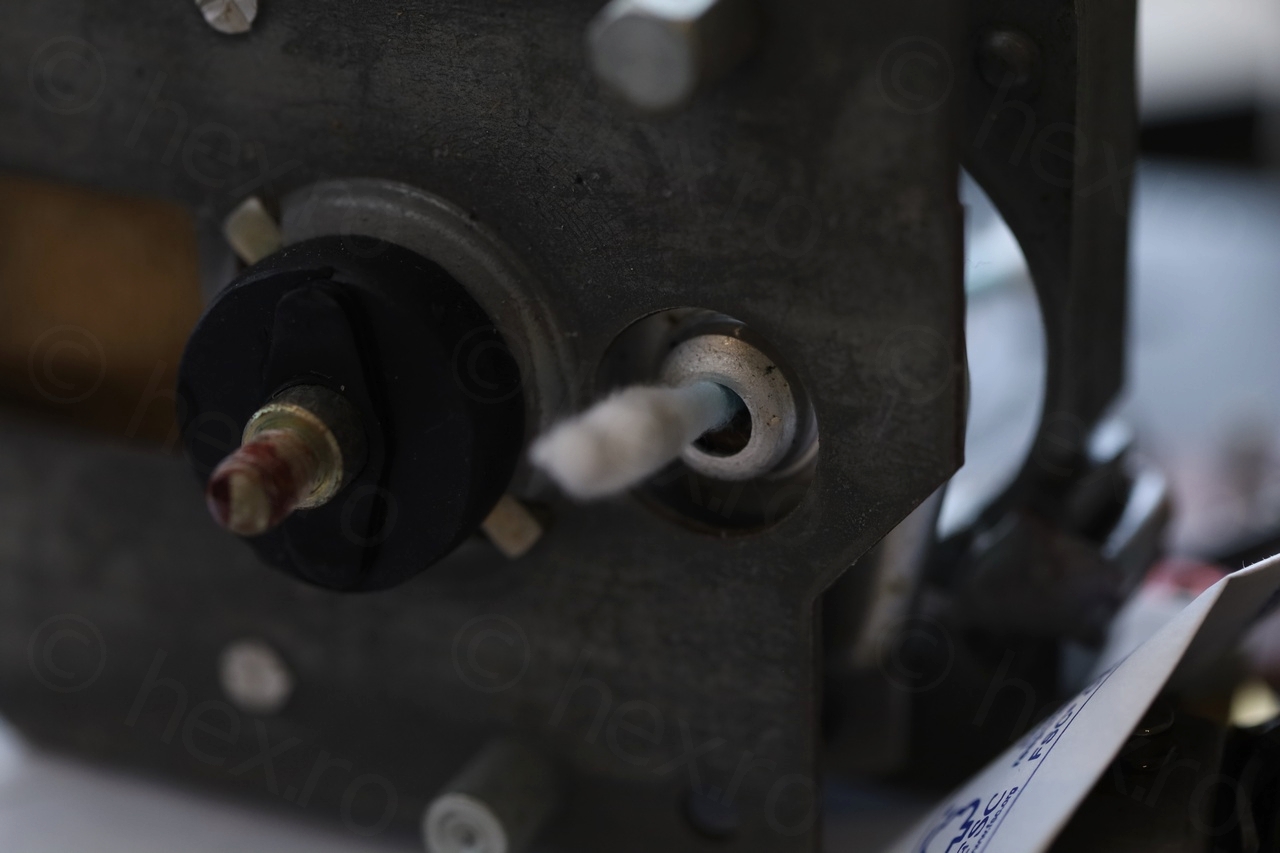
After cleaning with IPA:


After Fetran treatment , the metal became blue and rusty parts converted to darker blue:
This should keep rust away for a while.
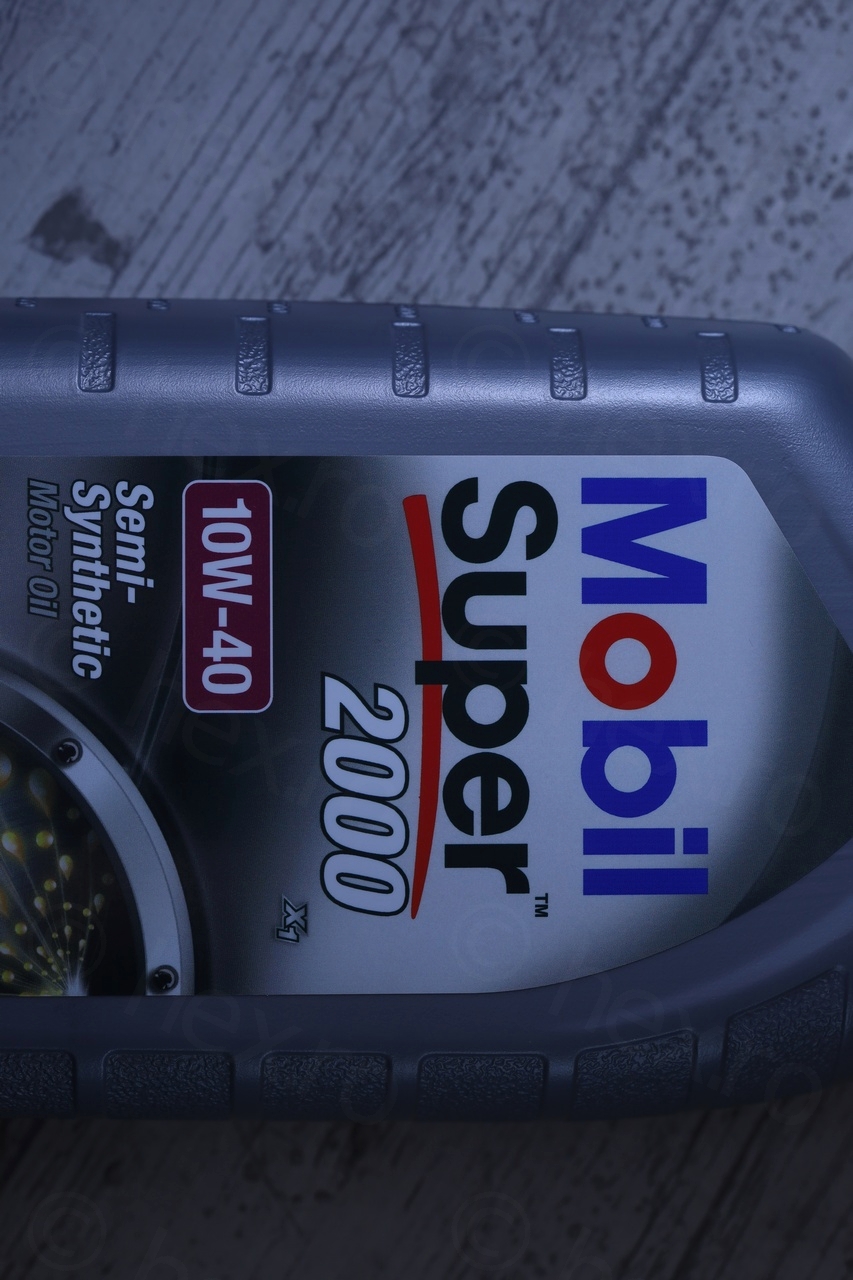
Next step was to lubricate the motor. I’ve cleaned the bushings that the shaft goes through / sits into. Using sewing machine oil gave unsatisfactory results: scratchiness went away but it still vibrated.. and since it was late in the evening, I didn’t have any other choice except going to the 24h fuel station where I bought the only semi-synthetic car motor oil I found, a 10W40 Mobil Super 2000. This works perfect. No more vibration and no more noise.
And applied the oil:
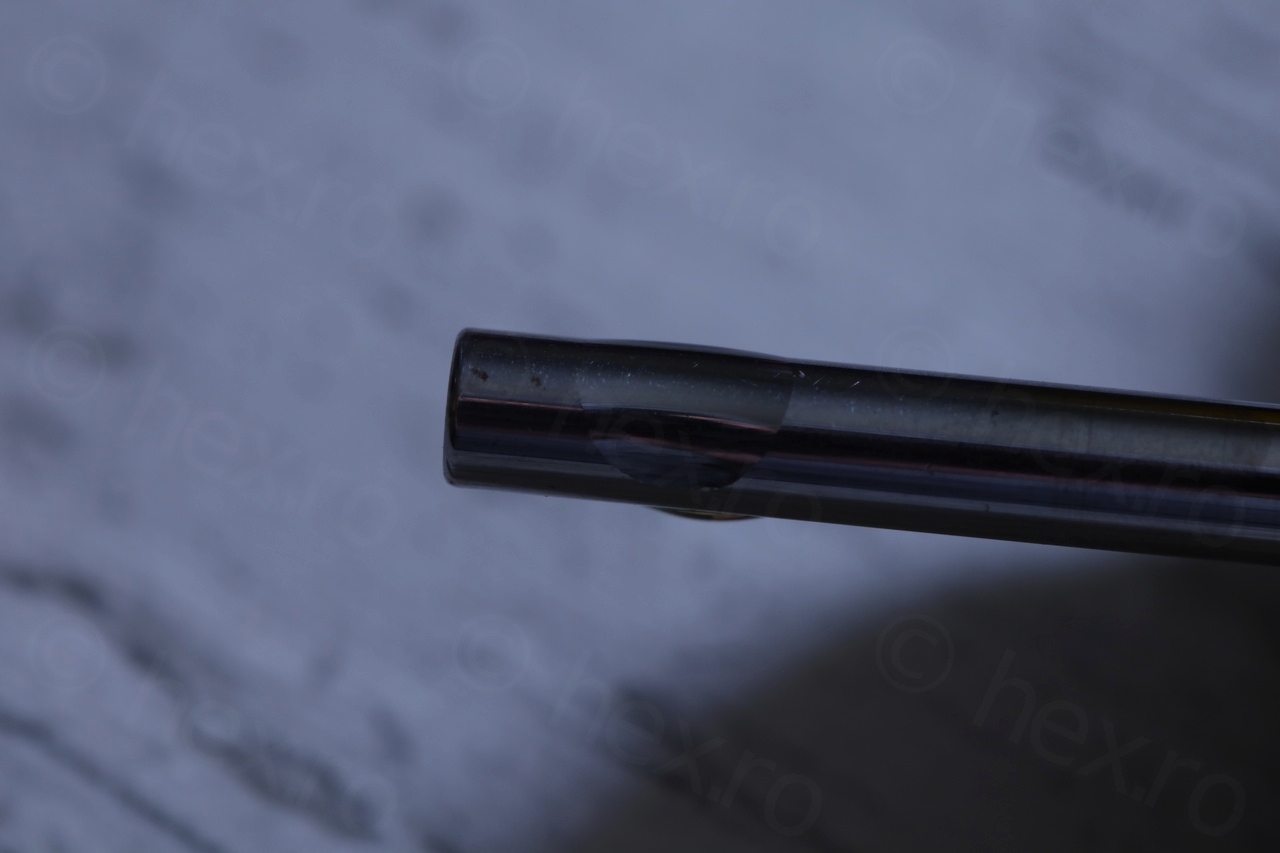
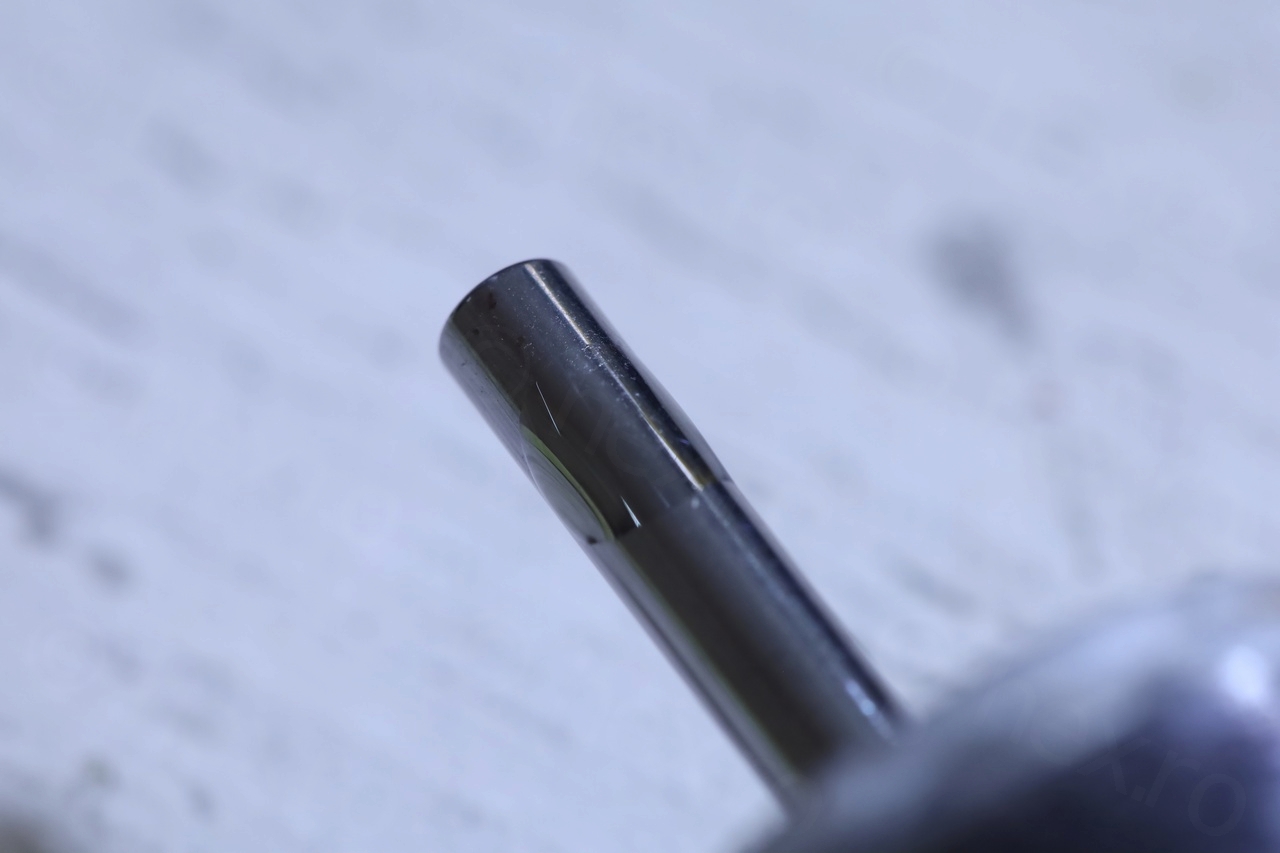
A benefit of the thicker oil (or maybe because I took the spindle out and put it back in ?) is that now the 33.3 RPM speed is almost correct. The 45 RPM is still a little faster.
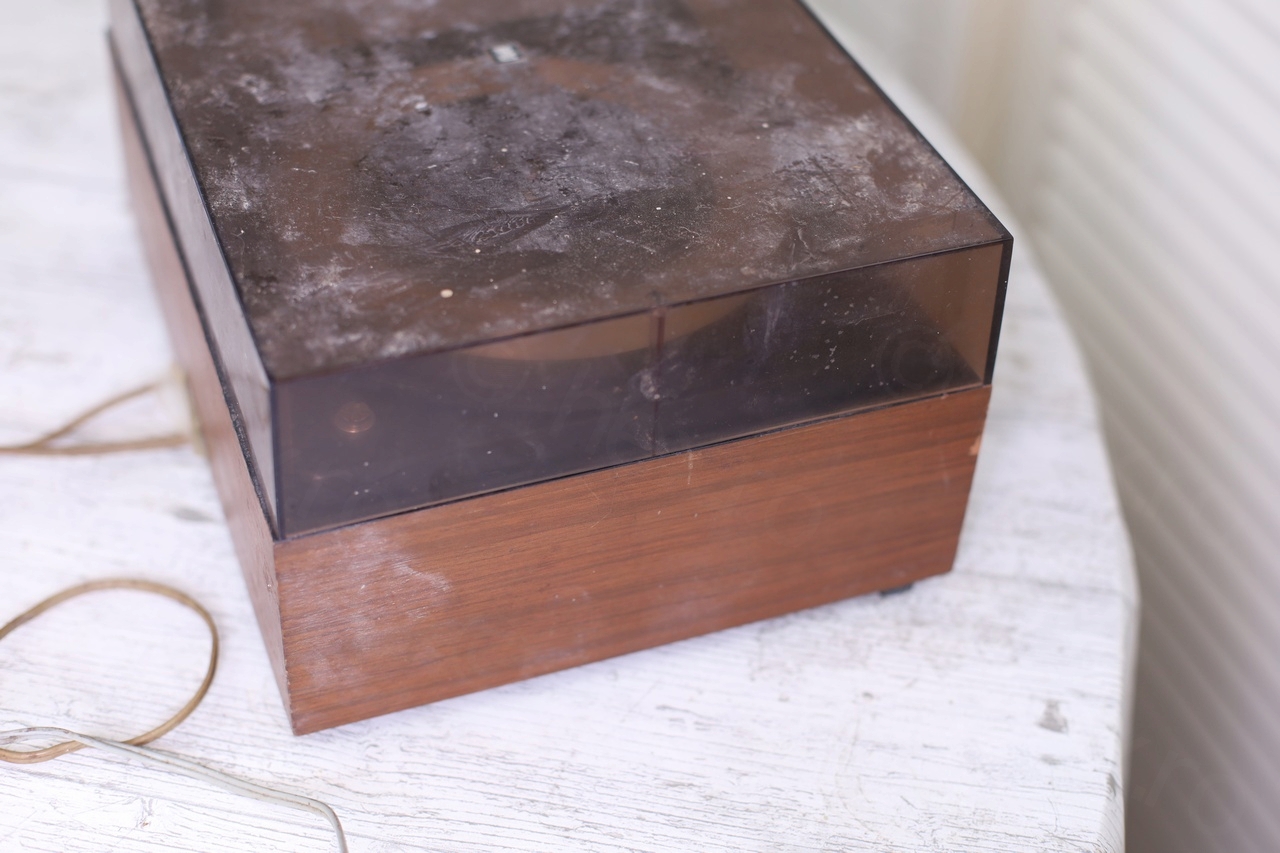
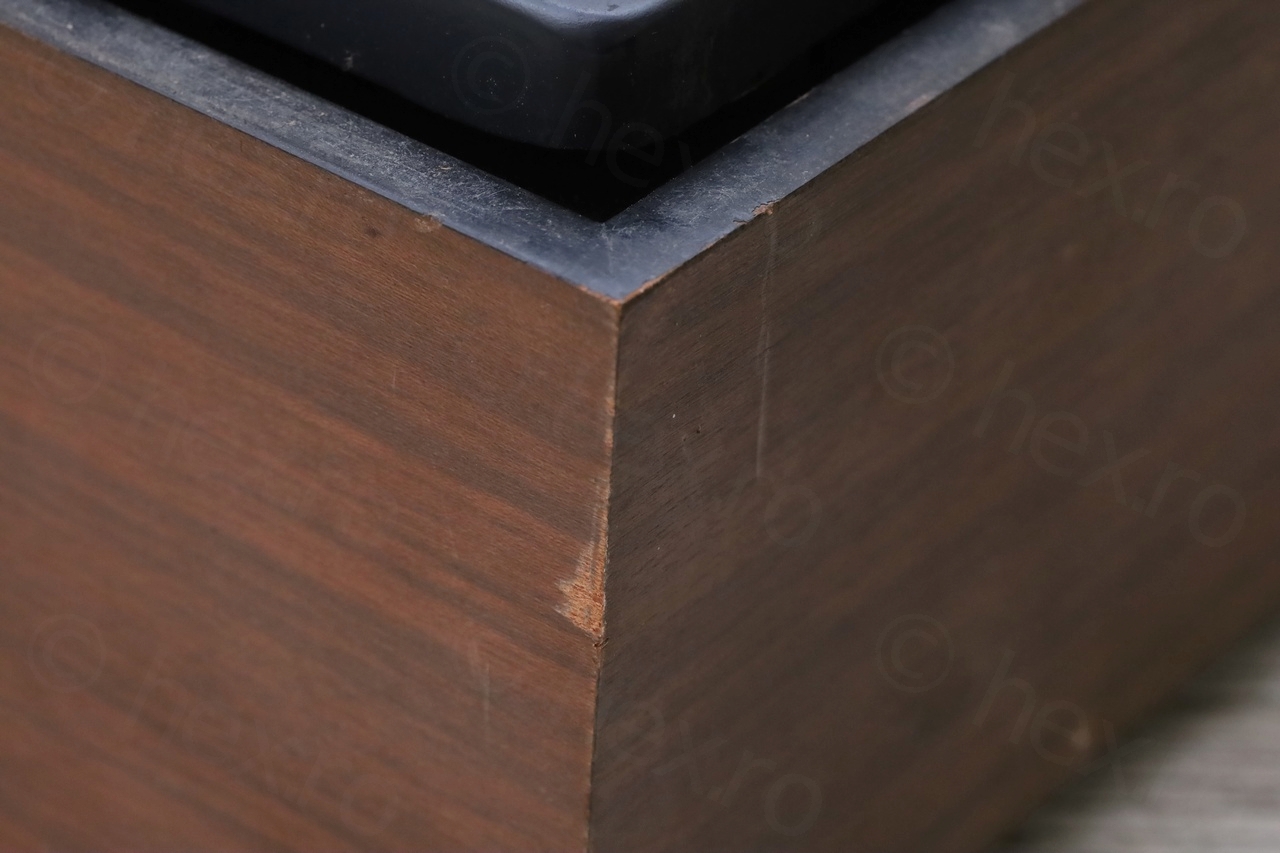
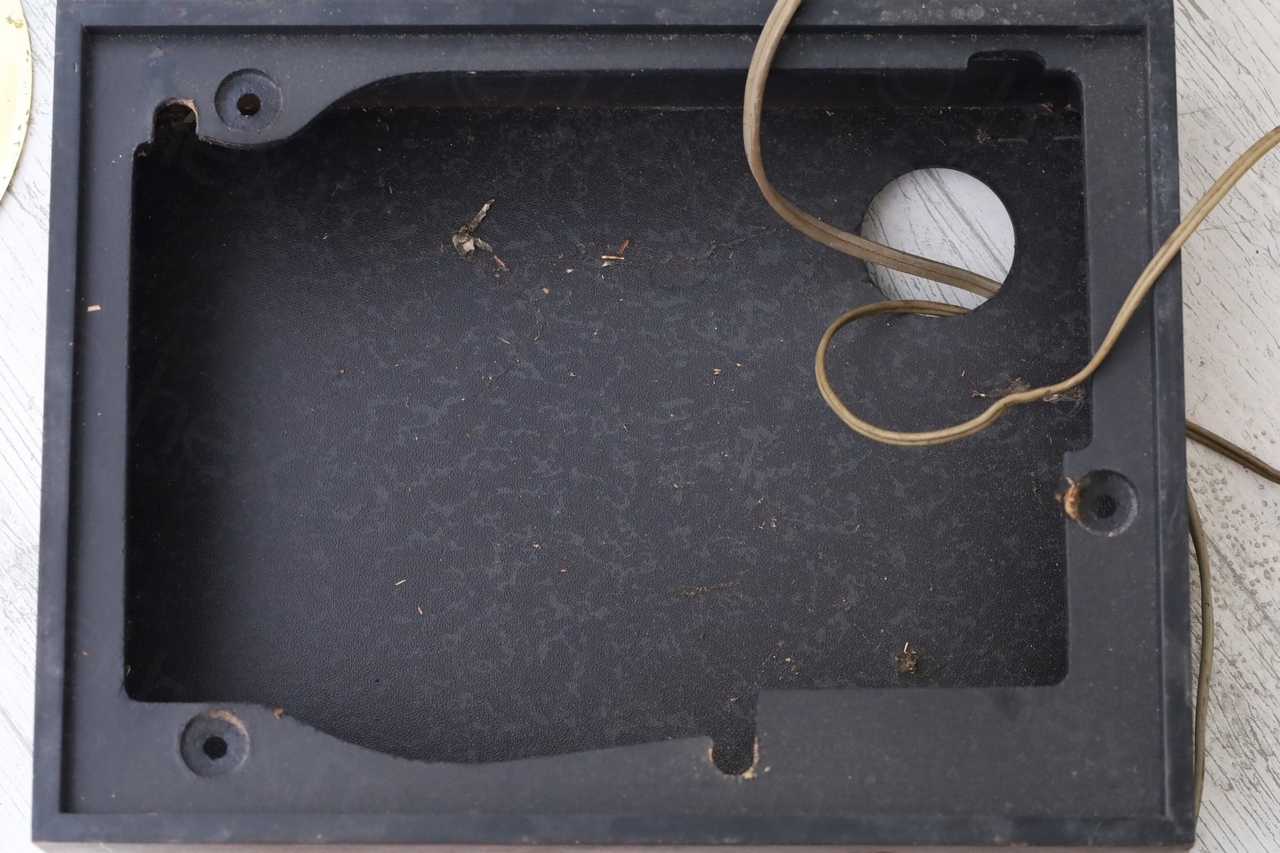
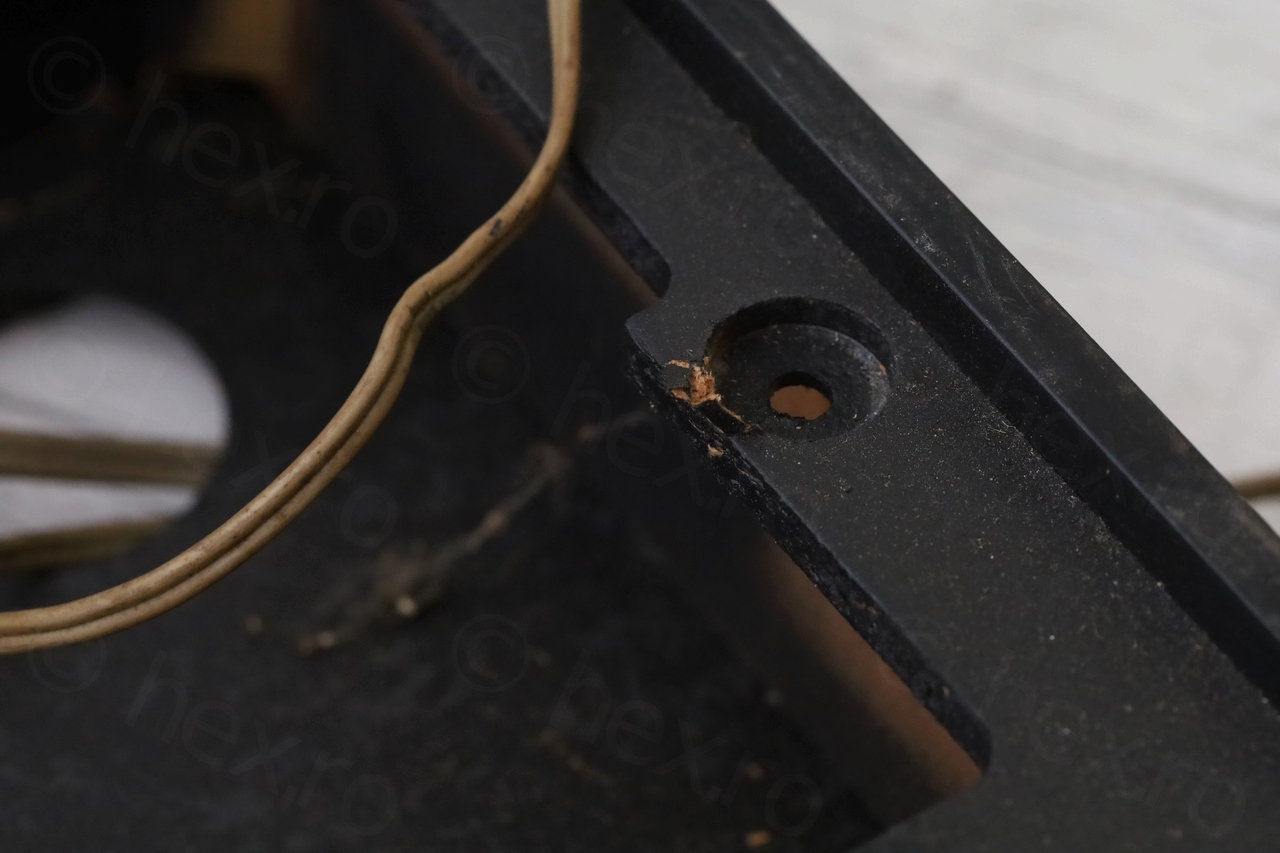
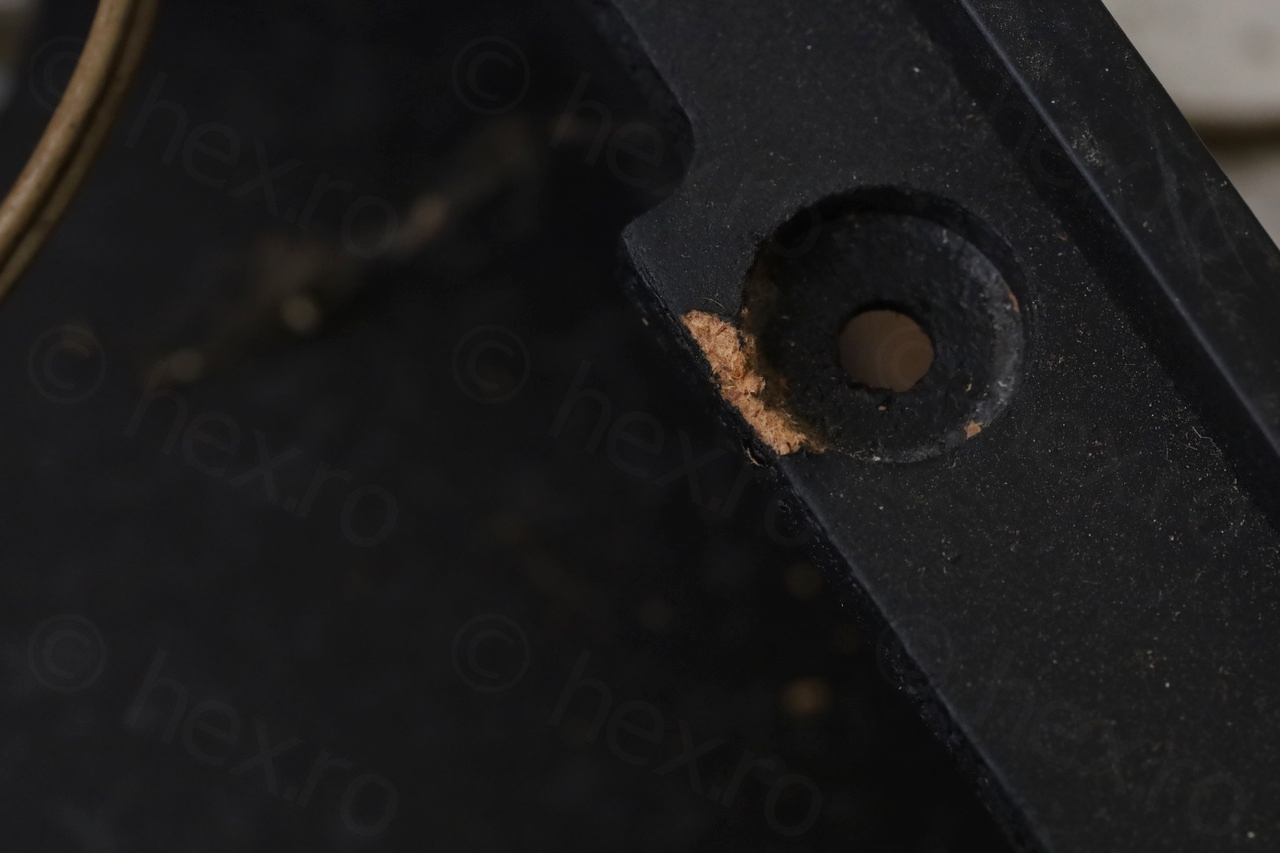
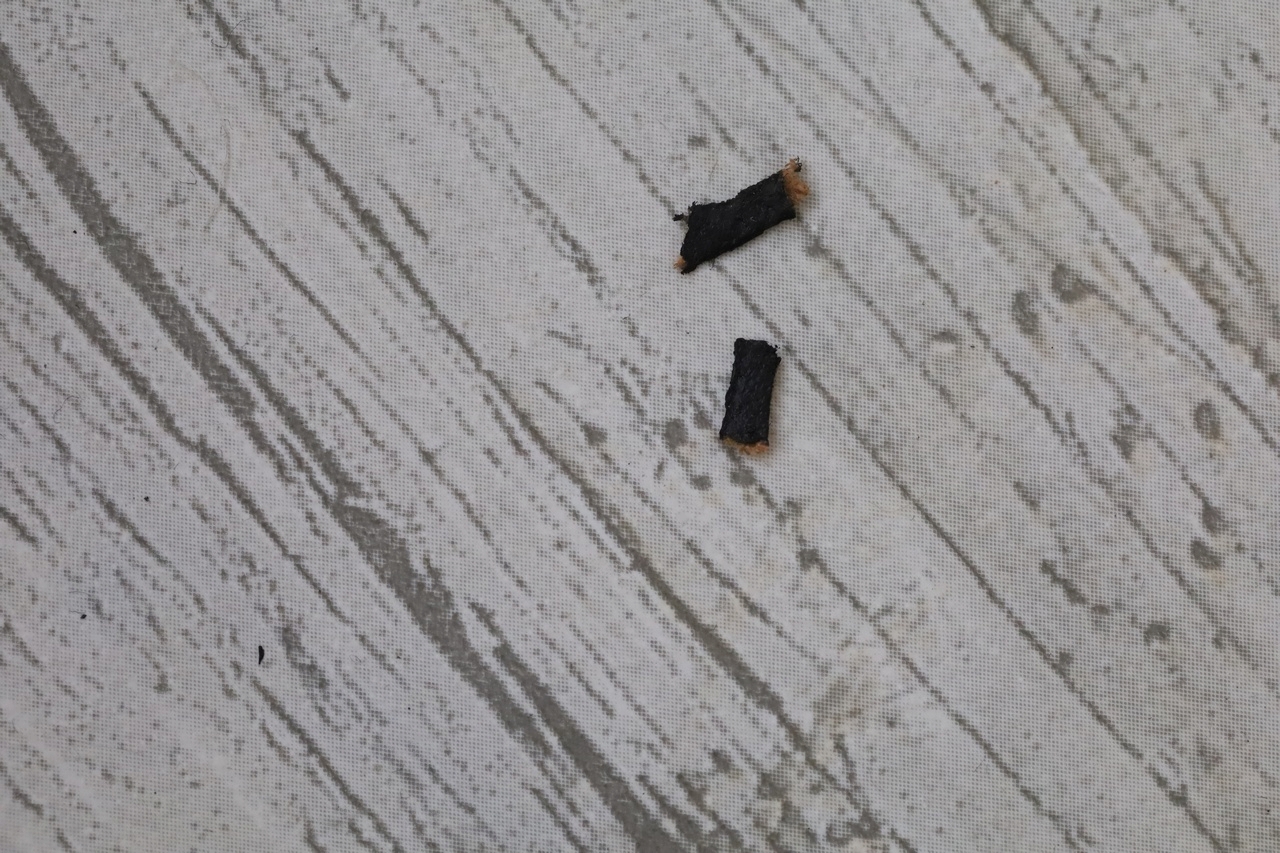
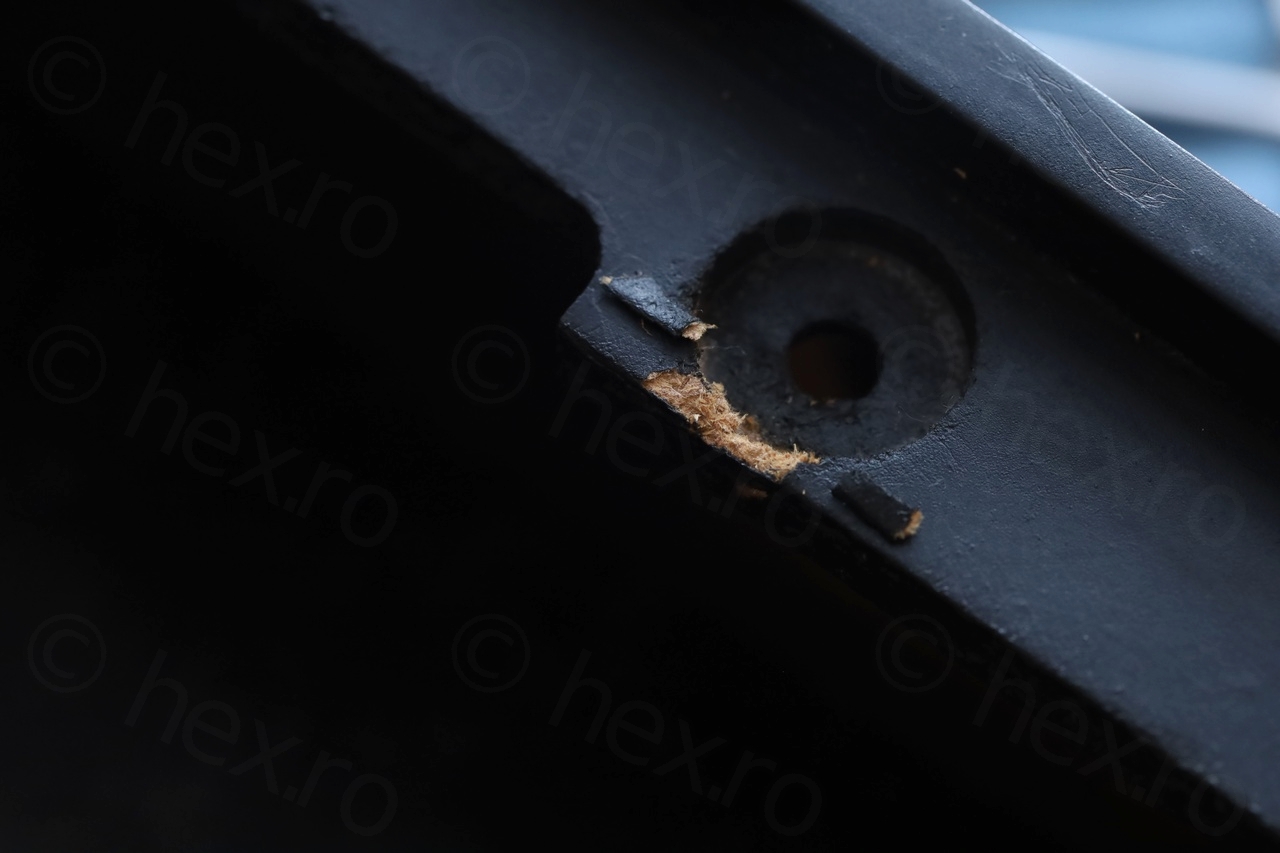
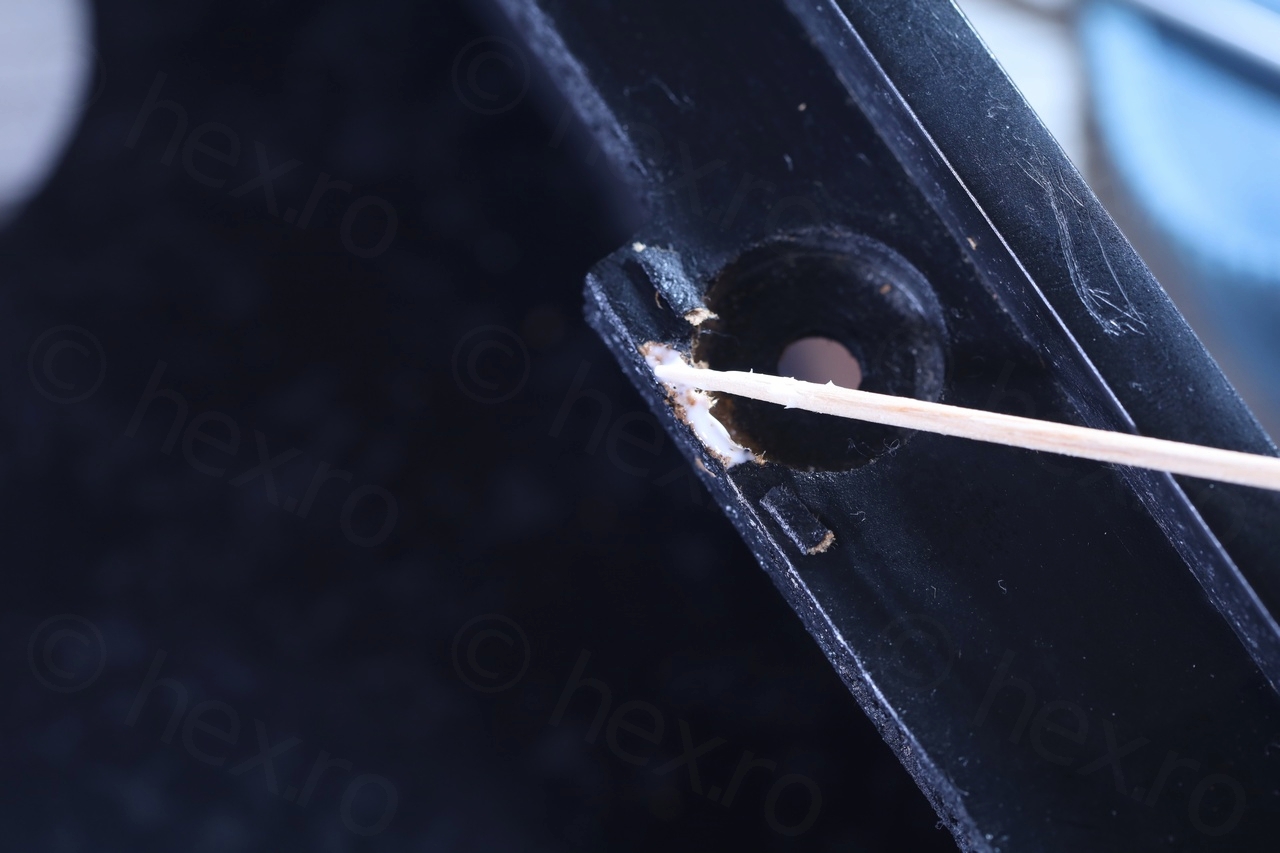
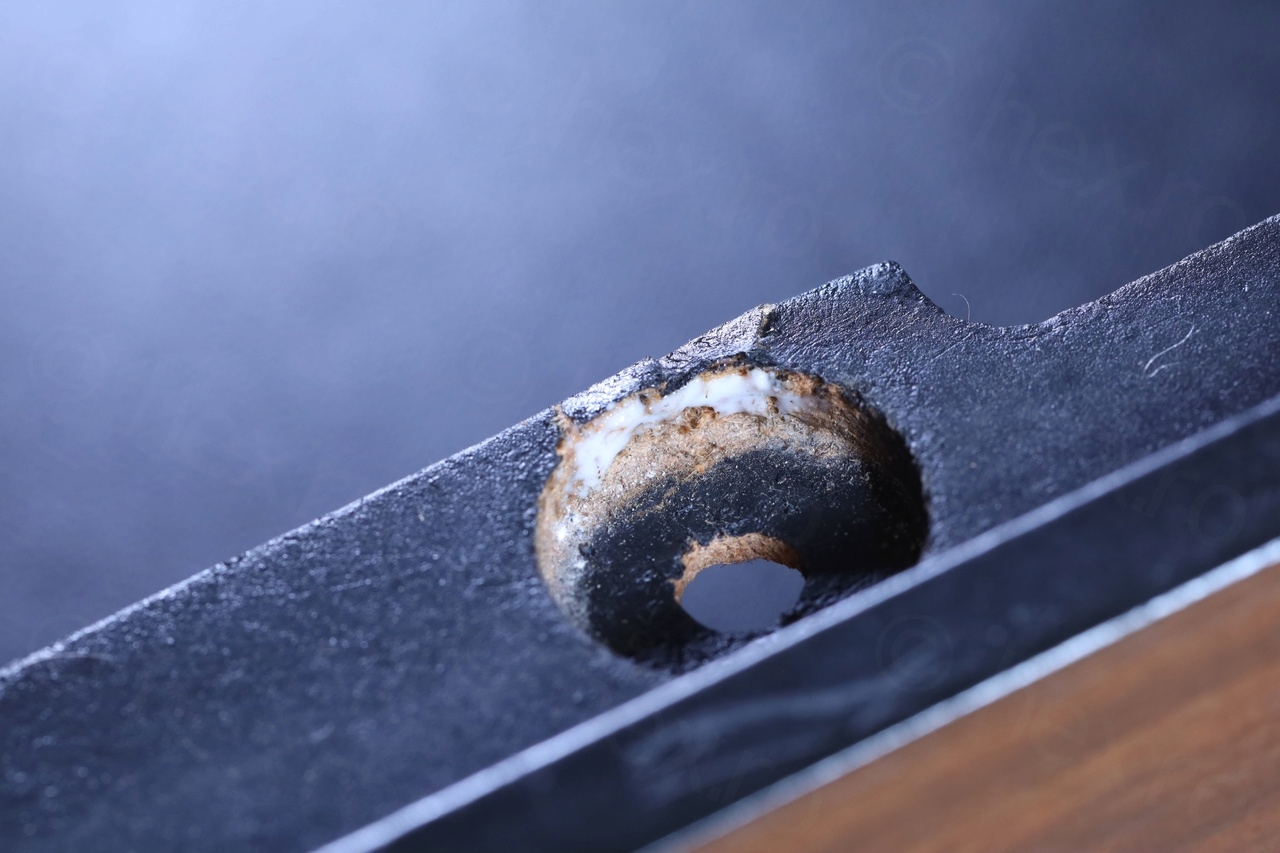
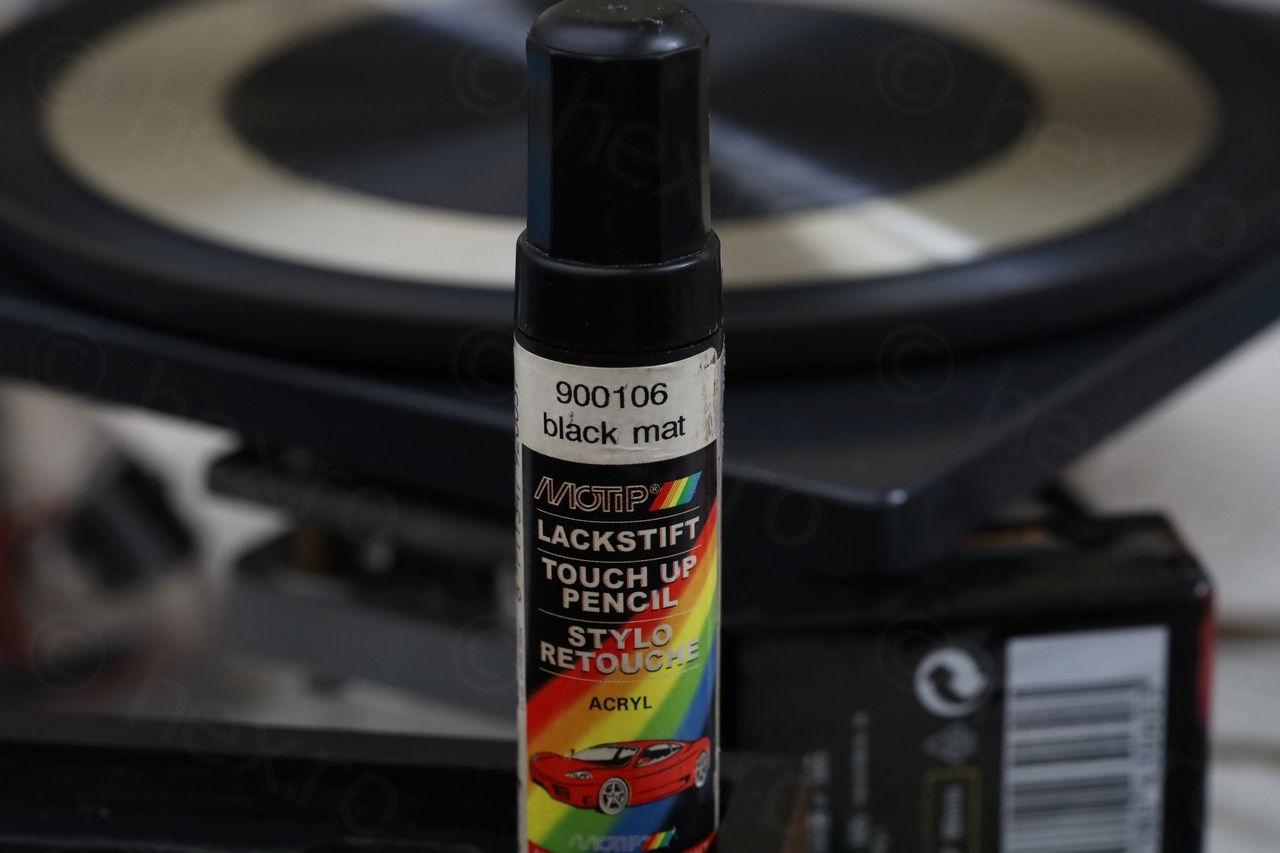
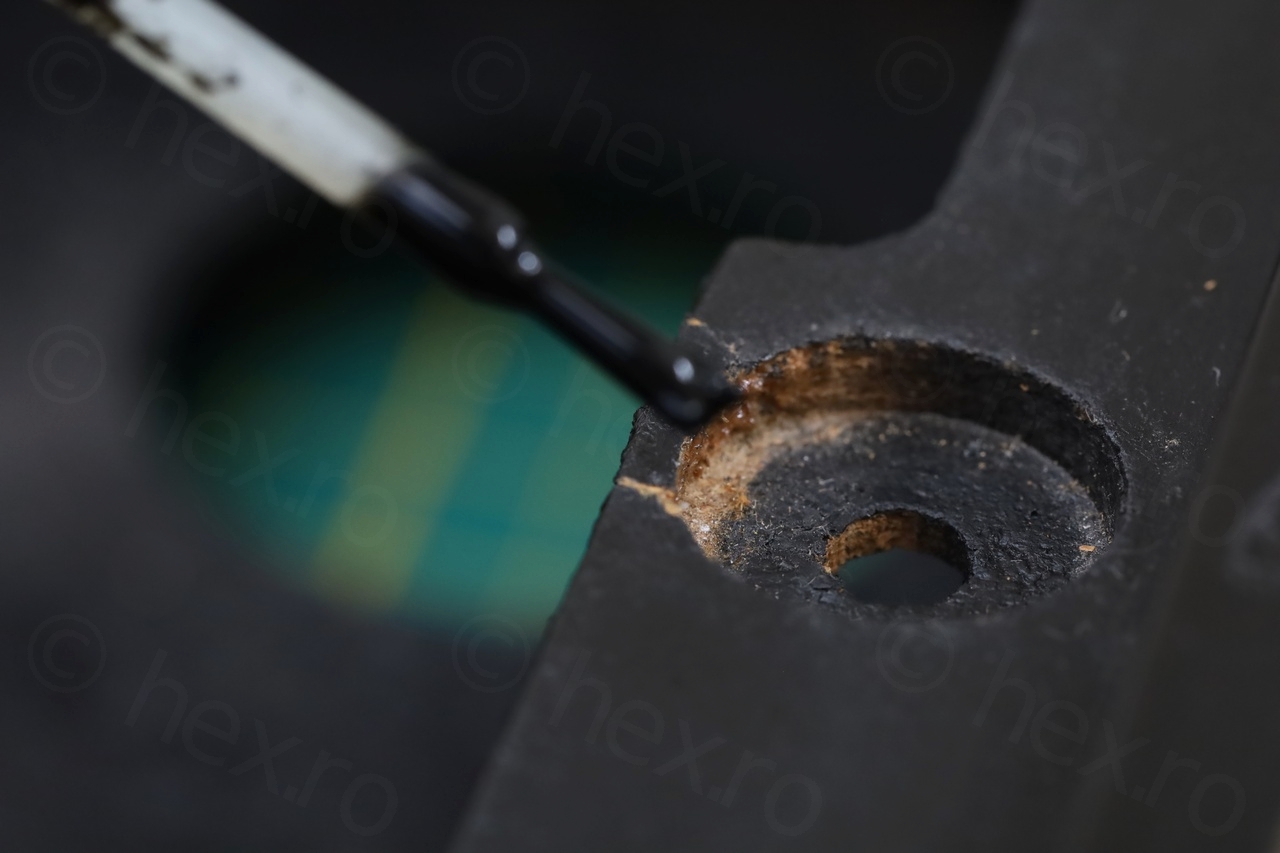
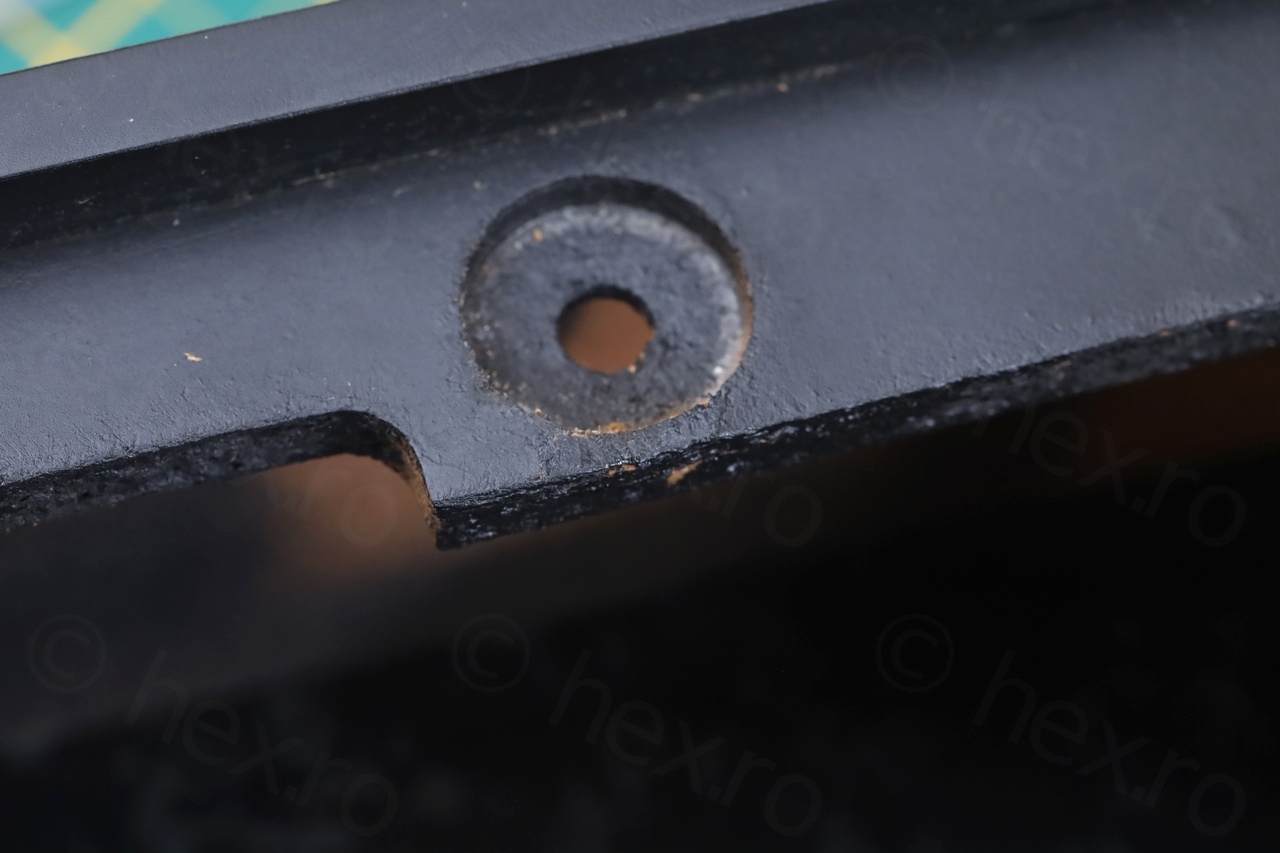
Re-gluing some wood chips
As I struggled to take the turntable away from its case, I realized two small wood chips broke free. With a little wood glue and, after wood glue dried, a small amount of matte black paint, I but them back together:


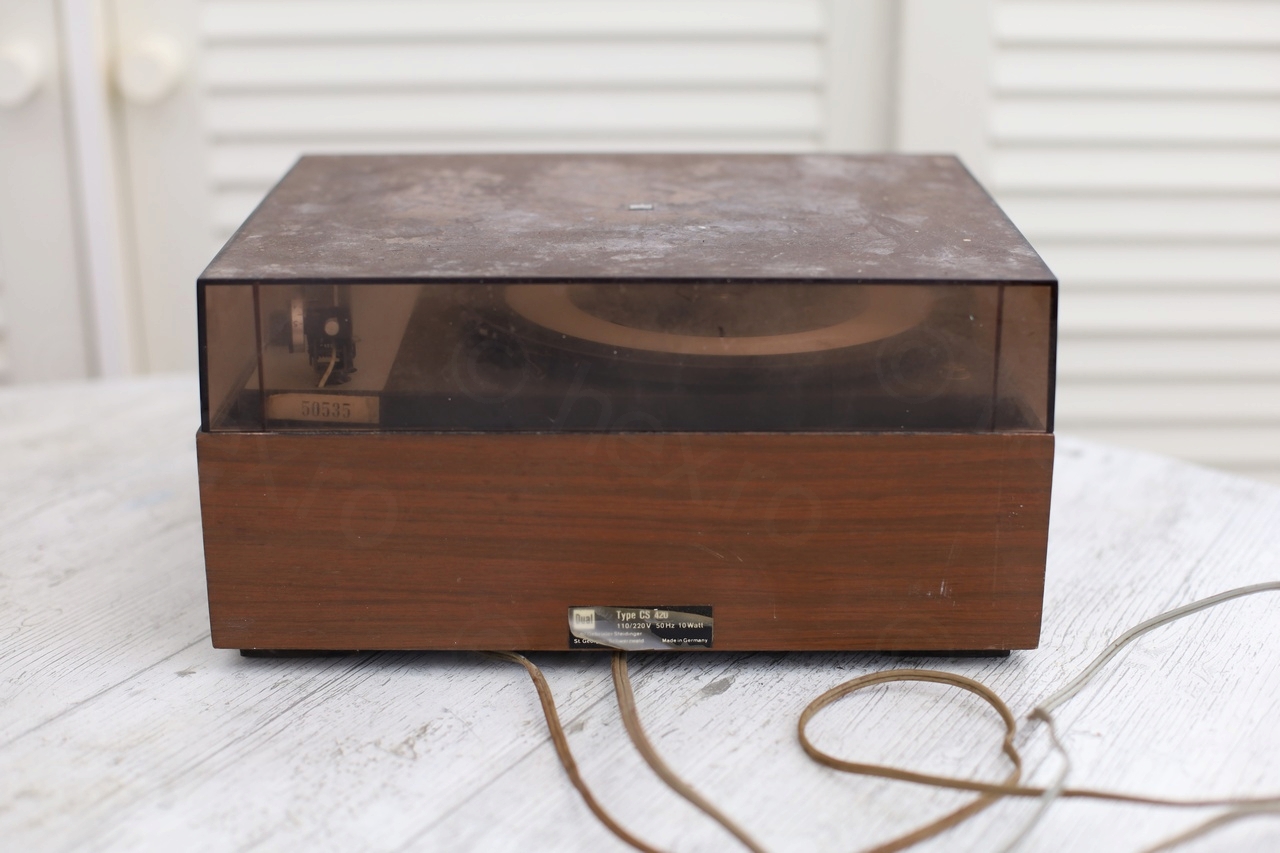
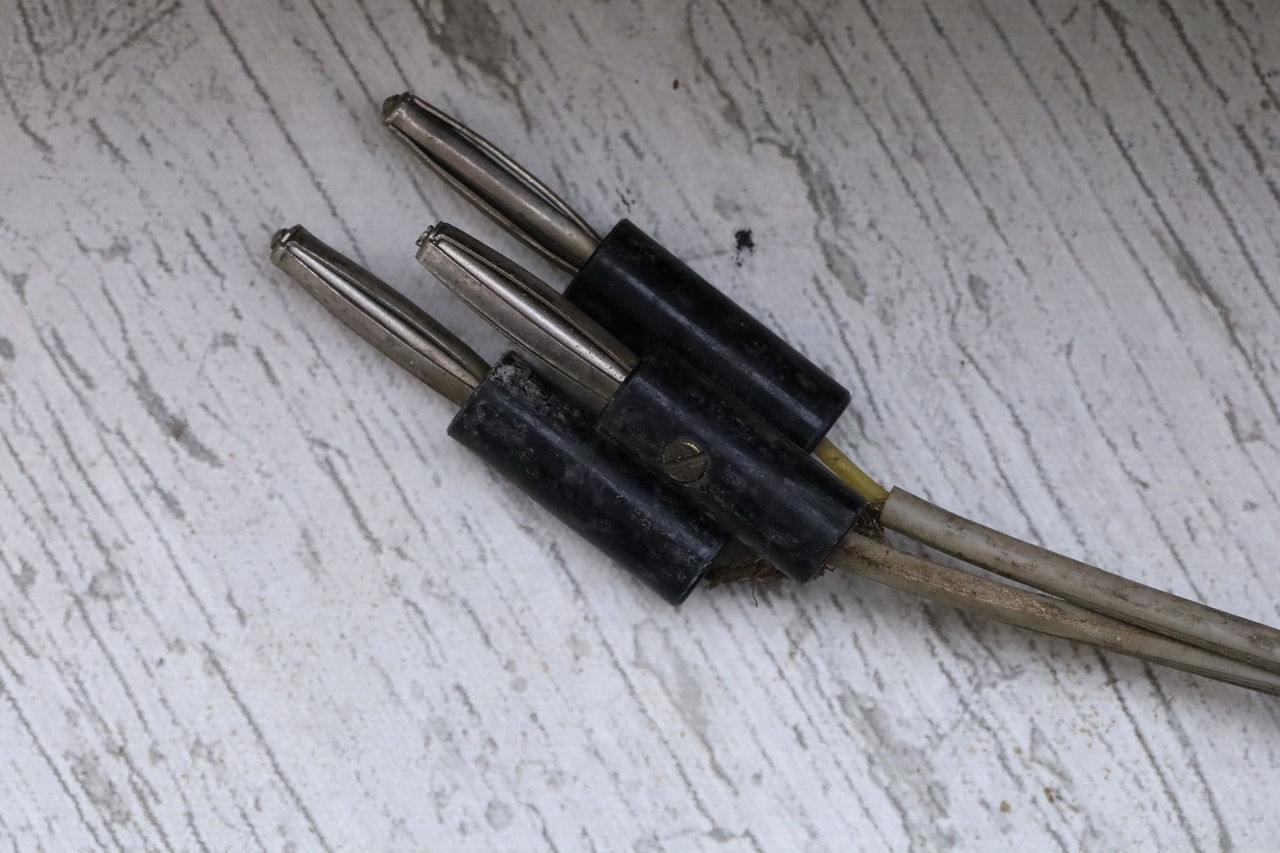
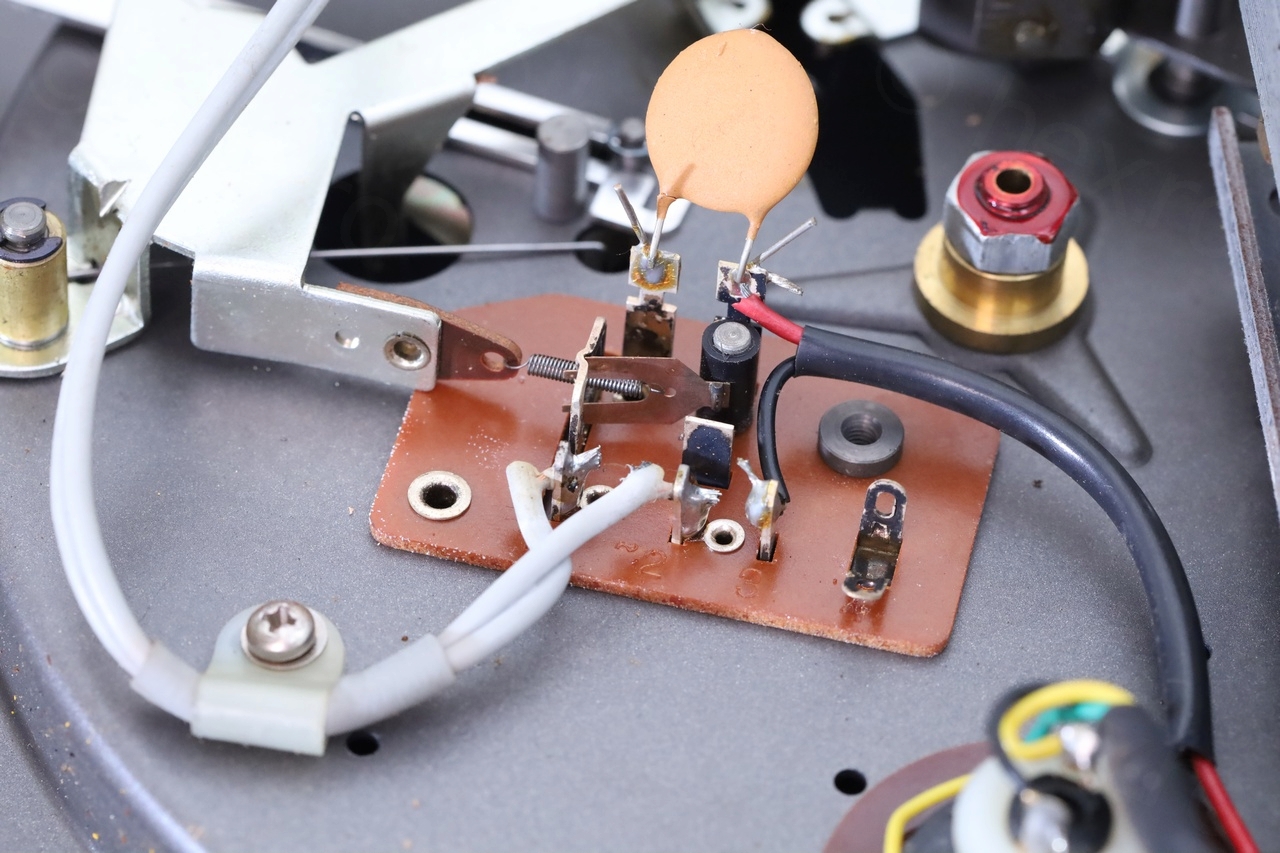
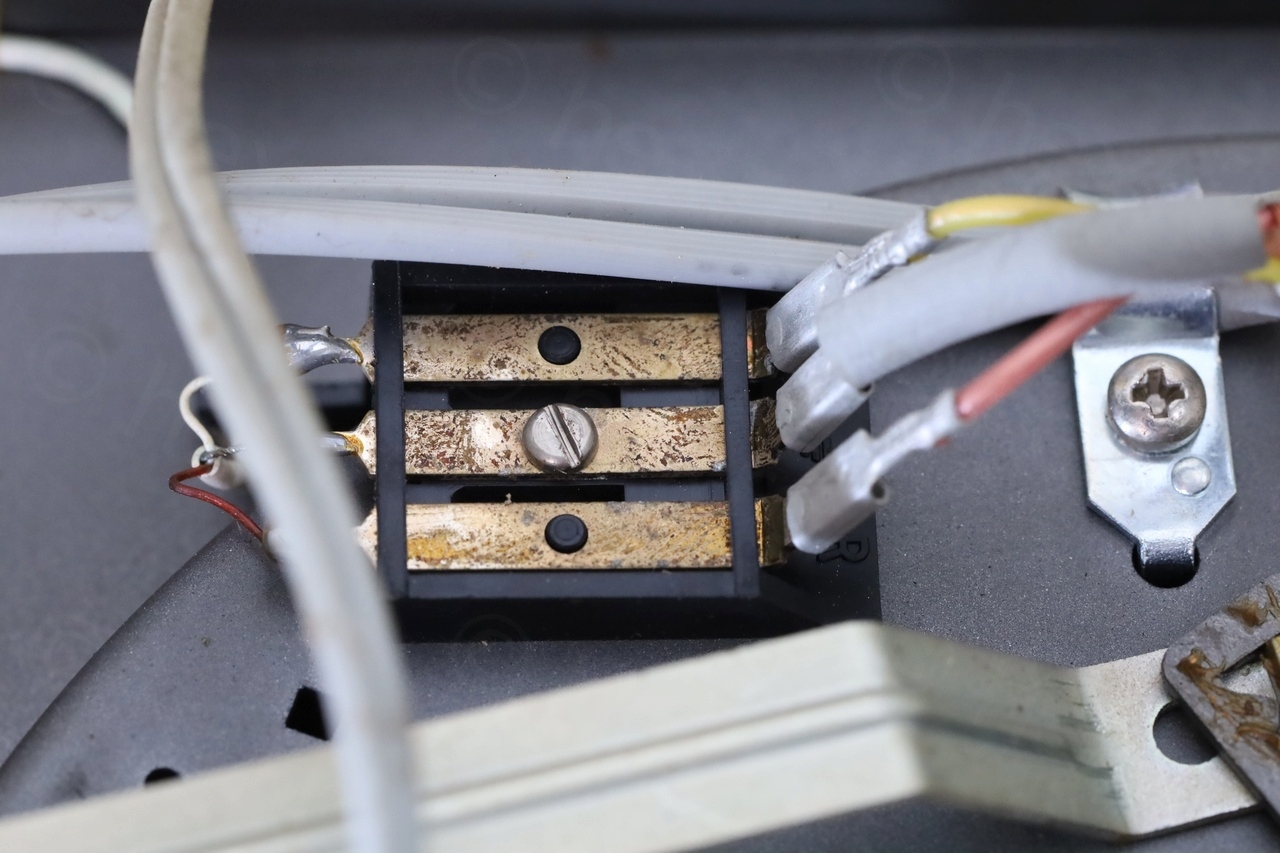
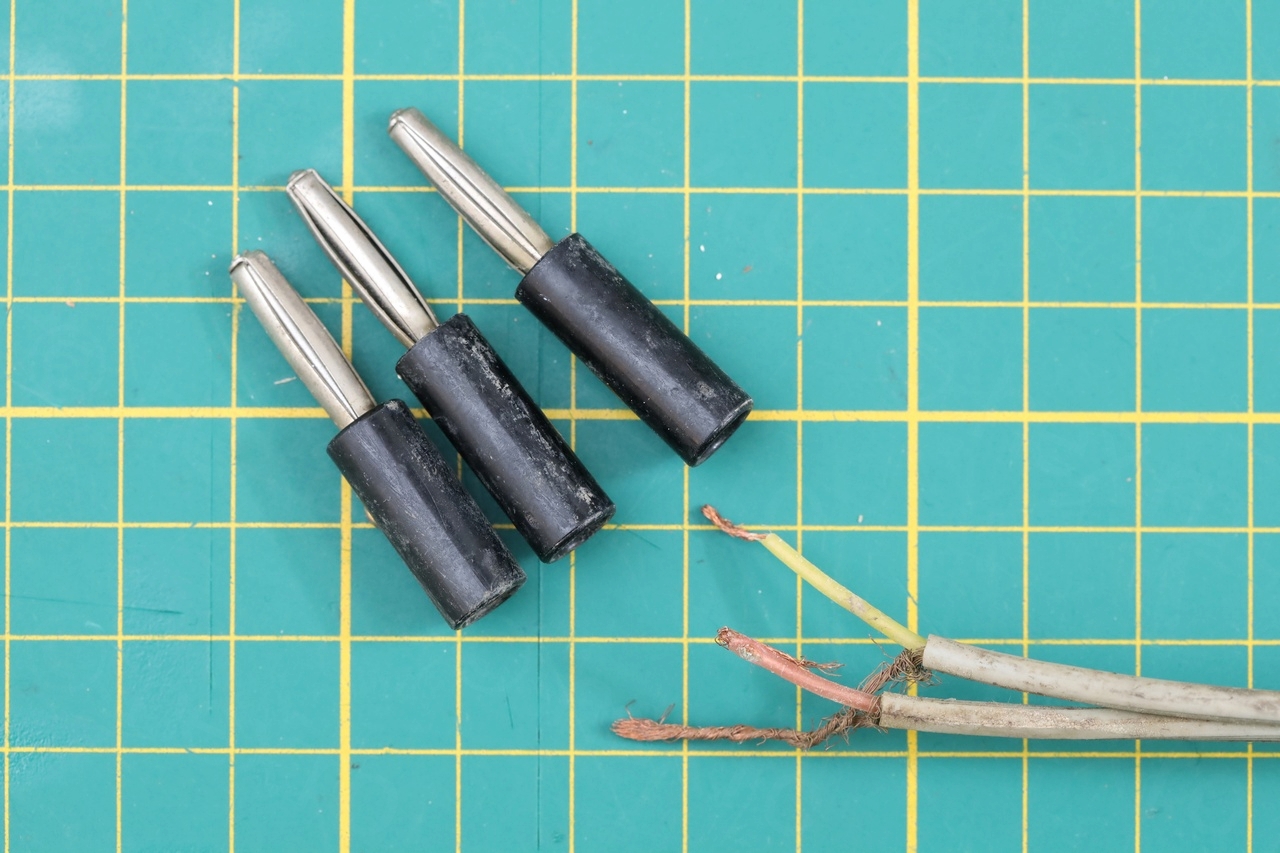
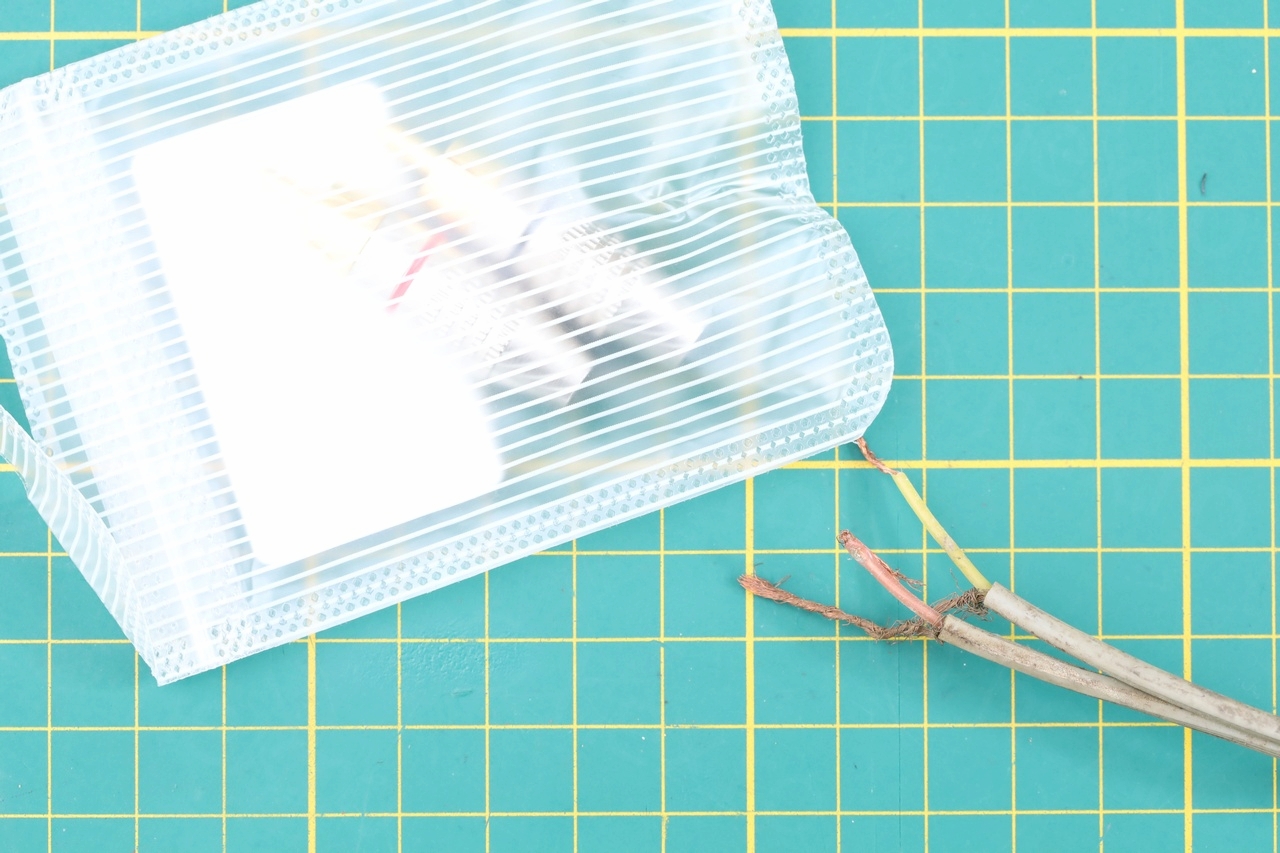
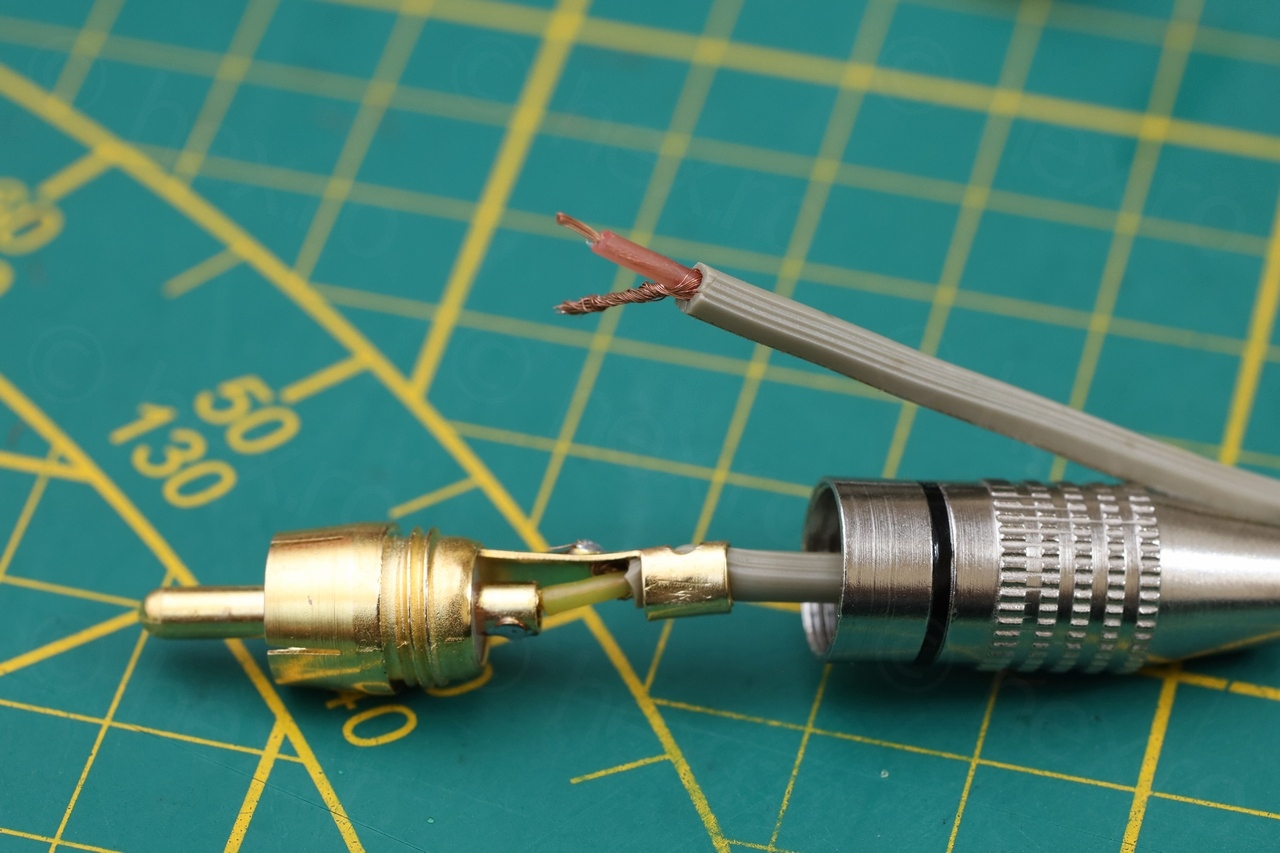
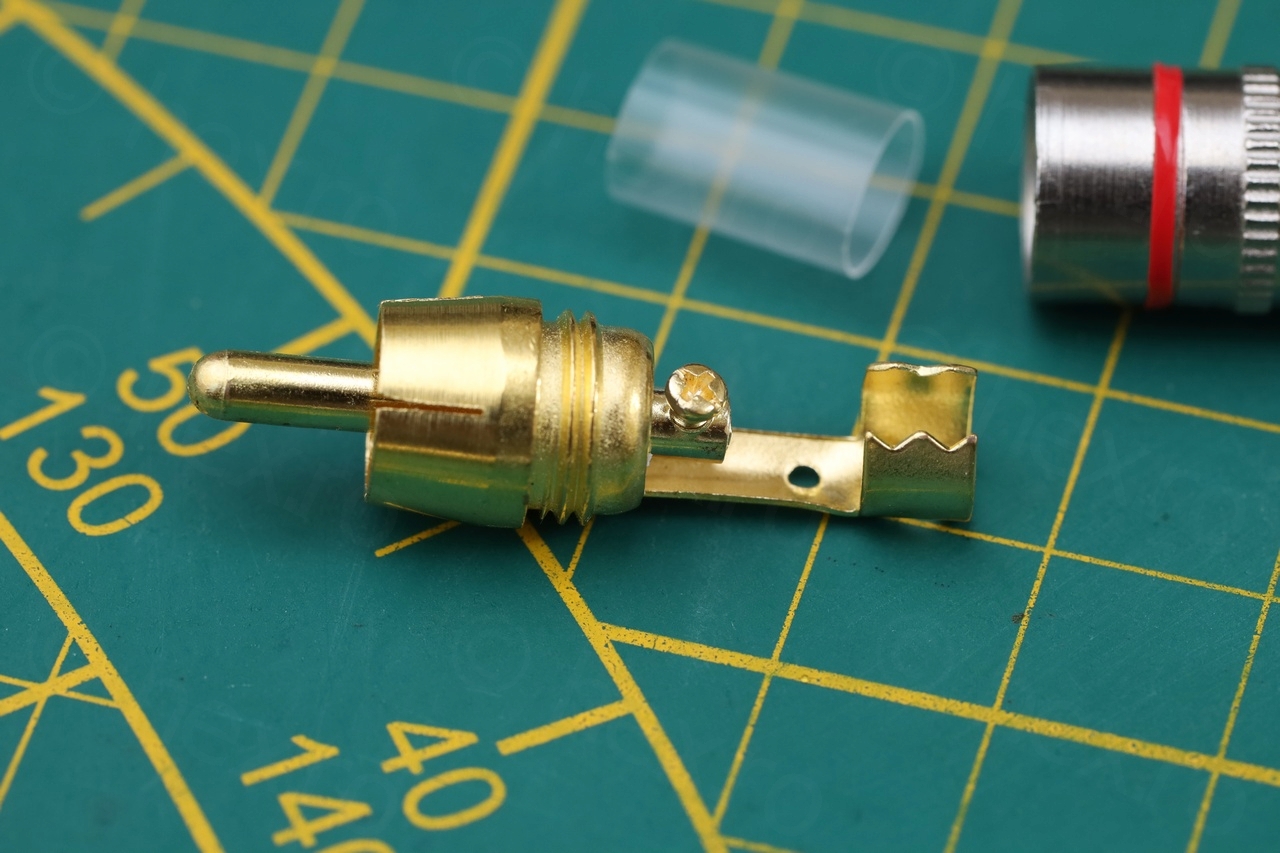
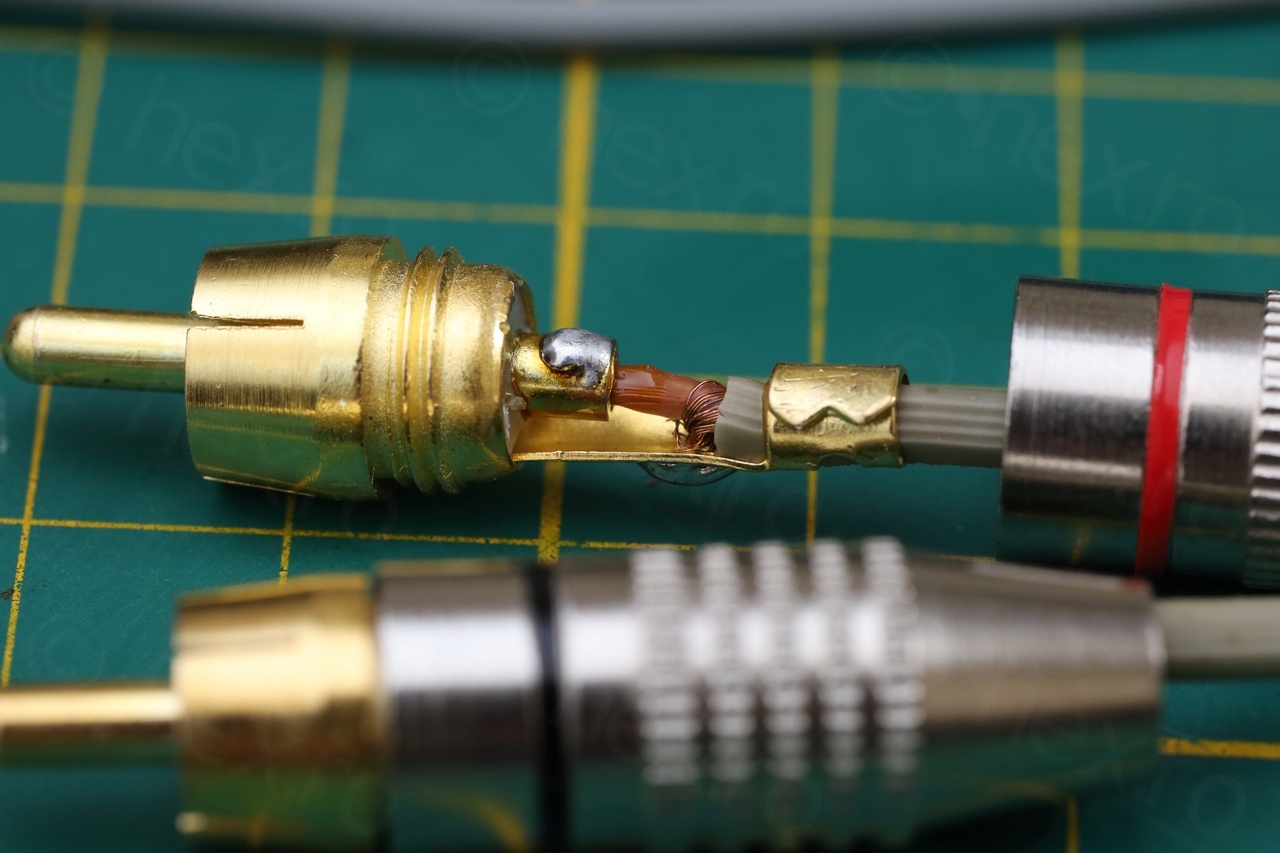
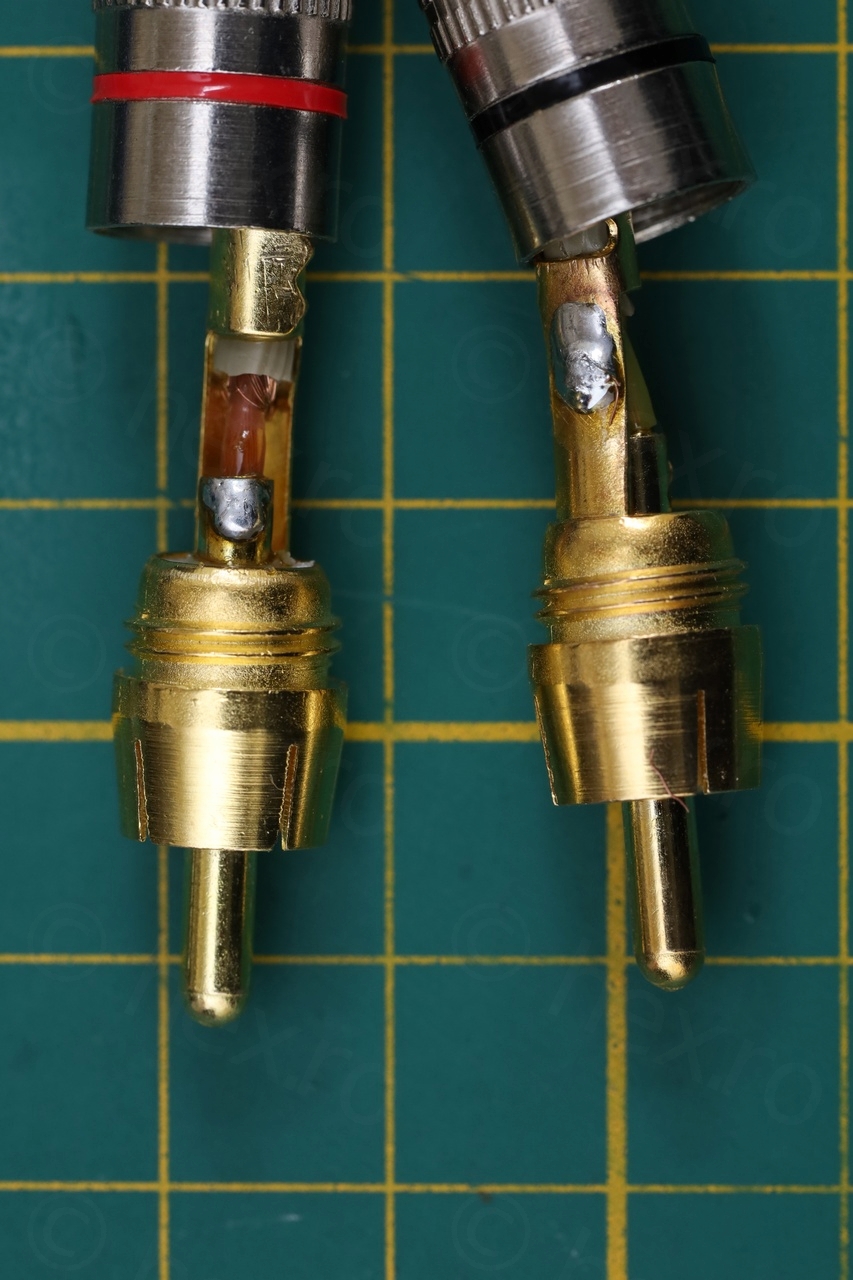
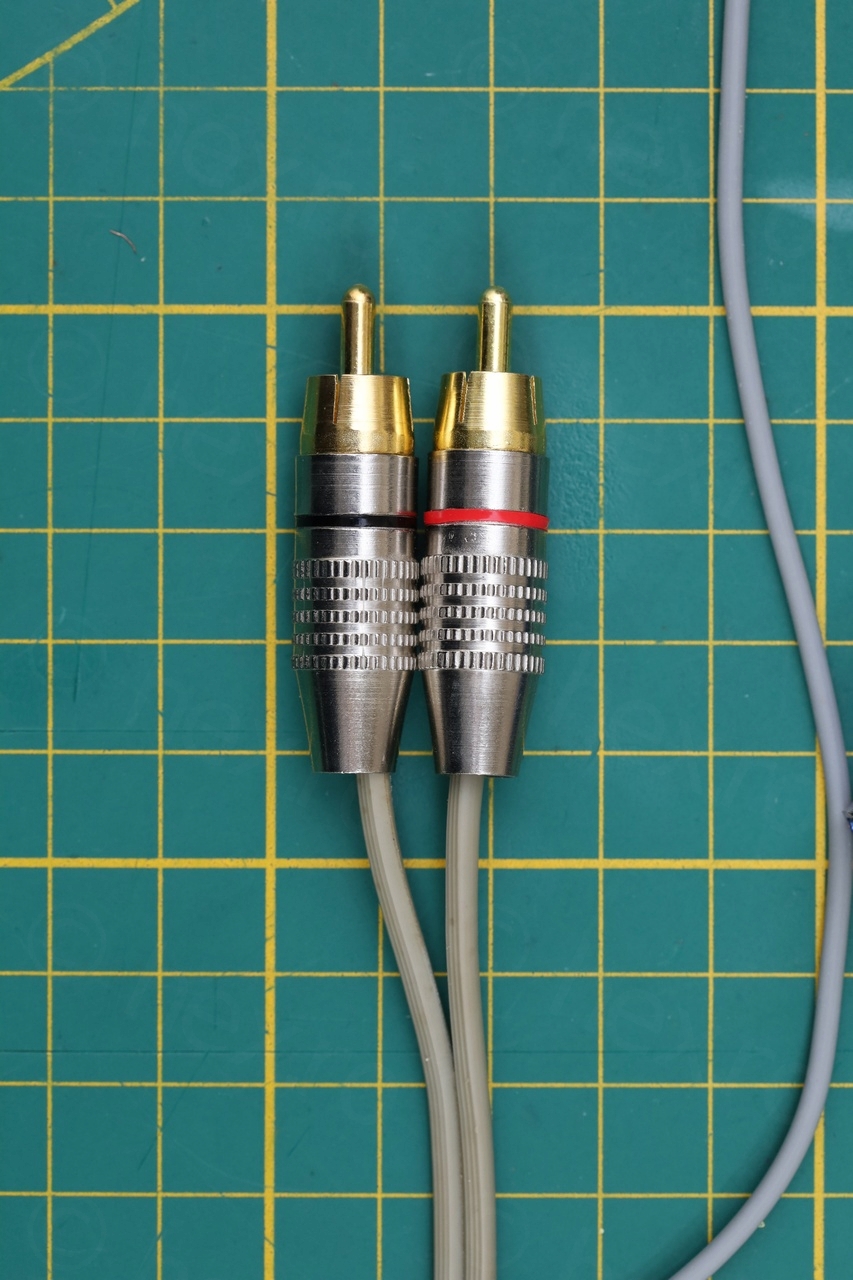
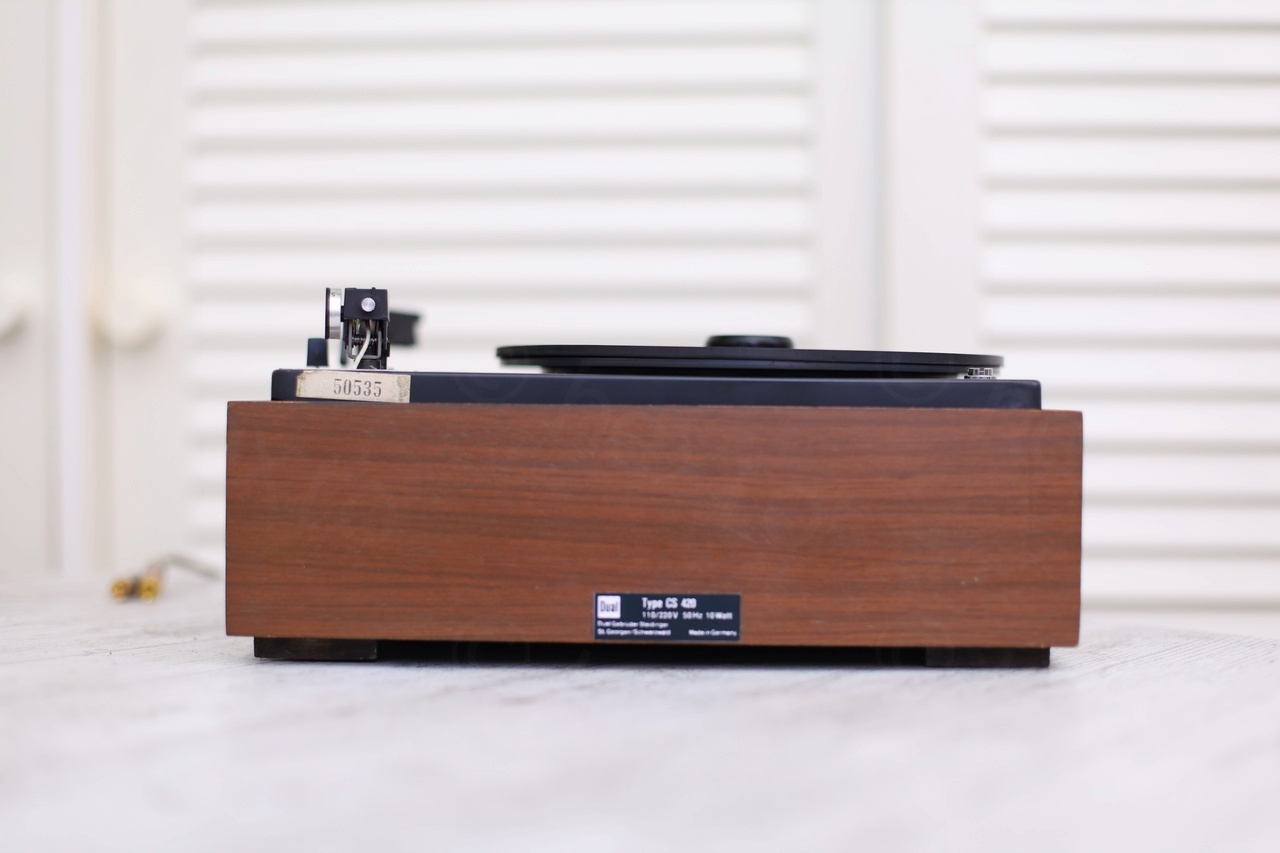
RCA Jacks or DIN 5 ?
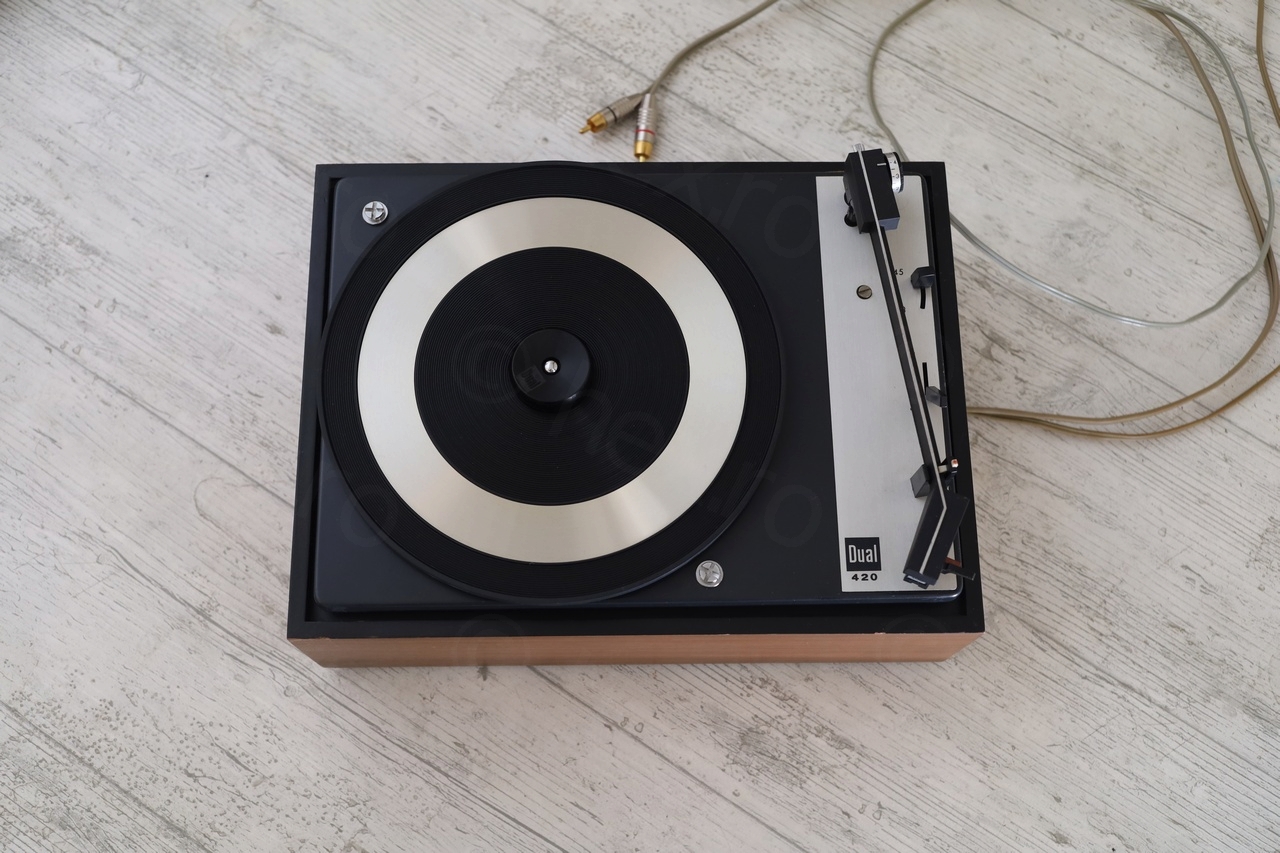
After checking other photos online, I realized the turntable used to come with a DIN 5 Pin connector. I didn’t have a gray DIN5 connector to try to keep the original look. Thus, I decided to install RCA plugs, which are more convenient to connect to my devices. For same day delivery, I only found RCA Plugs having screws (no soldering required), but I do prefer soldering the plugs – so I eliminated the screw and soldered directly.


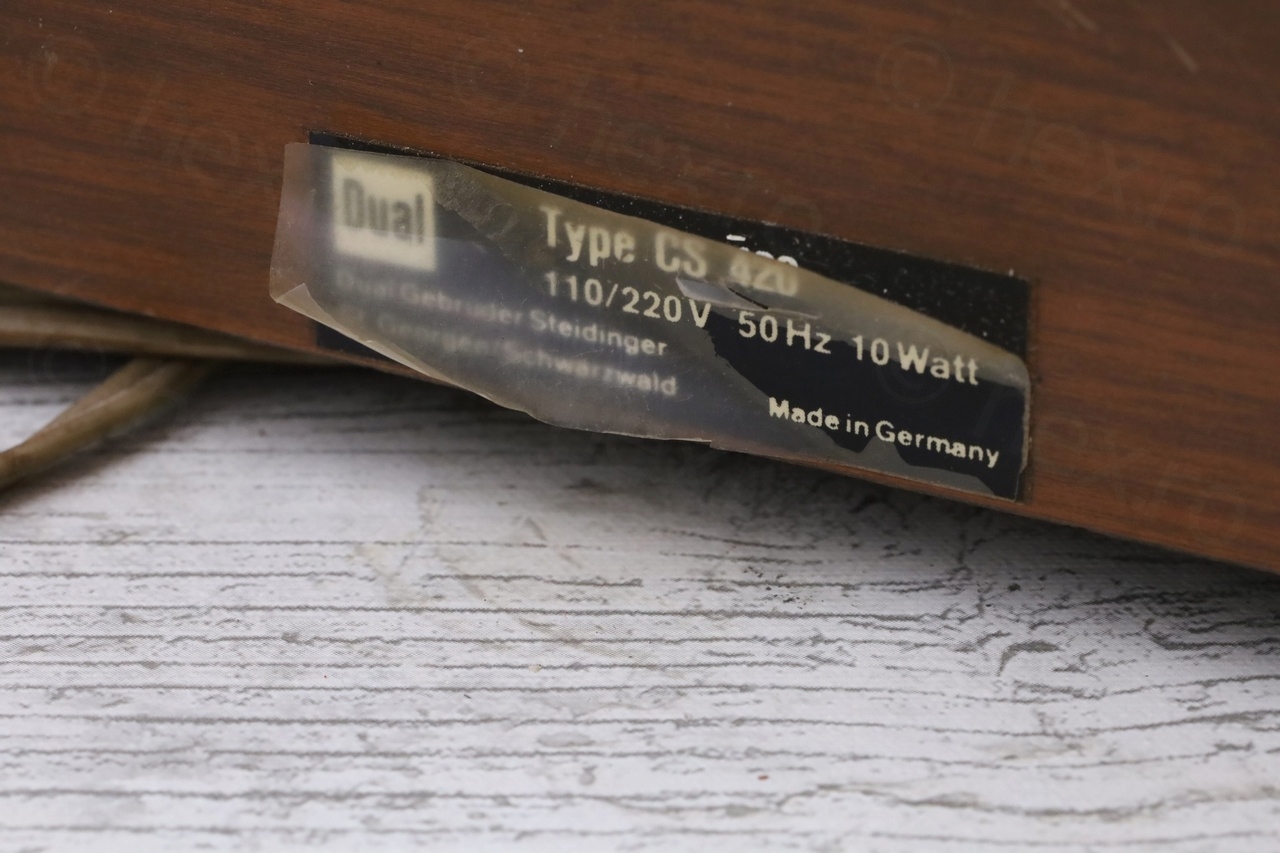
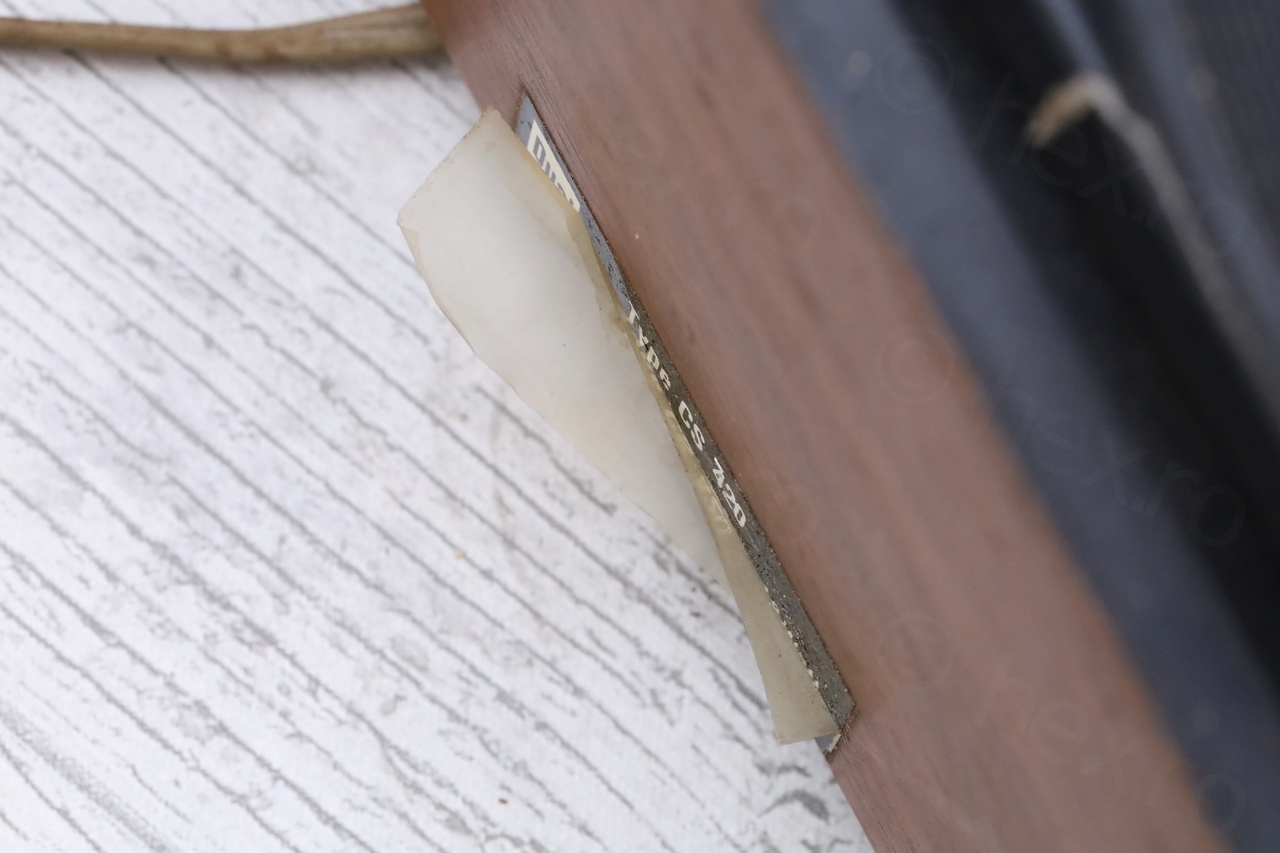
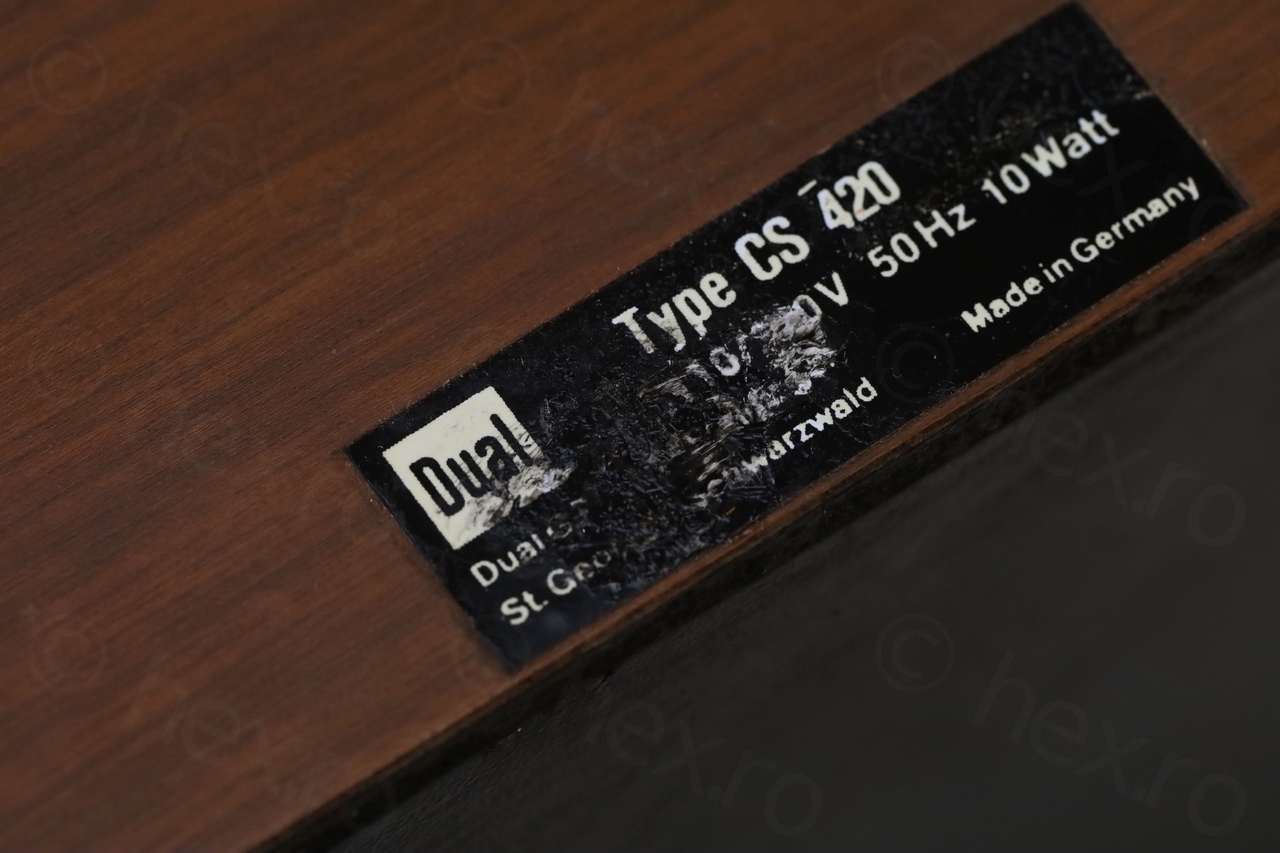
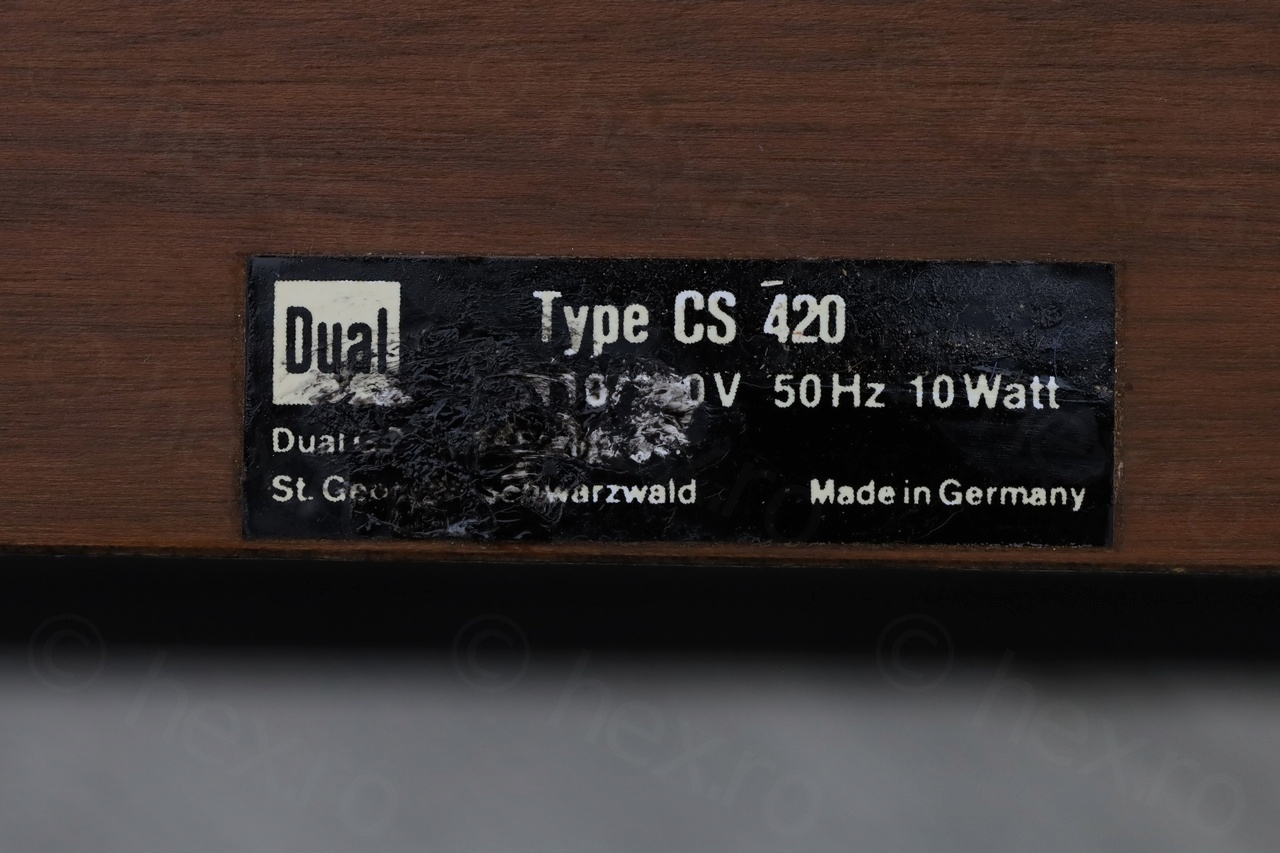
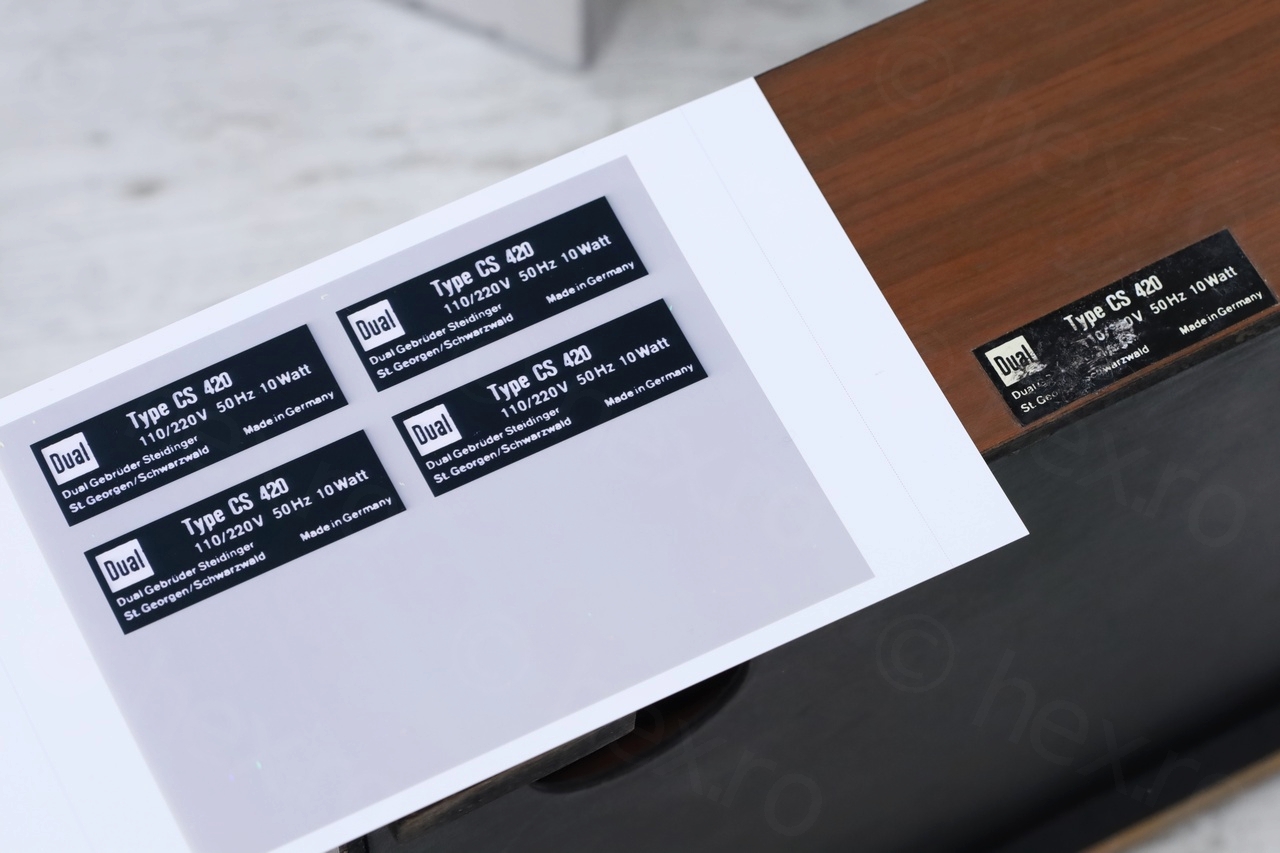
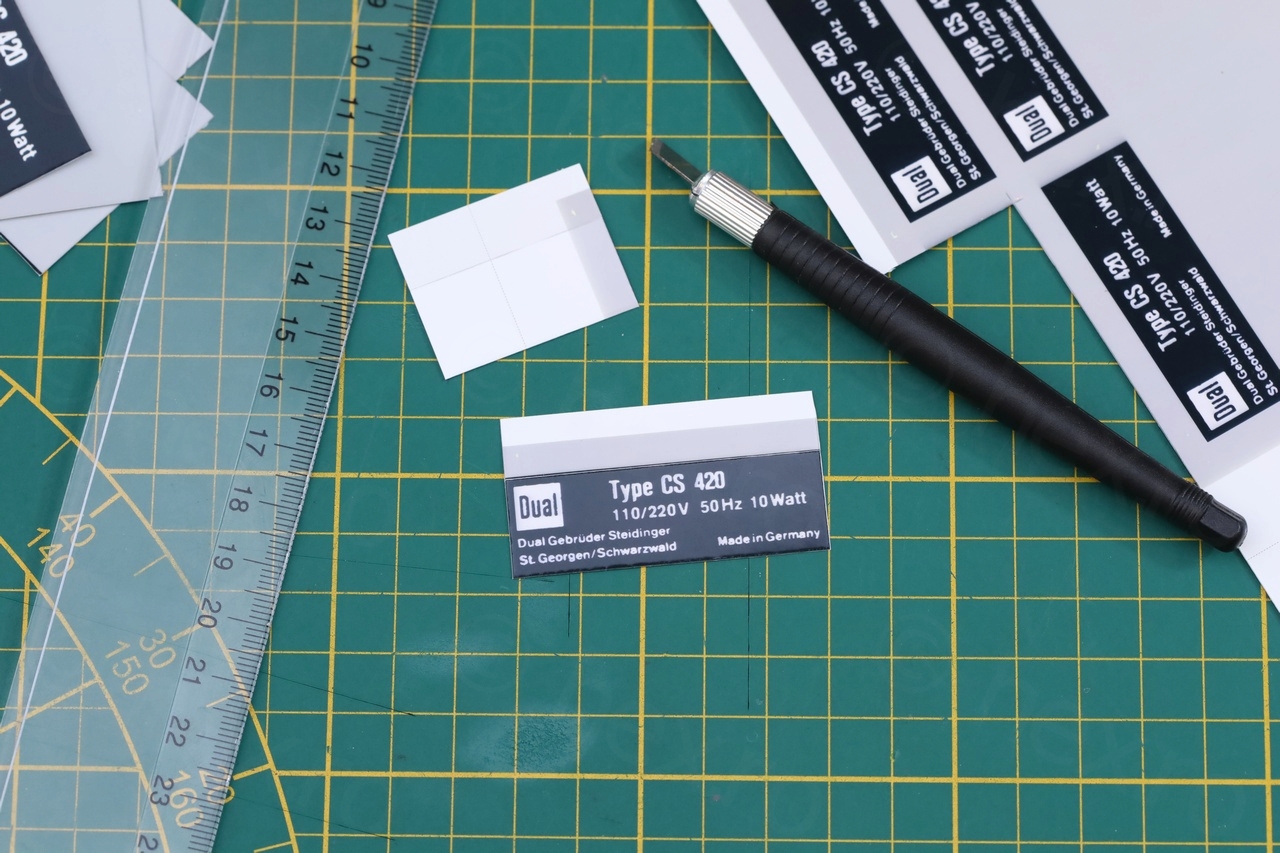
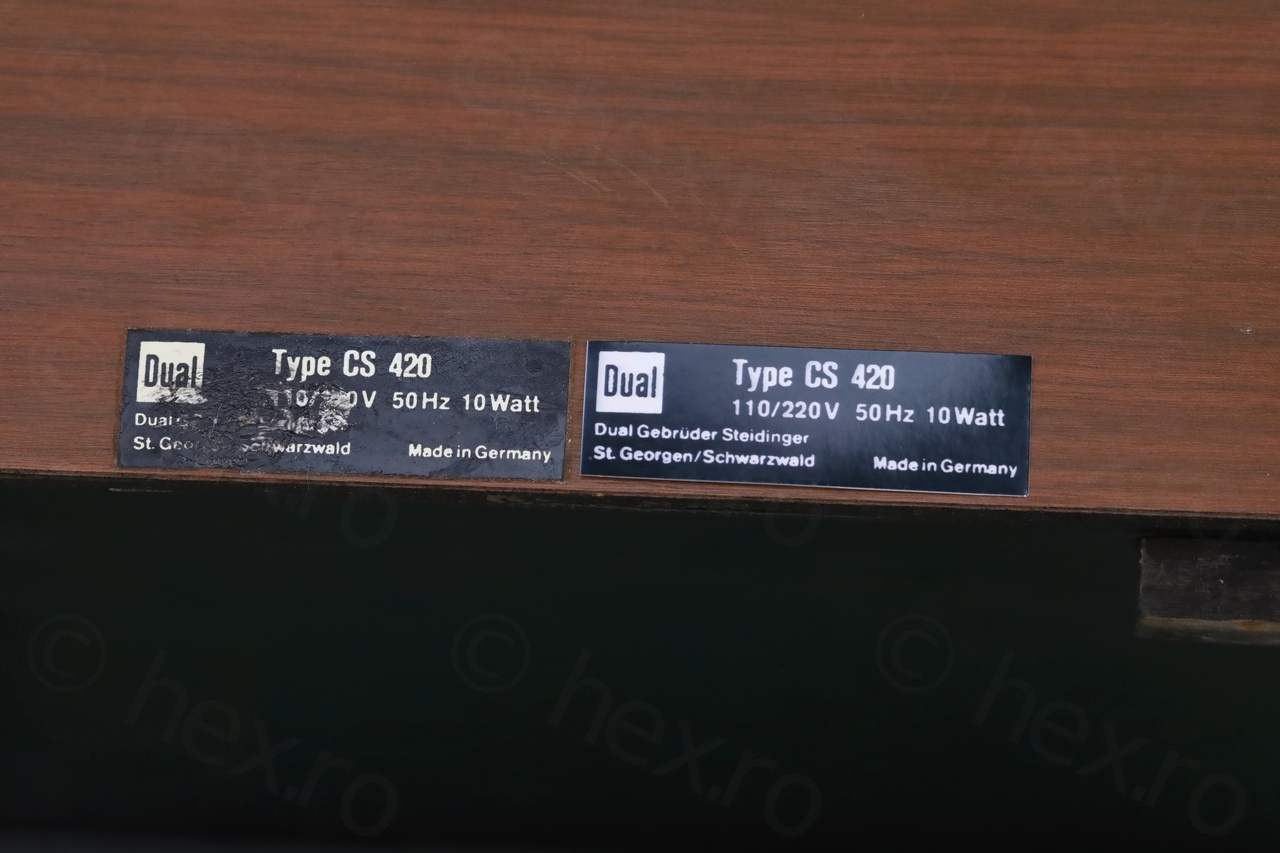
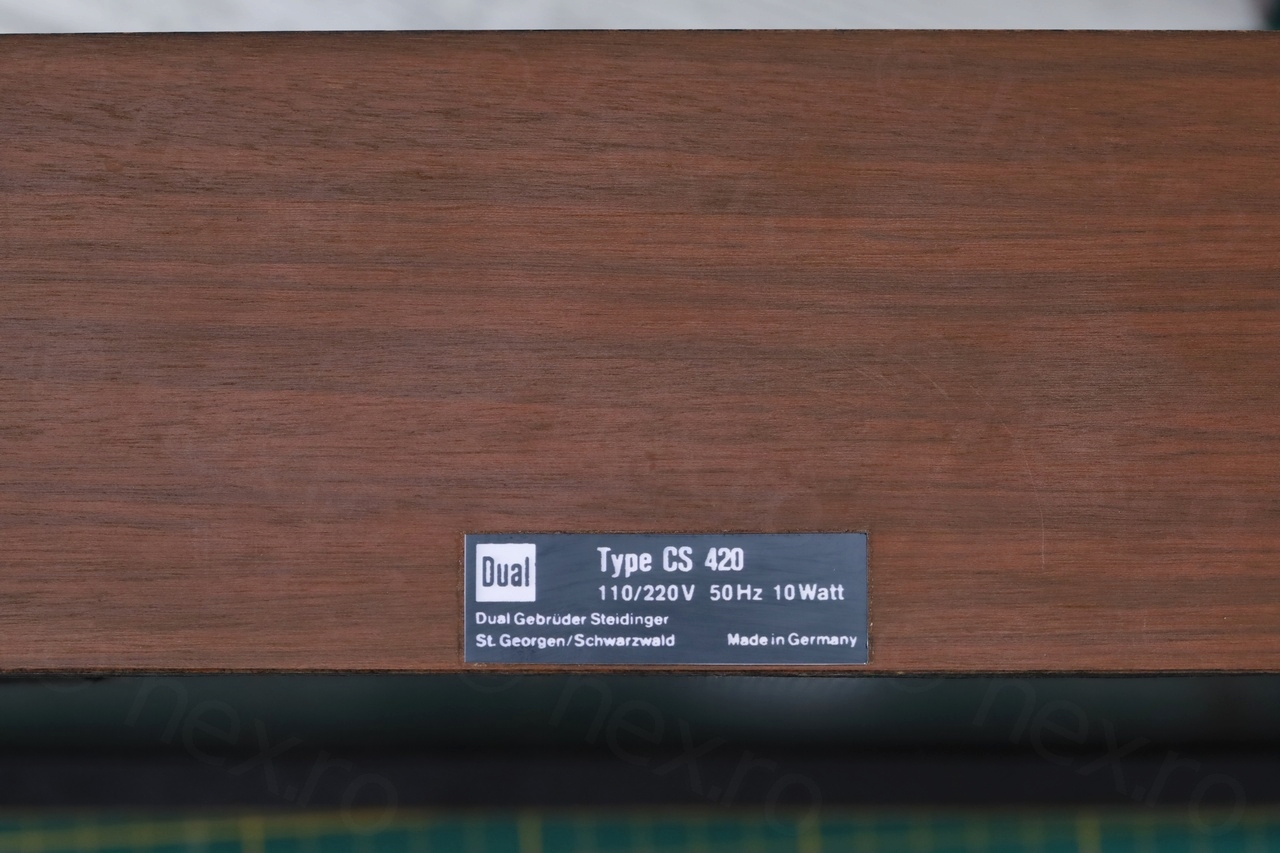
Designing a new label
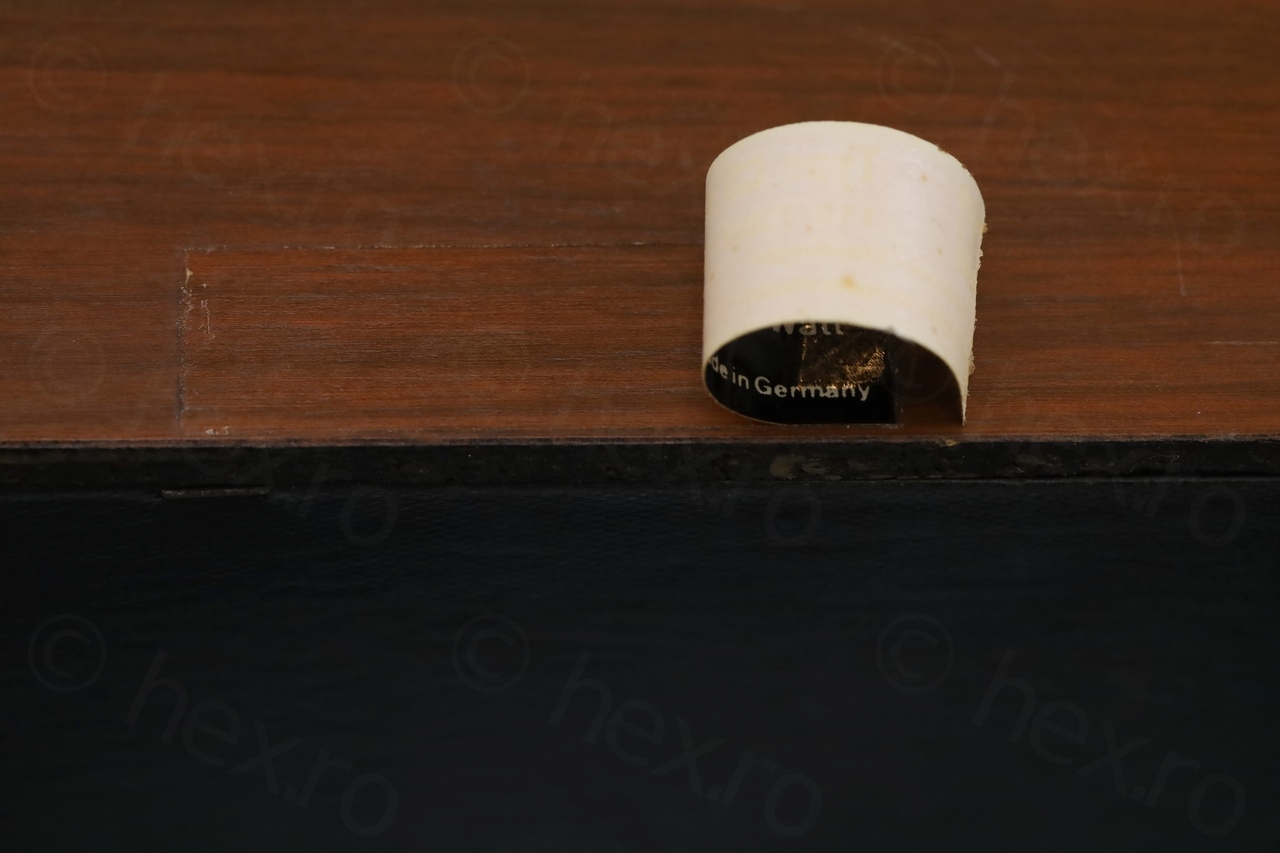
The black Dual label on the back of the turntable was peeling off, barely holding in one corner. If I could apply some thin layer of transparent glue and then press down on the plastic film, it may have been salvaged. I’ve tested using a match box and some other clear thin plastic. It went fine the test. However, I made a mistake thinking that the label itself is inert / not reactive, and proceeded to apply the glue directly, without testing in a small corner. Label started melting … I damaged it while smearing the thin transparent glue I had at hand.
Back to the drawing board.
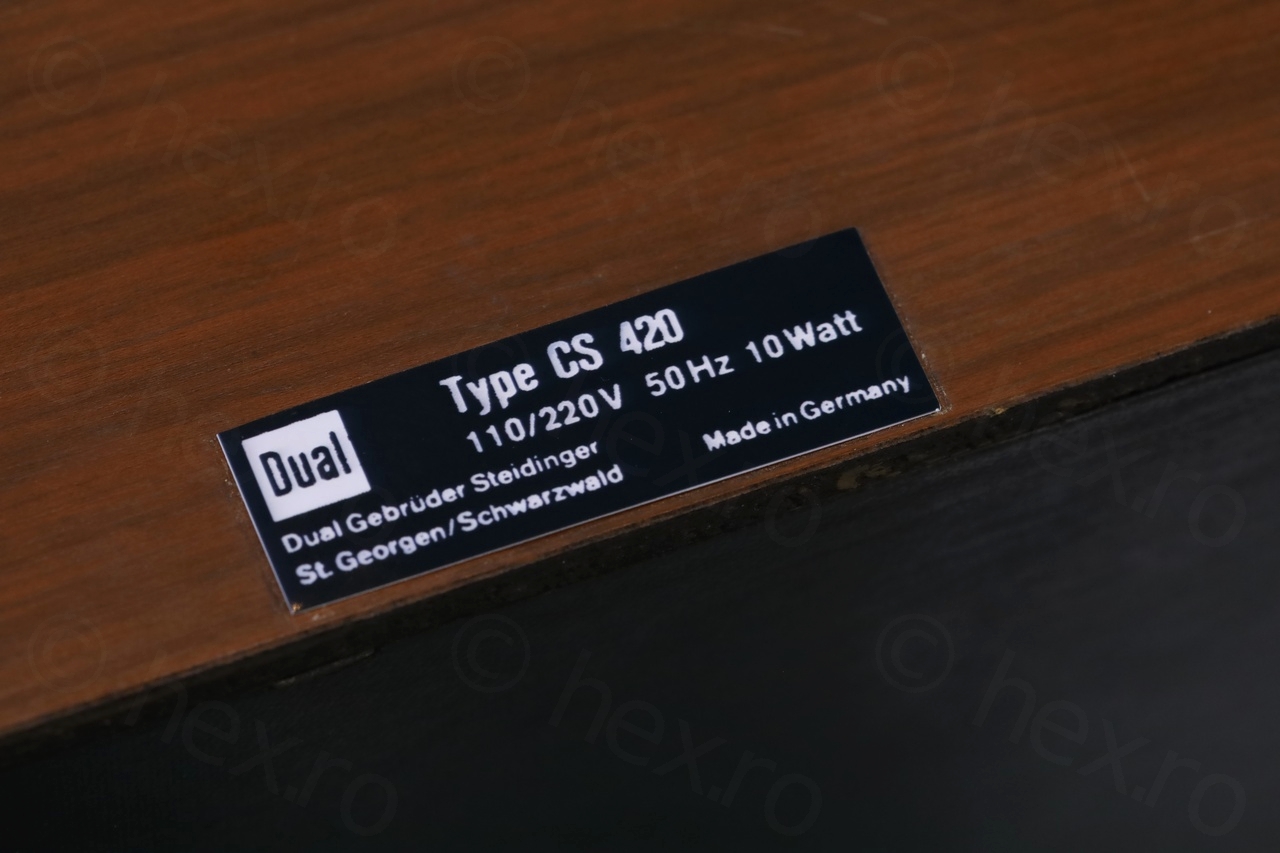
I wanted to preserve the look, so I have designed a new one in Gimp. I did encounter some issues when printing using the Canon Selphy CP1300 printer. I started off with a standard photo size, but printer was ignoring DPI and label ended up being larger than what I have designed. I’ve started with a new size (with borders), enabled borders and disabled Image Optimizer, and then the DPI was respected.

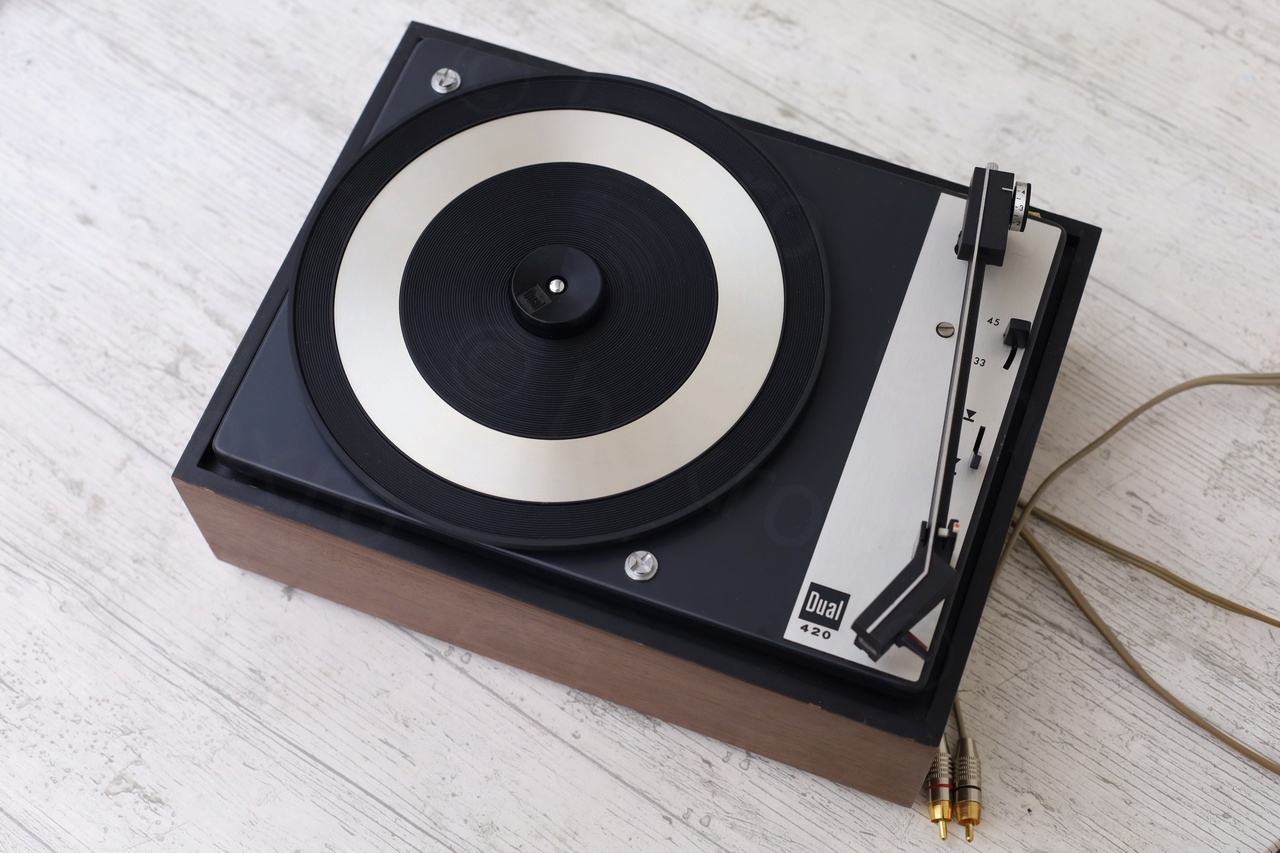
General cleanup
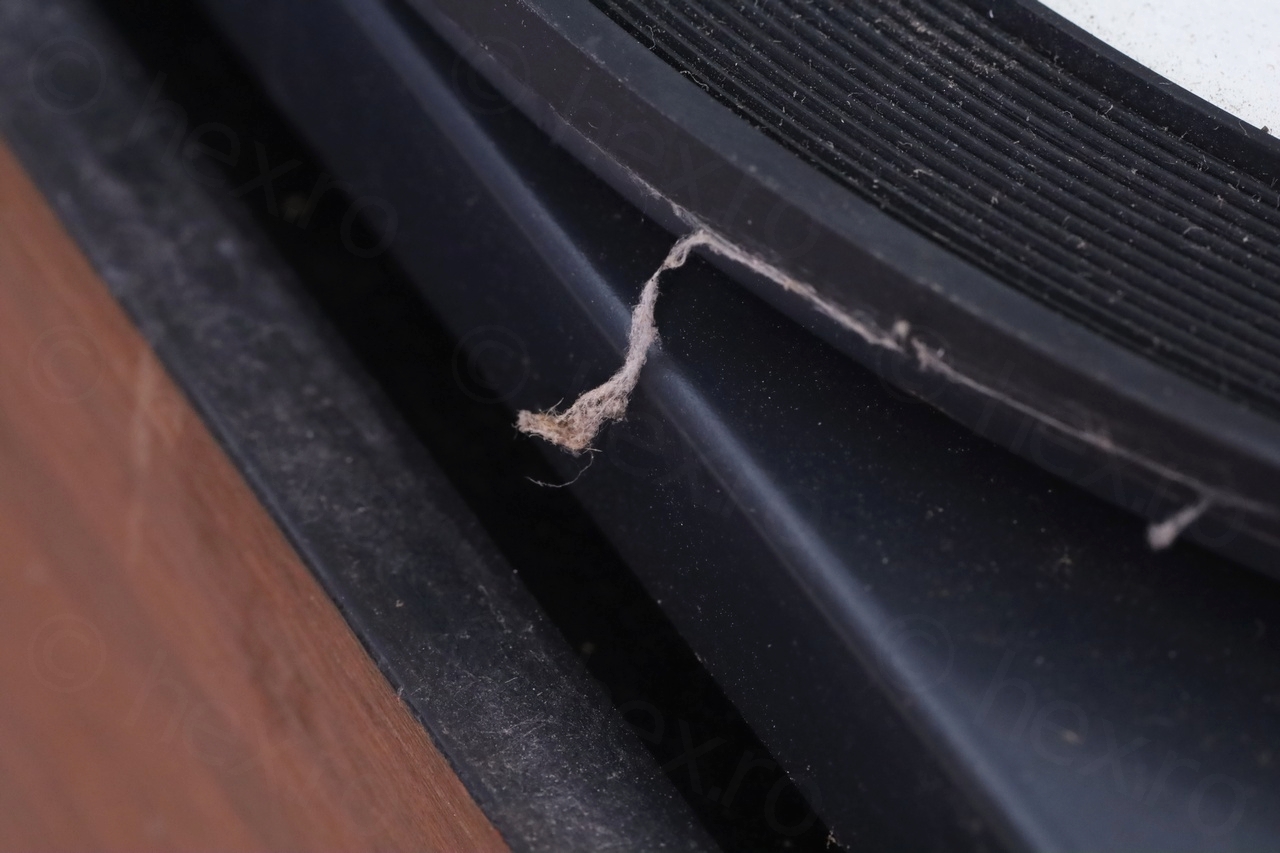
The turntable was very dirty outside. It looks like it stayed in a smoker’s house, the wet wipes were yellow and dark.
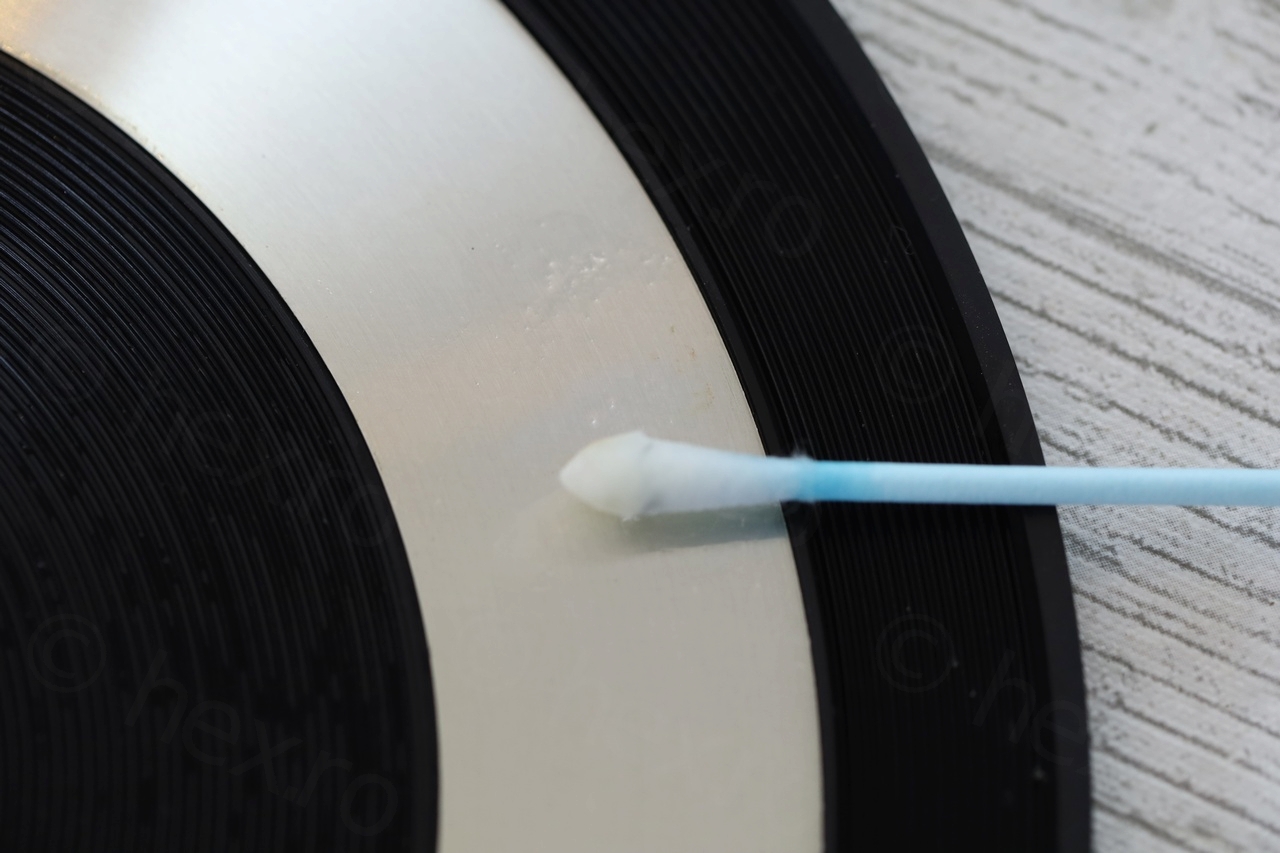
I’ve cleaned the top and also washed the rubber mat and the lid. To take the glue out from the aluminum part of the rubber mat, I went with Goo Gone, hoping not to leaving traces / scratches, and it worked fine:


About greasing all the other parts of the mechanism, I did not do it. Everything (except the motor) seemed to run just fine. I’ve touched here and there the grease and it was still soft. So I left the original.
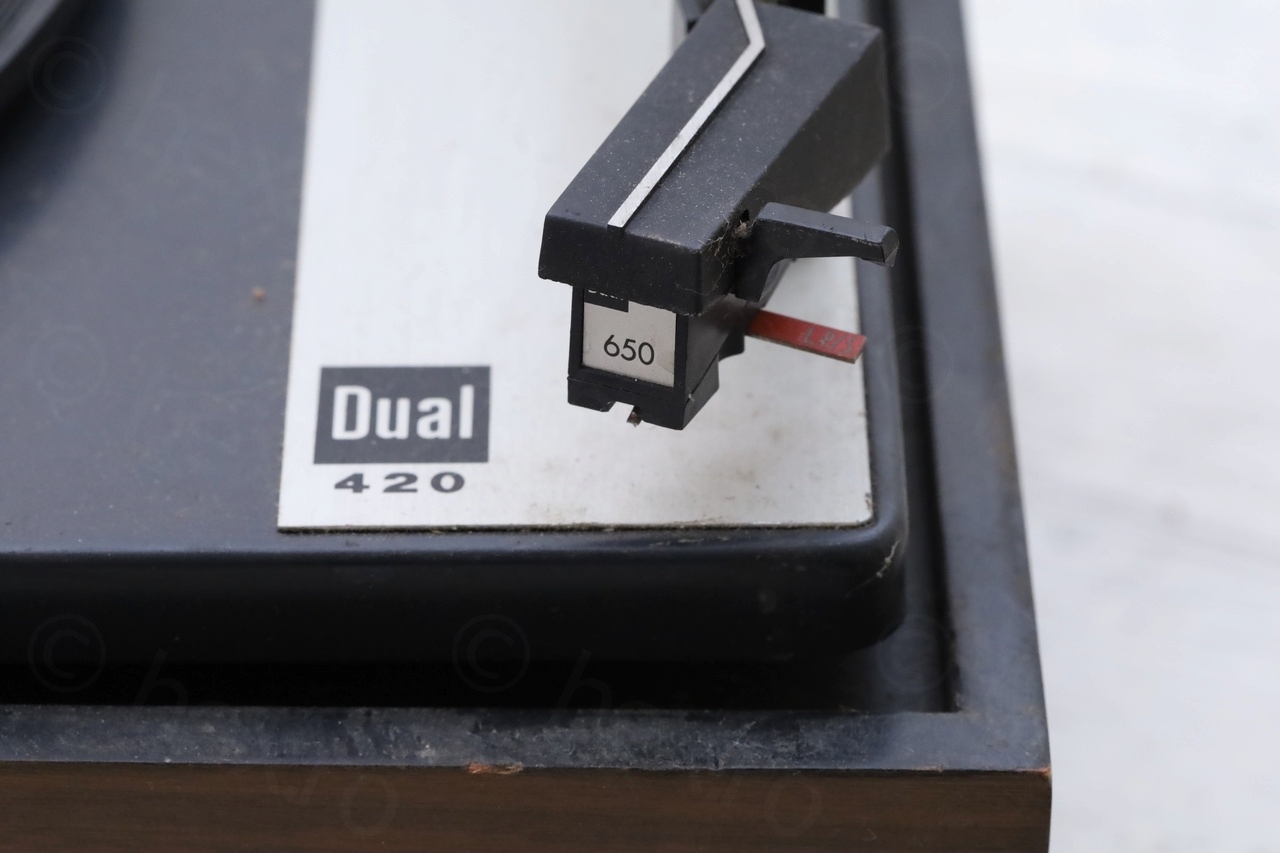
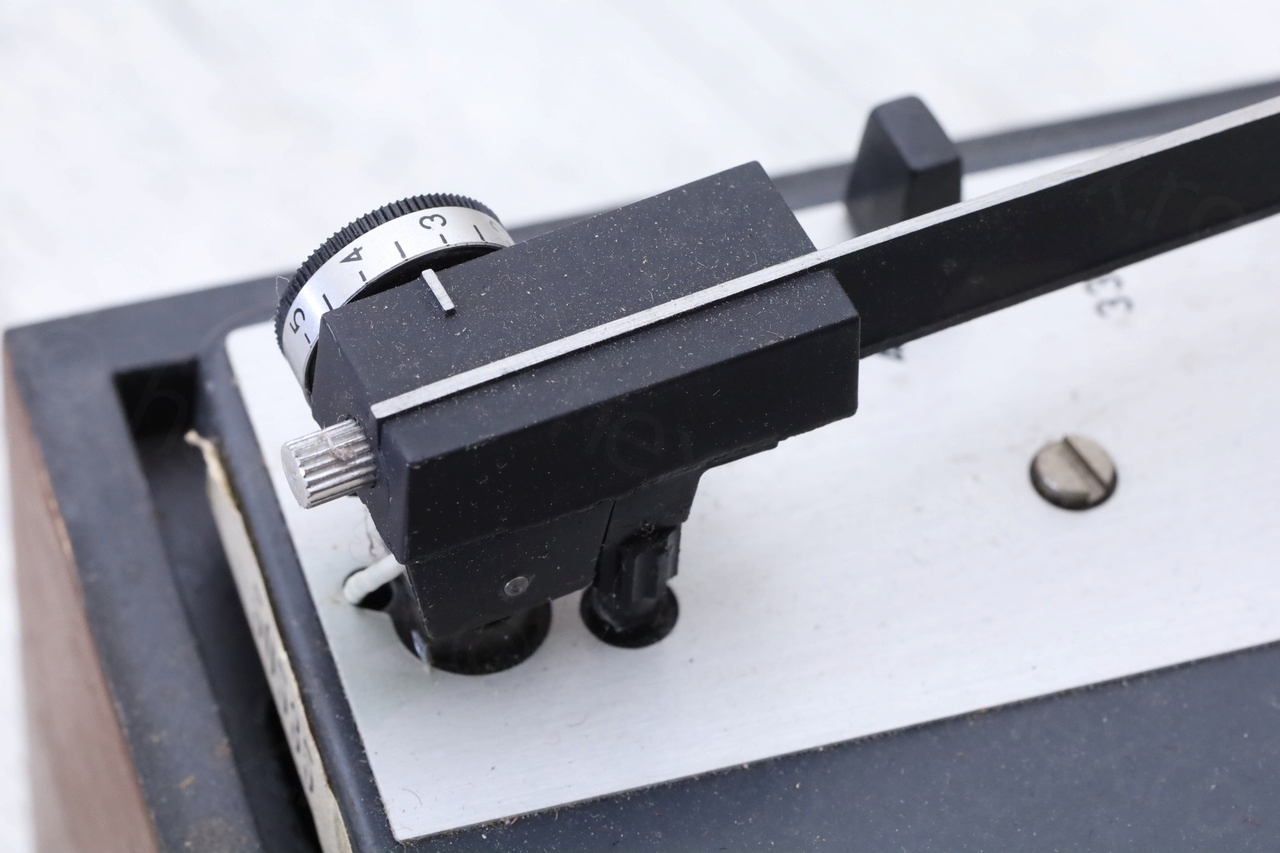
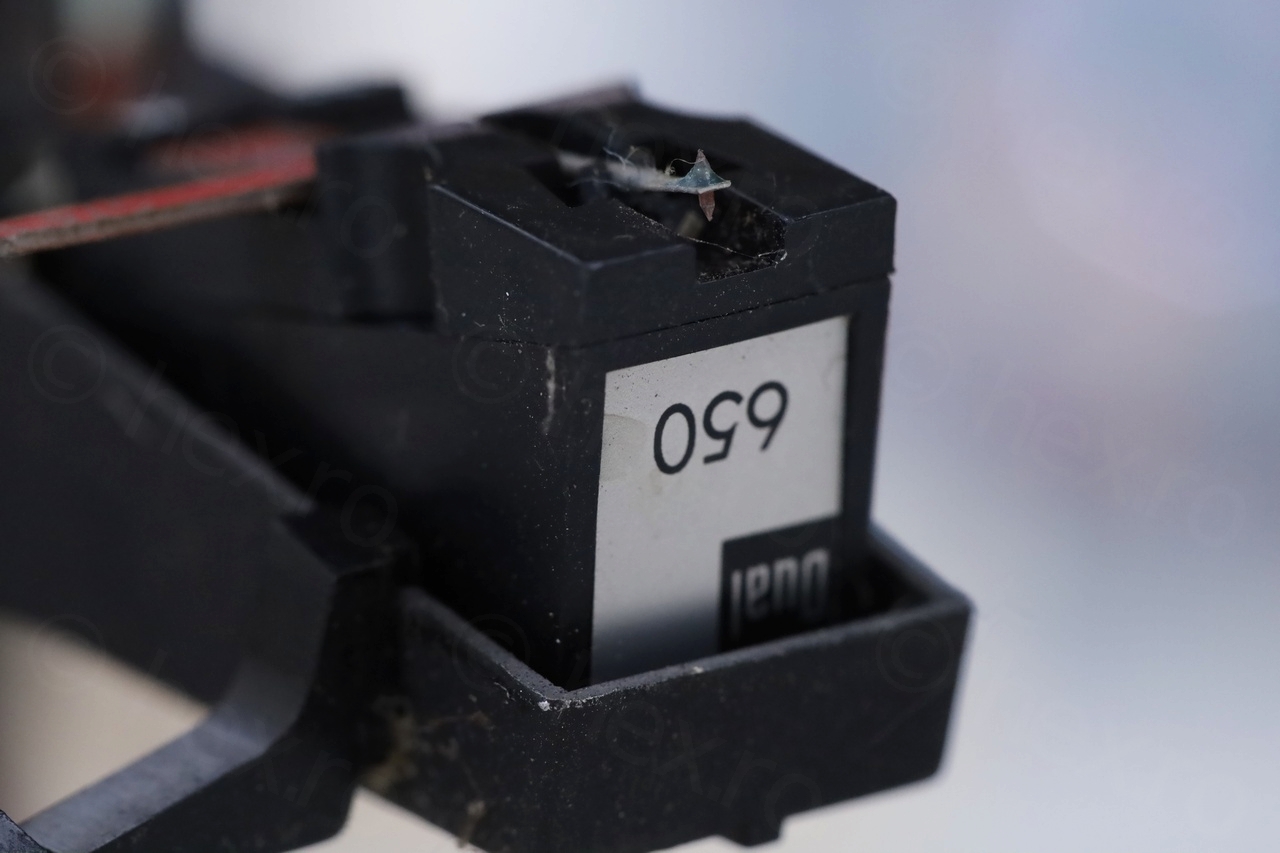
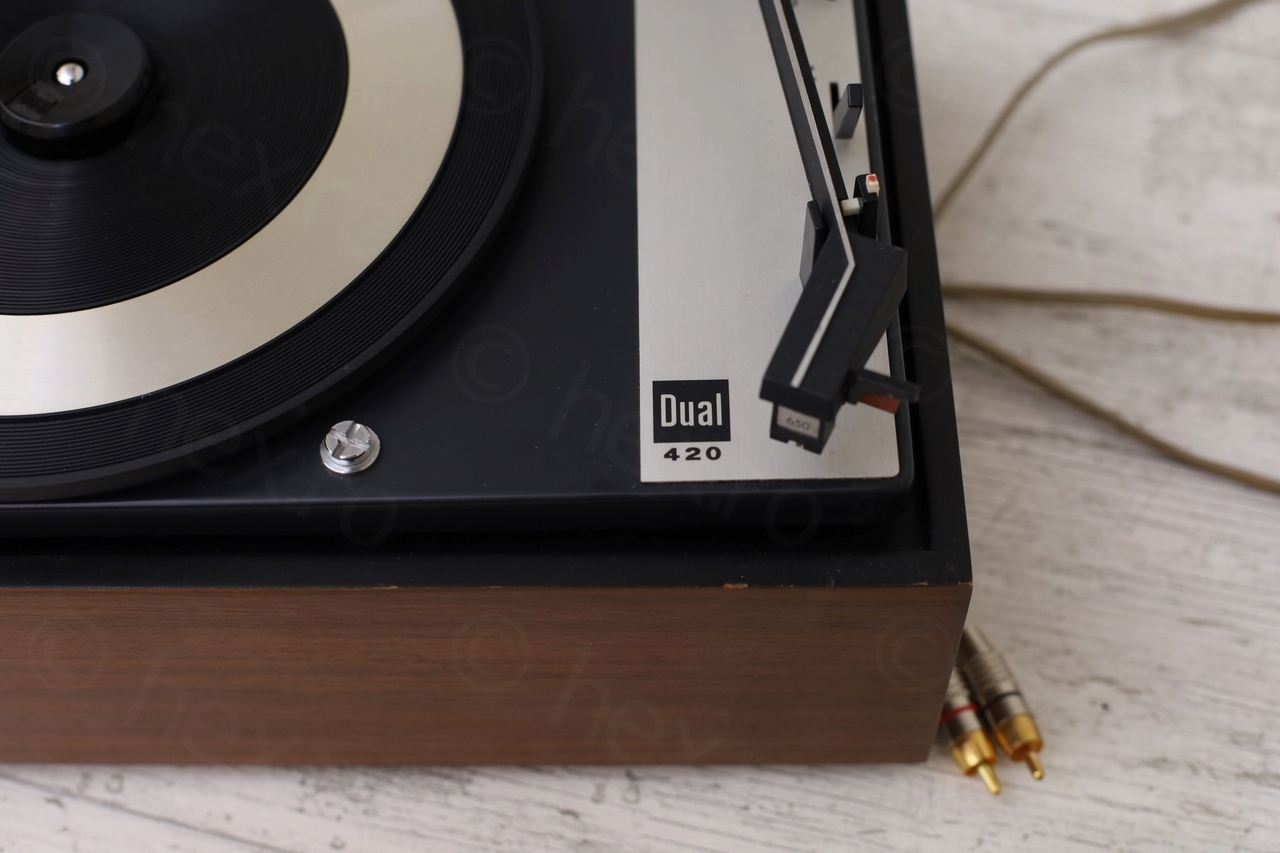
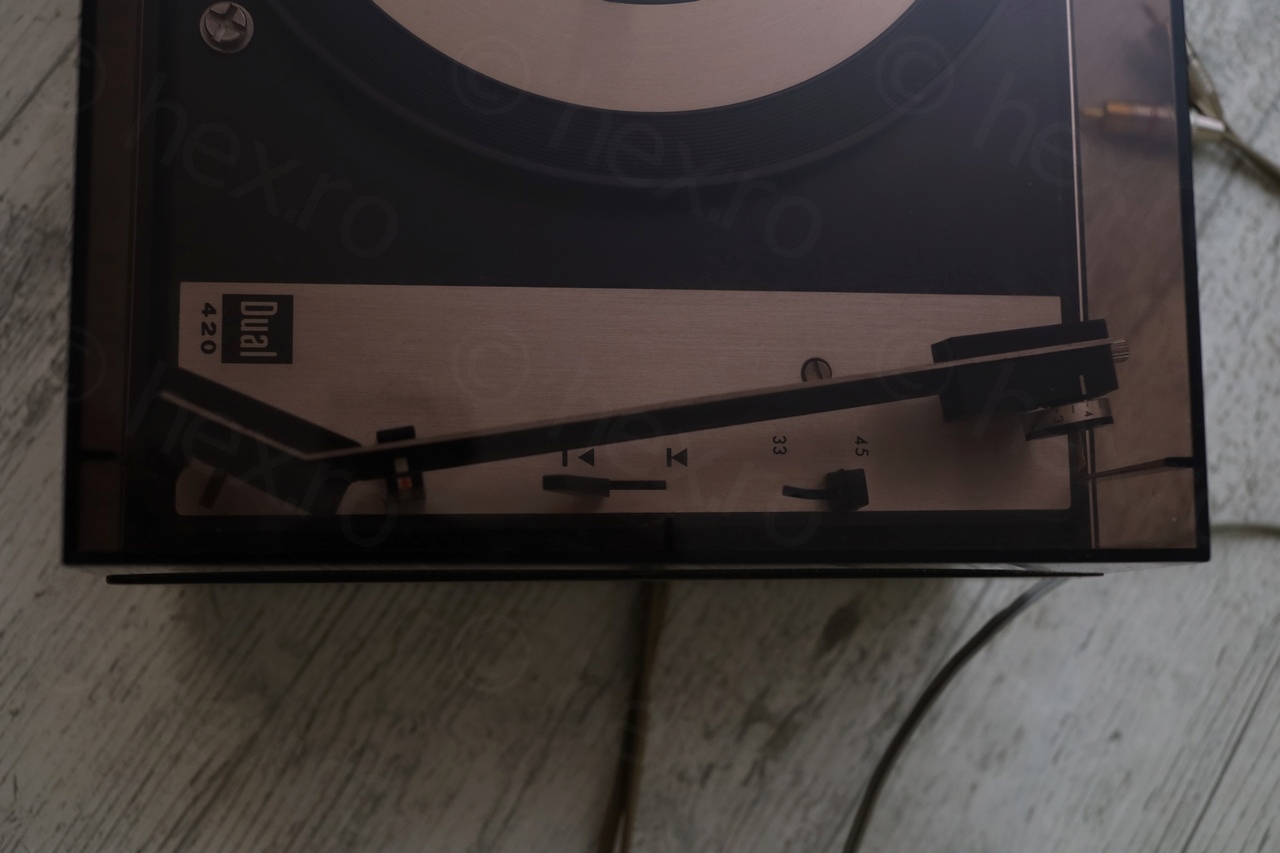
The tracking weight indicator seems to be a little off, for example, set at 4g – it tracks at around 3.72g:
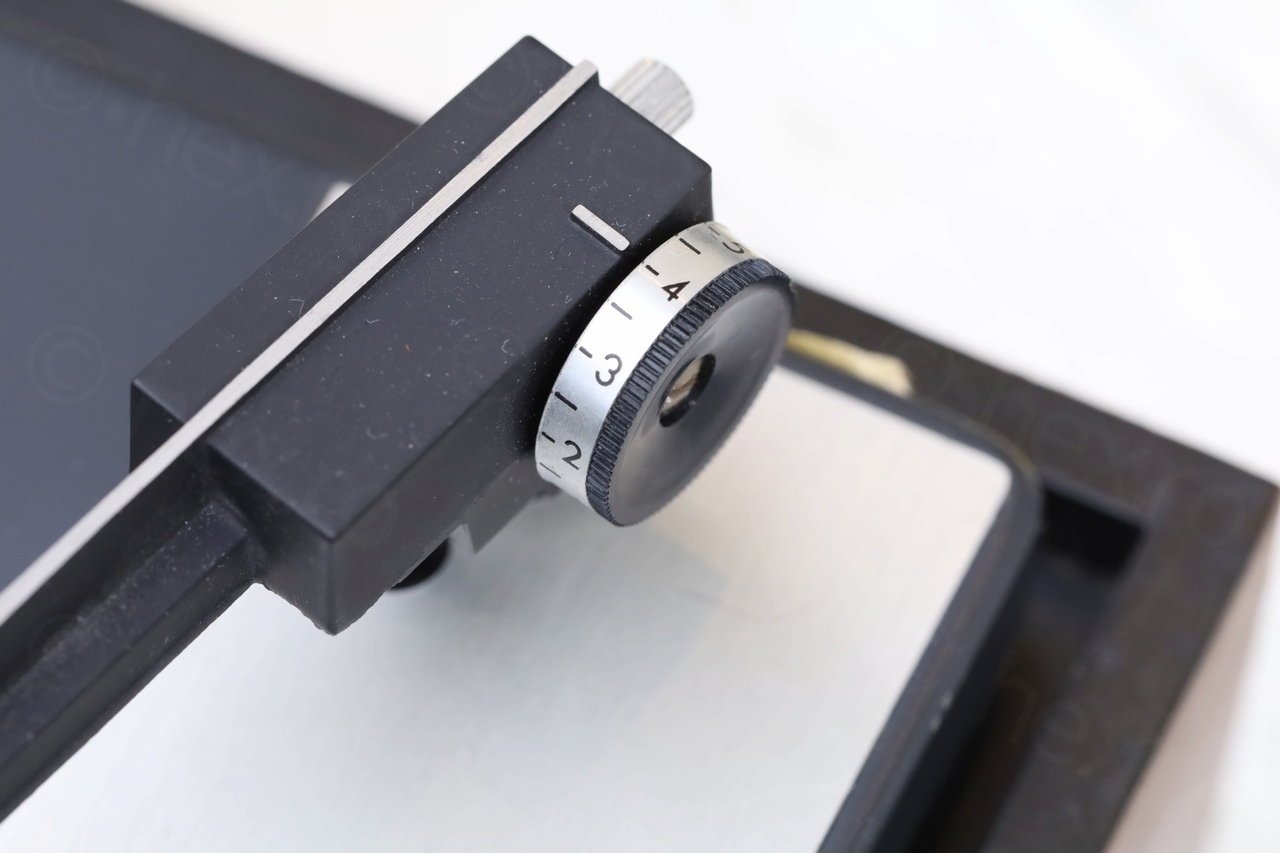
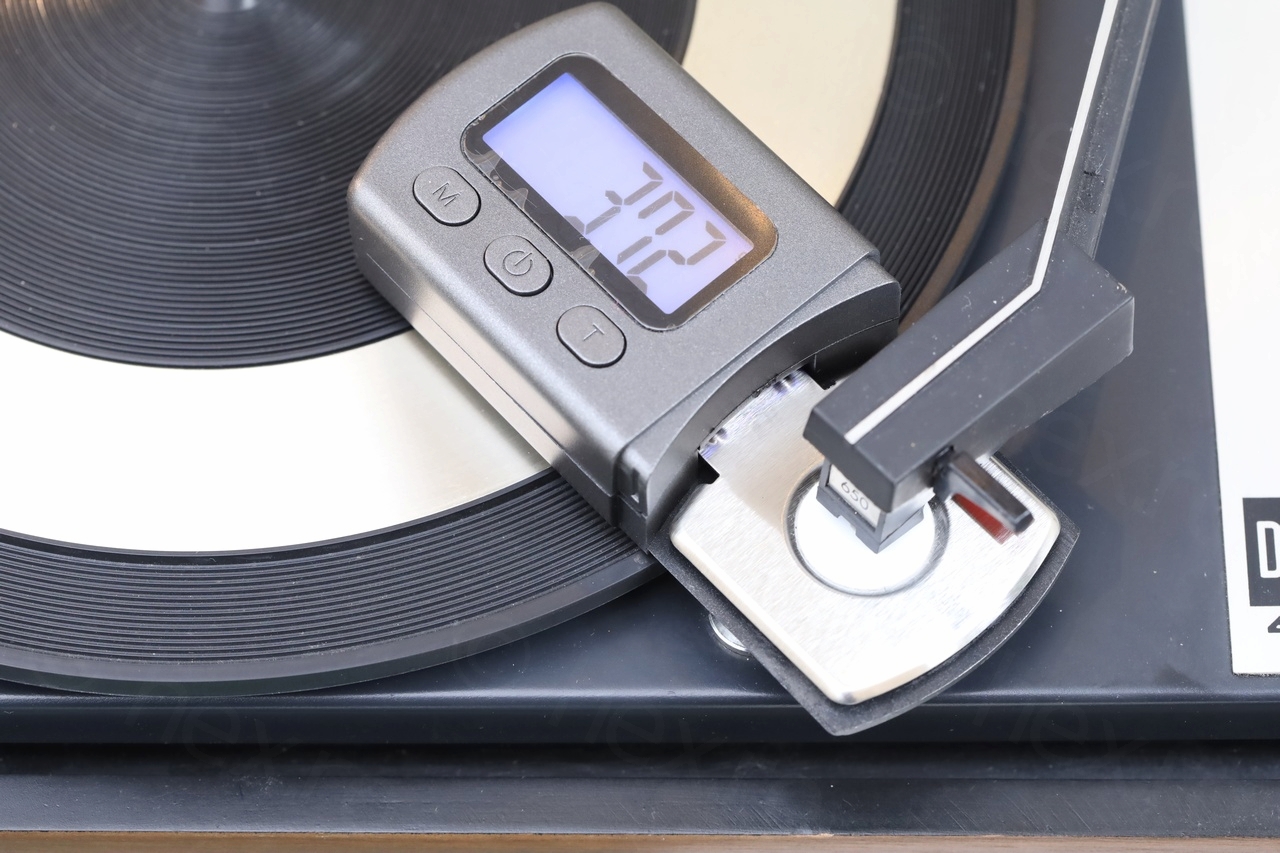
Since this falls into the recommended values of 3.5 – 4.5 grams for the Dual 650 cartridge, I left the dial at 4.
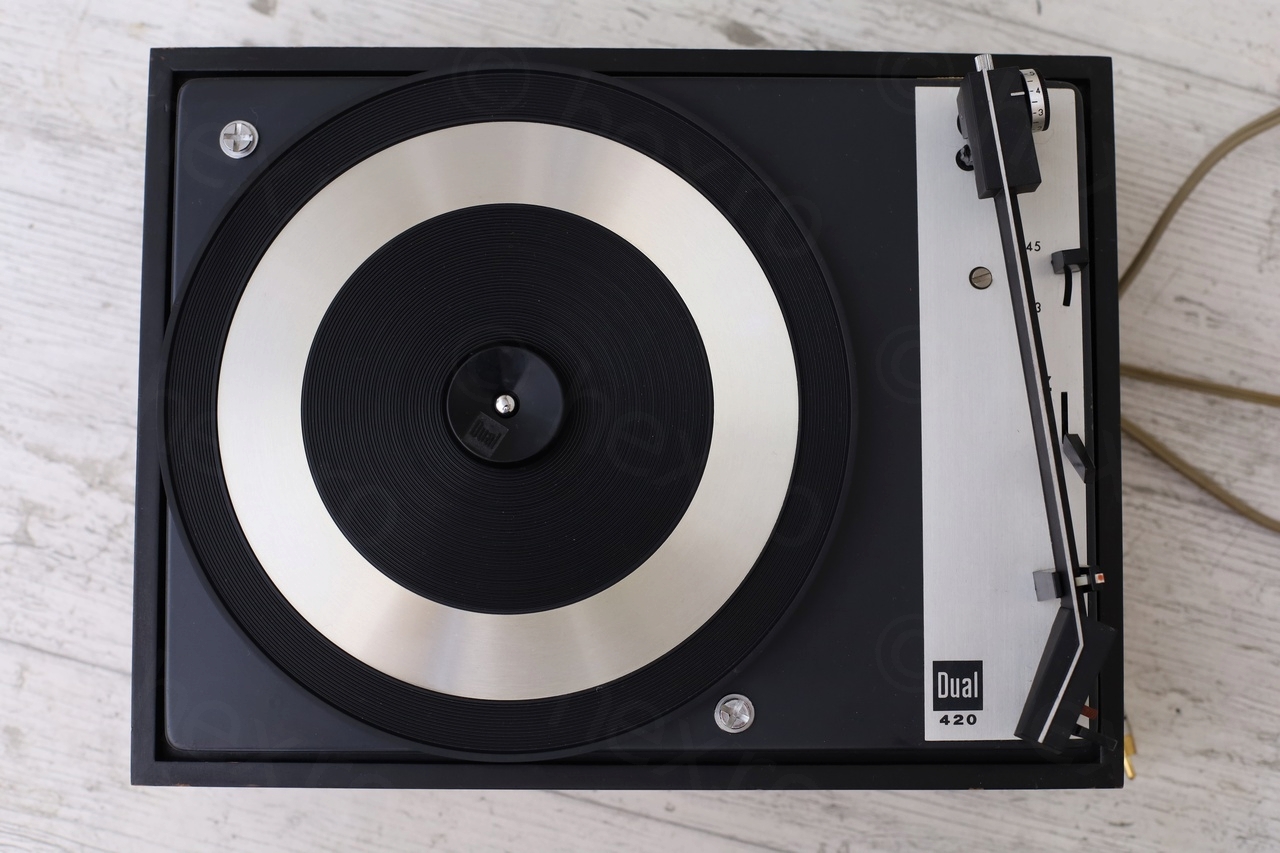
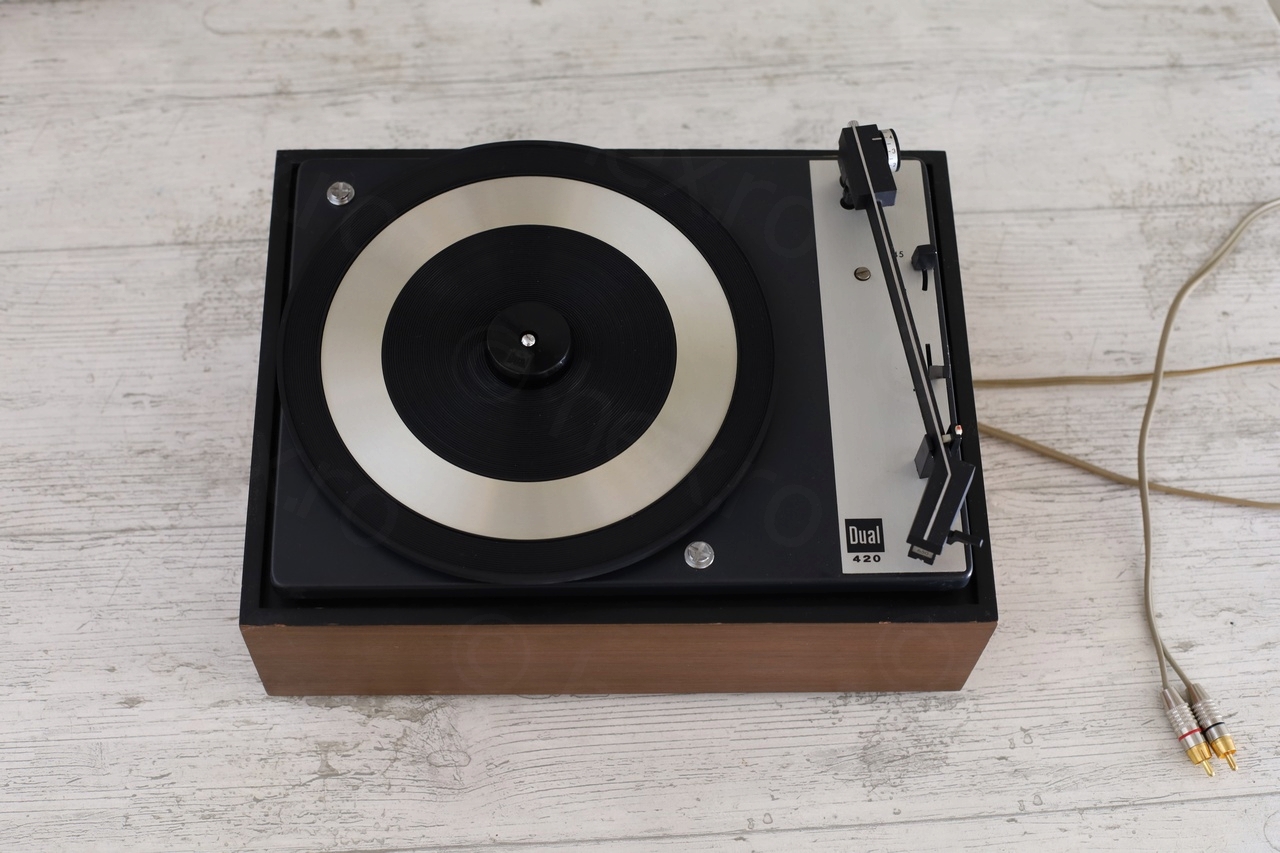
Photos after the cleanup:


Output
Since the Dual 650 is ceramic, I have tried plugging it into a unity / high impedance preamp – but the output had very strong bass / highs and voices sounded muffled. I used the Sonotone DIY Network Adapter and the output sounded almost correct (but lacking a bit the bass). I did not adapt the Network to the capacitance of the cartridge, nor measure it – since I’m not going to use this turntable anyway. It was just for testing.
In conclusion, a cute looking turntable, thankfully the initial owner took care not to damage it. I tried to preserve the aspect as much as I could, and maybe later I will install it to give it a go from time to time.
Gyula
Hello!
Editing the label is a problem for me. I couldn’t find a suitable font like the original. Do you have a suggestion for editing this label?
BR.
Gyula
viulian
Hello back!
I wish there would have been a font, indeed! I just copy pasted parts of the existing letters and aligning all the layers repetitively, until I got it to look similar to the original.
It is very tedious indeed.
Gyula
Your label is nice. I hope I can do it too. My vinyl player already works electronically and mechanically.
viulian
I’d like to encourage you to try 🙂 and please take your time.
I remember spending a lot of time putting pixels, moving letters one pixel left / right / up / down, zooming in / out, trying to see if it looks straight, etc.
You will get there!