Introduction
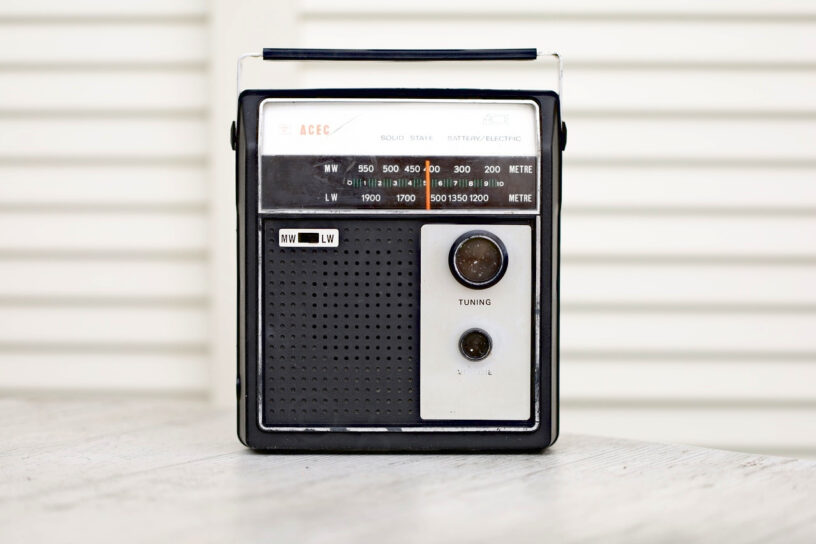
Holding this radio in my hands at a local flea-market made me ambivalent. It felt cheap and lightweight, dirty and with stripped paint, but it got me curious what makes it tick ? Since the price was right, I decided to give it a try.
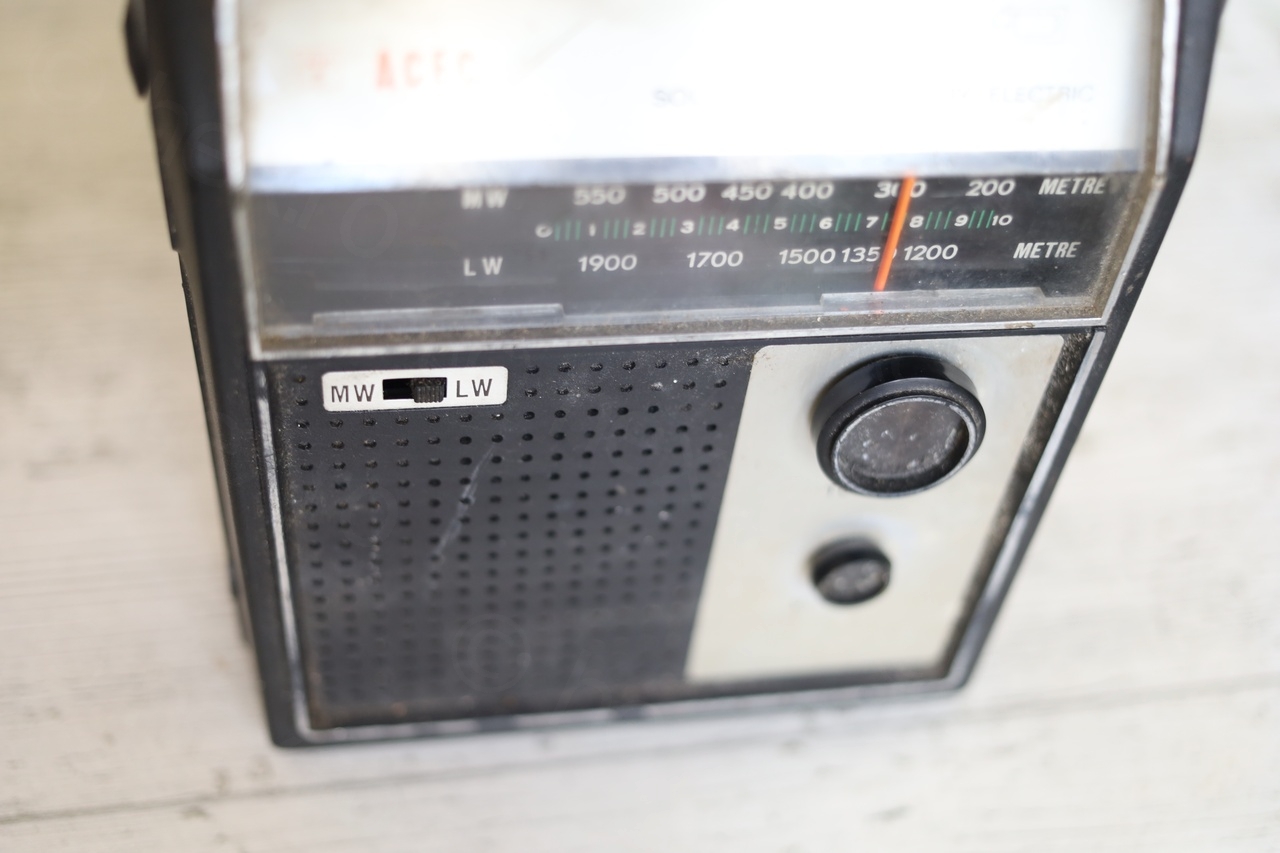
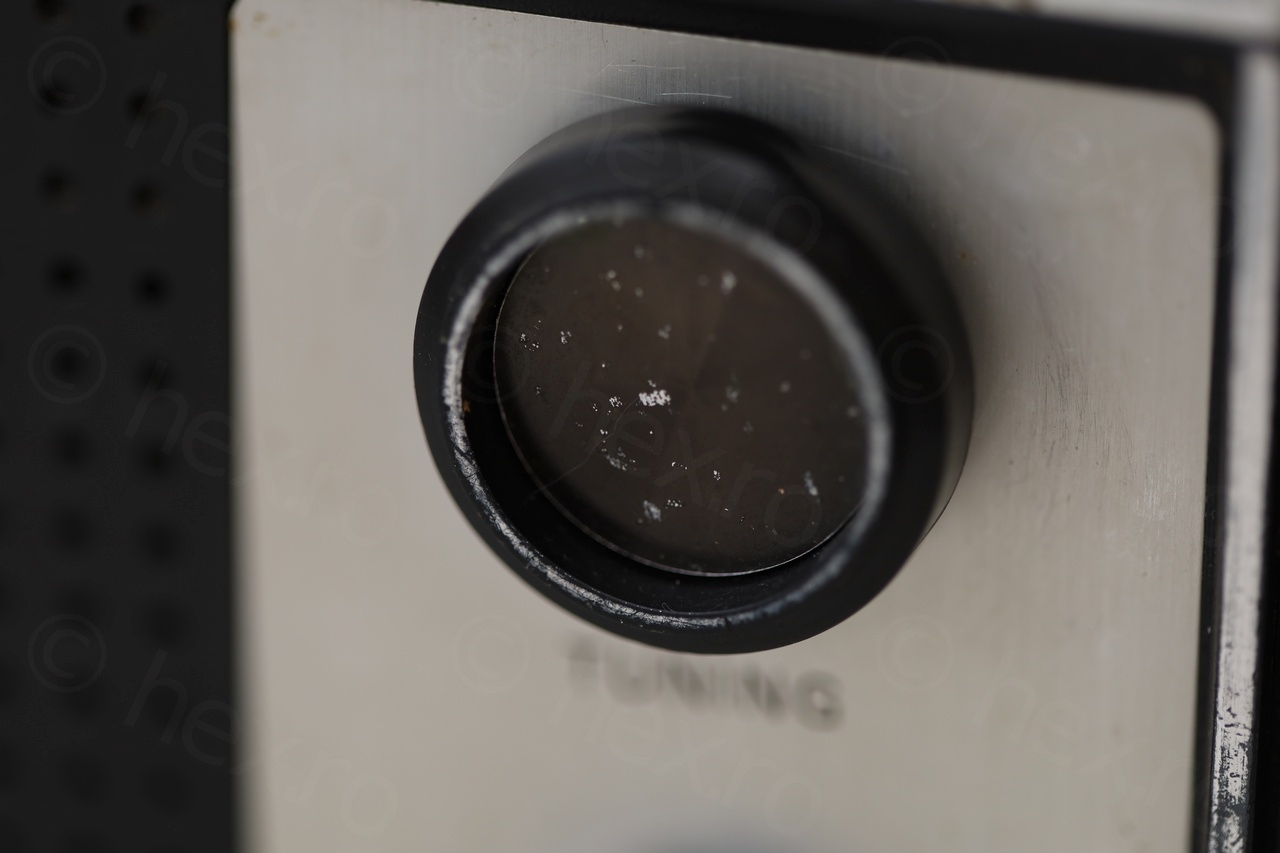
Testing it after getting home – the radio works! Volume potentiometer has no cracklings and tuning is sensitive. The only problems were the accumulated dirt and also the Tuning knob which seemed to have a lot of wiggle.
Photos
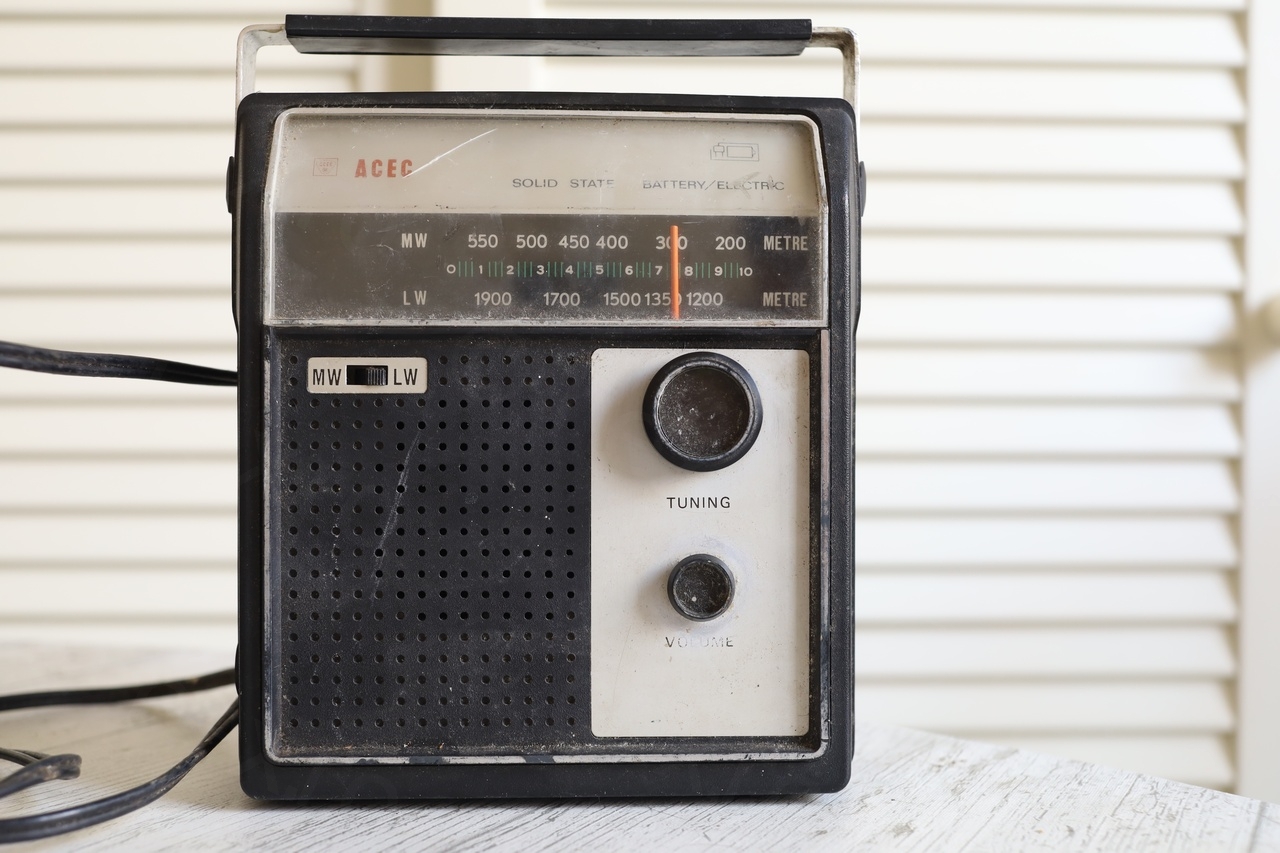


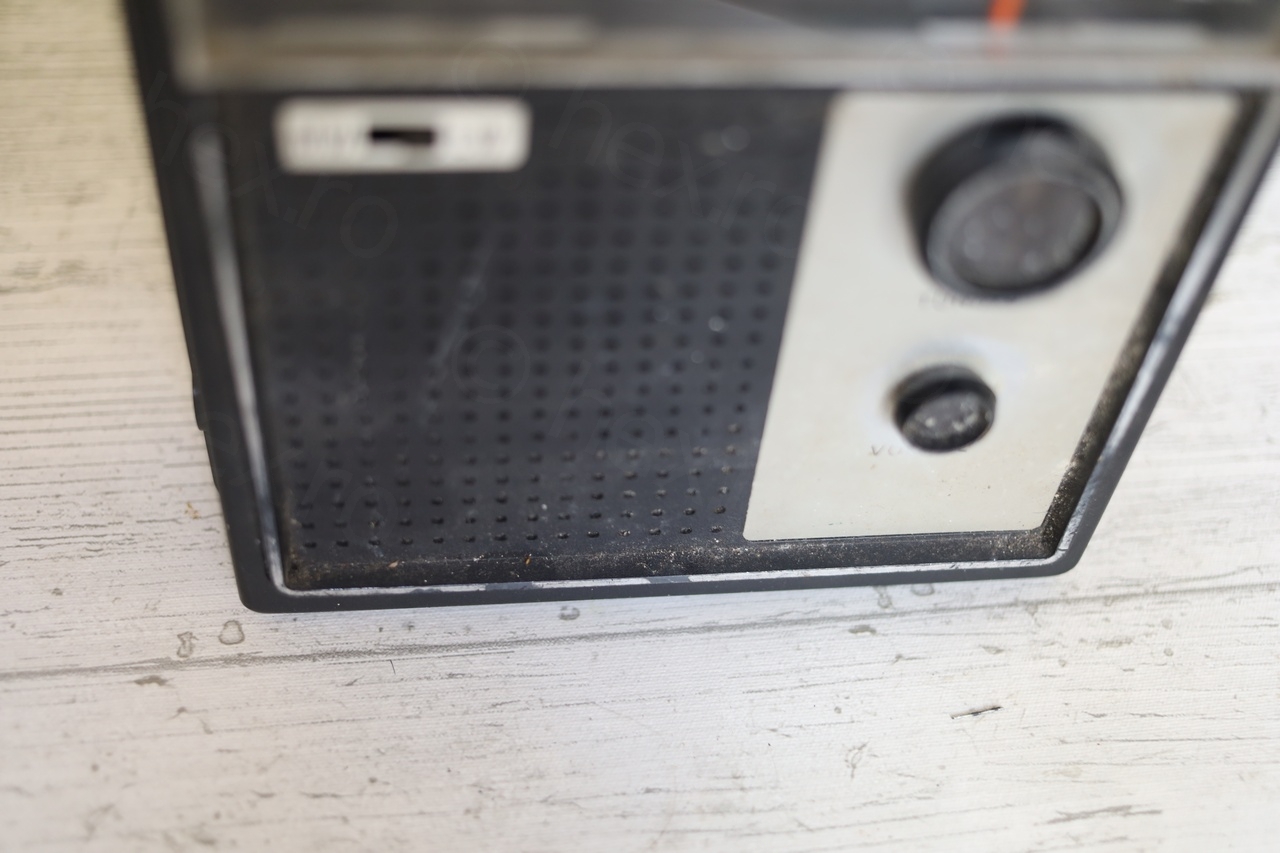


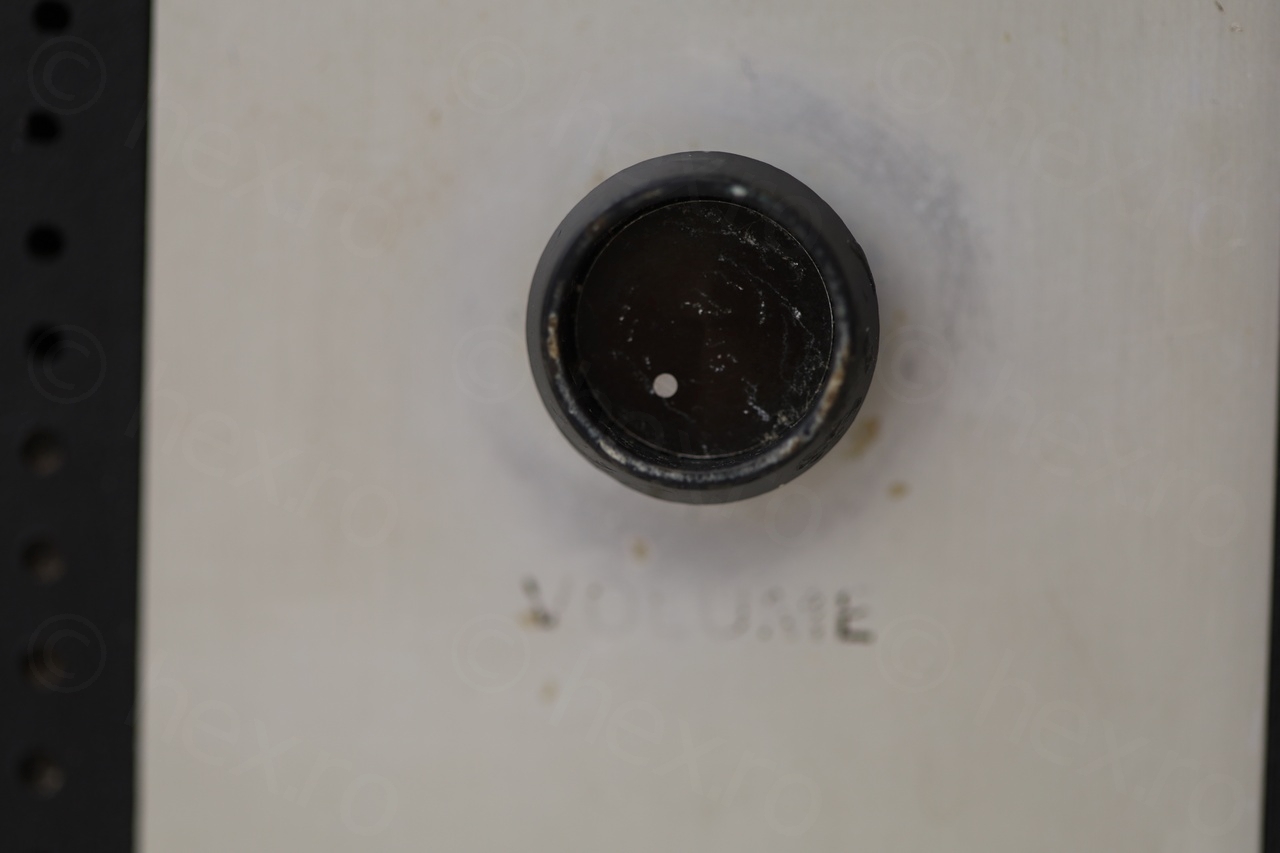
As you can see, it was very very dusty, the text ‘VOLUME’ was worn out (I guess bad design to put such a tiny knob for it).
Model
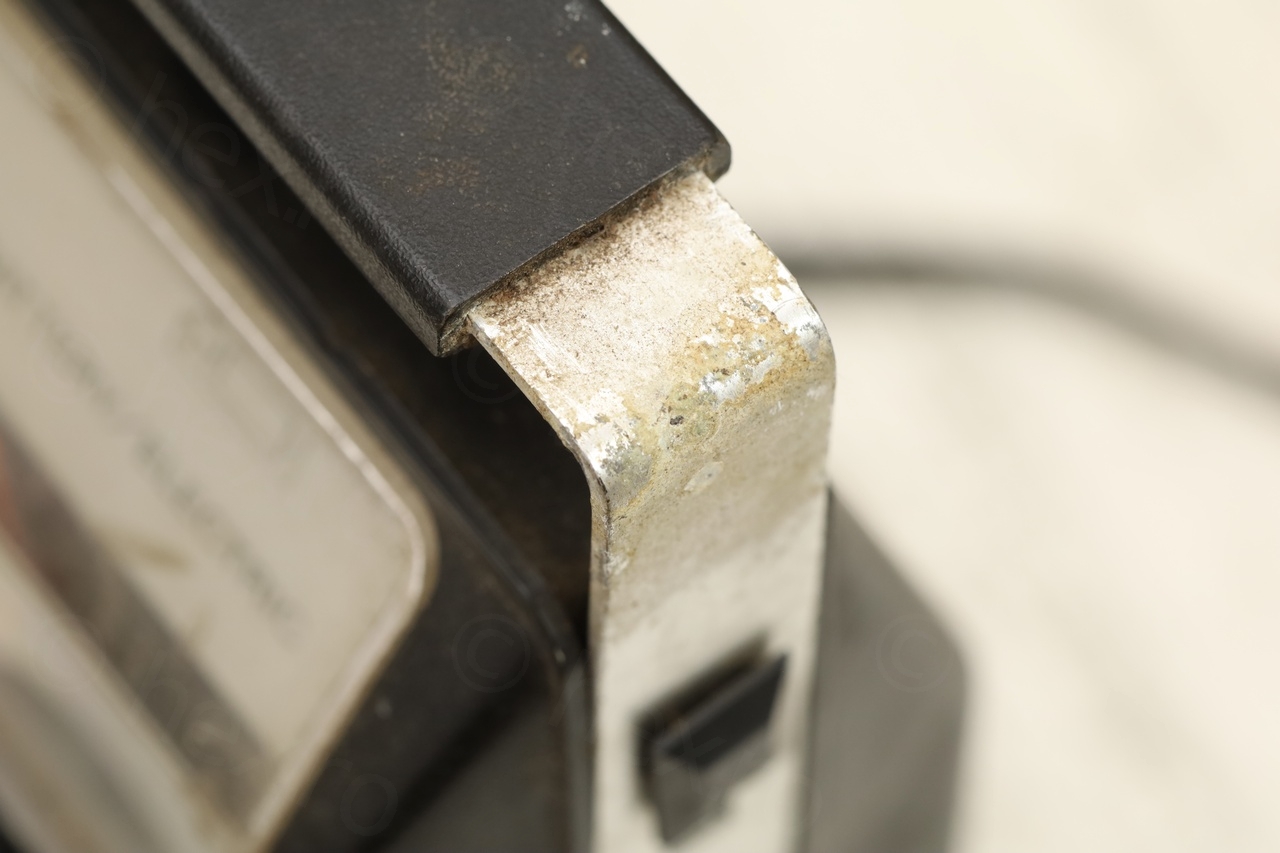
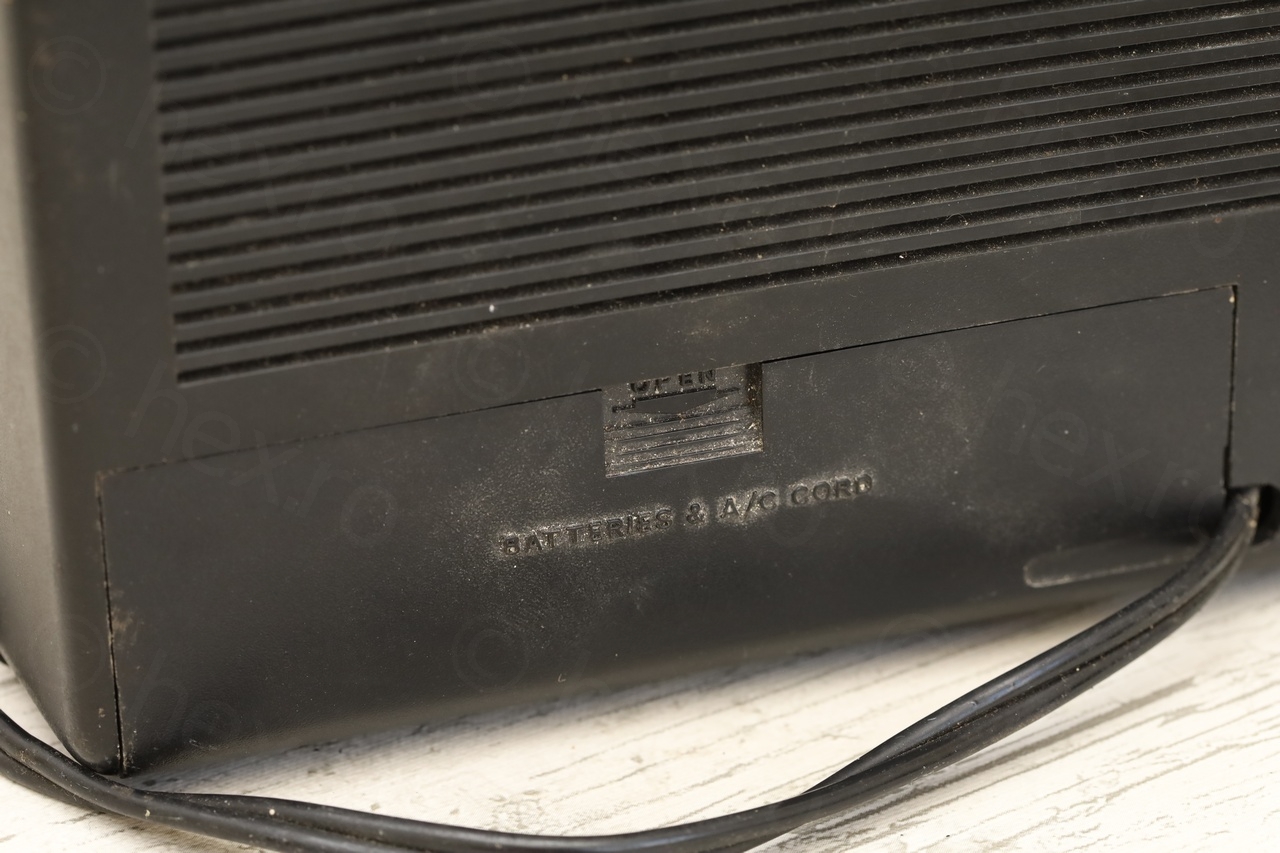
I was looking for a sticker inside the battery compartment, but I wasn’t seeing any, until I turned back the battery lid:
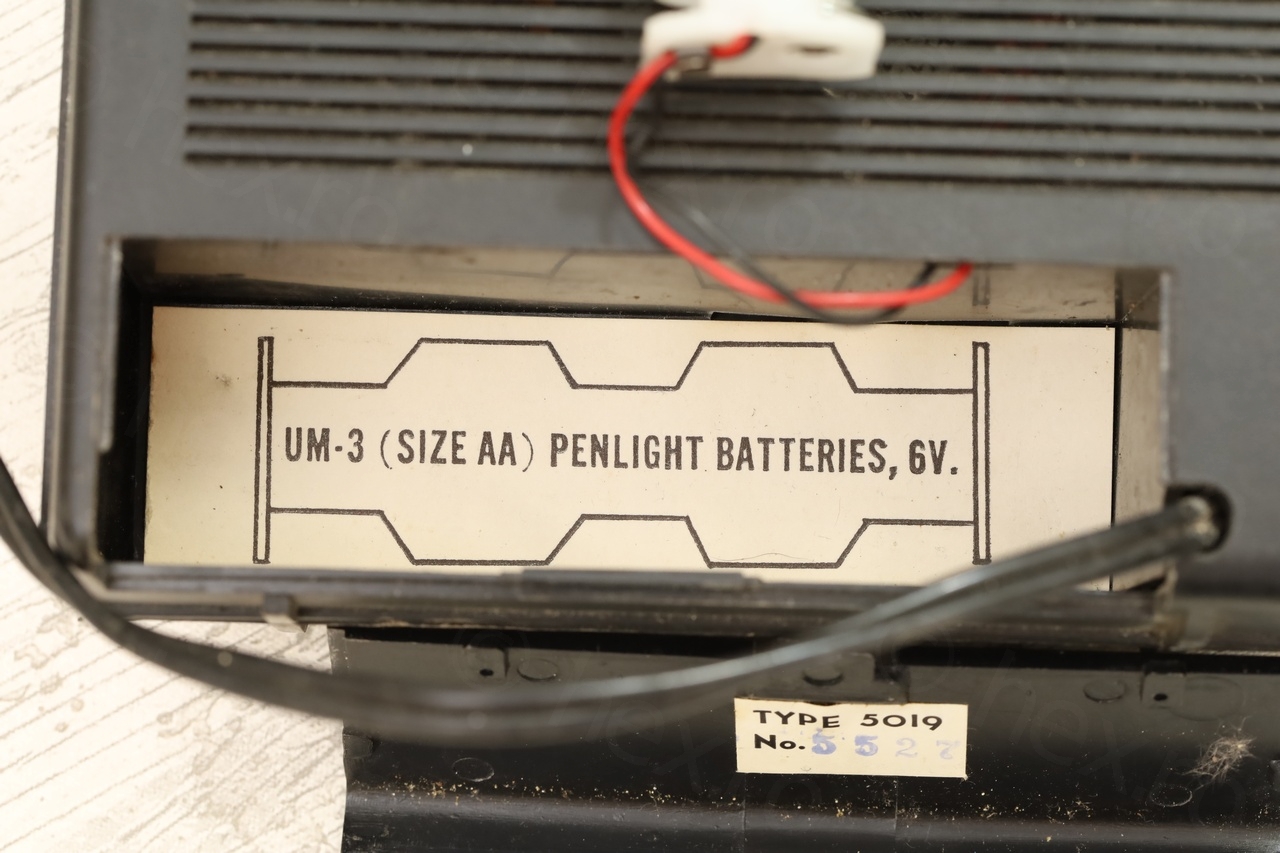
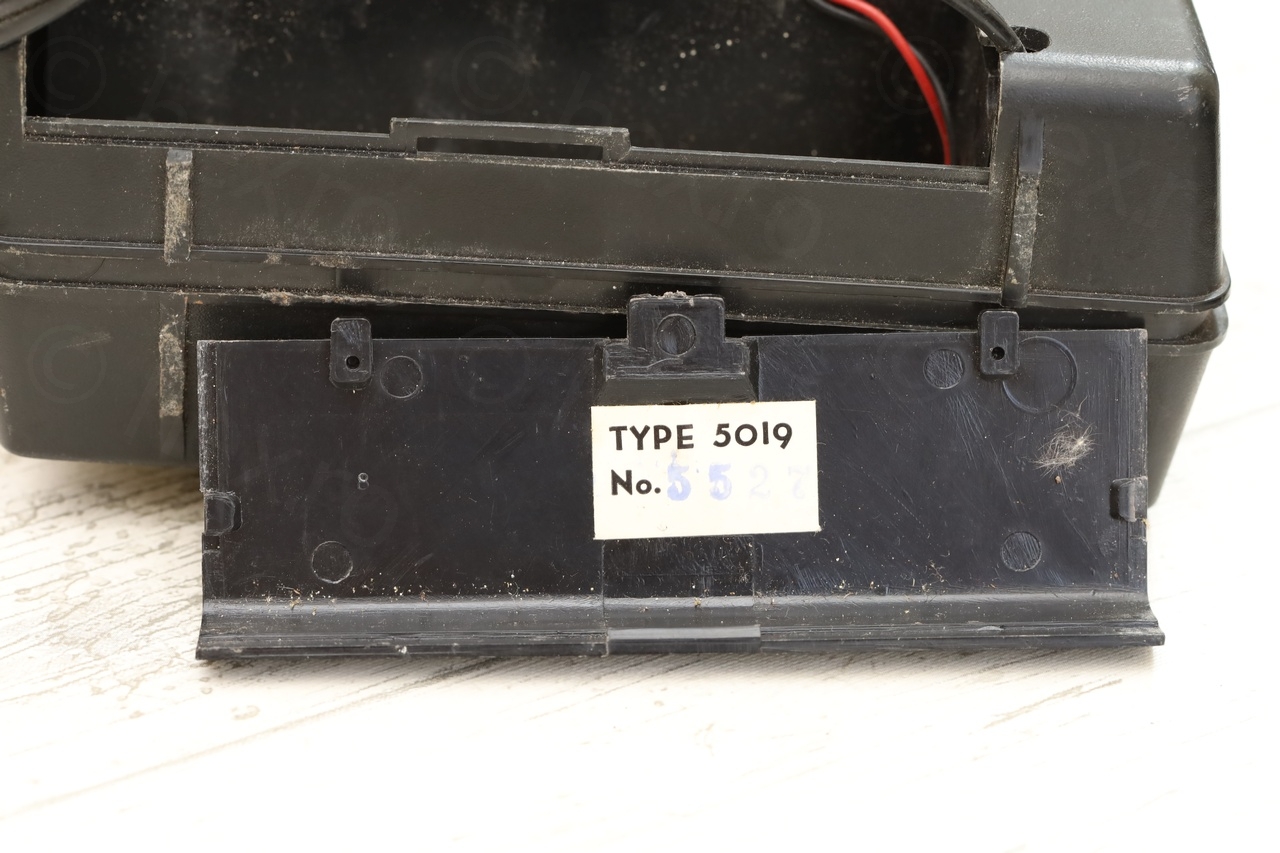
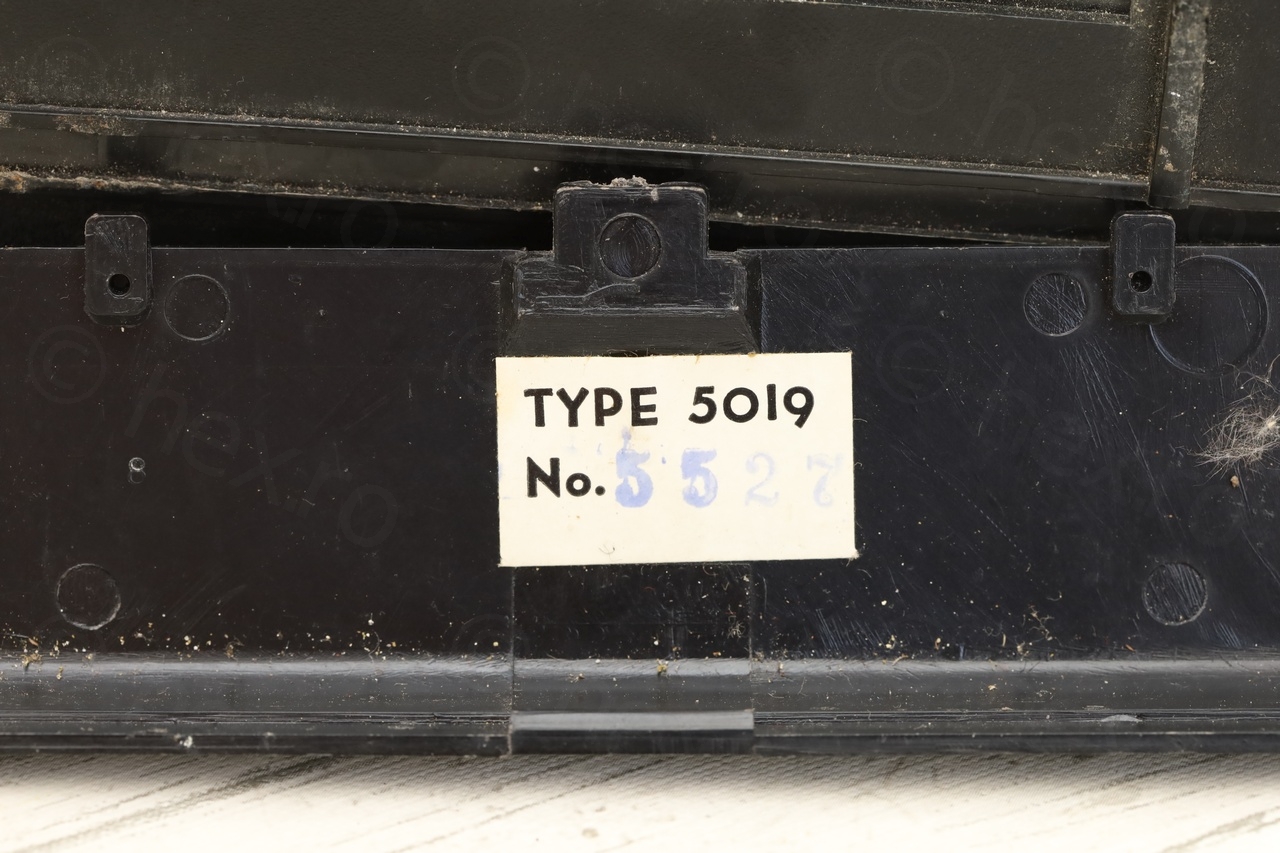
This radio seems so rare, that there are no real pictures with it on Google. Or nobody bothered to share some. The only image seems to be a scan of what looks to be an advertising flyer – that I found on radiomuseum.org.
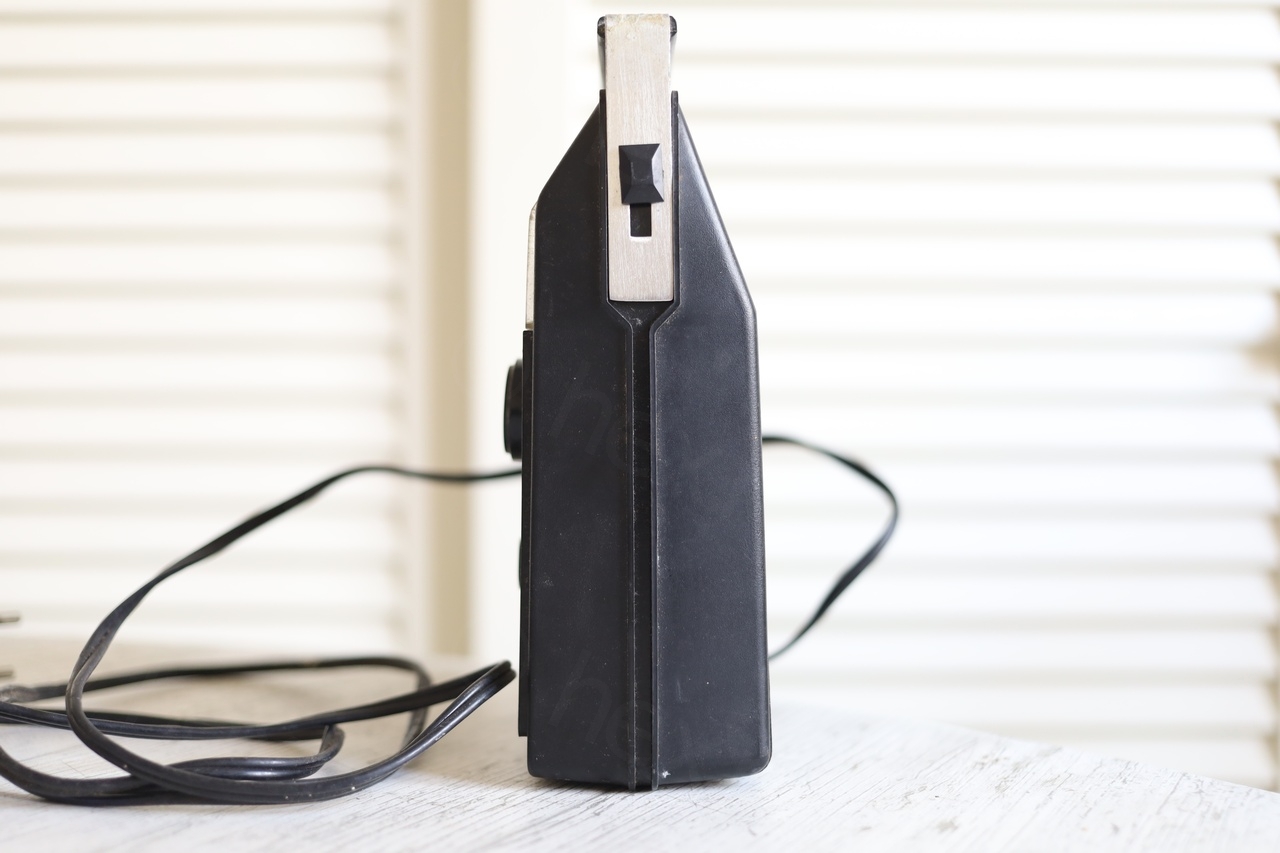
This is plastic only, very lightweight and you either have to hold it to Tune. Or just push down on the tuning button. Otherwise you just push it over.
A short test (LW) during Daylight below … notice the wobbly Tuning Knob:
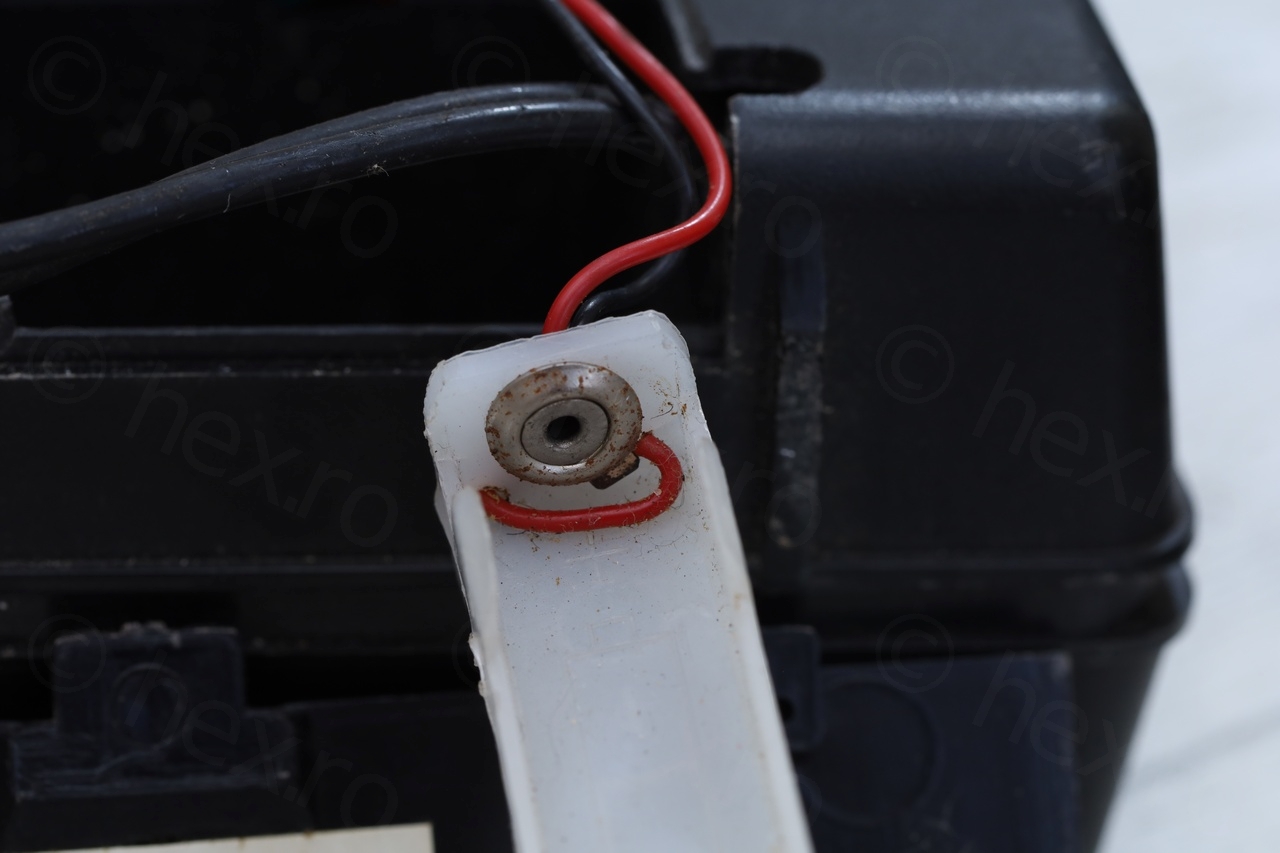
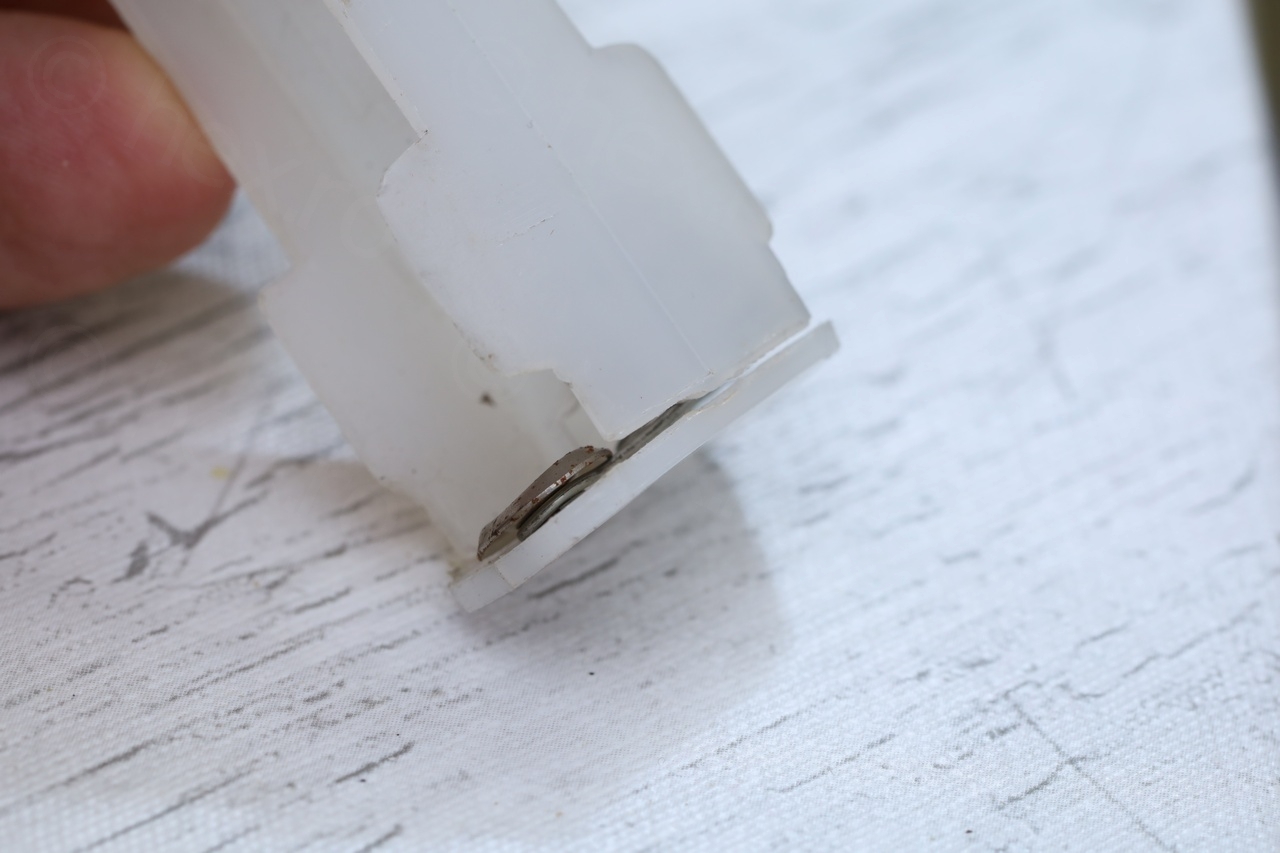
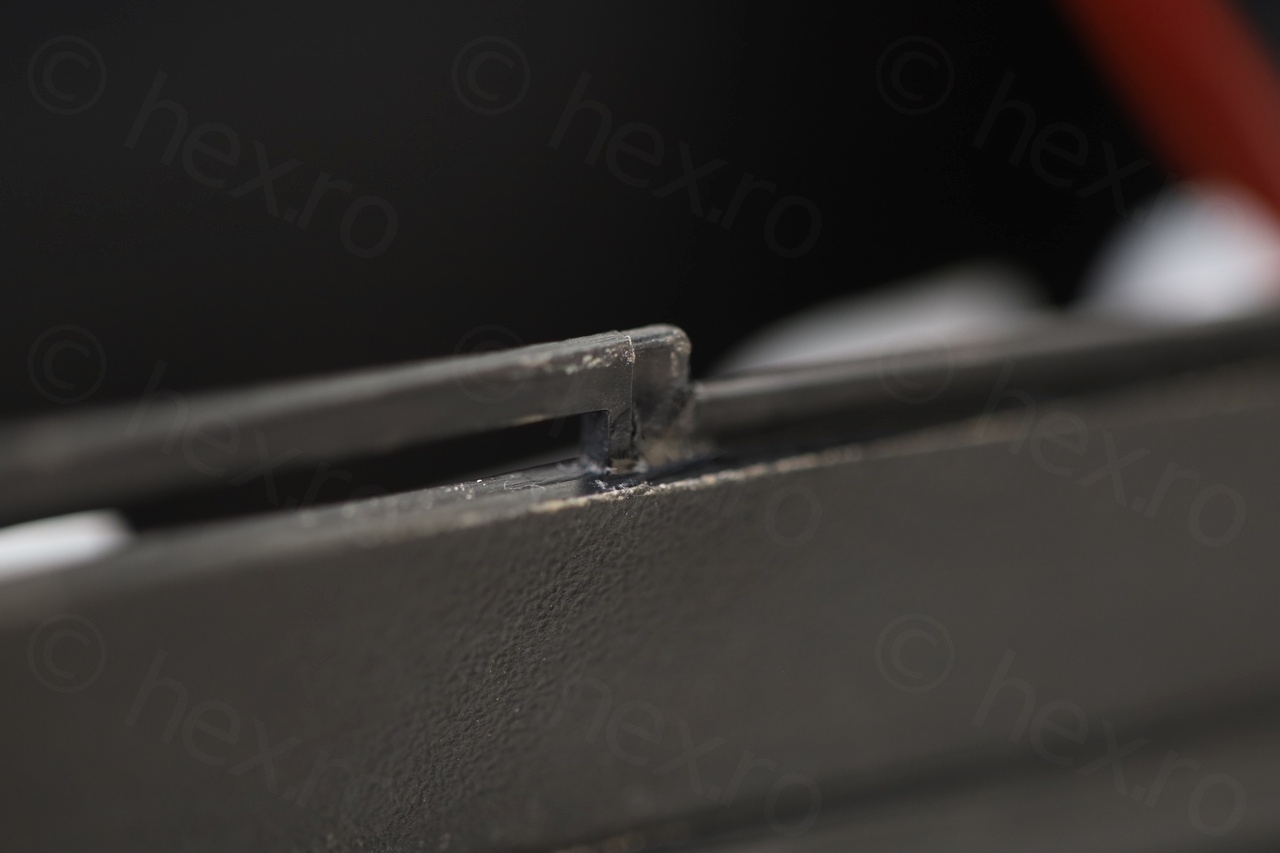
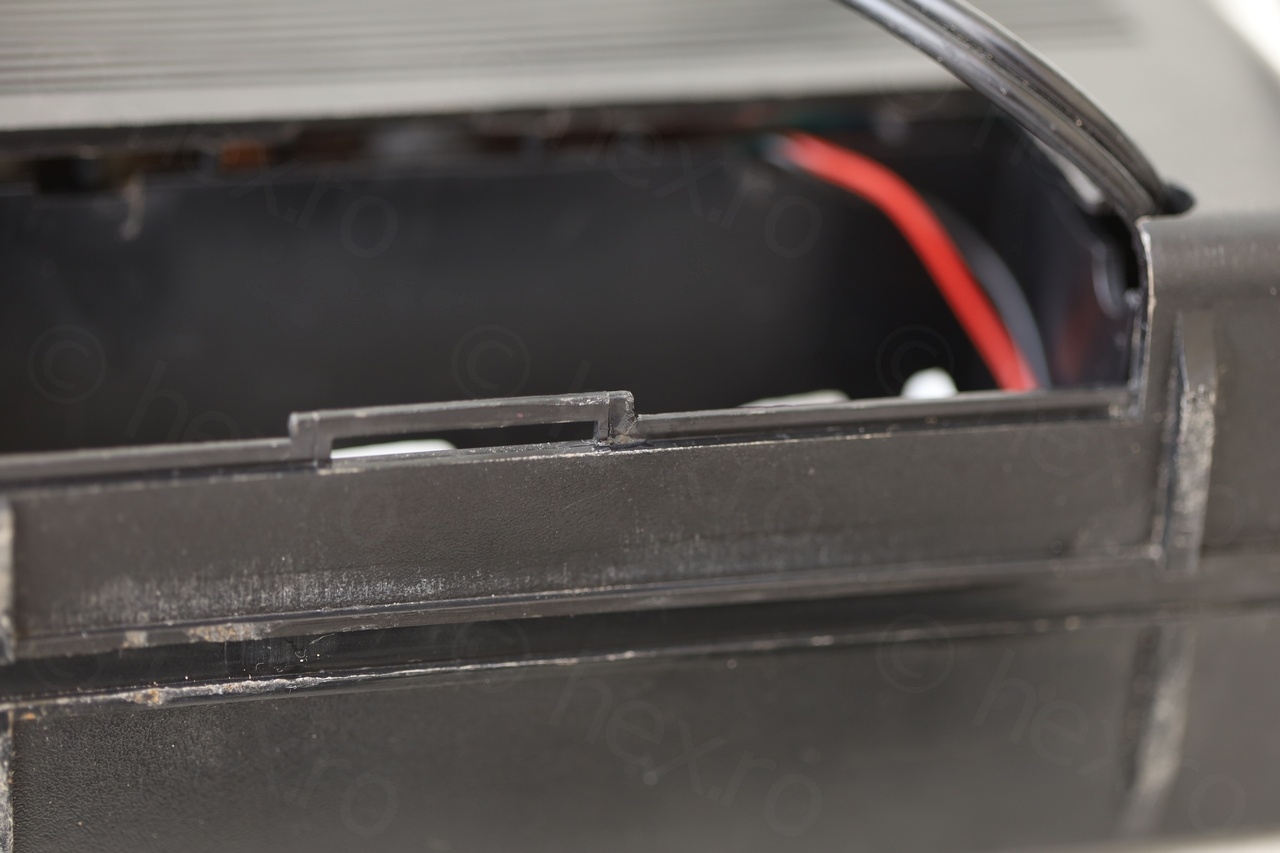
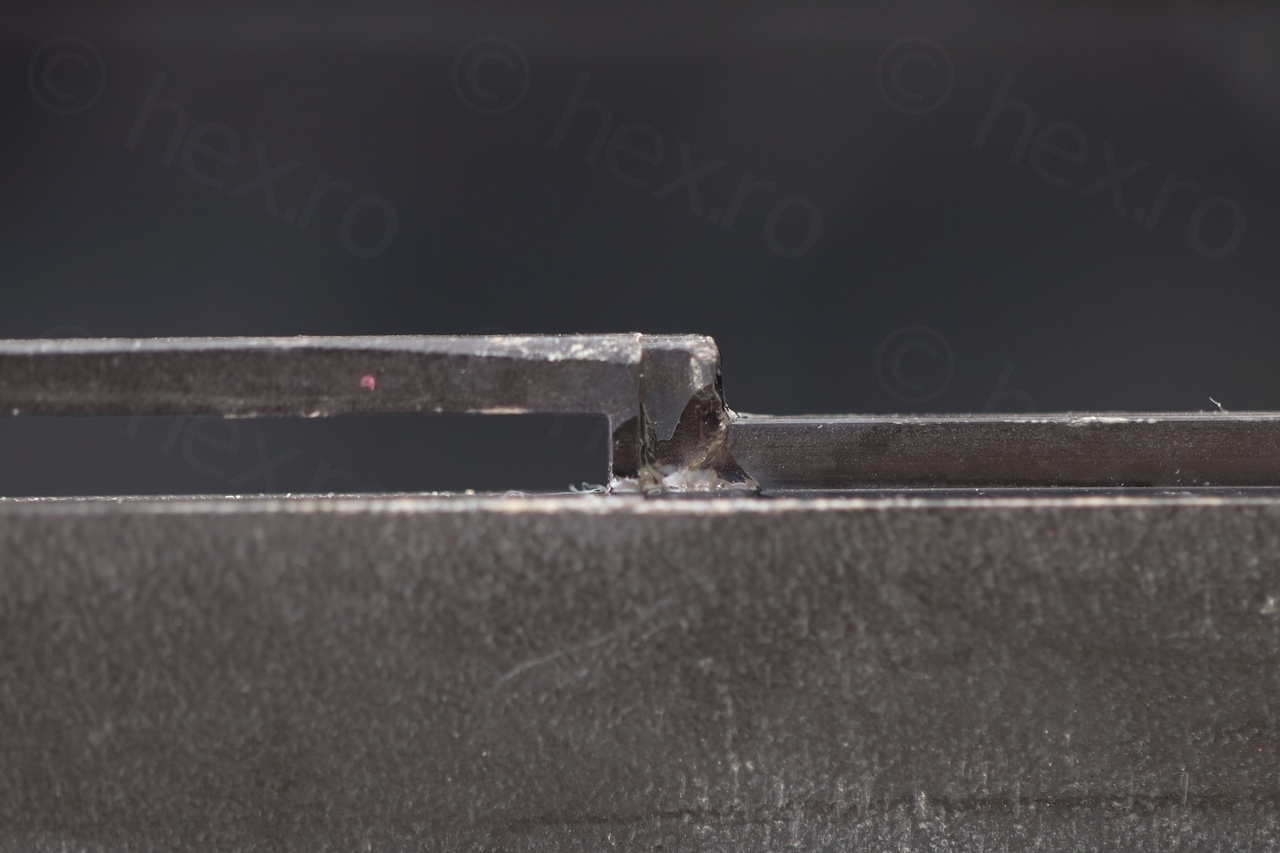
Cracked Battery Holder
The next thing standing out as cheap was the battery holder. It was cracked. I considered buying an aftermarket holder – but I can’t seem to find one in original color. Considered 3D printing a support for the battery holder – something to allow me to still keep the original part. But I discovered that the holder is too short in fact. The plastic shrunk in time, and now you can’t fit 2xAA batteries in length, it misses about 3-4mm .. to properly house two AA batteries. I guess somebody in the past really try to fit two AA batteries and ended up cracking the support on both sides:


I decided not to replace it and keep the original look of the radio. It works fine using the AC power cord – and I won’t be using it on batteries anytime soon.
Circuit board
Disassembling the radio is easy, one screw only to take the back off. 4 more tiny screws to take the circuit board out.
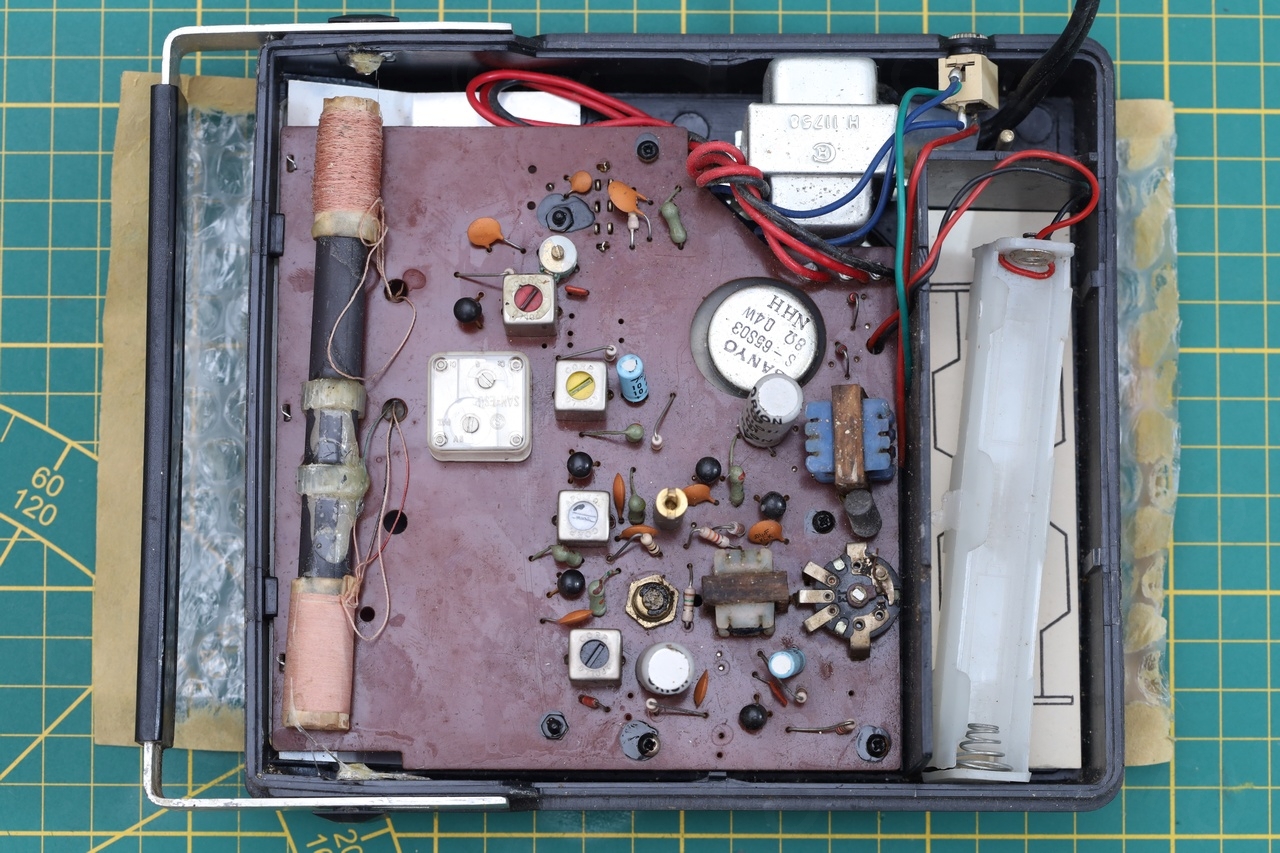

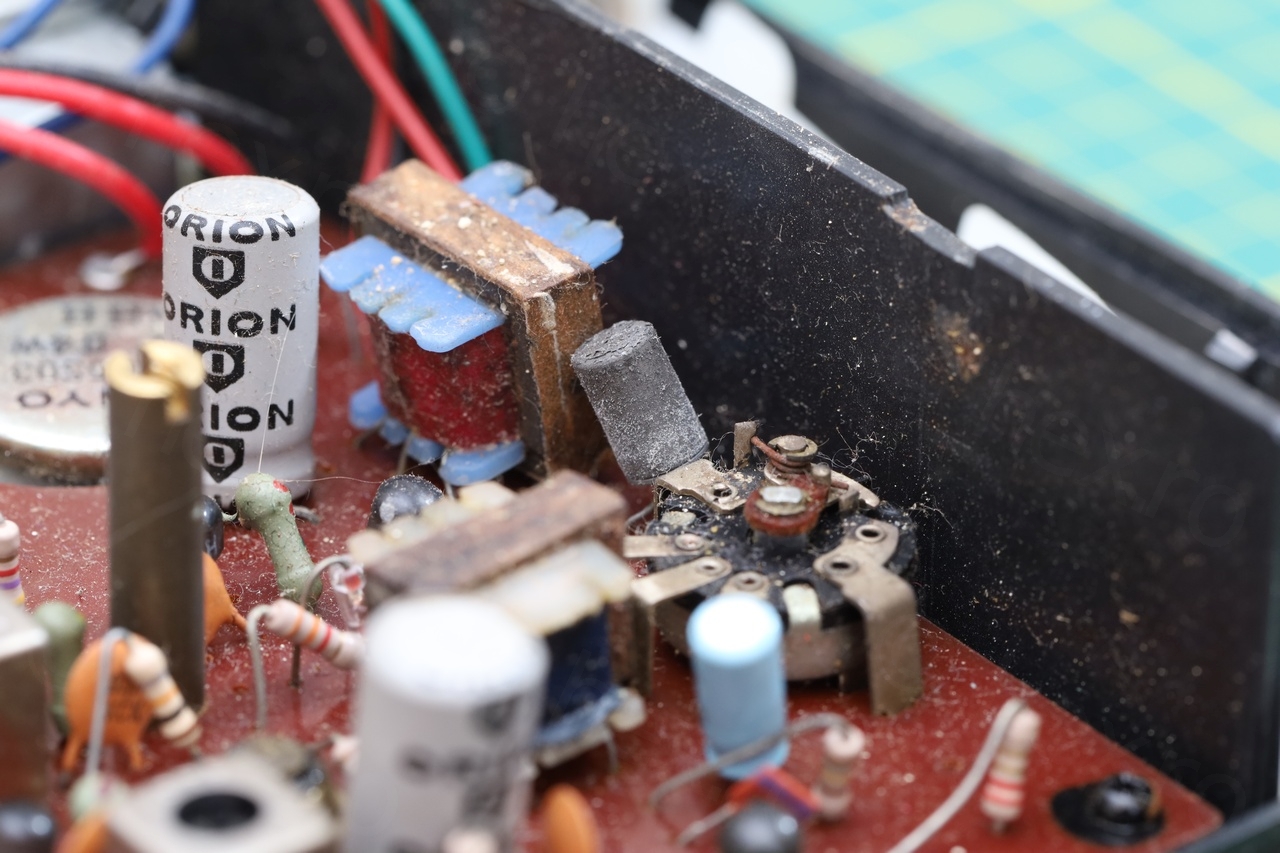
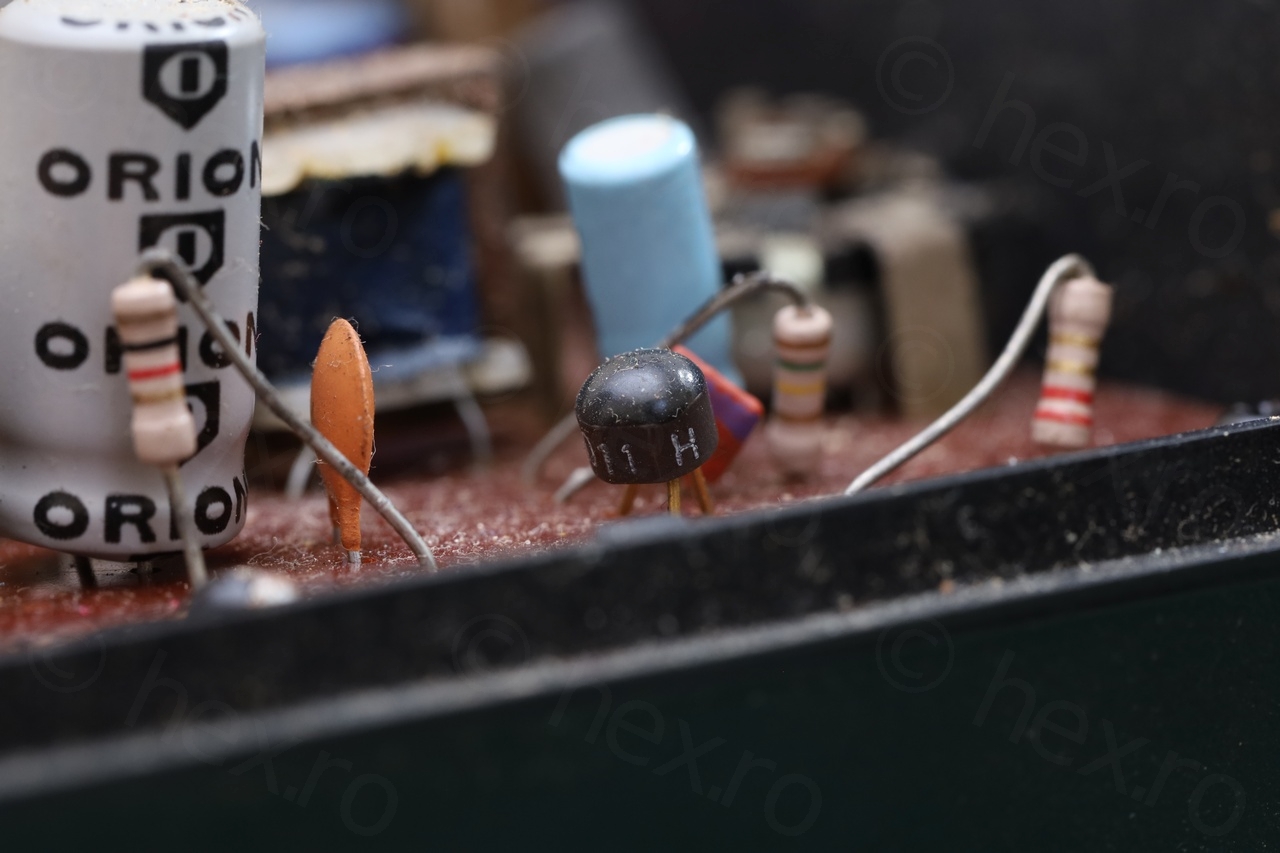
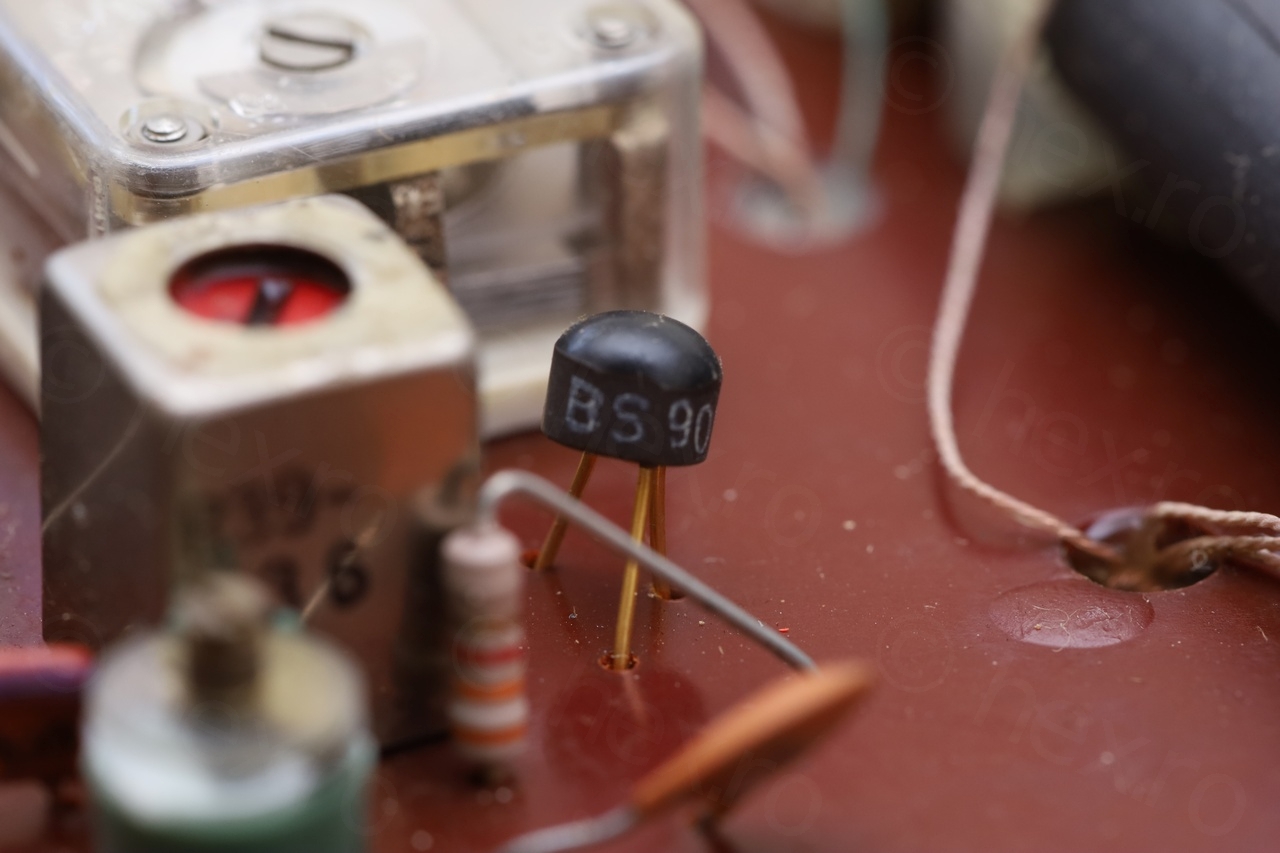
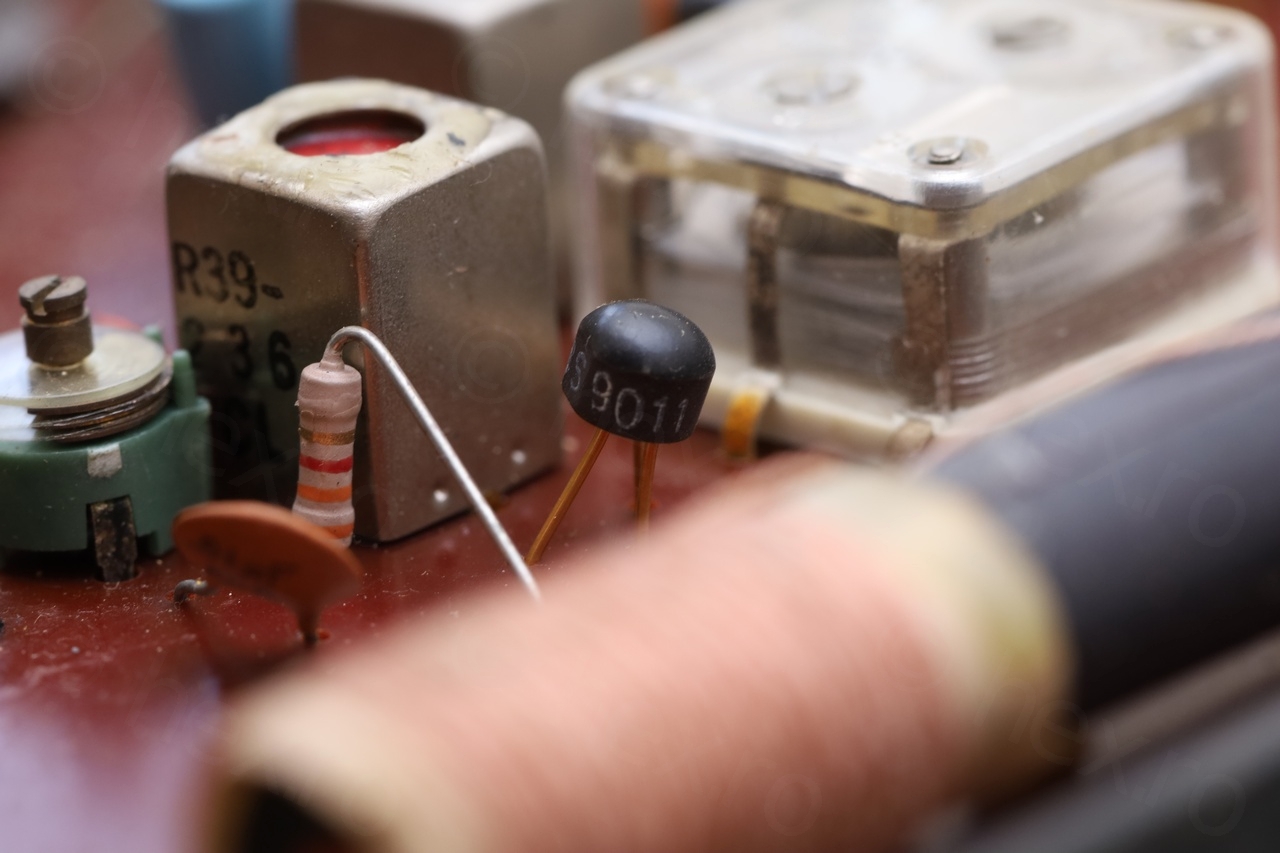
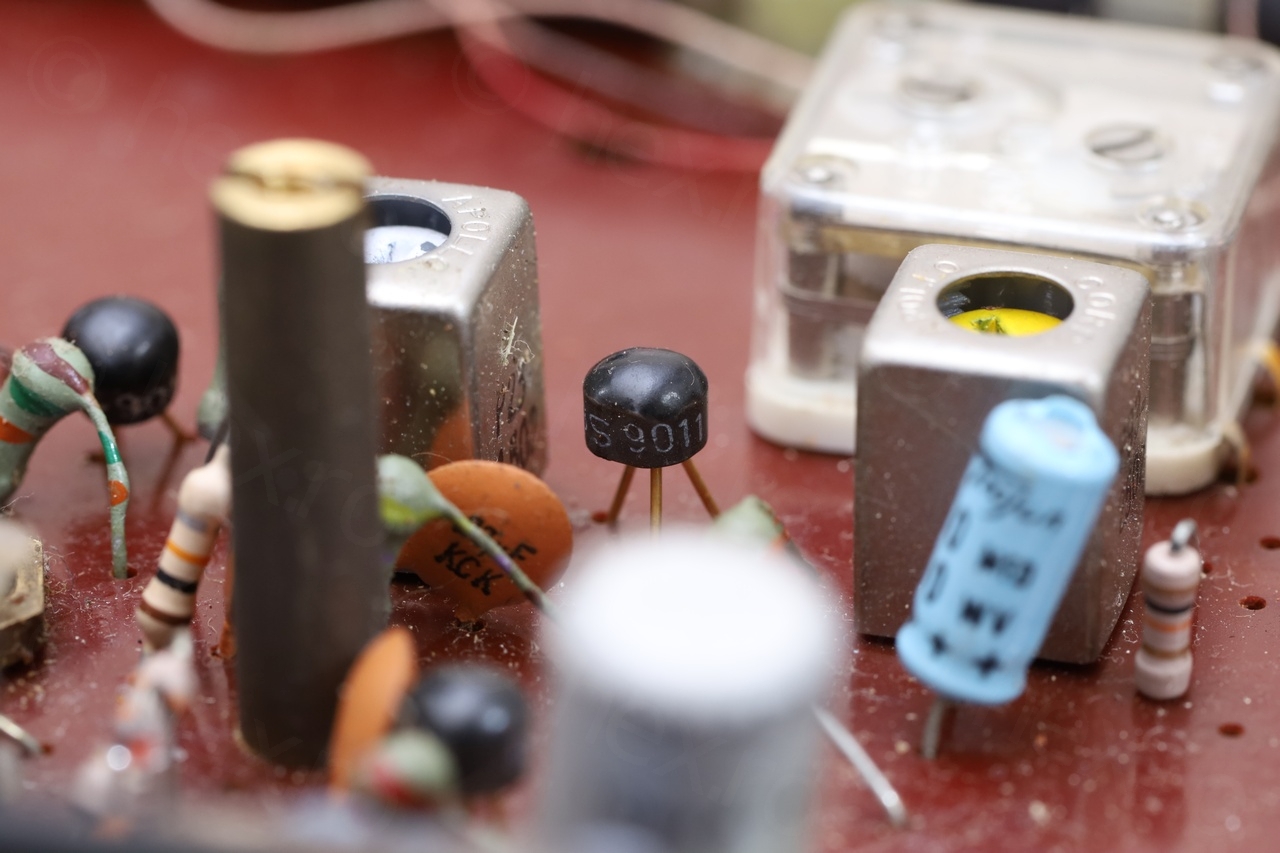

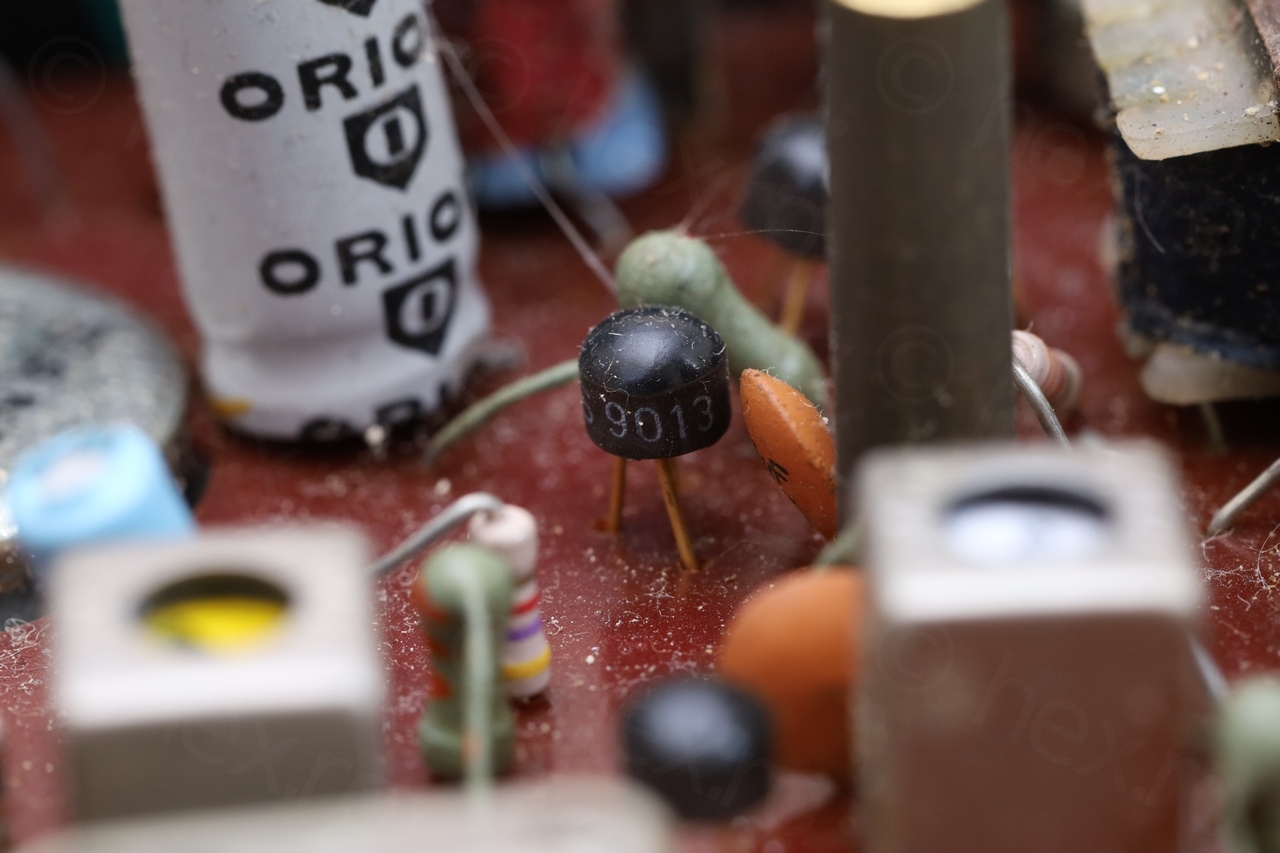
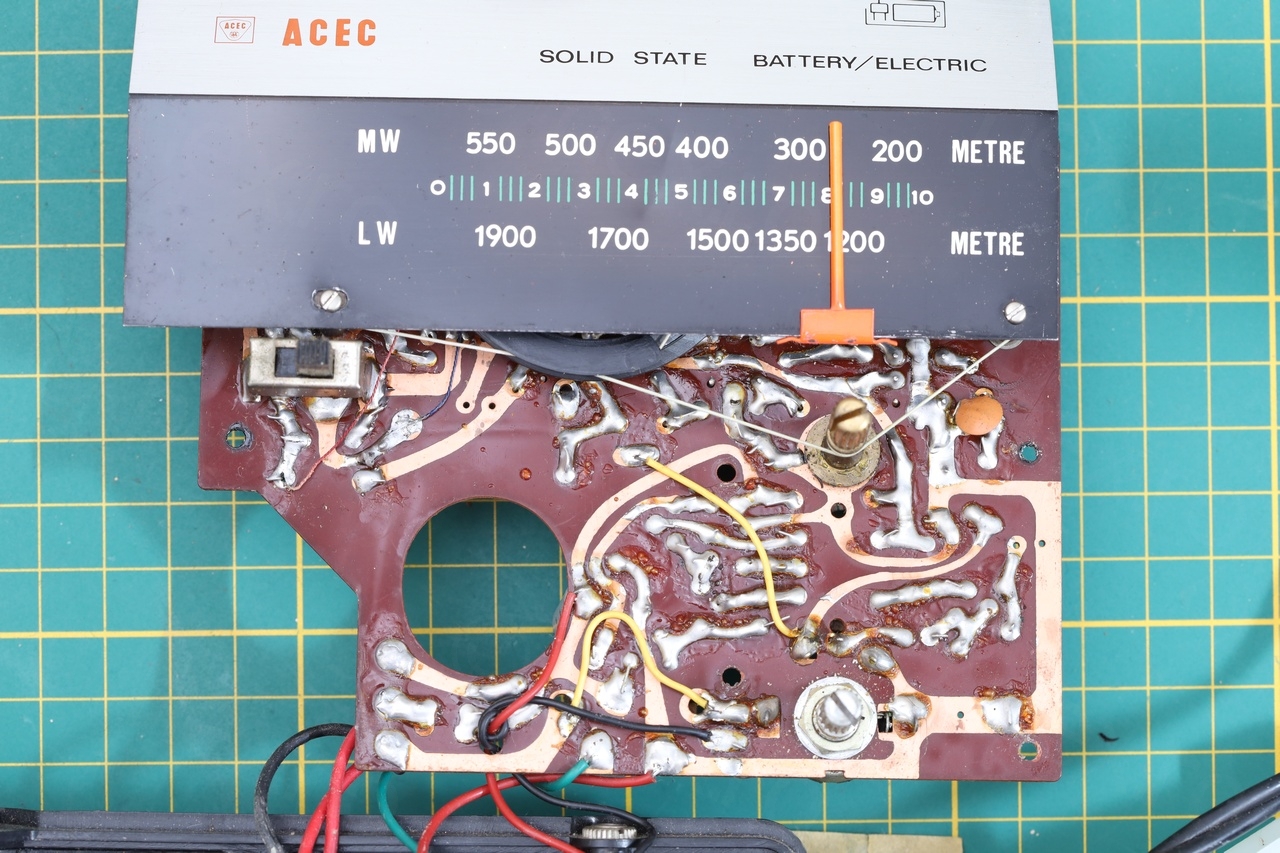
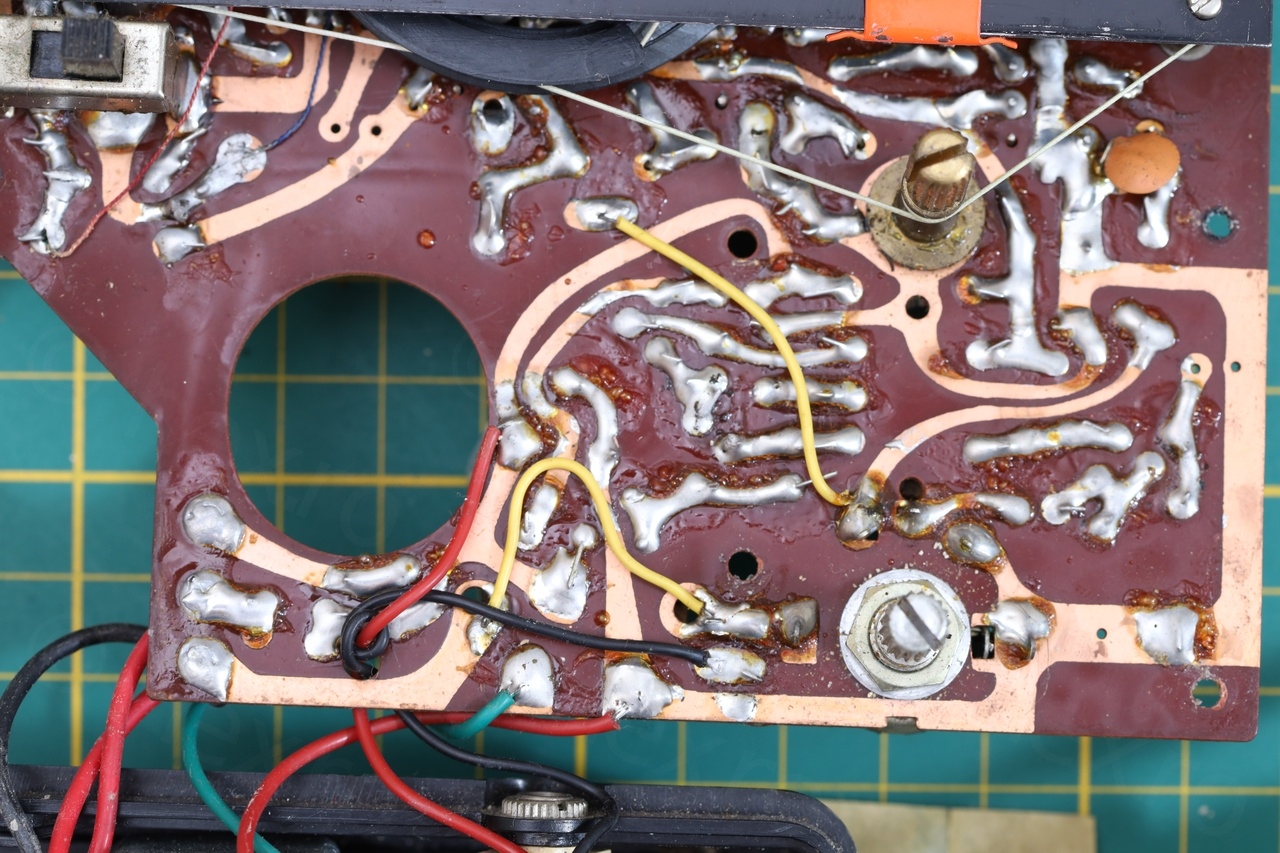


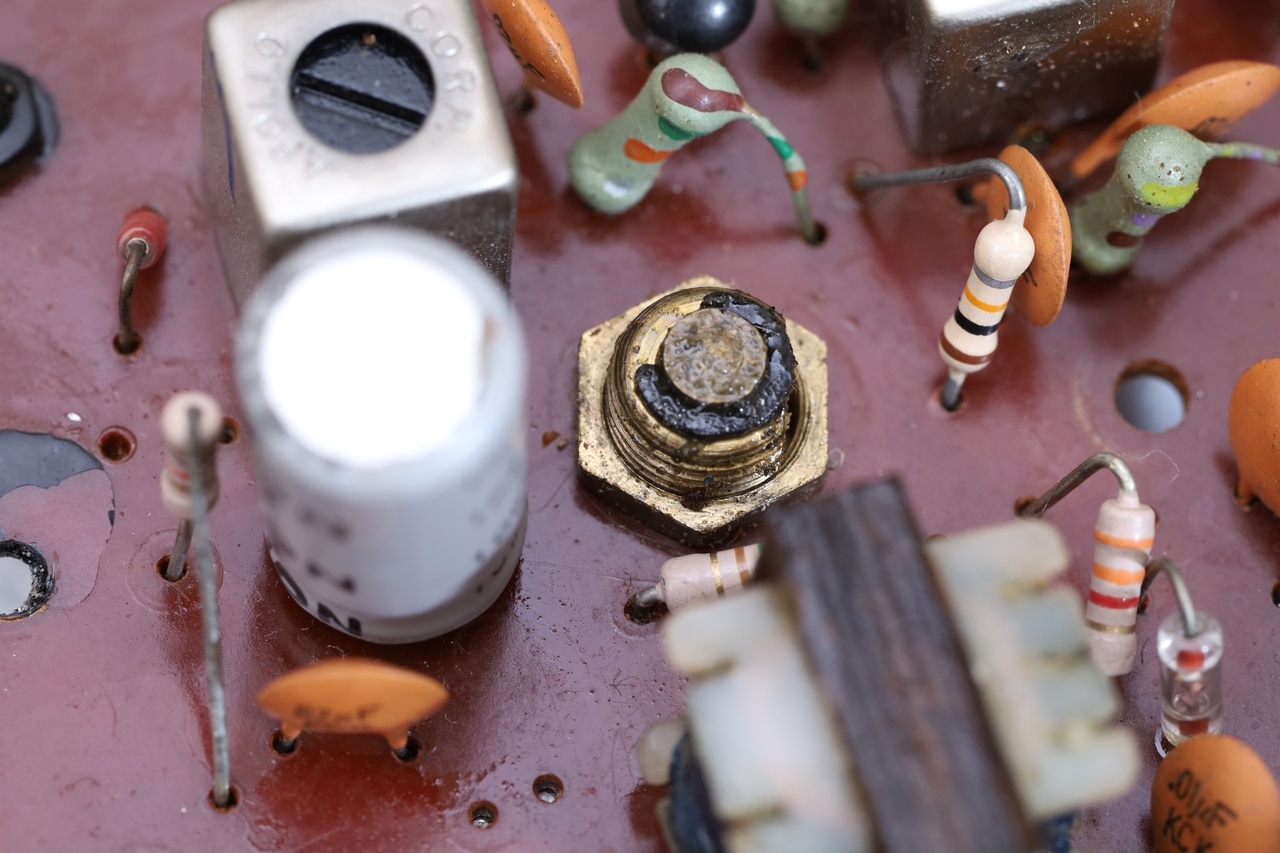

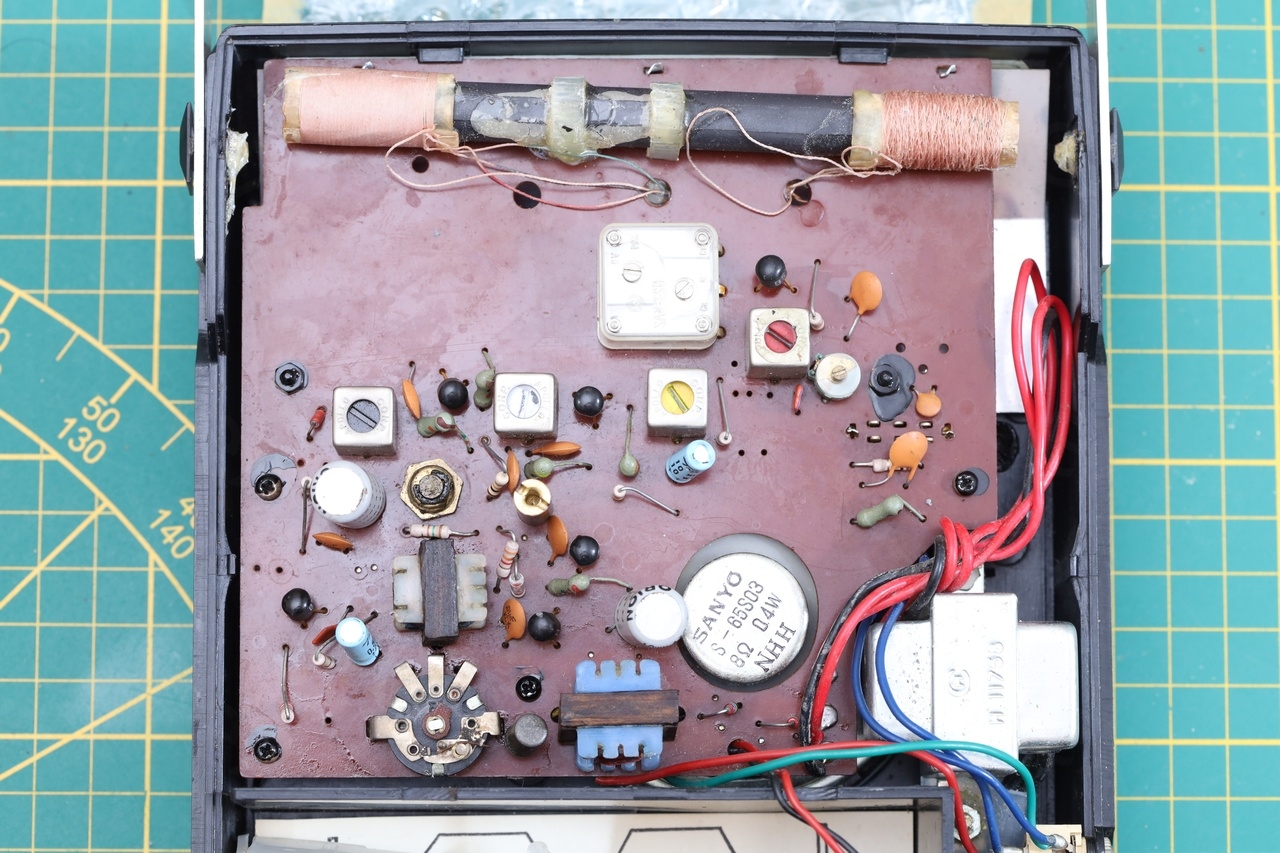
As a small review, the board looks minimum-minimorum, 6 transistors and 2 diodes. There are 4 transistors are marked BS 9011 H and 2 marked BS 9013 F. There is one glass Germanium diode which is unmarked. A TO1 type Ge is transistor is also present but I cannot identify the model (I assume due to corrosion). The Emitter pin is cut – it is used as a Ge detector diode using the Base and Collector leads.
Maintenance
I took the following maintenance steps:
- De-dusting the circuit board
- Preventive cleaning of the Volume potentiometer: even if it worked fine, I brushed the exposed On/Off switch with a fine steel brush, and flooded the potentiometer with contact cleaner.
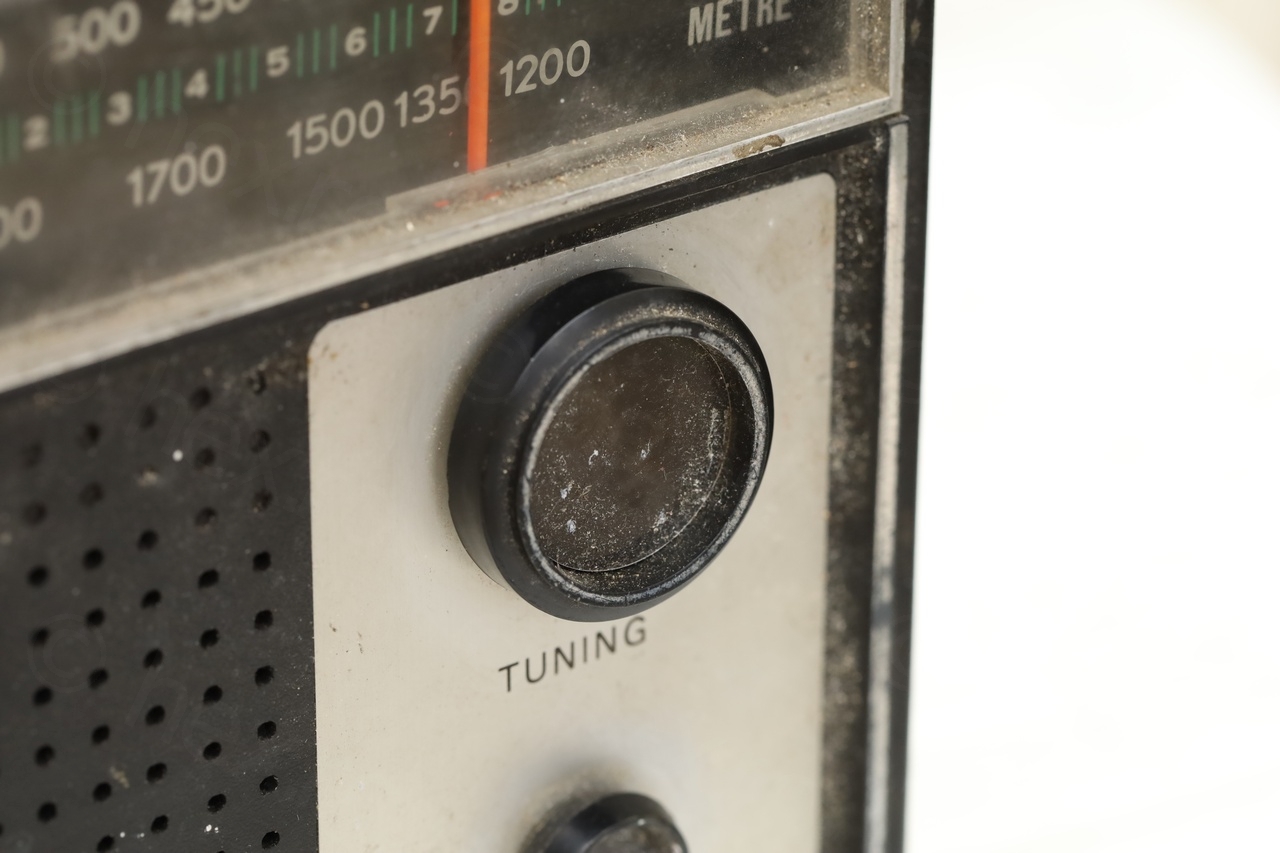
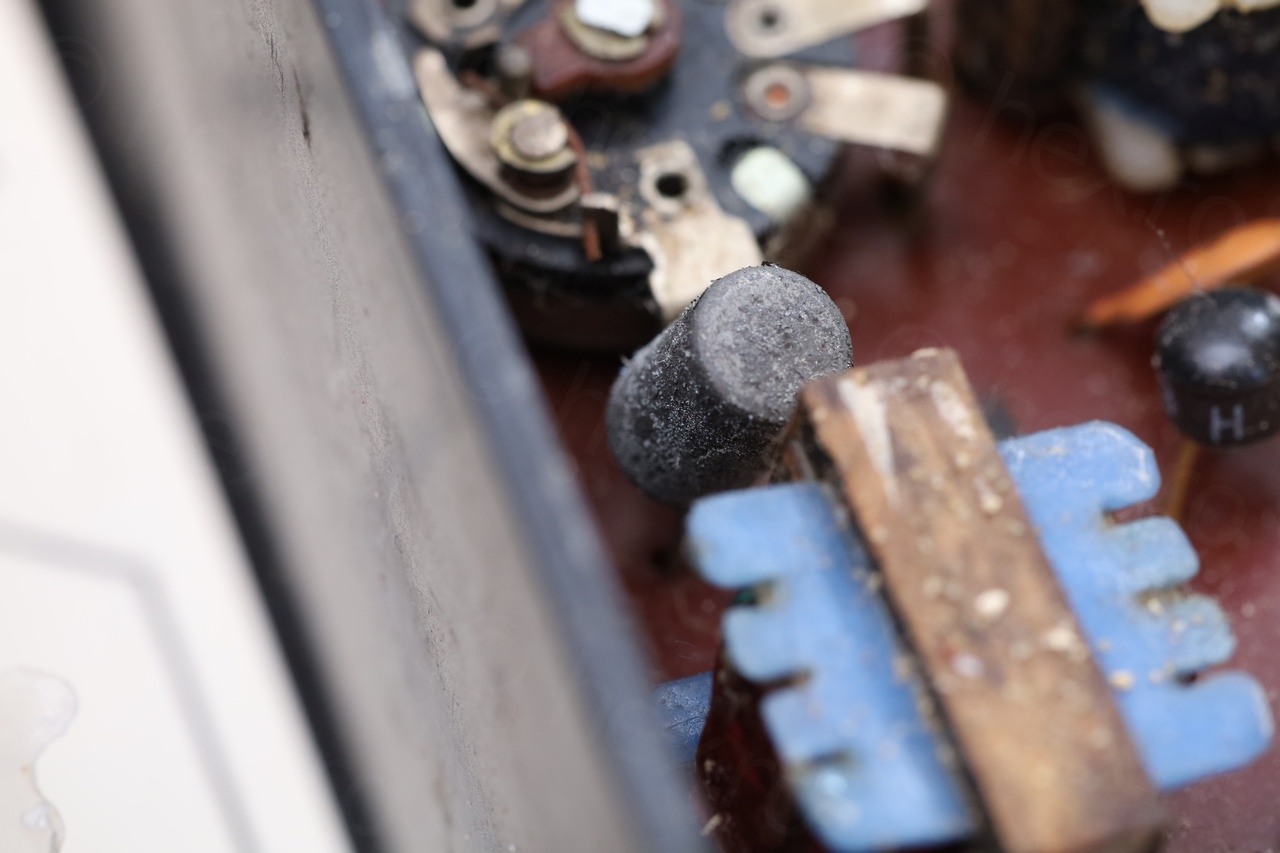
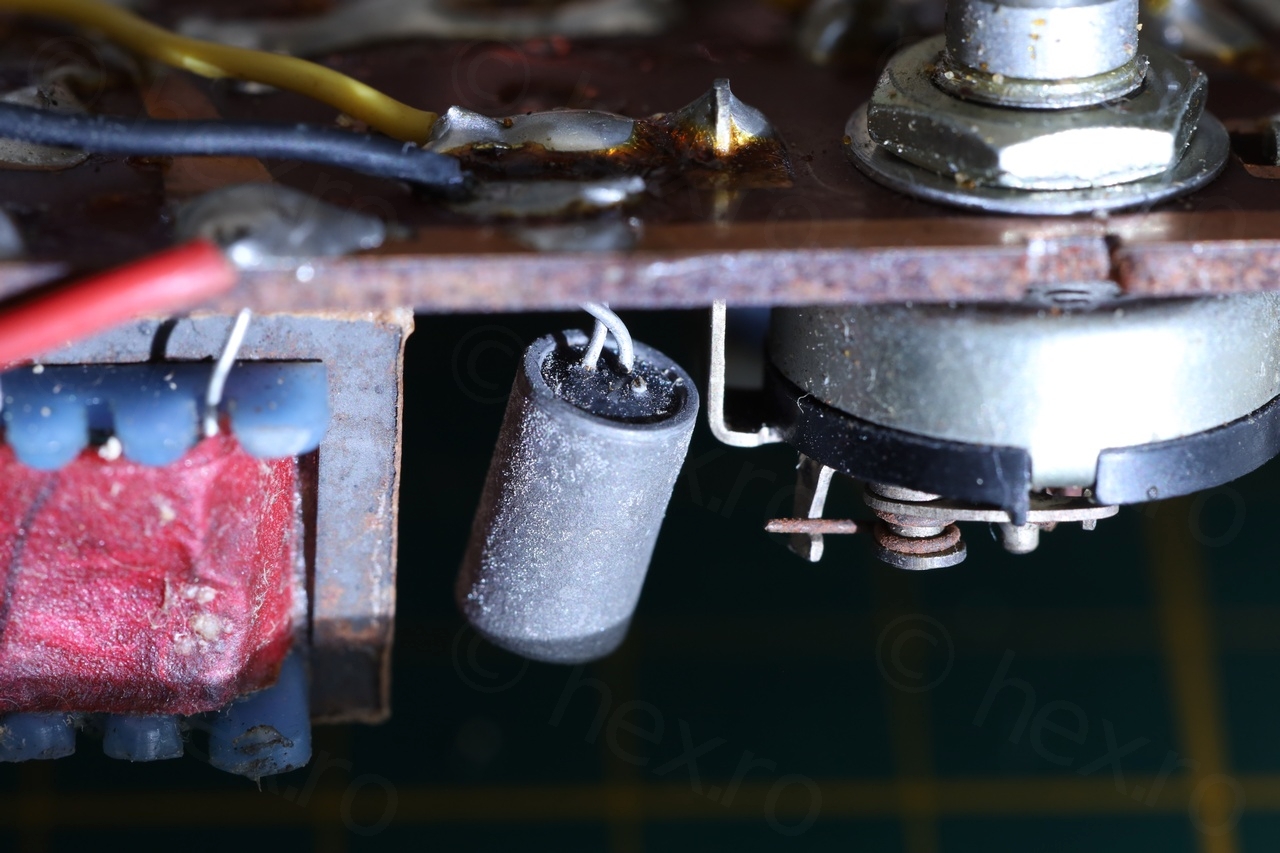
- Tightened the nut (on the back of the circuit board) that was holding the Tuning shaft a-fixed to the circuit board. It was very loose – which explains the wobble of the Tuning knob.
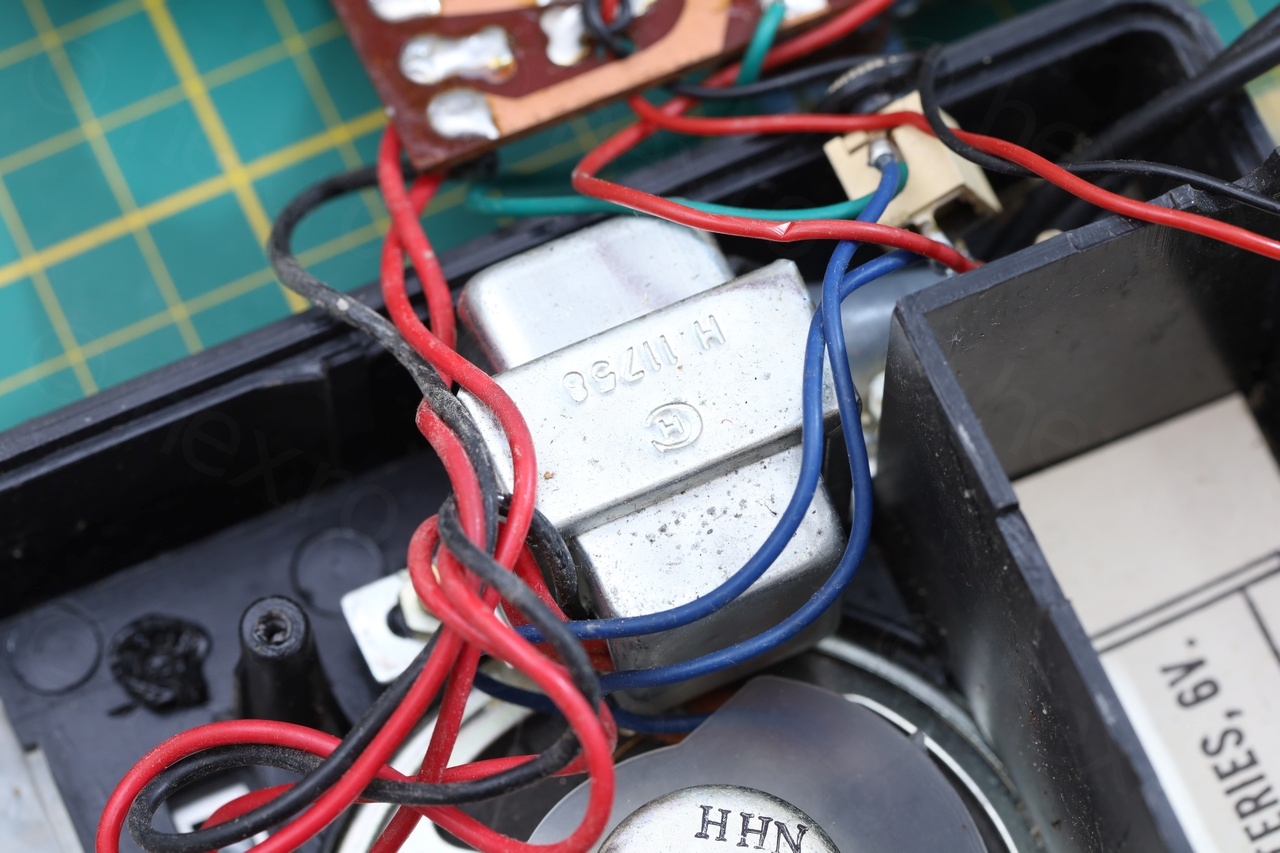
- Applied some sewing machine oil (using cotton buds) to the Ge Transistor as well as to the transformer cores. Hopefully this will slow down corrosion.
- Glued the cracked tab holding the battery lid to the case.
Few observations:
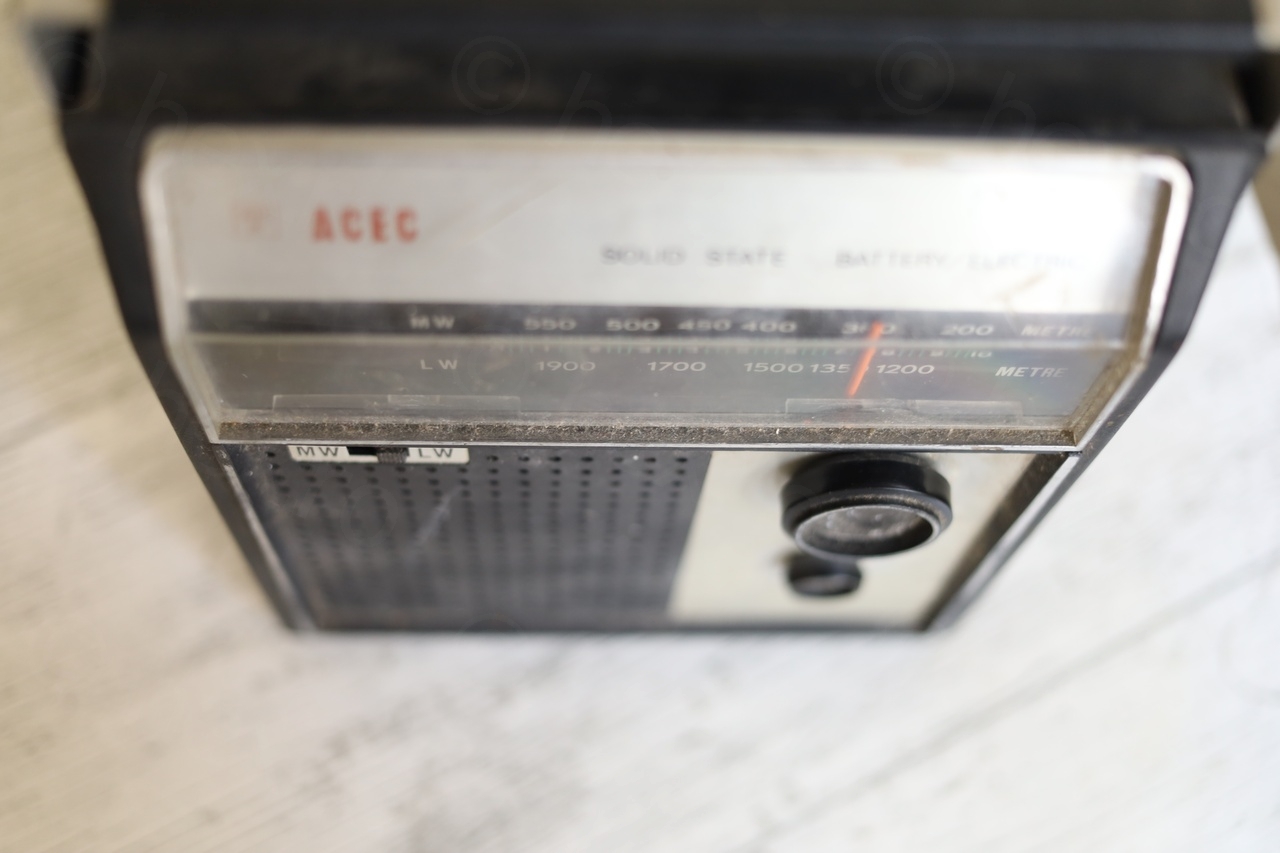
To clean the case I used wet wipes, but the paint of the Volume / Tuning text is very easily stripped so watch out.
I did not replace any of the original capacitors. Radio seems to work and paralleling a known good capacitor did not improve sensitivity nor audio quality – thus, I decided to keep the original look of the radio.
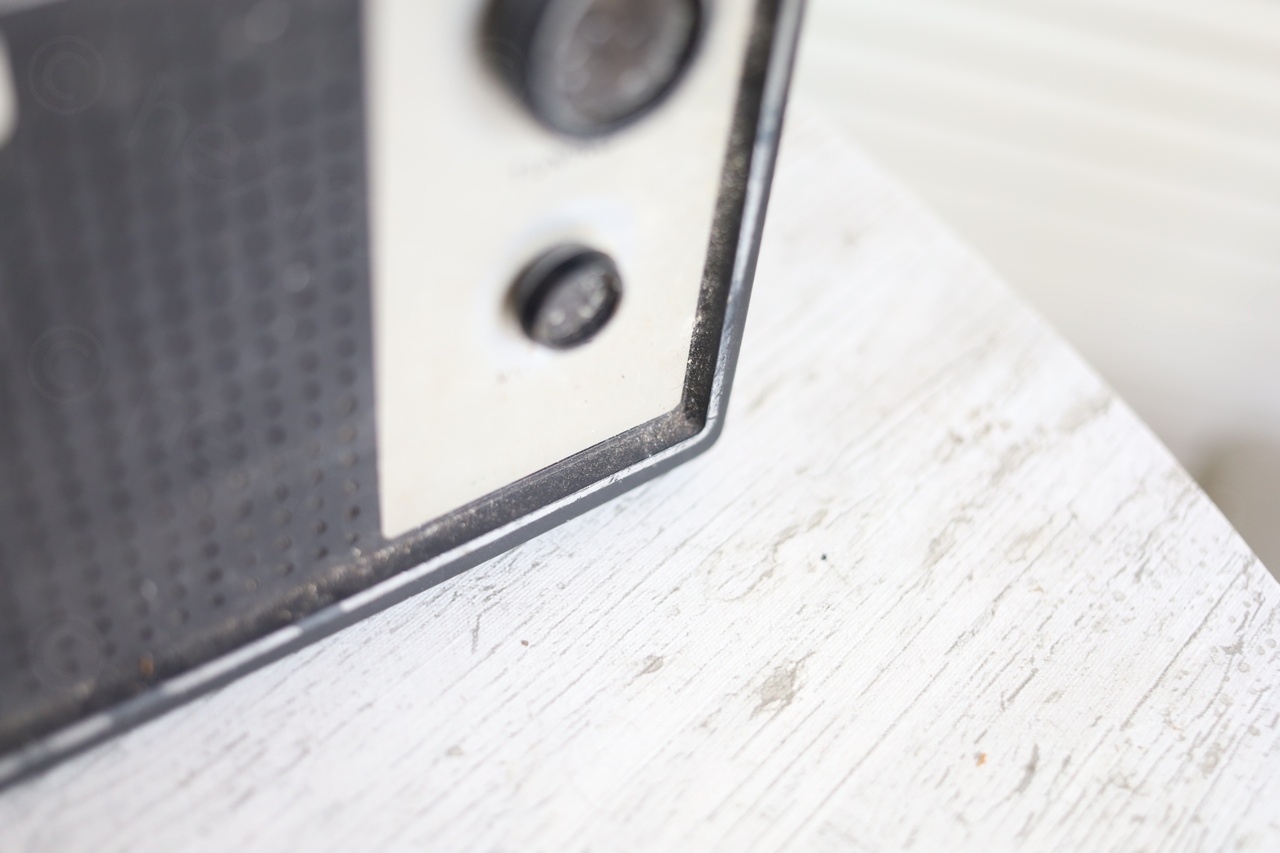
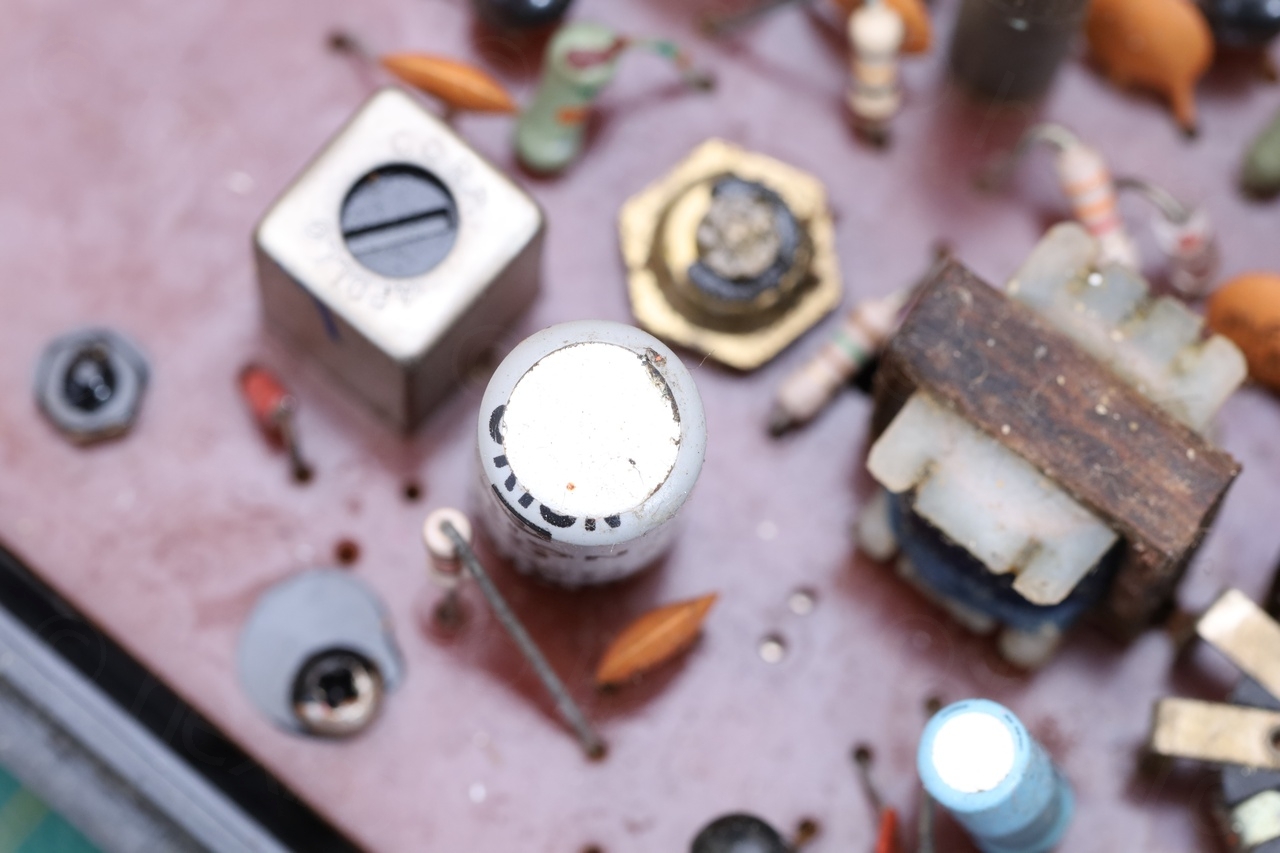
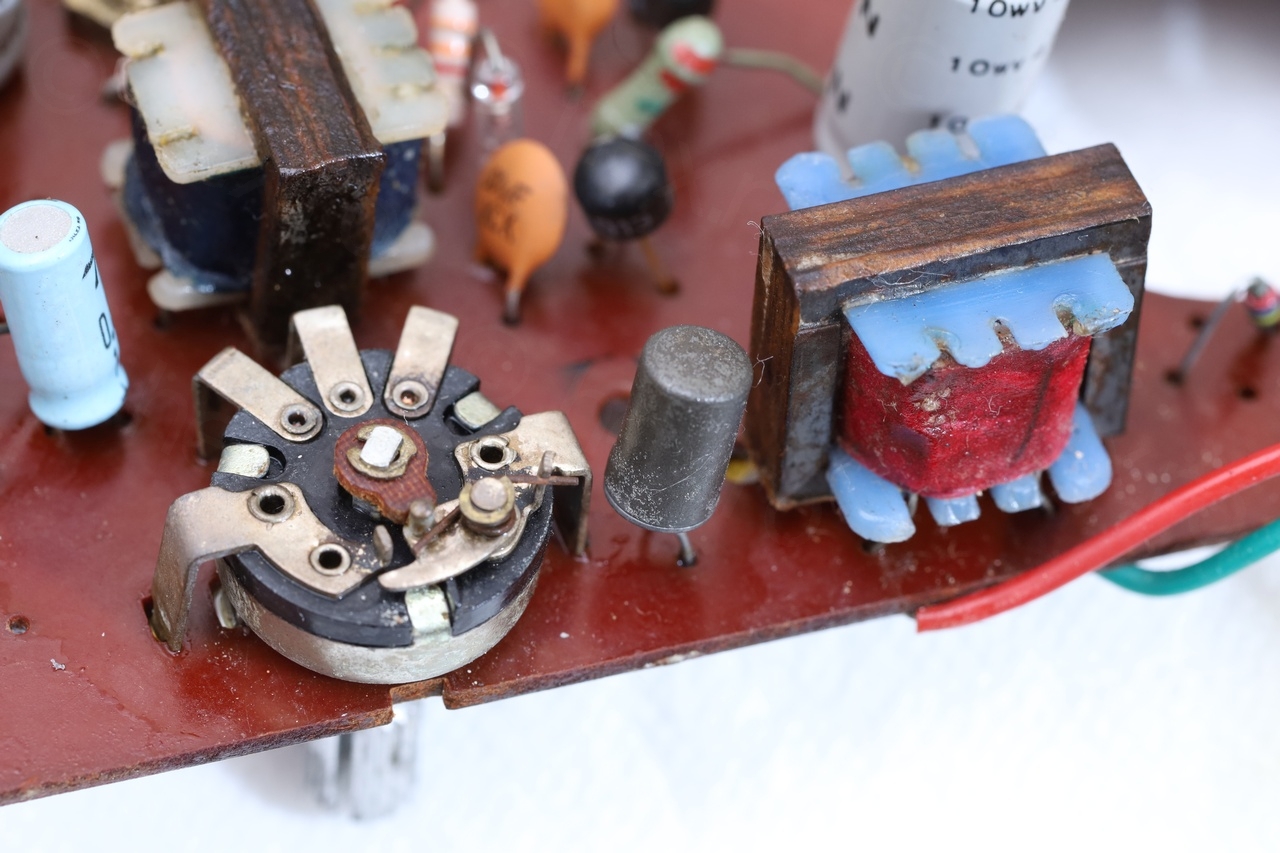
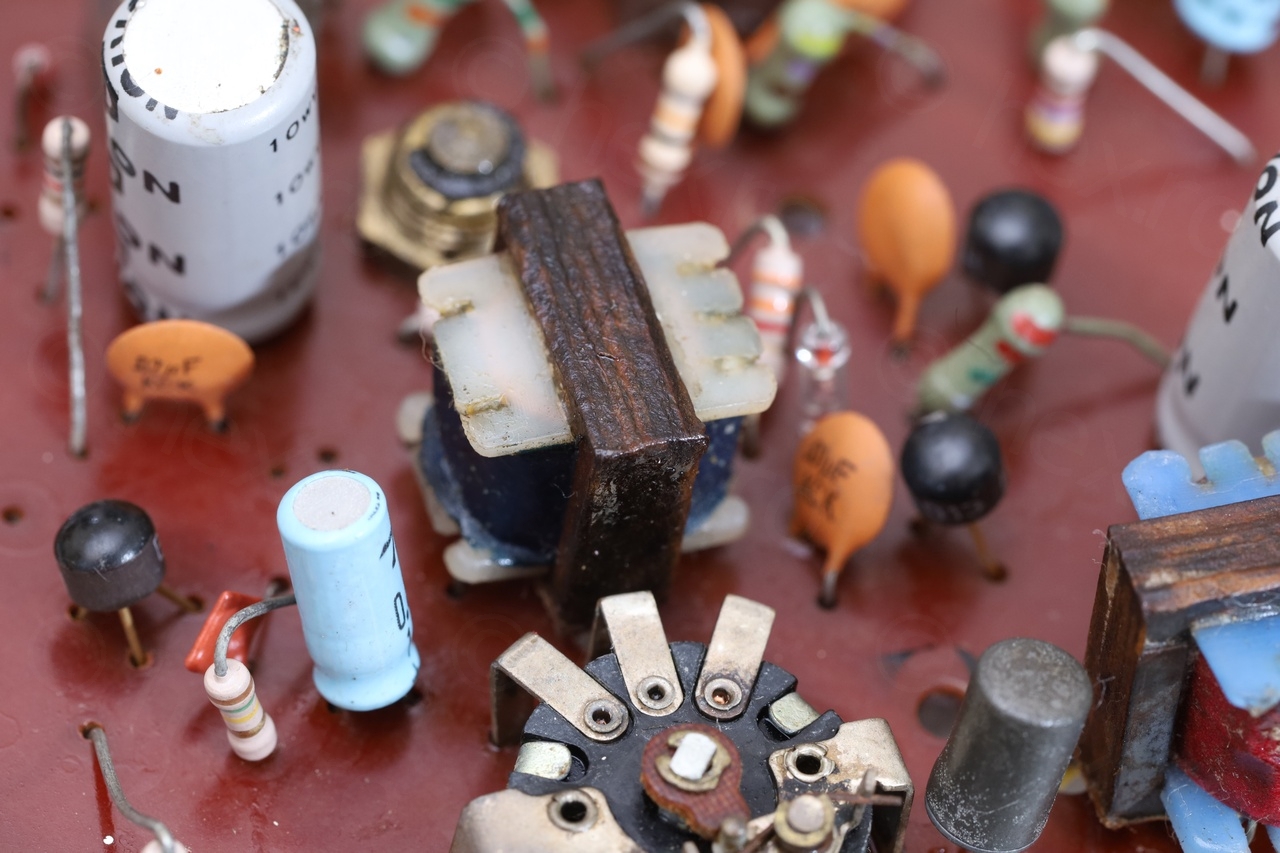
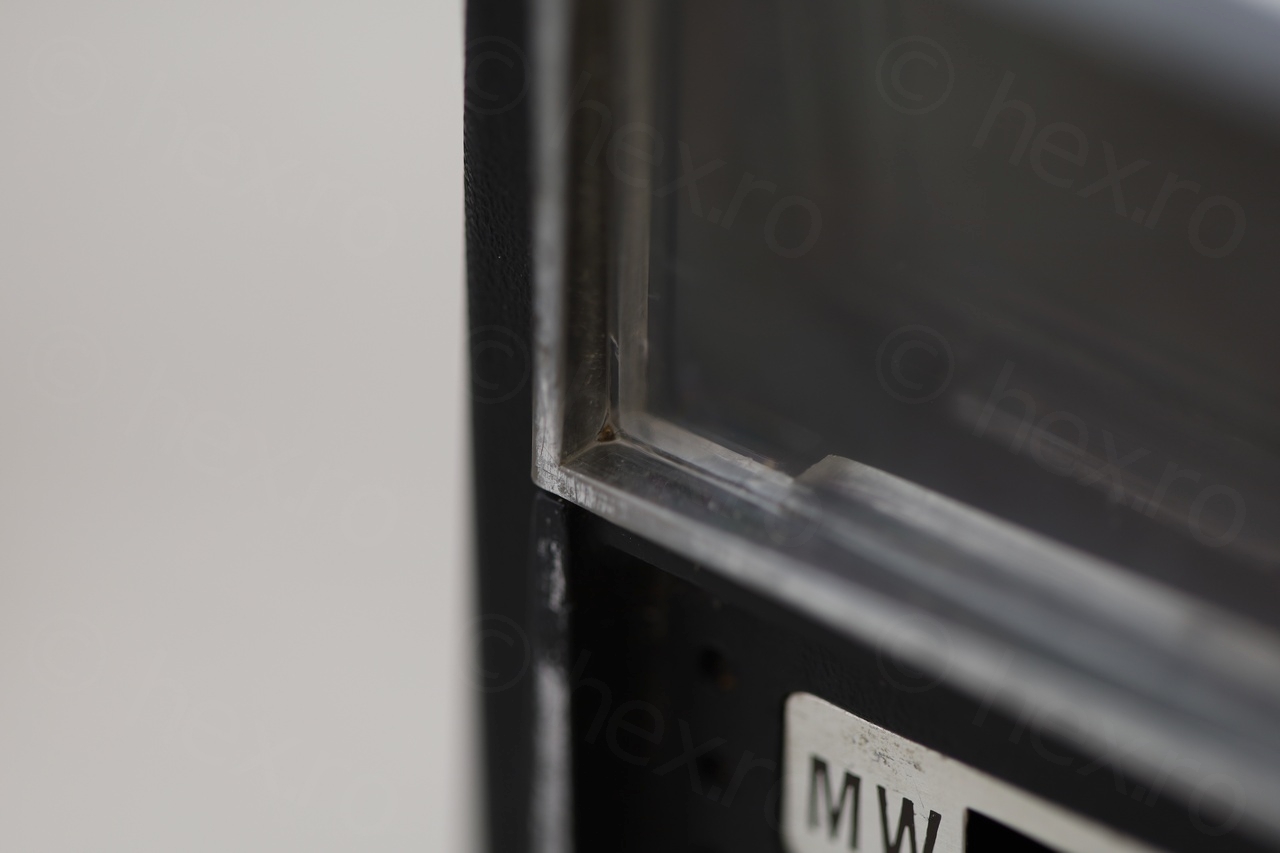
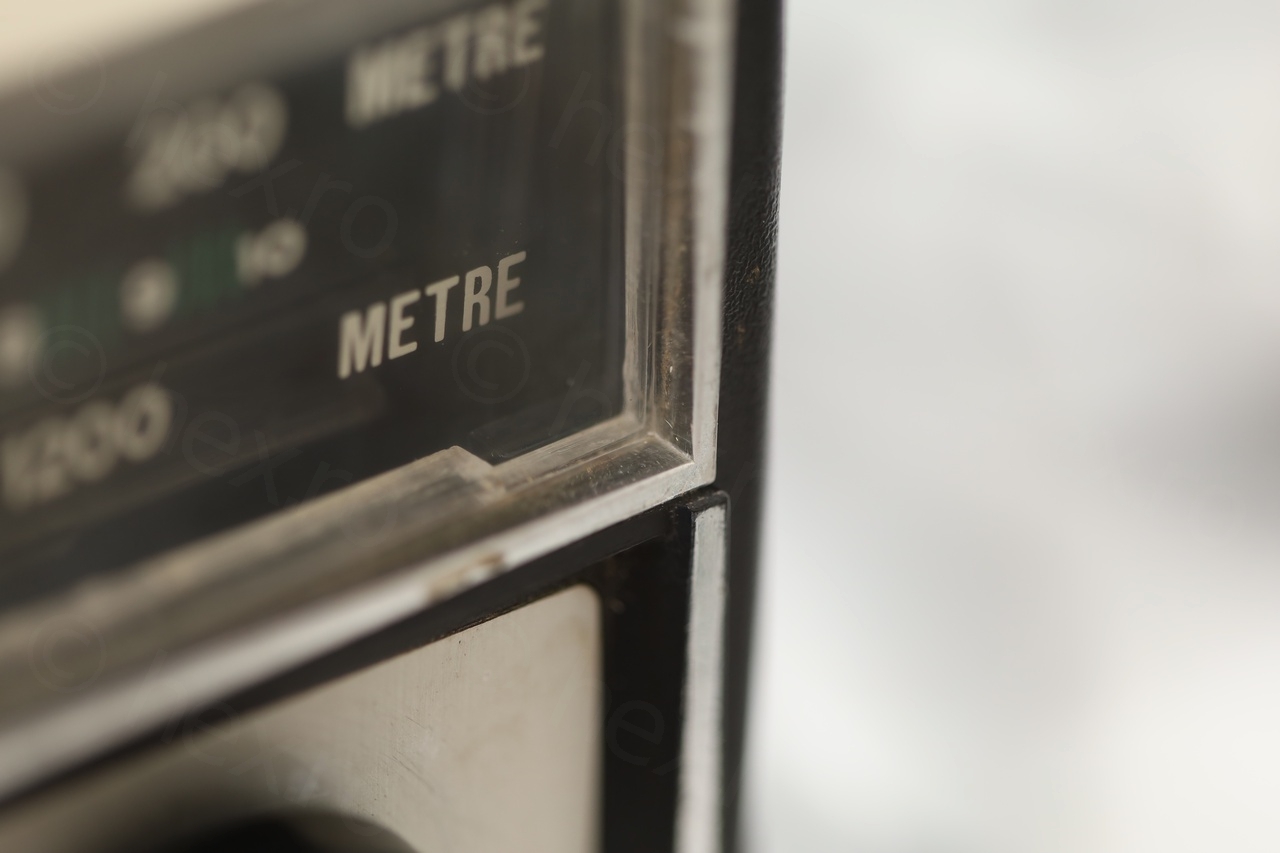
Some closeups after cleanup:


Since there is no more AM emission in Belgium, I had to wait for the night time to try some DX. It was still early though, but some AM stations were coming through (heard Spanish, Italian and English stations).
In conclusion, a radio that works as is – simple, and a little refreshing compared to others that needs a lot of time to have them restored.
Leave a Reply