


Introduction
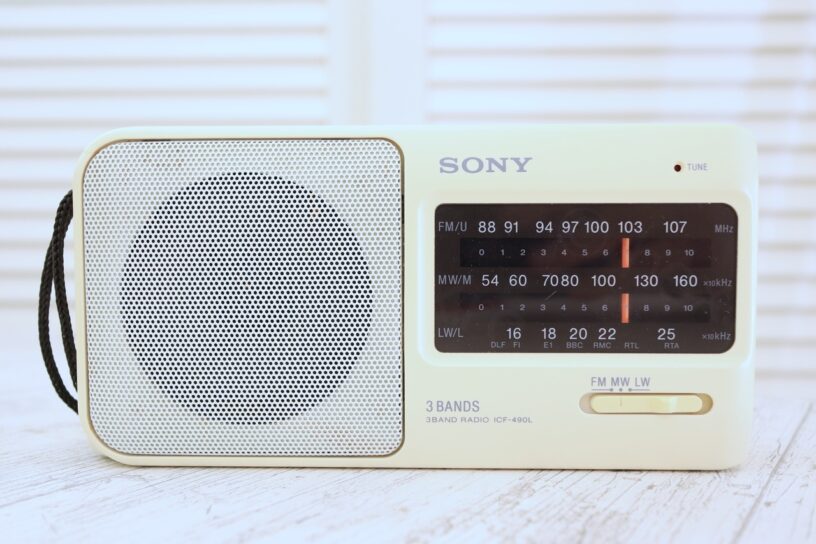
I saw this Sony ICF-490L radio while walking through a flea market; it looked neglected by the seller, thrown in a dangerous spot where people could almost step on the poor radio. Decided to pick it up and have a look at it: the grill on the loud speaker was intact (no dents), it was badly yellowed, the buttons worked perfectly, but there was something loose inside that made noise when rocking the radio left and right.
What could it be ?
I briefly reflected on my curiosity trying to put a price on it – not _that_ curious, I have many other projects to tackle – but uttered the word “Combien ?”. 4€ was an acceptable price, so … here it is.
General presentation
This is the noise it made:
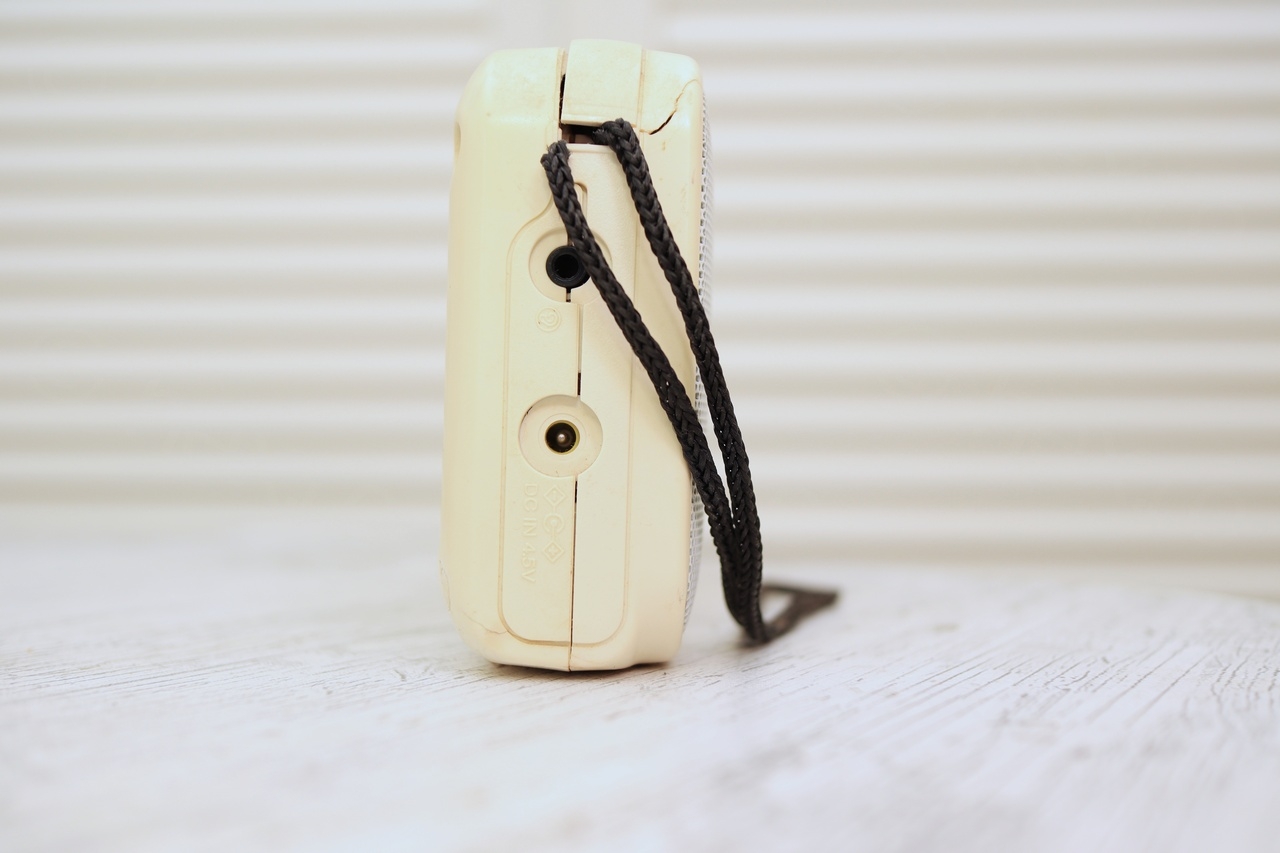
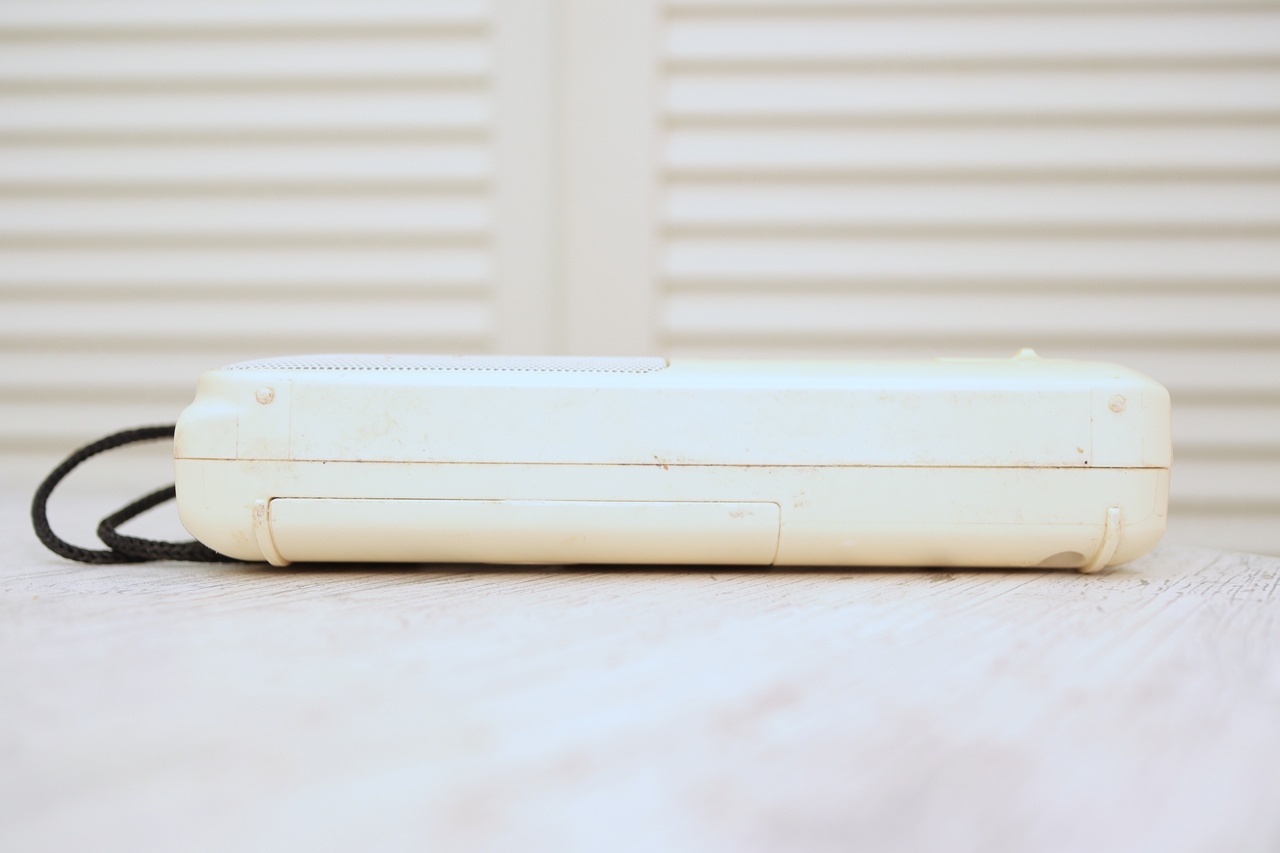
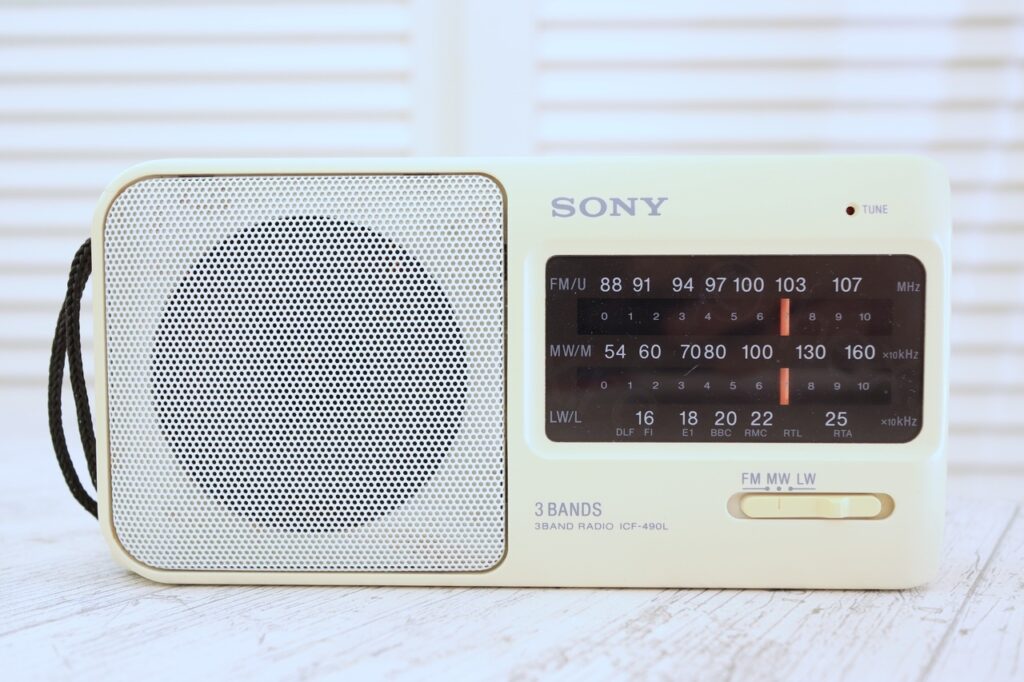
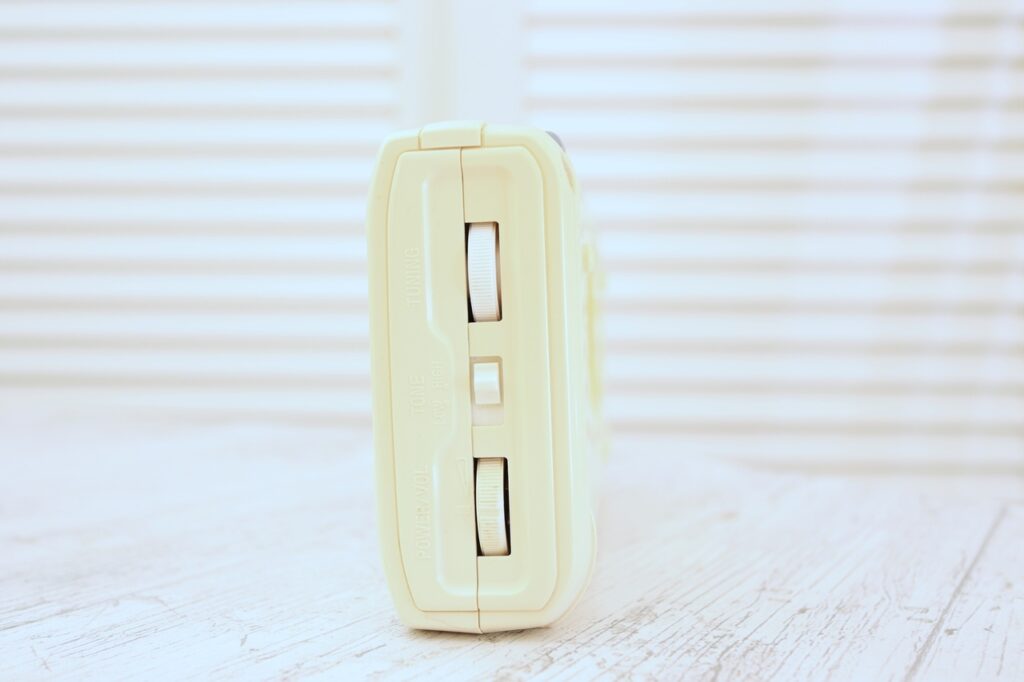
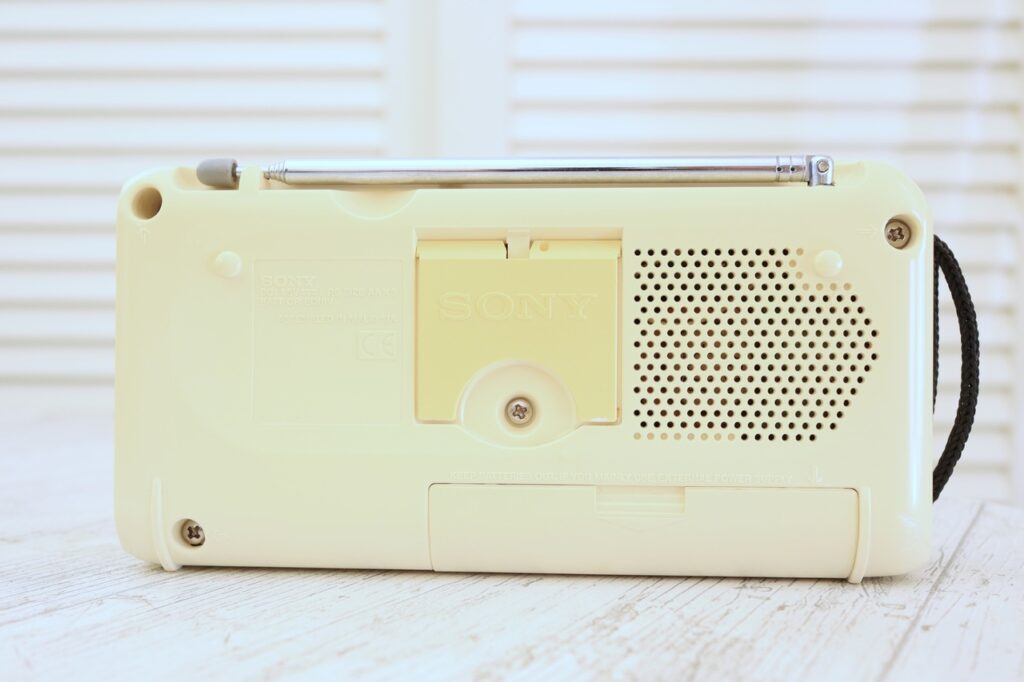
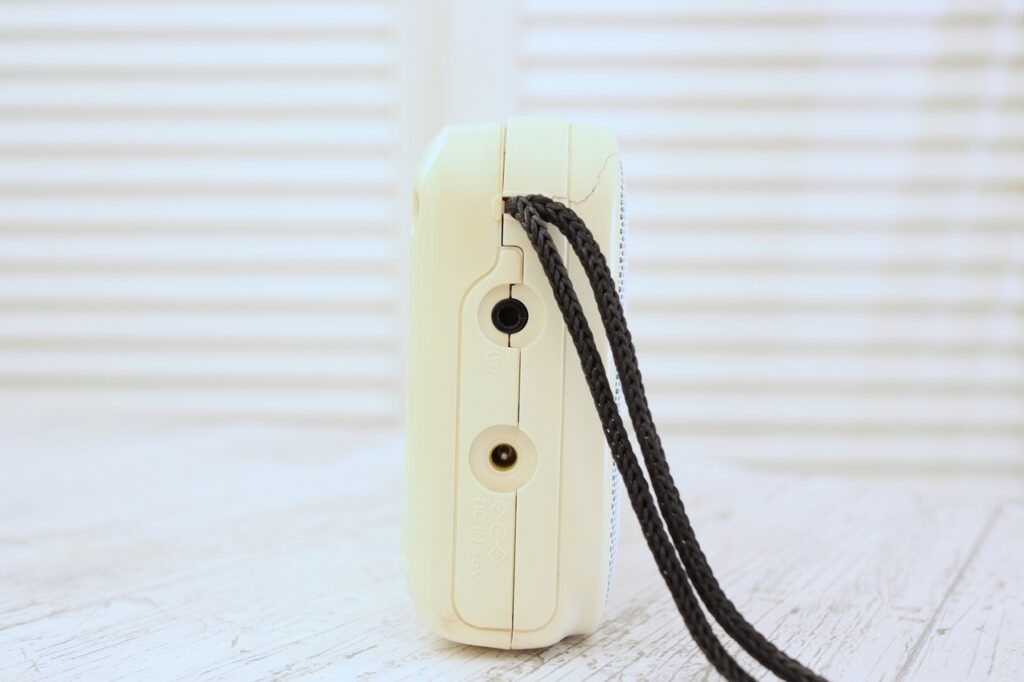
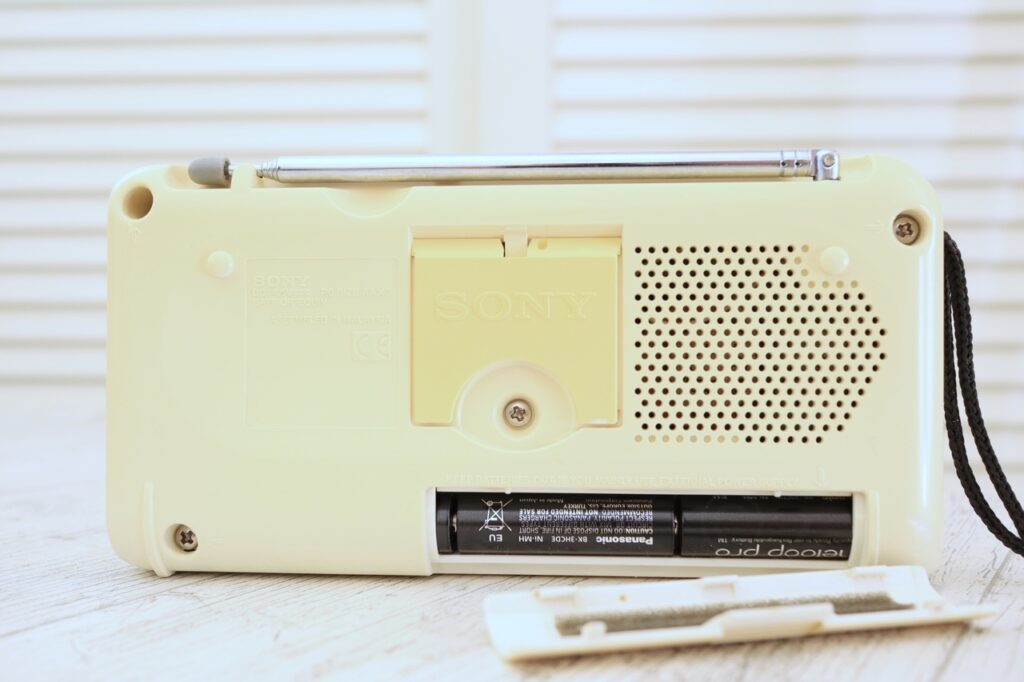
Decided to take few photos:


I made a quick test – FM was working great, but MW/LW in Belgium is off and radio was receiving nothing on the LW/MW scale.
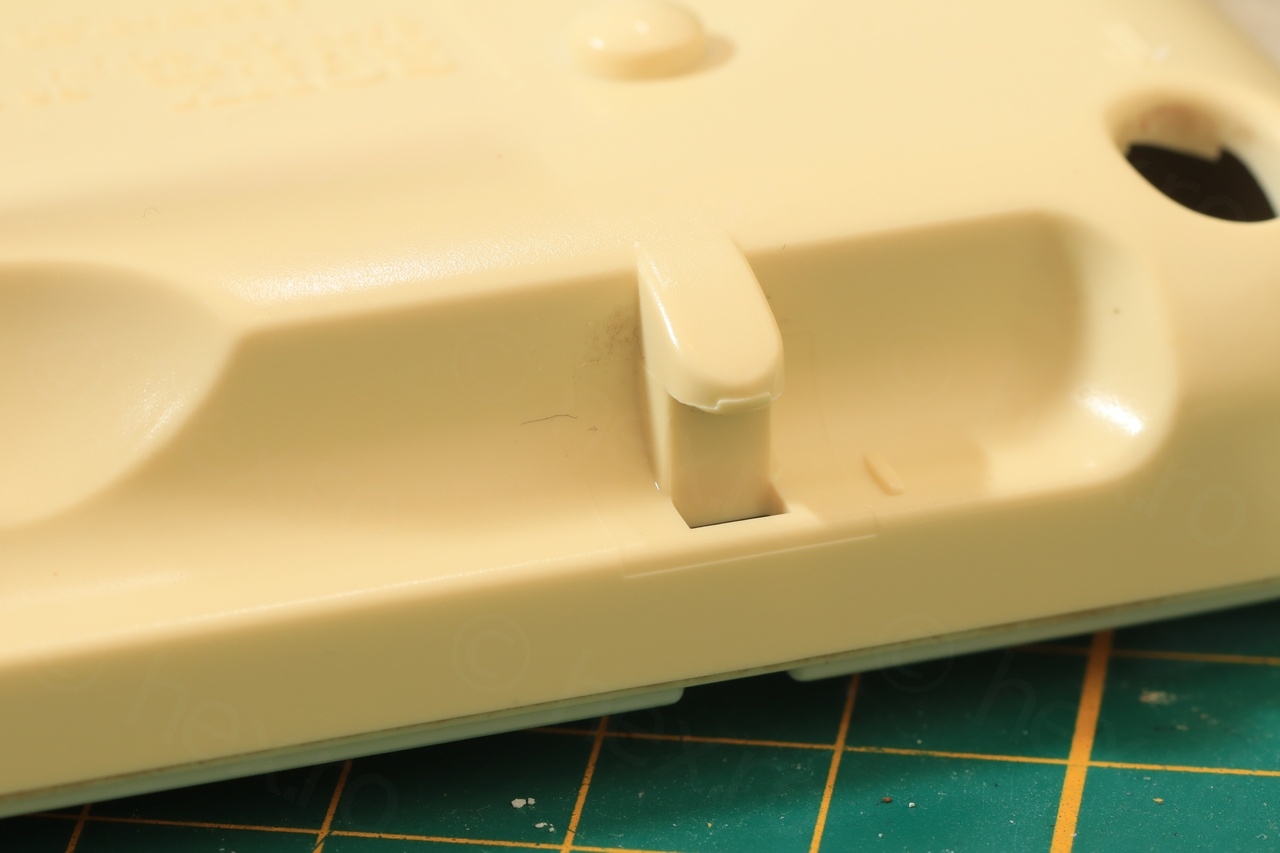
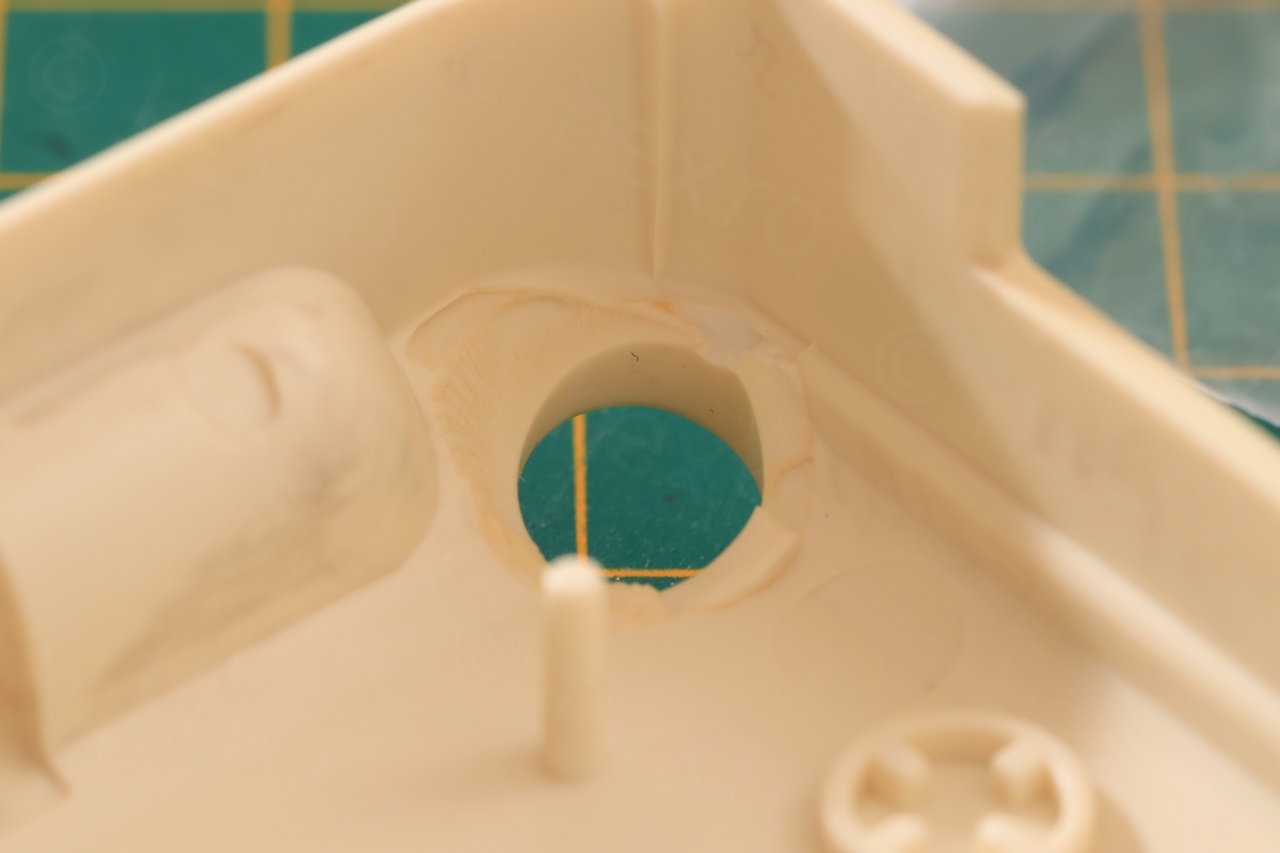
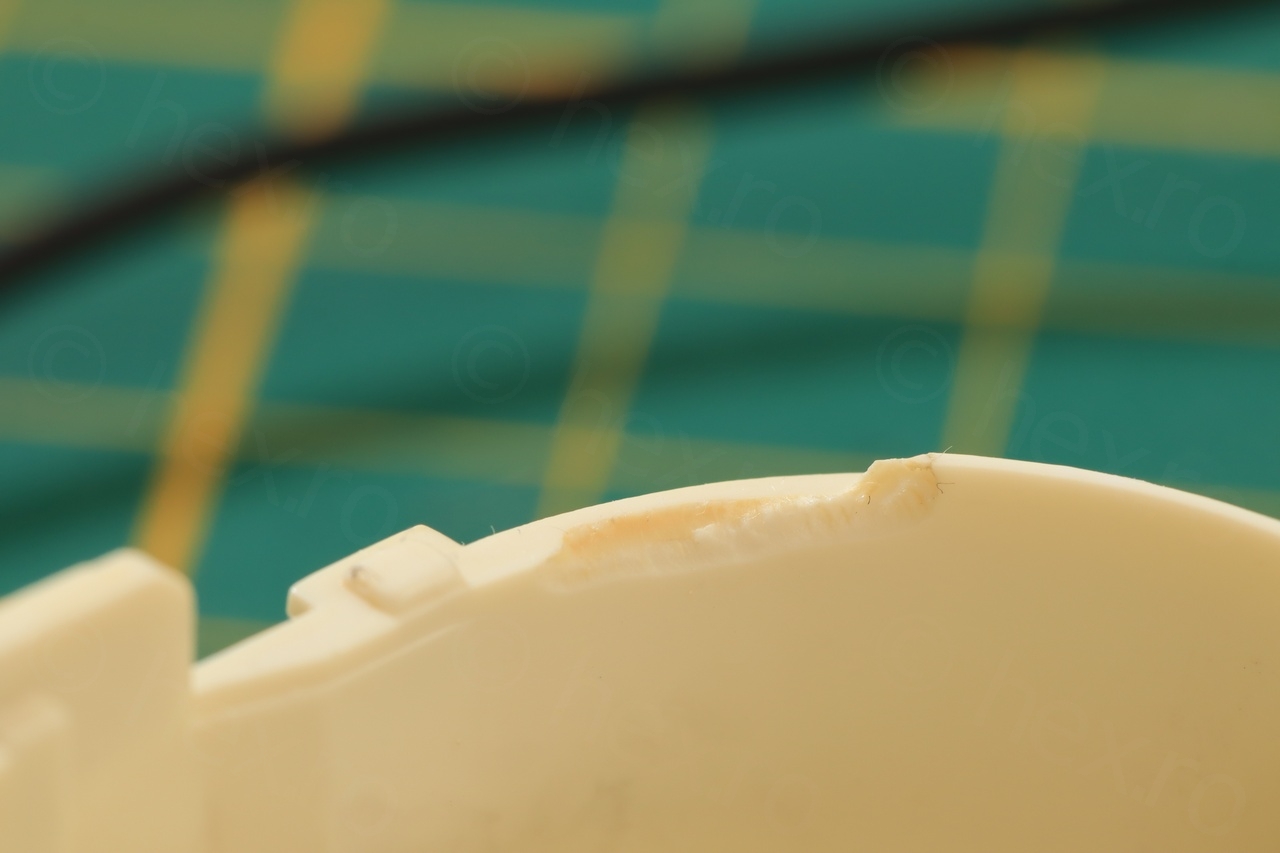
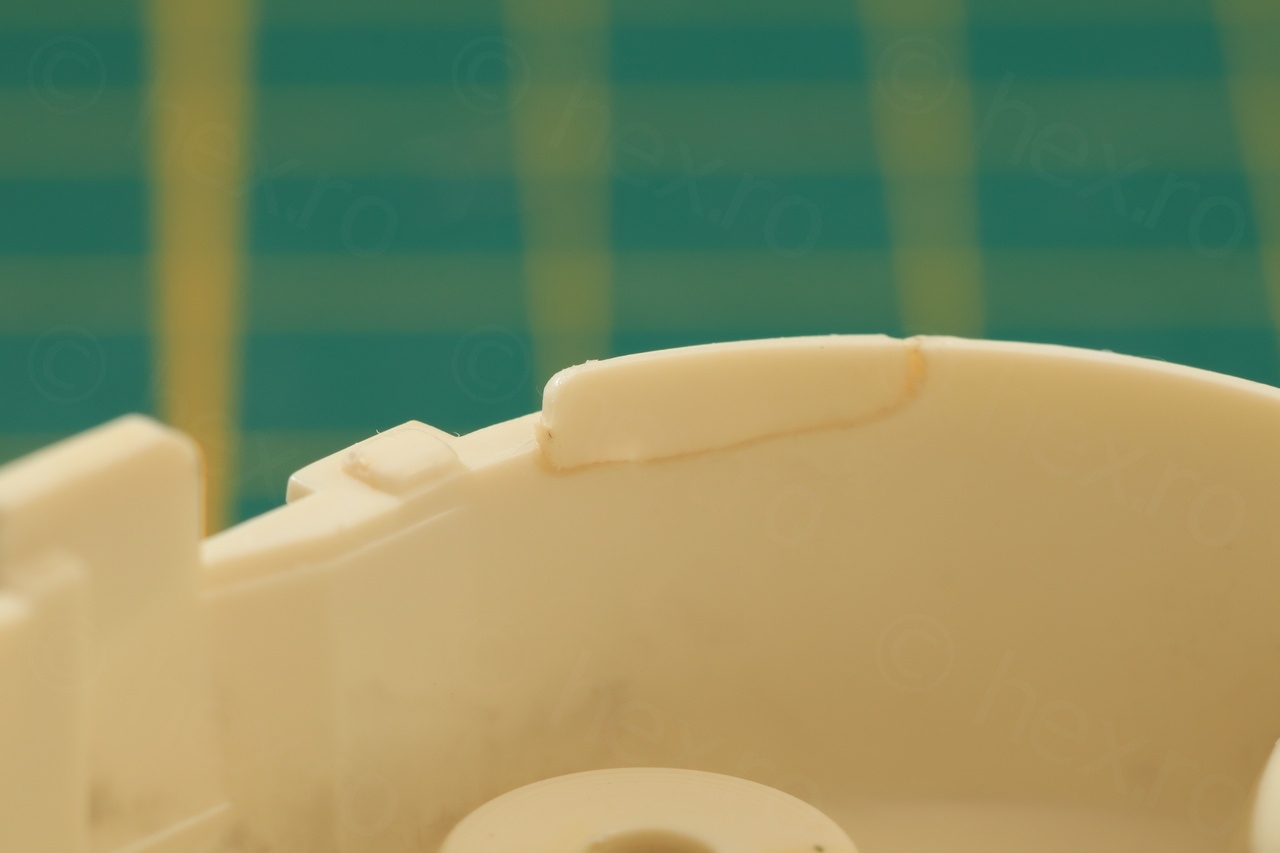
Opening it up was problematic, as the radio was dropped and a plastic post cracked not allowing the screw to come out – while keeping the motherboard trapped:
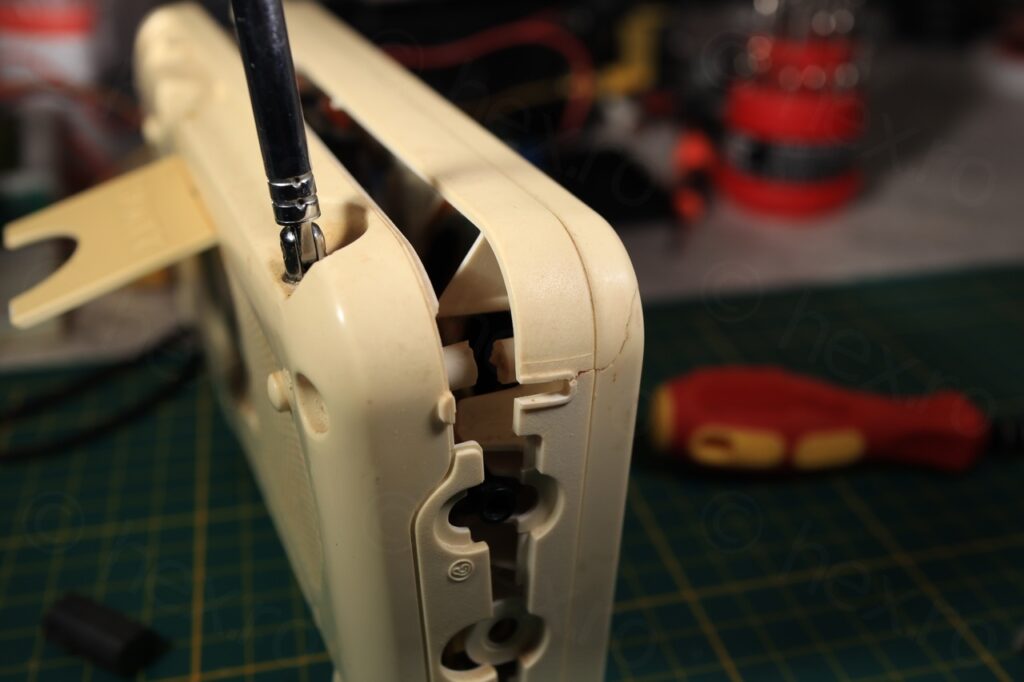
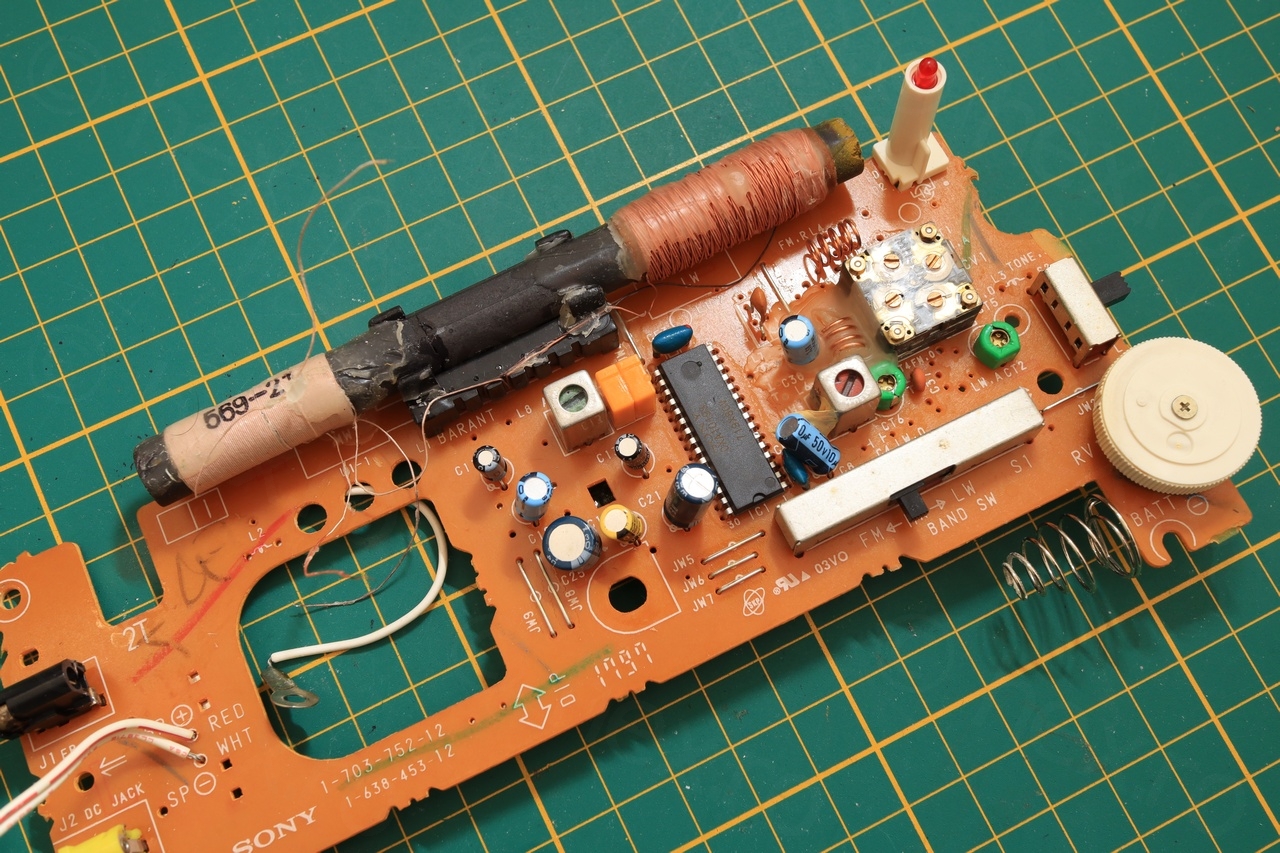
It was obvious the radio was dropped. The case had also few cracks. Soon after I was able to take a look inside:
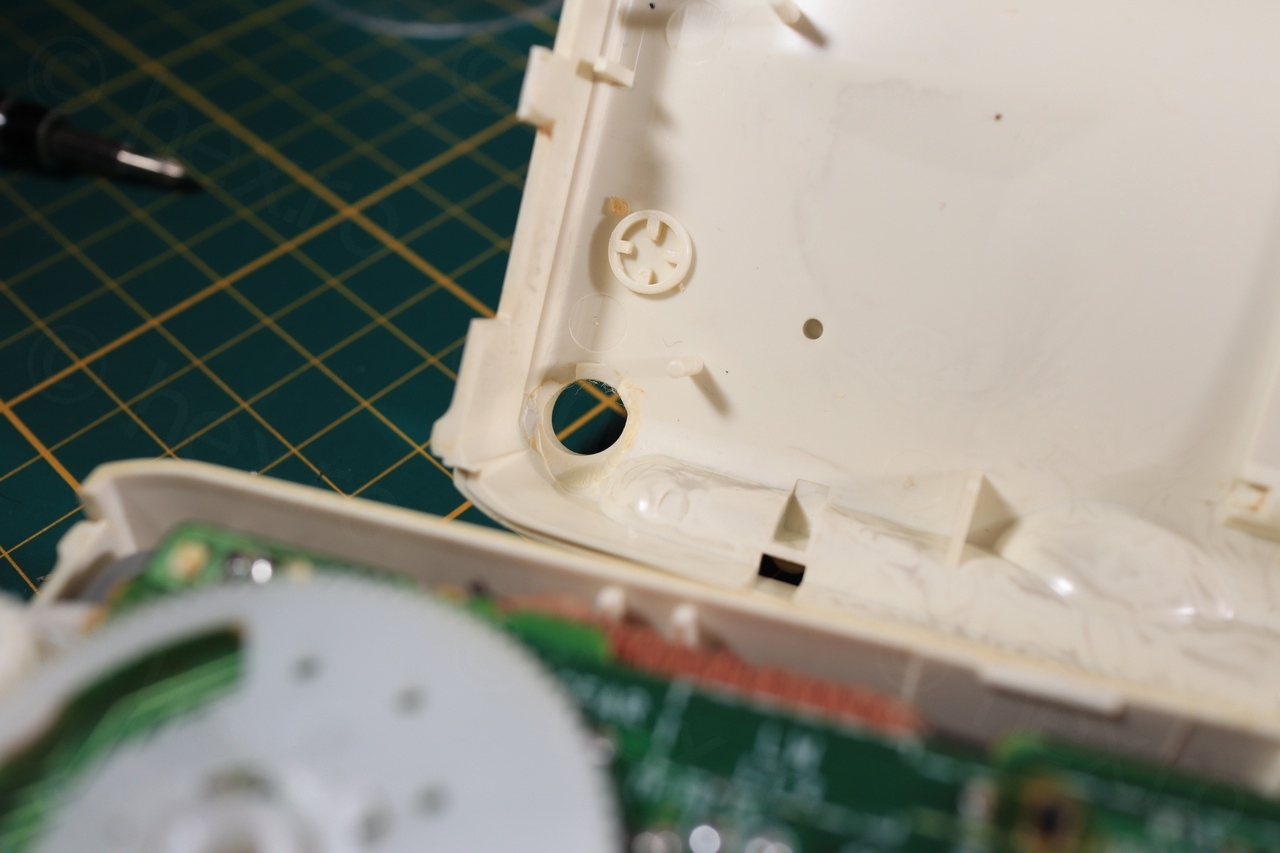
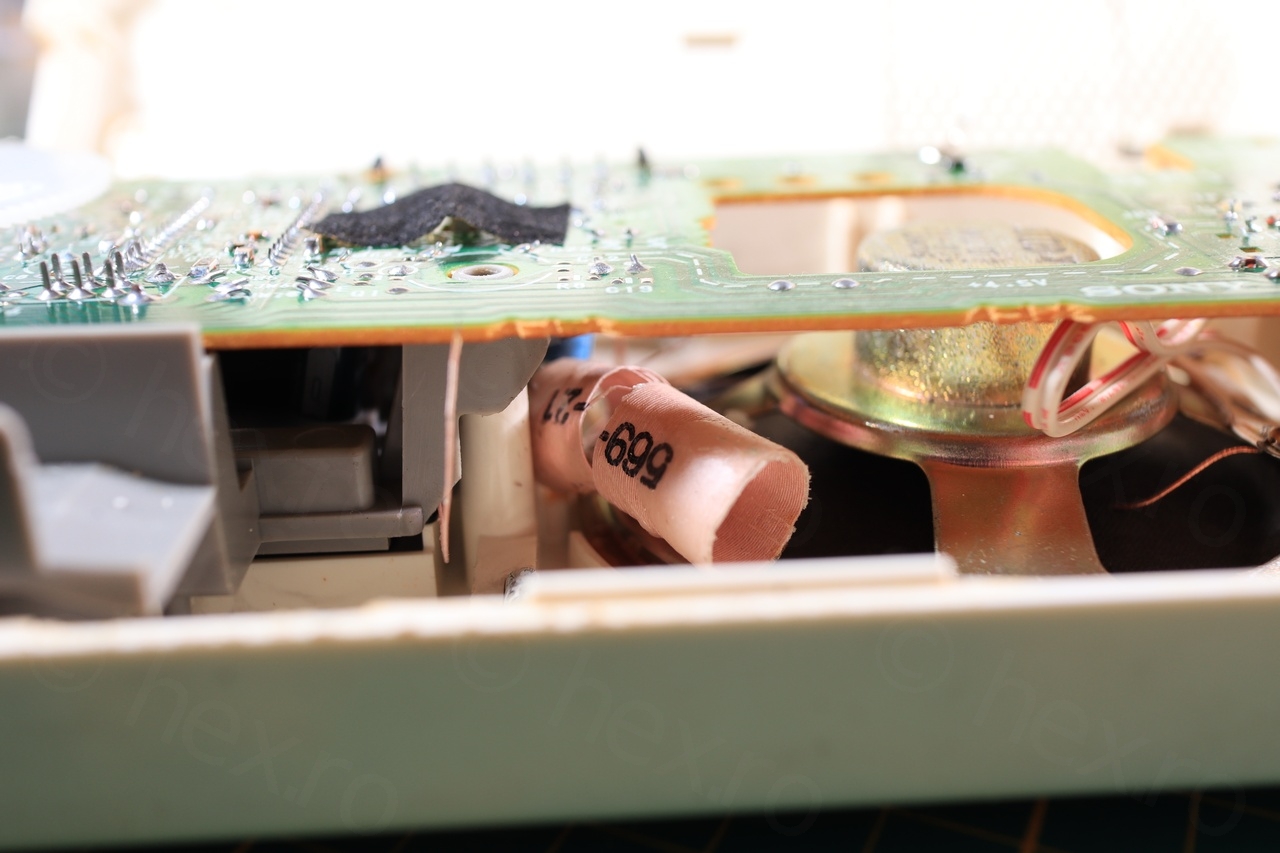
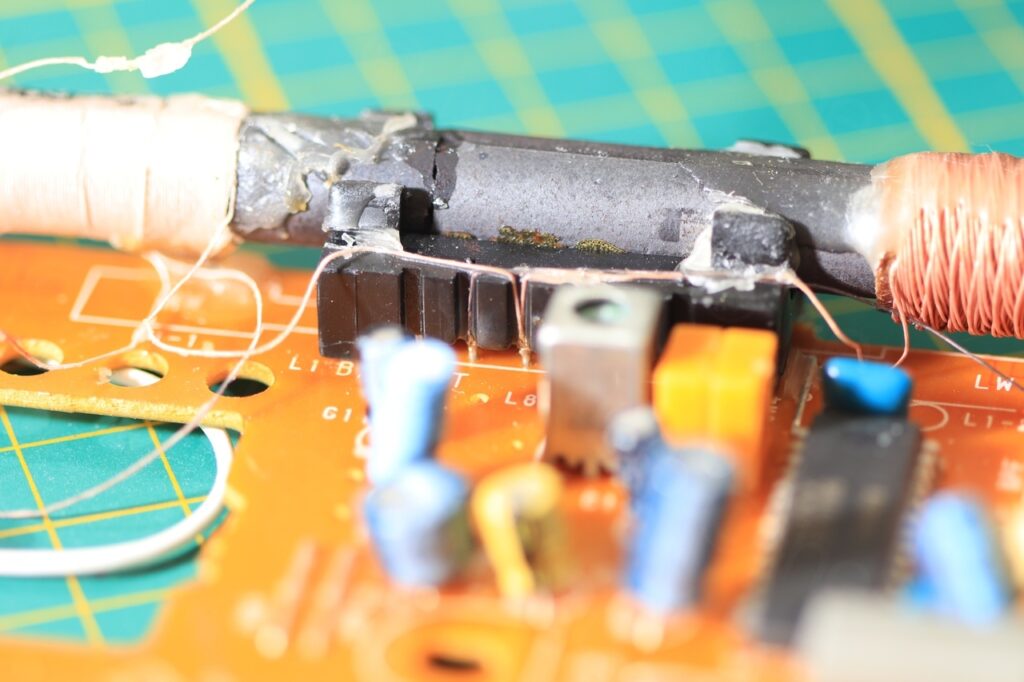
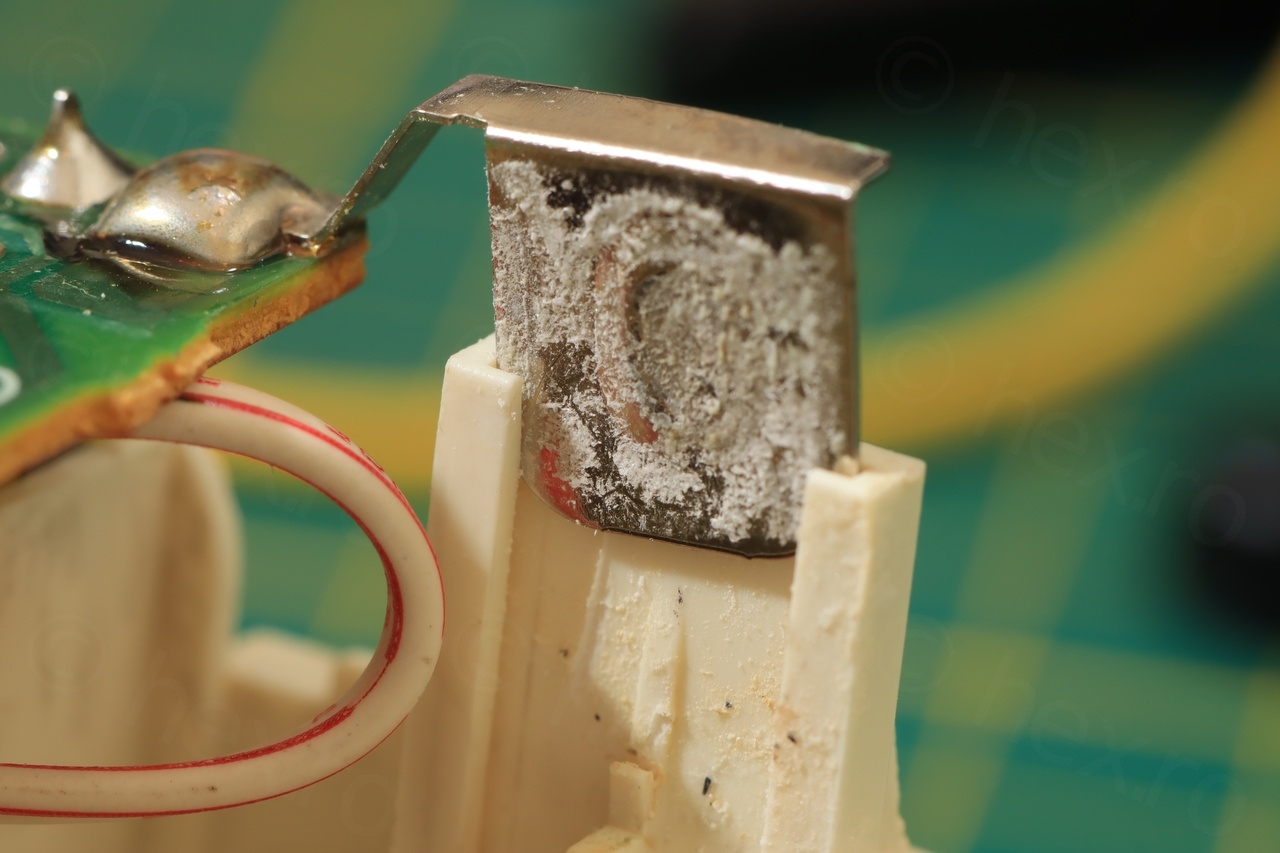
Damage was bad – the ferrite rod of the antenna was cracked in 3 pieces, one of the coils was dangling, having all its 3 wires snapped from the mounting post – only one left attached. Some little bits of plastics also fell from inside.
Repair plan
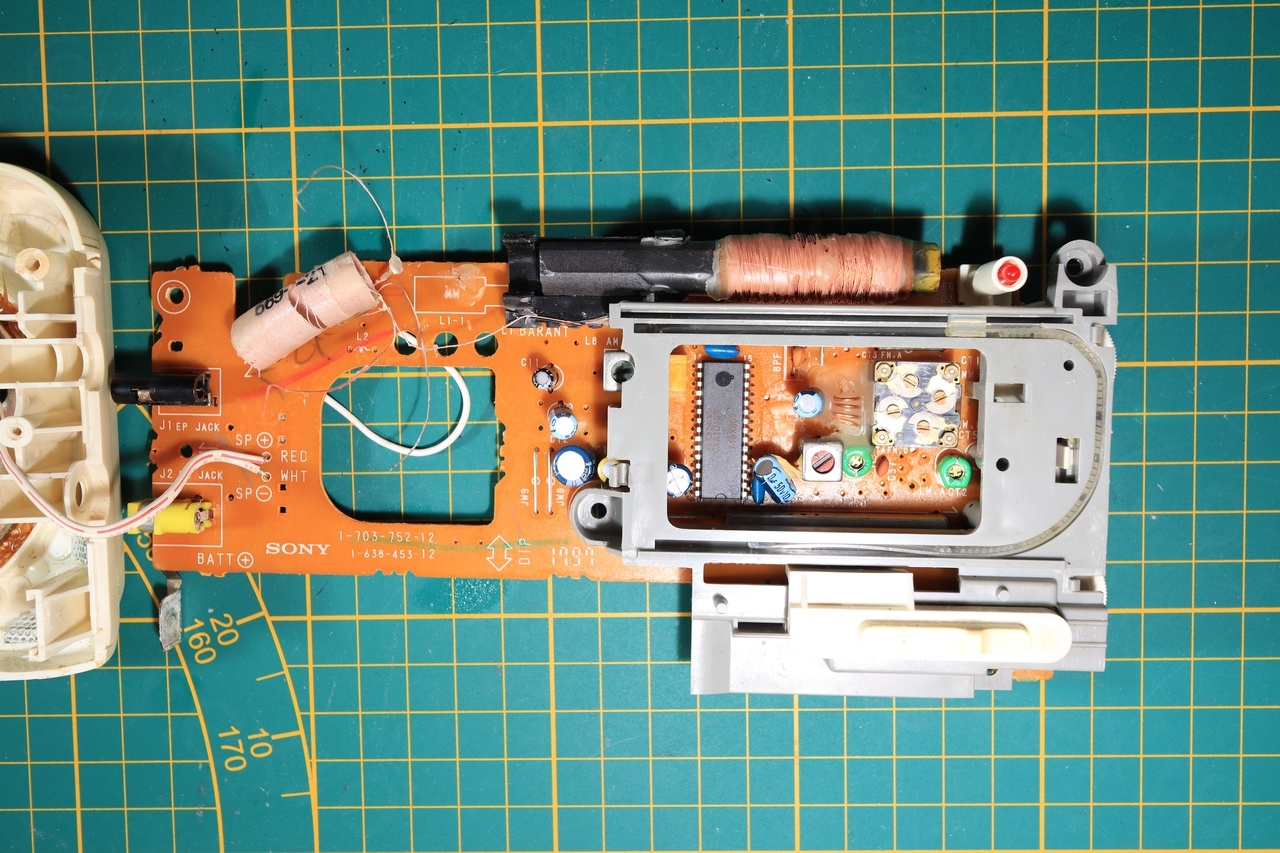
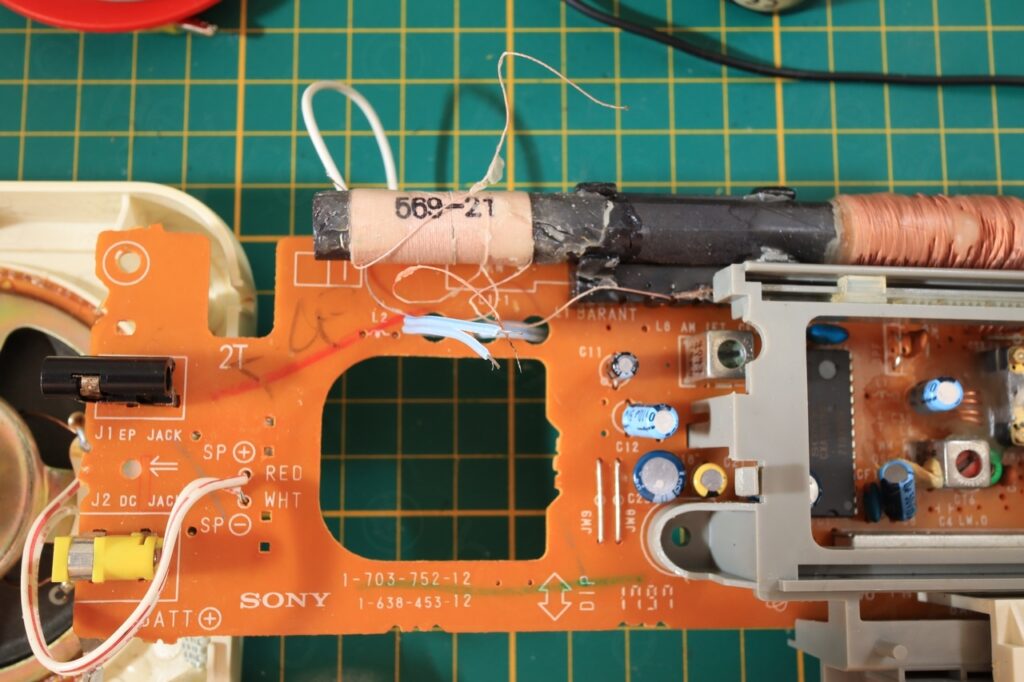
First thing was trying to figure out where all the wires go. This was confusing for a while. There are plenty photos with the little radio out there, but none showing it from inside. I also searched for the schematic, but found a very short manual with no schematics. On a closer look in the manual though:
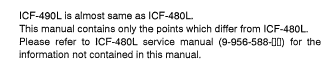
Please refer to ICF-480L service manual for the information not contained in this manual.
I was able to locate the schematics for ICF-480L on ElektroTanya for which I am grateful. It made the whole process much easier:
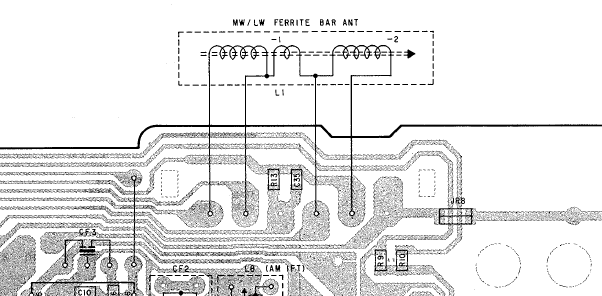
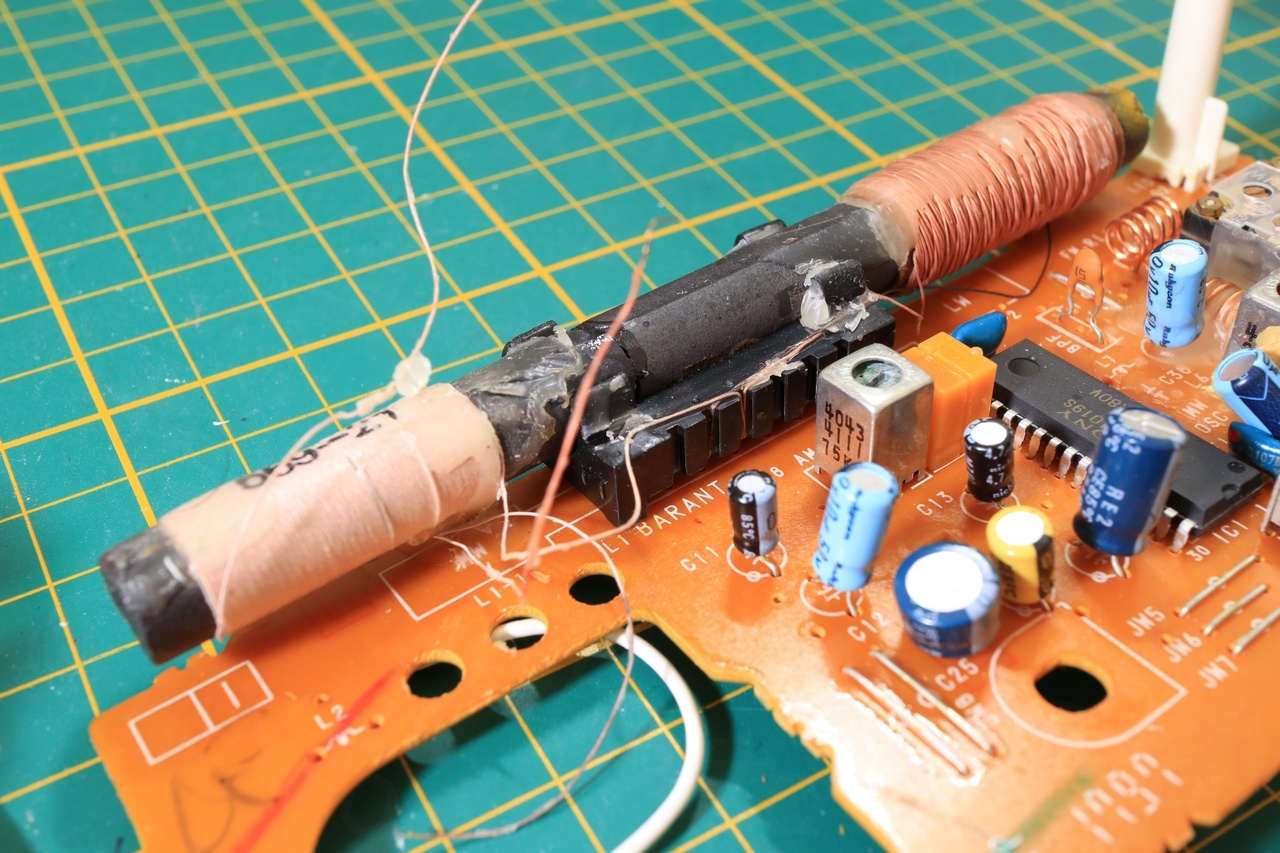
The broken coil was L1-1 which was responsible with the MW (AM) frequency band.
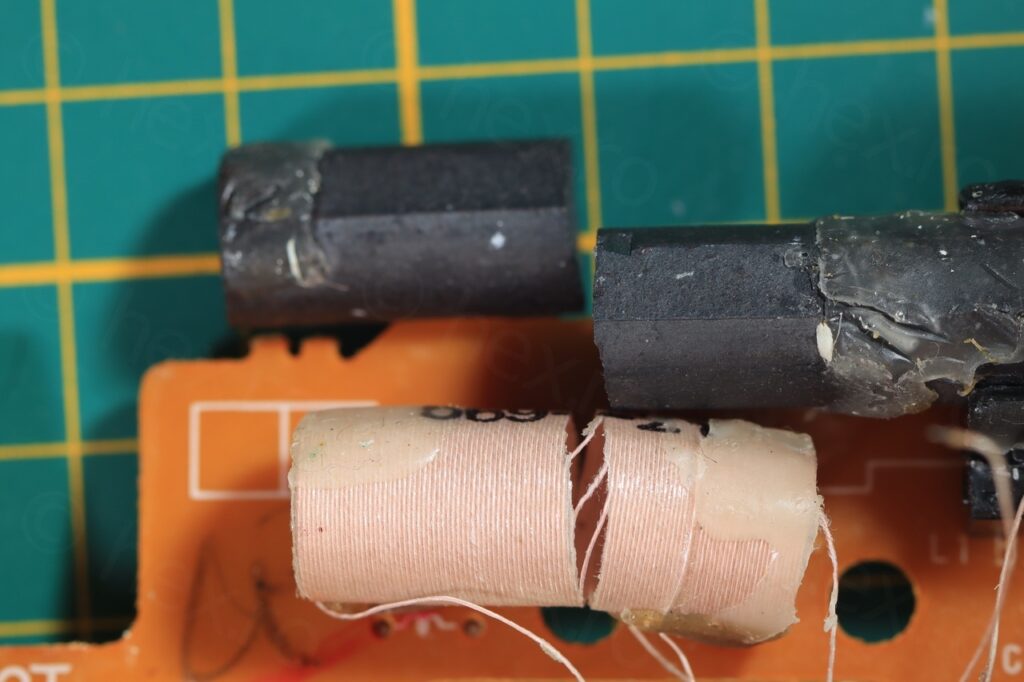
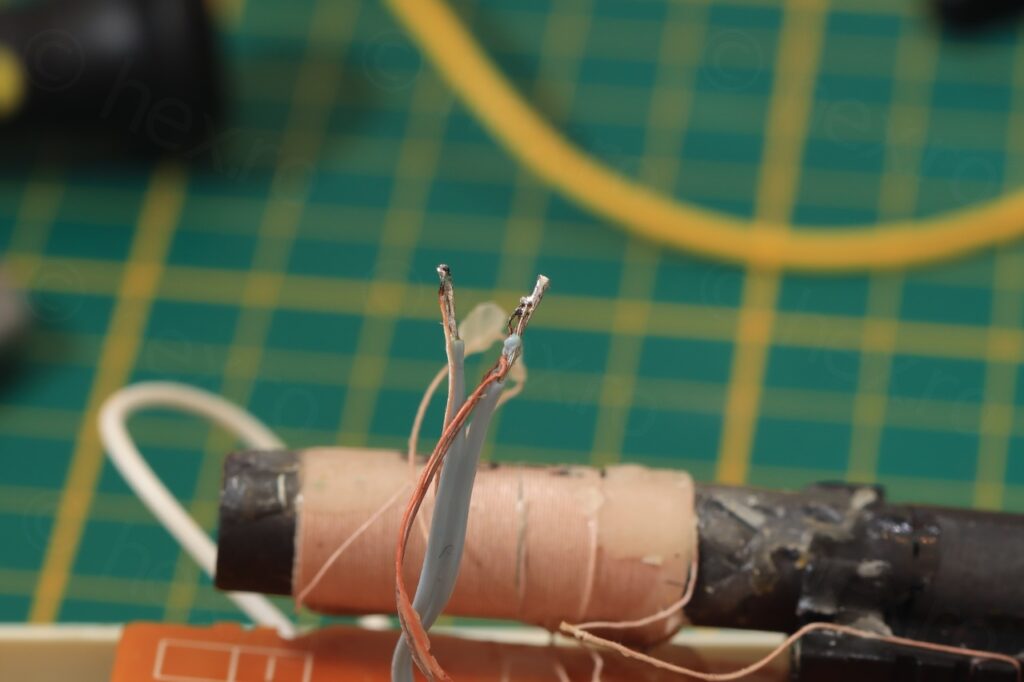
Using the conductivity mode I checked that there Litz wire was not broken and luckily it wasn’t! There was still some wax attached to the coil and I spotted the two wires that were very close together – I figured they are the ones that have to be joined together according to the schematic.
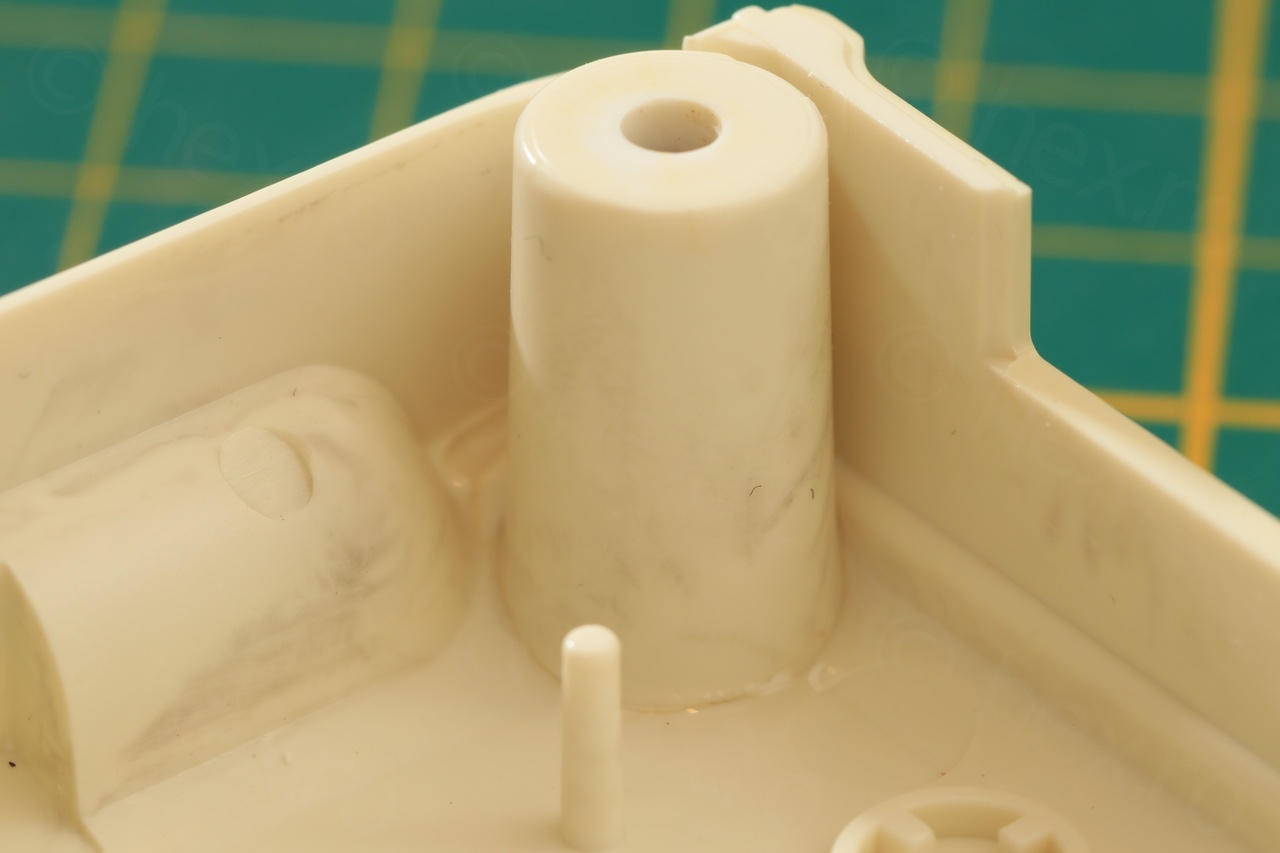
Ferrite Bar Fix
The Ferrite bar seemed easy to fix, but I did not want to put more undue stress on the coil, nor to melt the wax as putting the coil in the exact same position saves the alignment work.
The plan was to glue the longest broken piece (the second photo below), then slide the coil over, and insert the second shorter broken piece through the coil.

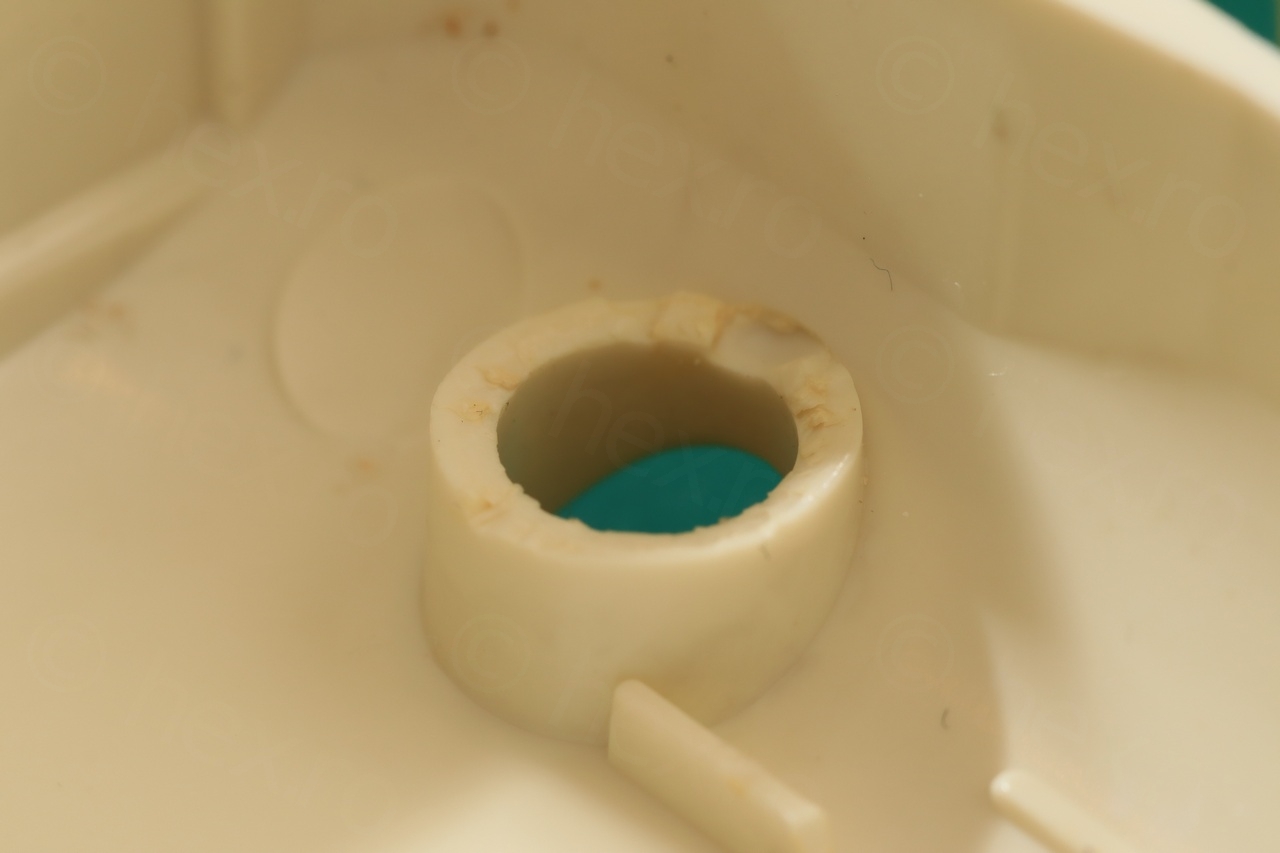
I figured I won’t be able to apply the super glue with the coil already half slid into. So I used a toothpick to grab a little bit of Tesa SuperGlue and applied it on the existing rod still attached. This was the easy part, as there was already a plastic holder that was thankfully intact that helped keeping everything aligned.
After about 30 minutes, I slid the coil onto the glued bit (it seemed it slid the easiest with the text facing me), then with the toothpick I applied a little dab of SuperGlue on the 3rd broken piece. I then carefully inserted the piece through the coil, trying to push it against the previously glued piece and aligning the coil. It sounds complex, but the toothpick saved a lot of stress on not applying too much super glue.
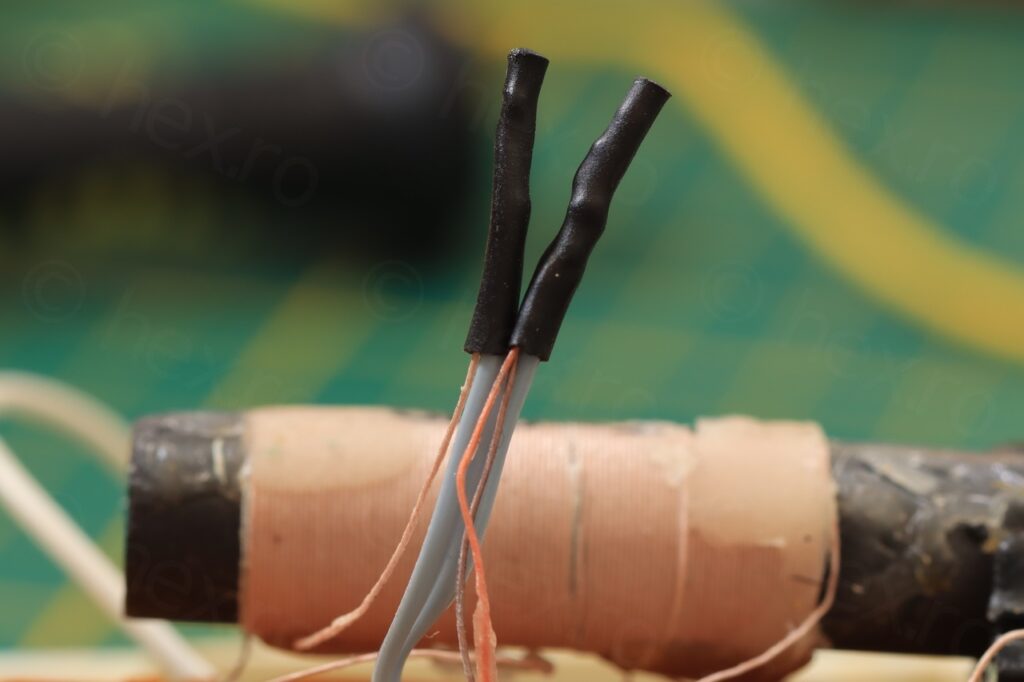
Reconnecting the MW coil
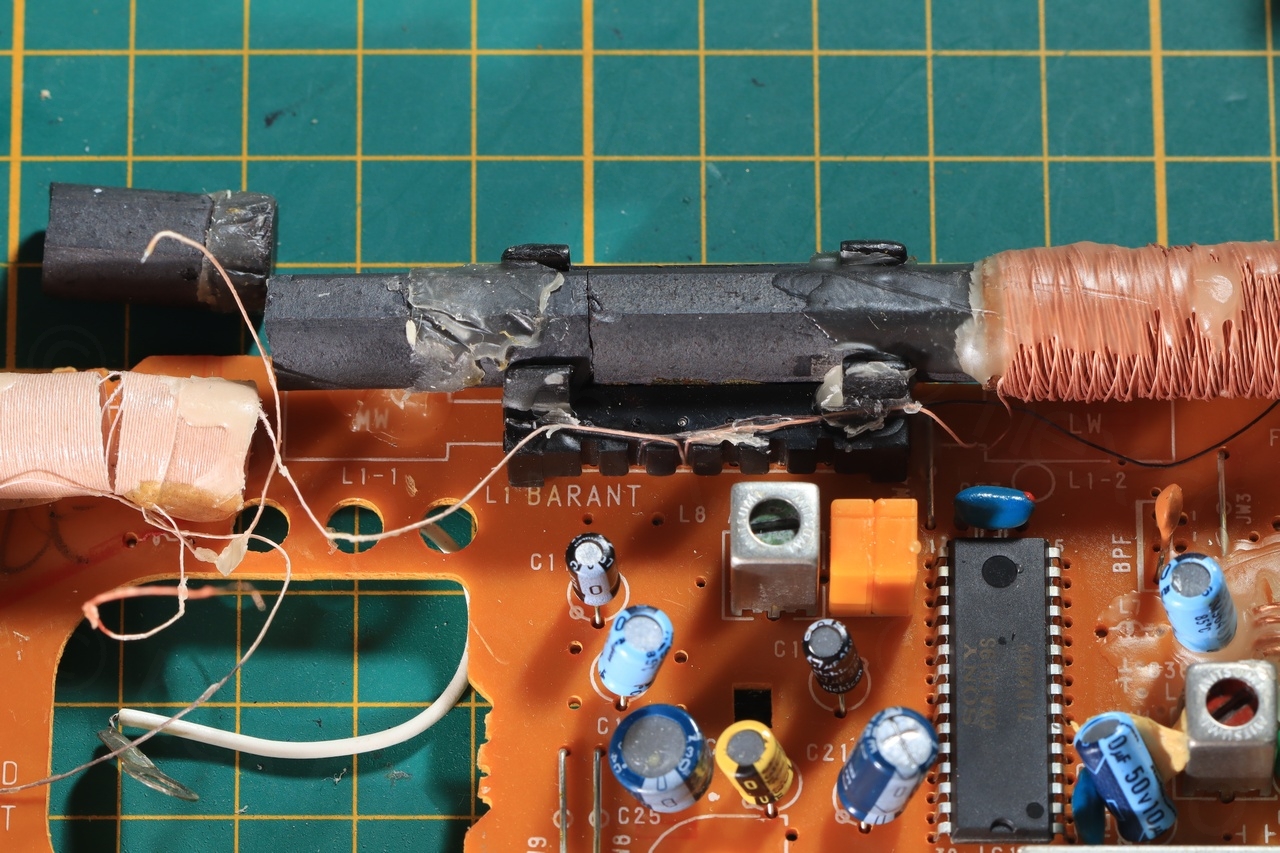
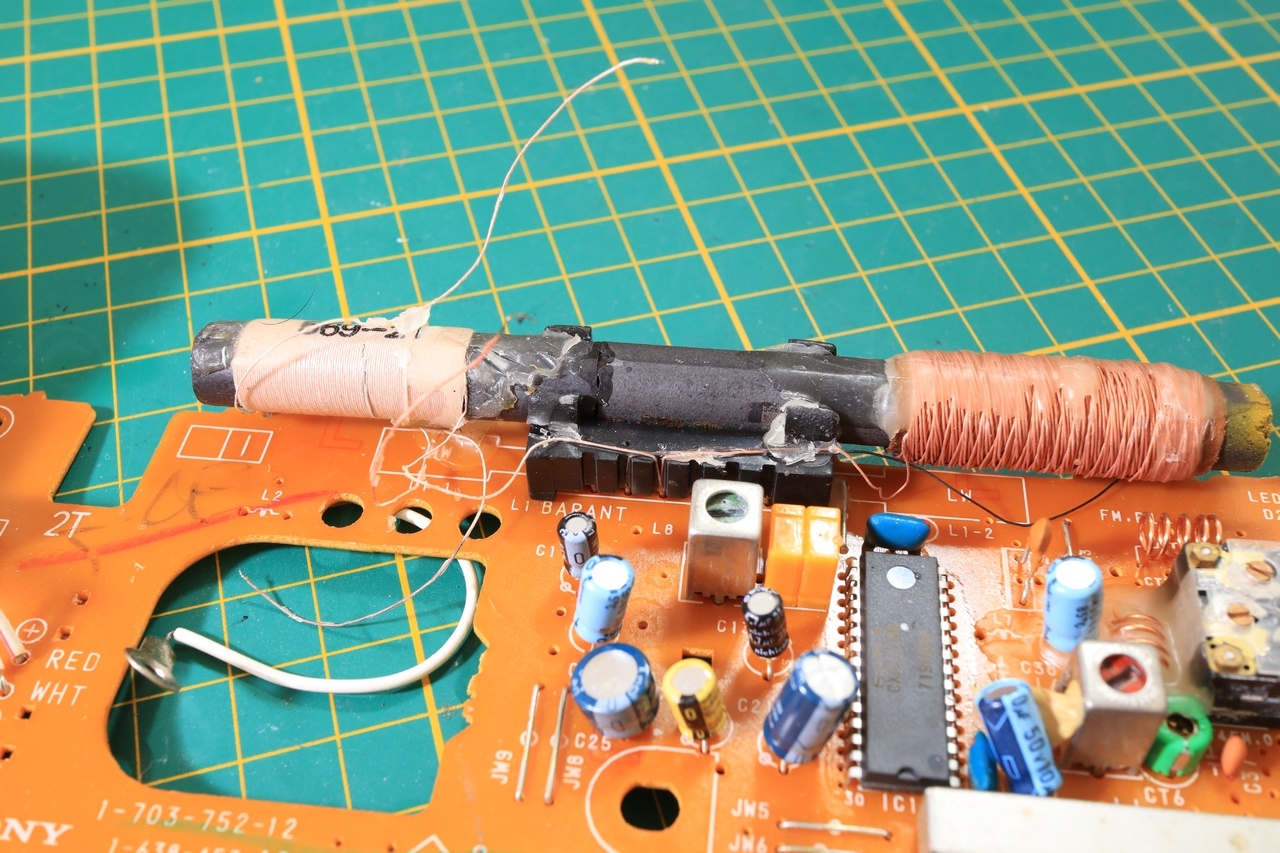
It was difficult to decide what would be the best way to reattach the coil. Using the schematic and looking at the coil, I was able to locate the wire that comes from L1-2 coil to L1-1.
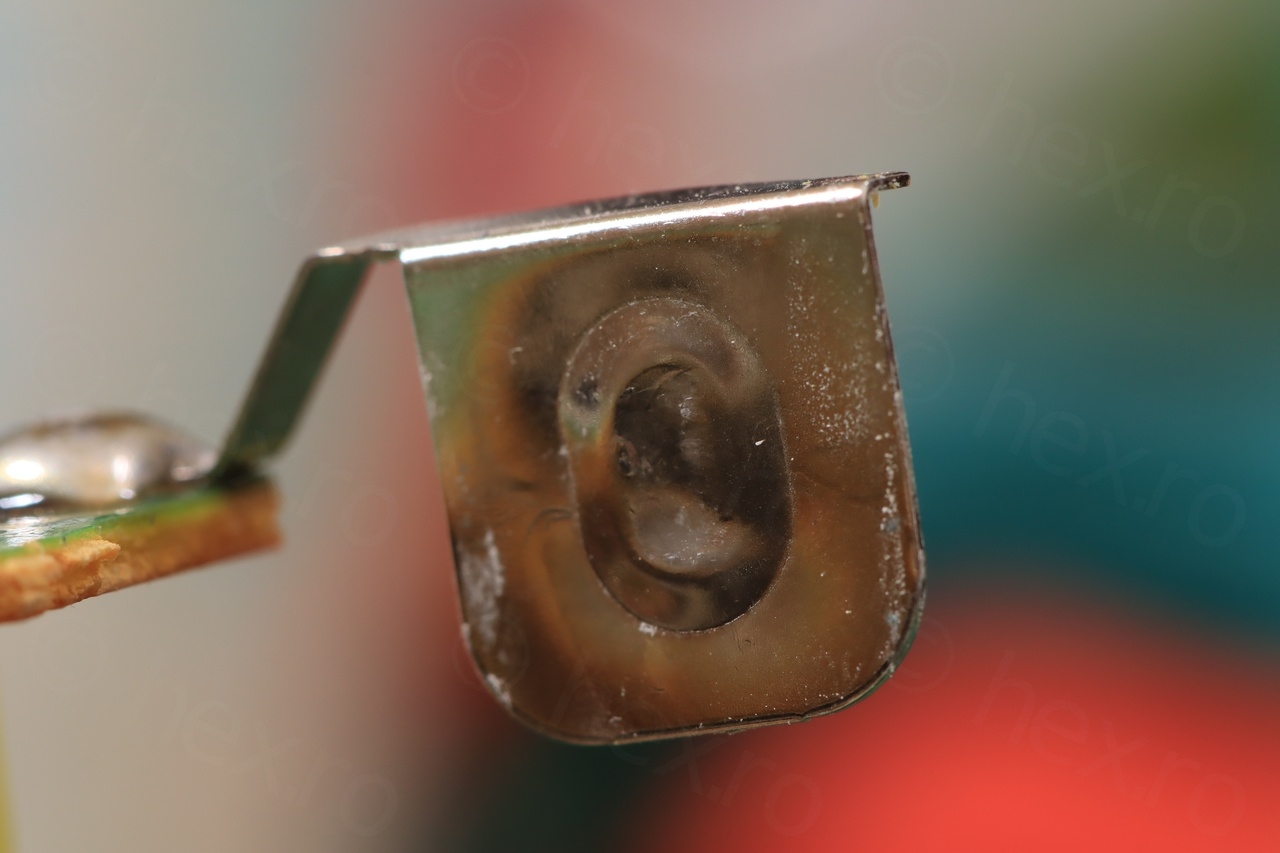
The initial wires went to the ferrite bar support – but I figured I would prefer not to disturb it – out of fear of not breaking even more wires. Also, it would be hard to solder on the tiny visible pins without melting some other things around.
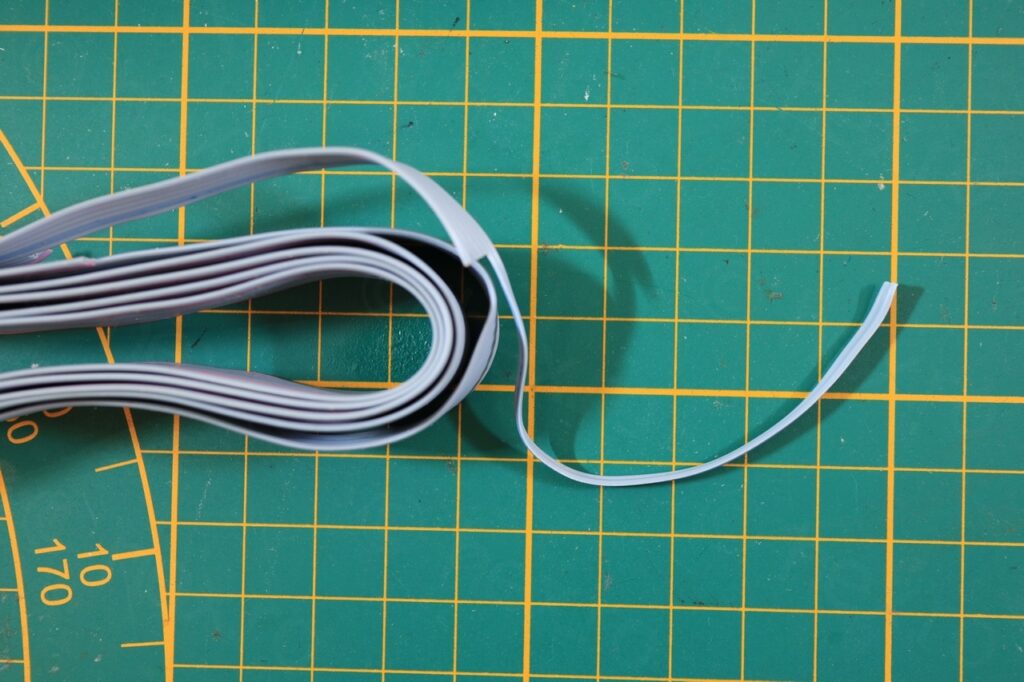
Thus, I decided to just use some additional Litz wire to route the coil wires to the 2 solder points on the solder side of the motherboard:
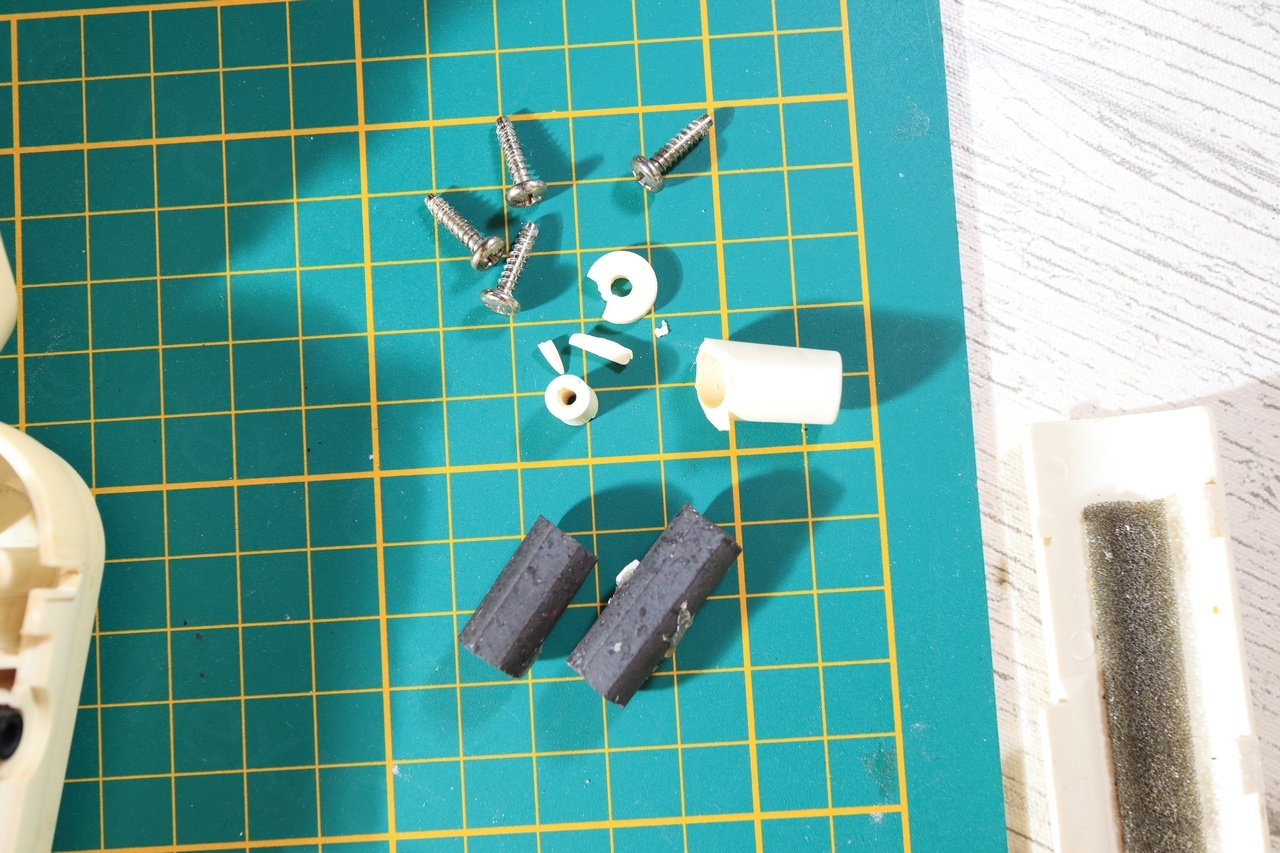
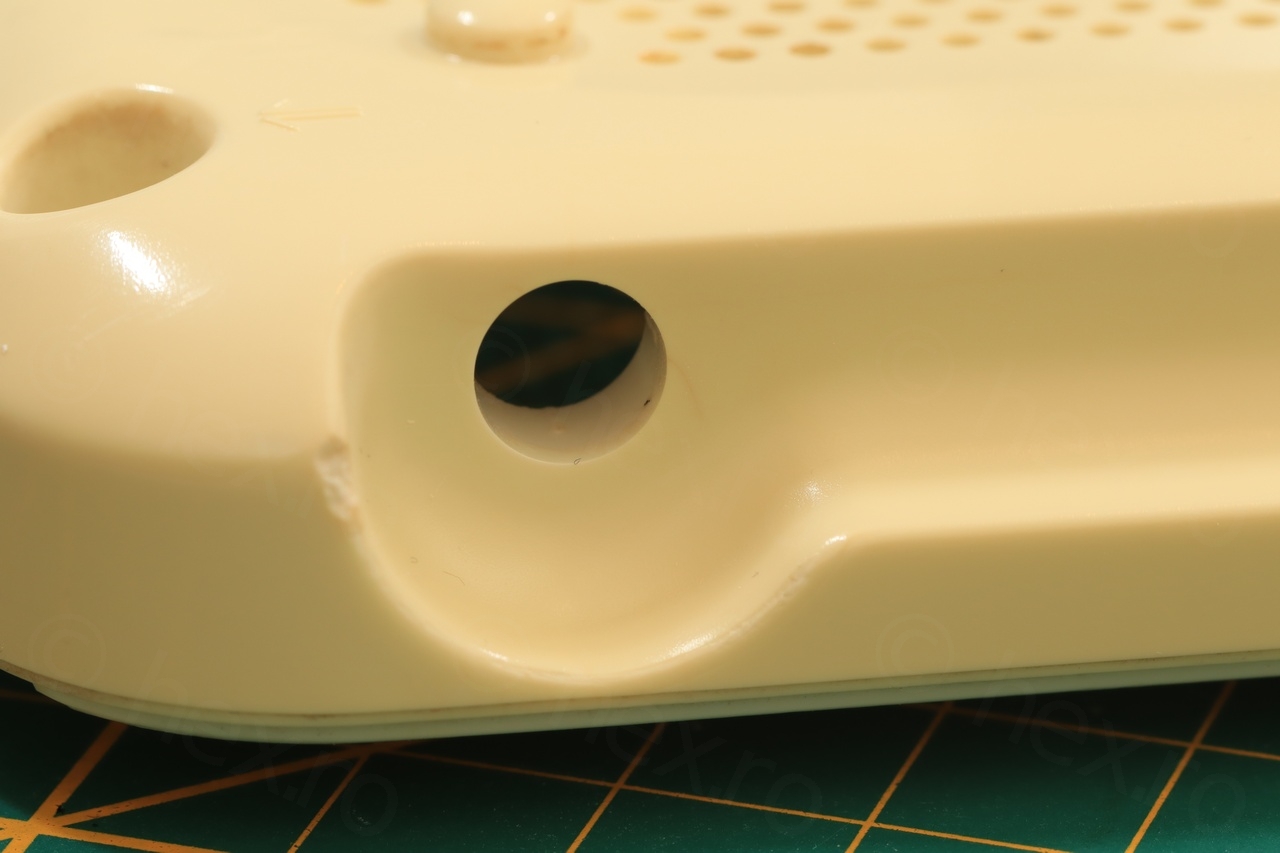
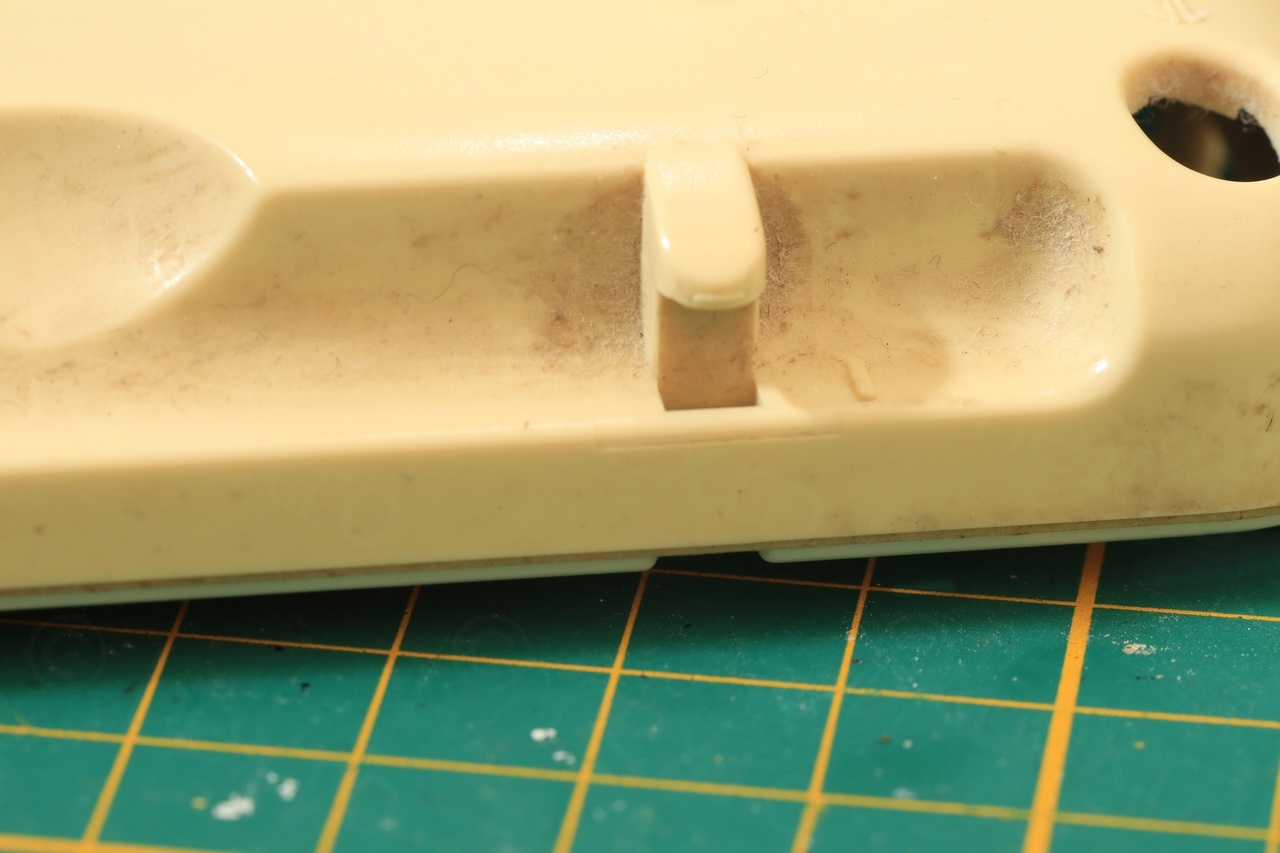
Plastic case – cleanup
Plastic case took the blunt of the fall. I did my best to clean it before reattaching the broken pieces back. I am also trying to reduce the pressure on the bonds by adding a dab of sewing machine oil on the screws and paying attention not to tighten them too much. The glue held.
But first some cleanup. There was dust in many places as well as white deposits in the battery compartment.
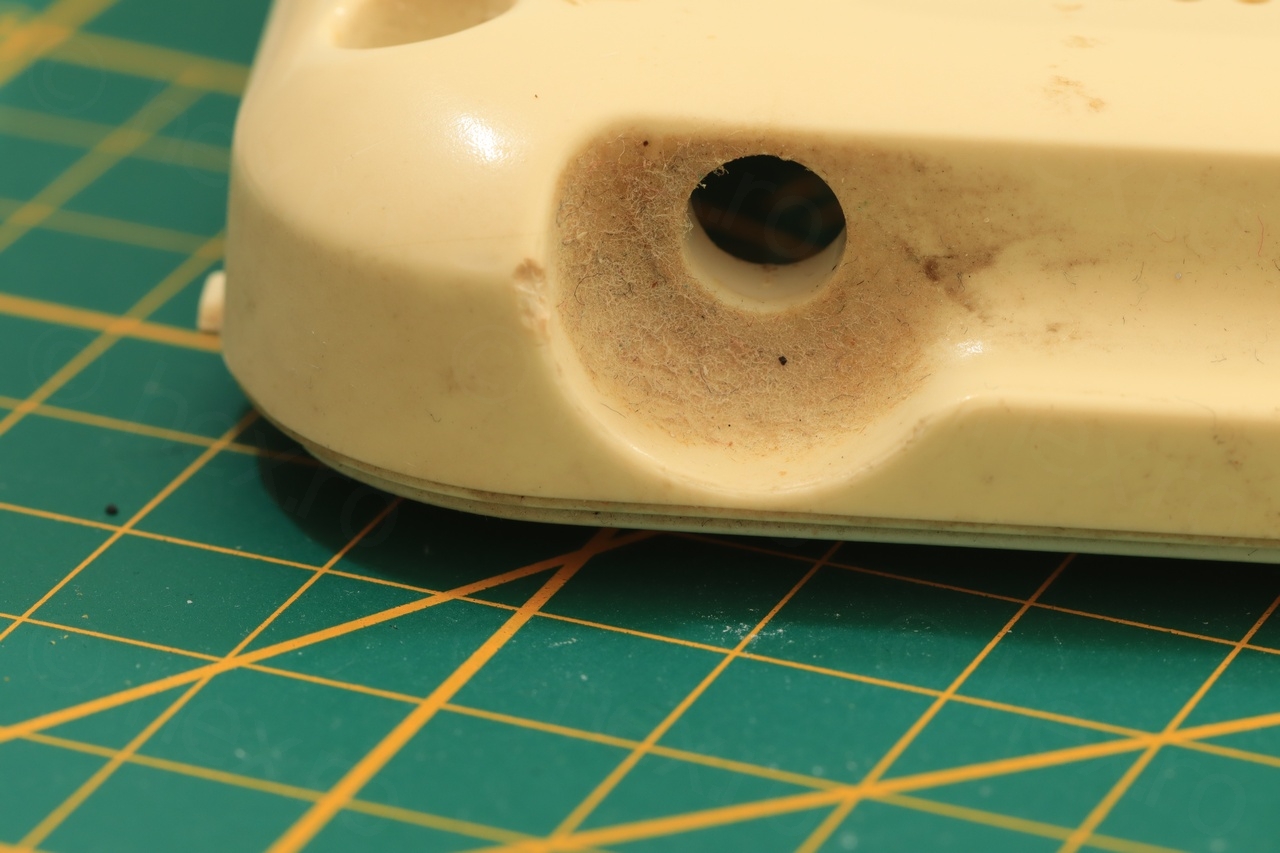
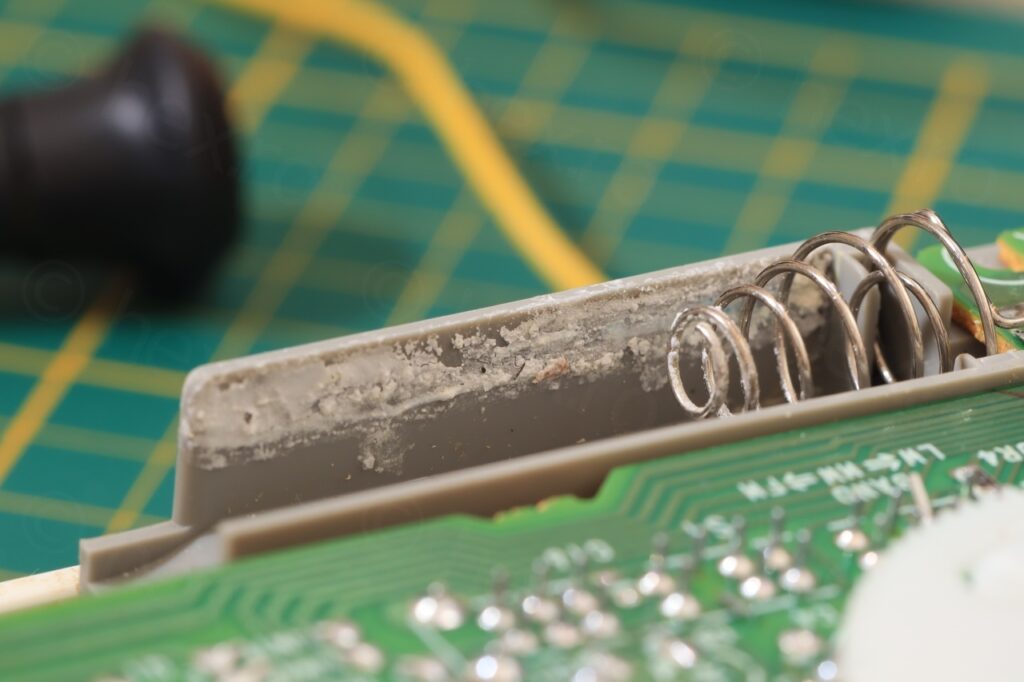

I did destroy few q-tips as the white crust was not easily melted by Isopropyl alcohol.
After a lot of cleanup (dirt seemed to have been glued to the case almost), I proceeded to re-glueing the broken parts. I used the same Tesa Super Glue.
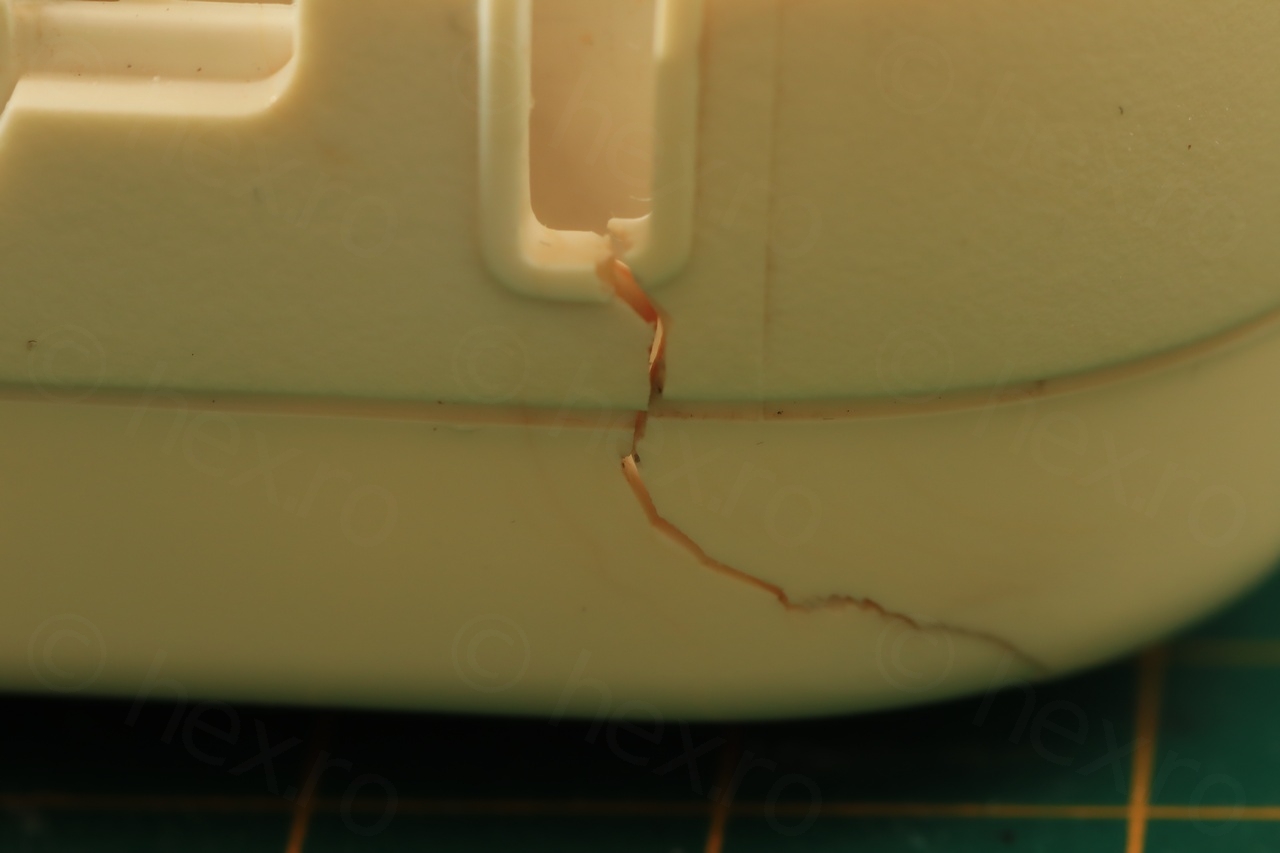
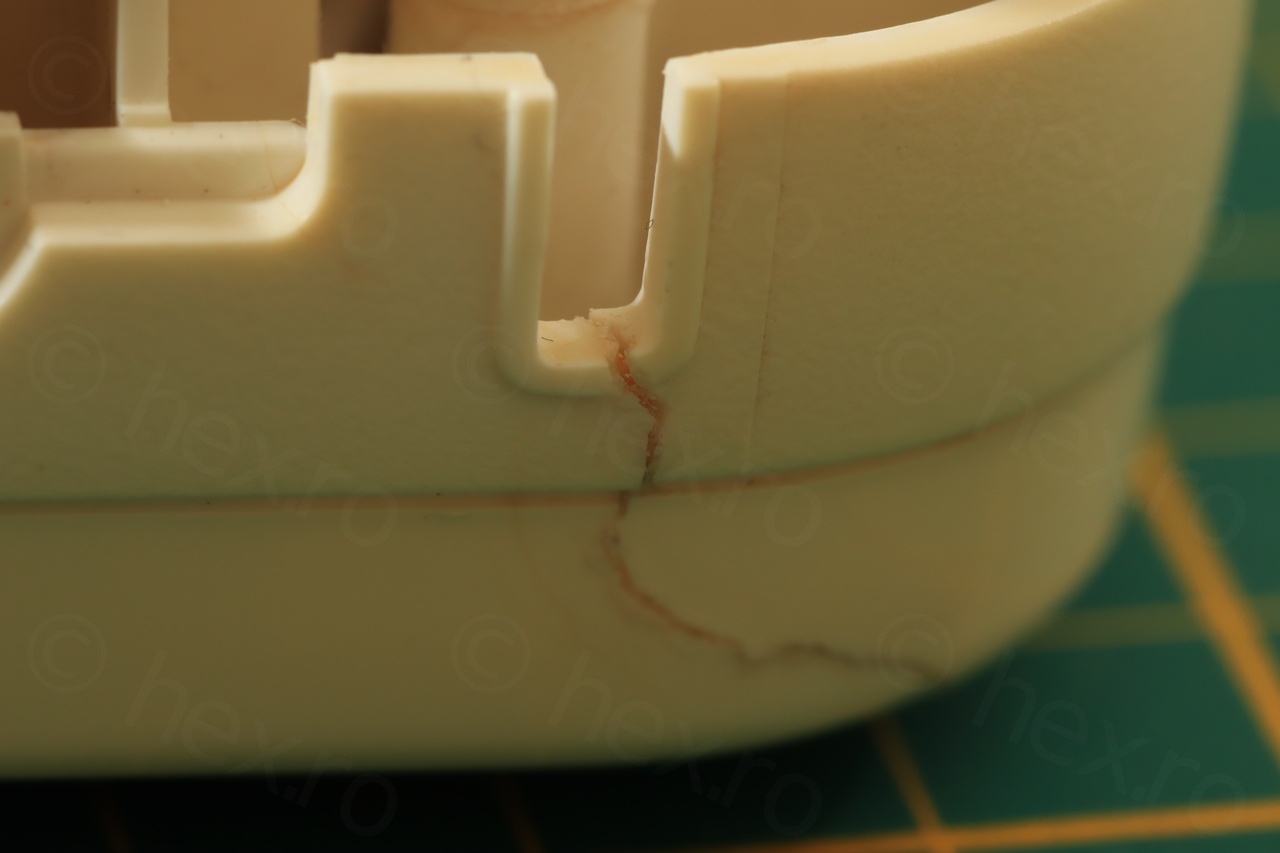
The corner of the case next to the wrist strap was not only damaged, but also deformed. It was very hard to force the plastic back and close the gap. It does look better now, but still the crack is visible.
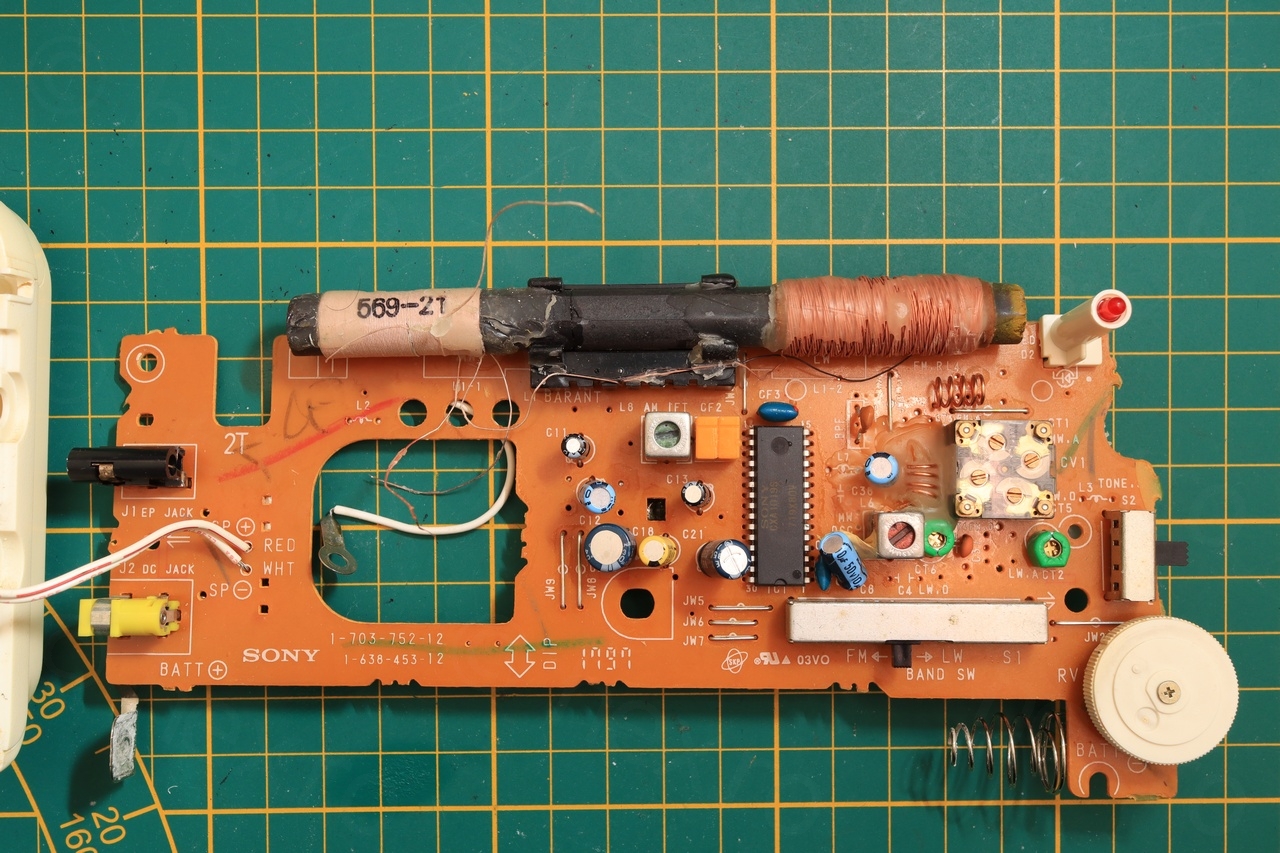
The radio now behaves very well and tunes to MW too:
Few pictures with it fixed and reassembled:
Batteries of course will be removed before being put to storage. although I was afraid a bit of not being able to salvage the MW coil, eventually everything works.
Leave a Reply