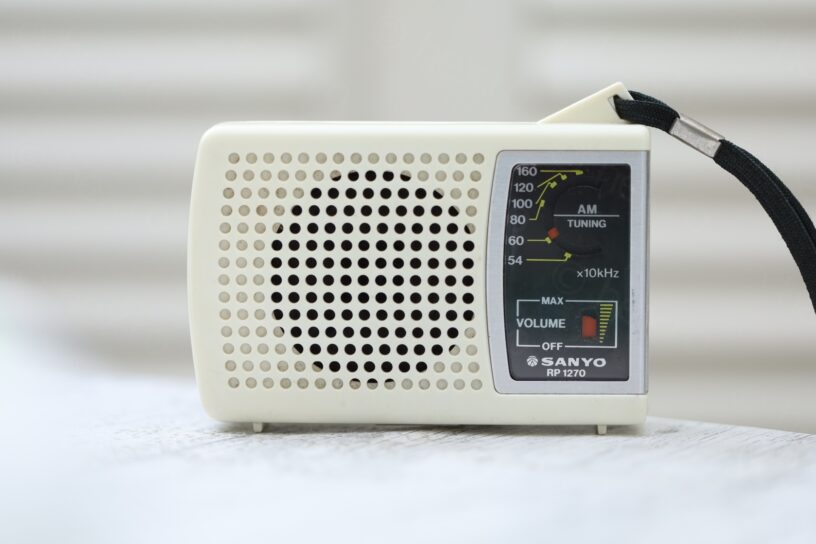
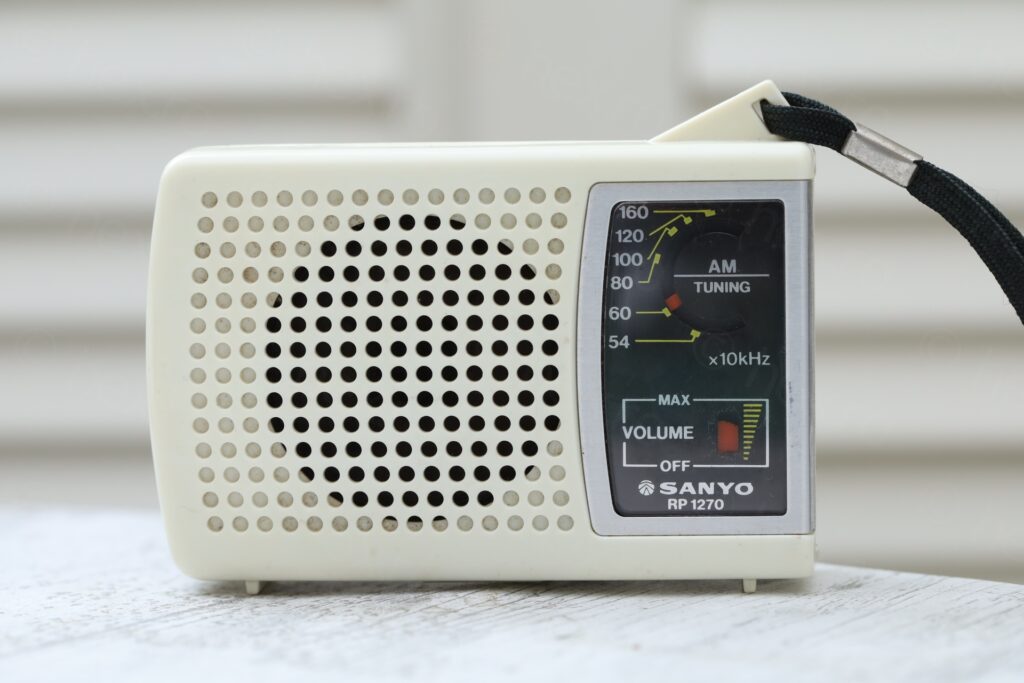
I found this radio in an old box, I didn’t even remember I have it:
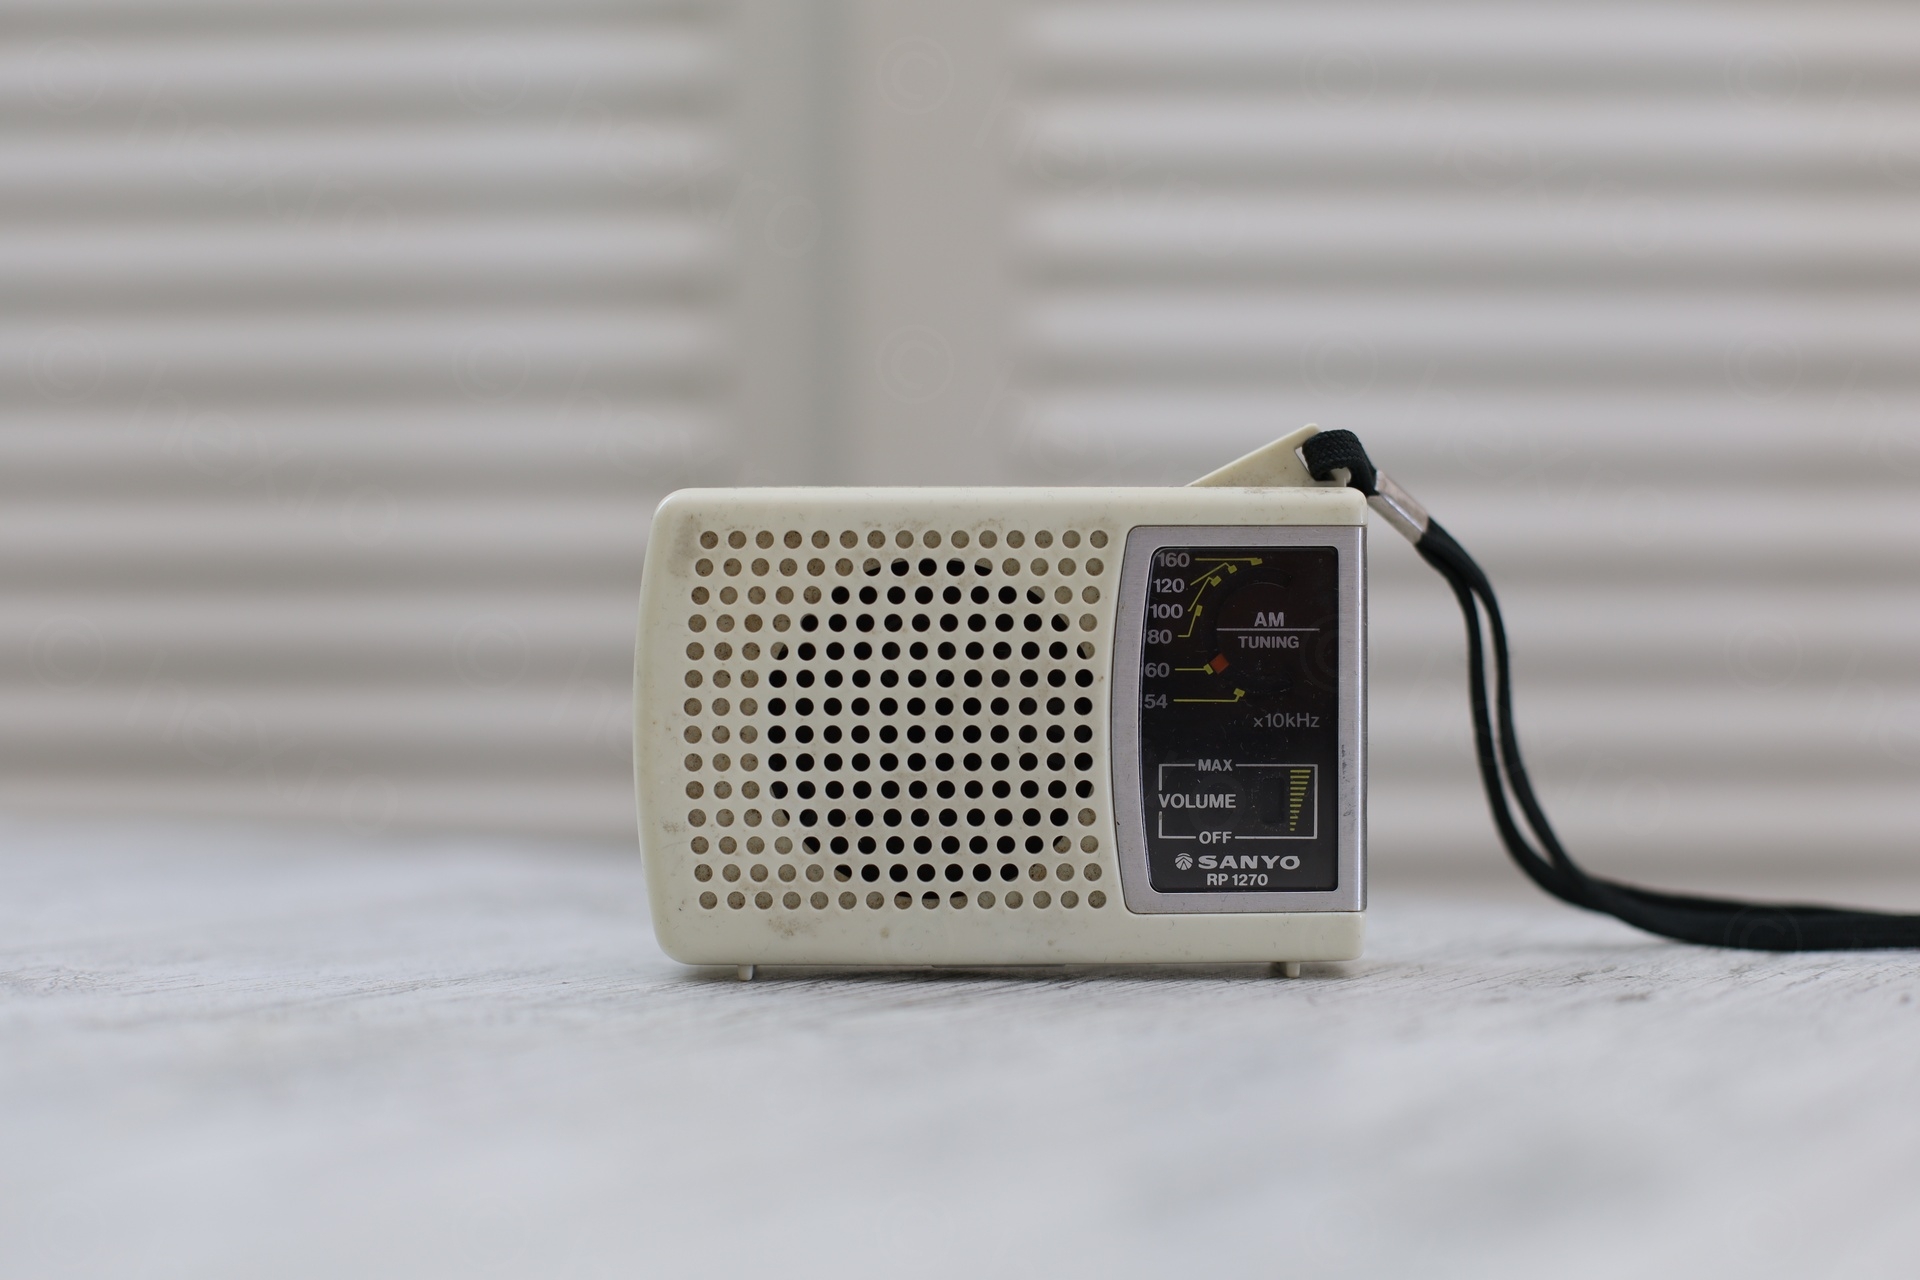
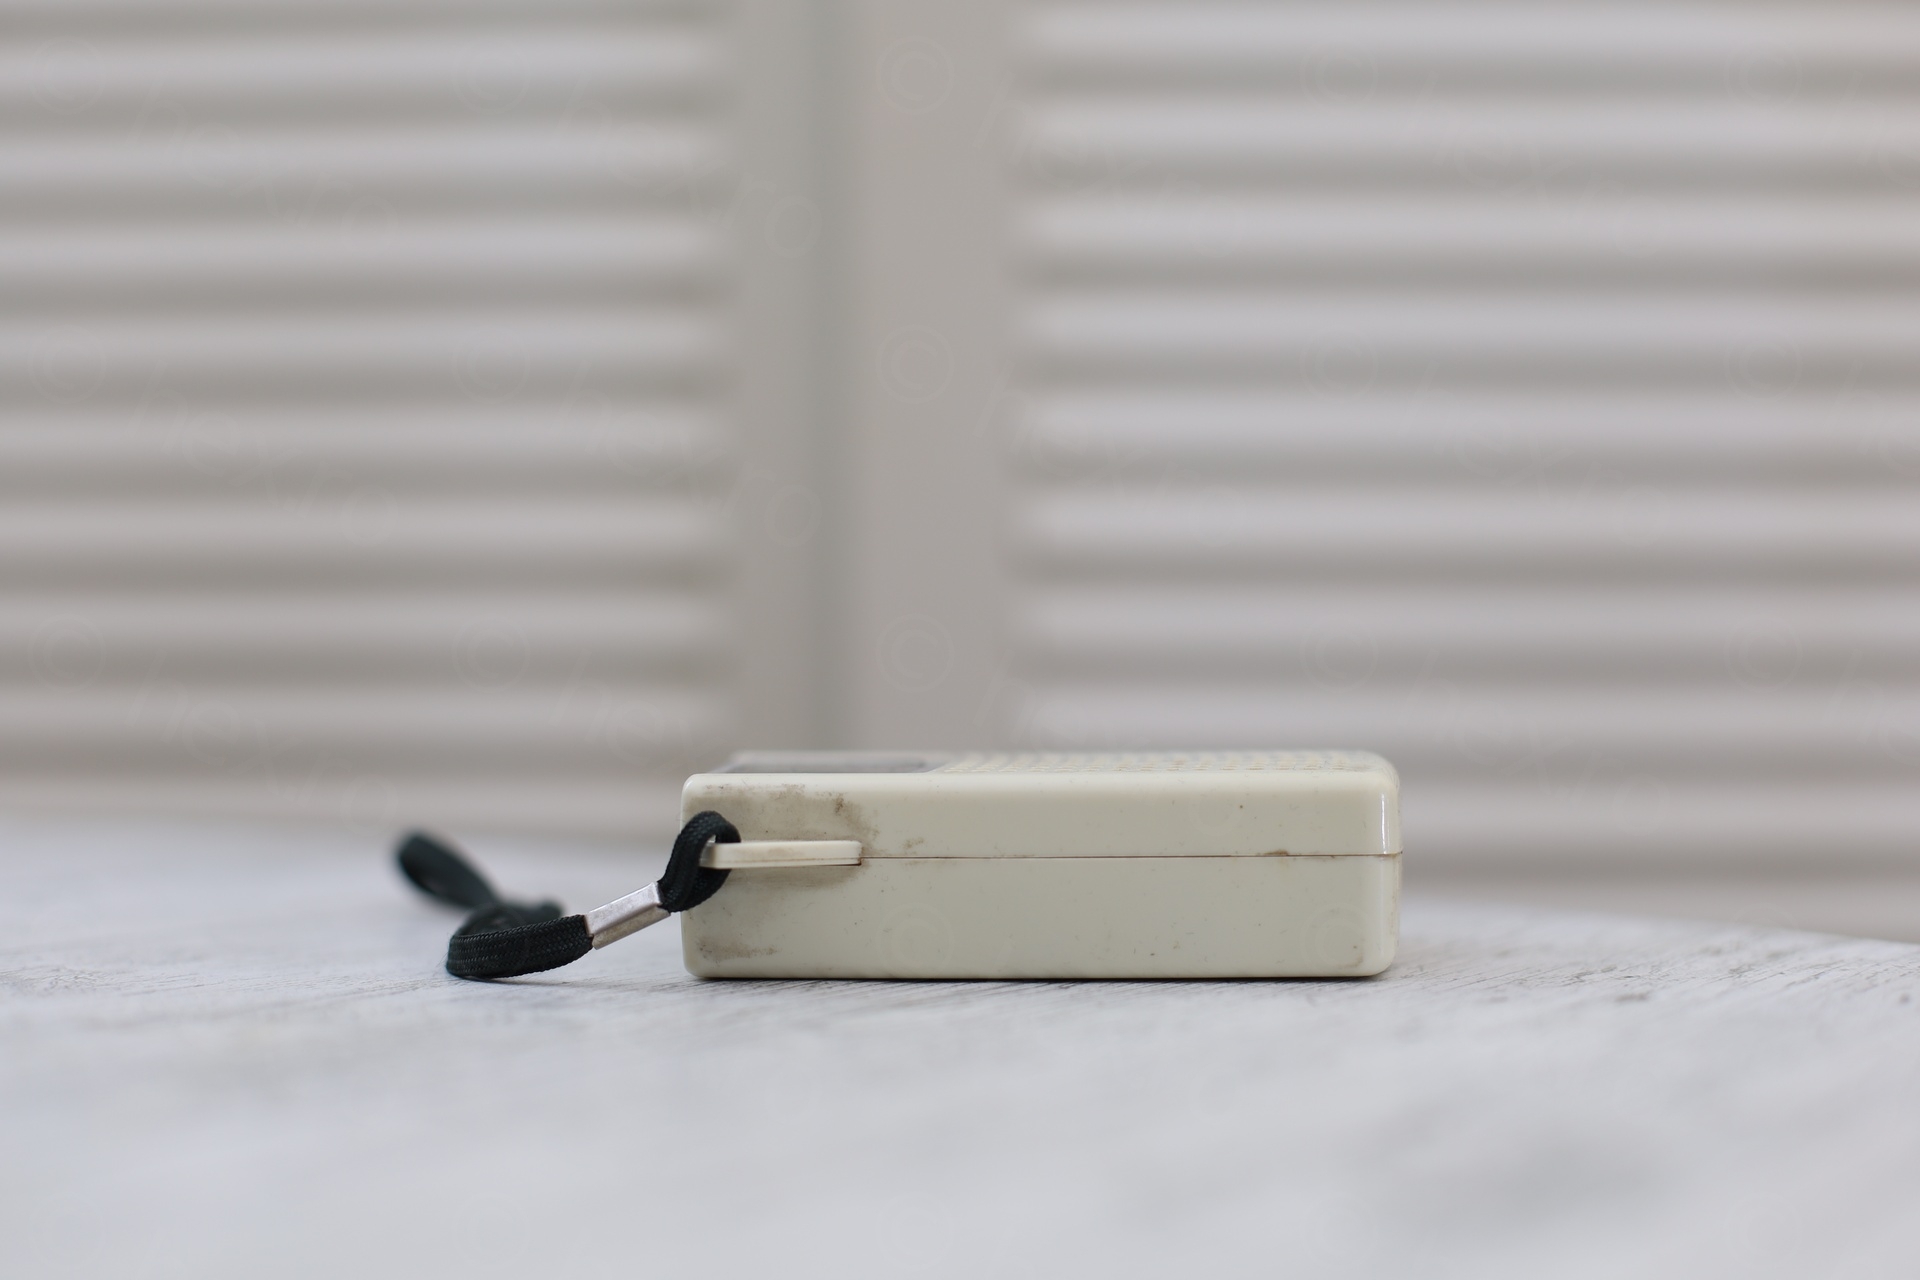
I checked it was working, albeit with a fault, the tuning capacitor was very very scratchy.
Video below is muted by default, since the volume is very loud:
Initially, I figured I should just clean the radio and keep it as is, but I was curious what happens if I bathe the capacitor in a lot of IsoPropyl Alcohol ?
I could say it works 🙂
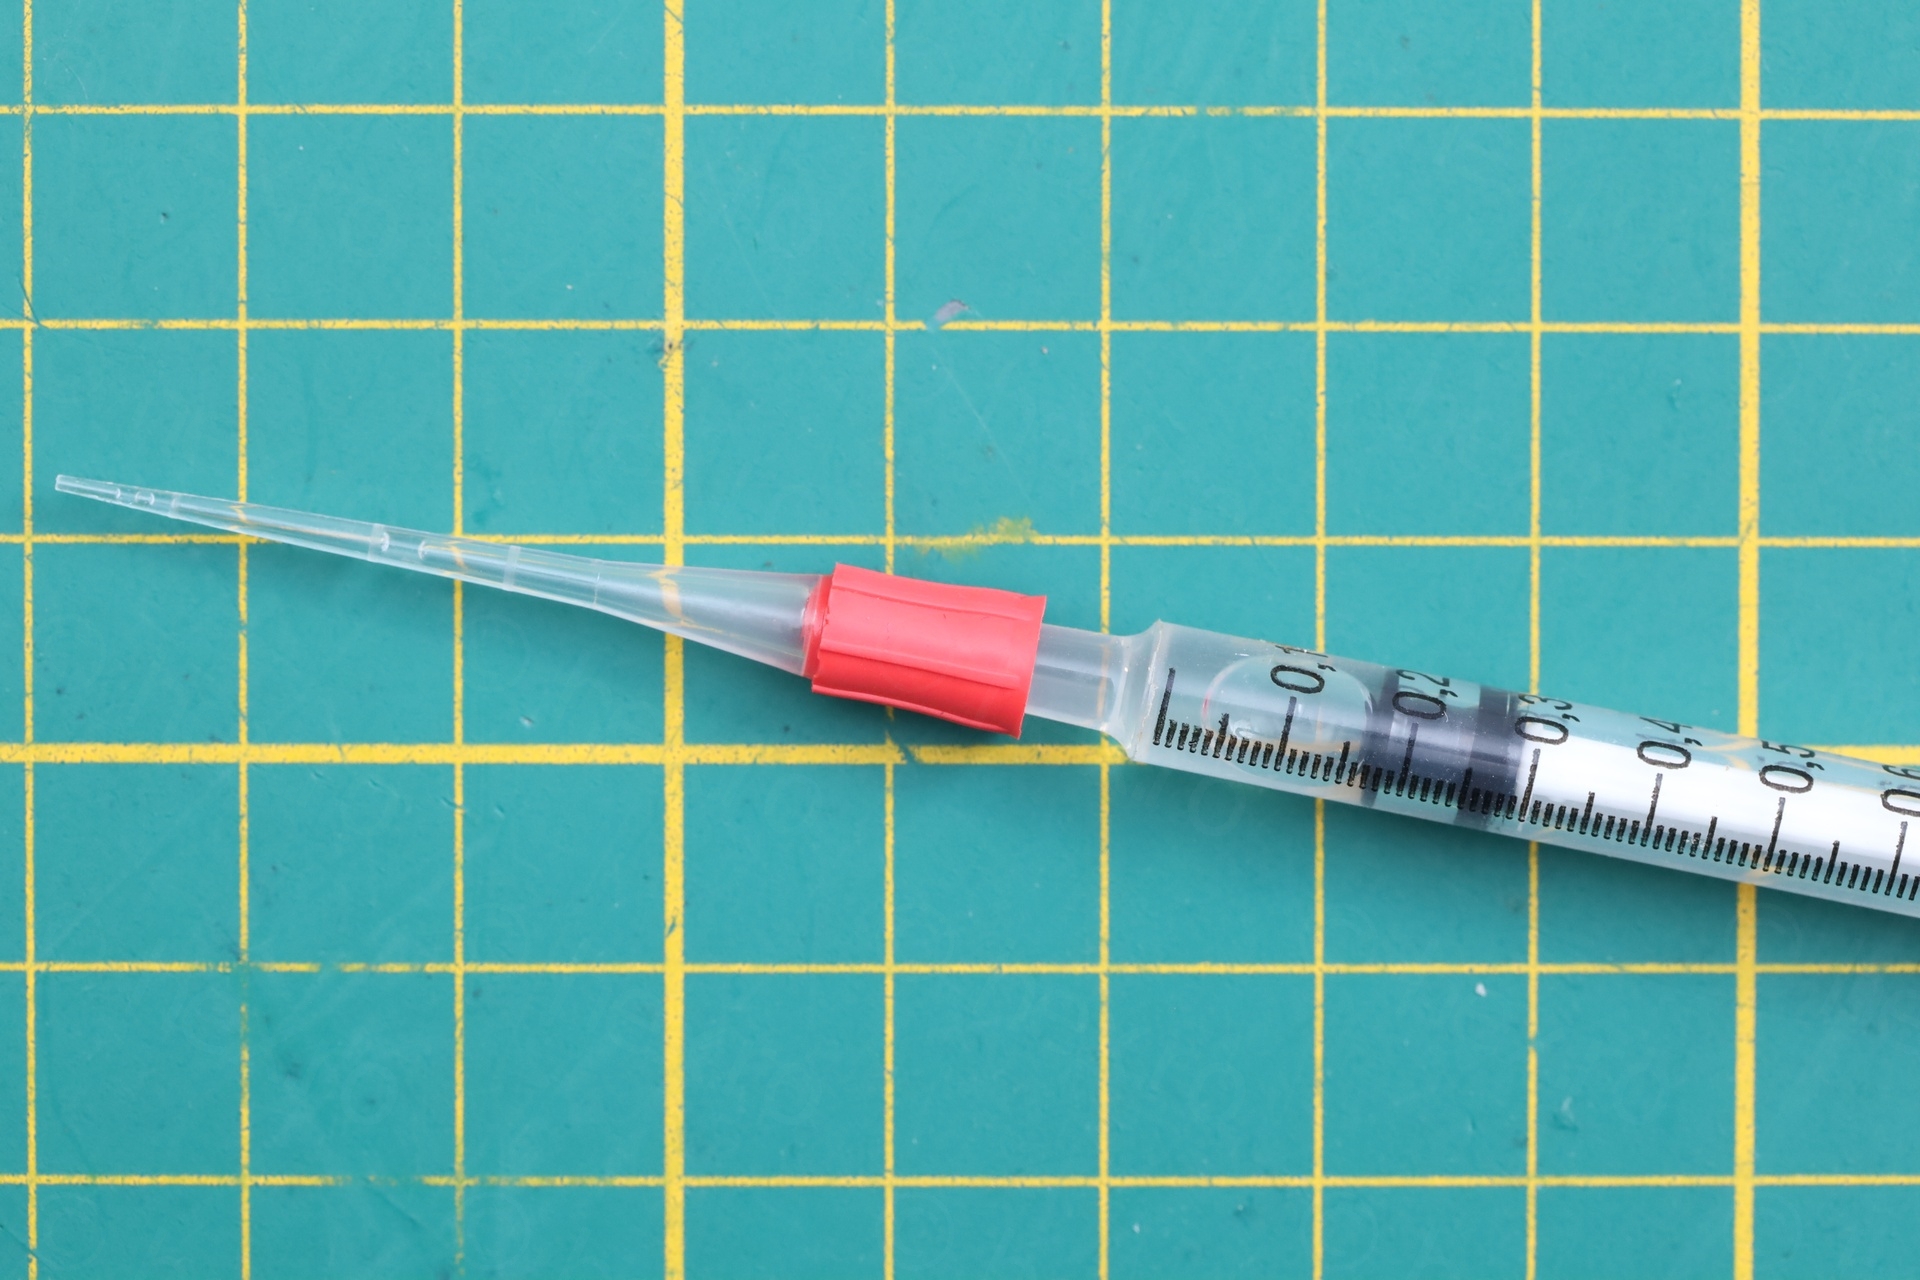
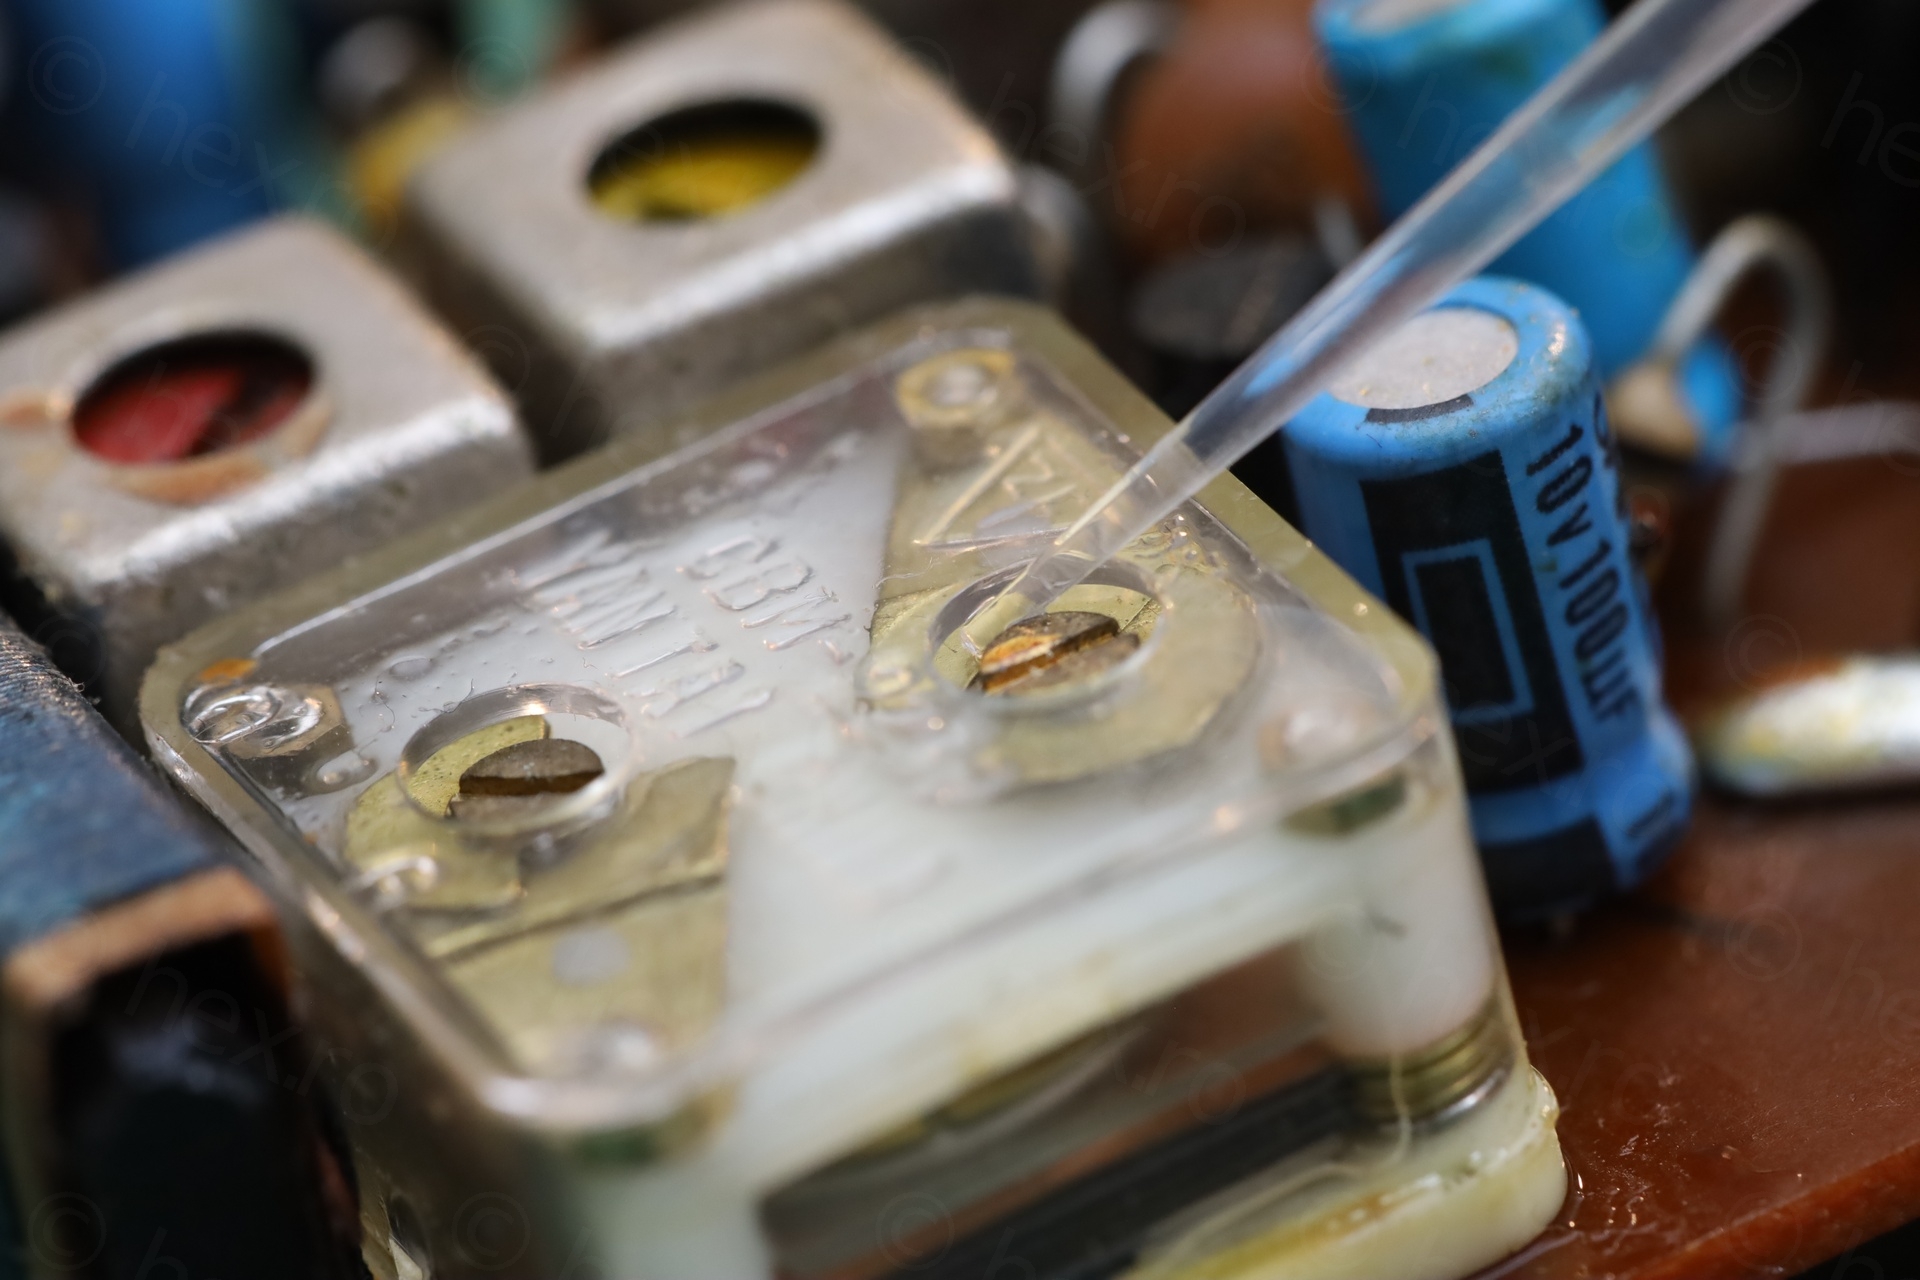
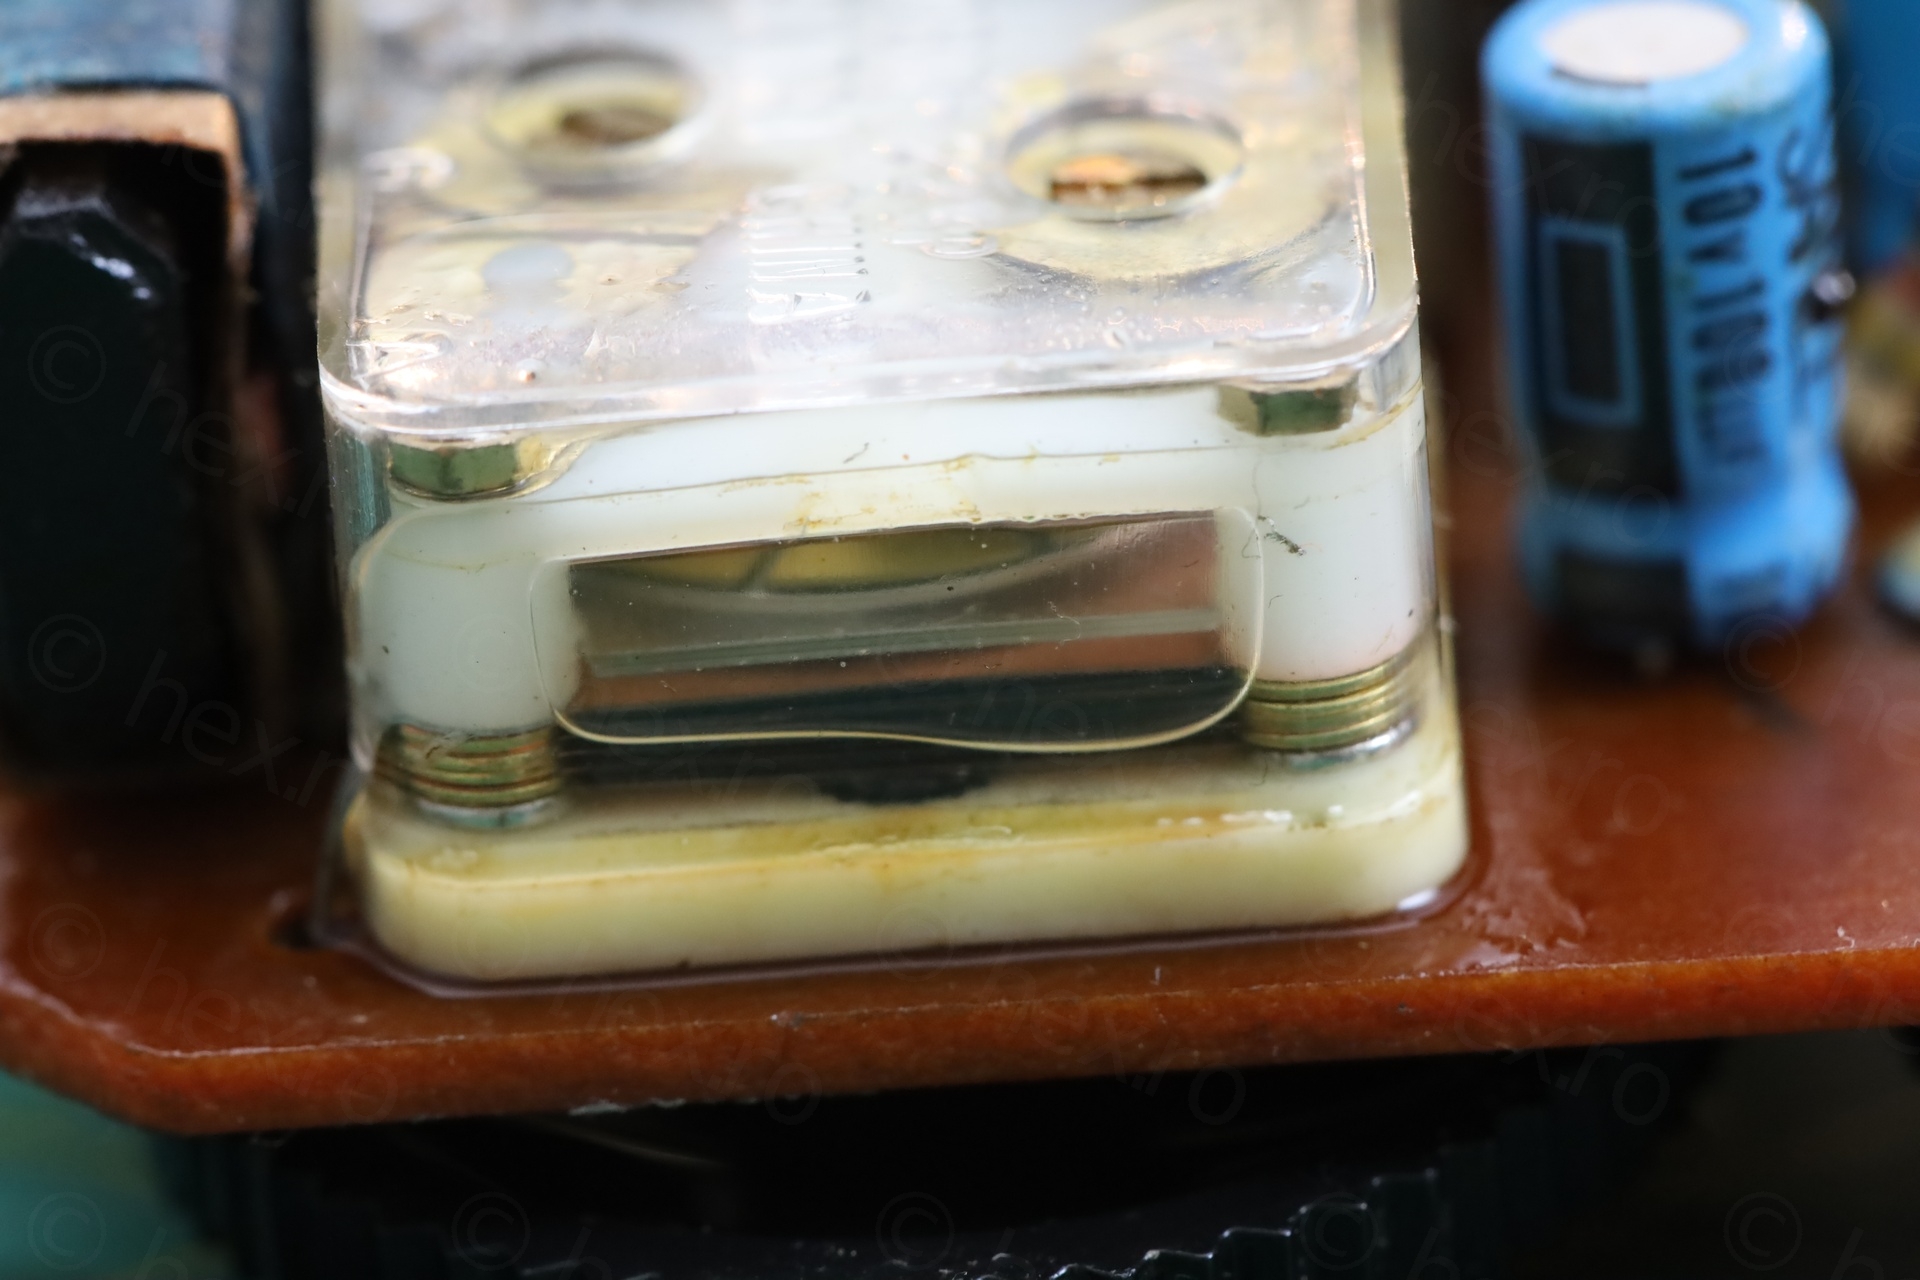

Filled it with IPA and gently tuned it it all the way few times. I feared that the small insulators could be of thin plastic, and for them not to catch onto anything.
And it seemed to have fix the problem:
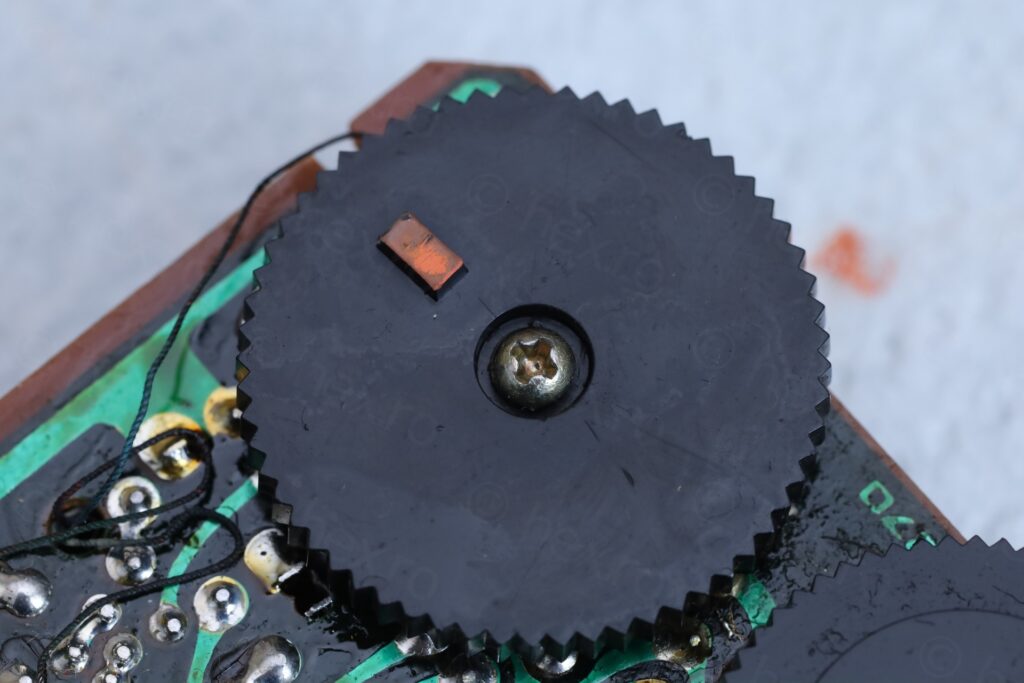
However, not all was great. I didn’t pay attention and the alcohol reached the small orange tuning indicator – paint was diluted and rubbed onto the paper towel underneath …
Thus, a quick fix just turned into a more lengthily restoration, since now I felt bad having ruined the face of the radio.
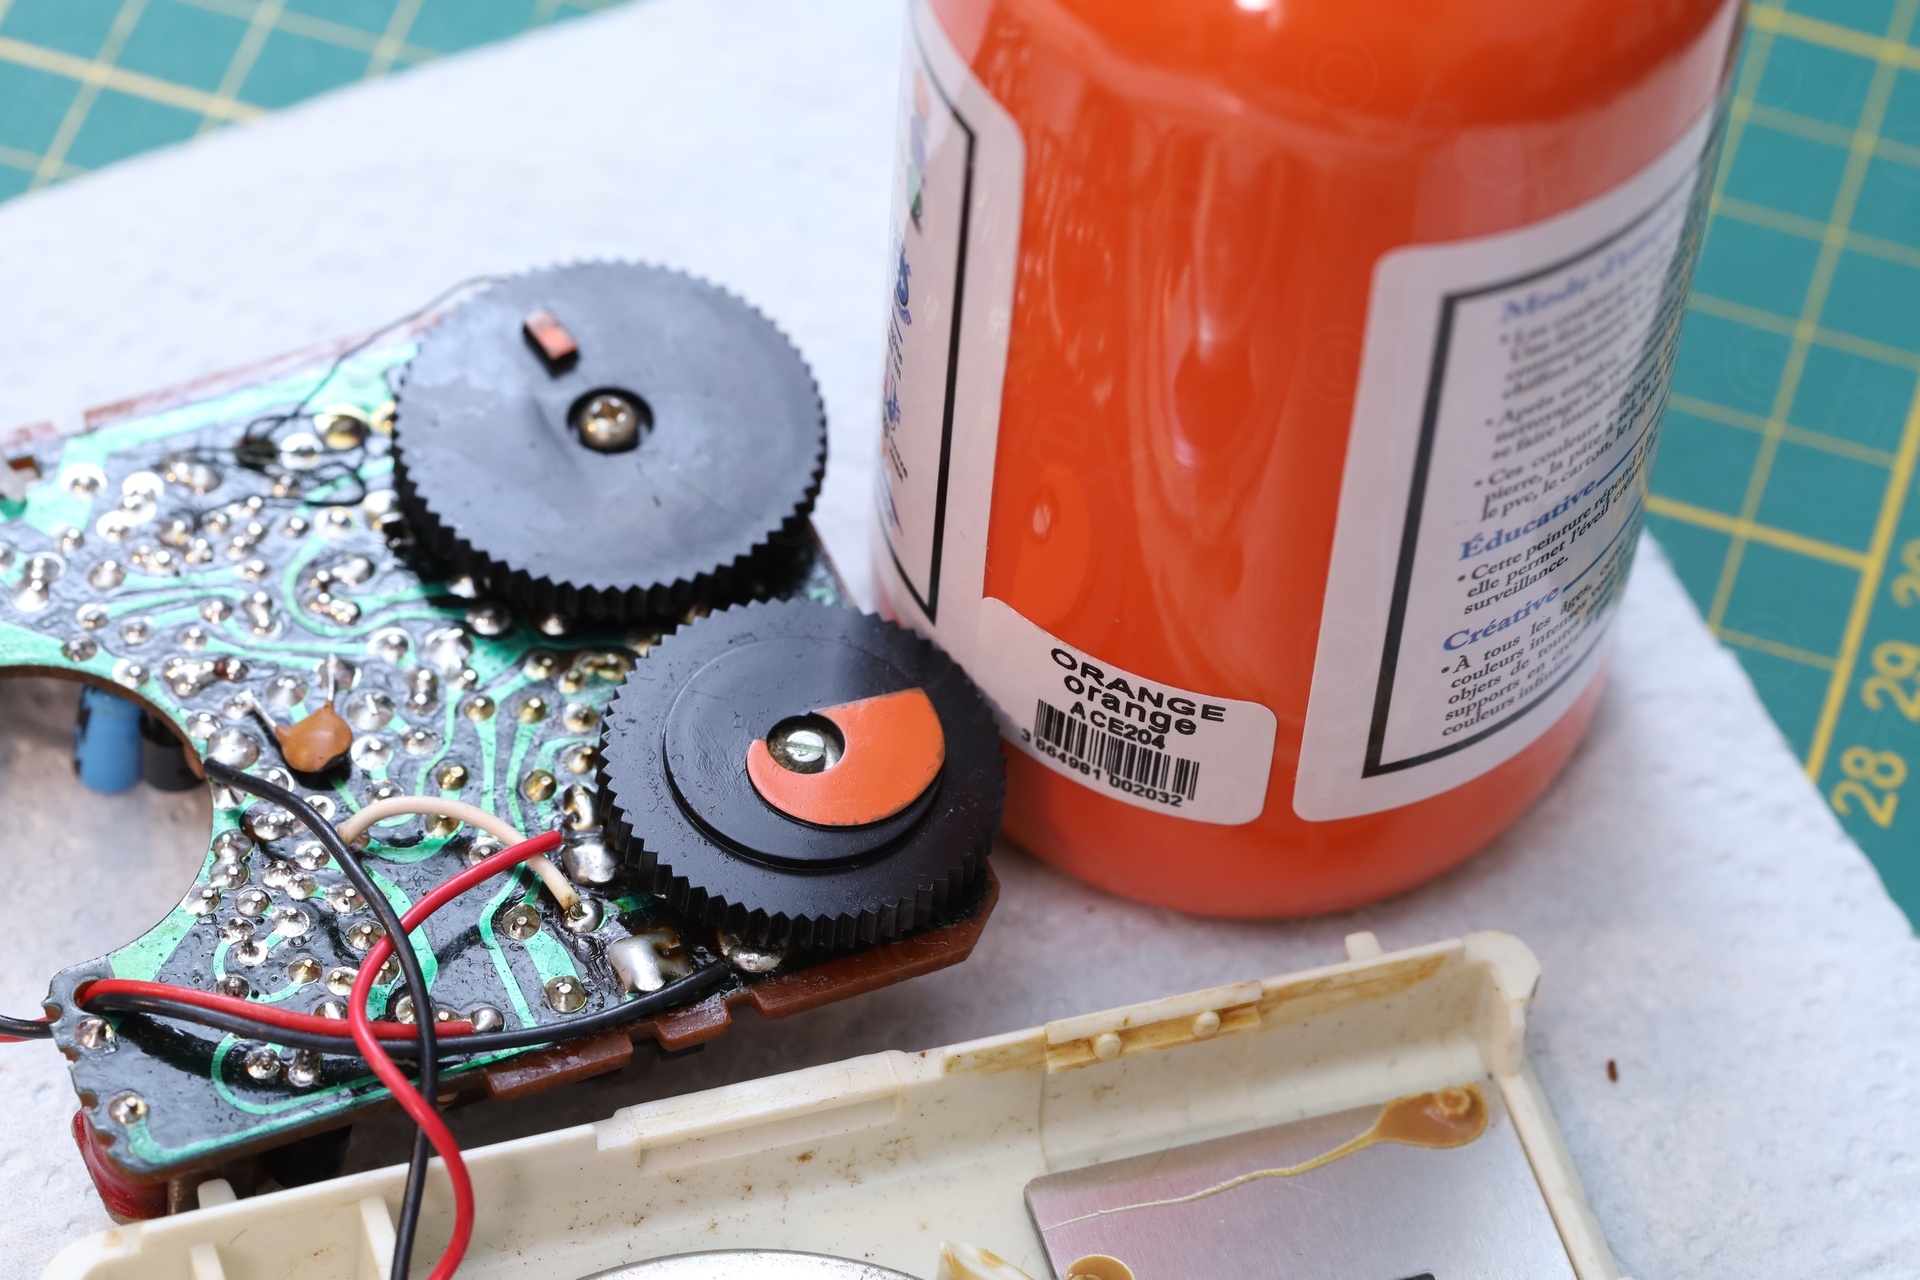
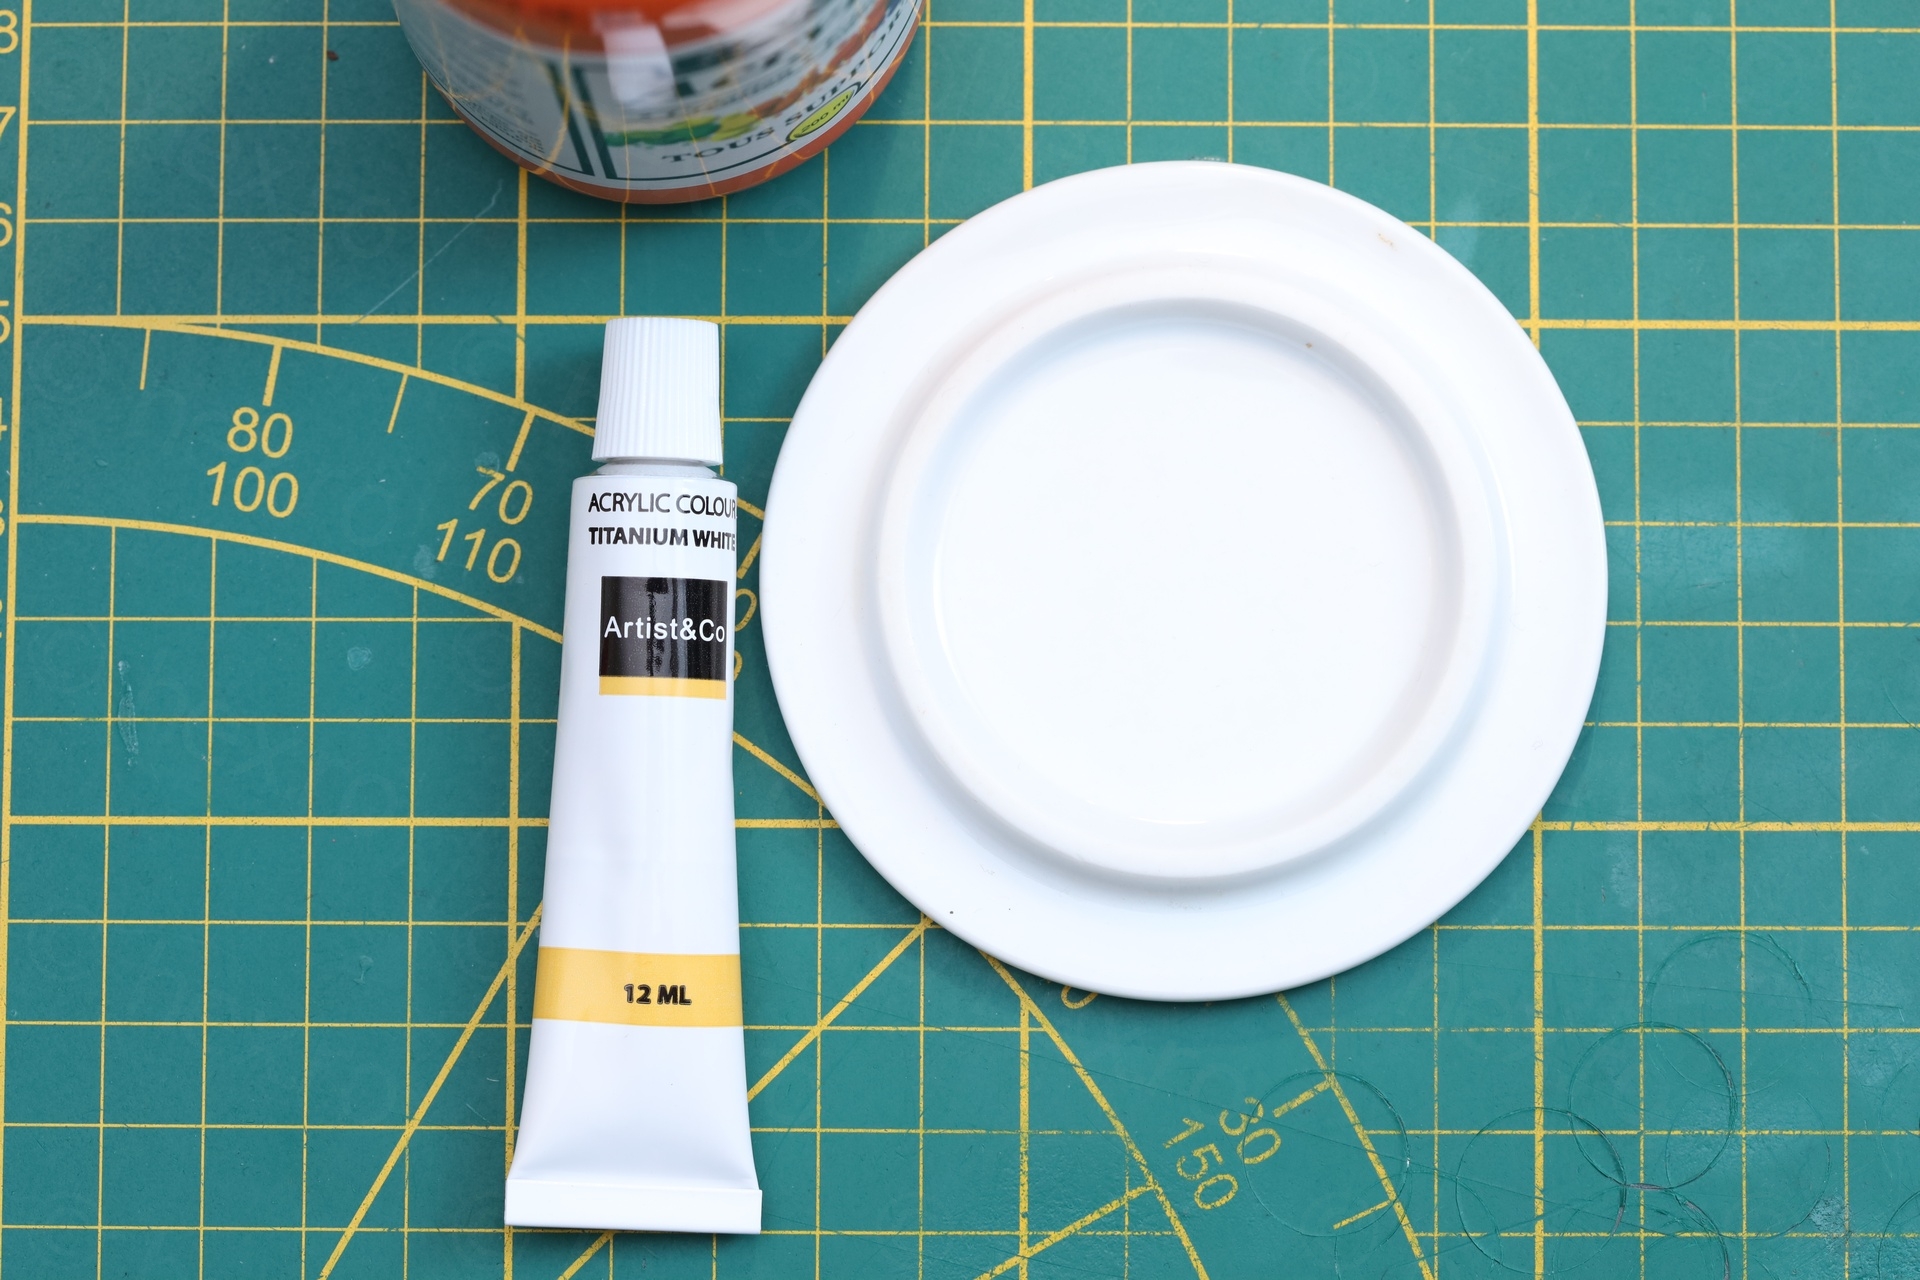
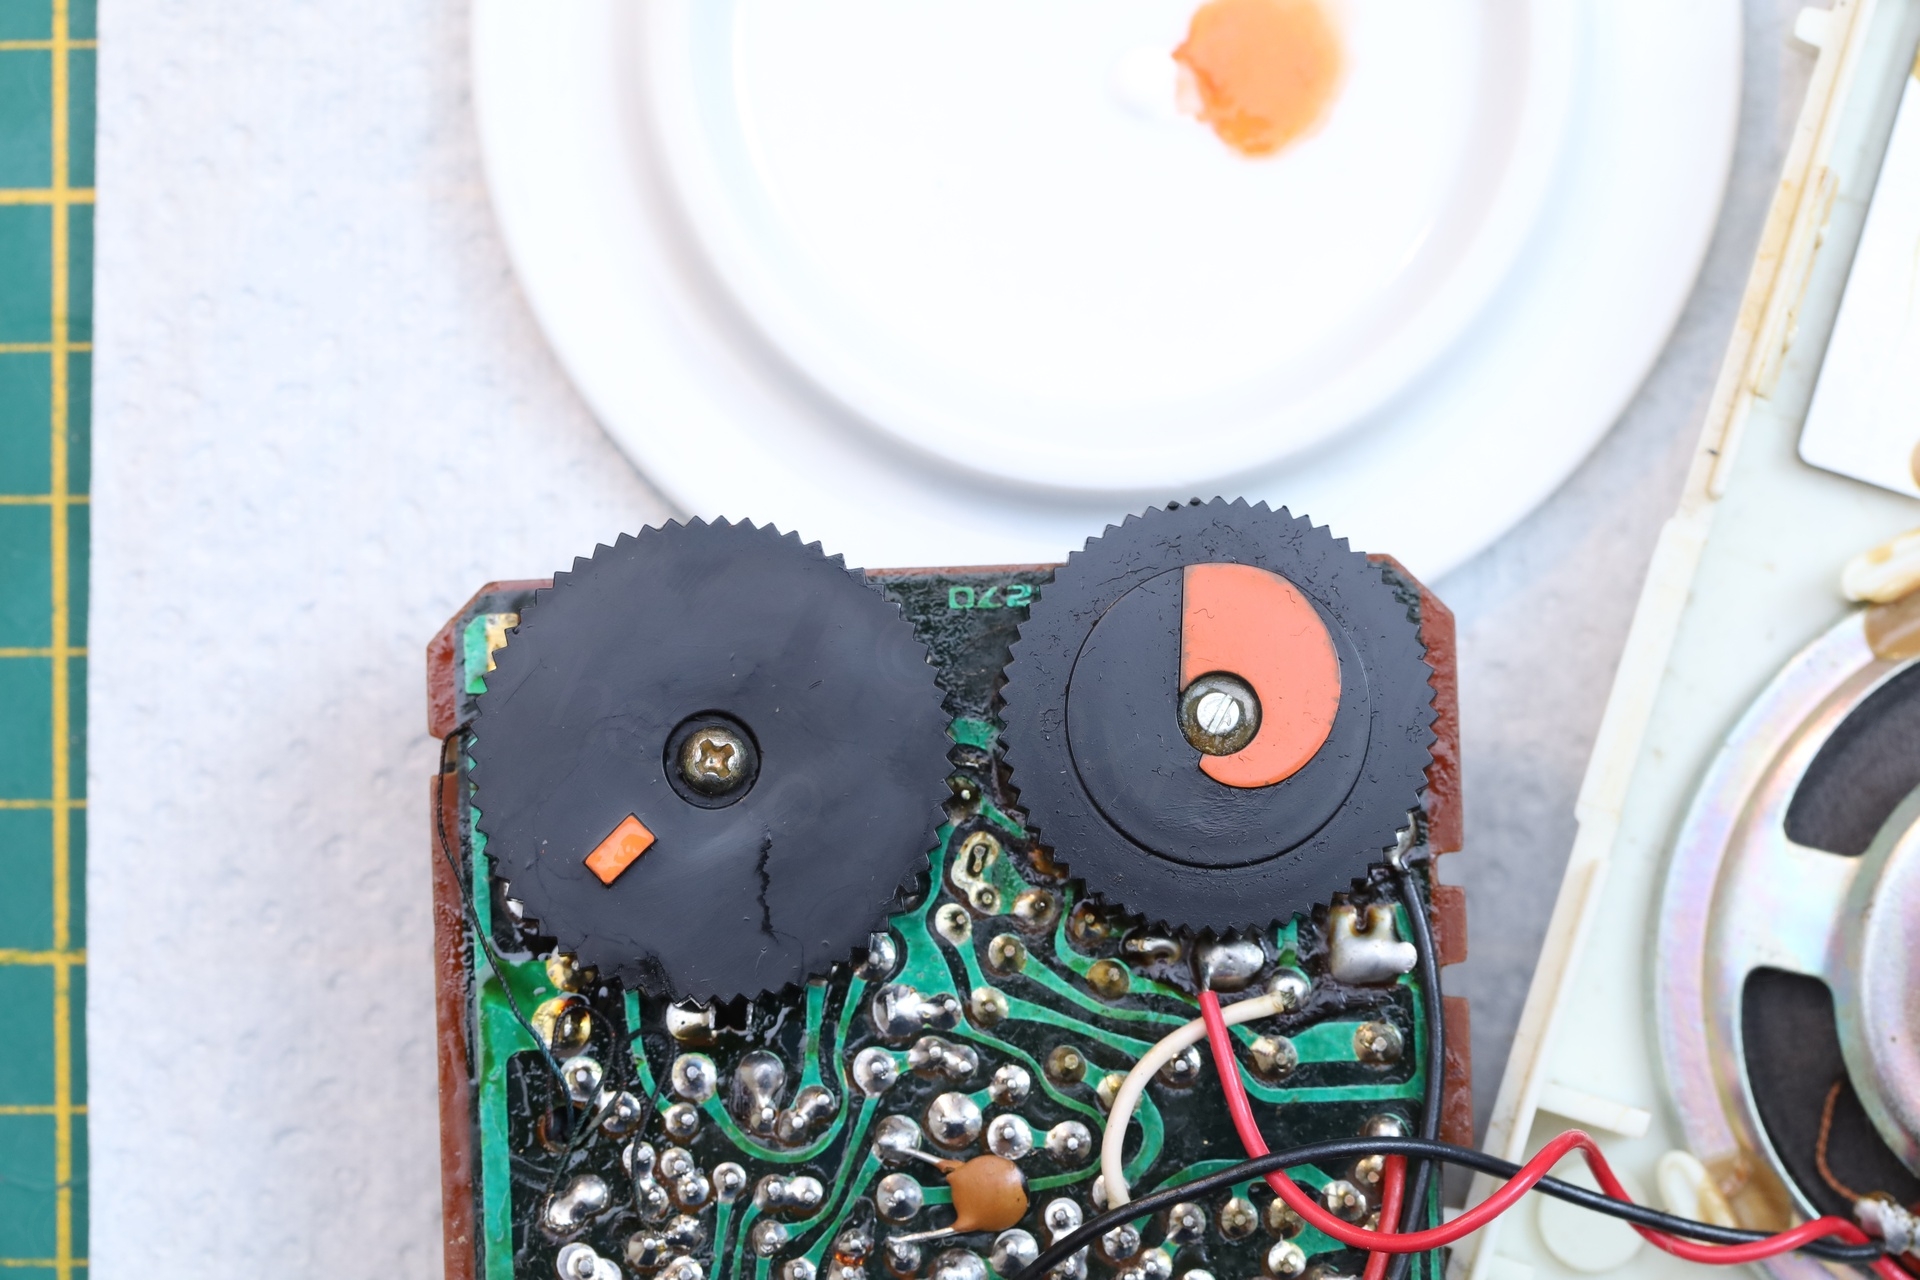

I bought an Orange acrylic paint, but it was more on the ‘reddish’ side. I mixed it with a bit of white and got it to look very very close to the fainter orange (thankfully, I had the volume indicator as a reference). However, I didn’t know that it will dry up to a much brighter Orange..
Thus, one more round of painting. It needed some ‘weathering’.
I diluted a drop of acrylic Black into a very watery light gray. But when applying it to the existing paint, it would just blob in the middle (surface tension?) forming a little drop. I reached for a paper towel to try to soak up the tiny bubble, but then I discovered the paper towel is a better way of spreading the gray around. Yey.
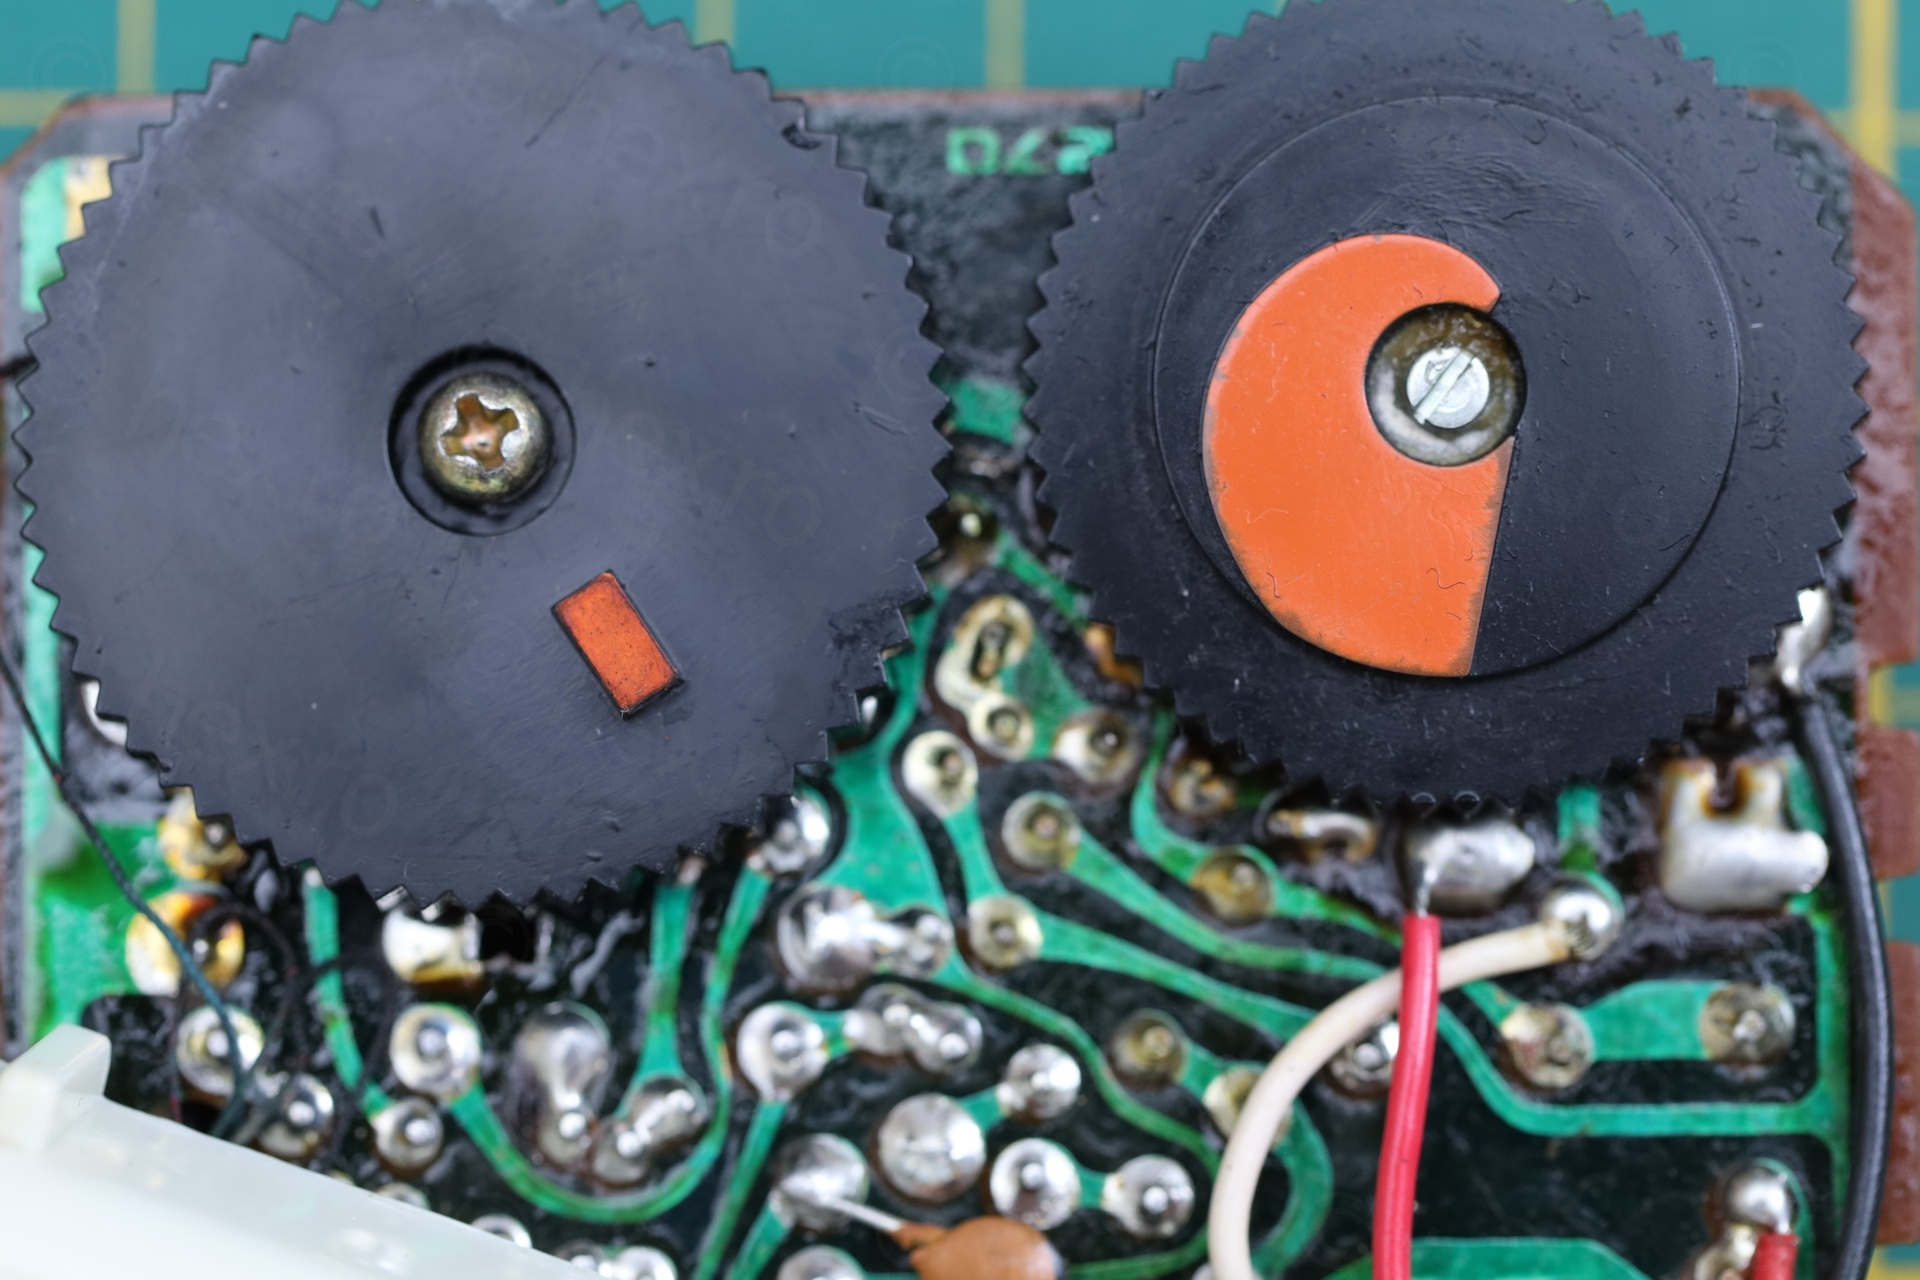
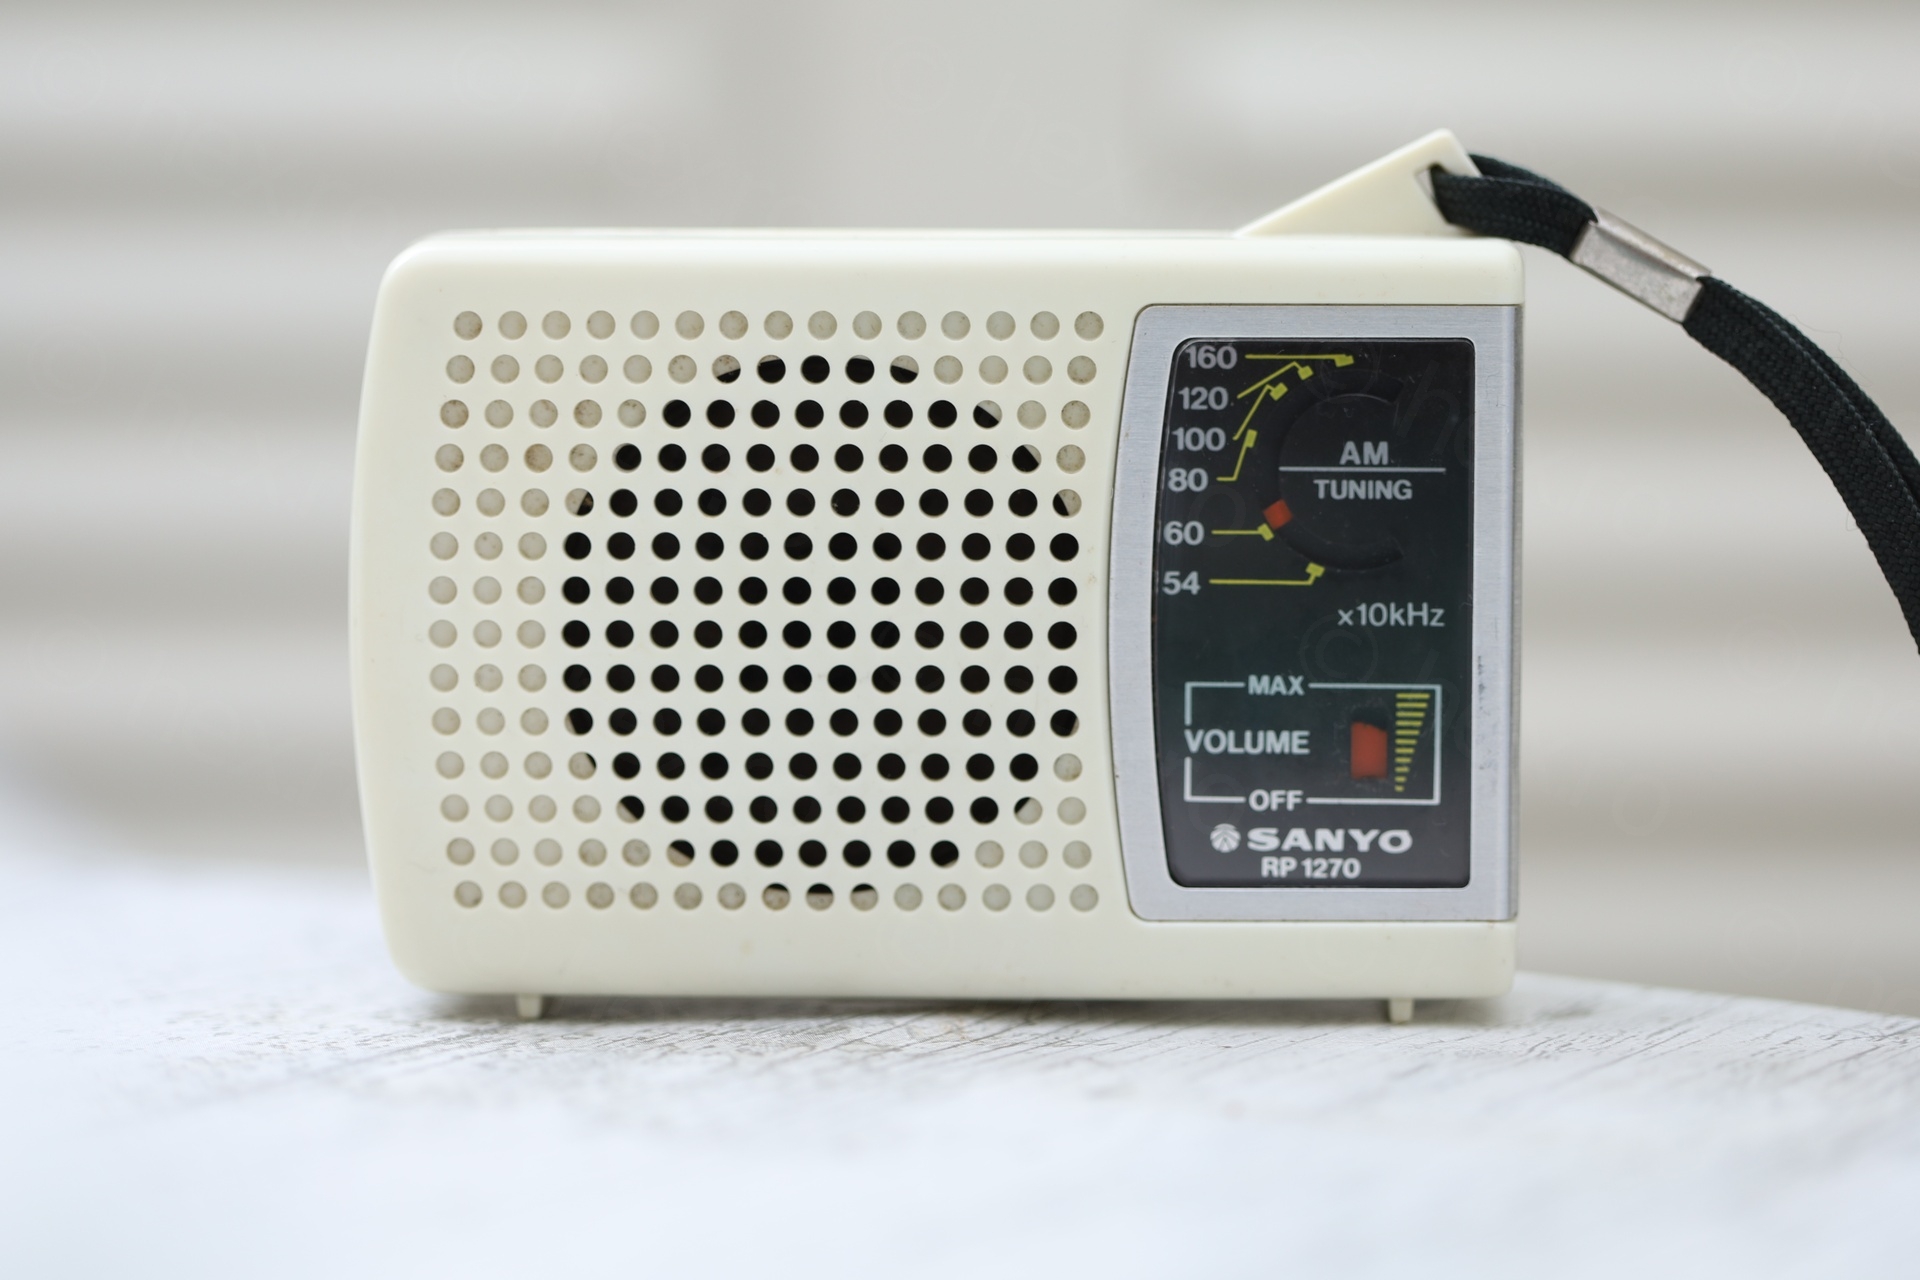
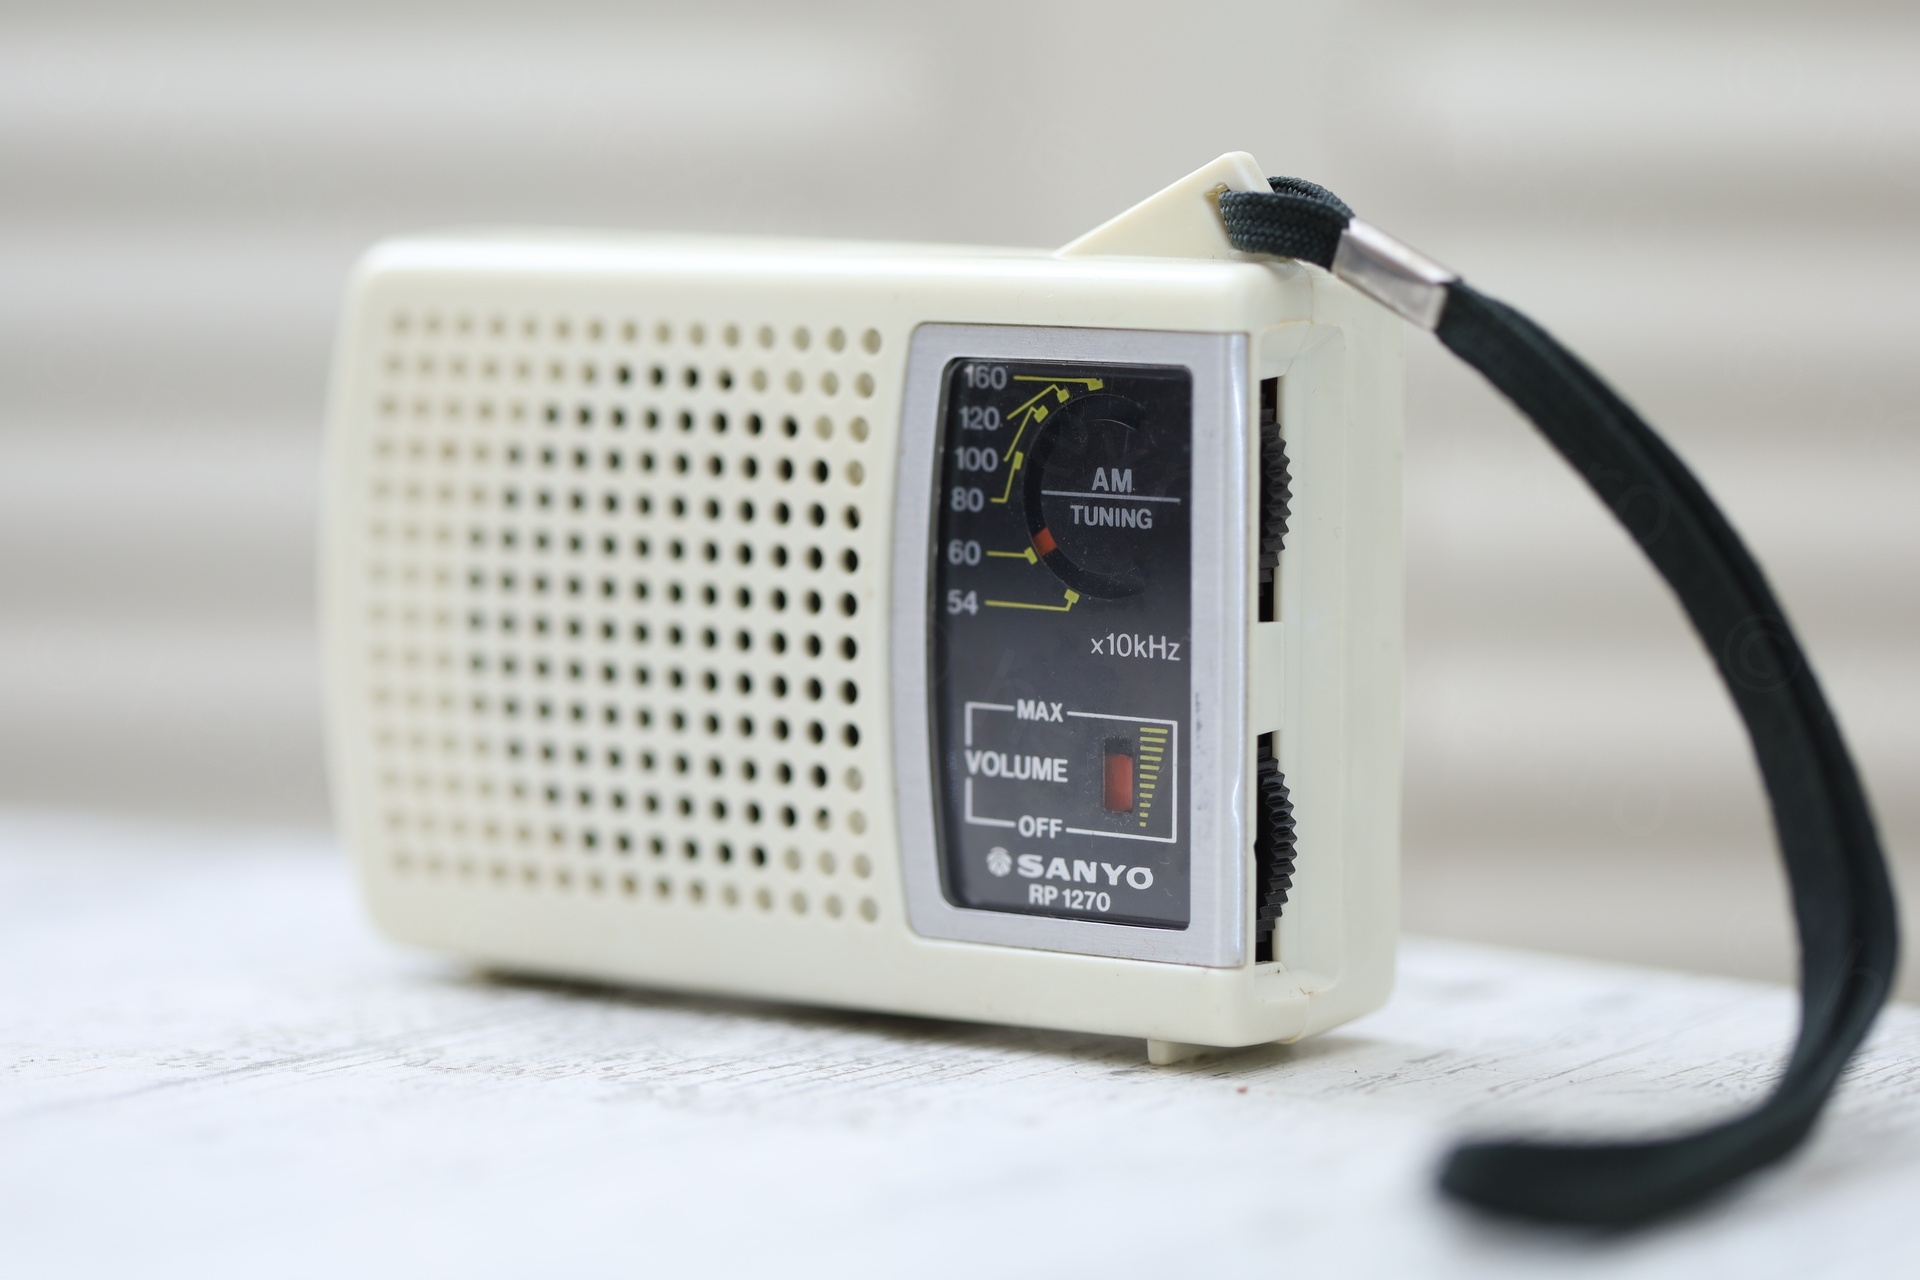
It now looks very very close to the original:
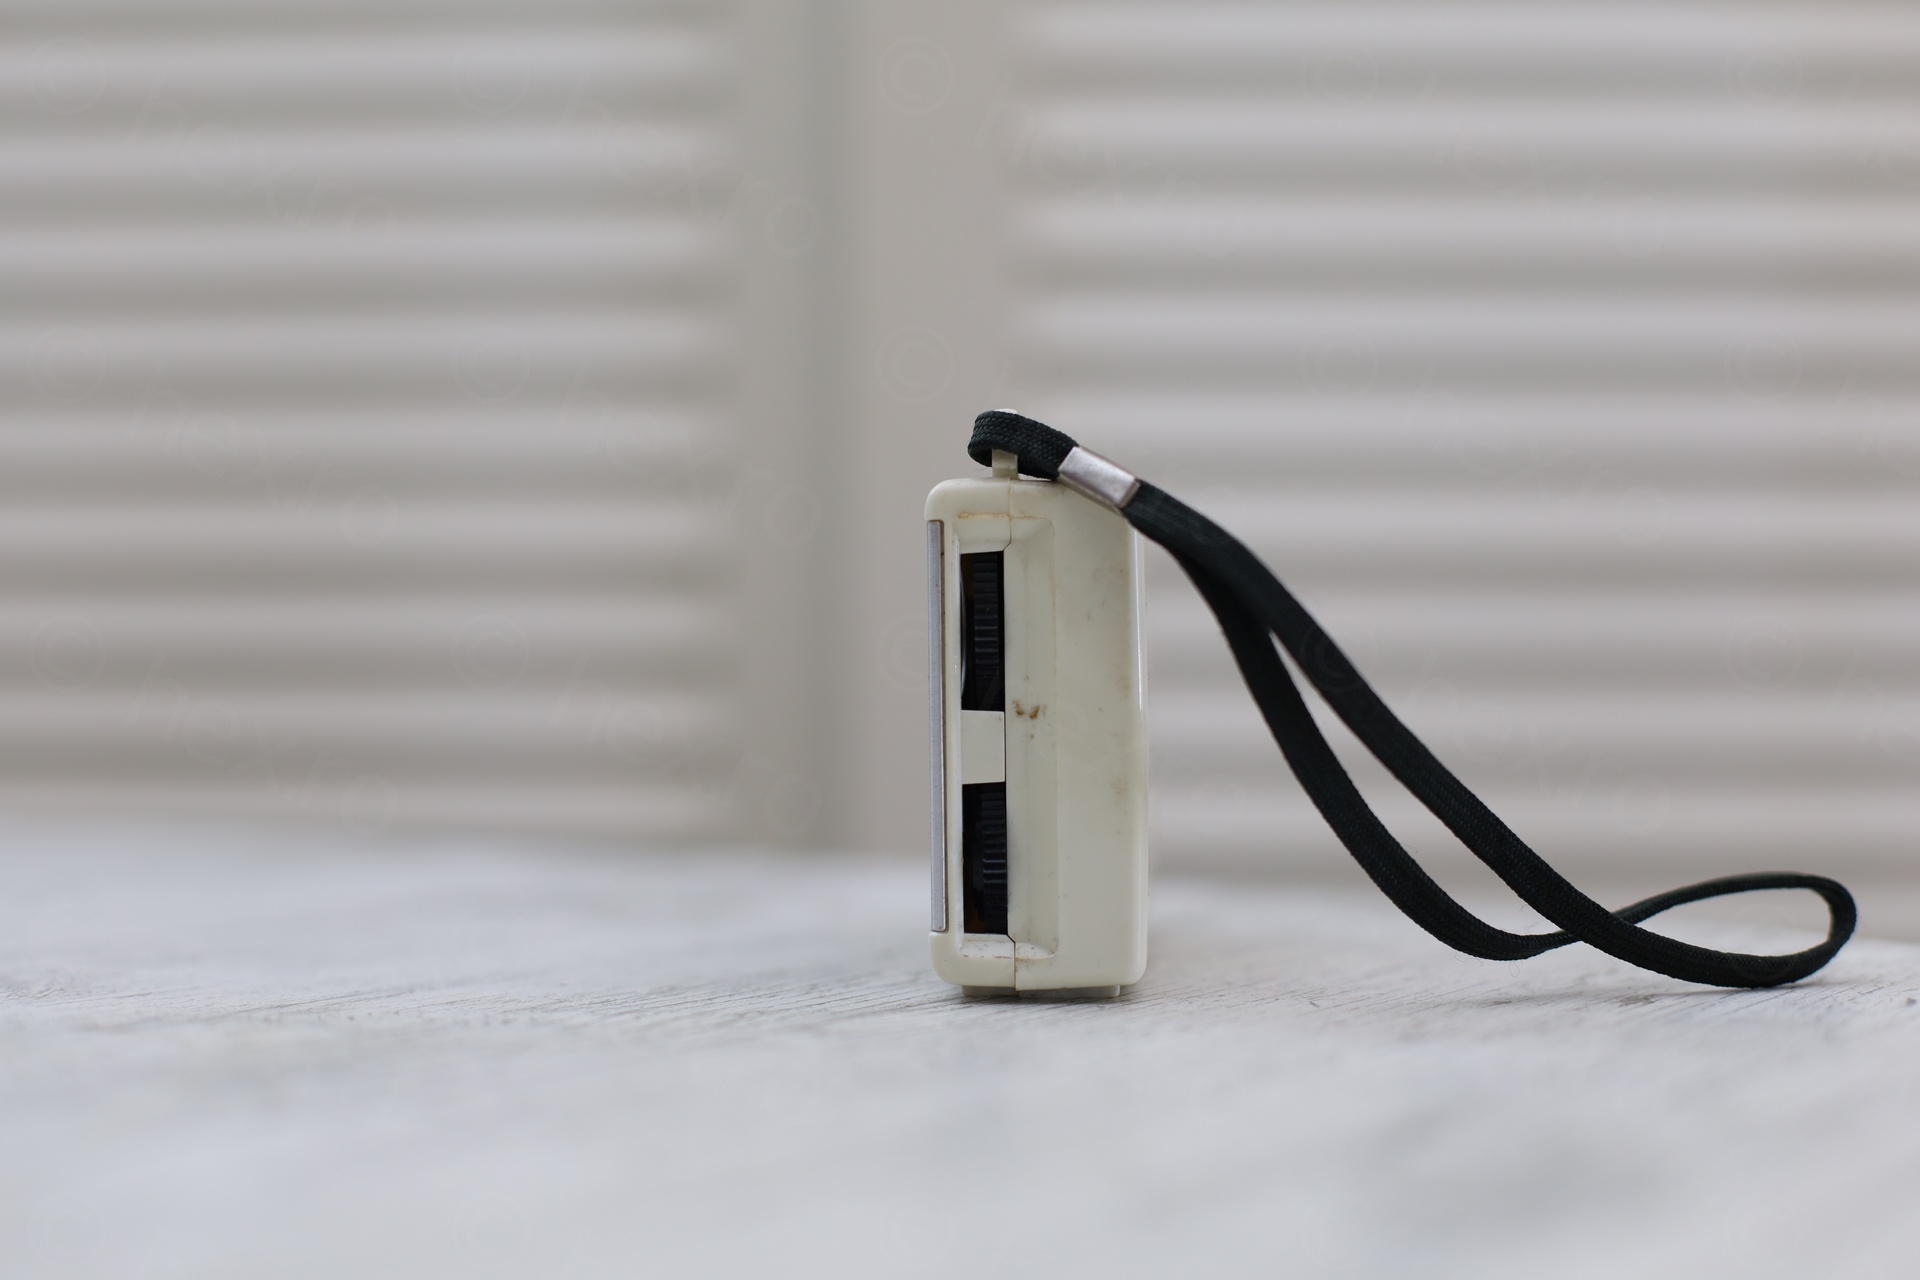
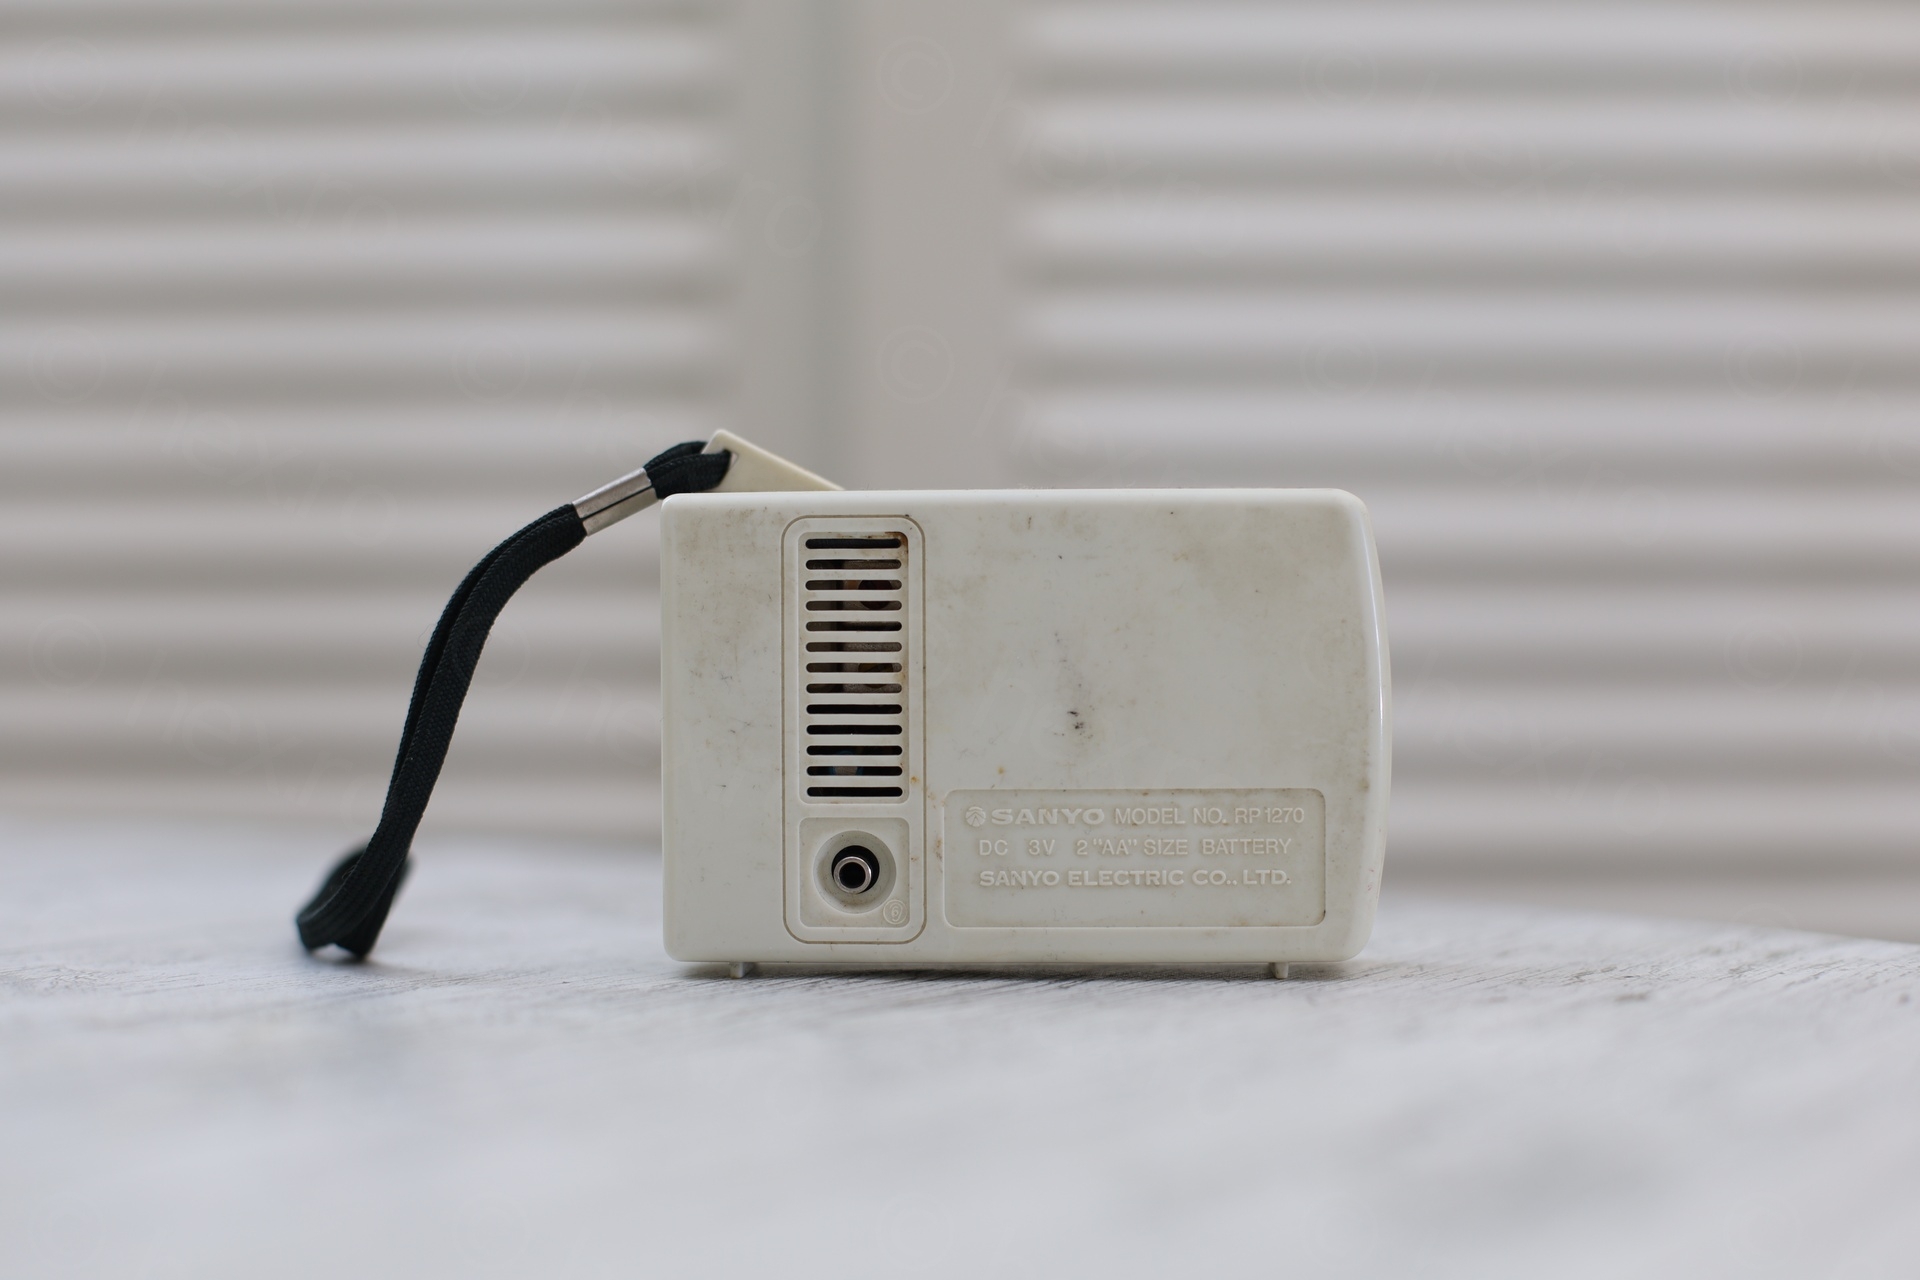
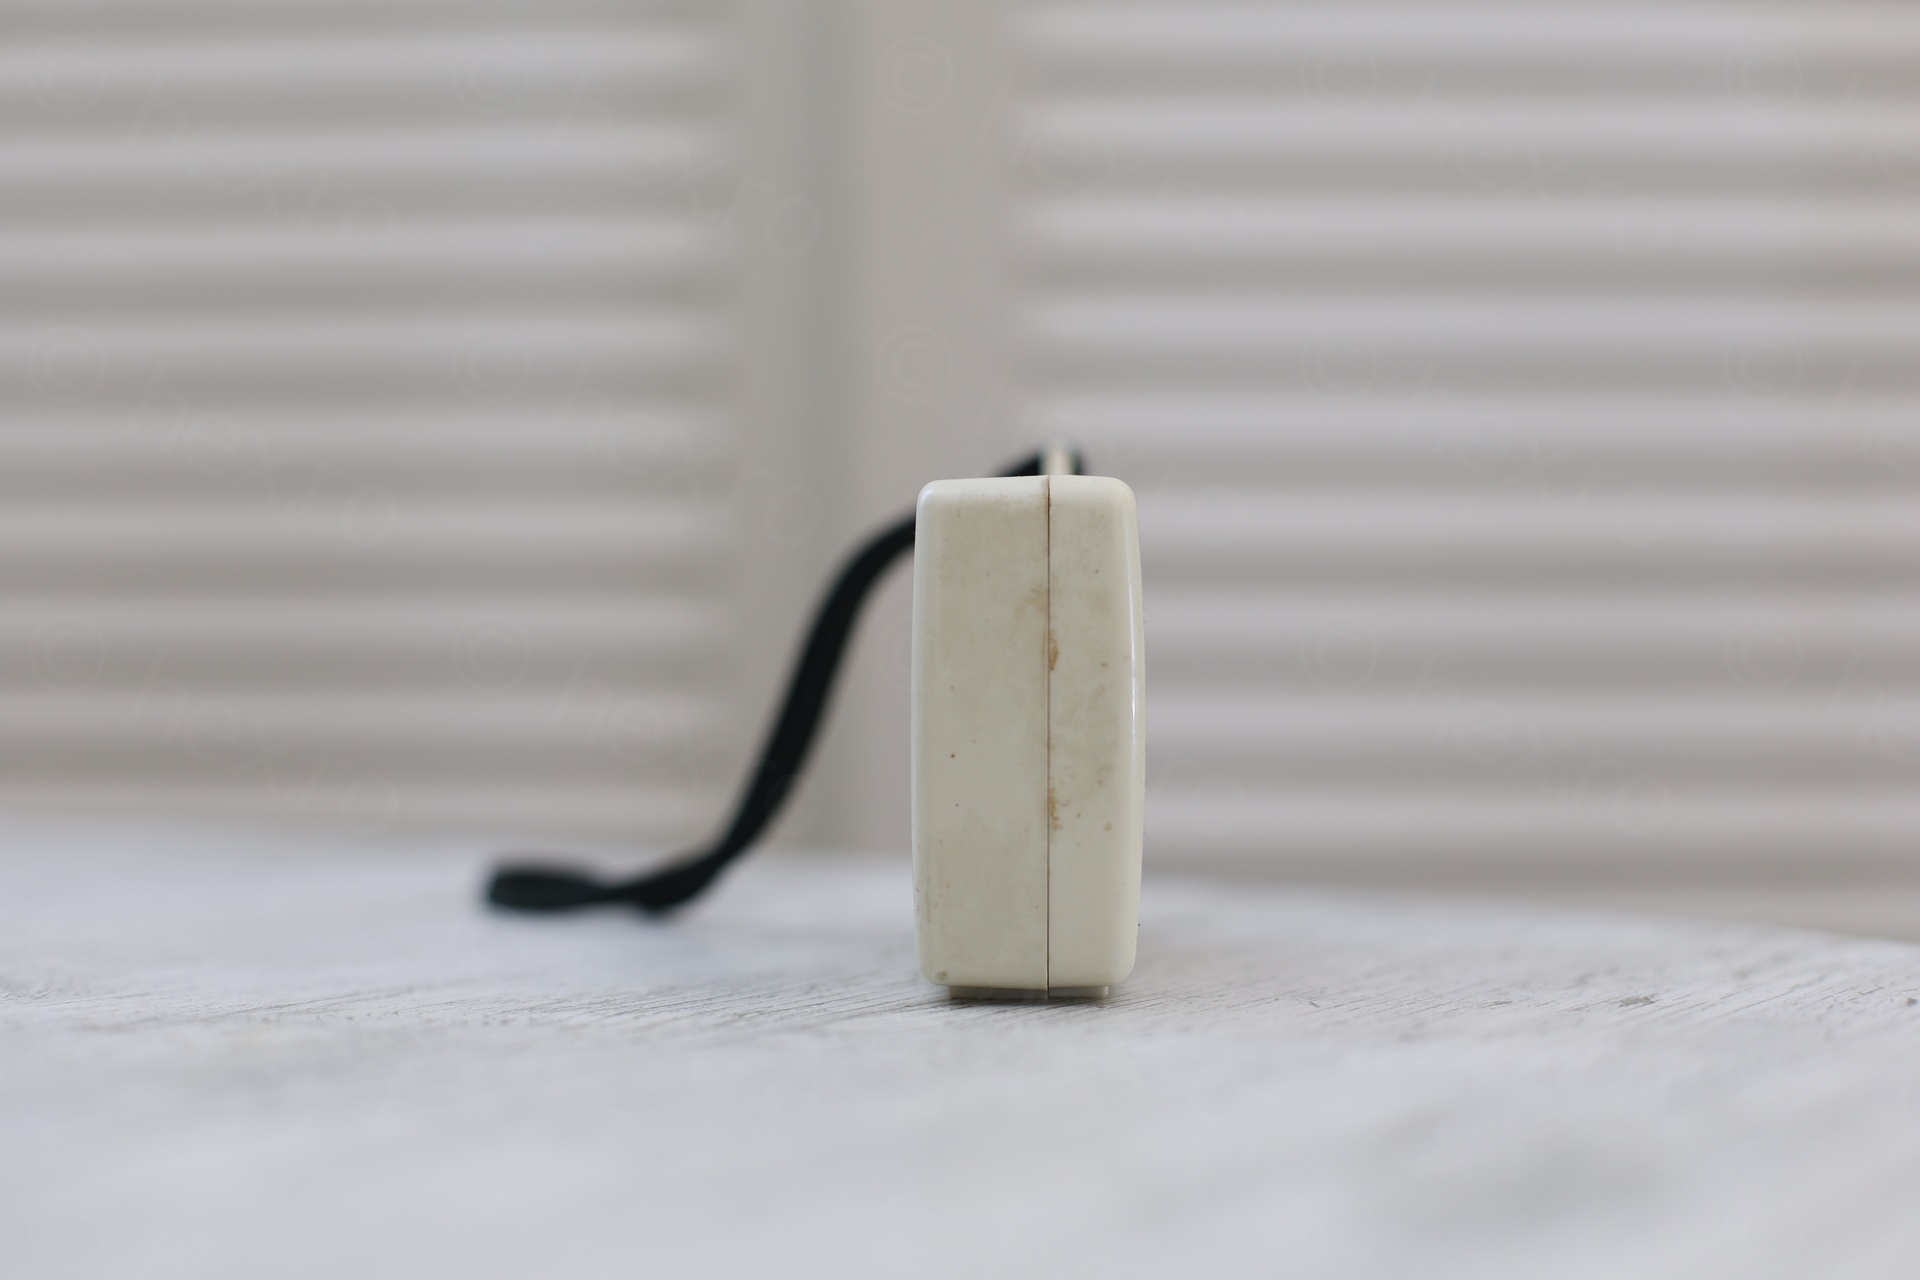
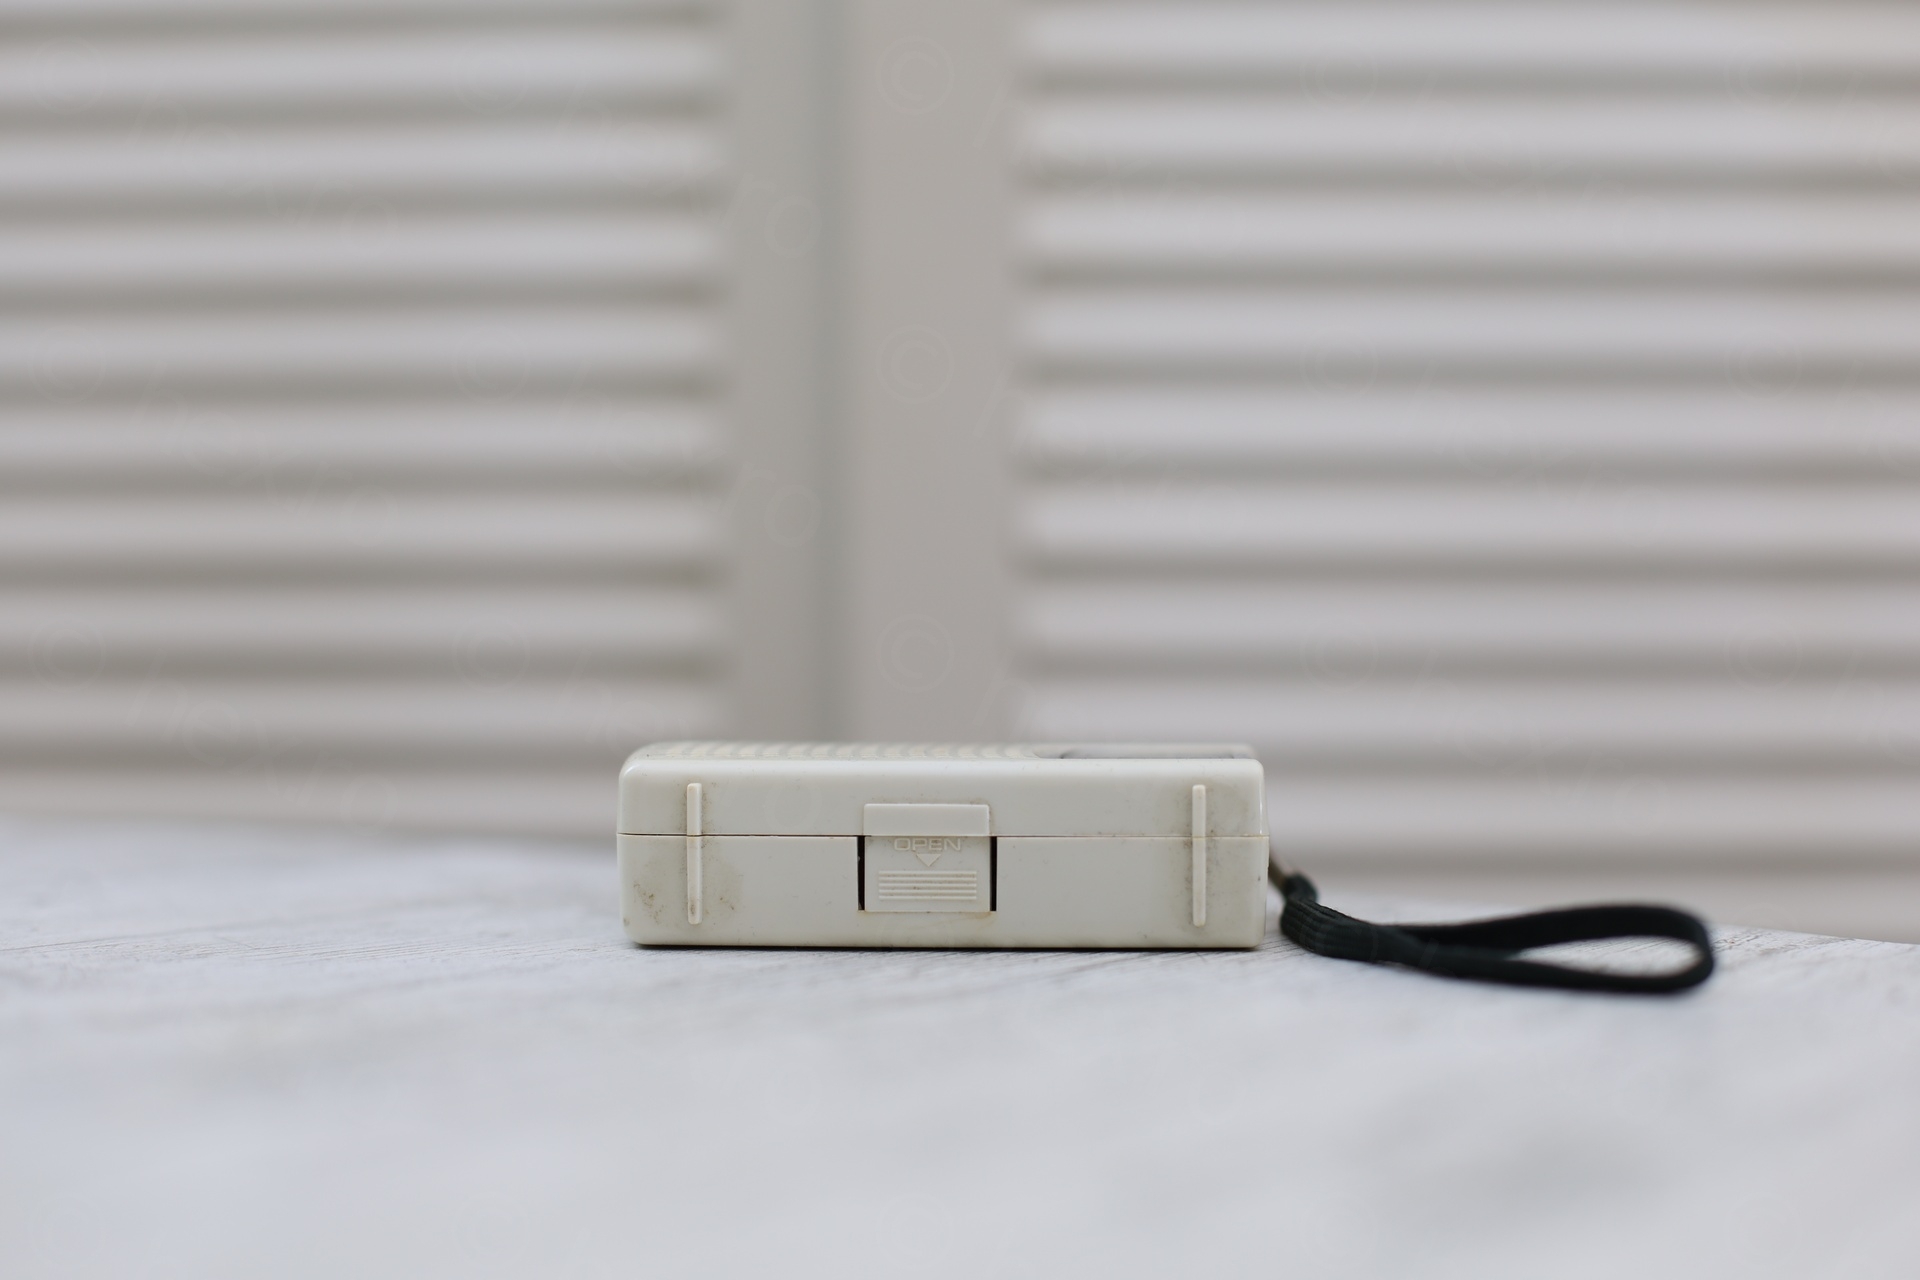
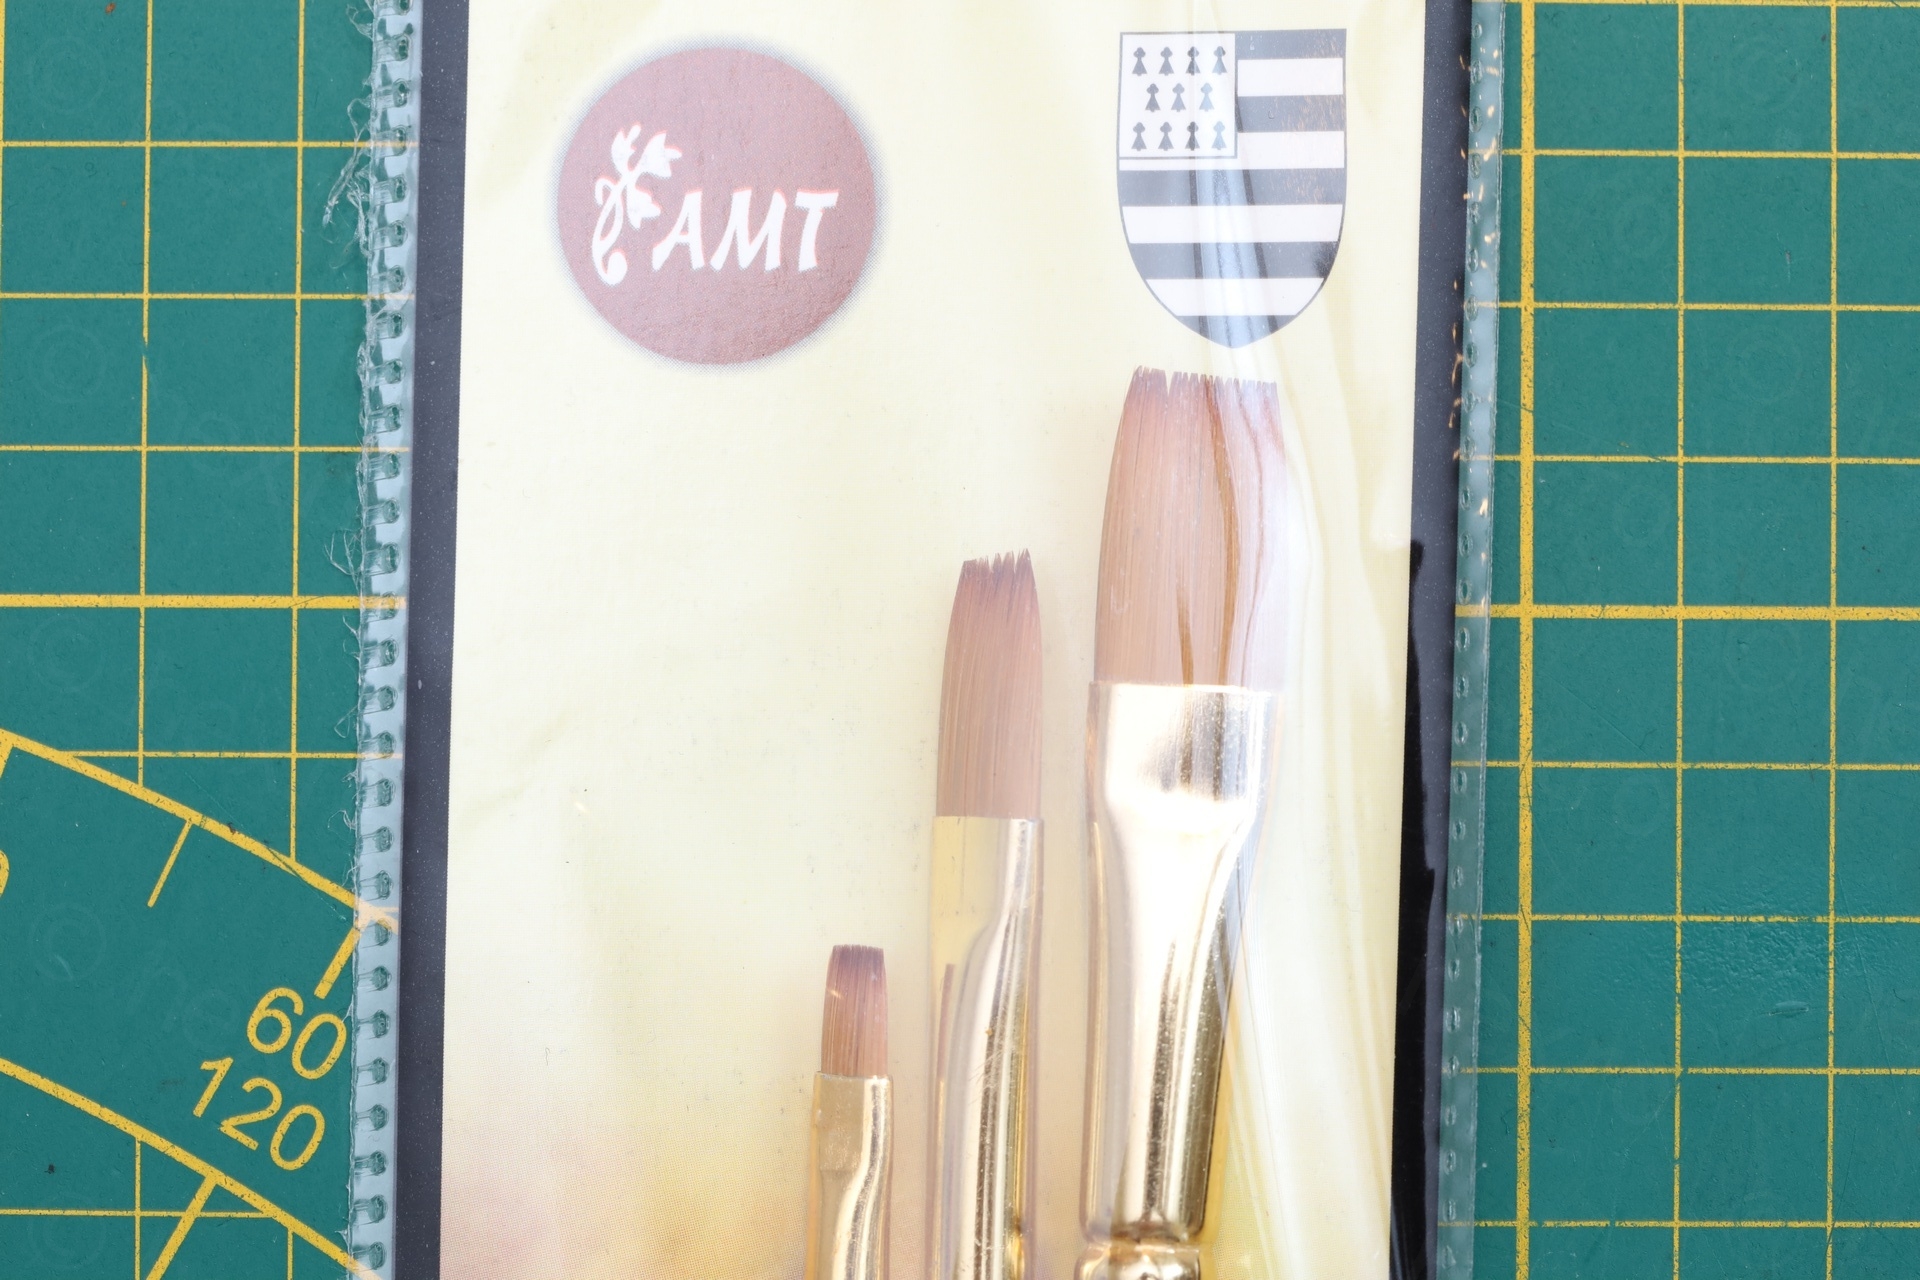
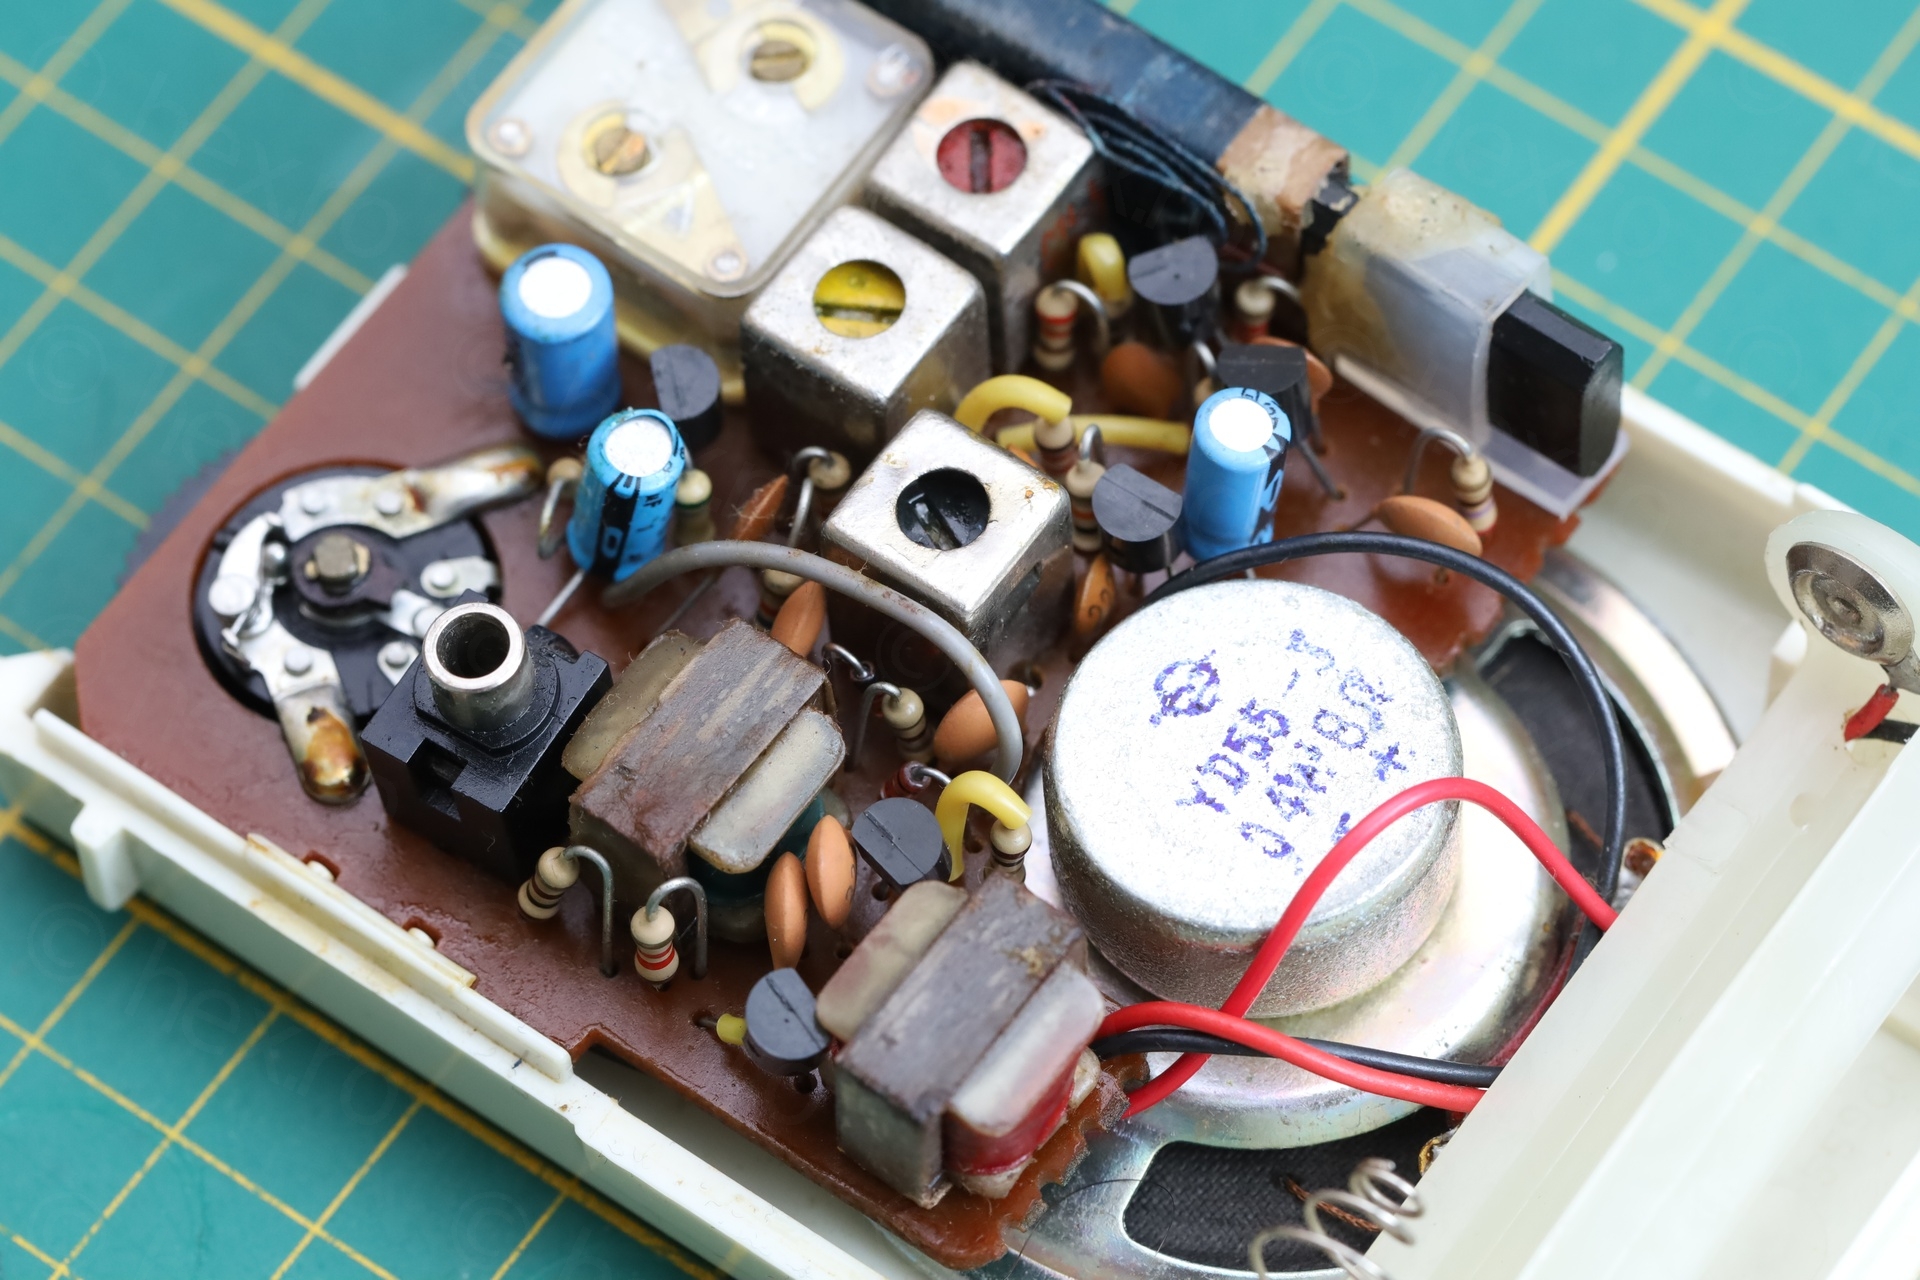
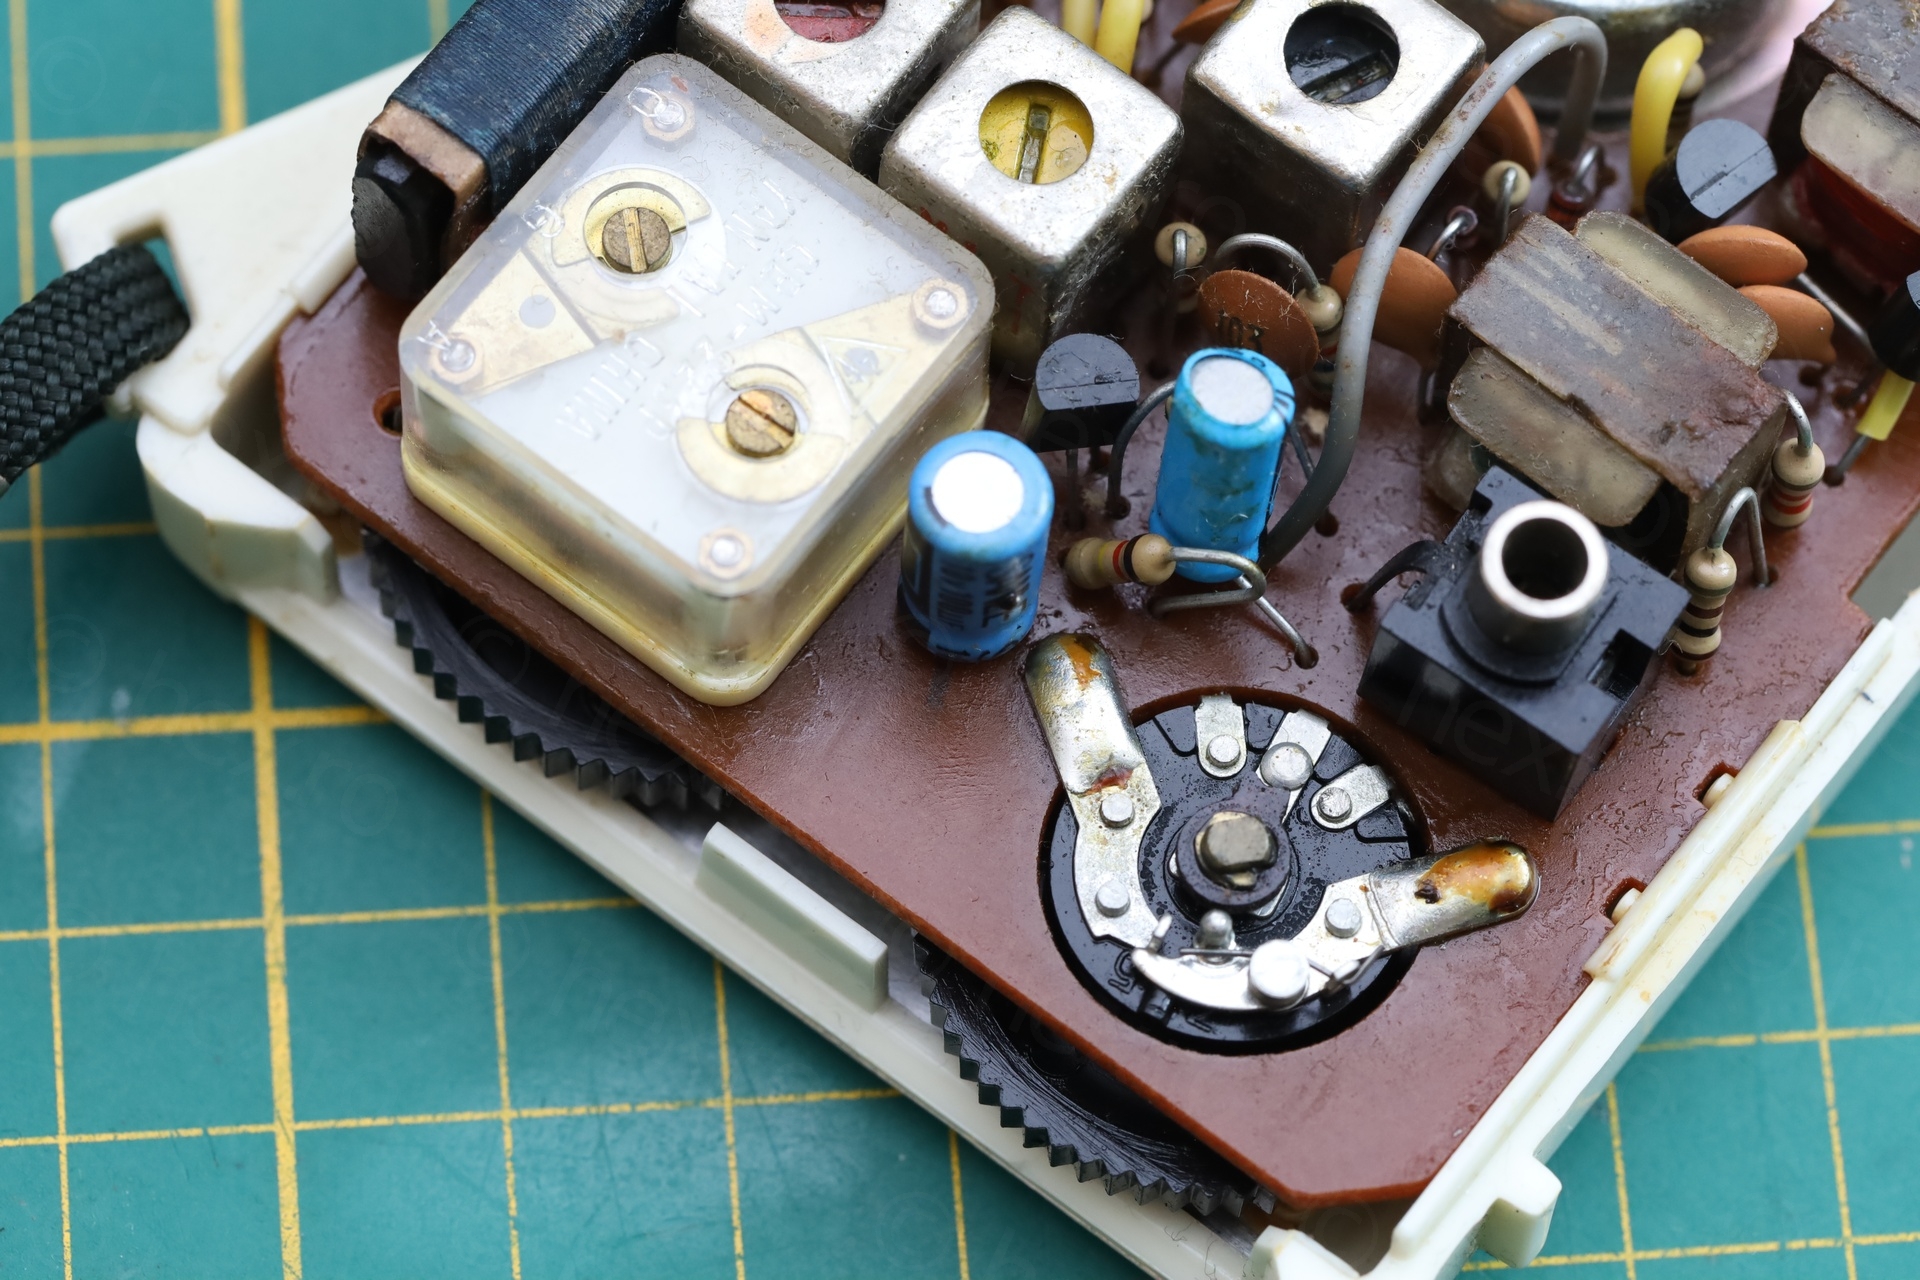
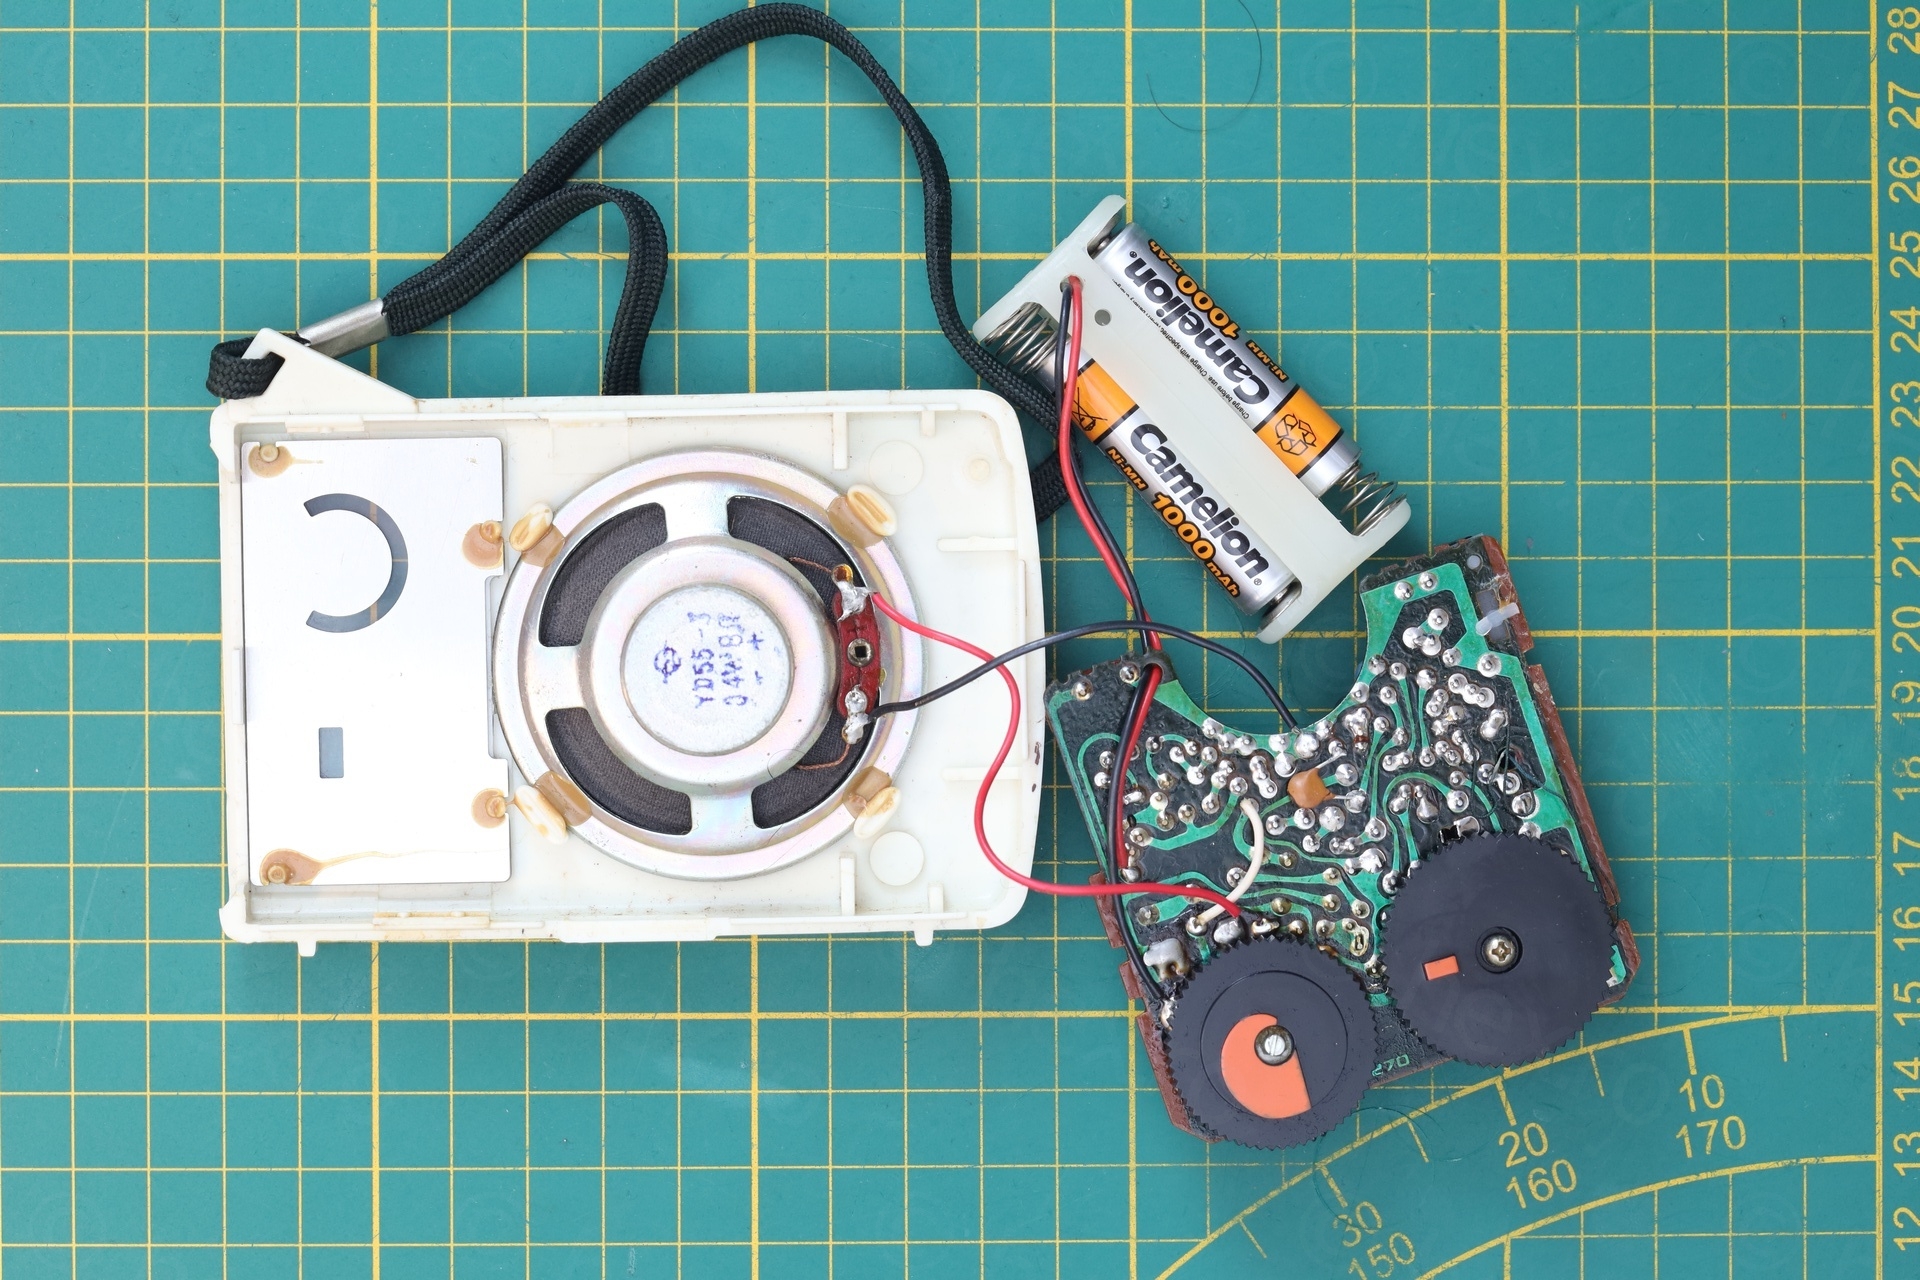
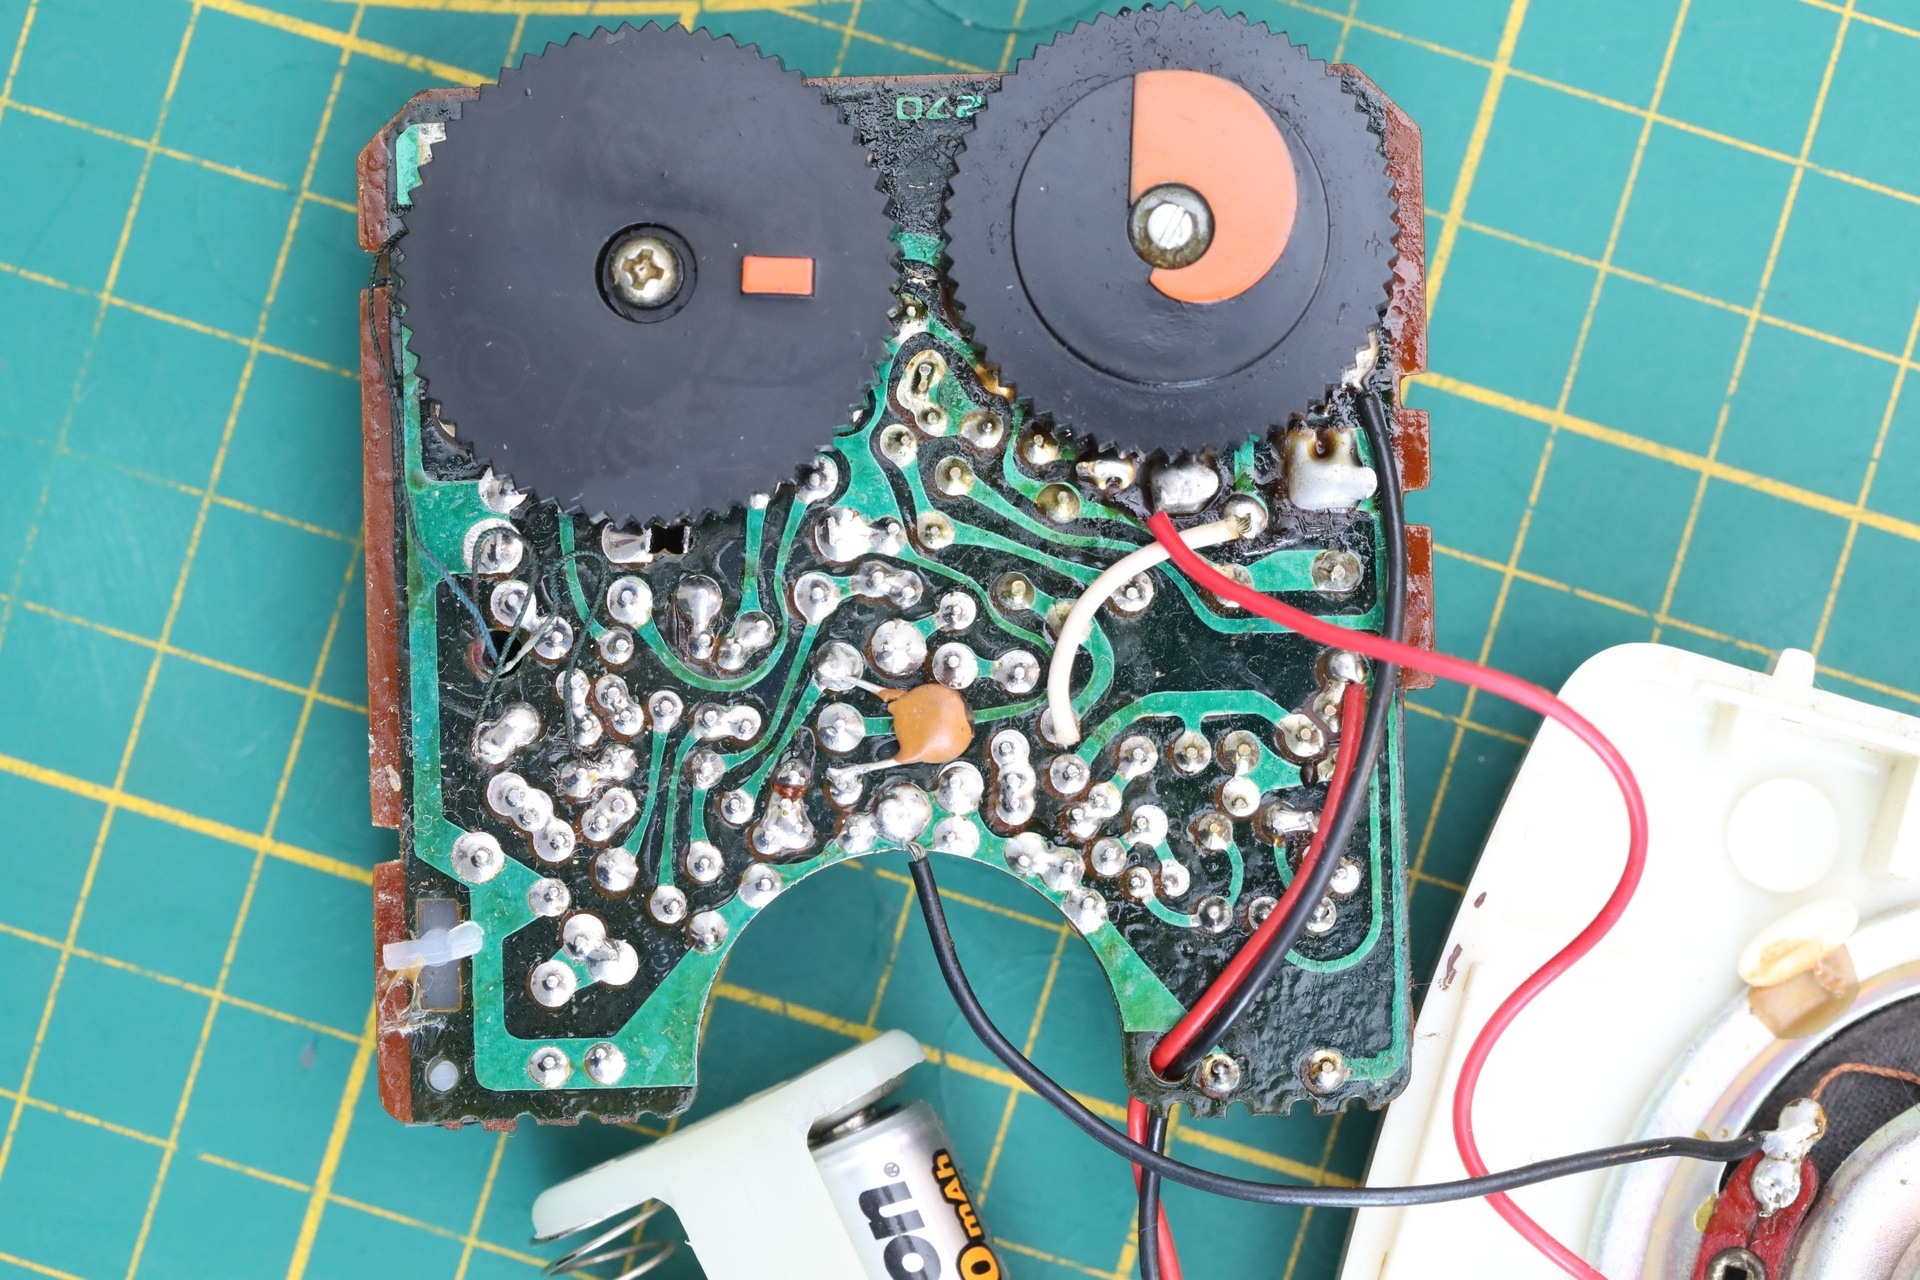
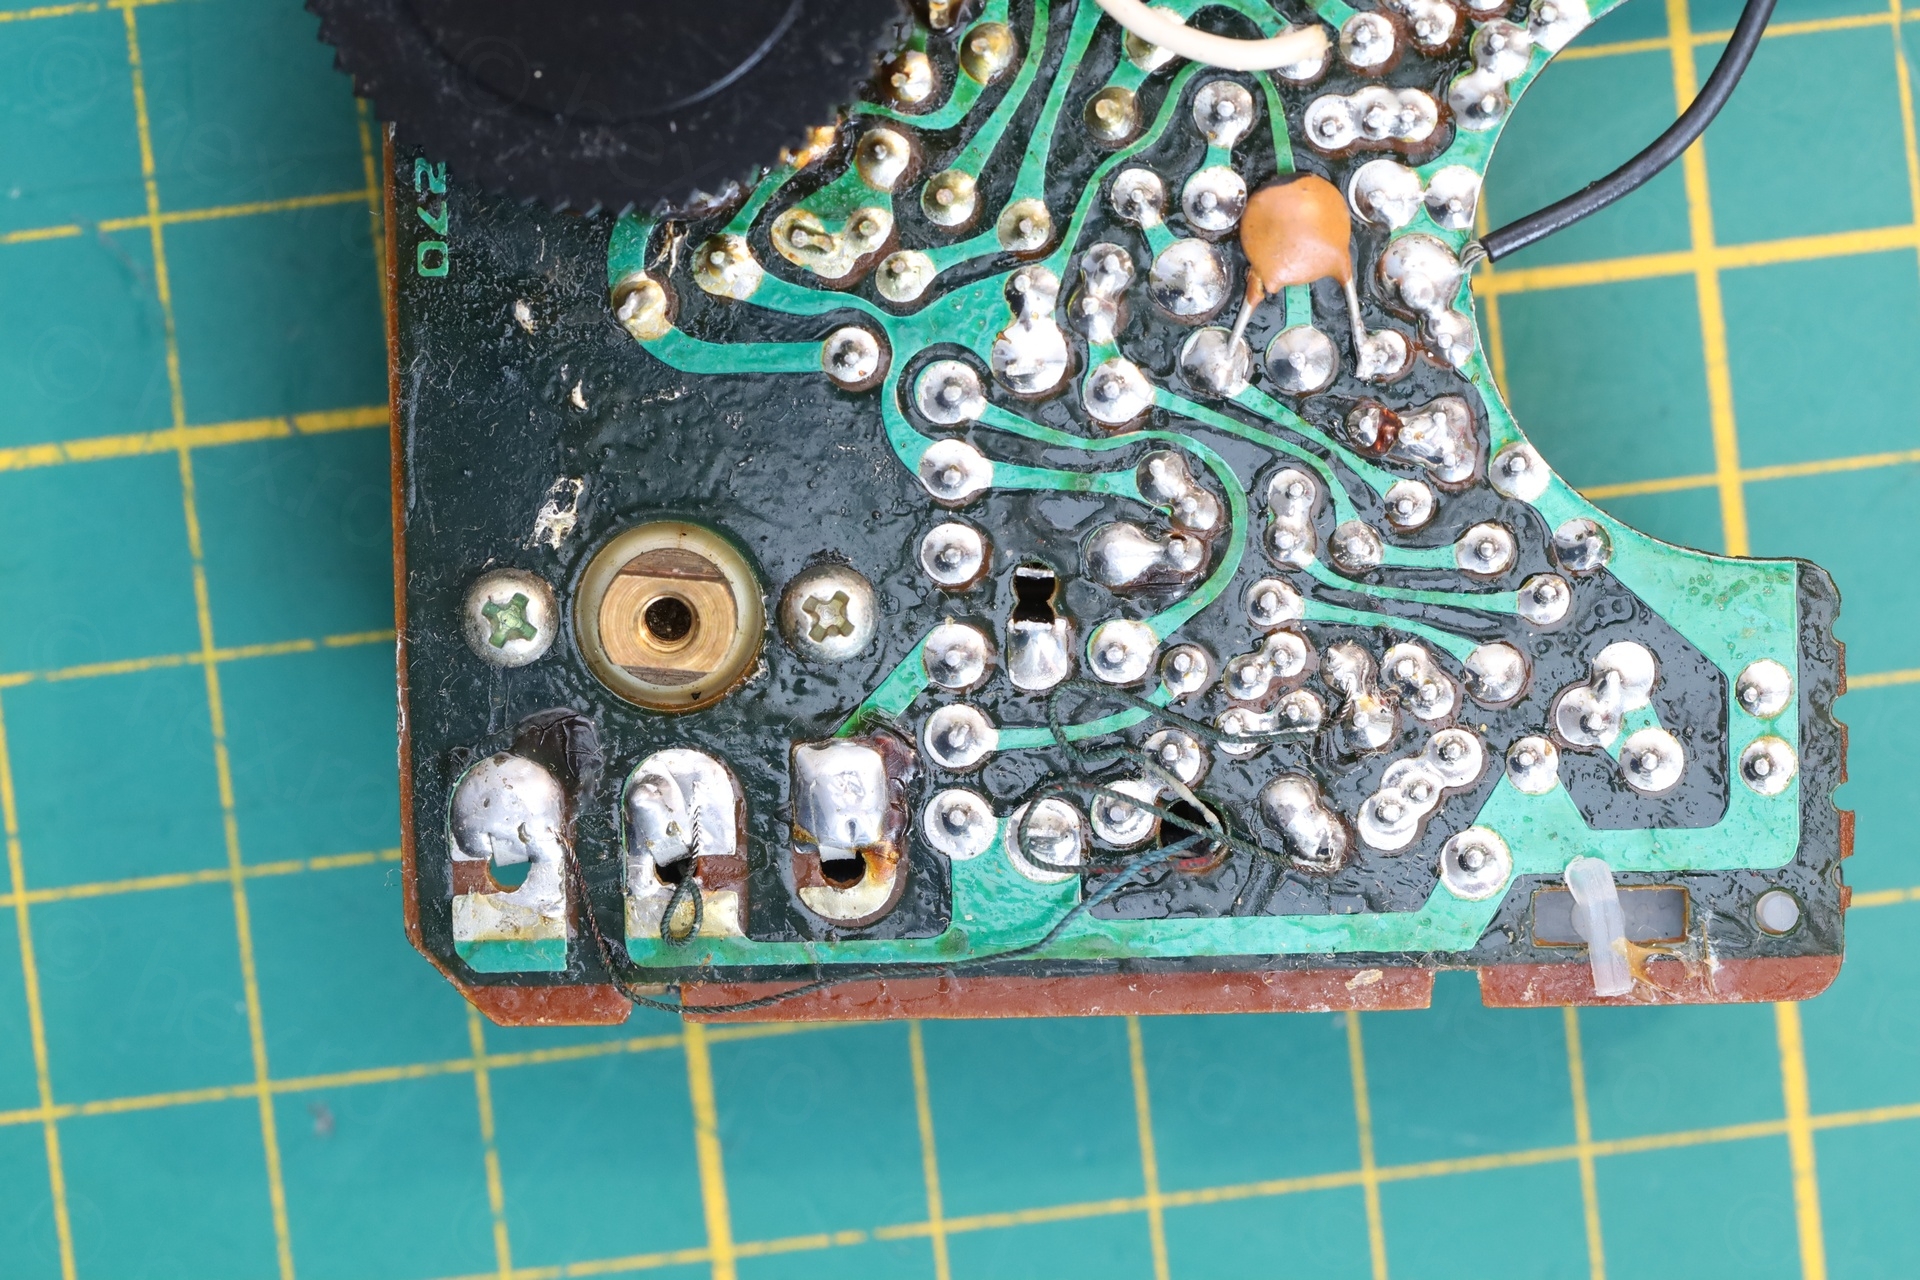
Few more photos with the insides of the radio:
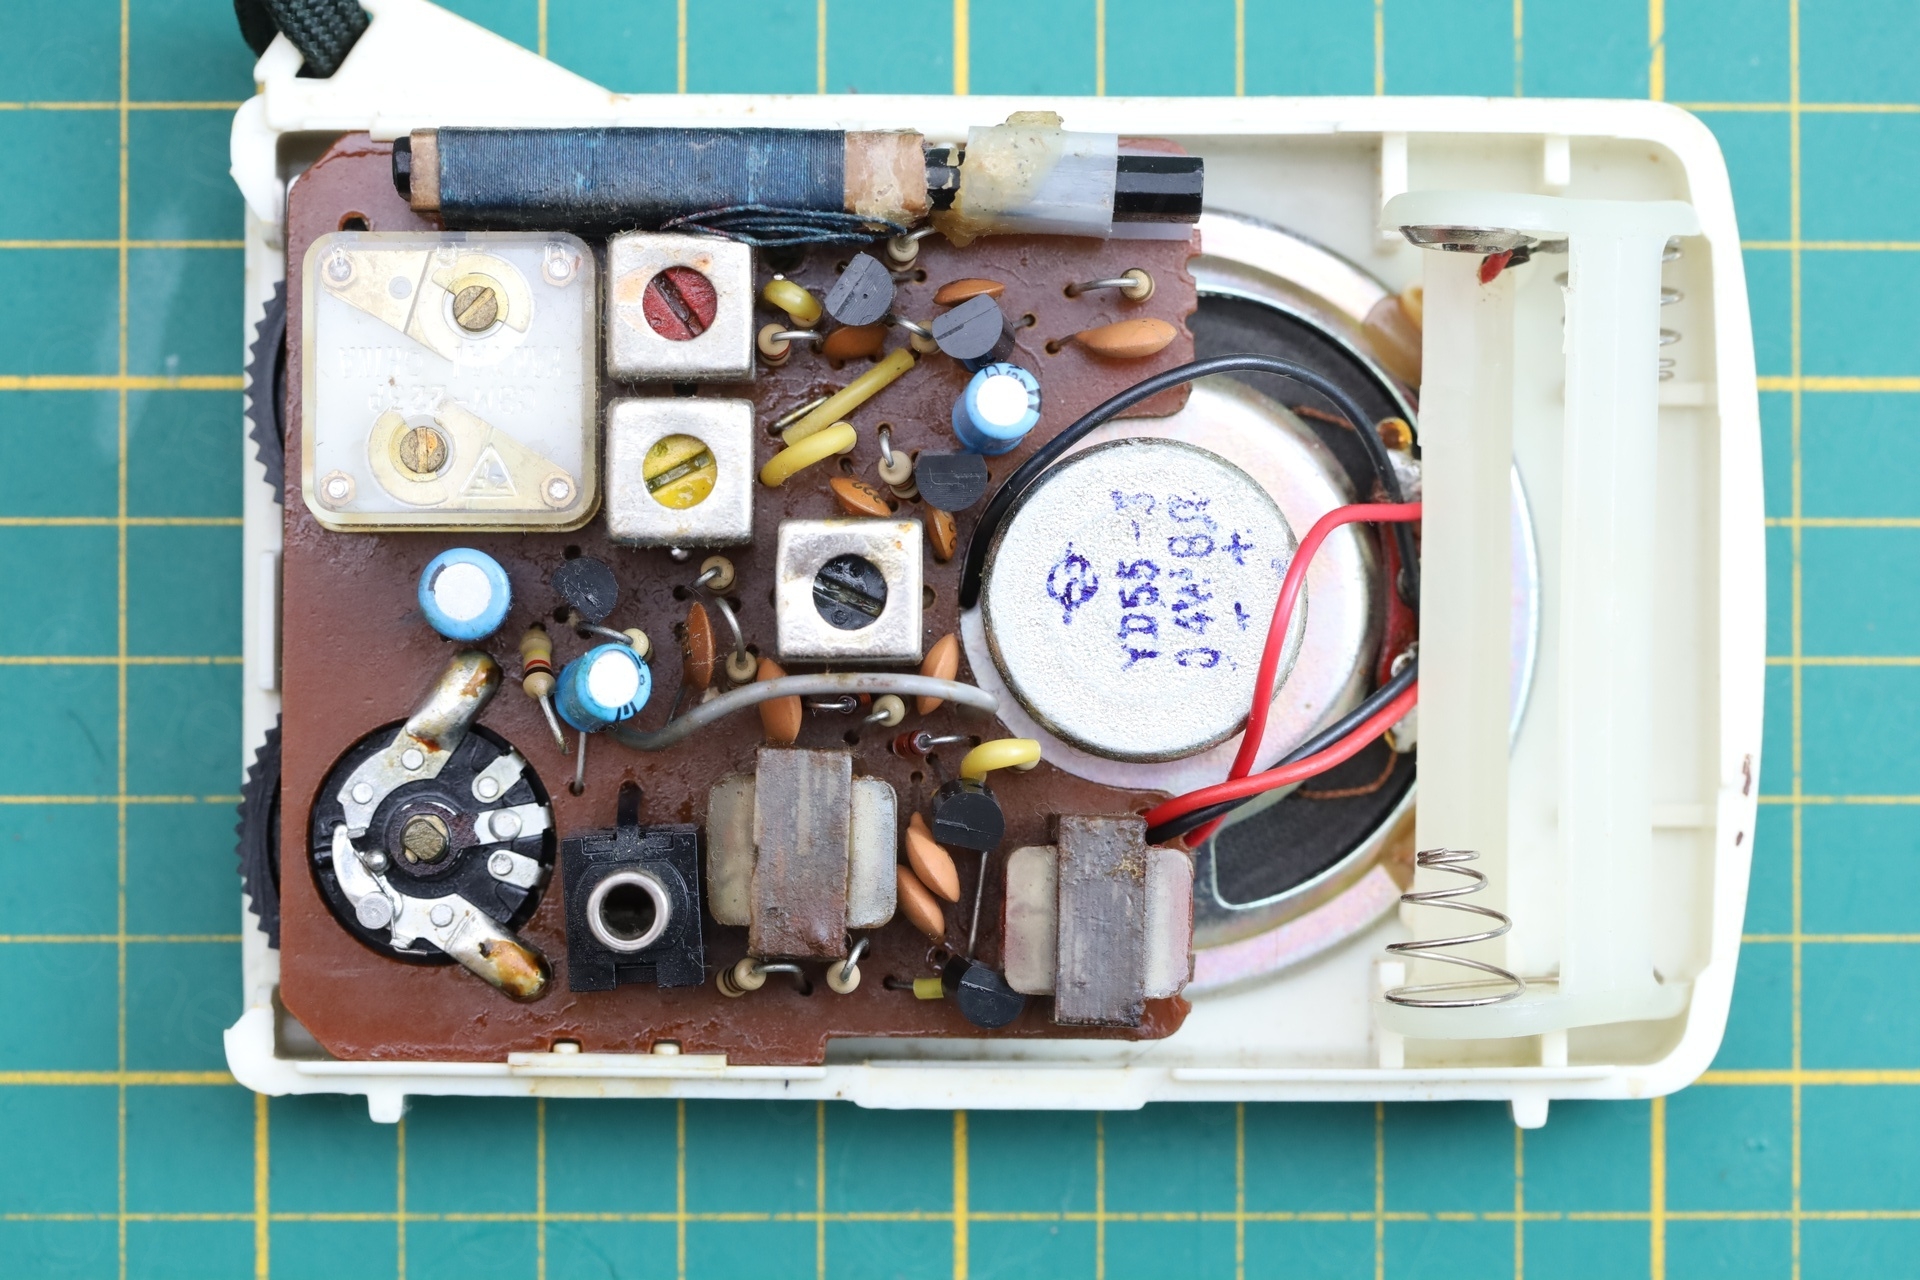

Other observations:
a) The battery holder has shrunk in time, normal AA batteries barely fit. I didn’t leave them long, as the holder was getting deformed. Thus, I used AAA batteries, more friendly on the plastic.
b) There is a bit of squealing before turning into the station and after leaving the station. I checked the ESR of the capacitors in circuit, and they still had acceptable capacitance value and ESR. I didn’t want to mess with it any longer.
I cleaned it and will keep it as is:
Mike M
Nicely done !! Now it looks like new (again)…
I have similar issue with my old Degen DE13 emergency radio.
Thank you for your advise !!
Mike M.