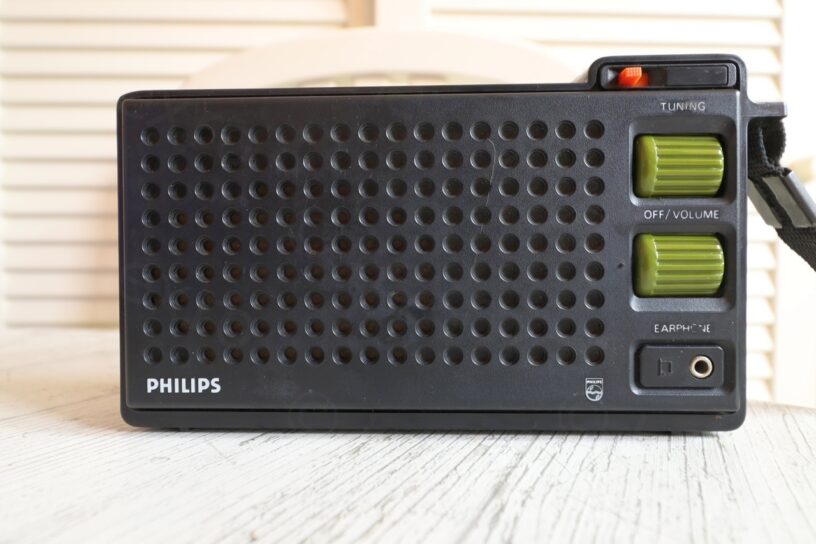


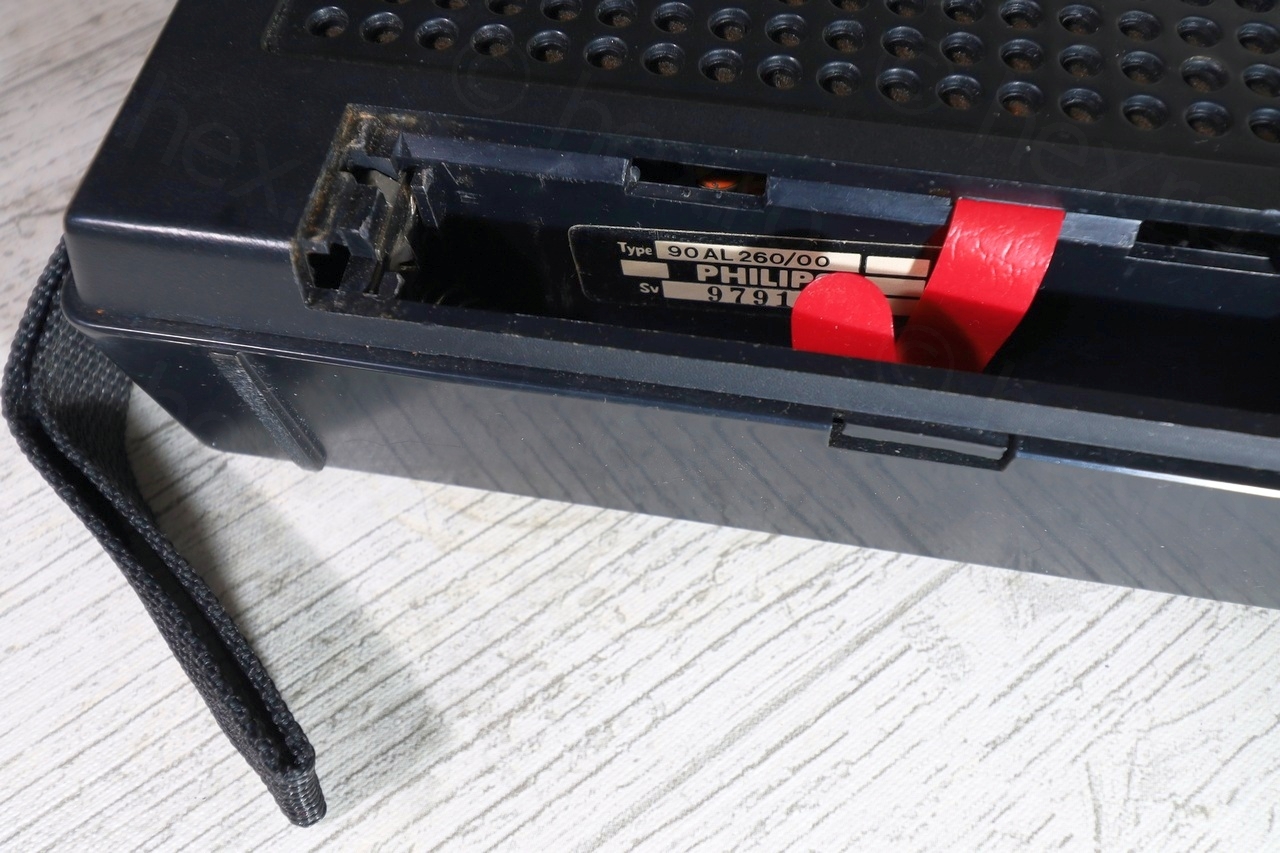
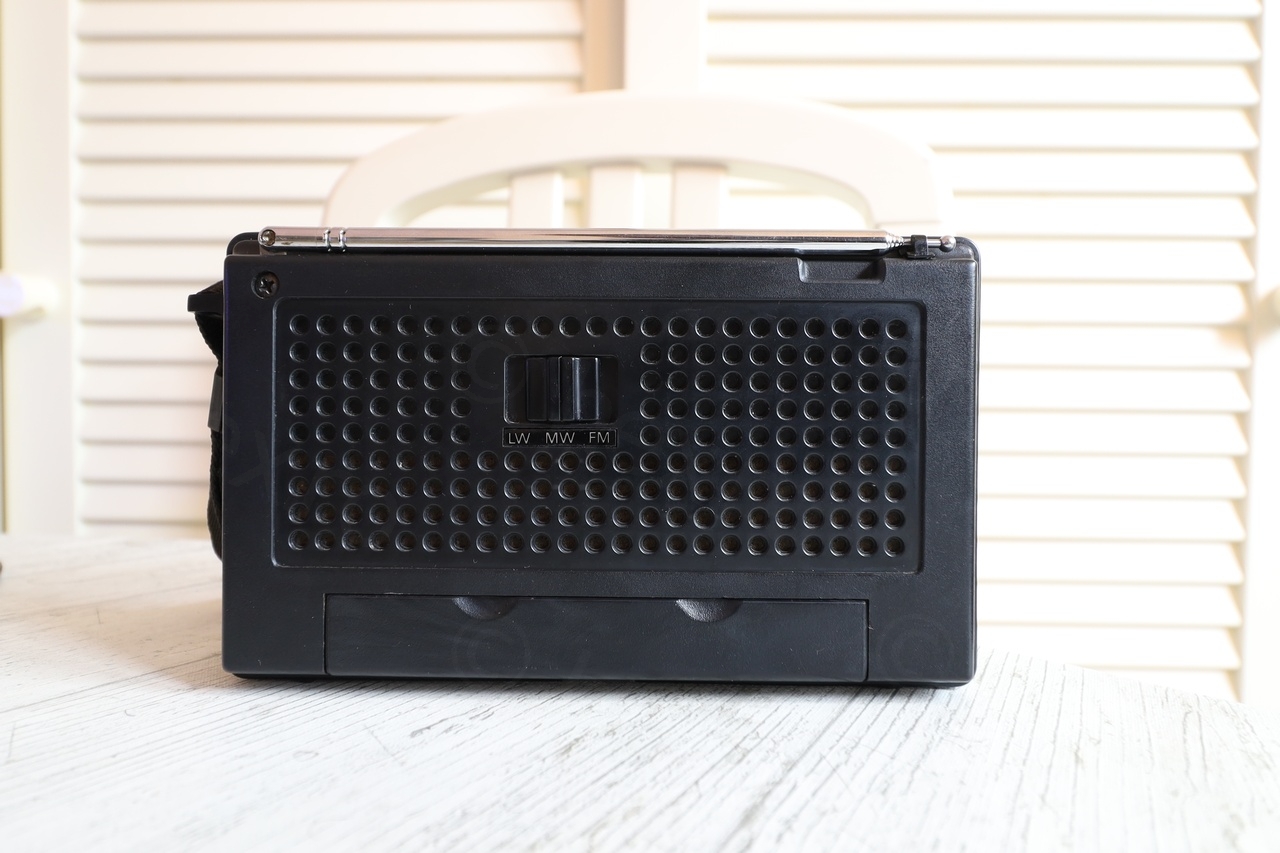
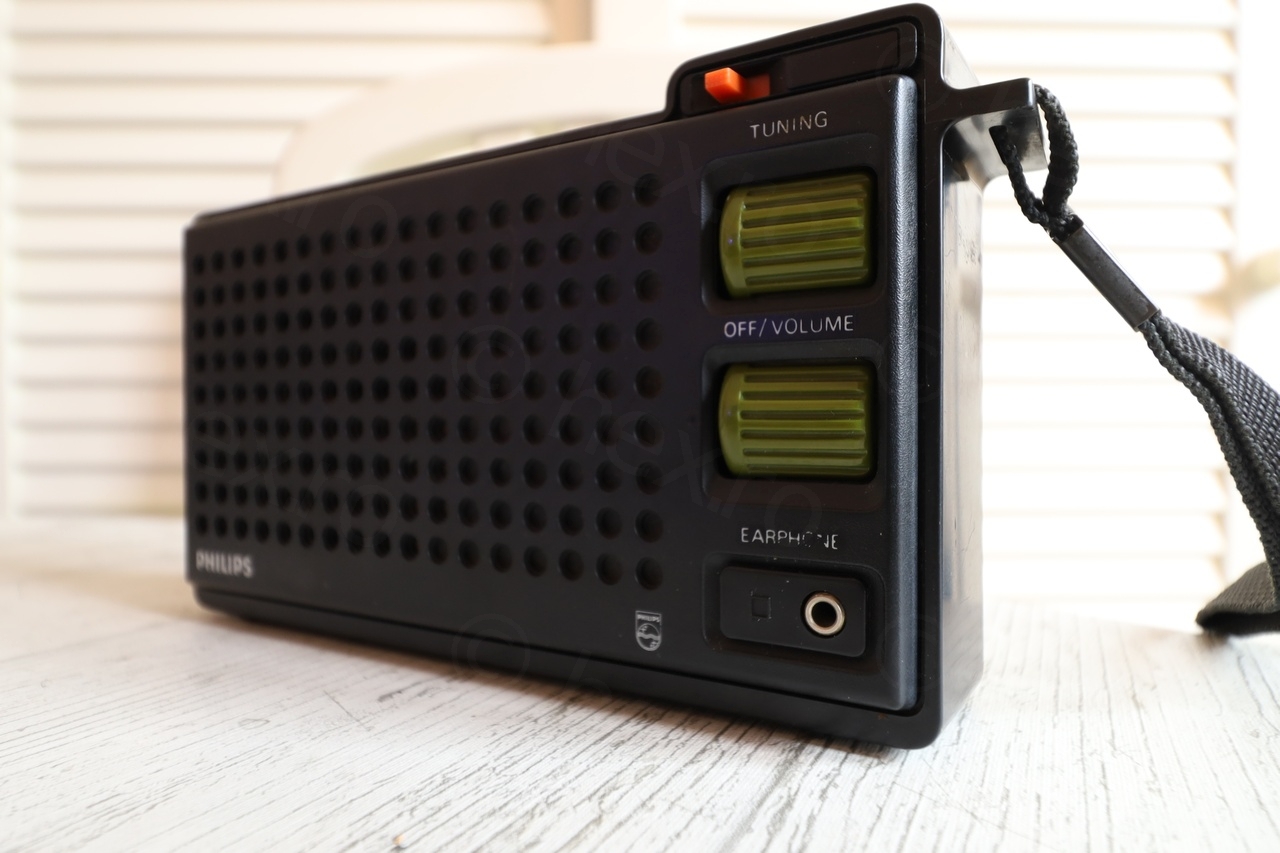
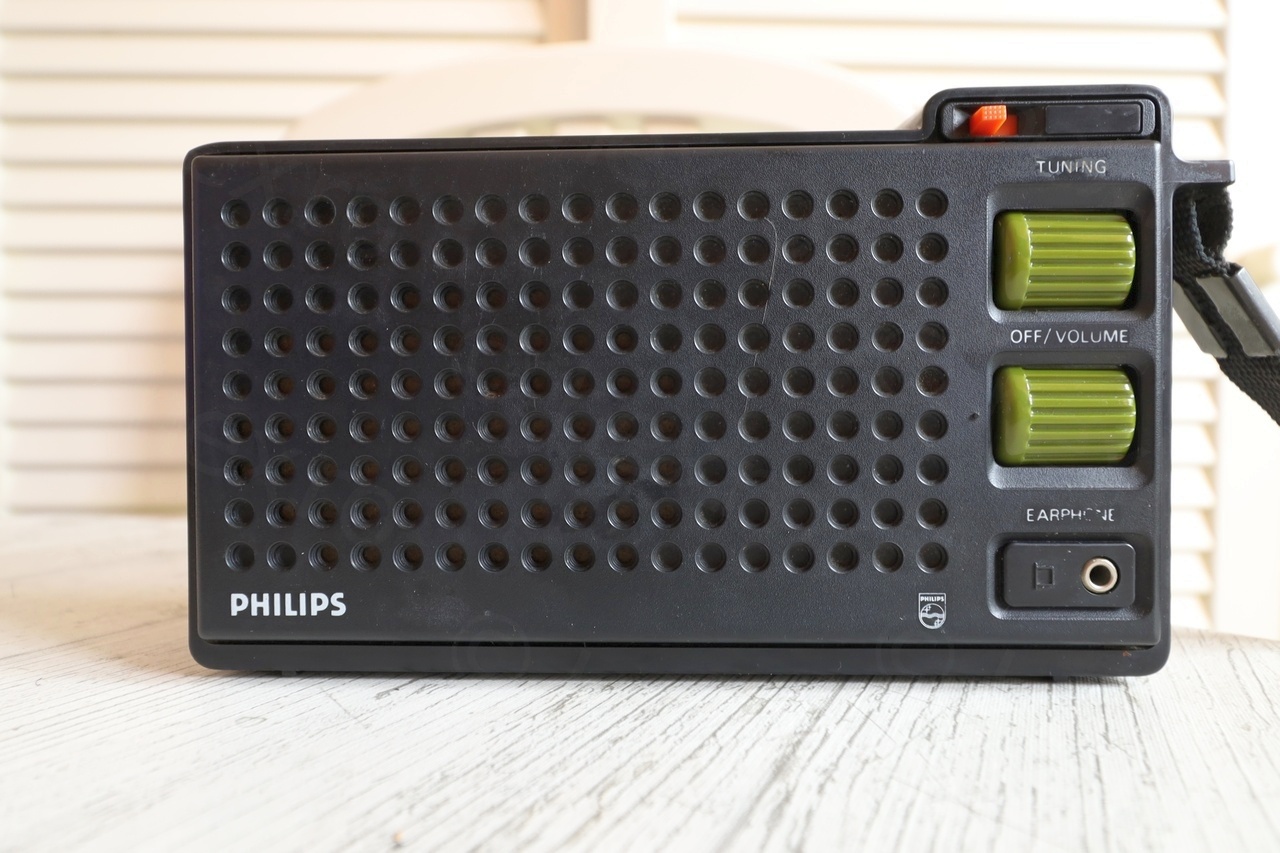
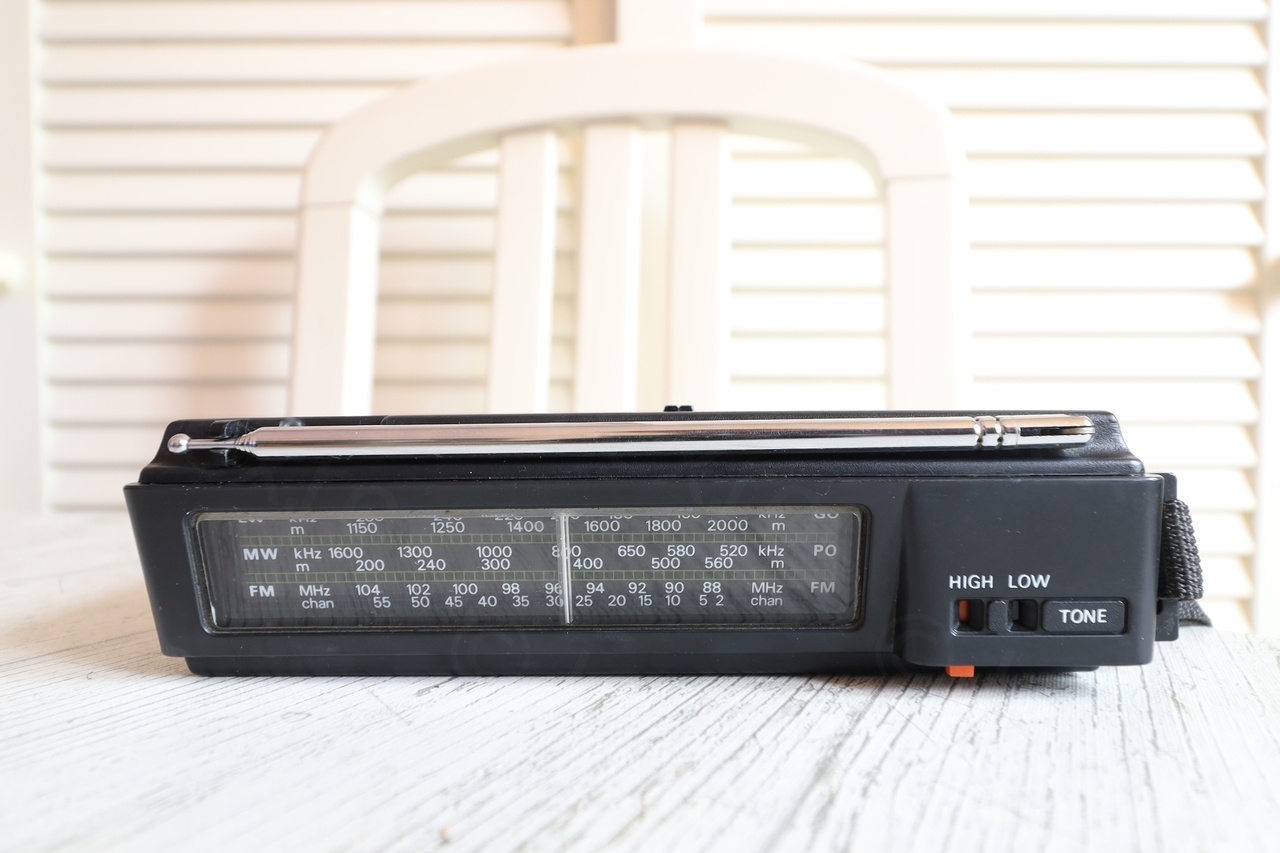
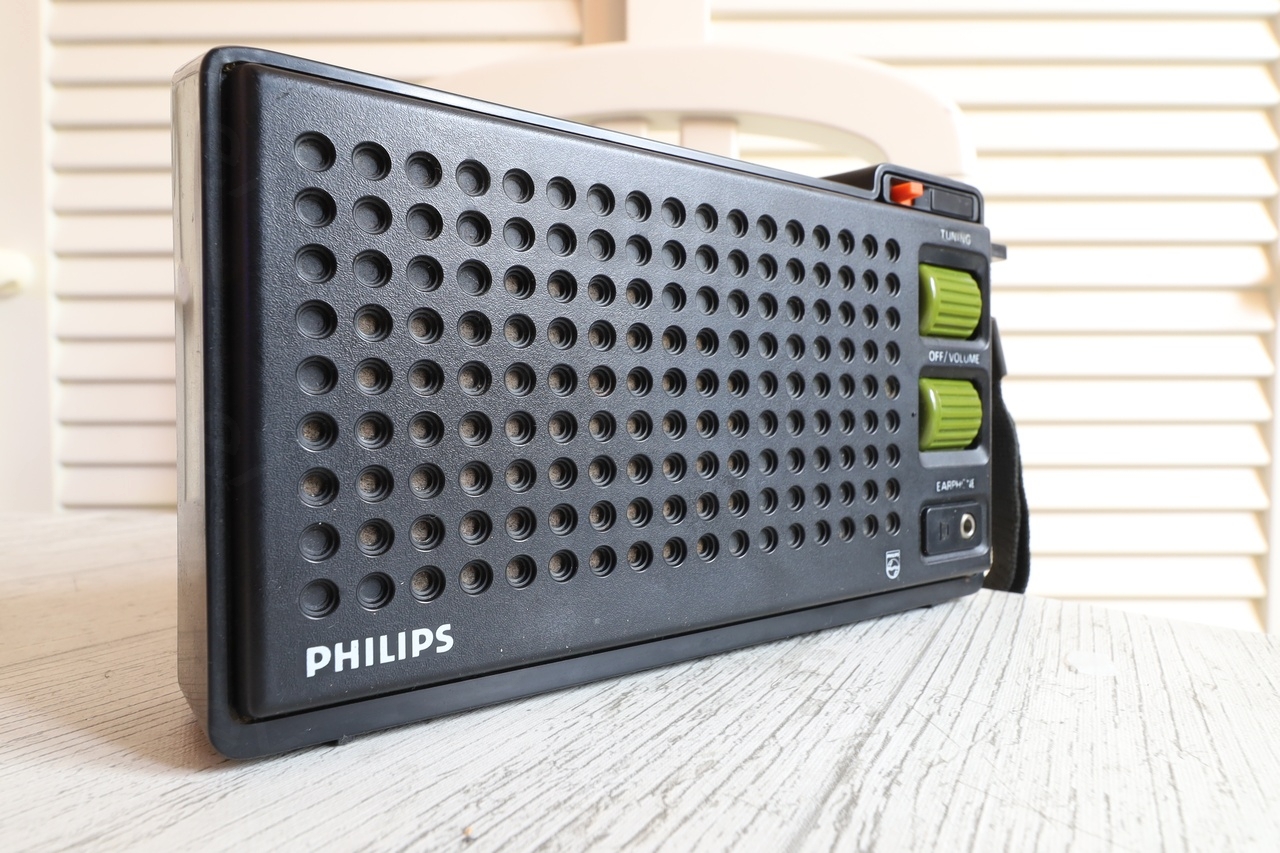
This was another find at a local flea market, a nice looking Philips 260 Radio (90AL260/00). Except being dirty it had all the buttons intact, the battery cover present and the telescoping antenna seemed original and its retainer was not cracked.
Presentation


I popped 4 AA batteries inside and tested it (video muted by default to avoid surprises due to loud popping sounds):
As you can see, there were problems: FM reception seemed good but with large popping sounds when tuning into a station. The MW/LW reception was missing and a very faint hiss is heard with Volume set to maximum.
This behavior was very similar to the previous Philips 380 Radio I restored, thus, I decided to open this one up and have a look.
Opening up
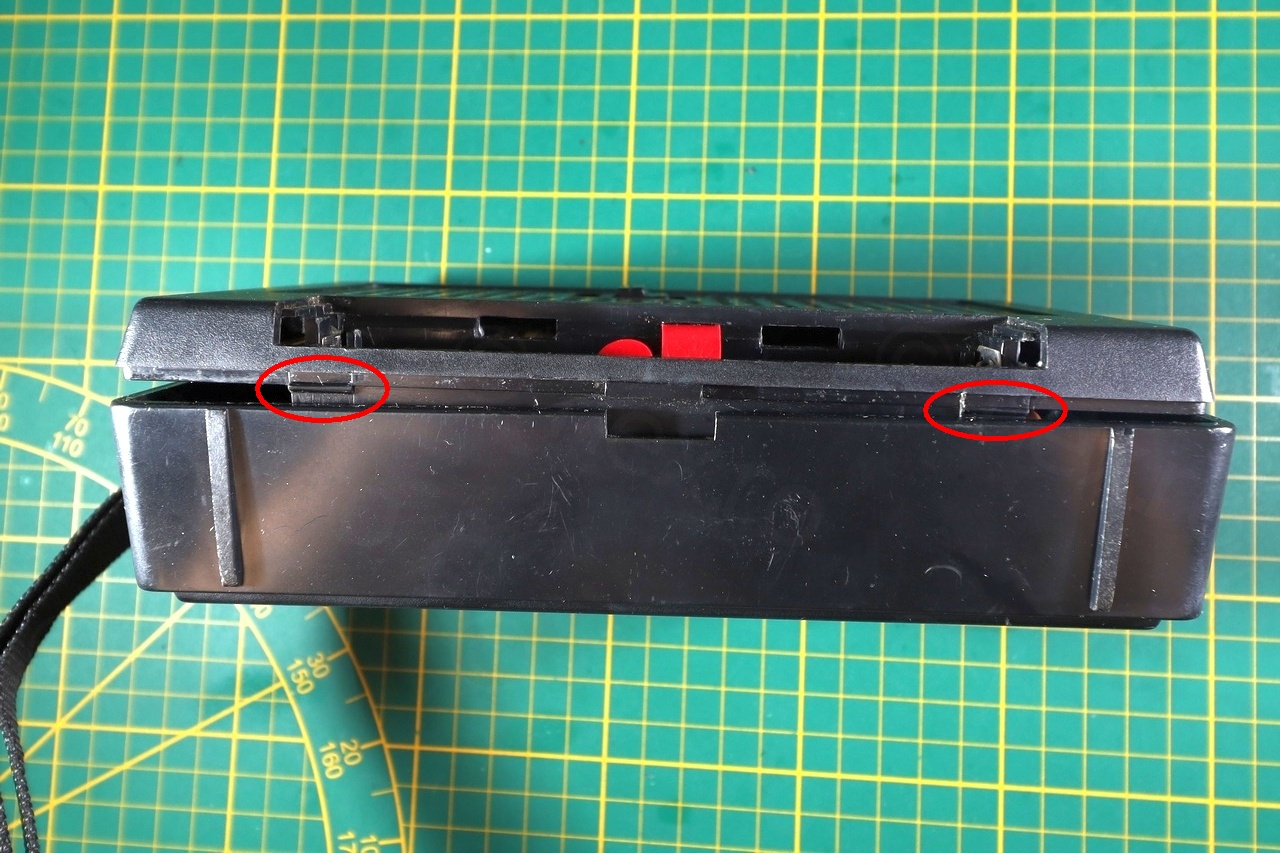
There is a single screw holding the case together and is located in the battery compartment area. The other screw in the top corner just holds the antenna. Using a plastic spudger I carefully worked around the seam, paying attention to try to lift it vertically. There are 6 retainer clips in total, I have highlighted them below:

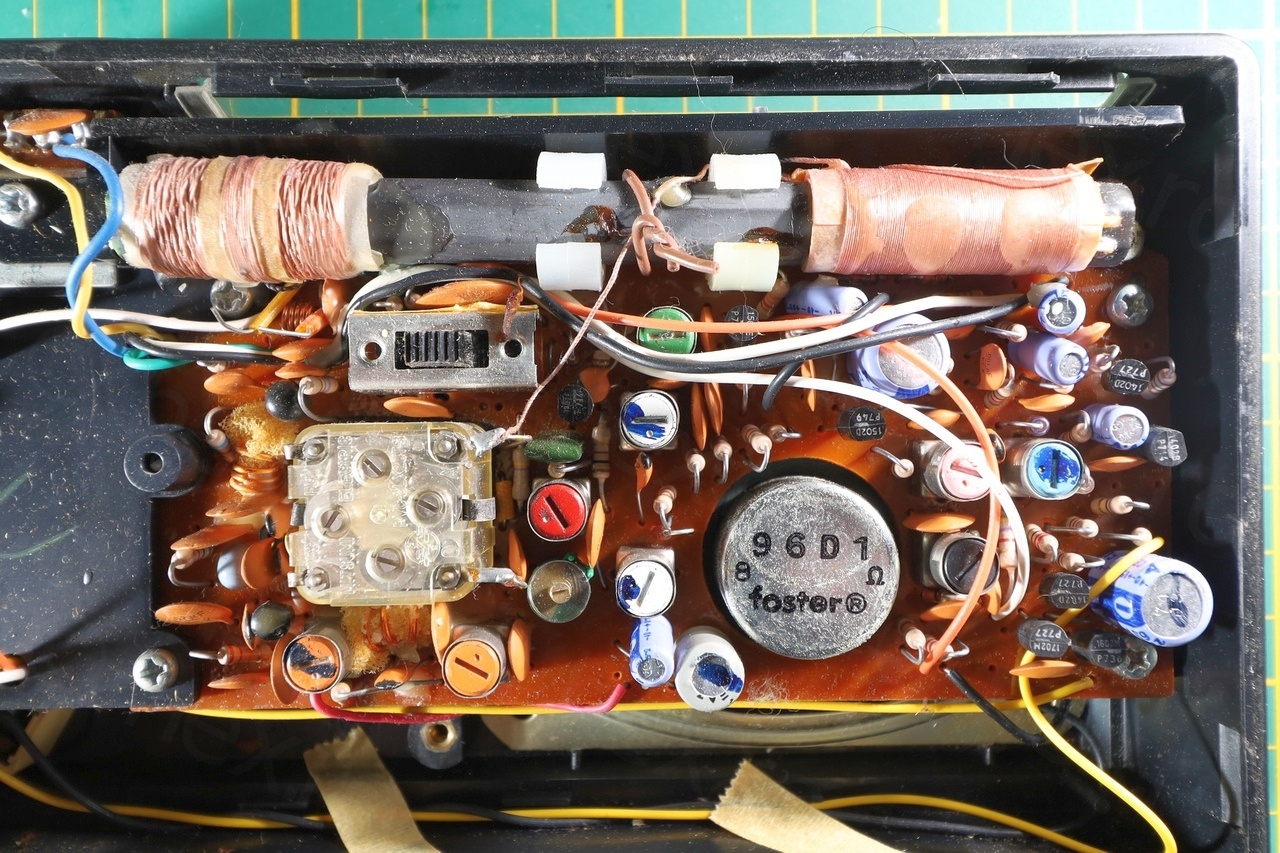
Inside there was a clean circuit board:


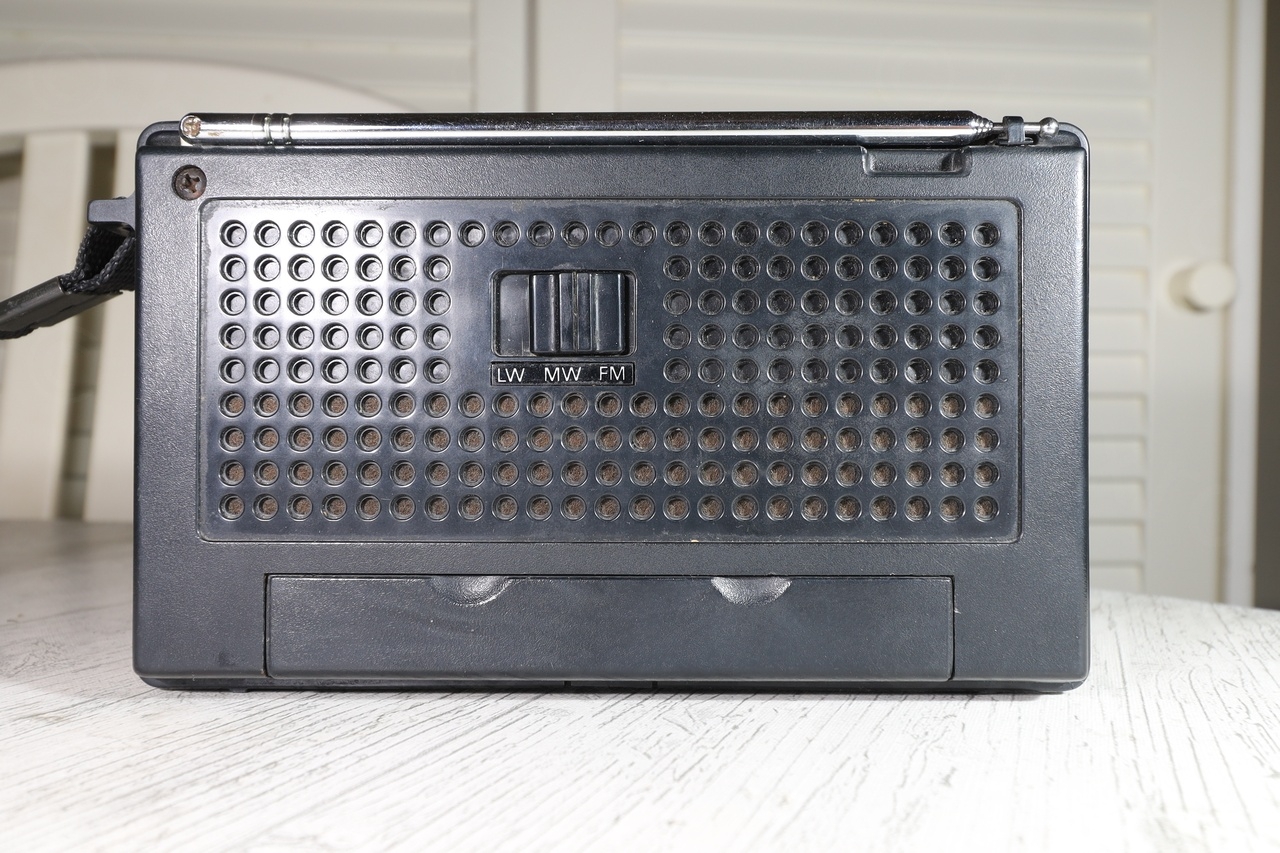
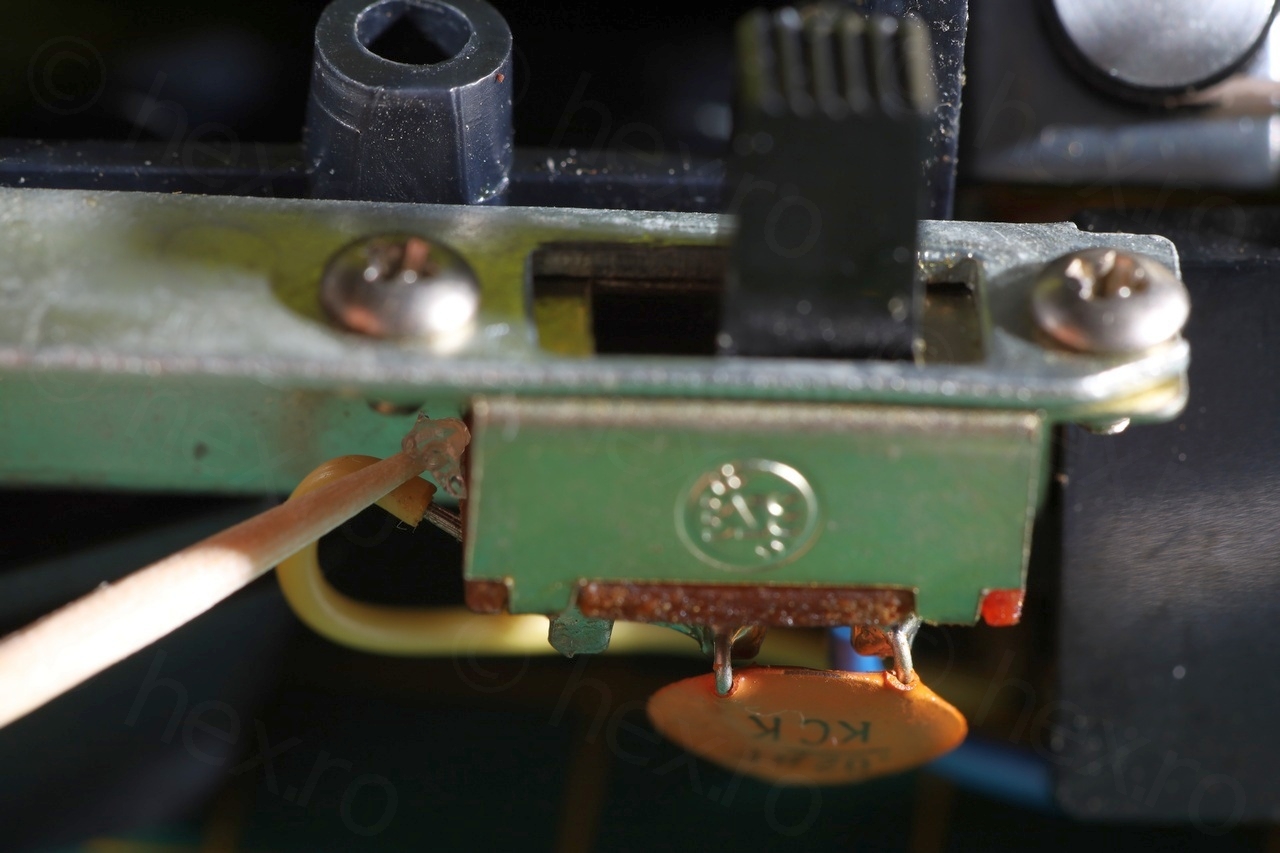
Straight away I decided to fiddle with the band switch. The switch has 3 positions but there could have been some ‘in between’ spots where reception could work – which is a indicator for switch oxidation:
Trying to have a look at the band switch …
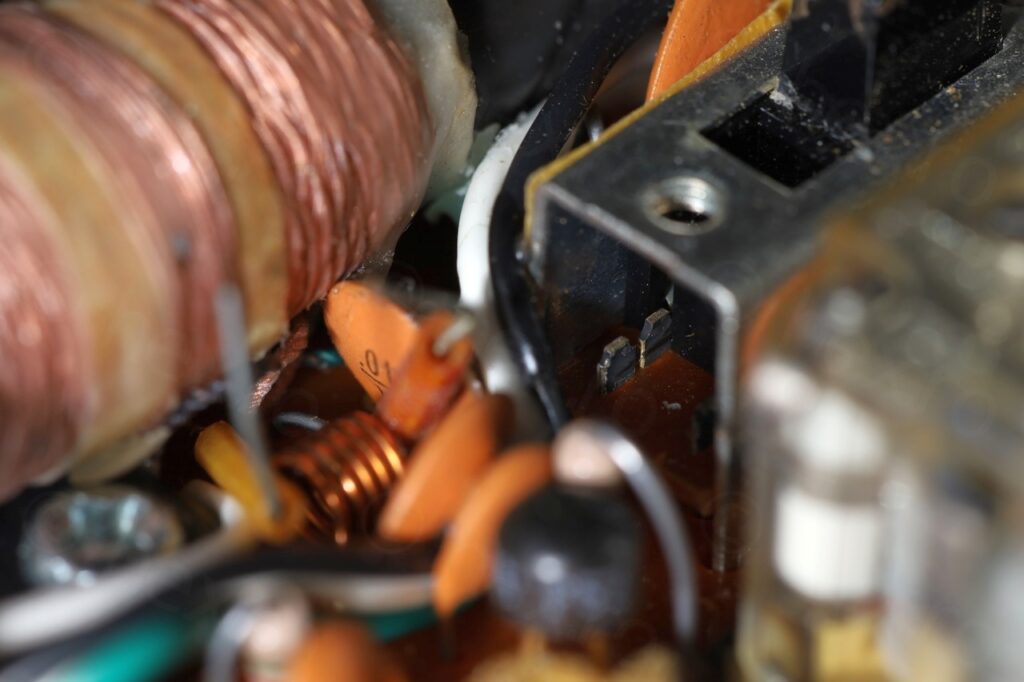
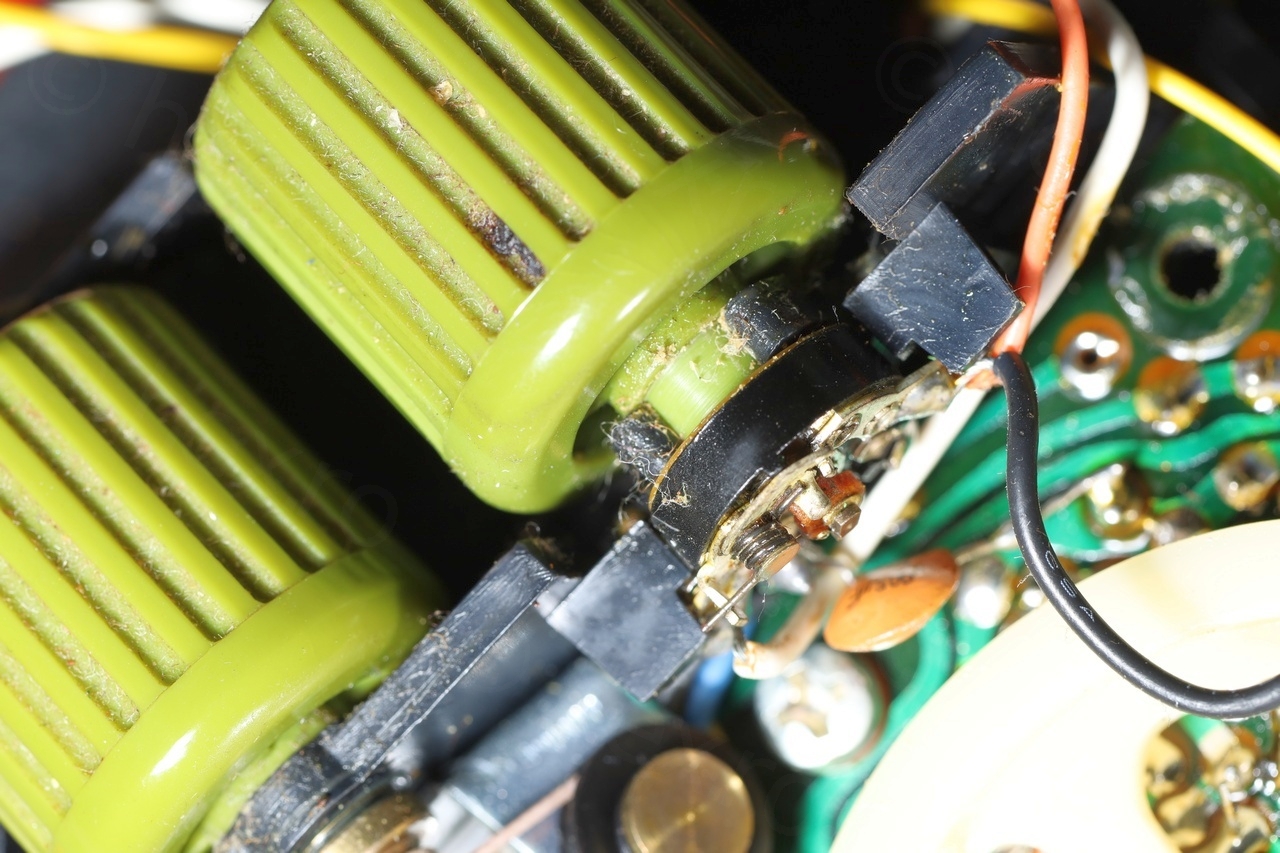
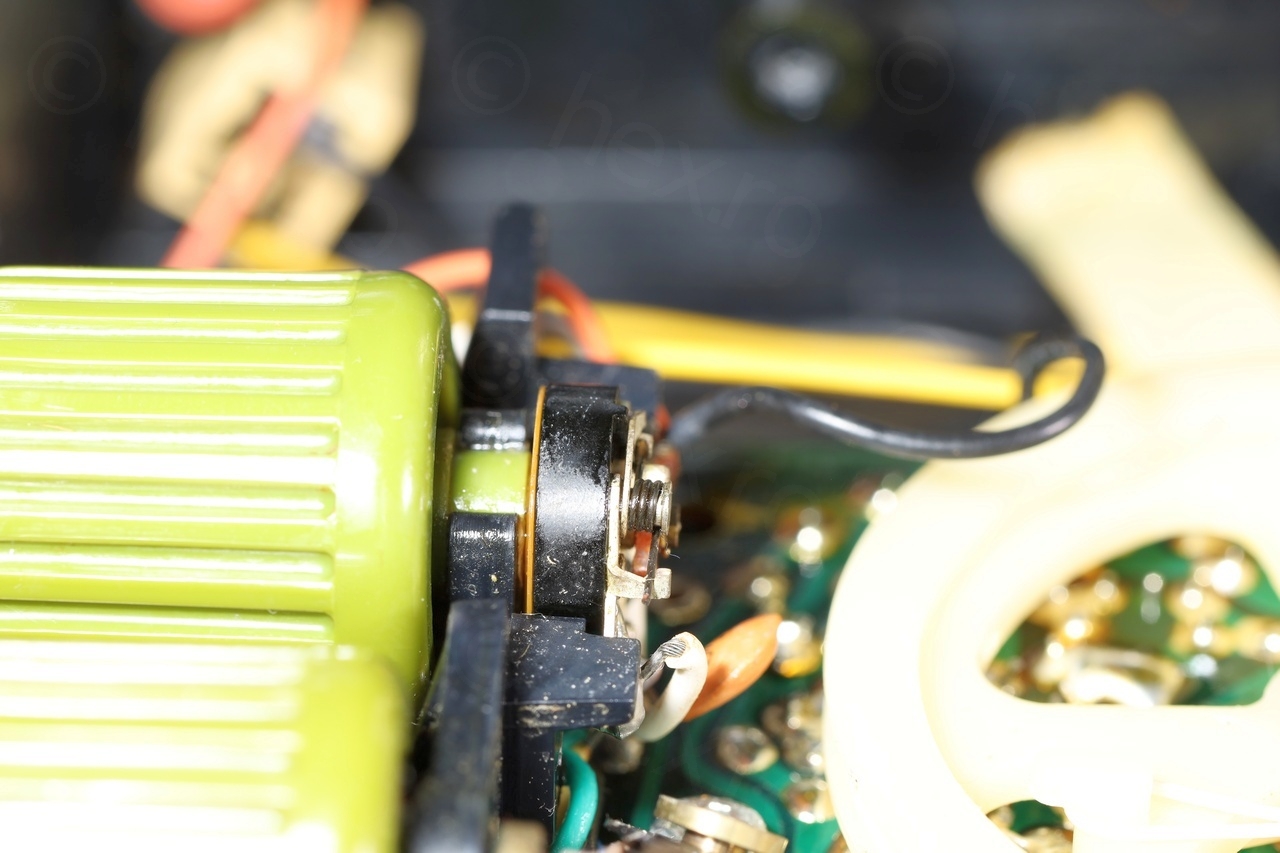
… revealed black oxidation buildup. However, I could not desolder it as its the pins were under the white tuning wheel:
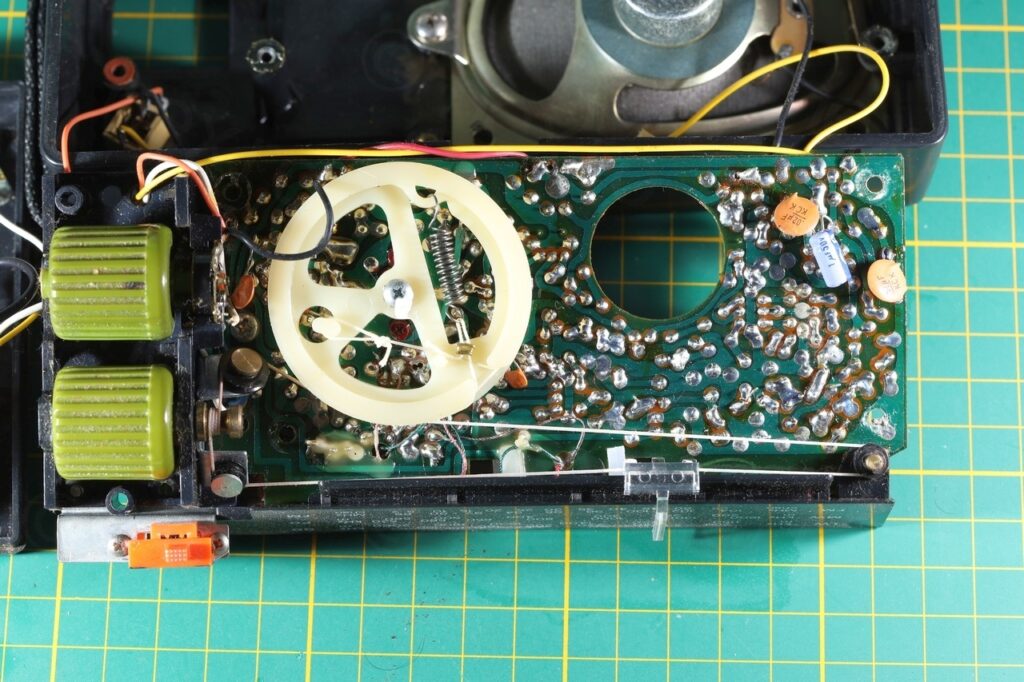
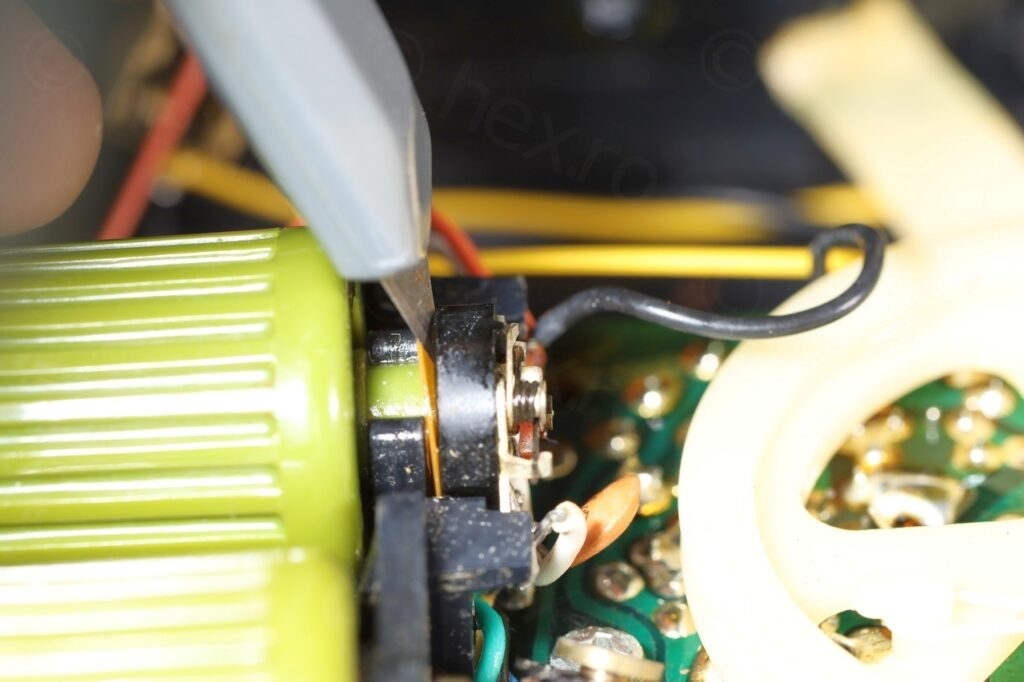
Re-threading the tuning string is tedious, thus there was nothing to lose by cleaning “in situ”. I first used Isopropyl Alcohol to clean the dirt, then switched to contact cleaner – all this while moving the band switch a lot. Drawback is that sliding movement becomes very difficult as dust / grease is washed away. Applying silicone grease did not help much though.
Using sewing machine oil was tempting, but I first had to make sure that it is not conductive:
I do not know if this specific oil breaks down in future and become conductive – but at least I postponed the moment when the switch needs to be physically taken off to be properly cleaned / serviced. It worked perfectly and now to motion is very smooth.
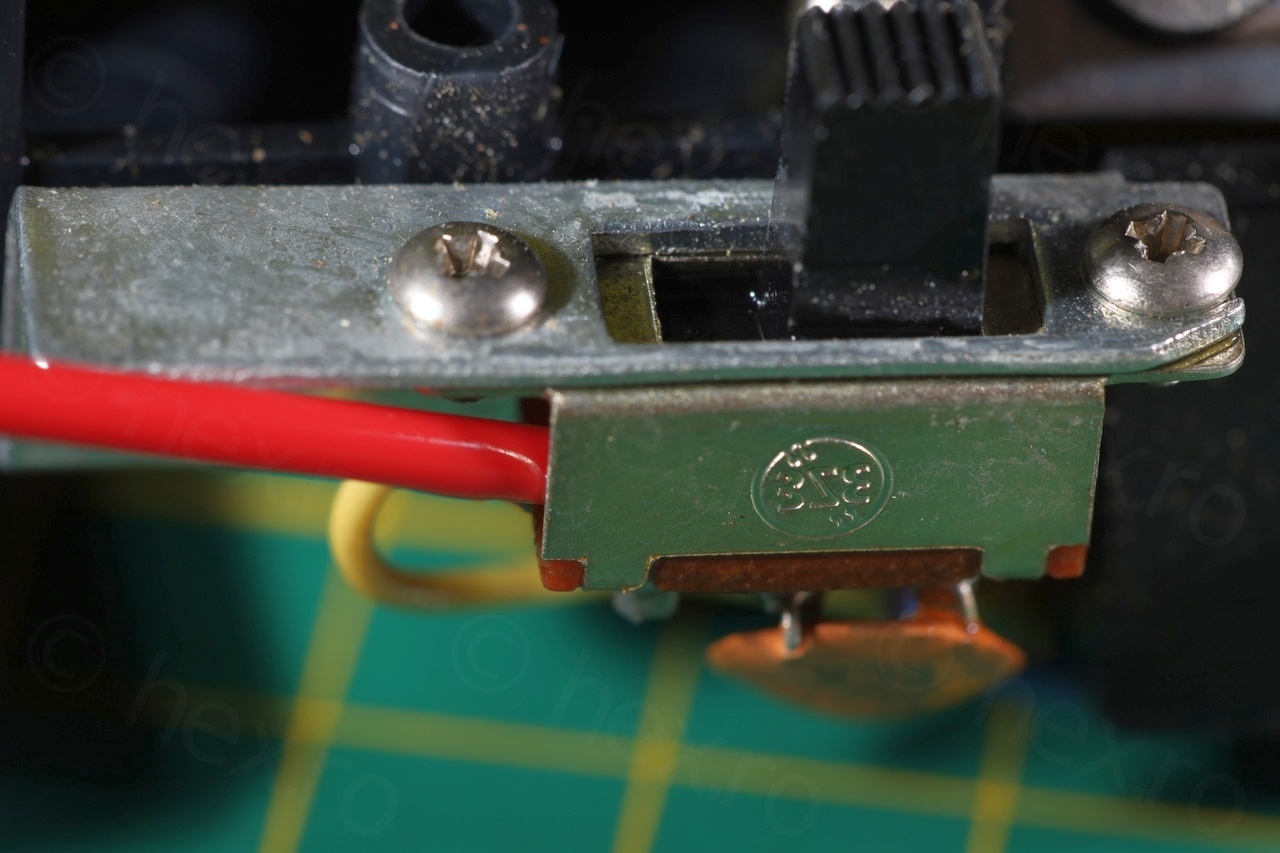
The extremities of the sliding switch (FM and LW) make perfect contact – as the switch pins are exposed on the sides and I could clean them with a q-tip. However, the AM band pins are in the center of the button covered by the plastic knob and impossible to reach physically. Thus there is still a chance that sliding to AM (center position) is prone to glitches – but a gentle wiggle makes it work.
The Tone switch was easier to clean / grease, as it is exposed:
Volume pot
Volume pot was dirty and first I had to clean it up:
Then prying off the seal /c over with an cutter blade I made room to spray contact cleaner inside:
The potentiometer on this radio behaved sanely – at minimum, the volume very low and gradually increased as pot was rotated. Trying to build up an intuition for other radios I may fix in the future, I put the meter on it to see how a good volume pot behaves. Mind you, this is to compare with the pot of the Philips 380 radio. This one reads 5-6Ω with Volume is On at Minimum – almost bringing the input signal to ground and silencing the output which is correct. The highest it reads is almost 18kΩ (schematics asks for 20kΩ potentiometer):
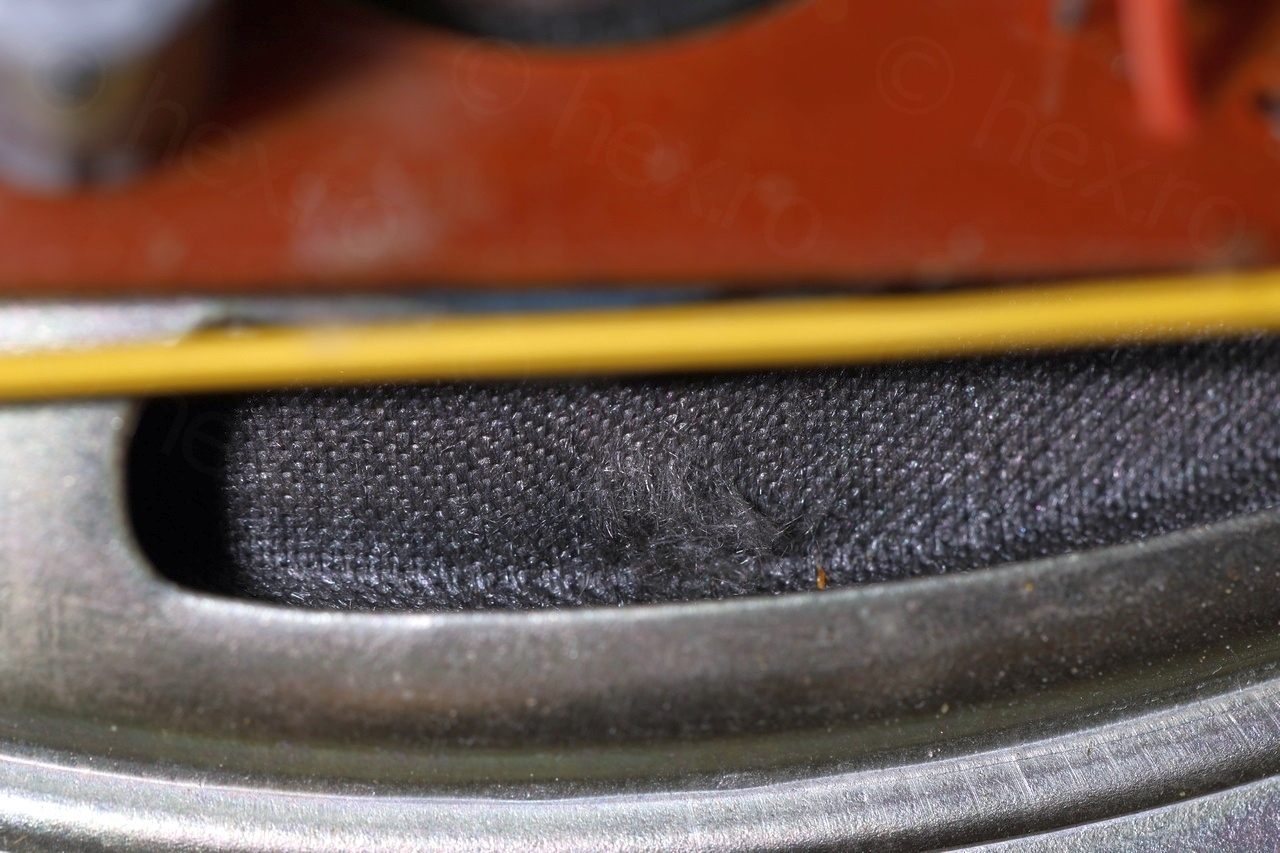
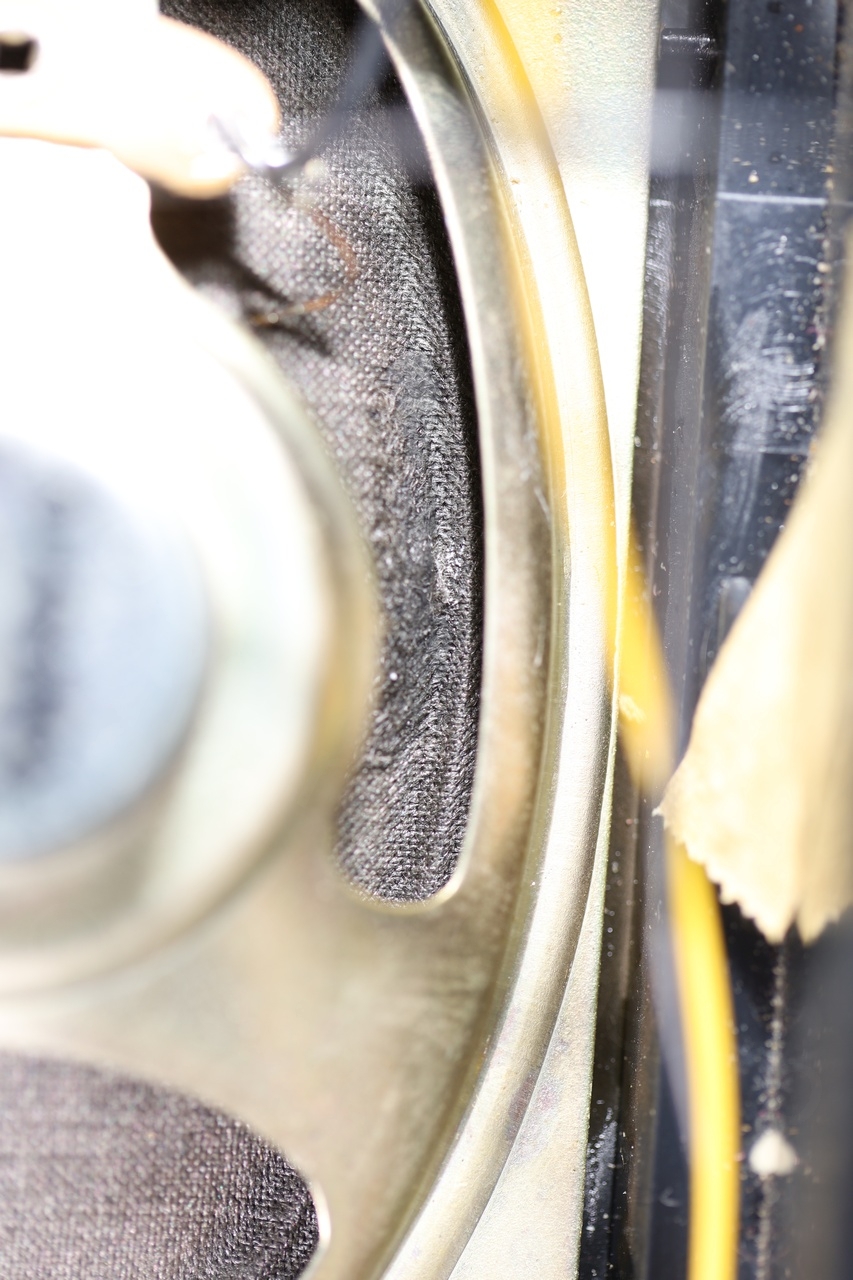
Fixing the tear in the speaker cone
After taking the radio apart, I noticed a suspicious tear in the cone of the speaker. I figured maybe the previous owner may have caused it, but two things stood out: 1) the dust preventing cloth covering the was intact:
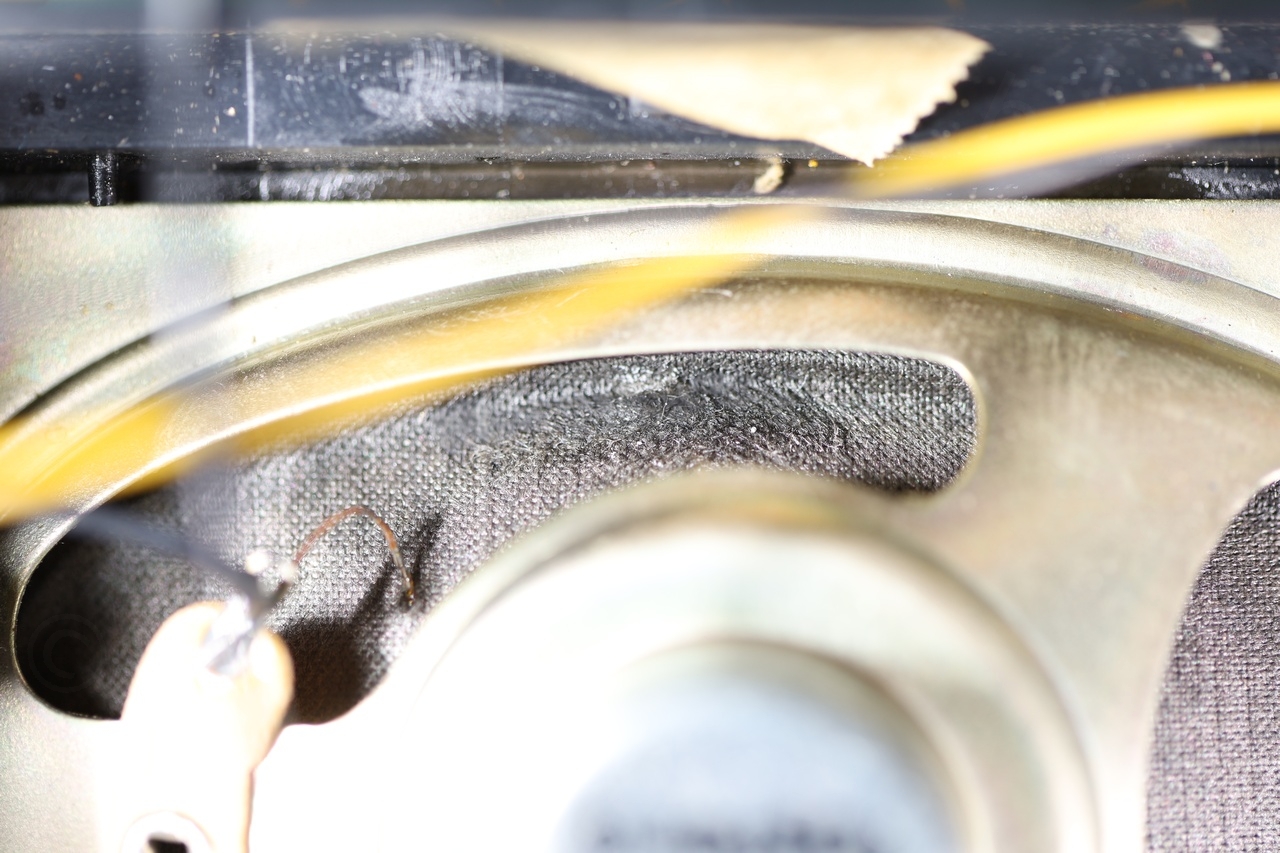
2) there is no direction to the tear, the material on both sides of the code is fluffed up, but larger on the back side.

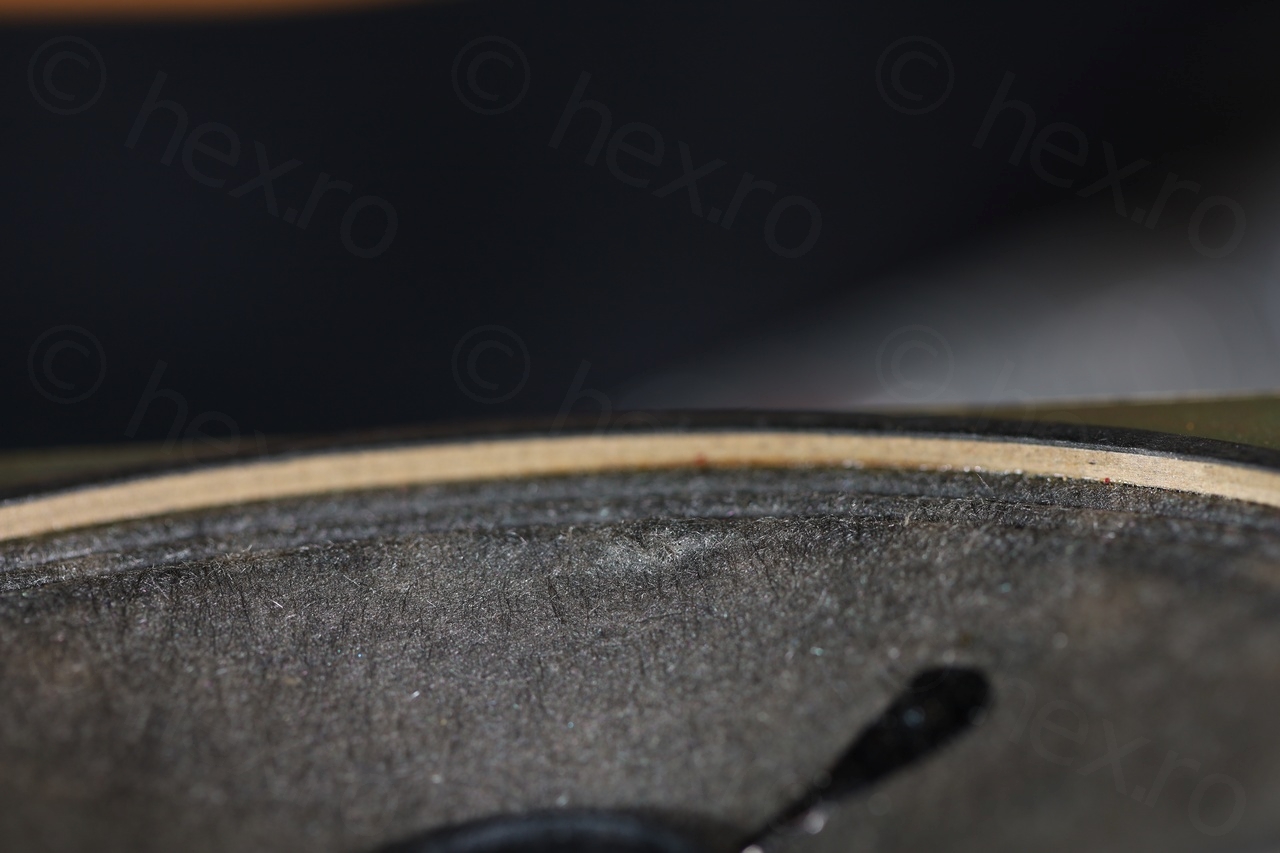
Not an expert in speaker cones or in accident investigations, the most plausible conclusion is that the cone started to tear itself up due to old age. And maybe vibrations due to the loud cracking sounds ? The speaker itself is very rigid, feels like it has no travel distance at all.
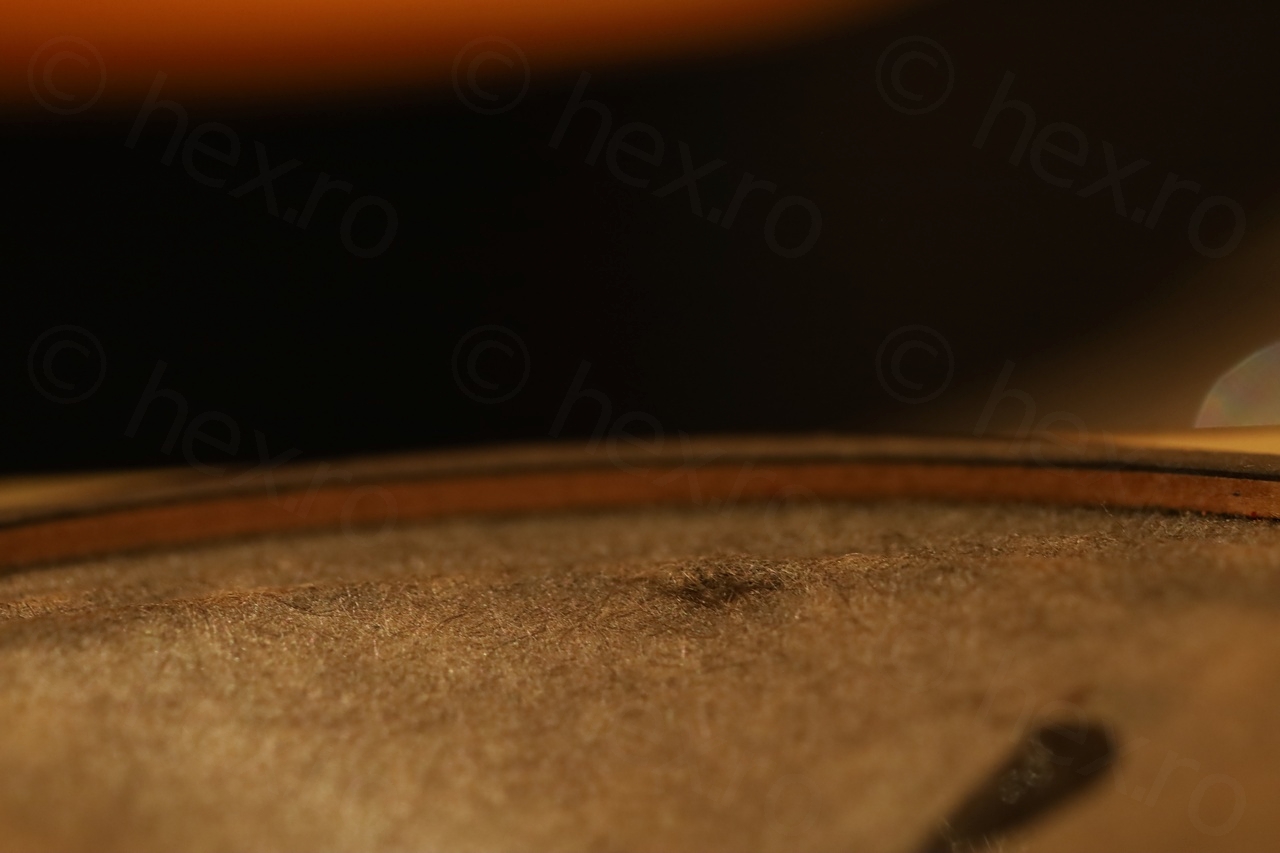
I do not have any special flexible glue for speakers, thus I decided to use Pattex Ultra gel 3g which is said to remain flexible and withstand vibration and torsion. I applied a tiny bit which I spread (being gel helps, as it doesn’t soak up immediately) using a q-tip and left it overnight to harden:
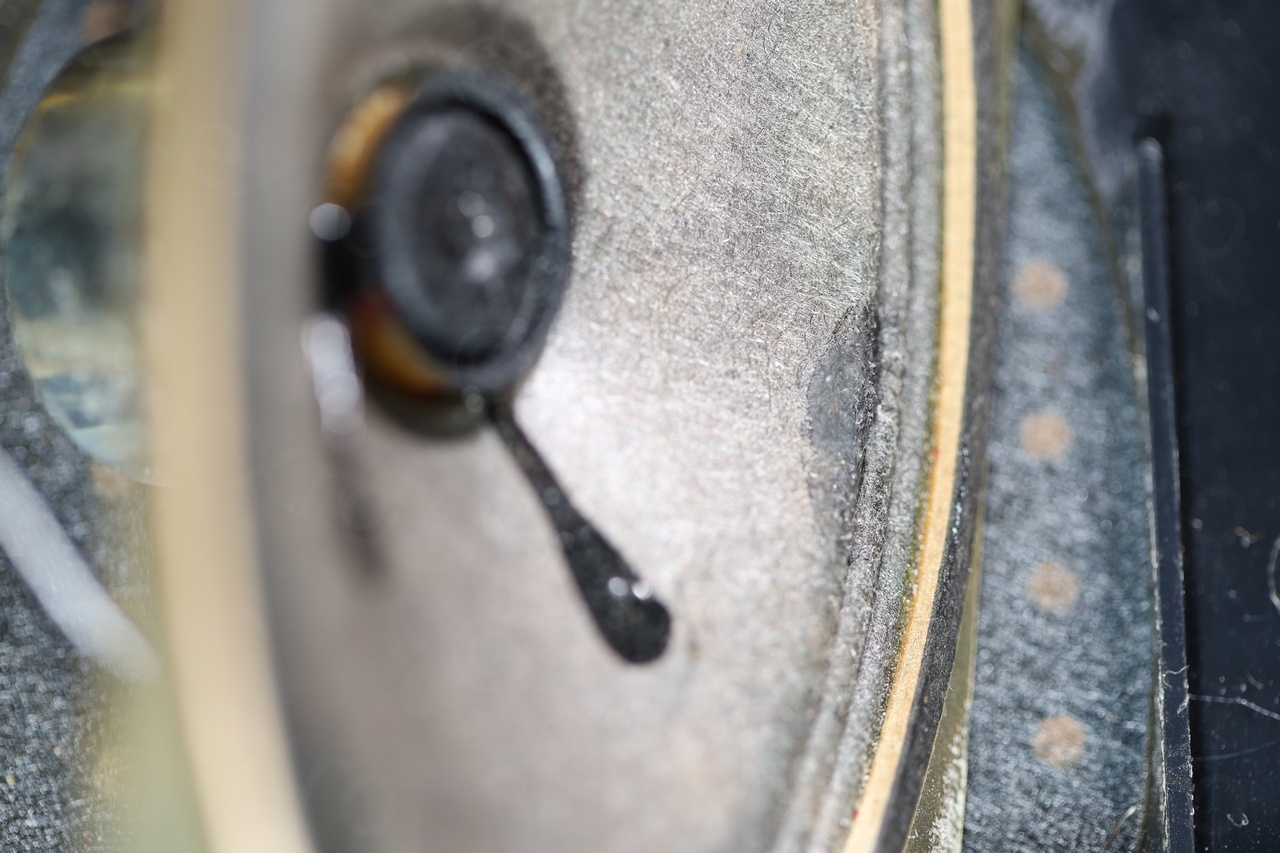
Now the whole area seems rigid enough, just like the good areas around it – the material around the initial tear is supported to prevent the tear from spreading. Not sure if this is the right fix though, it may be that the membrane may now tear around the glued area – but on the other hand, I’m not going to use the radio except for small demos – thus, I think is a good fix.
Putting the radio back together
I’ve de-greased the radio using wet wipes, including all the little ridges and indentations.
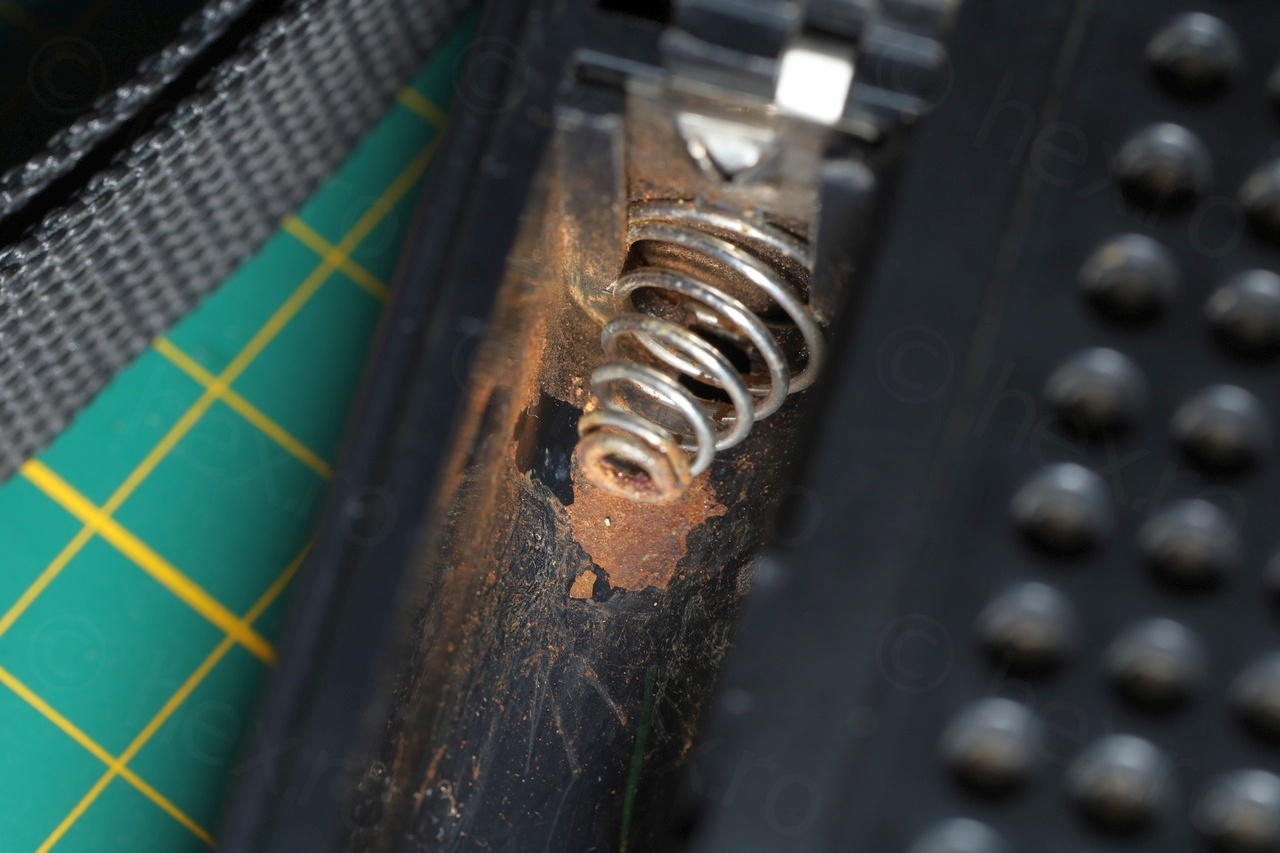
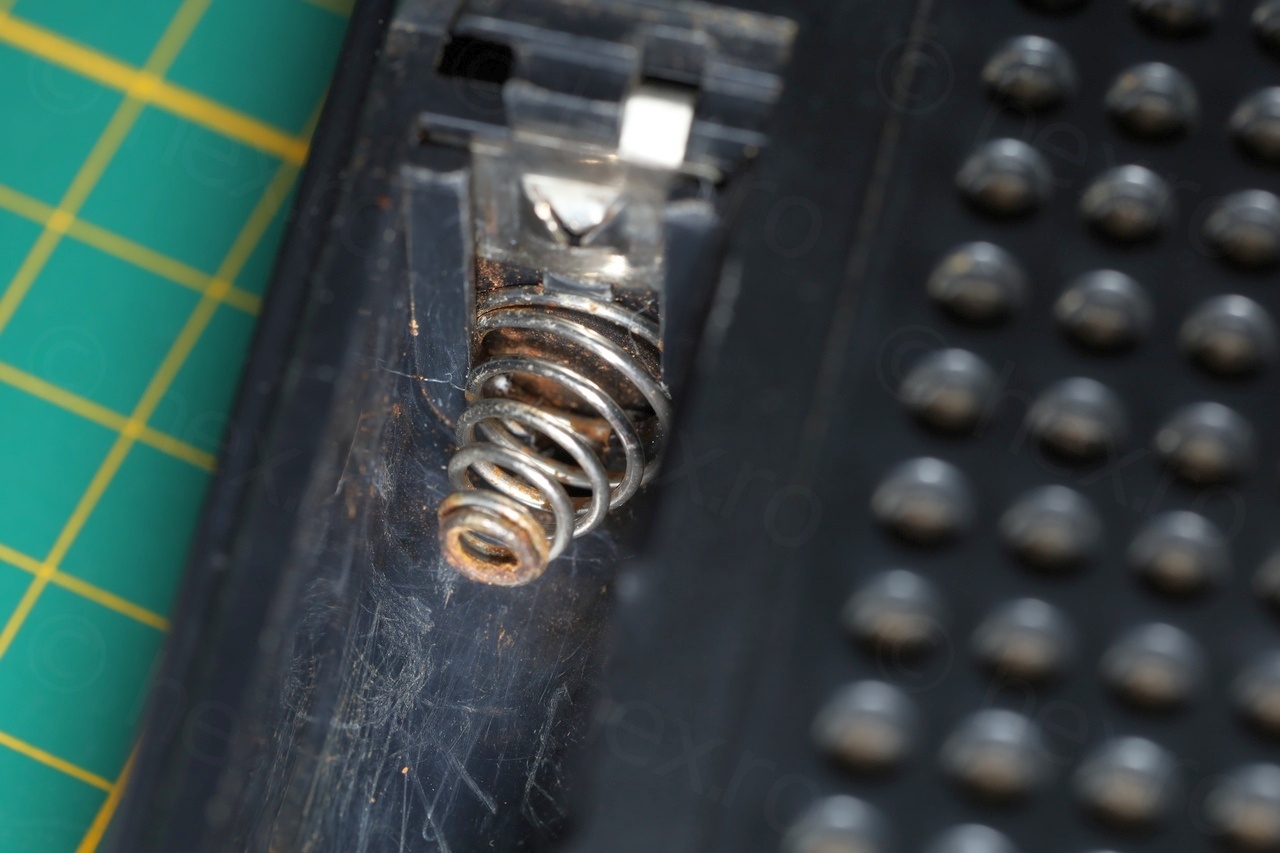
Battery compartment needed cleaning – but very hard to take all the rust away:
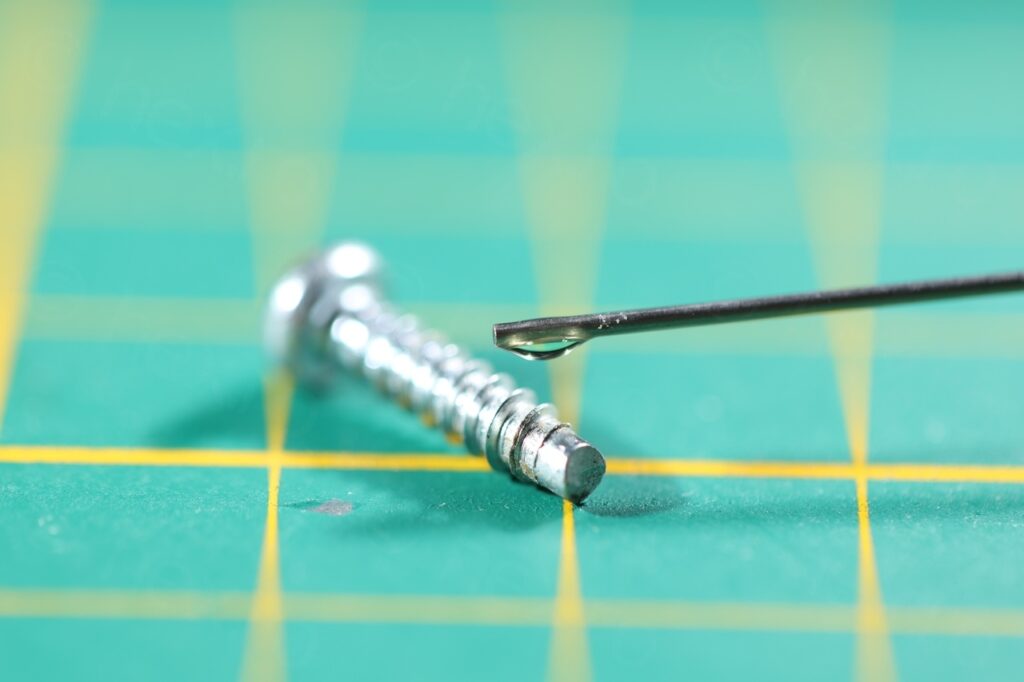
Greasing (or oiling) the screws helps – they go in easier and old plastic threads are better protected instead of maybe torn away:
Another small challenge was pairing the knob (on the outside back case) with the slider switch on the circuit board:

The radio was now assembled:
QA Test
A final demo with the radio repaired and working:
It was a fun restoration – first time having to fix a speaker. Now ready is clean and fully working.
Leave a Reply