


Introduction
Found this little good looking radio at a flea market. Since it was being sold for almost nothing, I figured at least I could buy it to document the internals for the blog.
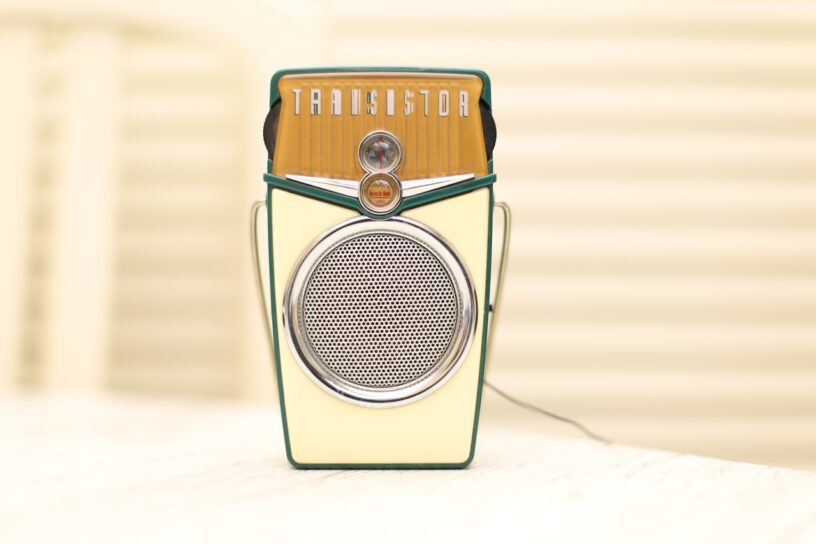
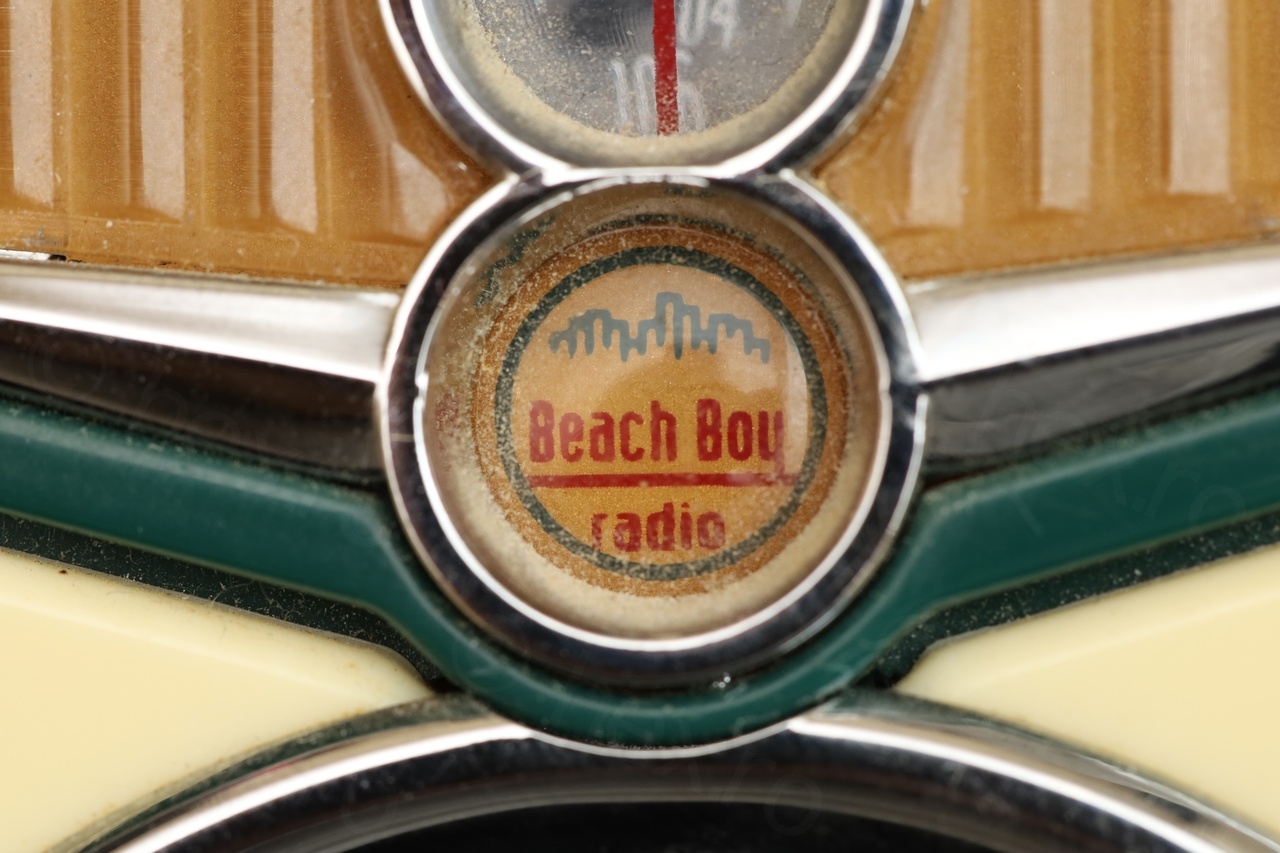
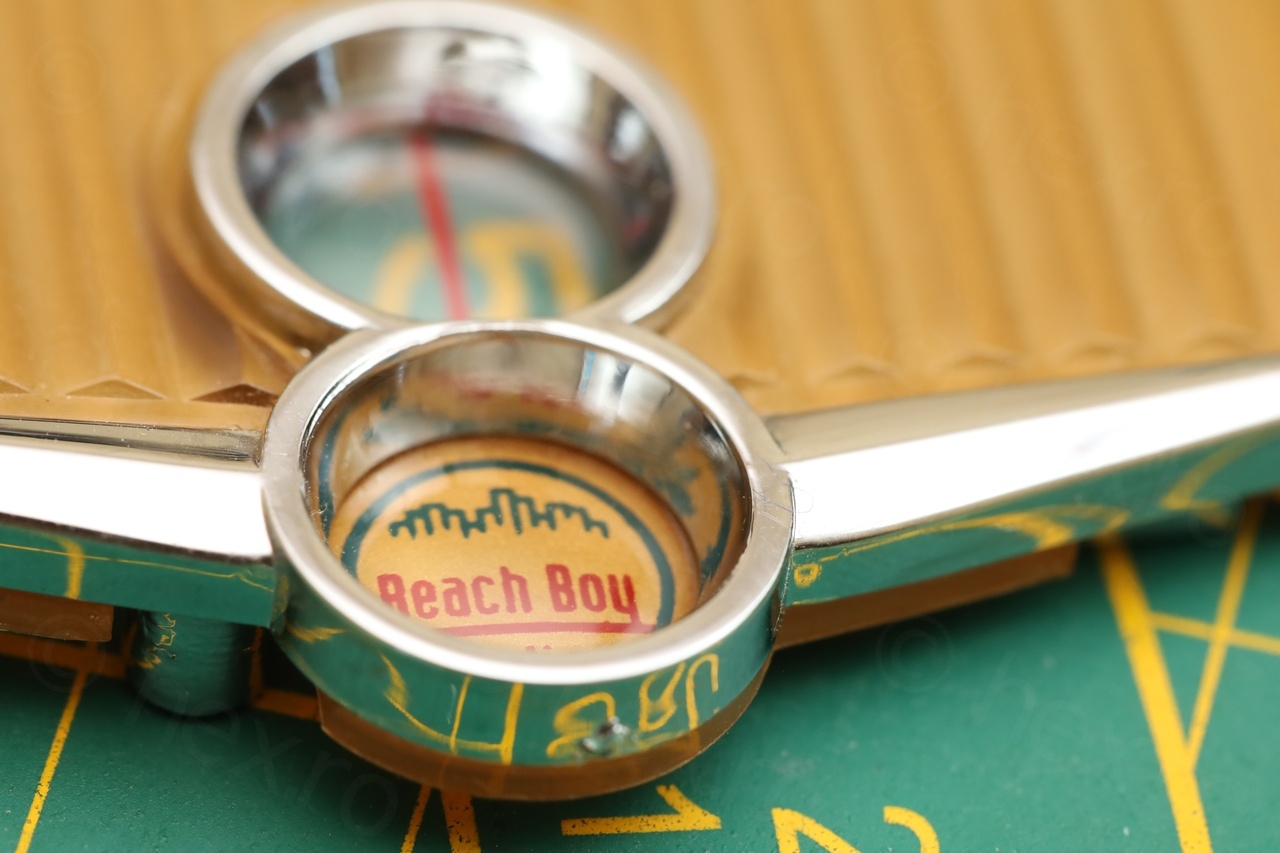
First, few photos with the radio:
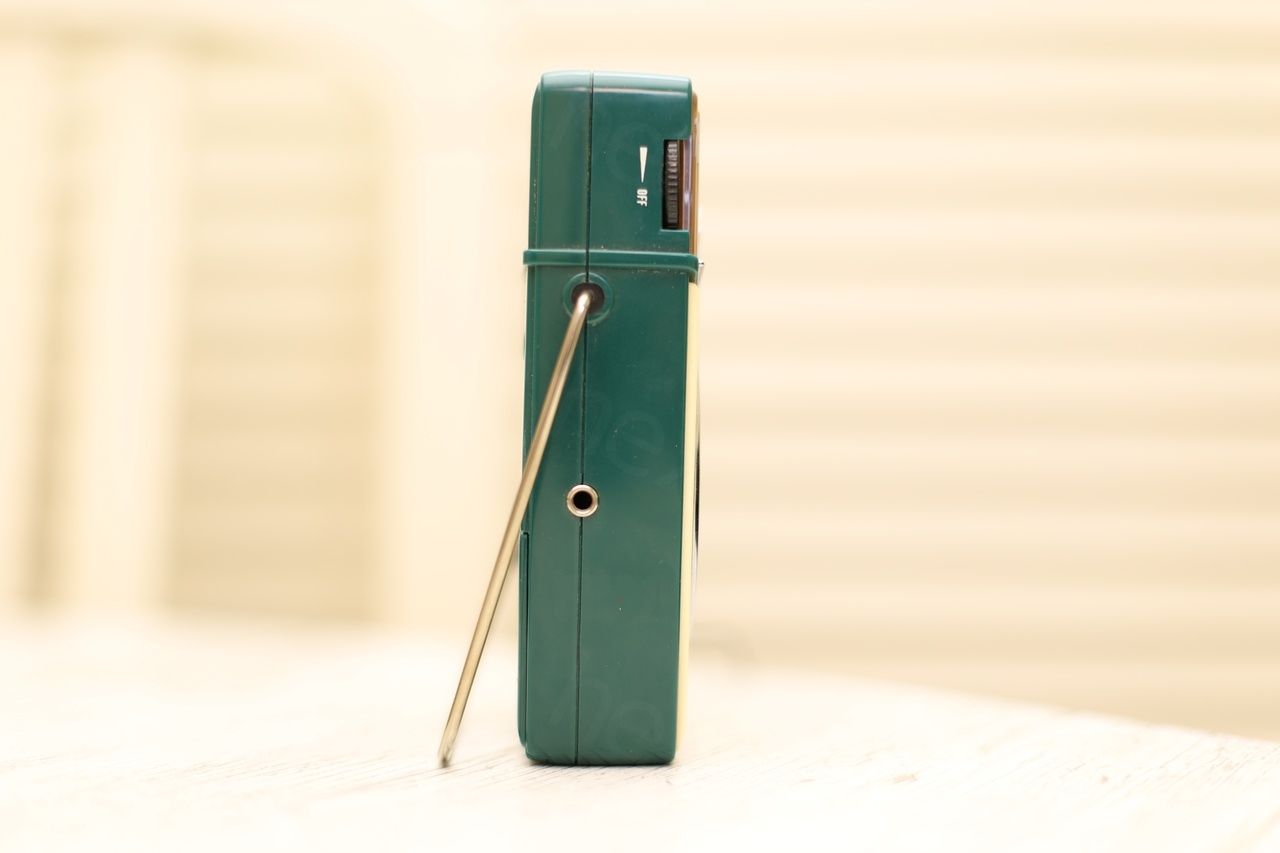
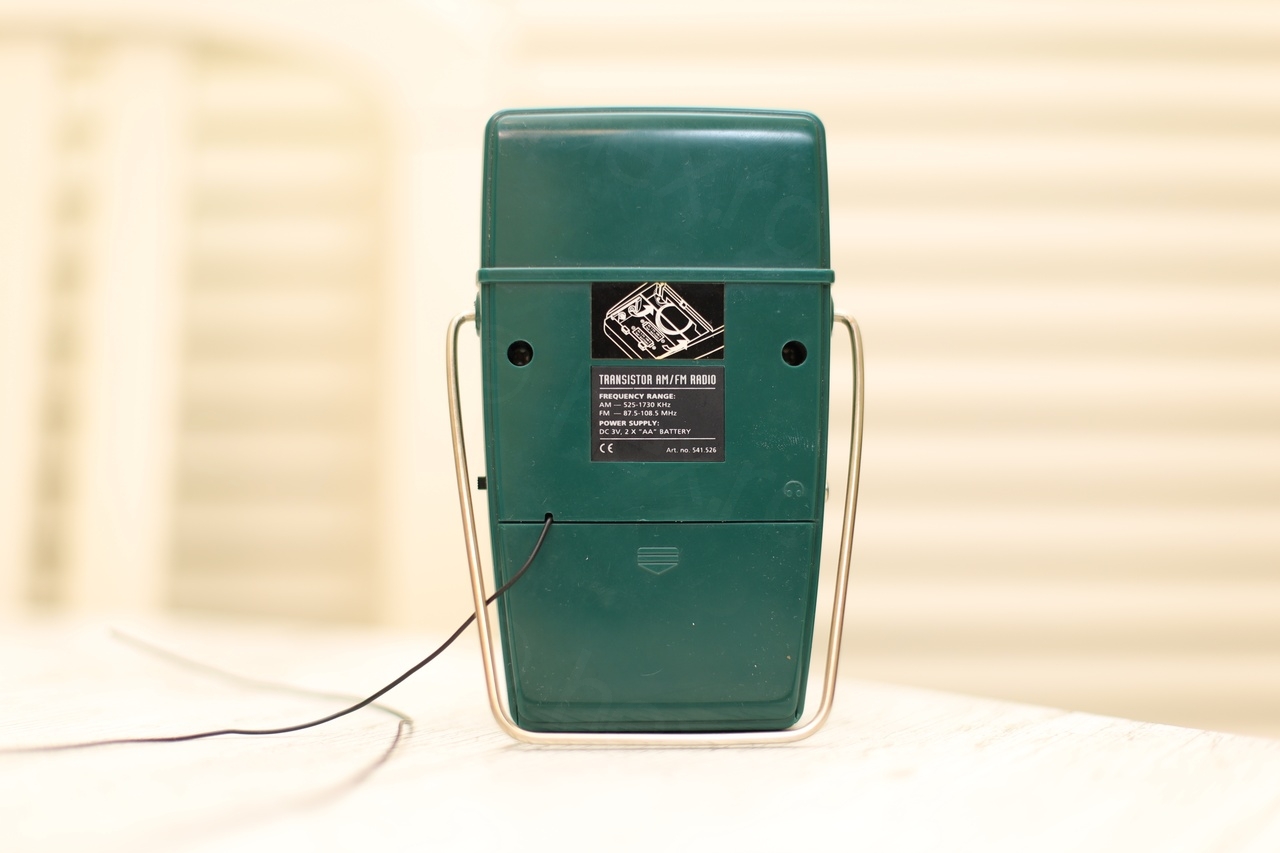
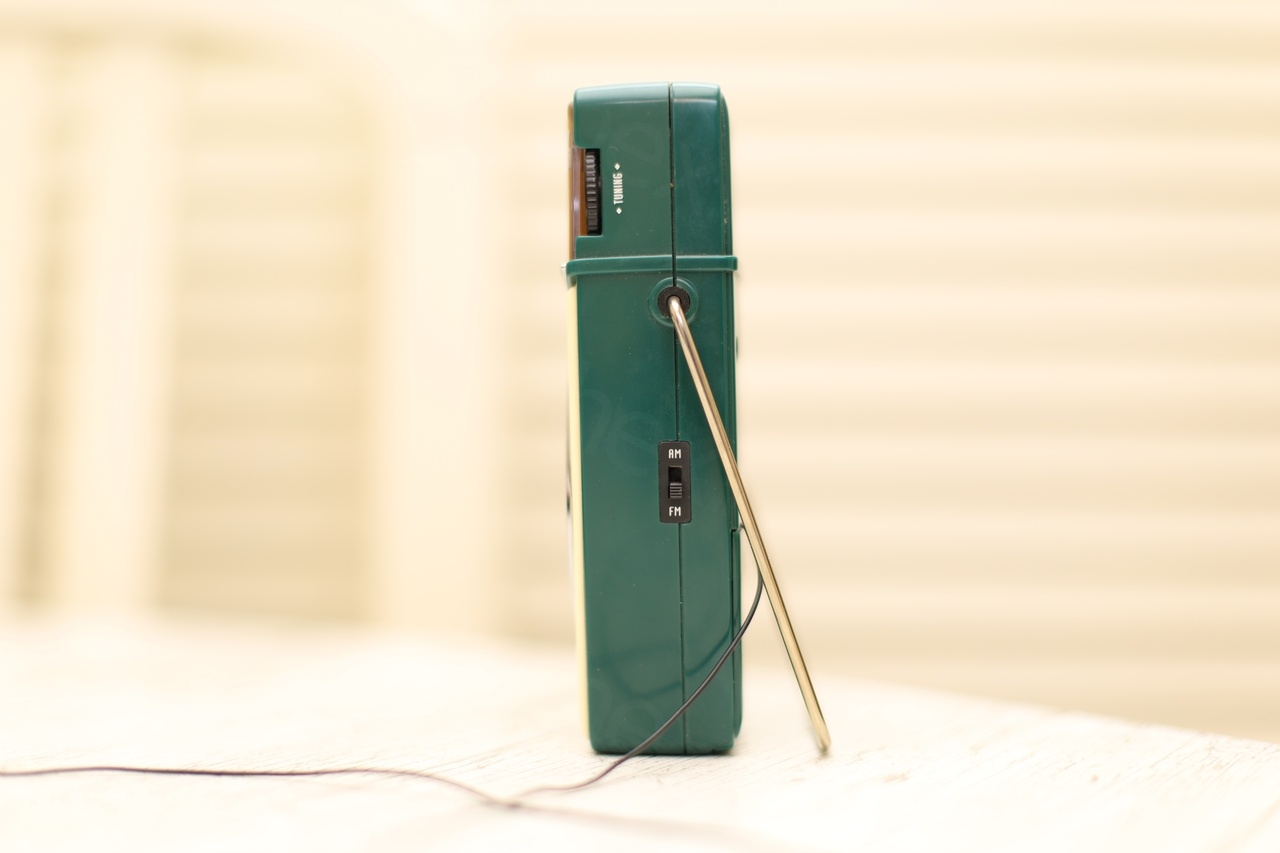

It wasn’t very dirty, but the volume pot was scratchy – one more reason to open it up for a little maintenance (warning, loud volume):
Opening up
Opening the radio is a little tricky due to a hidden screw. First, the main back cover is removed by the 4 screws holding it in place. By carefully allowing the antenna cable to be pulled in, the case can be set aside.
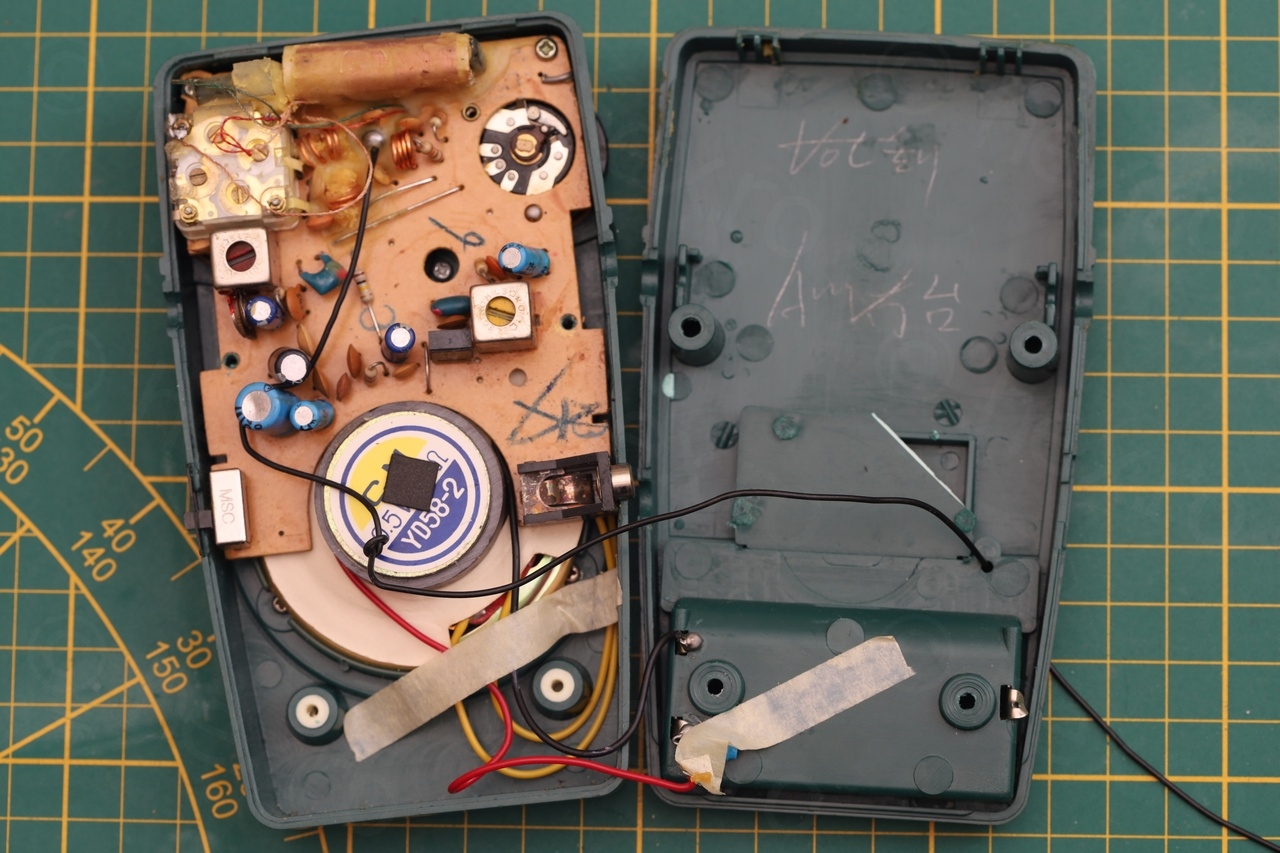
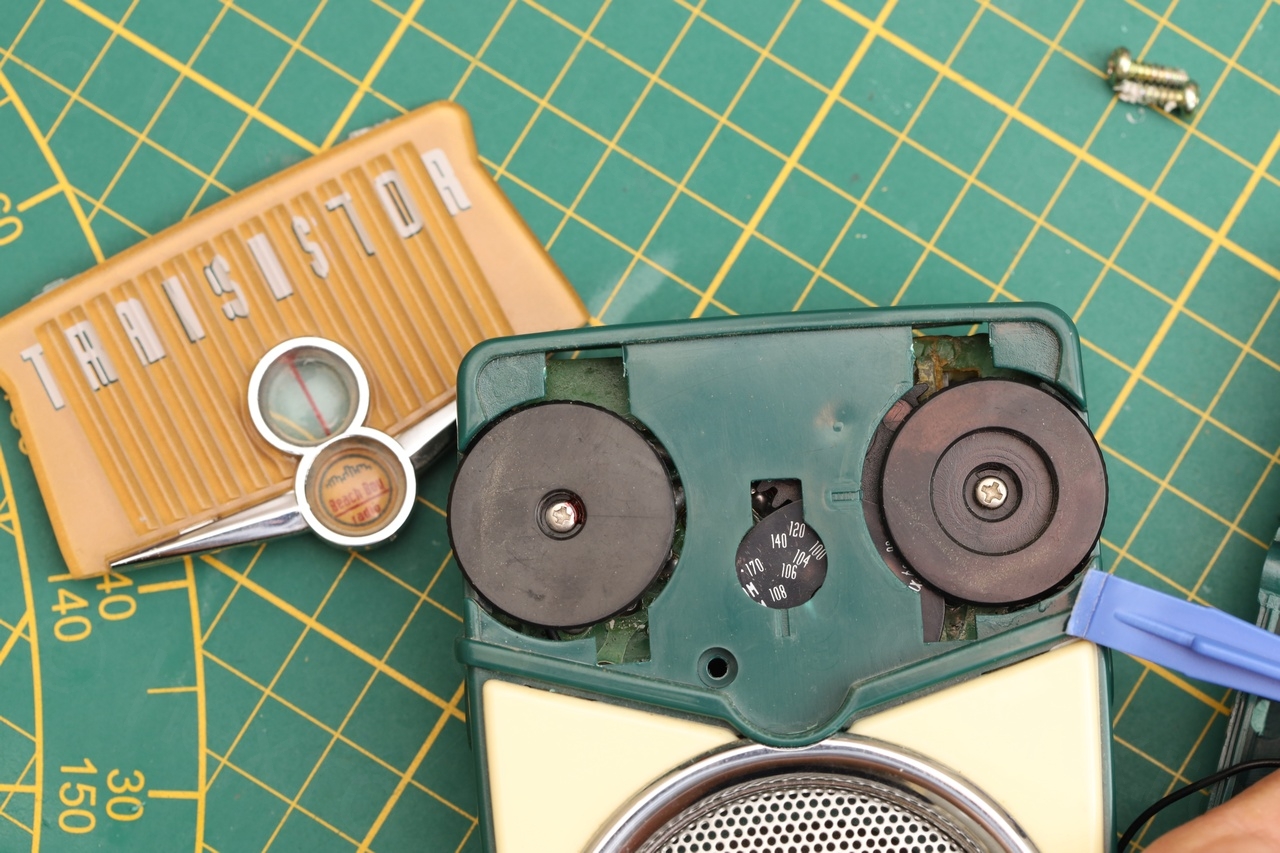
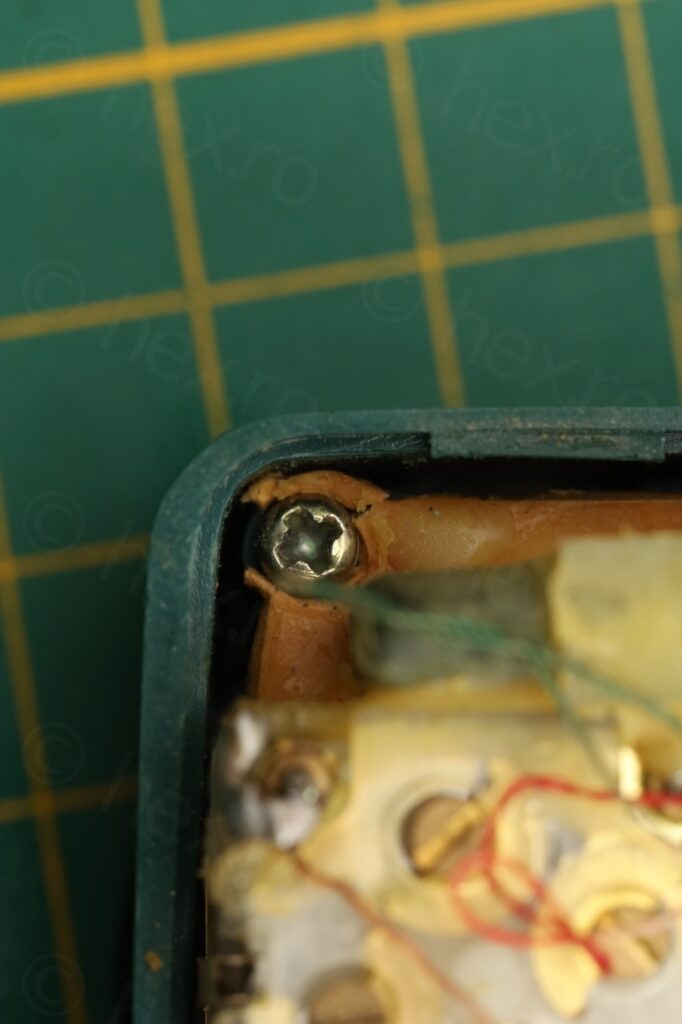
The board itself is held with two more screws – but can’t be imediatelly pulled as first the volume / tuning knobs have to be taken off. To remove the front plate, there is a small screw in the center-right of the board:
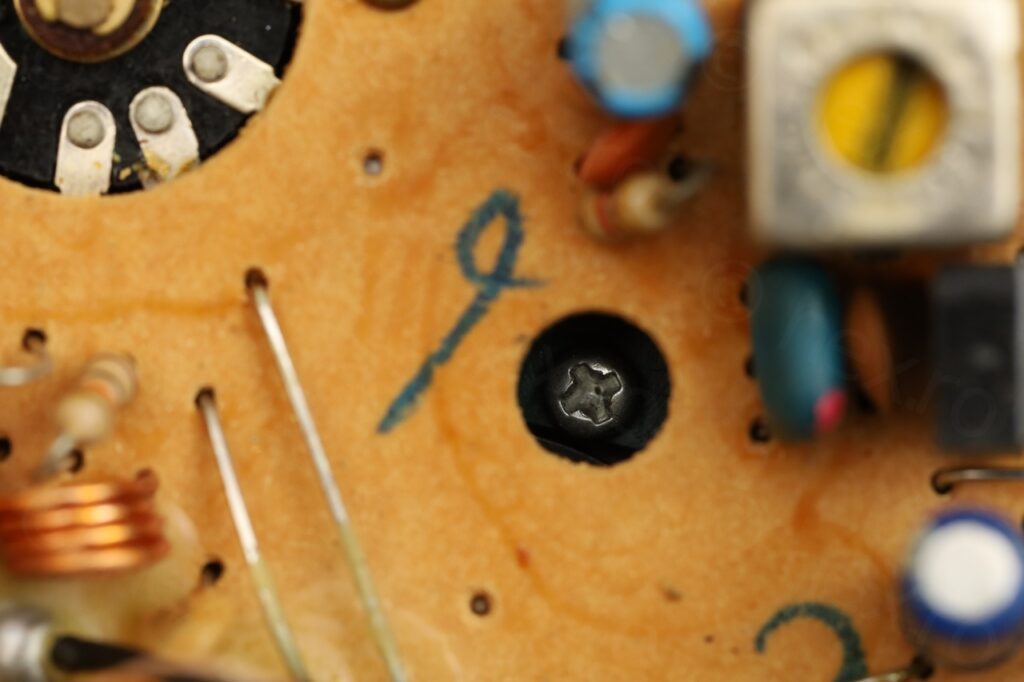
Once removed, push on the little shiny visible part of the front plate (where the screw was in). Or just try to pry the front face but from its bottom part, as the top part is secured with two plastic tabs that must remain intact.
Bad quality inside
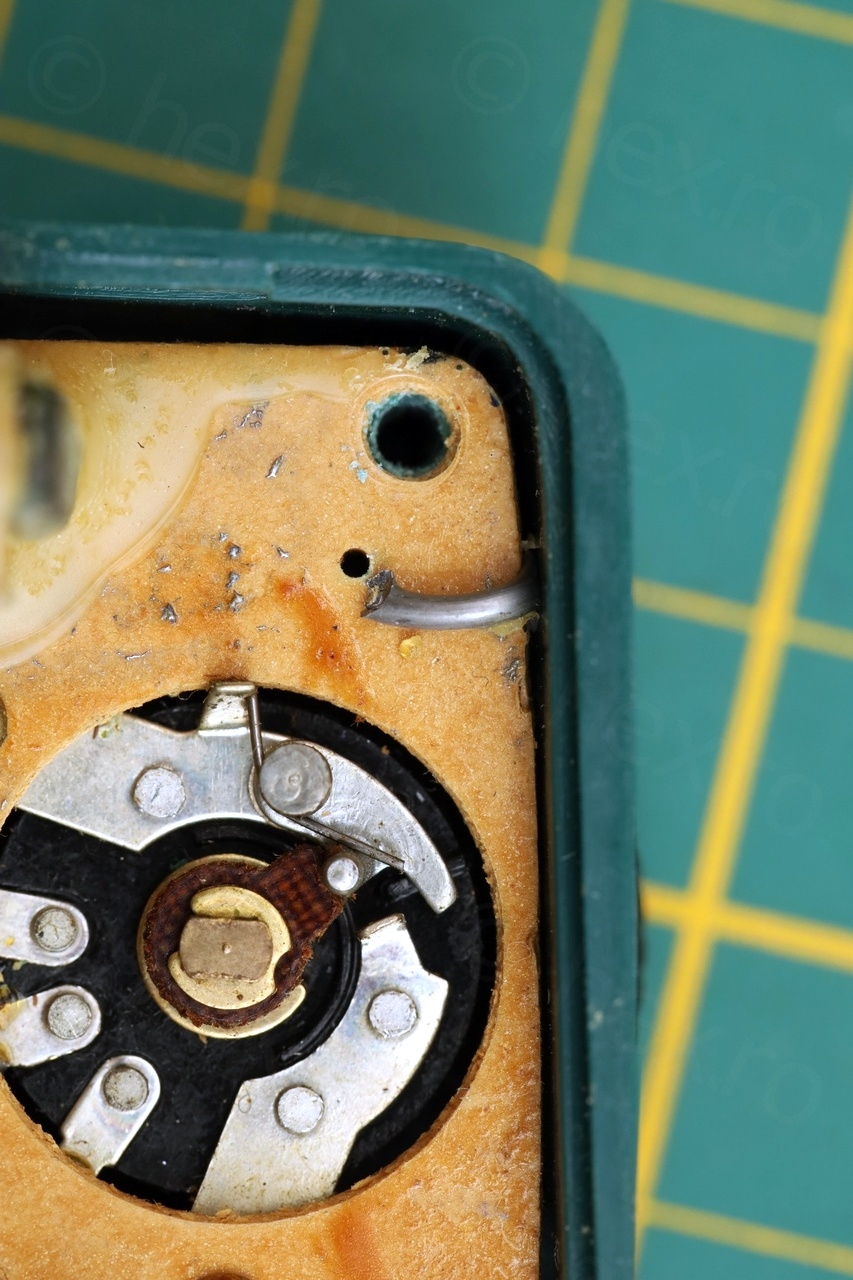
I was first surprised by a gray wire (or what it looked like a wire) which seemed to have come loose. Thinking it was a wire, it made a metallic noise as it fell from its side. The part caught in between the board and the case of the radio was too squished for it to be a wire, and I started suspecting it is just solder that was carelessly forgotten there during the assembly:


I decided to test this:
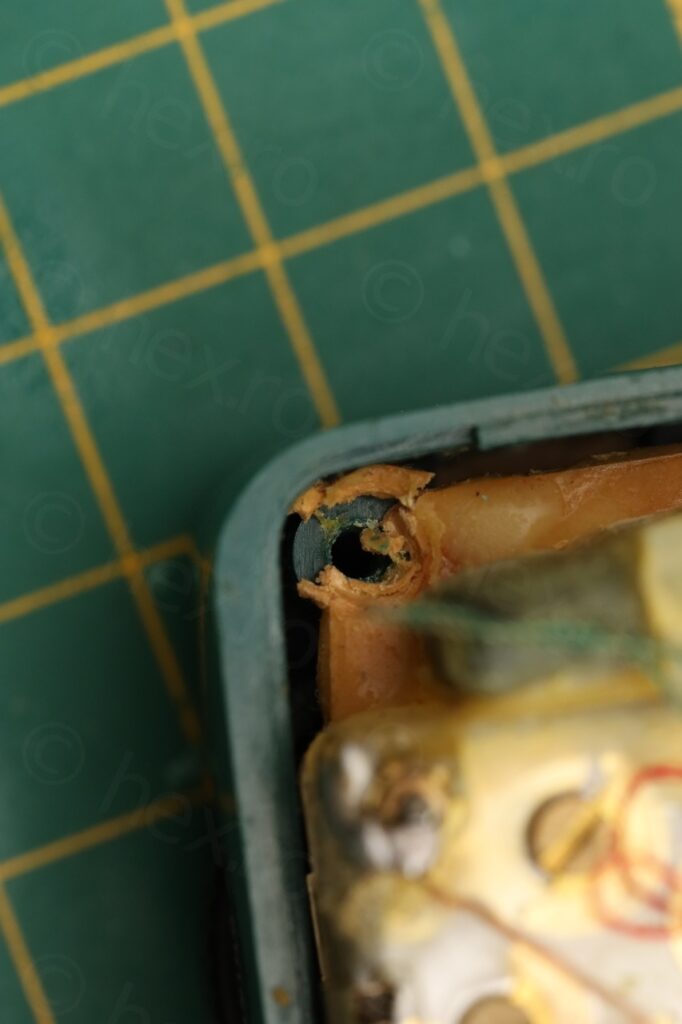
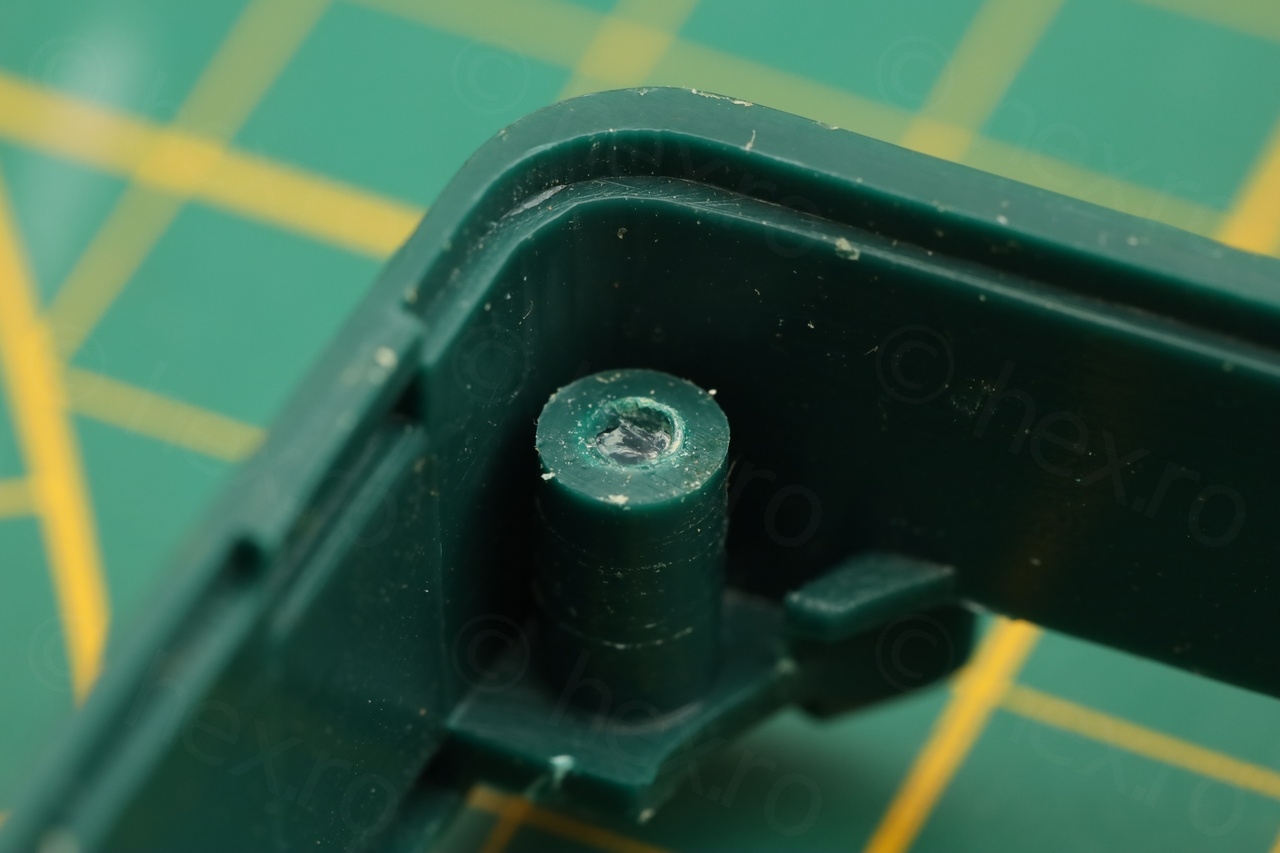
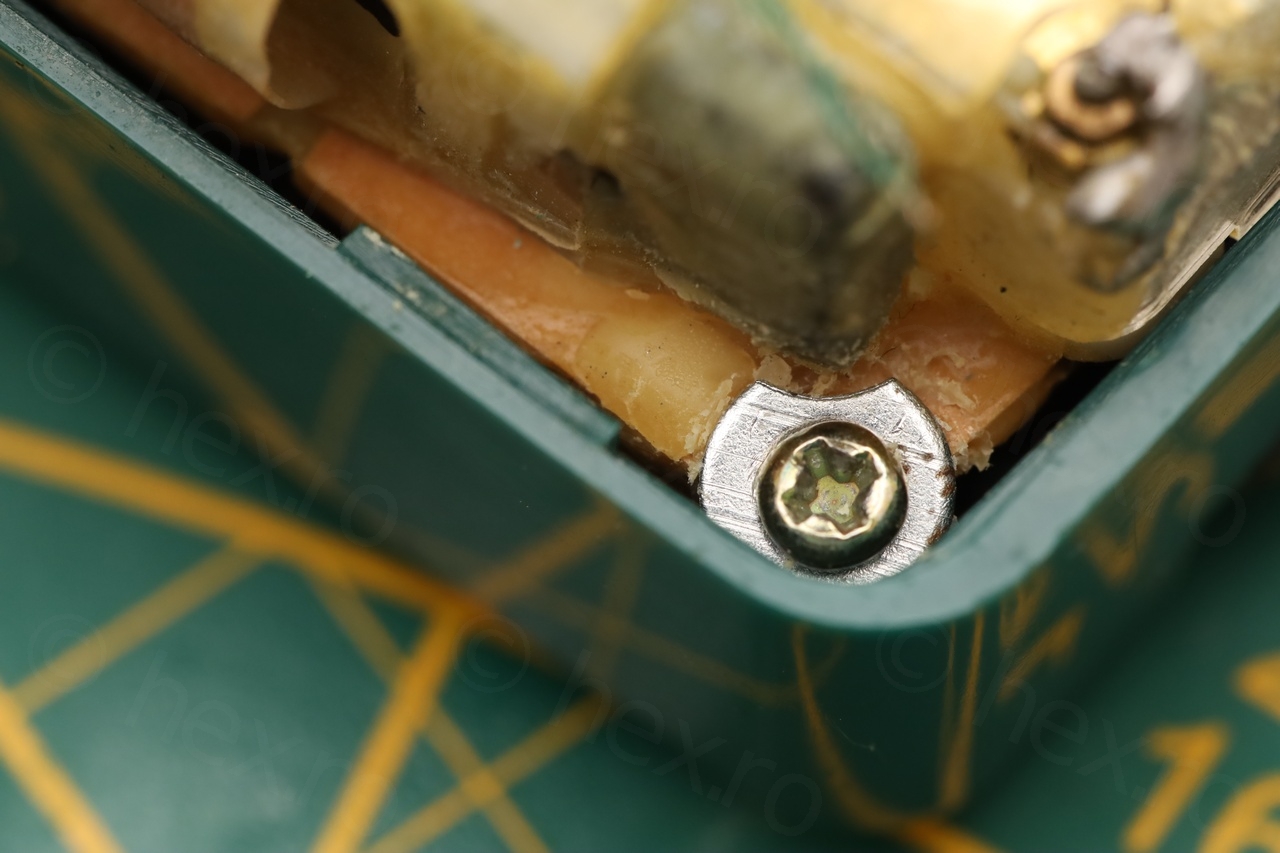
By this time I was not impressed with the quality of the radio. When taking the board apart, I discovered that the screw was so badly tightened that it crushed the corner of the board:
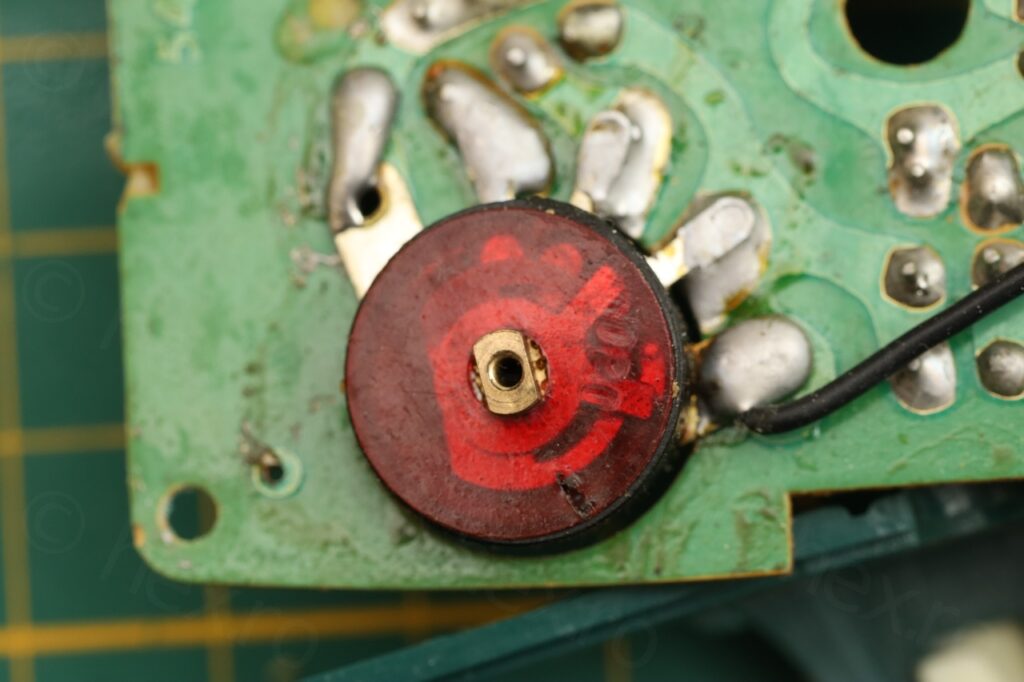
To add more insult to the injury, a closer inspection of the volume pot seal revealed a burn hole, most likely caused by the soldering iron of the person assembling the radio:

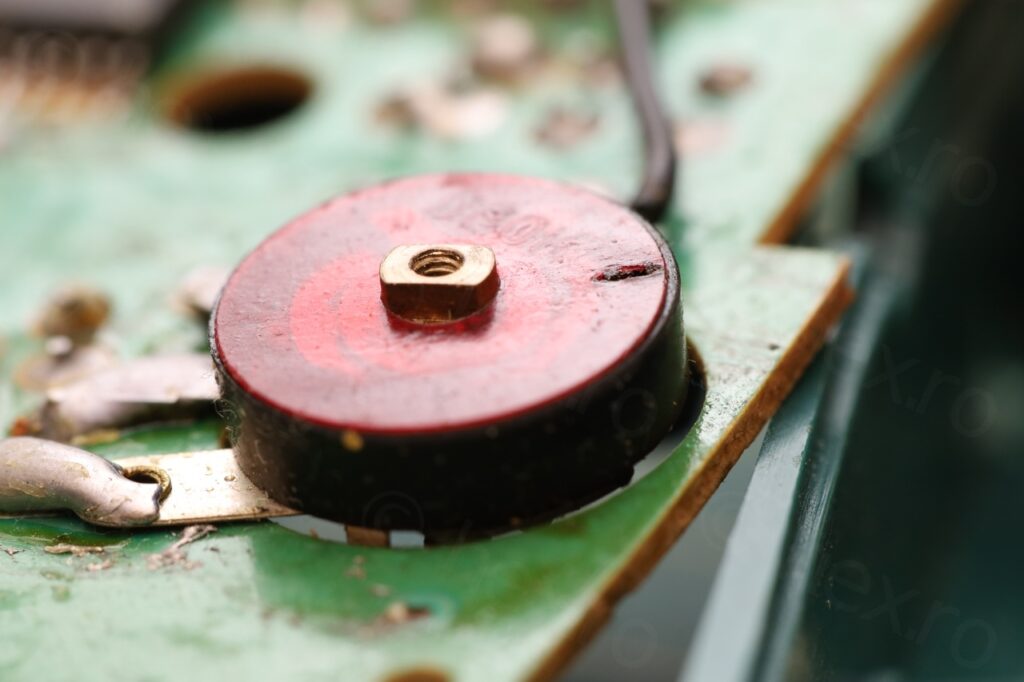
At this moment I didn’t know how to feel. The person on the assembly line had zero respect for the work it was doing, burned plastics, crushed board and solder squished between board and case.
Cleanup and reassembly
First I decided to clean up the Volume potentiometer:
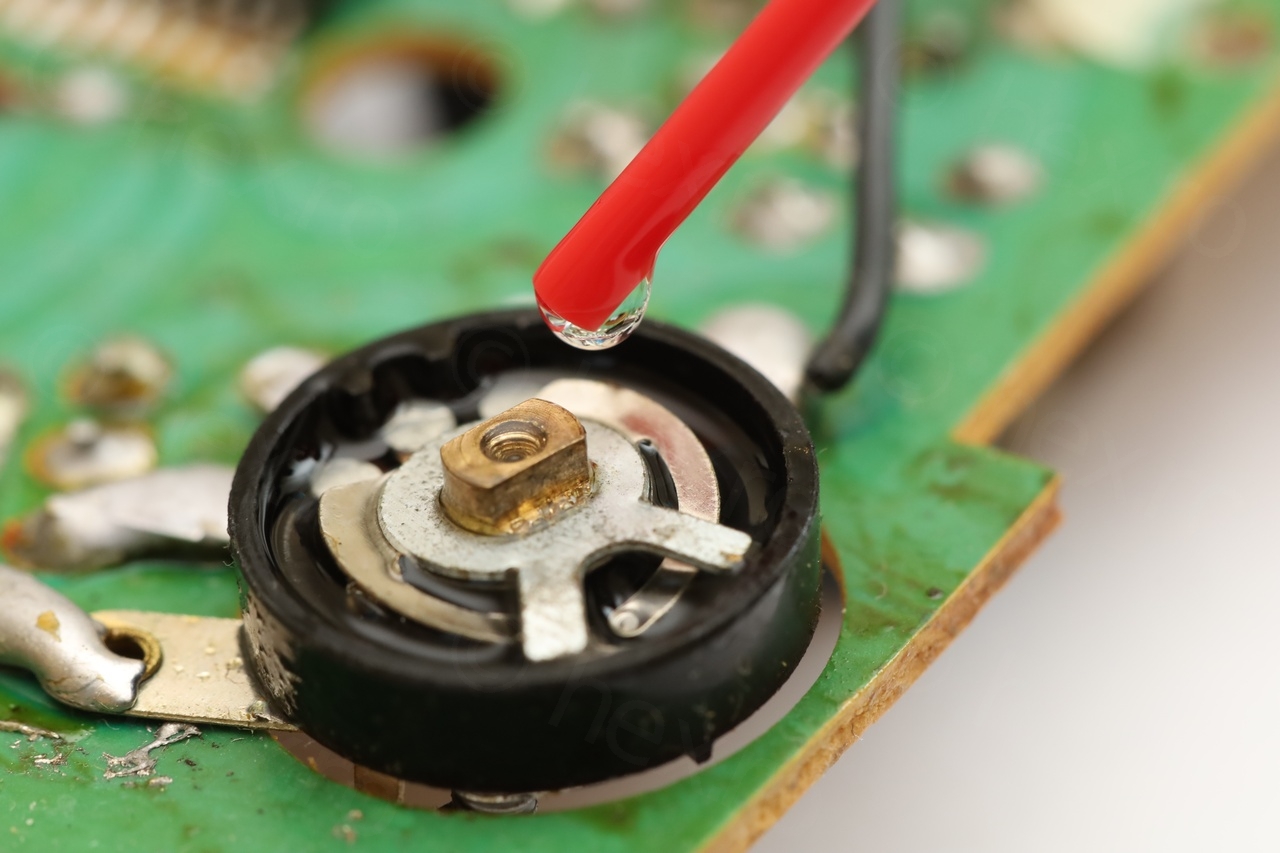
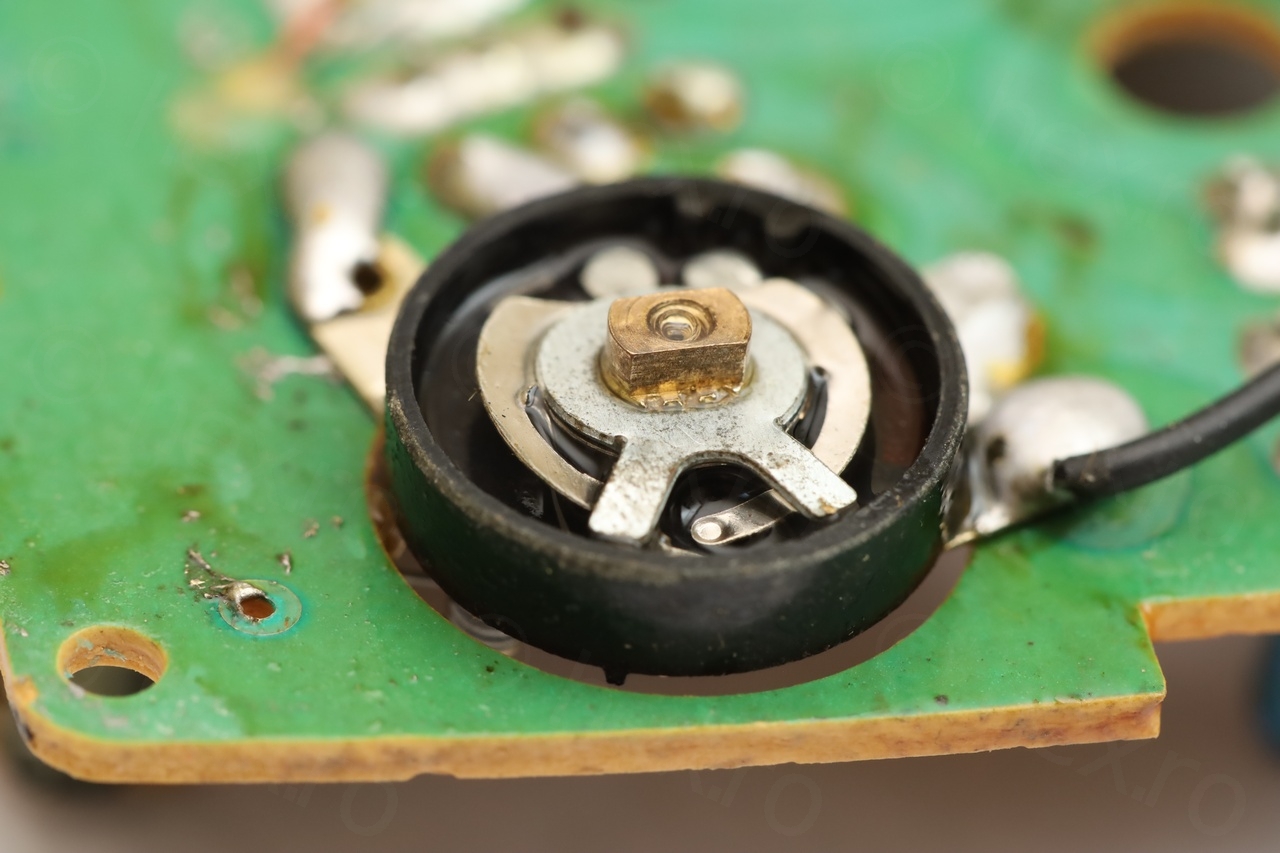
This fixed the scratching issues:
Next step was to de-dust the front plate using a q-tip + Mr. Proper:

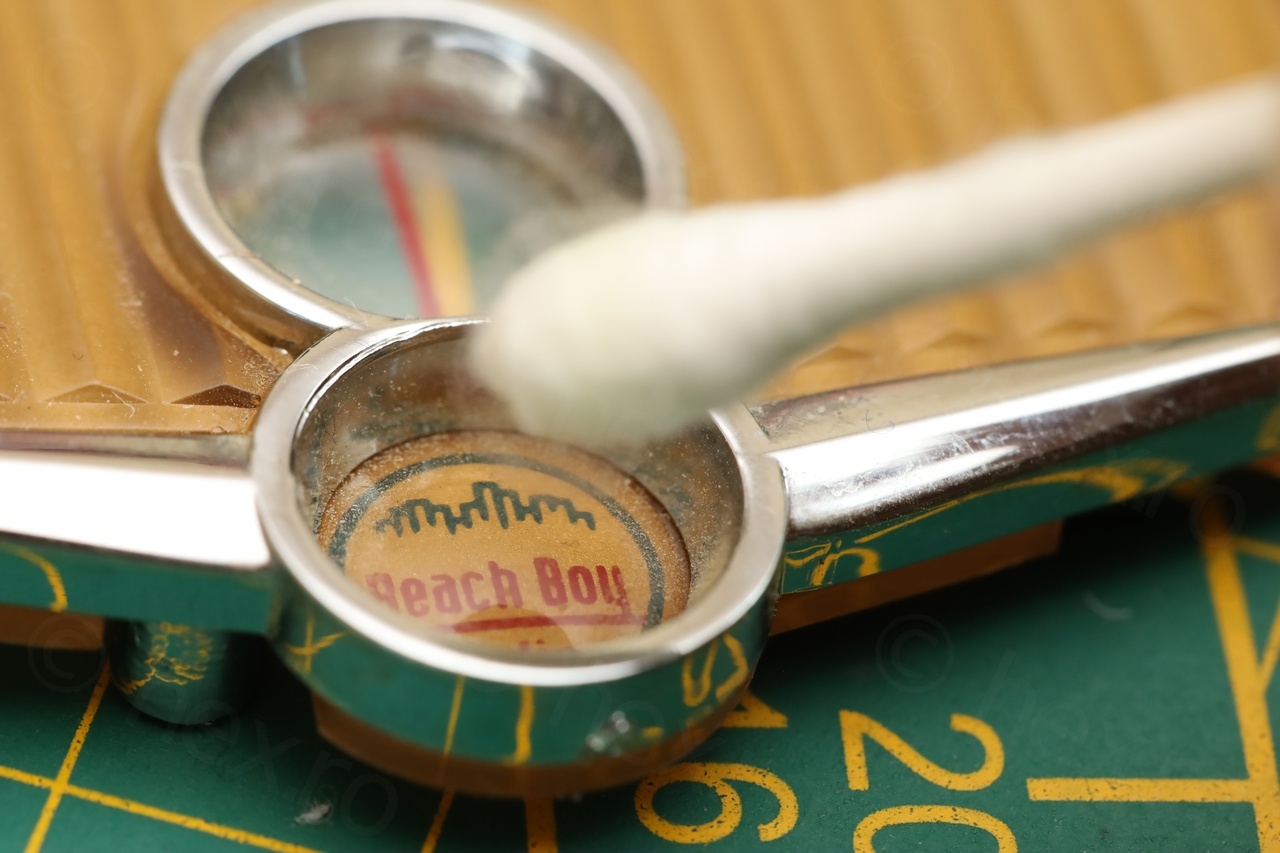
In fact, the entire case of the radio got a cleanup.
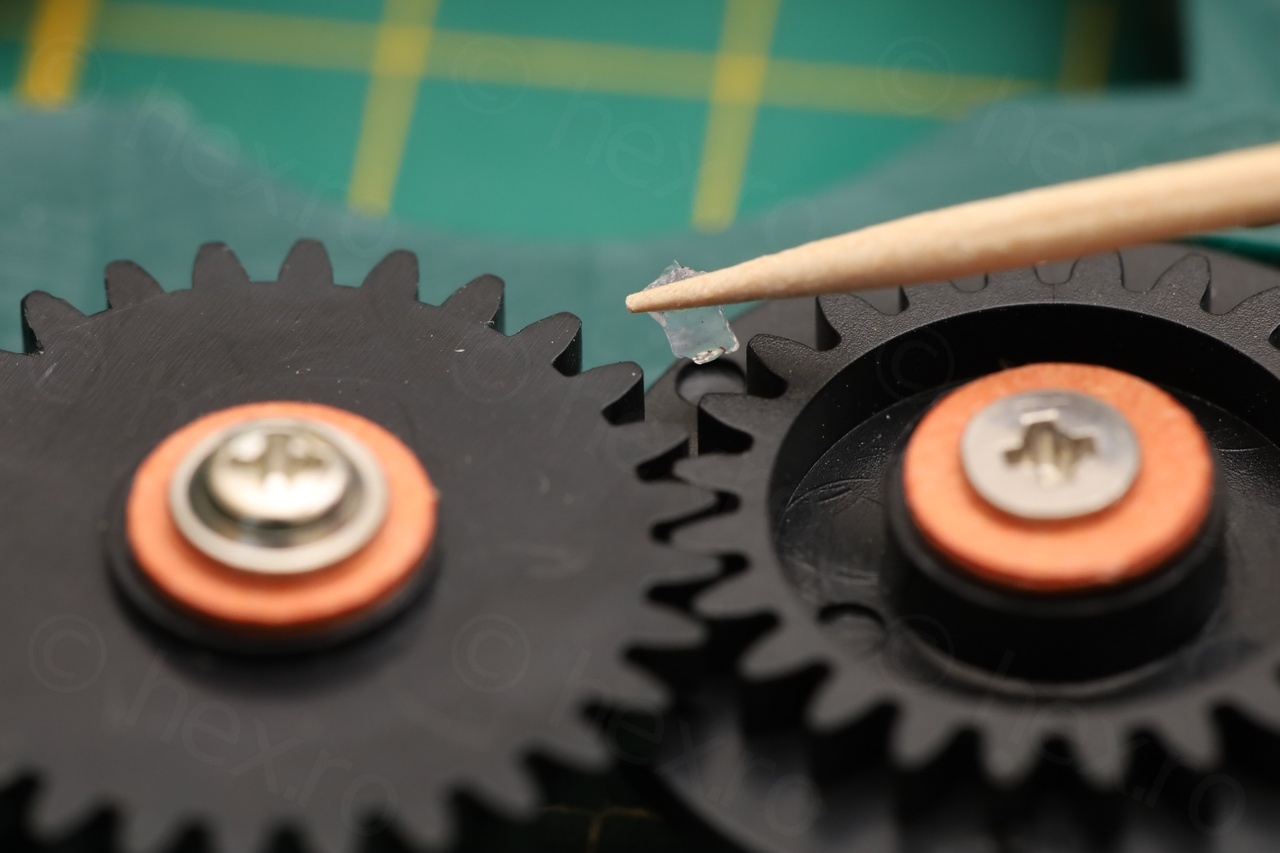
Third step was to grease the moving parts as well as the screws since the plastic seemed fragile and “crumbly”. this way, it may last a little longer.

And lastly, I was lucky to find a bad washer that would help clamp down the circuit board. I do have a set of washers, but the ferrite rod was sitting almost on top of the screw. However, I spotted one washer with a fabrication defect and knew instantly that is the one to try:


Other observations
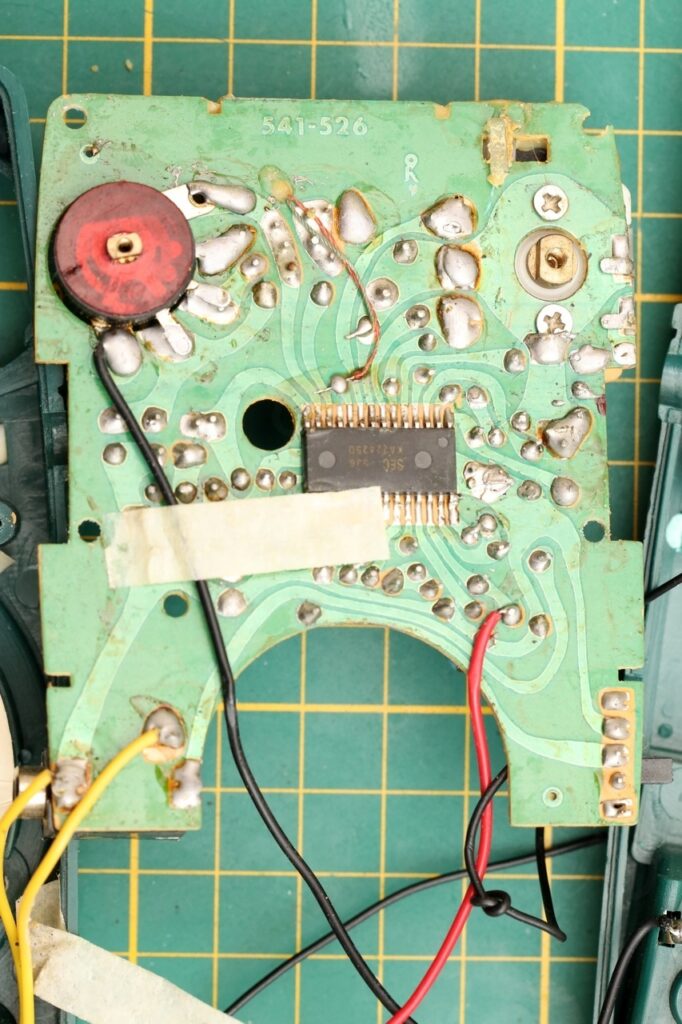
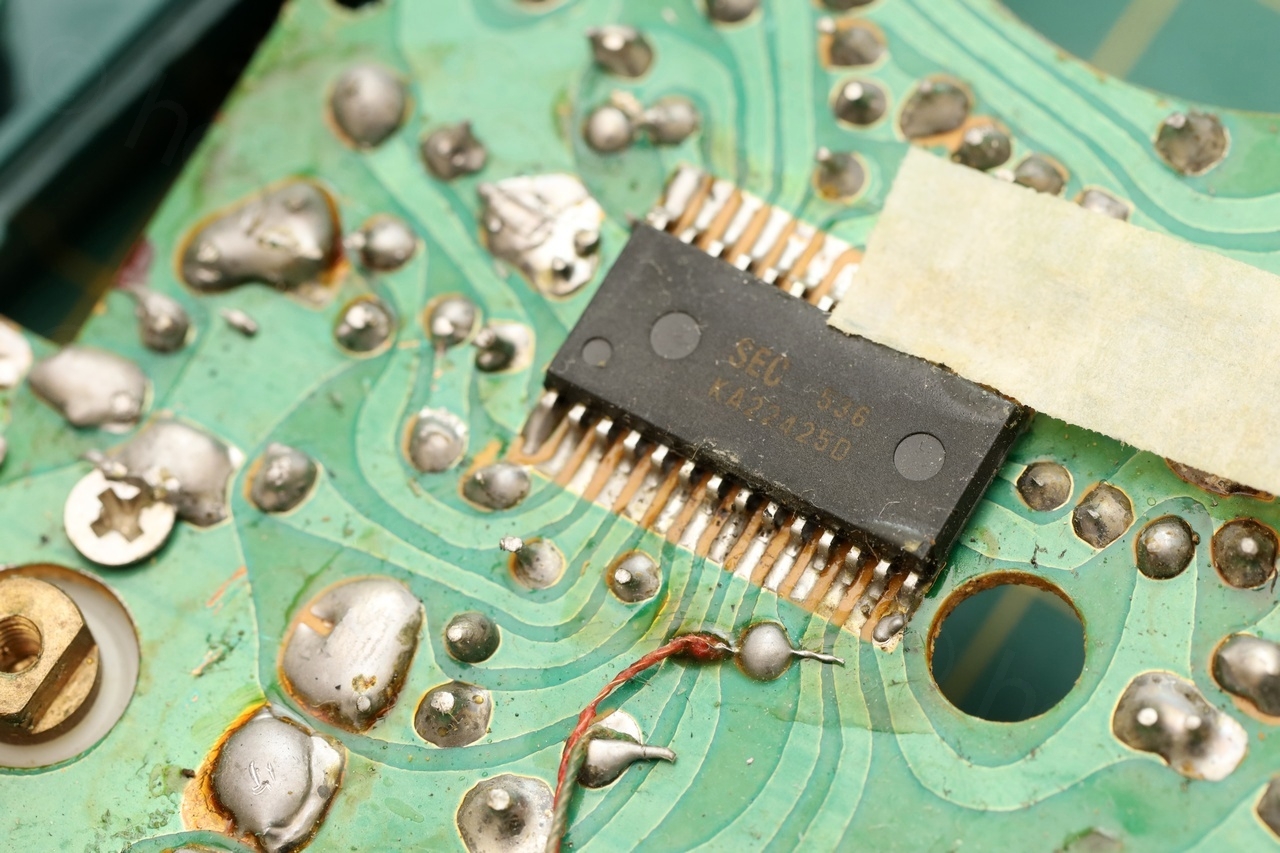
Radio is not from the 60s of course, it is based on an KA22425D all in one Radio circuit surrounded only by the bare minimum circuitry to get it working:

It is a sensitive radio, but due to the tiny Tuning knob – not even a full turn to cover the whole band – it is almost impossible to tune in a station that is squished in between two others. Very fiddly.
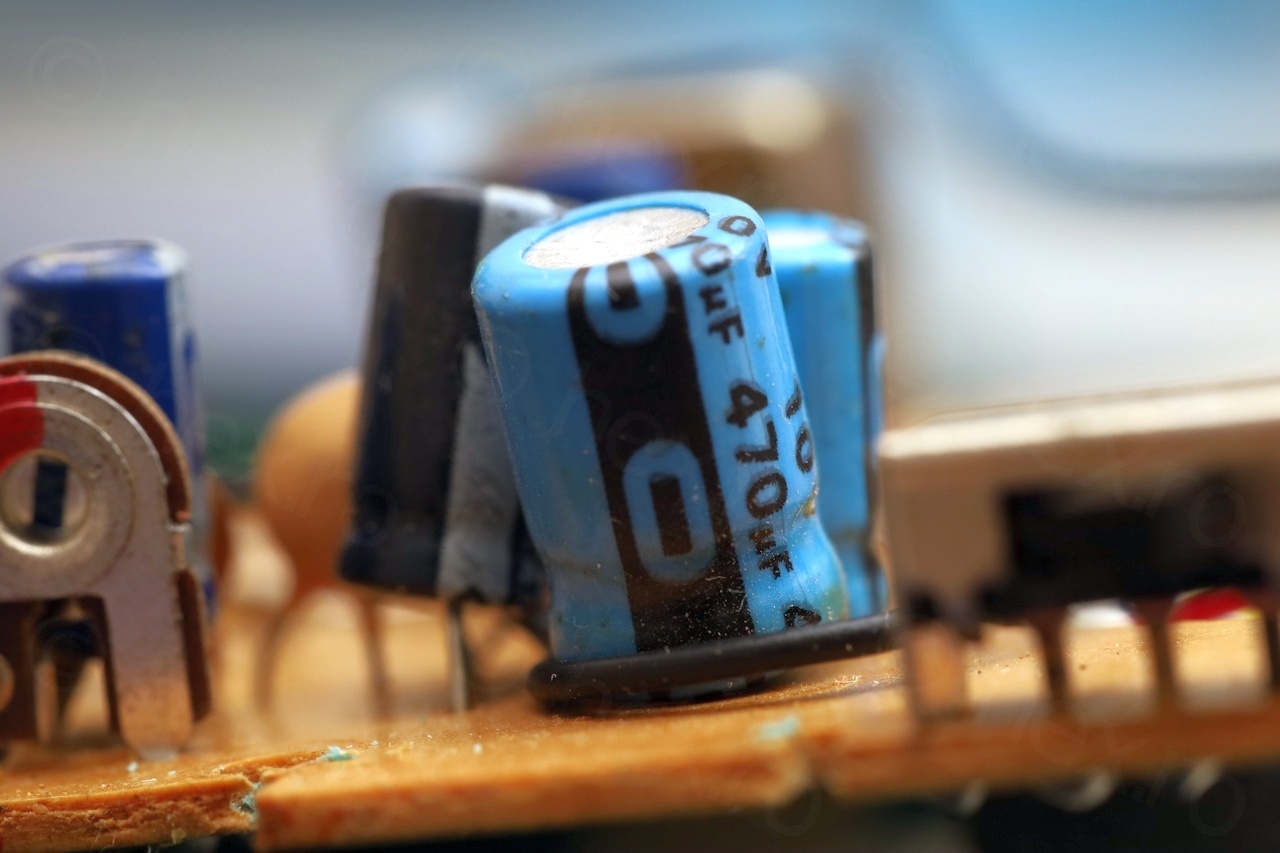
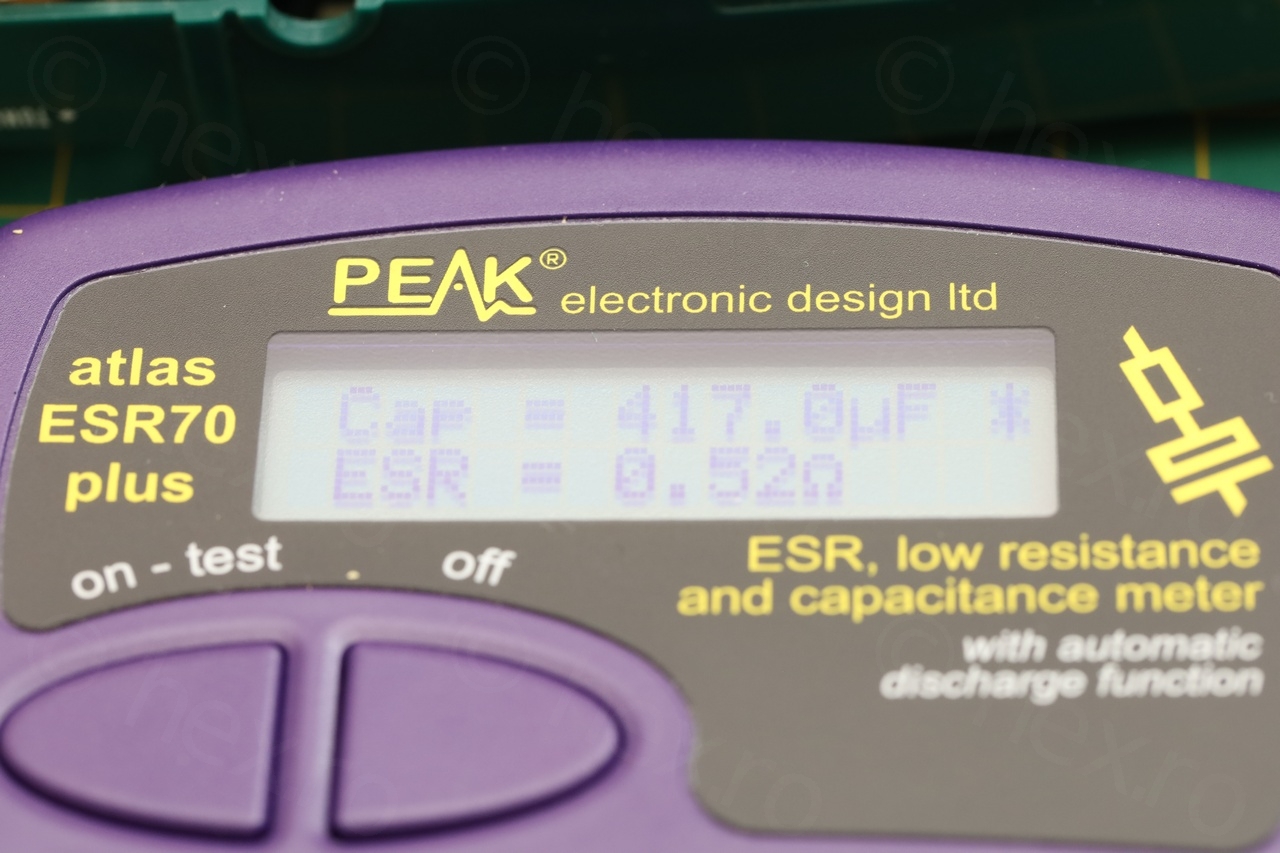
I also measured the capacitors, the ESR was normal but the values were reported a little lower than the values marked on the capacitor itself.
The ESR meter was reading 417uF for the 470uF capacitor. Since all capacitors were reading a little lower than the 10%, maybe around 15%, I decided to let them all in. I am not impressed enough by the workmanship to spend more time on the radio.
In conclusion, good that I didn’t pay a lot of money for this 🙂
Bob Amos
I want to thank you for this article. I have the same radio that was purchased new in the 90s. It was lost in a box in the garage and today I stumbled upon it. 2 batteries inside had leaked badly. What a mess it was. What your article helped with was removing the front upper plate. Mine had no screw in it so I did not see it when trying to disassemble it. It was stuck hard just the same but it did pop out when I followed your suggestion. Mine also had a wire, the negative, pinched under the board and screw post. A good cleaning and replacing the negative wire did the job. Yes, they are cheap.. real cheap, but a fun looking radio just the same.