


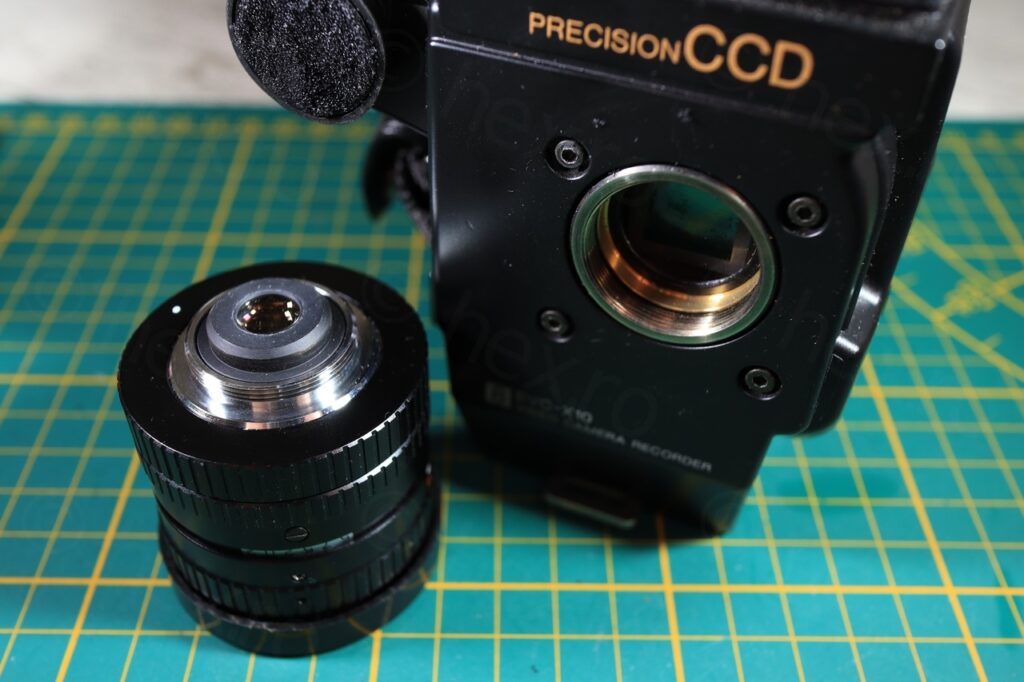
Introduction
I found this mini CRT in a Sony EVC-X10 Video Camera Recorder that I have found at a flea market.
Sorting the box
Camera came in a carton box … with some accessories and screws lying around, many cables, and a label saying “To re-screw”. Since I only care about the CRT unit, and the CRT unit was inside, I decided to buy it.
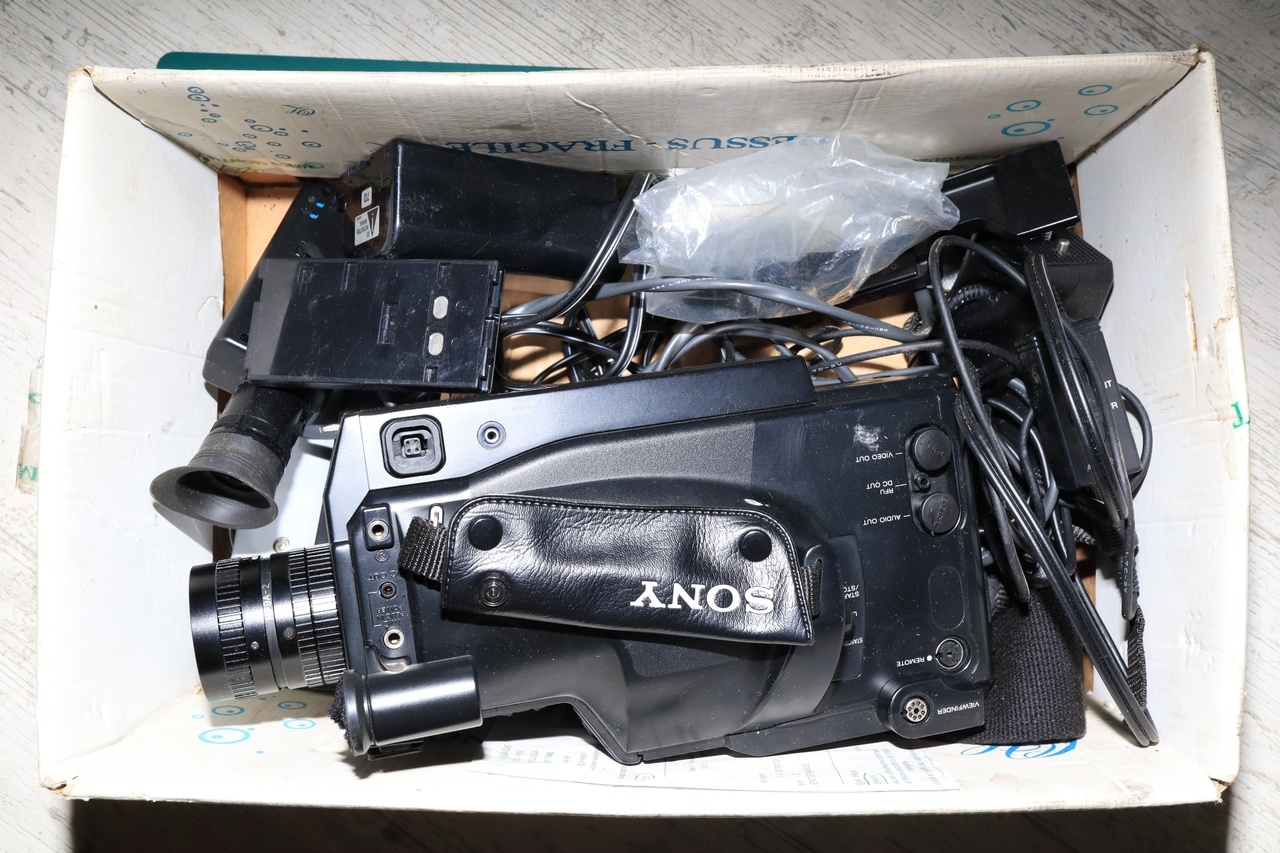
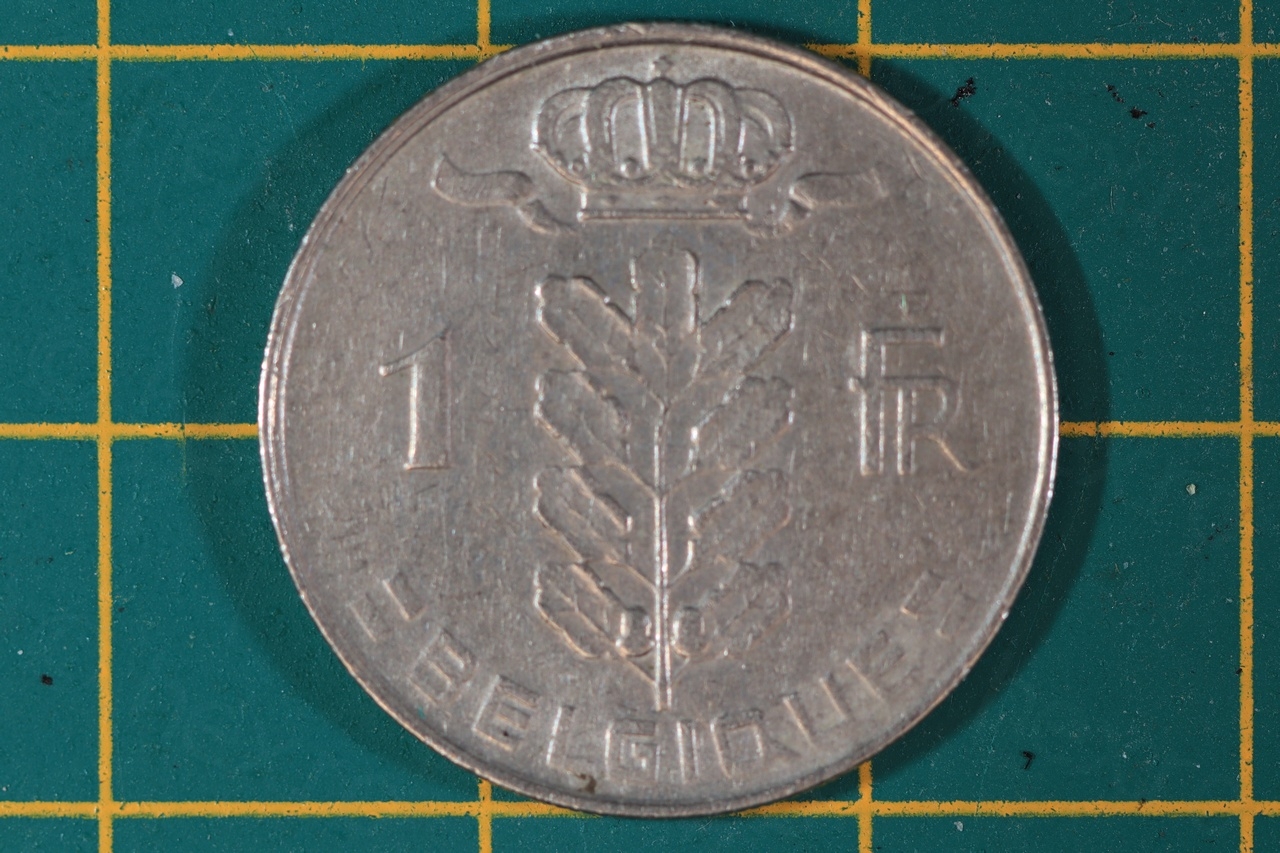
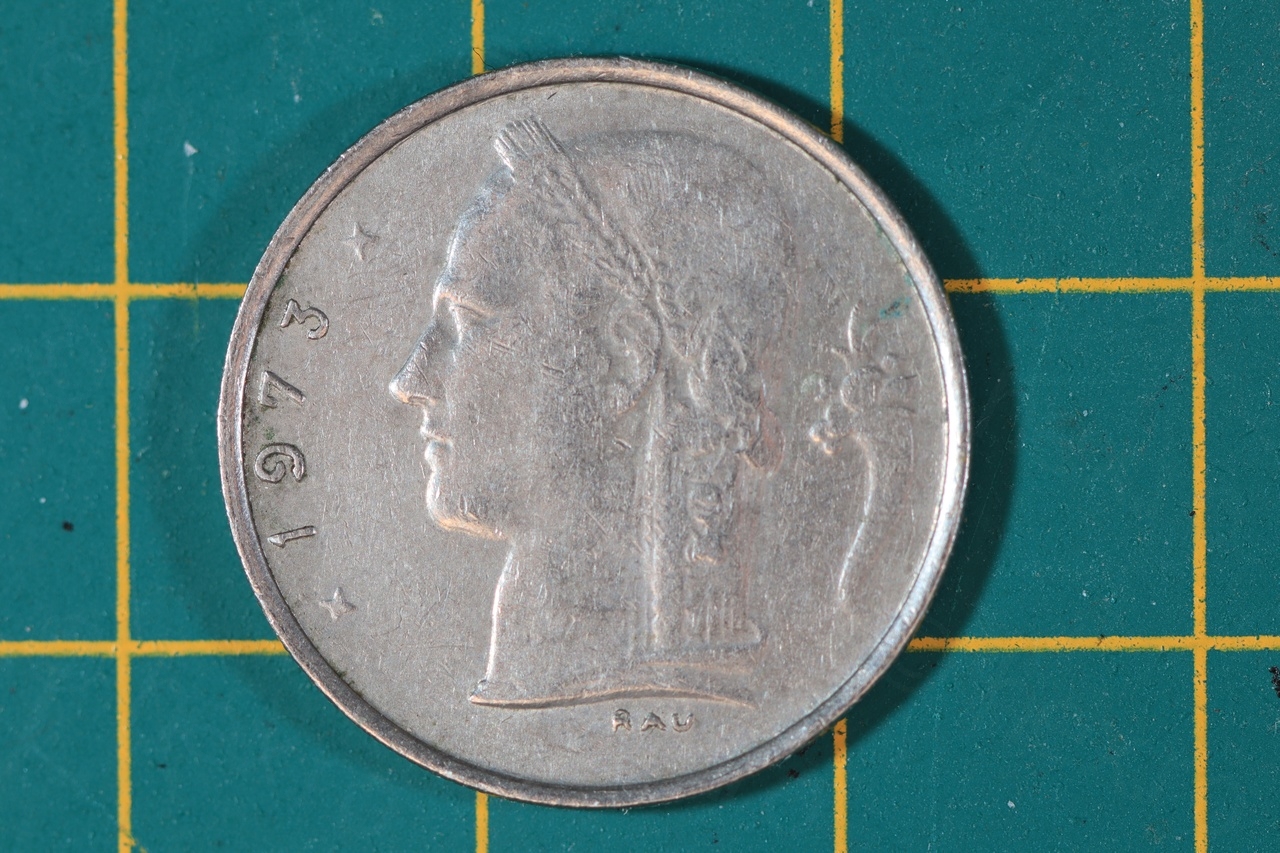
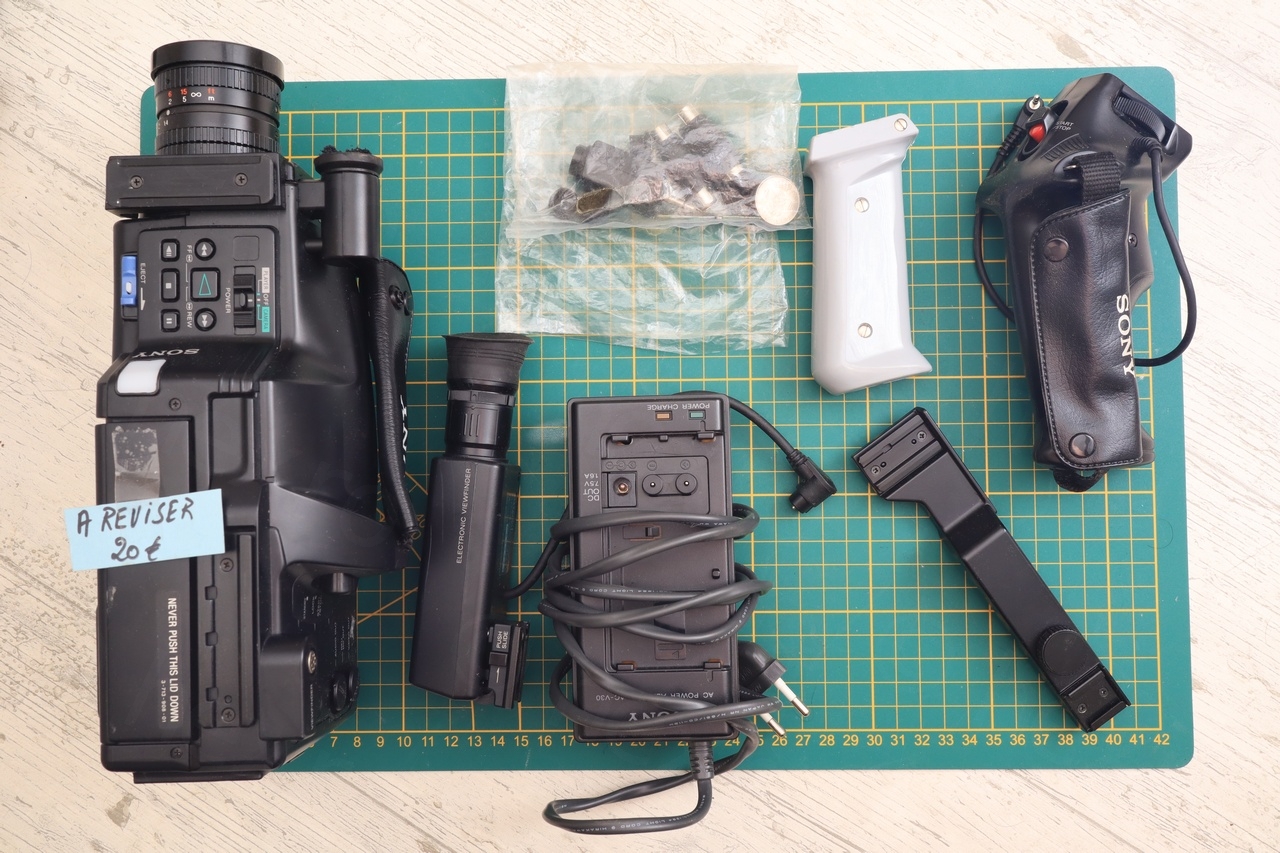
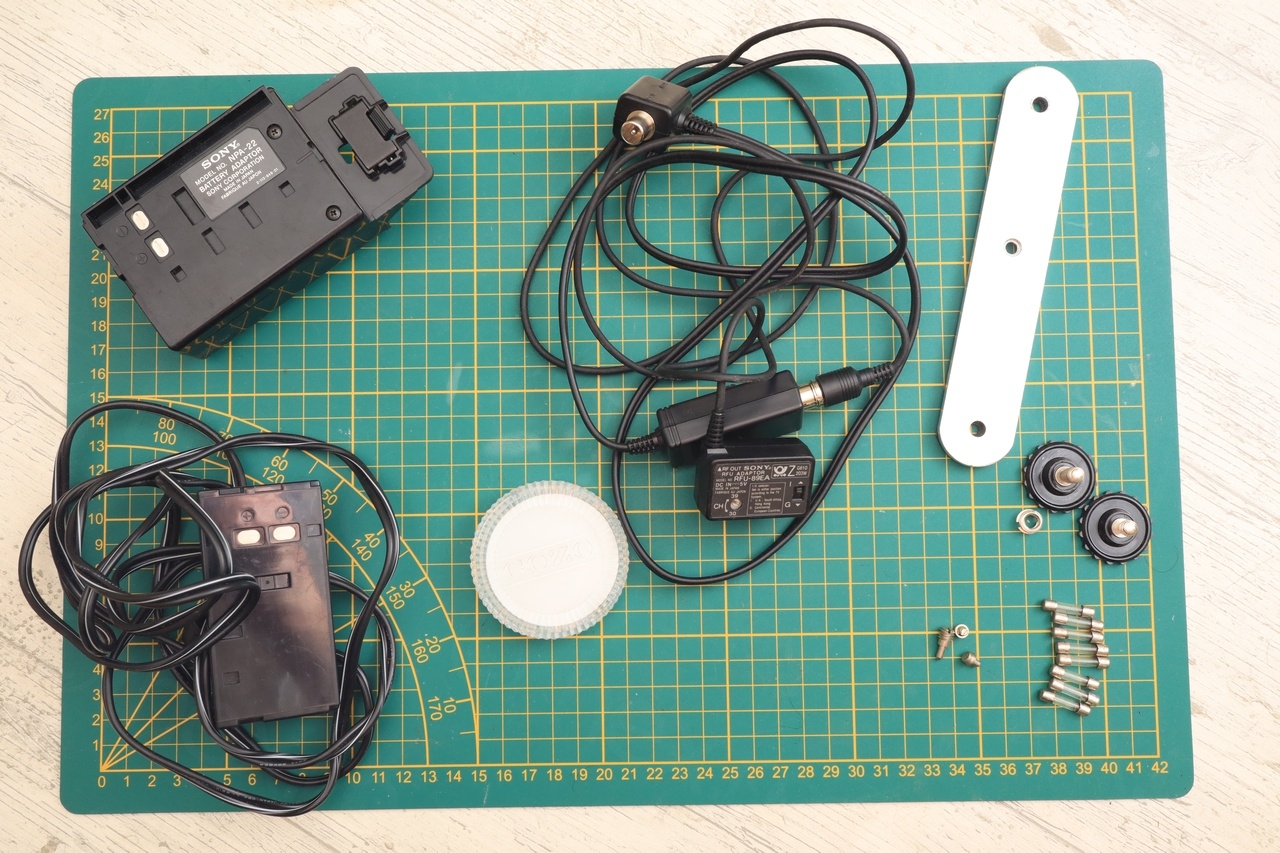
I like these boxes, you never know what you find inside 🙂 and it was rewarding. I found 1 Belgian Franc (1973), the RF adapter (will come in handy for TVs that do not have RCA input, just Antenna input), some flash bars and screws and many safety fuses.
Camera overview
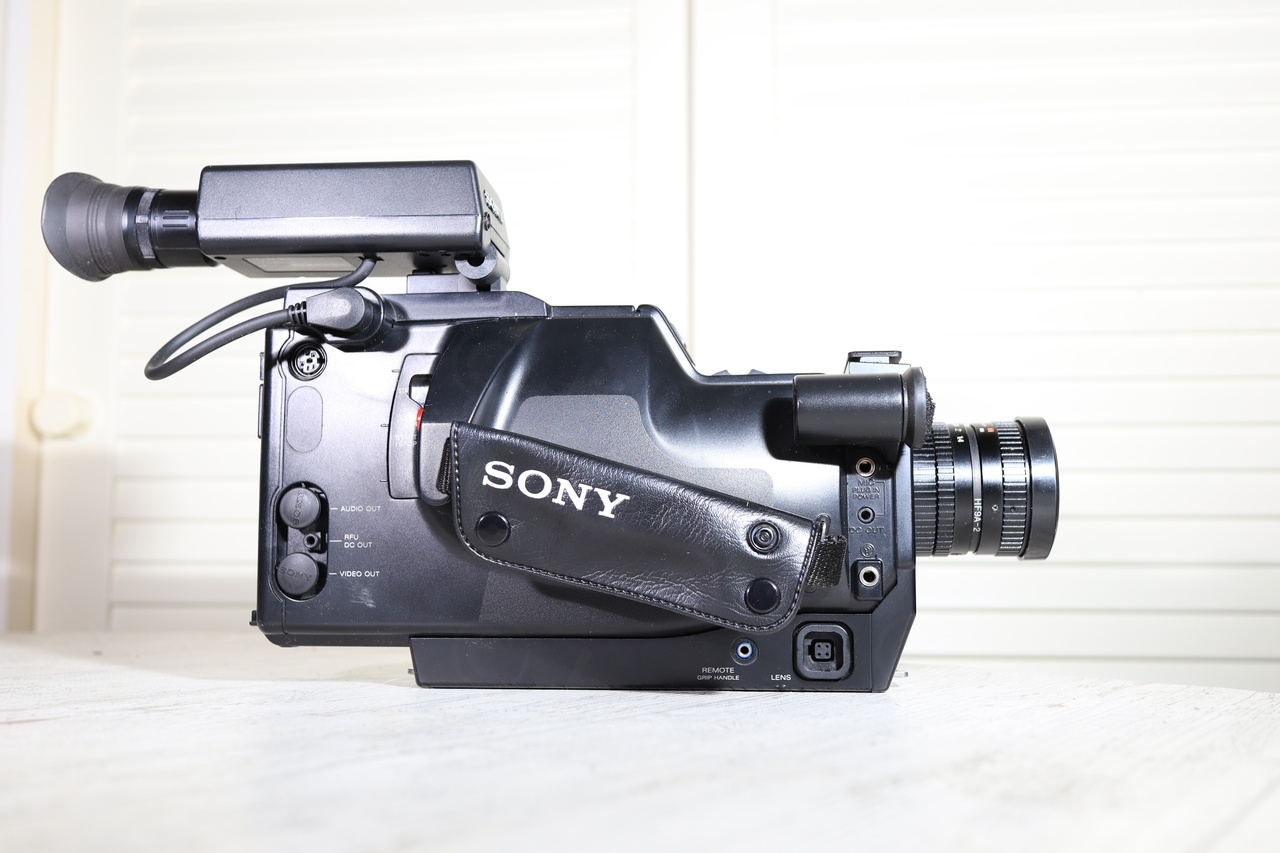
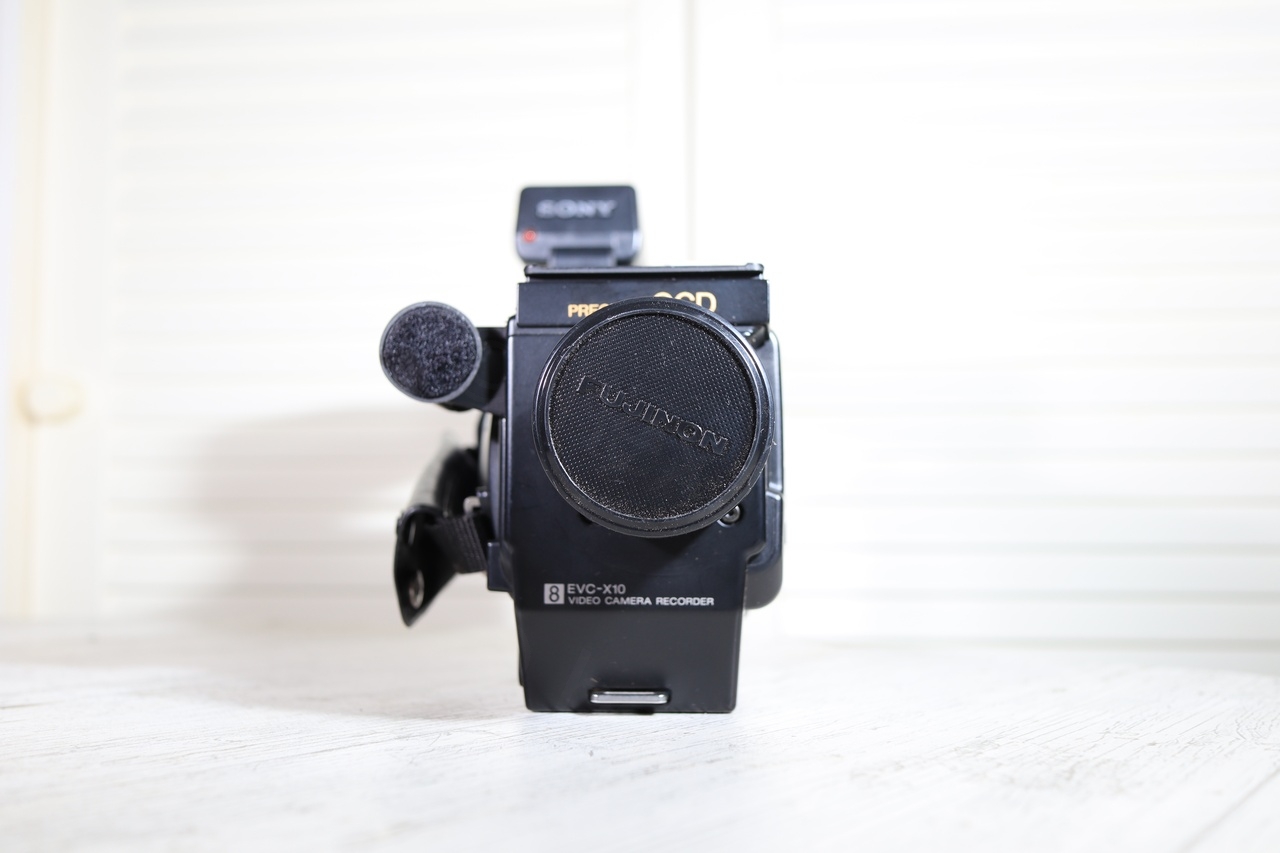
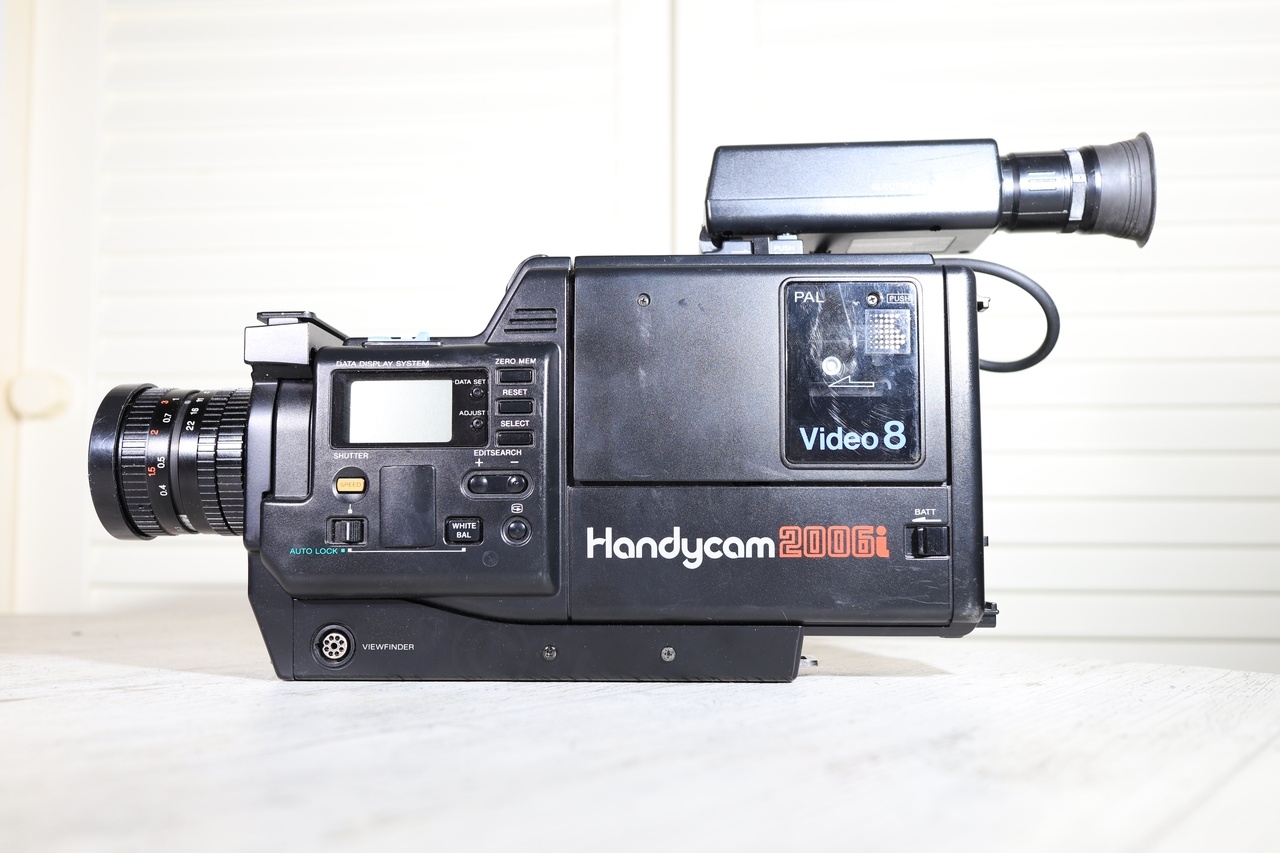
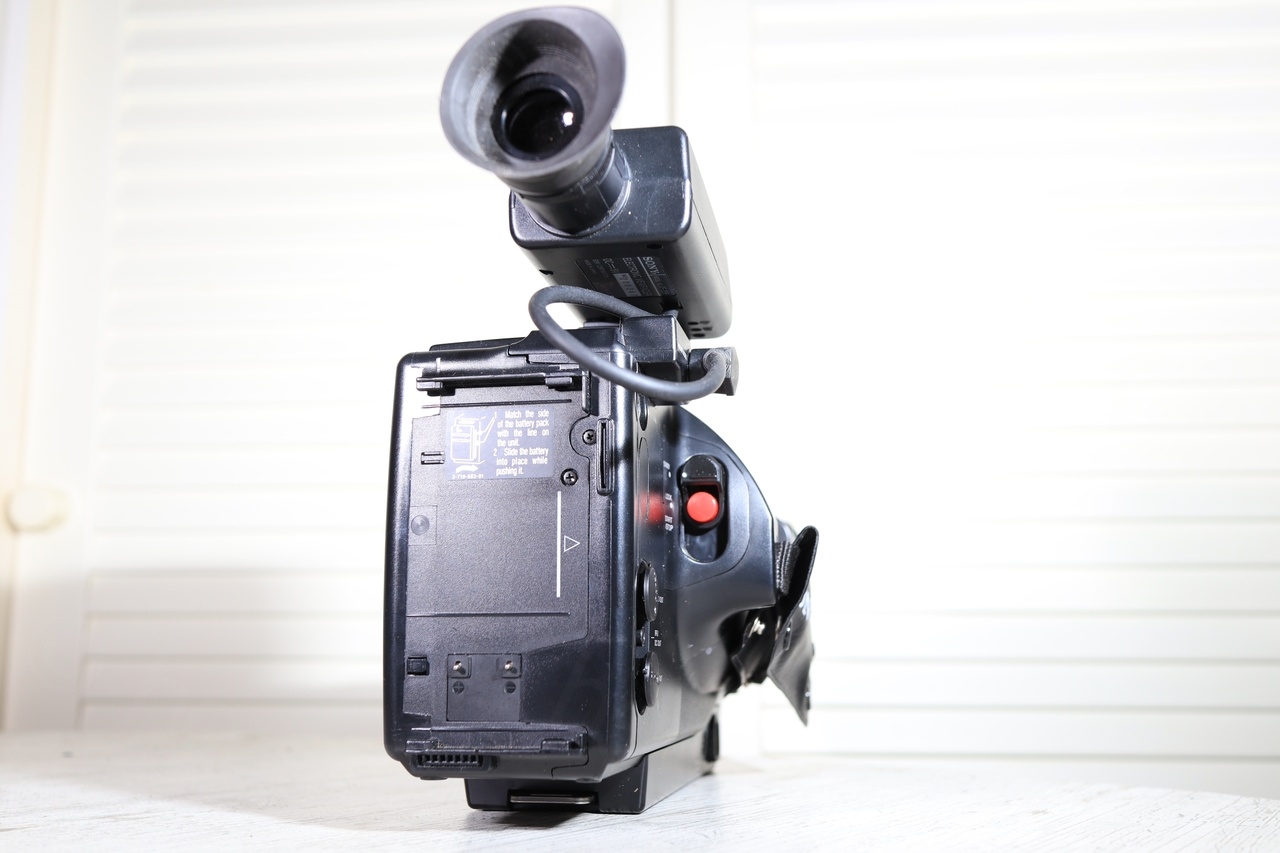
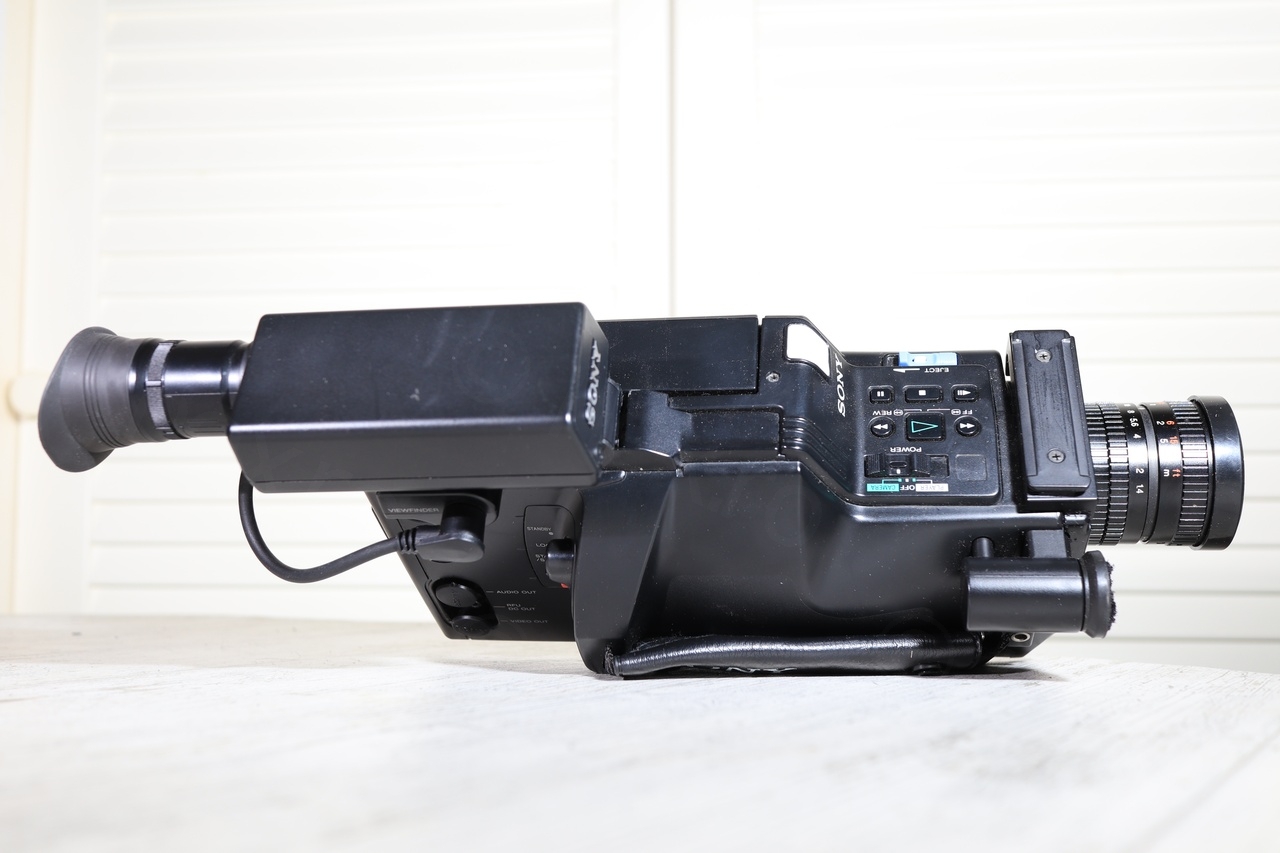
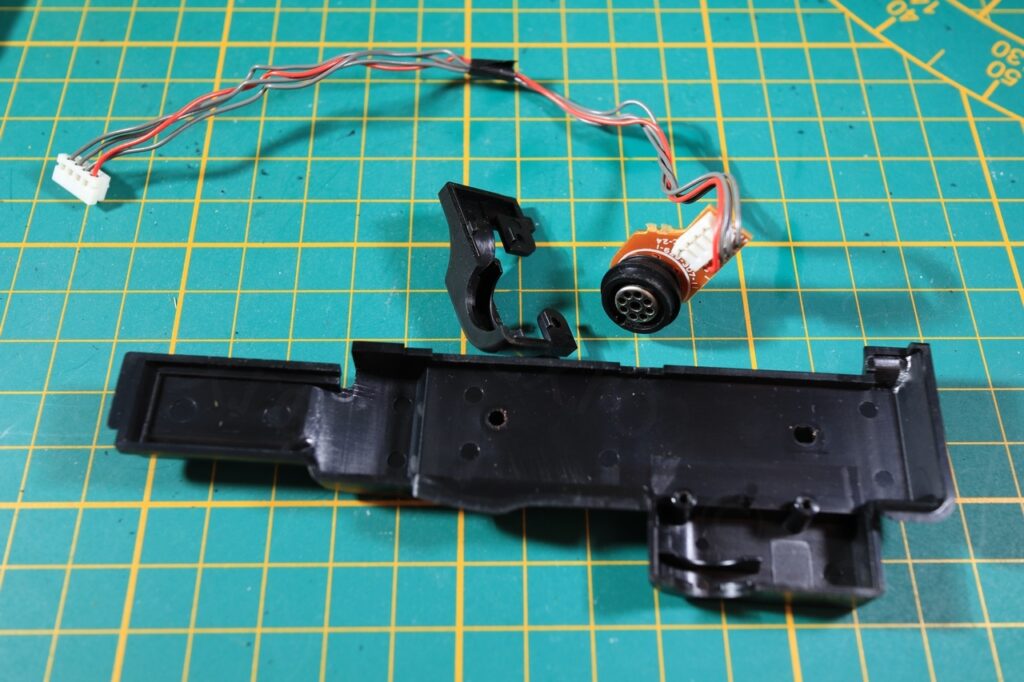
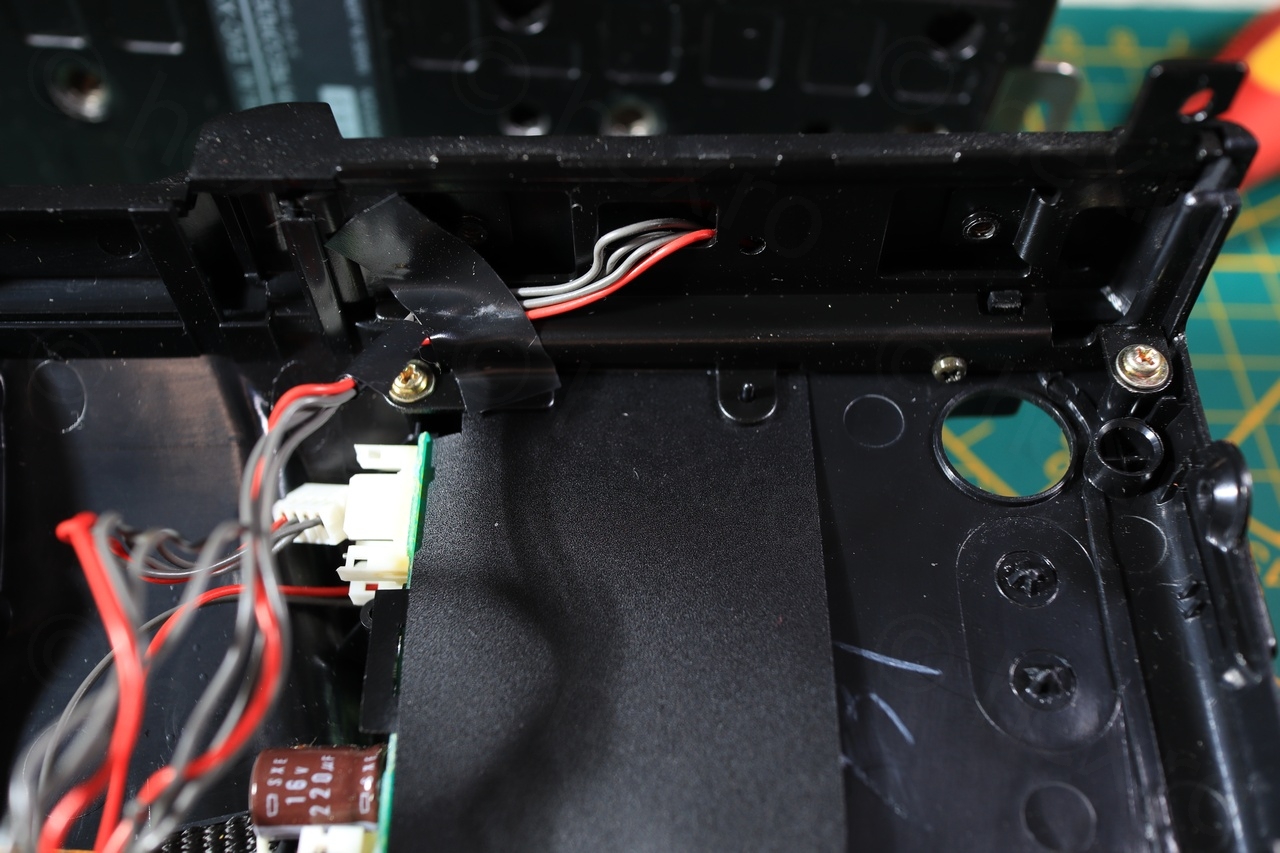
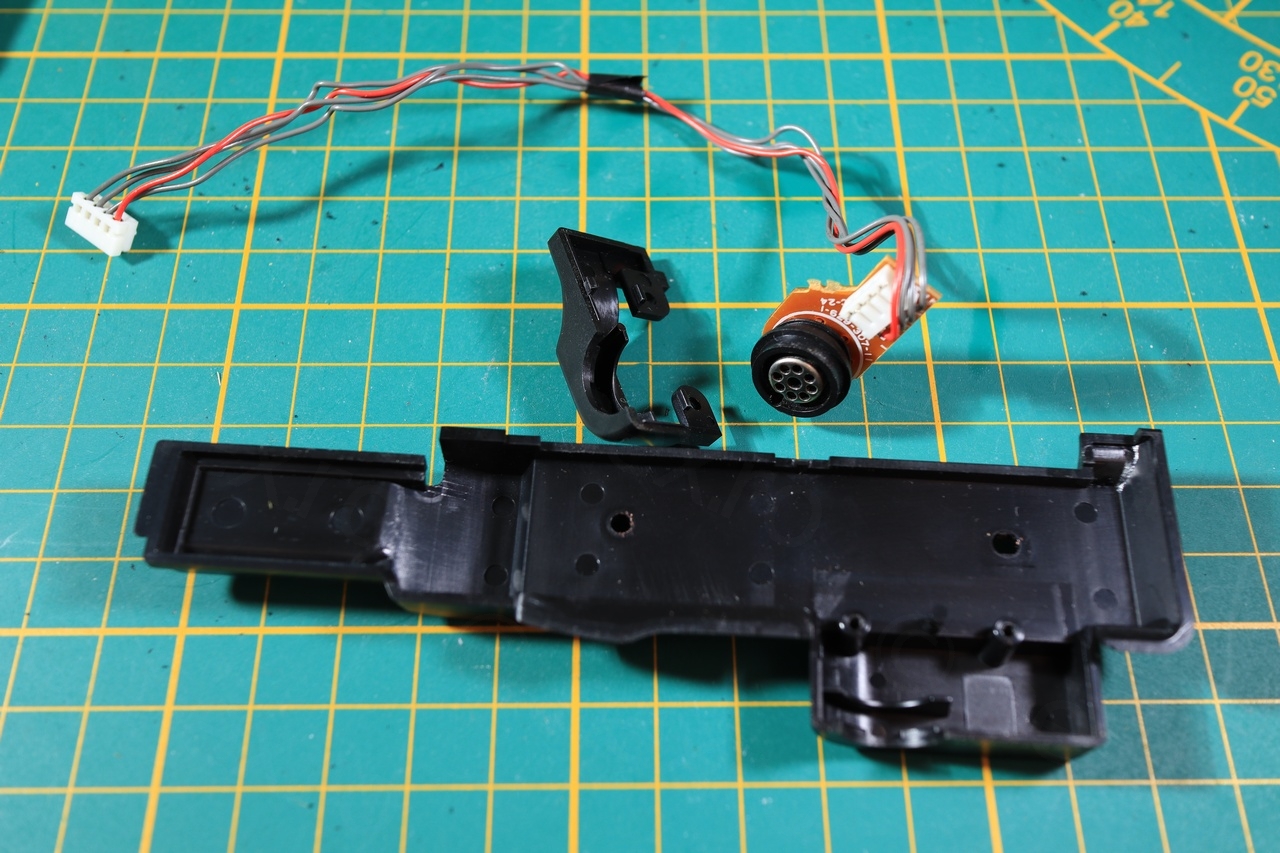
Big hefty camera (compared to modern standard) and even if the EVF unit was already detached, I still had to open it to at least recuperate the EVF unit round plug. The plug makes it way easier to test it without having to cut the original cable, etc.
The camera was easy to dismantle. I figured some curious kid tried to open it (the sellers were an old couple) as some of the screws were out already. After few minutes I was already inside, thankfully the EFV plug was a module in itself, with its own wires.
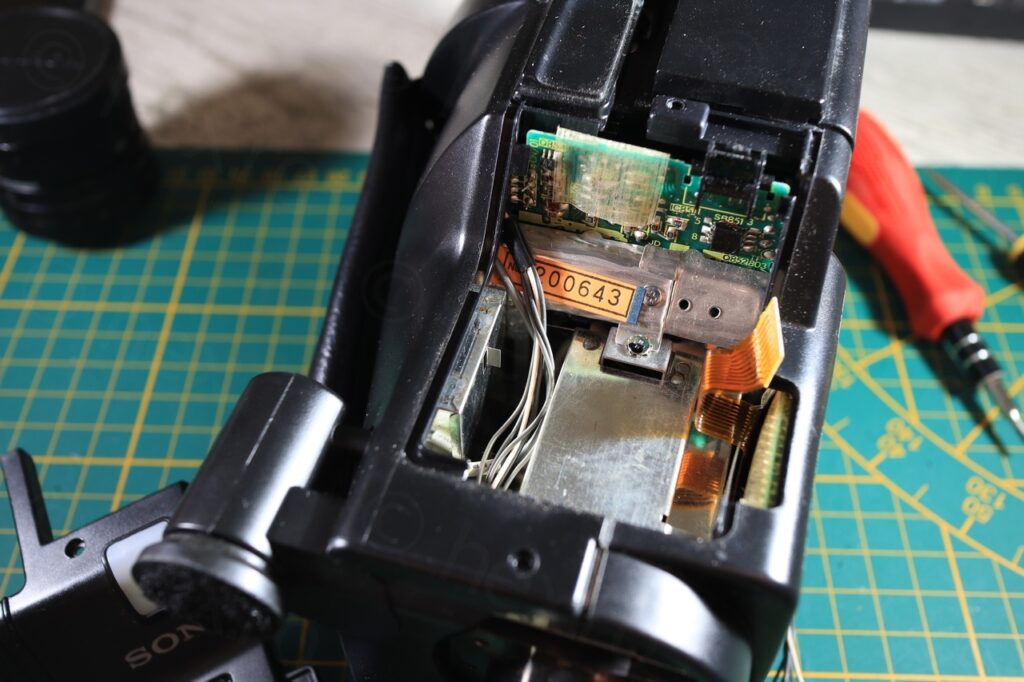

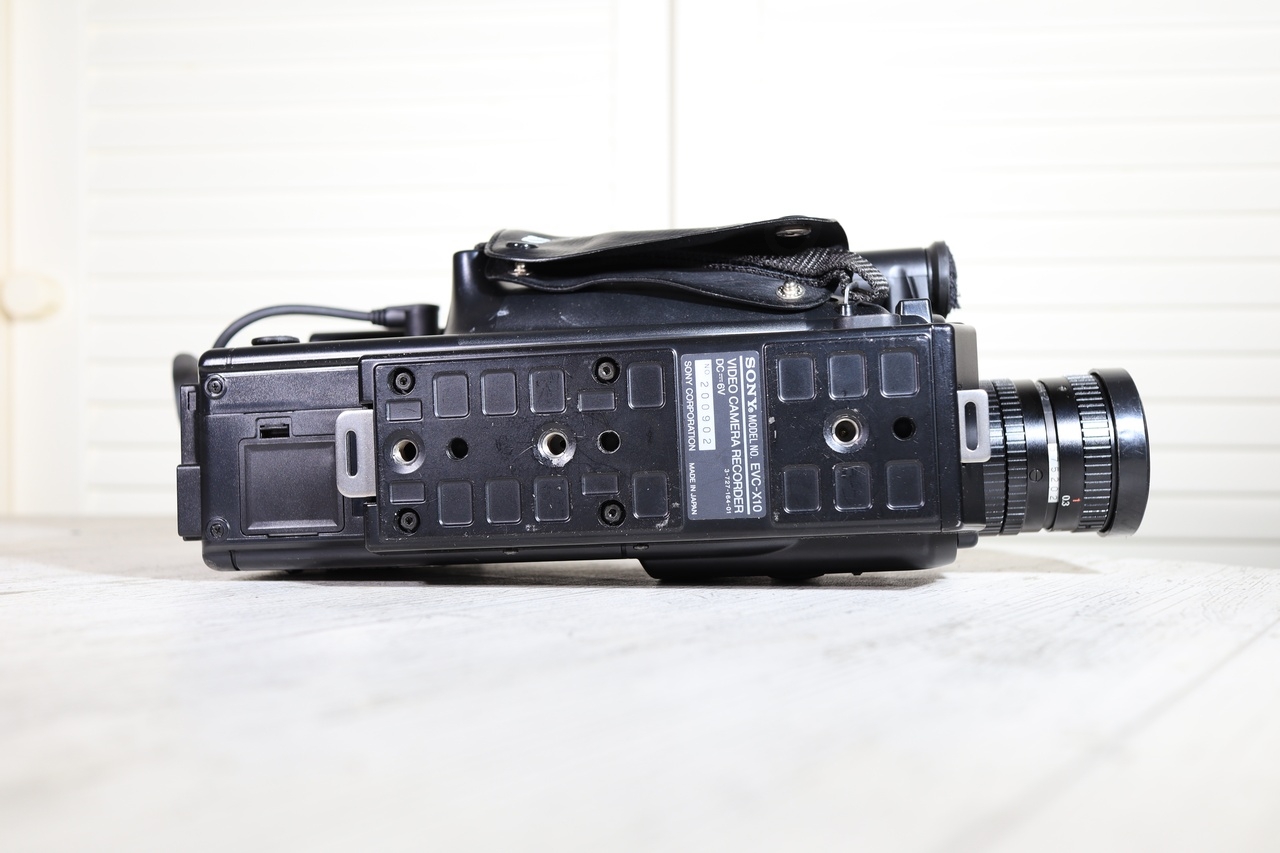
Date code 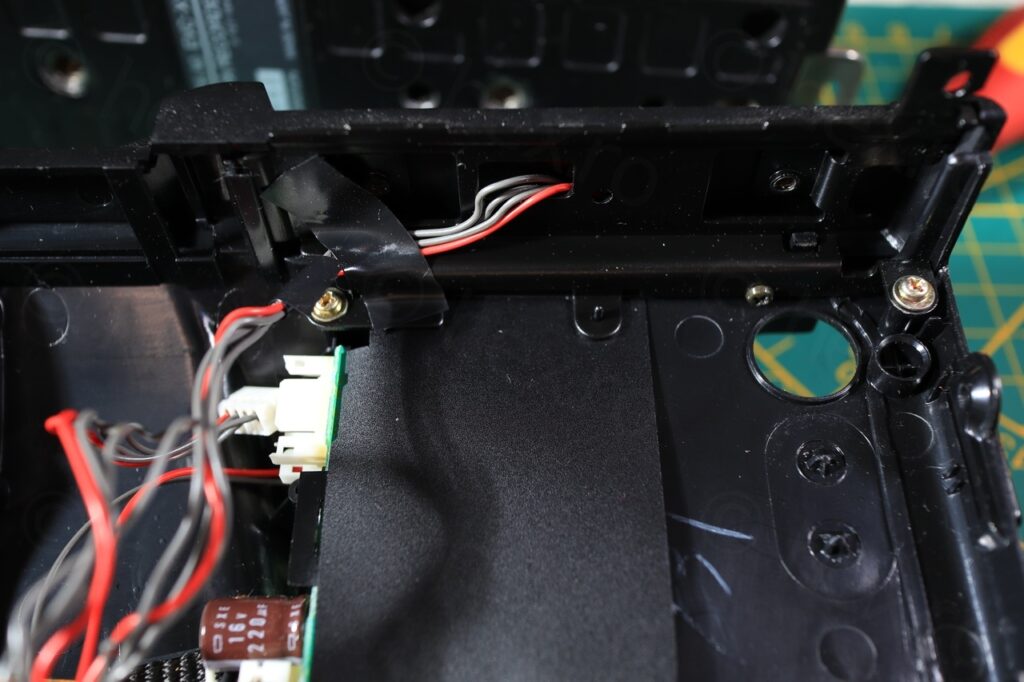


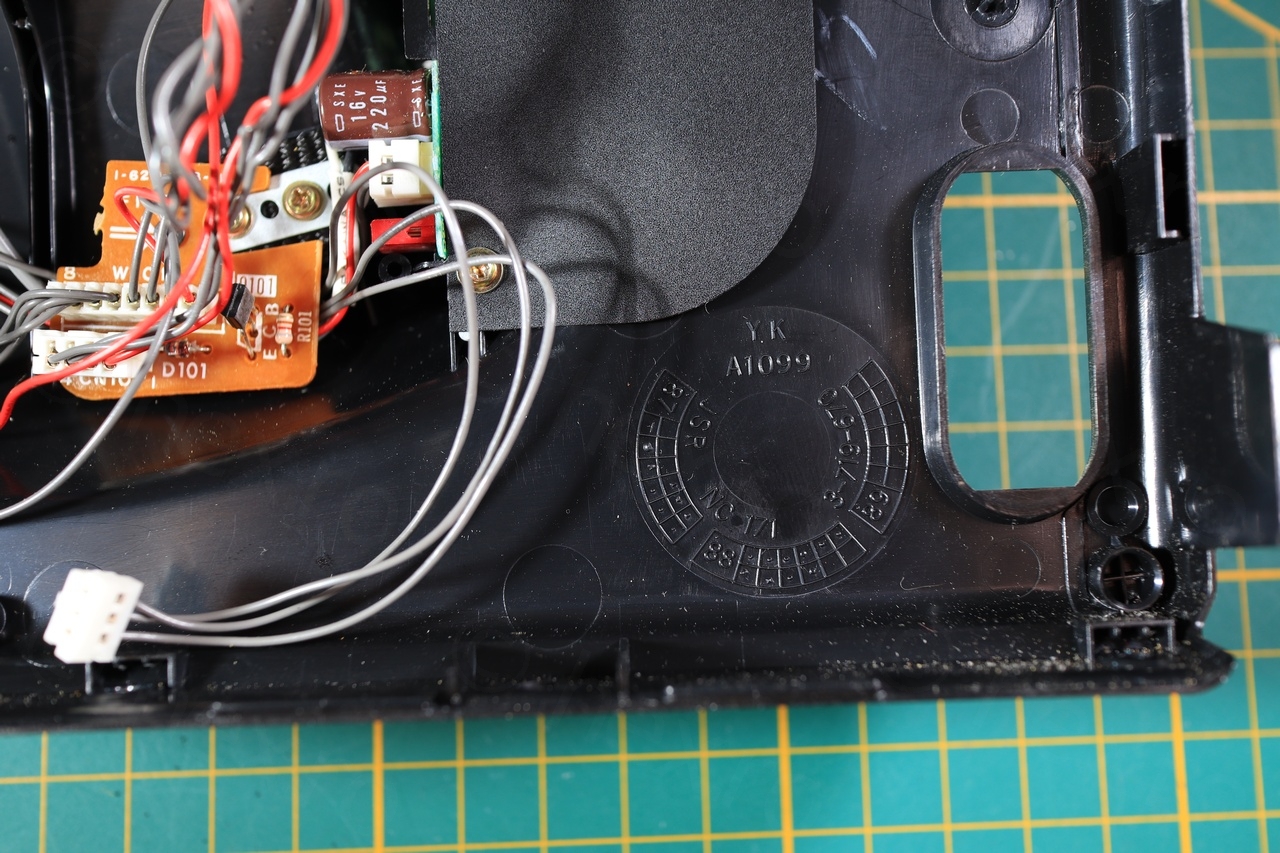
Date code stamped inside the plastic case shows Oct 1988.
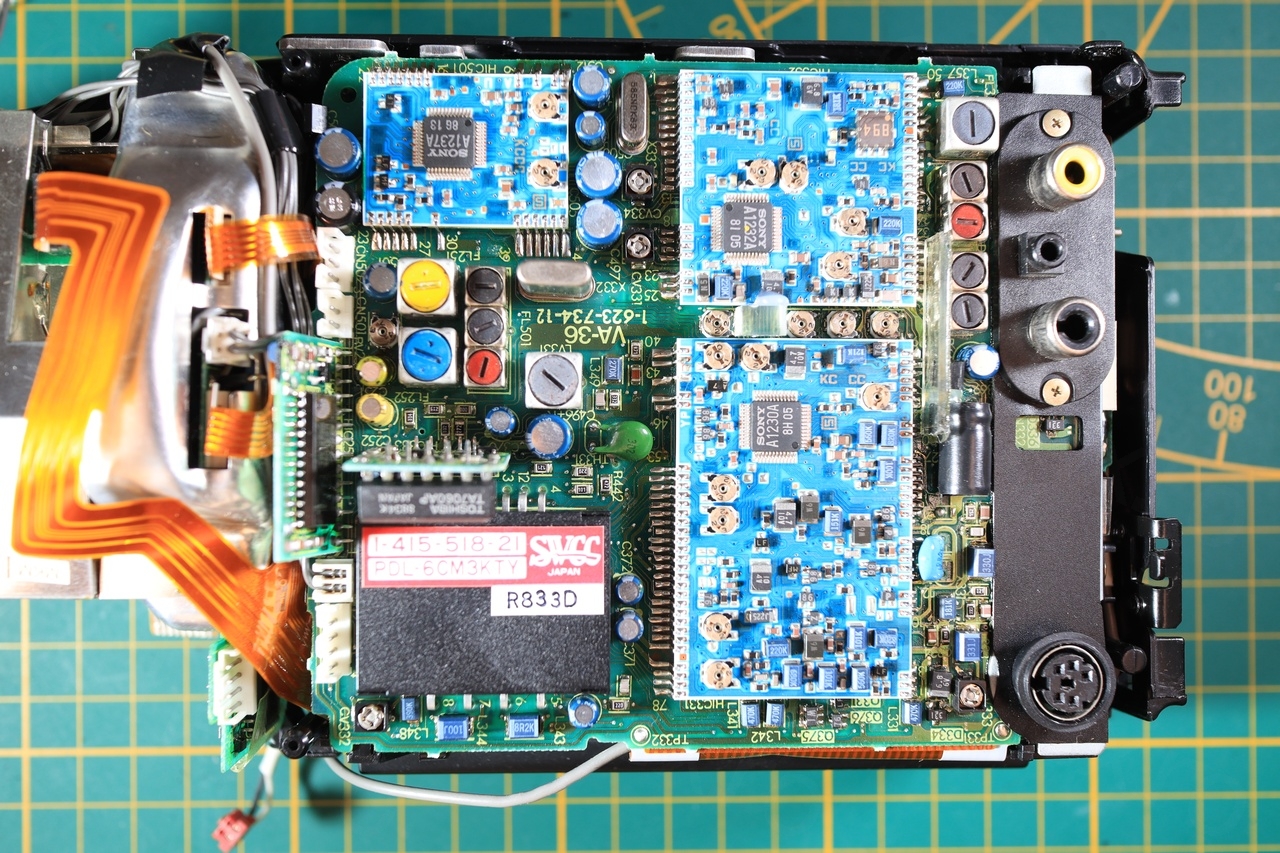
Curiosity got the best of me and I proceeded with further dismantling. Found a very neat folded motherboard – and only one bodge:

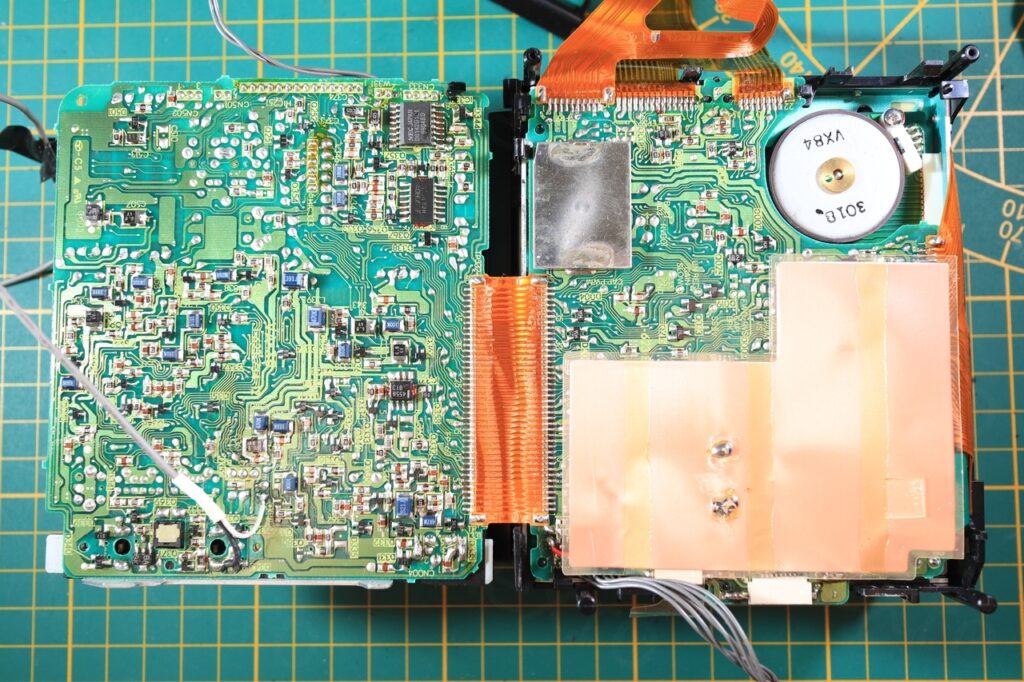
Folding motherboard 
Small bodge.

Not many other things to salvage from the camera though. I kept the quartz crystals, some inductors and few small pots.
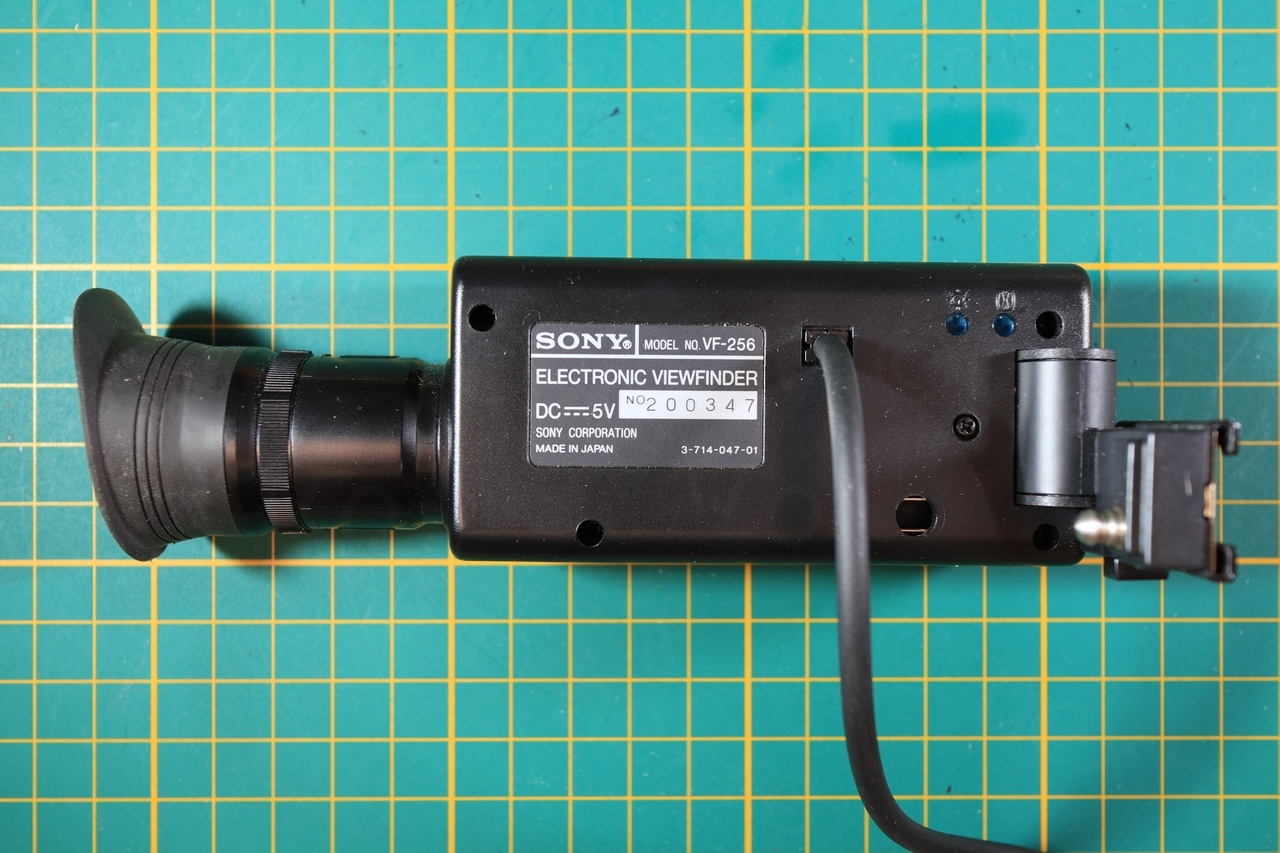
Electronic View Finder – tests, repairs and more tests
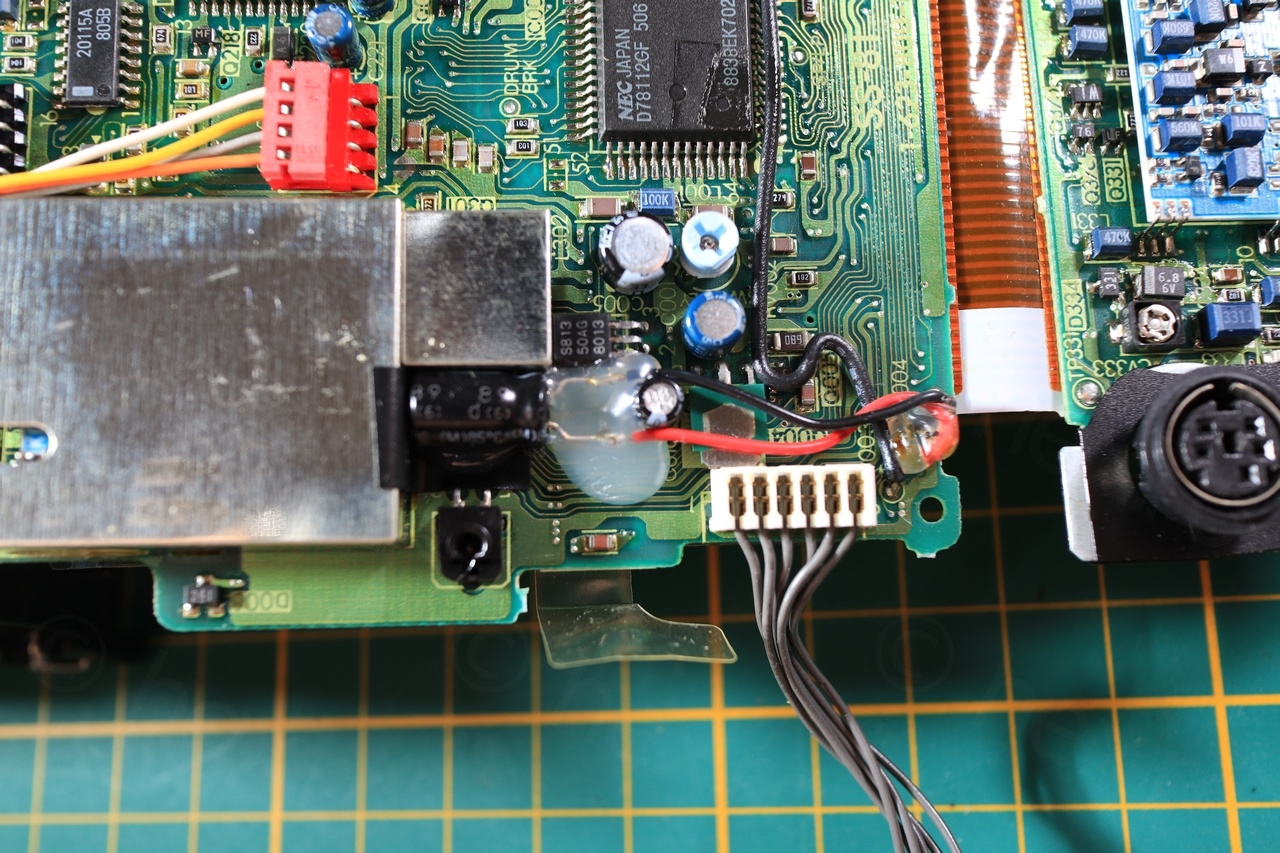
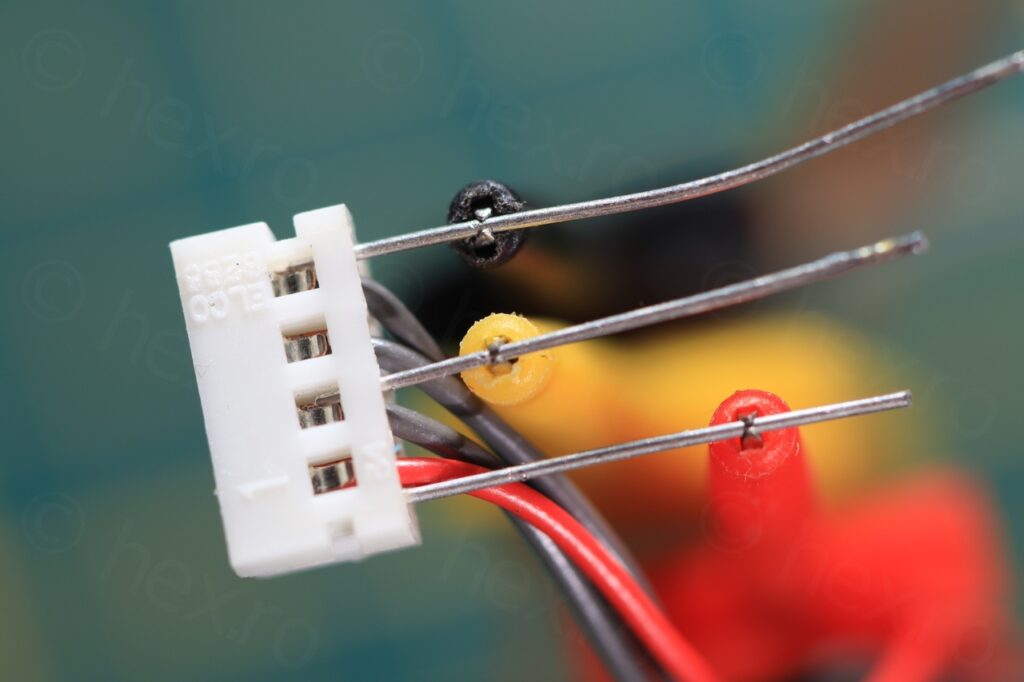
Without more things to look for, I have decided to go ahead and try to test the EVF unit. Open it up is needed for identifying what wire is for what signal:

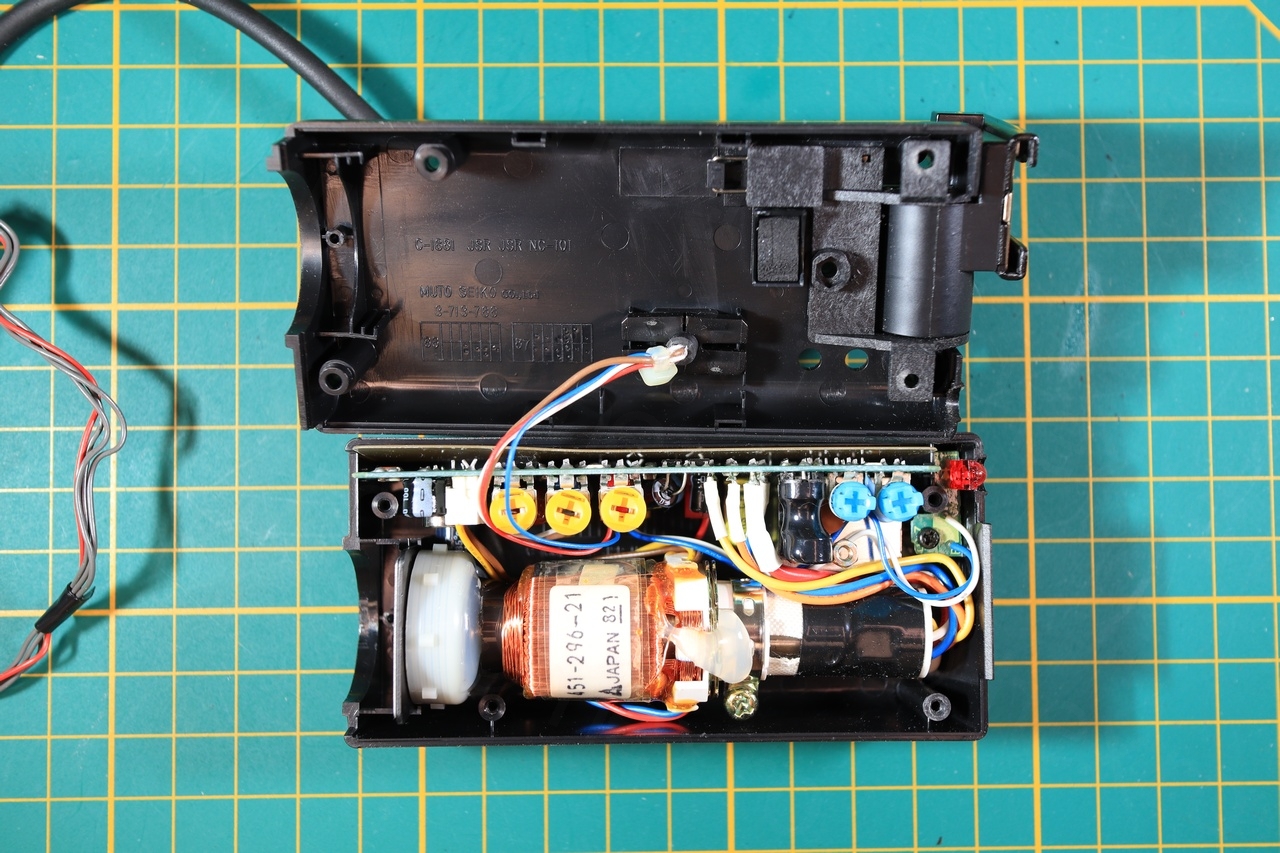

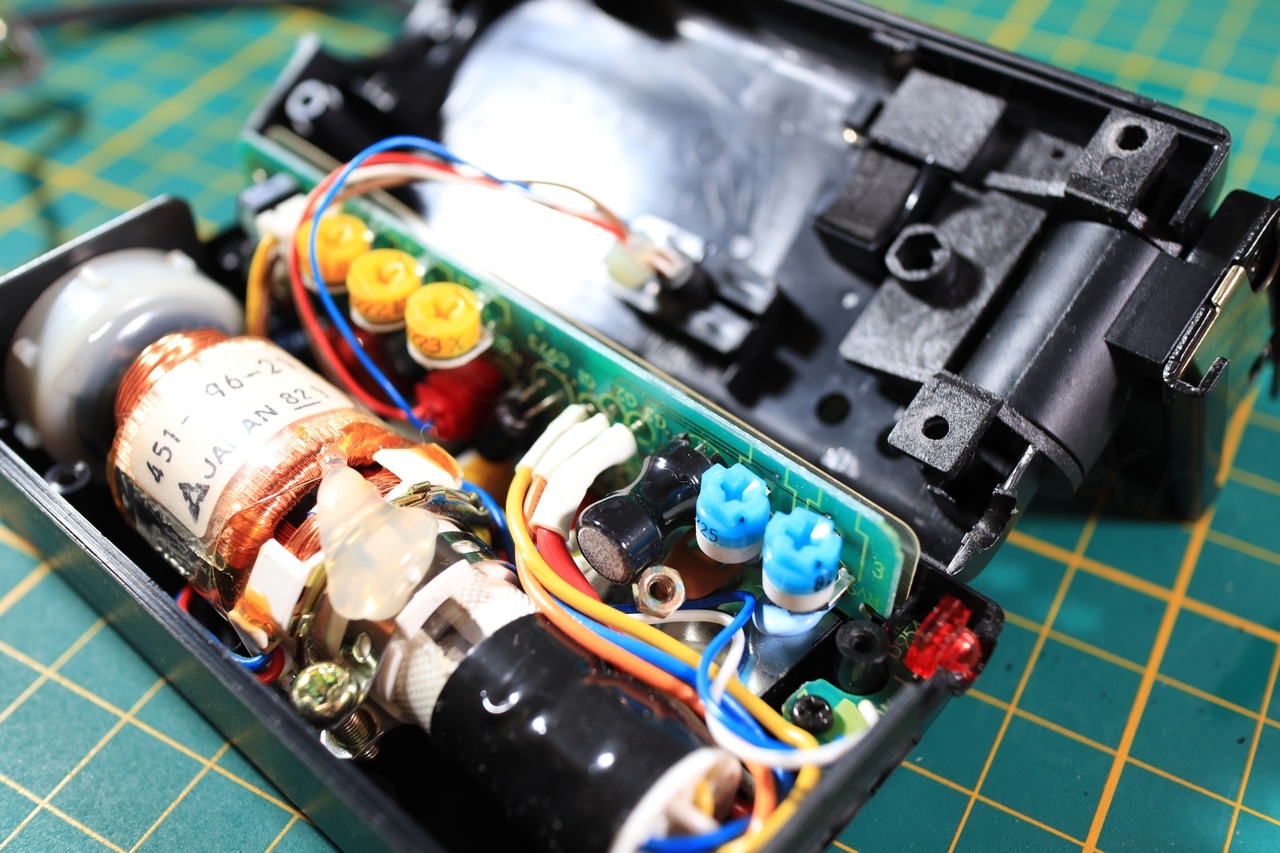
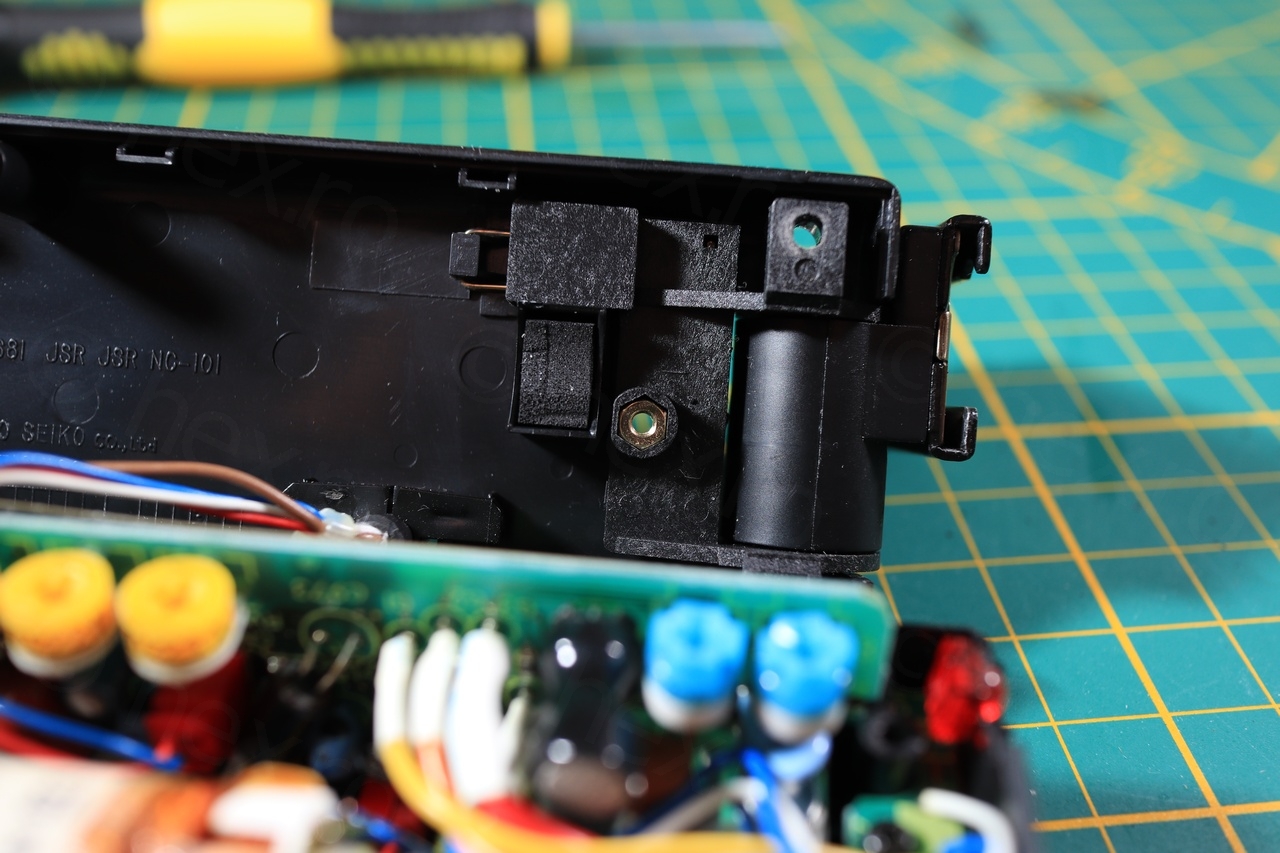
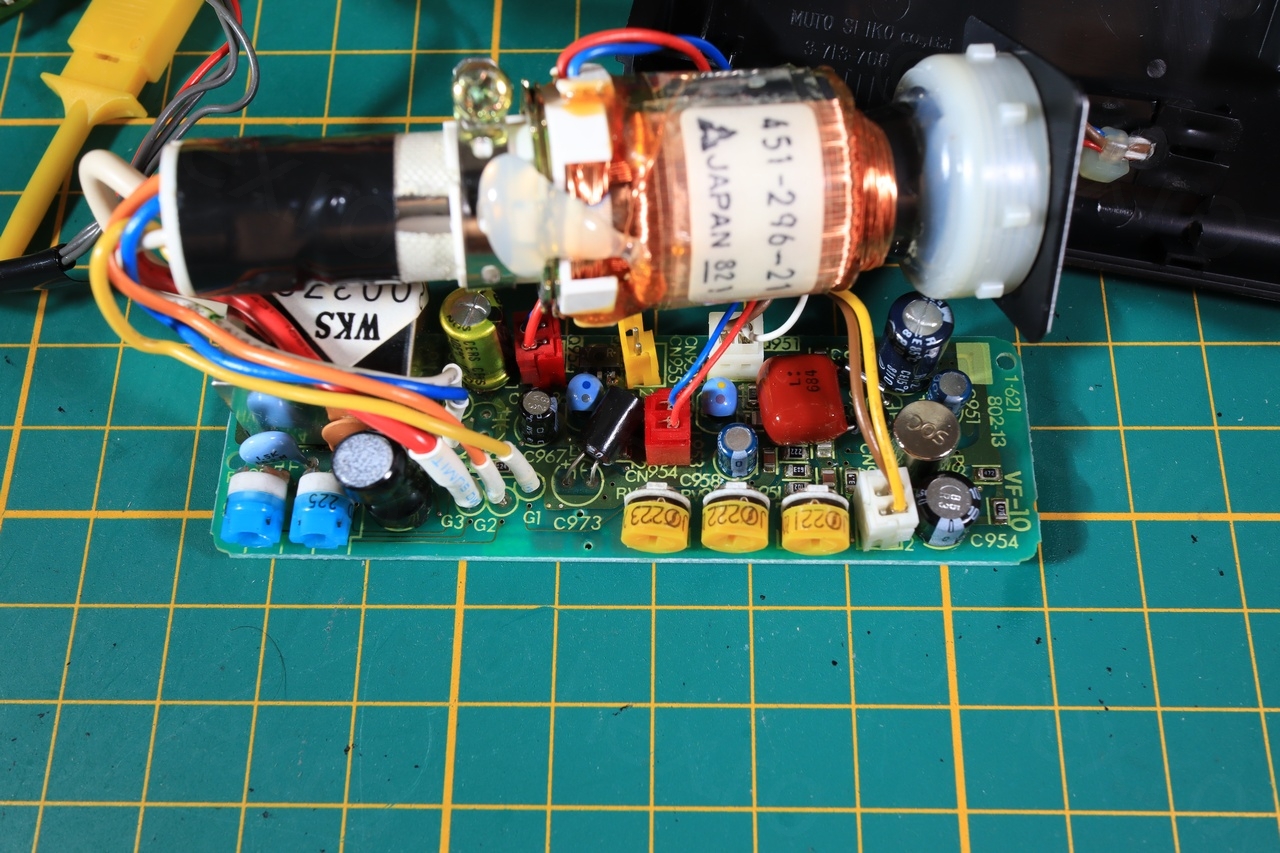

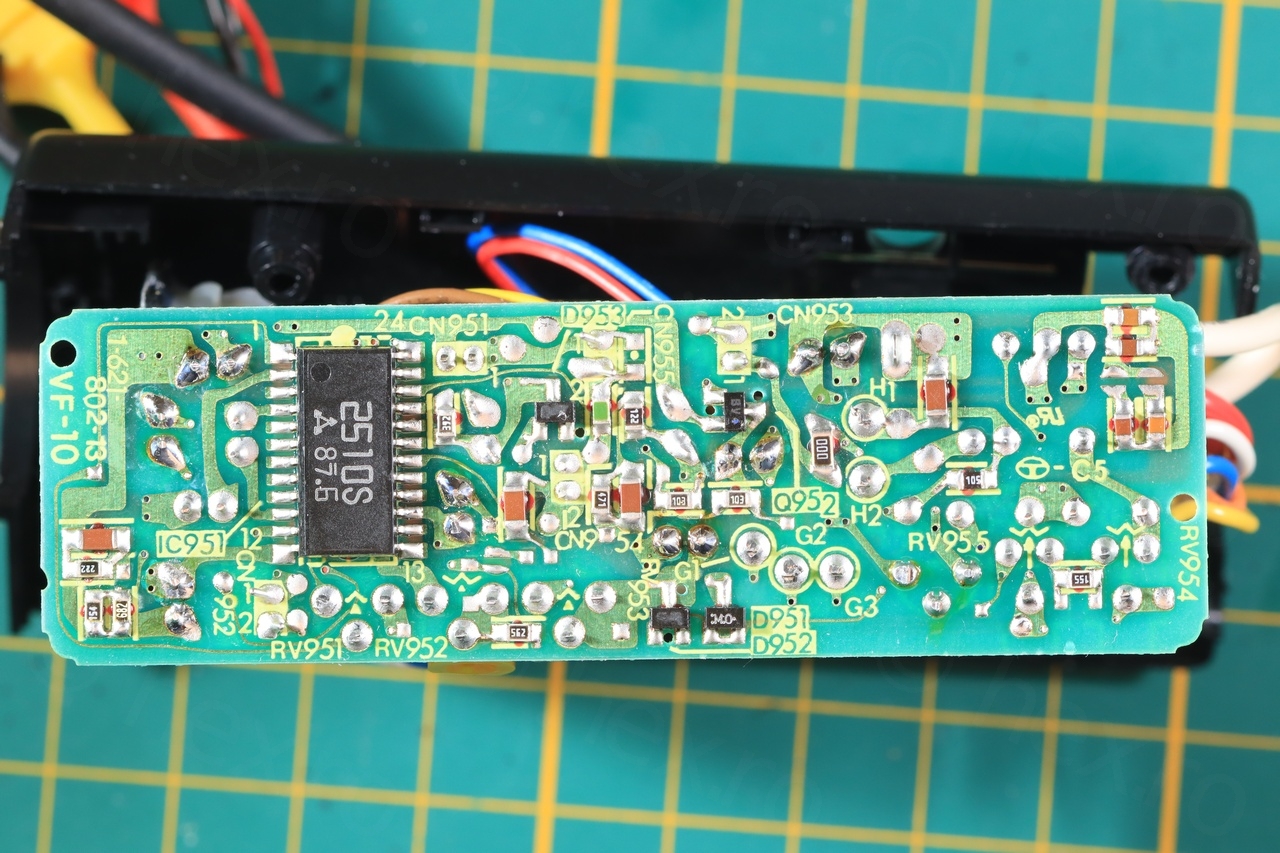
I start to like these older EVF units. The newer ones seem almost made with Copy/Paste, but these older ones have their own personality in a way. Core of the board is a AN2510S IC and many adjustments pots are available.
I was able to identify the signal pins easily, knowing that the case of Flyback Transformer is connected to GND, and then, as I was probing the other different wires, the continuity meter beeped very shortly when testing the red wire. Most likely the Red wire is VCC and the continuity meter shortly charged one capacitor. The Video IN wire is just next to the VCC (when using the EVF plug wires):
However, powering up the little CRT provided showed both good and bad behavior: the image was flickery white – connecting the Video IN signal just made it stable white. After a little bit I smelled the leaky capacitor ‘oil’ smell …
After one round of in-circuit testing using the ESR meter, where almost all caps where shown as in circuit / leaky, I decided to desolder them and measure them outside the circuit.
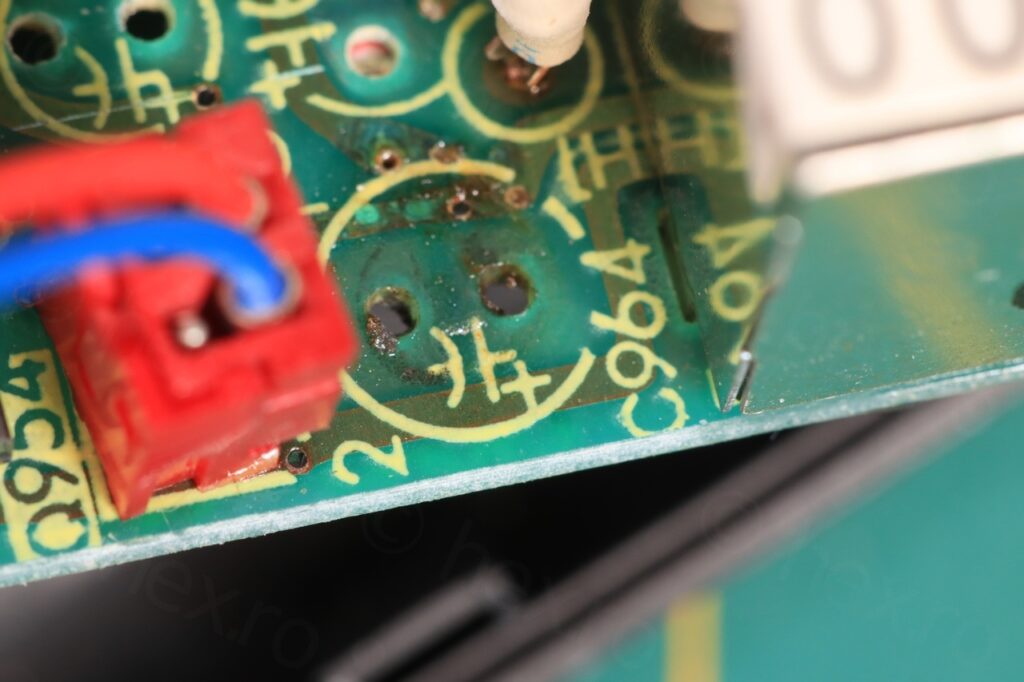
Leaky Capacitor residue. 
Cleaned up pads. 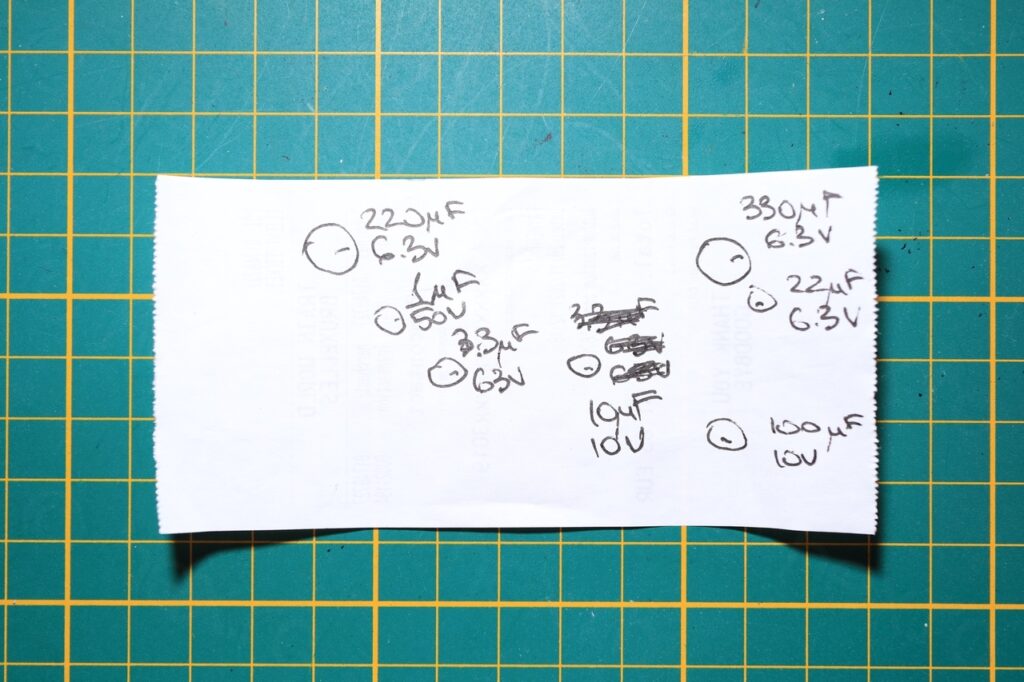
“Map” of capacitors. 

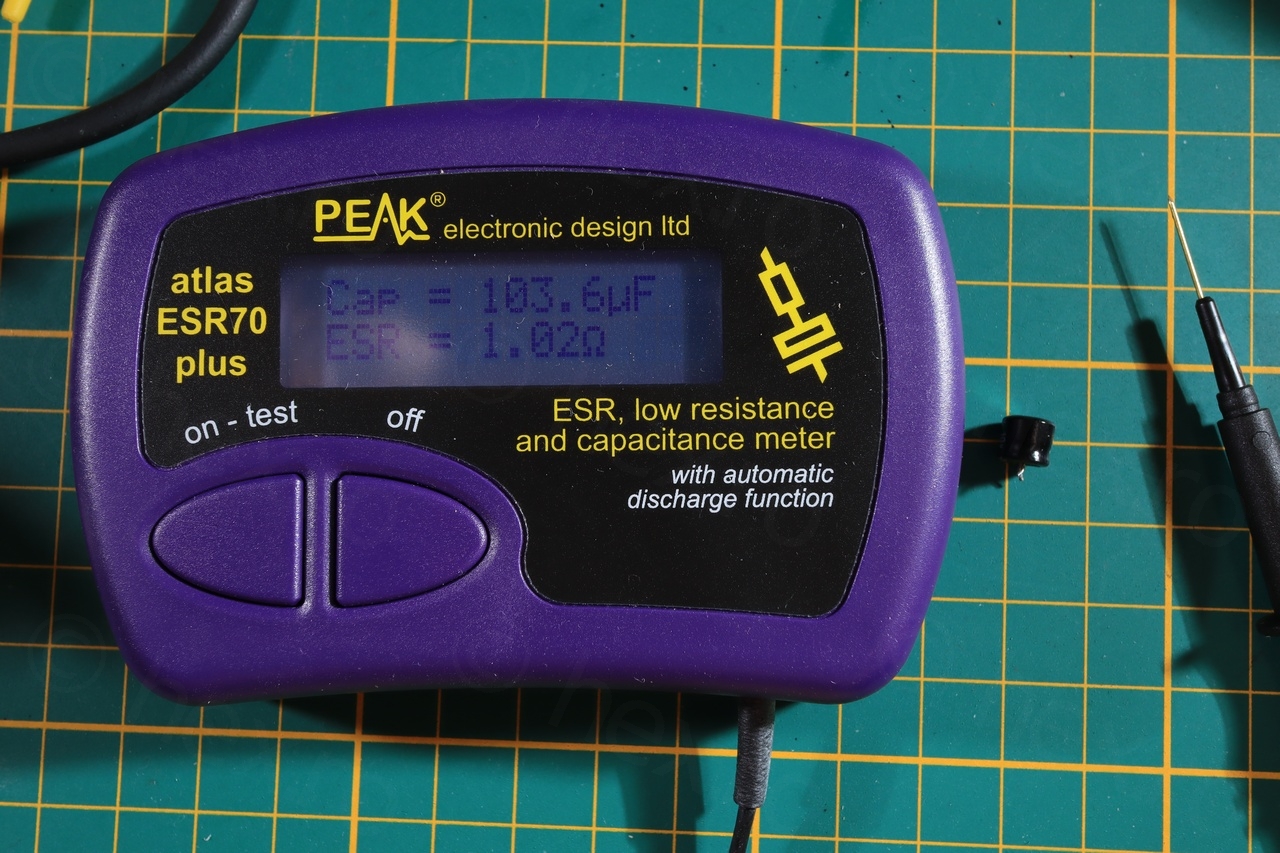
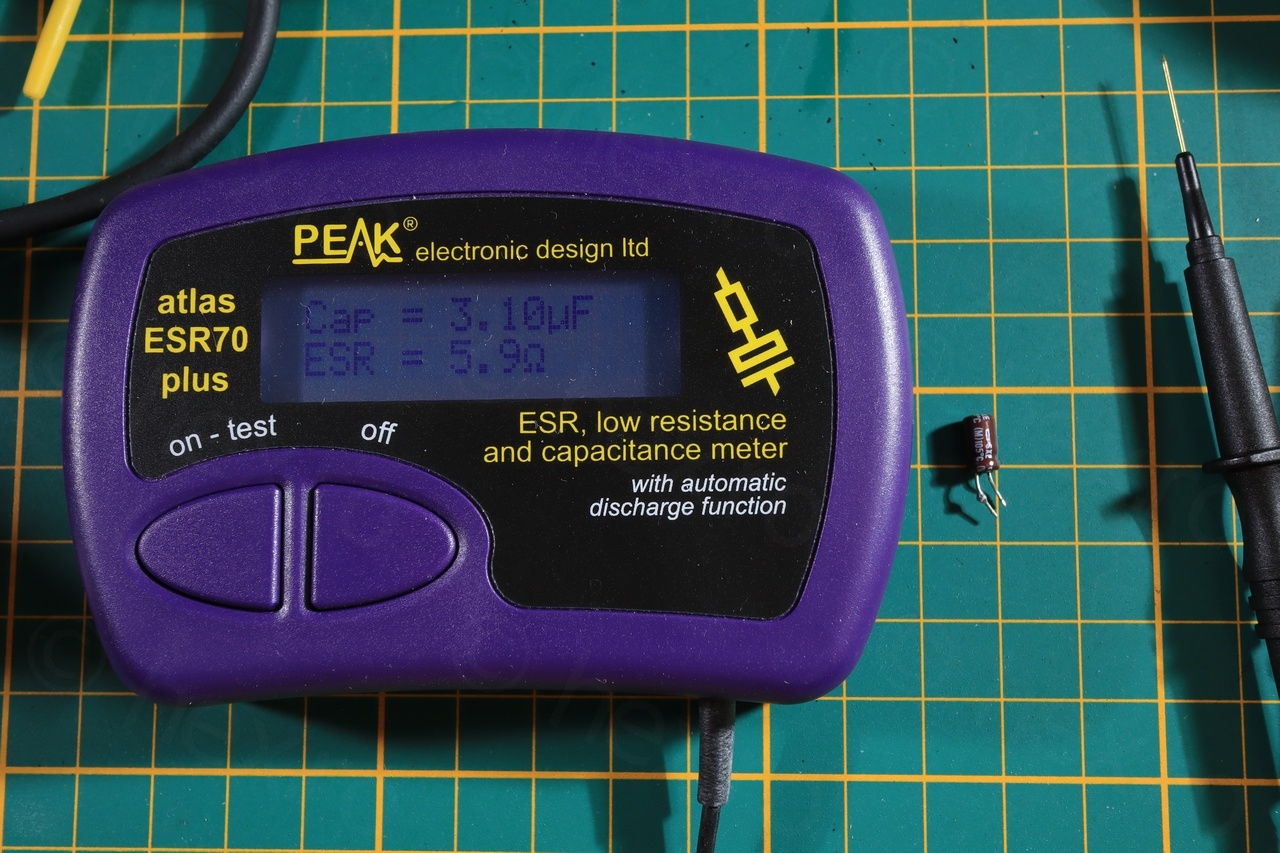
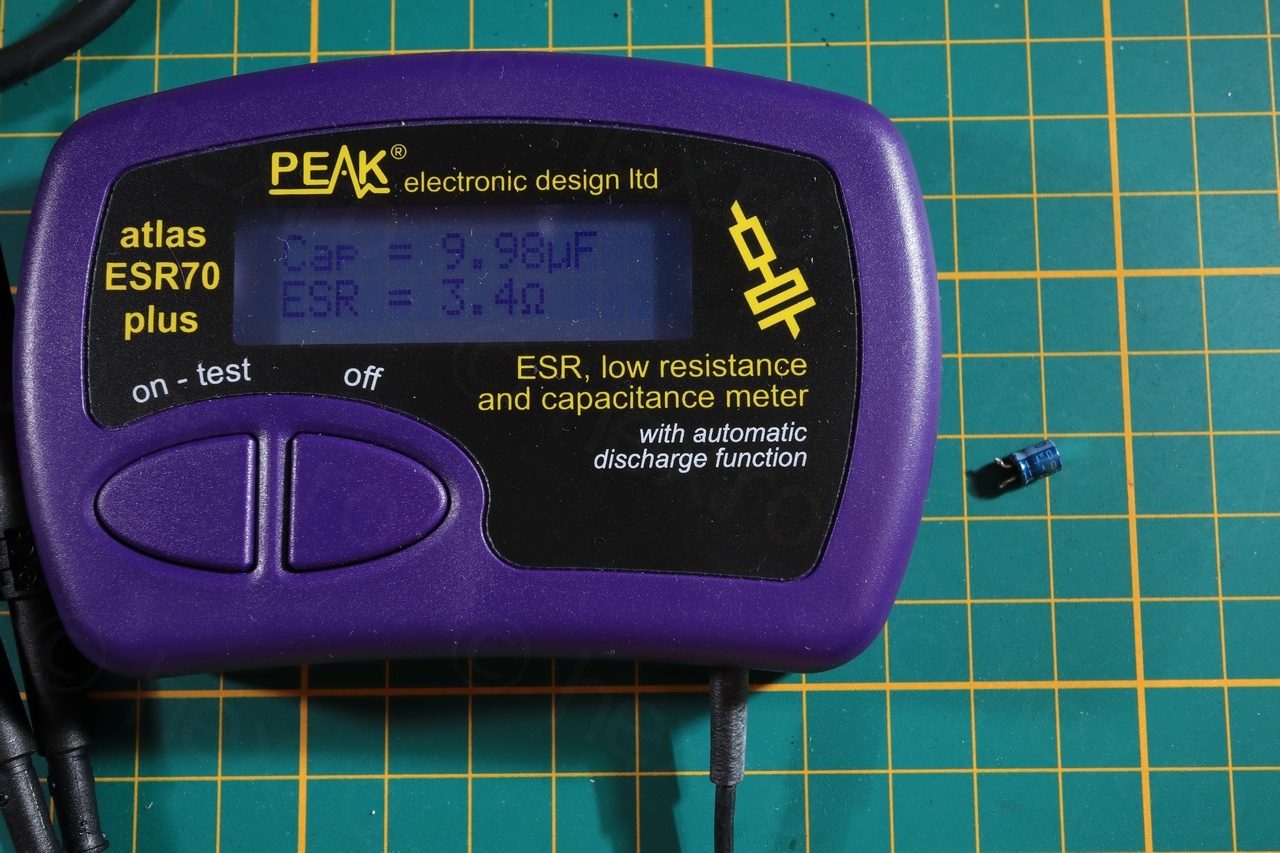
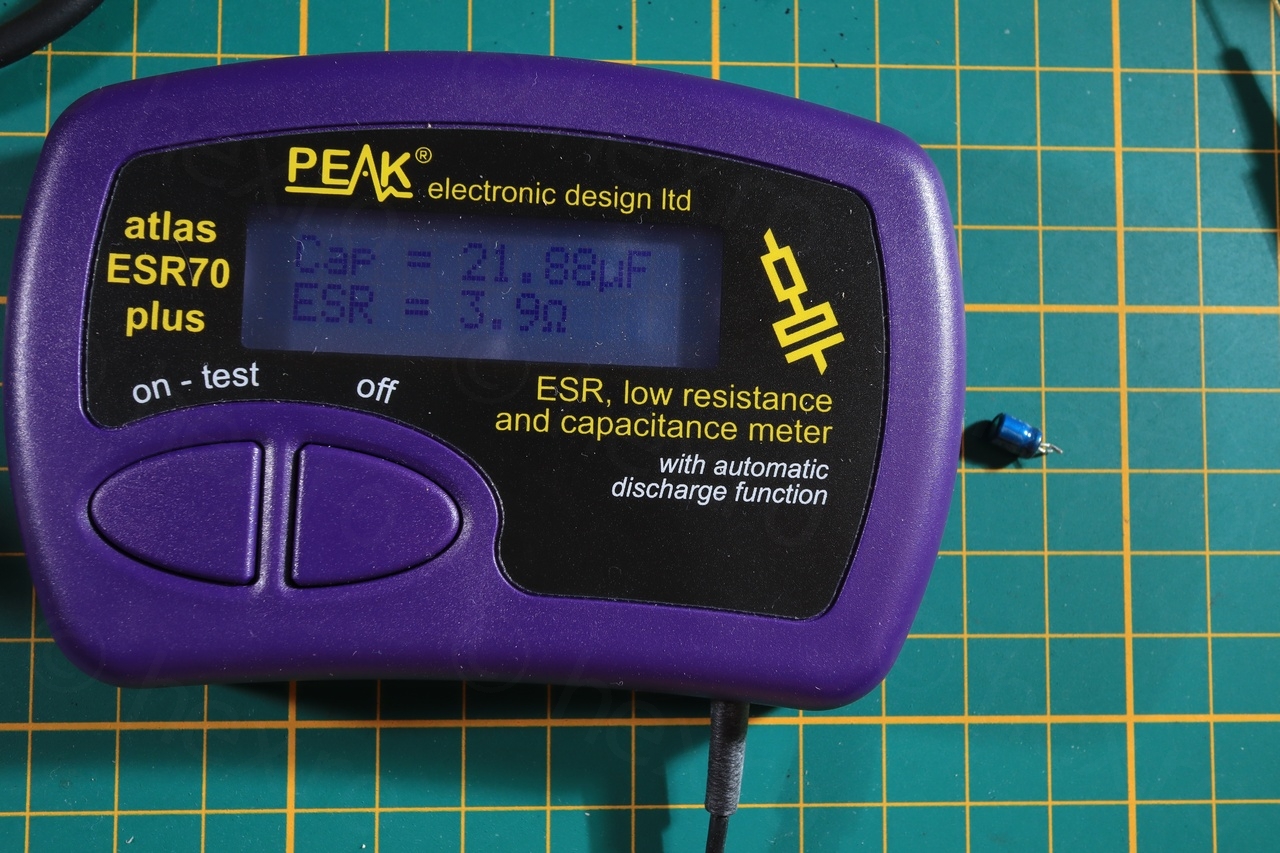
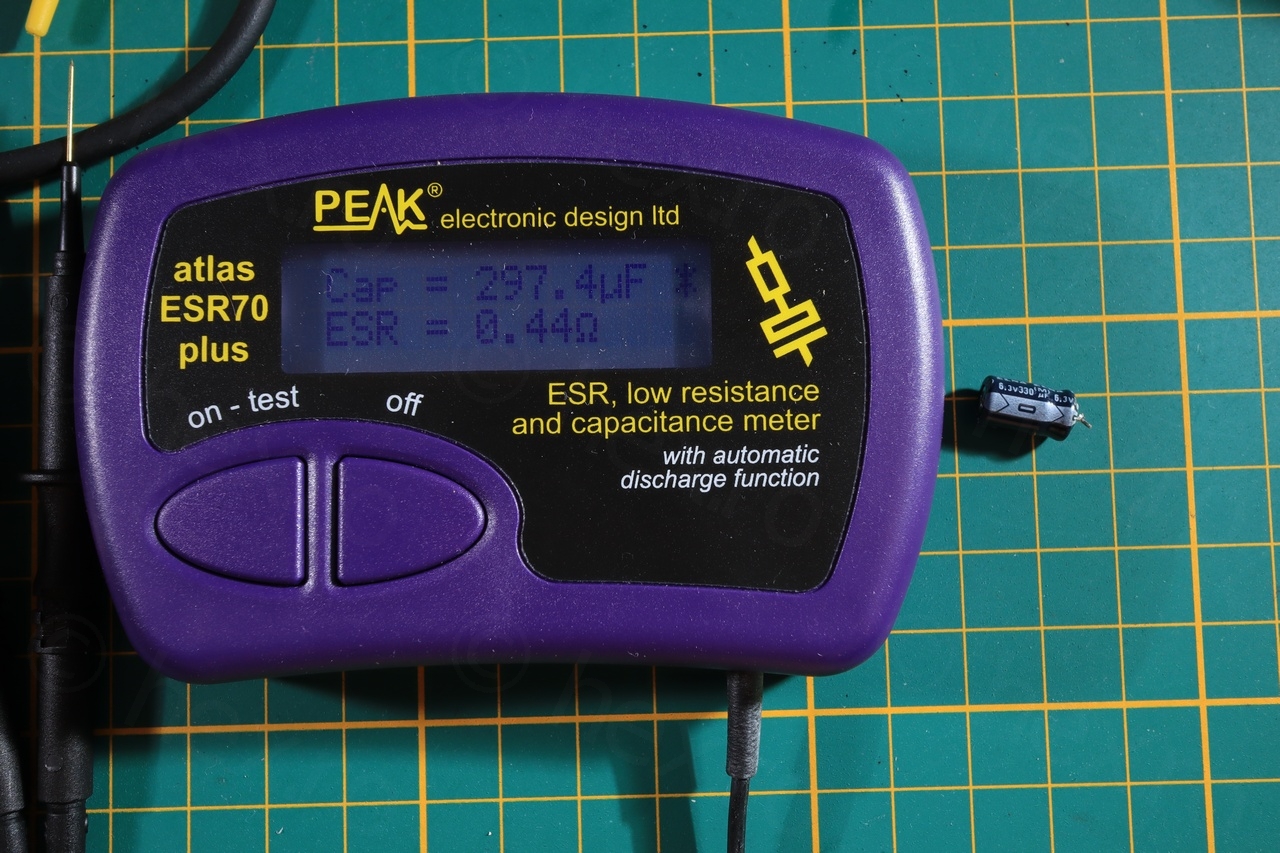
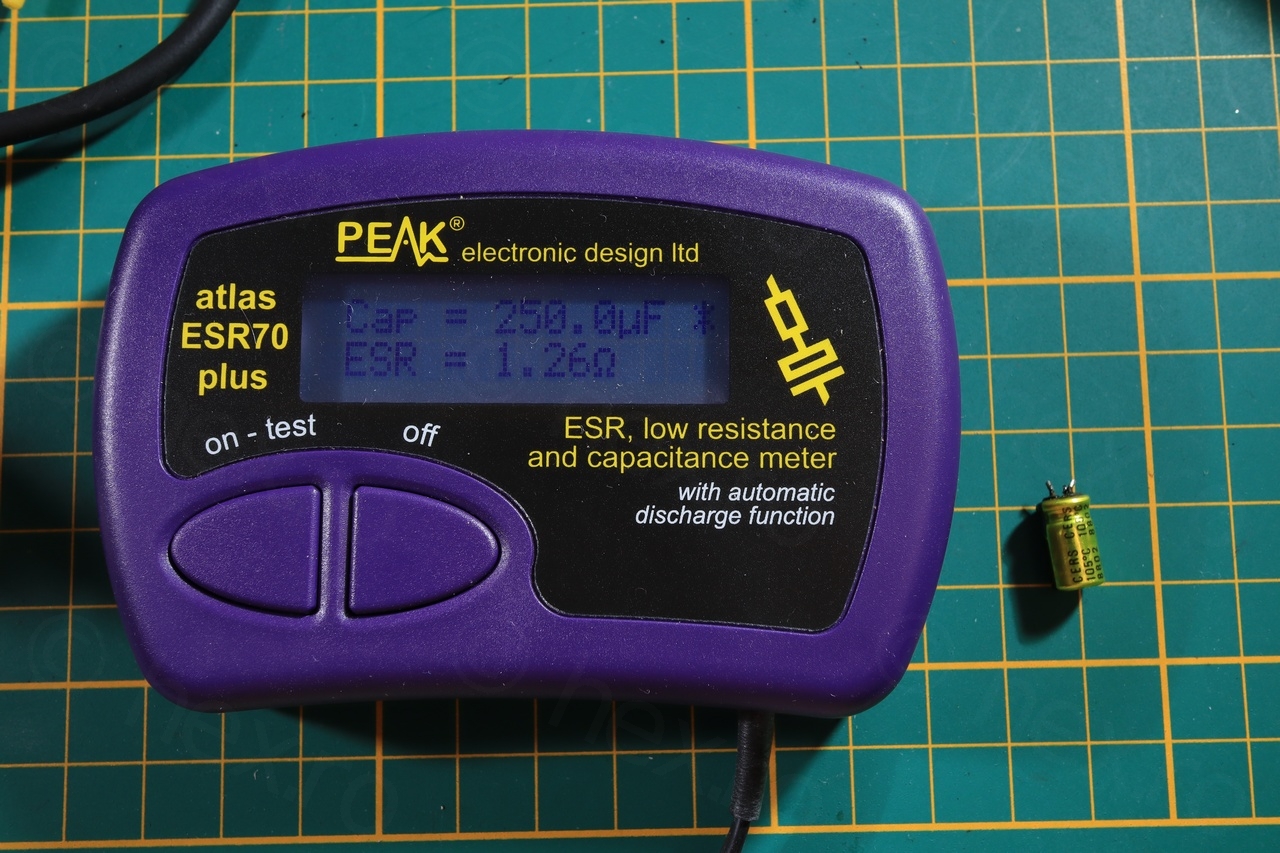
Using the Peak Atlas ESR70 to measure the caps out of the circuit revealed that the largest two were leaky. The 220µF@6.3V as well as the 330µF@6.3V.

Since I decided to take them all out – I wanted to just re-cap the whole board now, but I was missing some of the values. After few days of waiting for the parts to arrive …
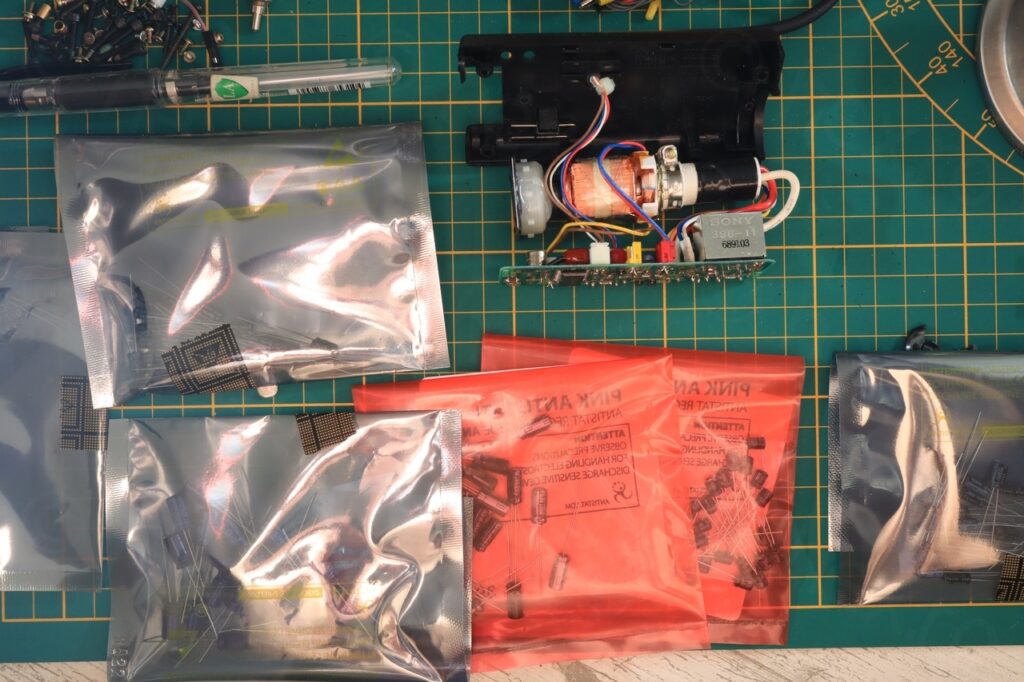
… I soldered the new ones:


I am using brand capacitors bought from reputable seller (Farnell) but I’m not always finding capacitors with similar lead spacing, or small height. For example, the C973 in the photo above sits 1mm higher than the board since the lead spacing was narrower than the original. Luckily there was no problem with space on this board.
TLDR – it works:

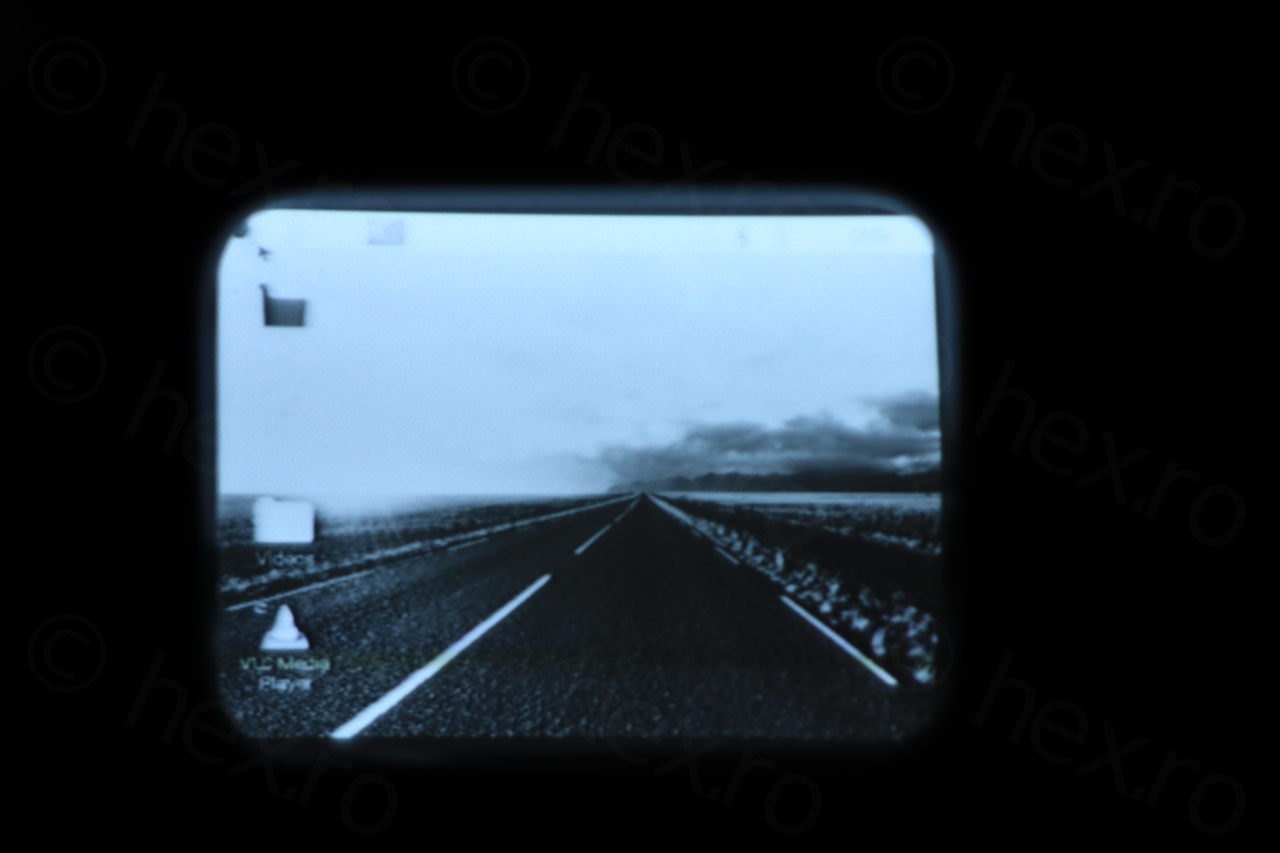
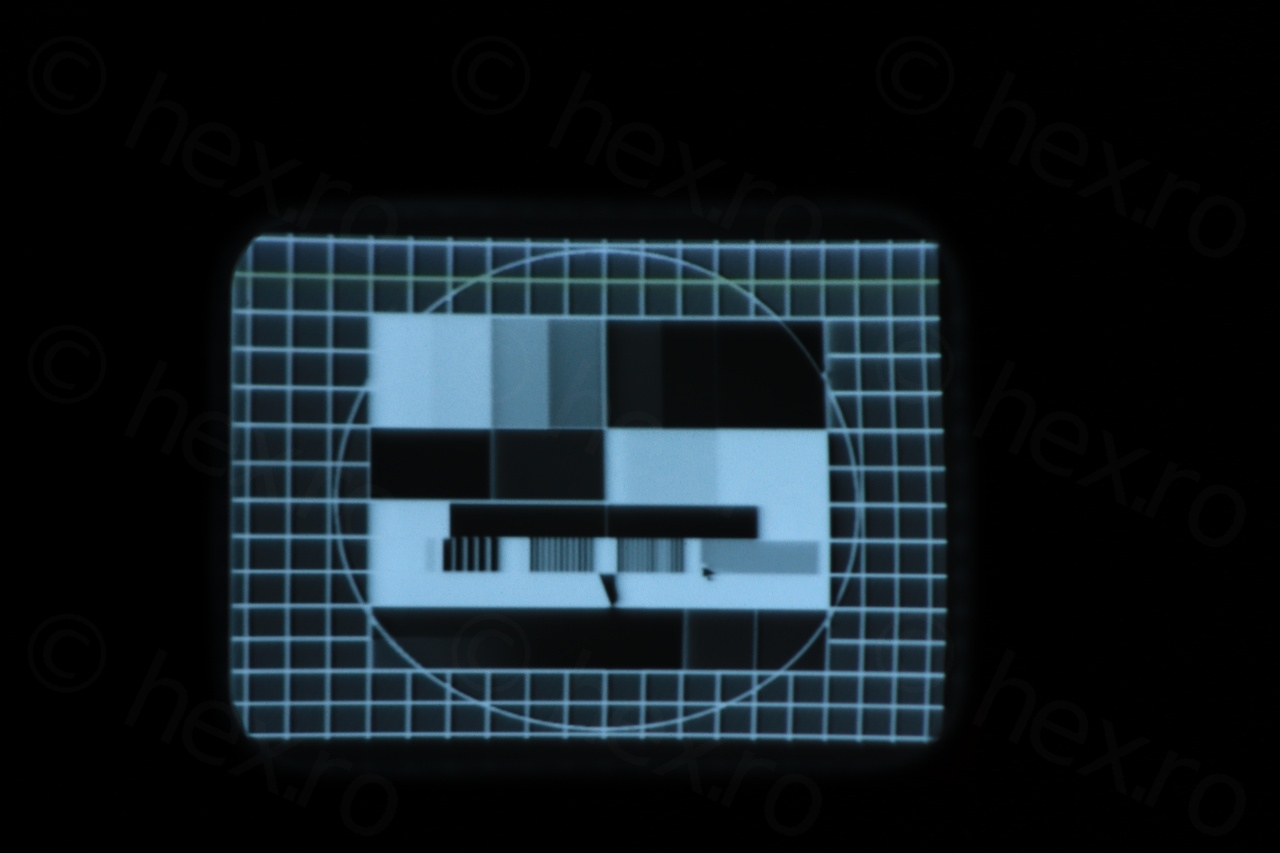
I noticed a small problem – the CRT starts off very bright, but in few minutes it becomes darker. However, I am pleased with the results. Recorded with the Canon EF 100mm macro (on a crop sensor) at the closest focusing distance:
Onto the next project!
Leave a Reply