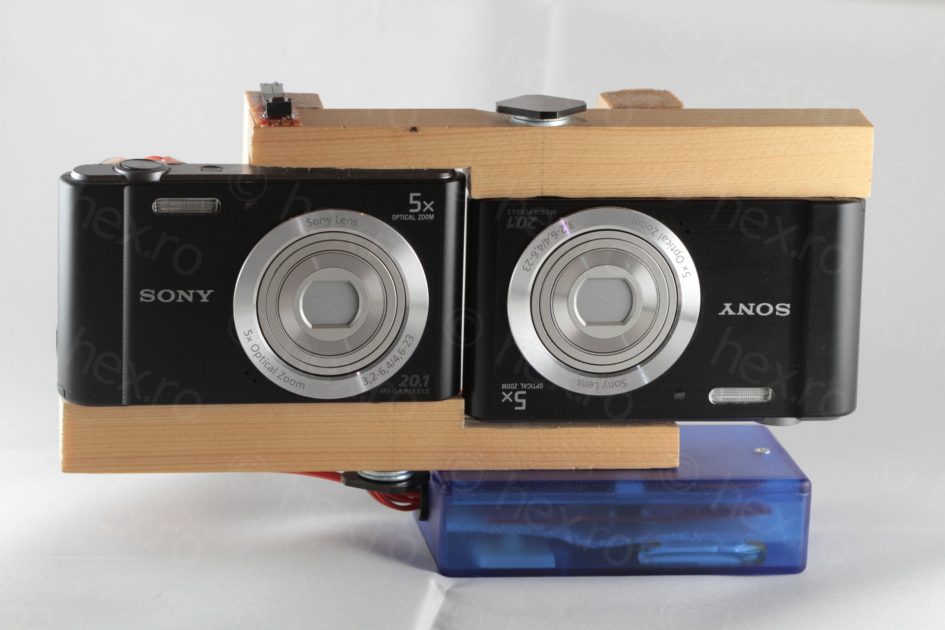


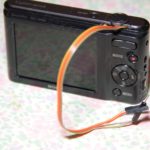
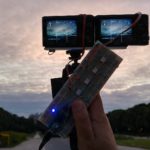
As an alternative for my LG p720 3D phone, I decided to build a 3D camera rig using two Sony DSC-W800 cameras.
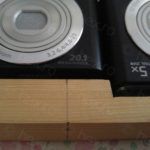
Given that 3D cameras fell out of grace years ago, I wanted to test if I could build a usable 3D rig by using few optocouplers to trigger any of the two cameras I choose. And it works! The rig is used mostly for photography since the 20.1 Mp sensor is plenty but the cameras only do 720p video.
The process consisted in:
- Rewiring the shutter buttons
- Building the trigger
- Constructing the support
- Putting it all together
- Results
- Conclusions
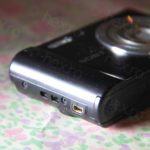
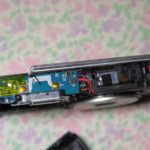
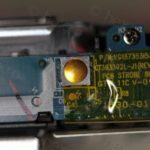
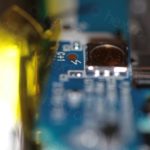
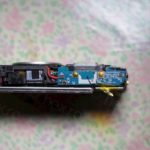
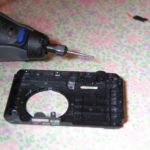
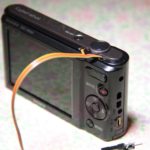
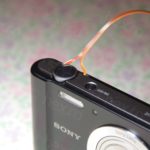
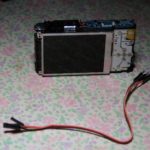
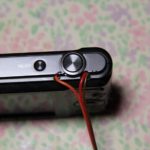
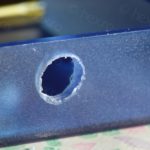
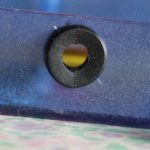
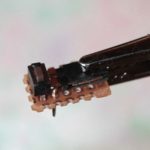
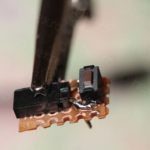
This was challenging. Opening up the camera revealed a very small surface mounted shutter button that was too close to the Flash capacitor test pad. Touching the pad while handling the camera is not a pleasant experience :). Next hurdle was to reverse engineer the shutter button and see how its 6 pins connect when the button is half / fully pressed. Once I have soldered the three wires for GND, half press (focus) and fully pressed (shutter), the next step was to use a Dremel to drill holes in the camera body so that I can put everything back together with the wires sticking out of it.


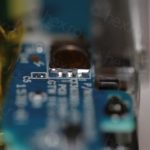

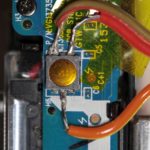
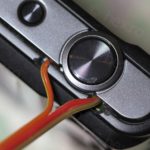
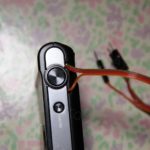
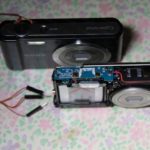
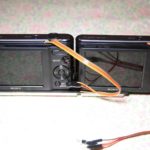
The camera does focus when the focus wire (held at the battery voltage) is shorted to ground. To take the photo shutter wire too has to be shorted to ground.
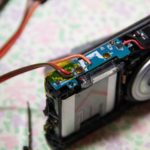
While it might probably work to just wire the camera cables, I decided not to have an electrical connection between the two cameras. Thus an optocoupler design was needed, everything controlled by an Atmel chip.
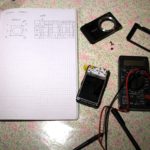
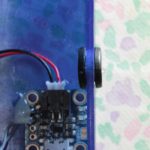
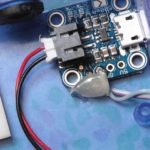
The goal was to first build the trigger on a protoboard using a Adruino Micro. This allowed me to test the circuit and the source code. Step two was to minify the build to an ATtiny85 controller (instead of the Arduino Micro) and design a custom board so that it can fit in a small enclosure along side the Li-Ion battery and its mini charging board.
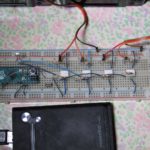
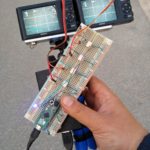
The circuit only uses a single push button to trigger both cameras. One click to focus, one click for shutter and then the board sleeps. It doesn’t even have an On/Off switch, since in deep sleep, ATtiny85 only draws 5uA and the Li-Ion battery (3.7V, 1000mAh) will last many years.
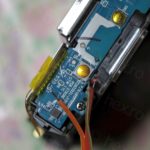
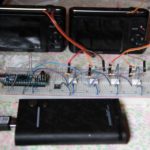
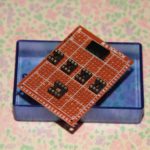
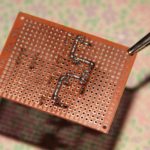
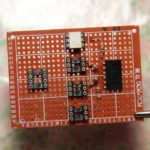
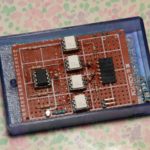
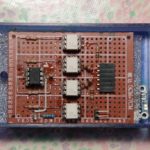
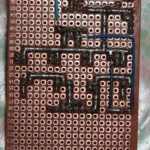
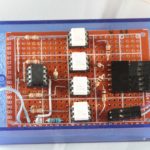
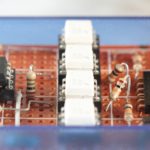
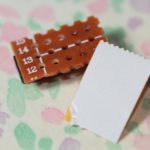
Building the custom circuit board was a bit tedious because I do not have the chemicals to etch my own board. Had to use a pair of “helping hands” to hold the board upside down while I was doing the soldering. Deciding how to lay out the components was also challenging – eventually the most natural layout seemed the one similar to the schematic, with a big 6 wire connector on the right hand side. Not even the grounds are shared between the cameras.
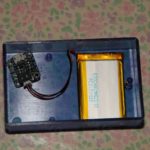
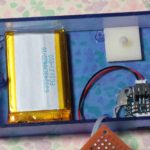
I have also used a foam sandwiched between the battery and the circuit board, so that the solder points don’t rub against the battery.
-
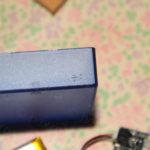
- Board will fit the box.
-
- Decide position of battery.
-
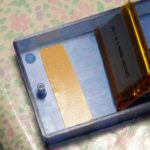
- Mark where USB hole will be.
-

- Hole drilled.
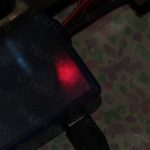
-
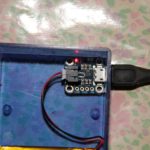
- Cable fits, red light means battery charges!
-
- Board will come on top.
-
- Preparing for solder.
-
- Soldering started.
-
- Work in progress.
-
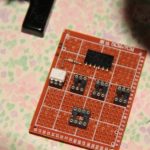
- Board almost complete.
-
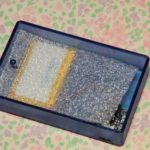
- Insulate battery from the sharp solder points.
-
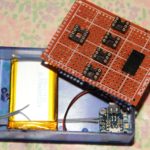
- Everything fits!
-
- Top view.
-
- Securing the battery with double sided sticky tape.
-
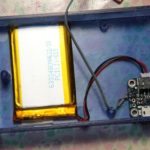
- Battery installed.
-
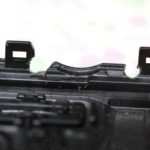
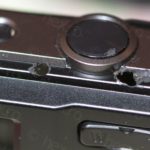
- Drilled hole for camera wires.
-
- Gasket to prevent friction.
-
- Looks good.
-
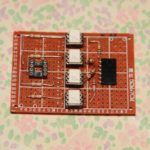
- Board final result.
-
- Securing the charging circuit with hot glue.
-
- Support to keep board level.
-
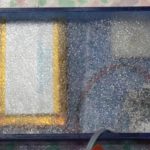
- Insulation.
-
- Top view, wired.
-
- Detail.
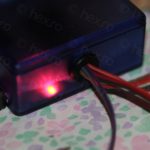
-
- Battery is charging!
-
- Camera cables connected!
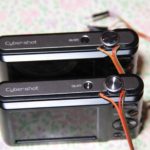
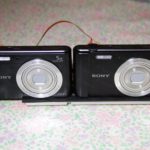
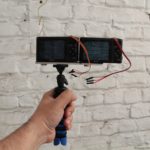
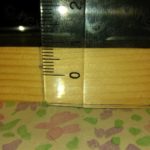
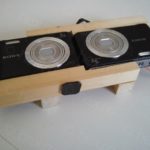
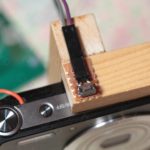
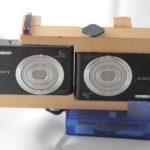
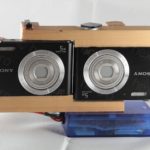
No 3D printer and no access to a CNC machine, building the support posed few problems. Cameras needed to be mounted with one inverted, so that the lens stay closer together (so that the inter-axial separation is about 7cm). But the lens of the cameras are not vertically aligned, thus the cameras had to be mounted with one rotated and also vertically shifted with few milometers. The material of choice because wood, and the only thing that I found rigid enough at the local shop were pieces of 2cm x 2cm across.
For playing and arranging the wood while it dried I used double sided tape. I cut the wood using a hand saw paying attention not to cover the cameras ON/OFF switch (which is not electronically controlled by the trigger, I still have to turn the cameras ON or OFF by hand).
I also needed to find some tripod screws that were long enough to pass through the 2cm wood so that the cameras will be secured snugly. Waiting was about 3 weeks, I ordered them through Amazon.
-
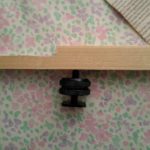
- Screw will pass through the wood.
-
- Marking tripod screw whole
-
- Marking tripod screw whole
-
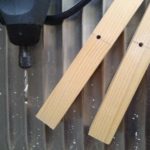
- Drilling thin first.
-
- Then enlarging them for the screws to fit.
-

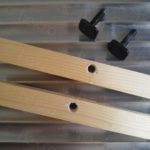
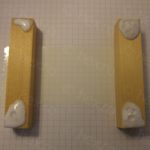
- Spacers needed – screws too long.
-
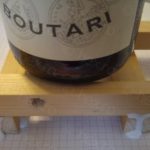
- One final test, it fits!
-
- Double adhesive tape to secure the back structure.
-

- One more check.
-
- Left to dry …
Having the structure and trigger ready, the only thing left was to design the single shutter button, and then putting everything together.
-
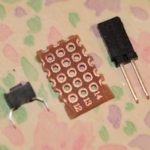
- Mini board for button and connector.
-
- “Helping hands” at work
-
- Soldered complete.
-
- Using sticky tape to hold the button down.
-
- Montage.
-
- Finished view.
-
- Finished view, other angle.
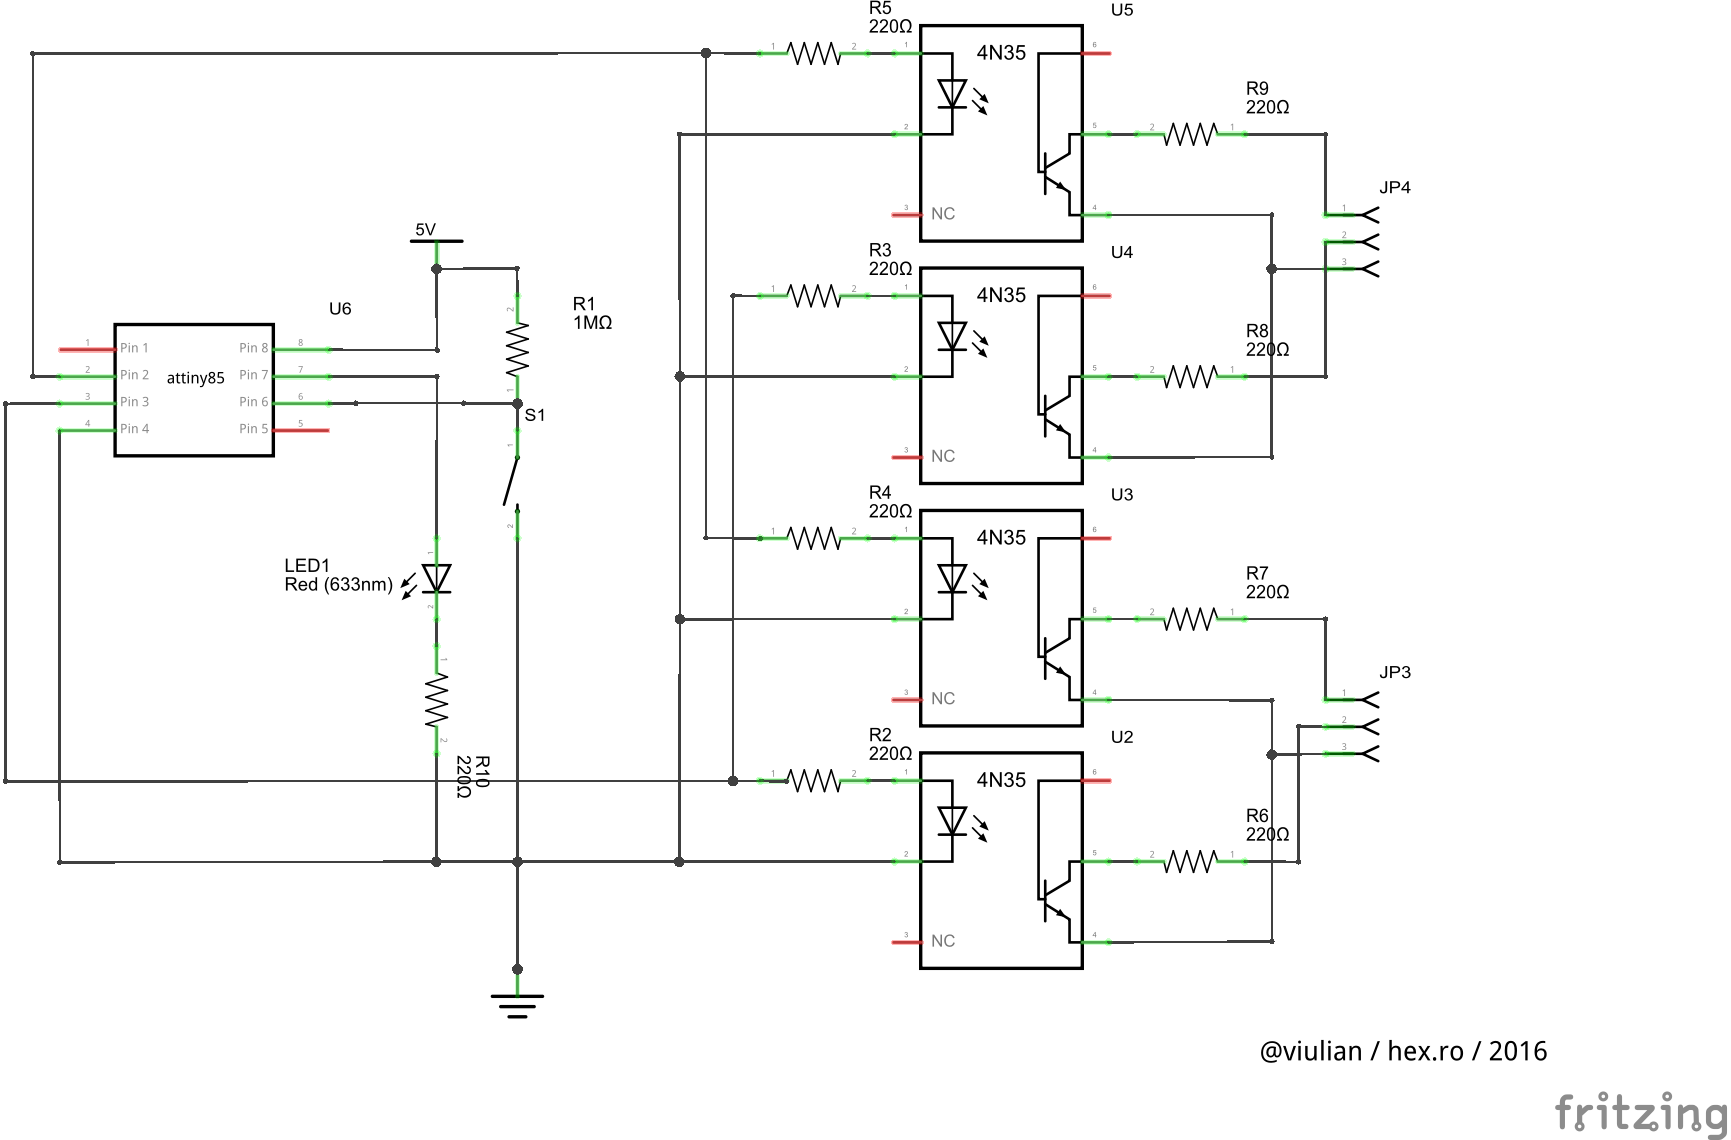
The schematic is pretty simple, the brain is the ATtiny85 CPU running at 1MHz so it can be powered by 3.3v and to draw even less power while operating. Emphasis was put on not having the two cameras electrically connected (not even the grounds). For this, I have used some generic optocouplers (4N35) to control each of the focus / shutter wires. Two optocouplers are triggered at the same time (they share the input side) by one of the pins of the controller, the other two by another pin.
I have also added an LED so that I could see if the controller is sleeping or not.
A problem that was encountered was debouncing the pushbutton and I chose to use a software library for this. There is a small state machine: pushing once wakes up the ATtiny85 and immediately starts focusing, another push triggers the shutter (upon button press) and on releasing the button, the CPU goes back to sleep again (and turns the LED off). It works very accurately.
https://bitbucket.org/viulian/attiny85-3d-camera-trigger
A short video I shot in the park with the cameras operation:
Two JPS images:
DSC01417.jps (taken at the normal focal length, just after cameras were turned on)
DSC01418.jps (taken at zoom level 1.4, much nicer to look at)
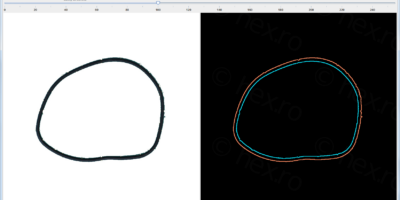
Due to the fact that the wood used for the frame is not perfectly square, the cameras also are not perfectly aligned, so during the 3D software correction few MP are lost around the frames. This could be fixed if I find a different way to build the frame (either from metal or maybe 3D printing).
One drawback of the cameras used is that the lens are very wide angle. While the 3D effect is strong, I found through trial and error that zooming once (both cameras) produced a more pleasing 3D effect. When I started the build, the goal was to later replace the cameras with much smaller and cheaper action cams (the trigger is generic), but I will probably not do it due to the wide angle effect on the 3D results which I don’t find as nice to watch.
Video recording button is a dedicated one which I have not tapped into; thus I could not test camera synchronization and although I did try to record video (starting the recording manually on both cameras) results were not nice at 720p. Plus, I needed to convert the video files to another format supported by the freeware utility. This made the whole experience tedious thus I am not using the rig to record video.
This brings me to say that cameras are slow if features are turned on (face detection for example). It takes different time for them to focus, calculate exposure, etc, so the only one to get the to fire at the same time was to disable all automated features.
Leave a Reply