


Introduction
My first computer was a CIP 03 and I still hold dear memories of it. It was a beautiful computer, we had to drive to the county capital city (Constanta) to buy it there was a “DIODA” shop that I had spotted previously. Currently it is very hard to find as collectible item.
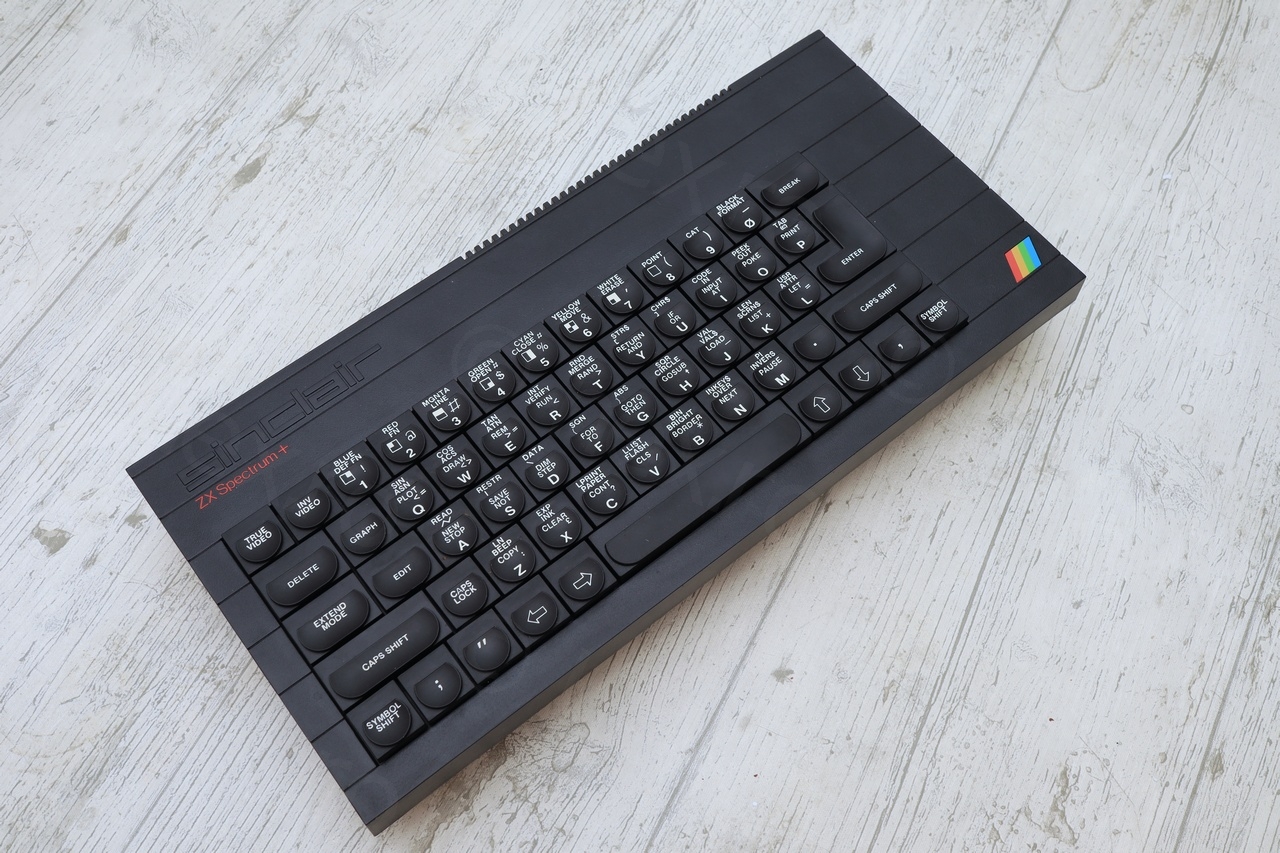
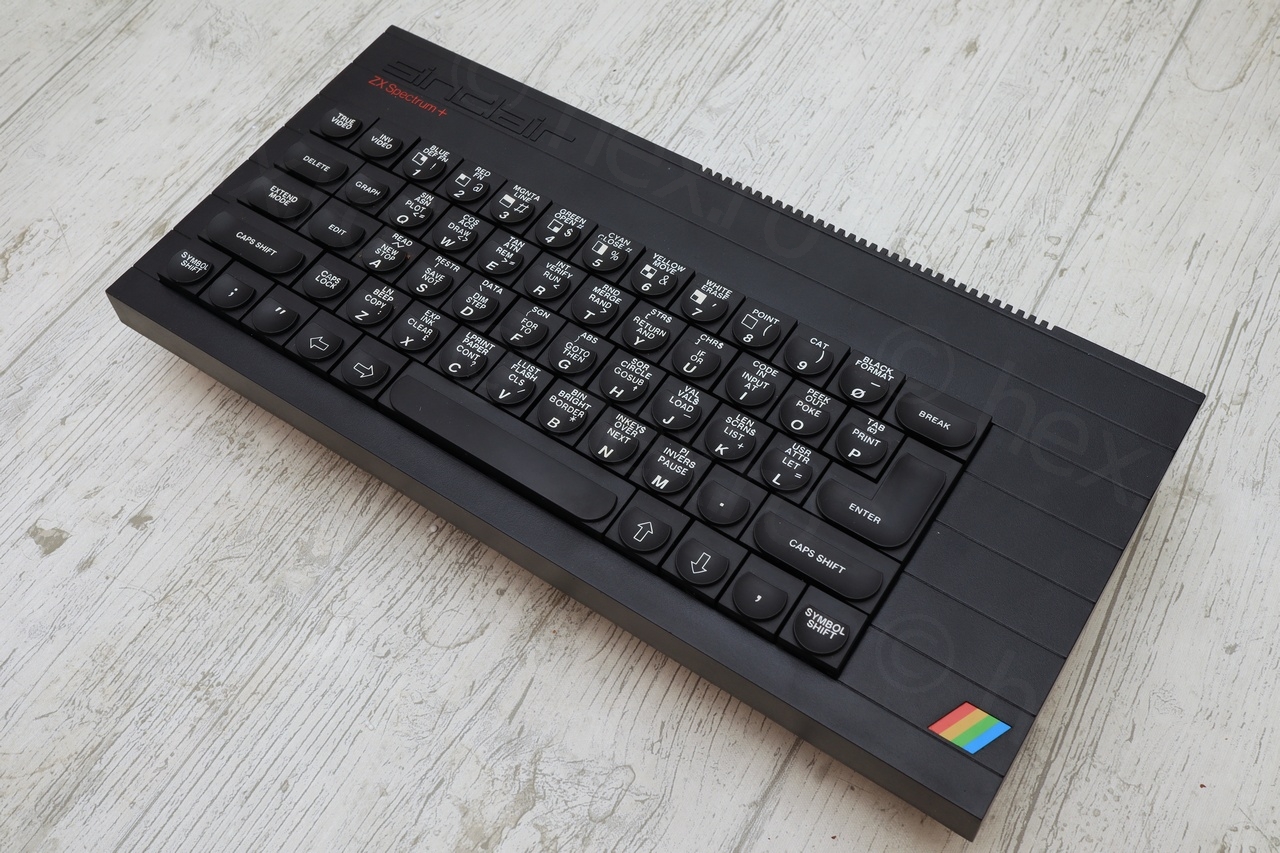
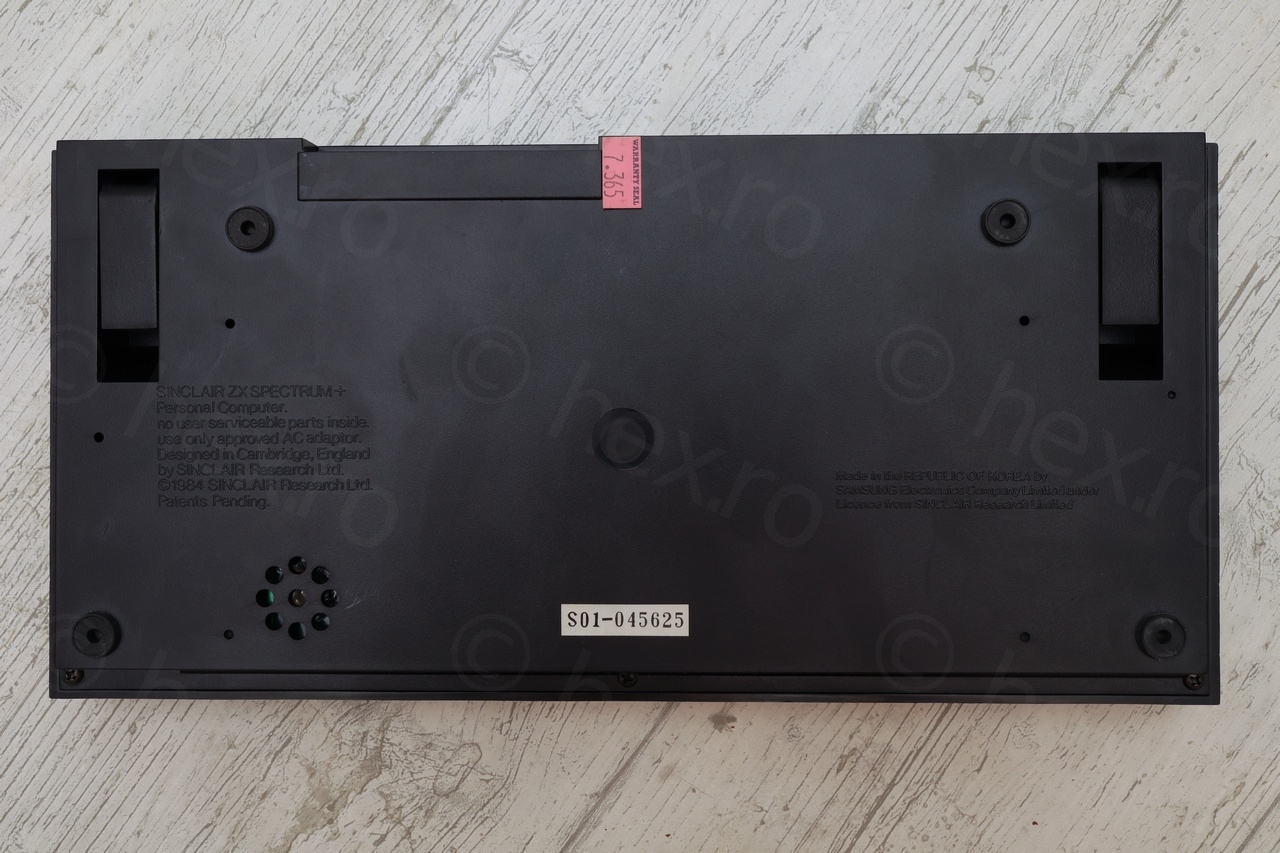
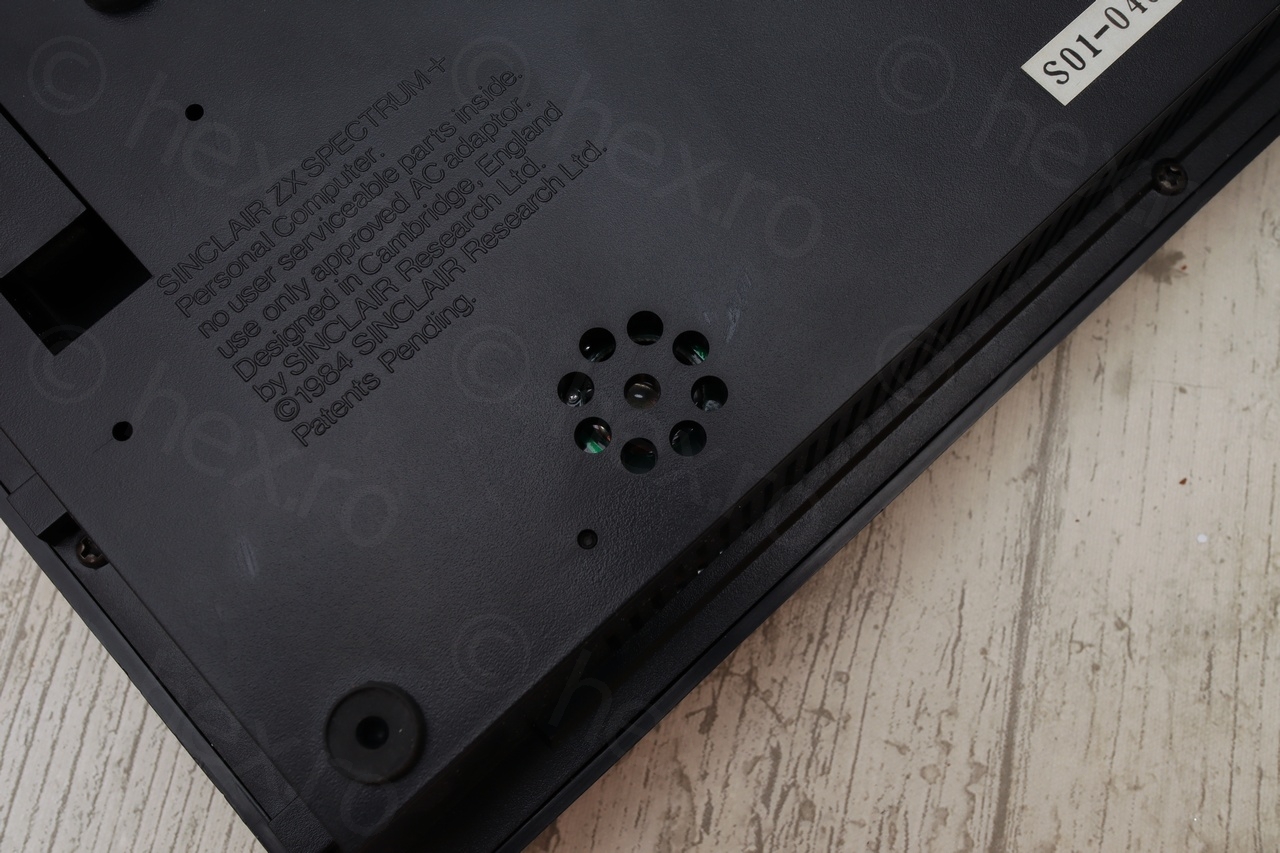
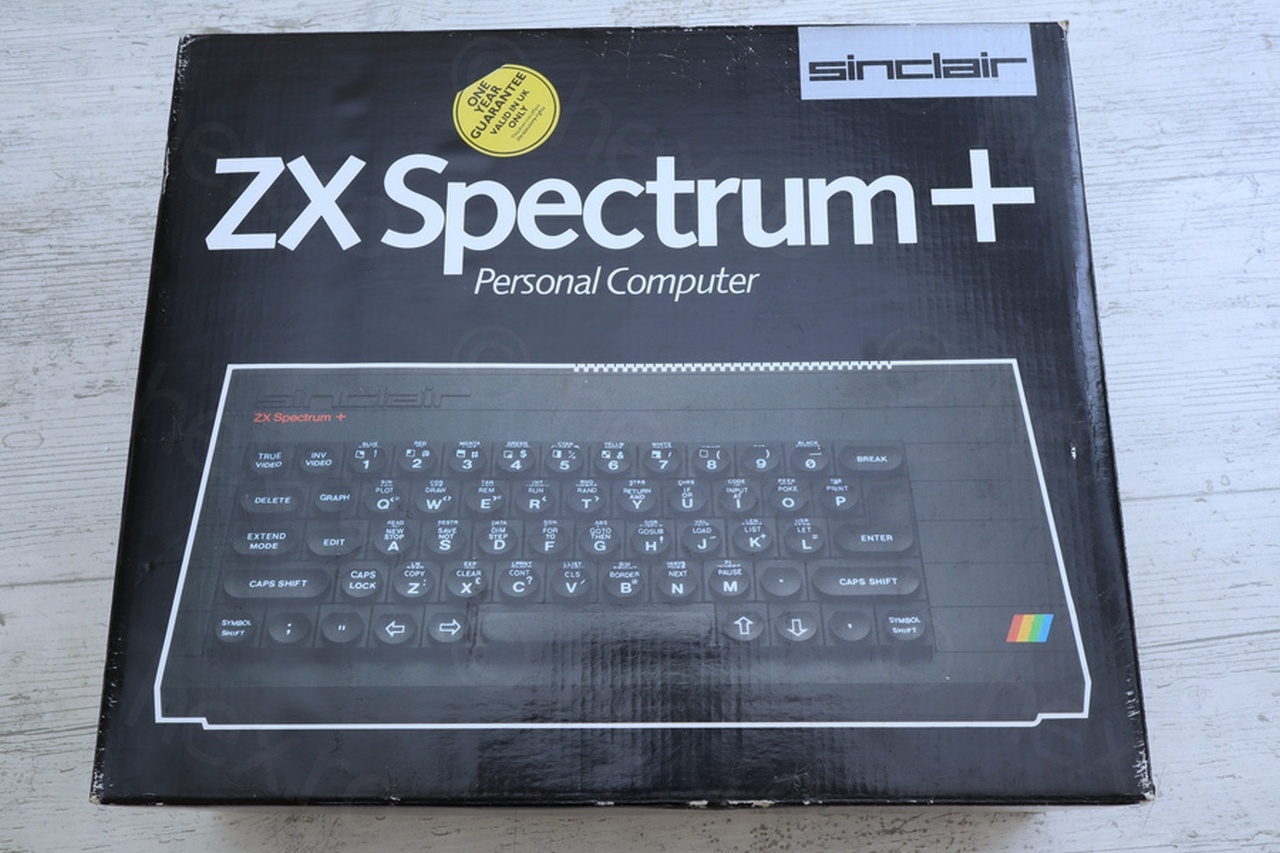
I have decided a while ago I would like to preserve a bit of the ZX Spectrum history and switched my attention to collectible ZX Spectrum (UK made) which luckily are still found as second hand but with original packaging and accessories.
Broken inserts
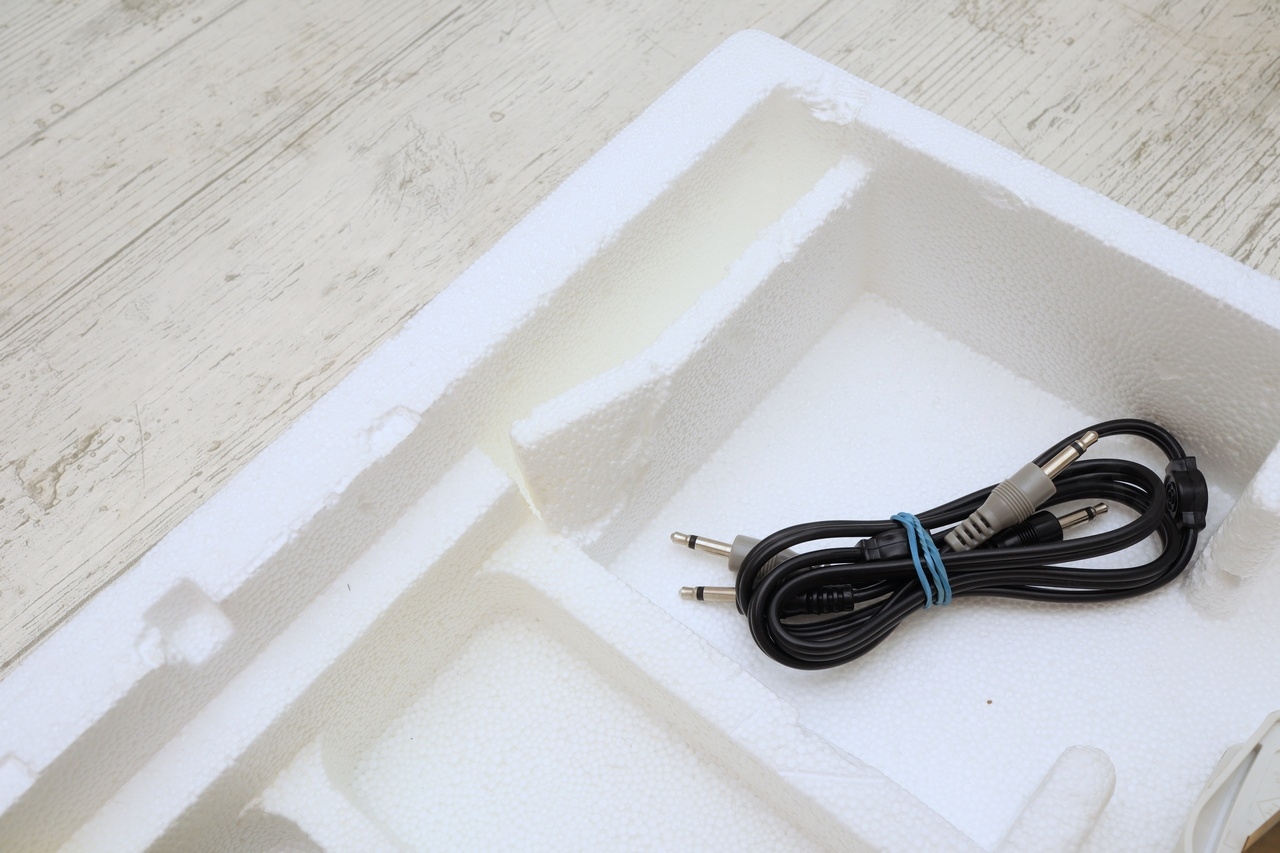
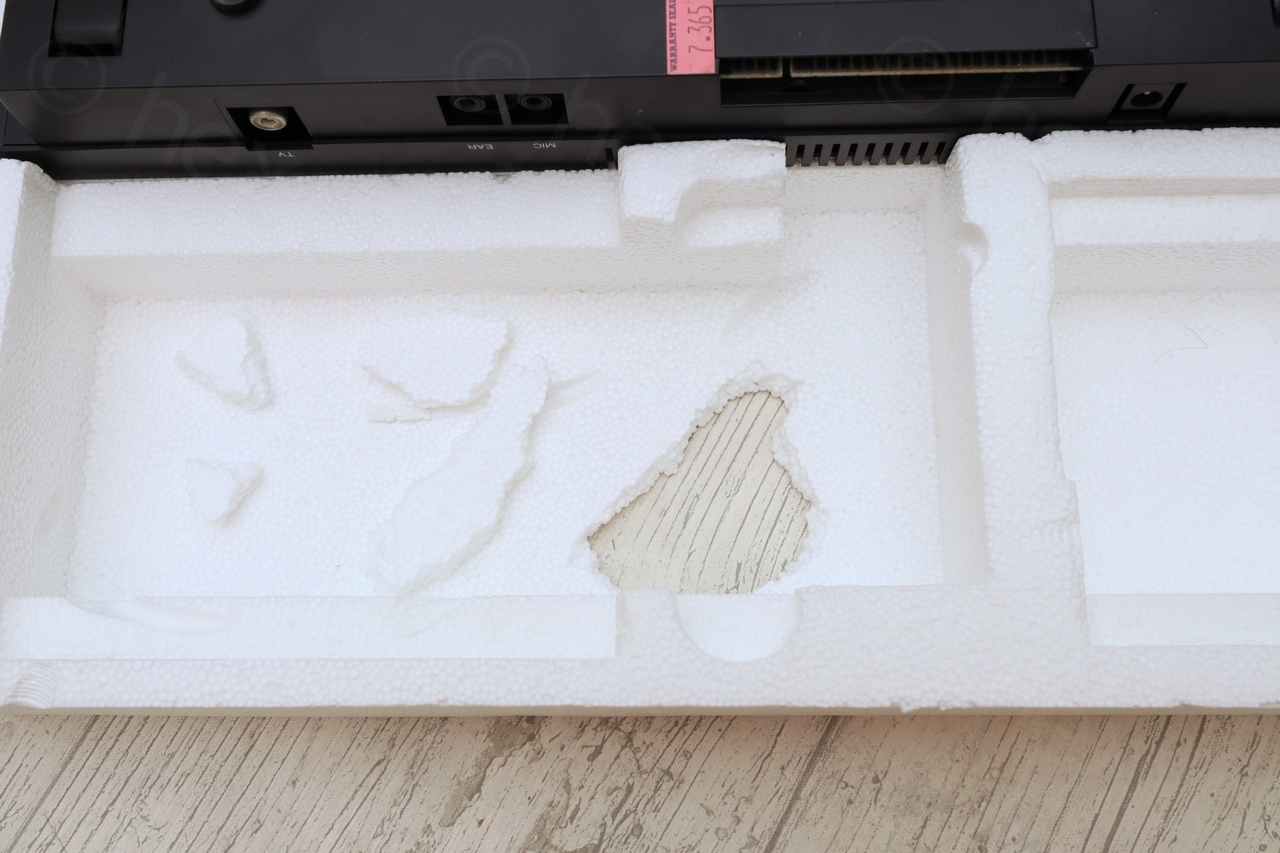
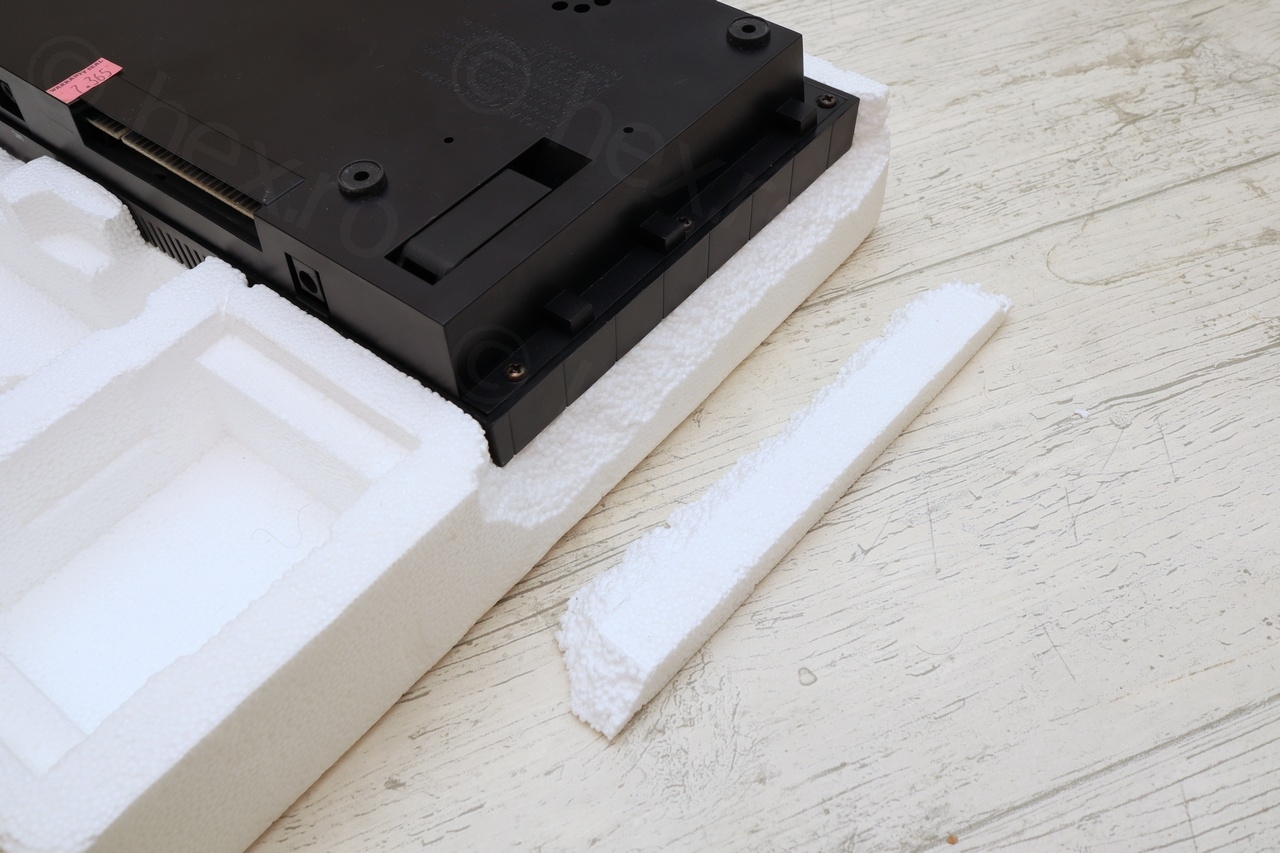
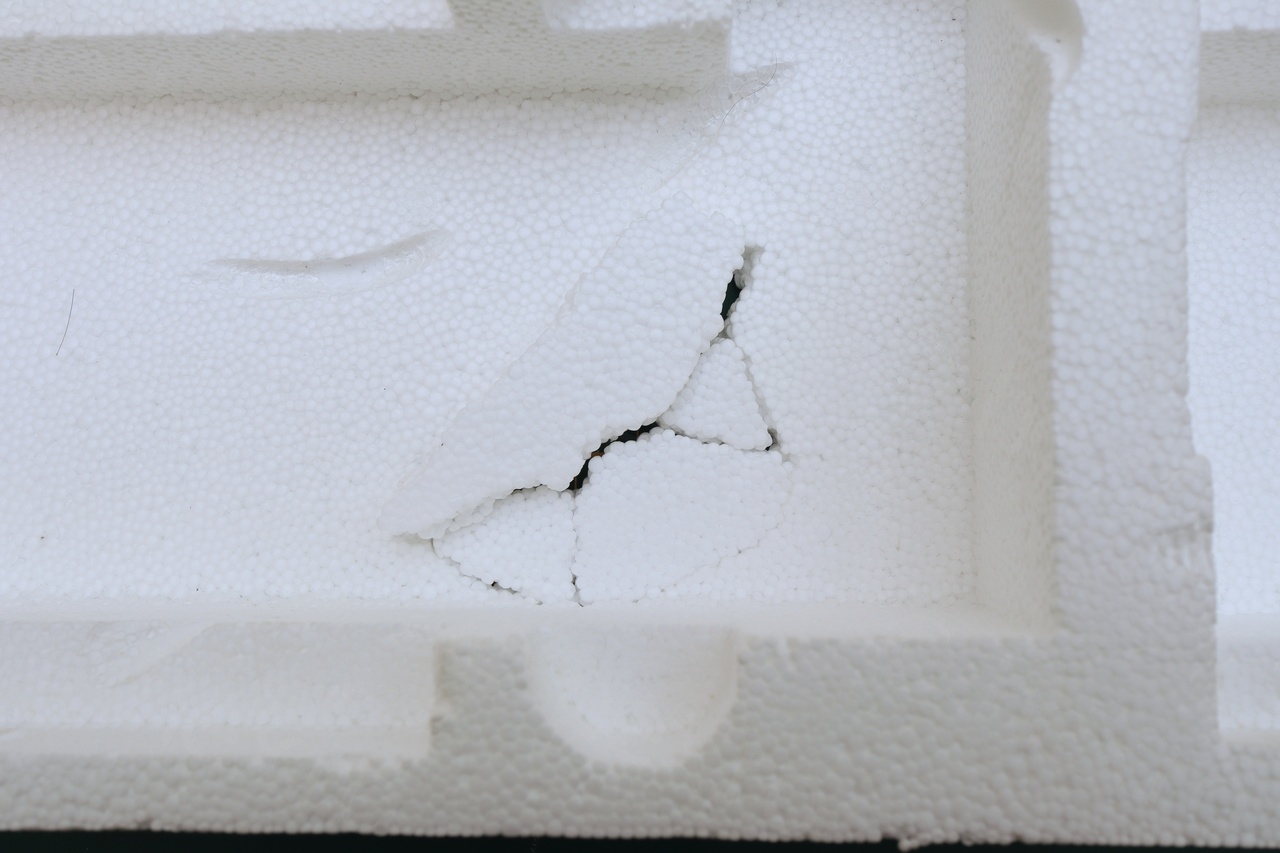
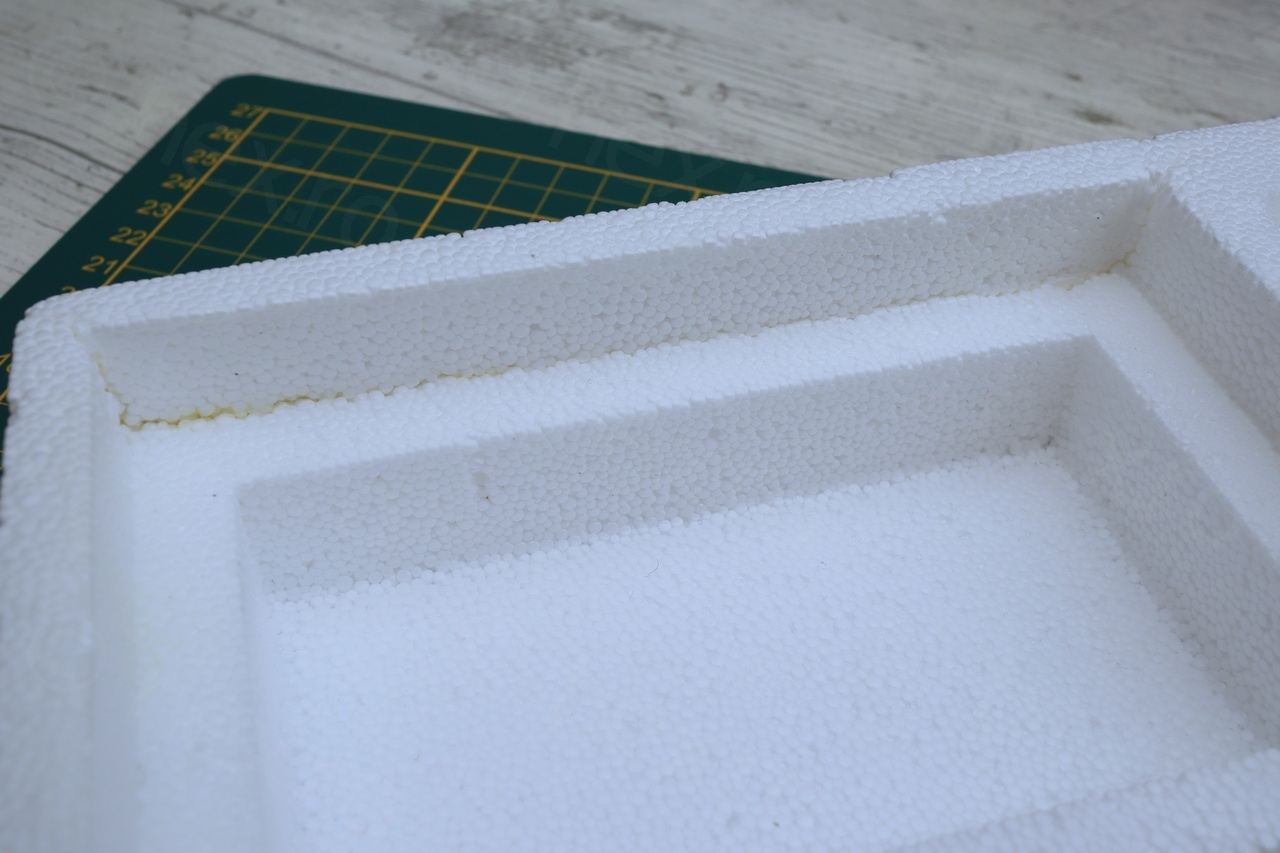
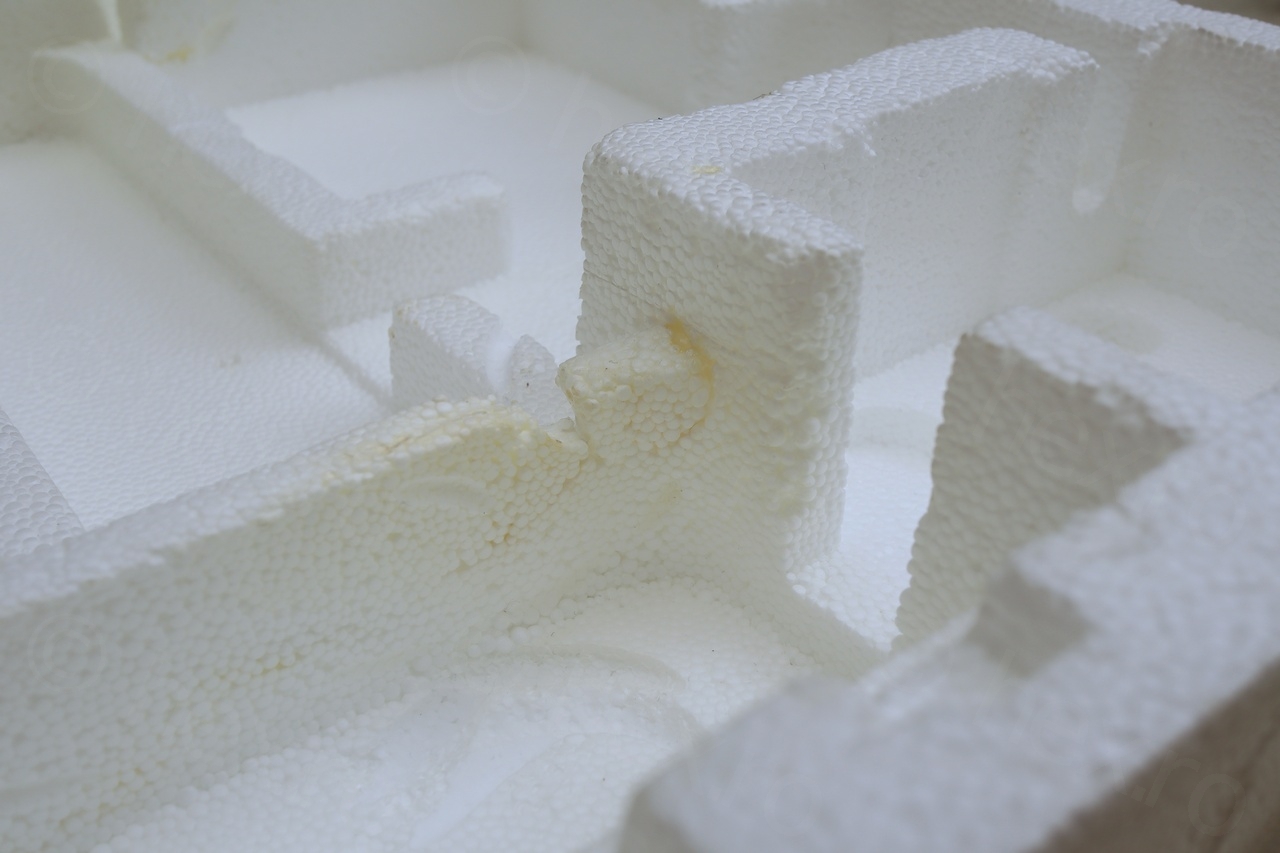
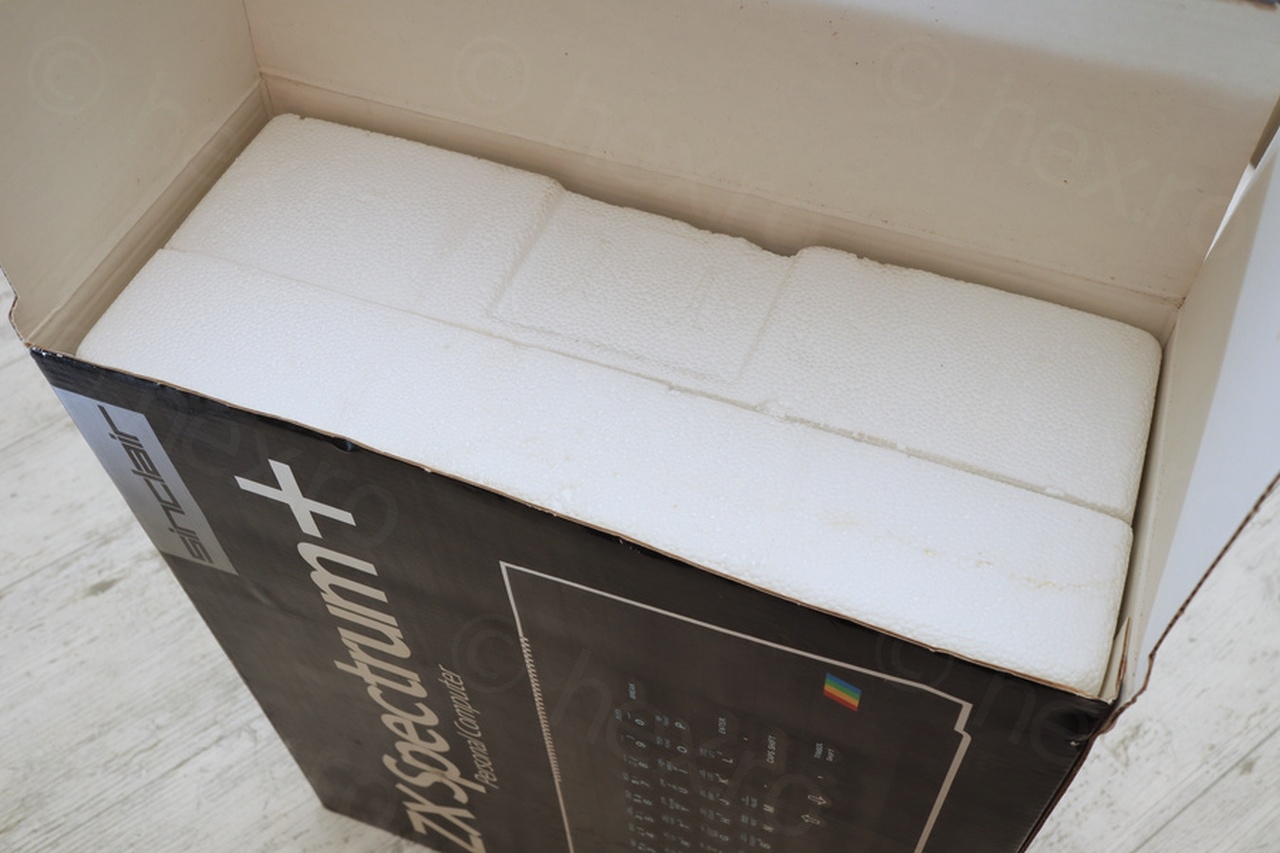
Thus I ordered a ZX Spectrum + (Plus). Although it came with a very nice and well preserved box, the seller did not take enough precautions to pack it right. The power plug (UK) must be disconnected before packaging and there should be cushioning between the ZX Spectrum + box and the packaging box to prevent it from sliding around. Results:
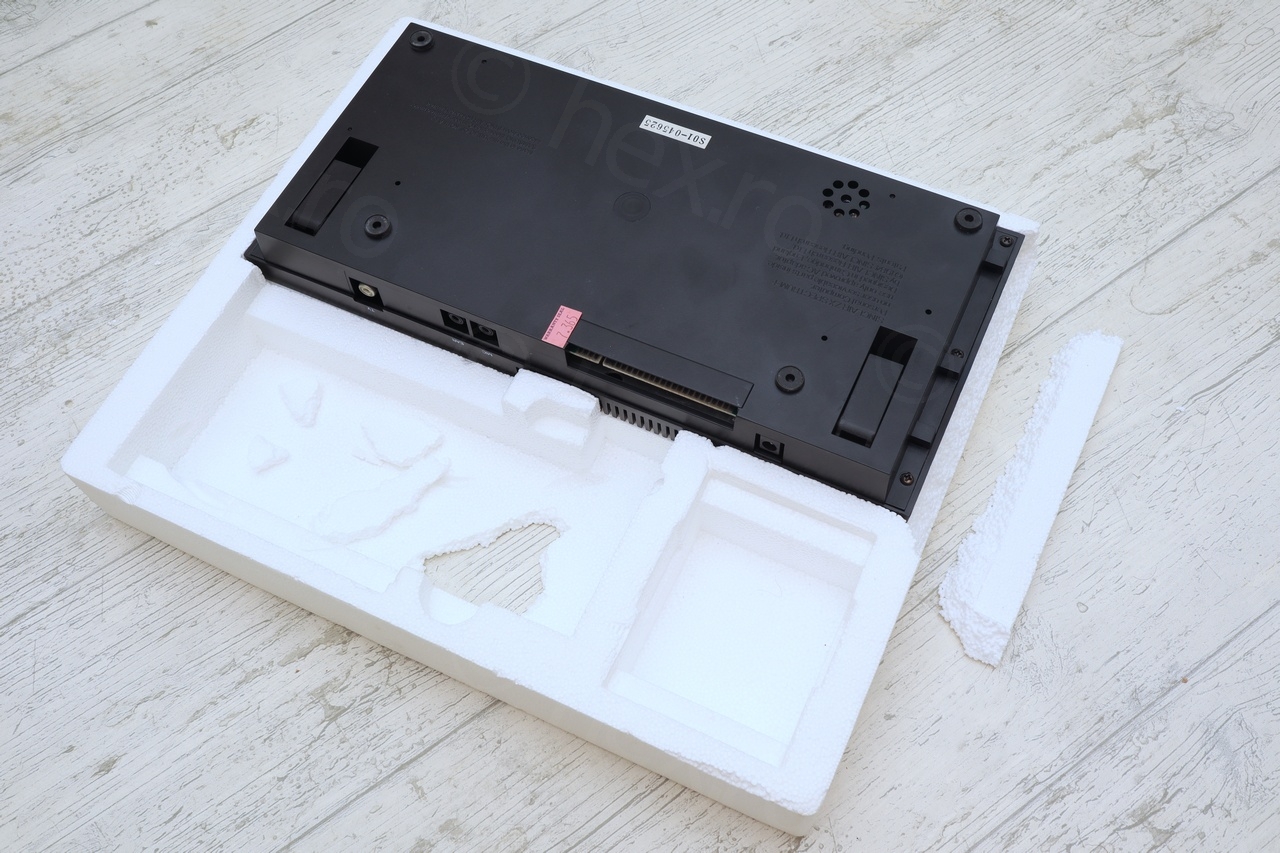


Although there are many articles about ZX Spectrum restorations, they mostly cover re-capping, identifying broken memory chips with or other more electronically invasive fixes, maybe sometimes just swapping out the keyboard membrane, etc. However, I found nothing related to how to fix the Polystyrene inserts.
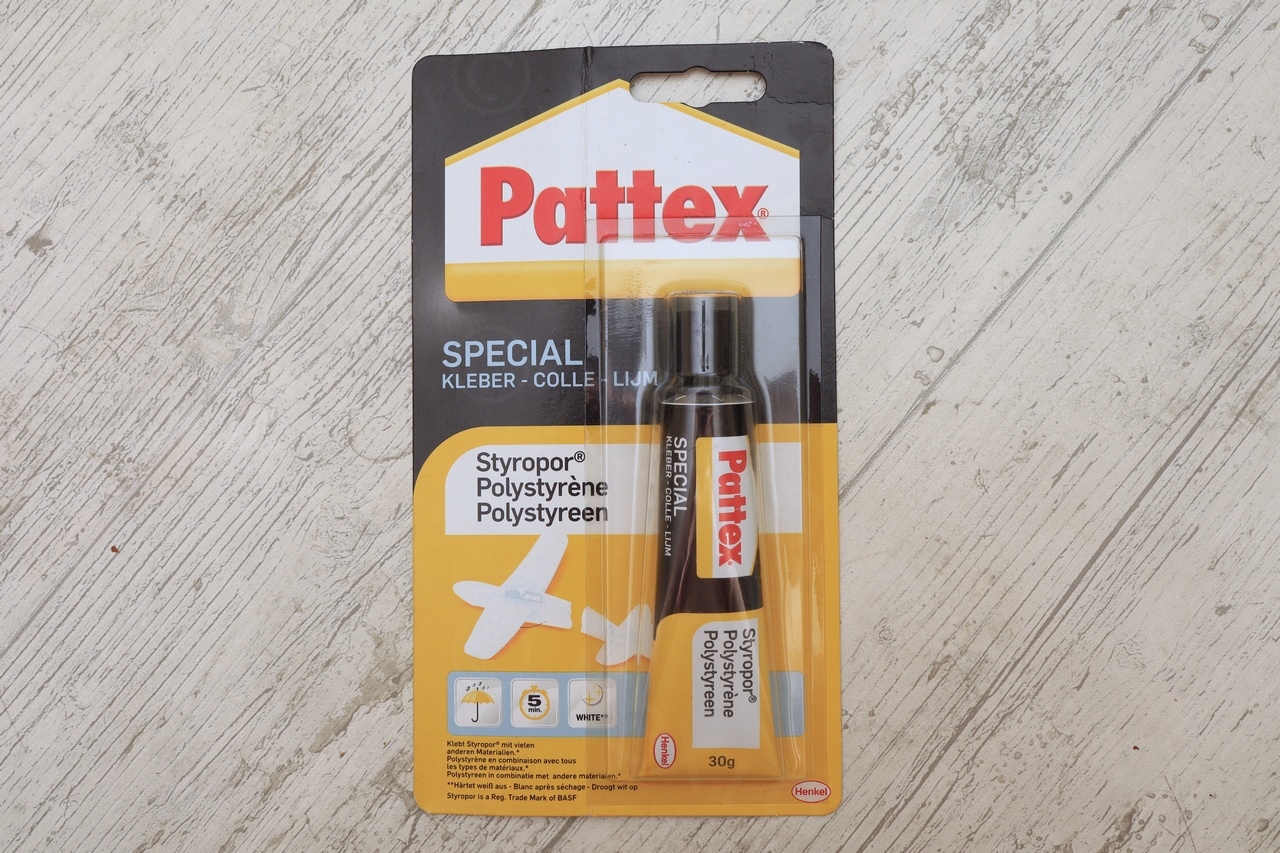
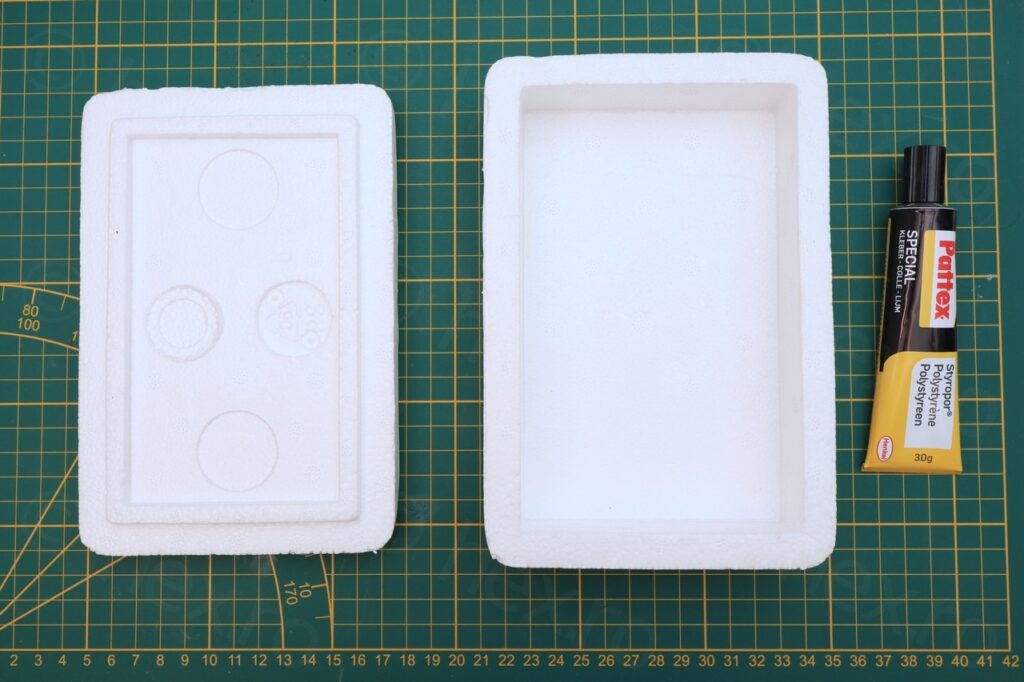
There are however many videos on how to use / glue Polystyrene by people that use it for sculpting / design purposes. The essence is never use normal glue – it eats away the Polystyrene, you must use glue specifically made for Polystyrene / Styrofoam. The only Styrofoam friendly glue I found was Pattex brand.
Proof of concept
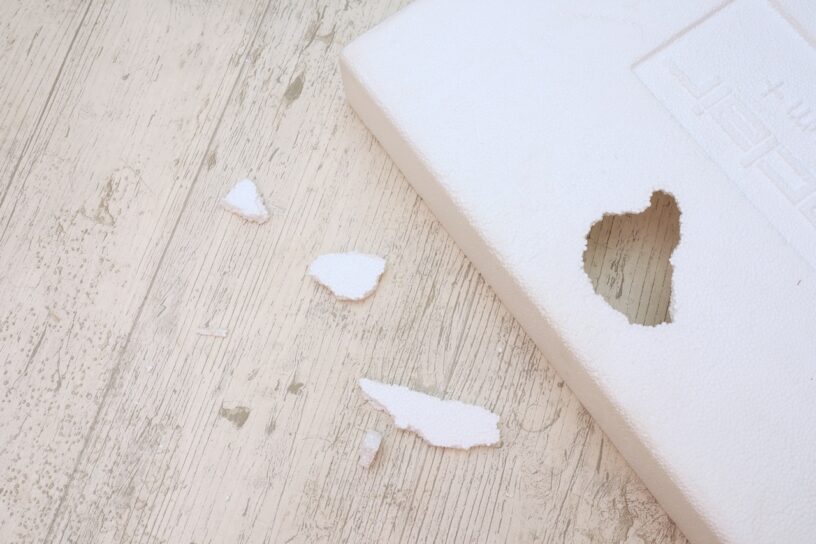
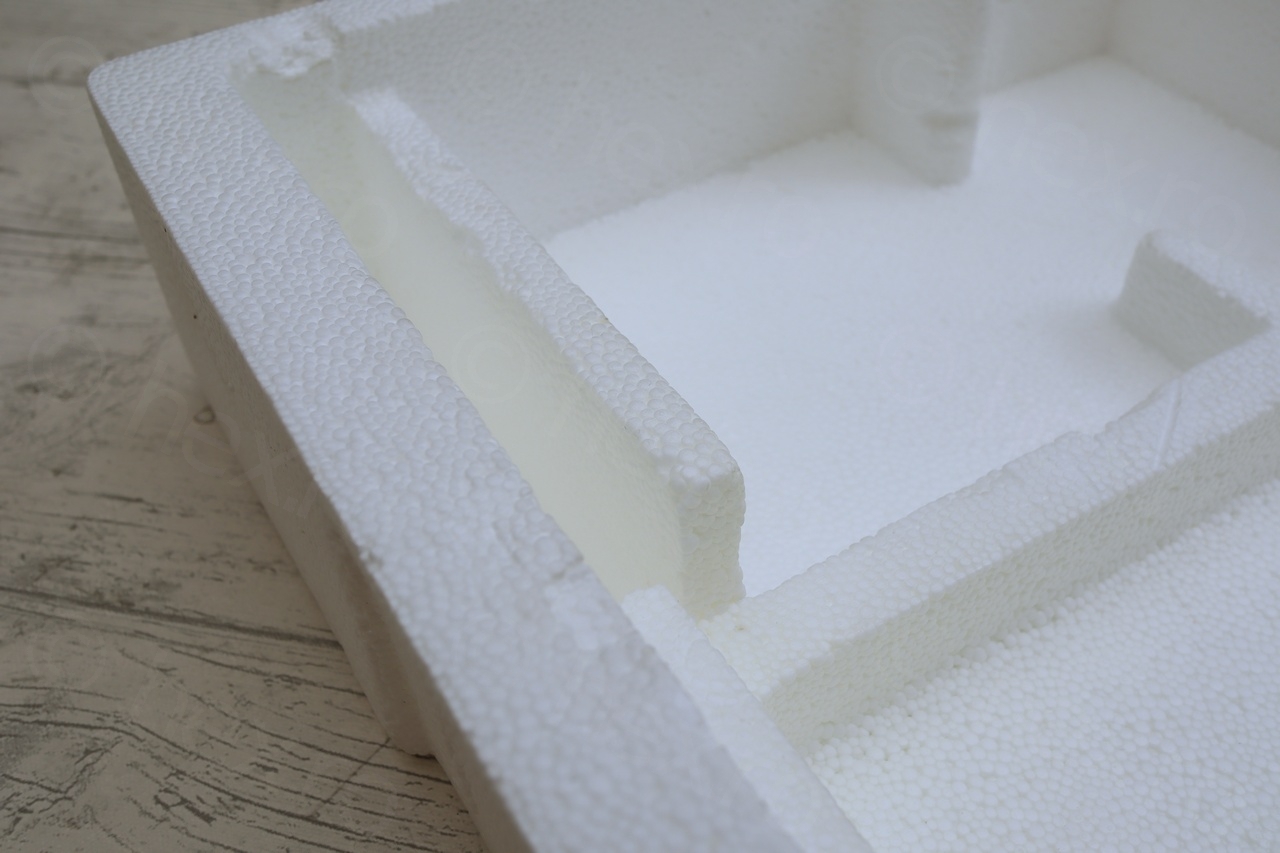
To avoid making mistakes with the original Polystyrene box, I decided to first have a trial run with a different Polystyrene box – one used as for packing the LCD of a mobile phone. It had a higher density bubbles (more compacted), but figured it should be still OK for tests.
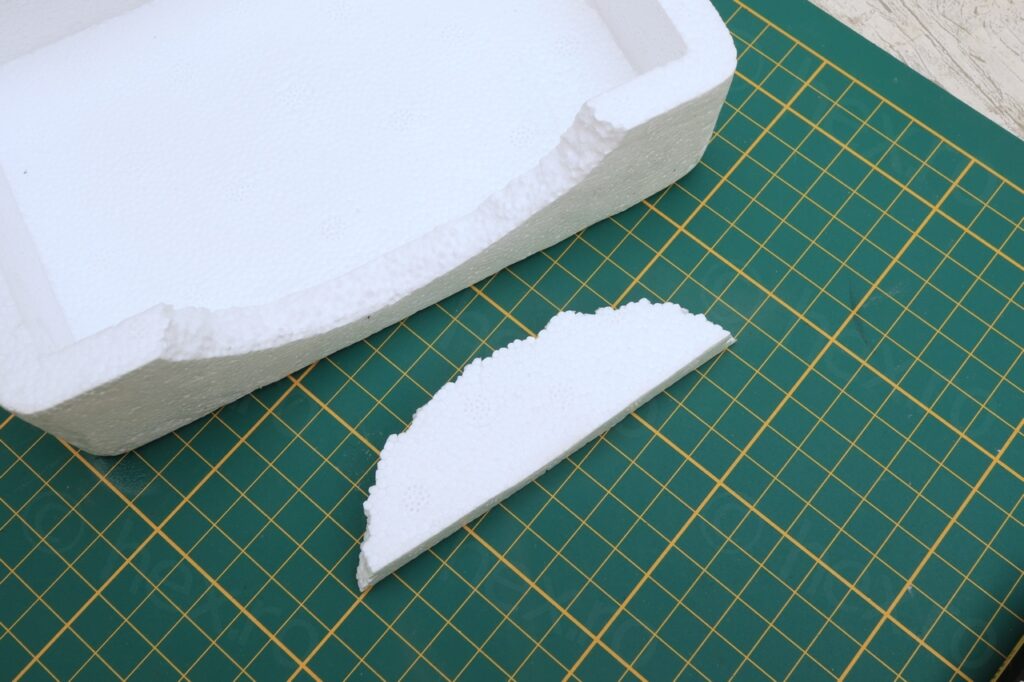
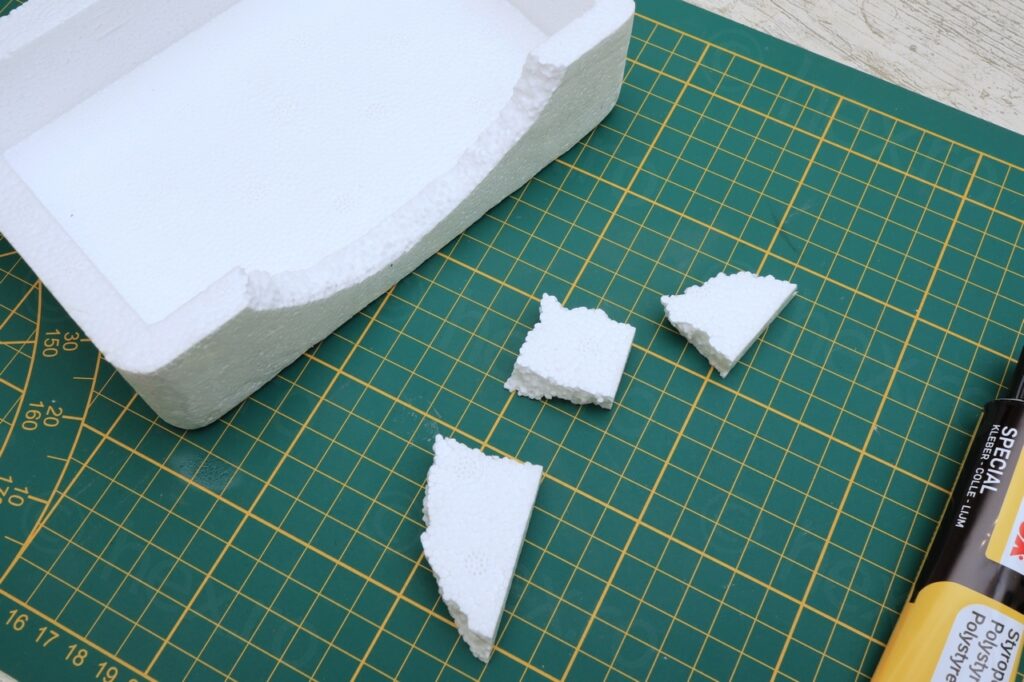
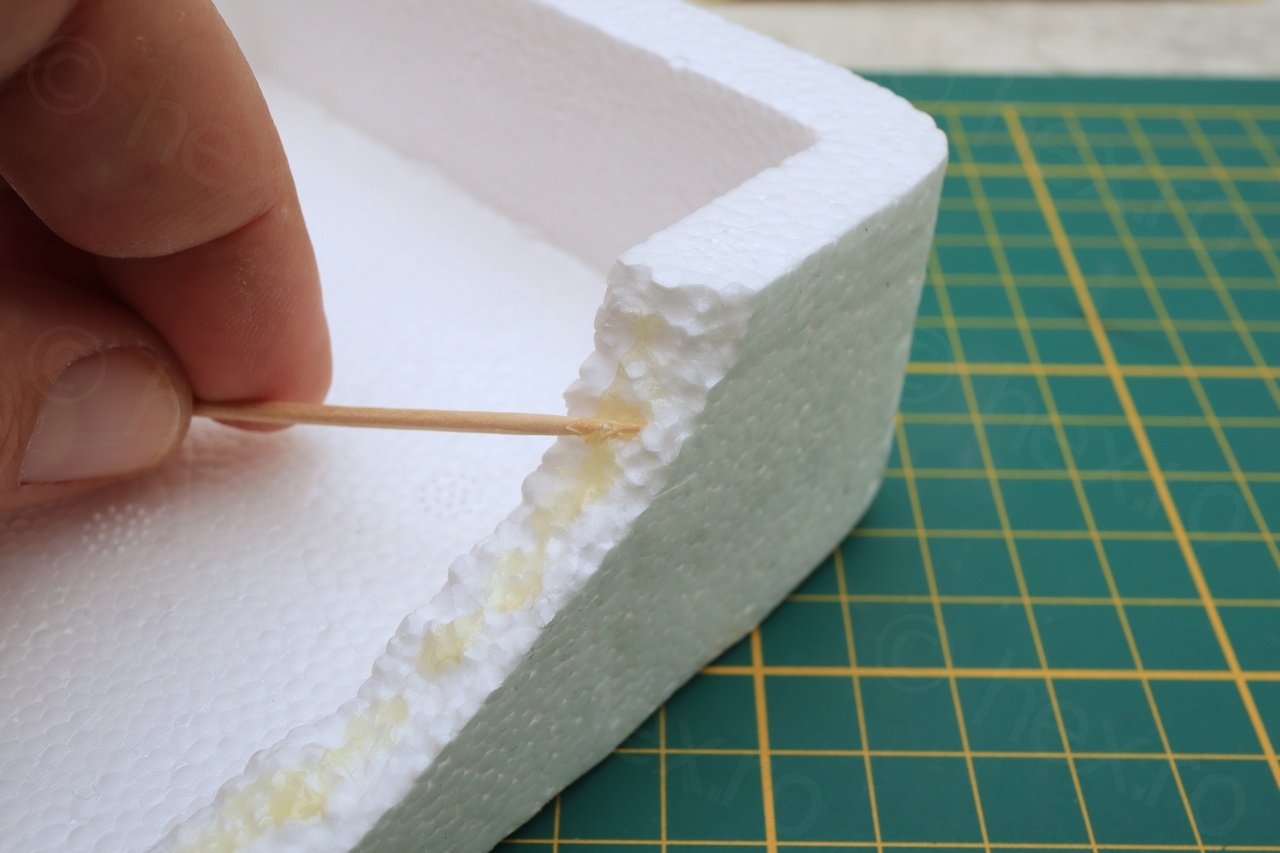
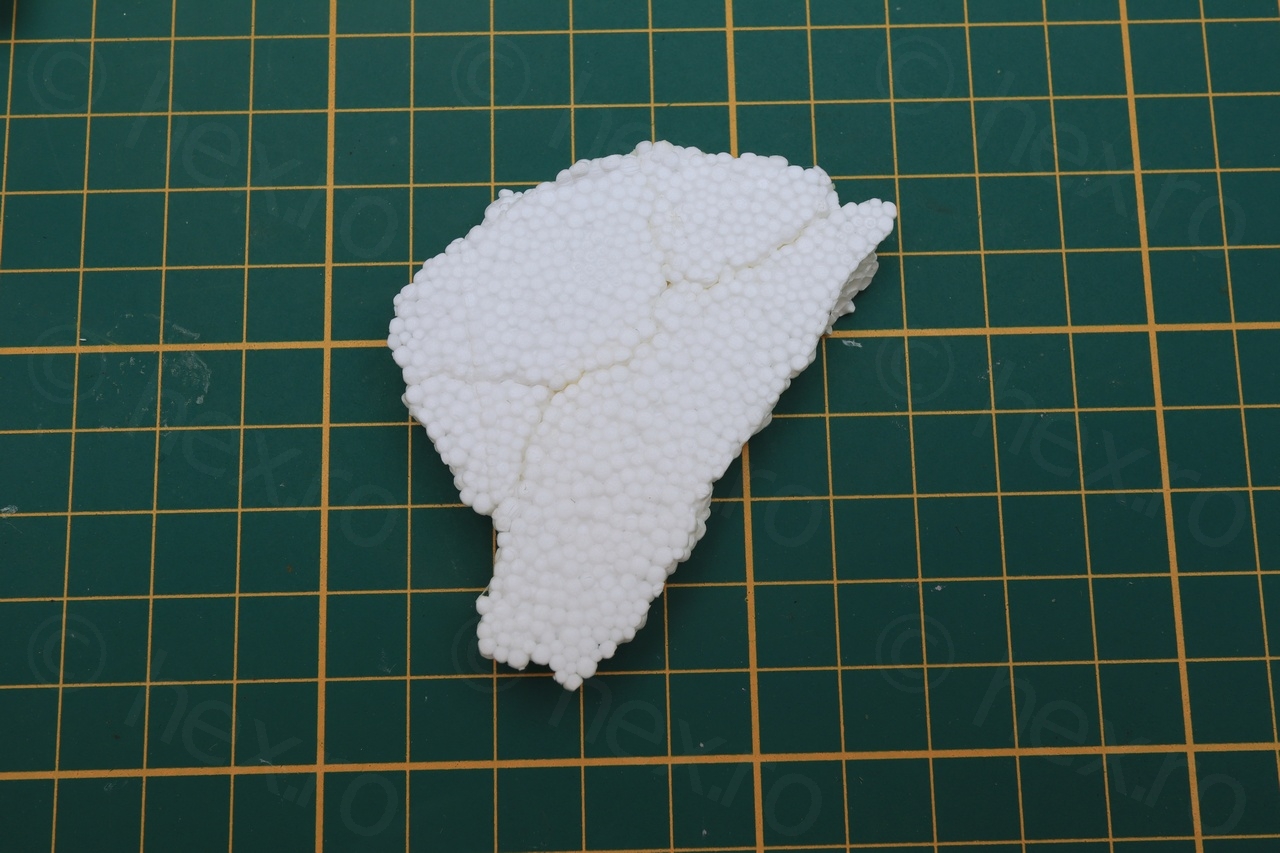
I decided to not only break one side, but break that side it in few more parts, just to see how everything will fit together or if the glue will dilate:
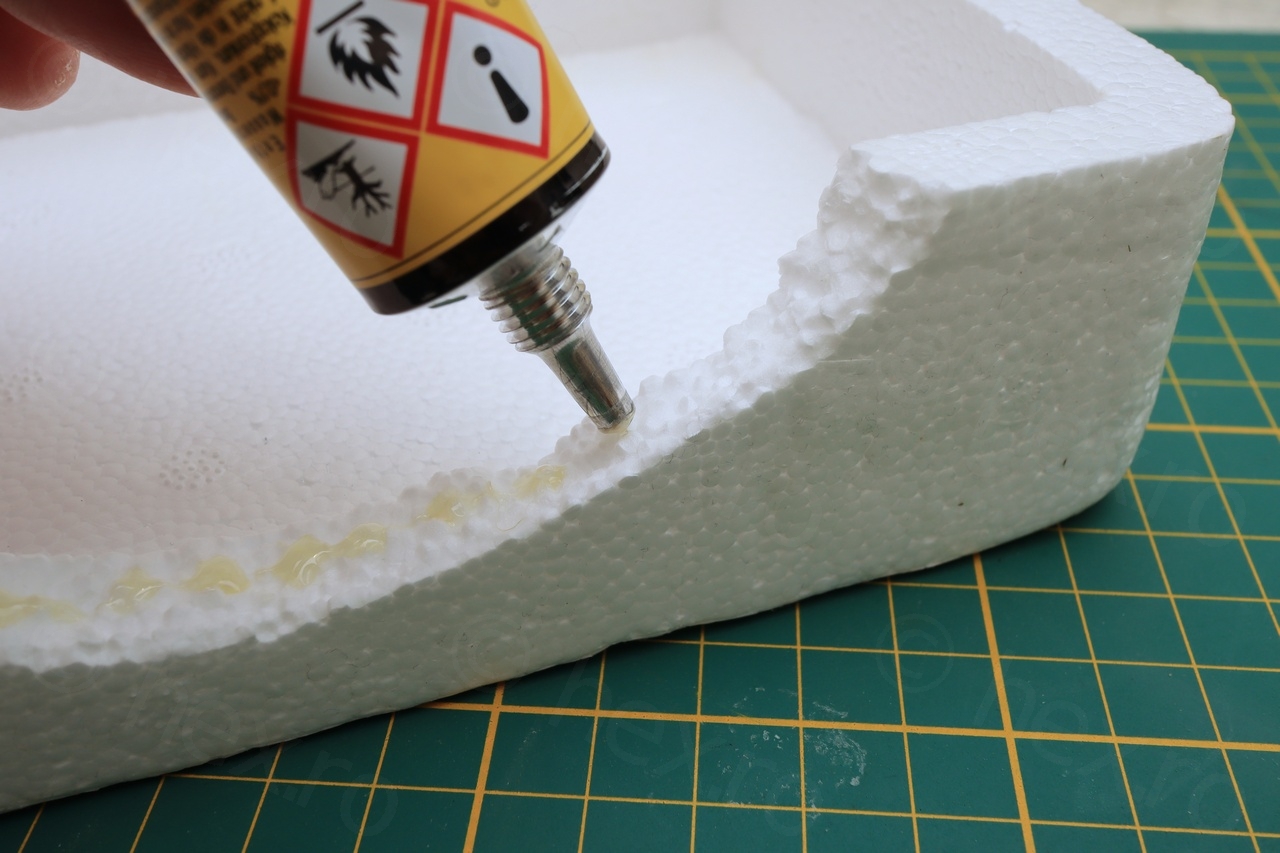
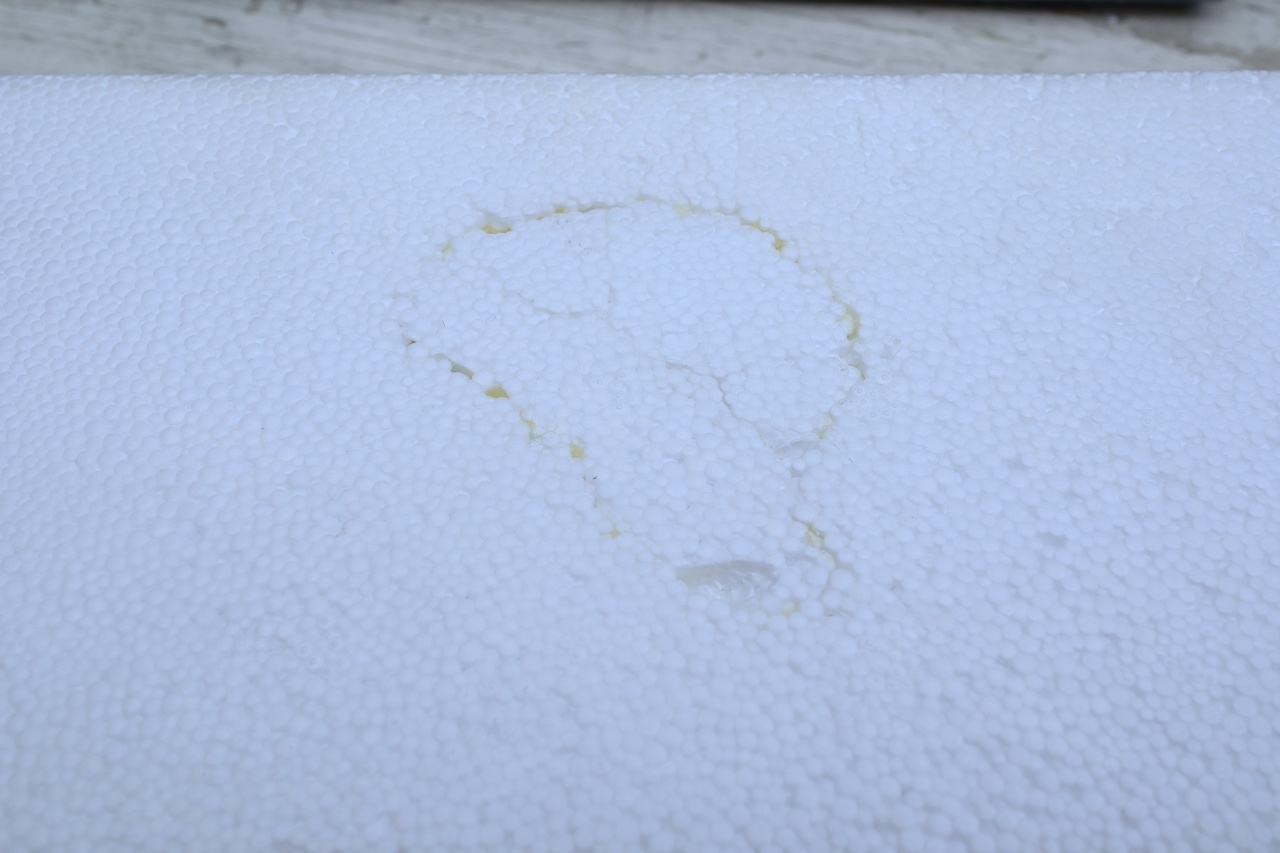
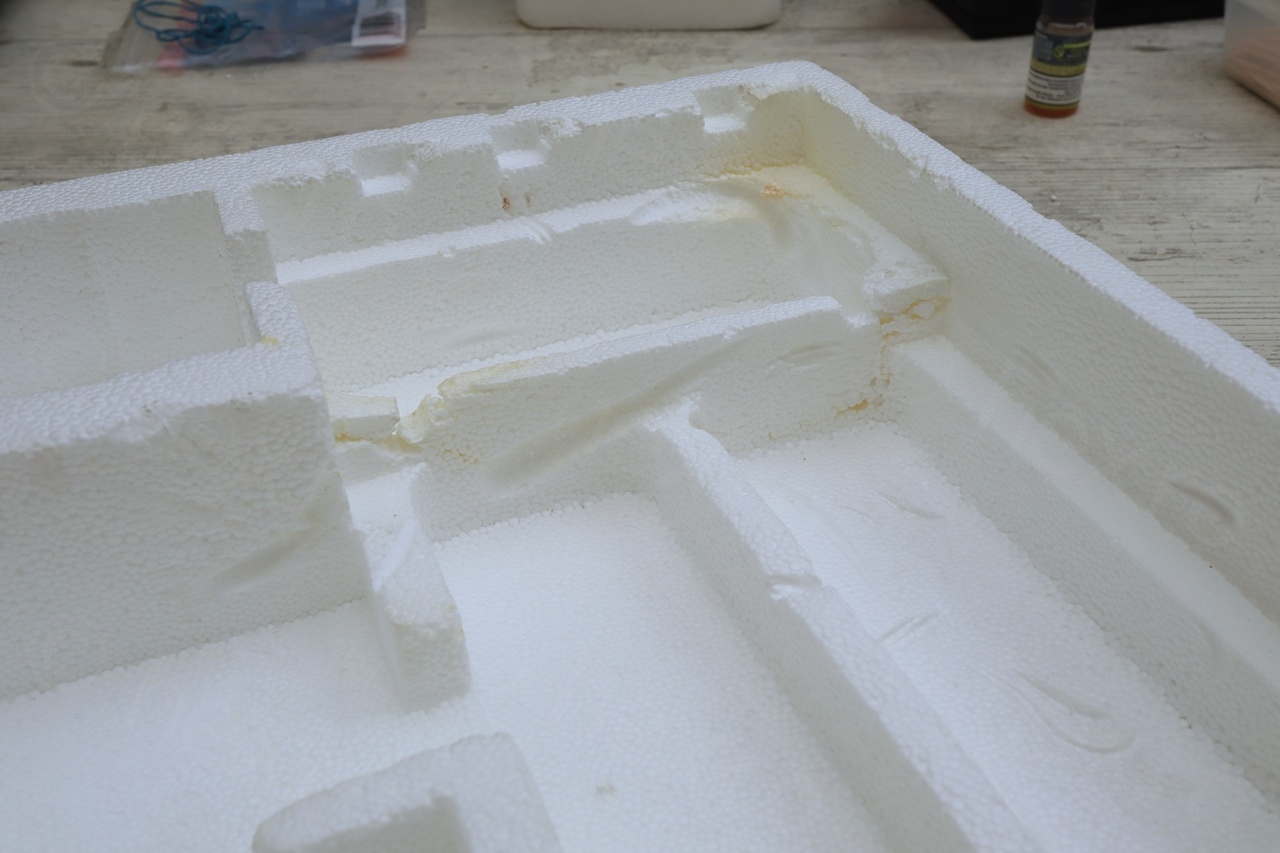
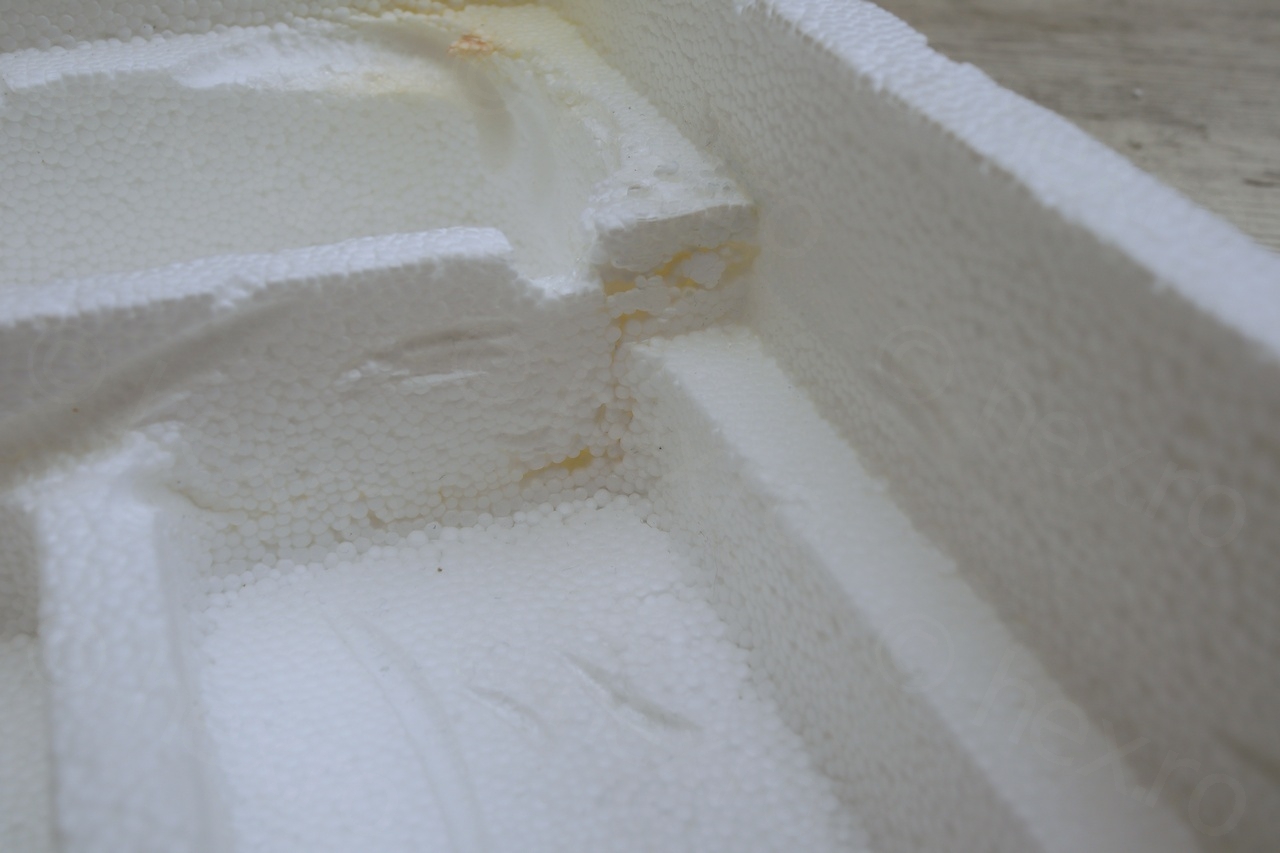
I learned a valuable lesson, not to use the amount of glue that pours out of the applicator. It will be too much, it will squish out when the pieces are pressed together. Trouble with the Pattex glue is that it is yellow, and if it squishes, there will be yellow markings.
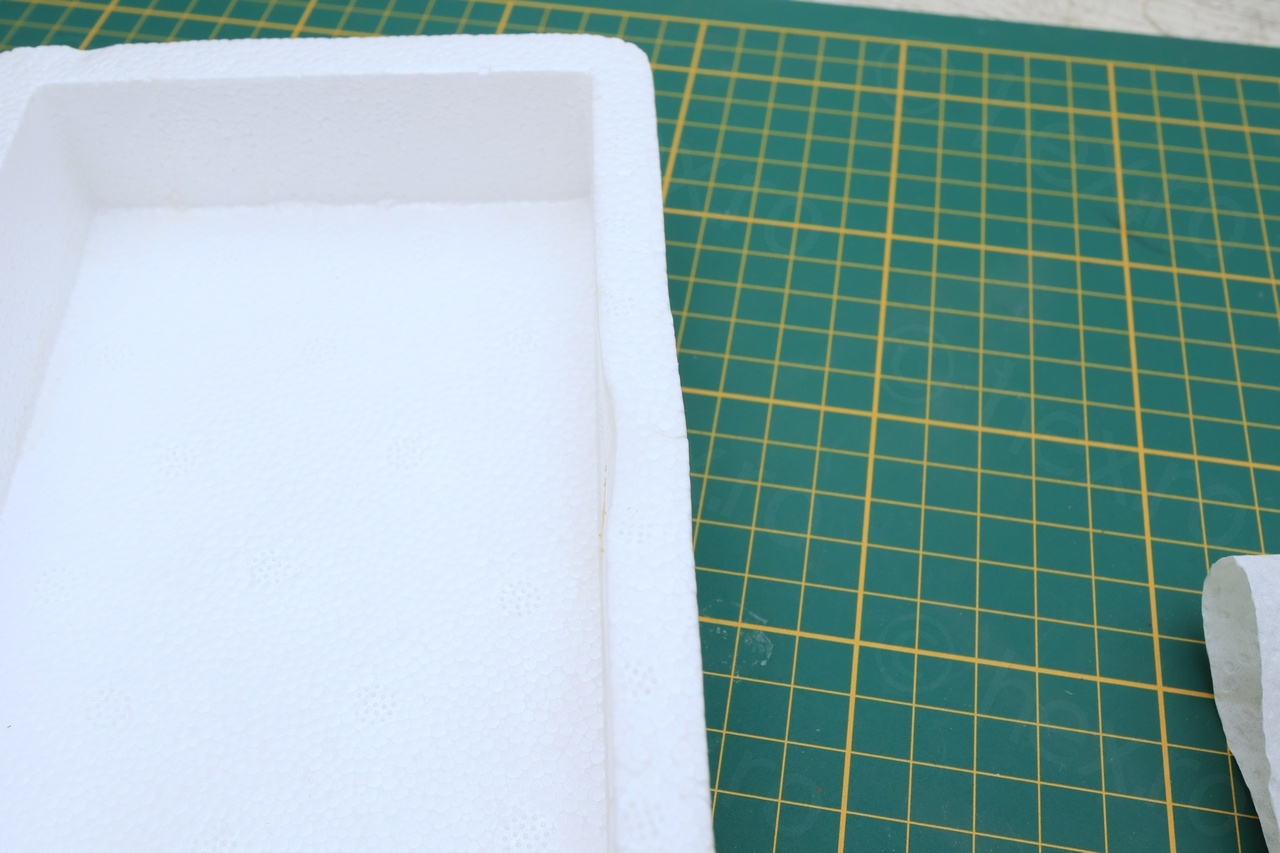
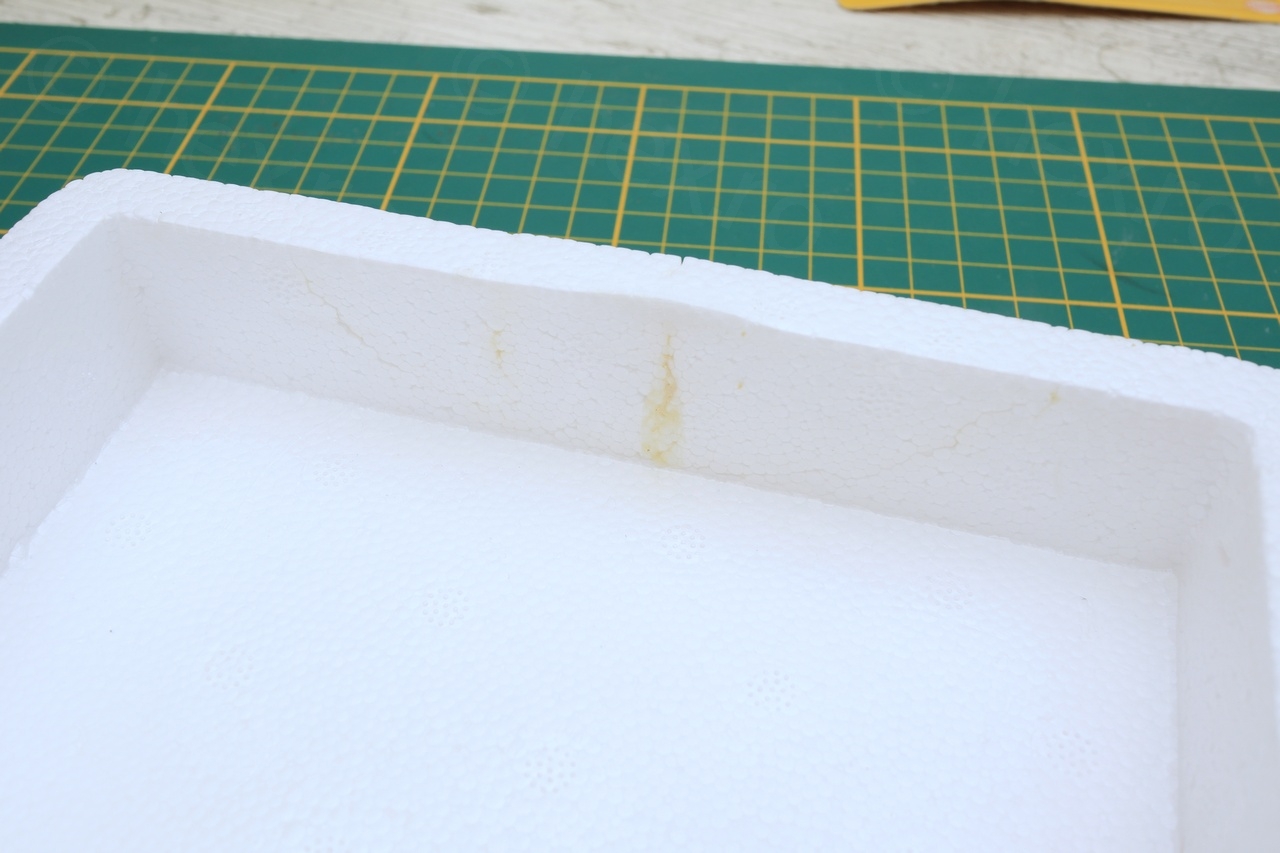
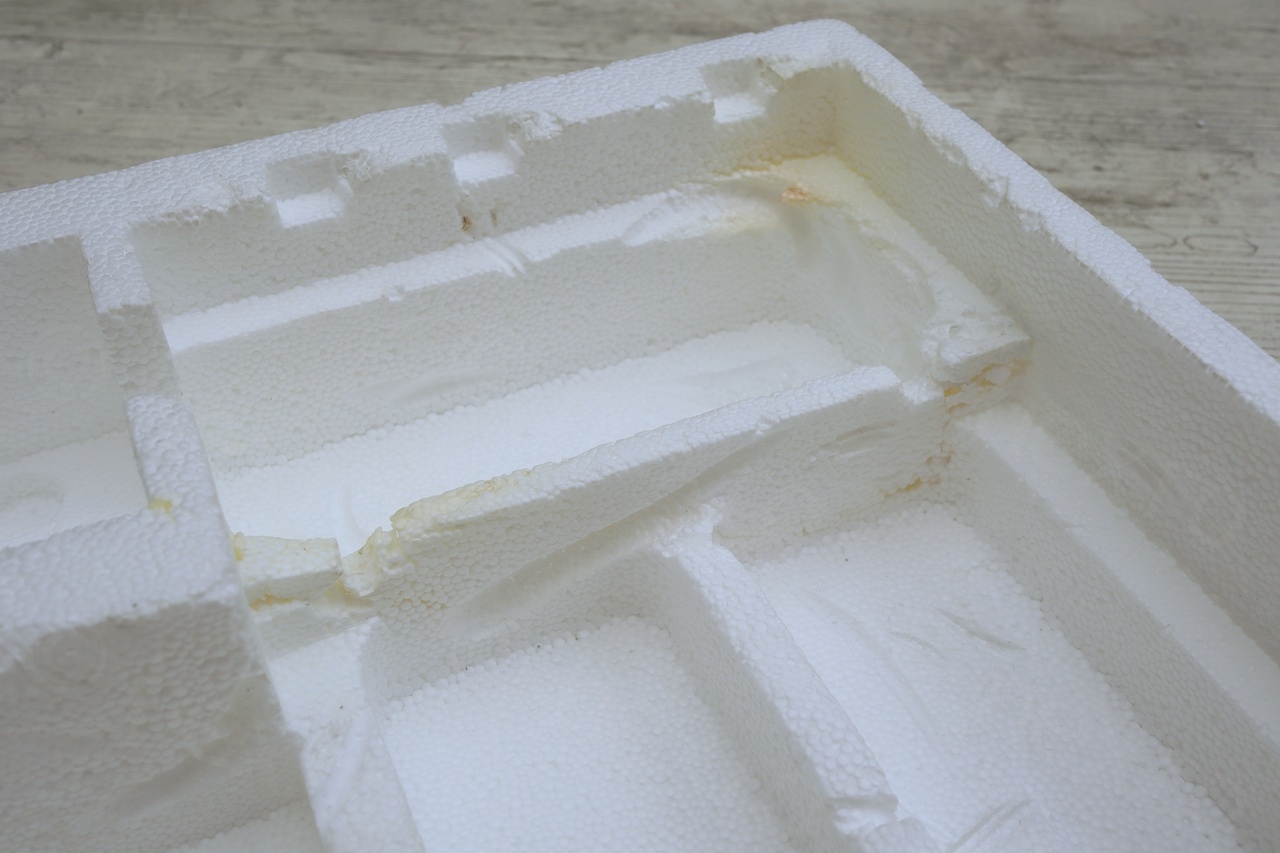
Except the first glue joint where I have used way too much glue, everything turned out alright with the sacrificial box, the foam did not bend (except where it was already bent by my finger trying to break the side off):
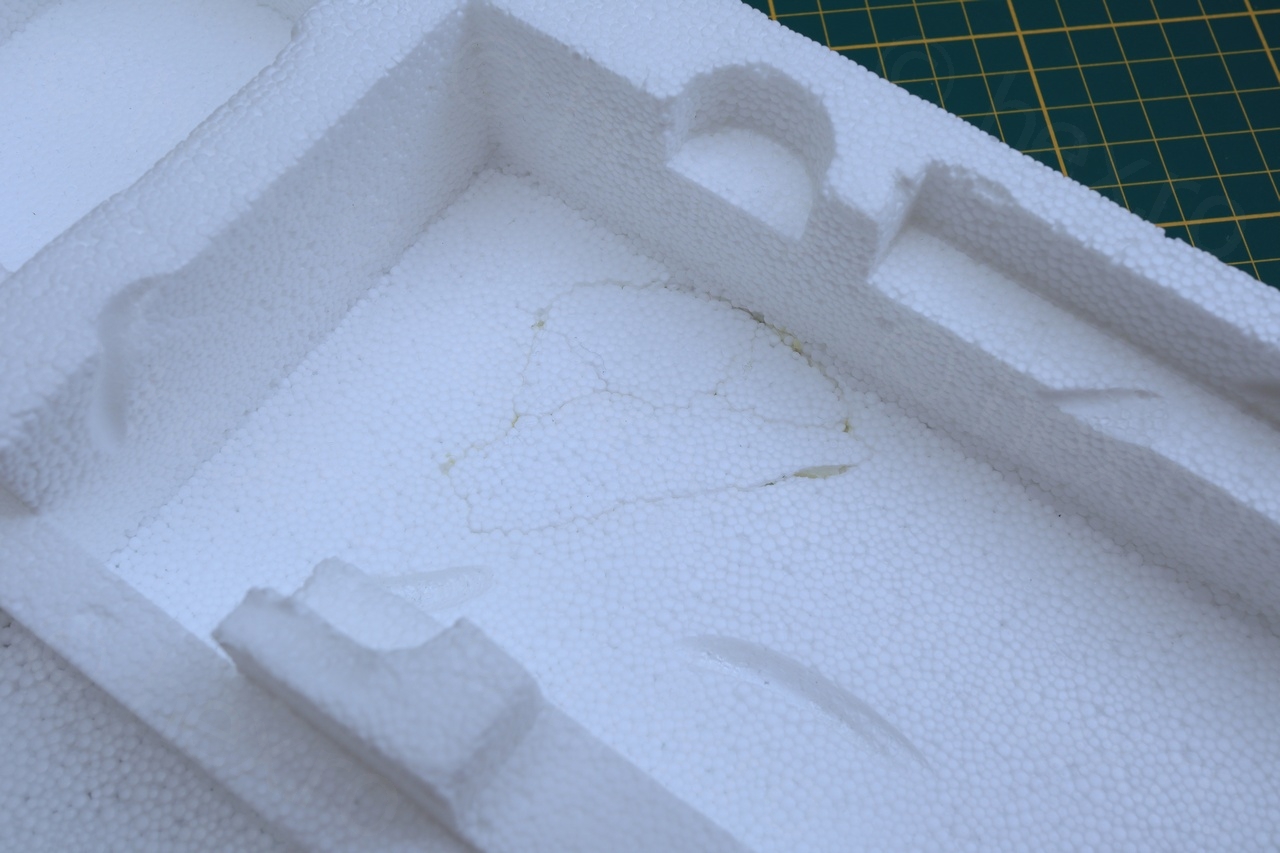
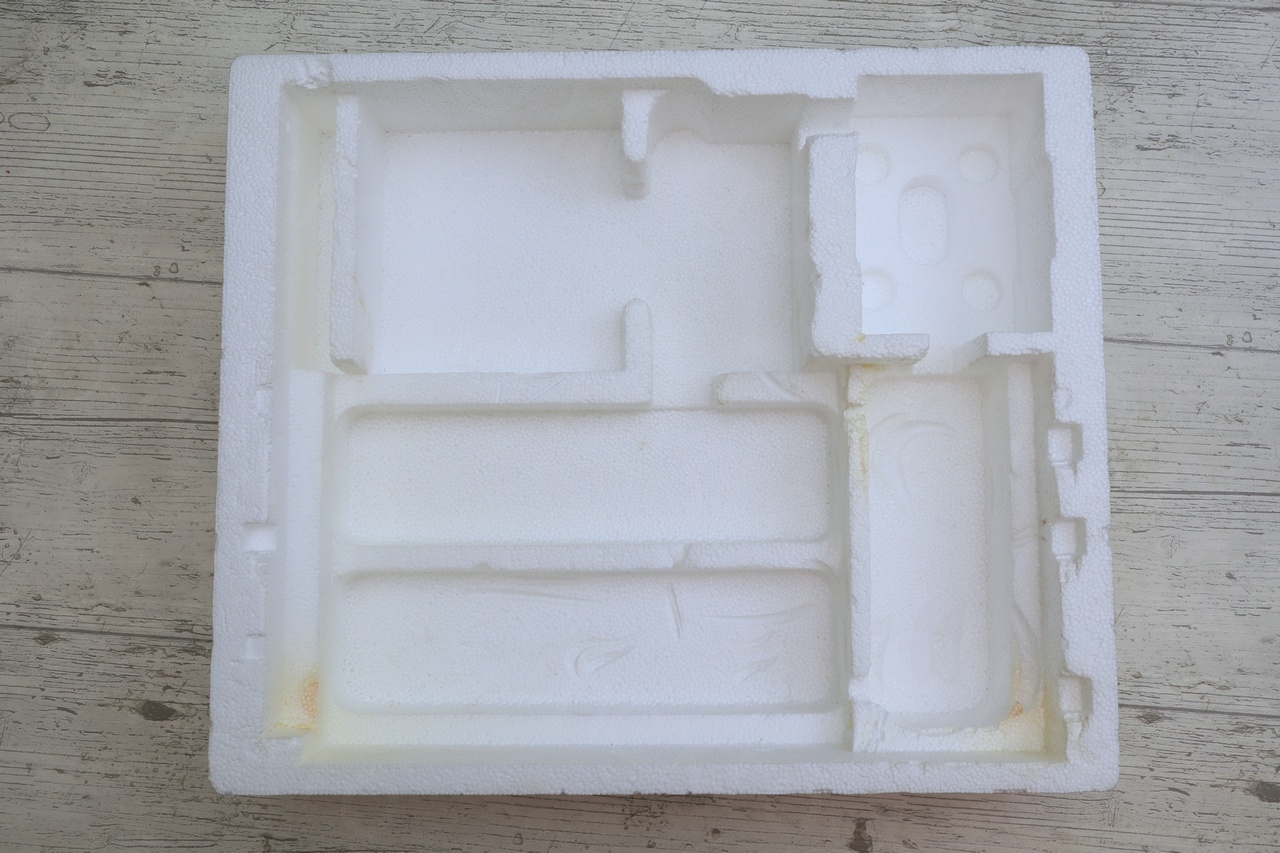
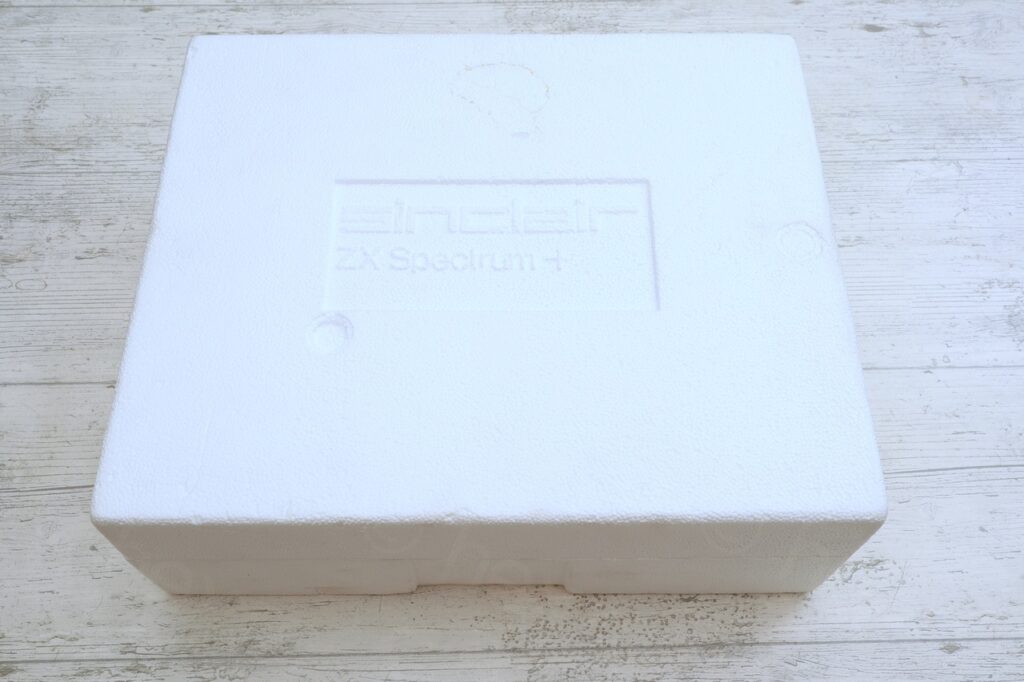
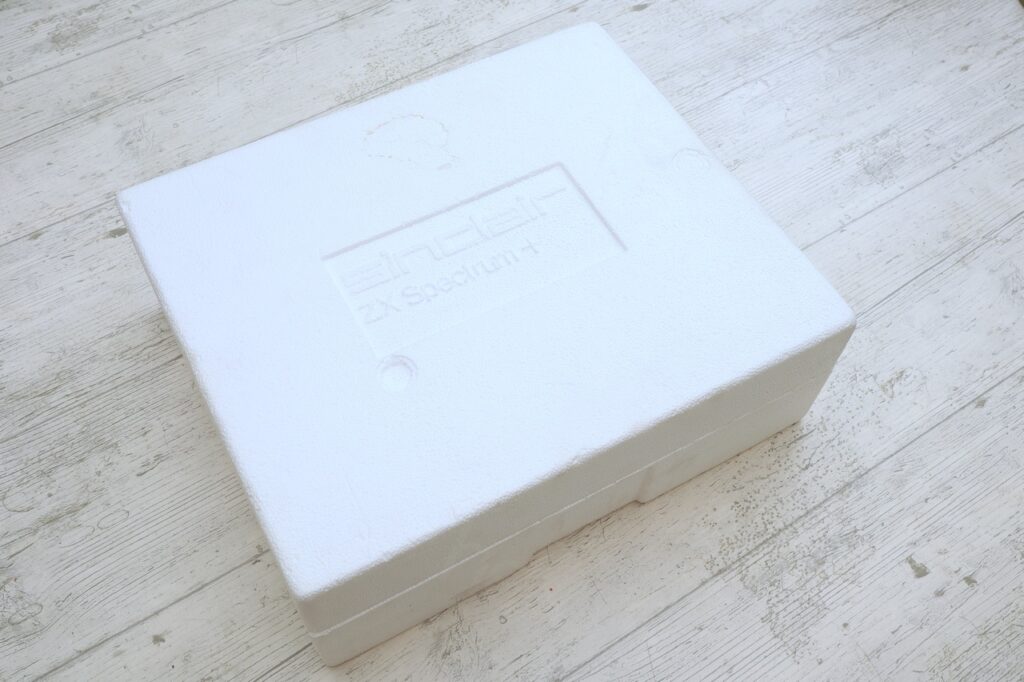
Thus, I was confident enough to get going on the original ZX Spectrum + Styrofoam box:
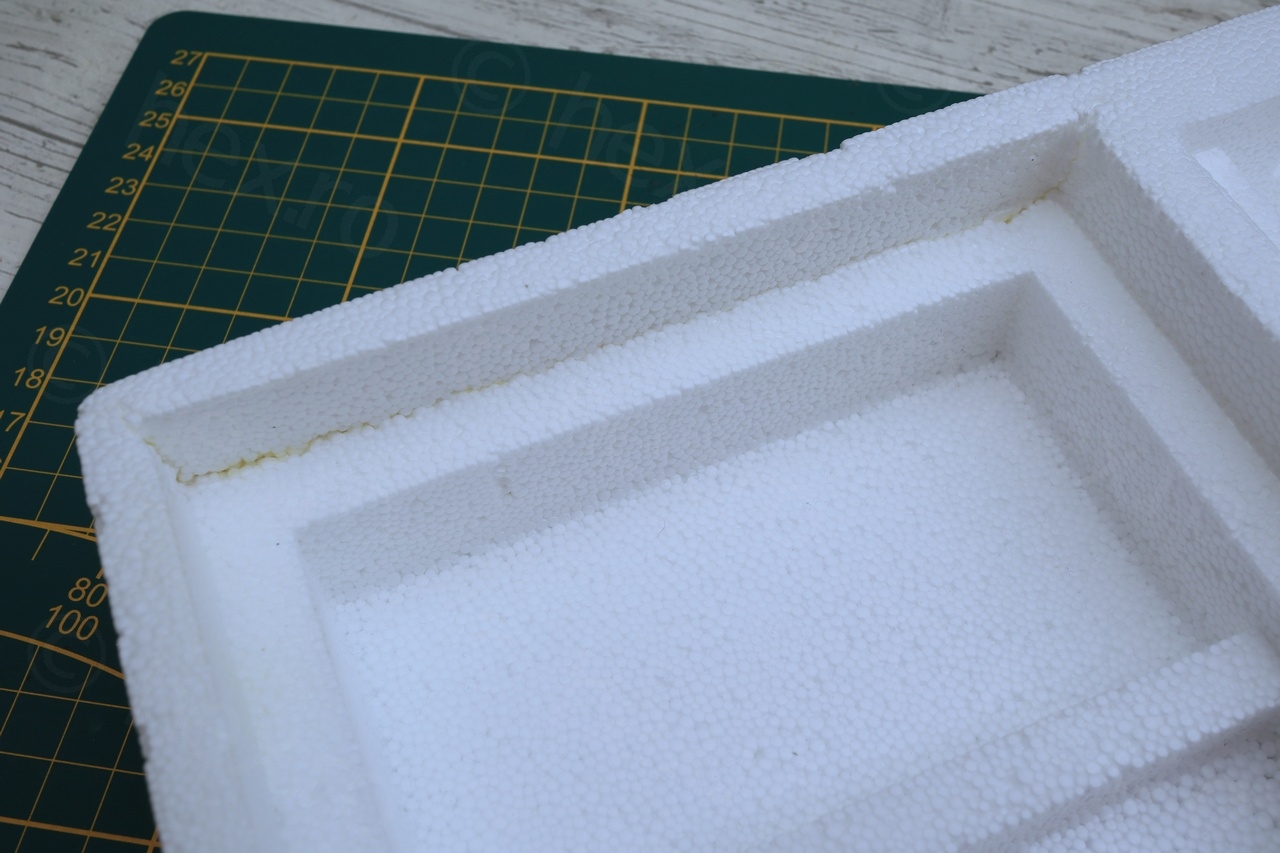

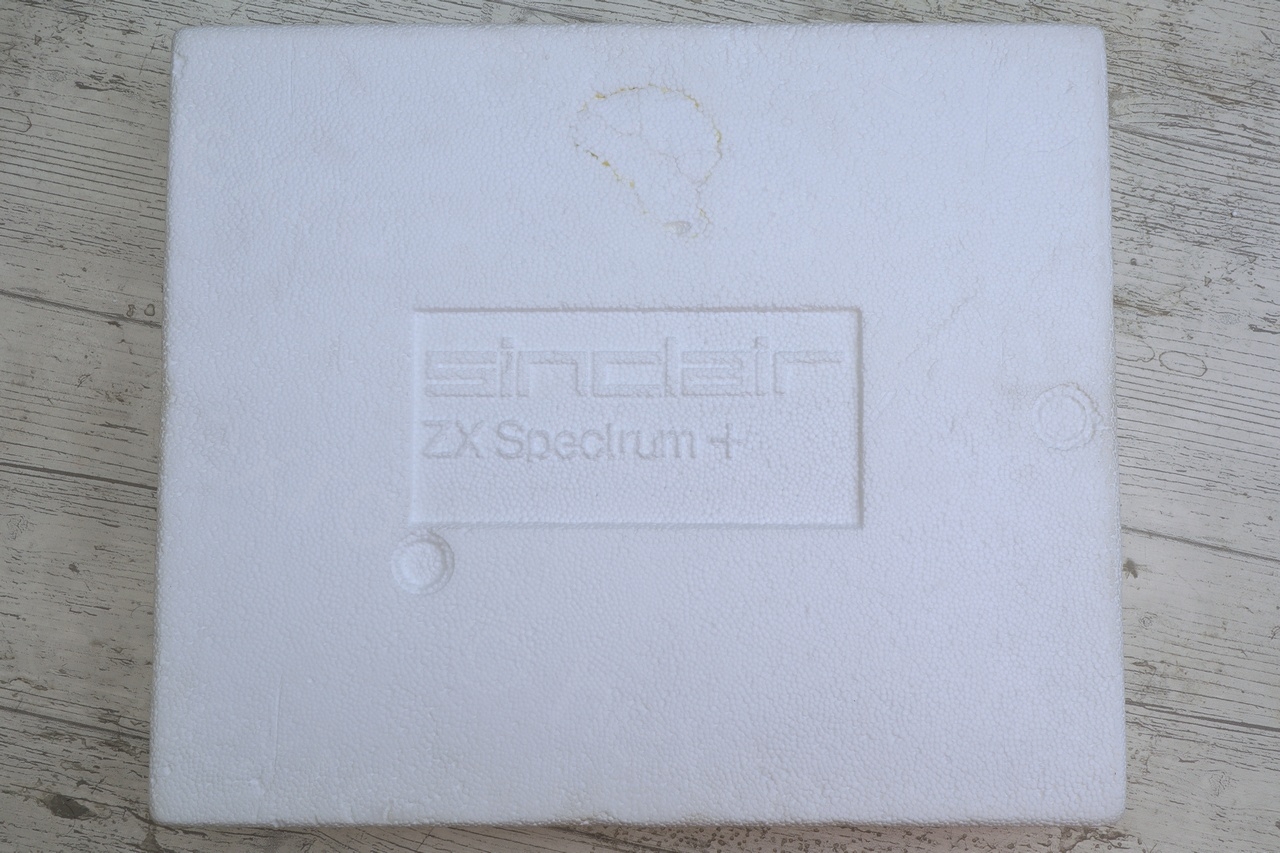
Time to work on the other lid:
Cables de-gluing
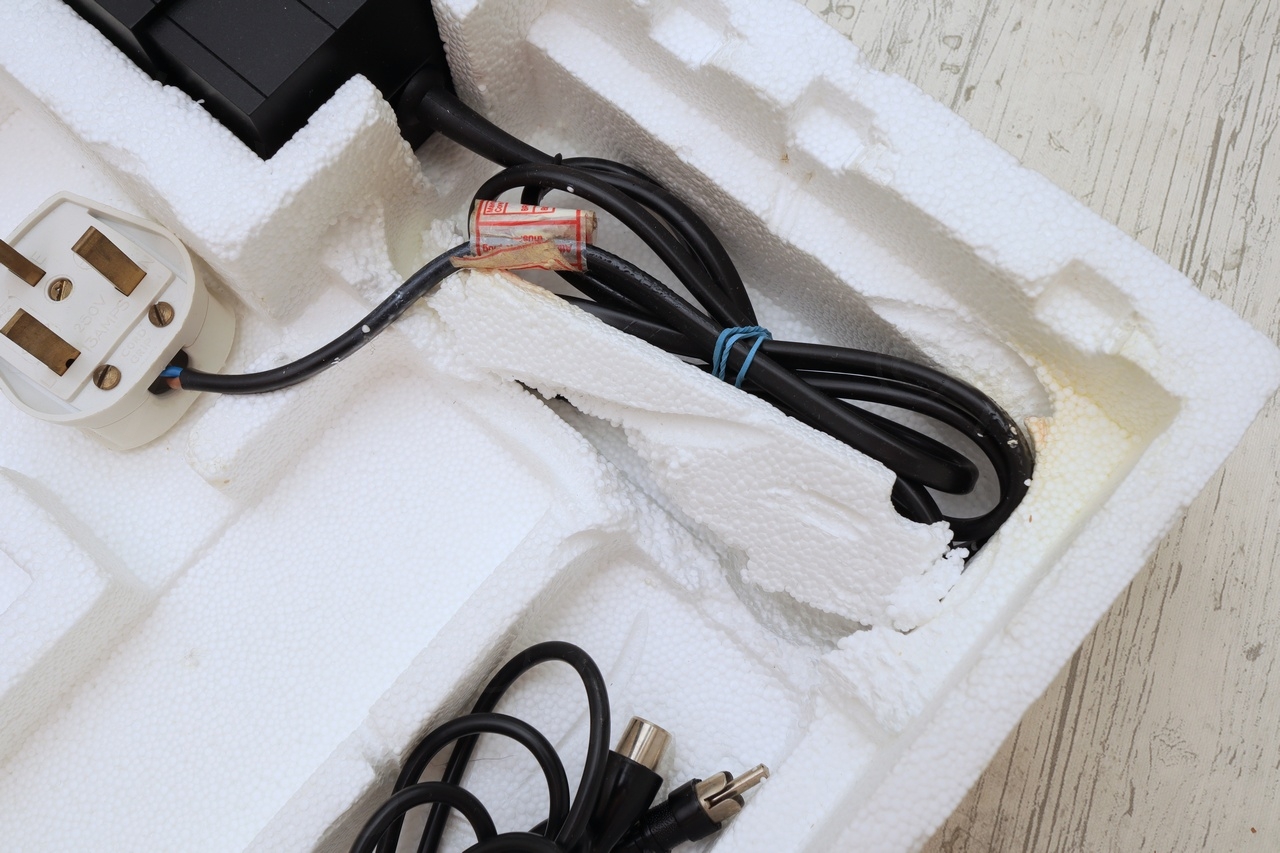
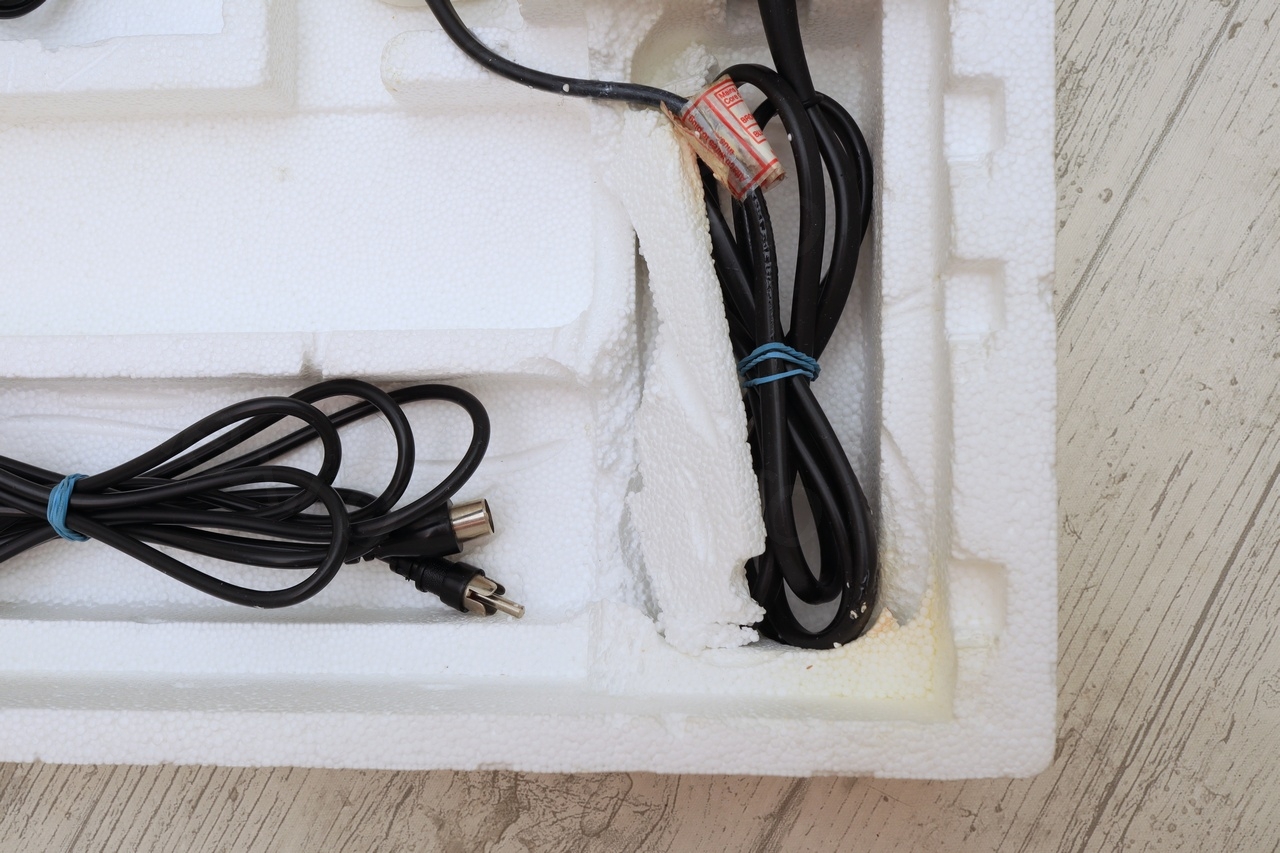
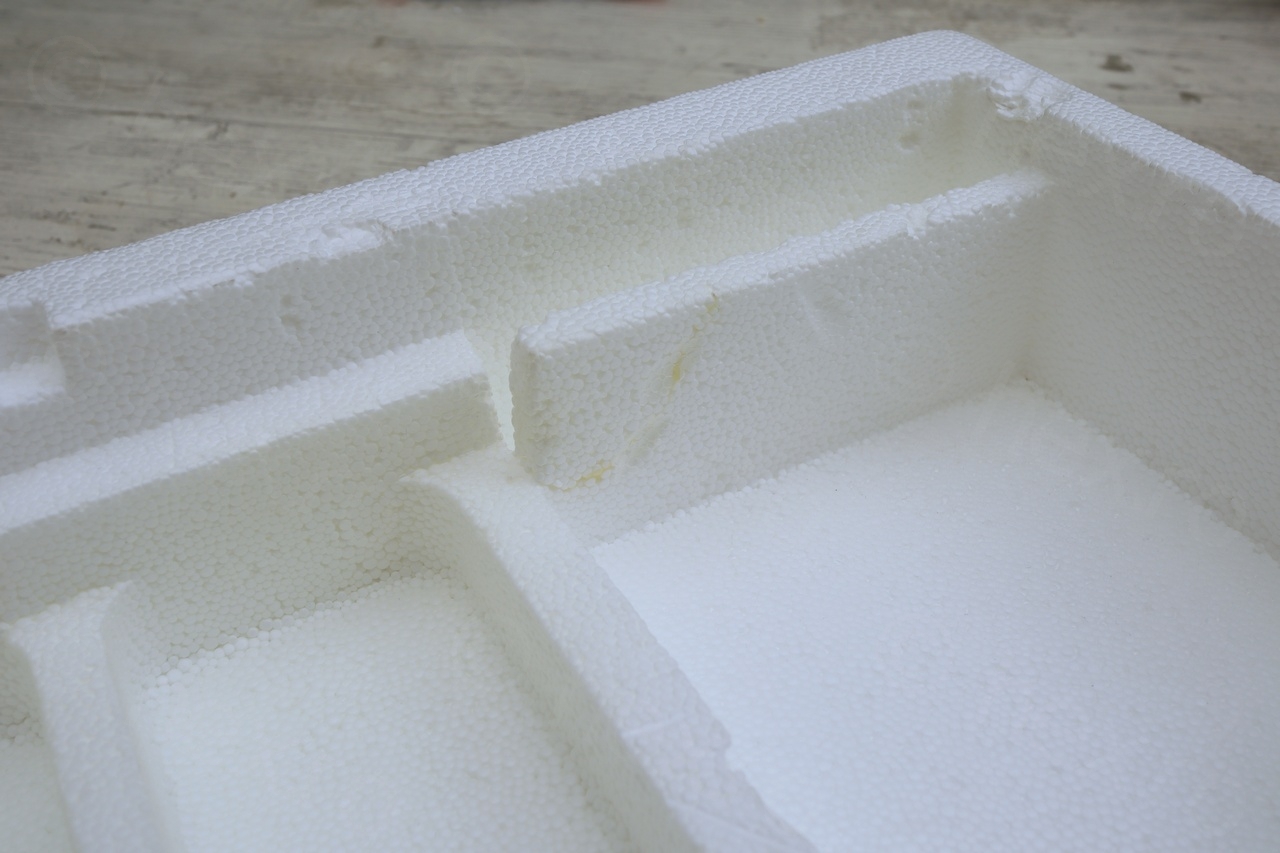
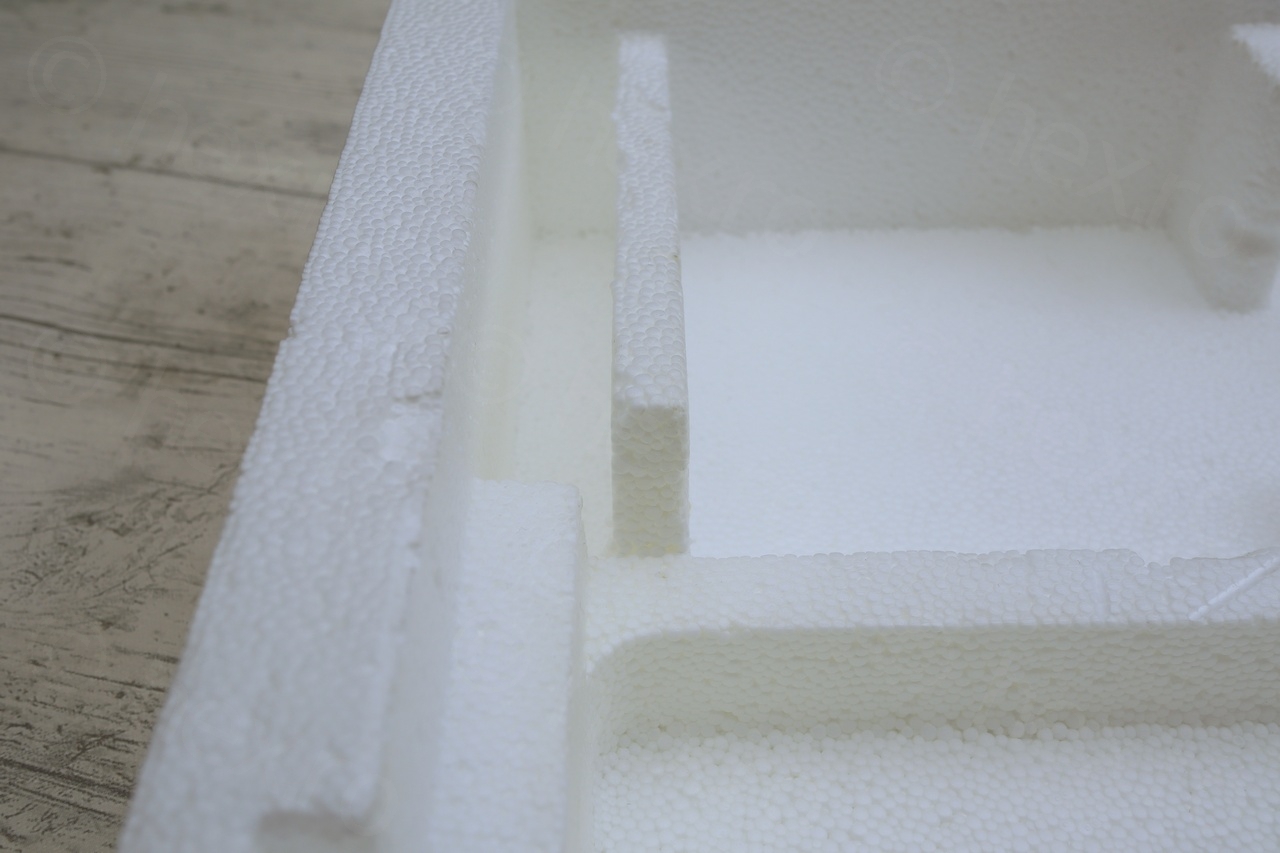
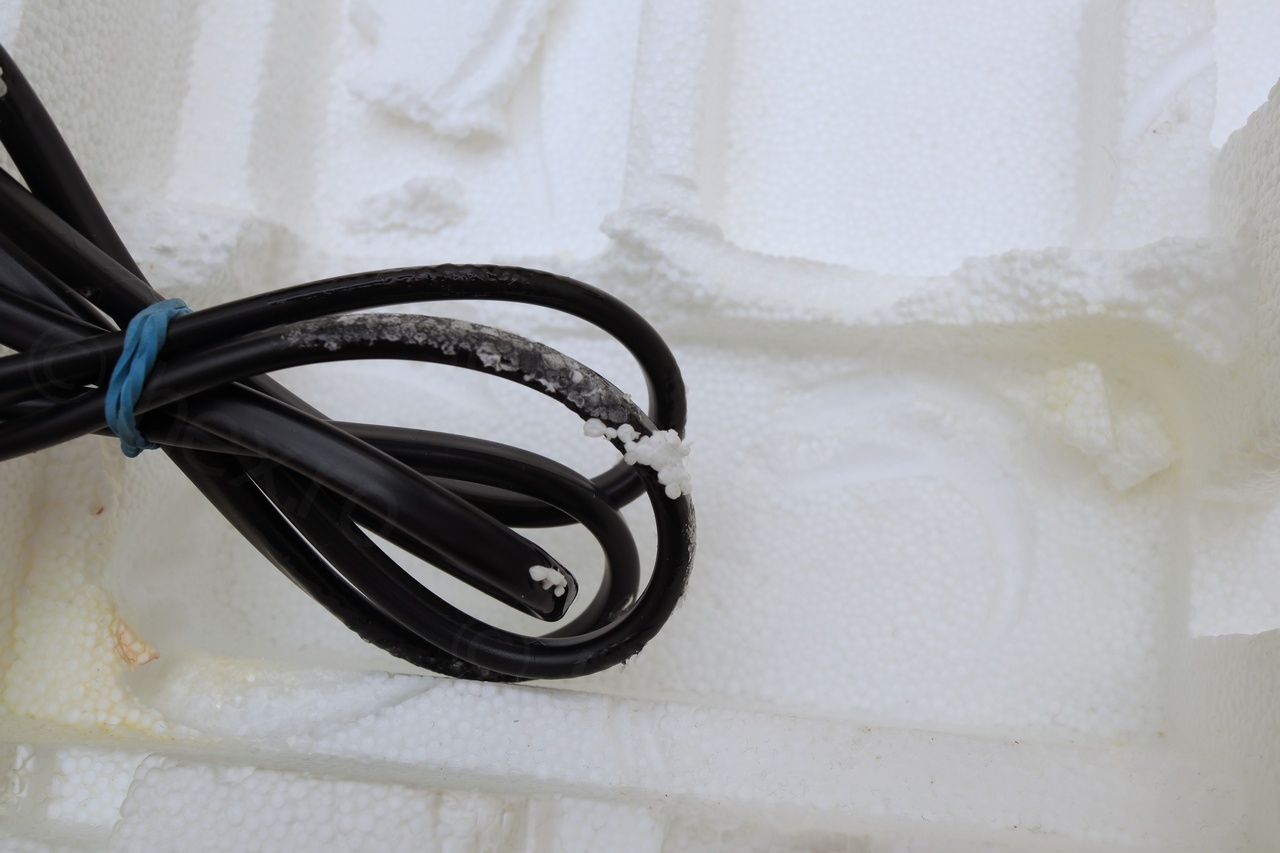
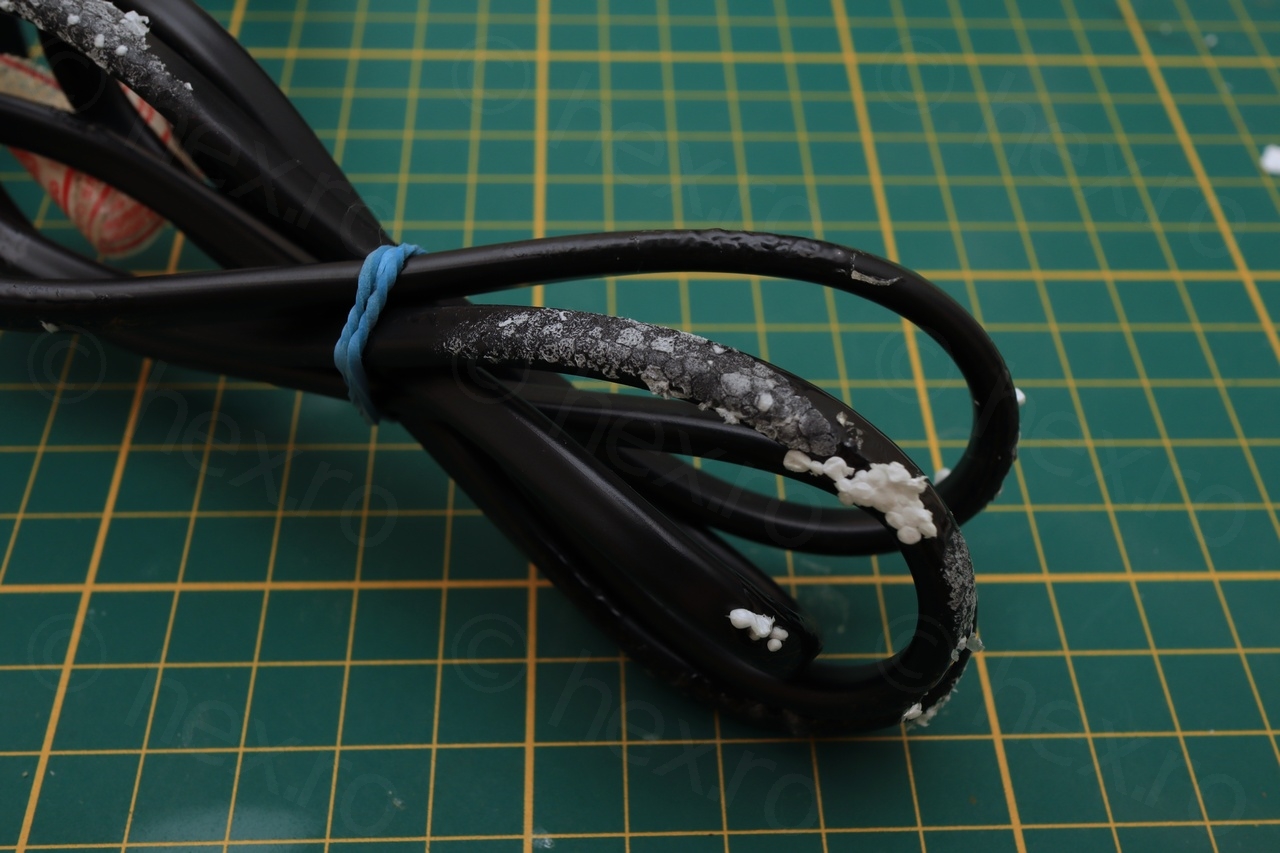
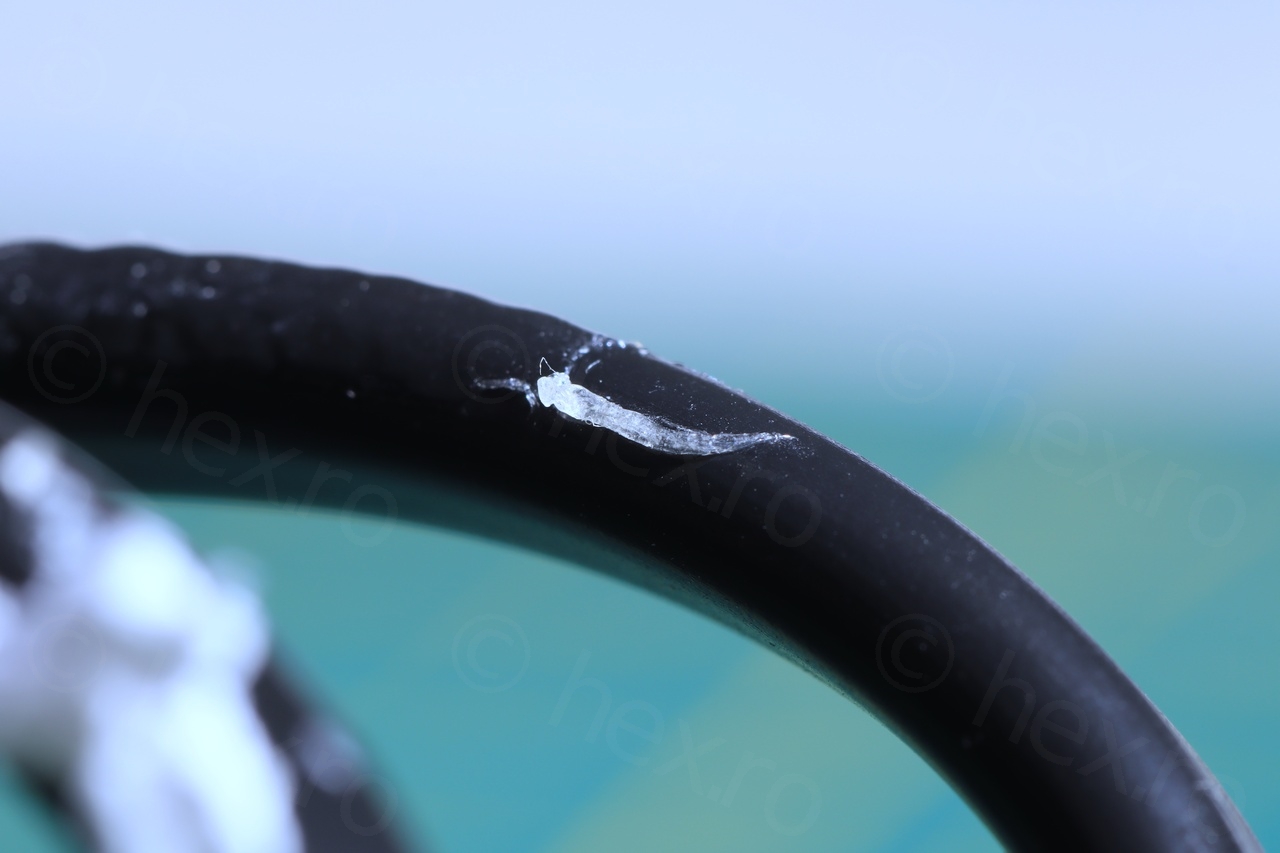
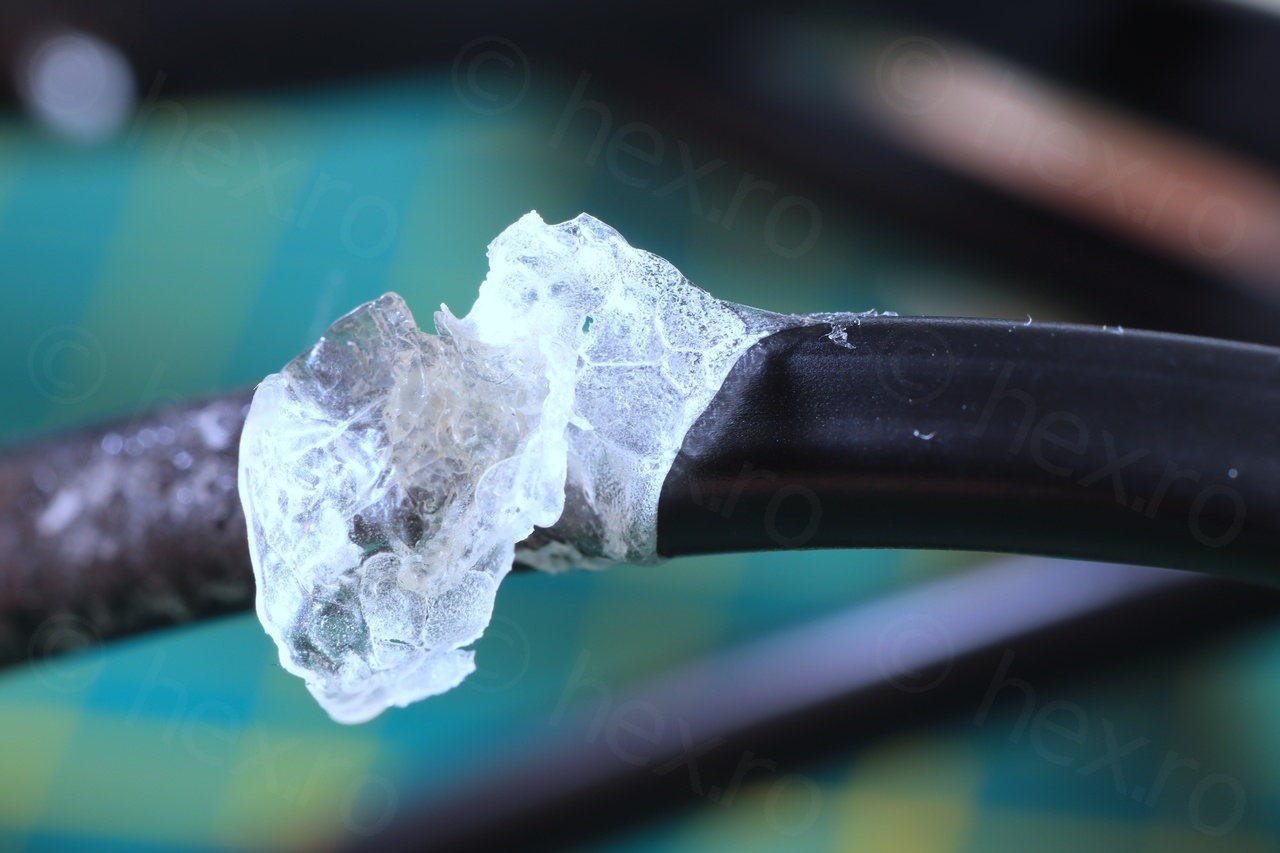
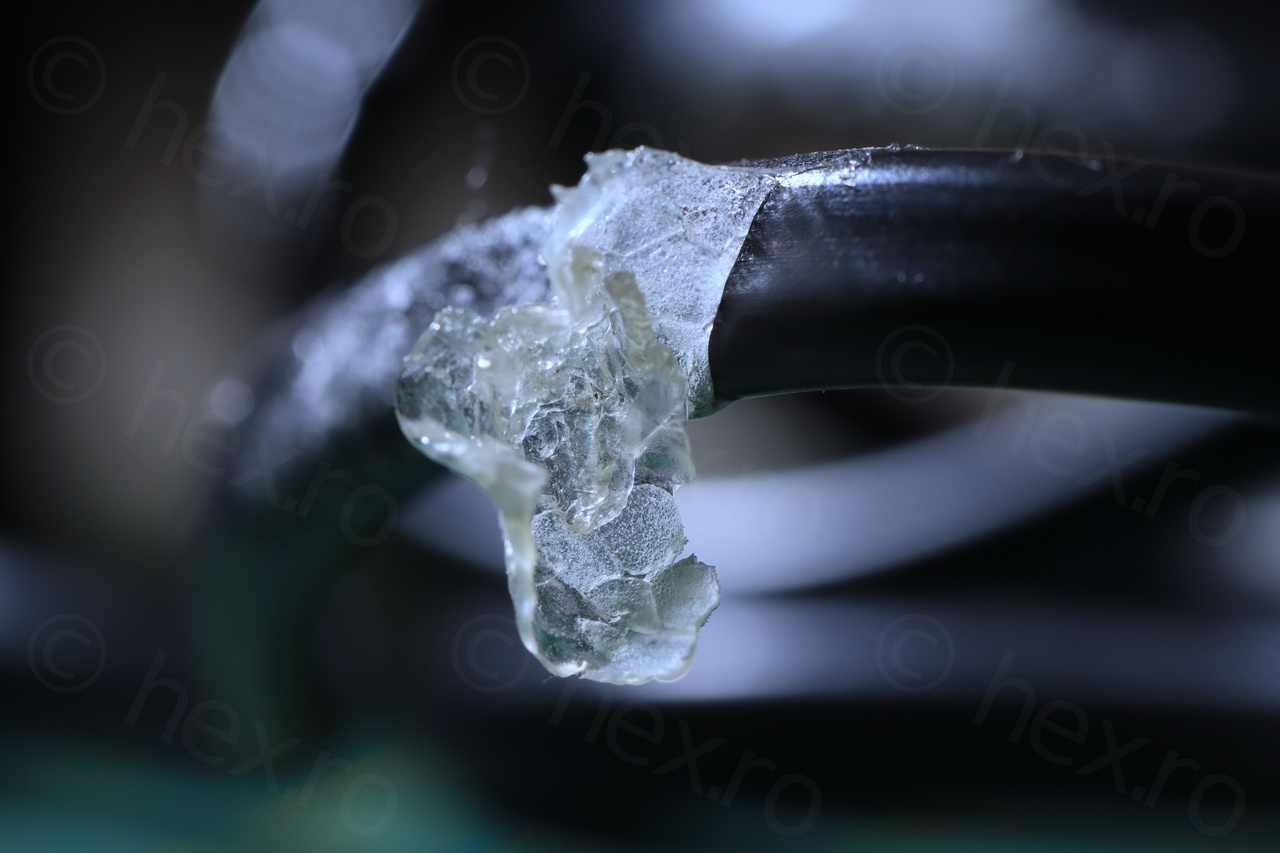
One other thing that worried me is that it seems the cables have this glue on them, glue which also ate through the Polystyrene as you can see from the photos, many ‘dents’. I have a second ZX Spectrum+ where similar glue was used. Initially I thought this was the work of the seller, but since the other ZX Spectrum+ has it too, it may be that they were sold like this ?
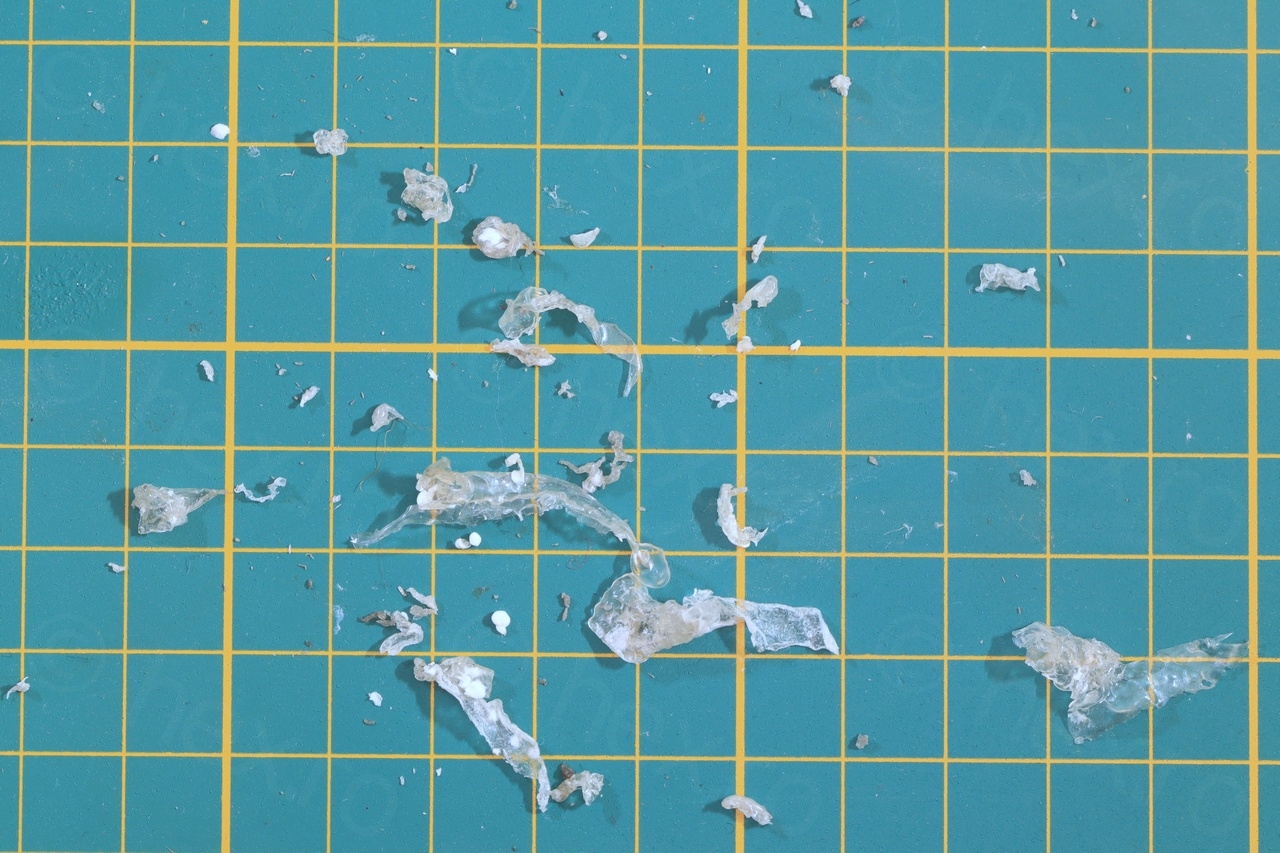
In the interest of long term preservation, I decided to remove the glue. It is a tedious process, but it can be scraped away with fingernails:

Final checks
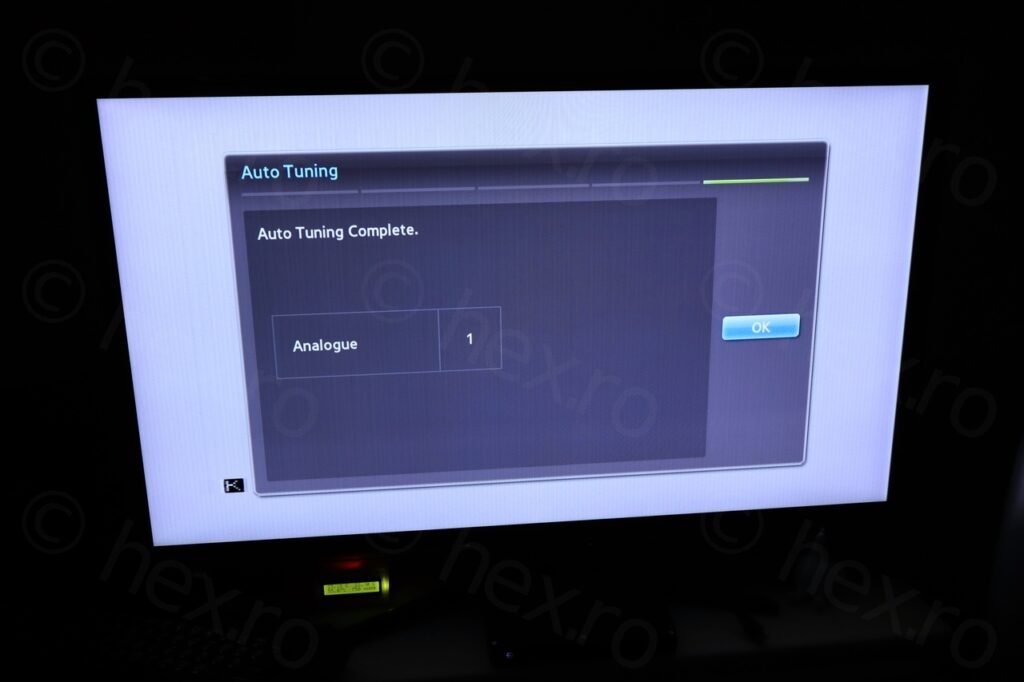
I did a quick check of the computer, but I have no intention of re-capping or opening it up, I would like to preserve it as much as possible as is. There are more efficient ways of playing Z80 games (for example, Nintendo DSi with the two screens, one for the game and one for the Spectrum keyboard).
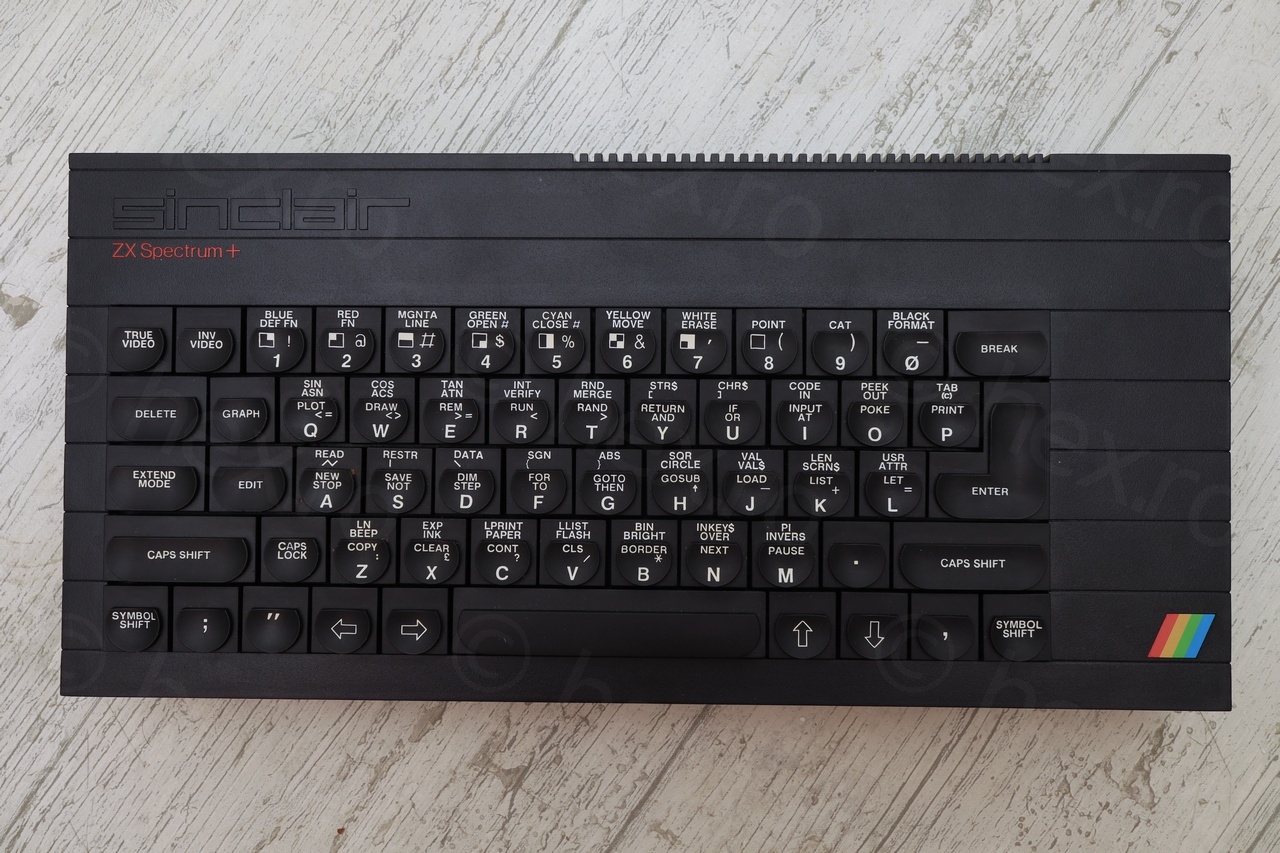
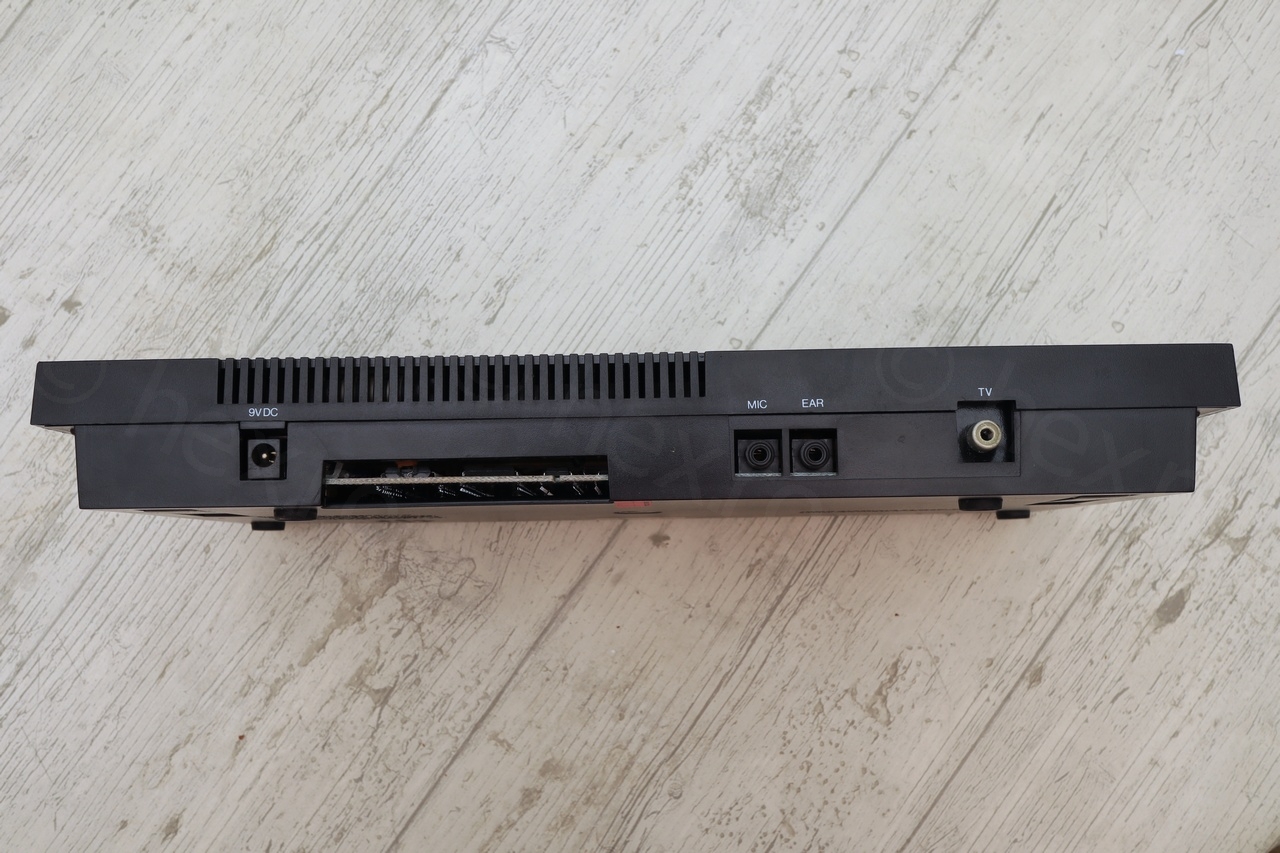

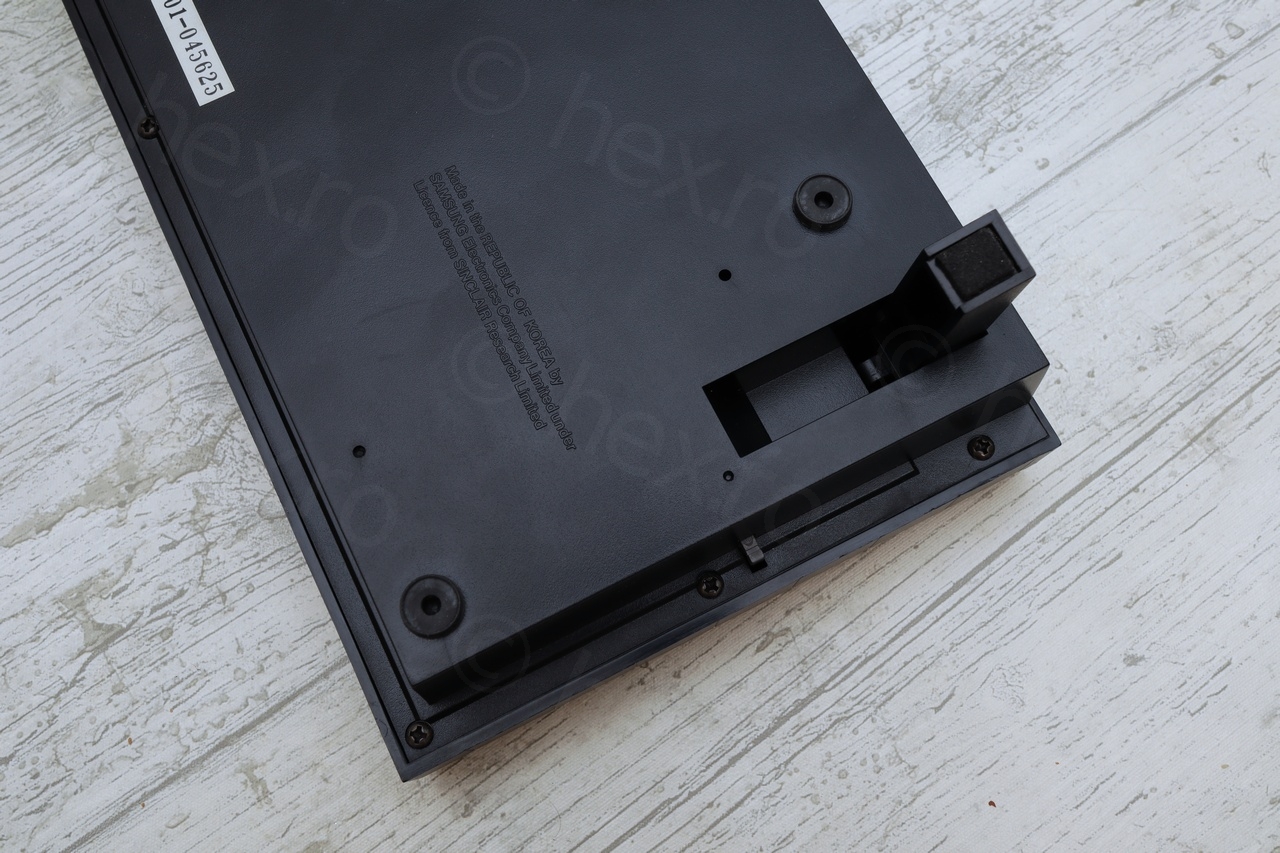
And it works just fine:
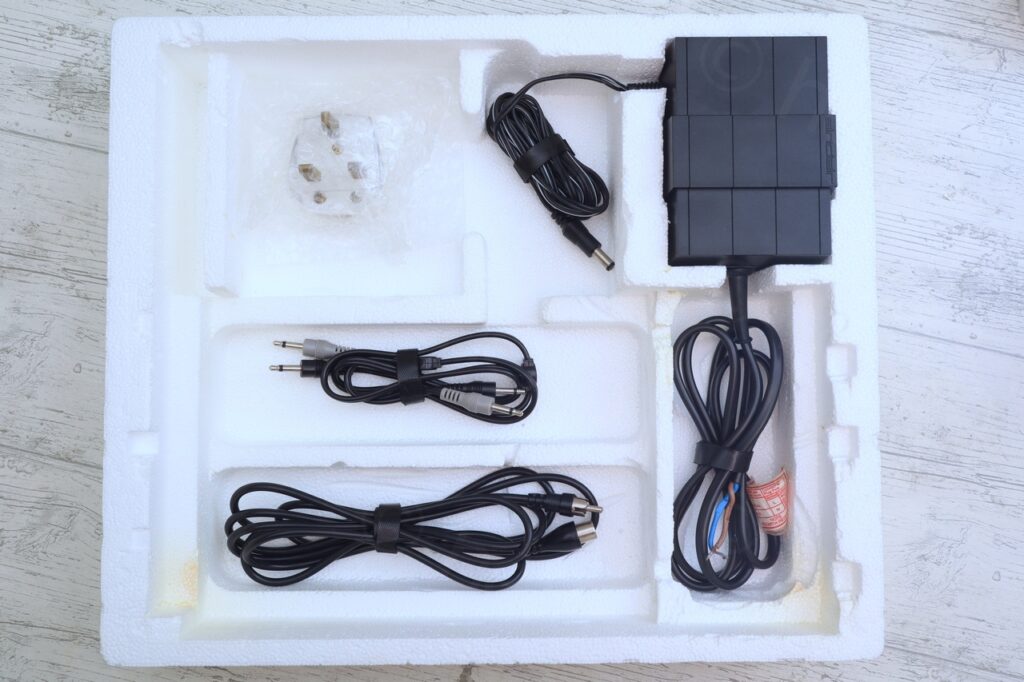
The attached cables were secured using elastic ties, but I noticed that these ties become brittle in time and they may even melt. I thus replaced the ties with Velcro straps:


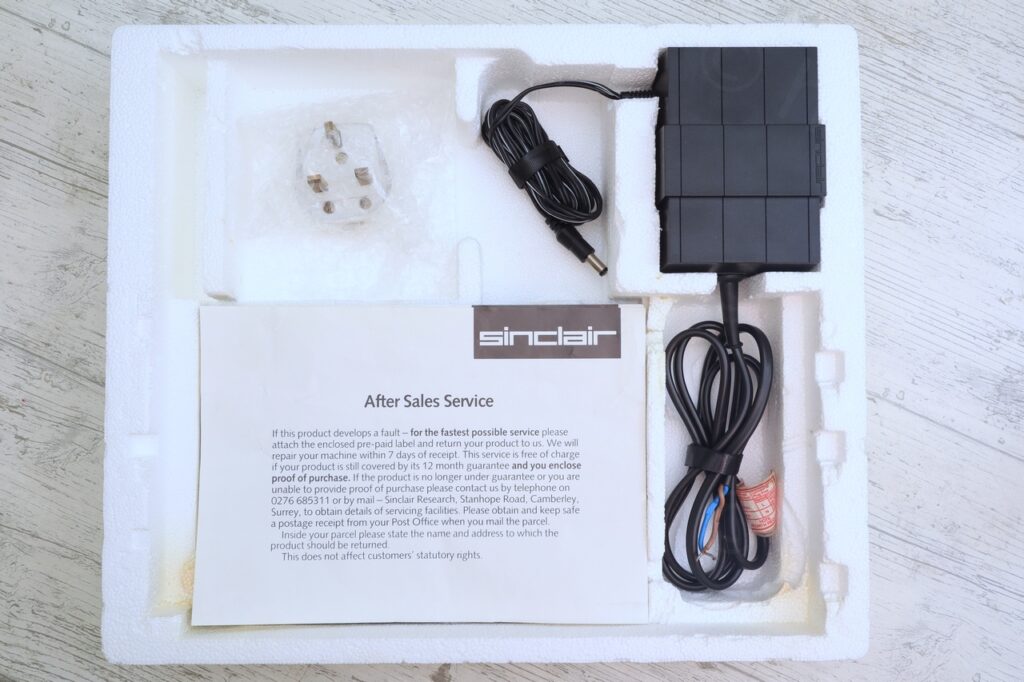
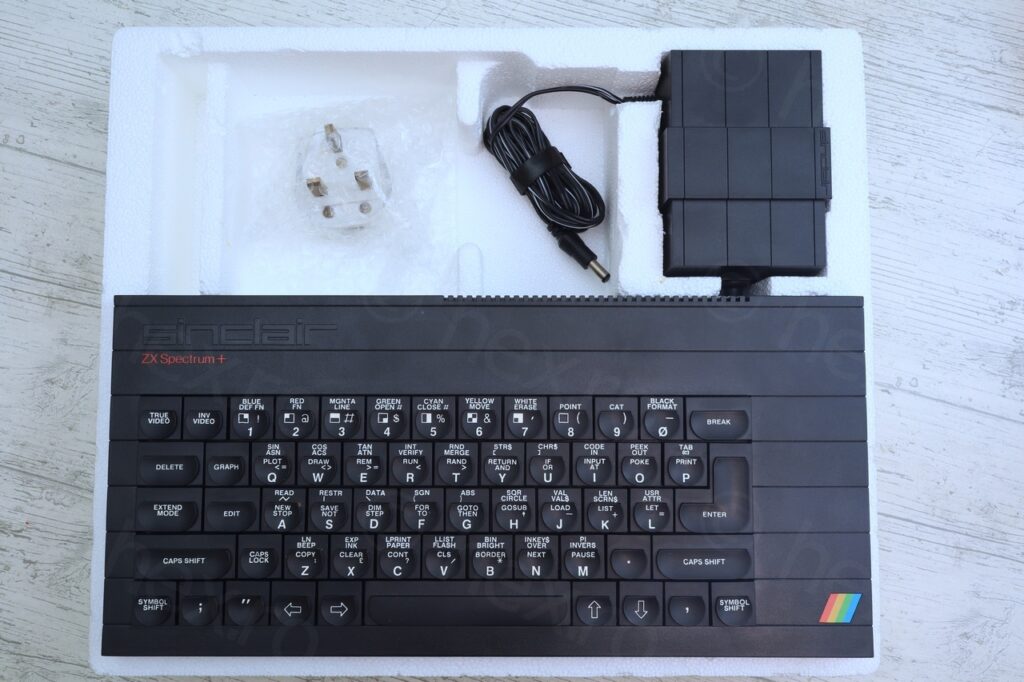


This concludes the Polystyrene restoration process, a little tedious, but it is better than having the box cracked. Of course, I have detached the UK plug and placed it in a bubble wrap – again, to better secure it for long term preservation.
Not sure if this is the best way to go about it, but I hope is helpful for somebody else having a similar problem.
Leave a Reply