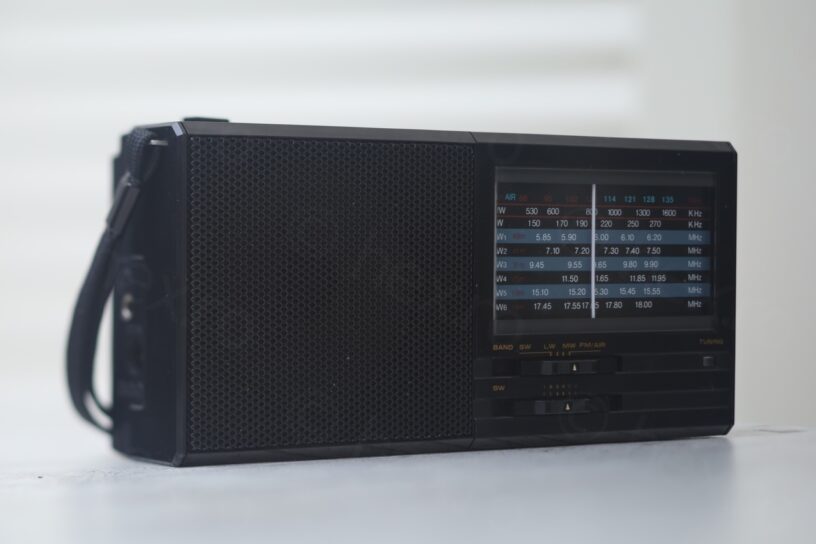
I saw this little radio up for sale and since I like the Sangean SG-792, I decided to purchase it as it seemed a clone. It was sold without a battery cover, and seller forgot to mention that the antenna holder is also broken.
I decided to write a small article about it – explain the troubles with printing a battery cover and printing the antenna holder.
3D printing the Battery cover
Since I own another clone, the Radio International MT-798AFLS7, I thought it would be easy to just copy the its design of the battery lid. The trouble is that they do match, but not quite.
I wanted to print it vertically – since it looks nice on all sides, and it worked with the initial design:
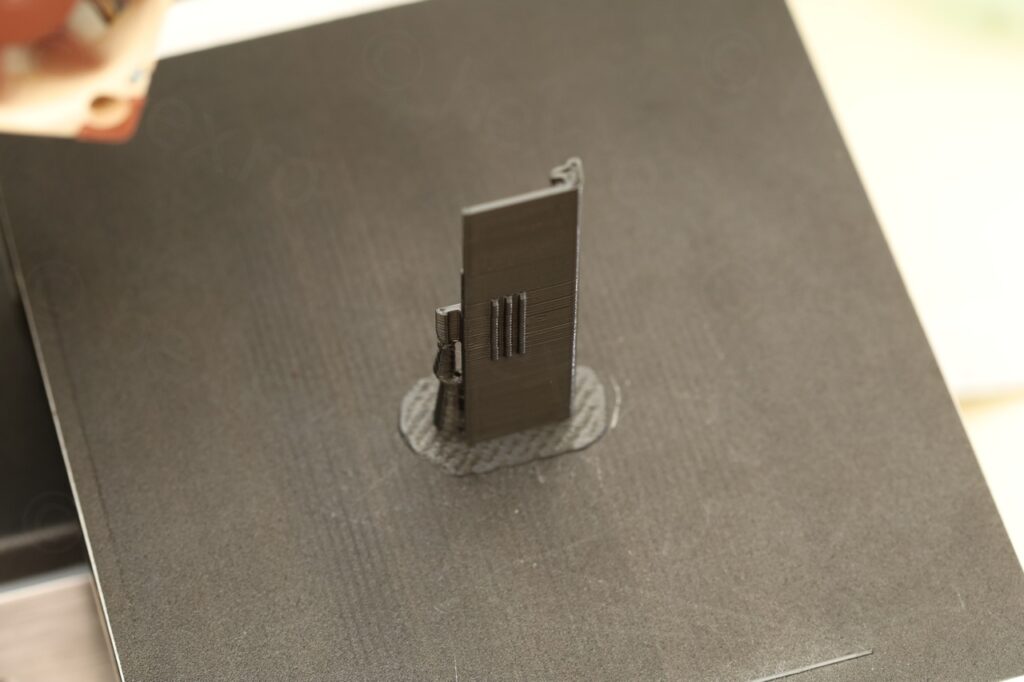
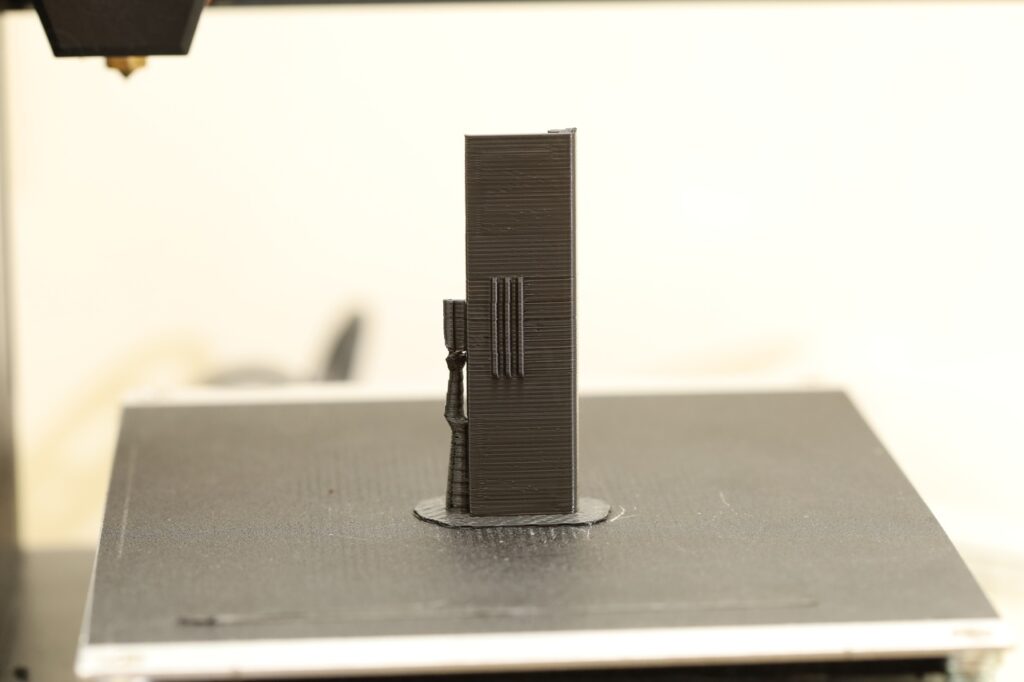
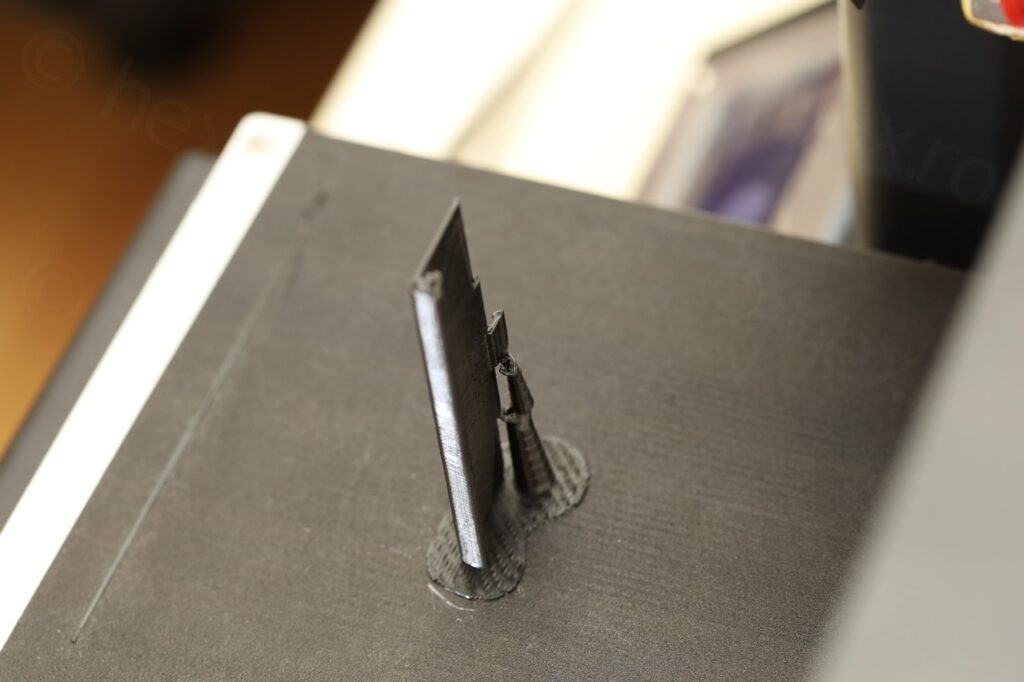
But this didn’t work in the radio, it was too thick. The batteries reached the top of the batteries compartment and it would not clamp down. I thus had to reduce the width to 1mm (which was rather easy in FreeCAD):
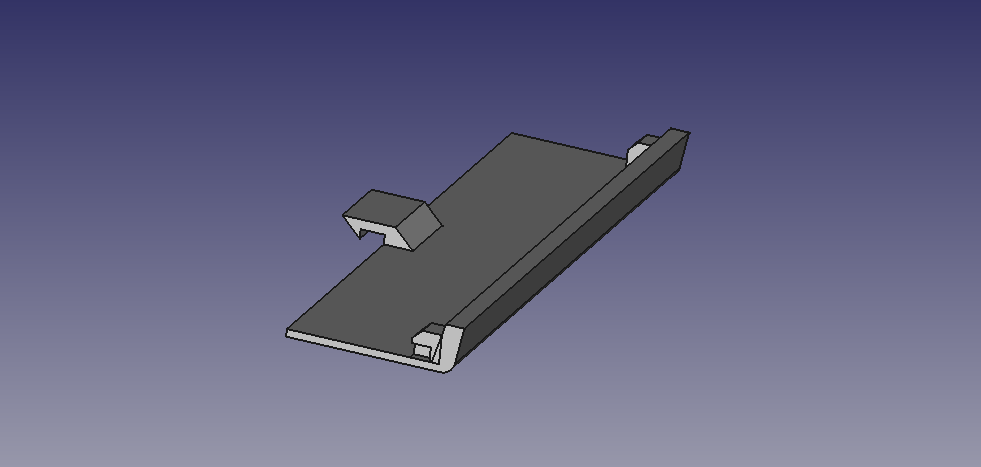
The second problem was that with a thickness of 1mm and the little thumb grips, the 3D printer did not like to print it vertically. There were so many little points to fill that due to constant retractions the filament would be mashed and I was ending up with the print ruined mid height. This took some trial and errors until I could figure out why filament would jam …
Eventually, I decided to print it face down with supports. At least the exterior would look good.
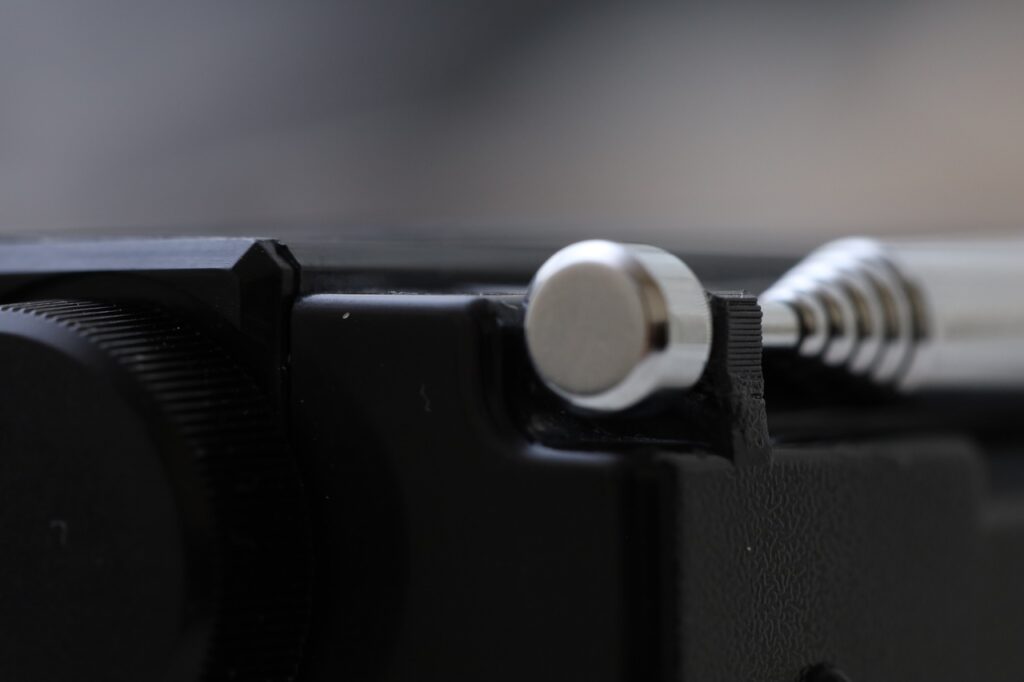
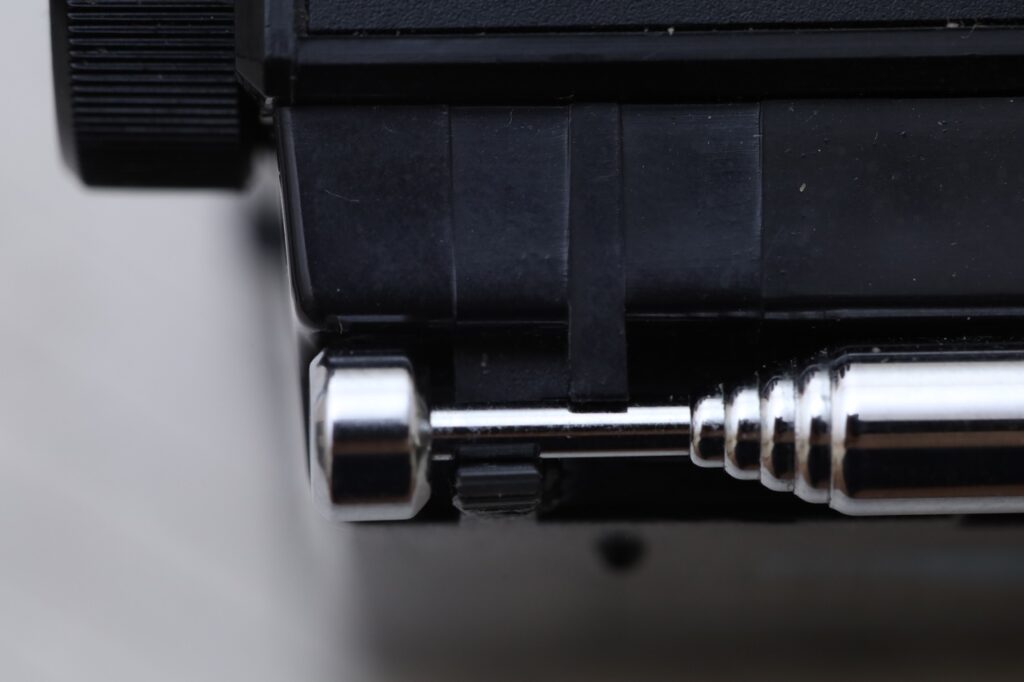
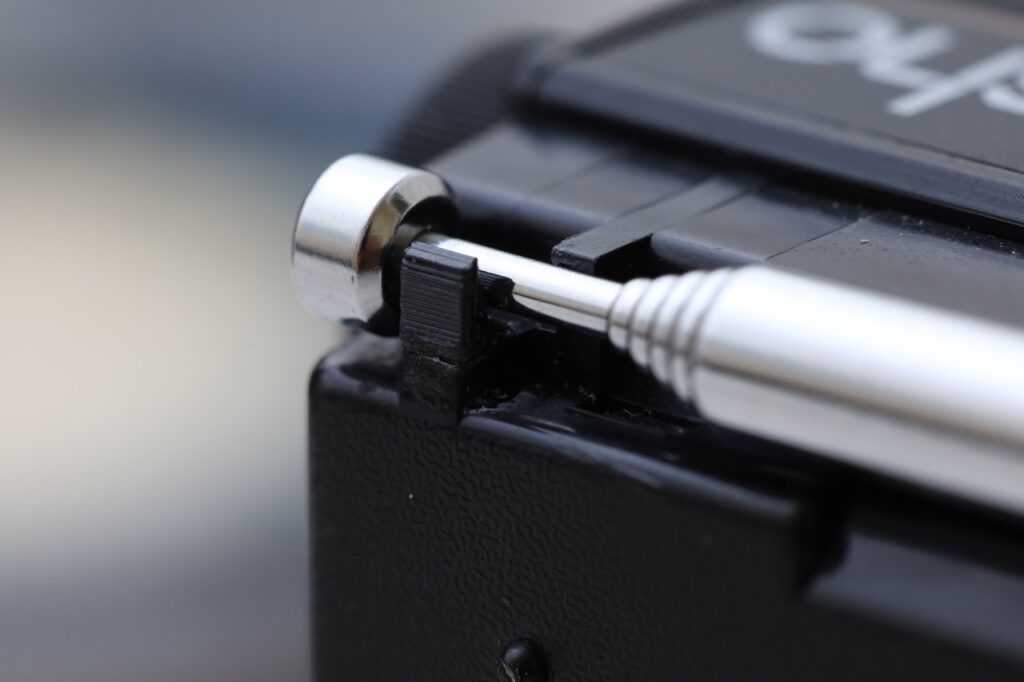
Antenna holder
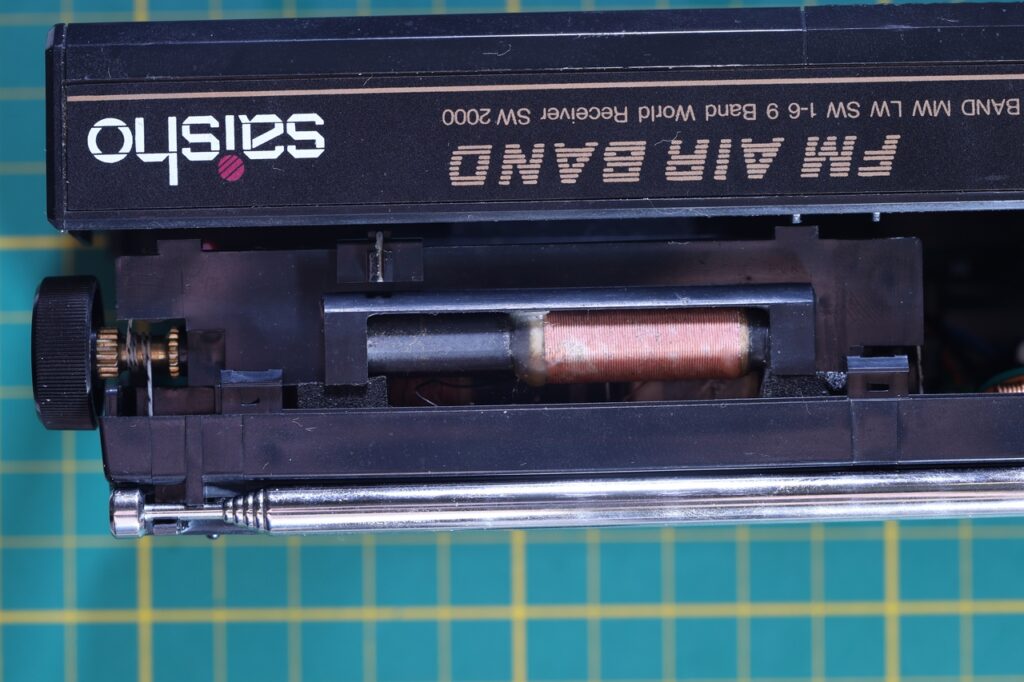
The little plastic bit that was countering the antenna from not swinging out was broken. It was difficult to 3D print such a small part, so I decided to just 3D print a larger one and then cut it to size:

Then after cutting it to size and a dab of JB Weld later:
Circuit board photos
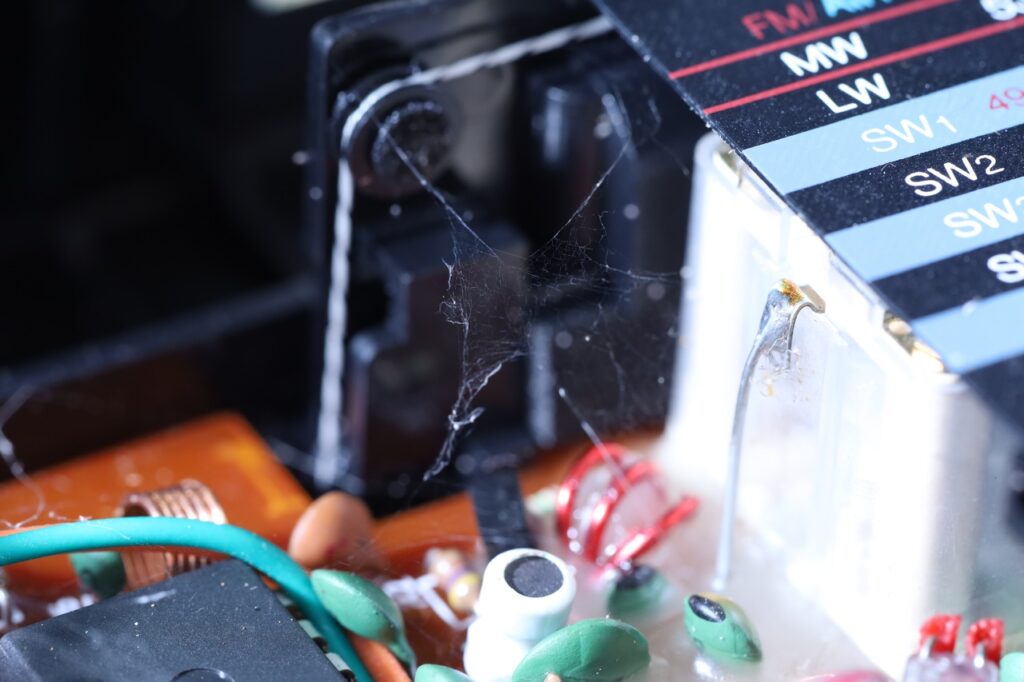
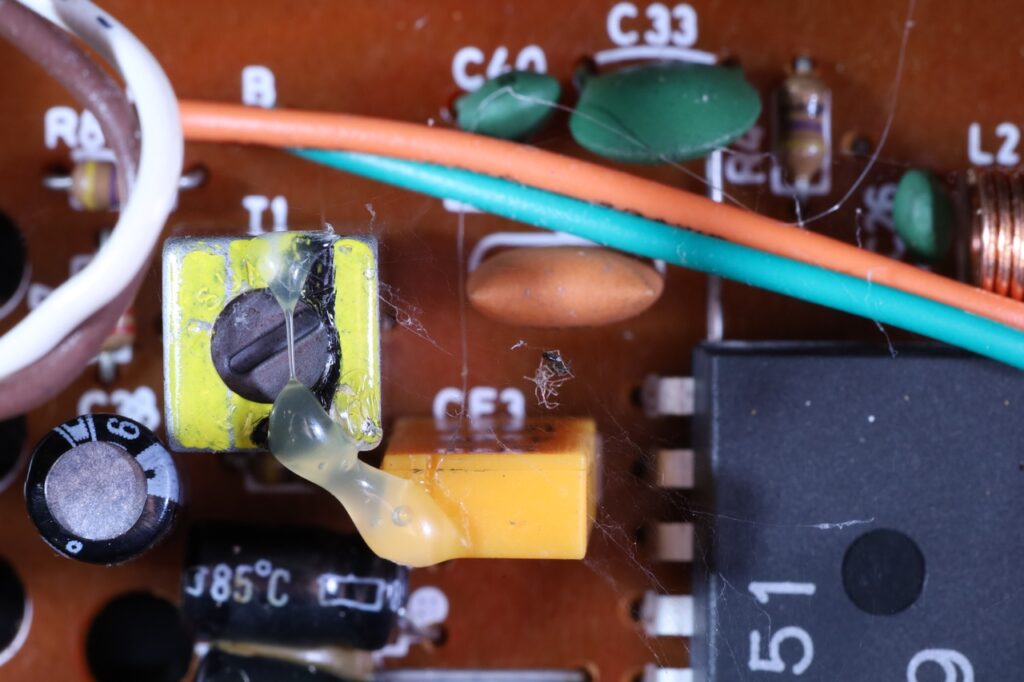
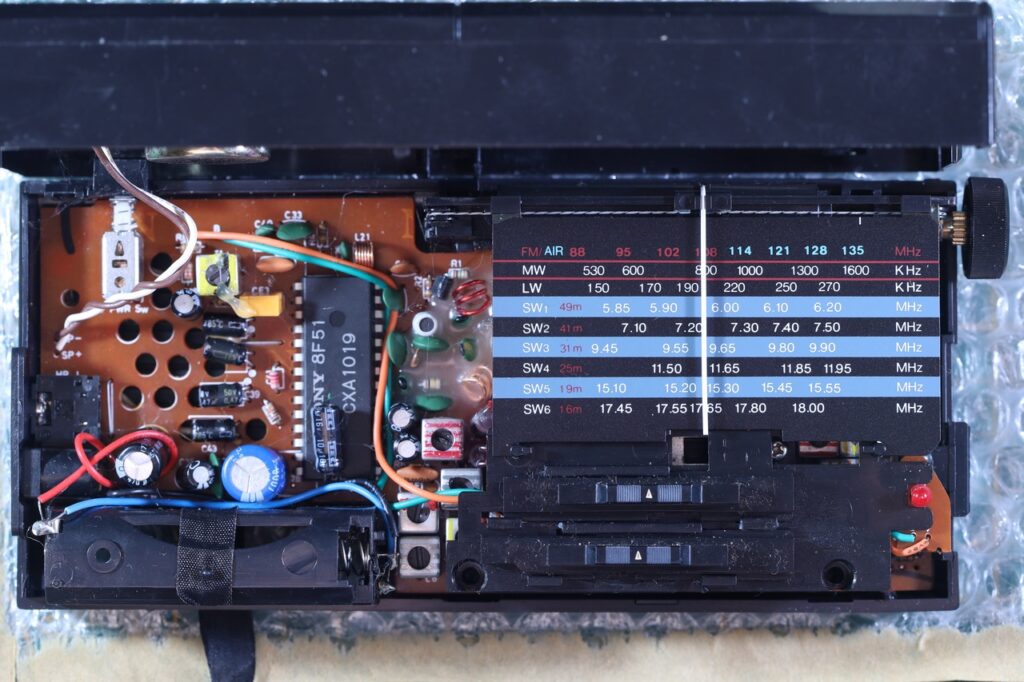
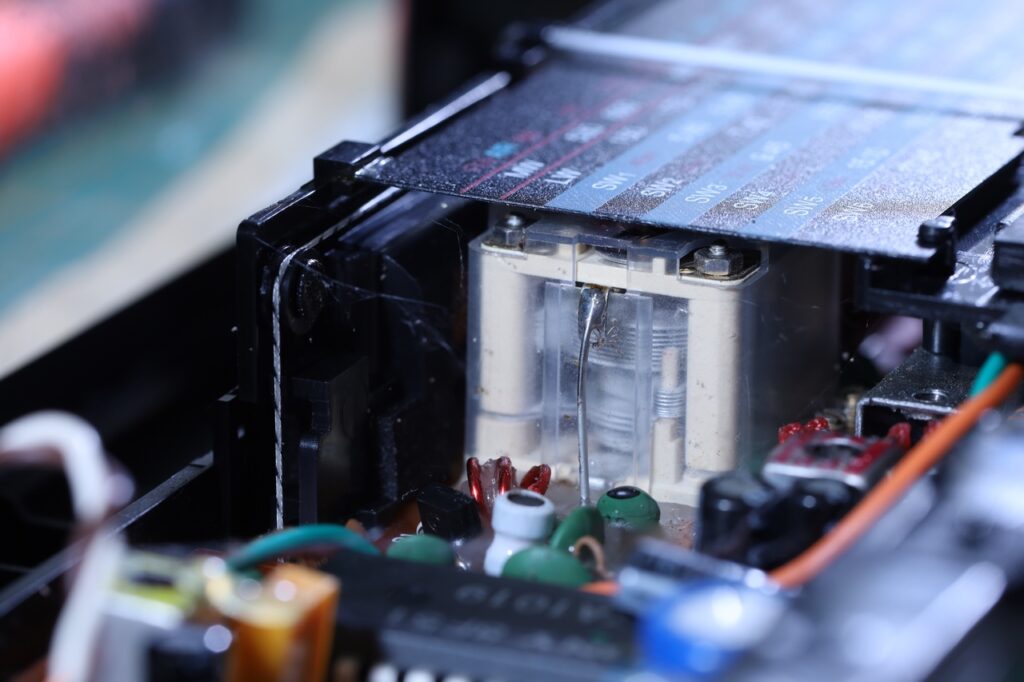
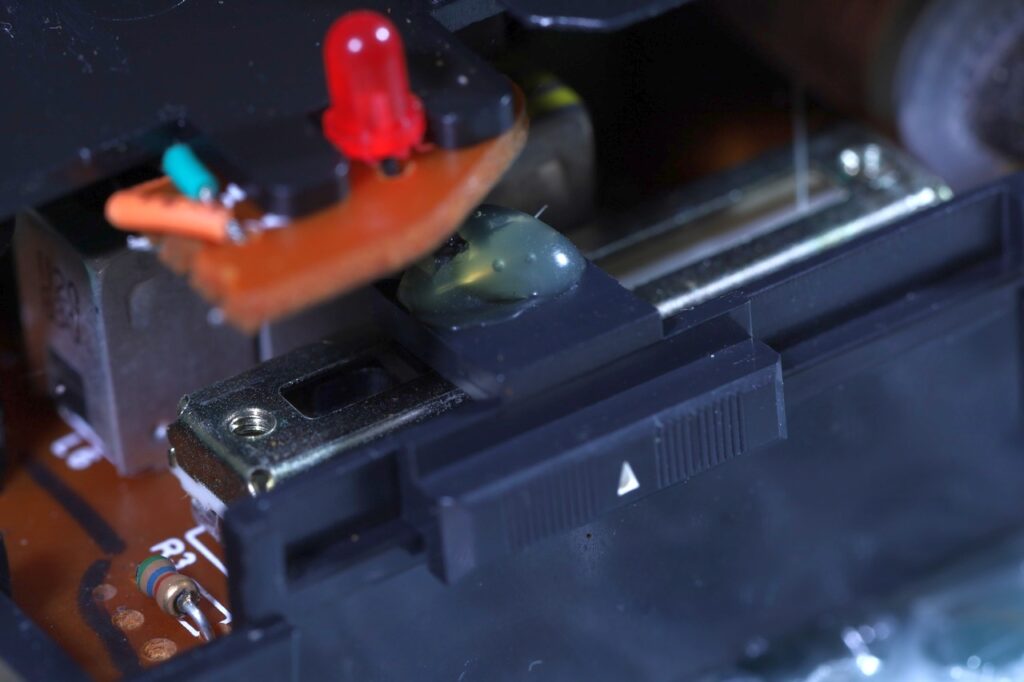
Radio is based on Sony CXA1019 Integrated Circuit and it does seem a real clone of the Sangean SG-792 which is too using the CXA1019 circuit:
Photos
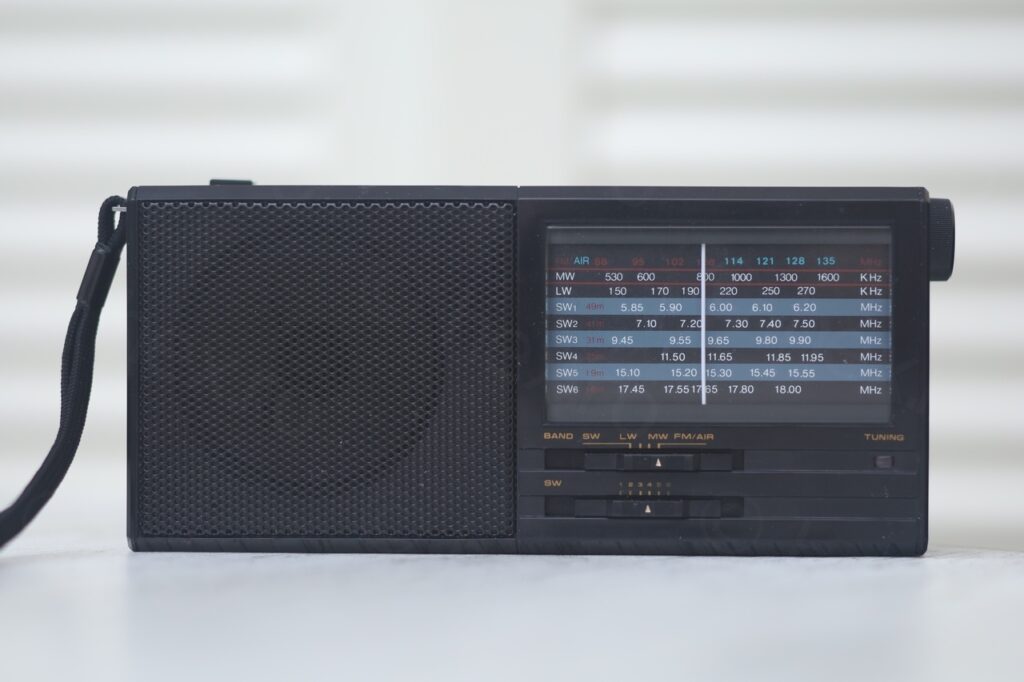
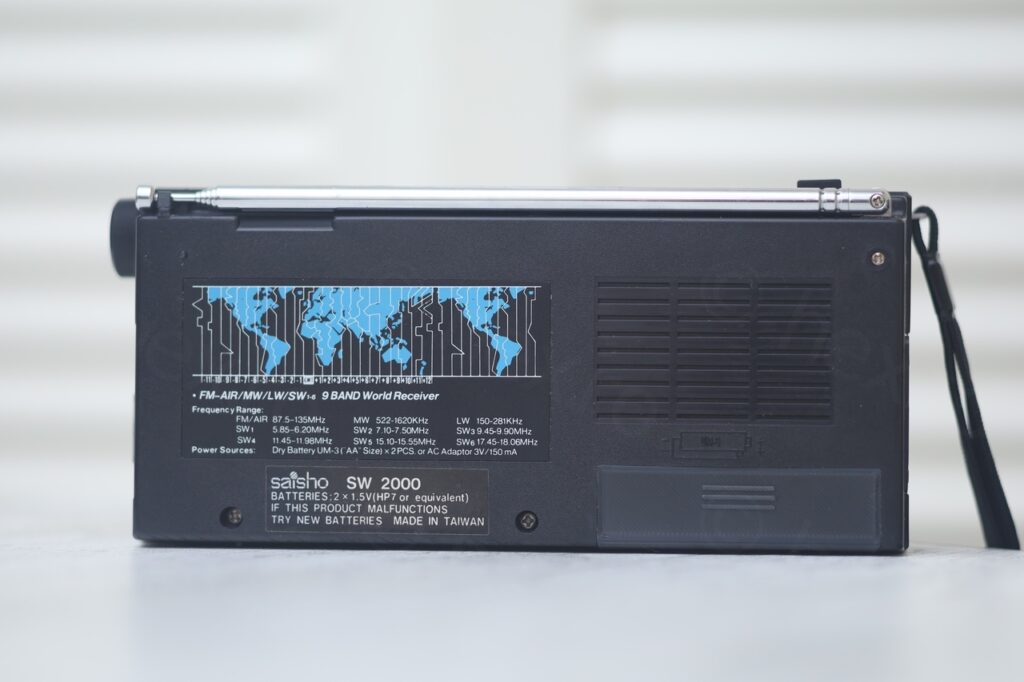
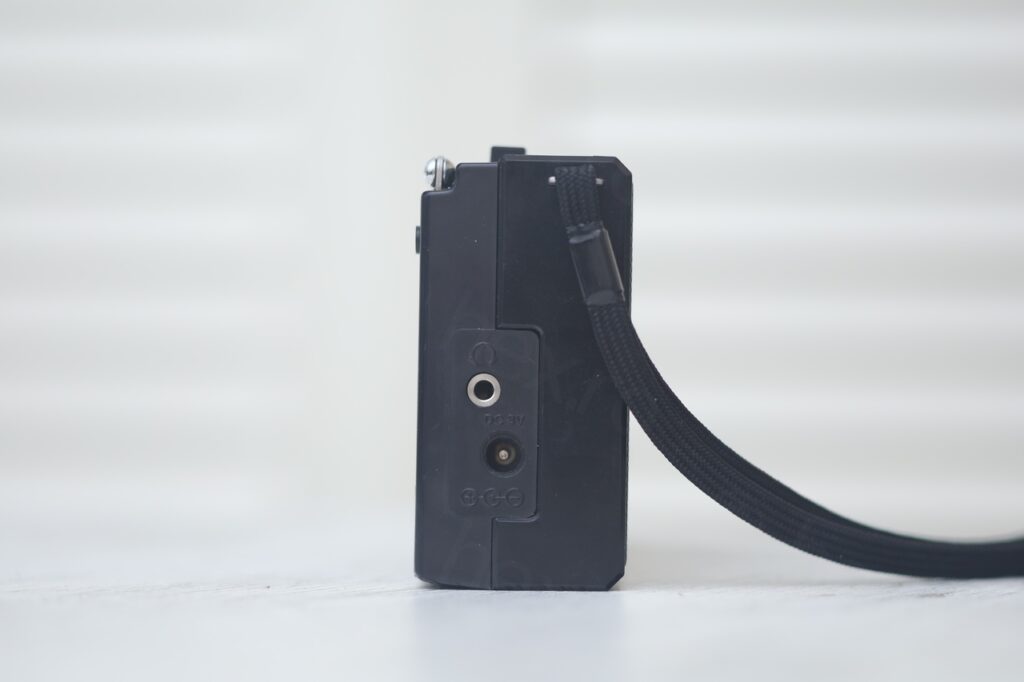
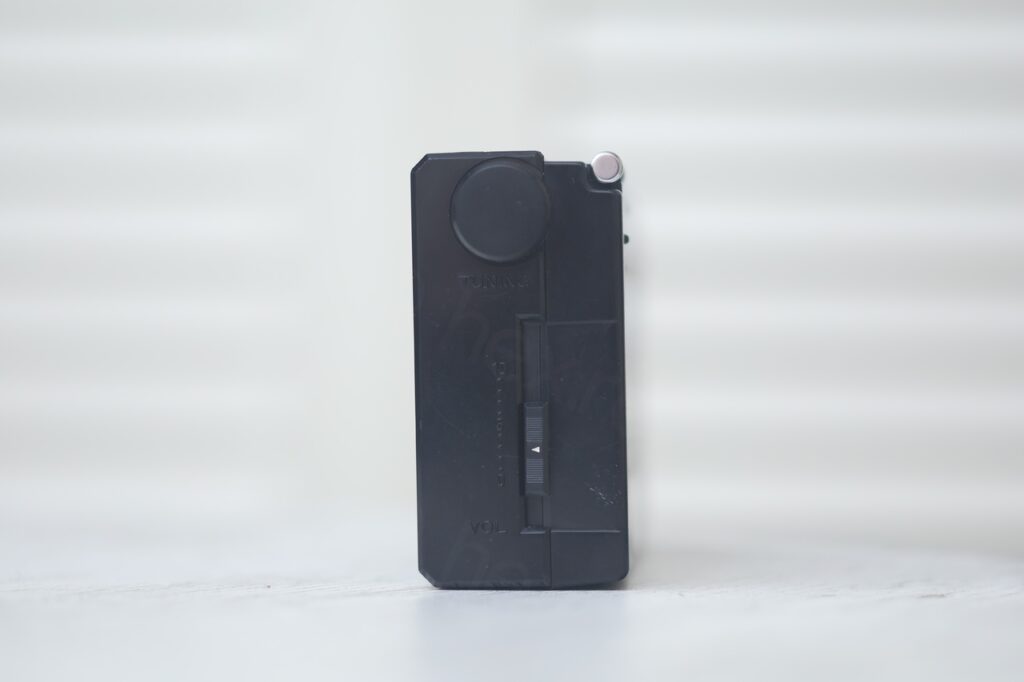
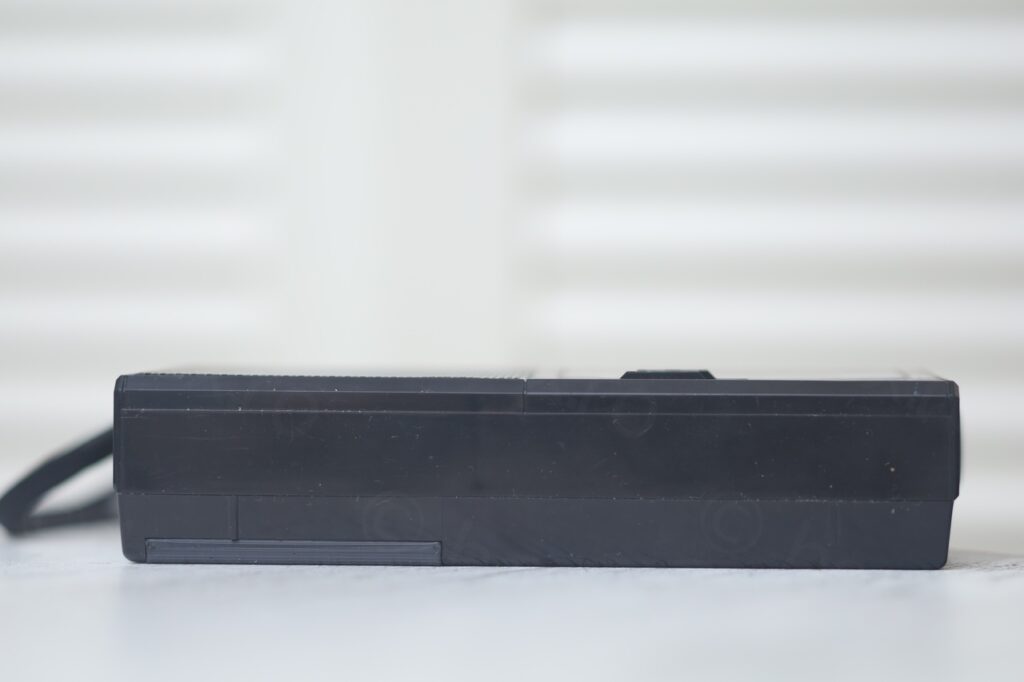
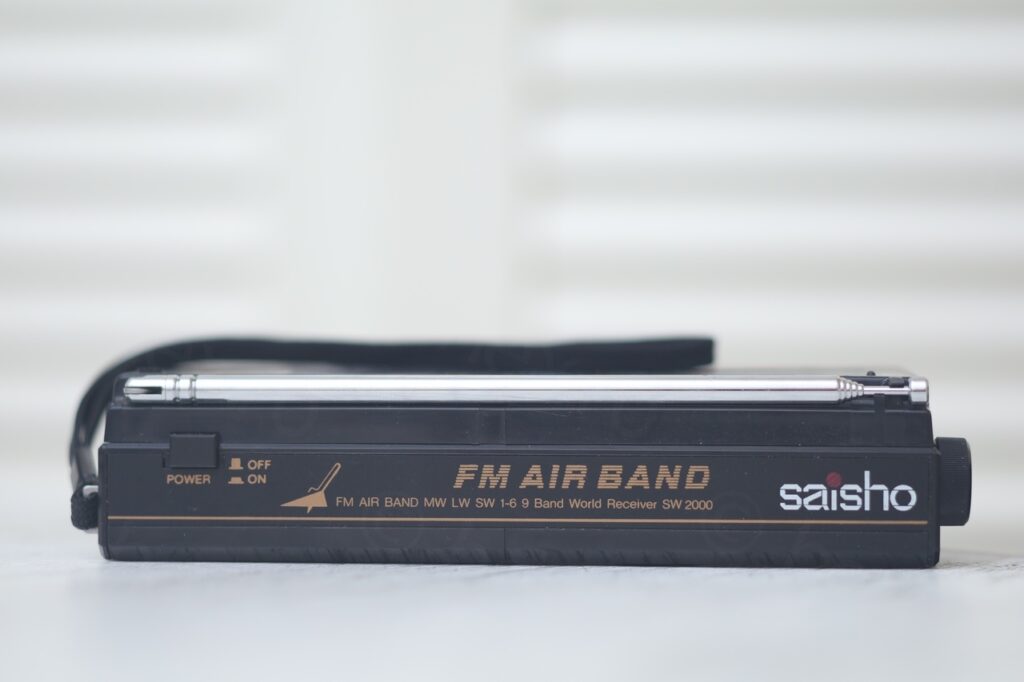
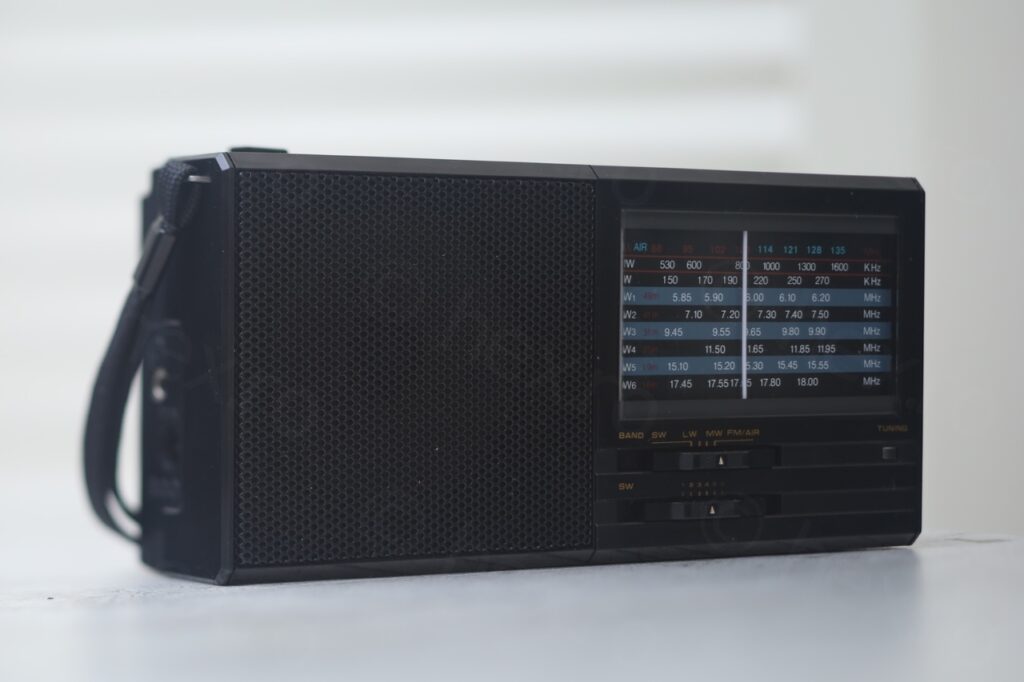
This isn’t a restoration (I didn’t have to change anything inside) as radio works; it is more a “Show And Tell” with some 3D printing included to rebuild the missing parts.
Leave a Reply