Found this radio at one of the local flea markets.
Table of Contents
- Introduction
- Restoration
- Tests
- Final touch
Introduction
I do like the form factor of the Sangean SG 792 Radios (and its clones) and I collect them. But this clone was so crusty, my first reflex was to turn away. But then, I could not believe how bad it was and get closer to observe the horror:
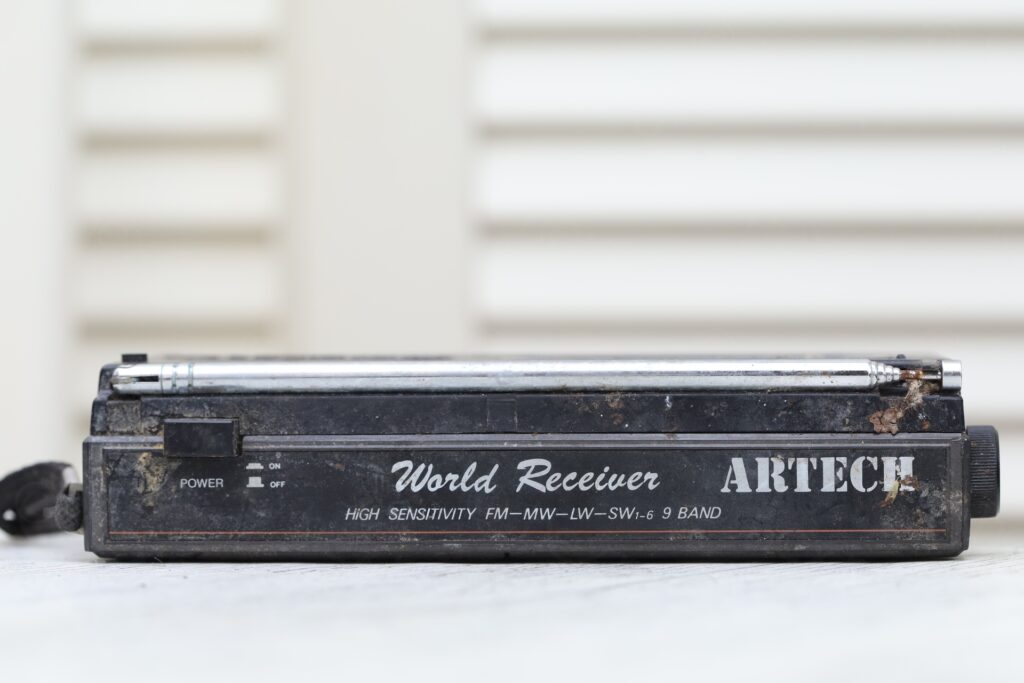
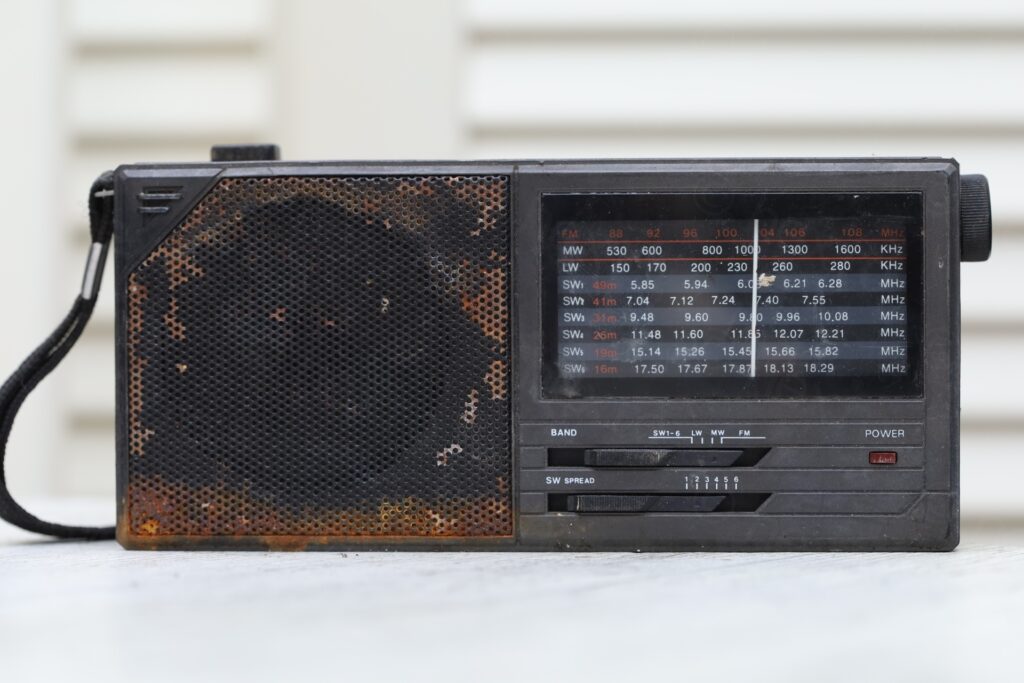
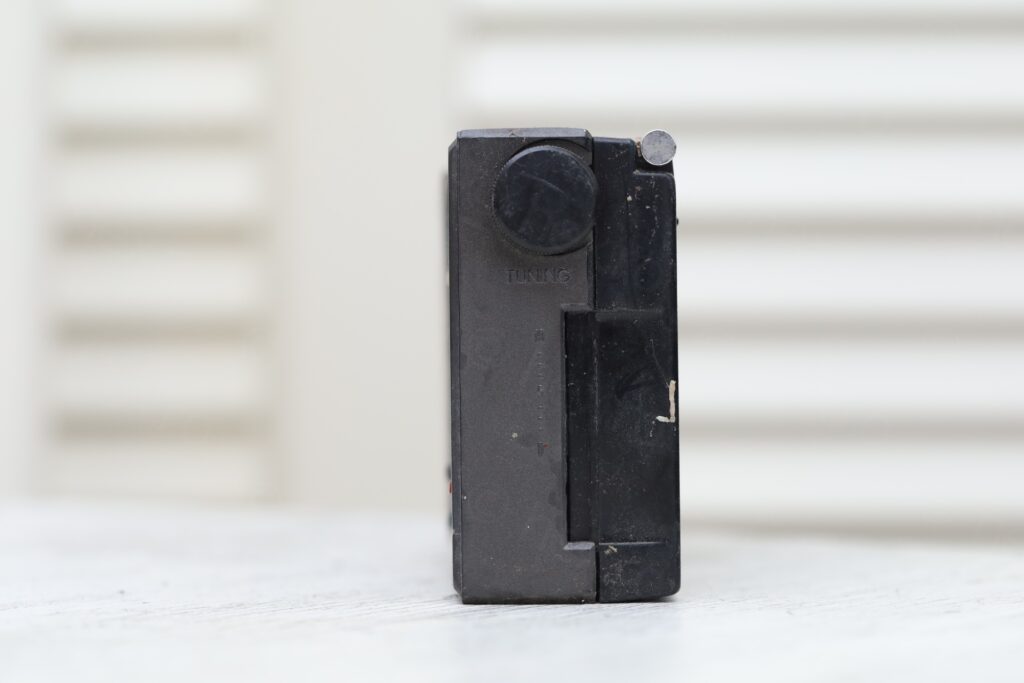
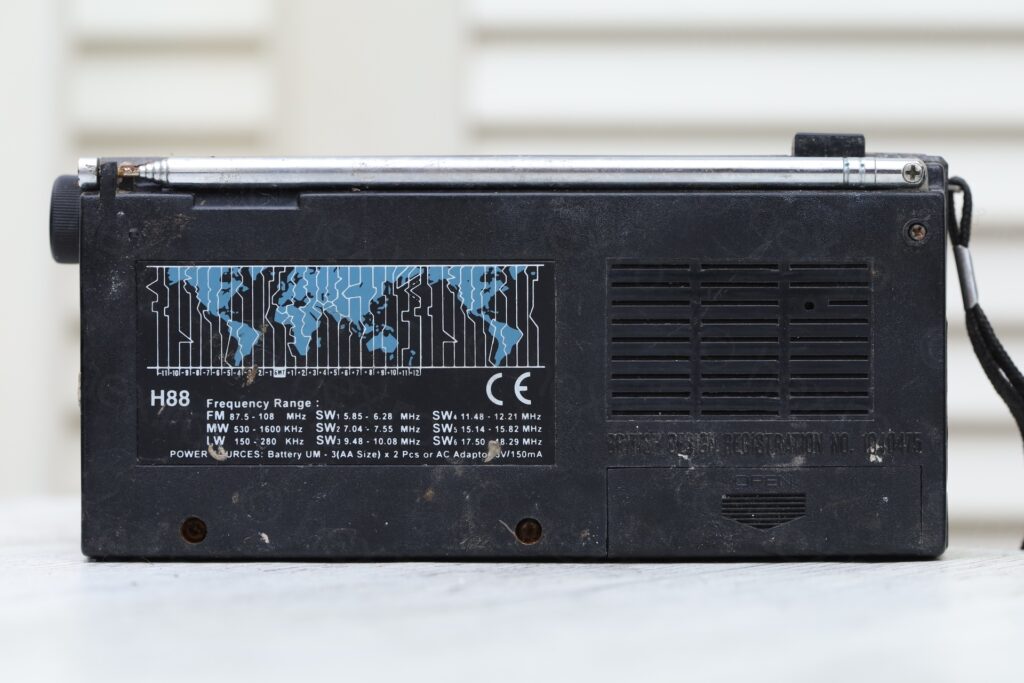
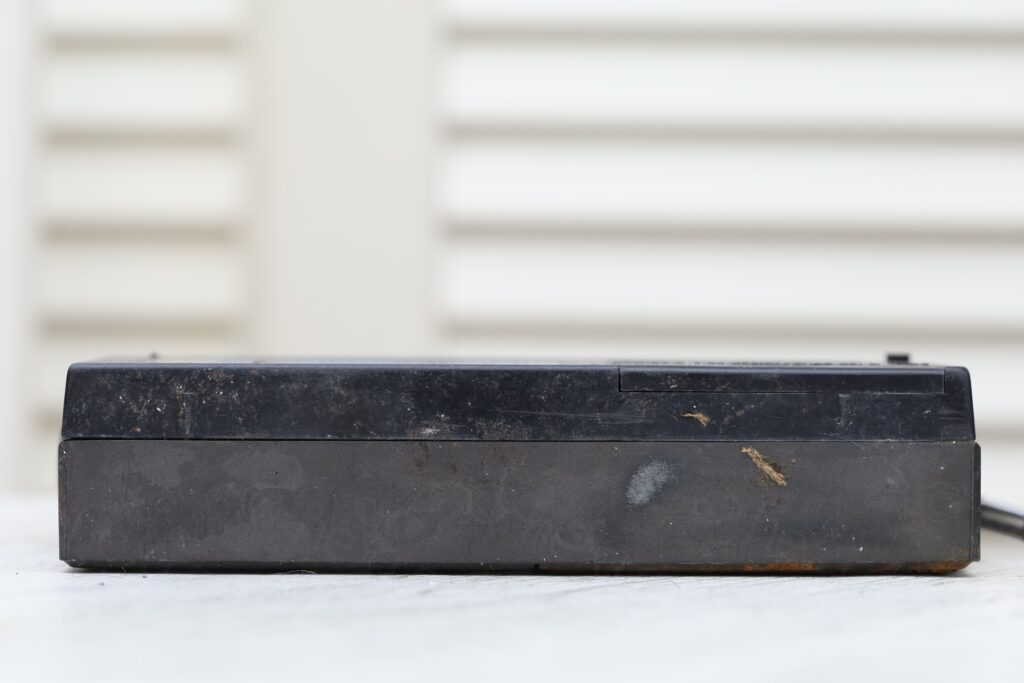
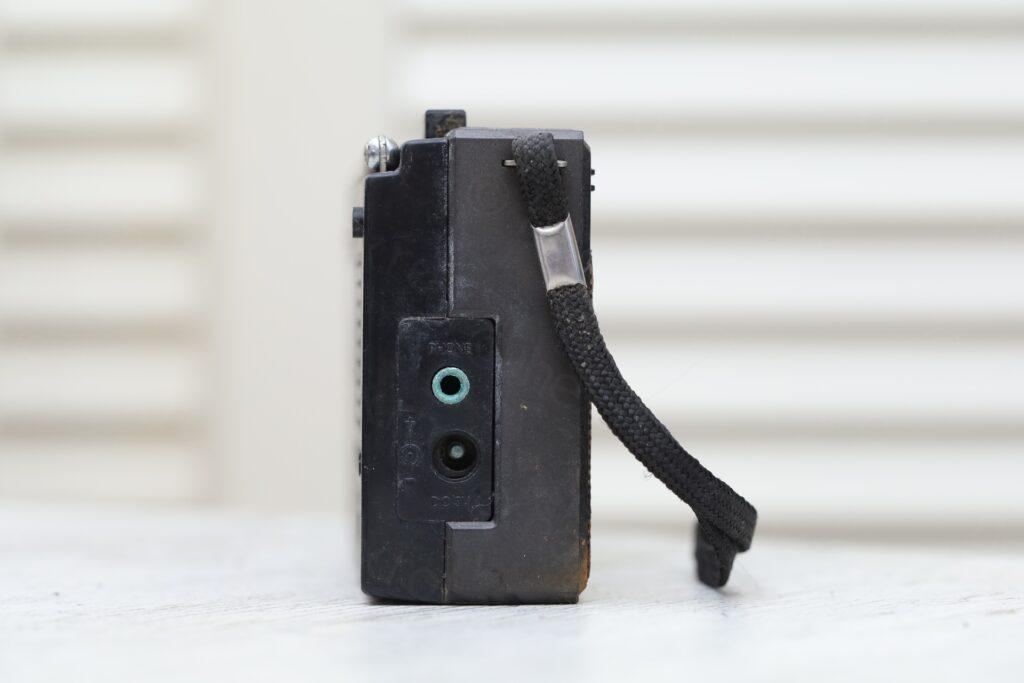
Rusty and still with muddy remains on it, the radio still had its Tuning Knob and battery cover. Another weak point they have is the antenna holder, a tiny piece of plastic that sometimes is broken. This was also intact.
I decided to ask the seller how much, although I was still disgusted. For one of the others I have, I could replace my 3D printed Tuning Knob with a better part, at least for that. The seller solemnly tells me 5€ but it caught me unprepared. I burst out laughing, looked him in the eyes and asked “for this ?!”. I was really surprised by his audacity to ask 5€. And usually they don’t back down if they come on so bold, but this seller did, probably also surprised by my laughter that woke him to reality. I walked away with a crust yradio and 2€ euro less in the pocket.
Restoration
At home, I was ready to take the knob out and throw the radio into the bag of things I have to take to Recypark. But then, I had a closer look at it. Plastics were still intact, a thought crossed my mind – can I bring this radio back to life ?
Instead of the linear story, I am grouping below the steps I did.
Evaluation and opening up
Everything was rusty, screws, antenna, speaker grill. The Short Wave band switch was stuck and impossible to dislodge. Instead of the full scale, the Tuning Indicator only went mid-way and got stuck there:
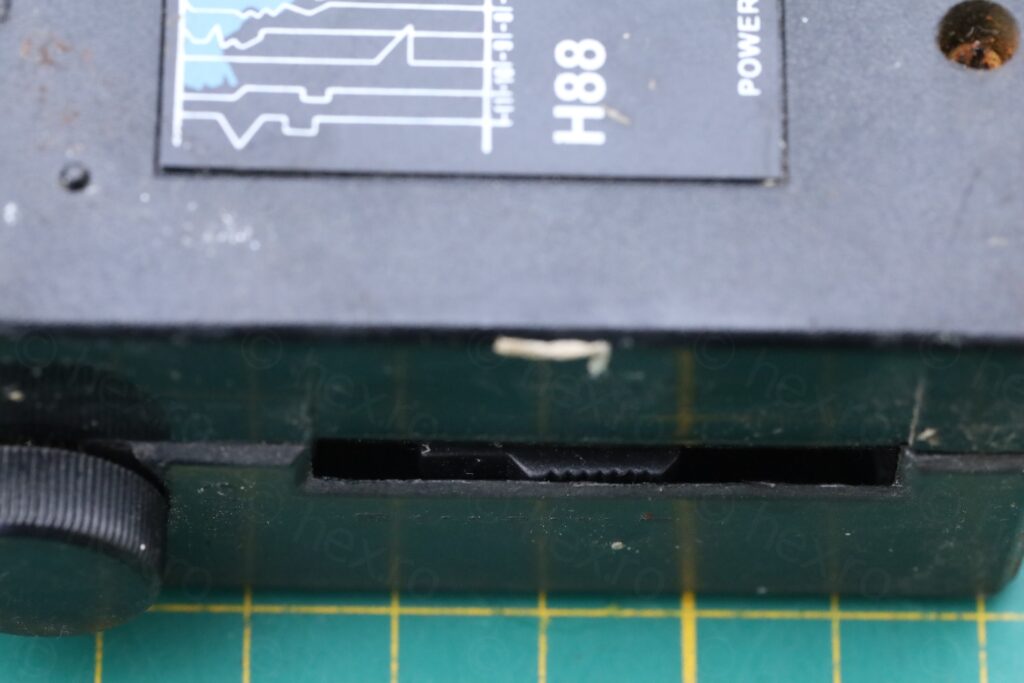
Below, more close-ups of exterior of the radio. The volume button was there, but pushed inside the body of the radio (last photo):
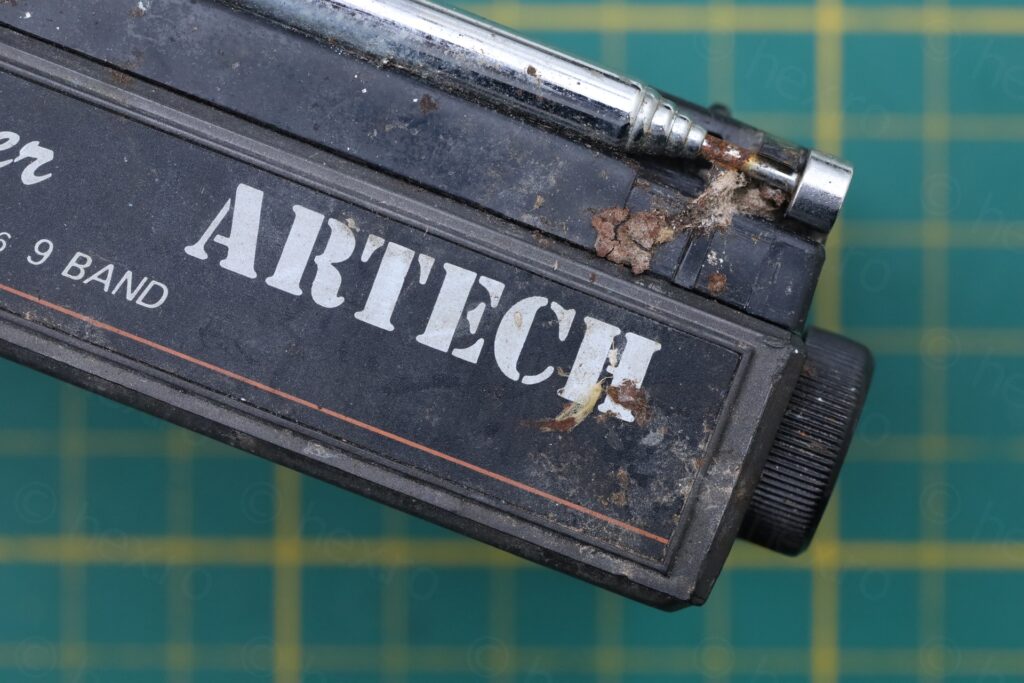
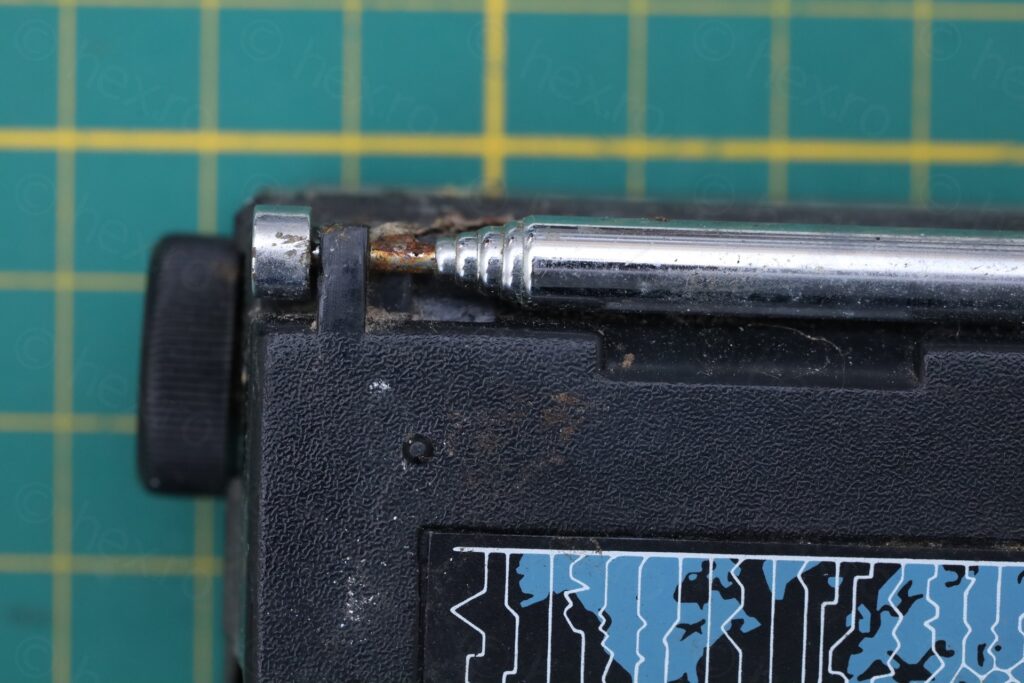
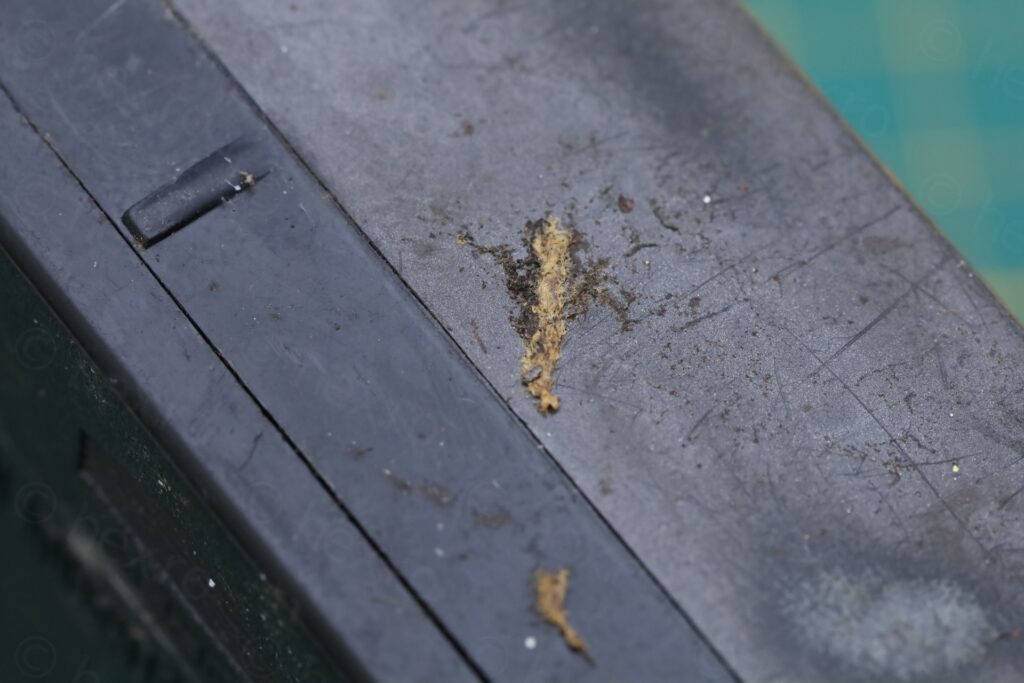
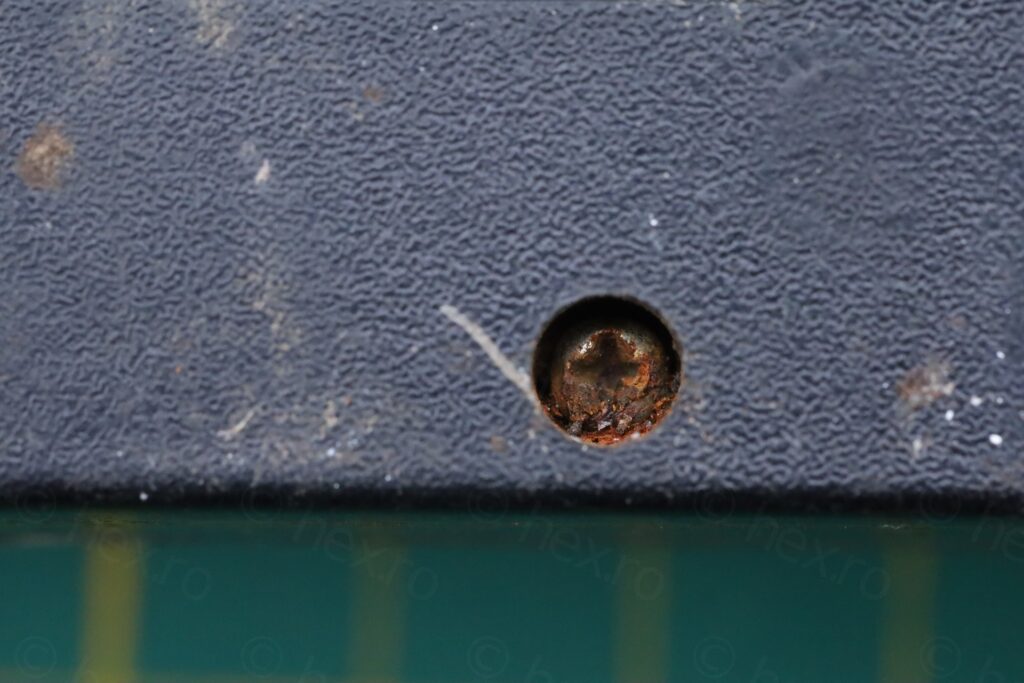
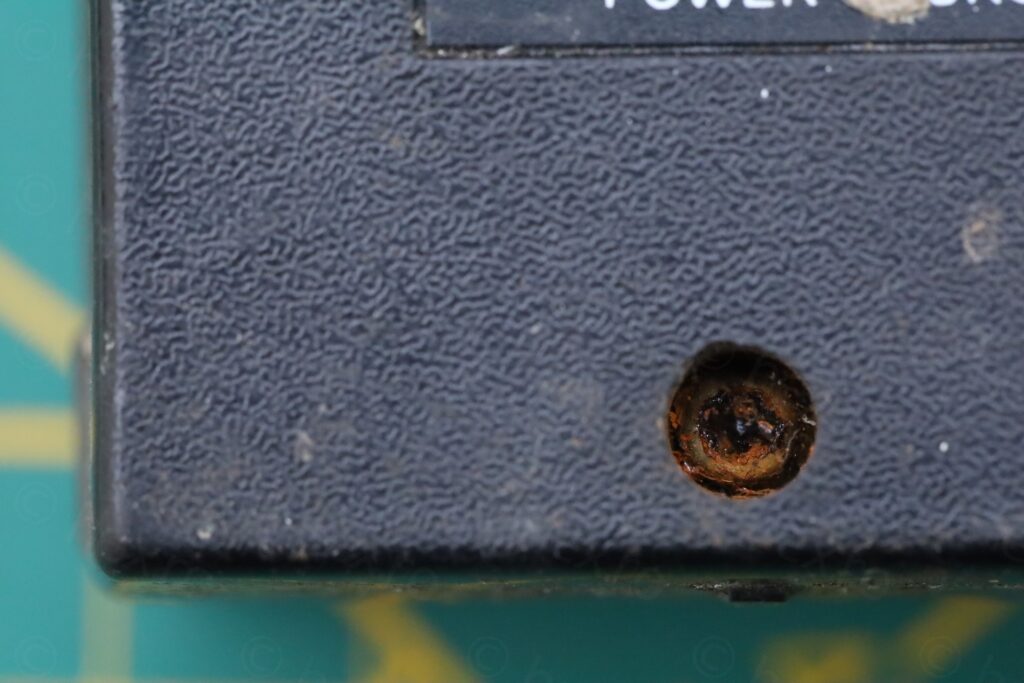
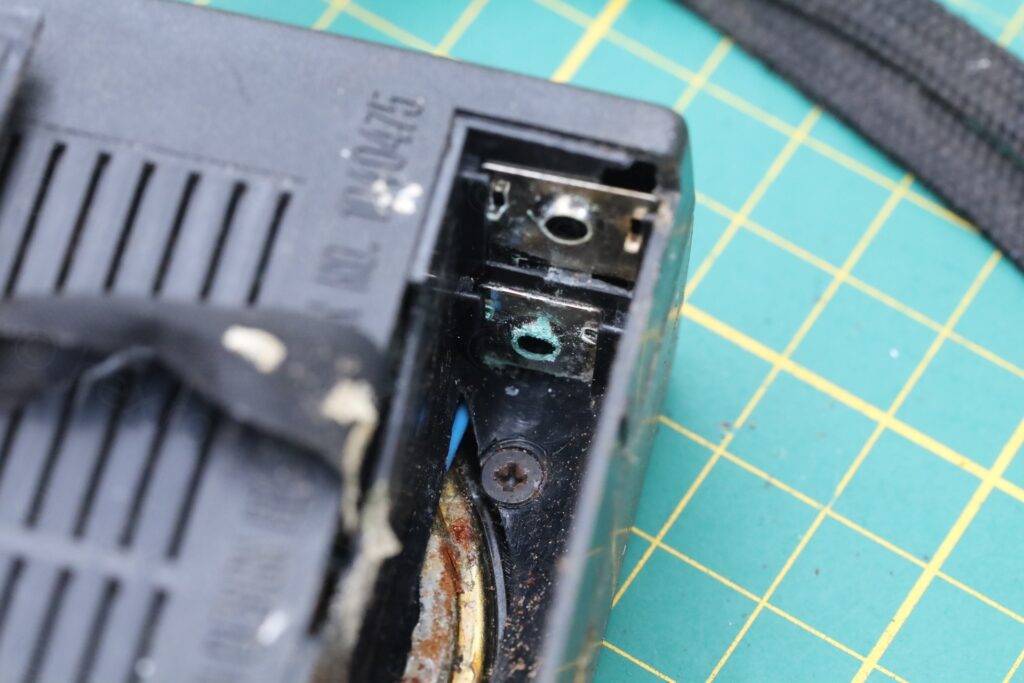
I worked on it for about 2 weeks, and order was a bit chaotic – thus, I’m trying to group the actions below by category.
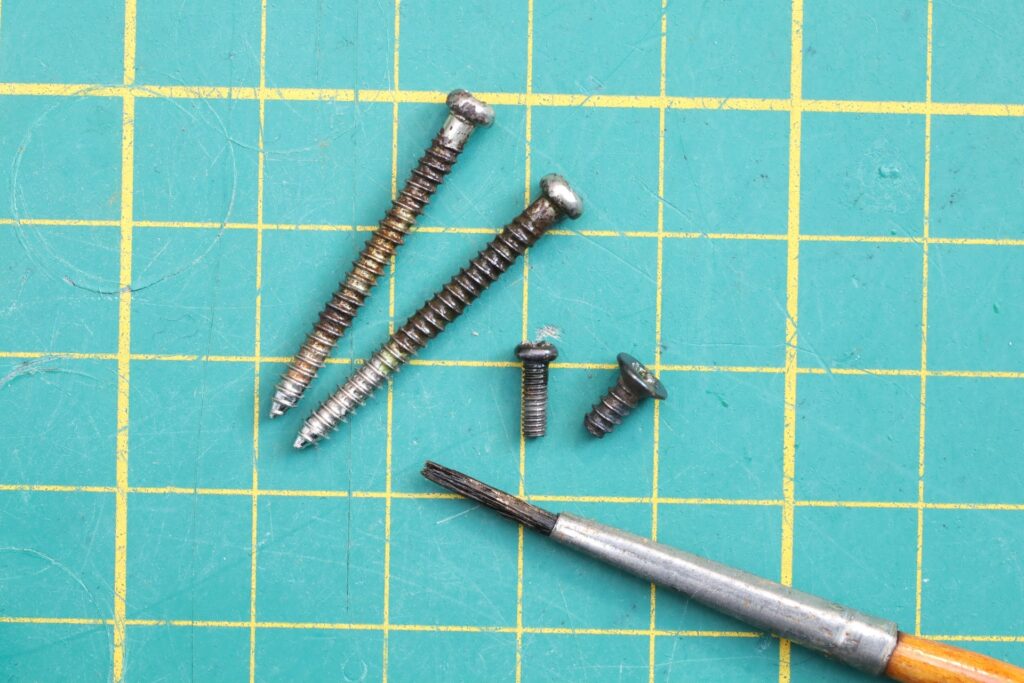
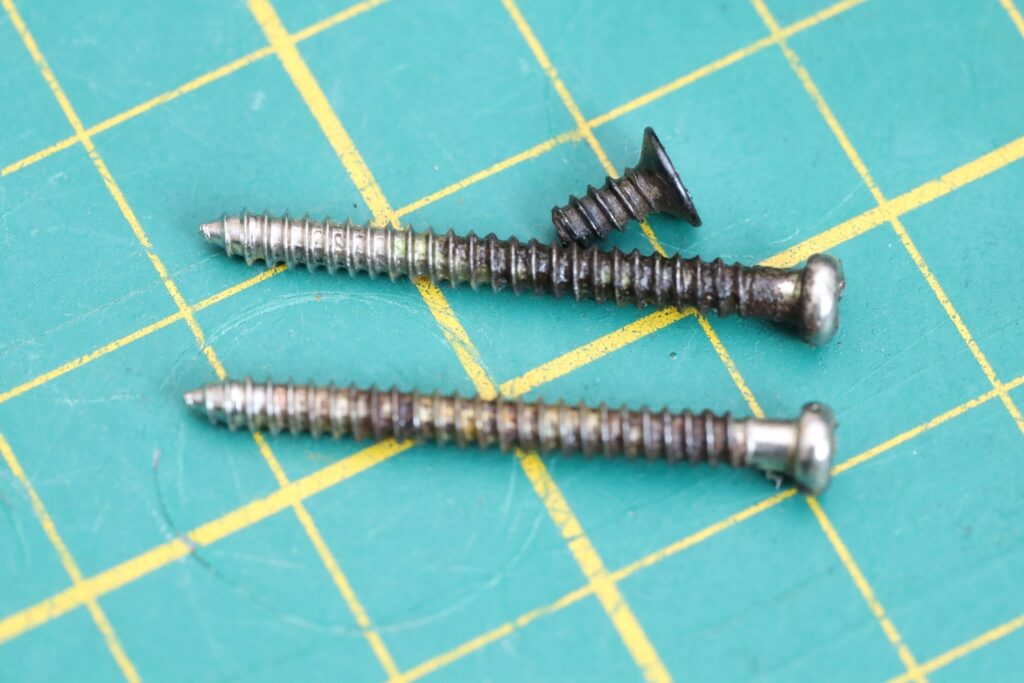
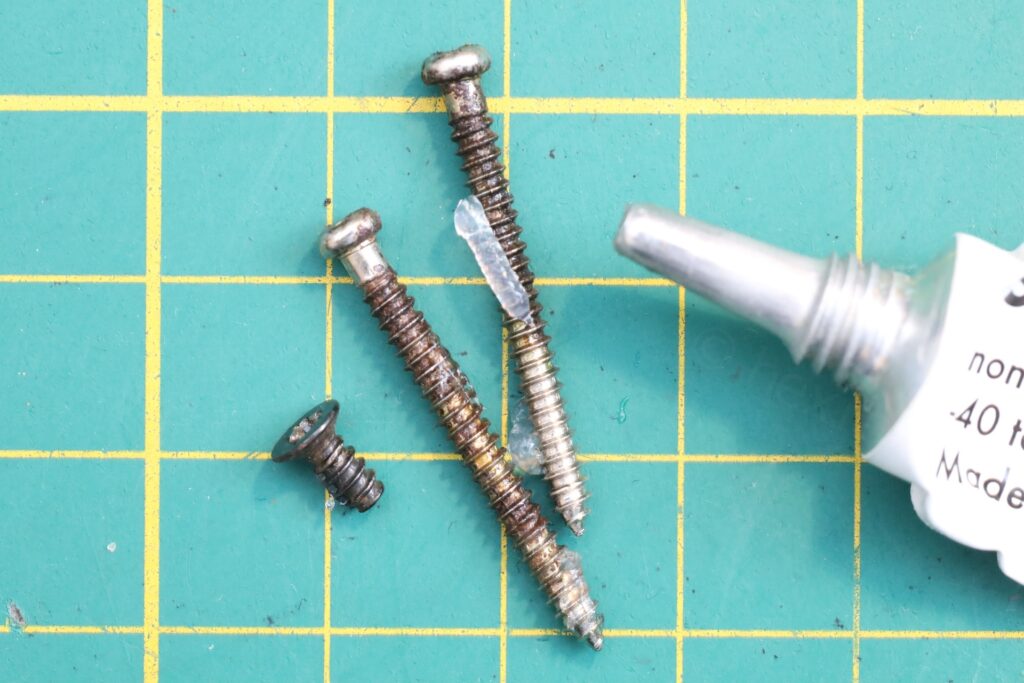
Rusty screws
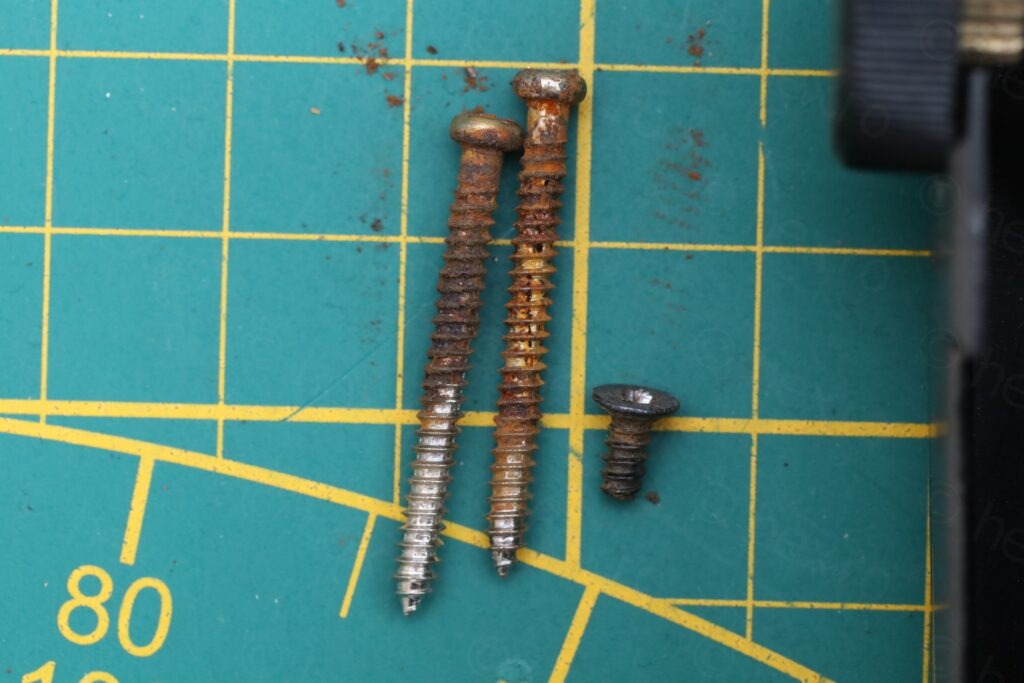
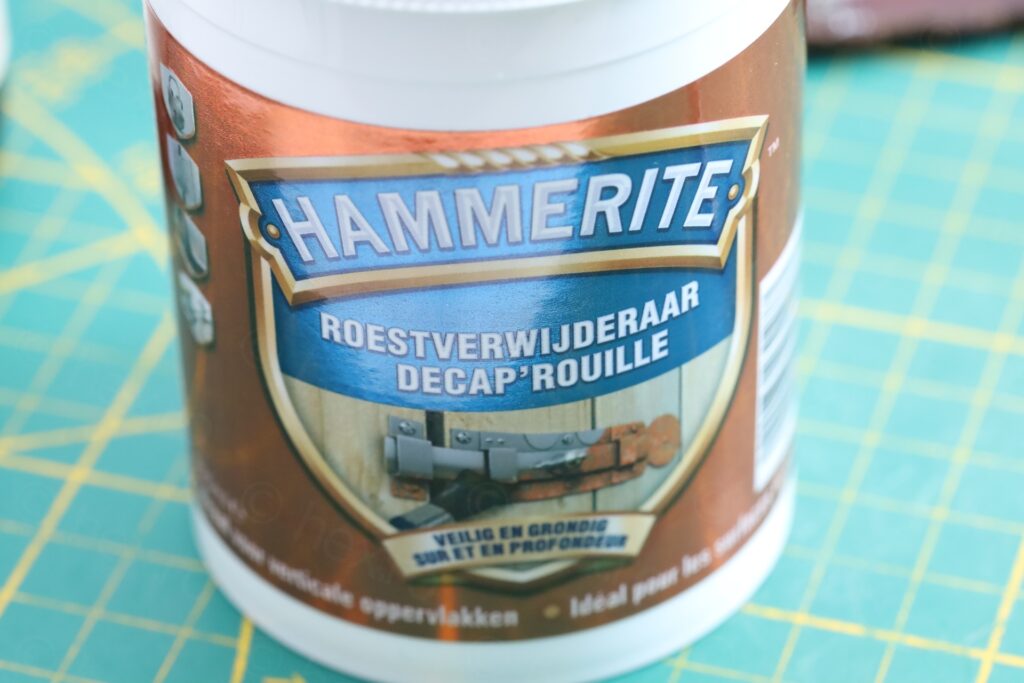
Screws were very rusty and looked un-salvageable. For the small screw, I had to use a very large bit to take it out, to prevent stripping it. I cleaned the rust with a metallic brush, applied some rust removal and waited at least two days before installing them. Just before installation, they got a generous layer of silicone grease:
Muddy motherboard
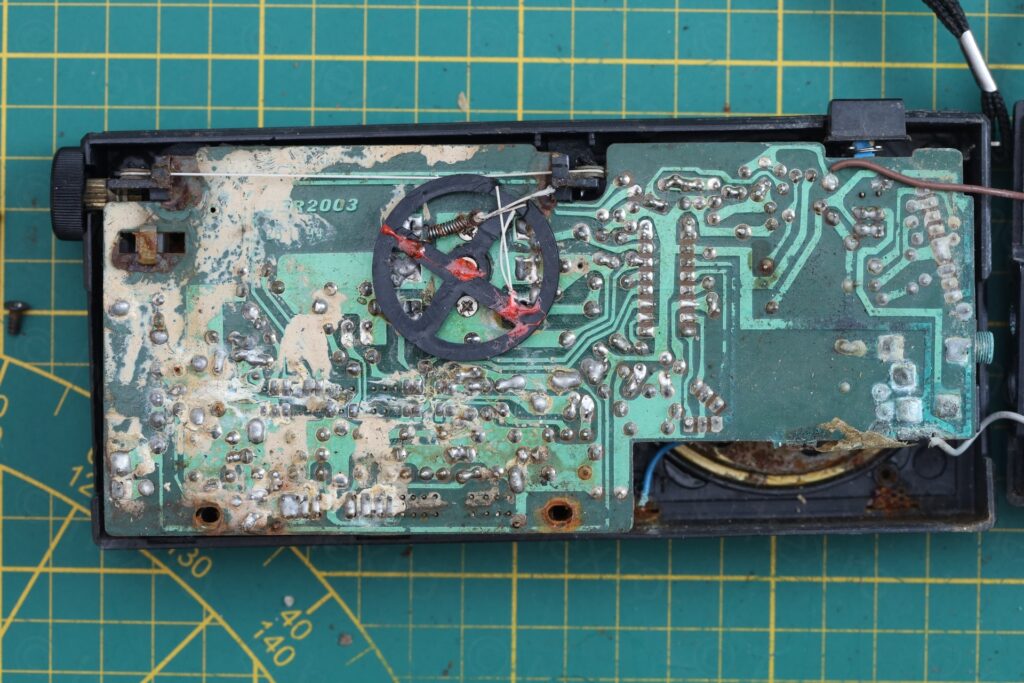
More closeups of the circuit board:
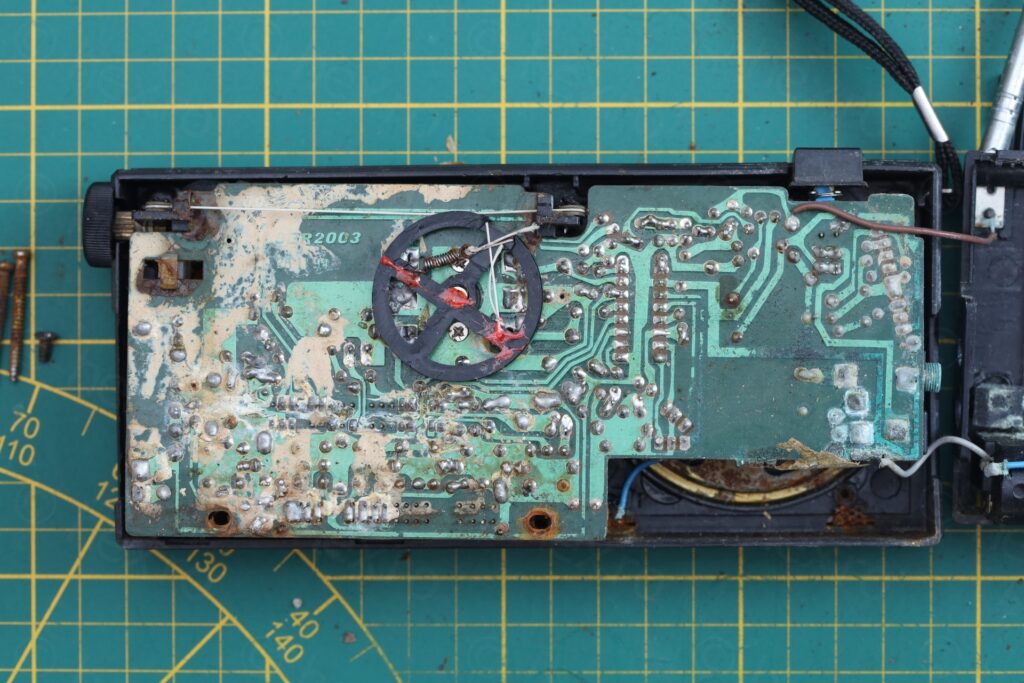
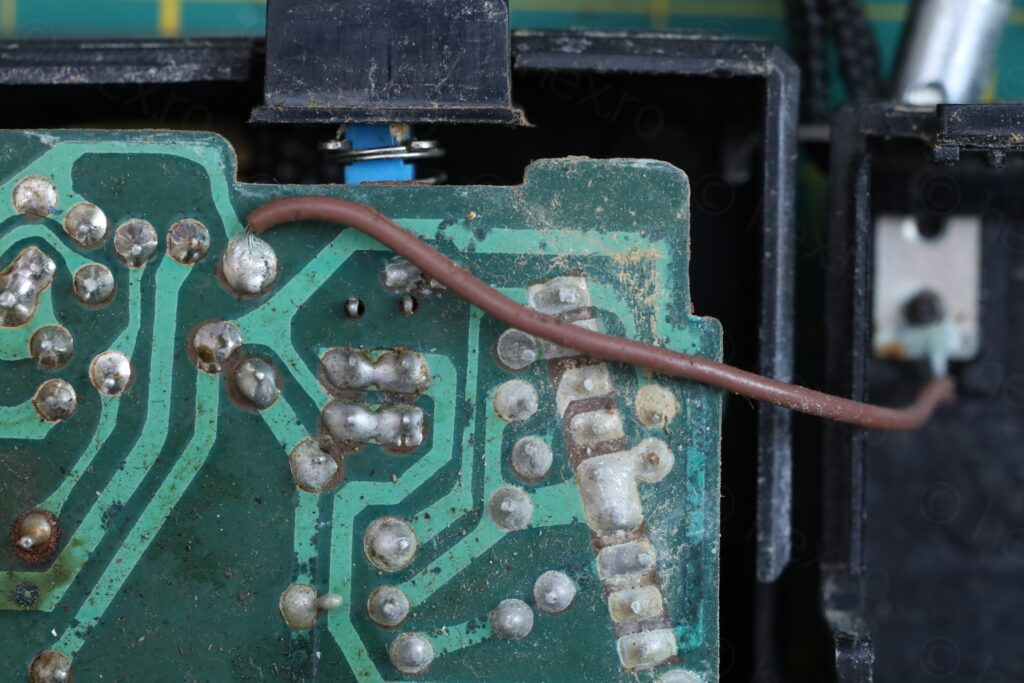
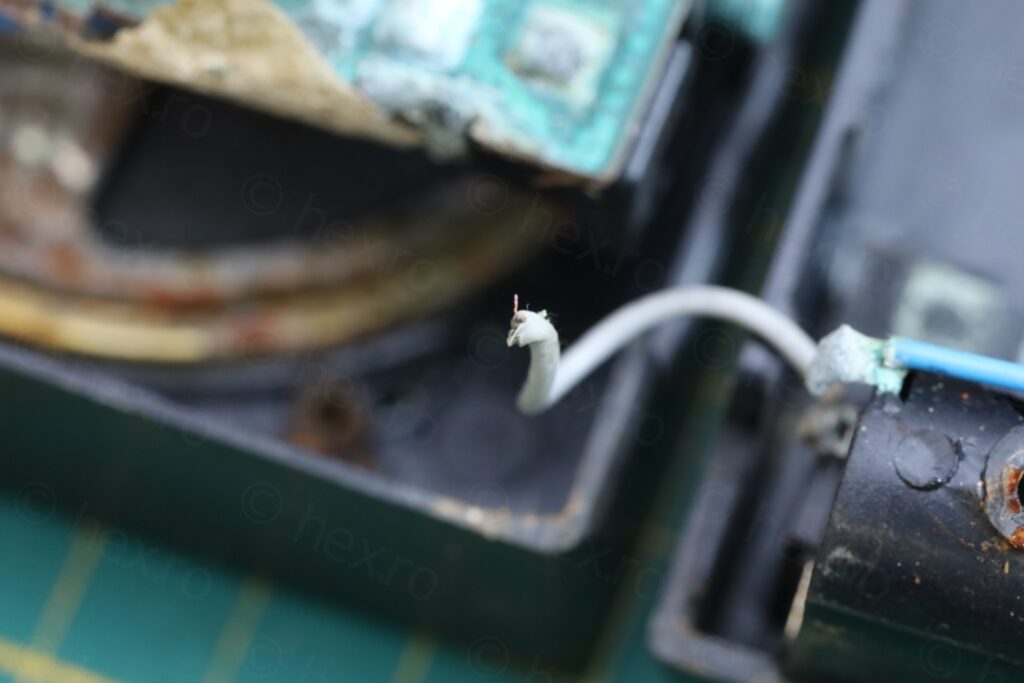
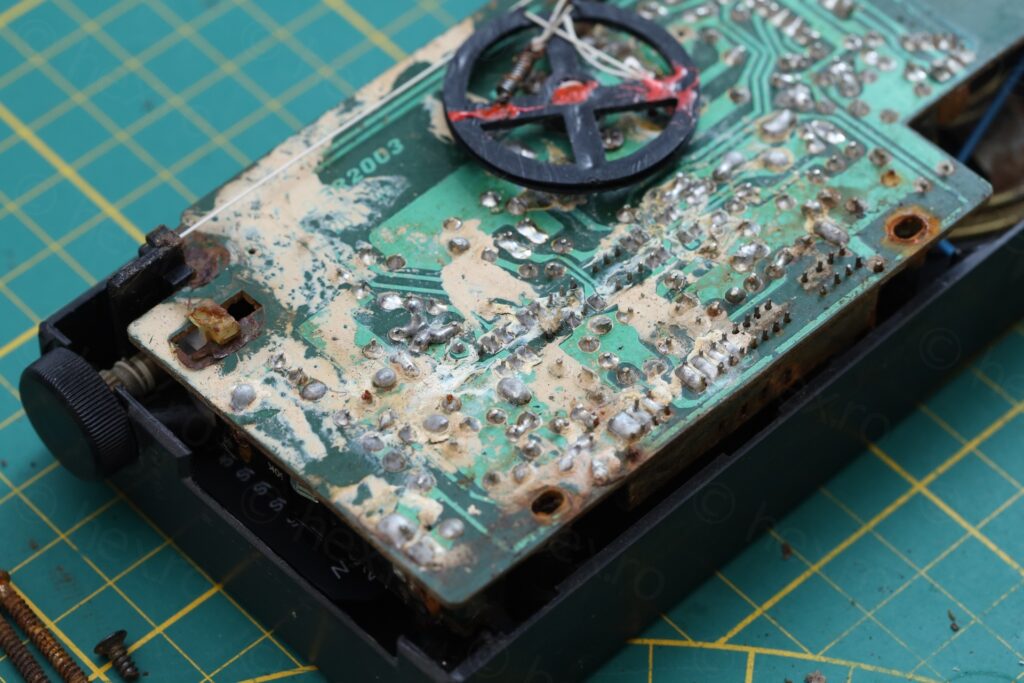
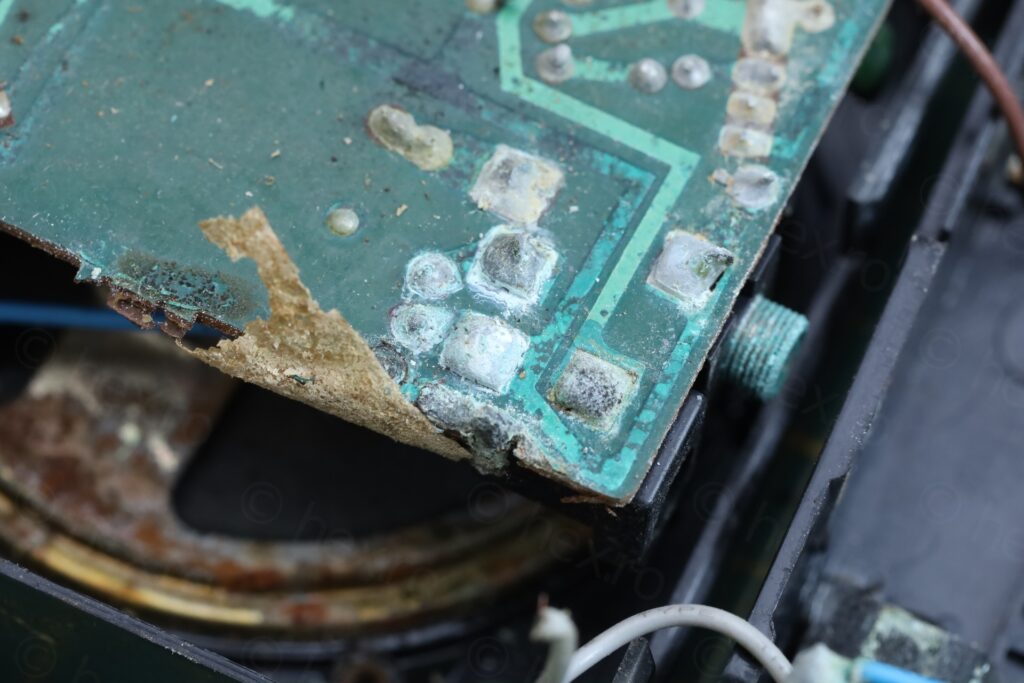
I didn’t want to waste alcohol to wash the mud away, thus, water and a used toothbrush worked wonders. I kept the board muddy side downwards and scrubbed from underneath – preventing water from reaching the top components side. I then spread Isopropyl Alcohol to chase the water away:
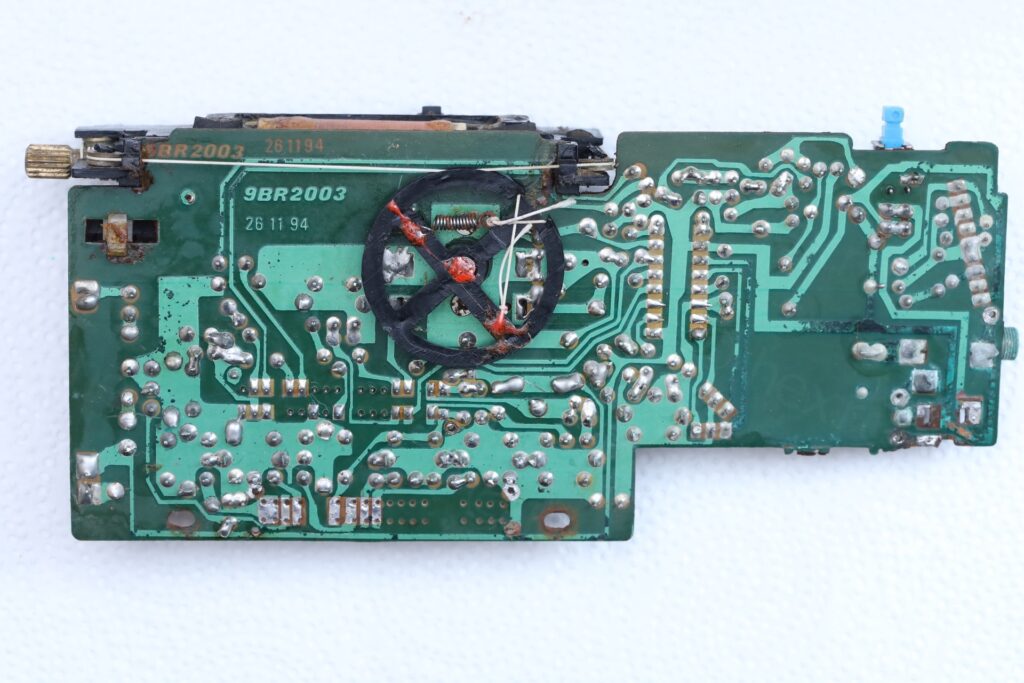
I think the mud protected the circuit board in a way, as the most corroded part (verified with meter in Conductivity mode) was the lower right, just under the DC IN jack.
By now, I already knew the radio works when injecting 3V on the motherboard. On/Off switch was also not making contact, but it did after being flushed with contact cleaner.
Replacing the DC IN Jack
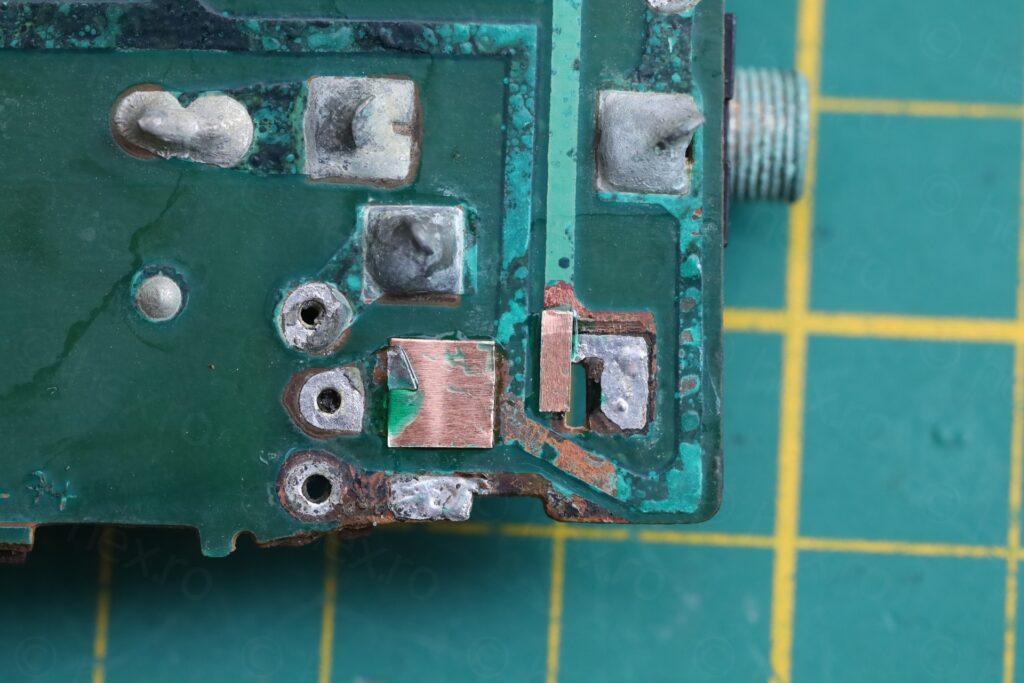
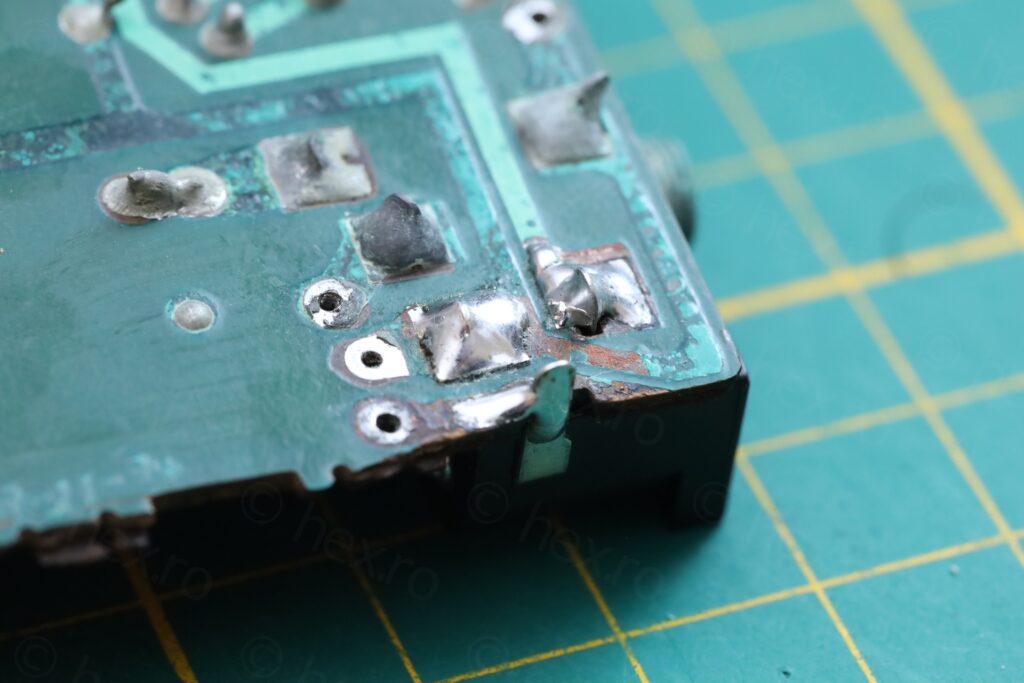
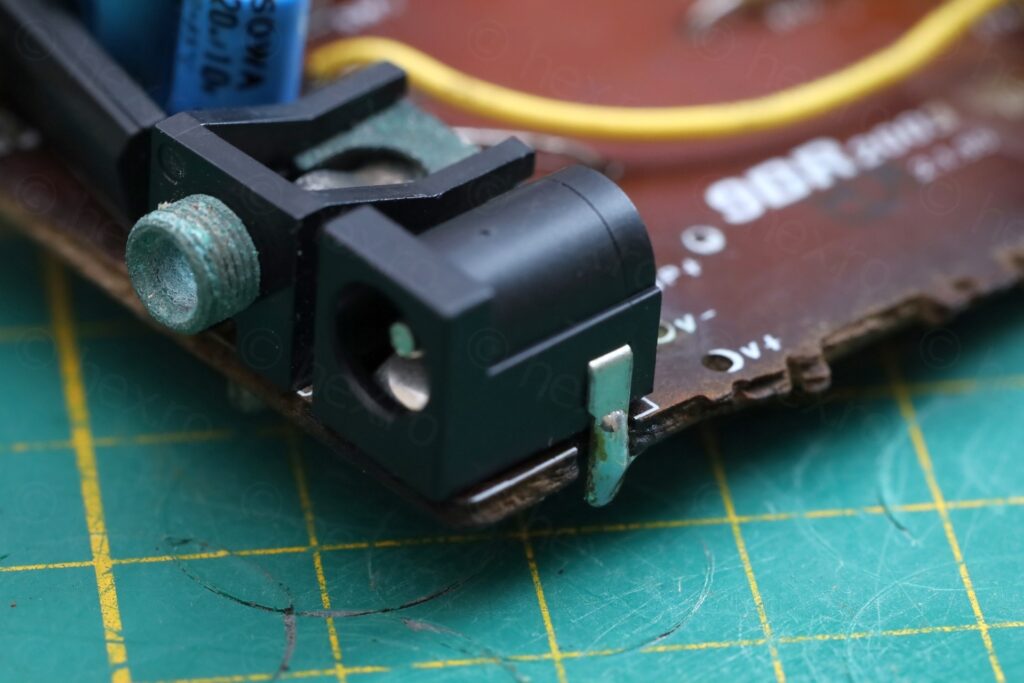
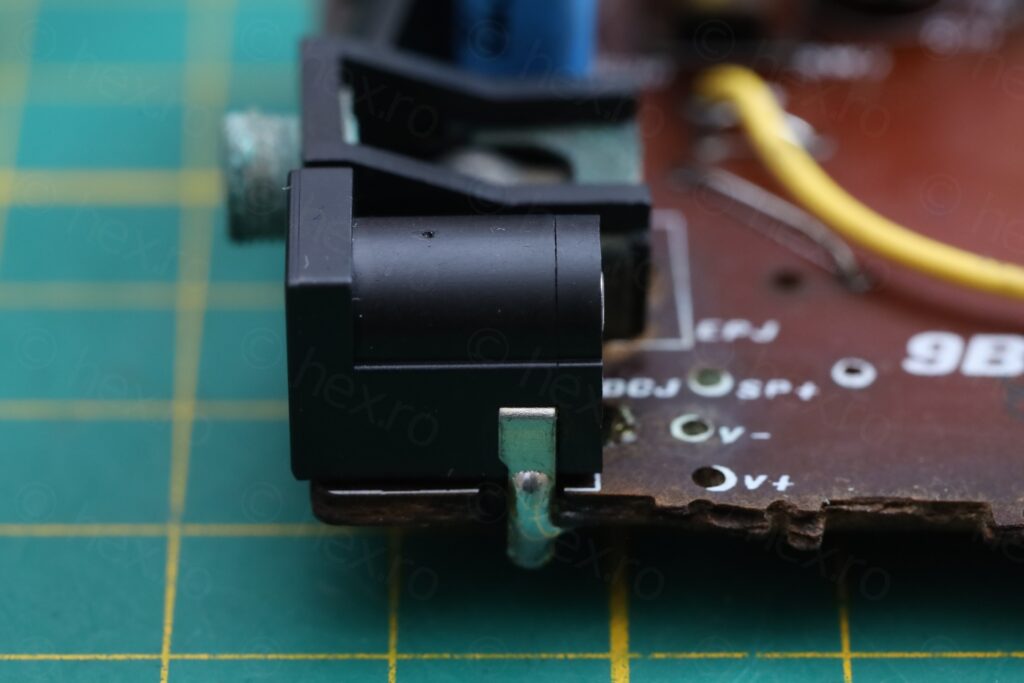
The DC IN jack was standard and I was able to replace it with a new one. The state of the existing one, as well as the board underneath:
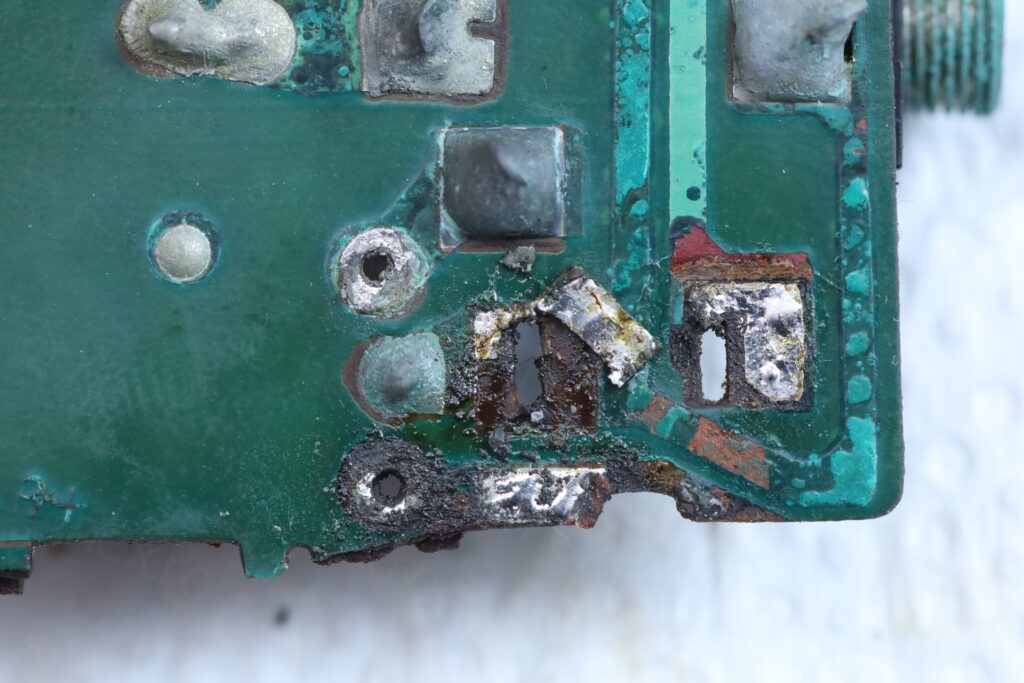
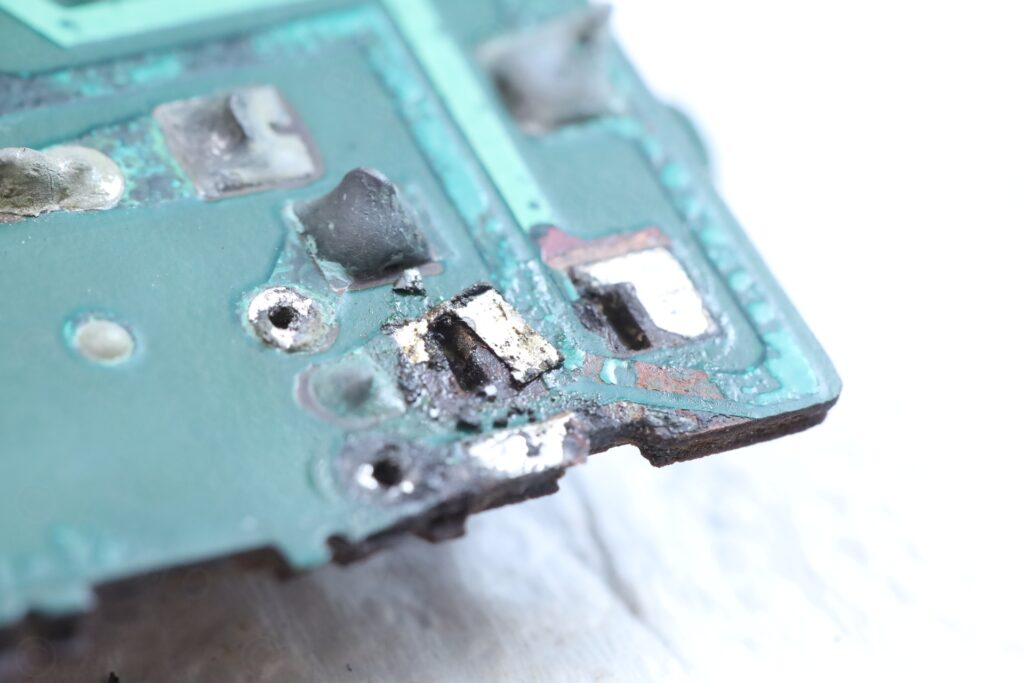
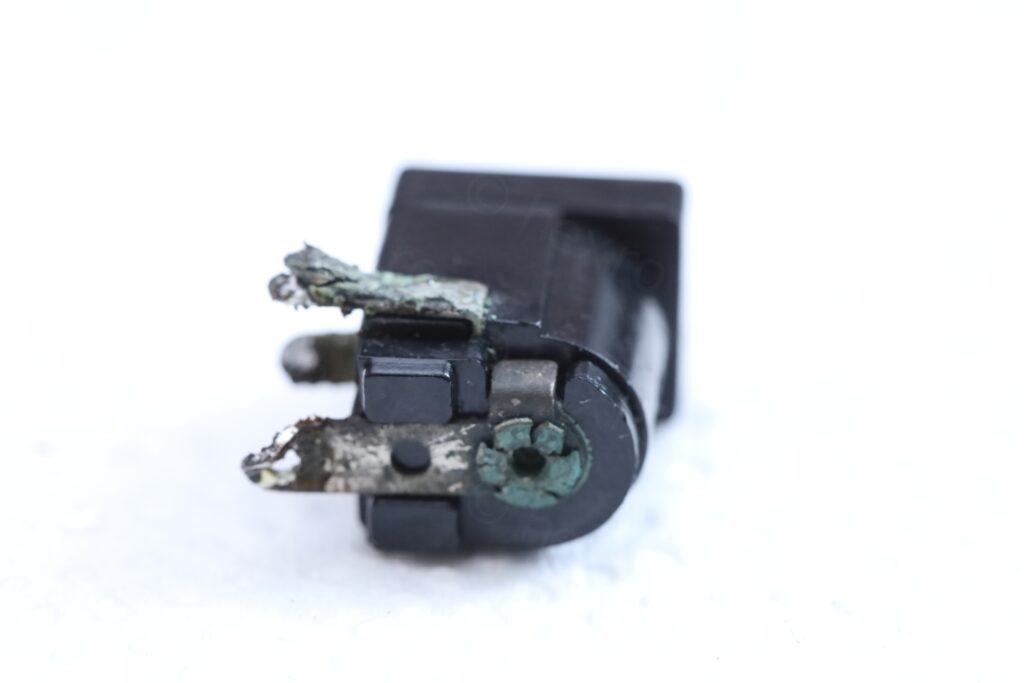
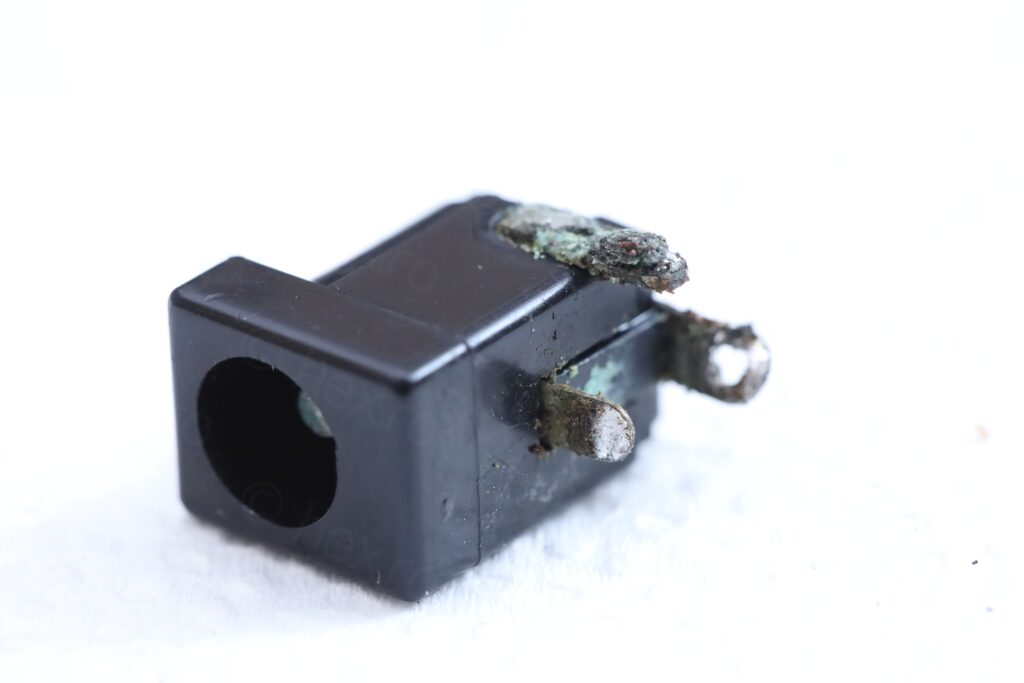
Battery ‘+’ goes to the circuit via the DC IN jack – when external power supply is applied, the DC IN jack disconnects the Battery Positive from circuit. But there was no continuity through the DC IN jack even with it unplugged – probably a ton of corrosion has accumulated inside.
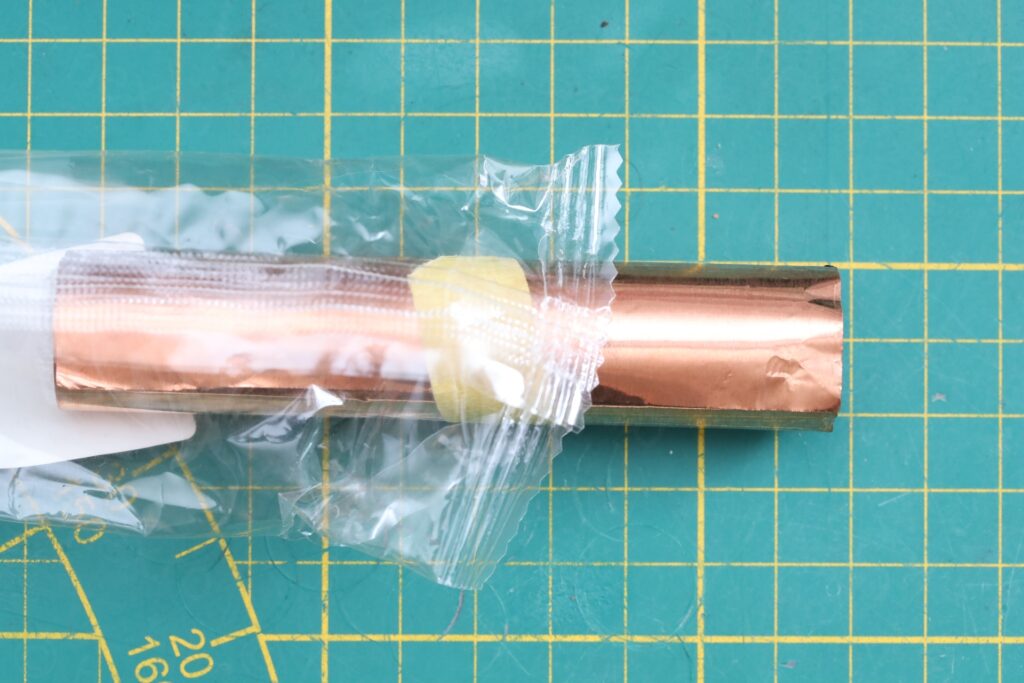
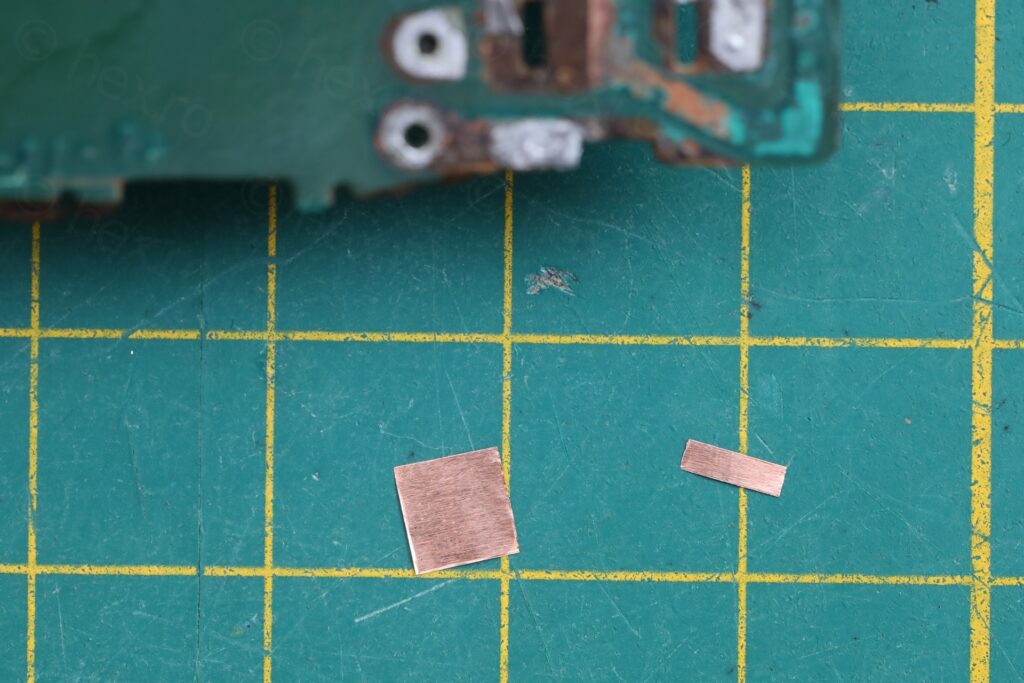
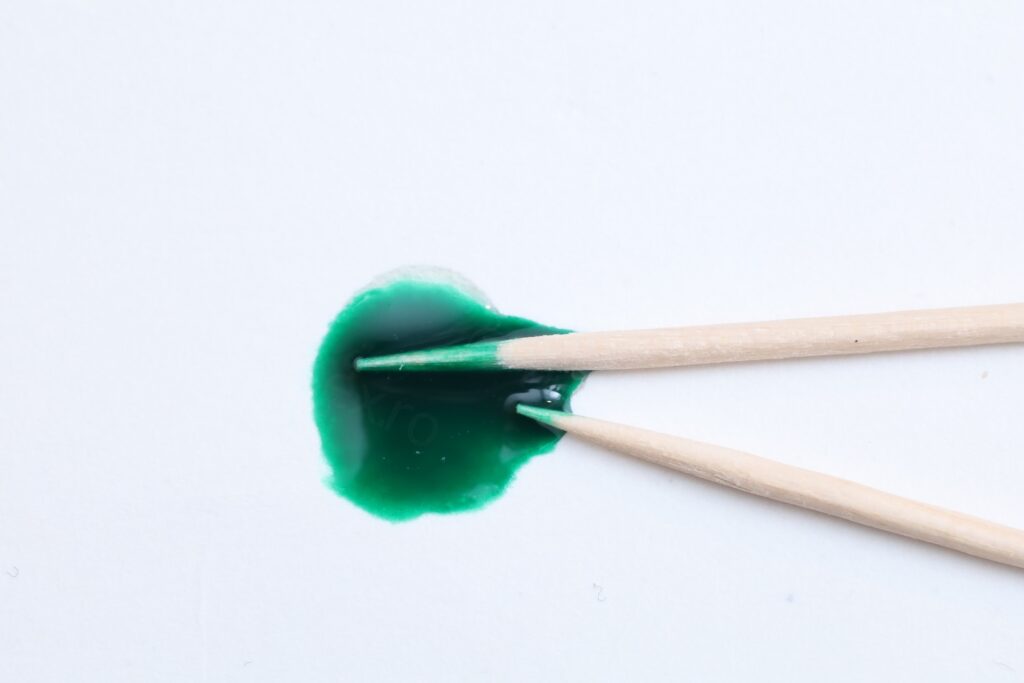
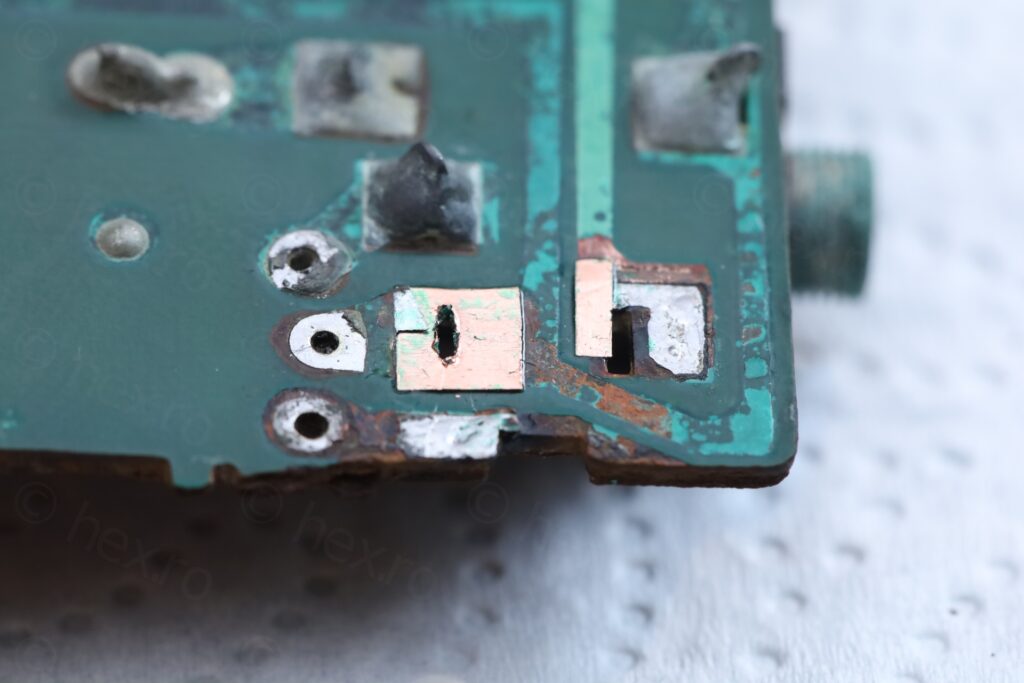
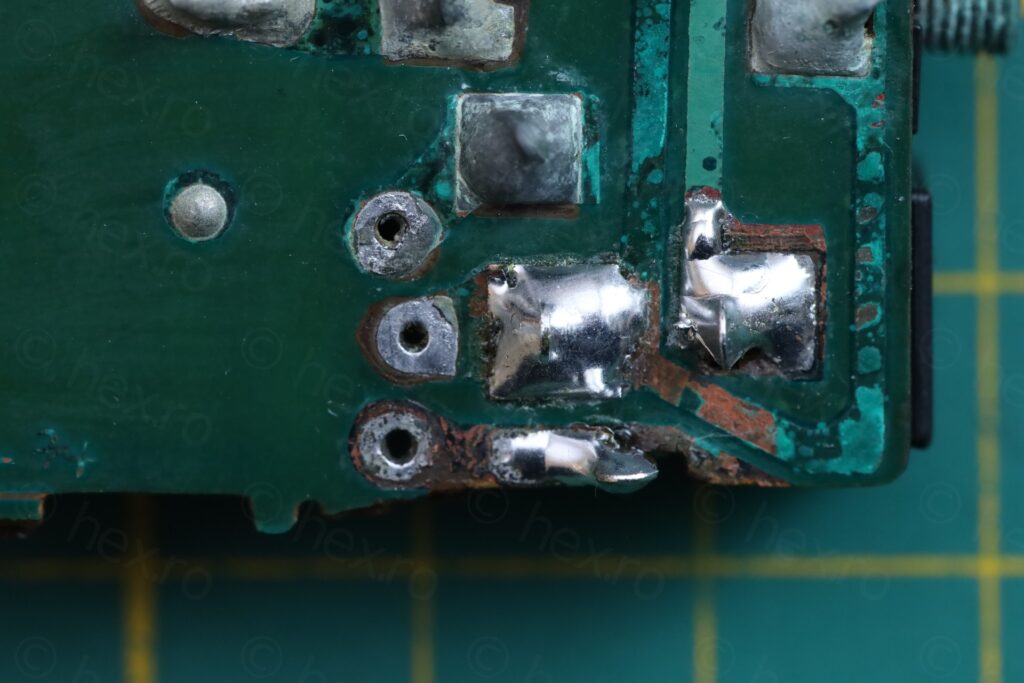
But before replacing it, I had to rebuild some corroded tracks. Using thin copper sheet, I cut two small pieces of copper which I epoxied down with Chemtronics Overcoat (rated to last few seconds at 600C to tolerate soldering). Unfortunately the product it is discontinued, but I still have some which I used as “undercoating”. After 24h of drying, I drilled the hole for the DC IN jack and applied copious amount of solder to bridge the new tracks solidly to existing tracks:
Headphone Jack
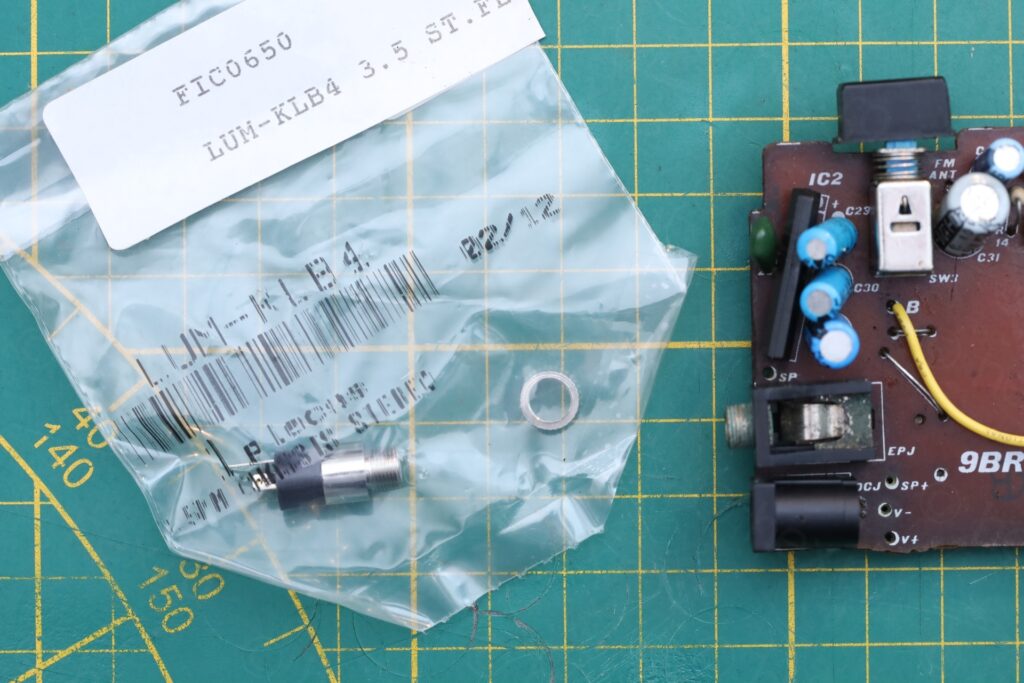
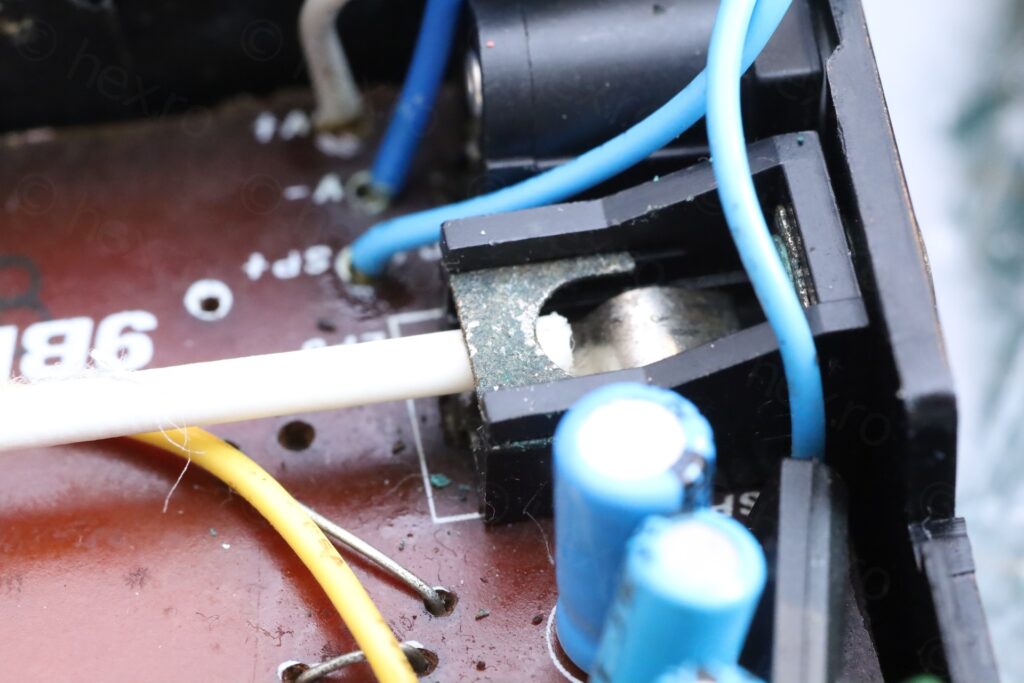
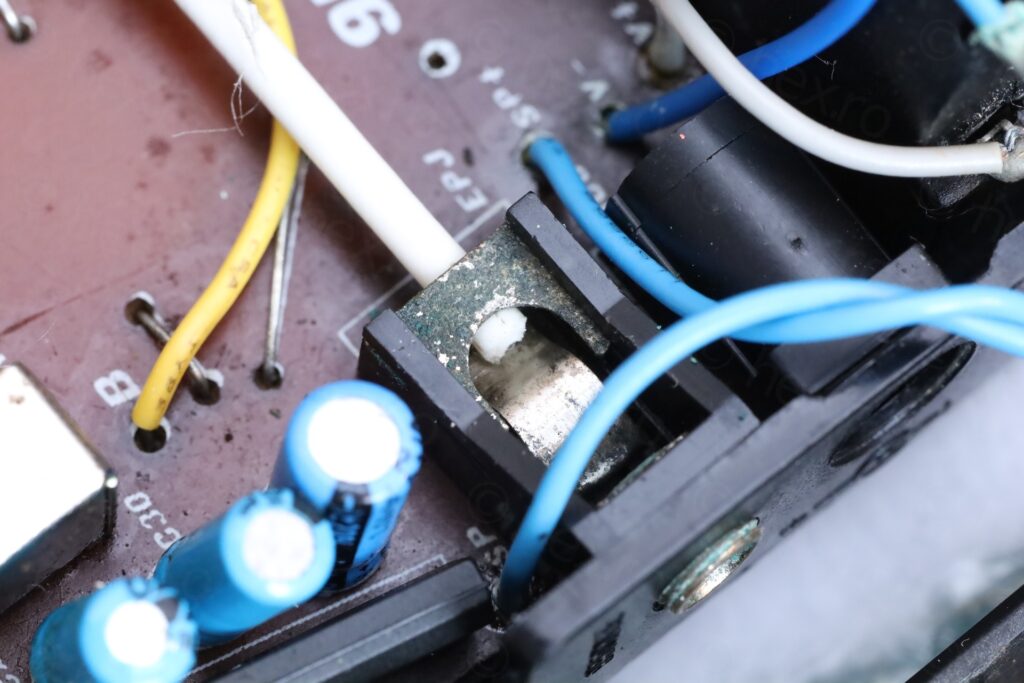
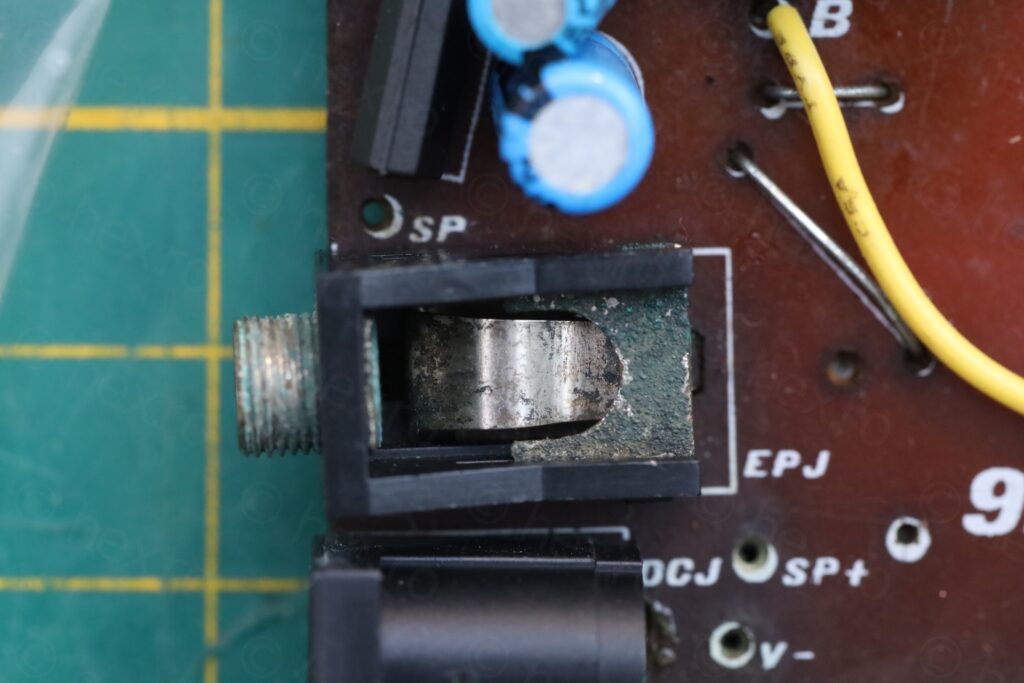
For the headphone jack I had no replacement – thus, I did my best to remove corrosion. First vinegar and cleaning up after with IPA did very little, corrosion buildup was very thick. I borrowed the nut from another headphone jack, and repetitively trying to screw it, then remove, clean more, screw it more, etc, I was able to remove more crud.
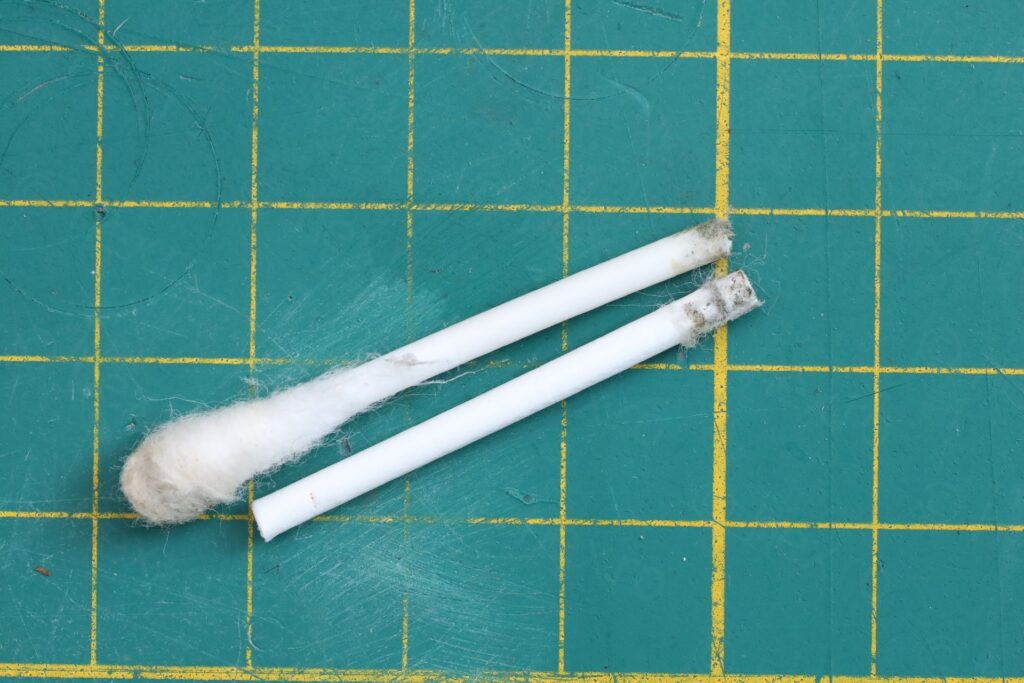
The contact lip that connects and disconnects the speaker when a headphone jack is pushed in was cleaned with contact cleaner and a cotton bud cut in half:
Speaker Grill
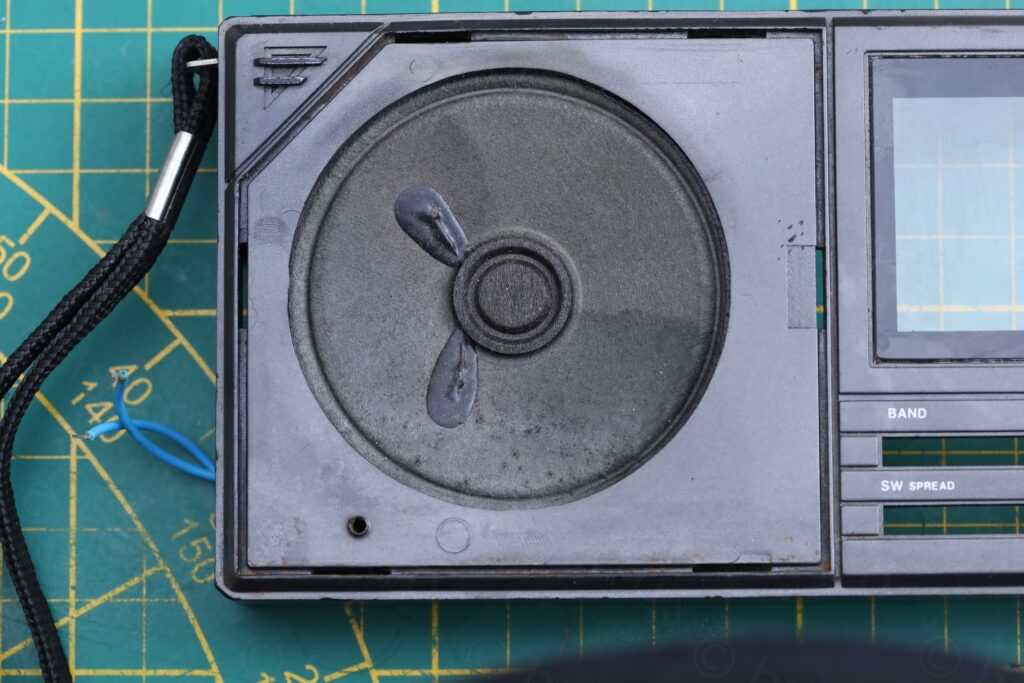
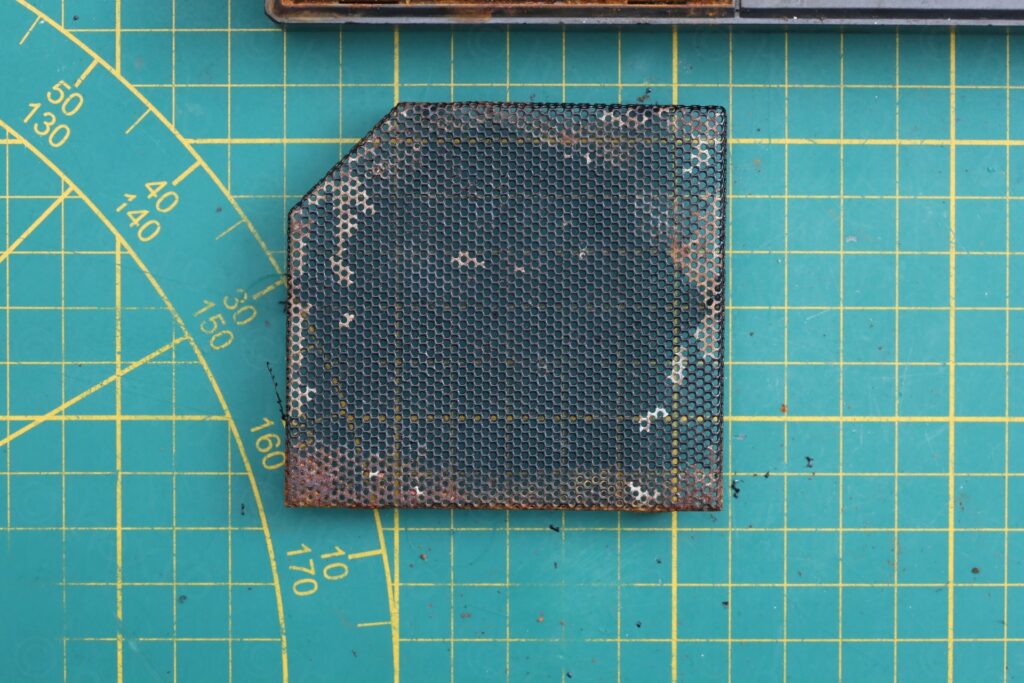
Speaker grill was very very rusty. Plastic was easy, cleaned with vinegar.
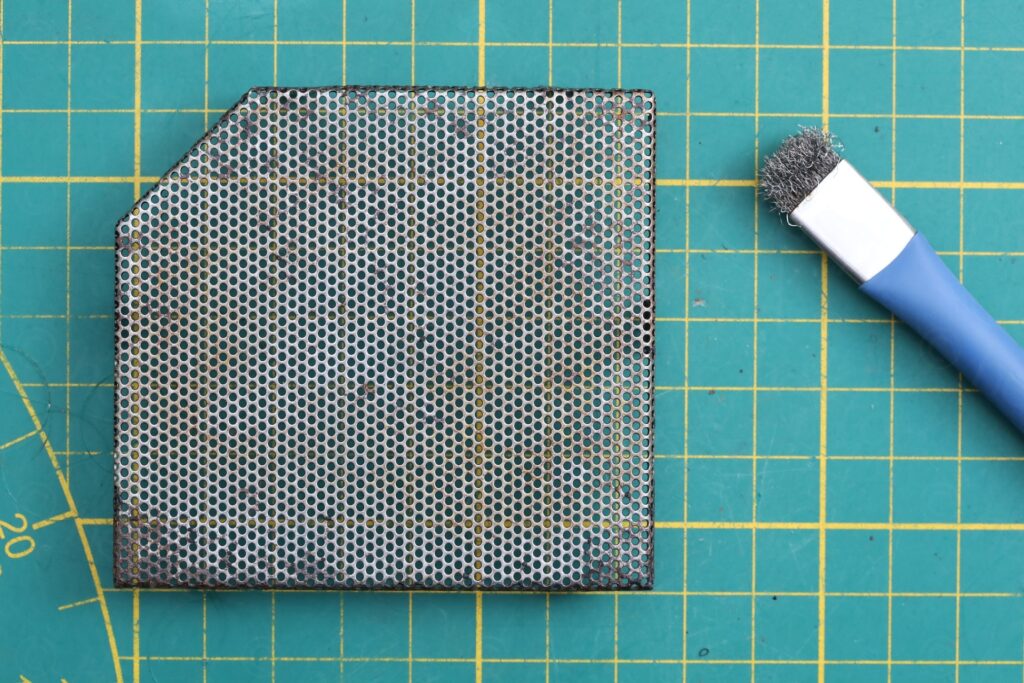
For the grill, I scrubbed it as much as I could with a metallic brush and initially I applied two coats of MATTE Black spray paint, waiting 1 day in between coats. It was really matte. I then applied to more coats of Gloss Black paint and it became a bit more shiny, but still not close when compared to a very similar radio. I don’t have experience with the spray paints to understand what I was doing 🙂 but I gave up, and decided to buy a Brilliant Transparent varnish, of which I also applied 2 coats.
This is not a bit closer to original – but compared to an original grill paint, is still not as shiny and thick. Well, at least it won’t rust for a while 🙂
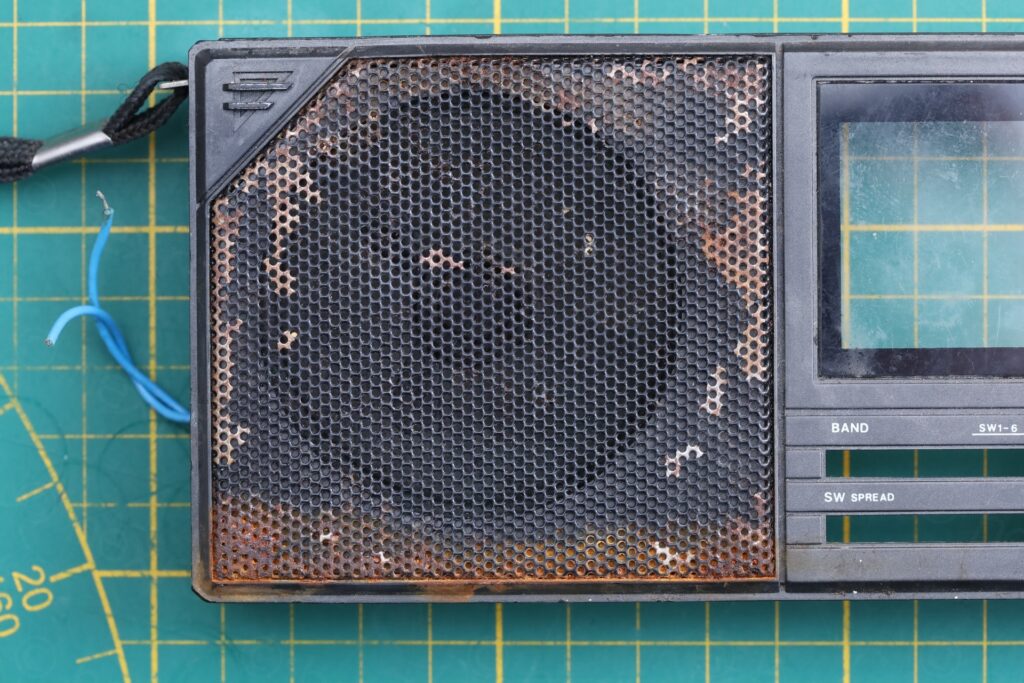
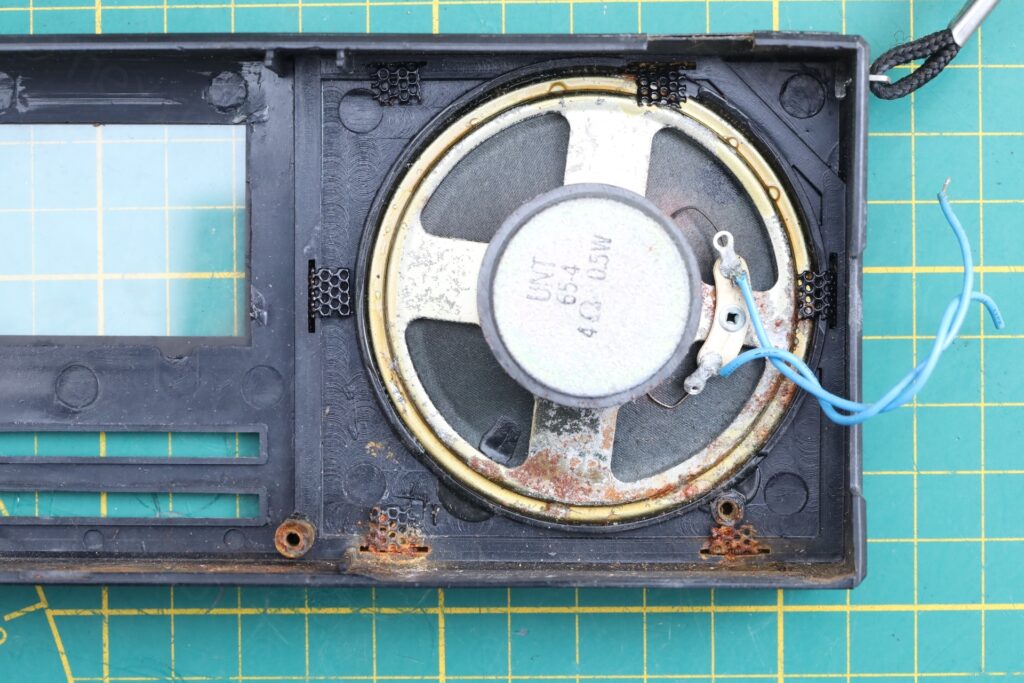
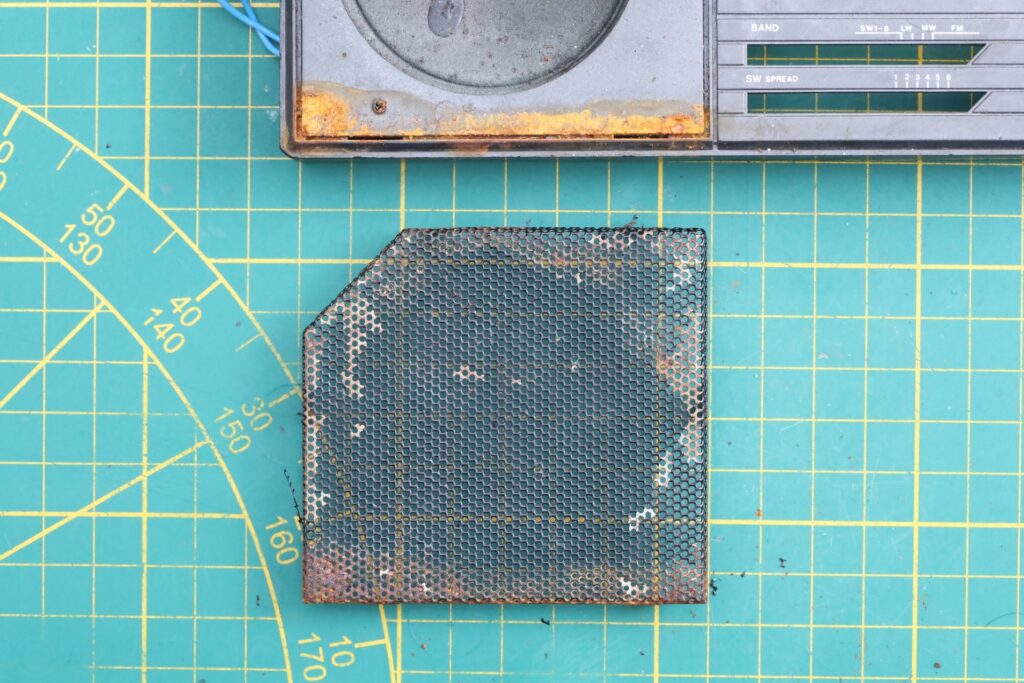
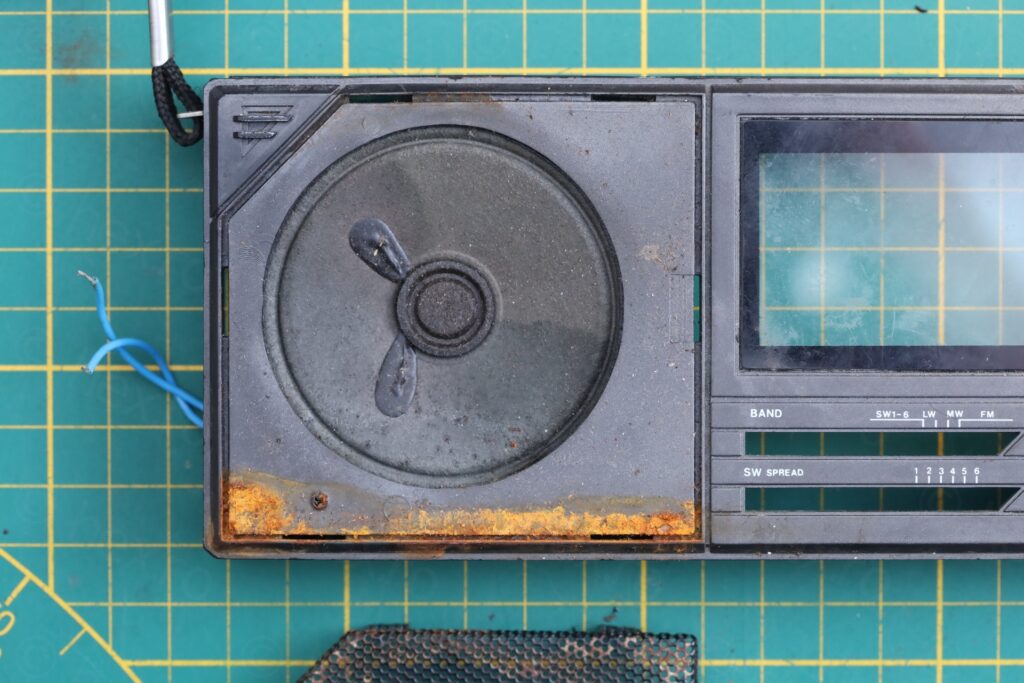
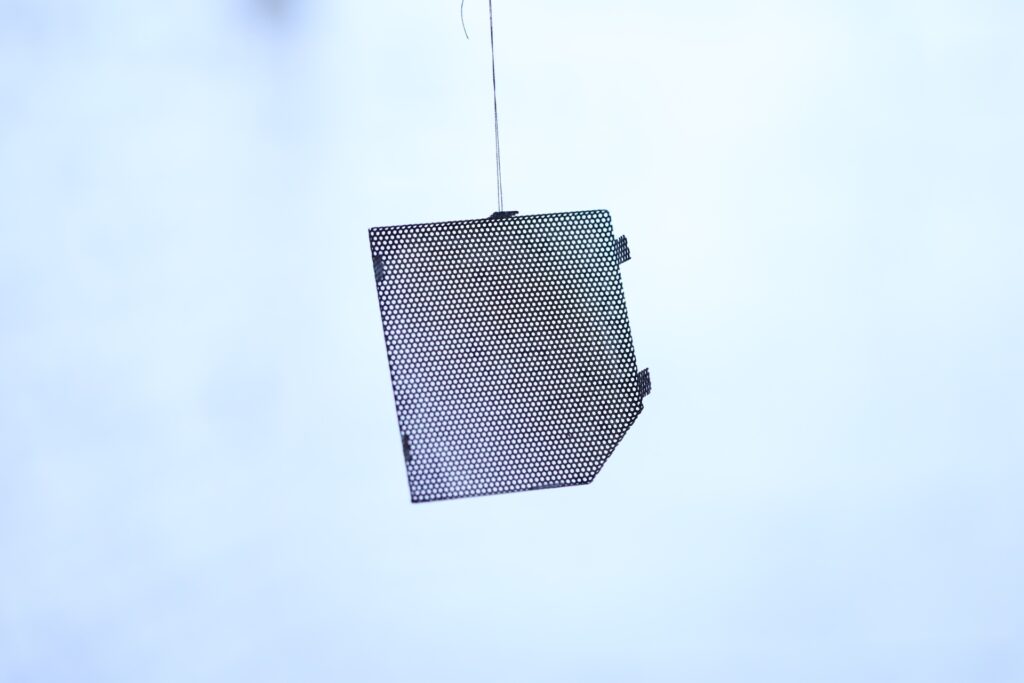
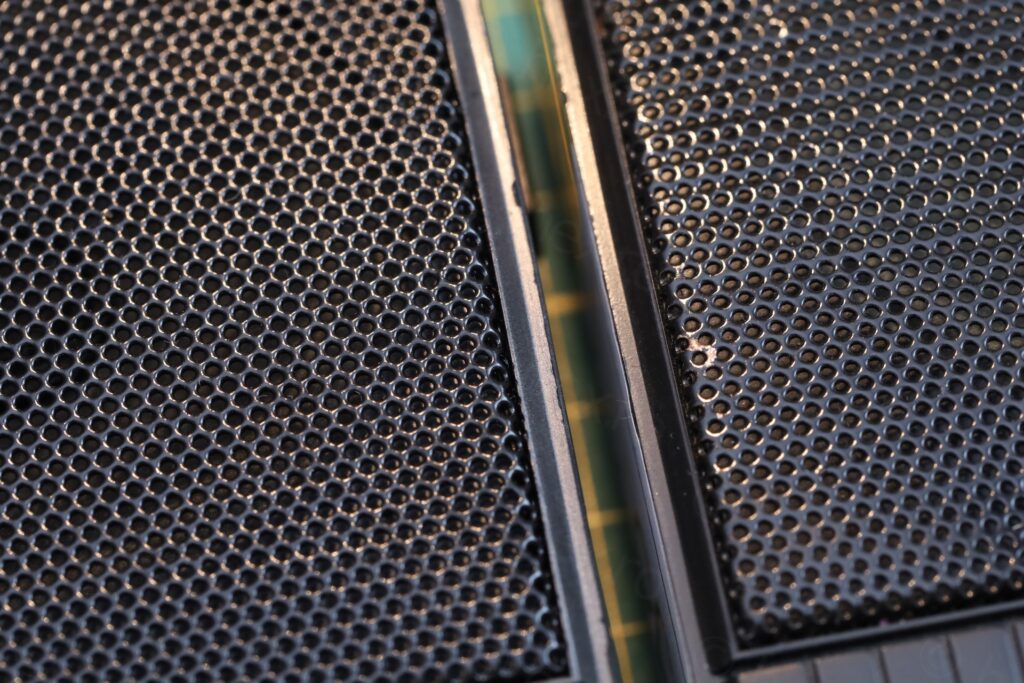
Waiting for the paints to dry was the longest part of this repair … in fact, two weeks after the initial coat, and there still a smell of paint.
SW Band switch
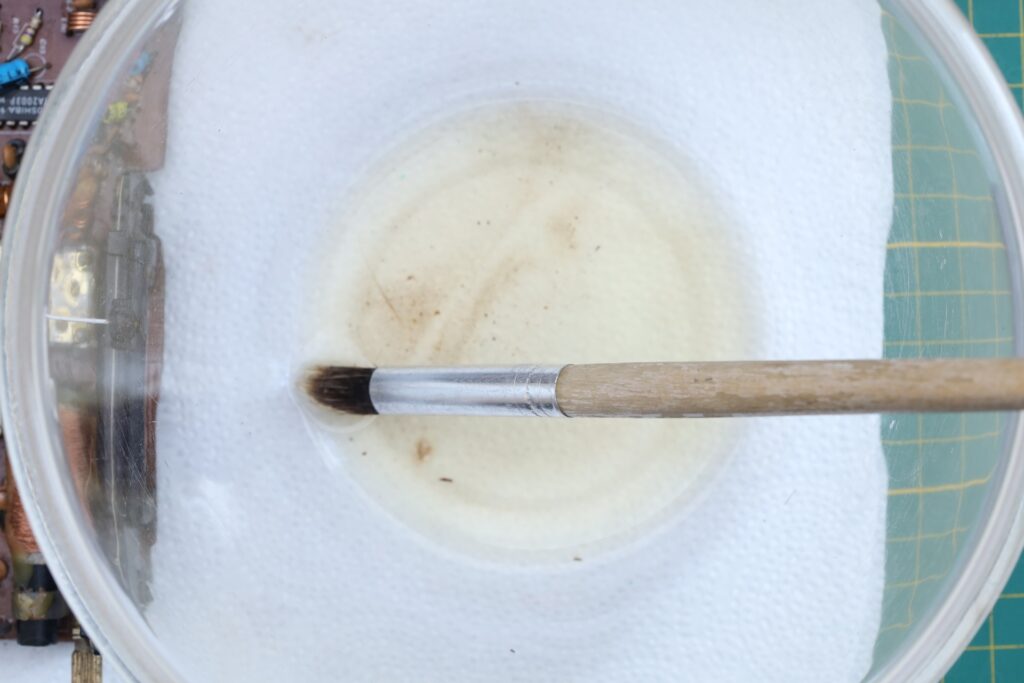
No amount of Contact Cleaner dislodged the SW Band switch, it was stuck hard.
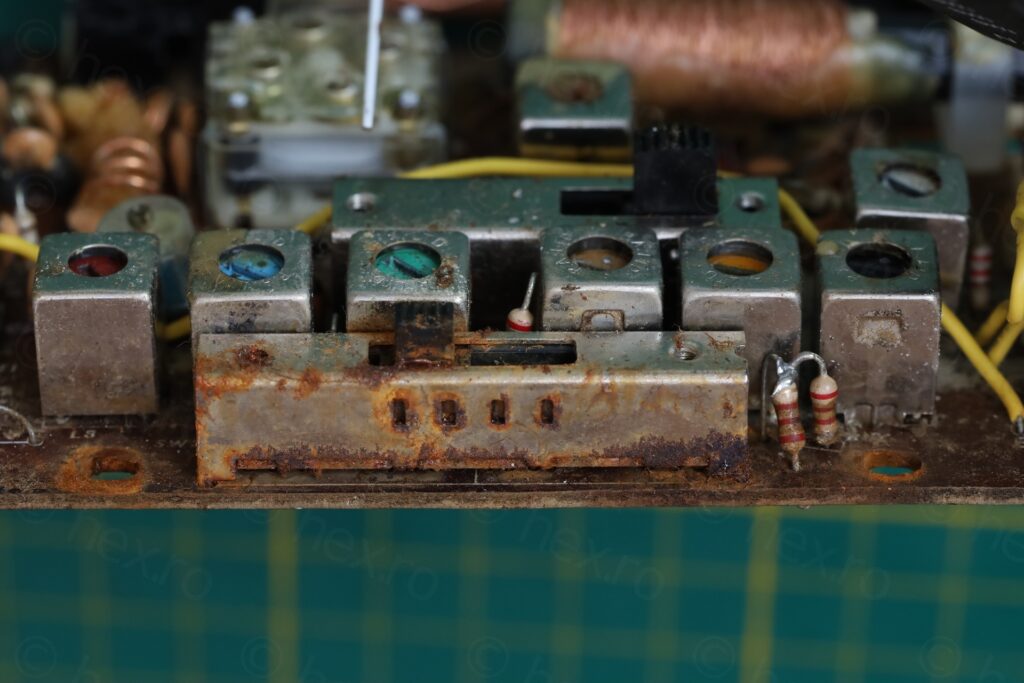
I slowly convinced myself I have to take it out of the circuit board and do a deep clean. Finally, after taking it out, cleaning all the rust, re-lubing it and putting it back together, it works. But it doesn’t have the same ‘click-ness’ due to friction – the inner walls of the switch are not smooth anymore:
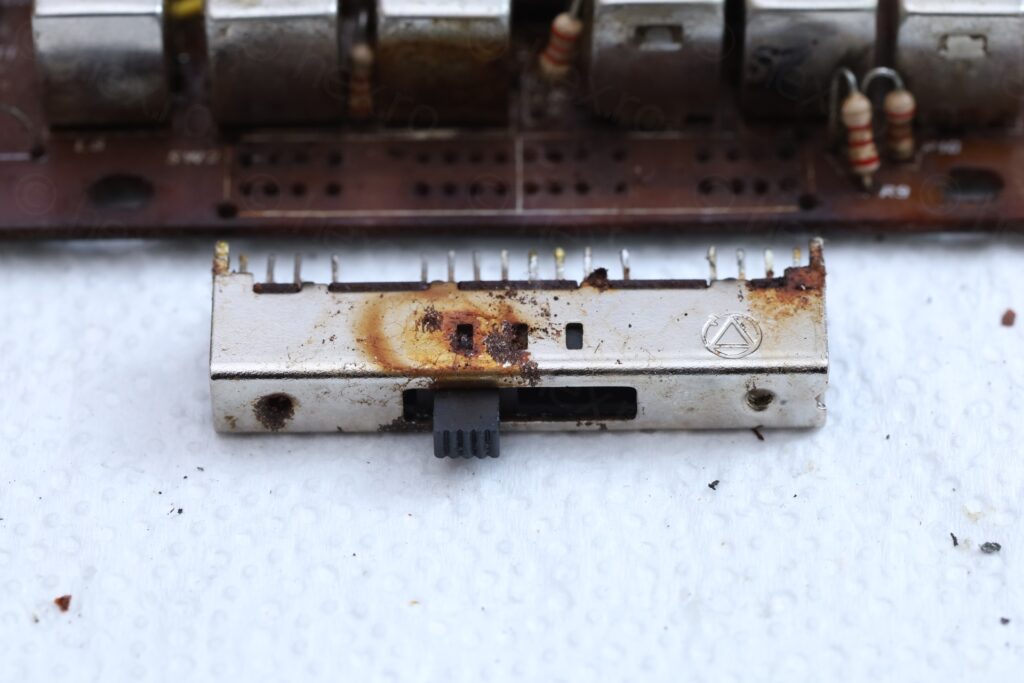
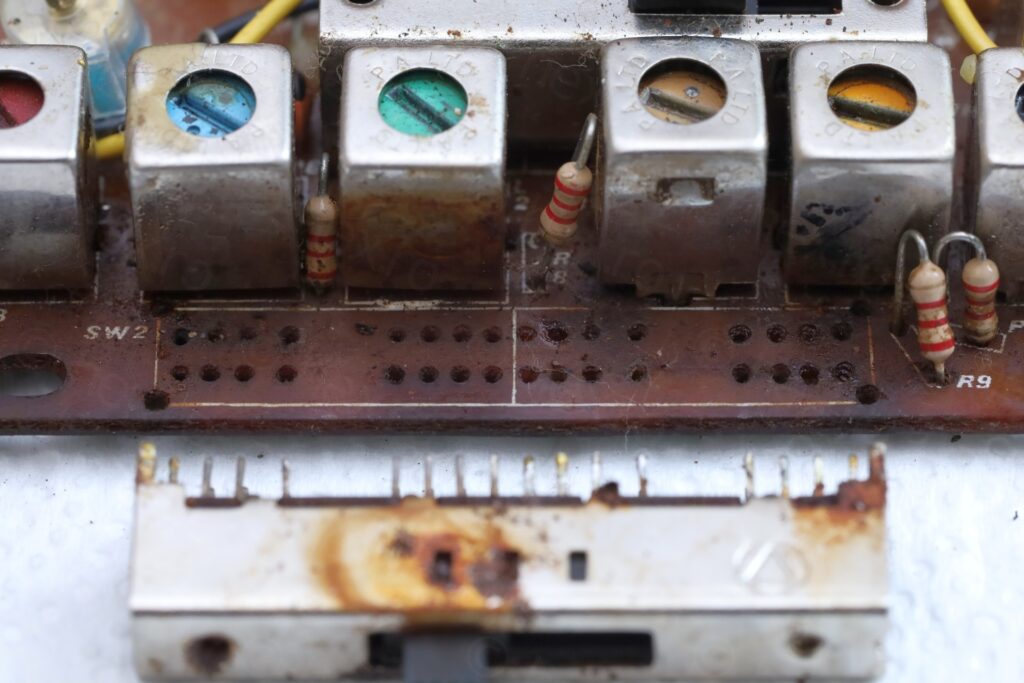
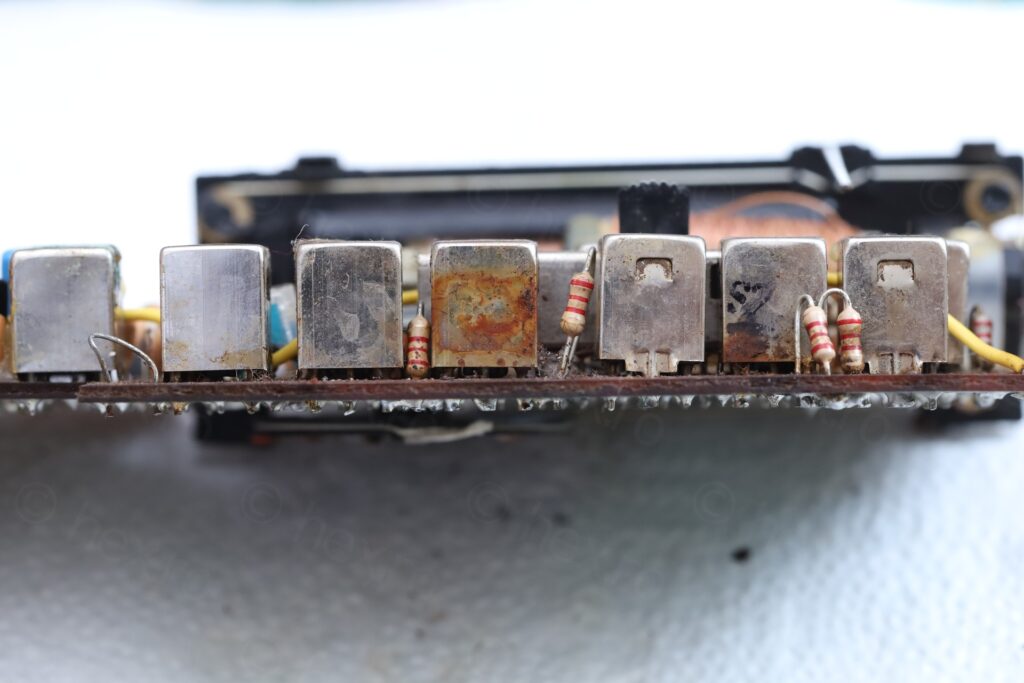
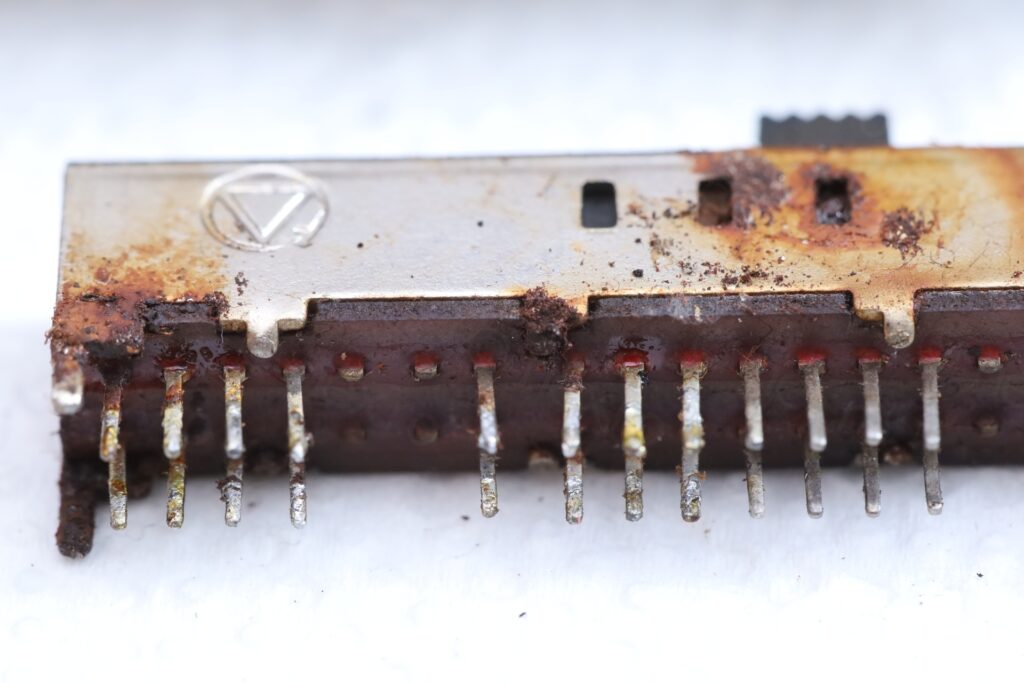
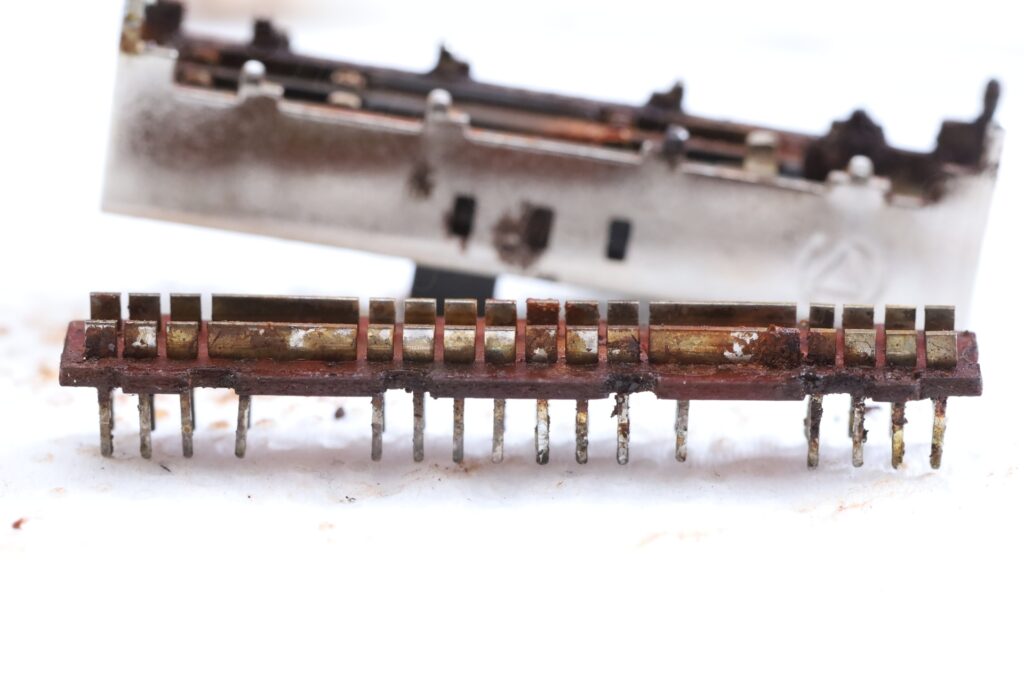
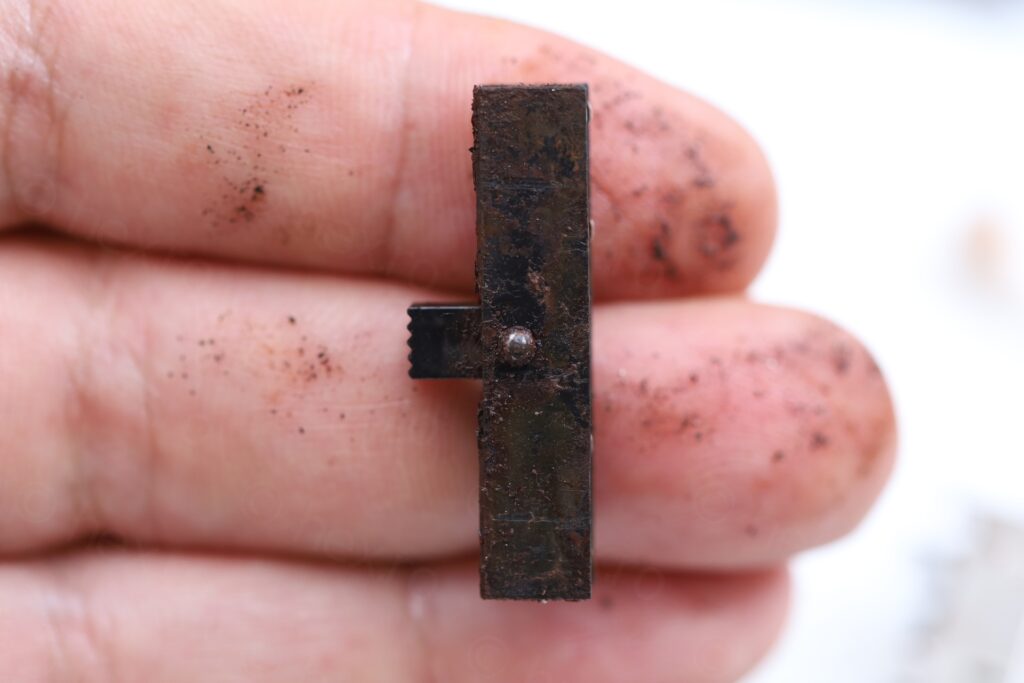
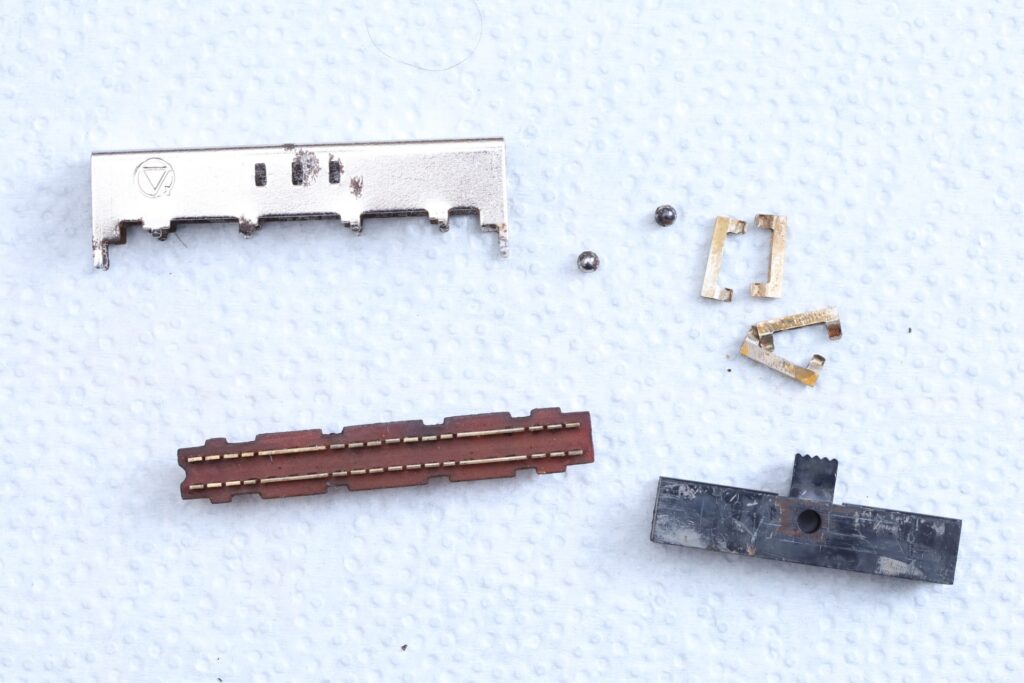
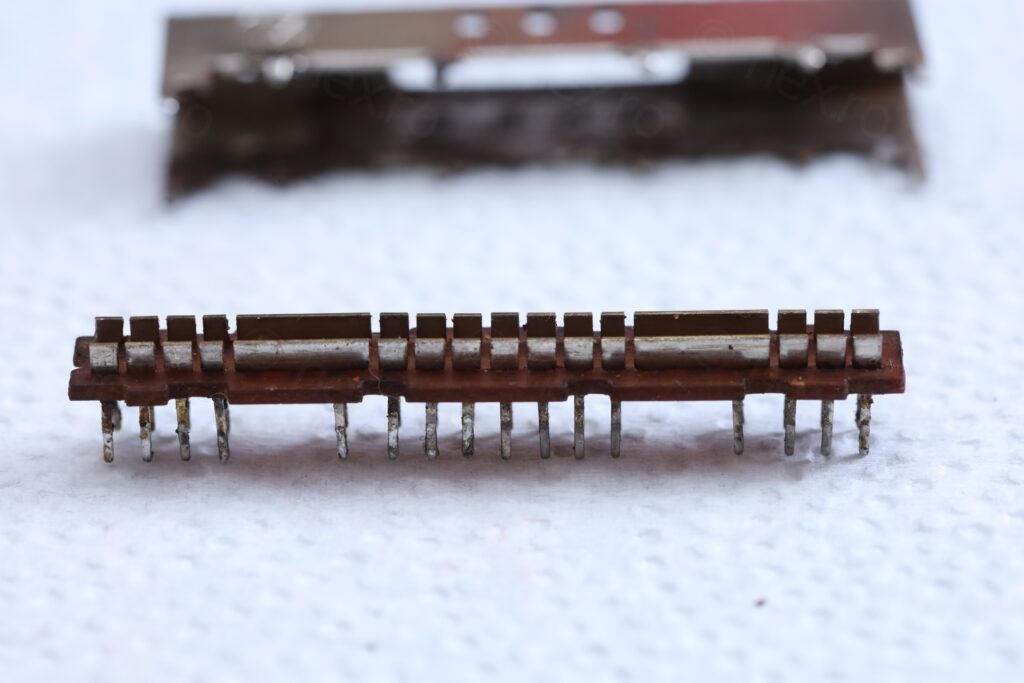
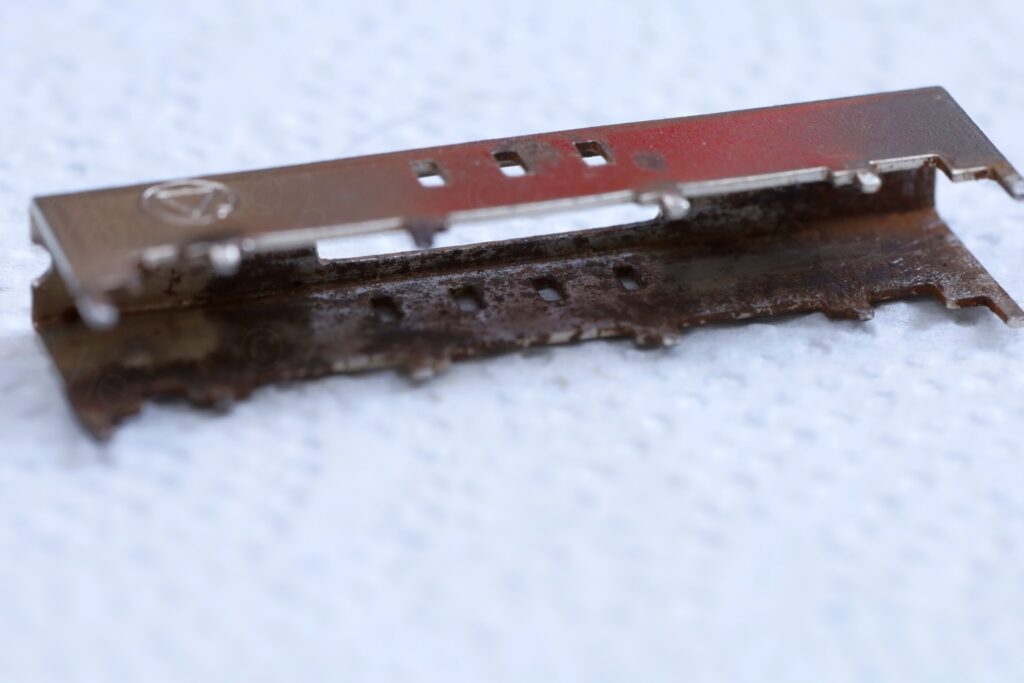
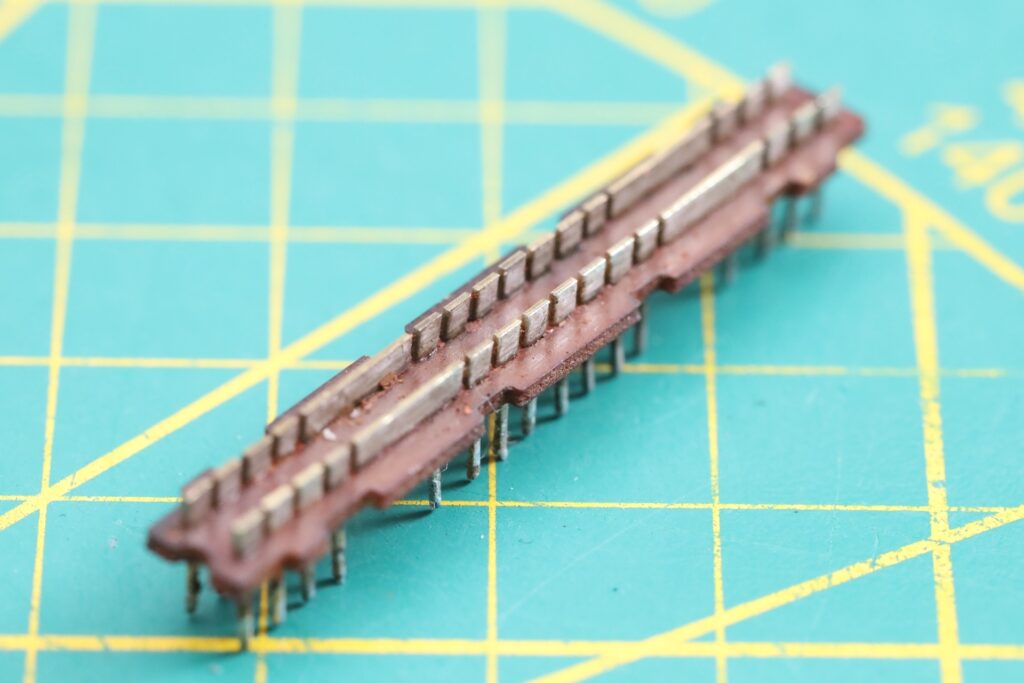
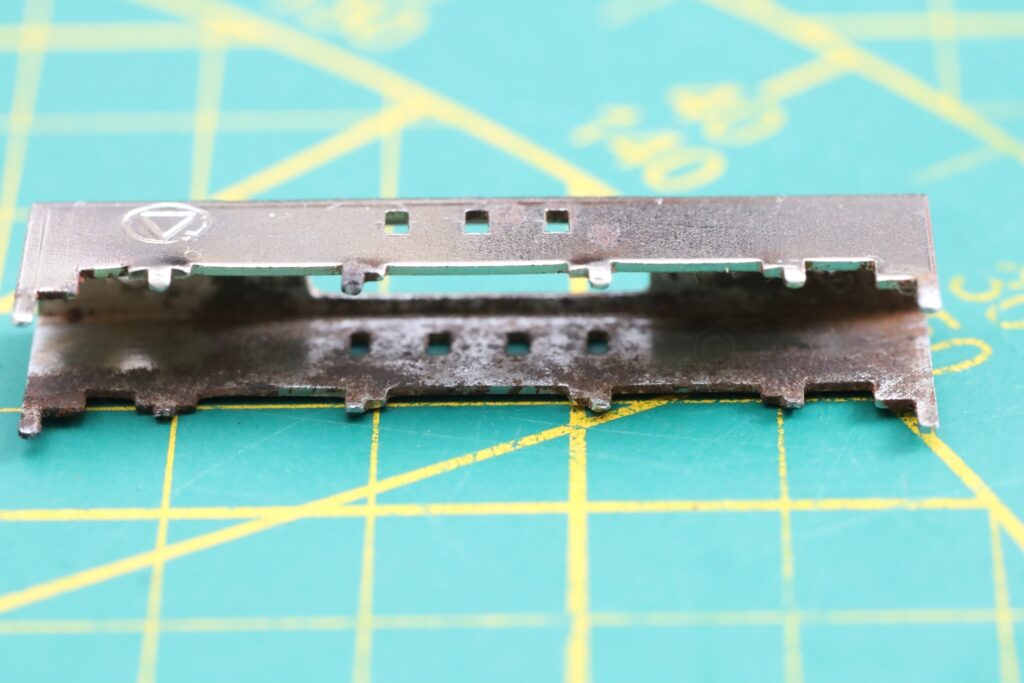
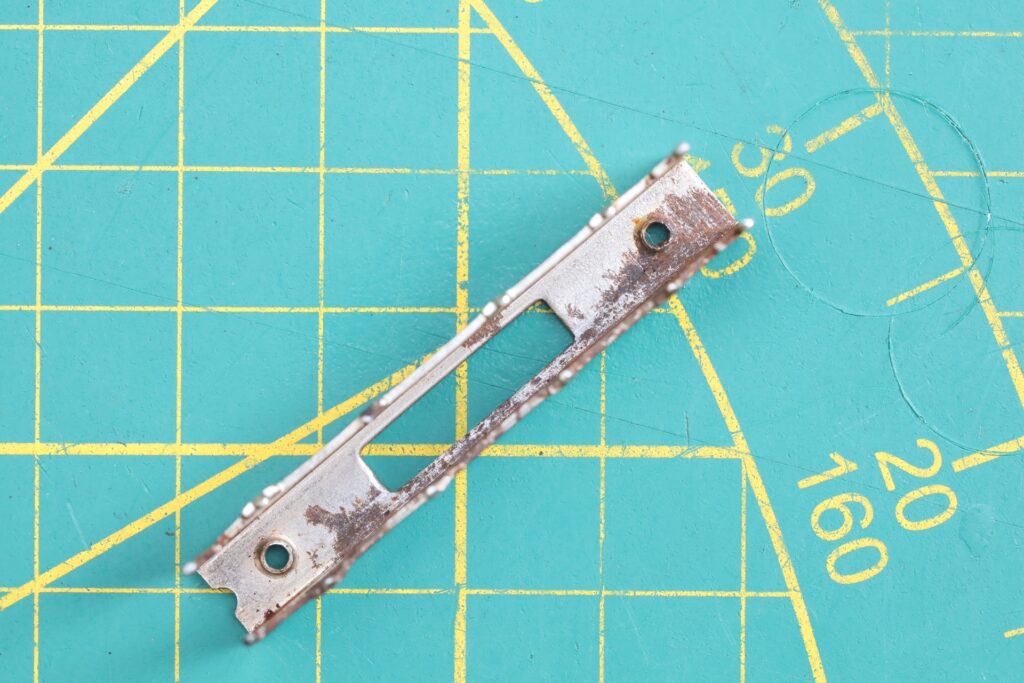
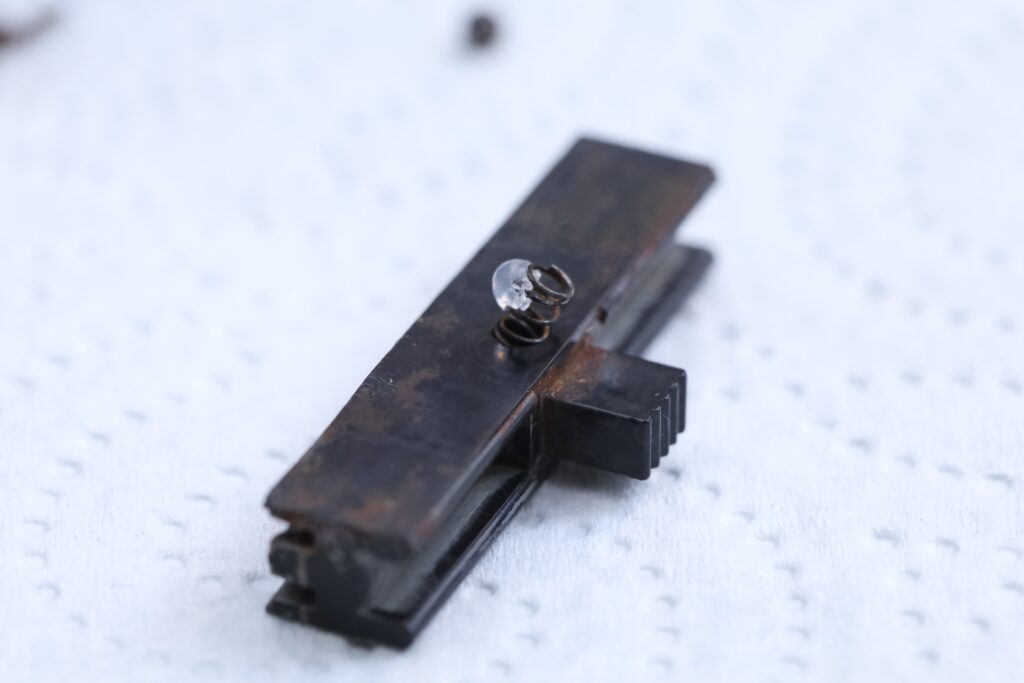
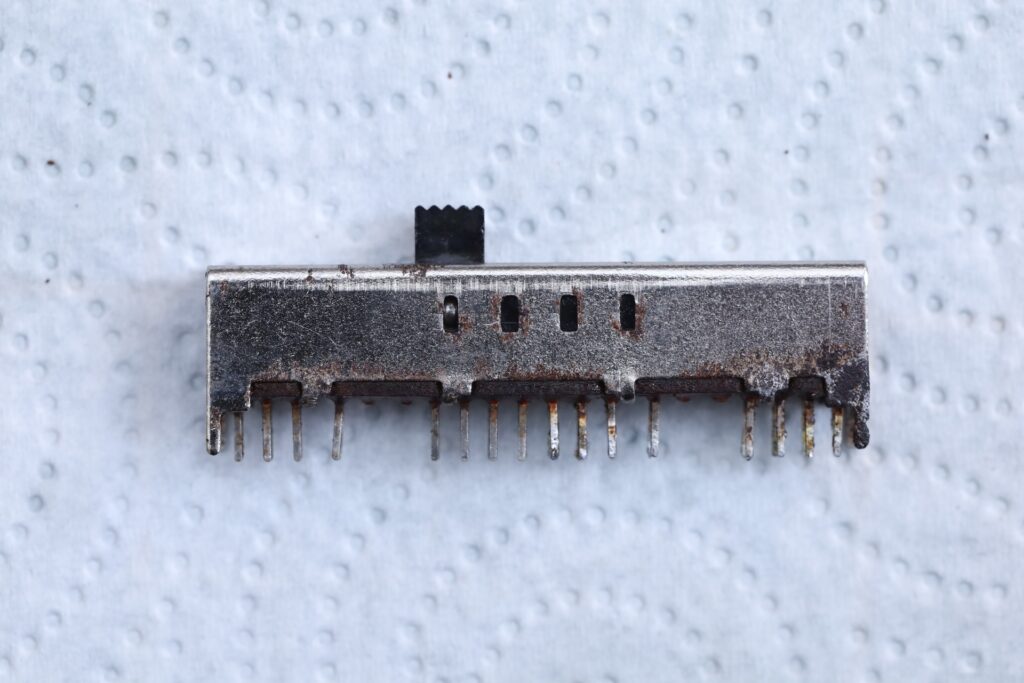
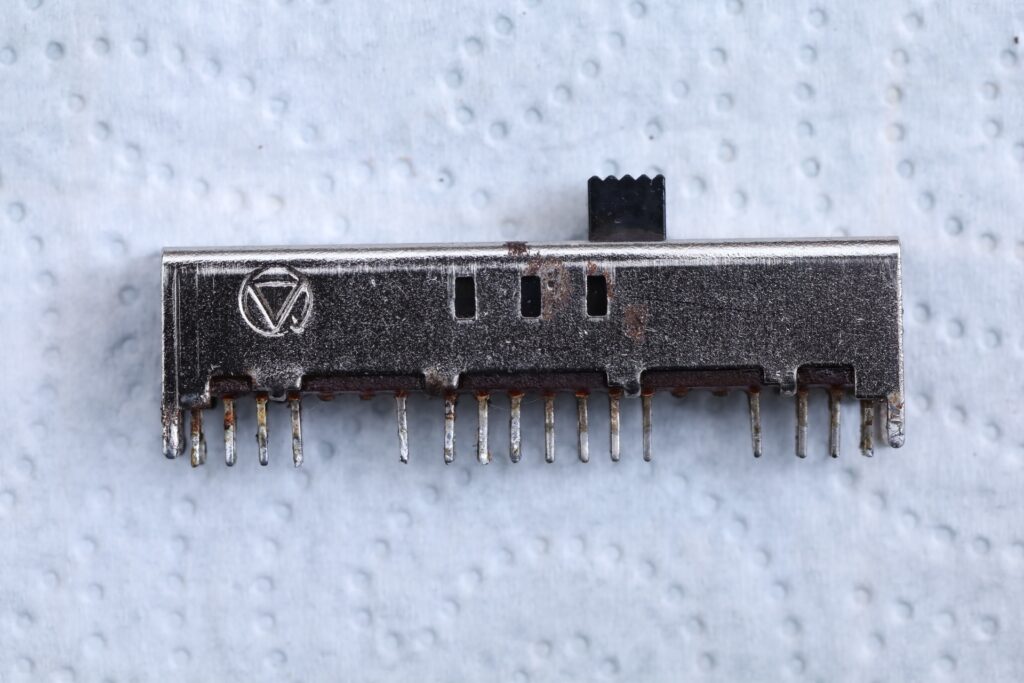
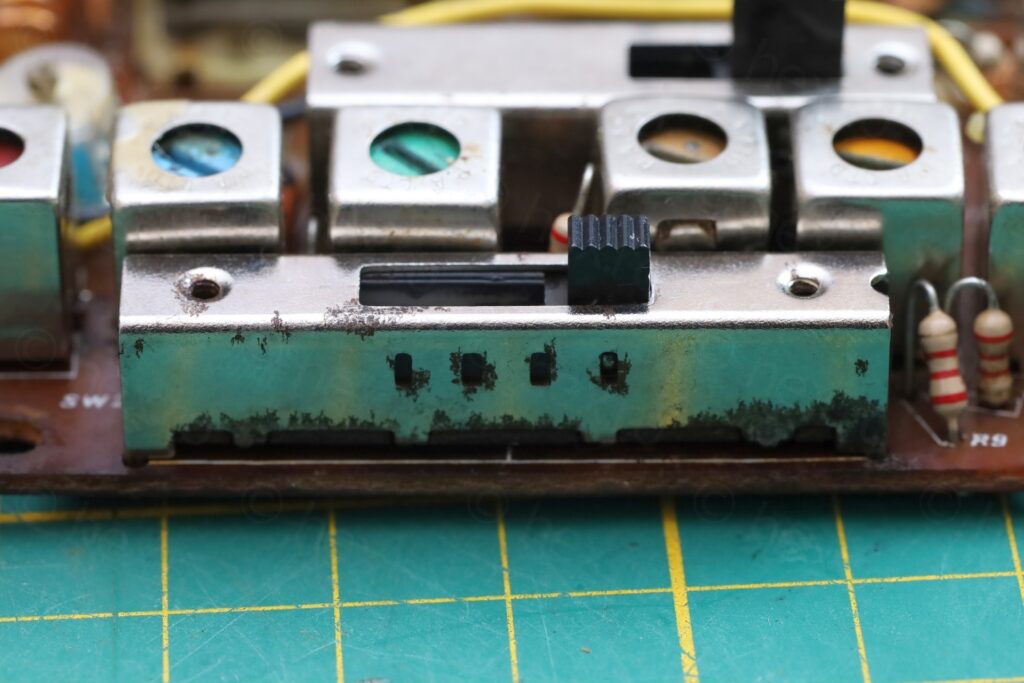
One thing to mention, SW Switch has 7 positions, but the case allows only 6 movements. 6 and 7 positions are identical in fact.
Power LED
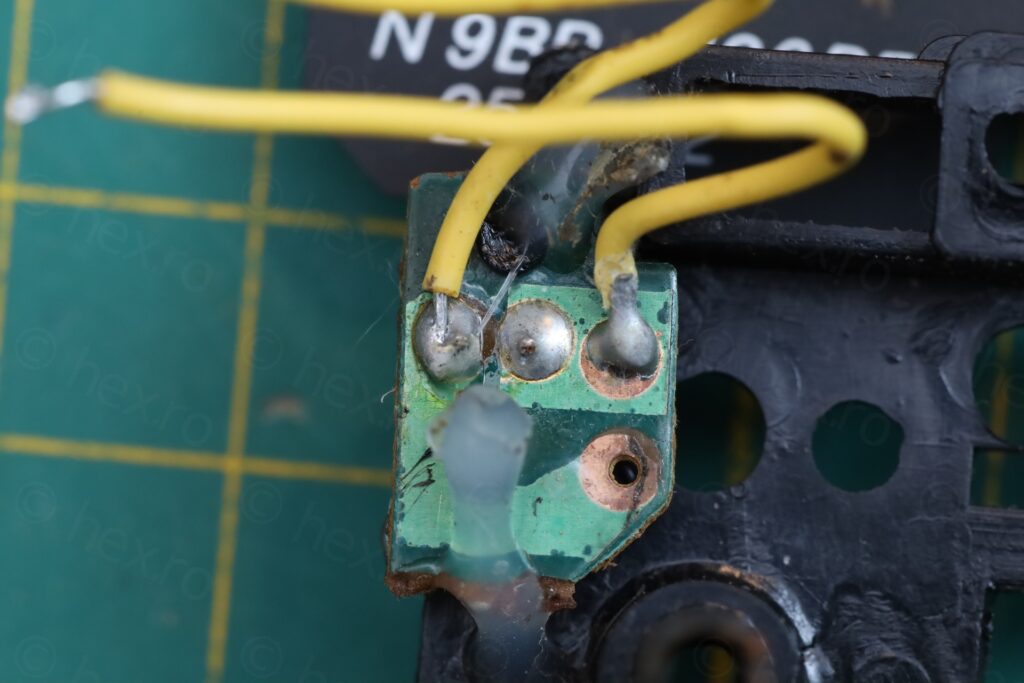
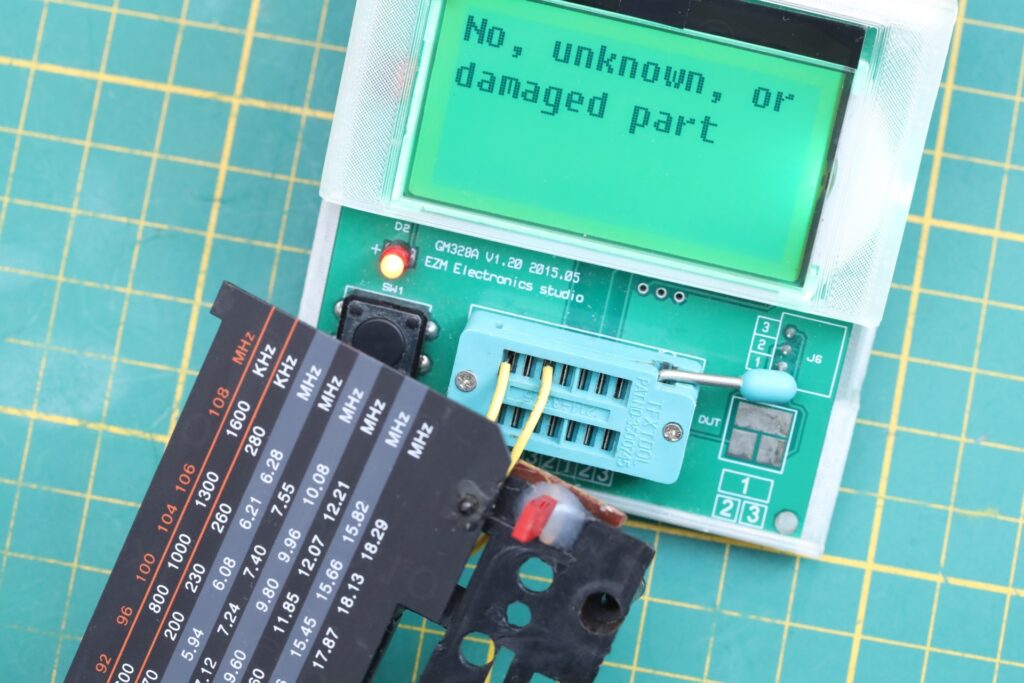
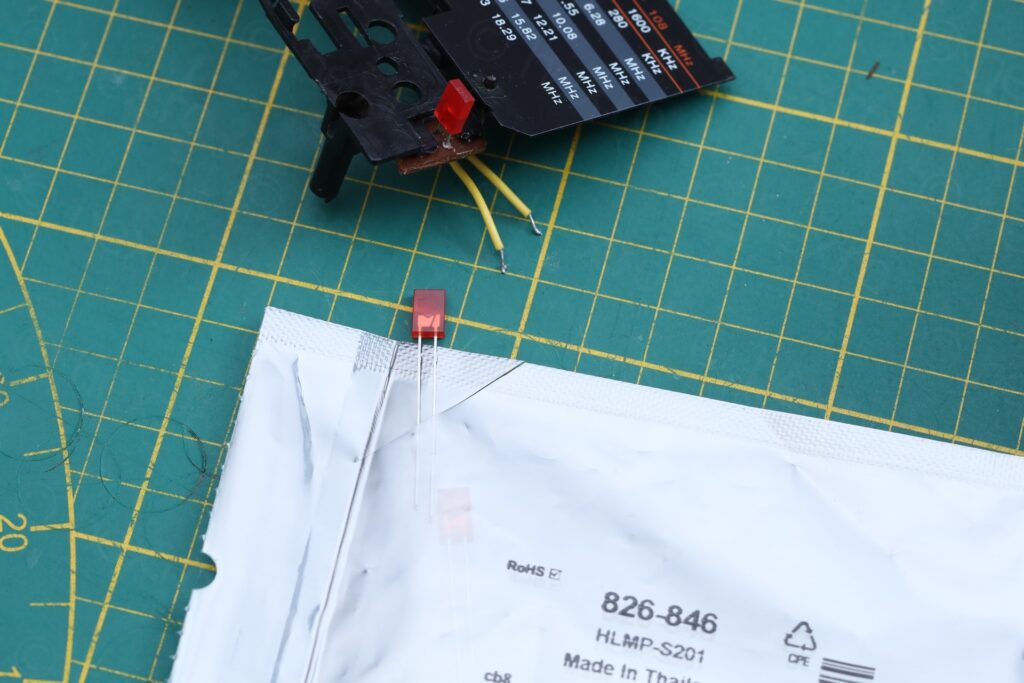
This confused me at first, all the clones have a LED that is supposed to indicate the Tuning (if you are on station). Here, the LED didn’t turn on when I was on station. A careful examination of the traces (since I thought they are corroded) showed that the LED is just connected to VCC and GND (via a resistor). So wait a minute, is this just an ON/OFF indicator ? Having a look at the IC driving the radio, Toshiba TA2003P – indeed, it lacks a METER output (like other ICs used in Sangean and other clones). Intrigued, I had a look at the front face of the radio, what is it written next to the LED ? Well, it is written POWER, duh!
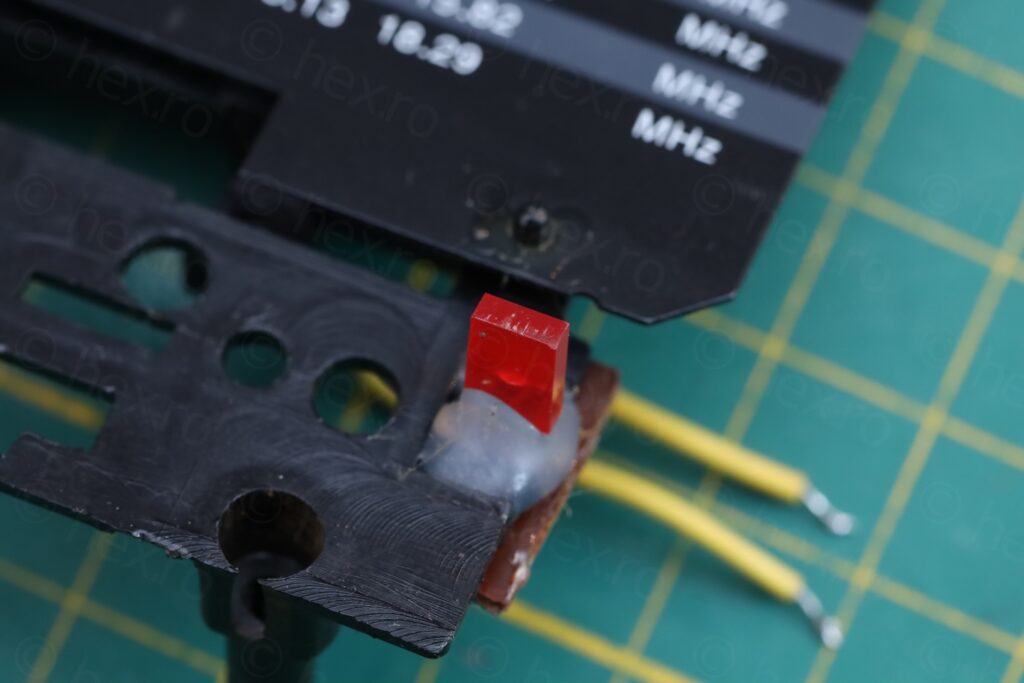
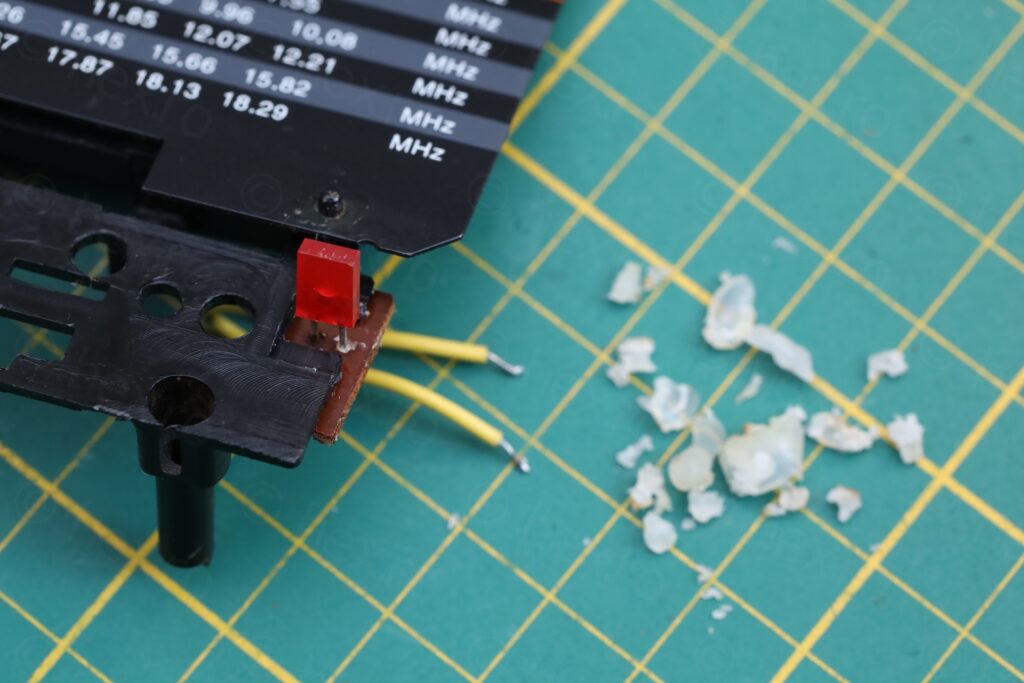
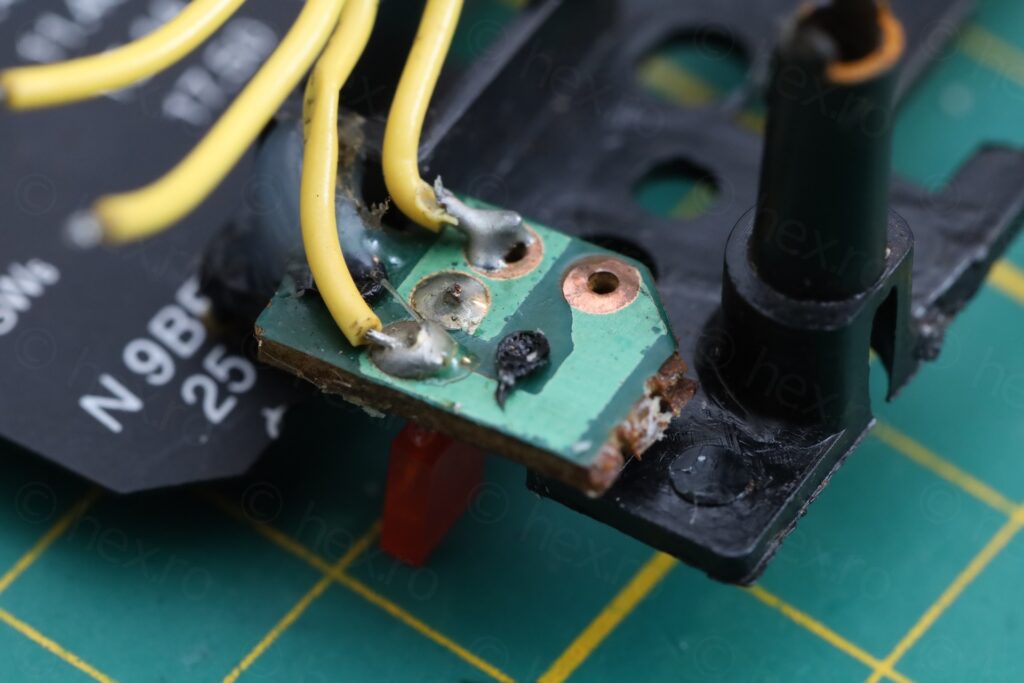
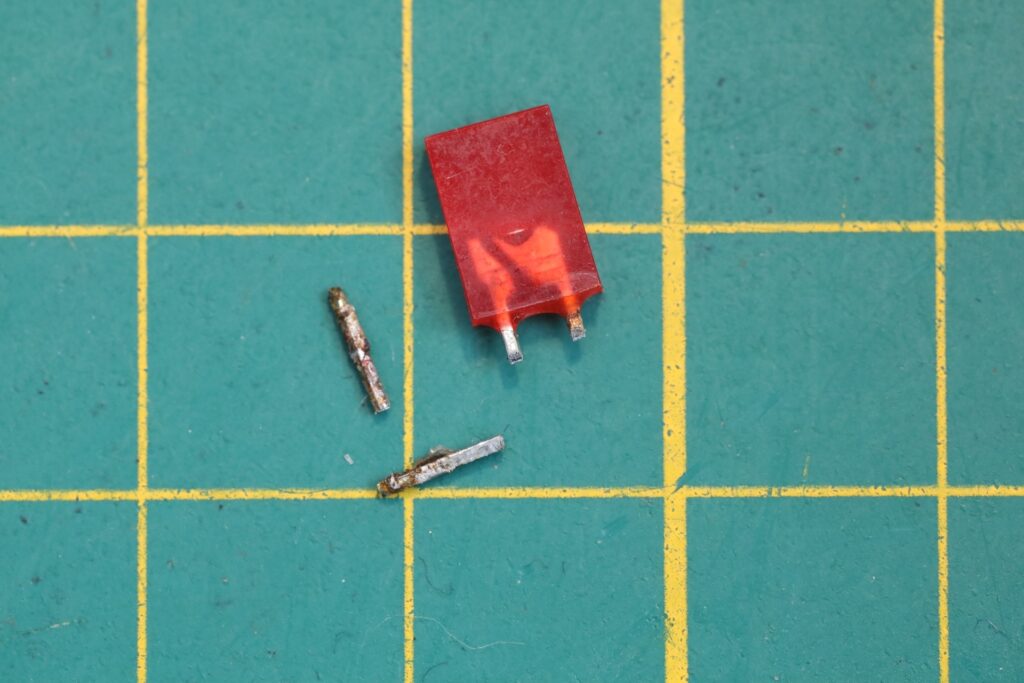
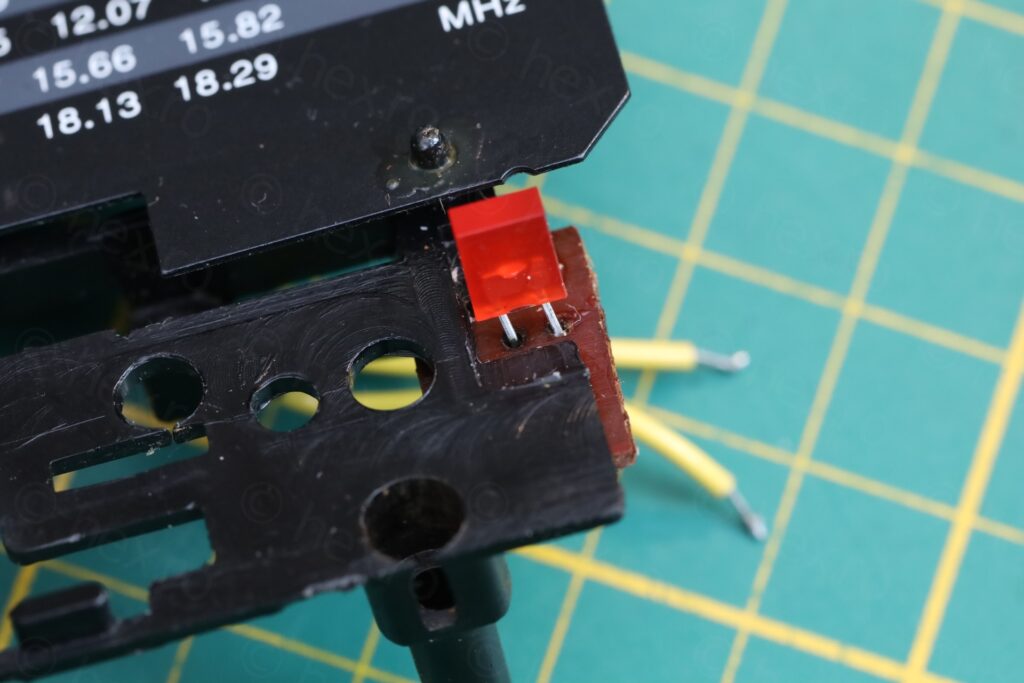
LED was not turning on because it was burned out. It is a standard rectangular LED of 2x5x7mm – of which of course, I had nothing in the parts bin – so had to order some.
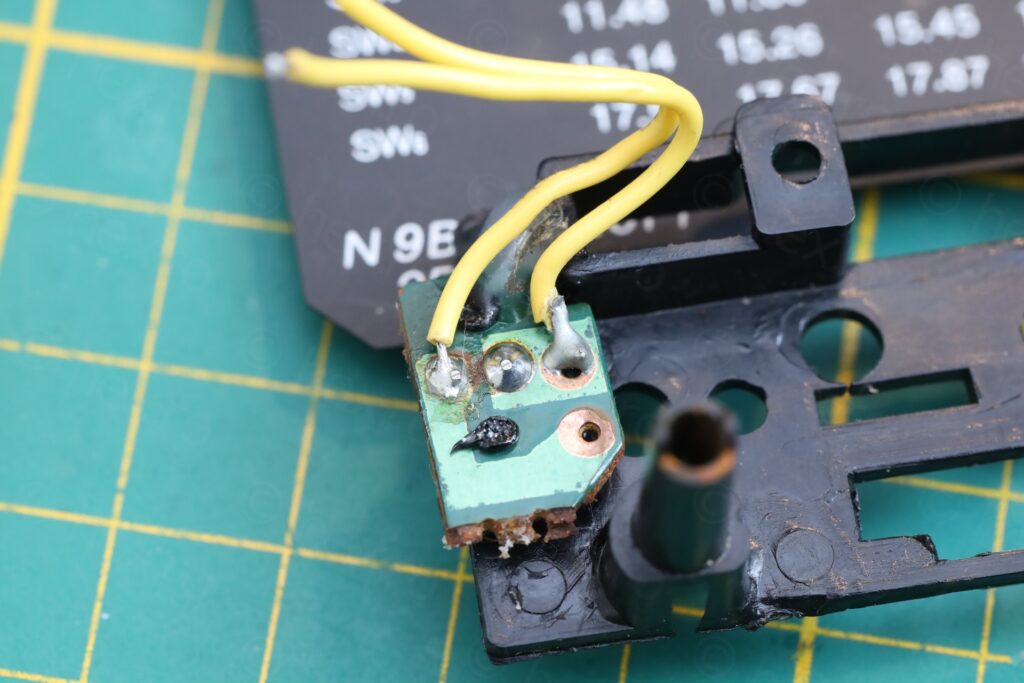
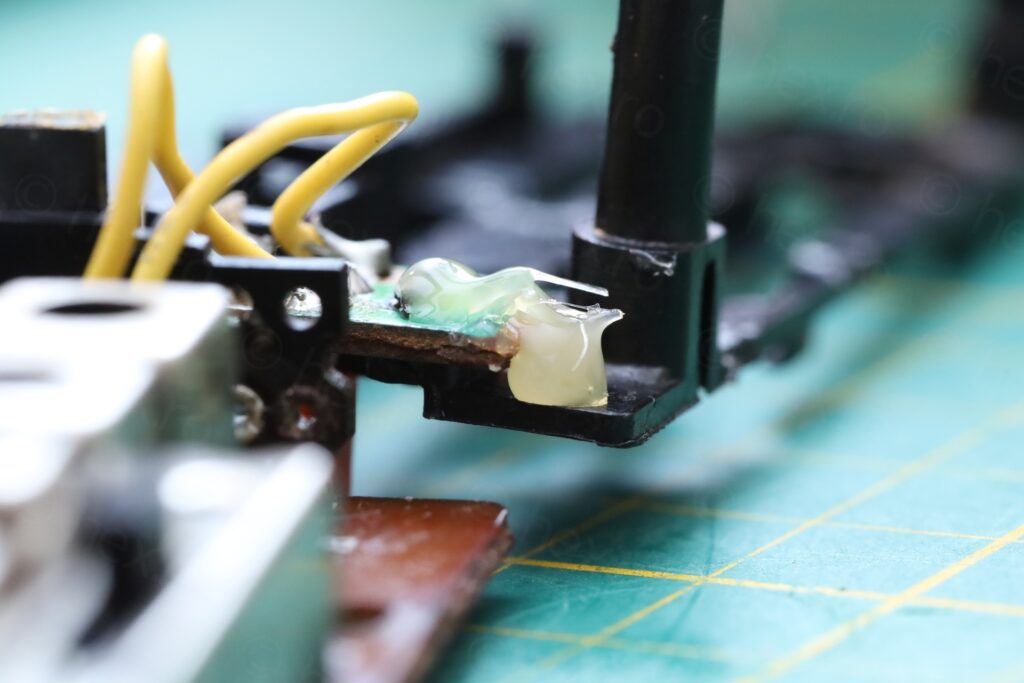
The little circuit board of the LED was attached on a plastic peg that was melted to secure it. So I had to be quick with the soldering. Removal of the hot melt glue is easy with IPA. The holes for the LED do not match with the cut-out on the front face (even the original led is bent), so I had a bit of fiddling to do. It turned out OK in the end. I reapplied the Hot Melt glue at the end.
Battery compartment
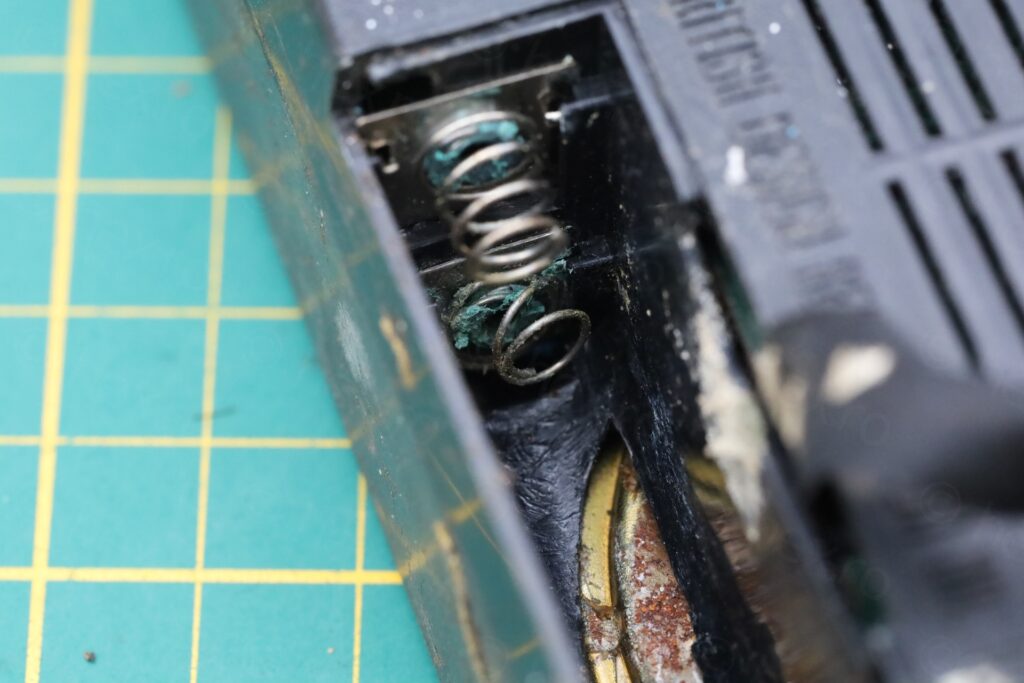
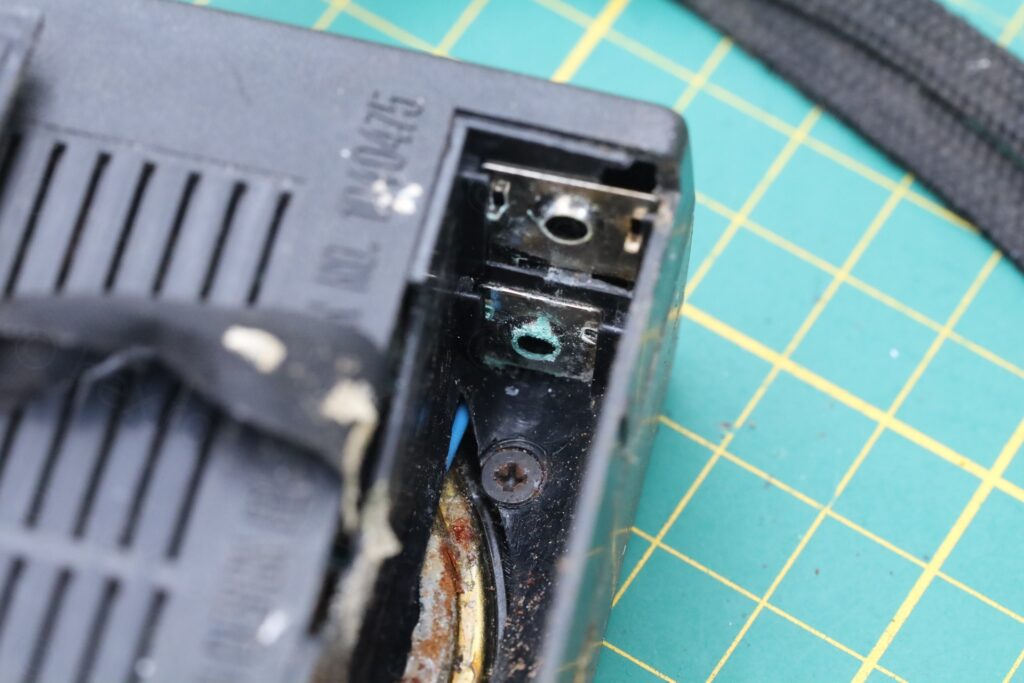
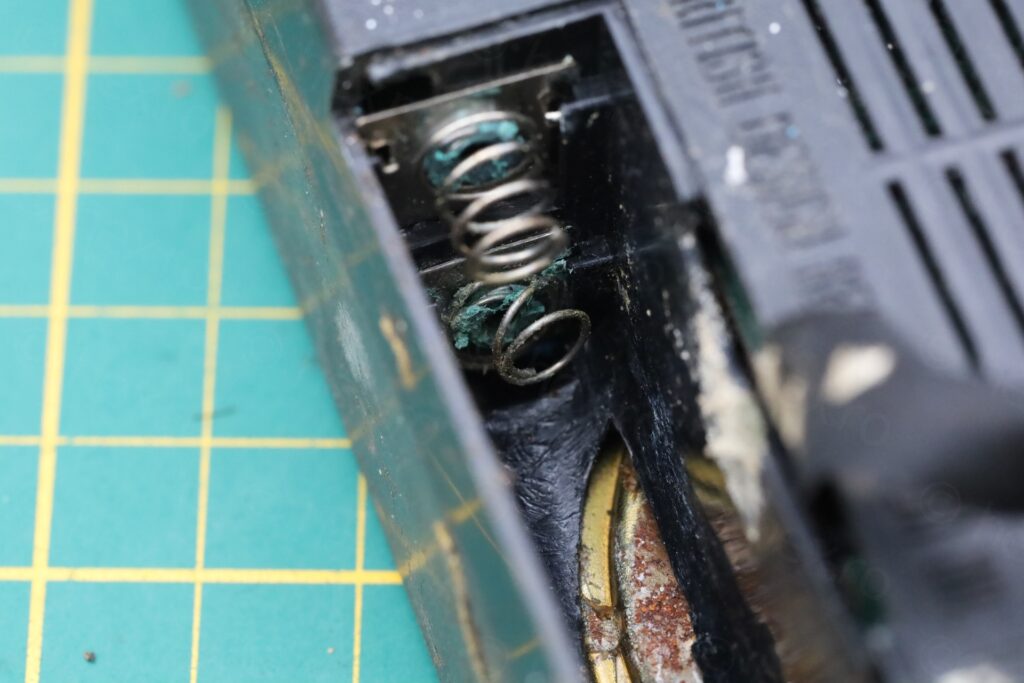
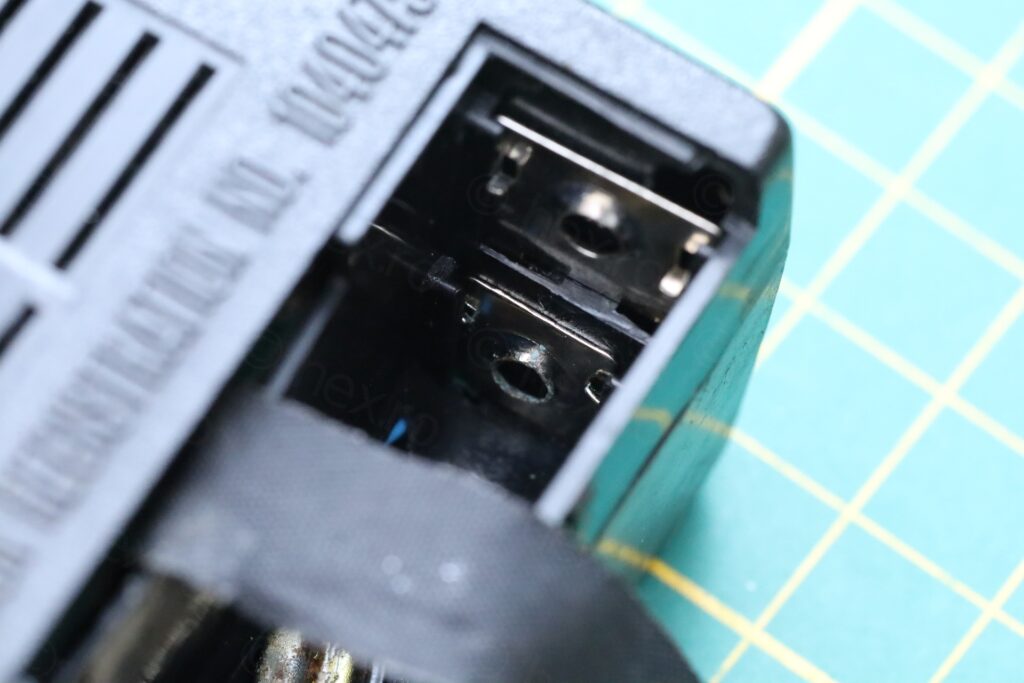
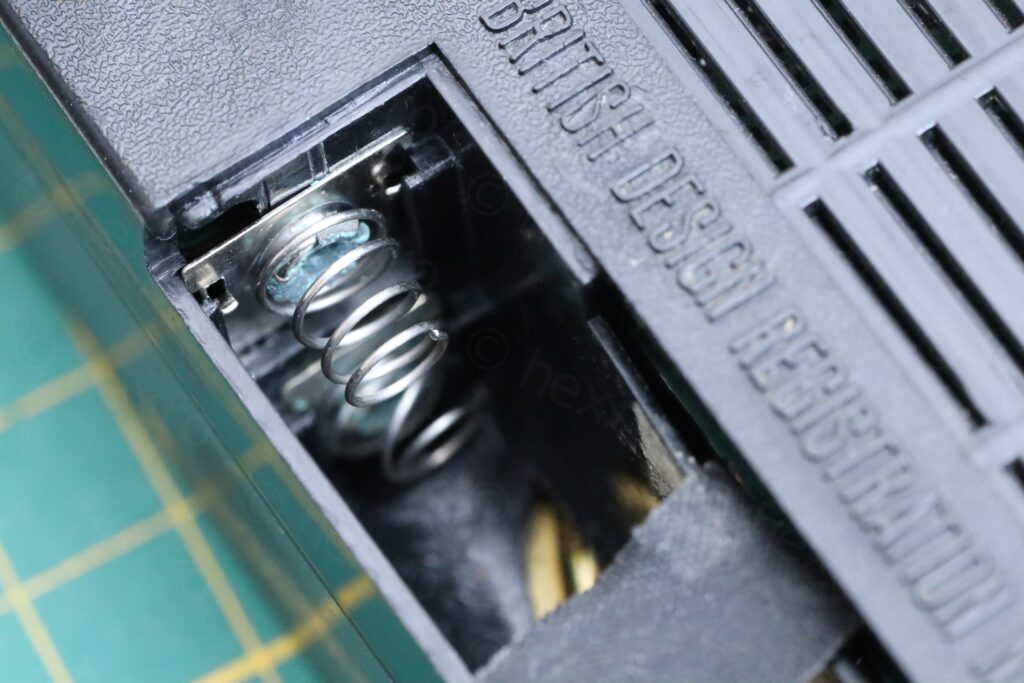
This was also corroded and while I cleaned up as much as I could, I did not take the battery terminals out (to clean the back) due to risk of breaking the thin plastic holding them. They had plenty of Vinegar (followed by IPA, otherwise, Vinegar may accelerate the corrosion) so I hope they will last much longer.
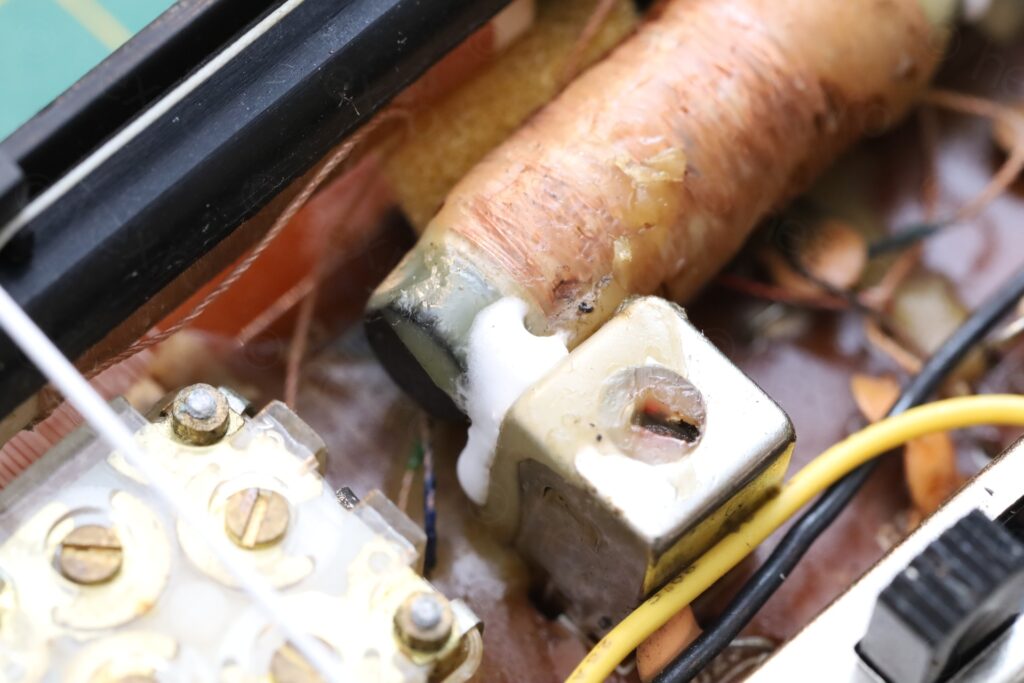
Ferrite Rod Antenna (smaller one)
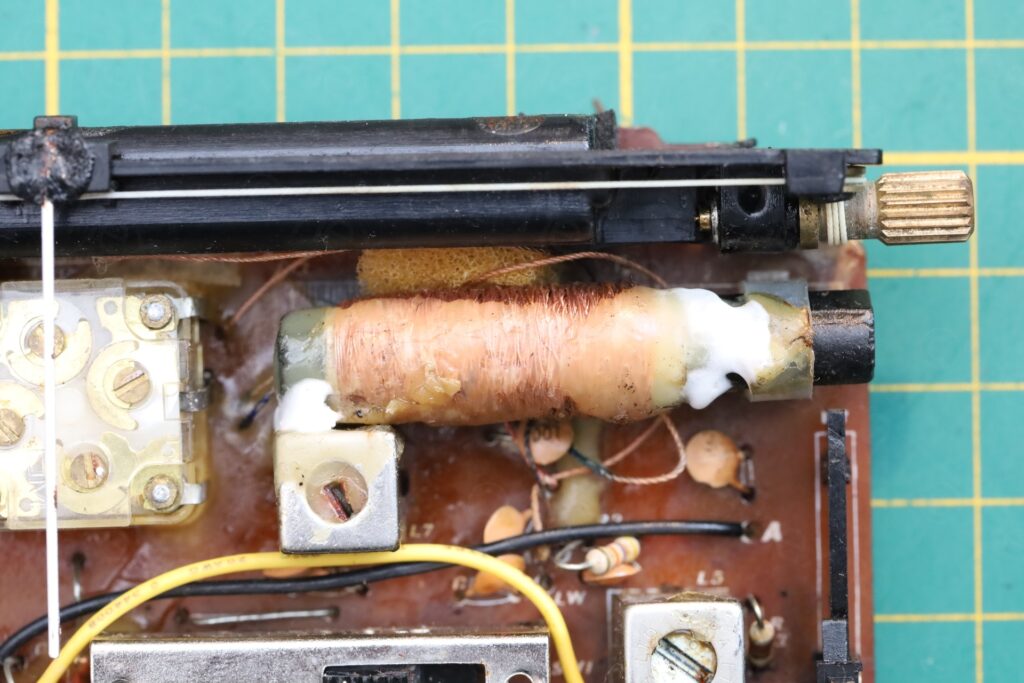
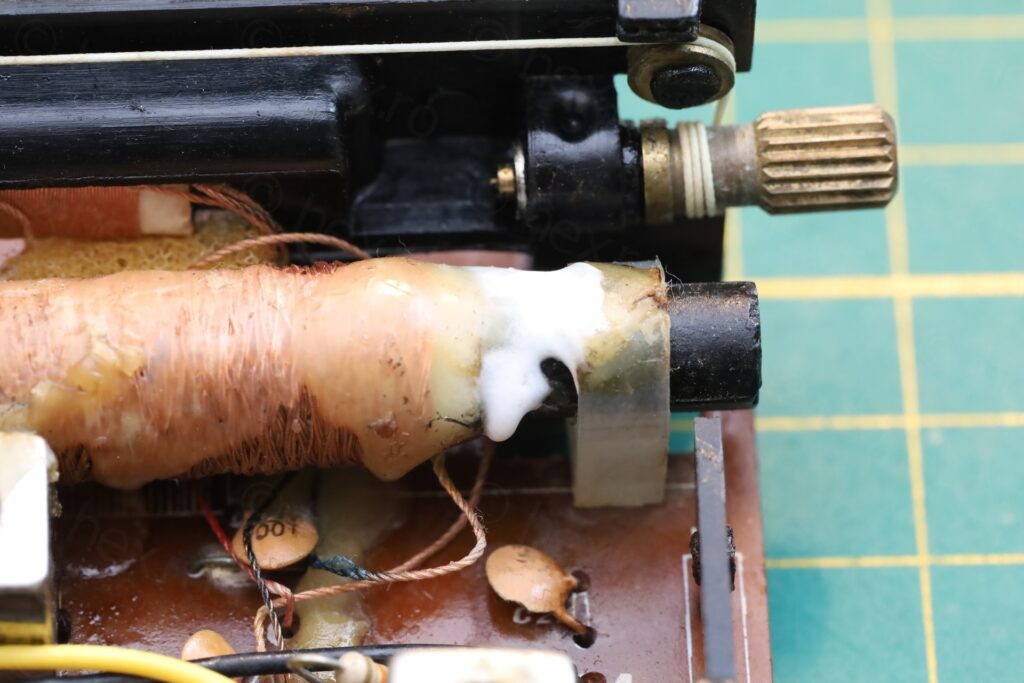
The smaller ferrite antenna was dislodged:
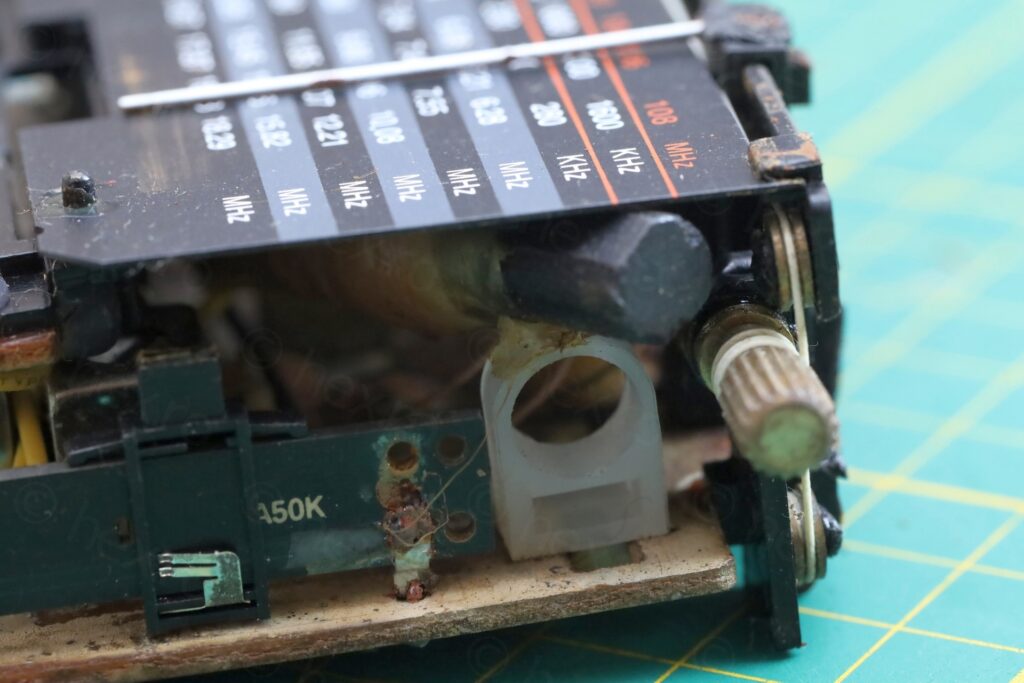
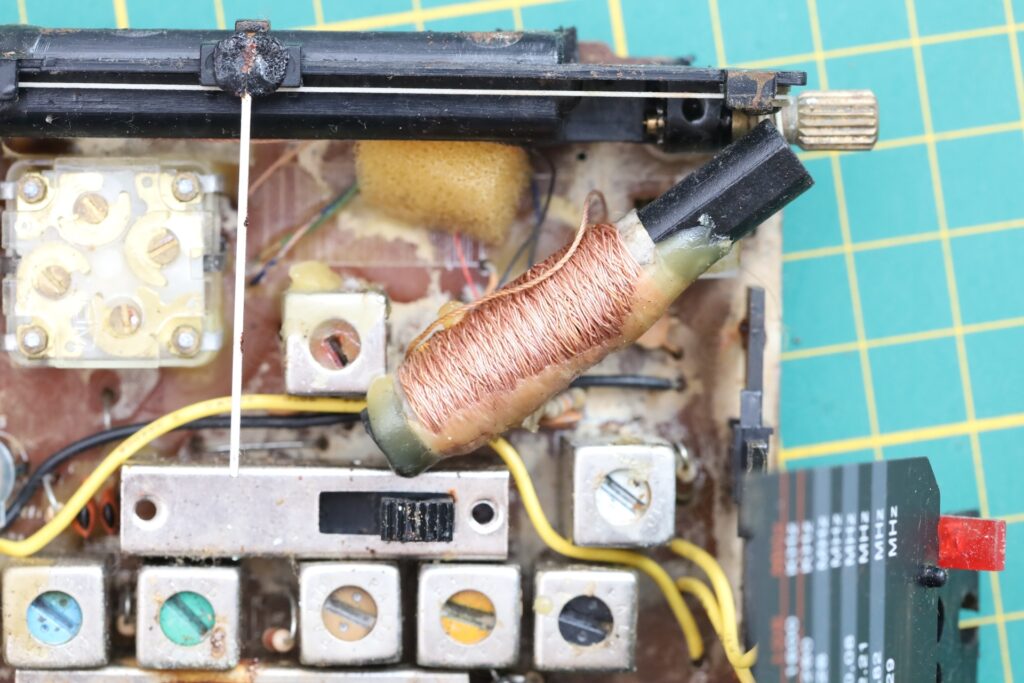
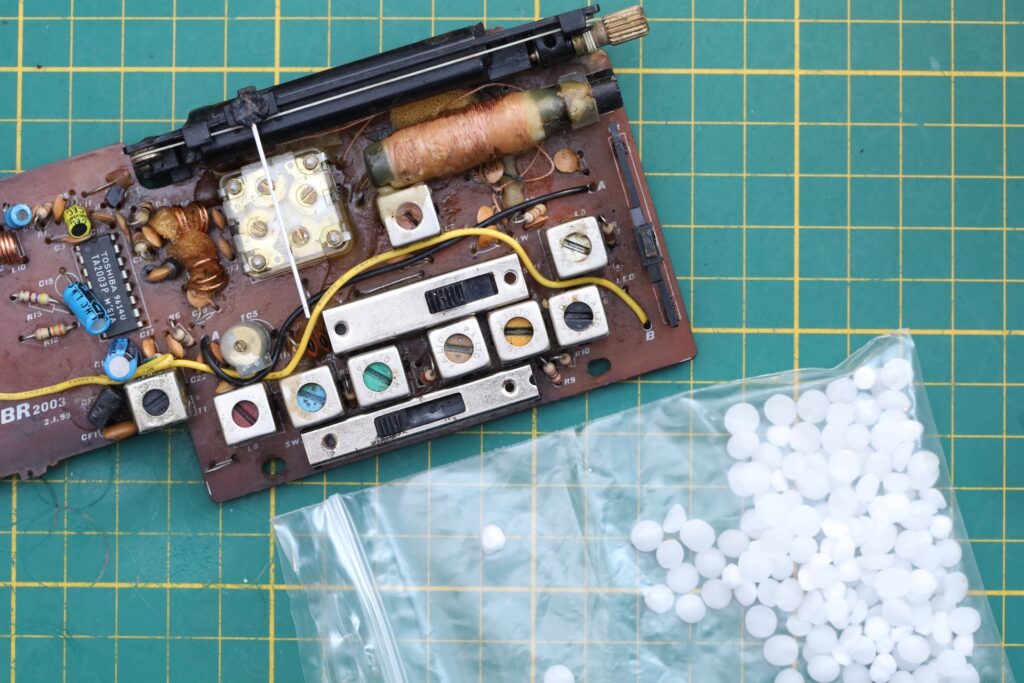
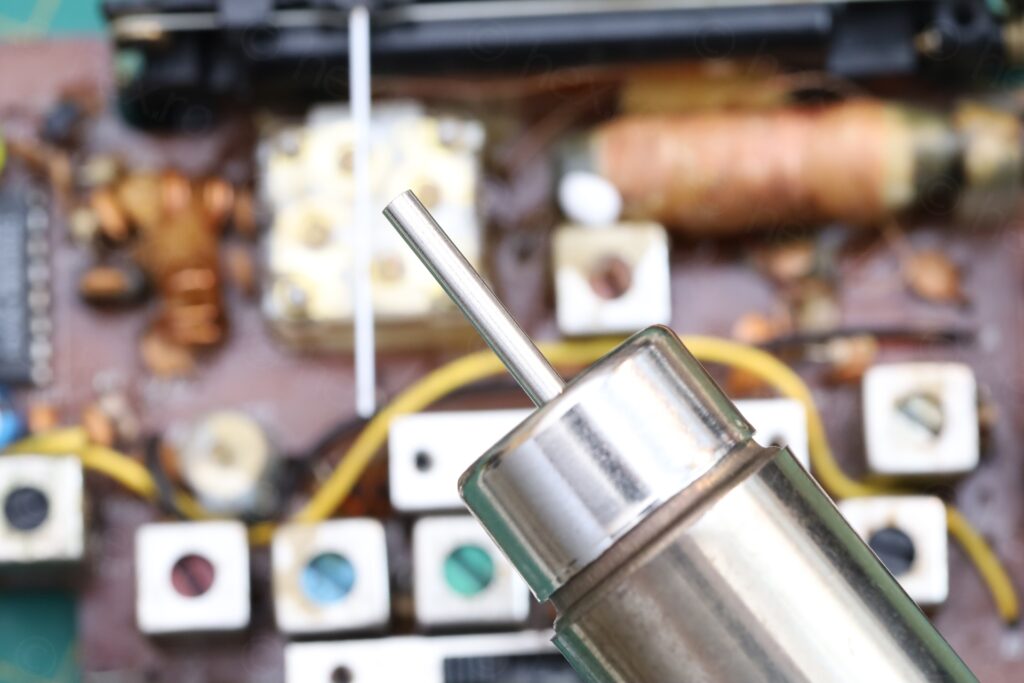
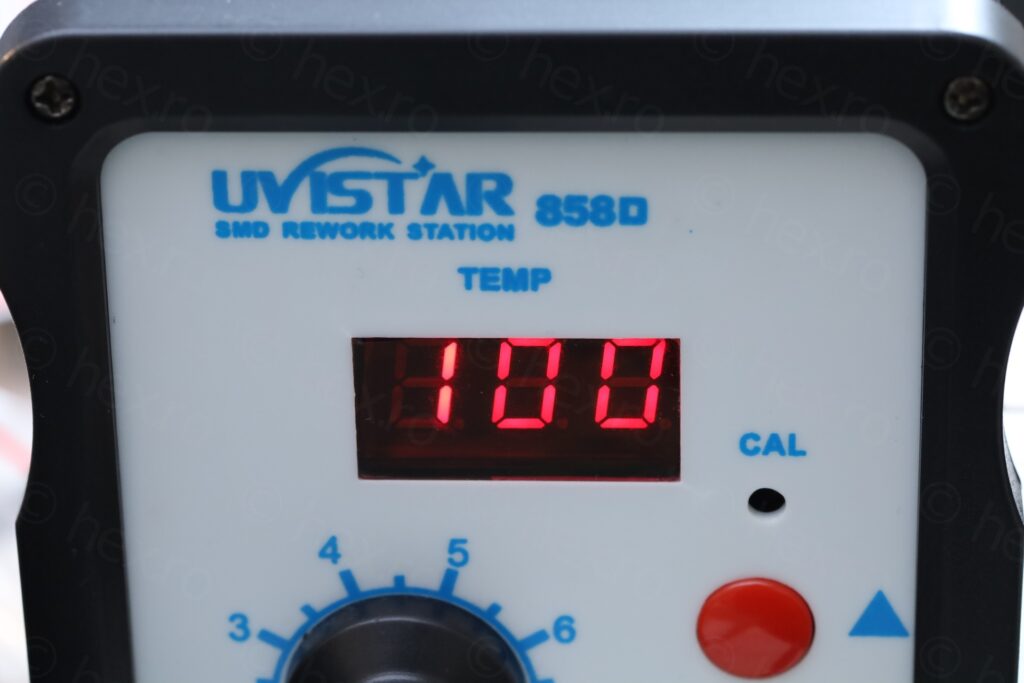
Thankfully the LITZ wires were not interrupted, so I was able to slide it back in place and rotate it until the wax markings matched. To solidify it better, I used two small paraffin beads that I melted using the Heat Gun (set on 100C and using the thinnest nozzle, on minimum air flow):
Telescopic Antenna
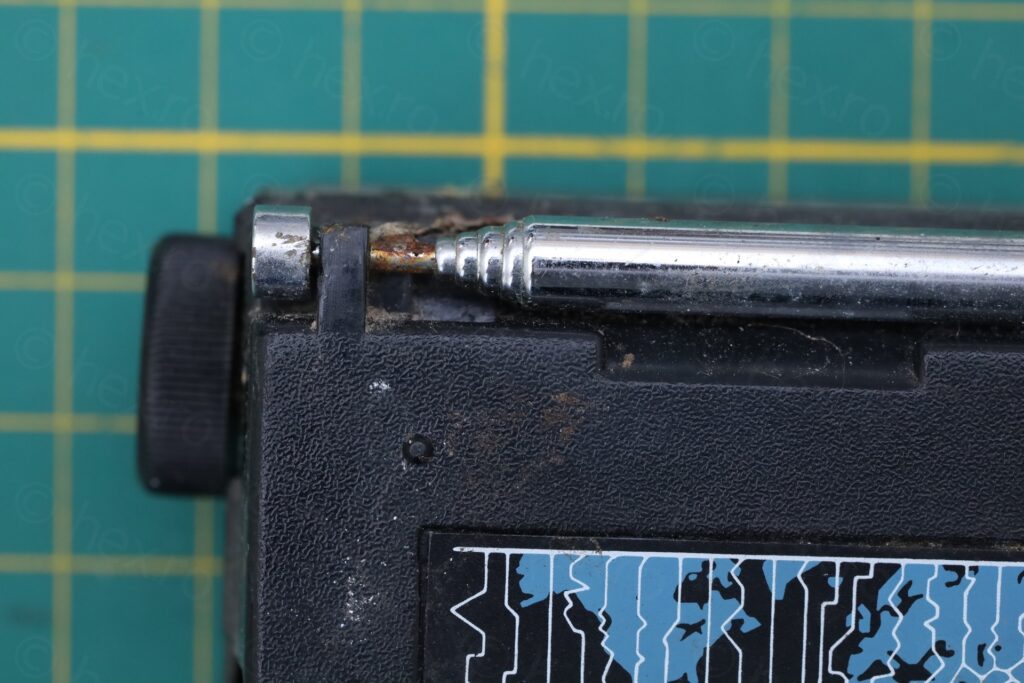
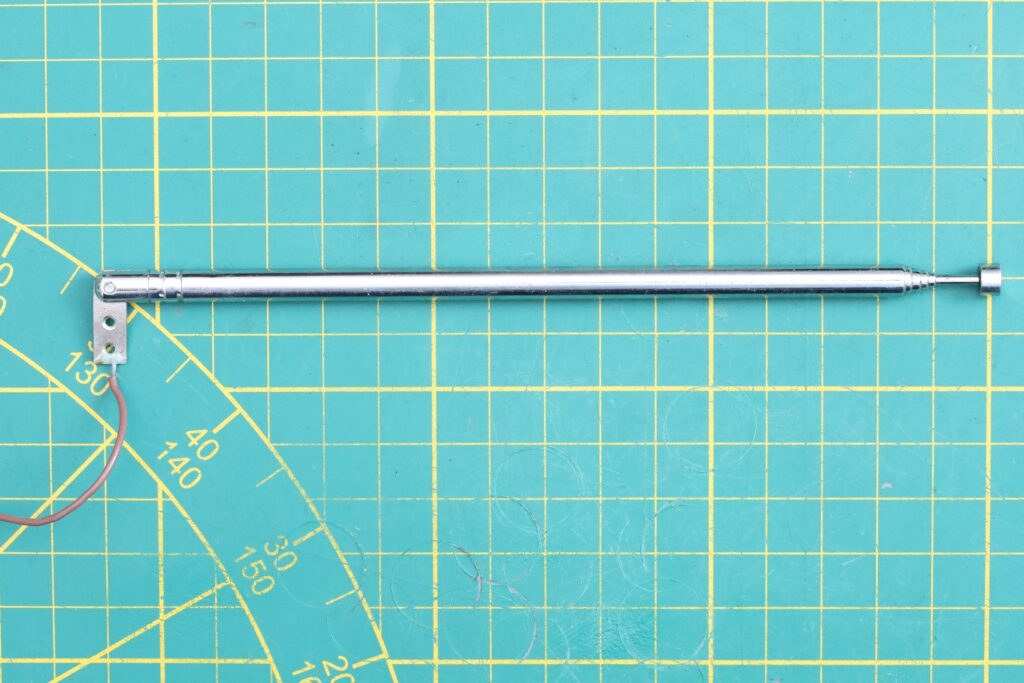
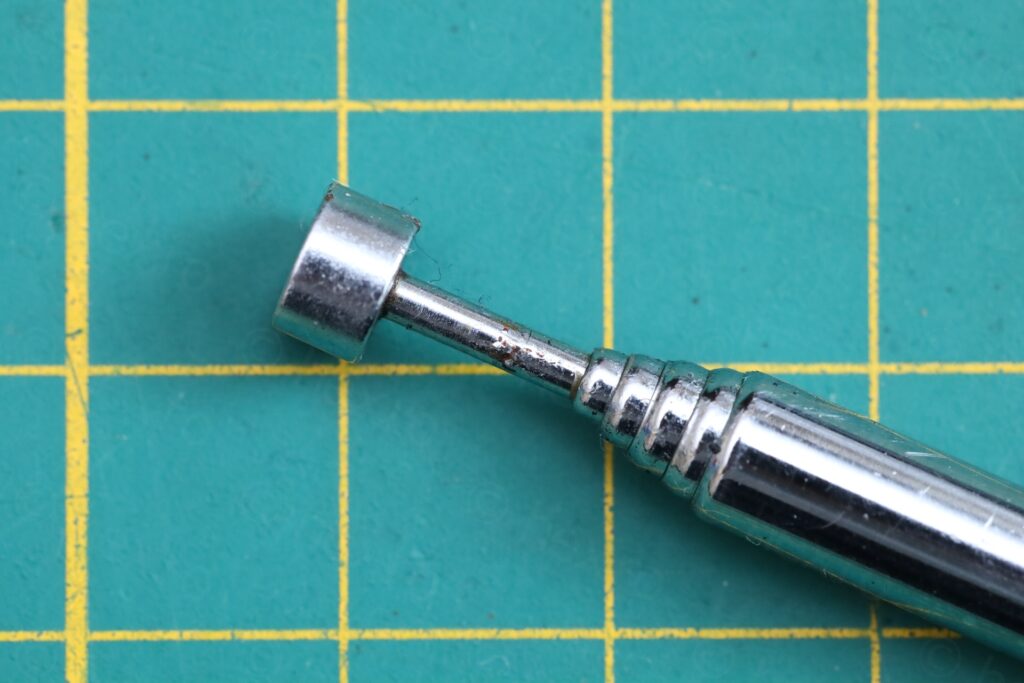
Here the rust came off easily with IPA. I extended the antenna, cleaned it with a wet towel, dried it and last, applied a very thin layer of sewing machine oil:
Dial indicator
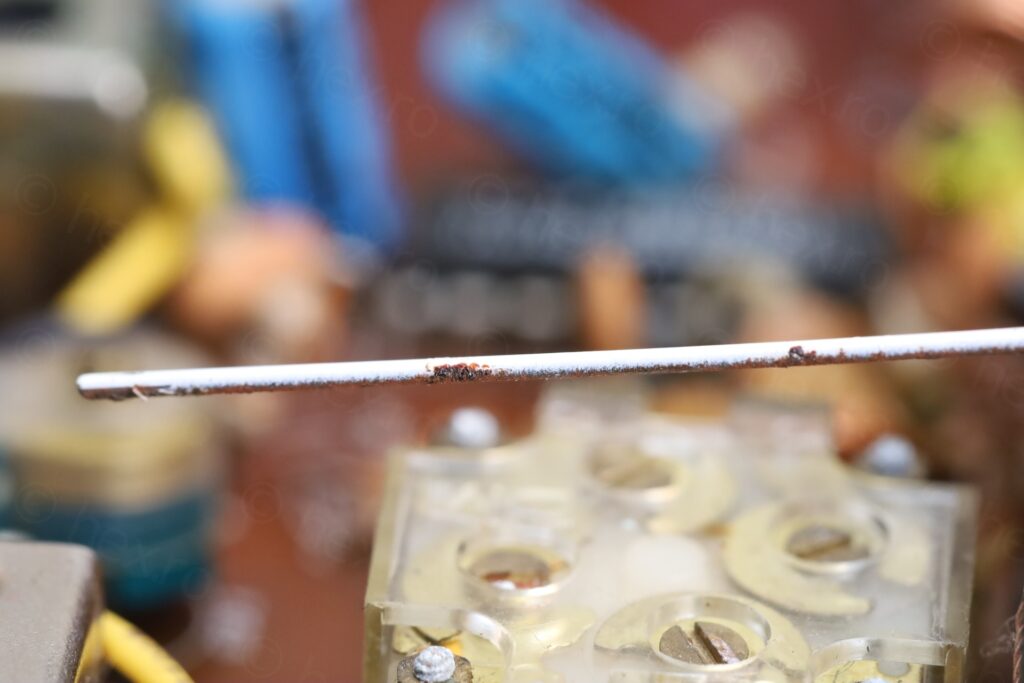
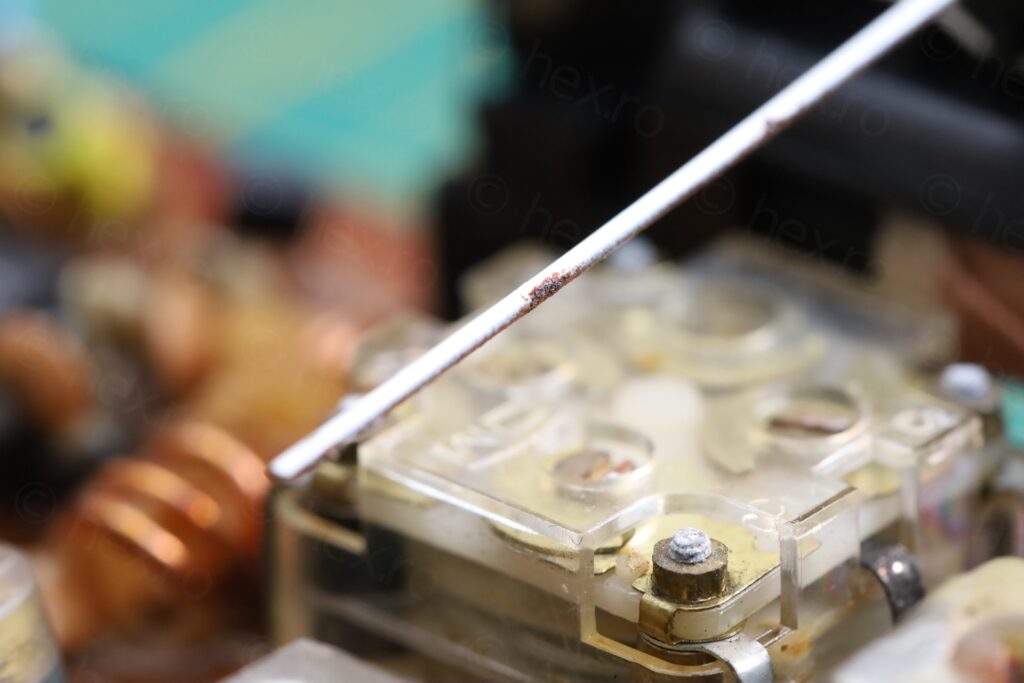
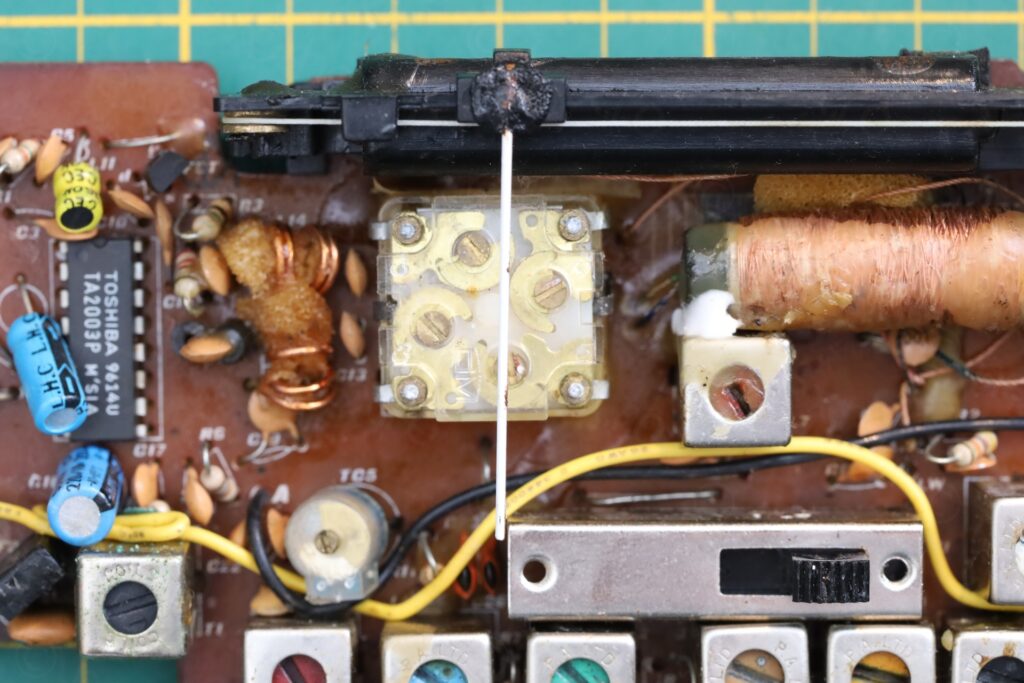
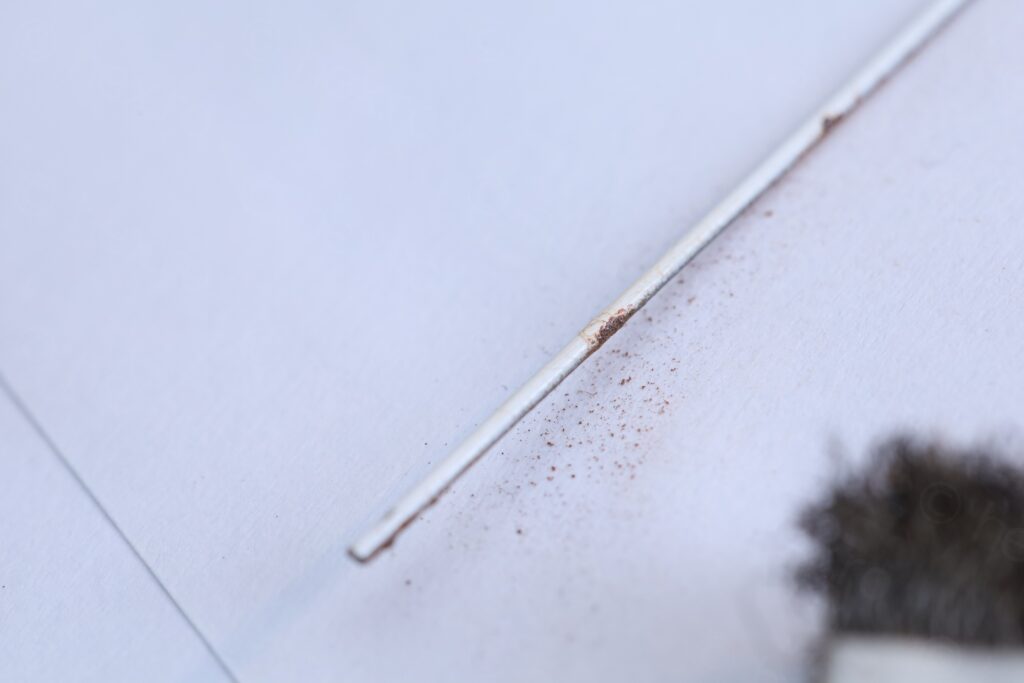
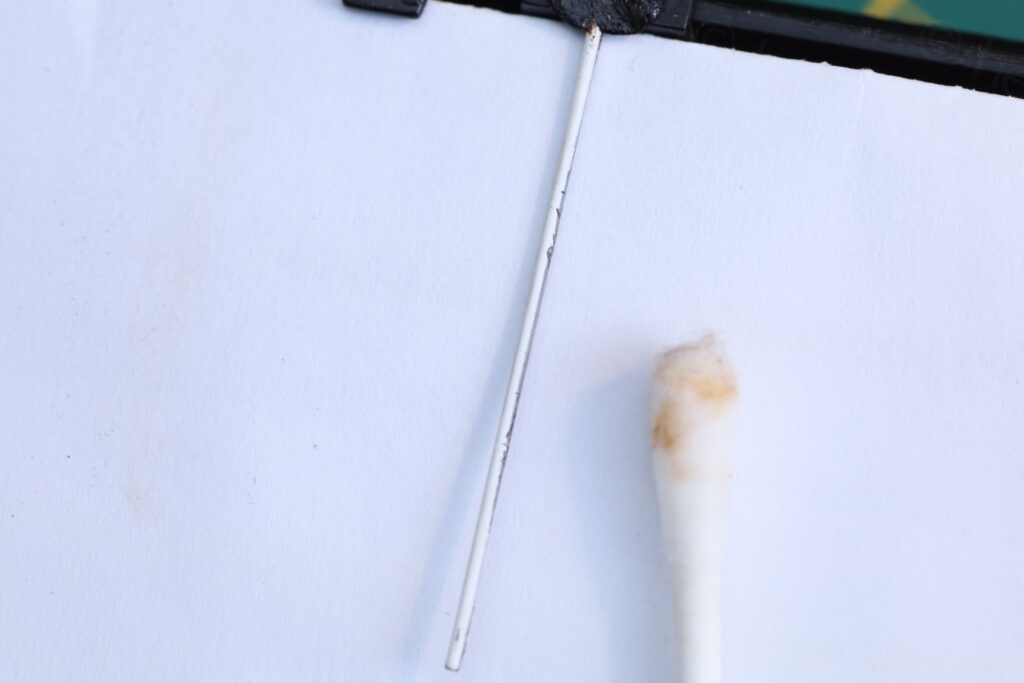
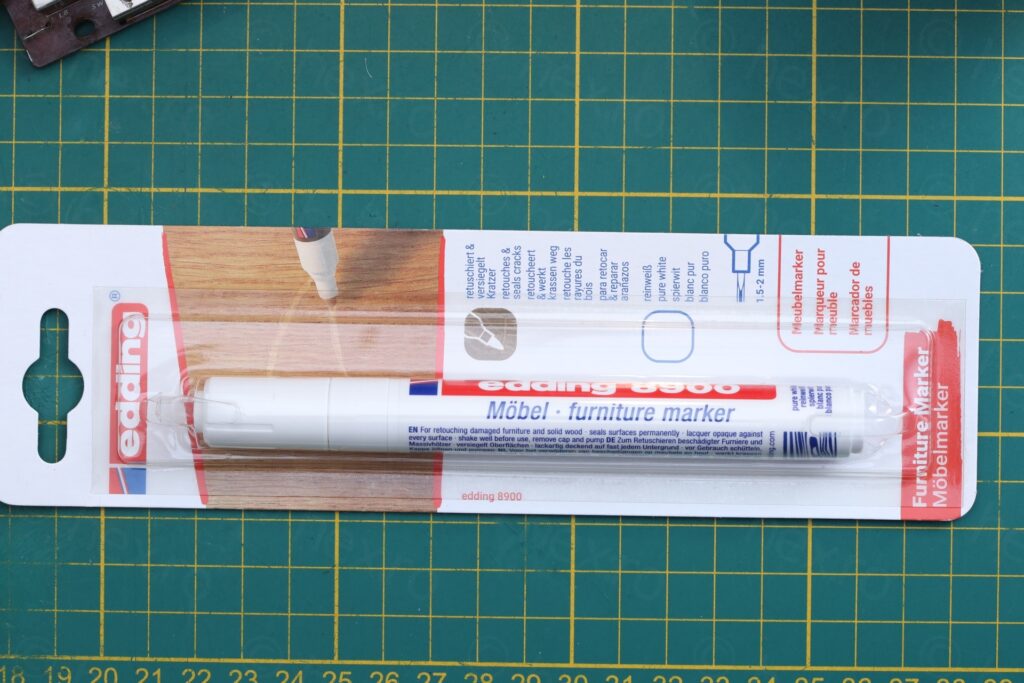
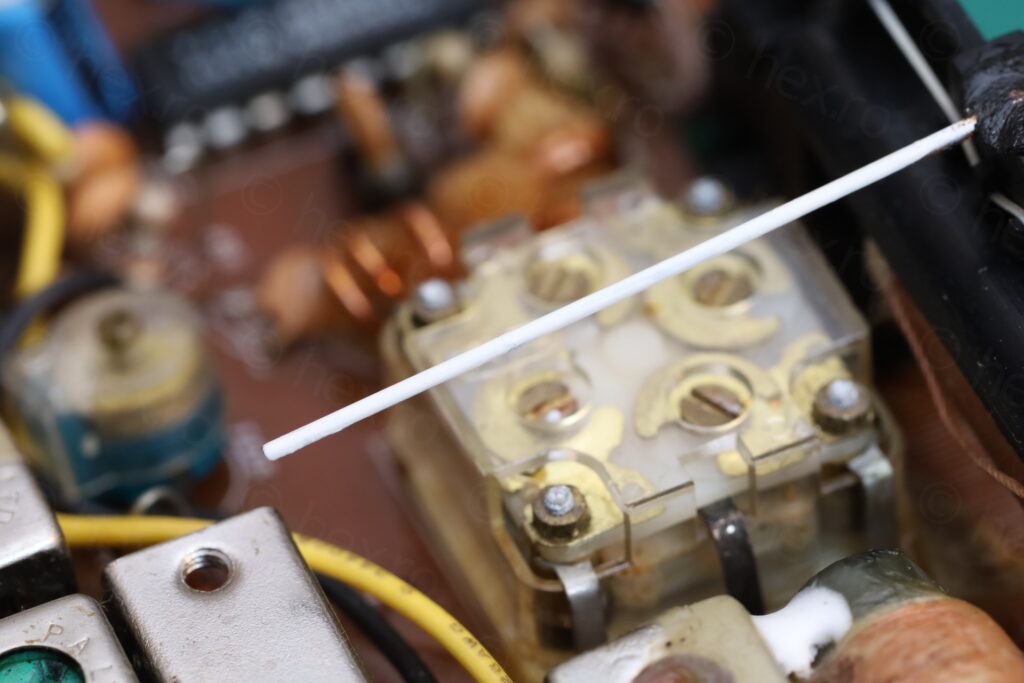
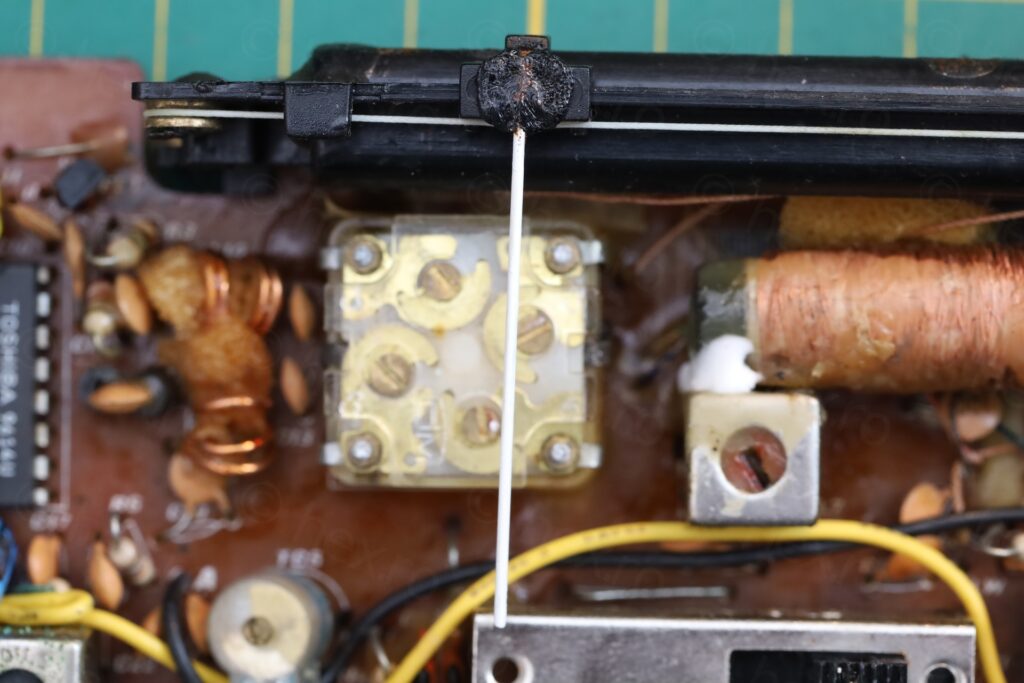
The dial indicator was also a small challenge. It was bent left. Just pulling on it could have snapped the plastic where it was attached onto, thus, keeping pressure on that plastic, I was able to bend it back. Then, I observed some rust spots … I put a bit of paper underneath to collect the fine power and proceeded to use the metal brush to strip away the rust, then IPA for cleanup. One thin layer of white paint to seal it up:
Calibration
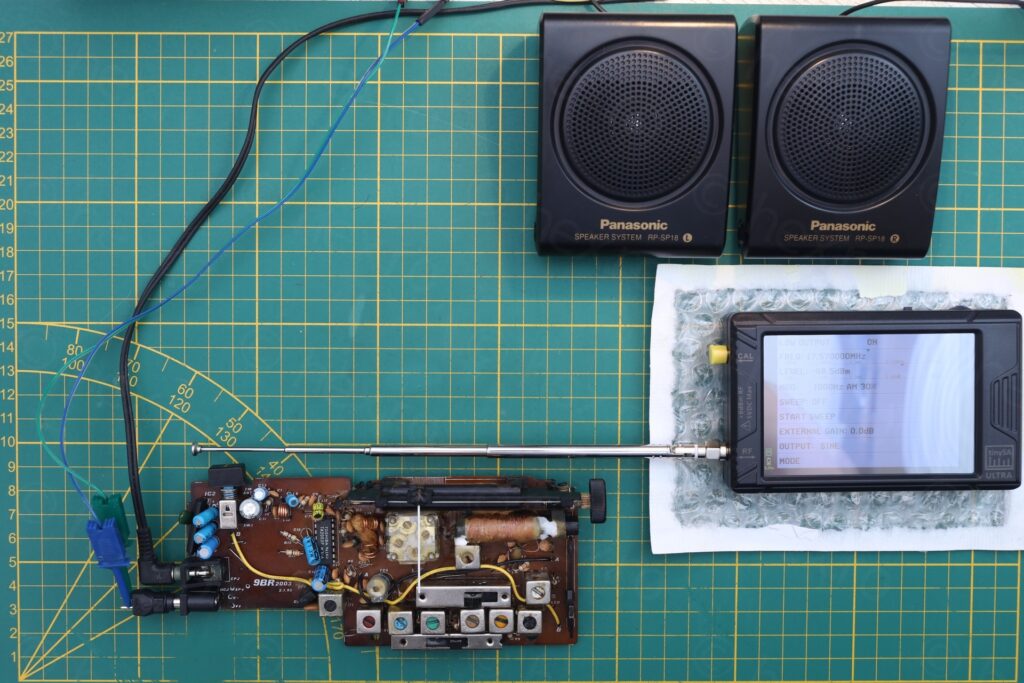
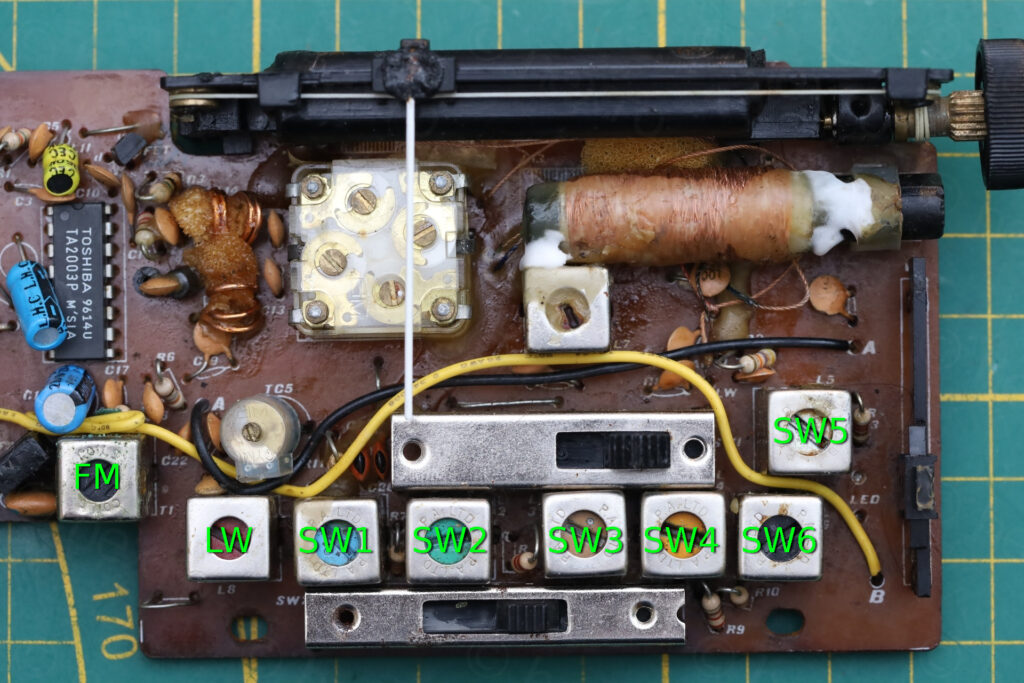
This was easy with the TinySA Ultra, and except the SW2 (which was rather out of alignment) everything else was very close. I marked below the IF filters and their respective band:
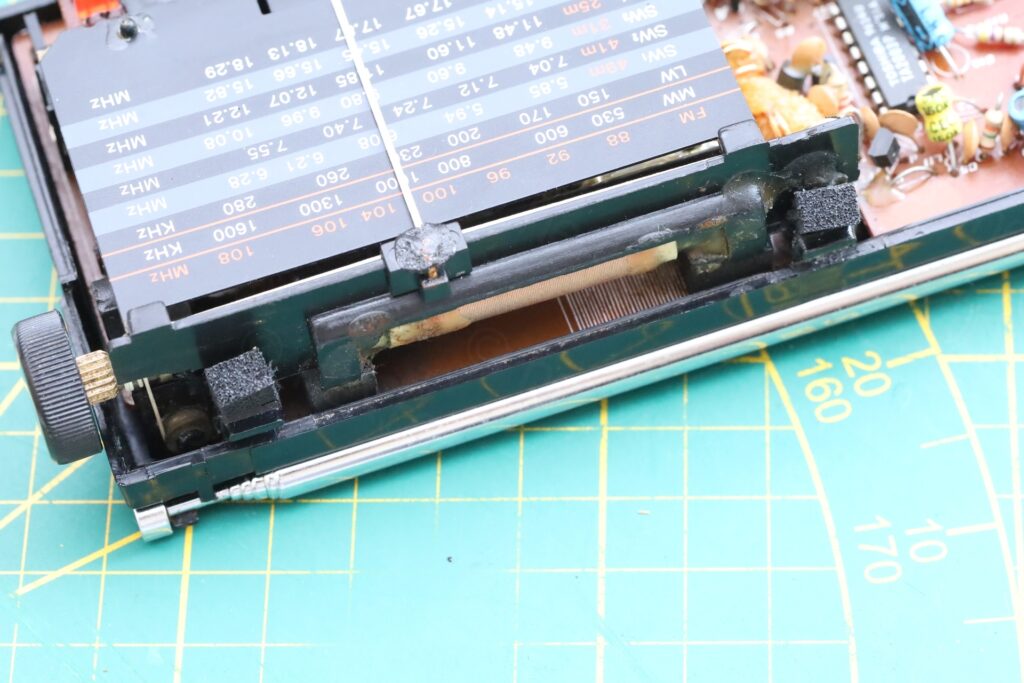
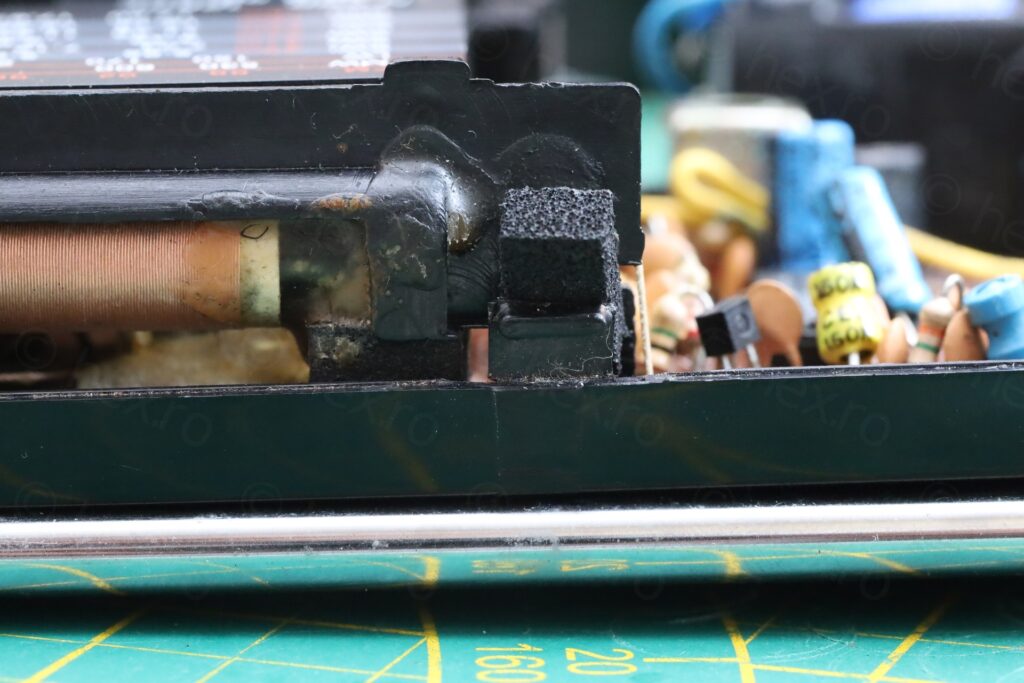
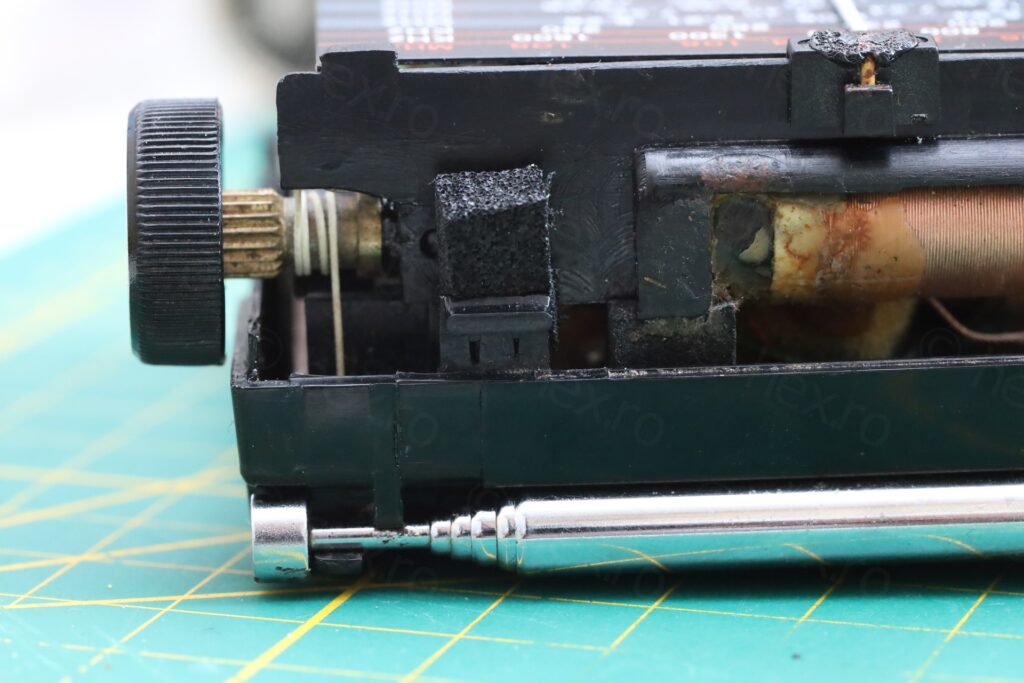
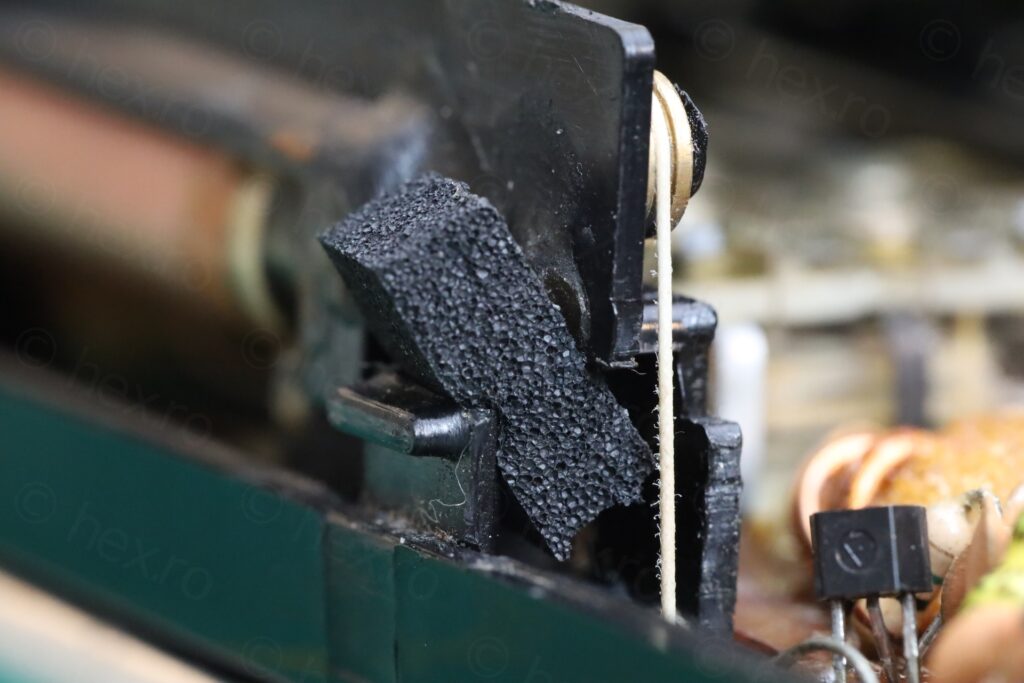
Paddings replacement
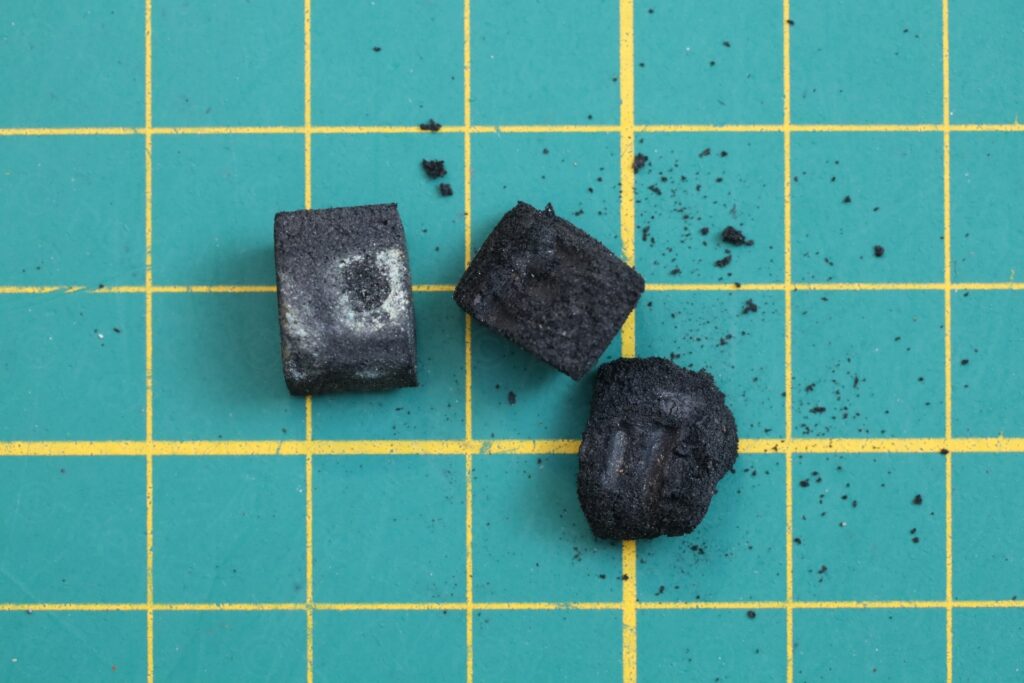
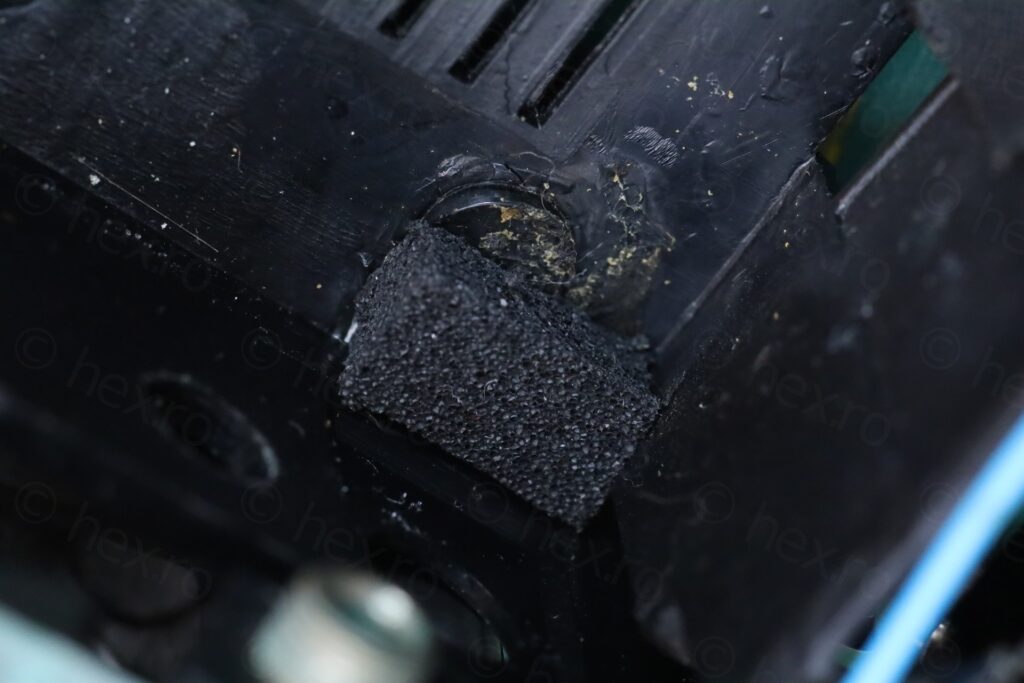
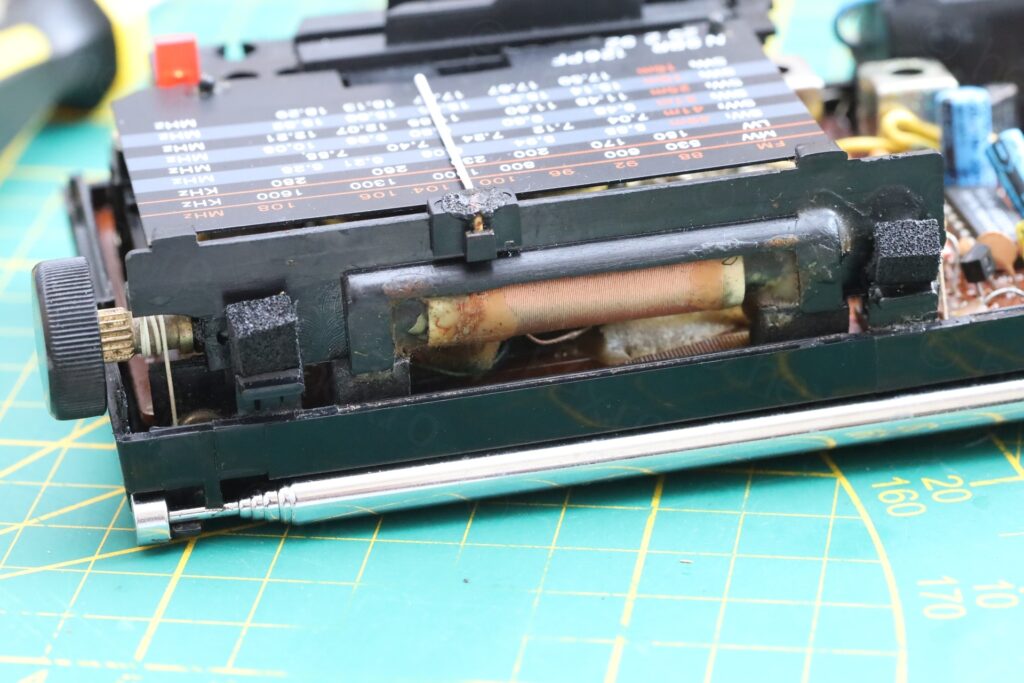
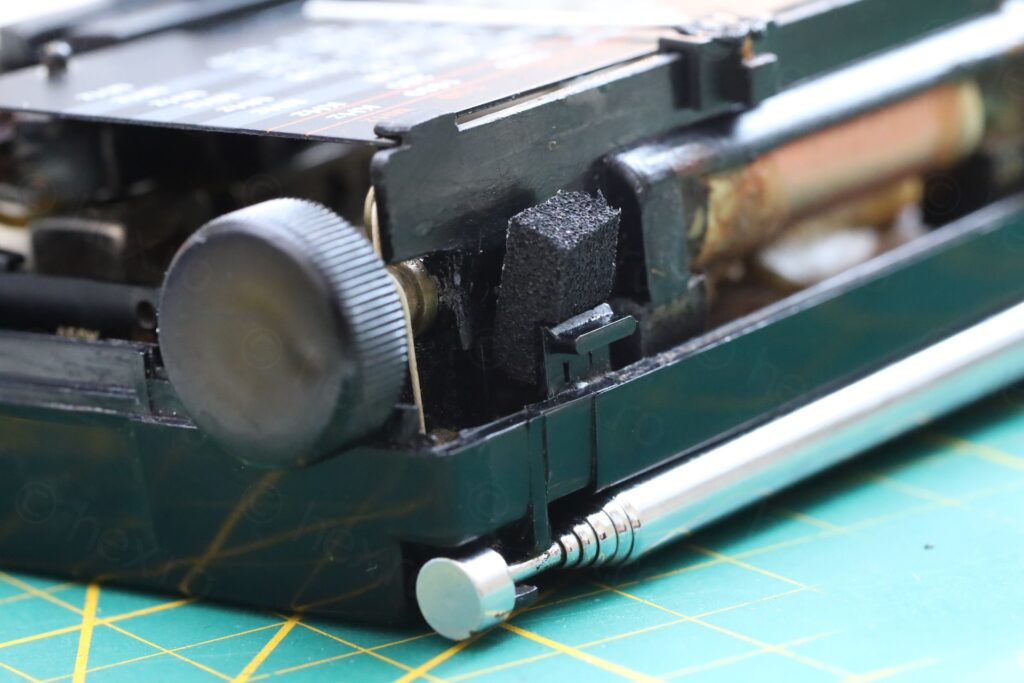
The radio had 3 pads, but they were disintegrating:
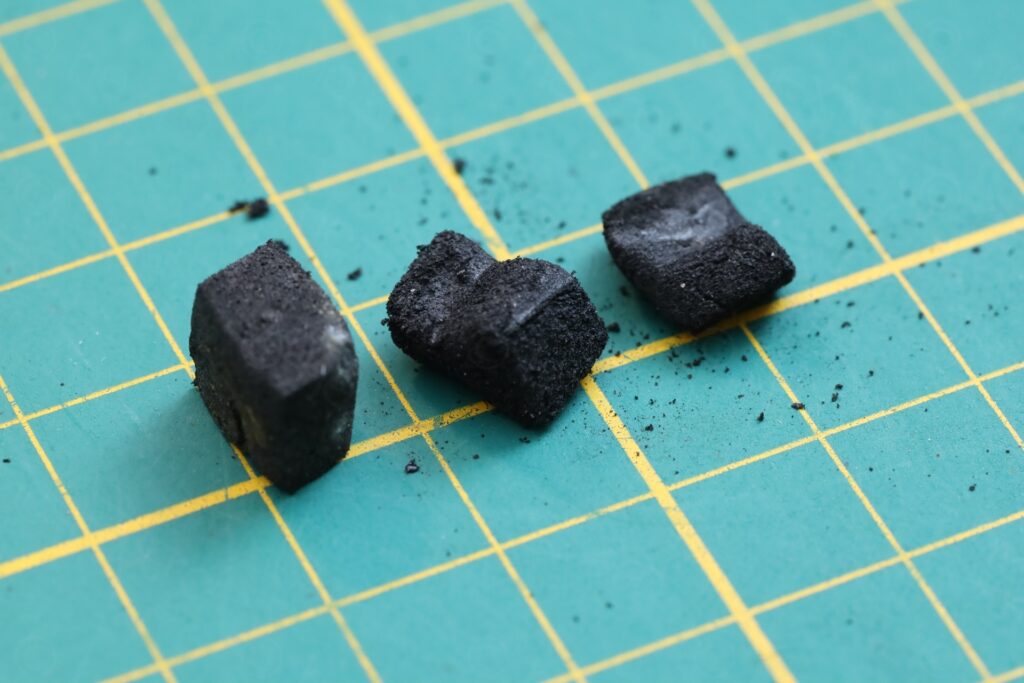
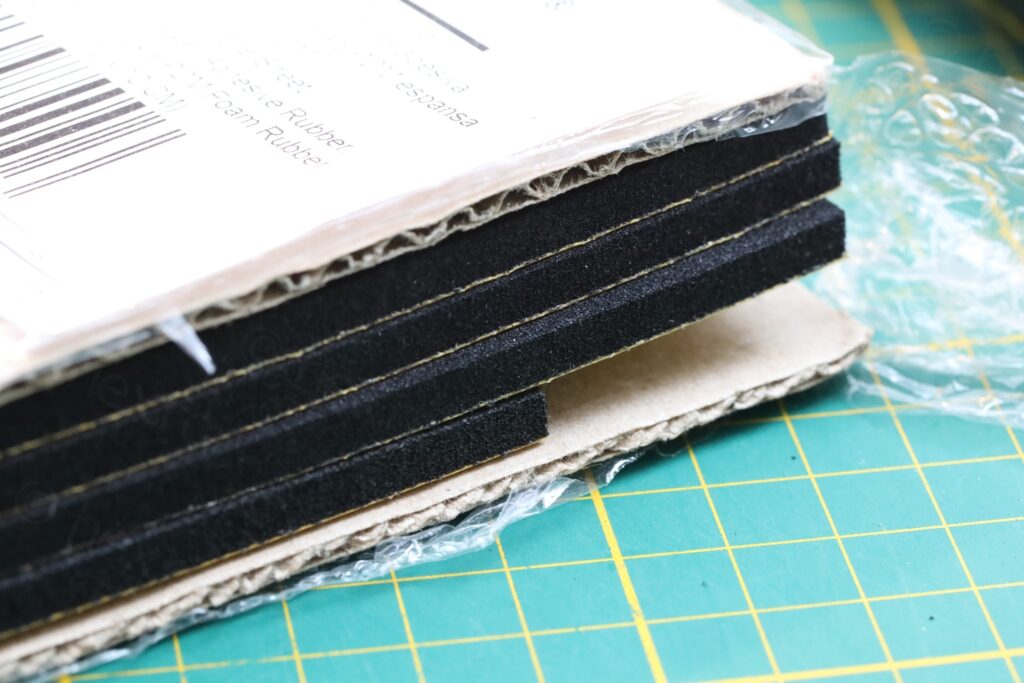
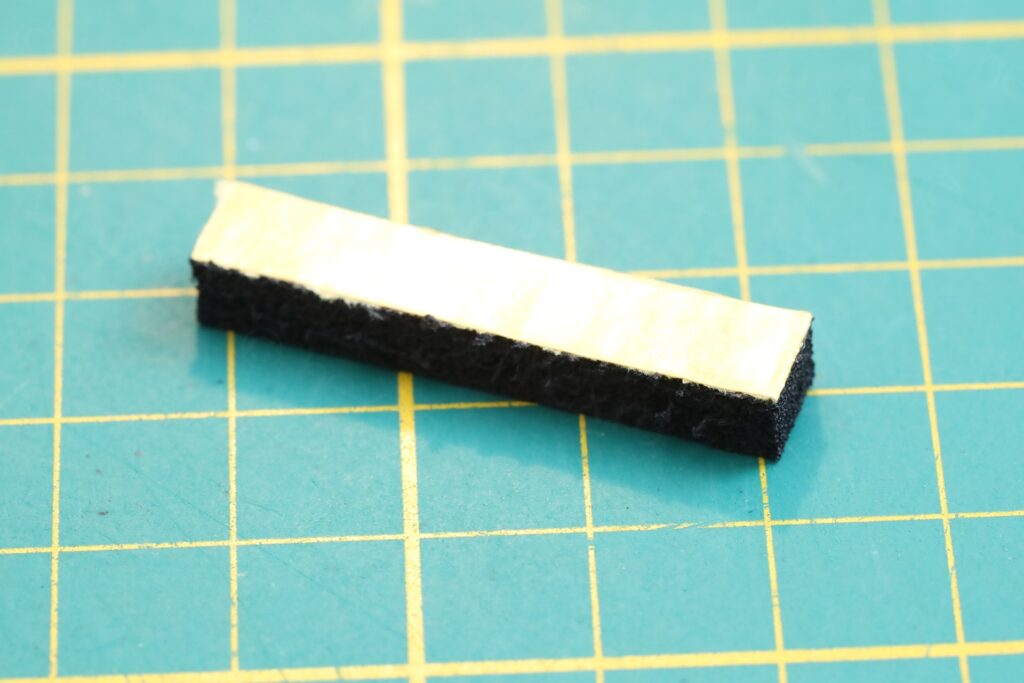
I crafted 3 replacement pads using Neoprene:
Other observations
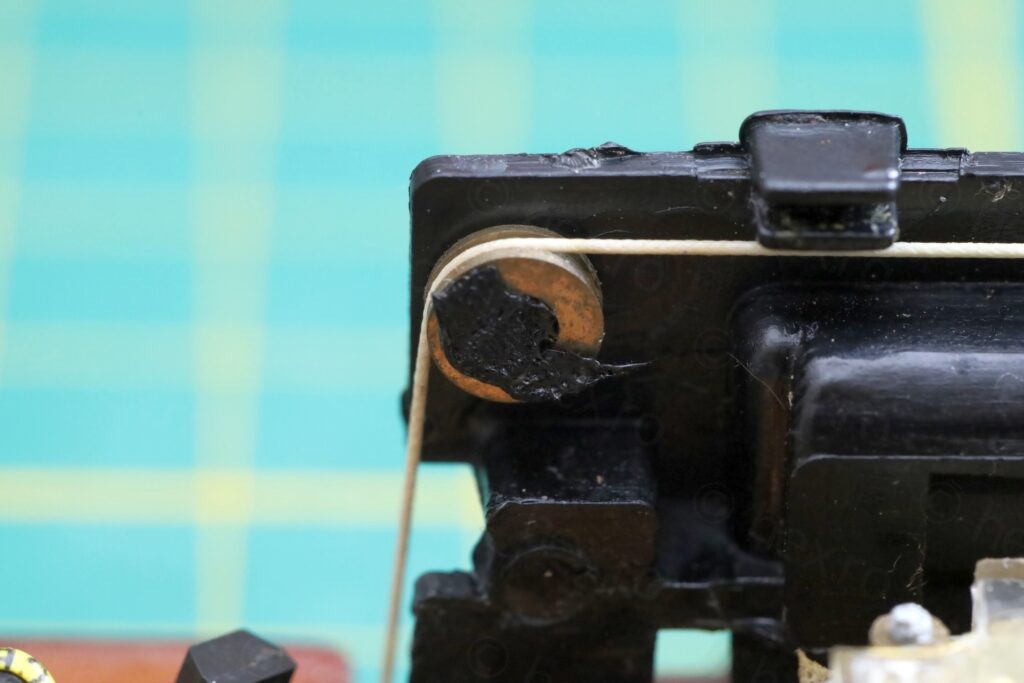
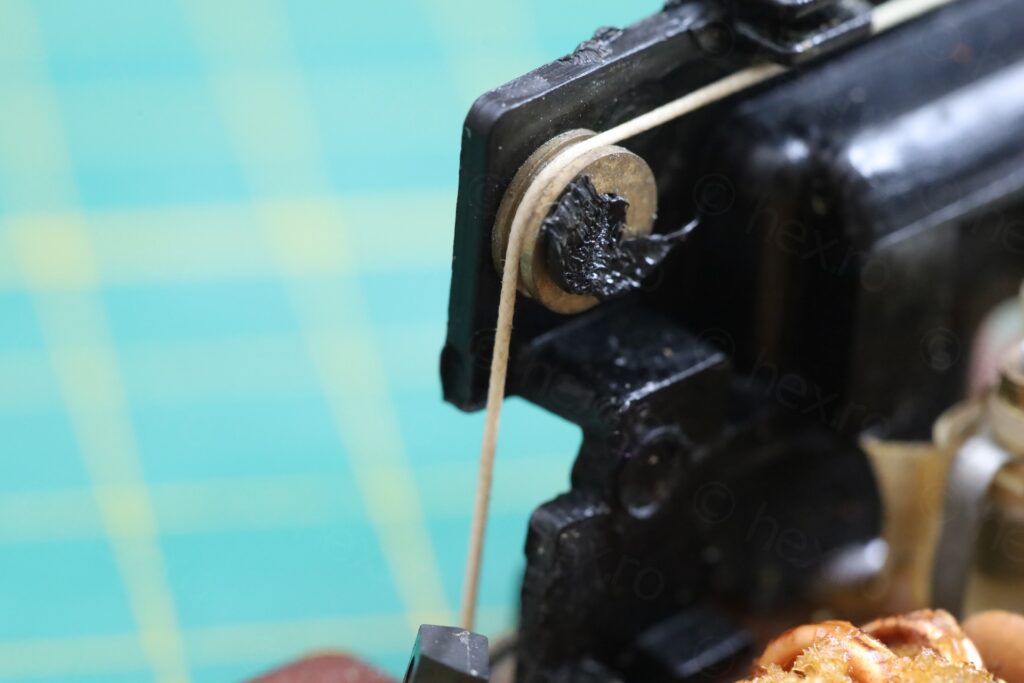
Dial chord roller is stuck
One of the rollers (guide for the dial chord) is stuck. I thought of trying to force pull it (in the hope that the melted plastic shaft elongates a bit and gives it room to turn), but gave up on the idea. The plastic support may crack, and then I have a bigger problem. I accepted tuning is a bit involving with this radio 🙂
Toshiba TA2003P
The radio comes with a Toshiba TA2003P Radio IC. There’s also an audio amplifier, but I do not see any markings on it. It looks very similar to what the schematics of TA2003P suggest, the TA7368P audio amplifier:
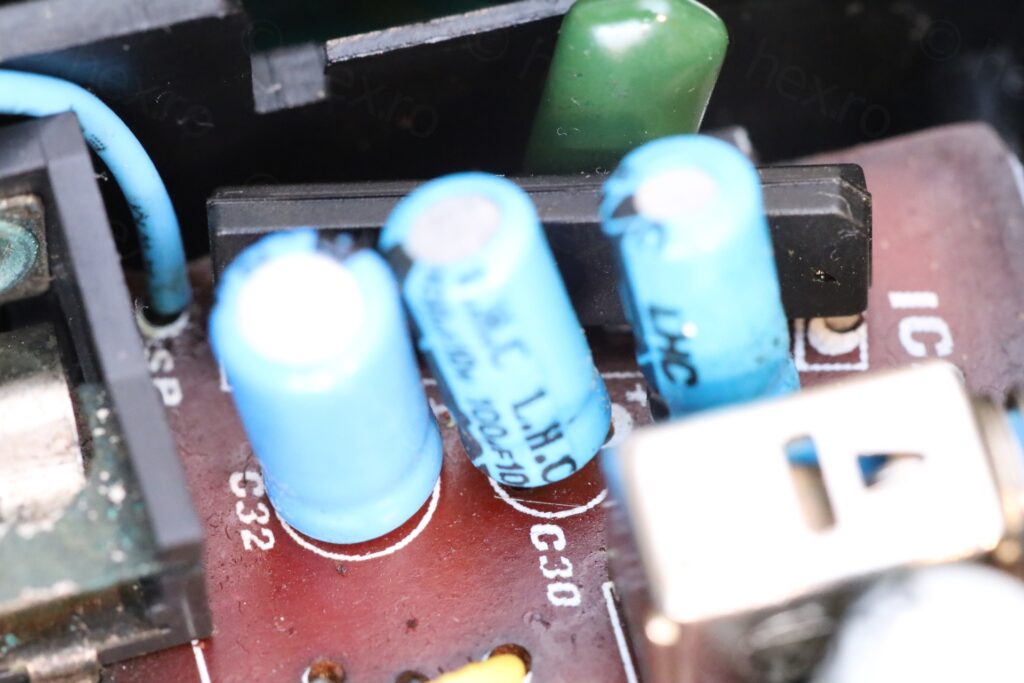
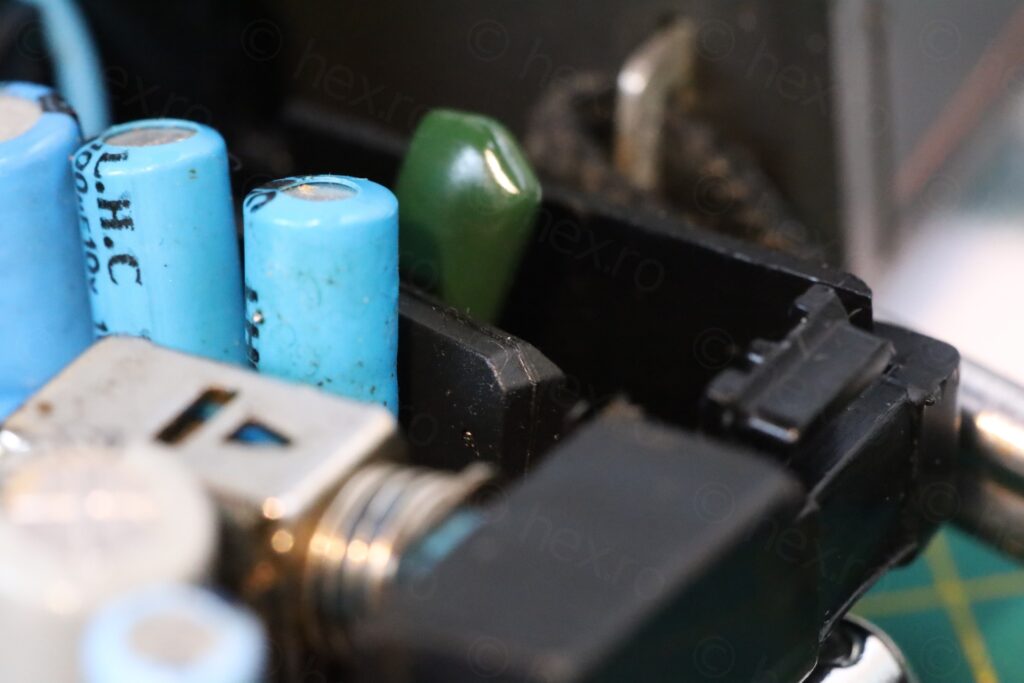
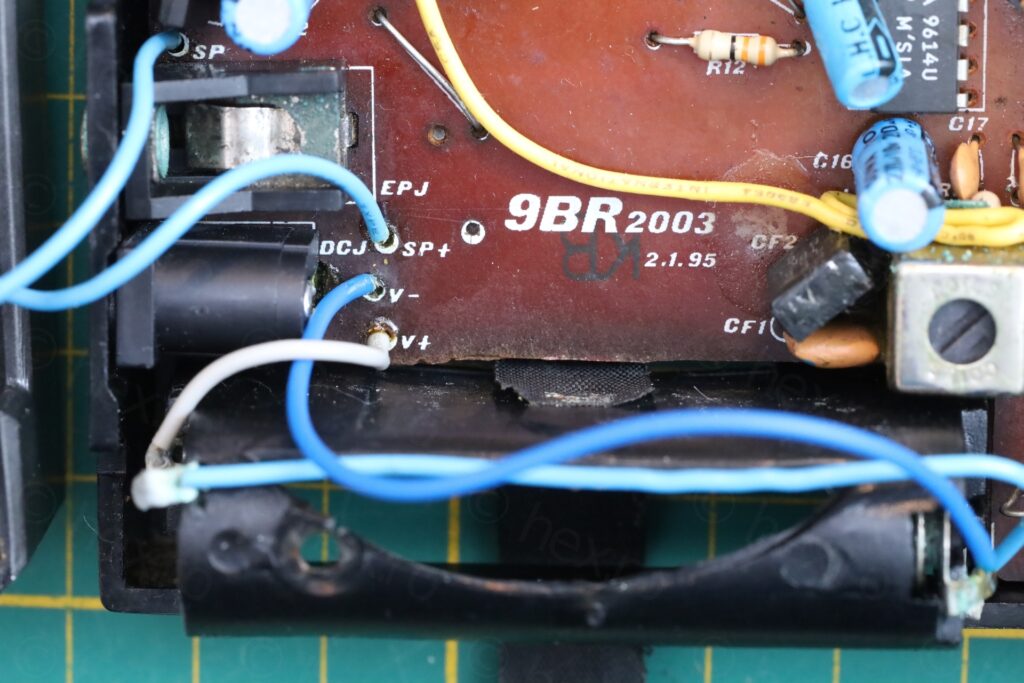
I also replaced a corroded battery wire that gave up (and is the V- one below, the deeper blue color)
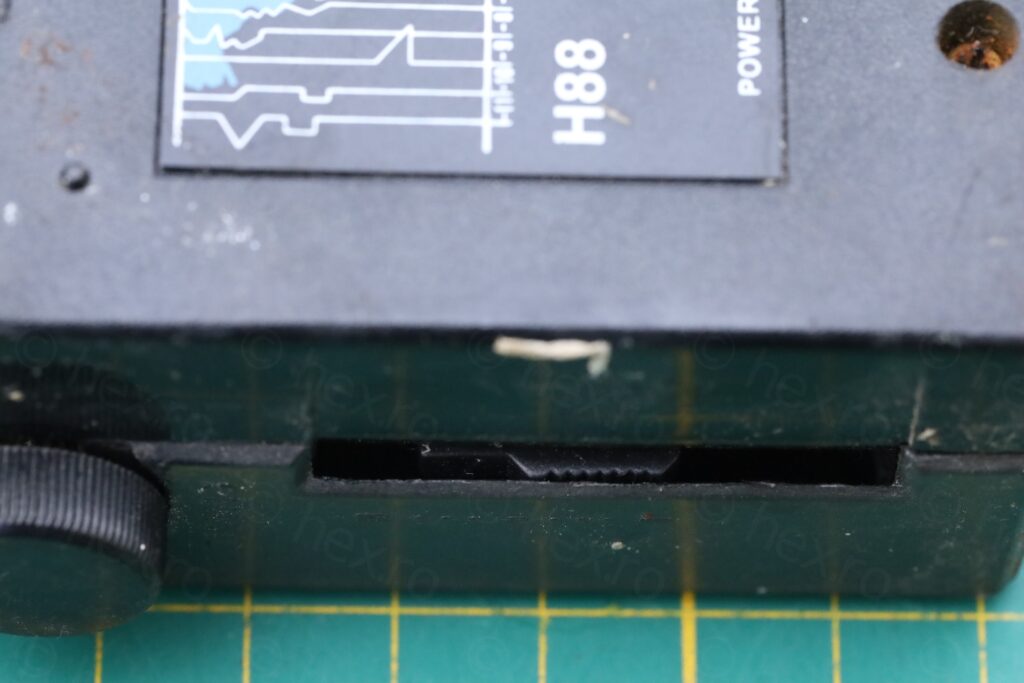
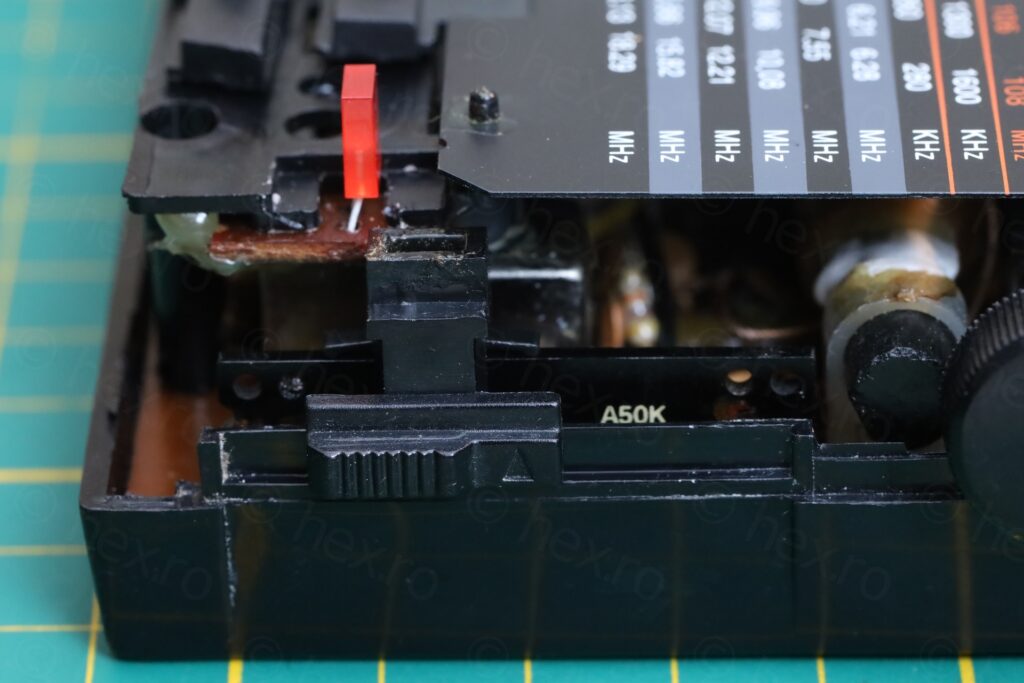
Volume button
Volume button was buried inside the body of the radio, but thankfully not broken. I was able to properly locate it:
Tests
A short band scan, but there are many bands, so the video is a little longer 🙂
Final touch
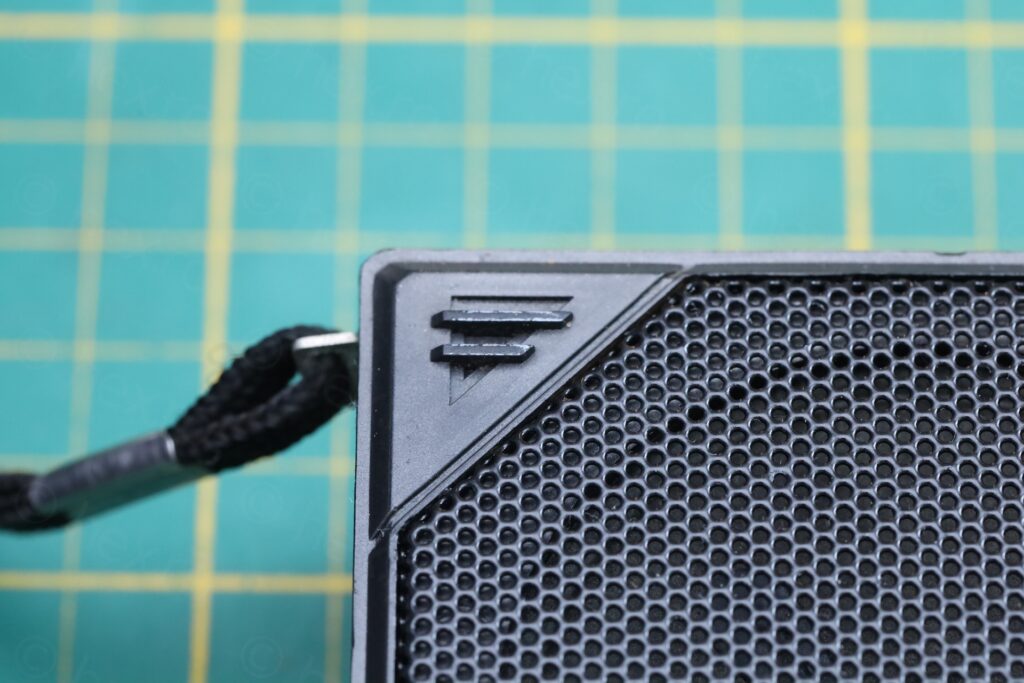
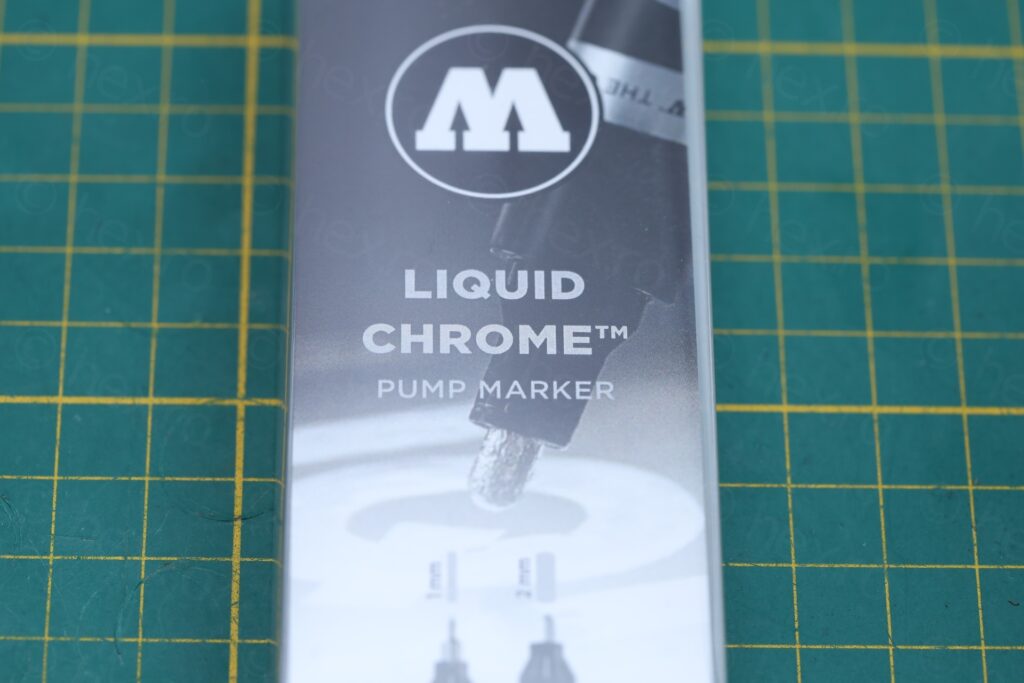
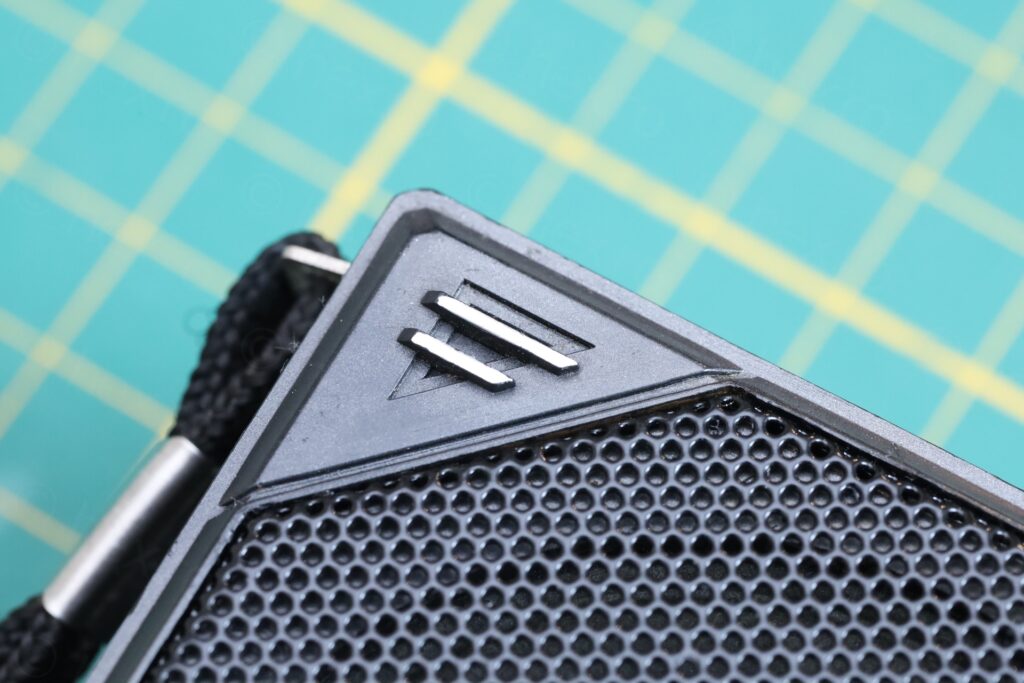
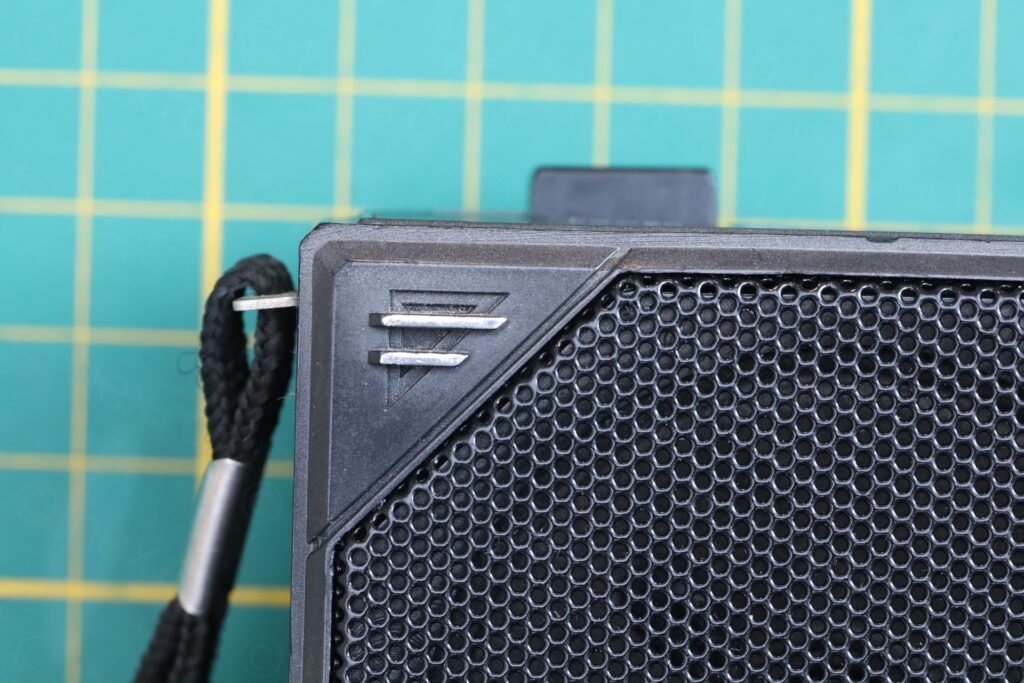
The radio lost its chrome highlights and I wondered how I can restore those too ? I found some Liquid Chrome markers (1mm and 2mm) and ordered them. I like the results for my first try, although I insisted a bit too much on the top highlight and the paint ended up being a bit uneven:
Before and After
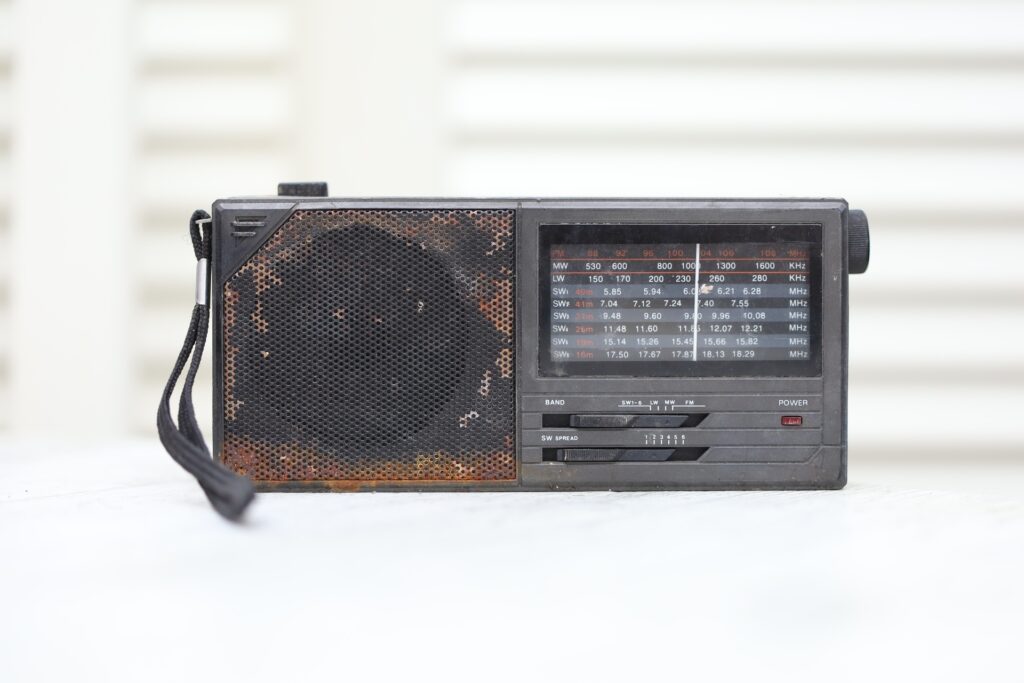
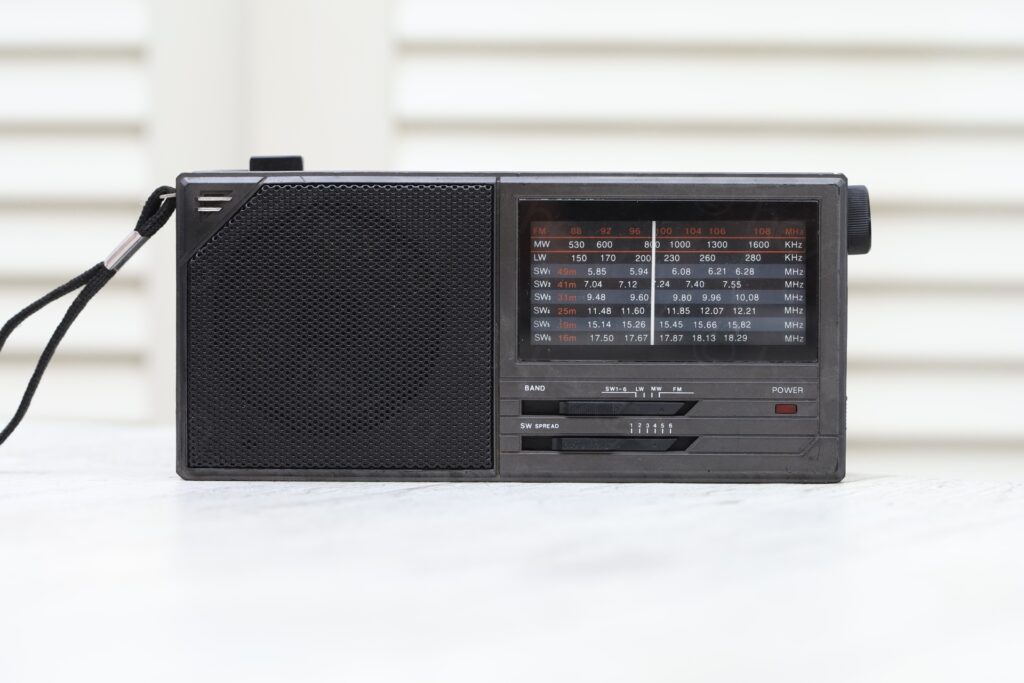
Other angles:
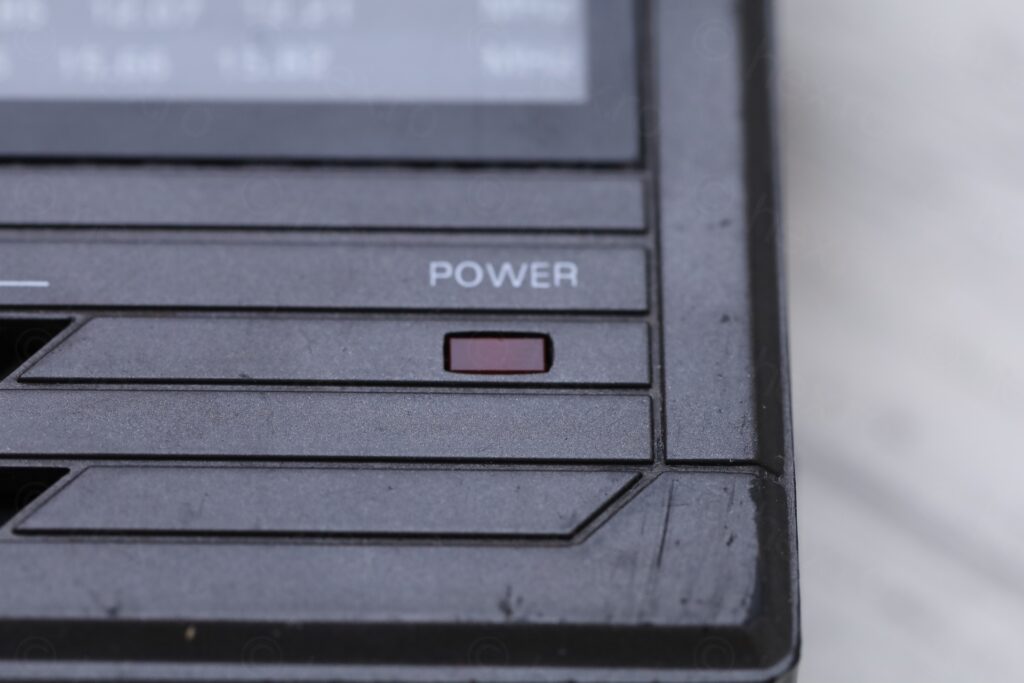
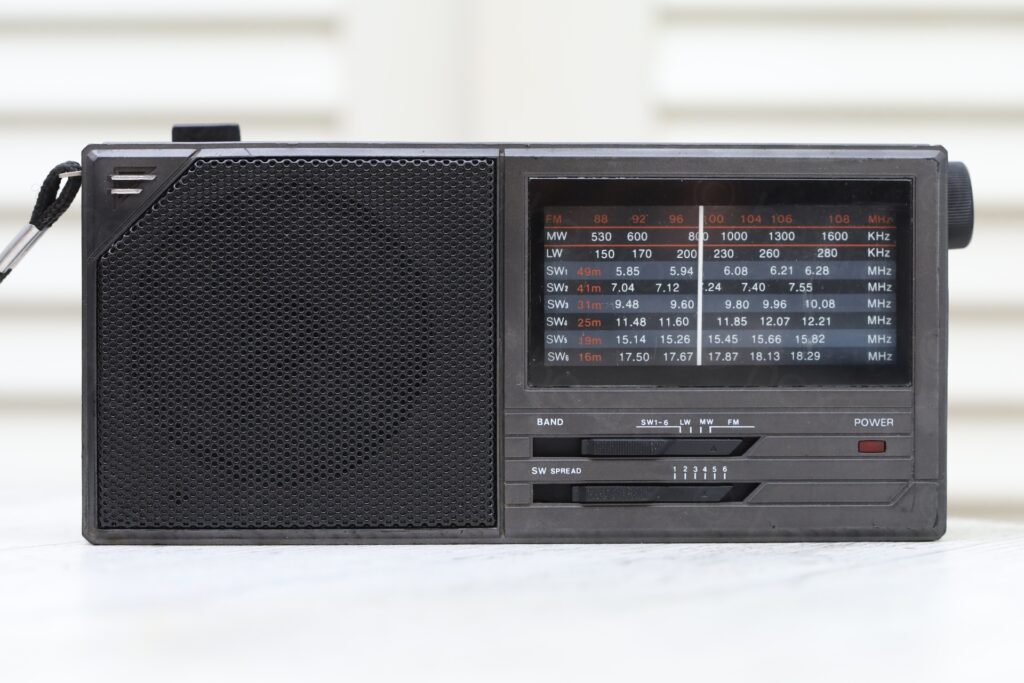
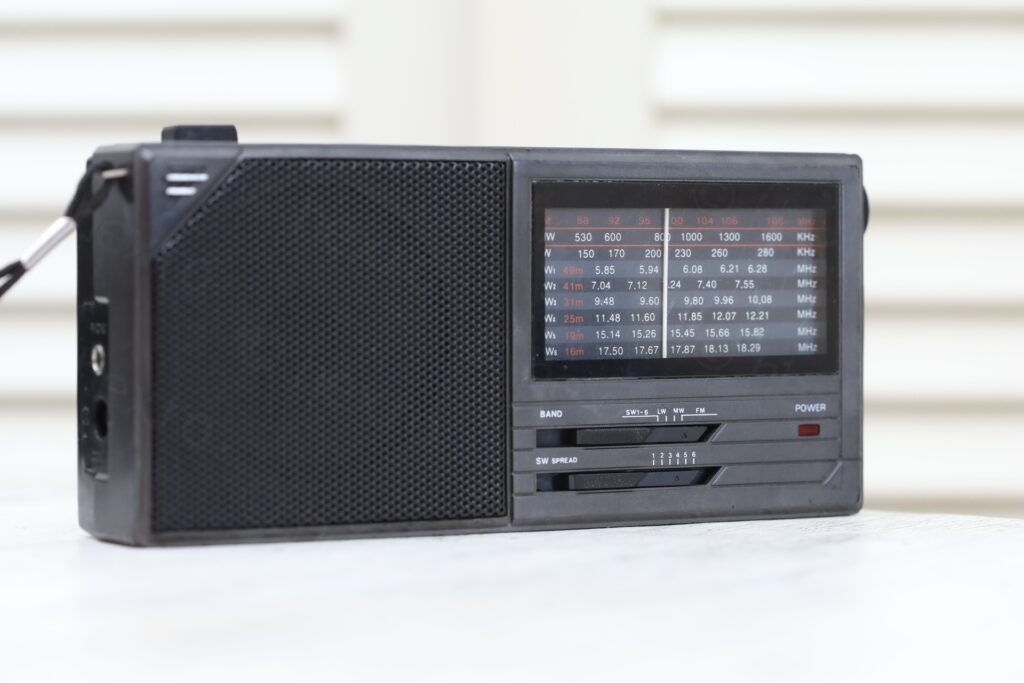
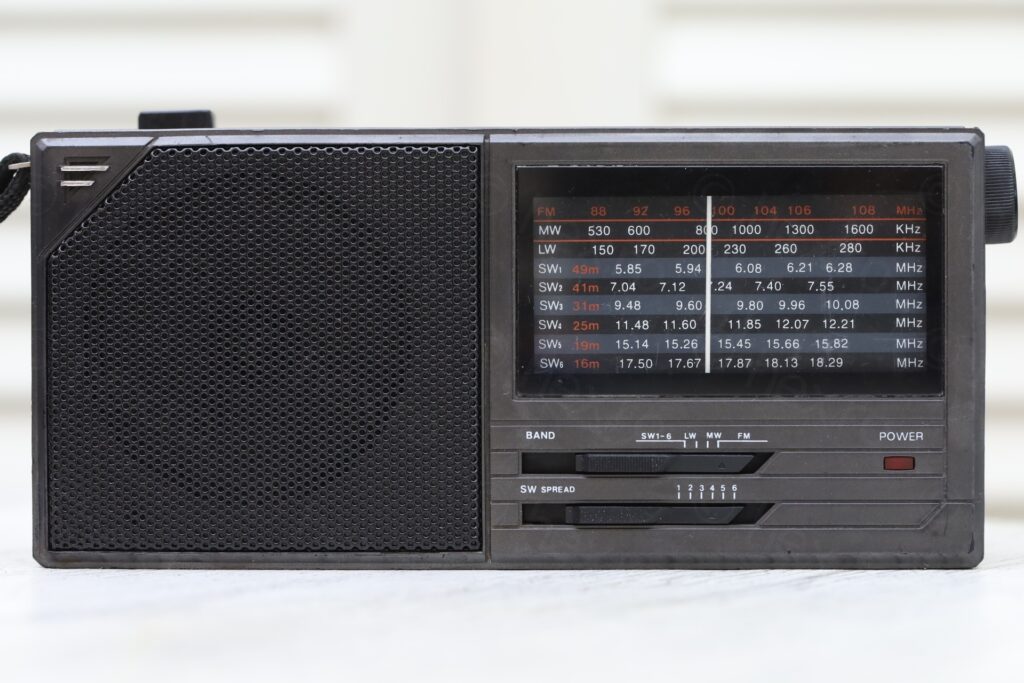
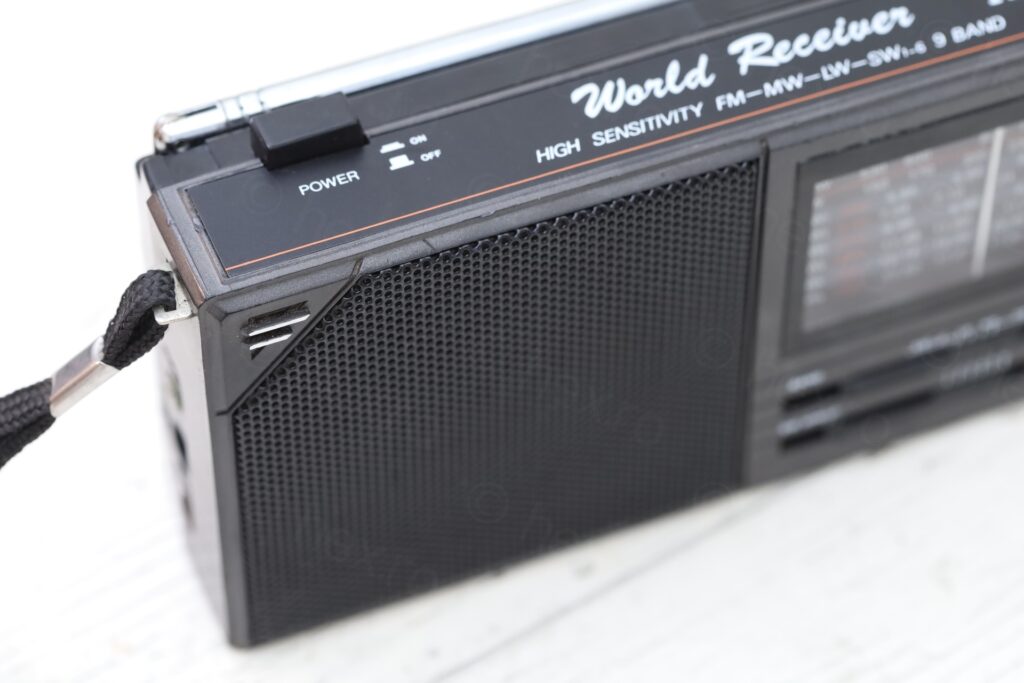
I am pretty pleased with this radio, it survived a lot of hardships but somehow people saw enough value in it to not actually throw it away.
Josh
Beautiful job, well done Sir.
Thank you