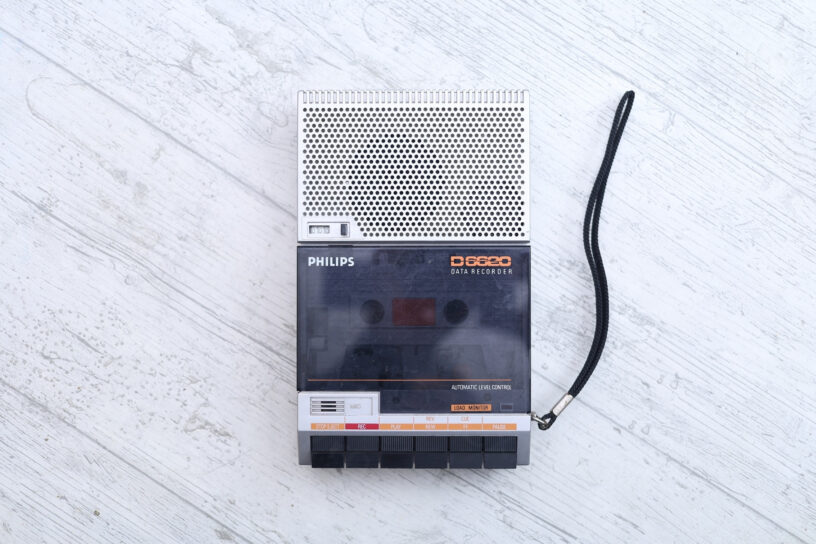


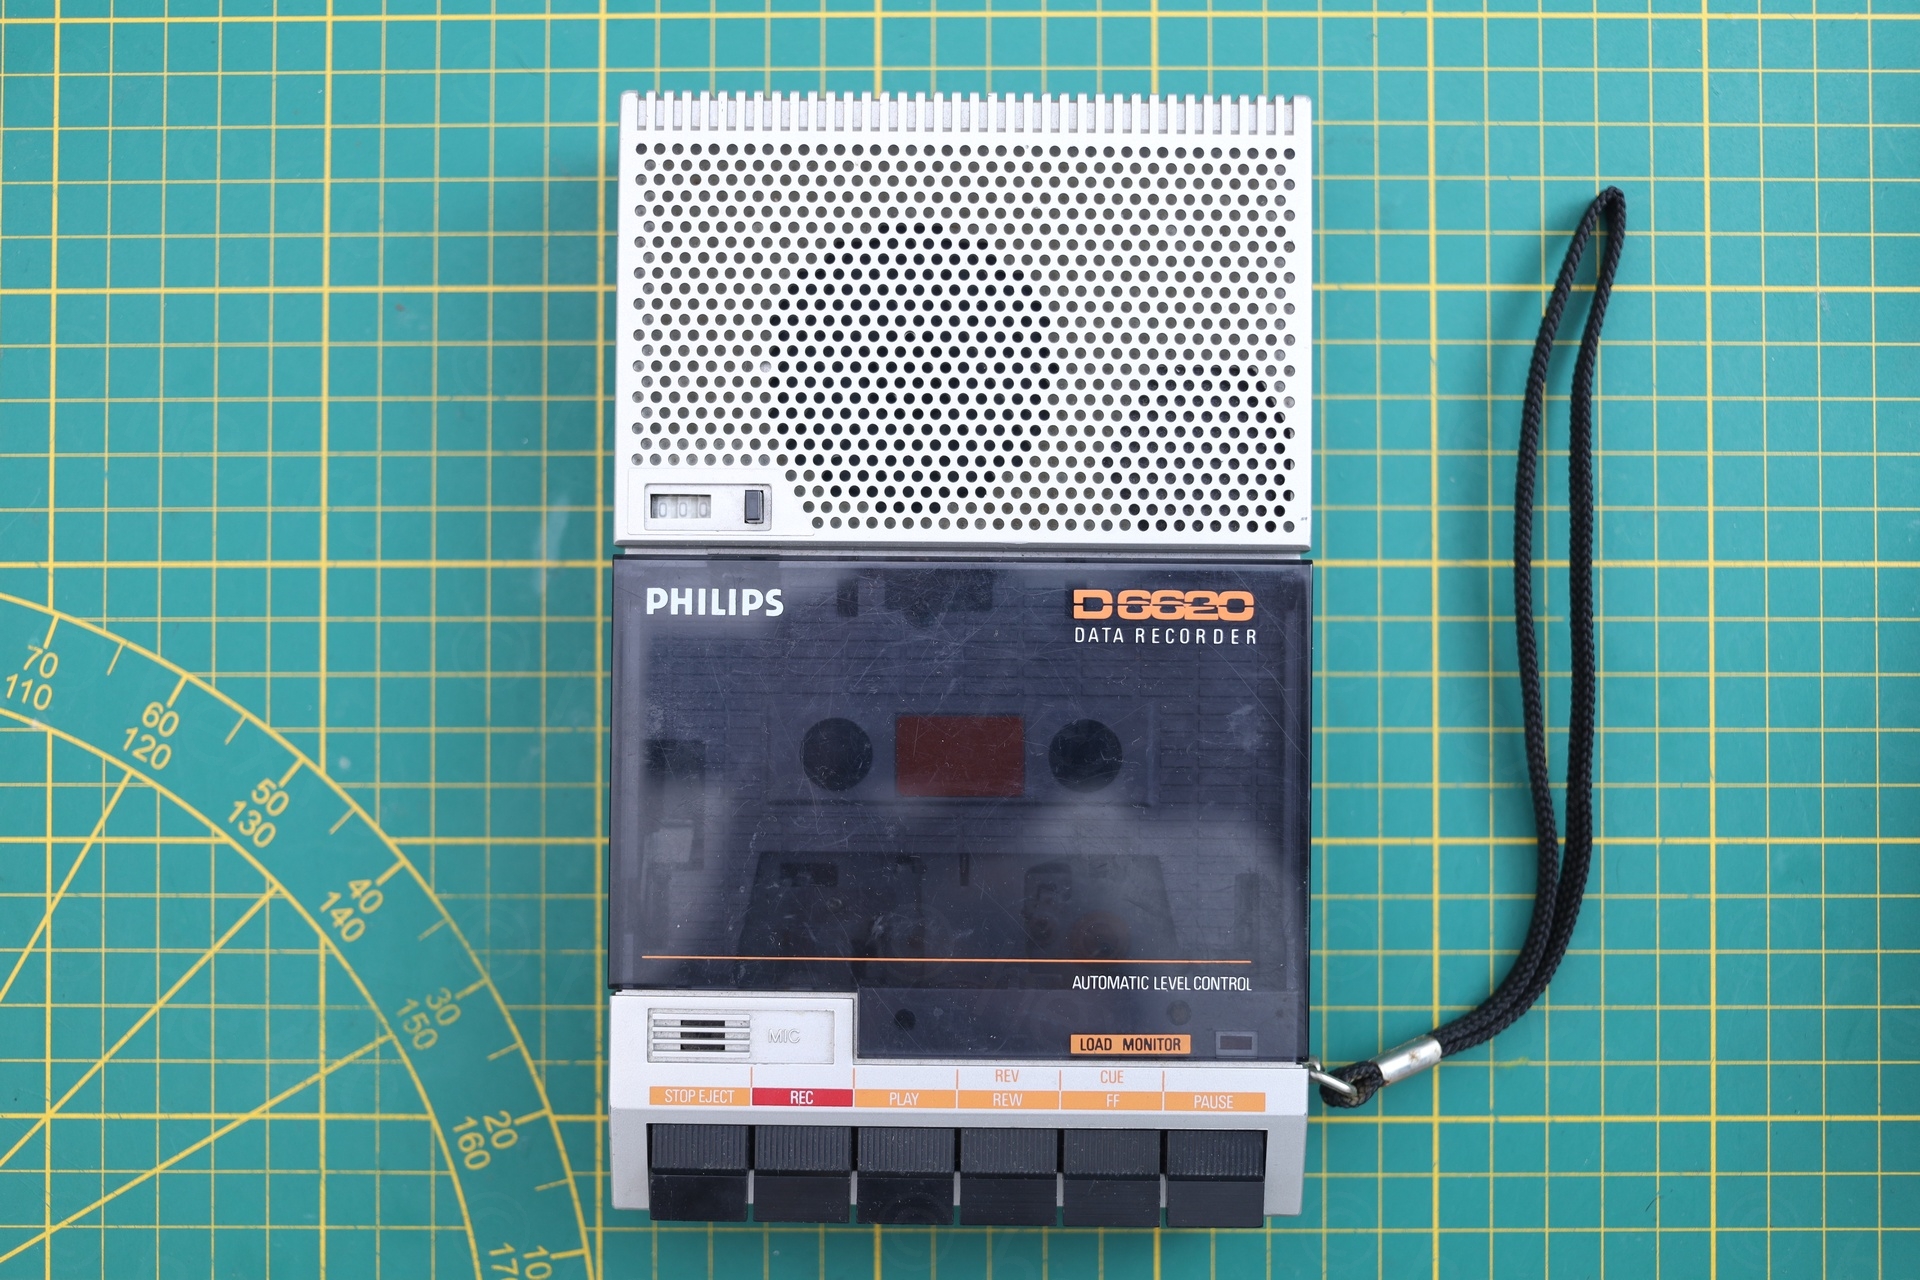
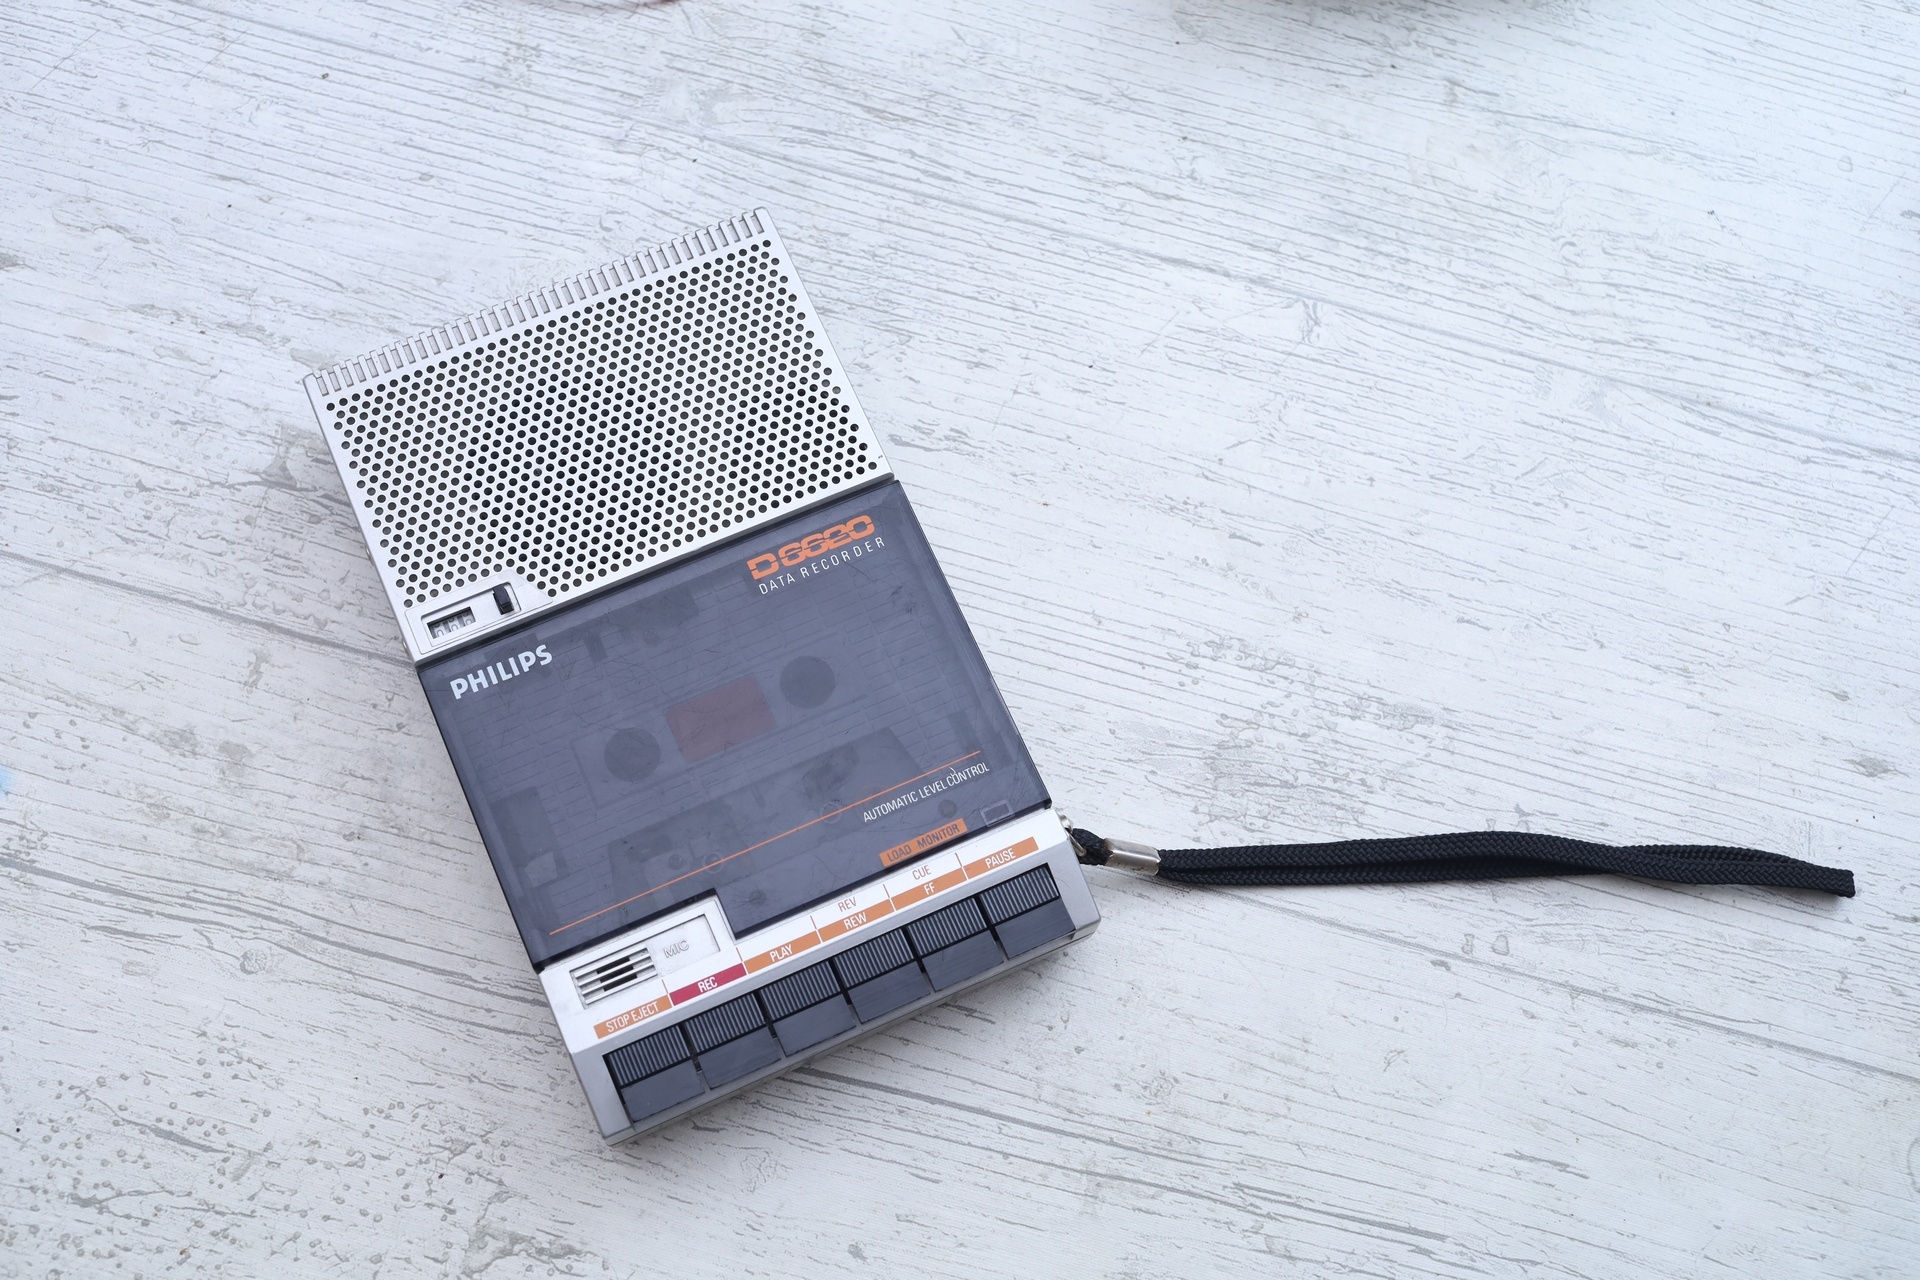
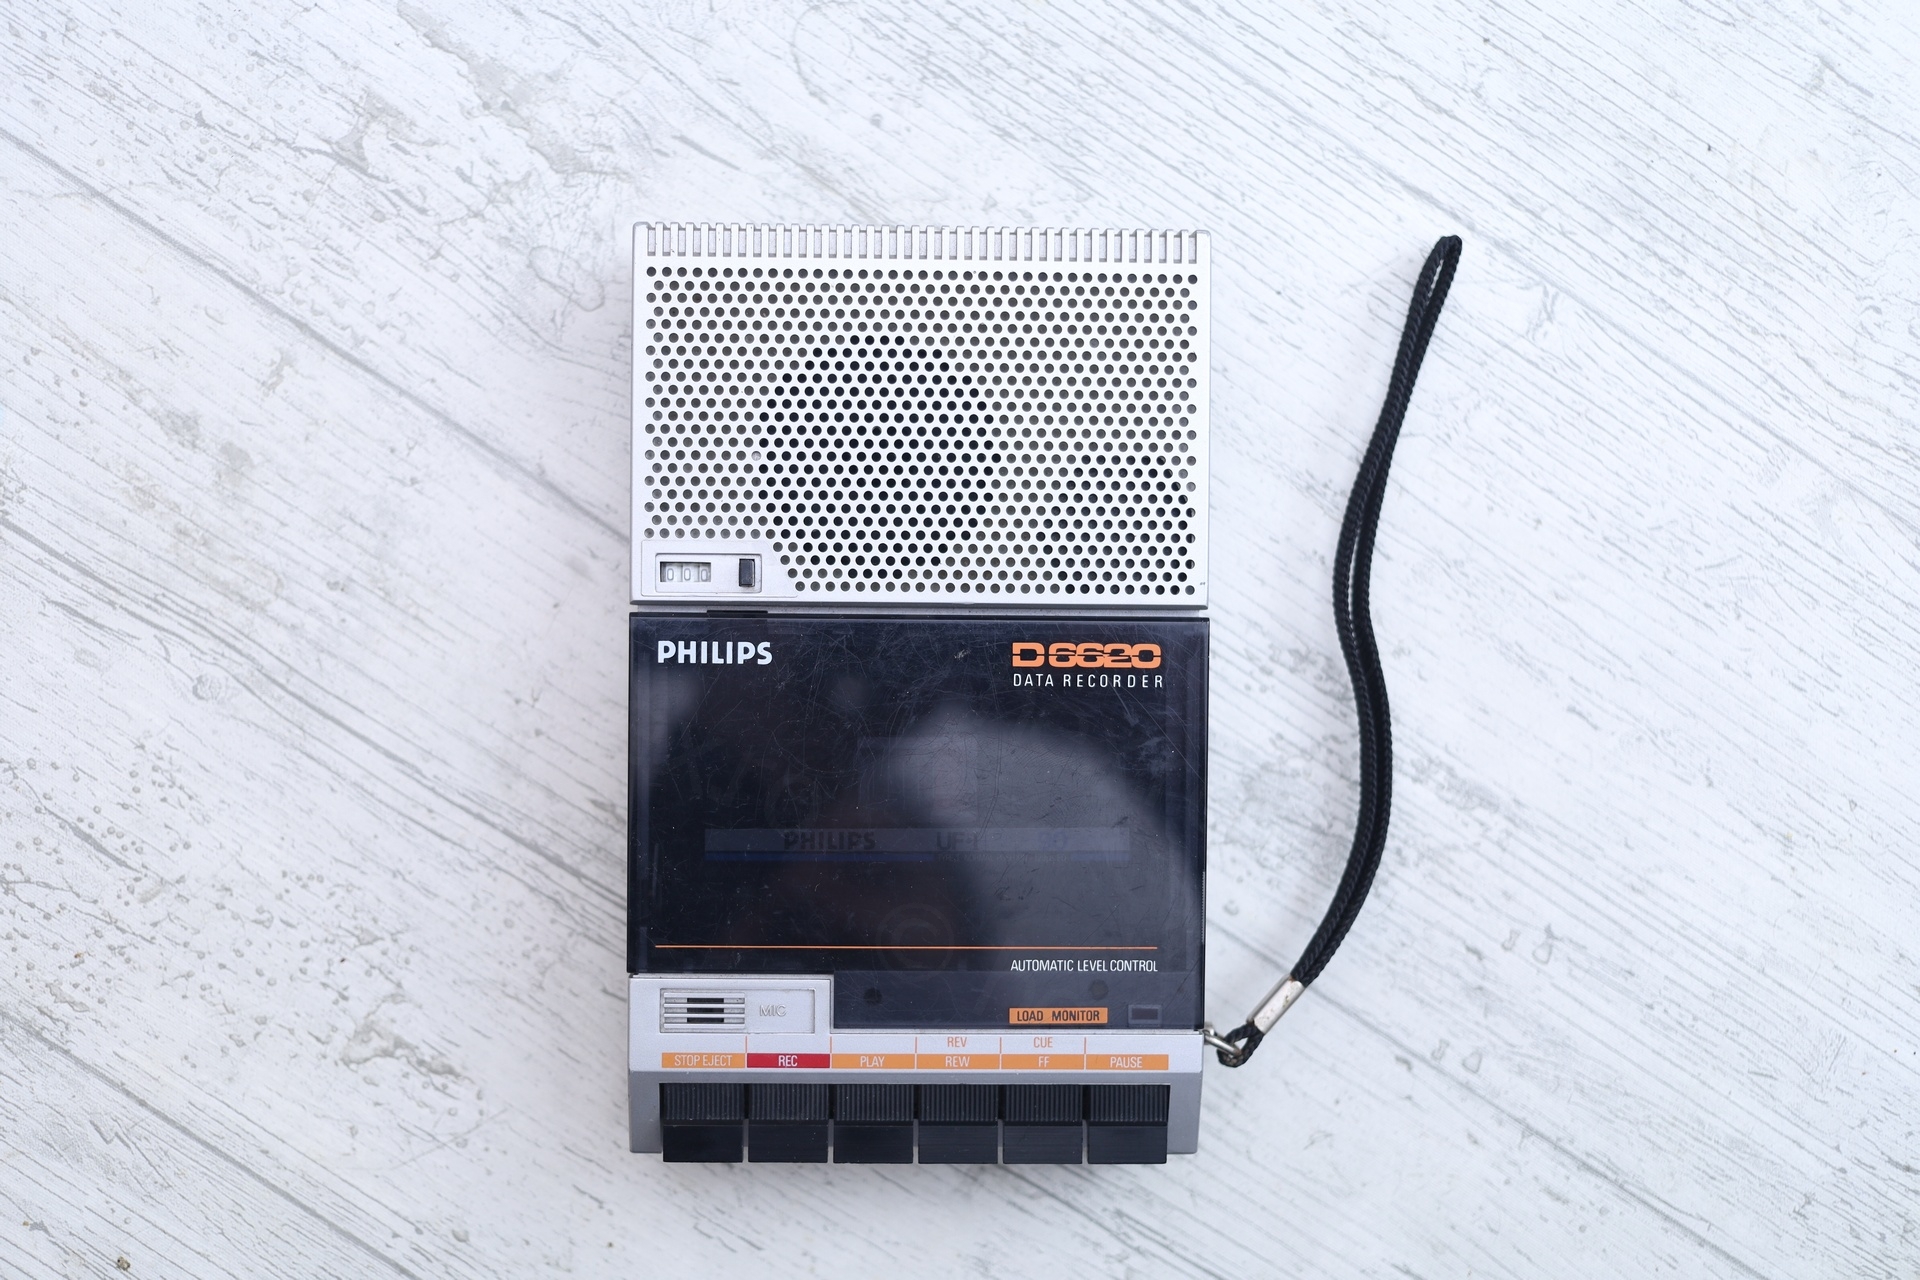
I liked the compact size of this small tape player and decided to buy it. The price was right. Most flea market finds are either bulky (80s style) or Sony Walkman style, but not in-betweens .
Table of Contents
- Initial inspection
- Opening up
- Corroded C2554 and C2702 Capacitors
- Multi-Switch – Cleaning
- Belts replaced
- Replacing corroded battery negative spring
- Smoke!
- Wrapping up
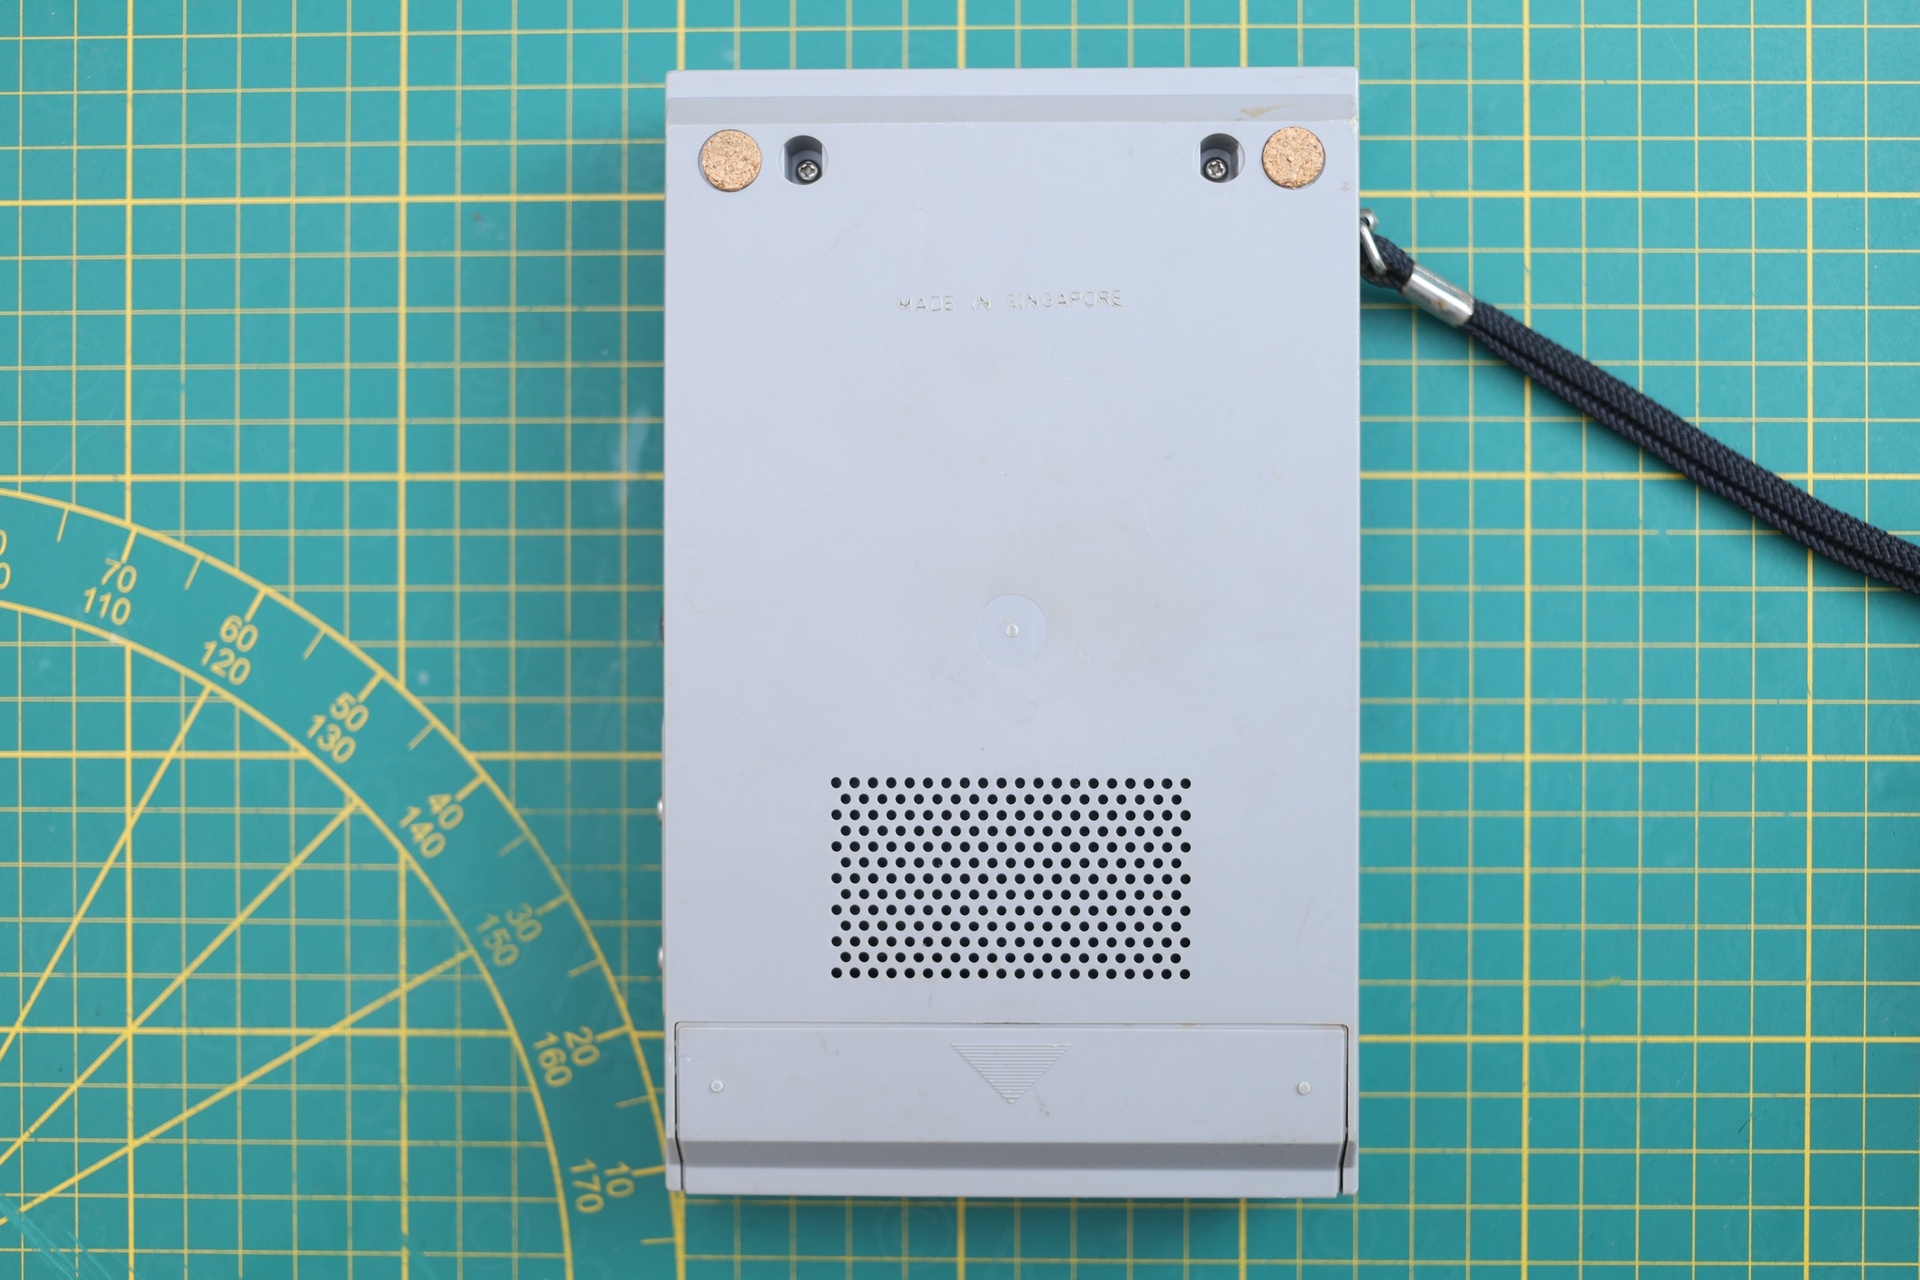
Initial inspection
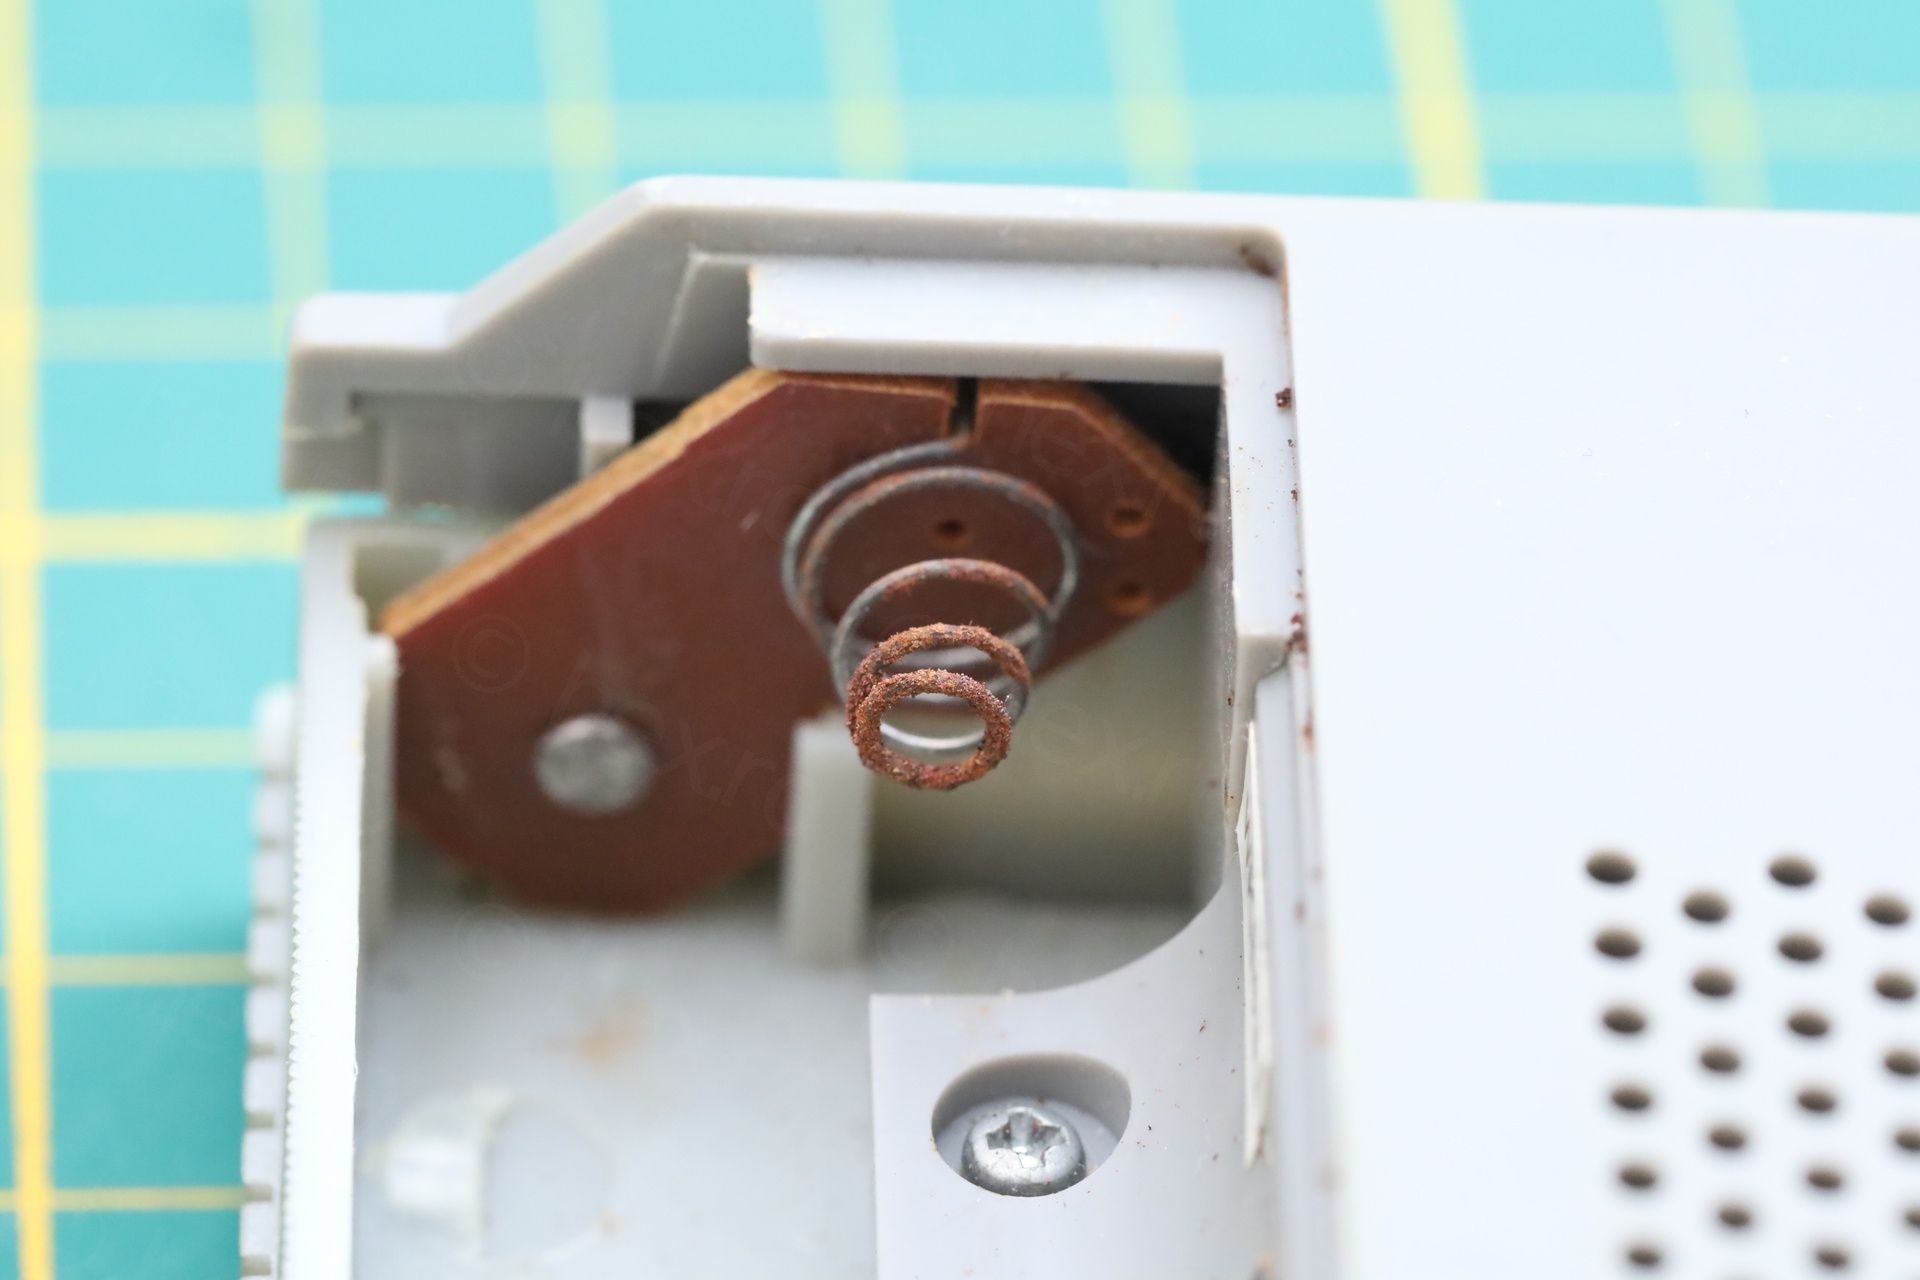
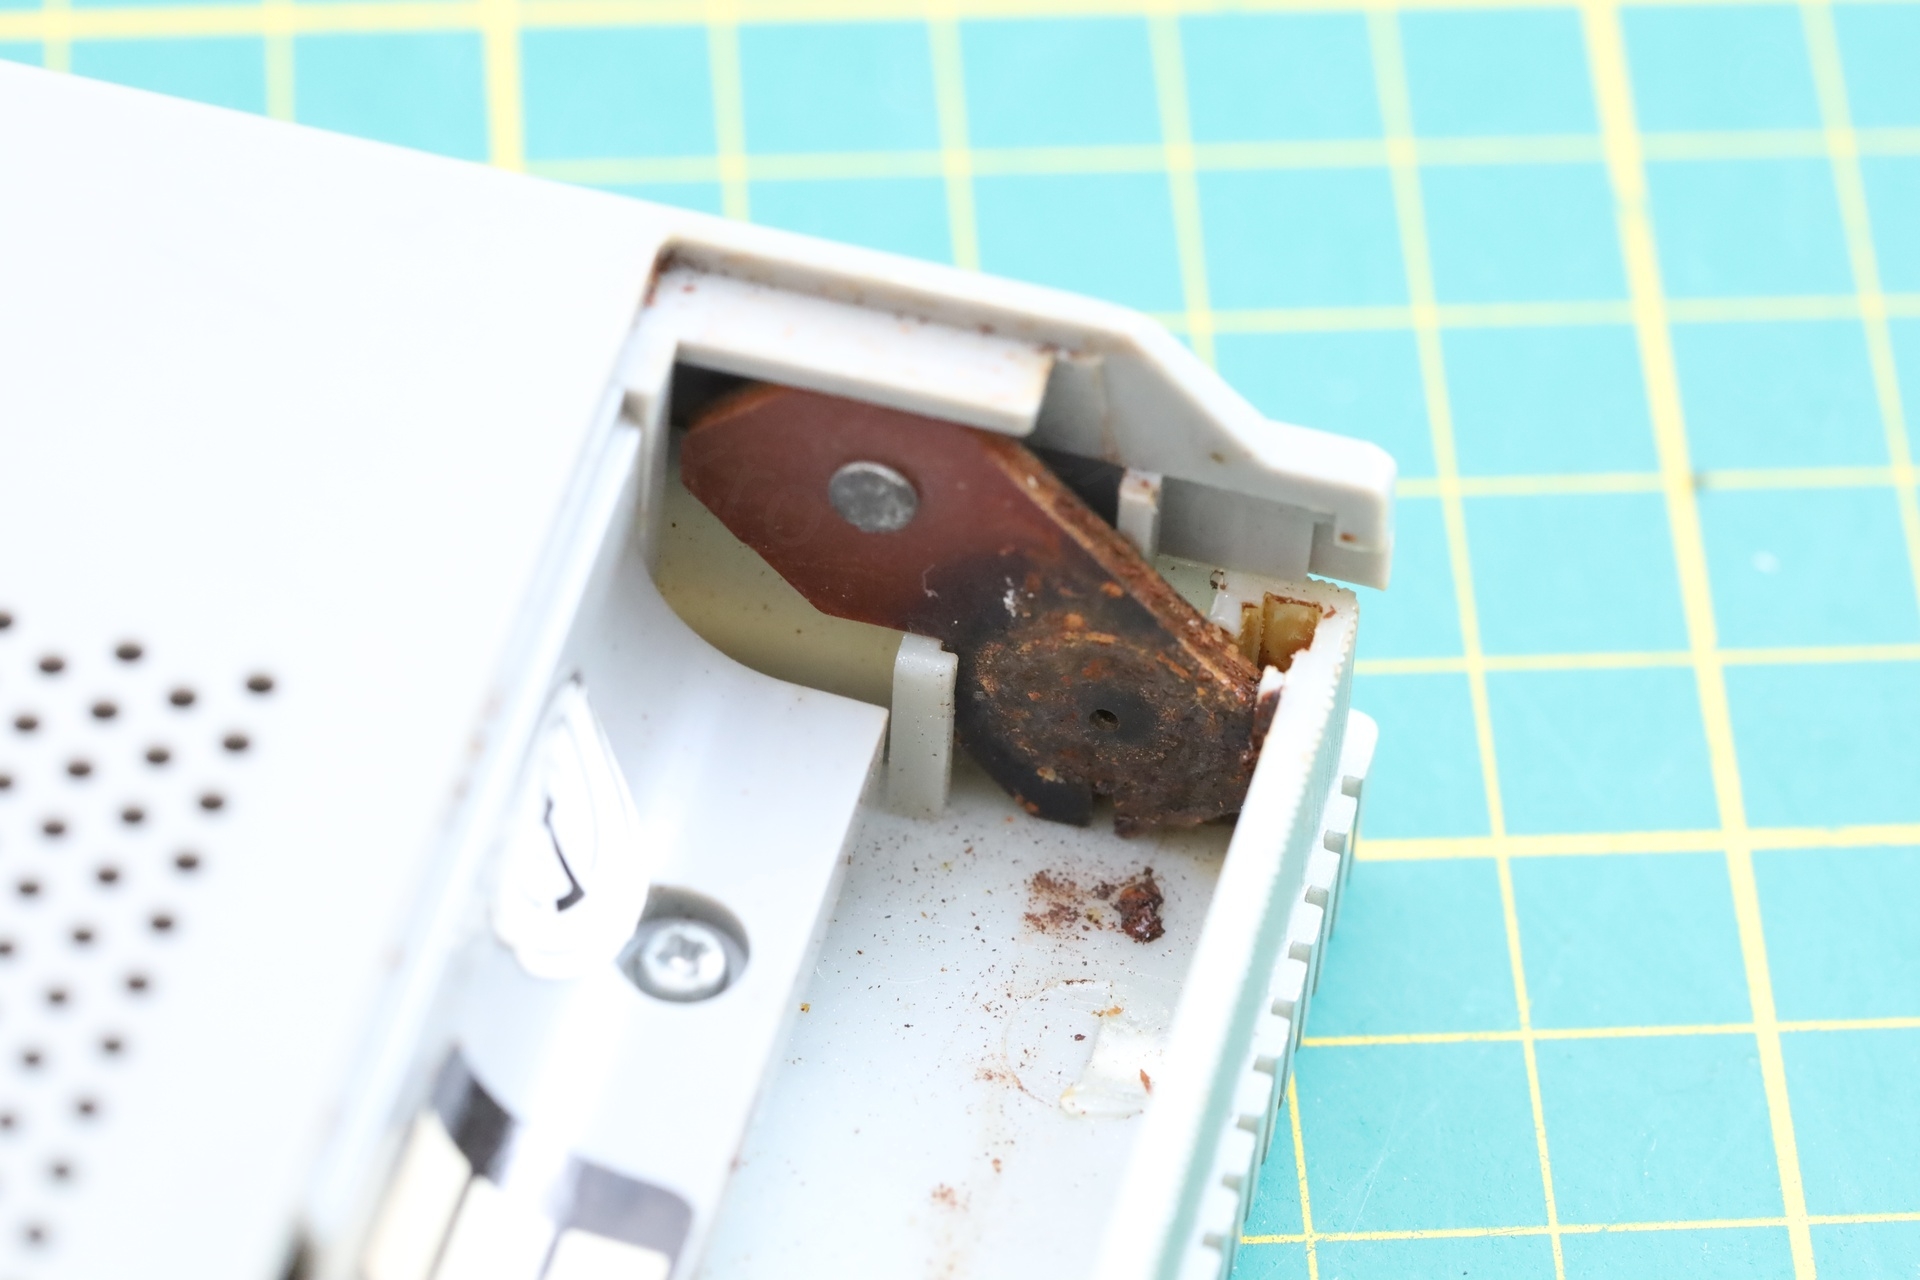
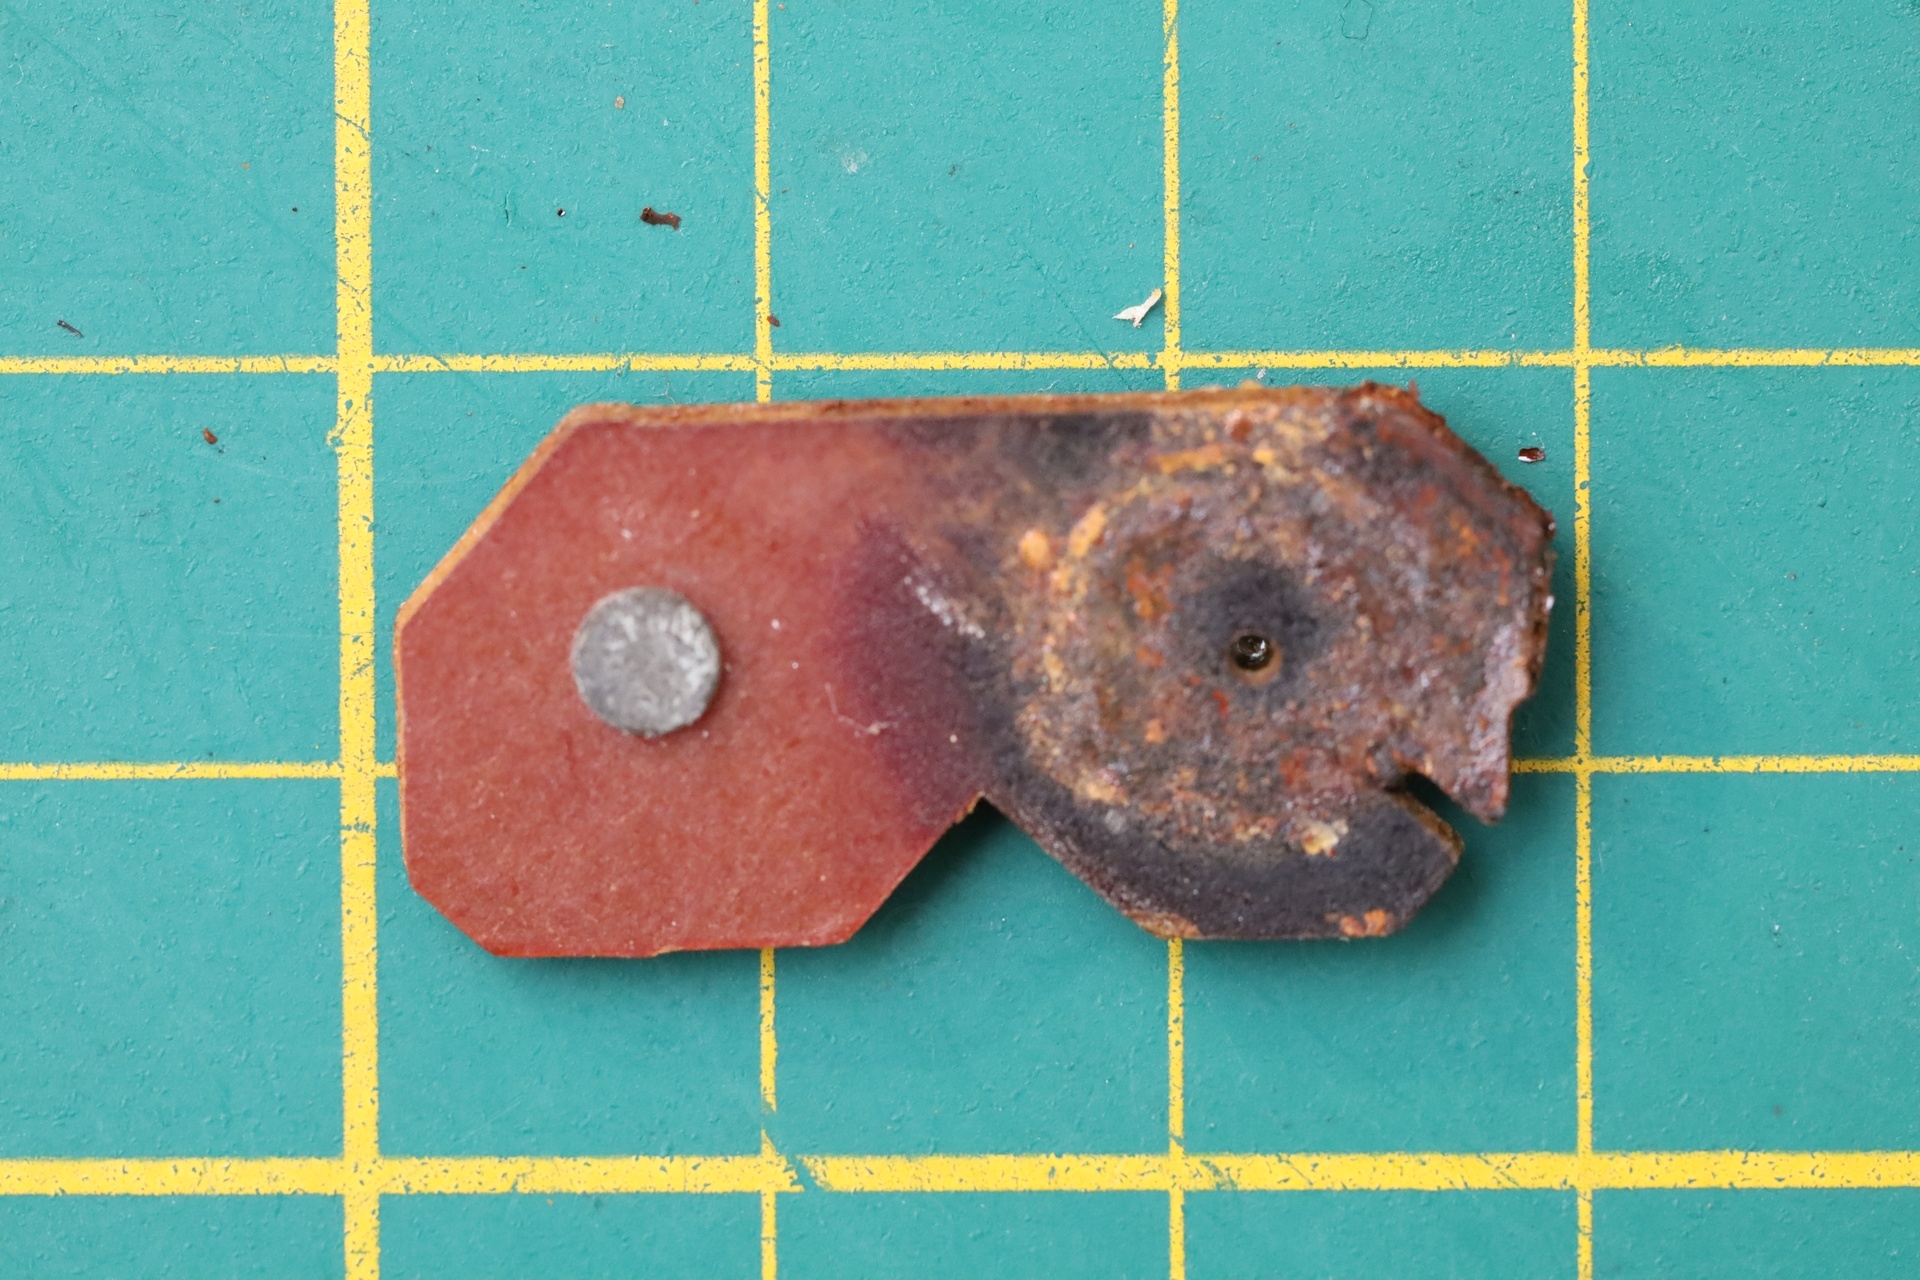
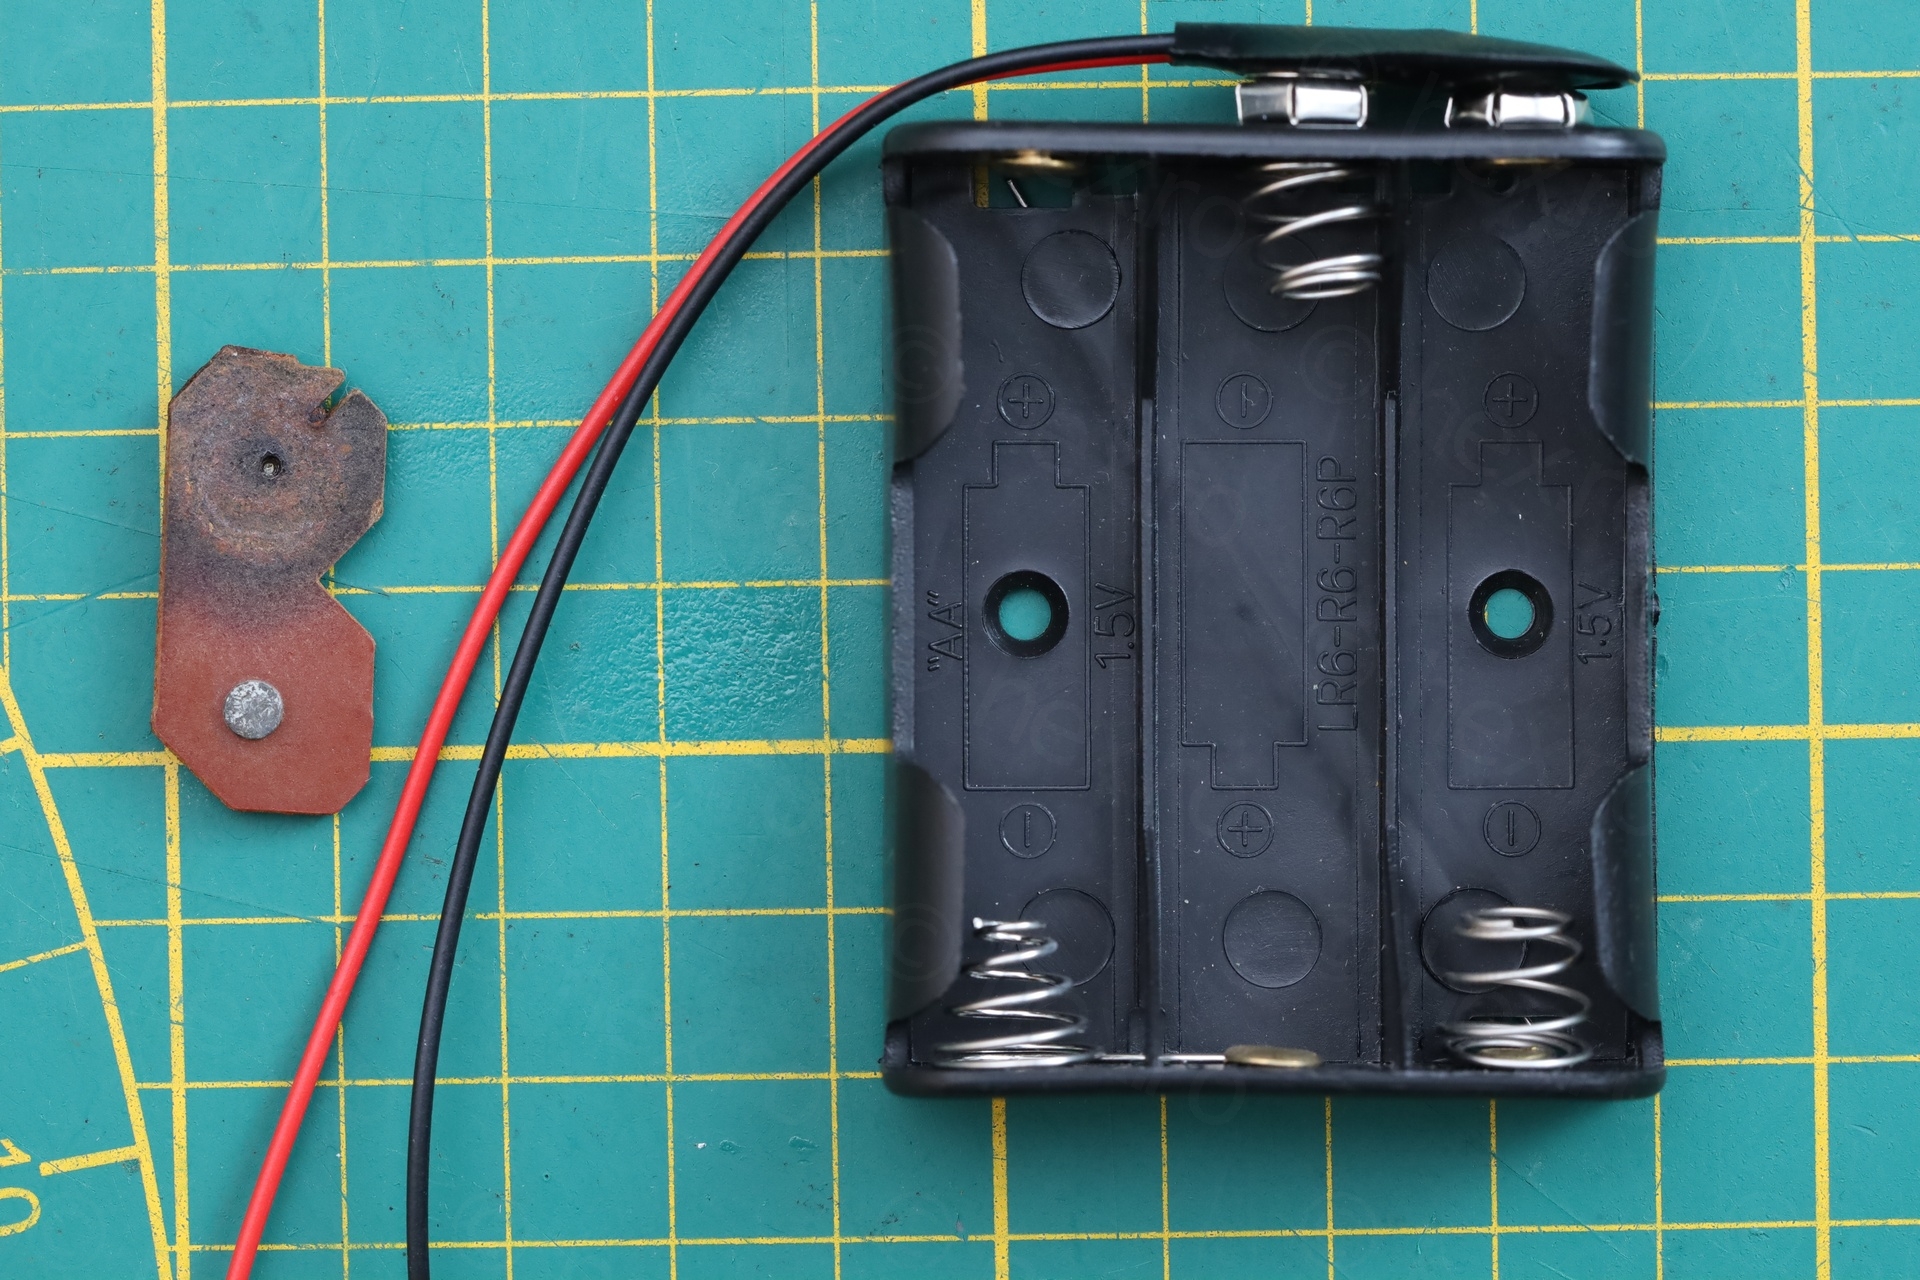
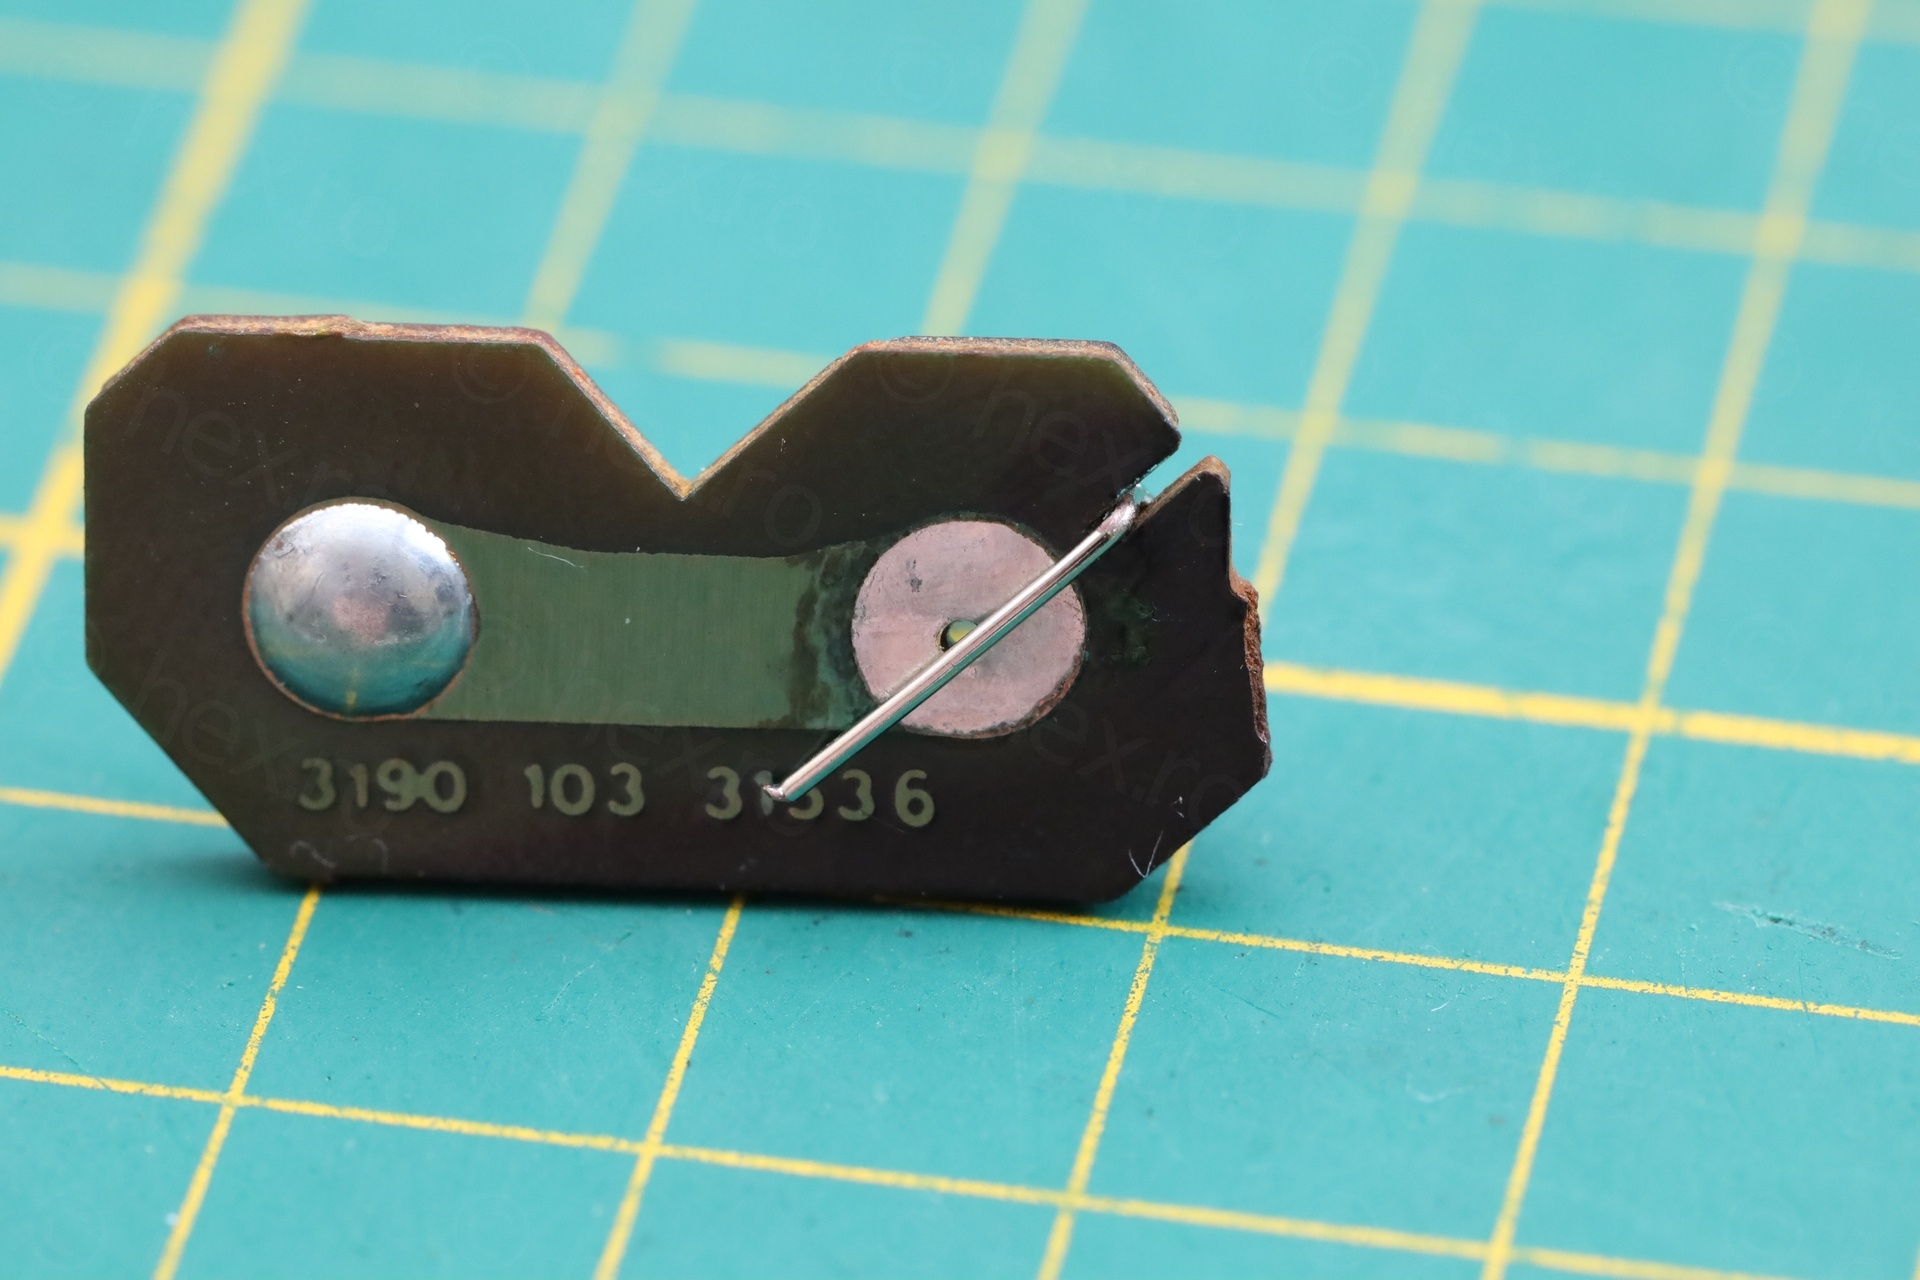
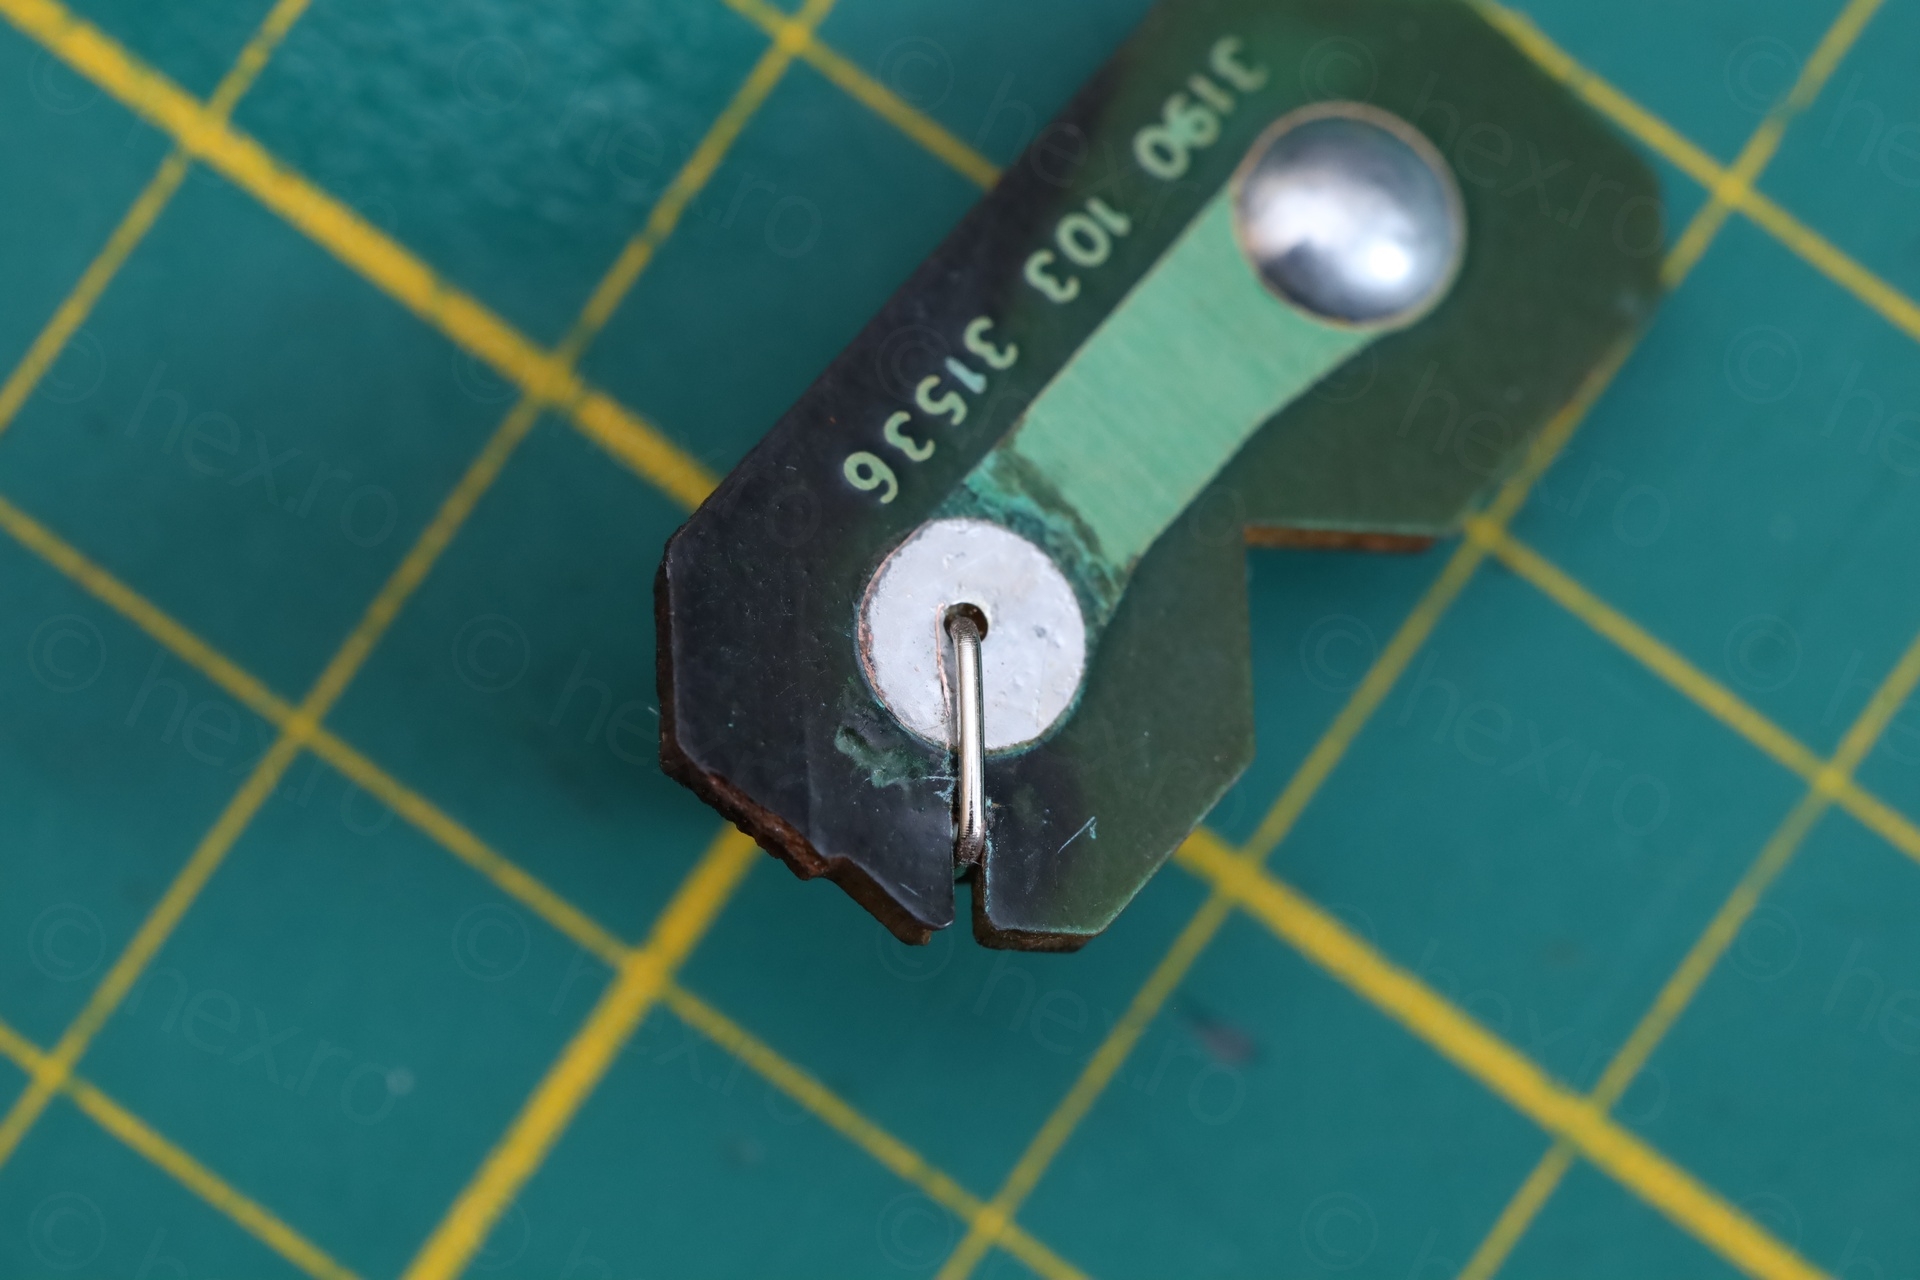
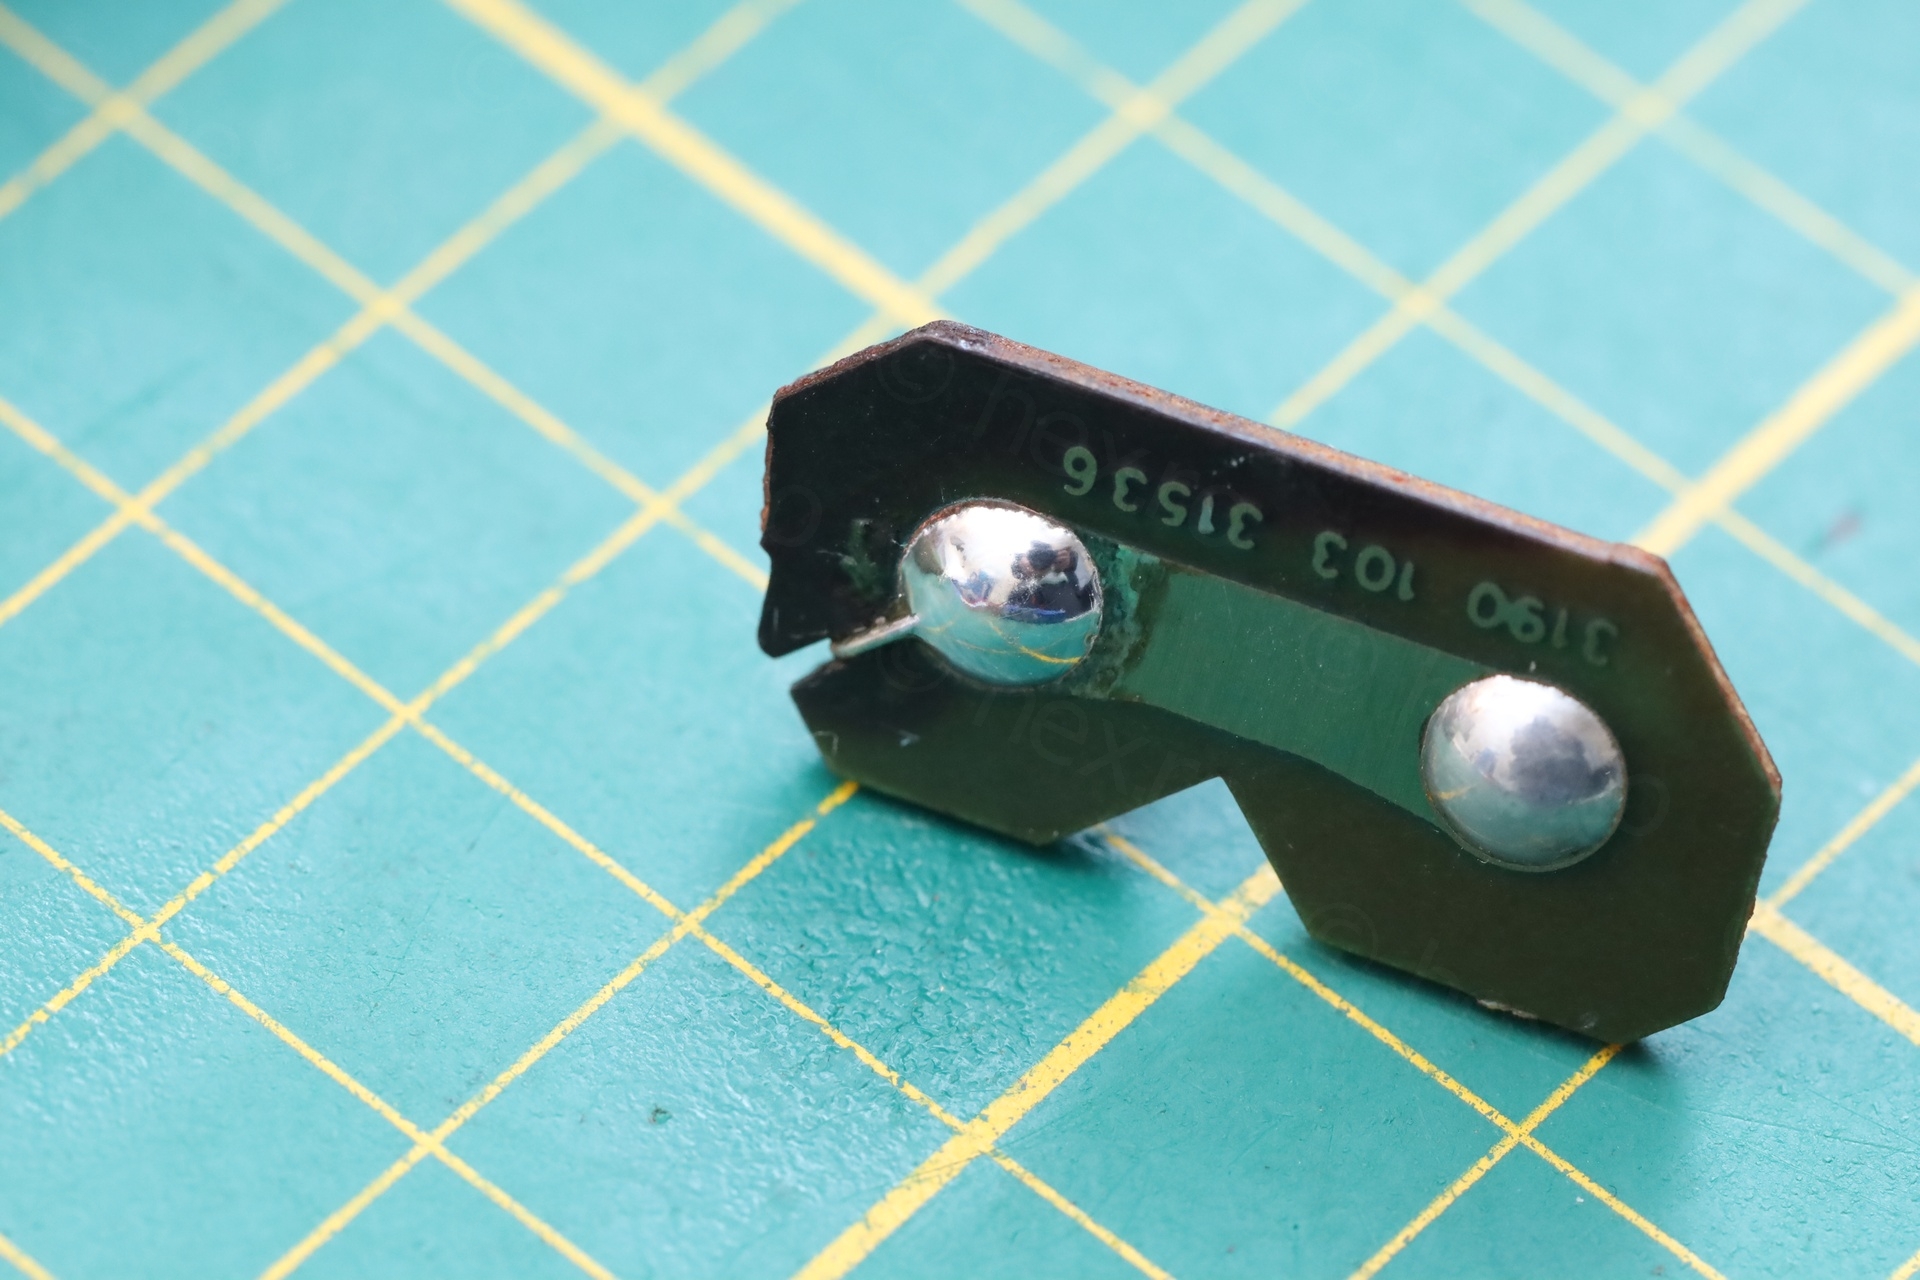
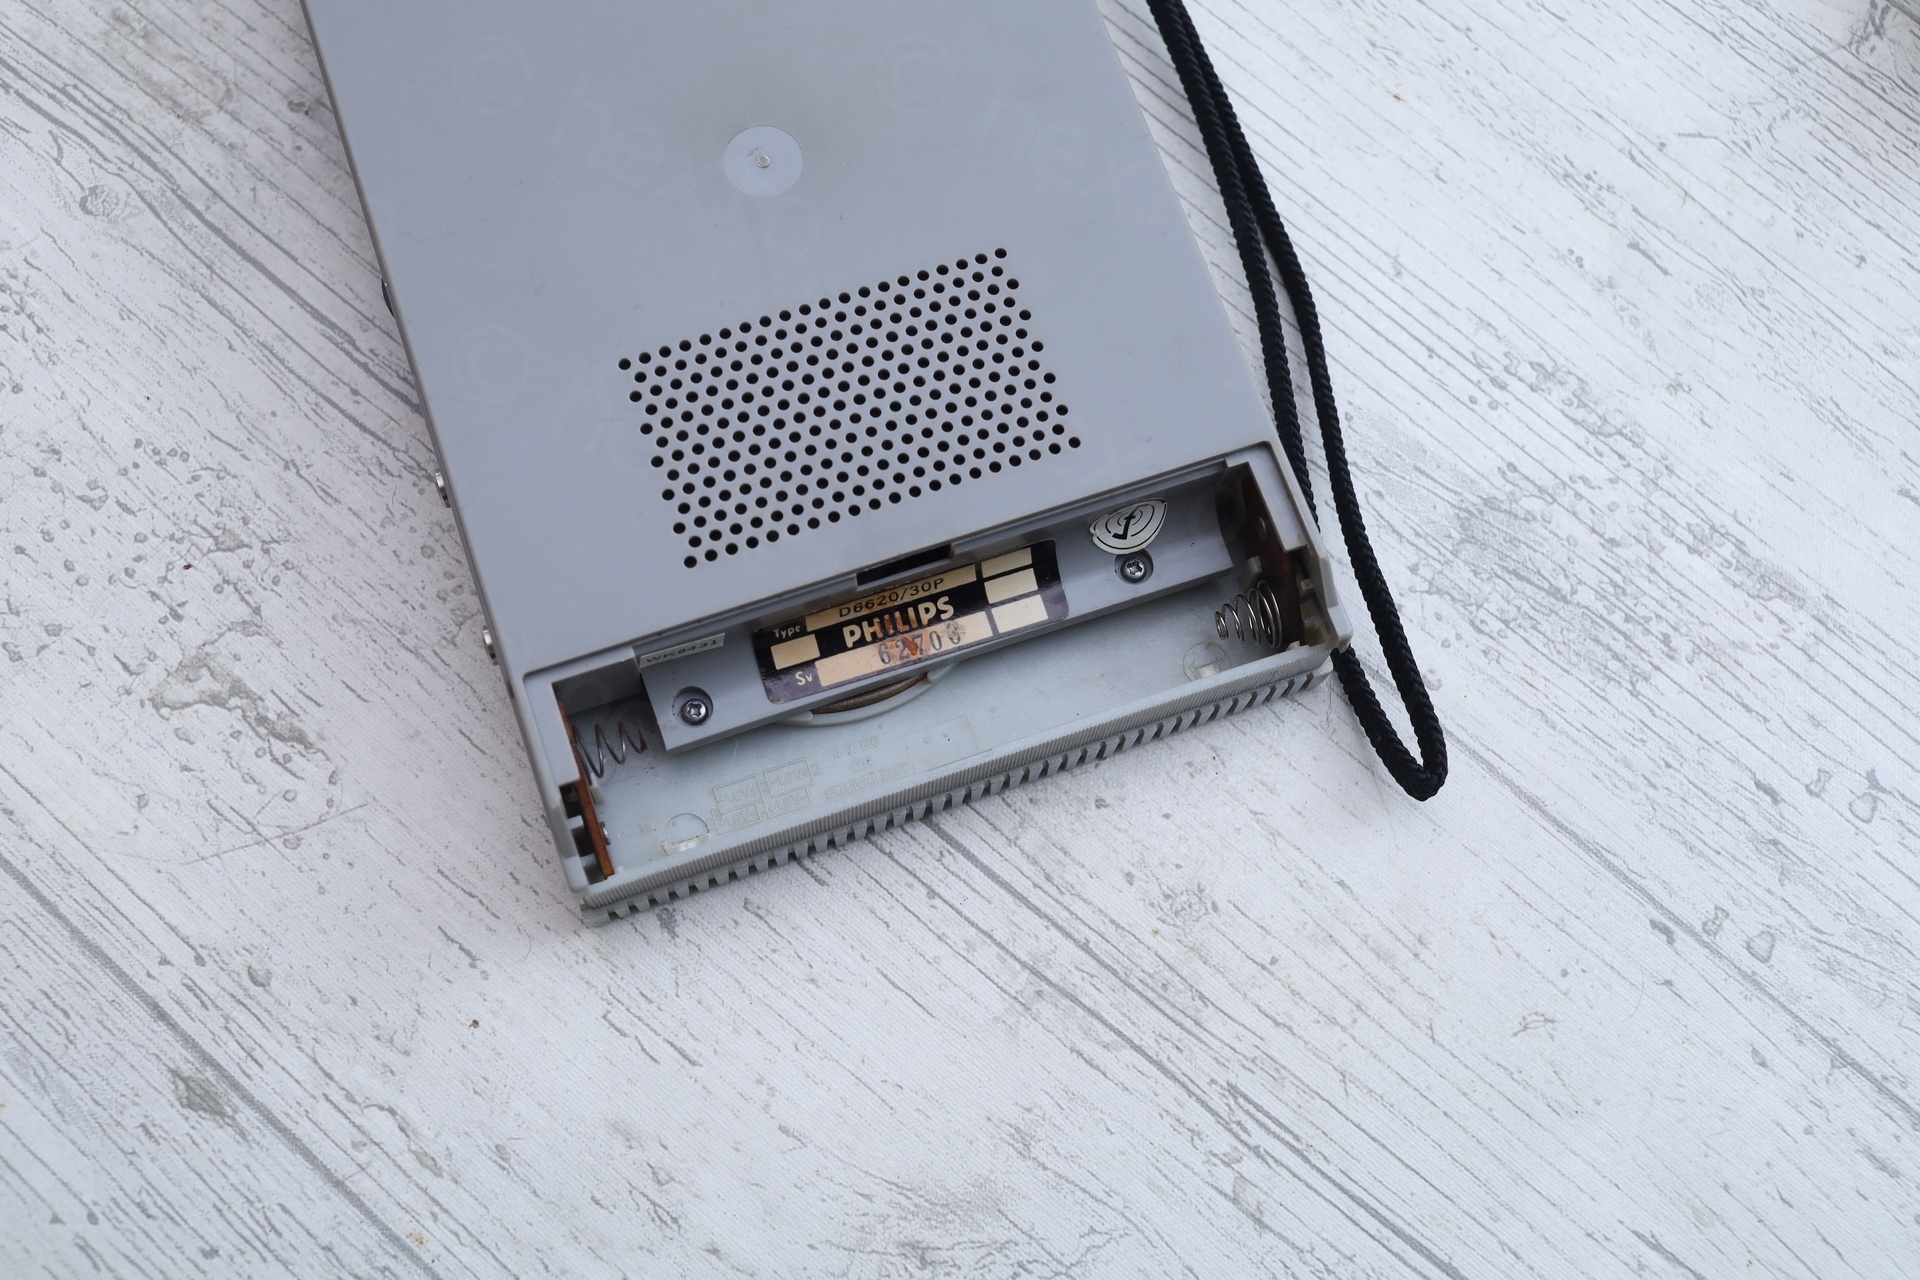
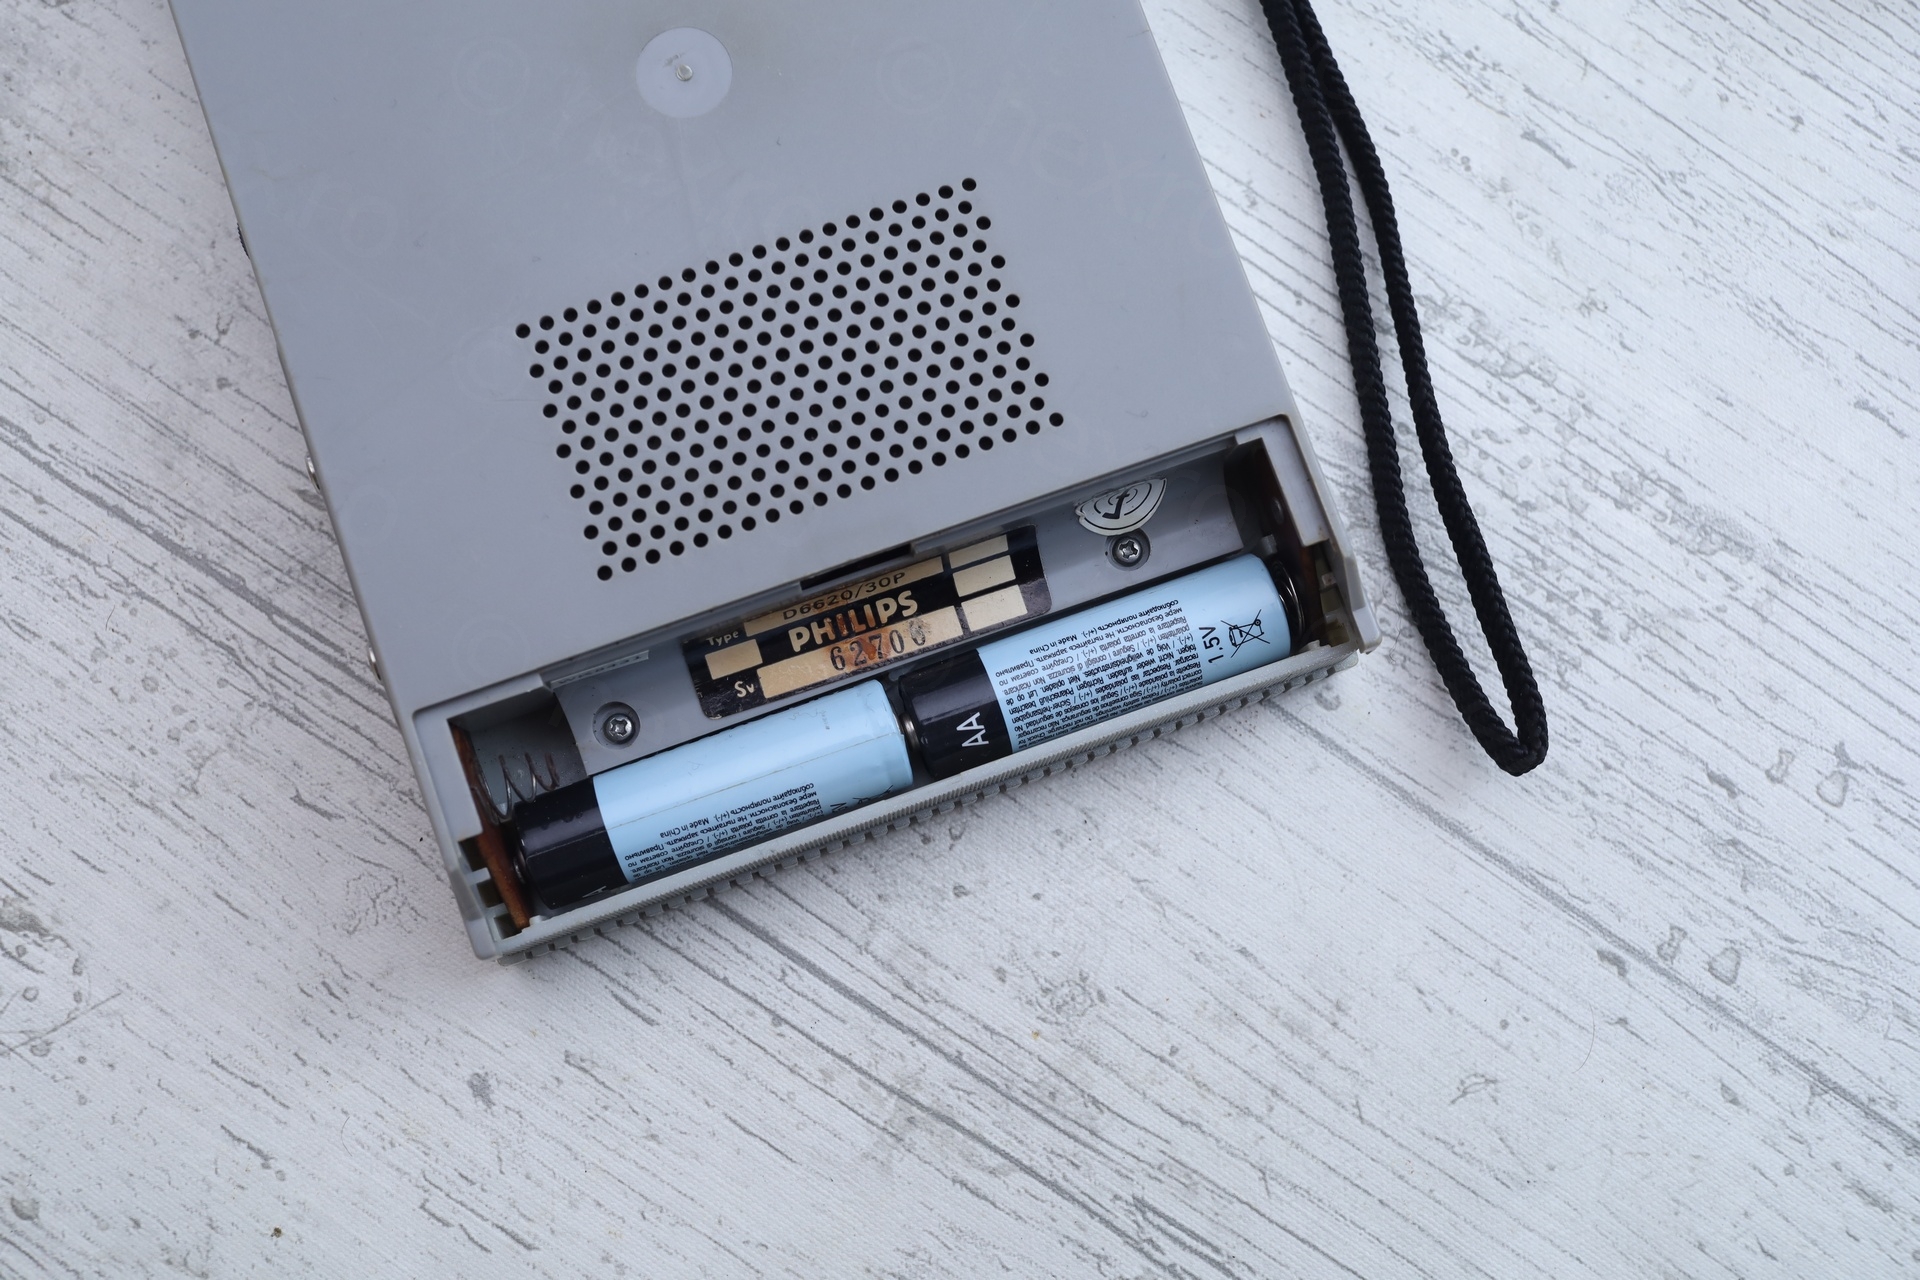
At a quick glance, it looked clean-ish. People forgot batteries inside, which leaked. And one of the Battery Negative springs was missing, most likely eaten out by rust.
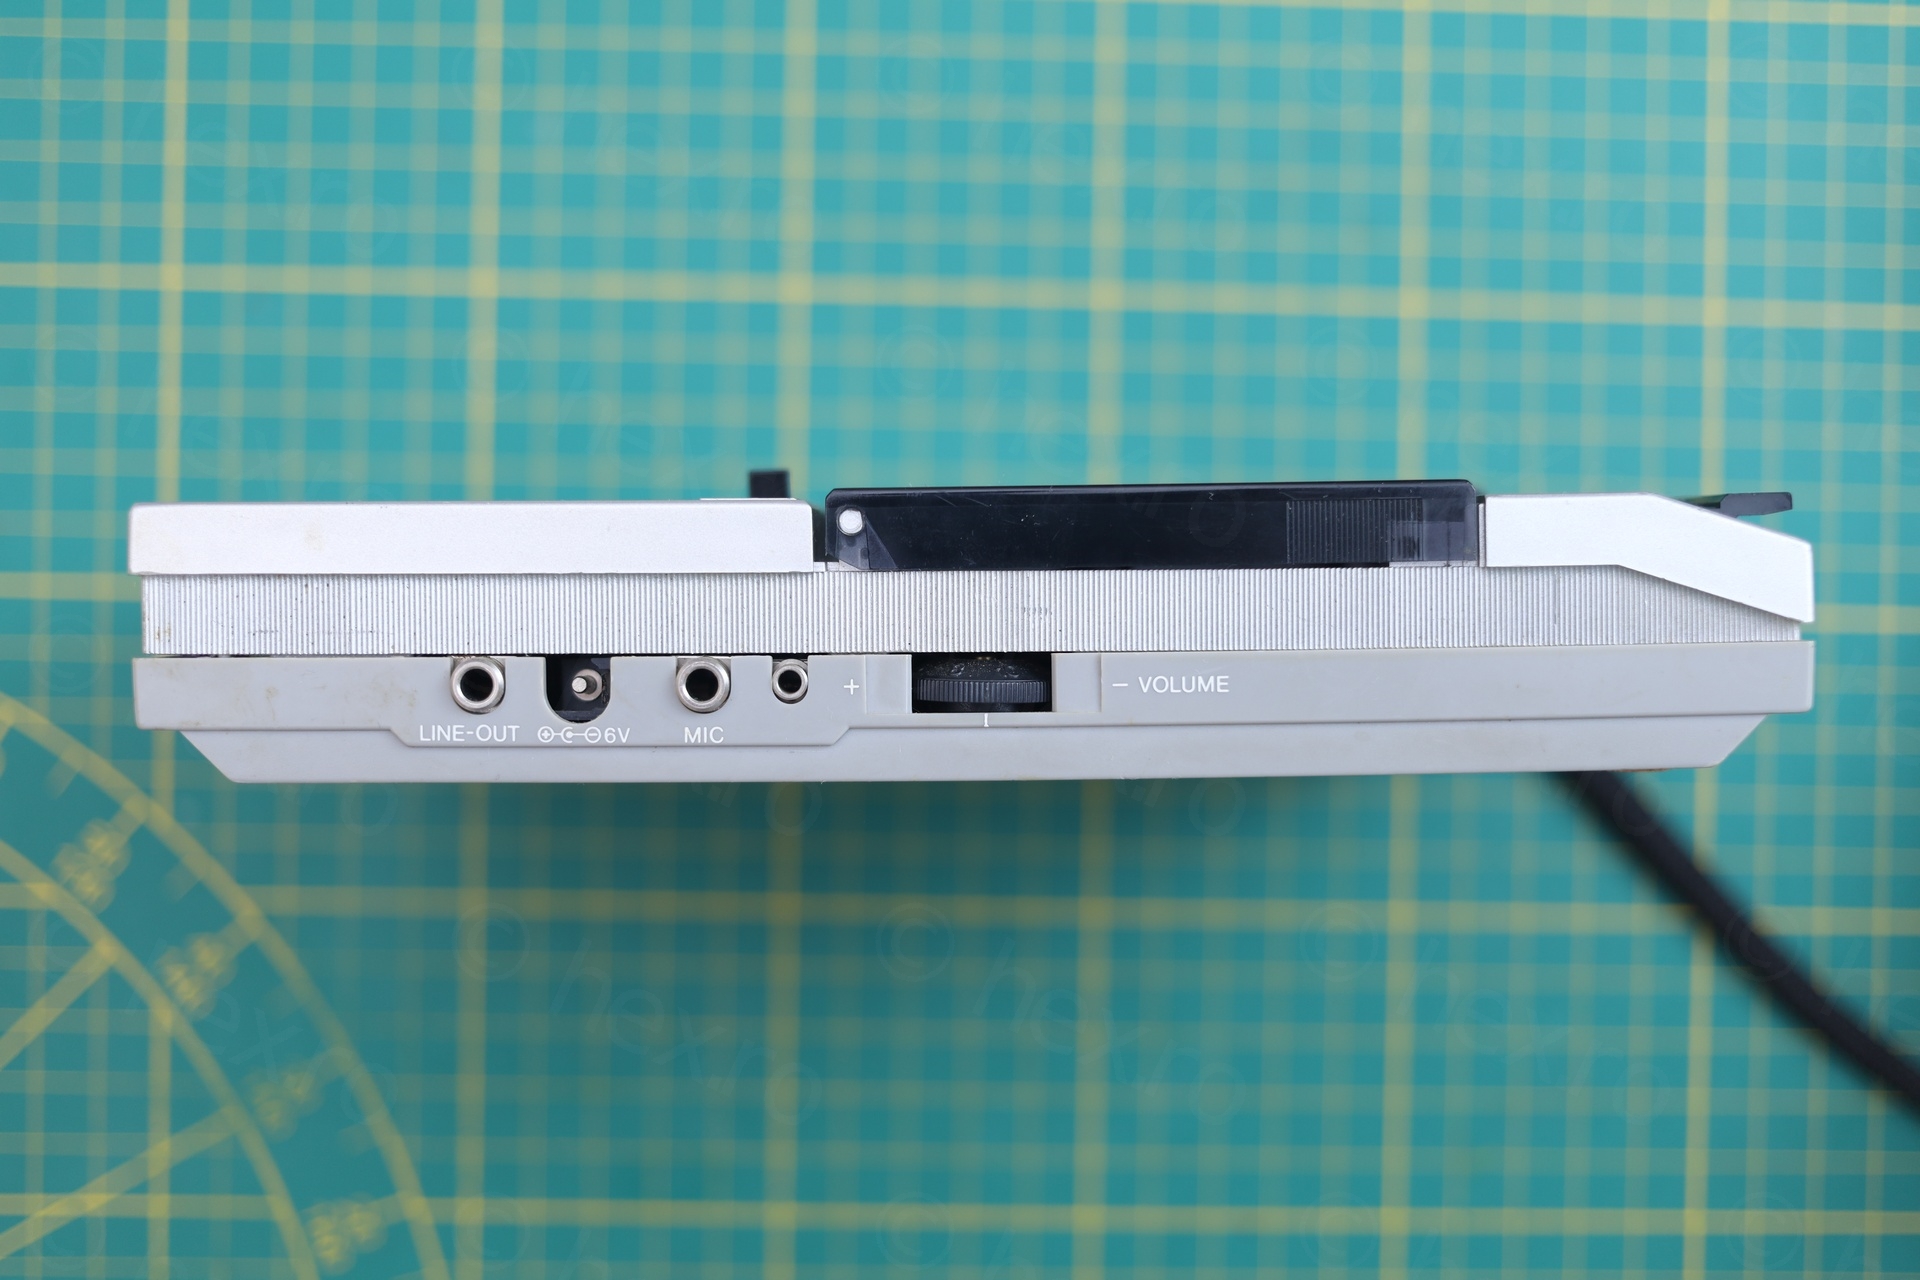

Thankfully it has a separate power plug (6V, center negative) and I was able to power it on for a quick inspection.
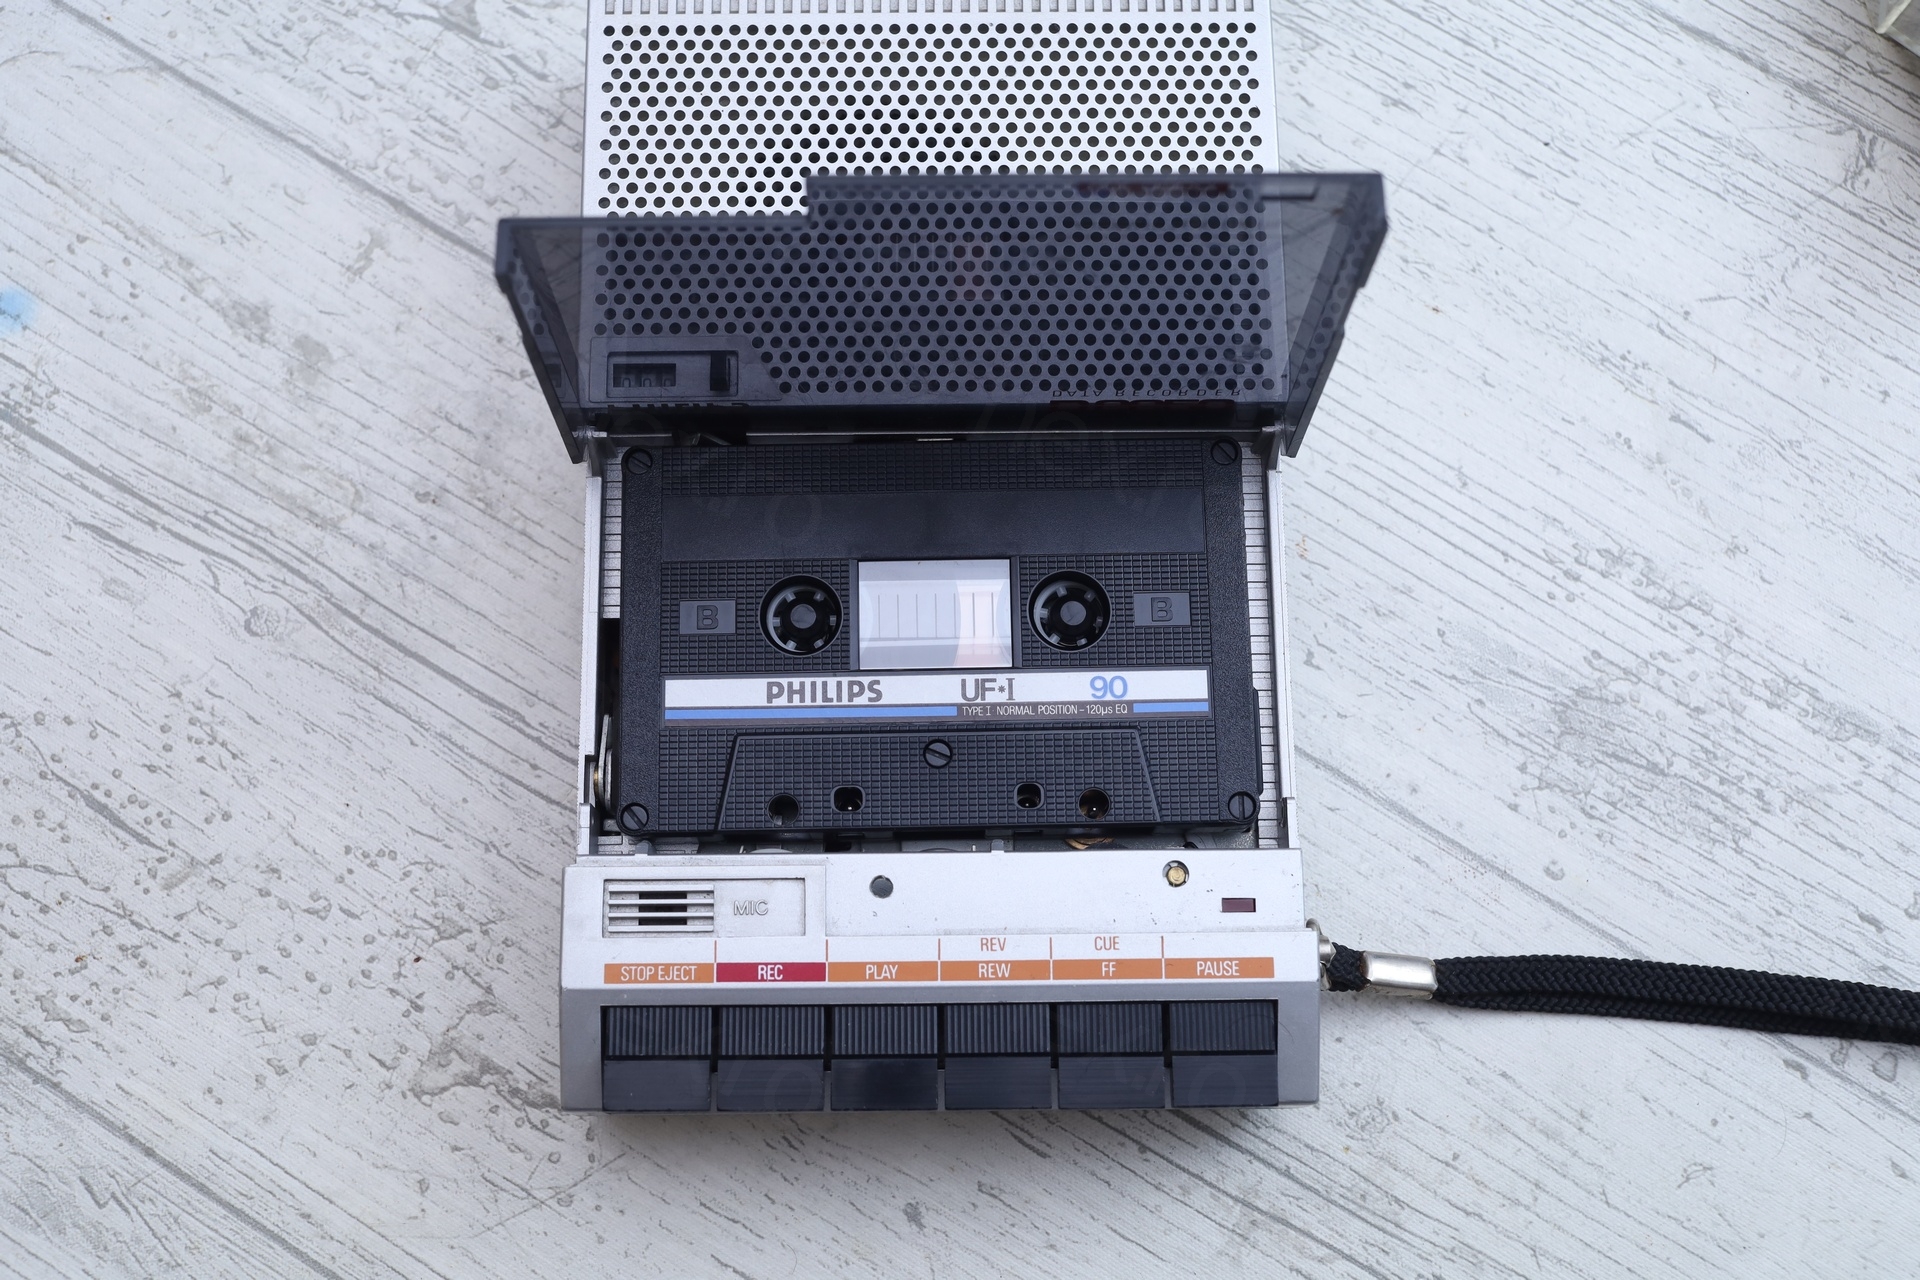
Disappointing experience. On max volume, I could hear a very very weak signal. But what was not faint, was the amount of hiss. Randomly, there was a positive reaction and the hiss would max out in volume.
Watch out if you listen on headphones (especially around 0m25s):
Opening up
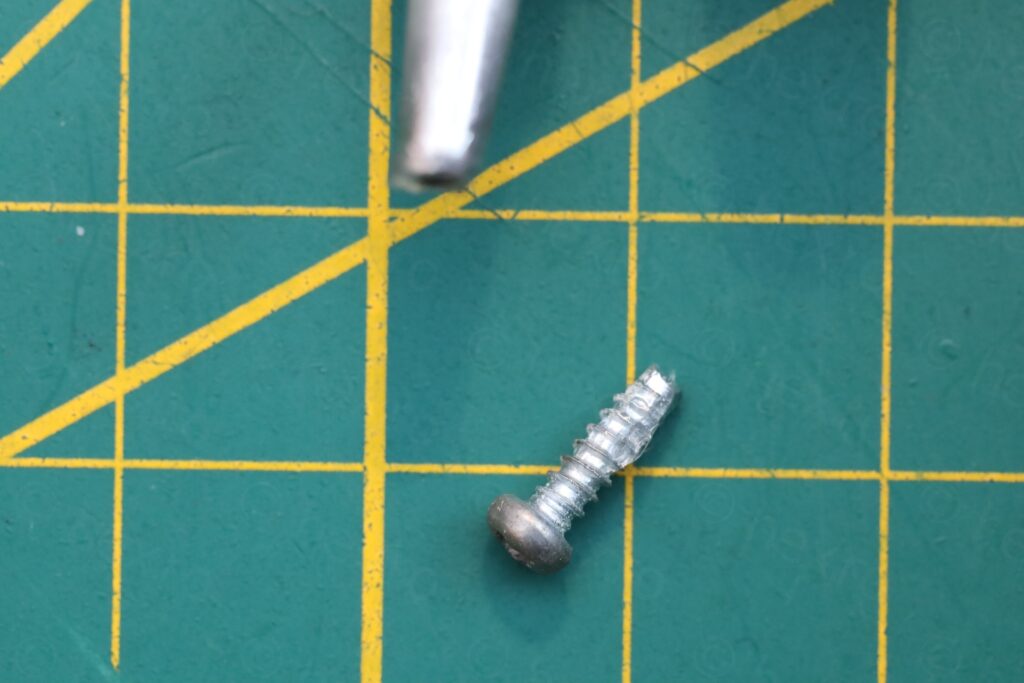
Opening up was easy. Philips took some shortcuts, the screws are the ‘self tapping’ into plastic screw-holes.
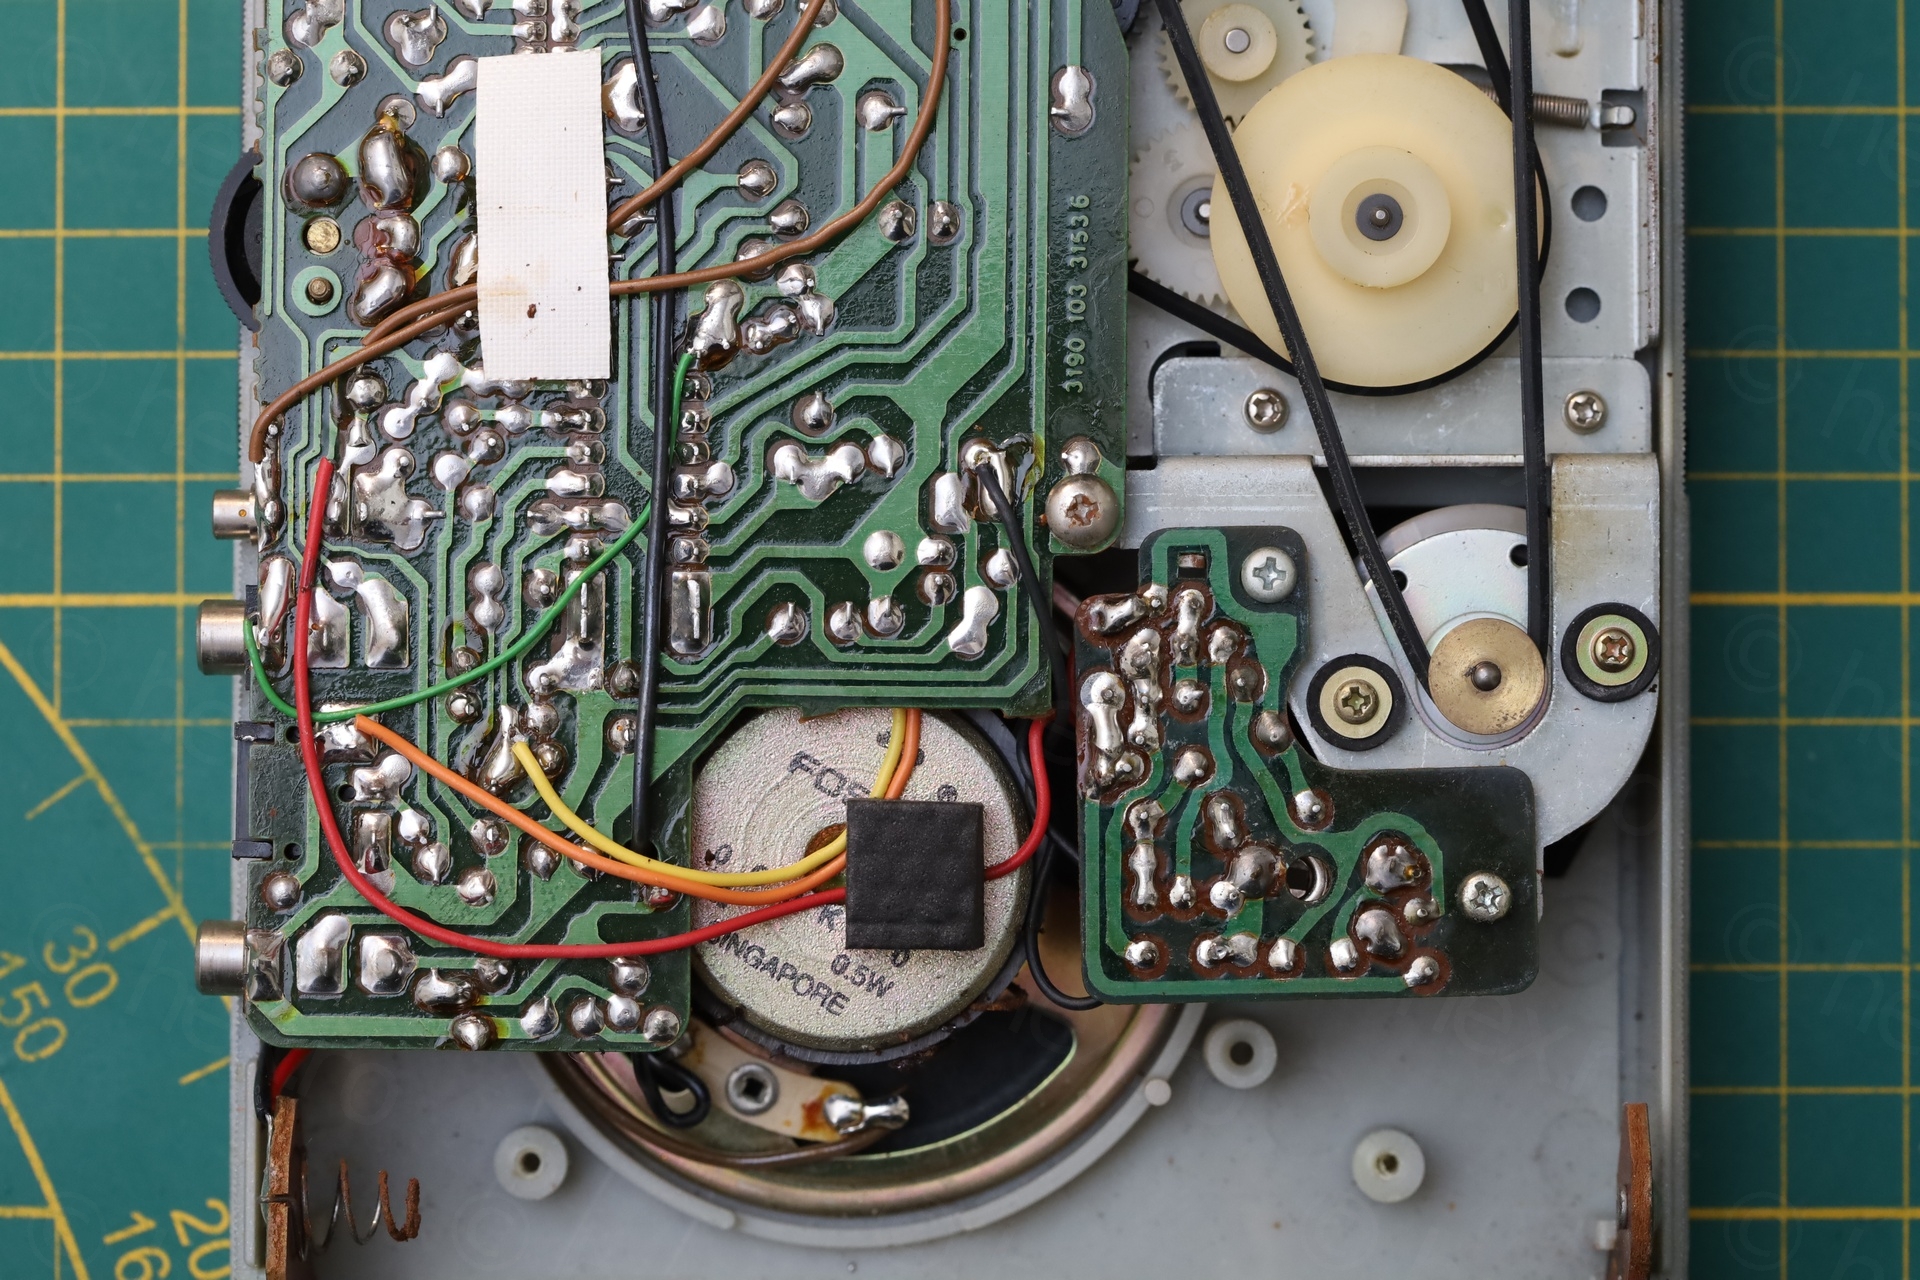
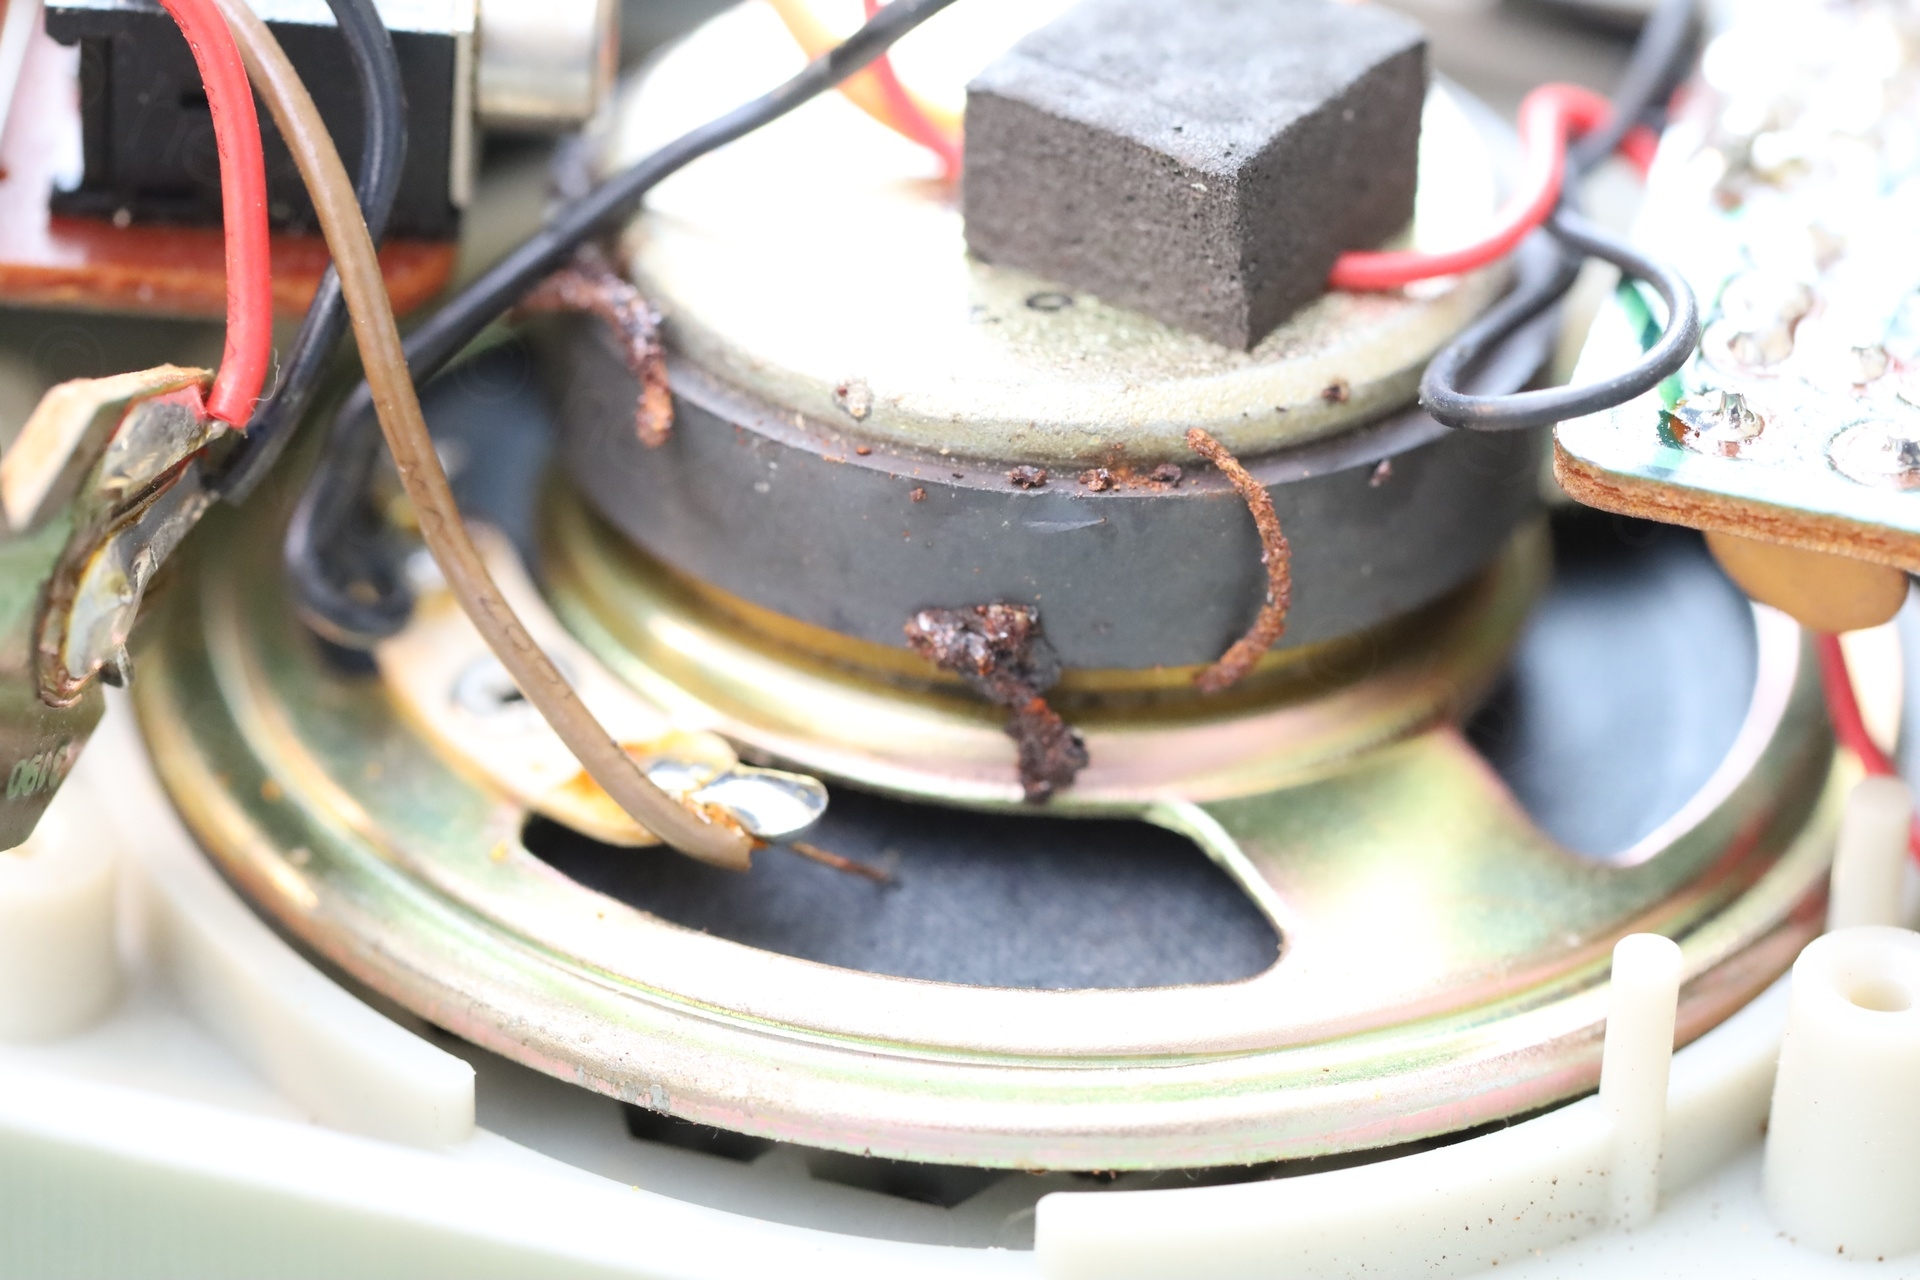
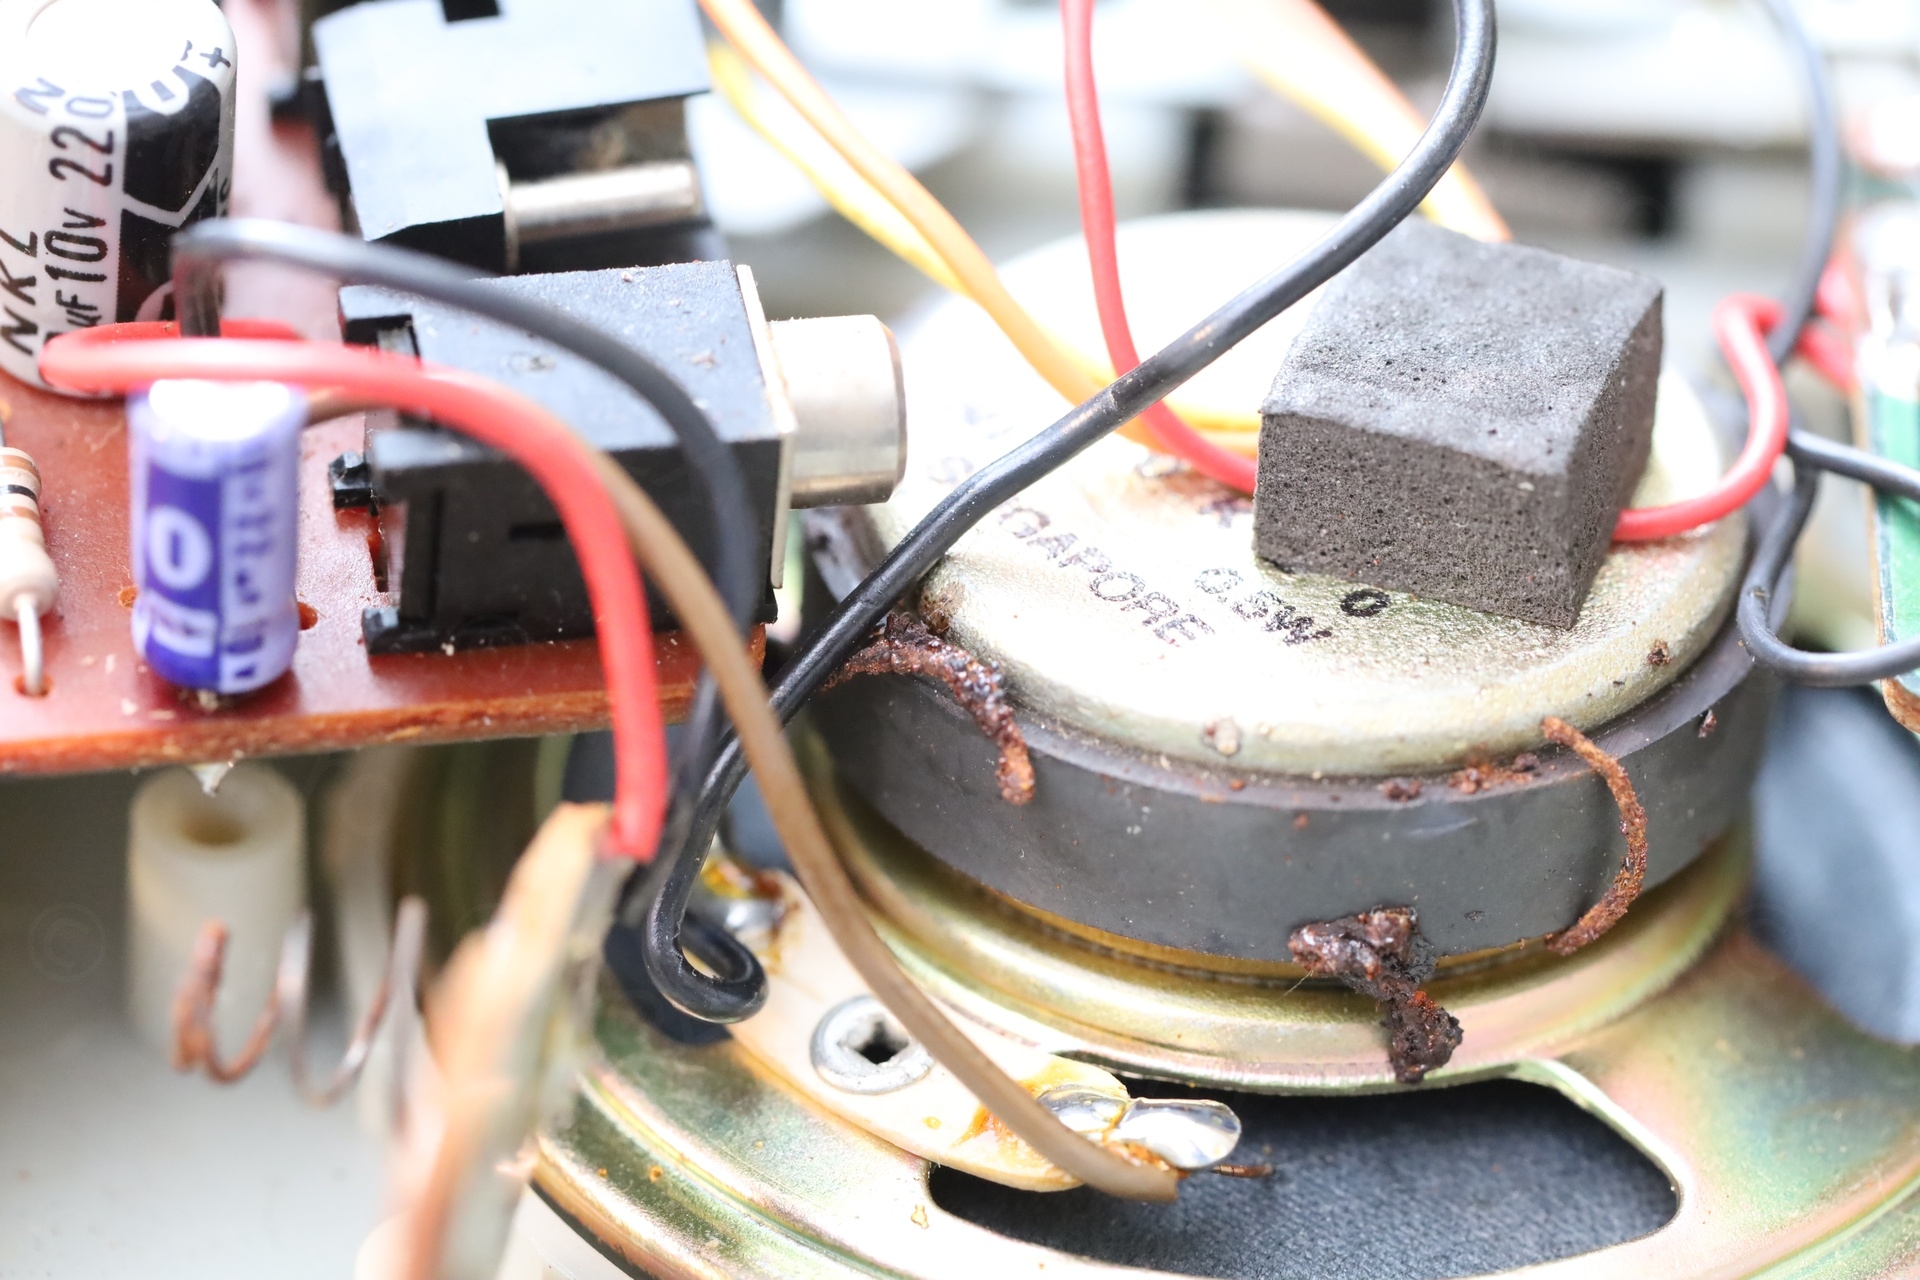
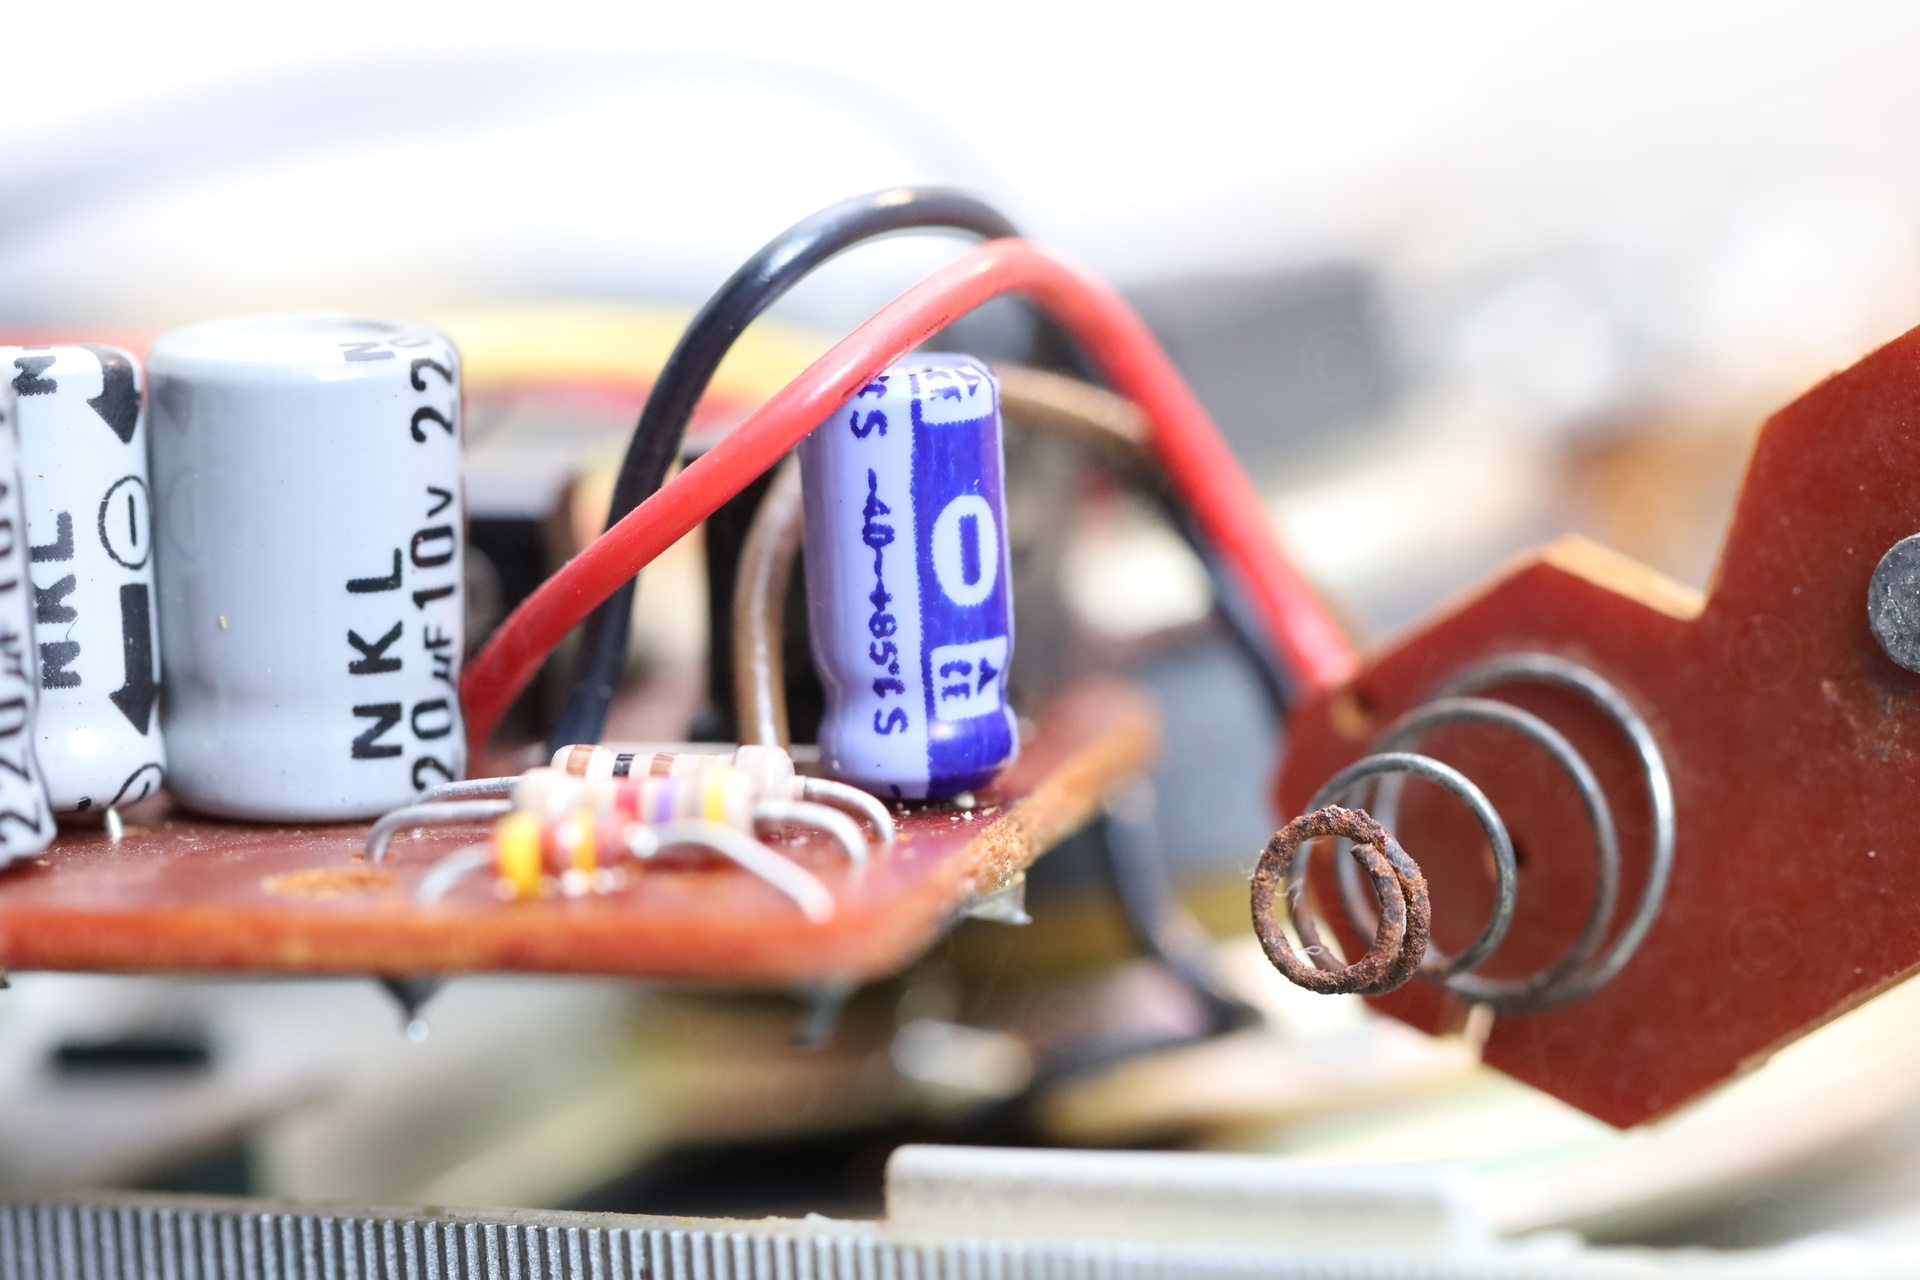
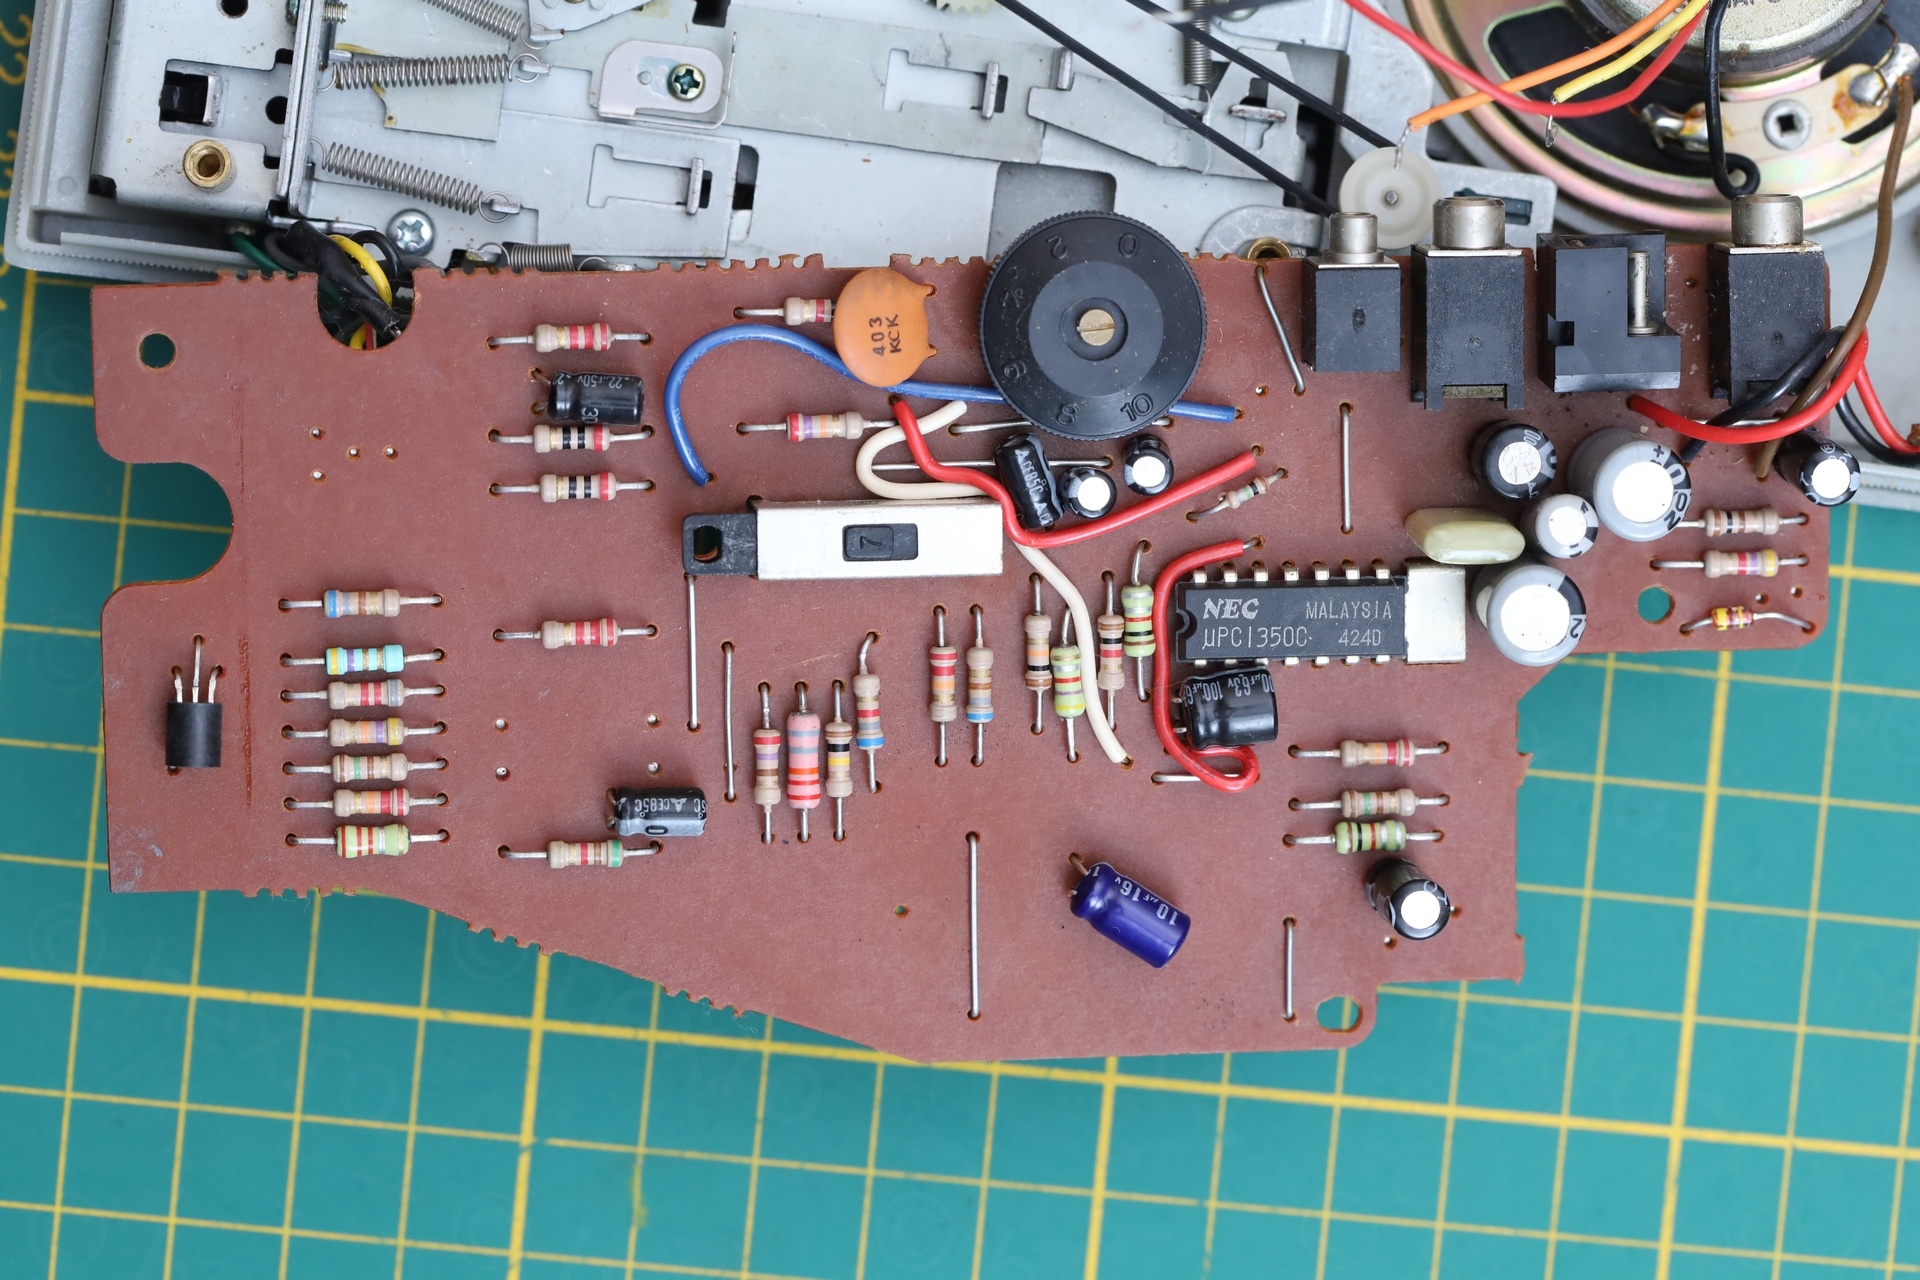
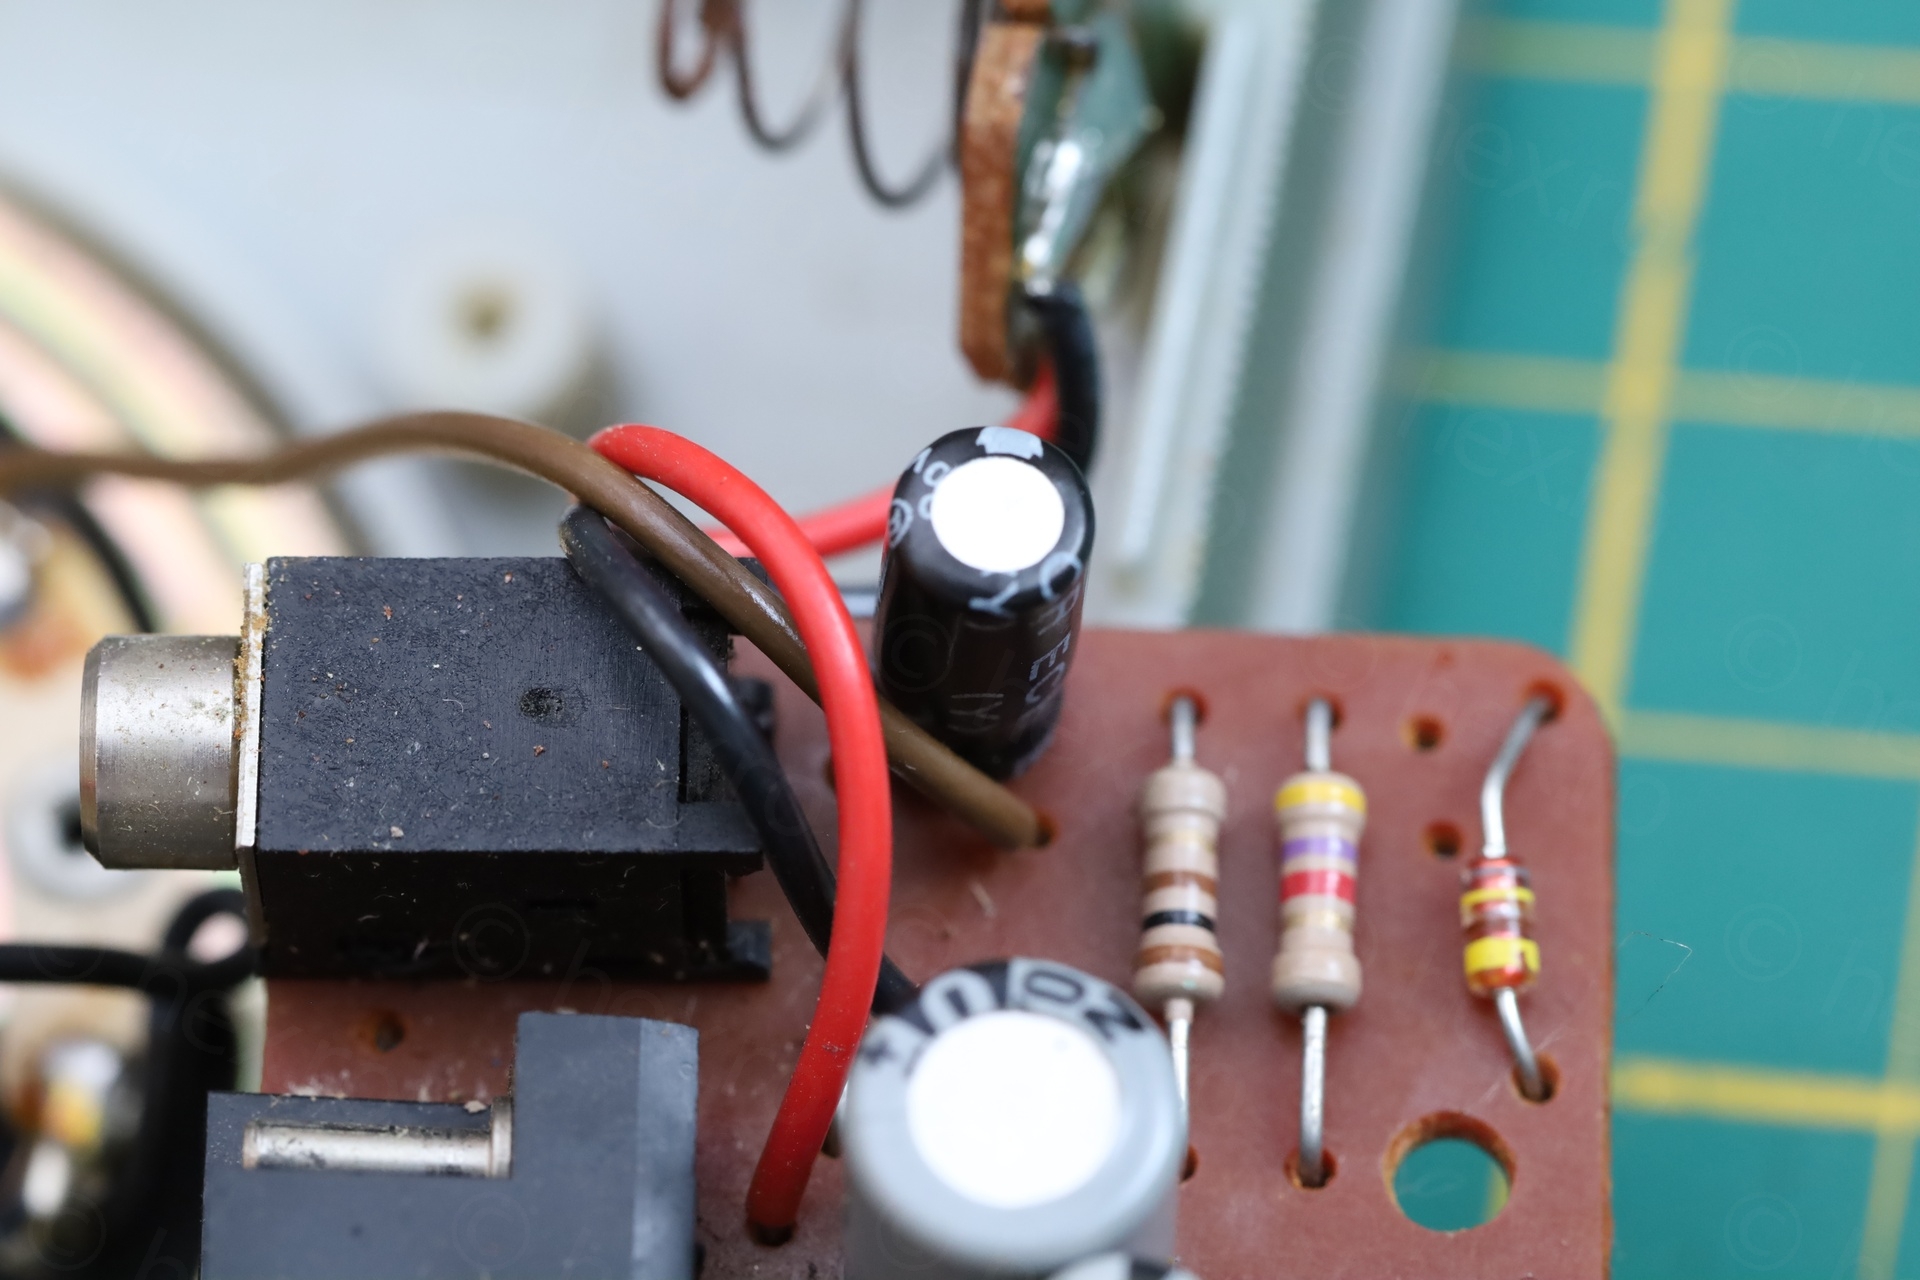
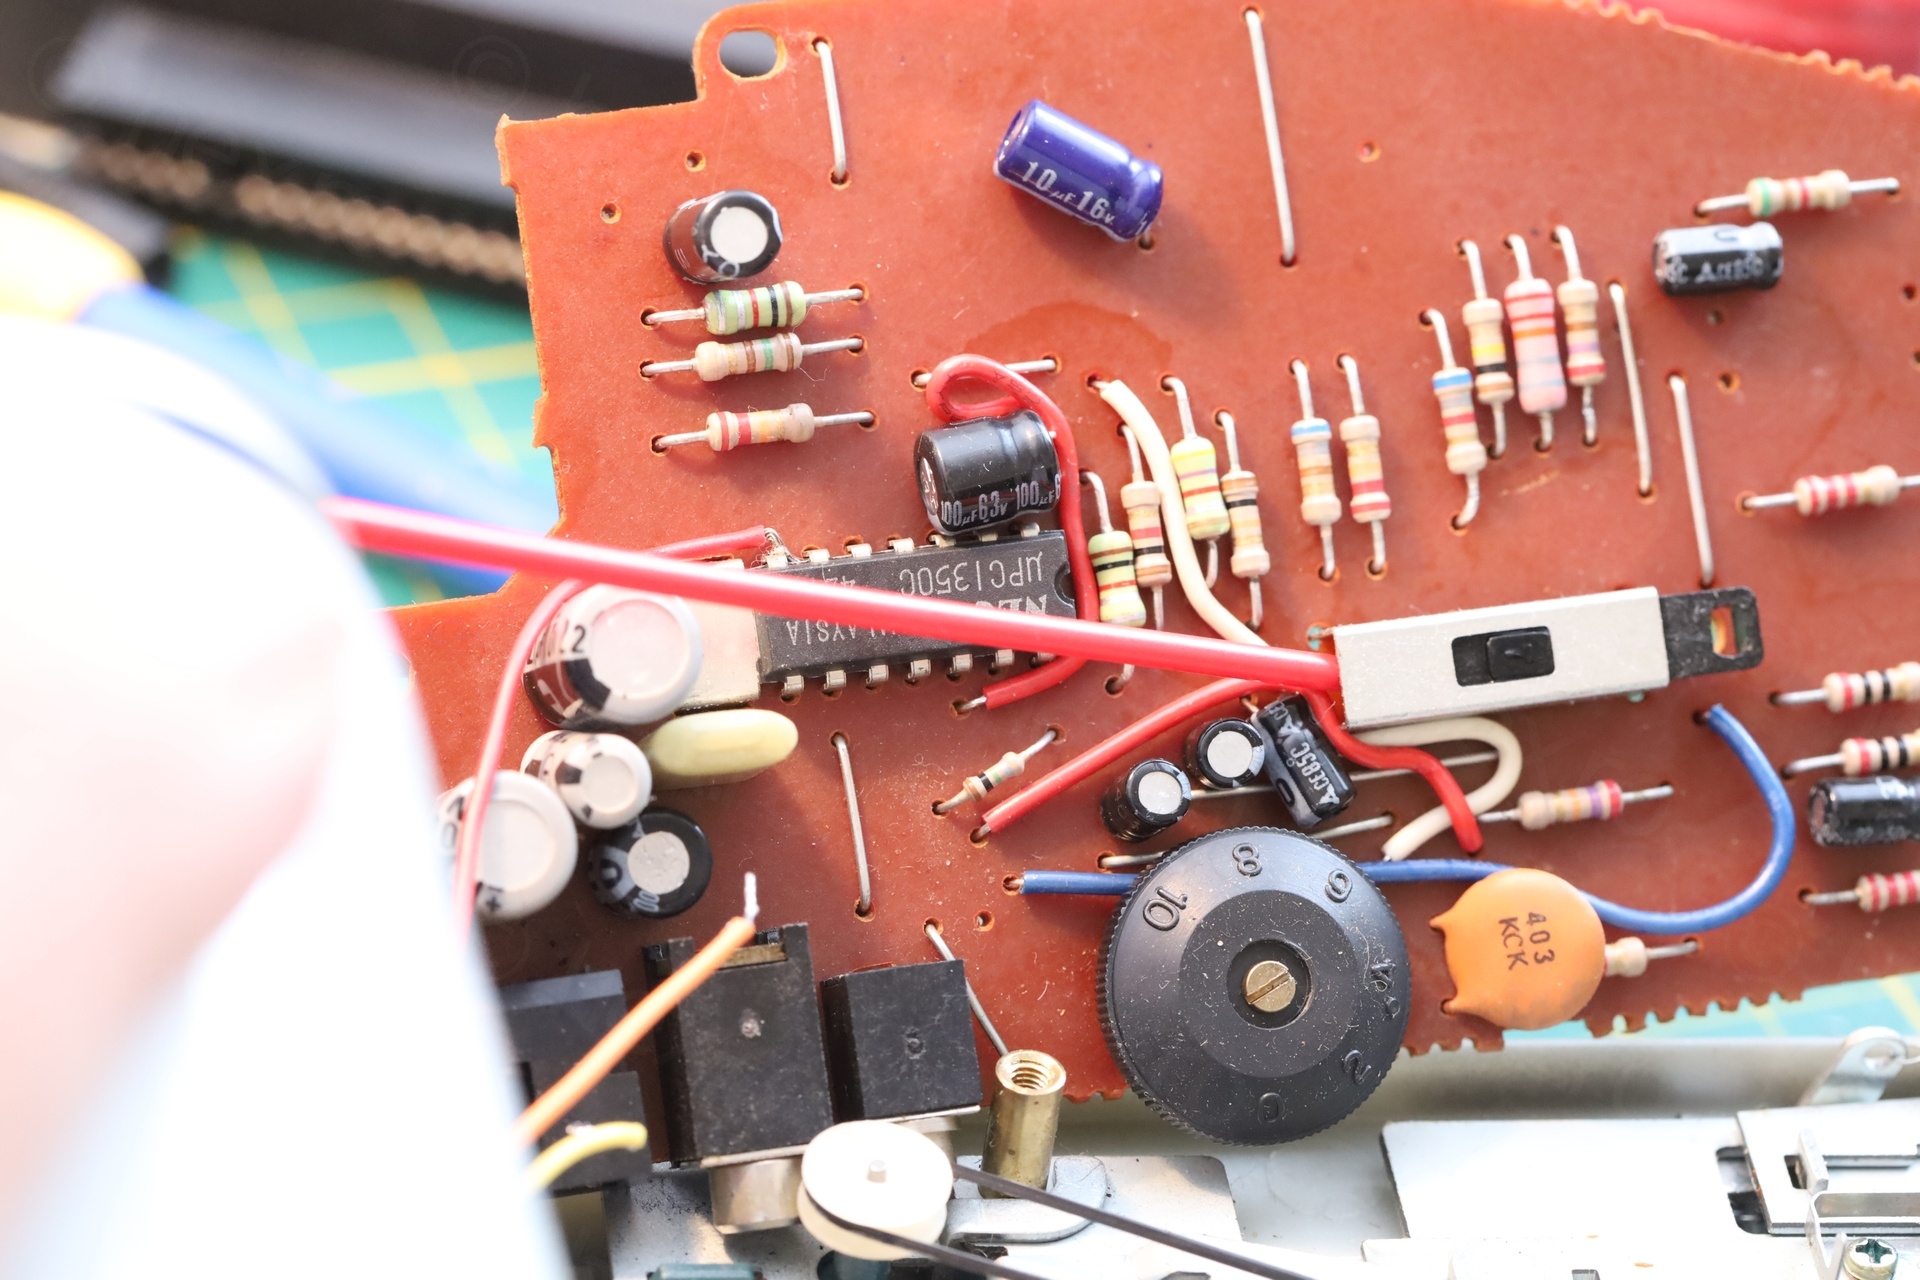
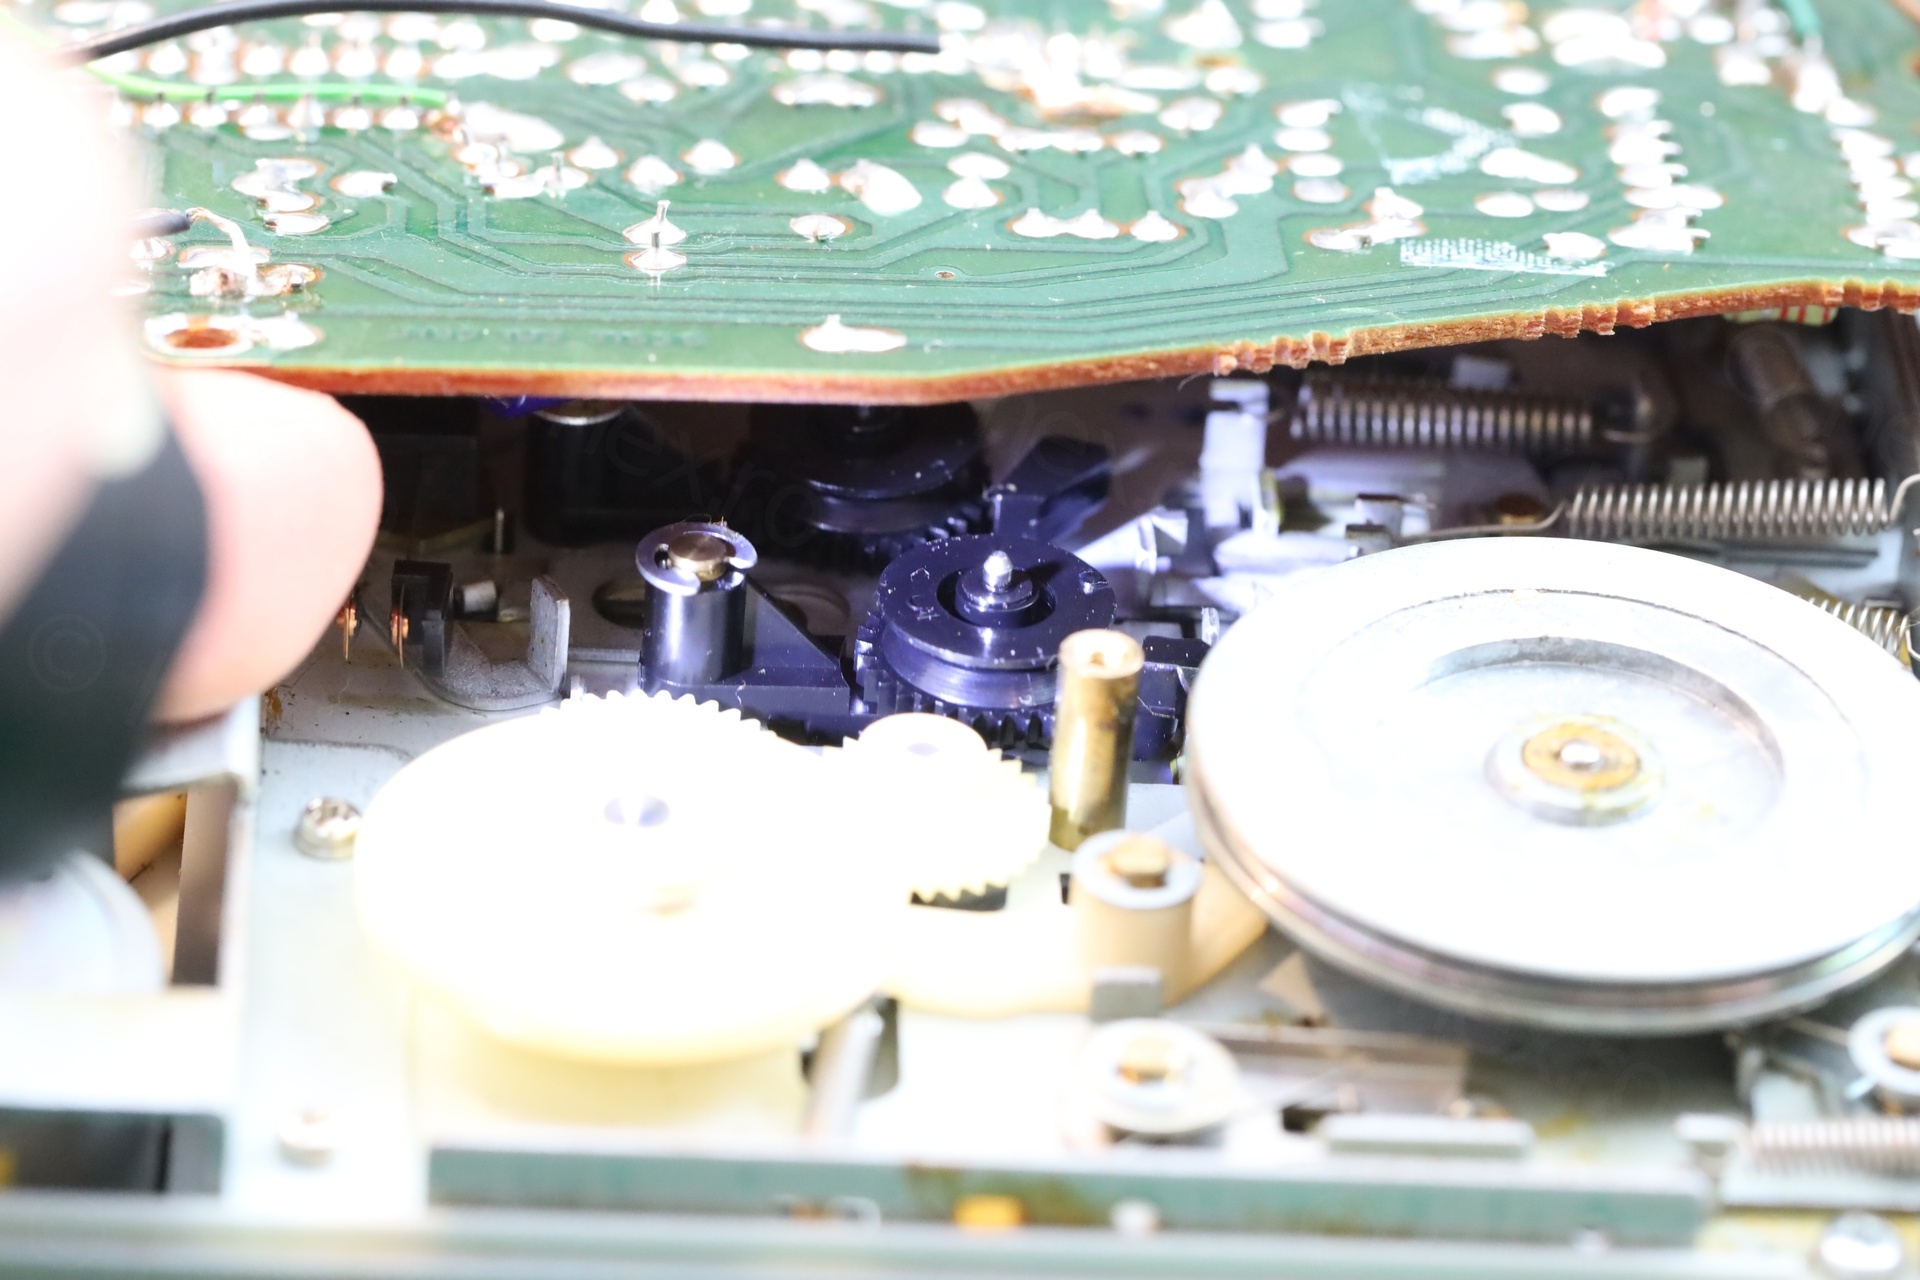
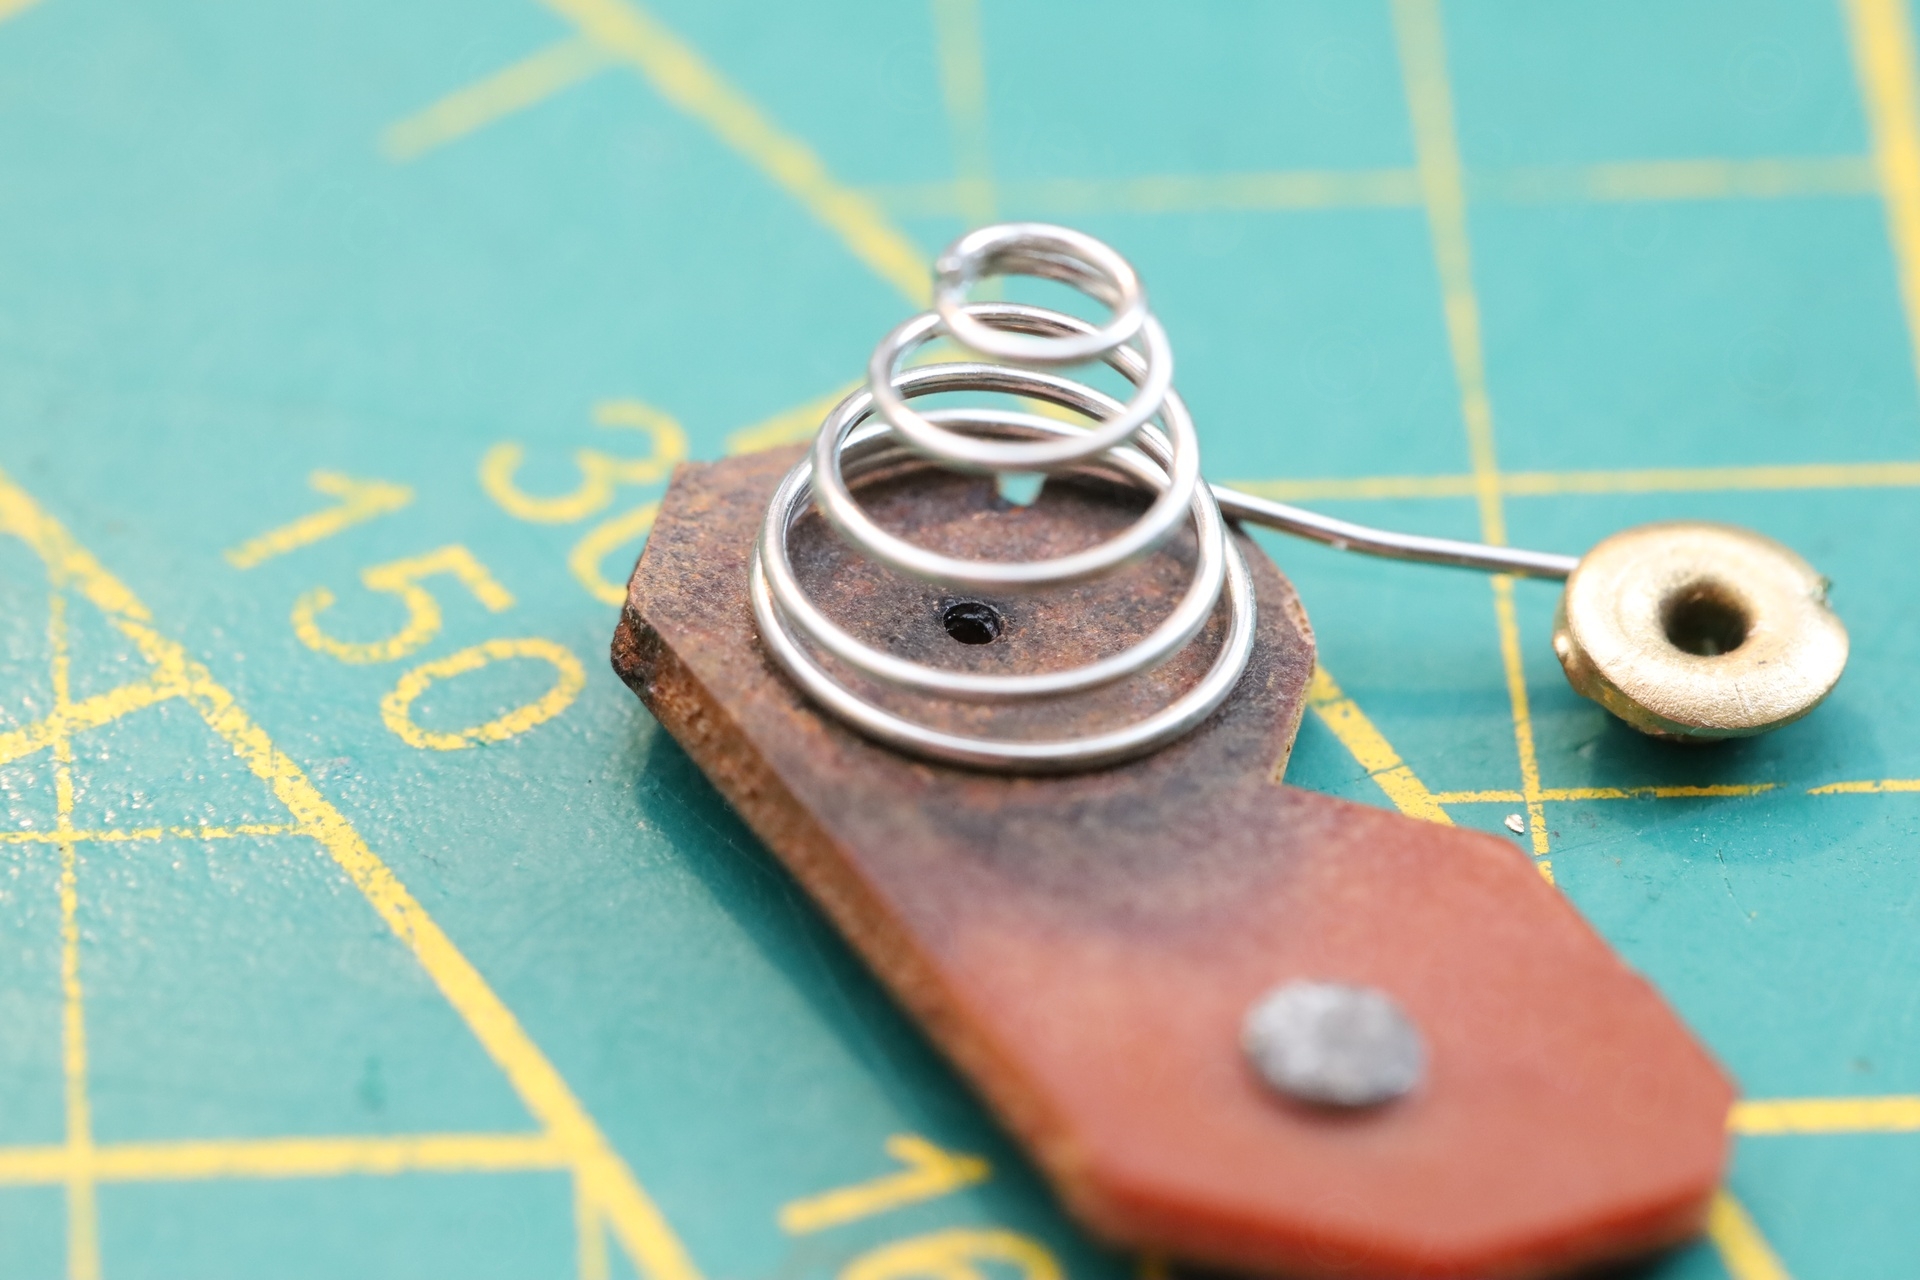
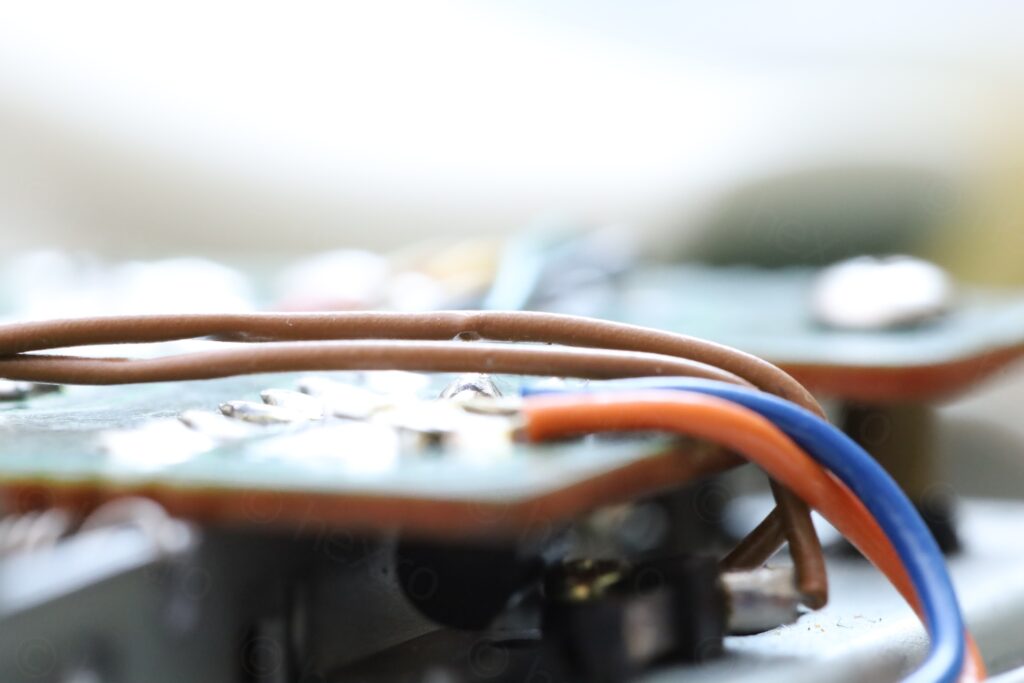
There was nothing at first sight that may justify the faint audio signal. I had to remove the circuit board so that I could see and test components. This involved de-soldering of almost all the wires coming to it. The belts were also loose (but intact, at least, I didn’t have to scrape away melted rubber). And found some rusty remains (the former battery spring) that were attached to the speaker magnet.
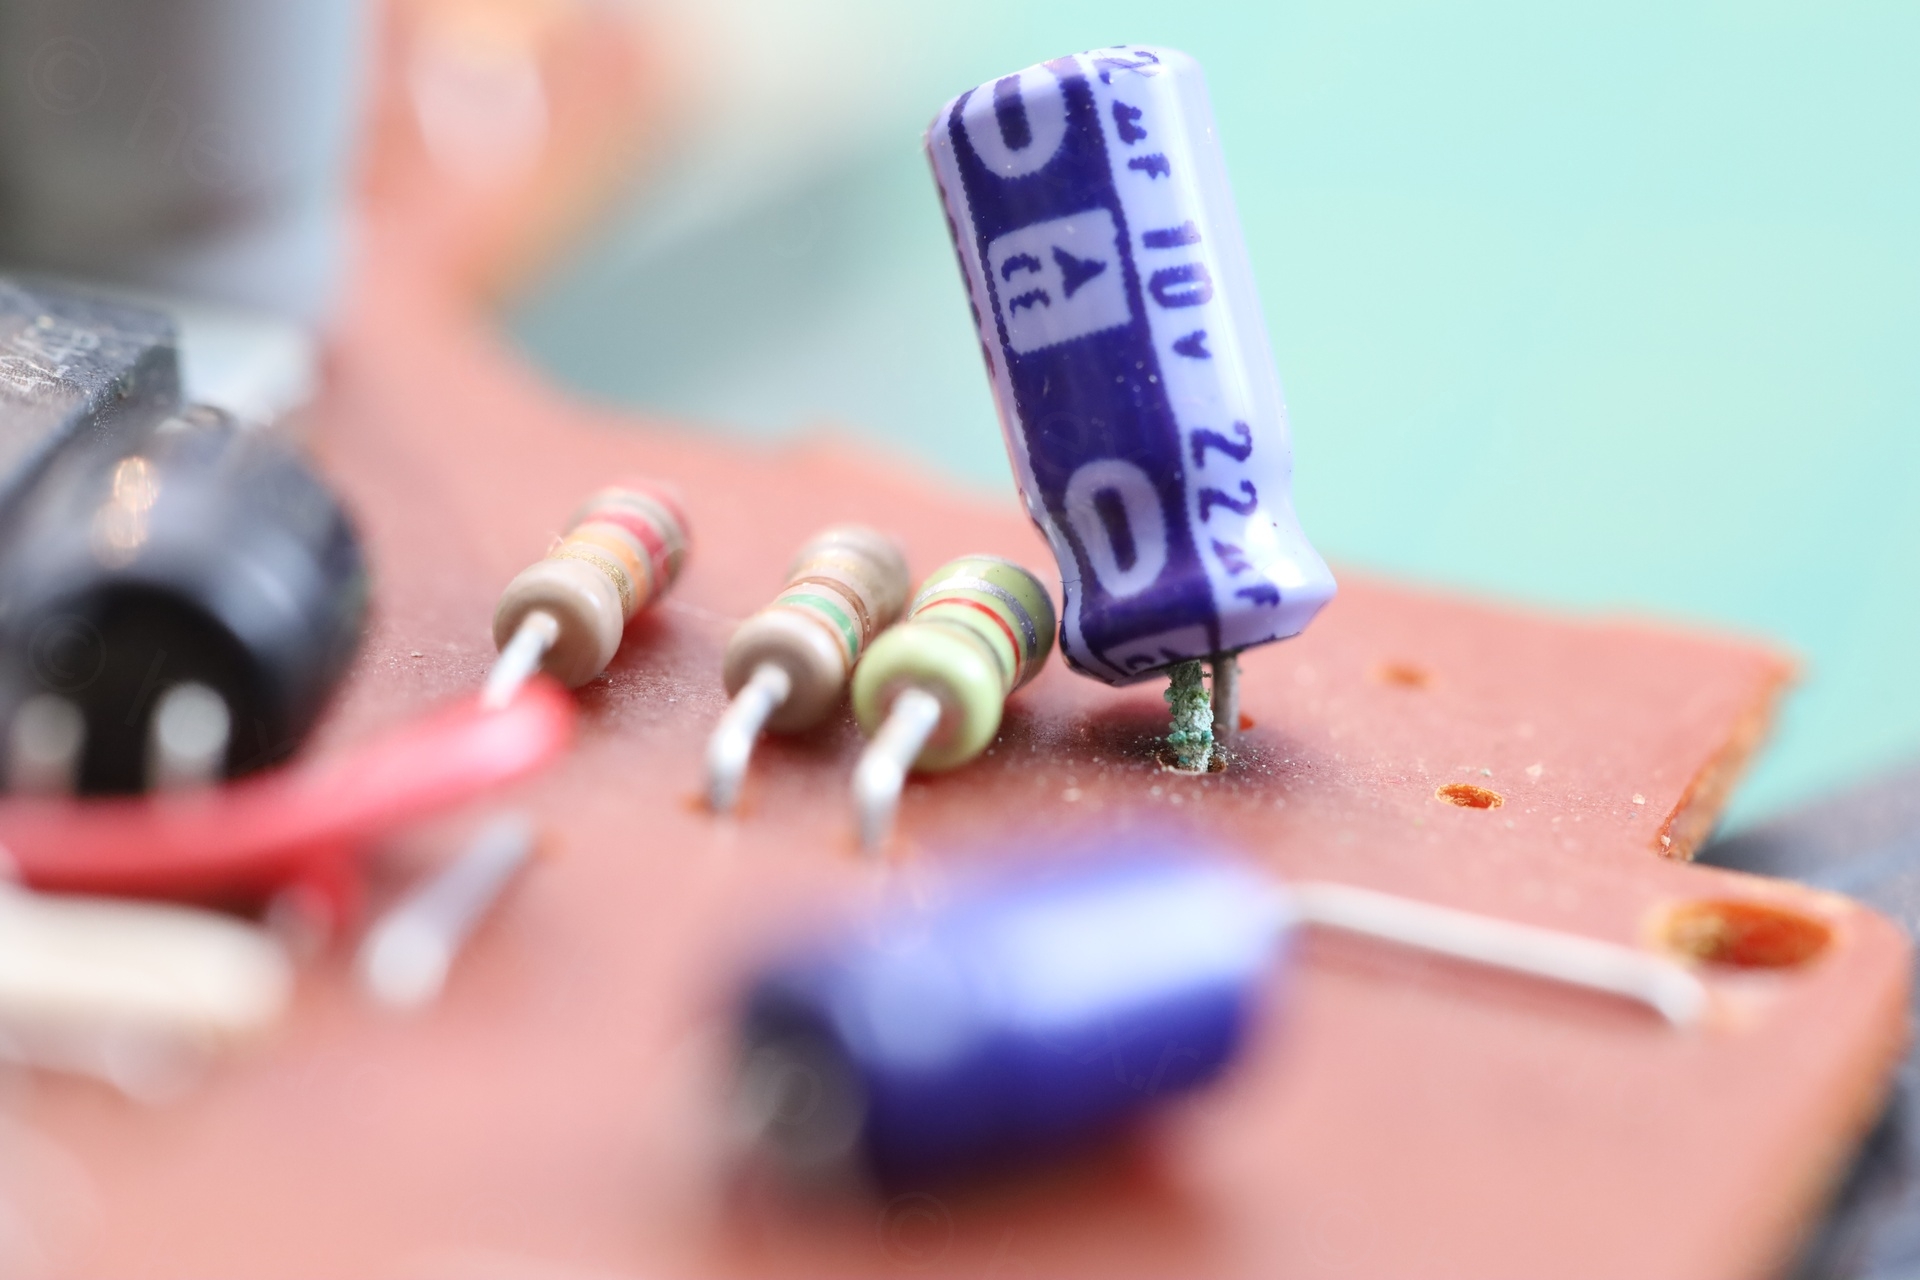
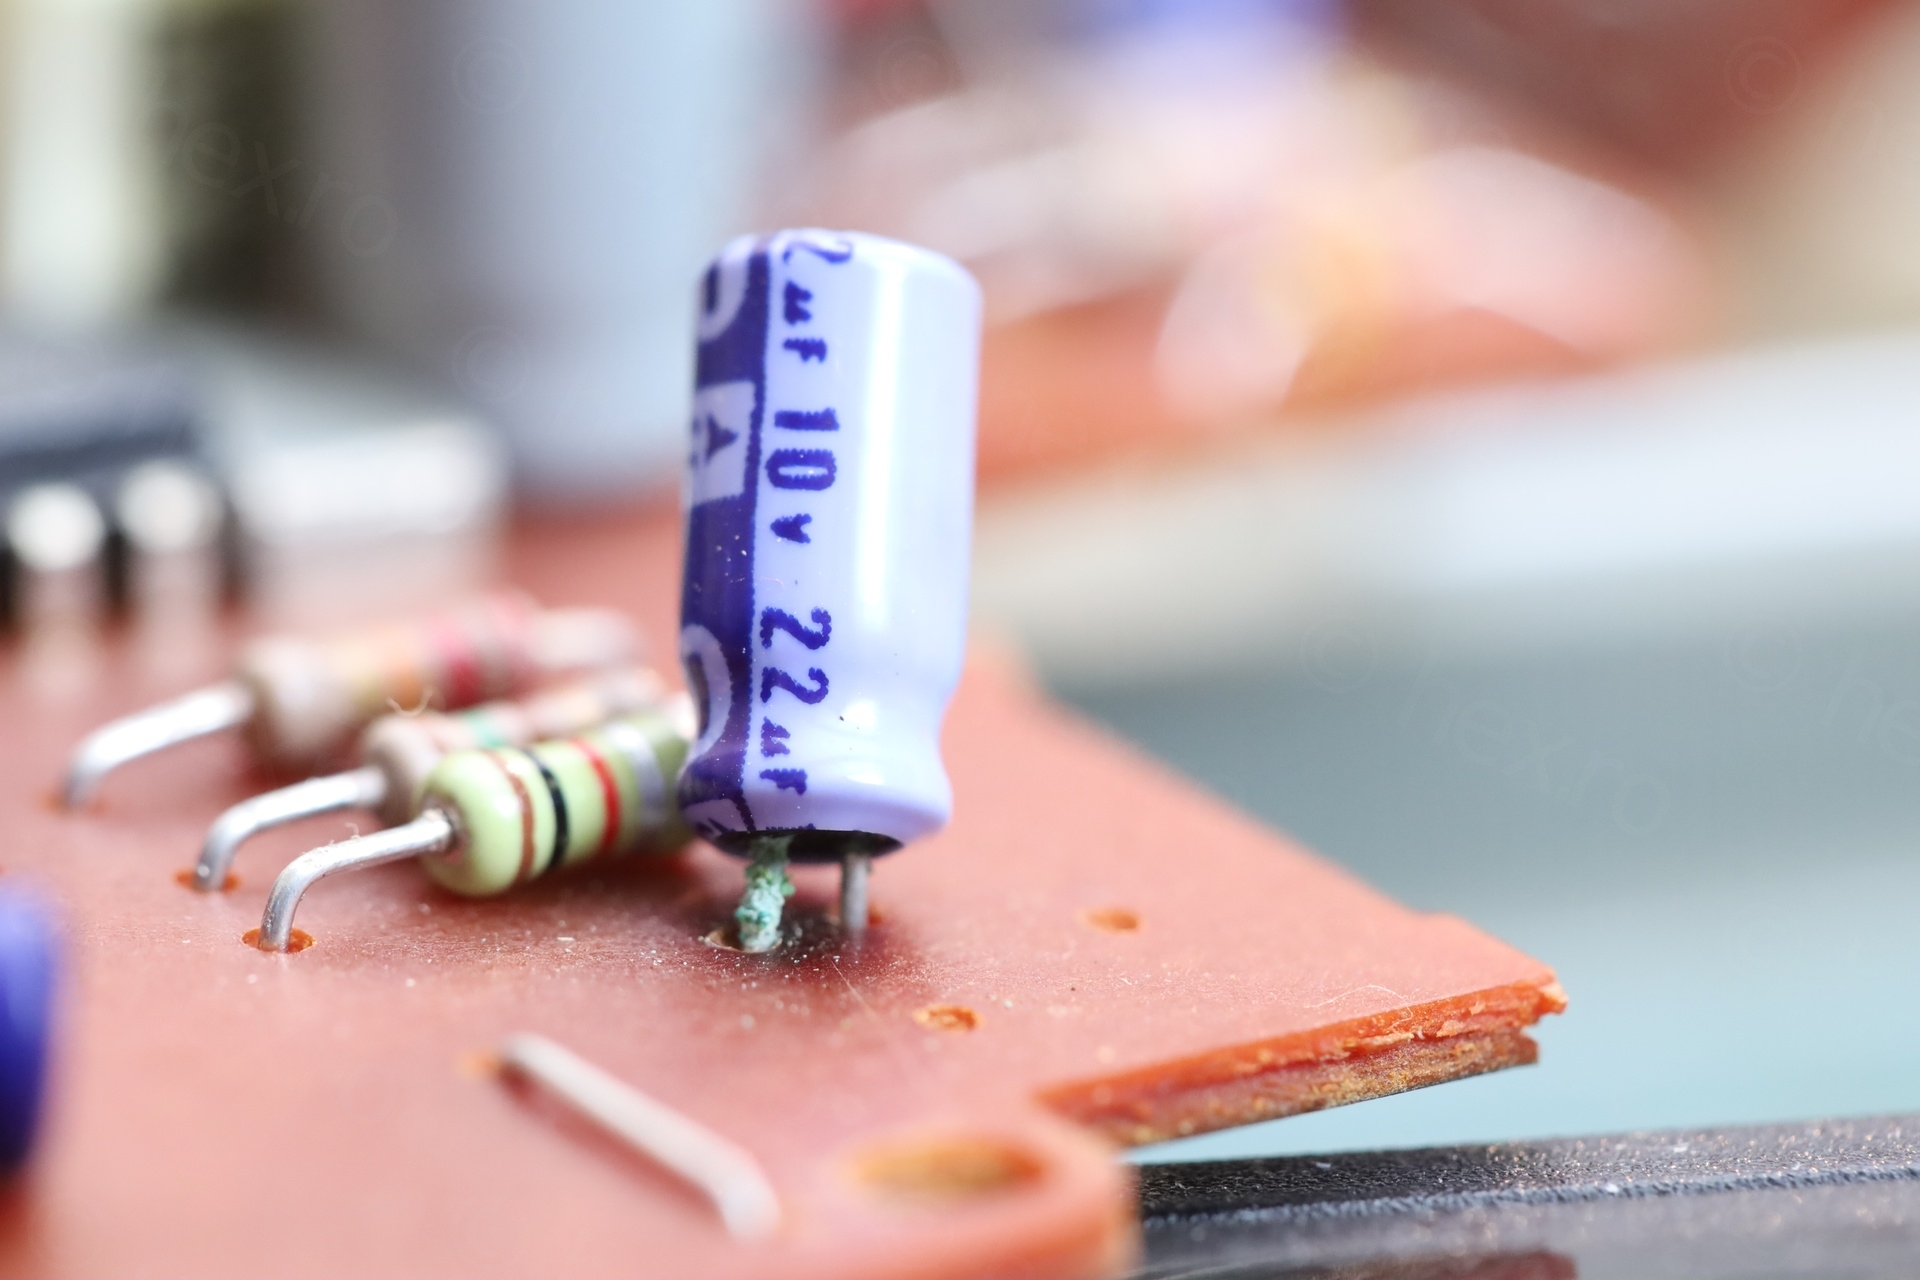
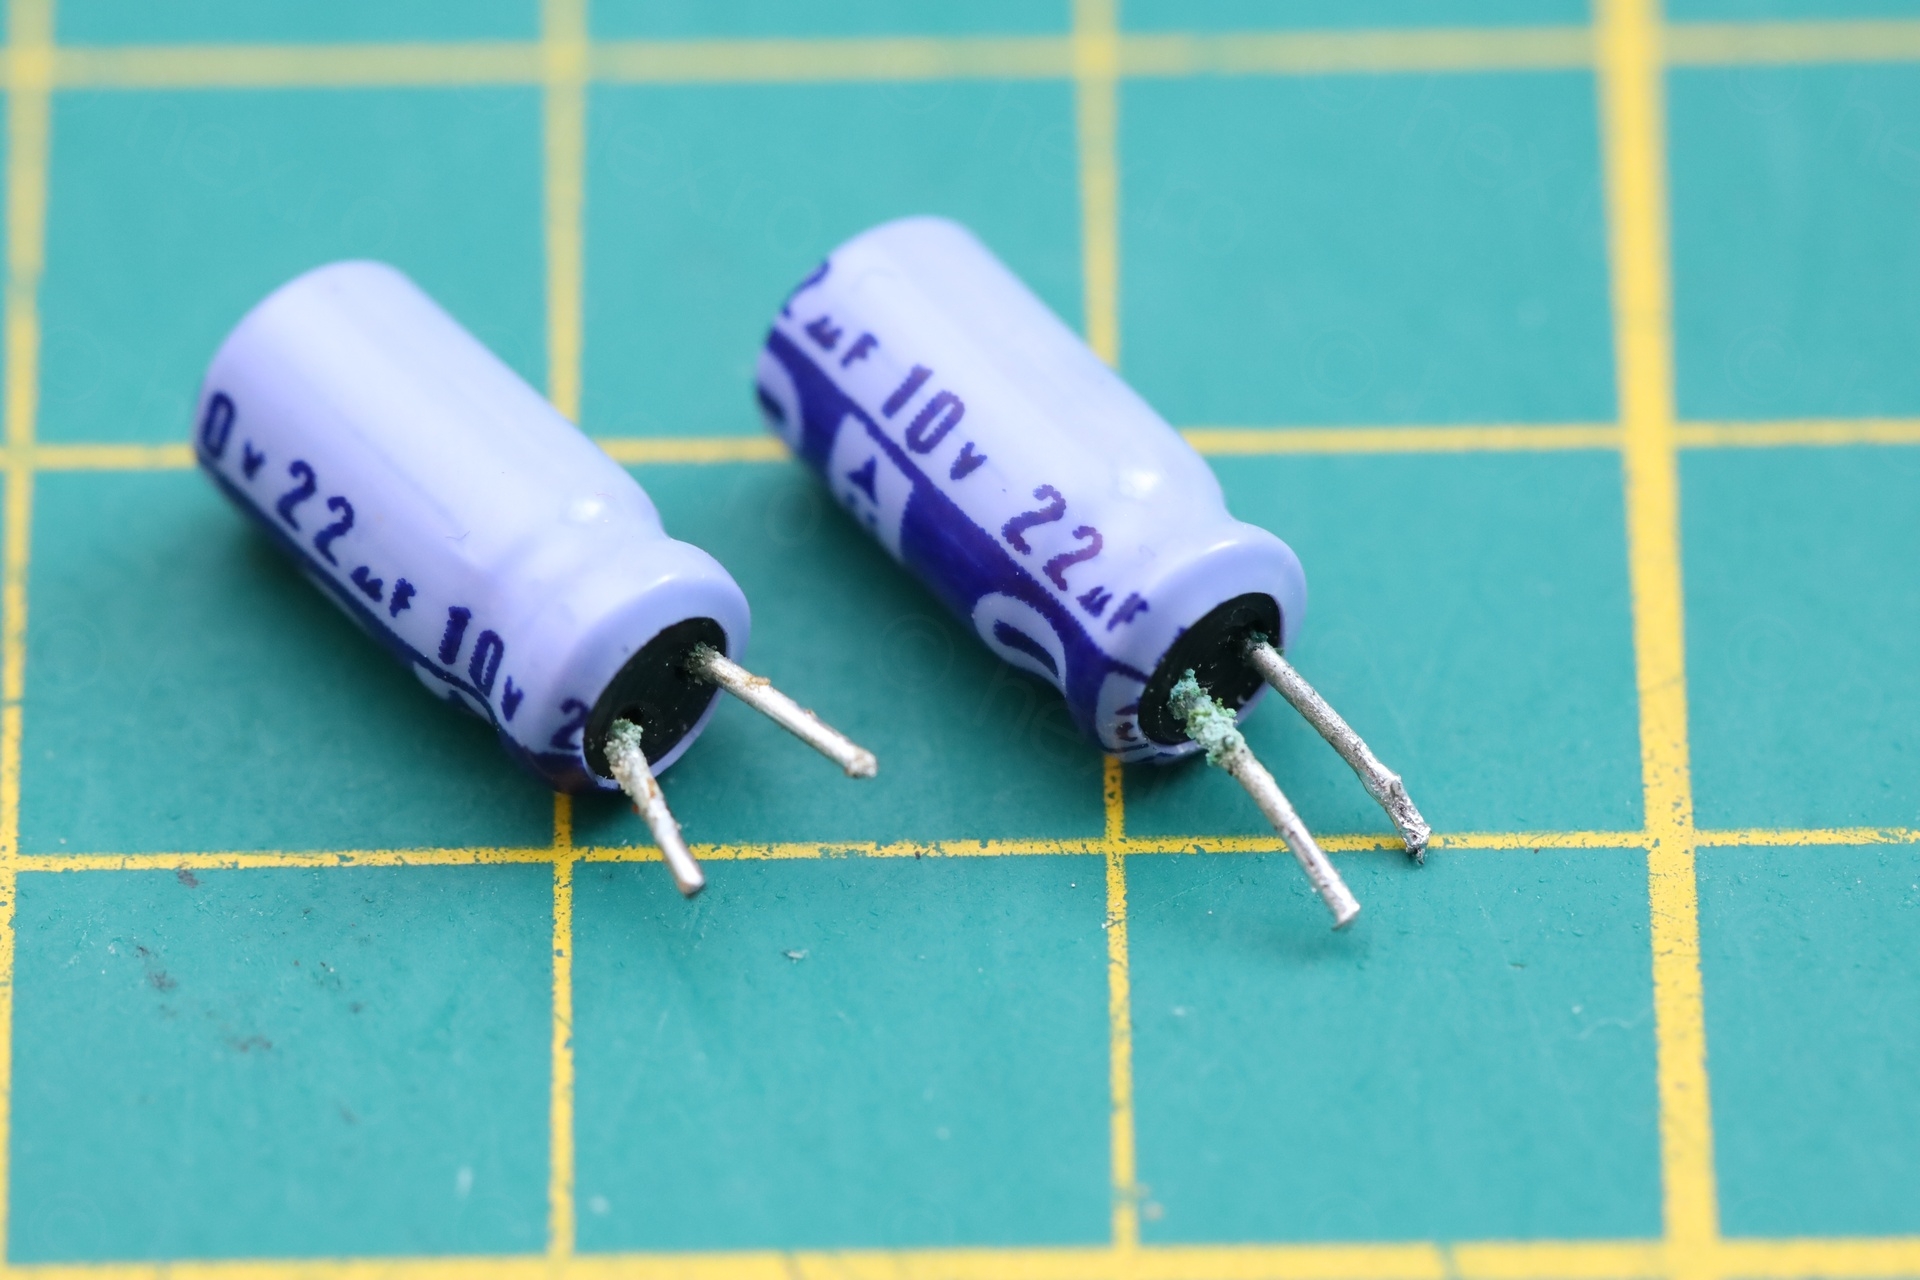
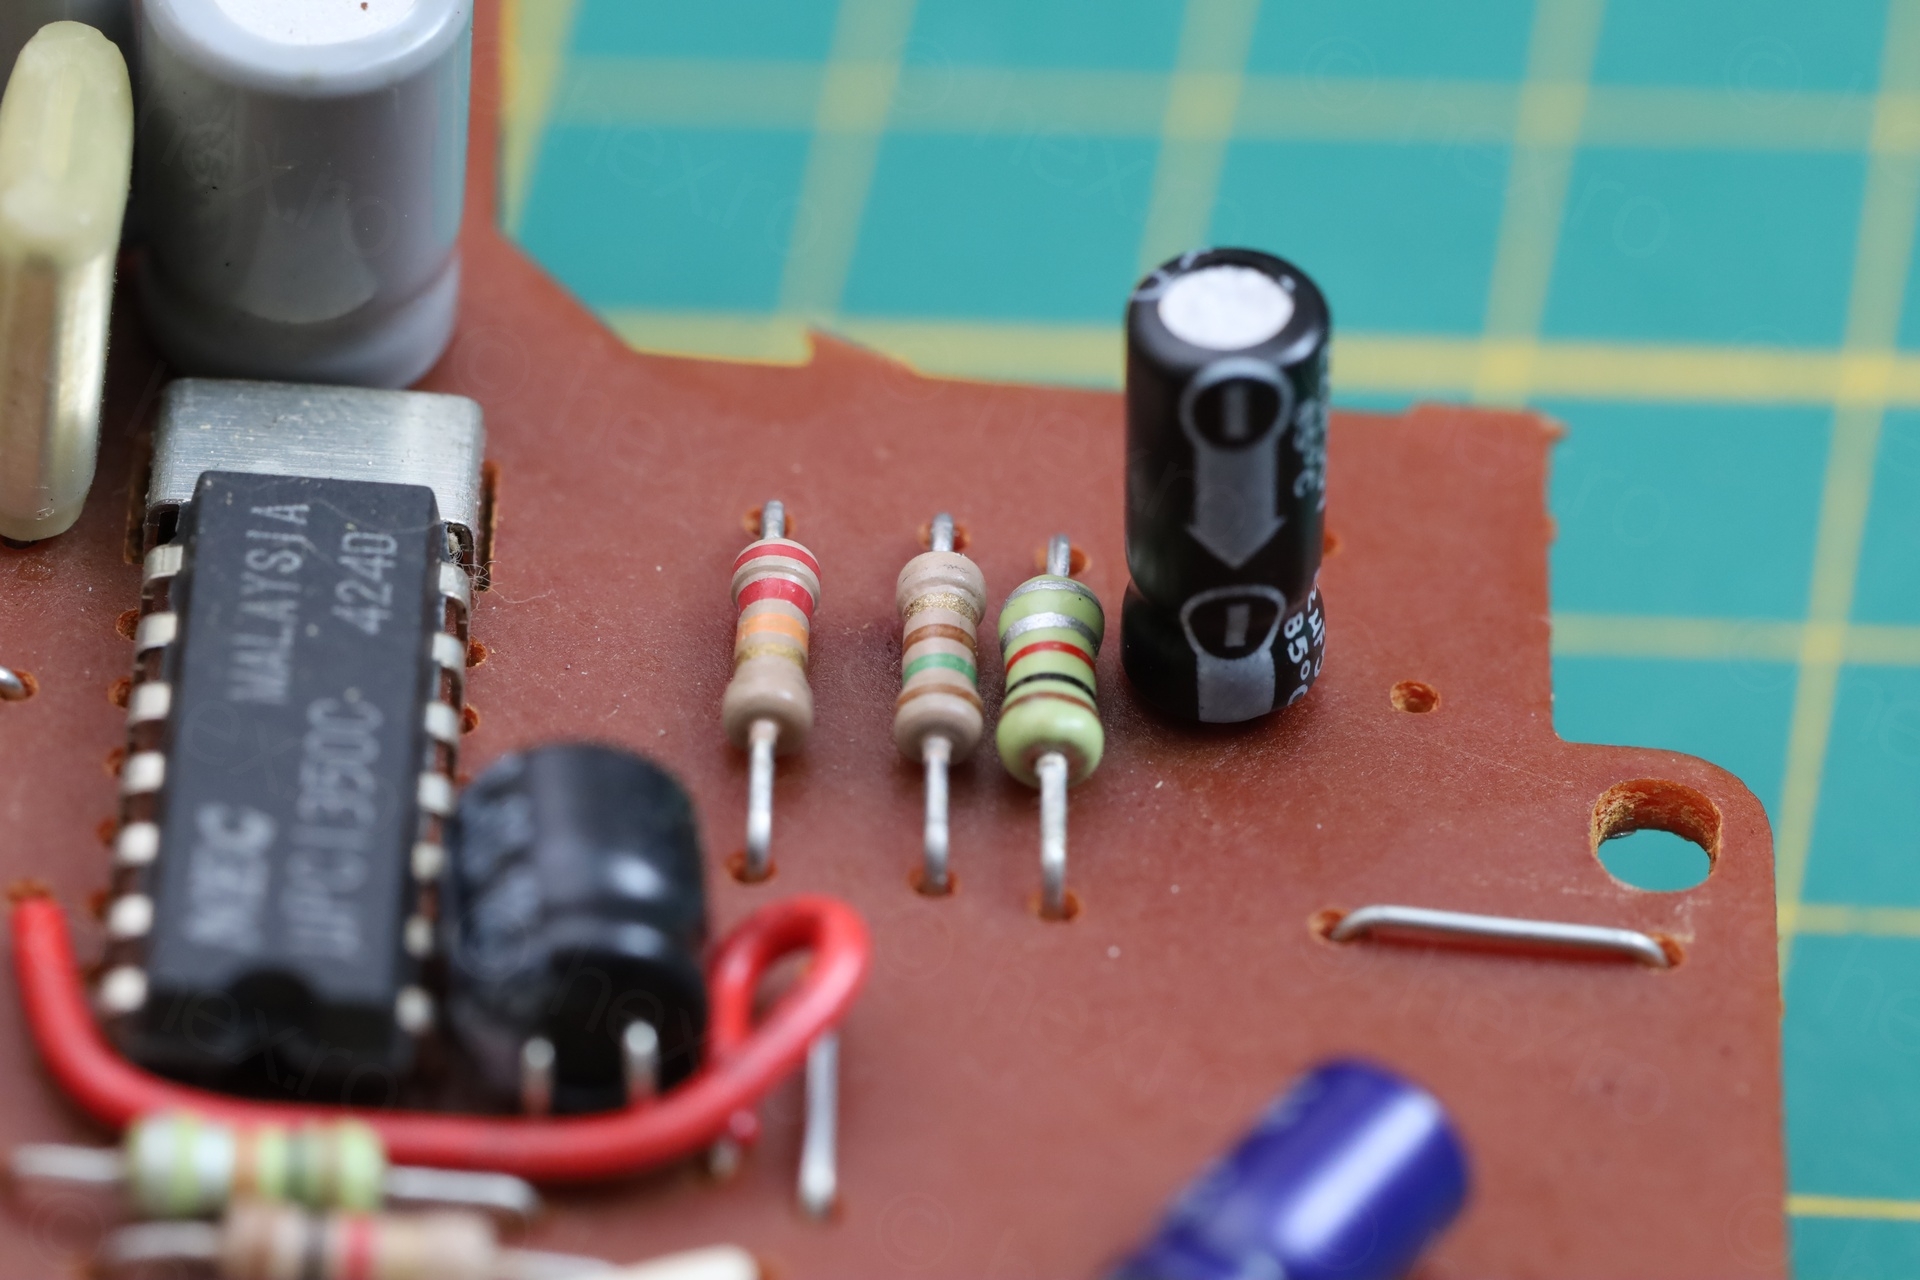
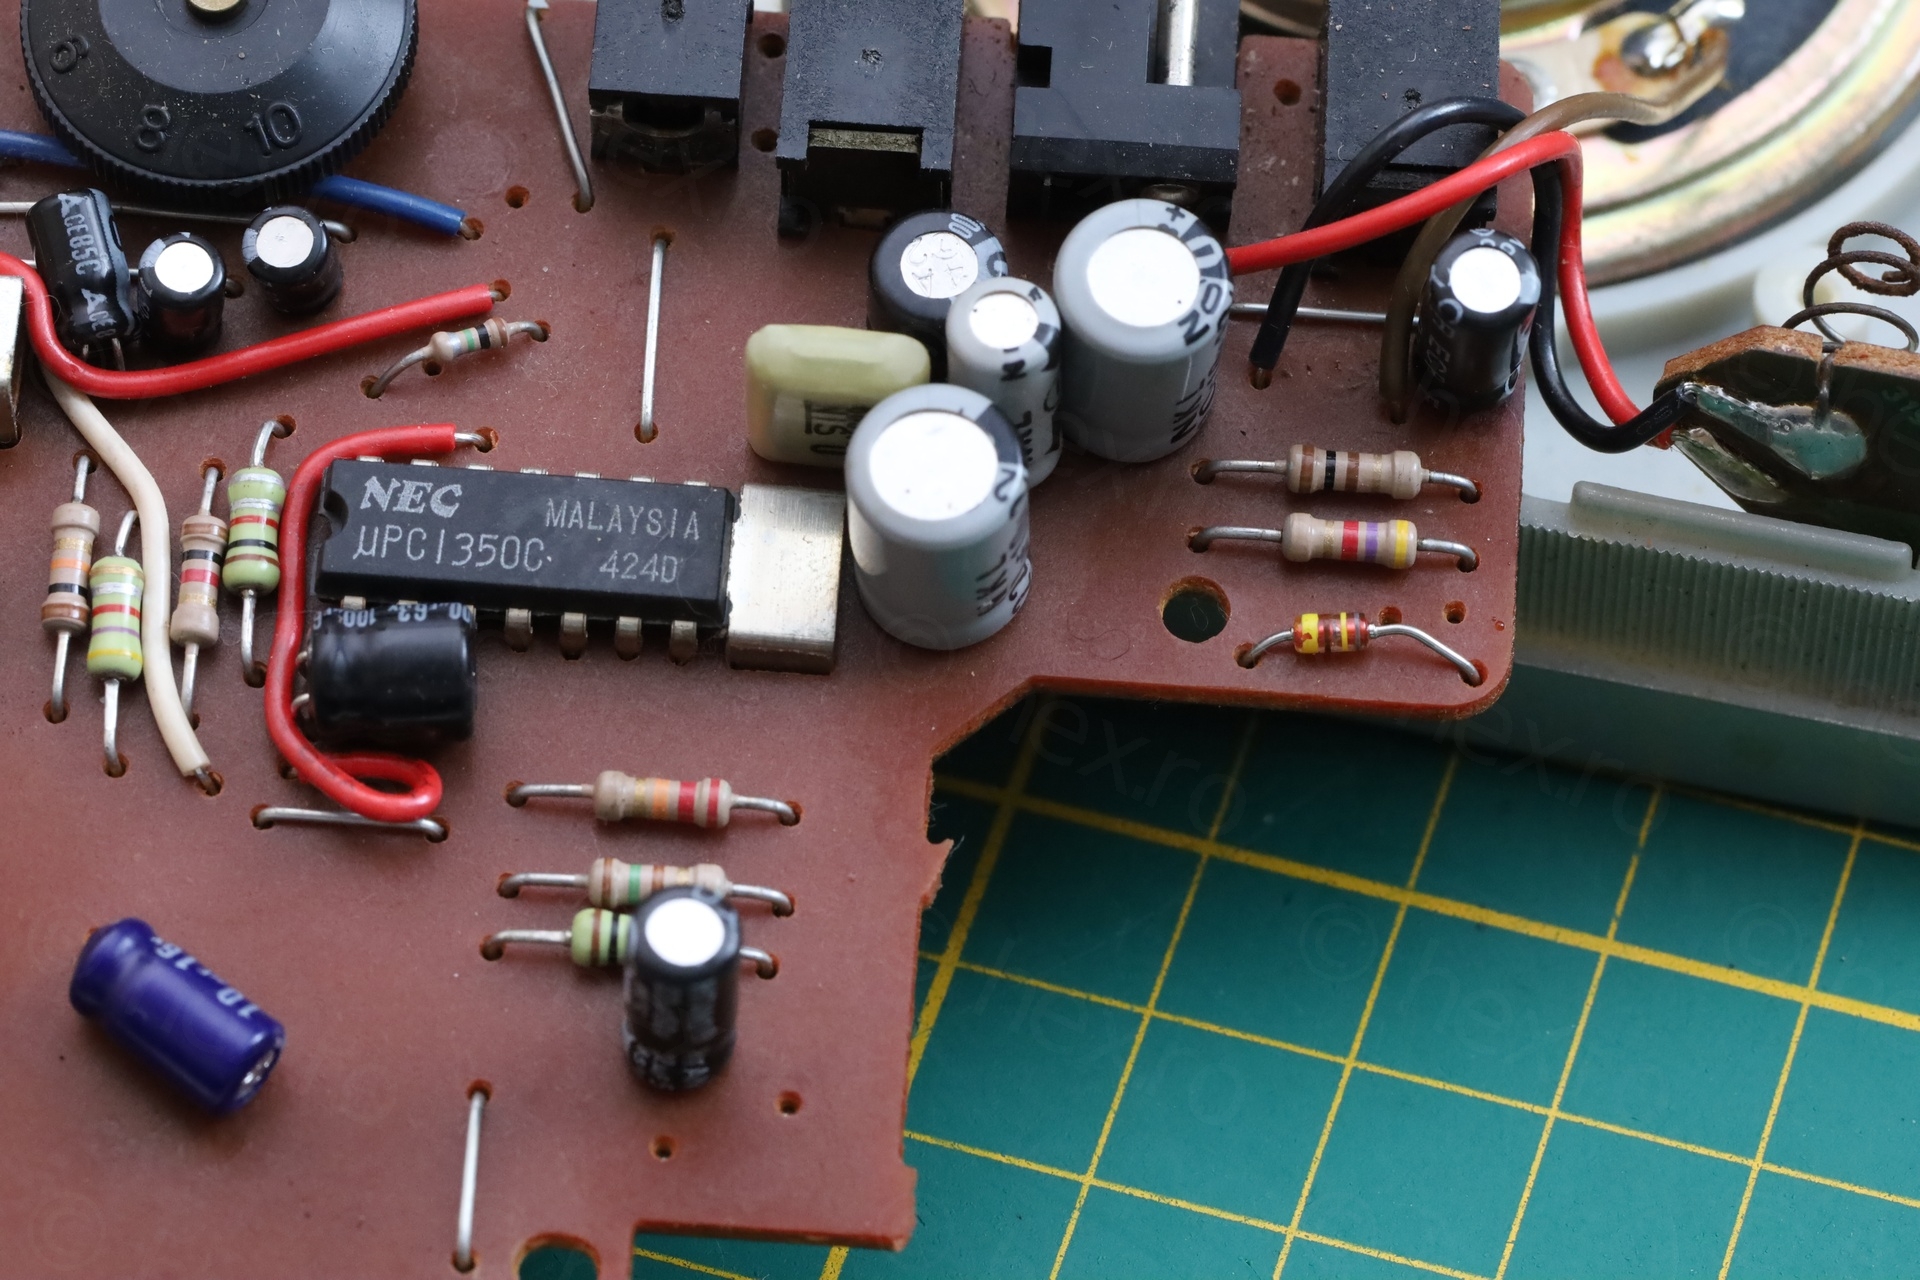
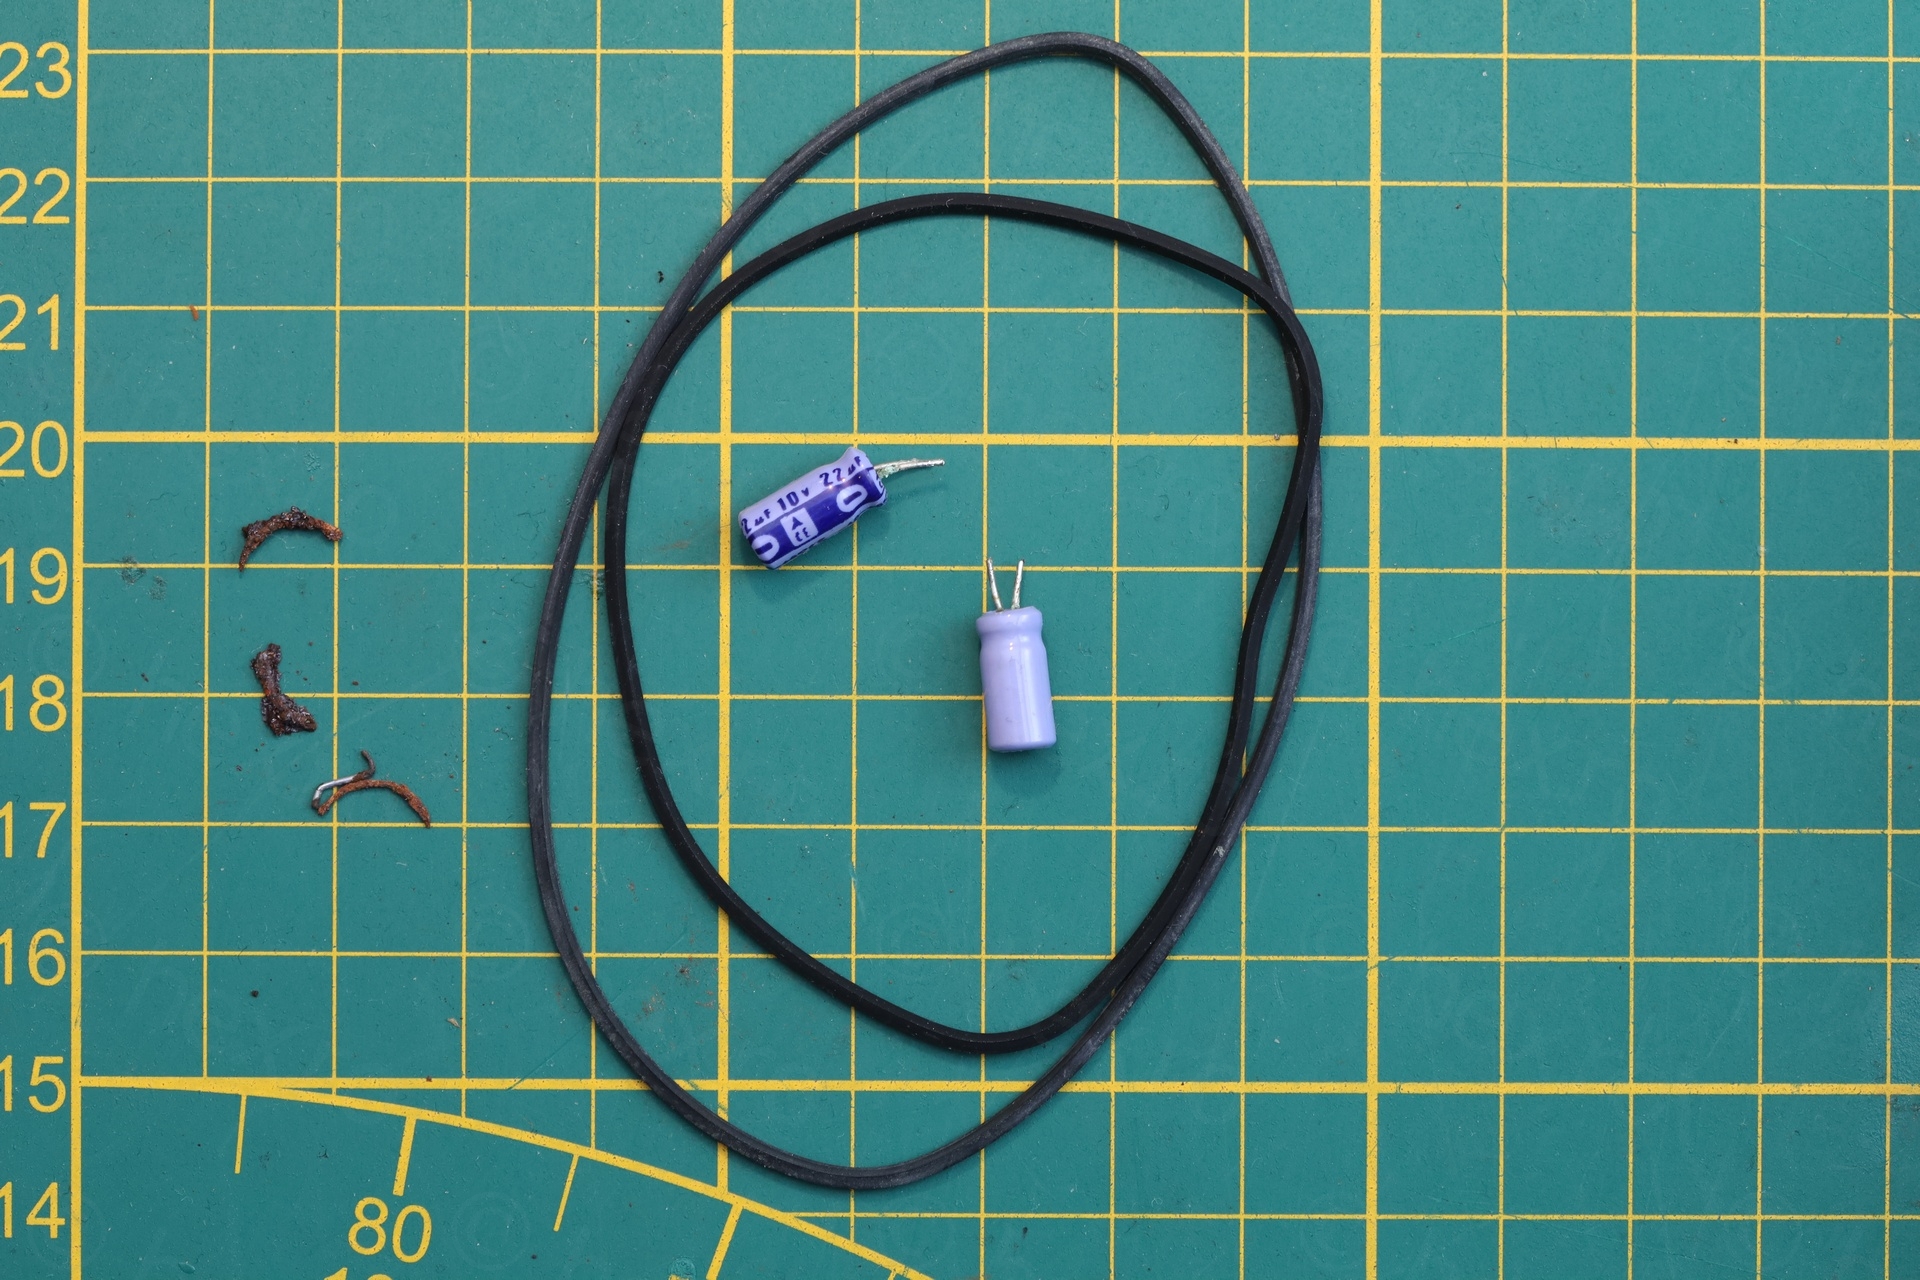
Corroded C2554 and C2702 Capacitors
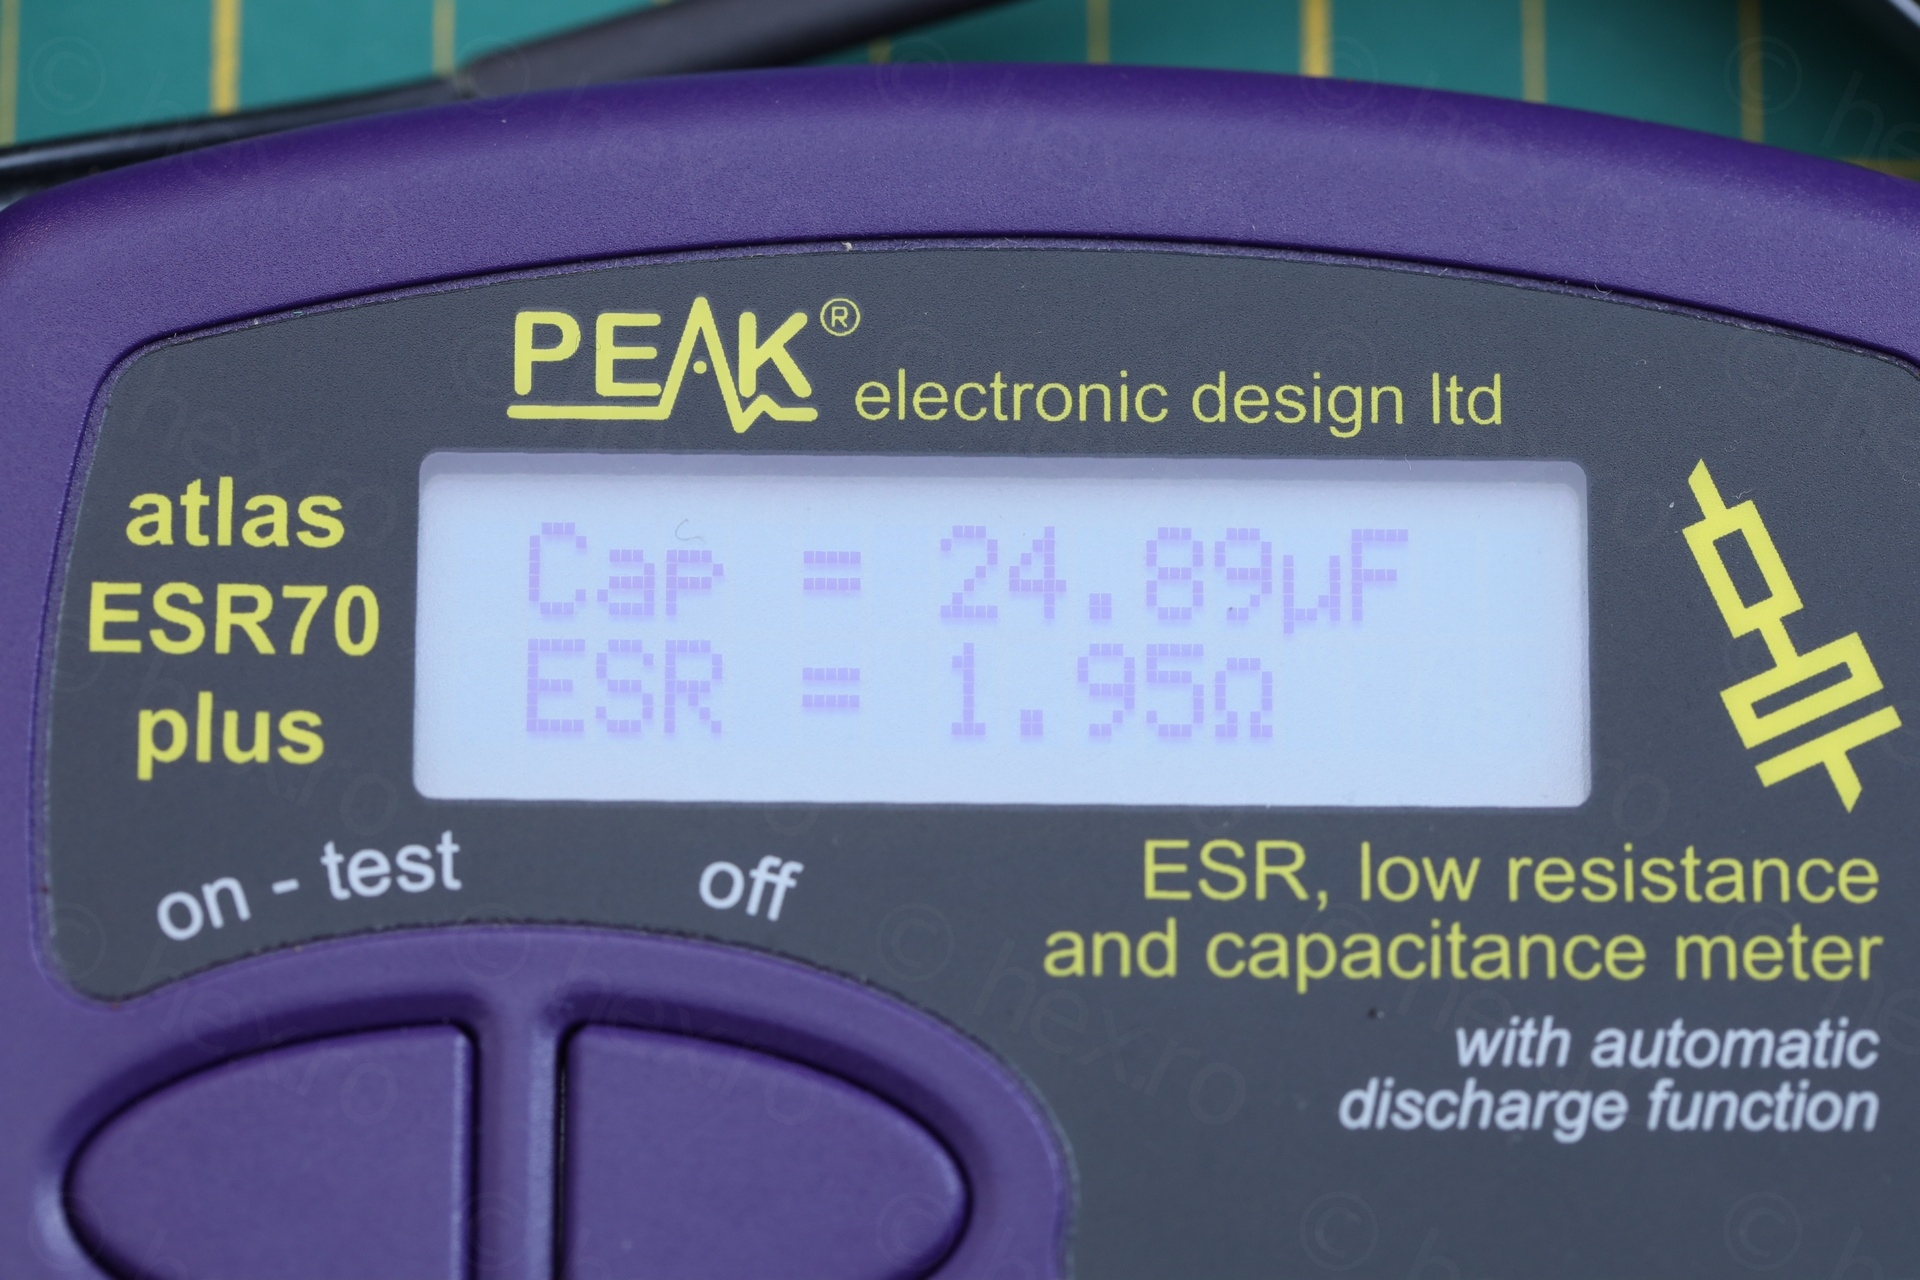
I initially spotted only one of them having corroded legs. It still measured fine on the ESR meter, but felt suspicious – no other corrosion sign on the board ?! There was a second similarly colored capacitor – difficult to see at first if this second one also had corrosion. I pulled them both.


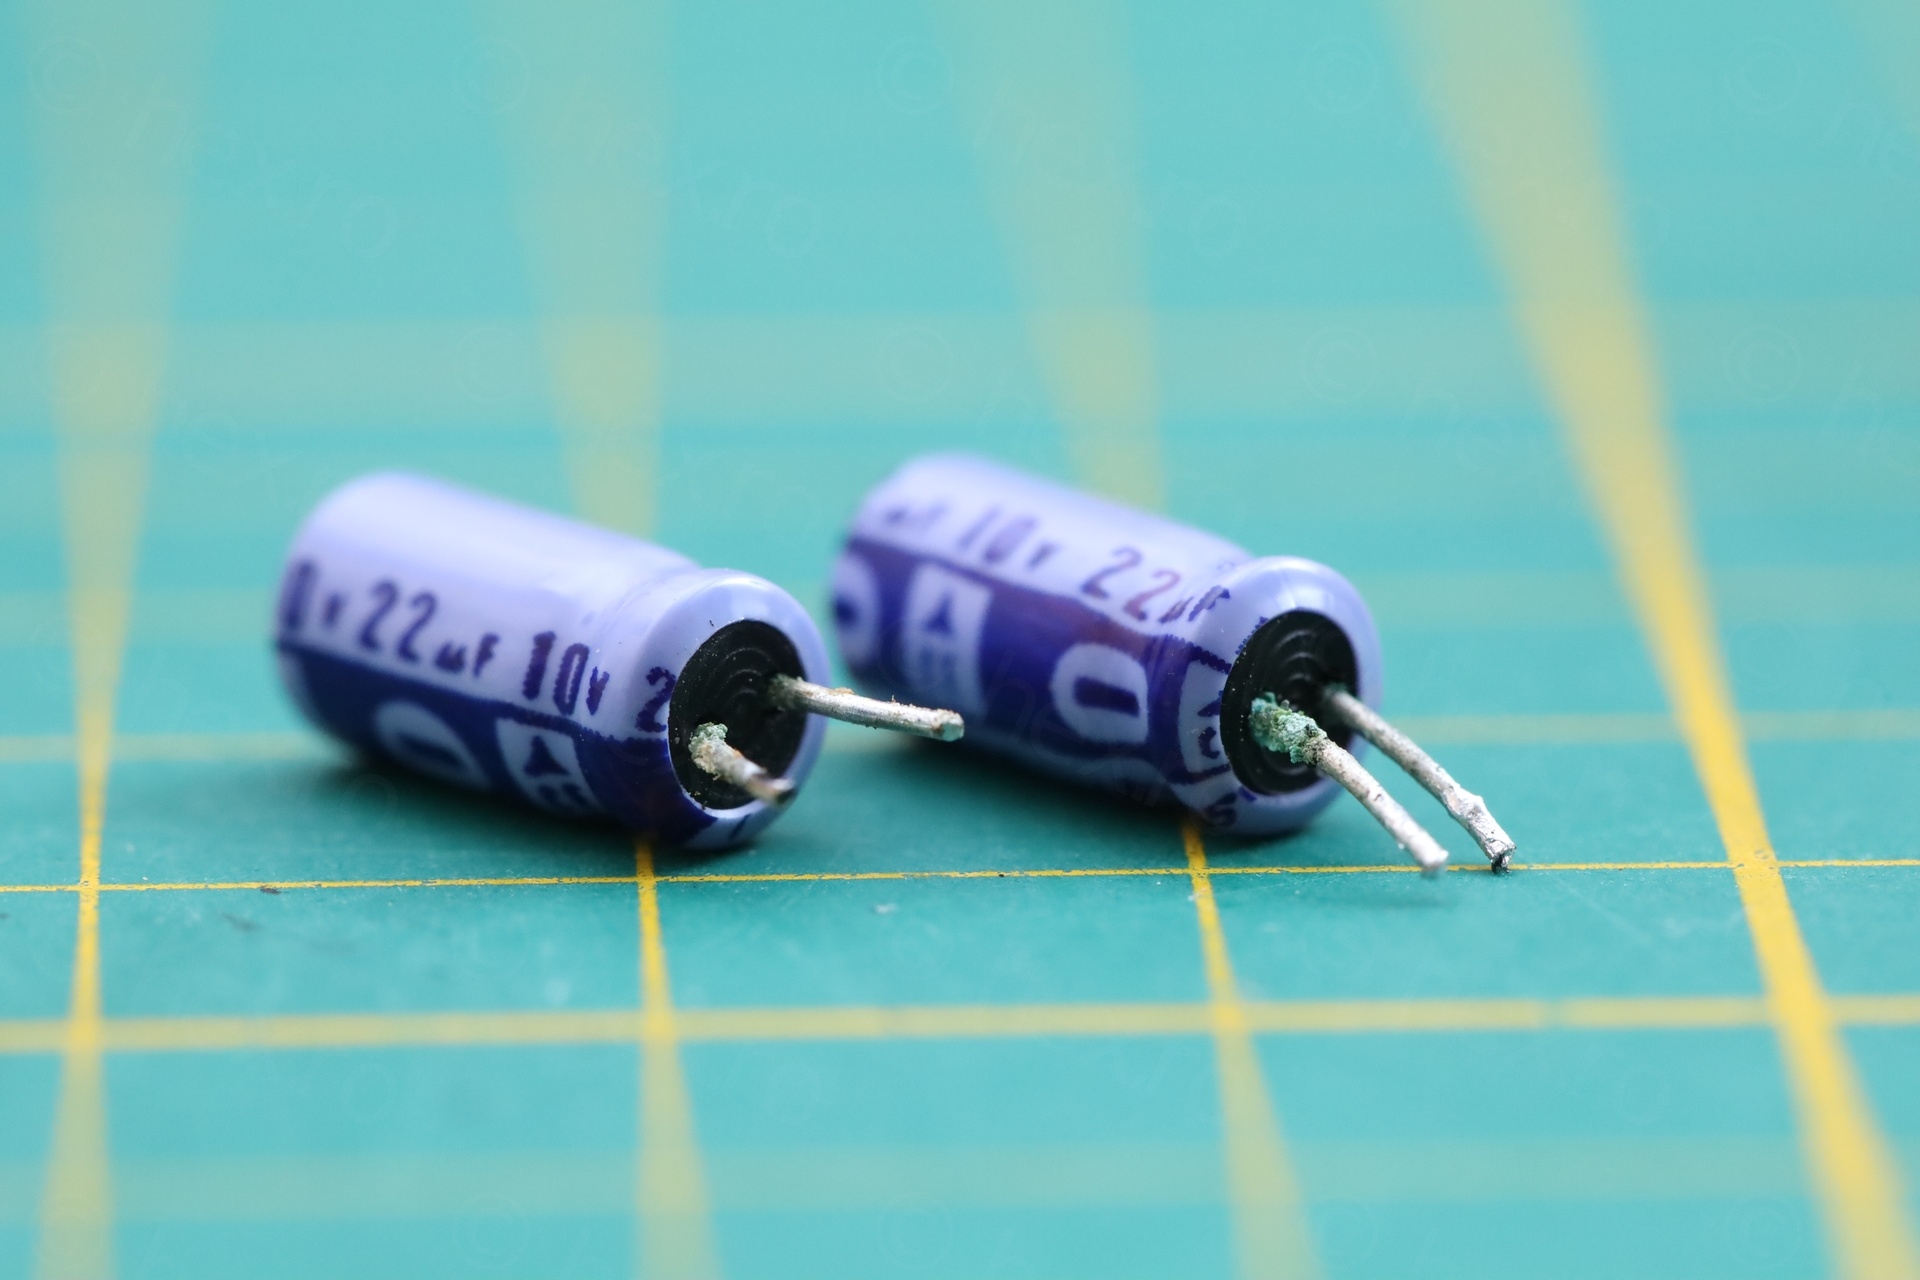
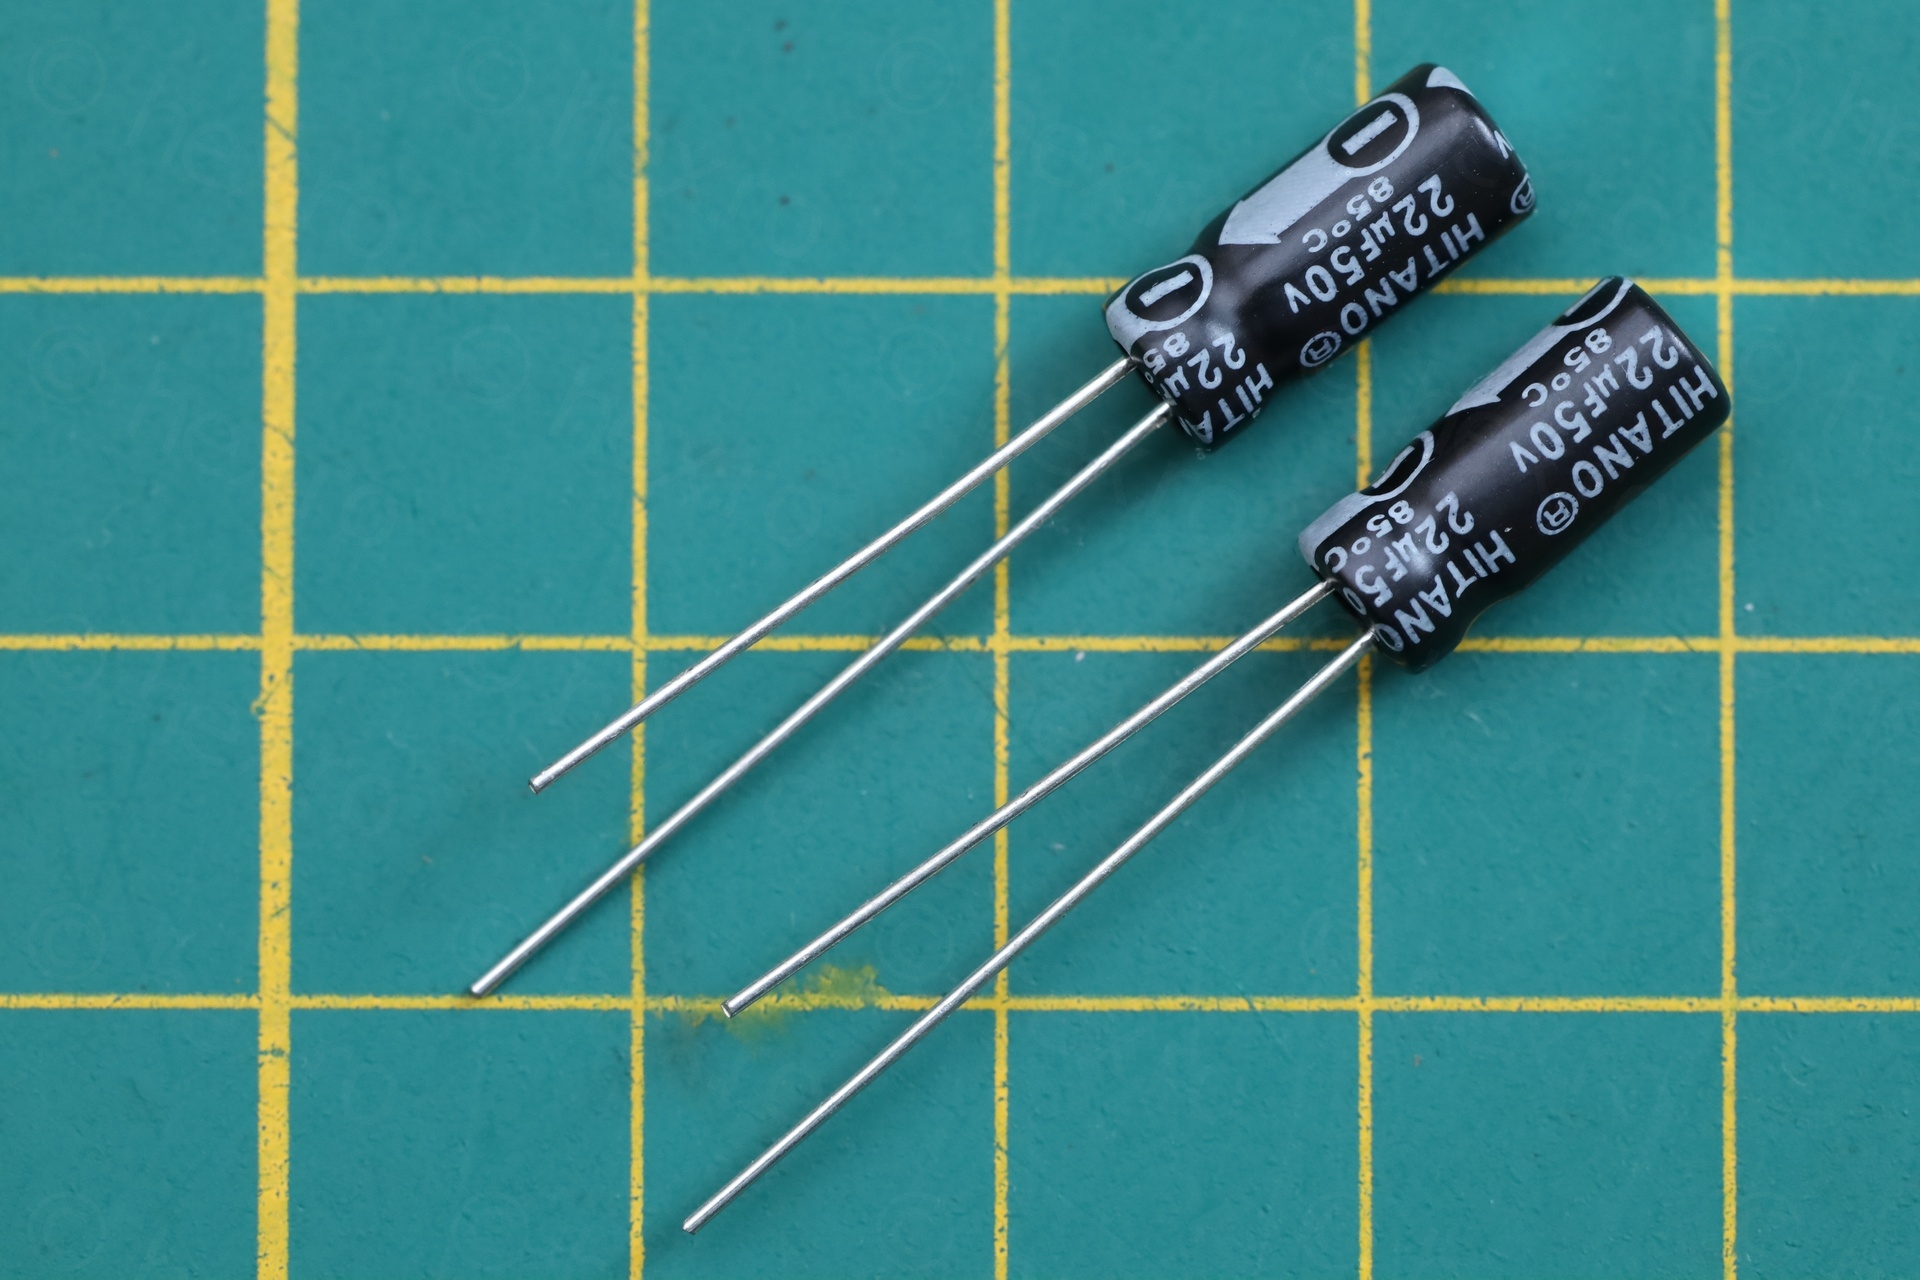
The replacements were two Hitano capacitors that I bought from a local electronic store.
I was still puzzled whether these two capacitors (that were still measuring just fine on the ESR meter) were the culprit. They weren’t in fact, the loud hiss and pops were still there. I consoled myself thinking it is better to have less corrosion inside.
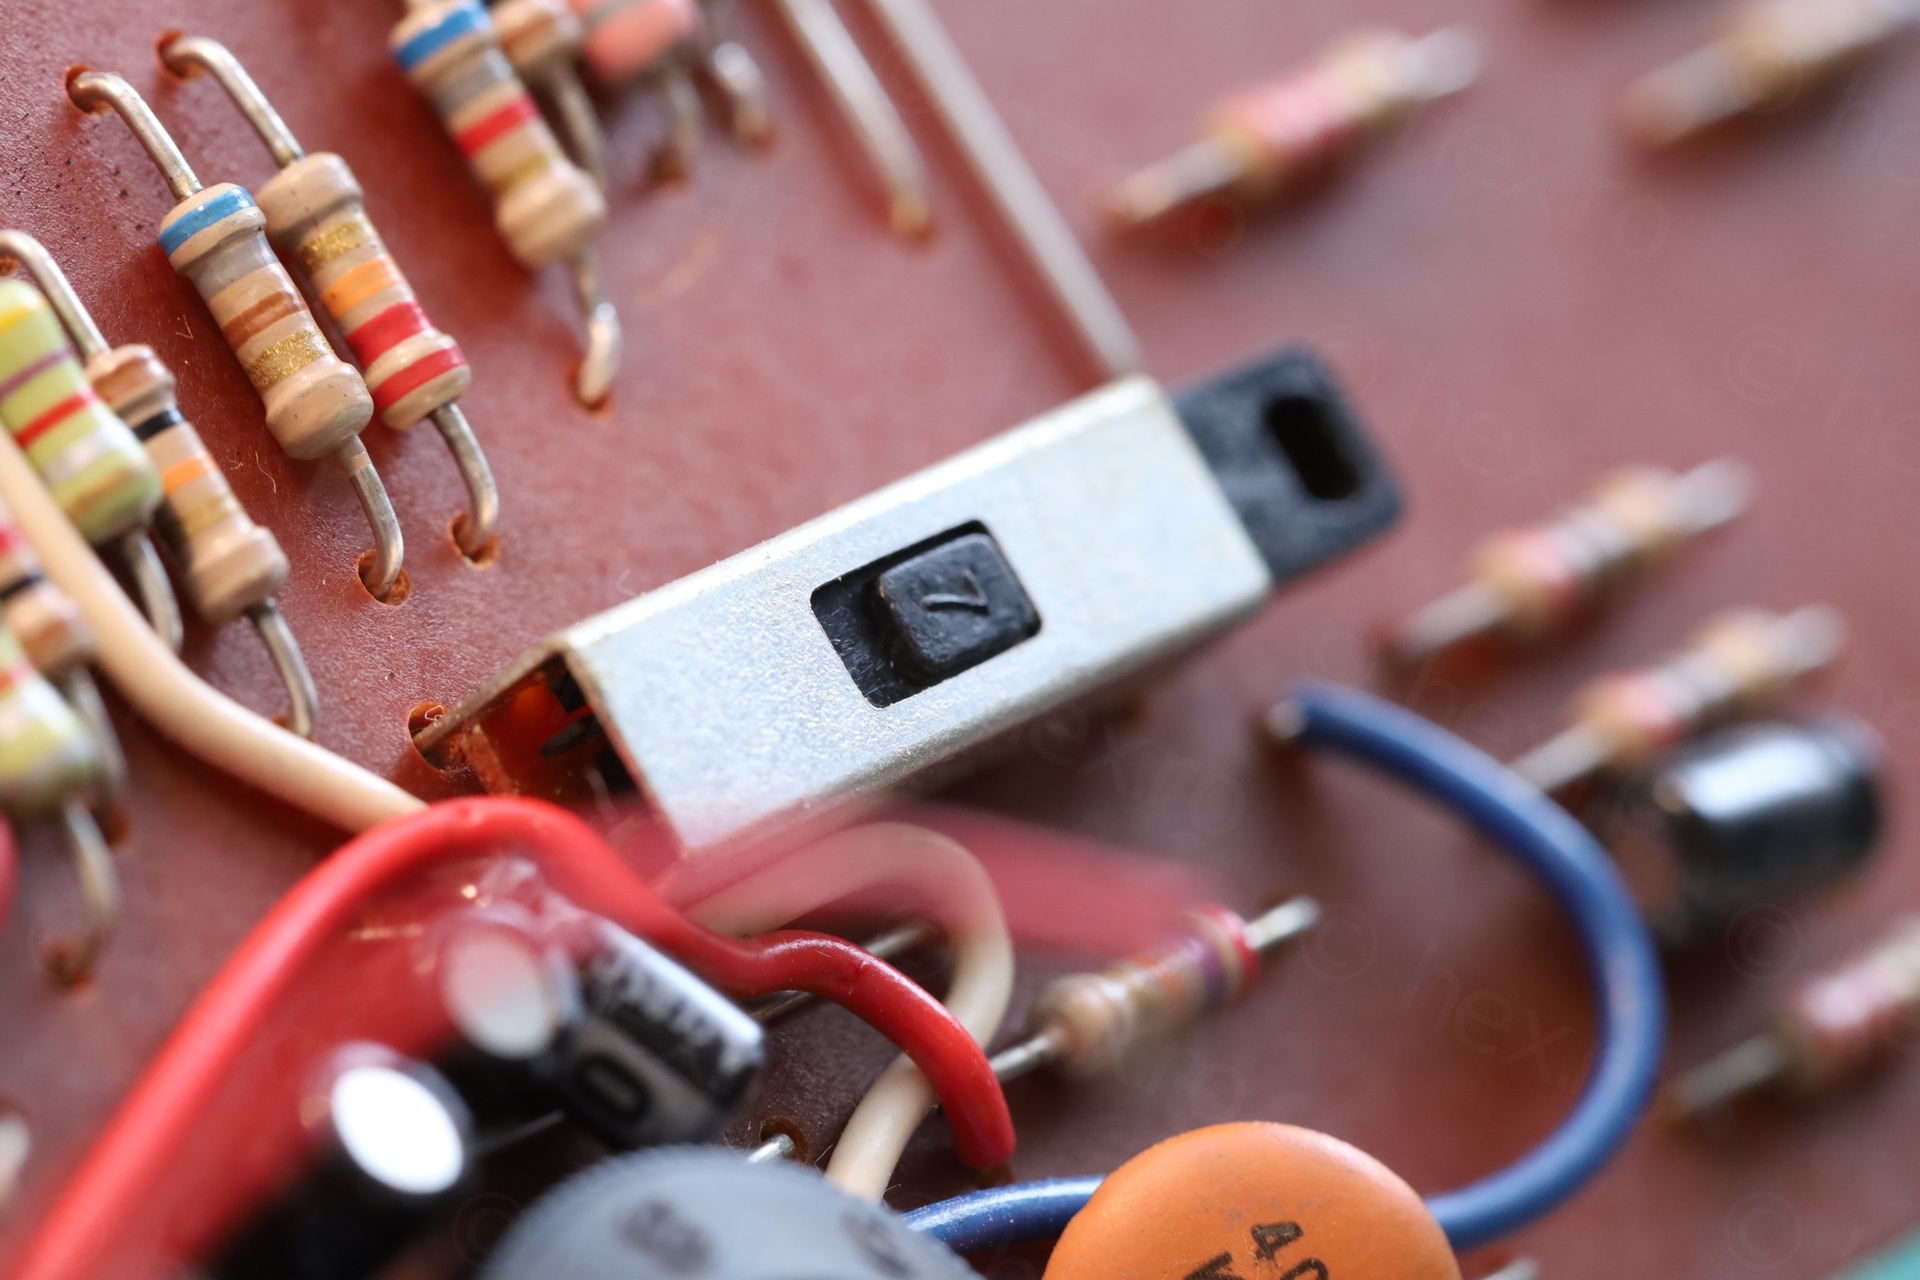
Multi-Switch – Cleaning
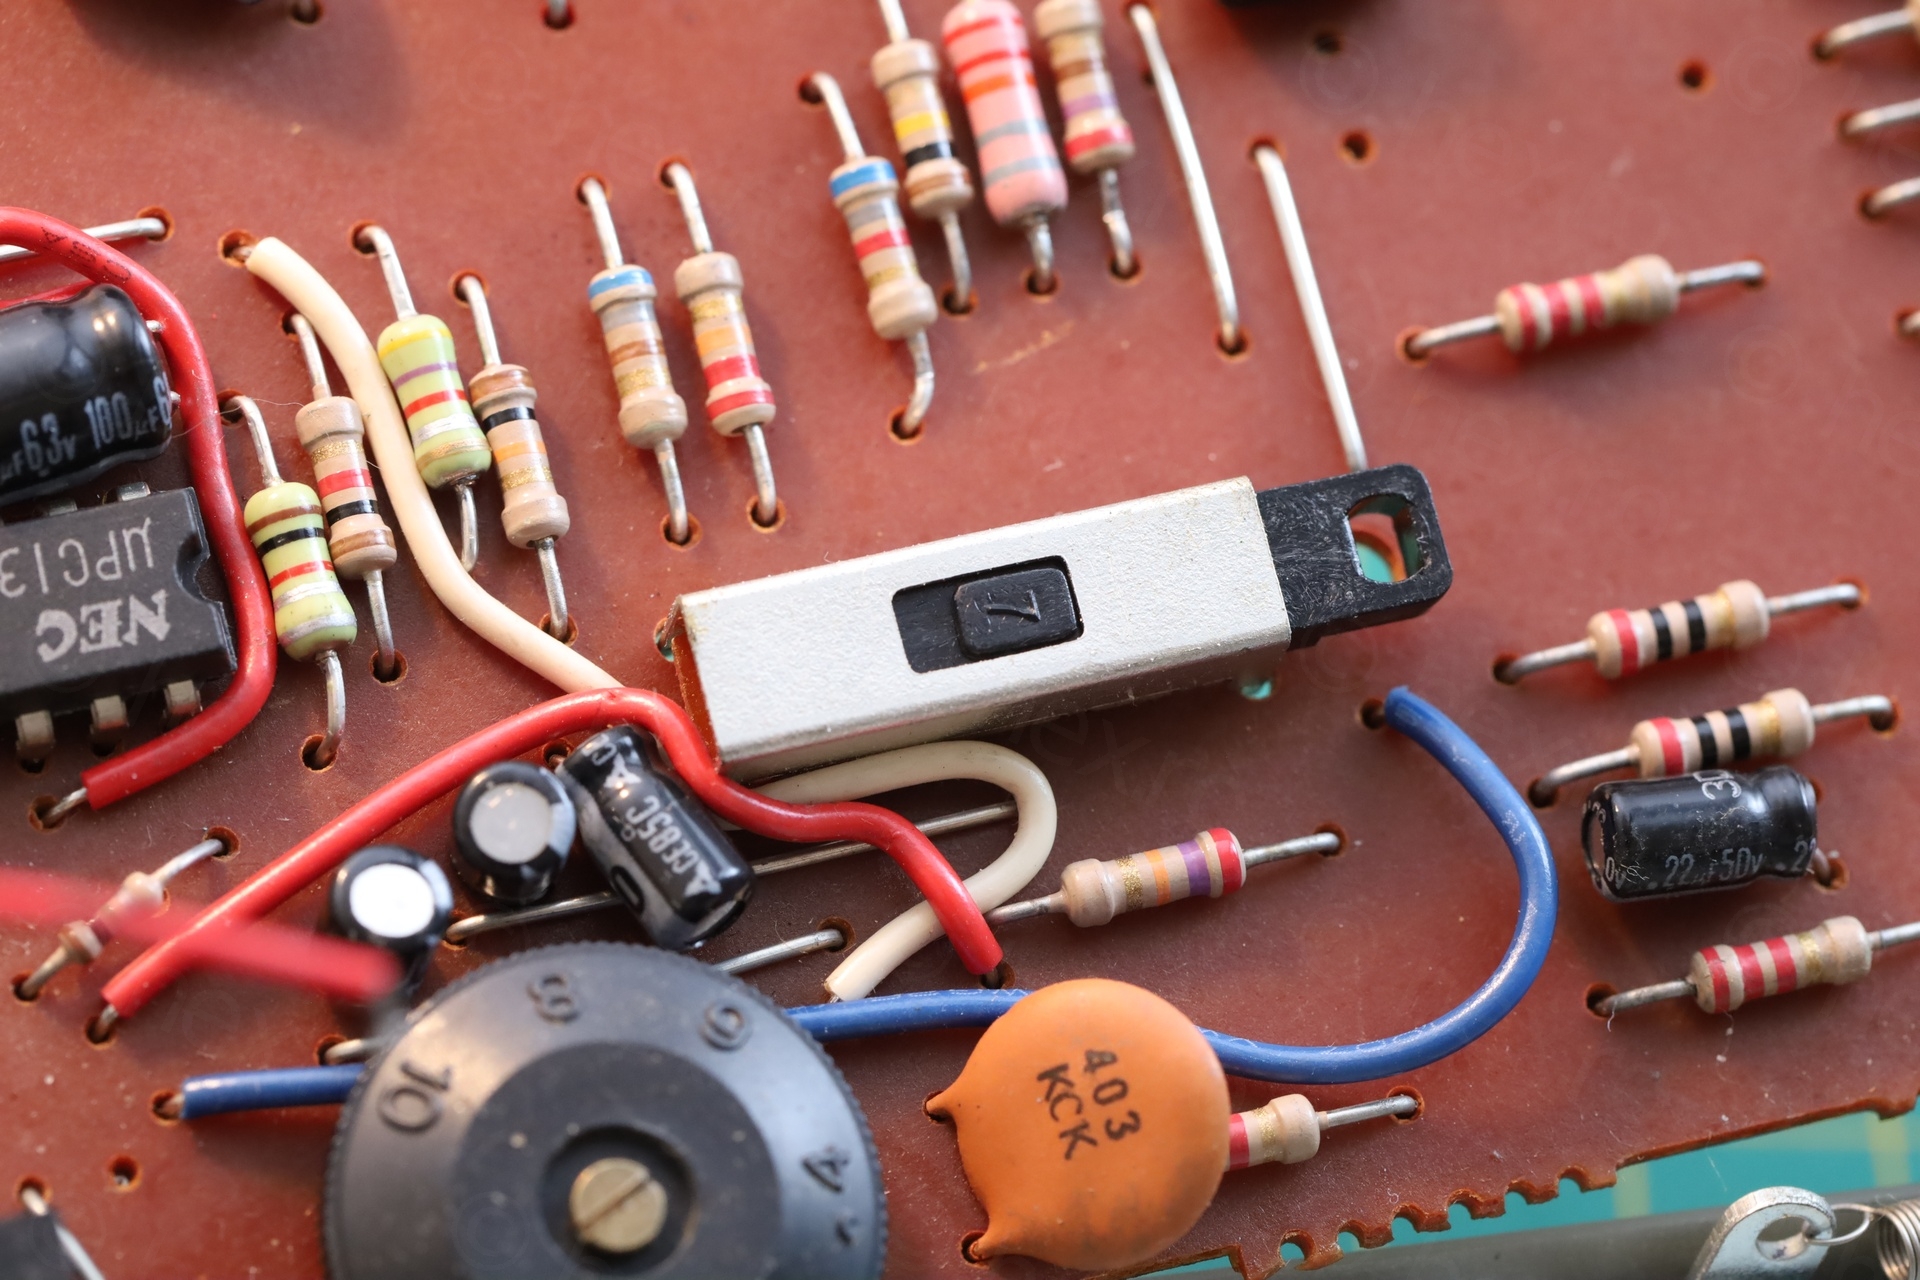
I was curious how does the mechanism engages with the multi switch.. There is a long switch, pulled / pushed by a lever of the Record button. On most Philips radios that I salved, switches are very corroded.
I sandwiched the circuit board back onto the mechanism. With a toothpick, I could play a bit with the switch, pushing and pulling. Not much wiggle room but AHA! The switch was the cause of the hissing and scratching. I took the board out to have easier access to activate the switch and drenched it insides with few rounds of contact cleaner.
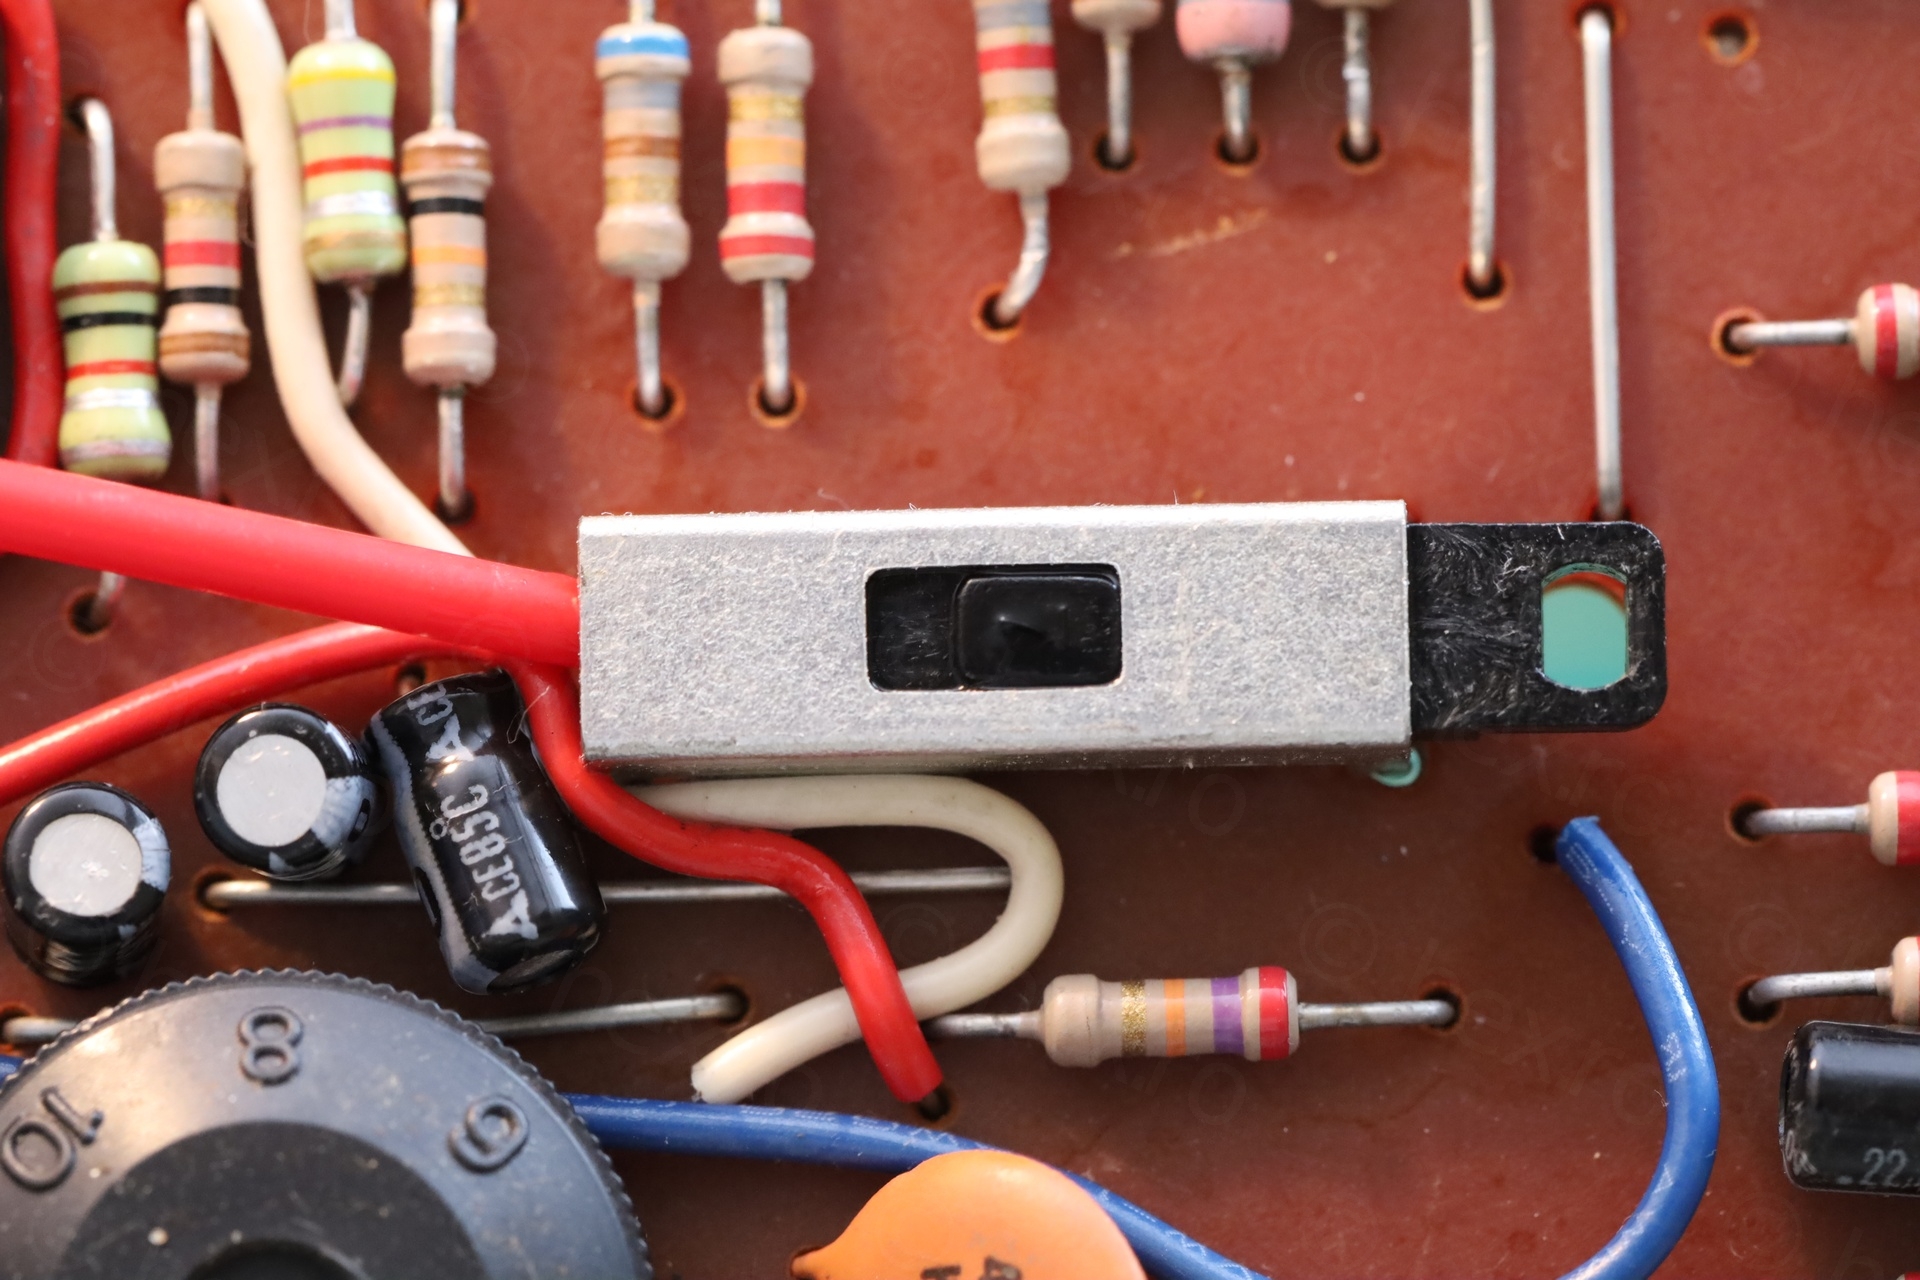
No more hissing and popping and audio was properly amplified.
I was happy to have found the problem but a bit of depression crept in. I’d now have to change belts but no clue of their specs. I’d also have to manufacture the missing battery spring.
When I look for the cause of a problem, it feels being in a trance: must identify the problem – the rest are unimportant details. But once I find the problem, reality starts taints nostalgia. The more I fix, the further away it gets from the idealized vision I had of it.
Belts replaced
Belts were loose, wobbly and deformed:
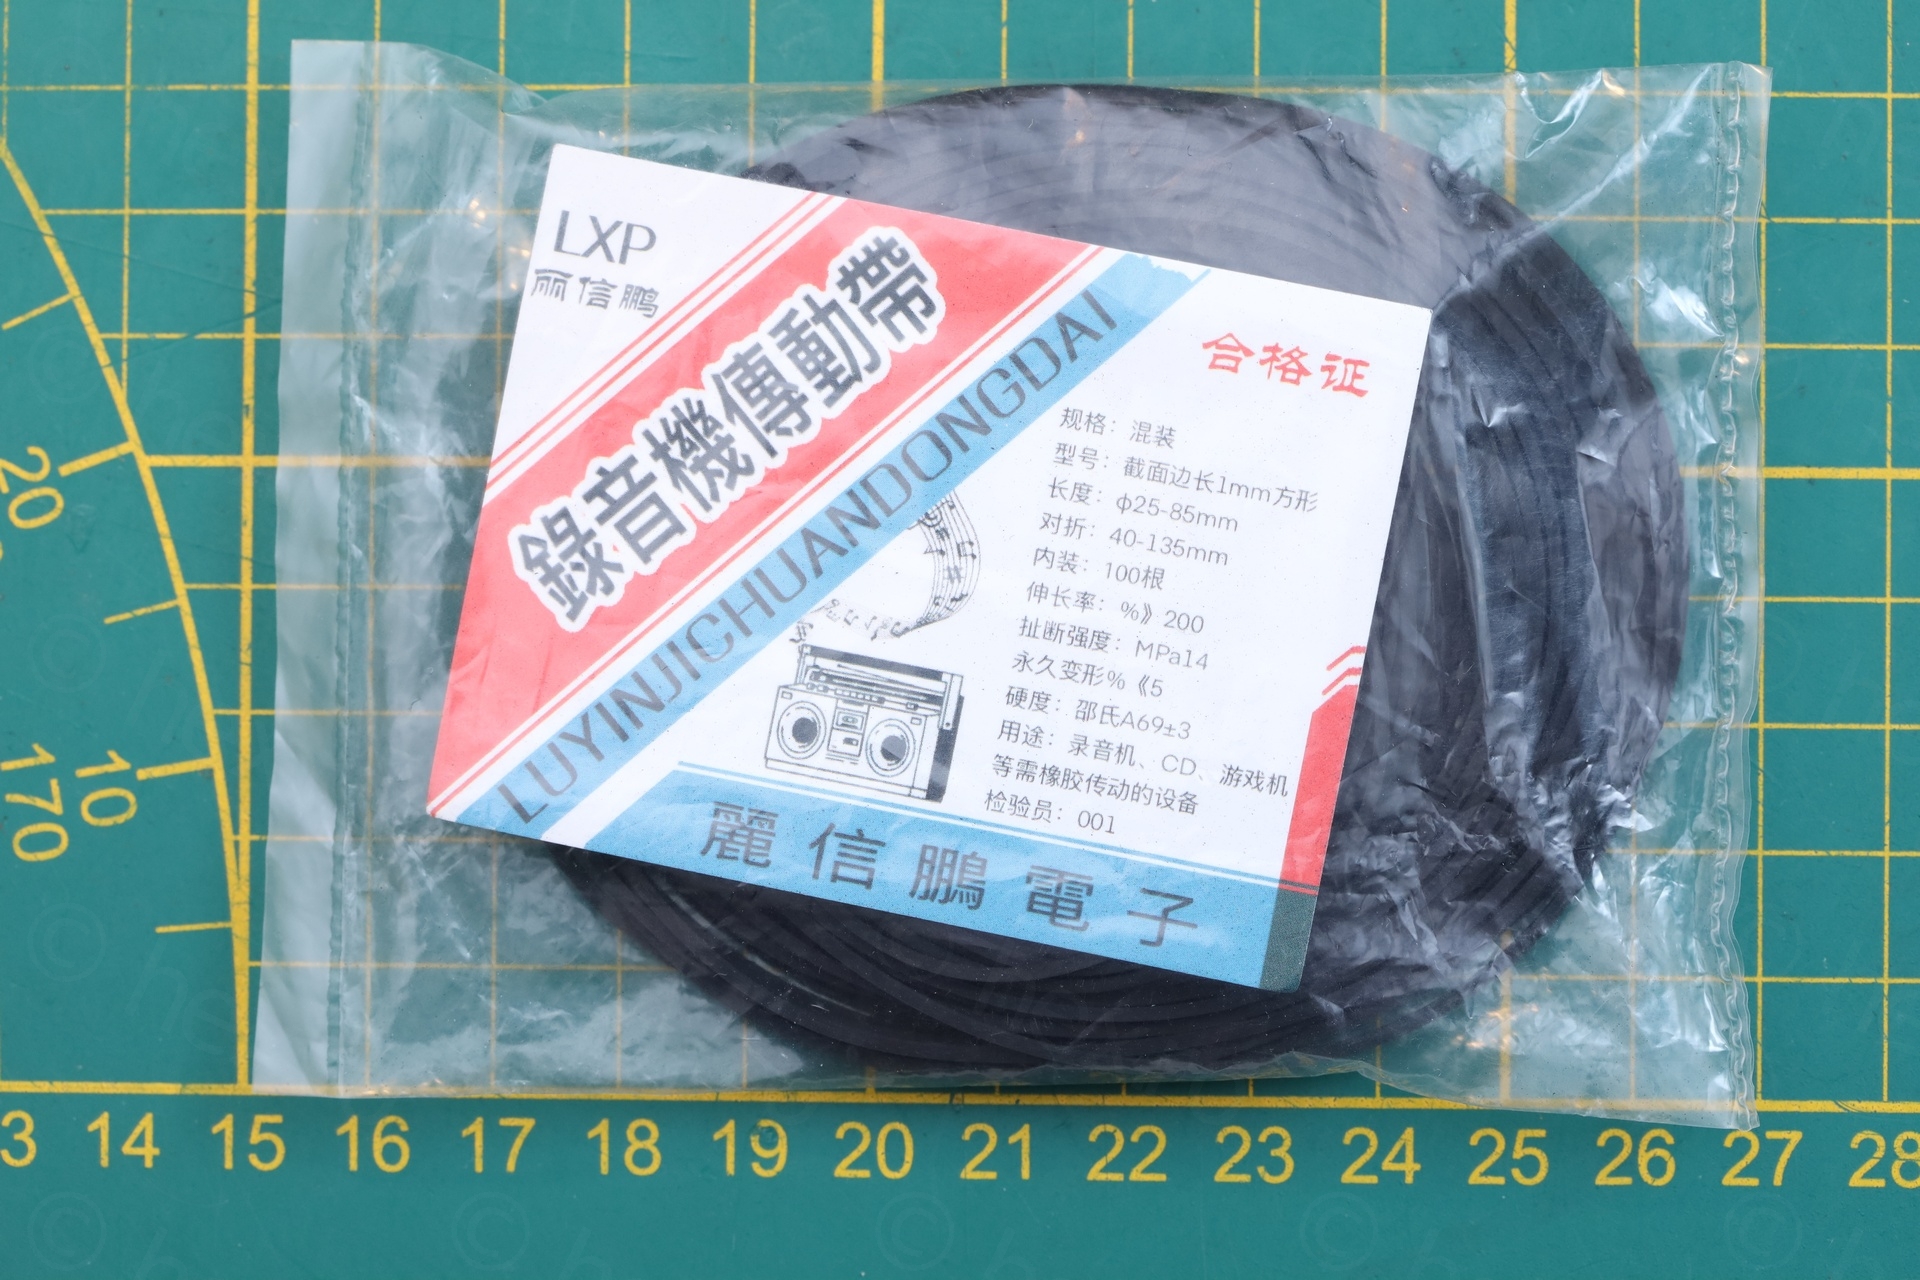
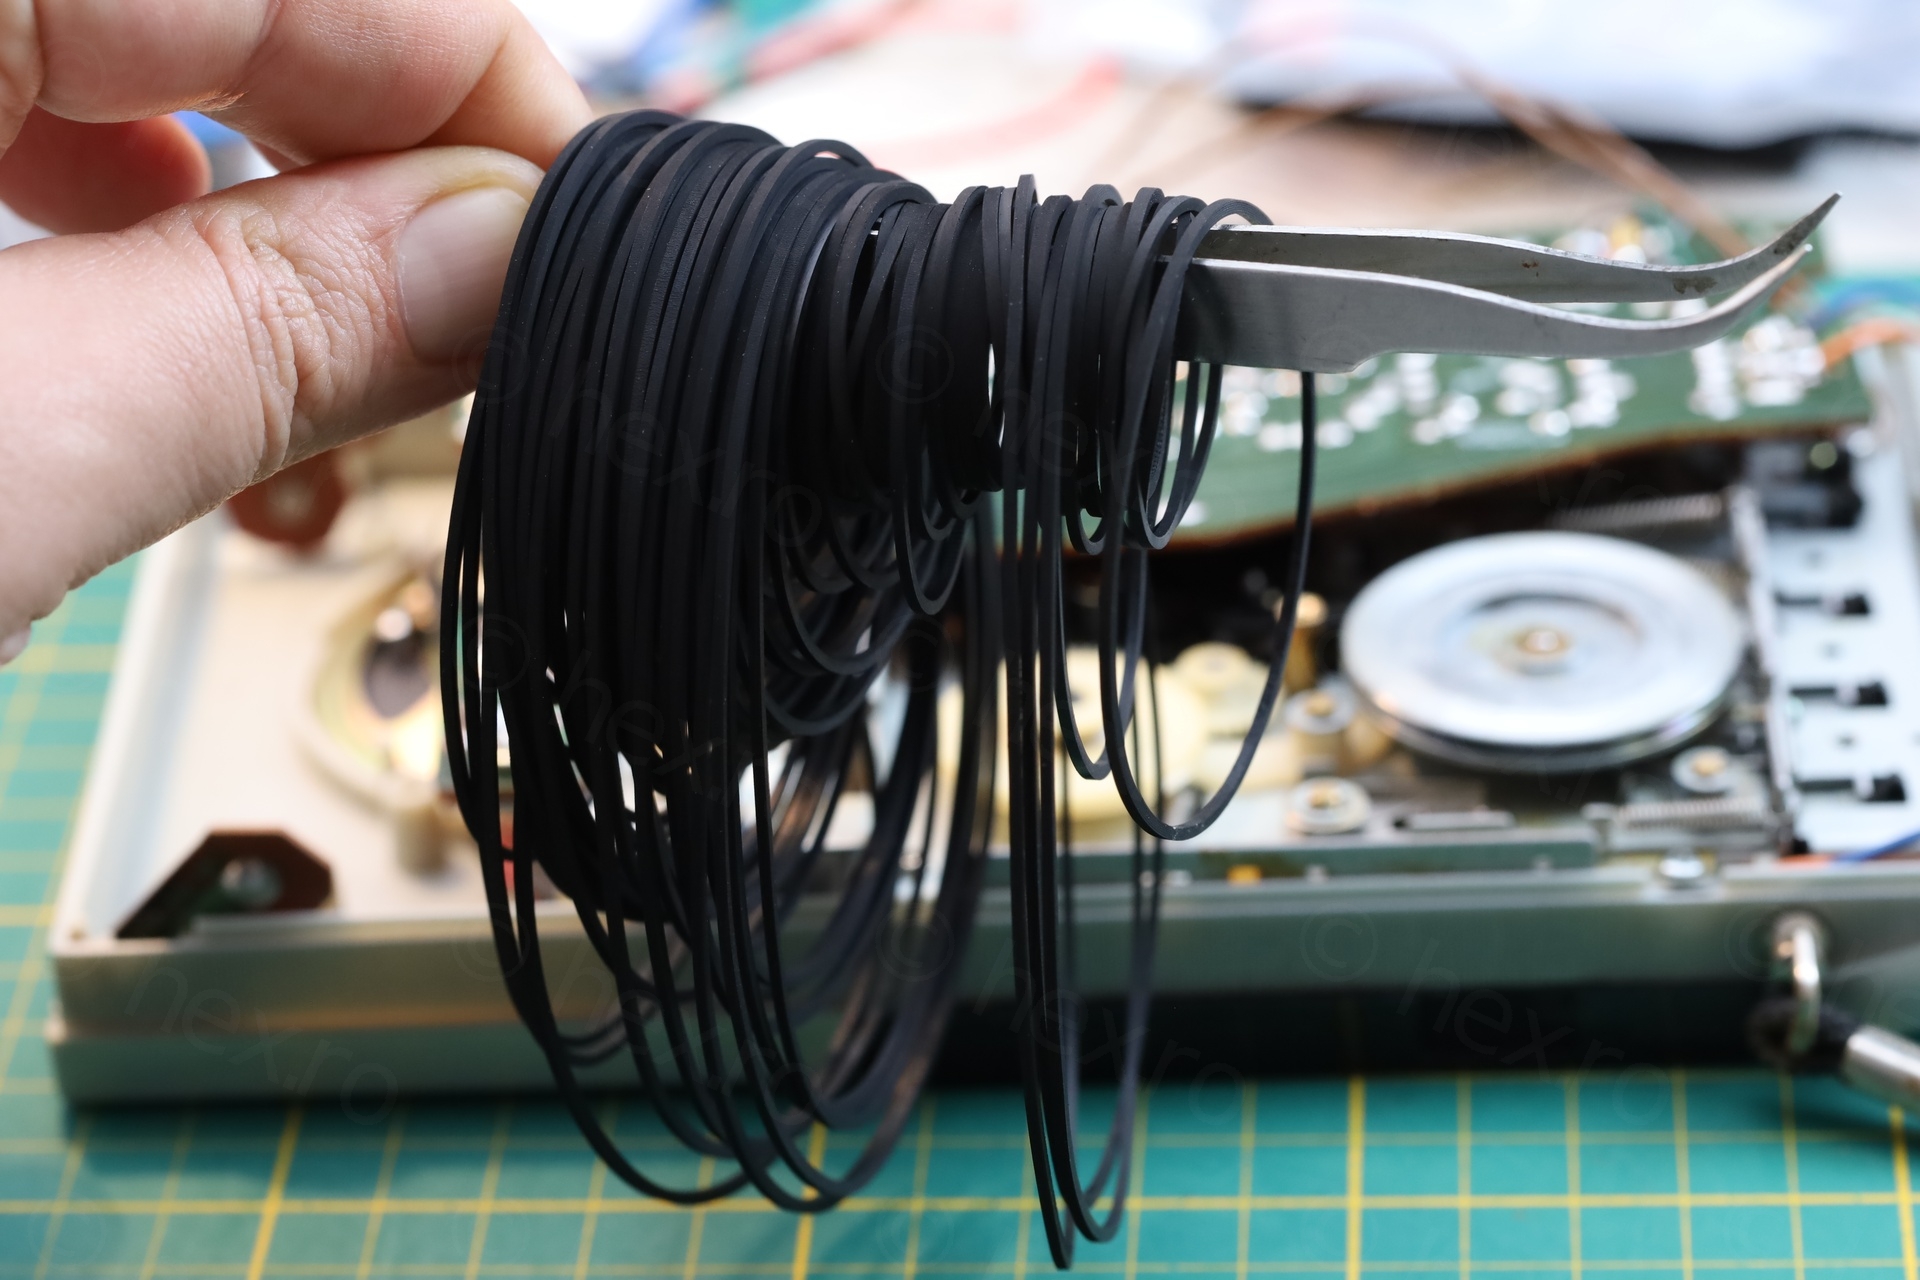
Unfortunately, the service manual has no mention of the dimensions of the belts. Was puzzled on how to estimate the diameter of the existing ones (and posted another blog article on how I ended up using OpenCV to estimate). This got me into the ball park. And after a bit of trial and error, it seems that the right ones are 1mm thickness and 5mm and 7mm diameter respectively:

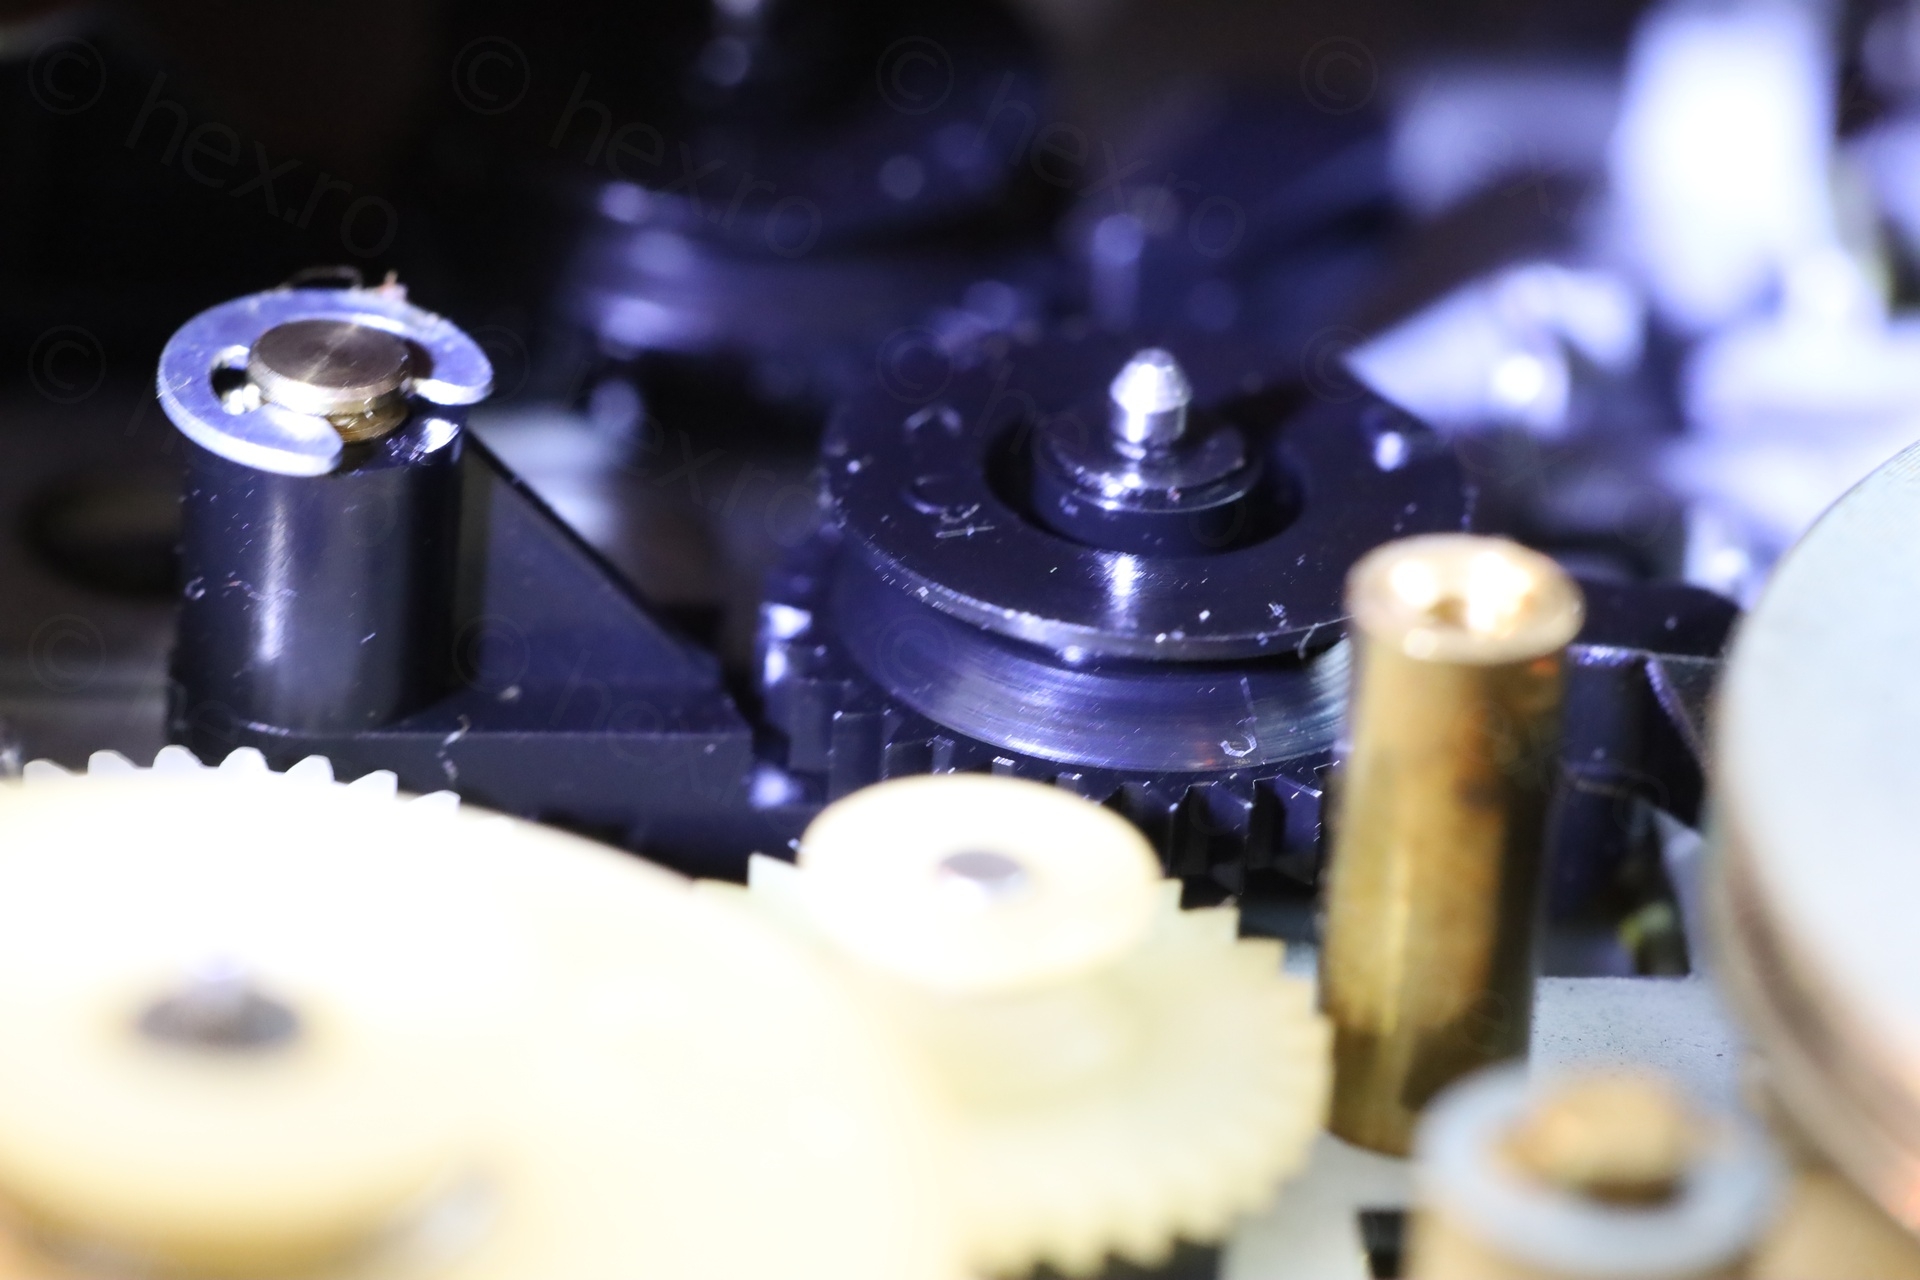
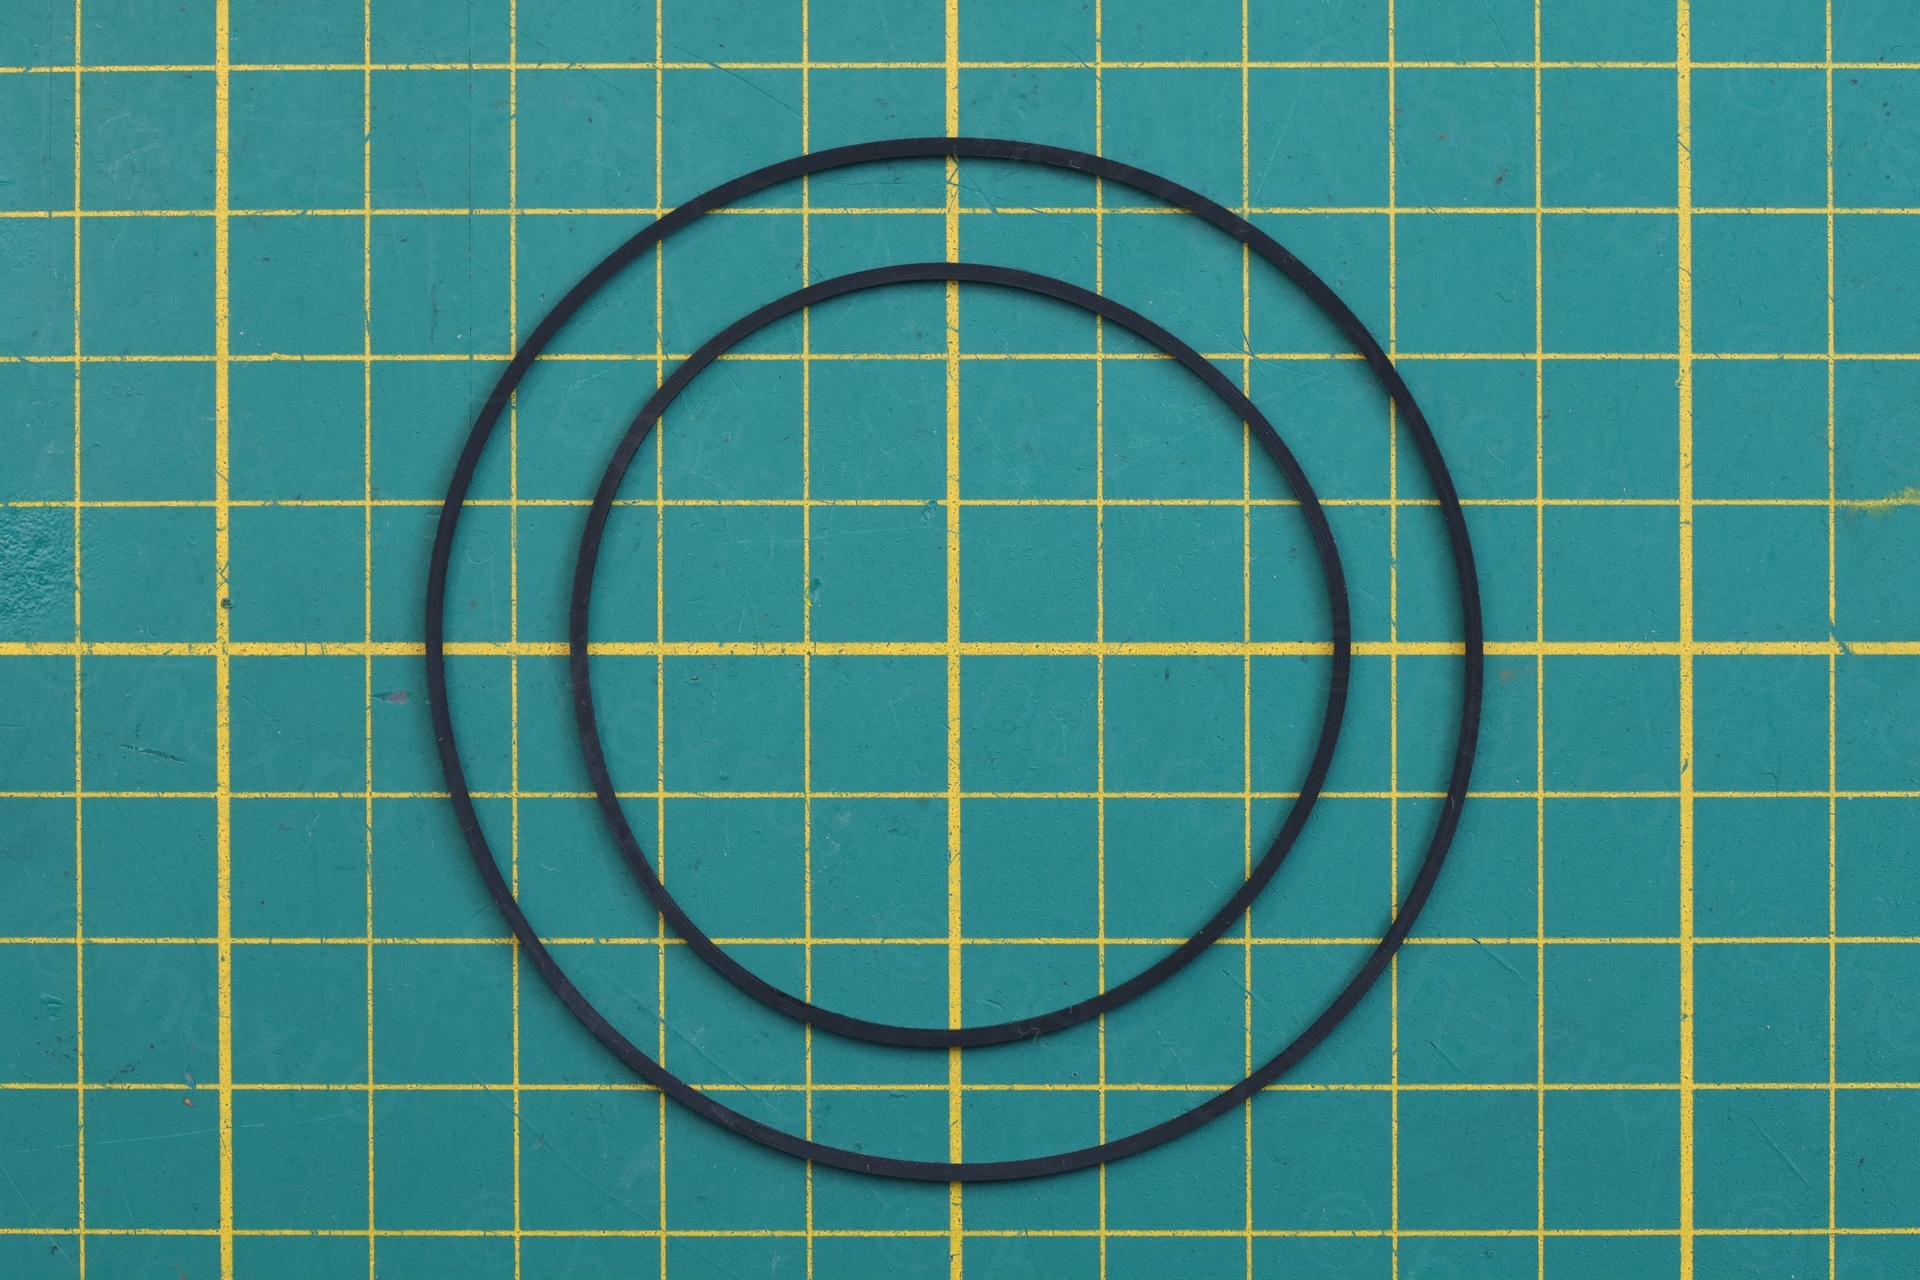
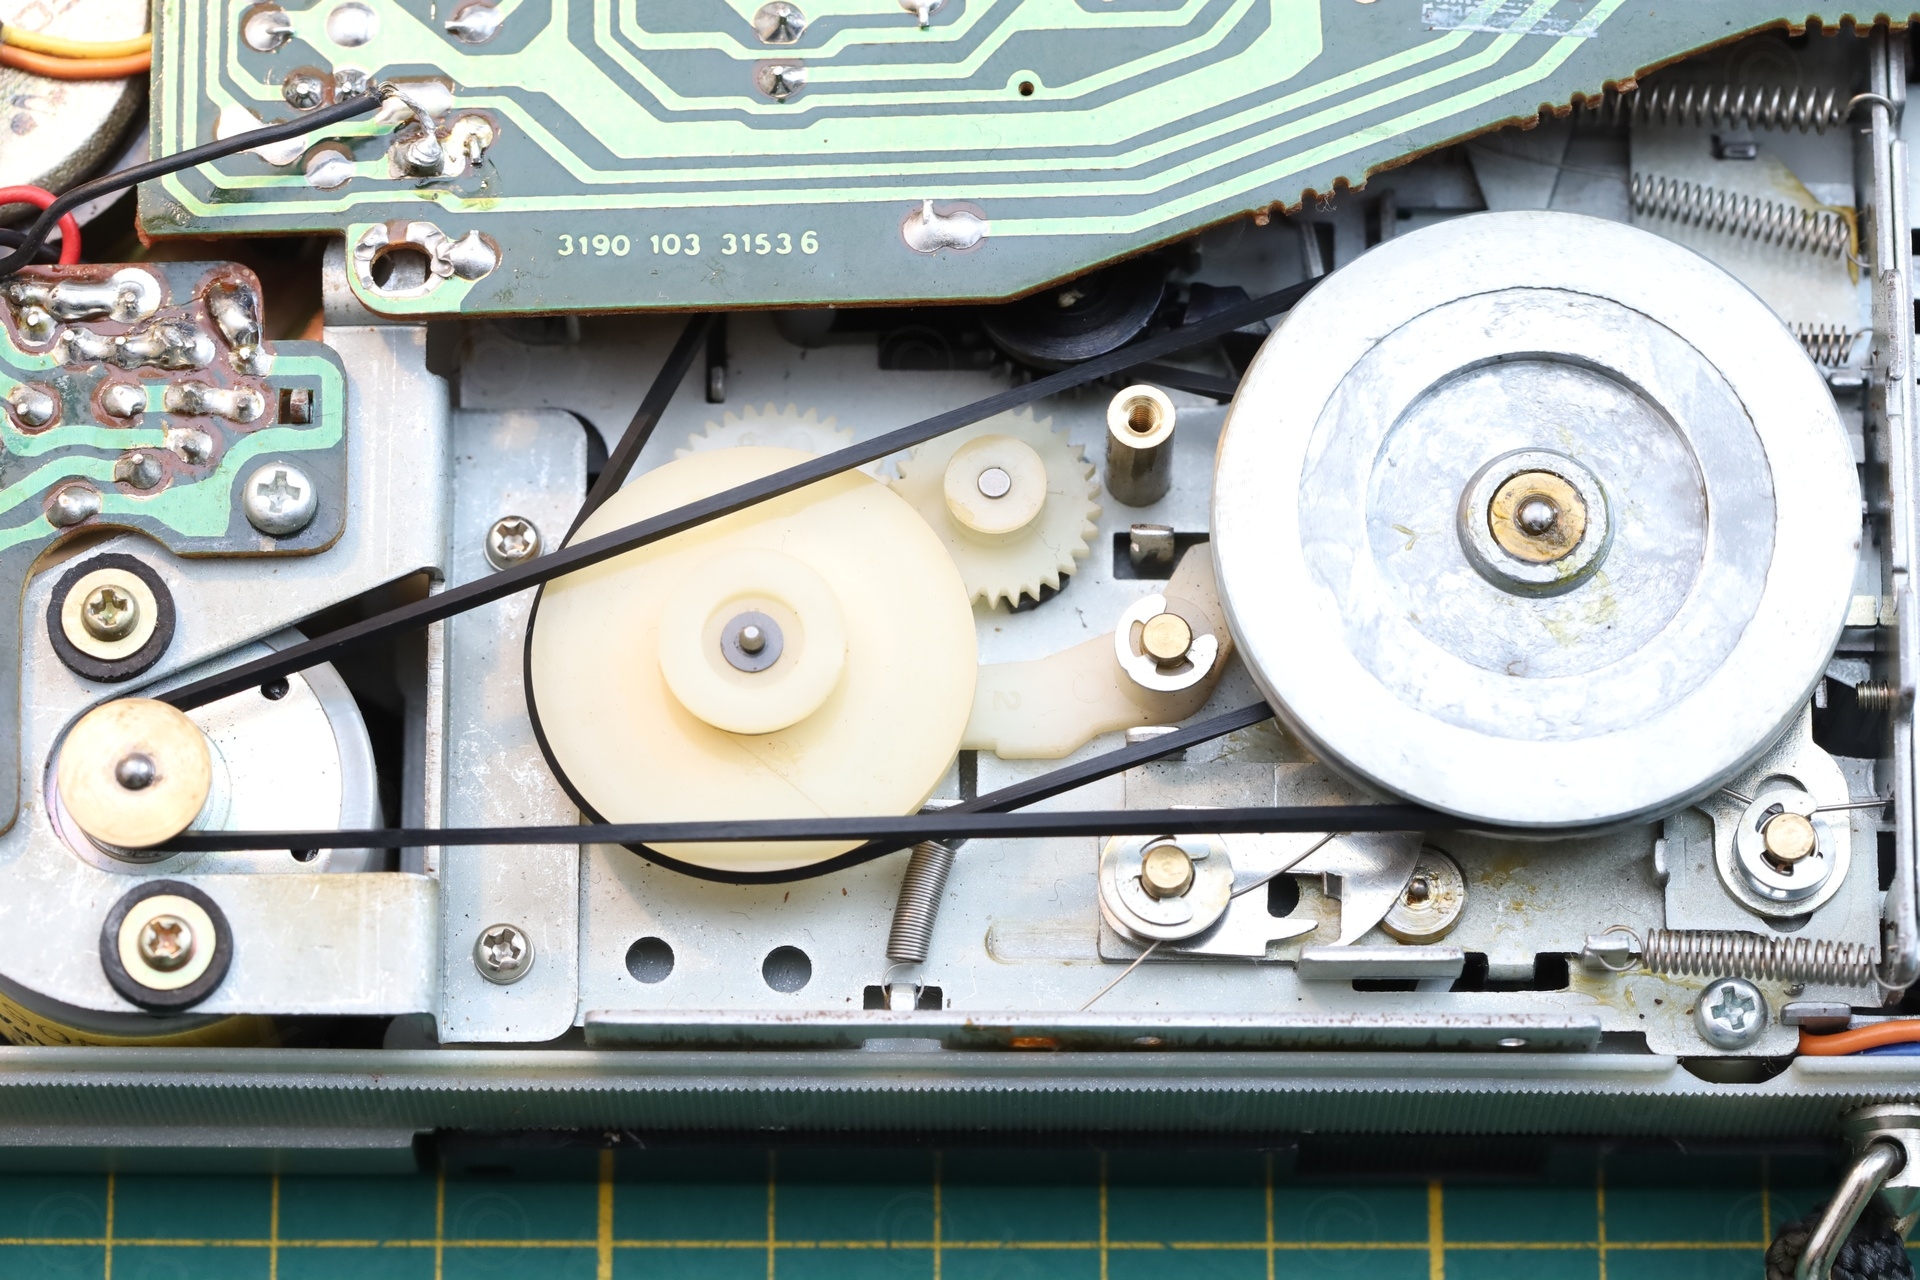
There is a third belt, for the tape position counter, but that one seemed fine and I did not replace it.
A short video having the new belts installed – no more wobble:
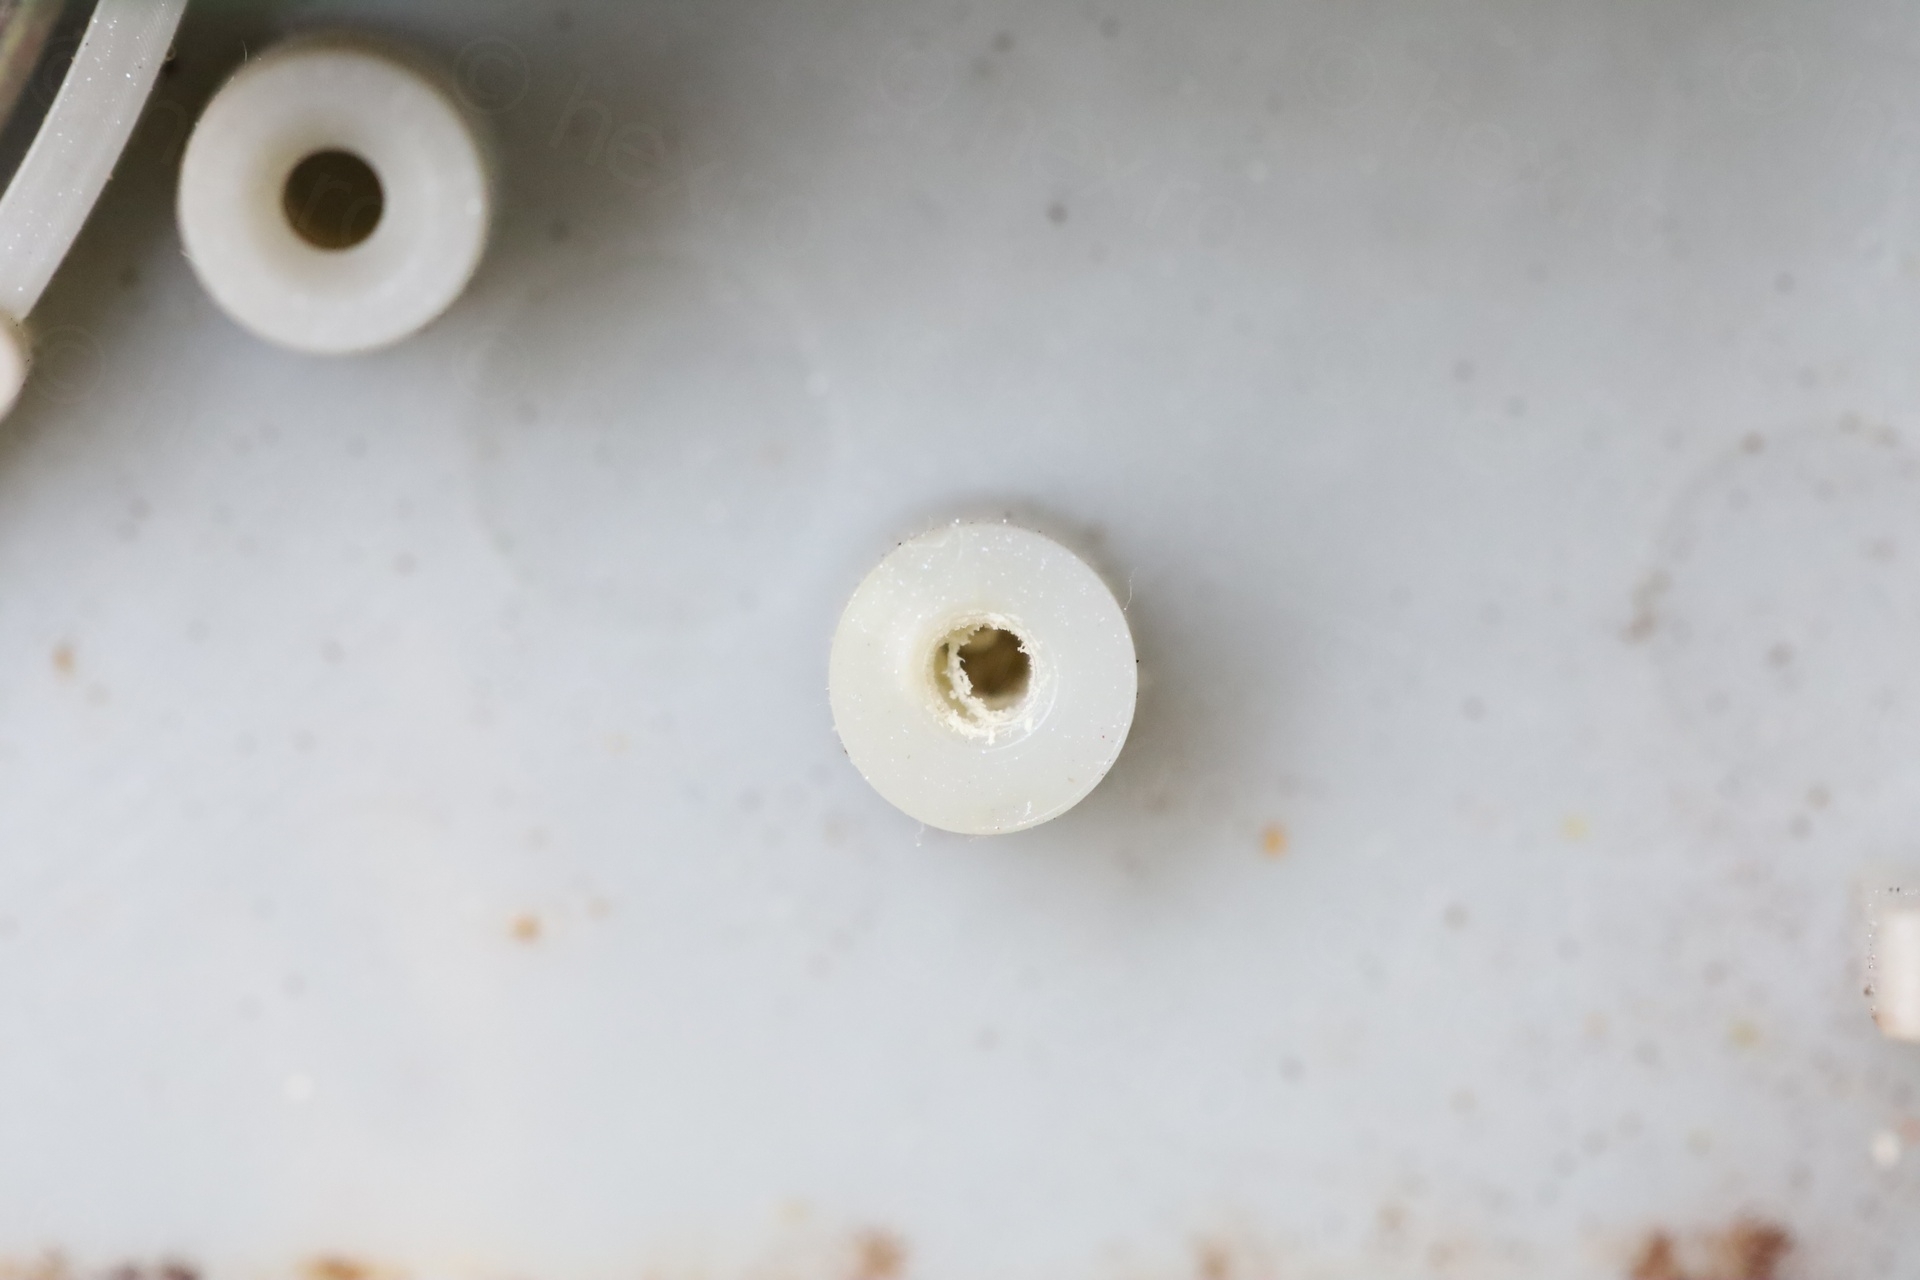
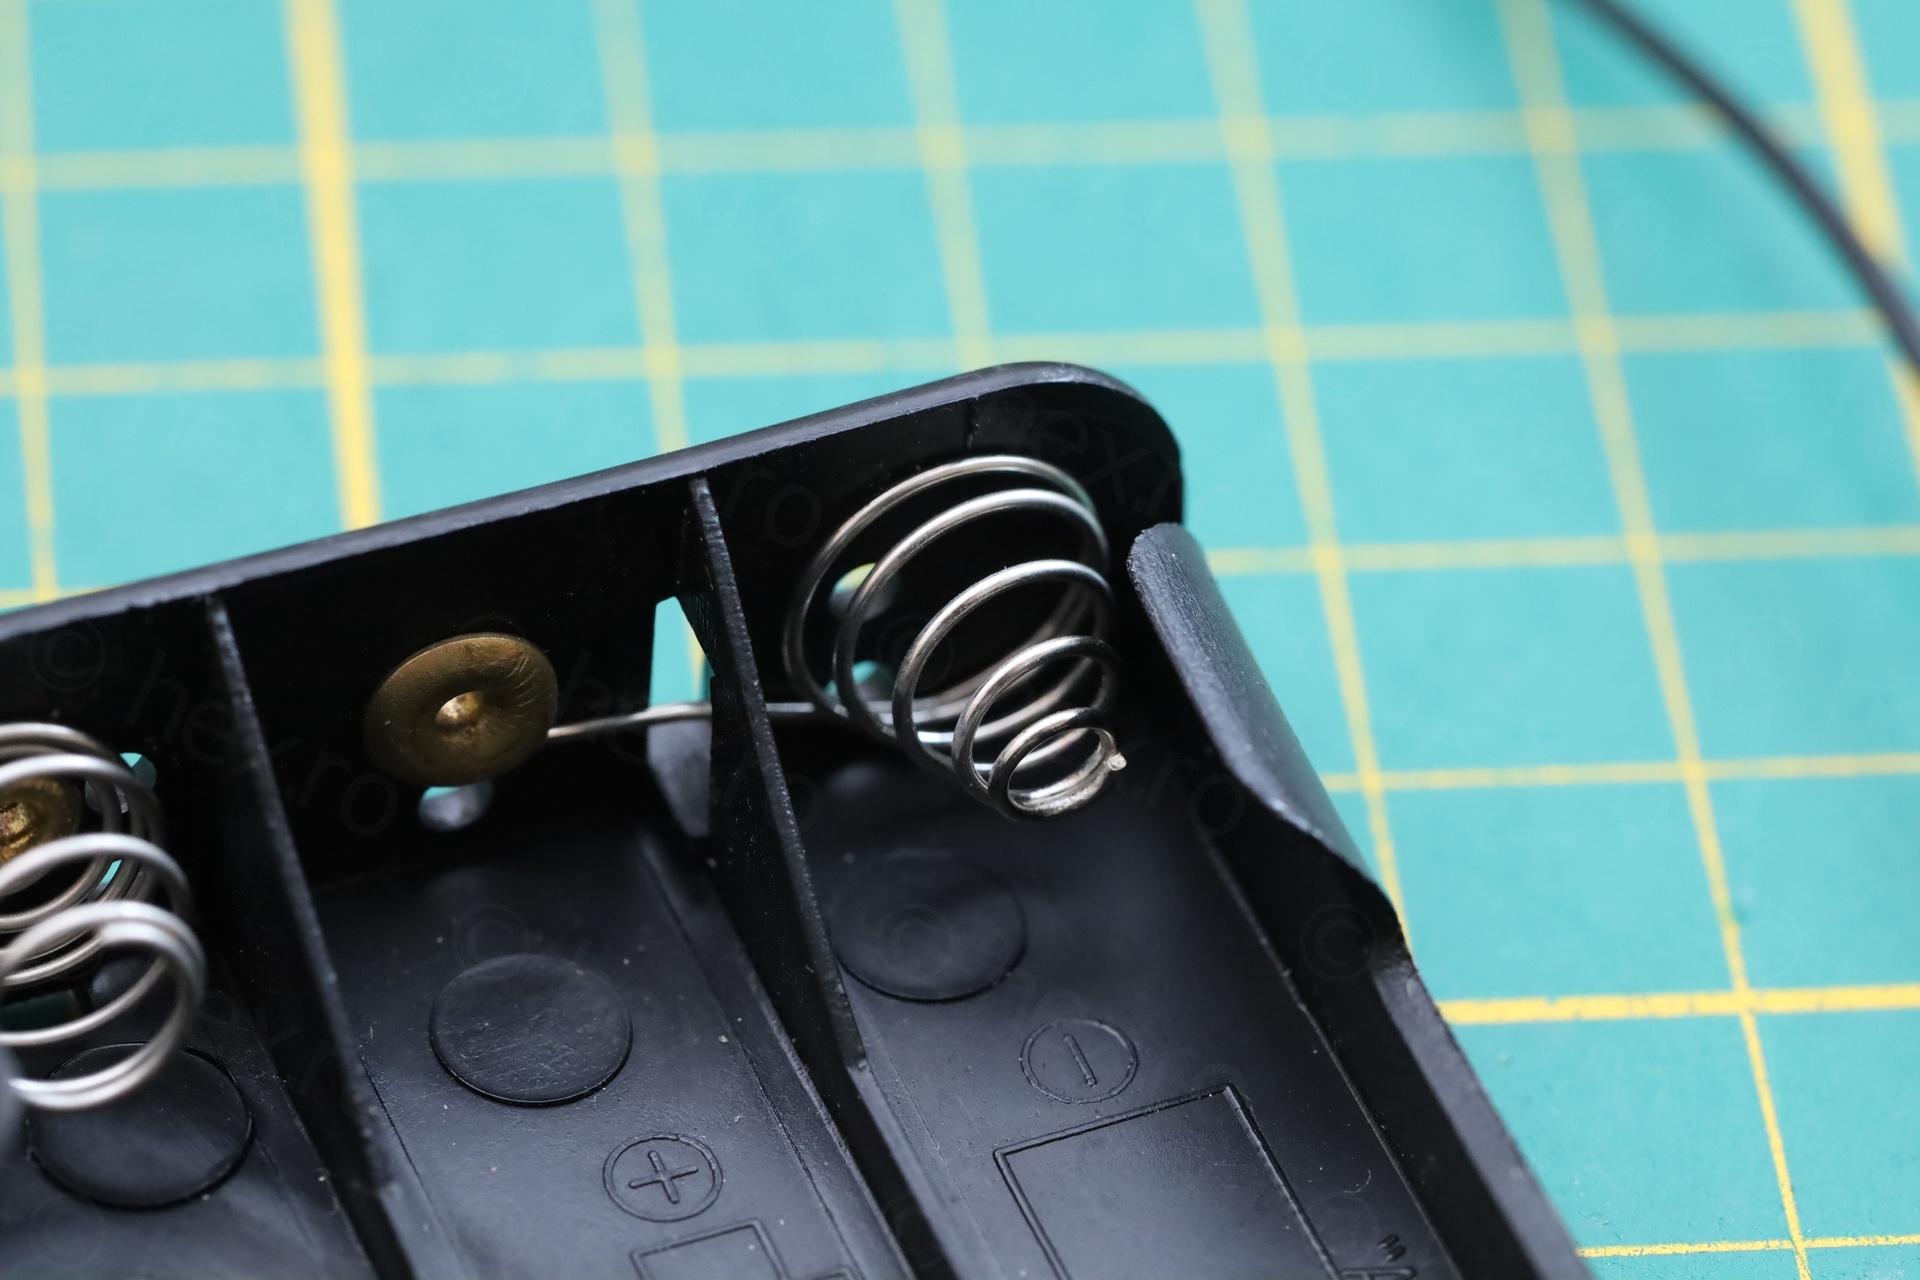
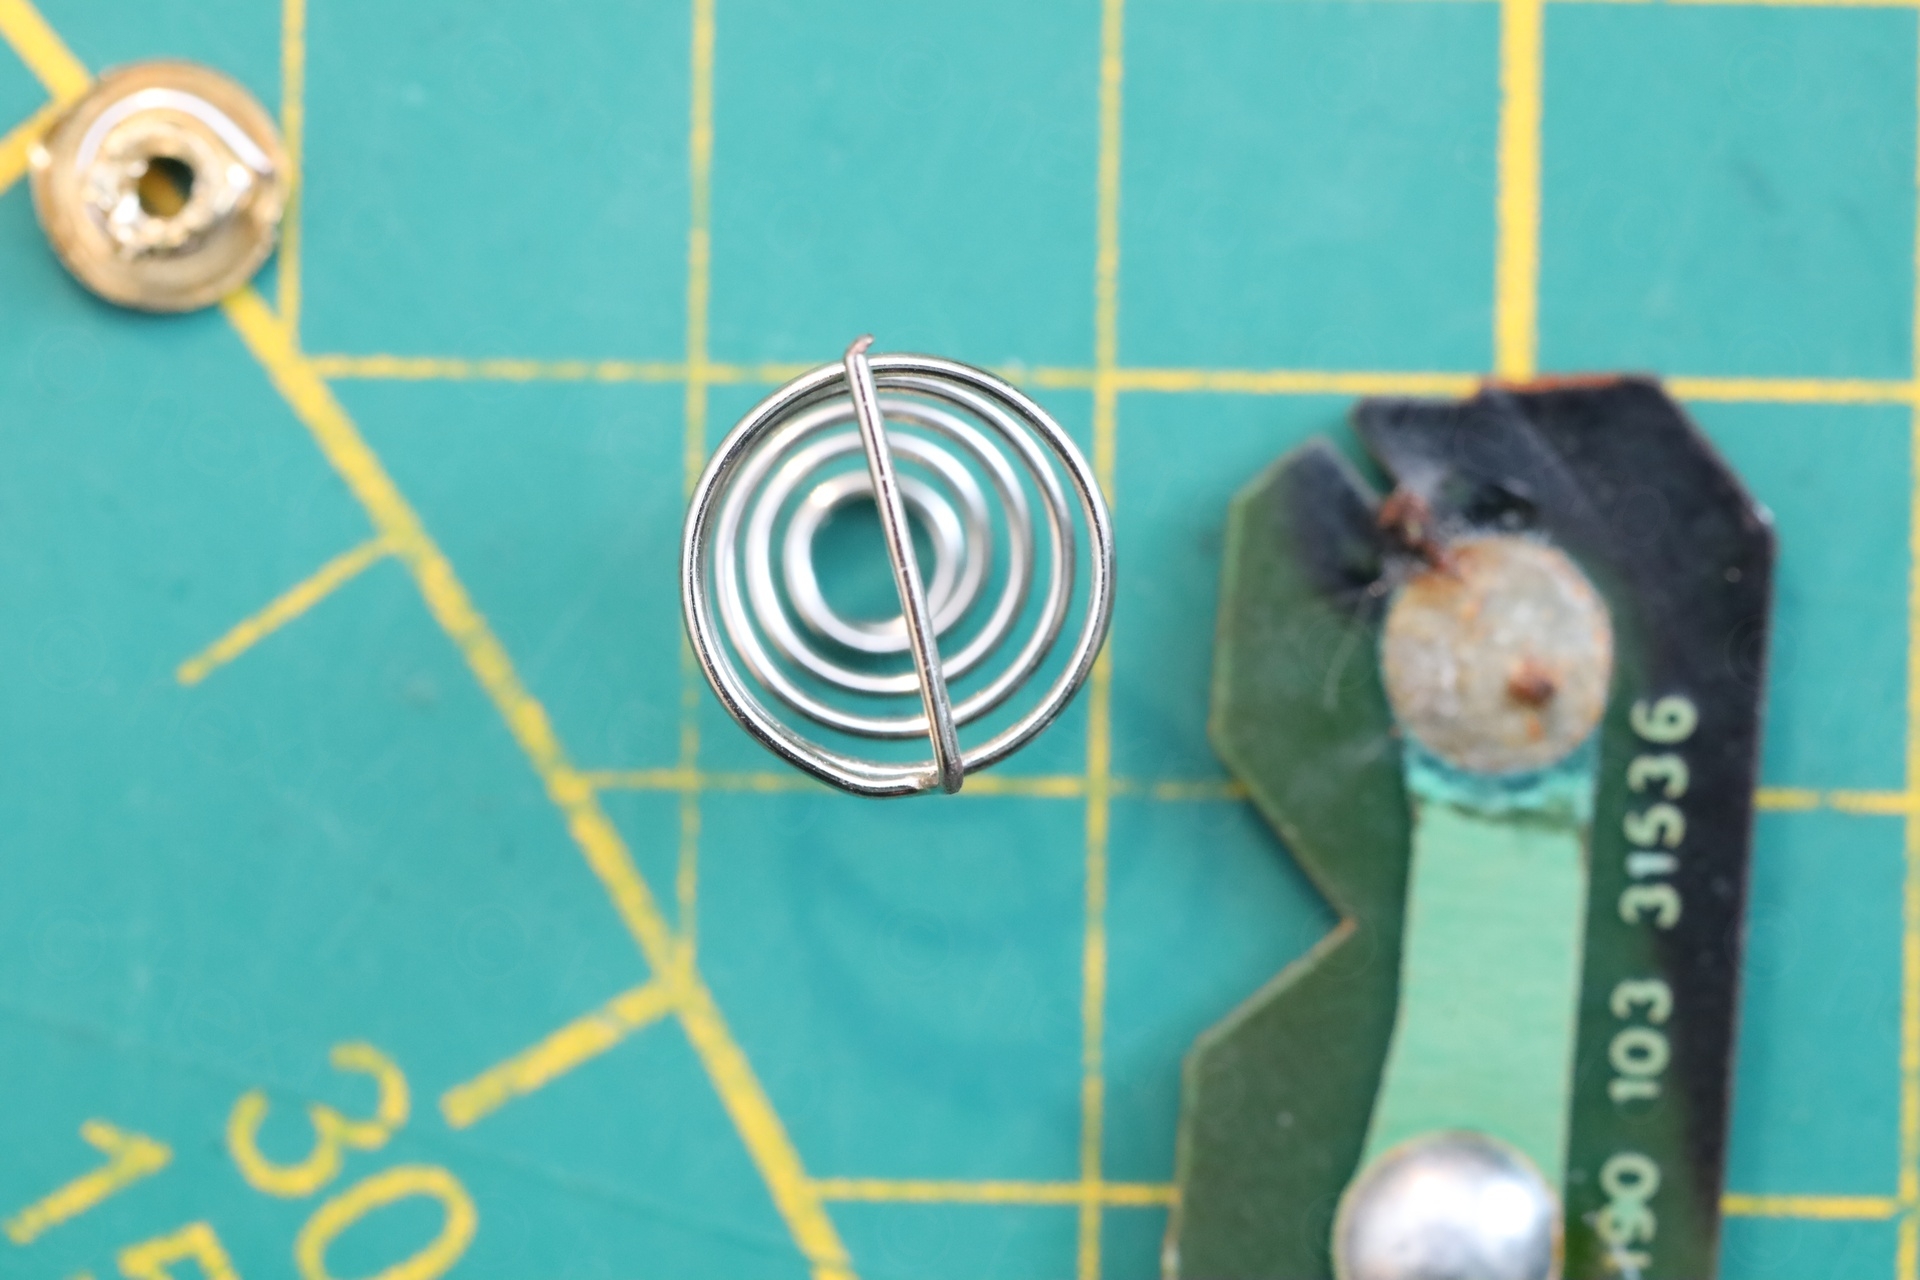
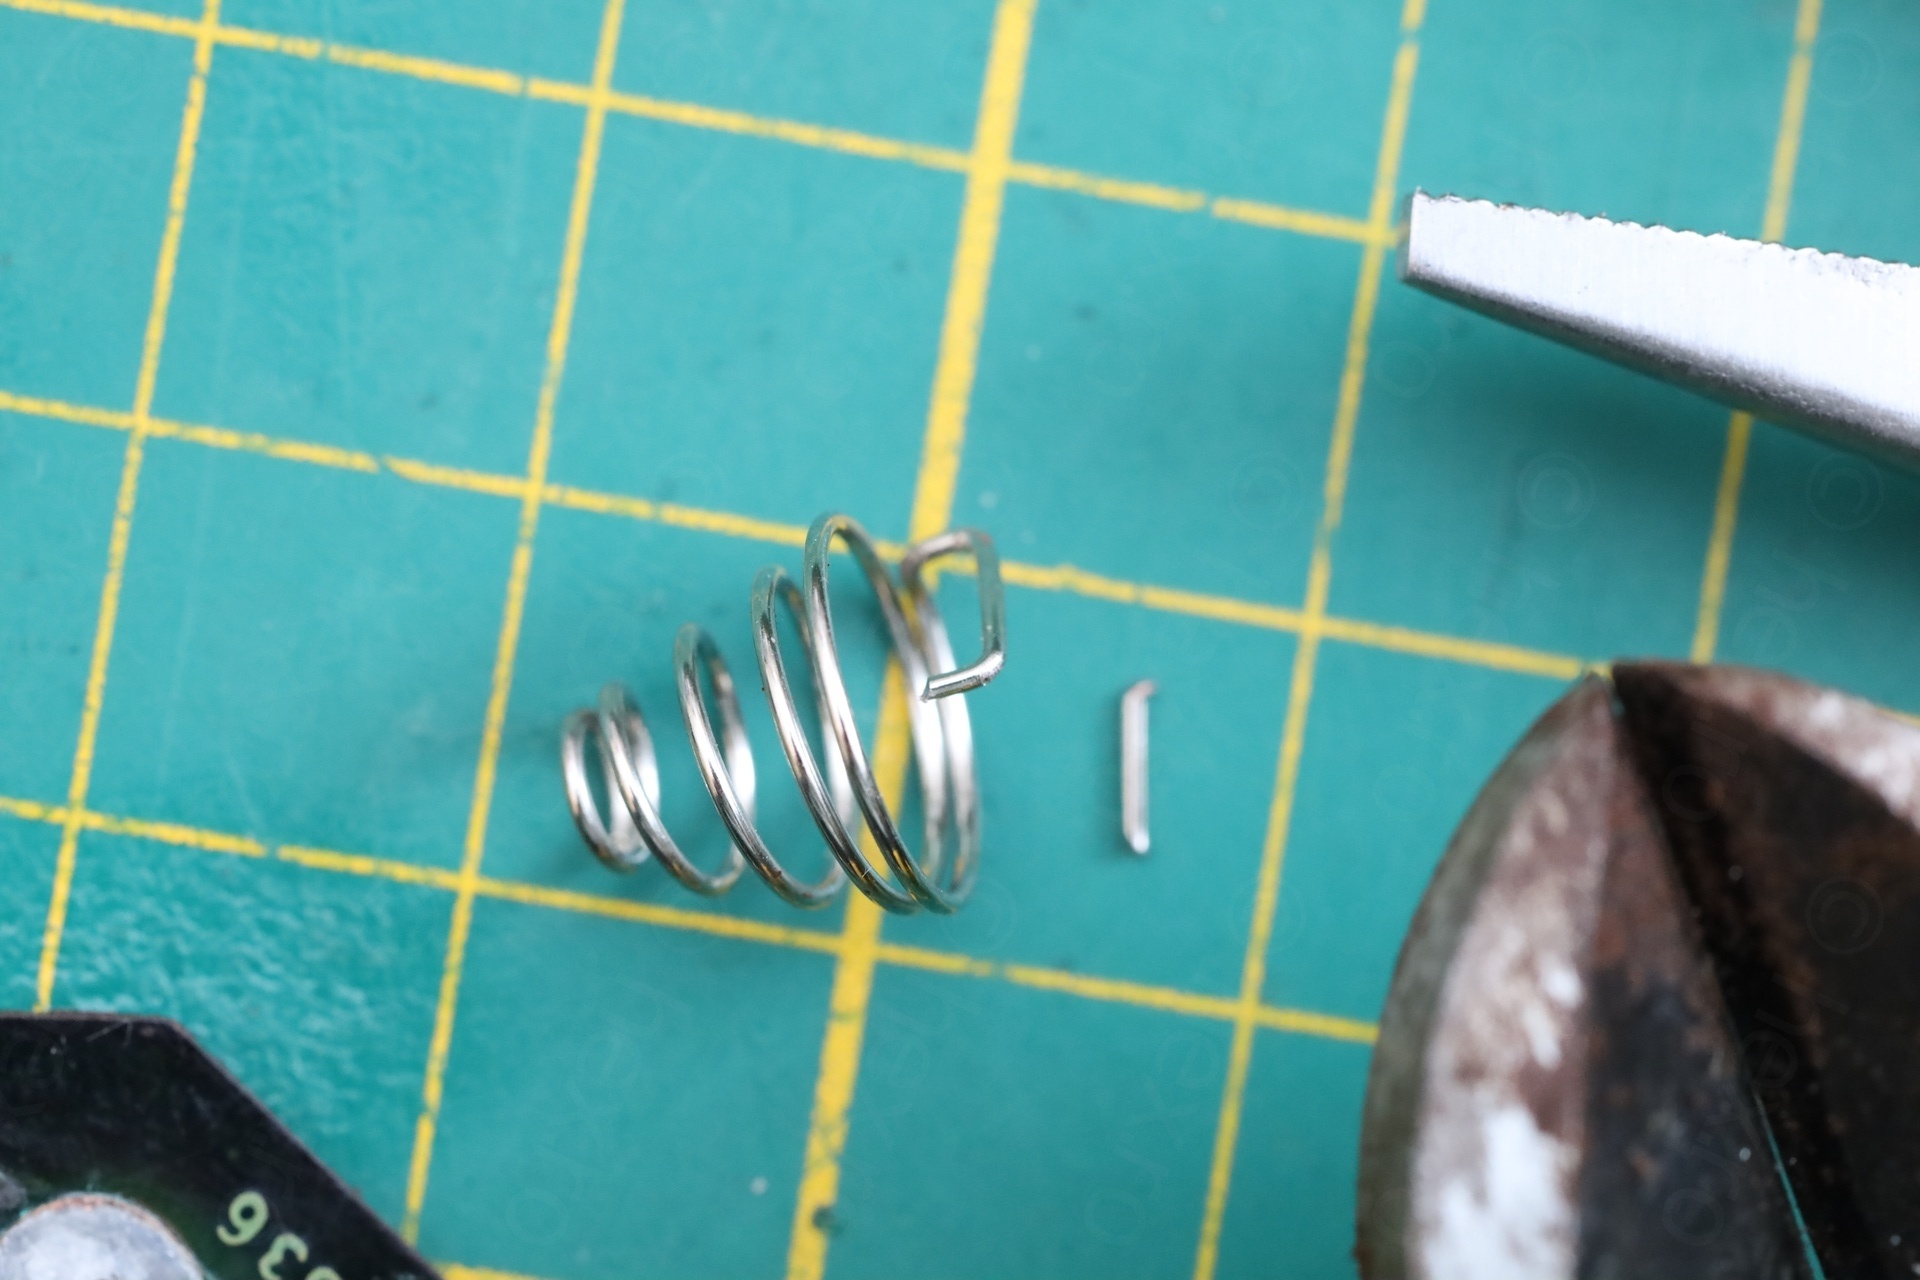
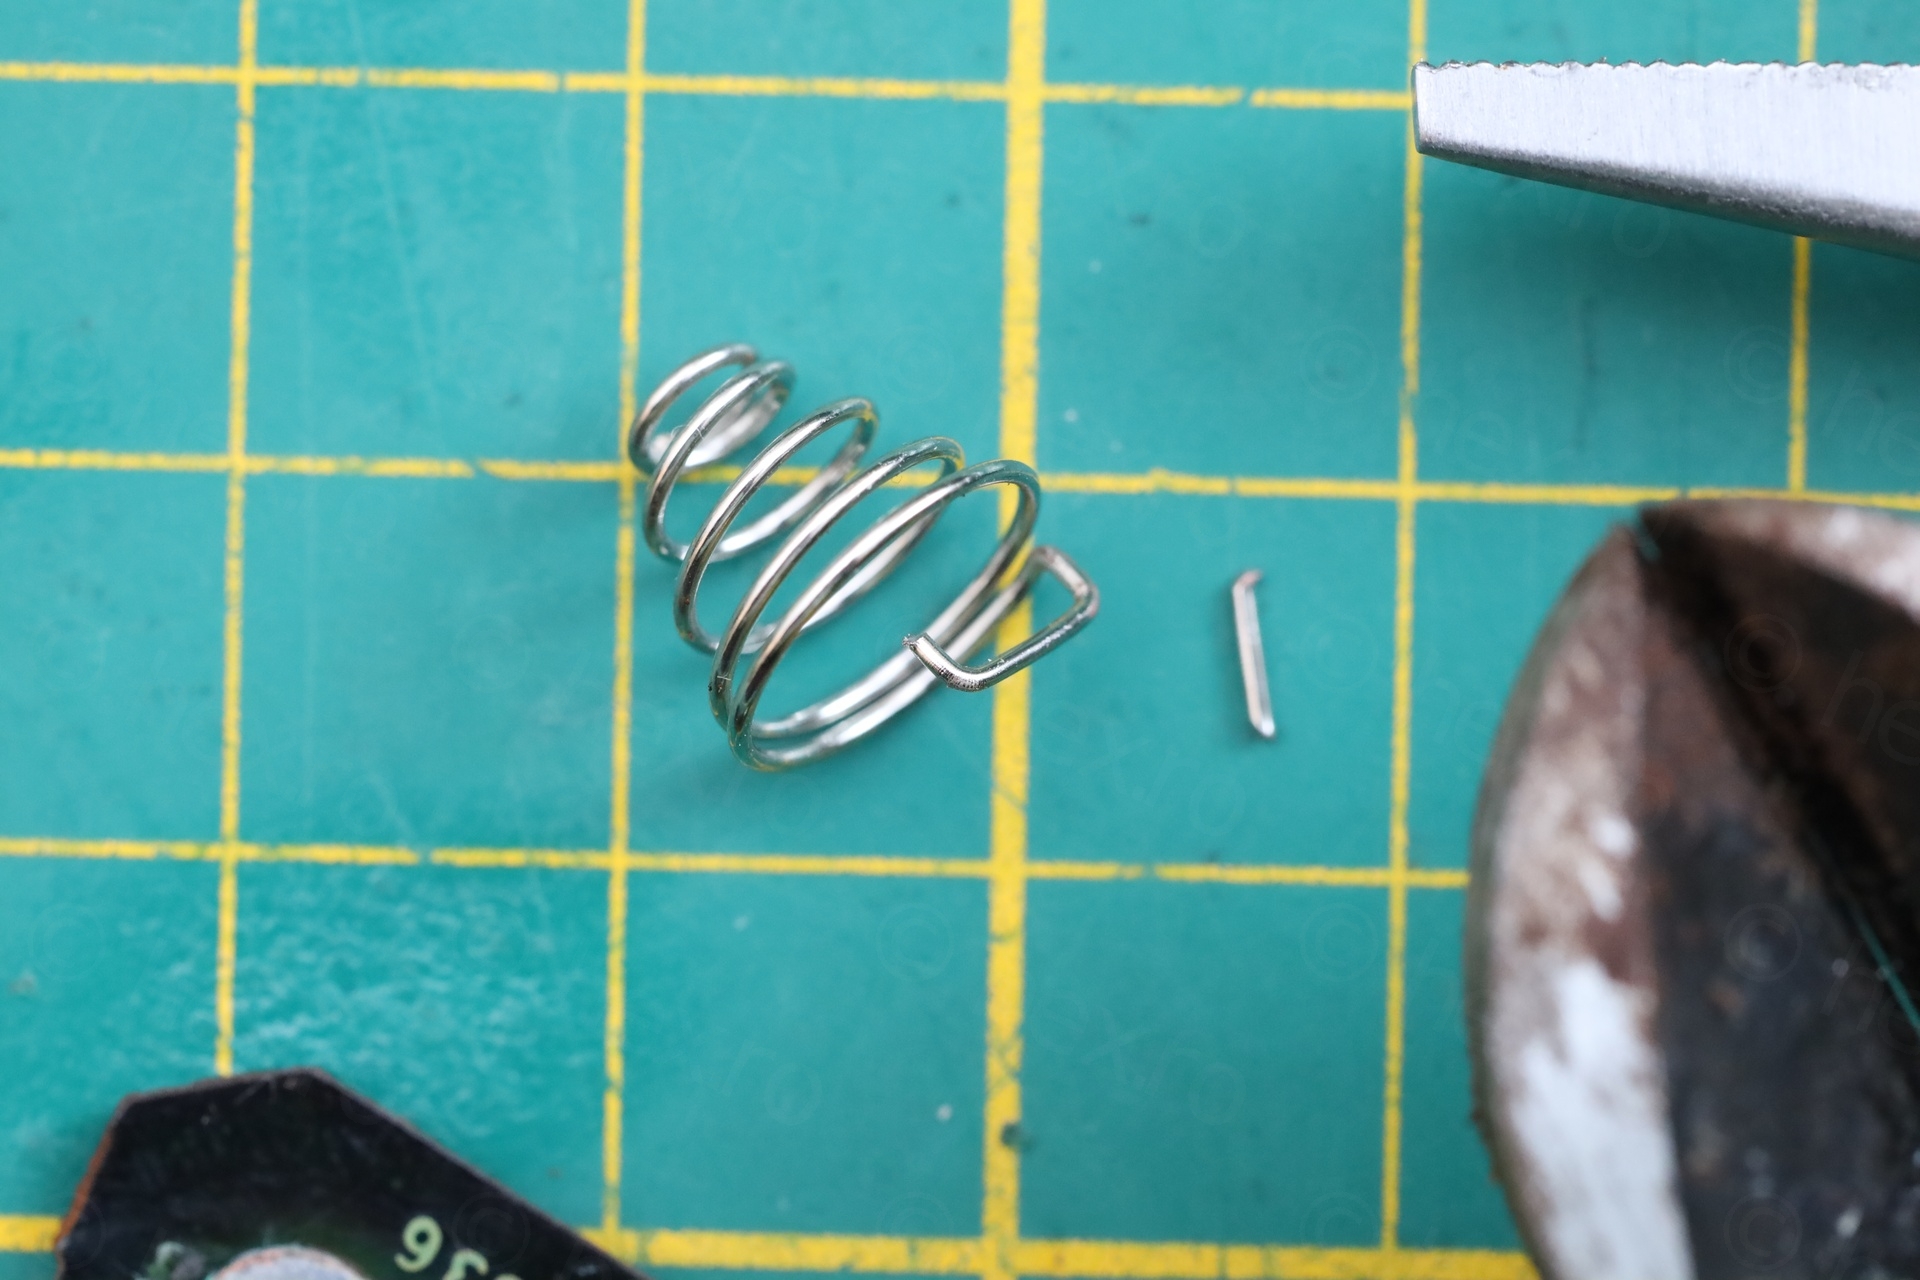
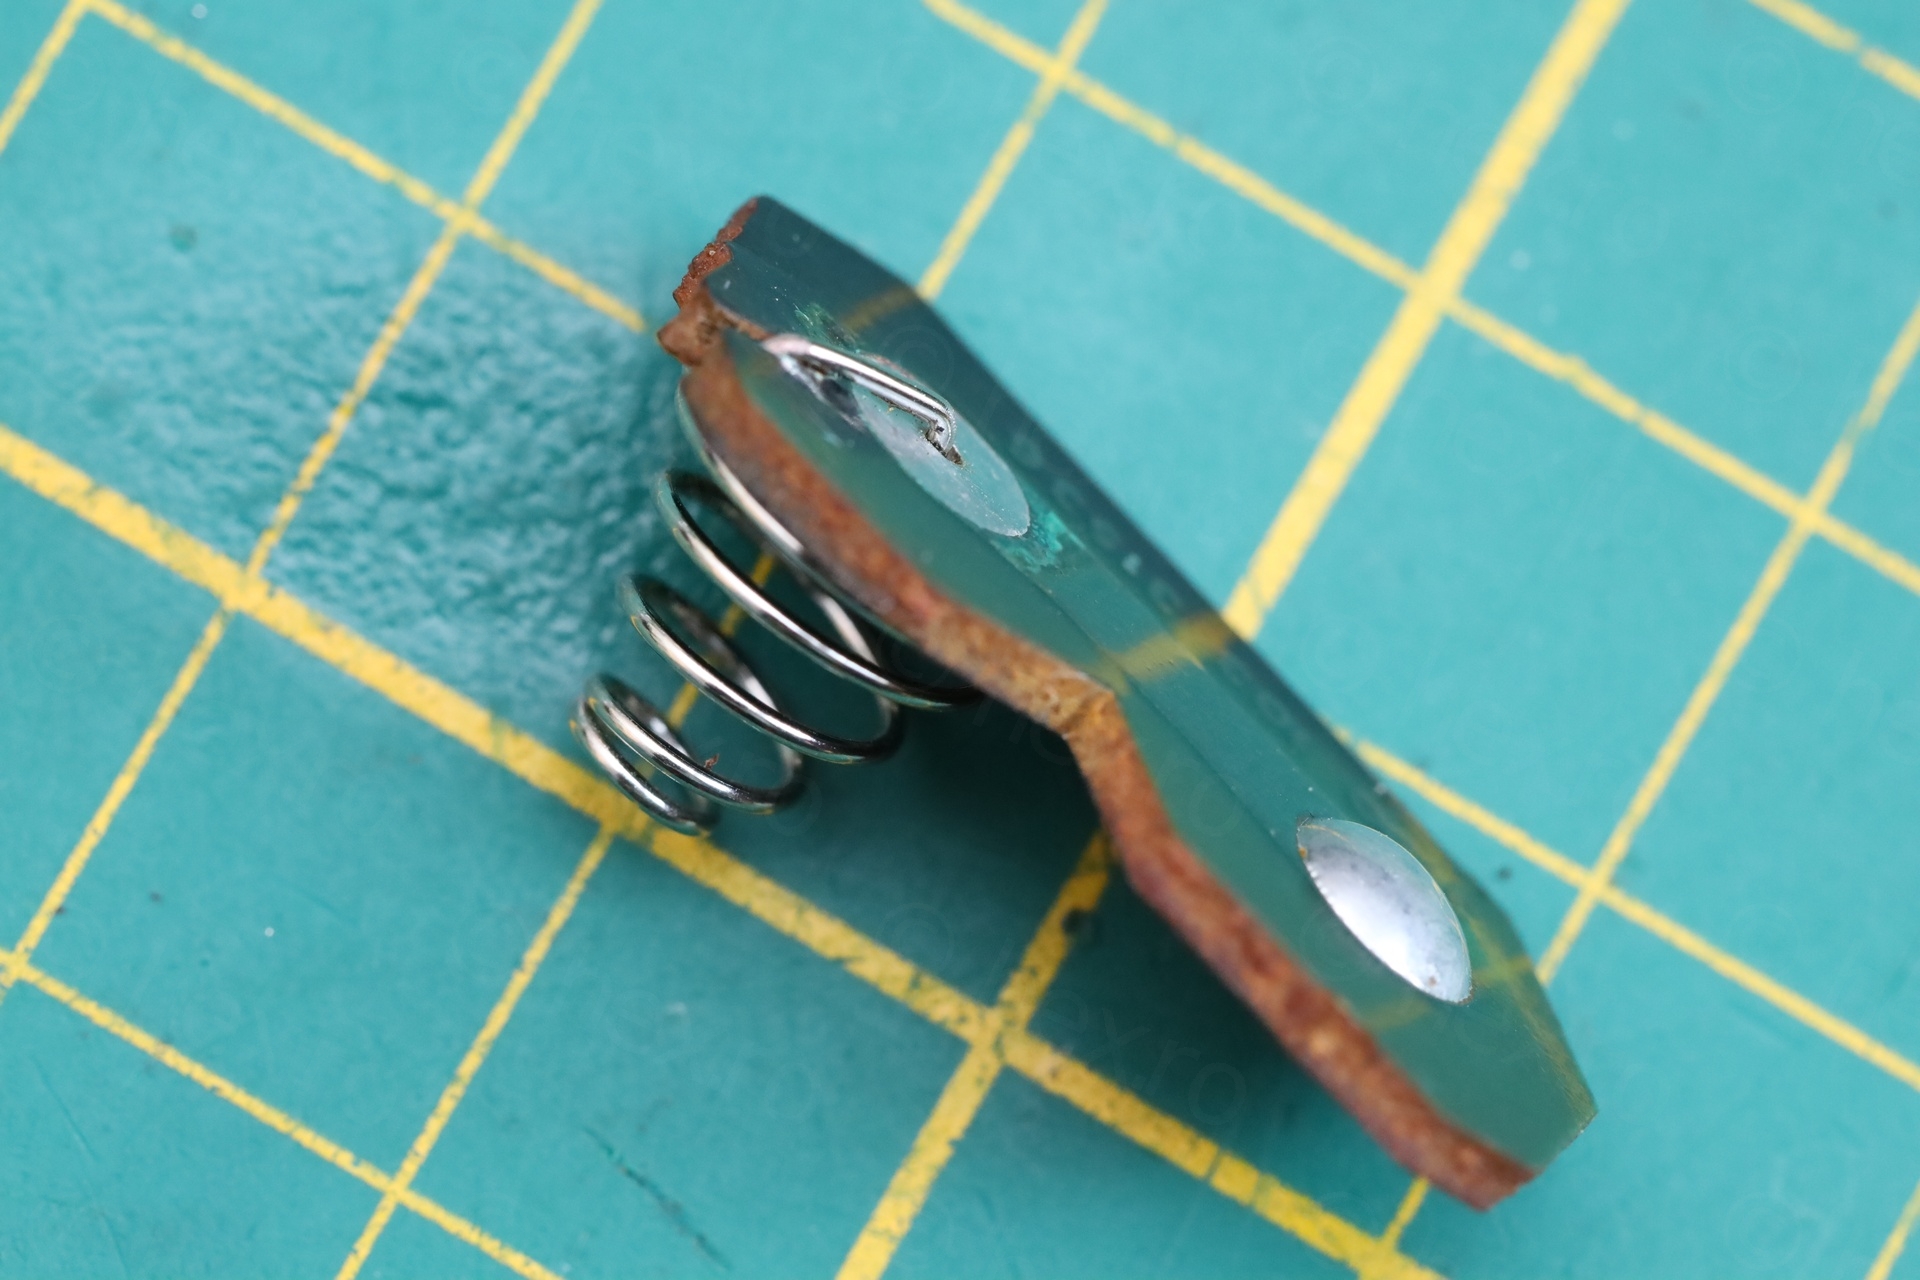
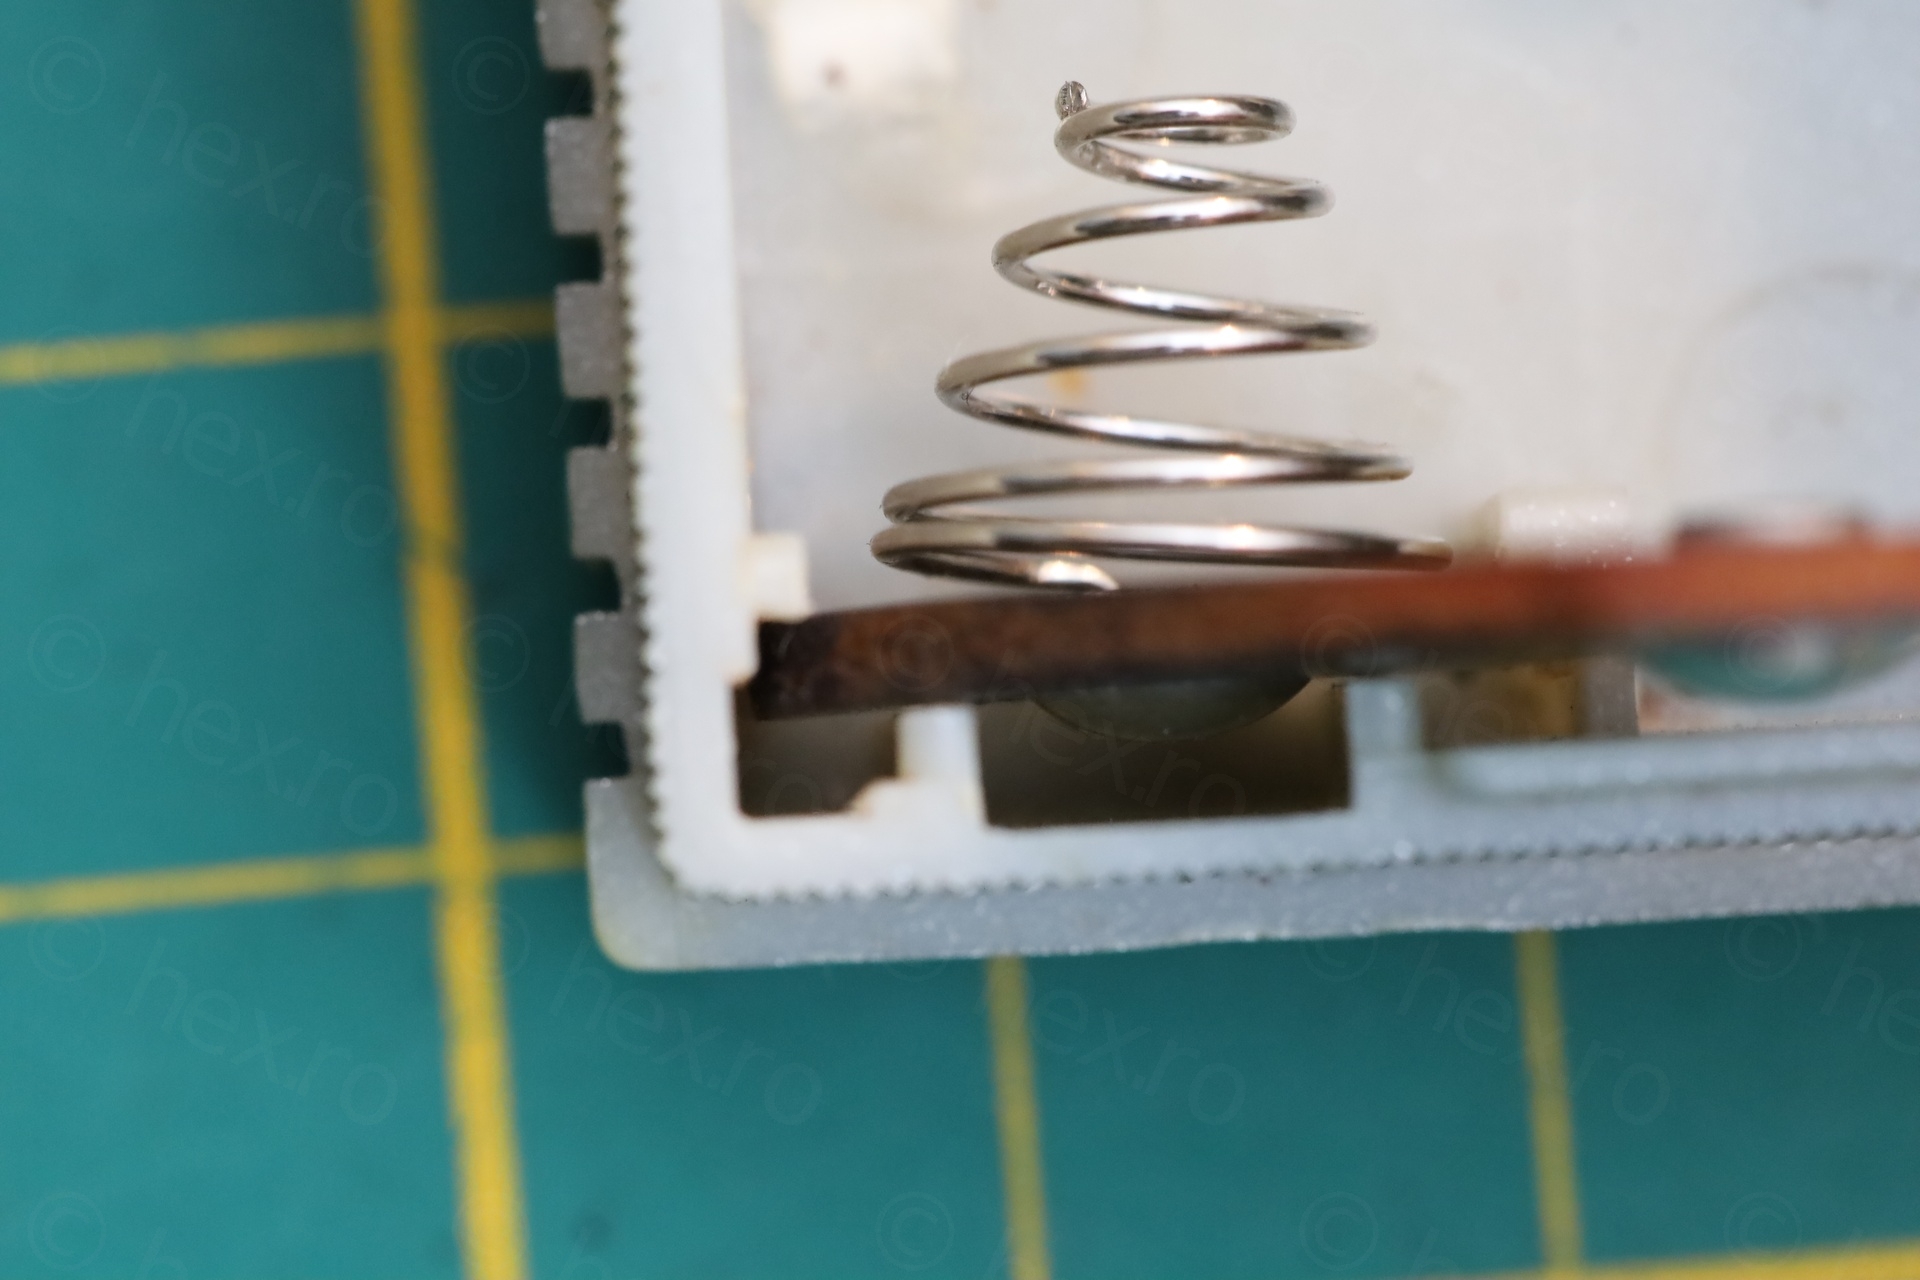
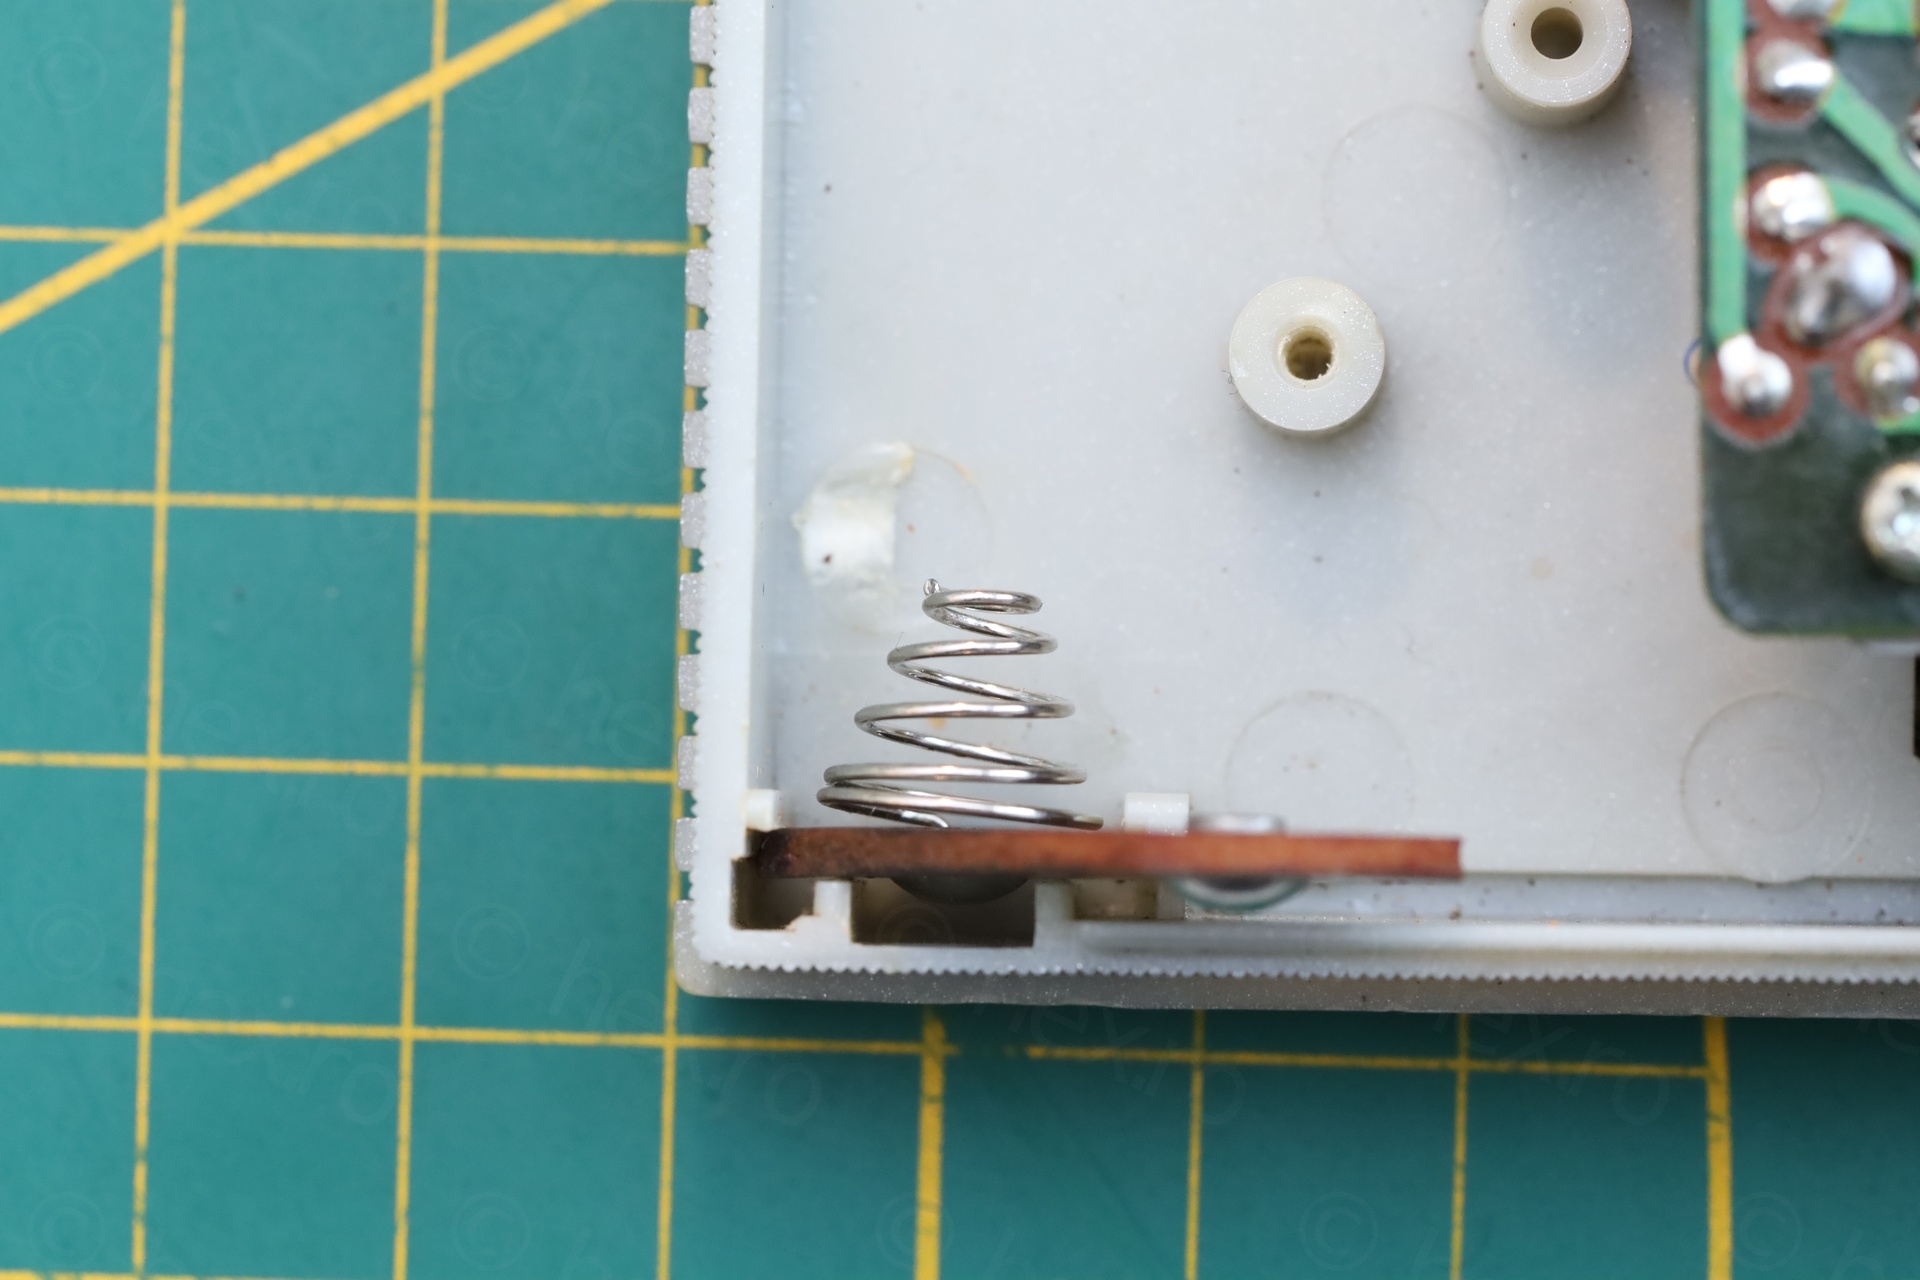
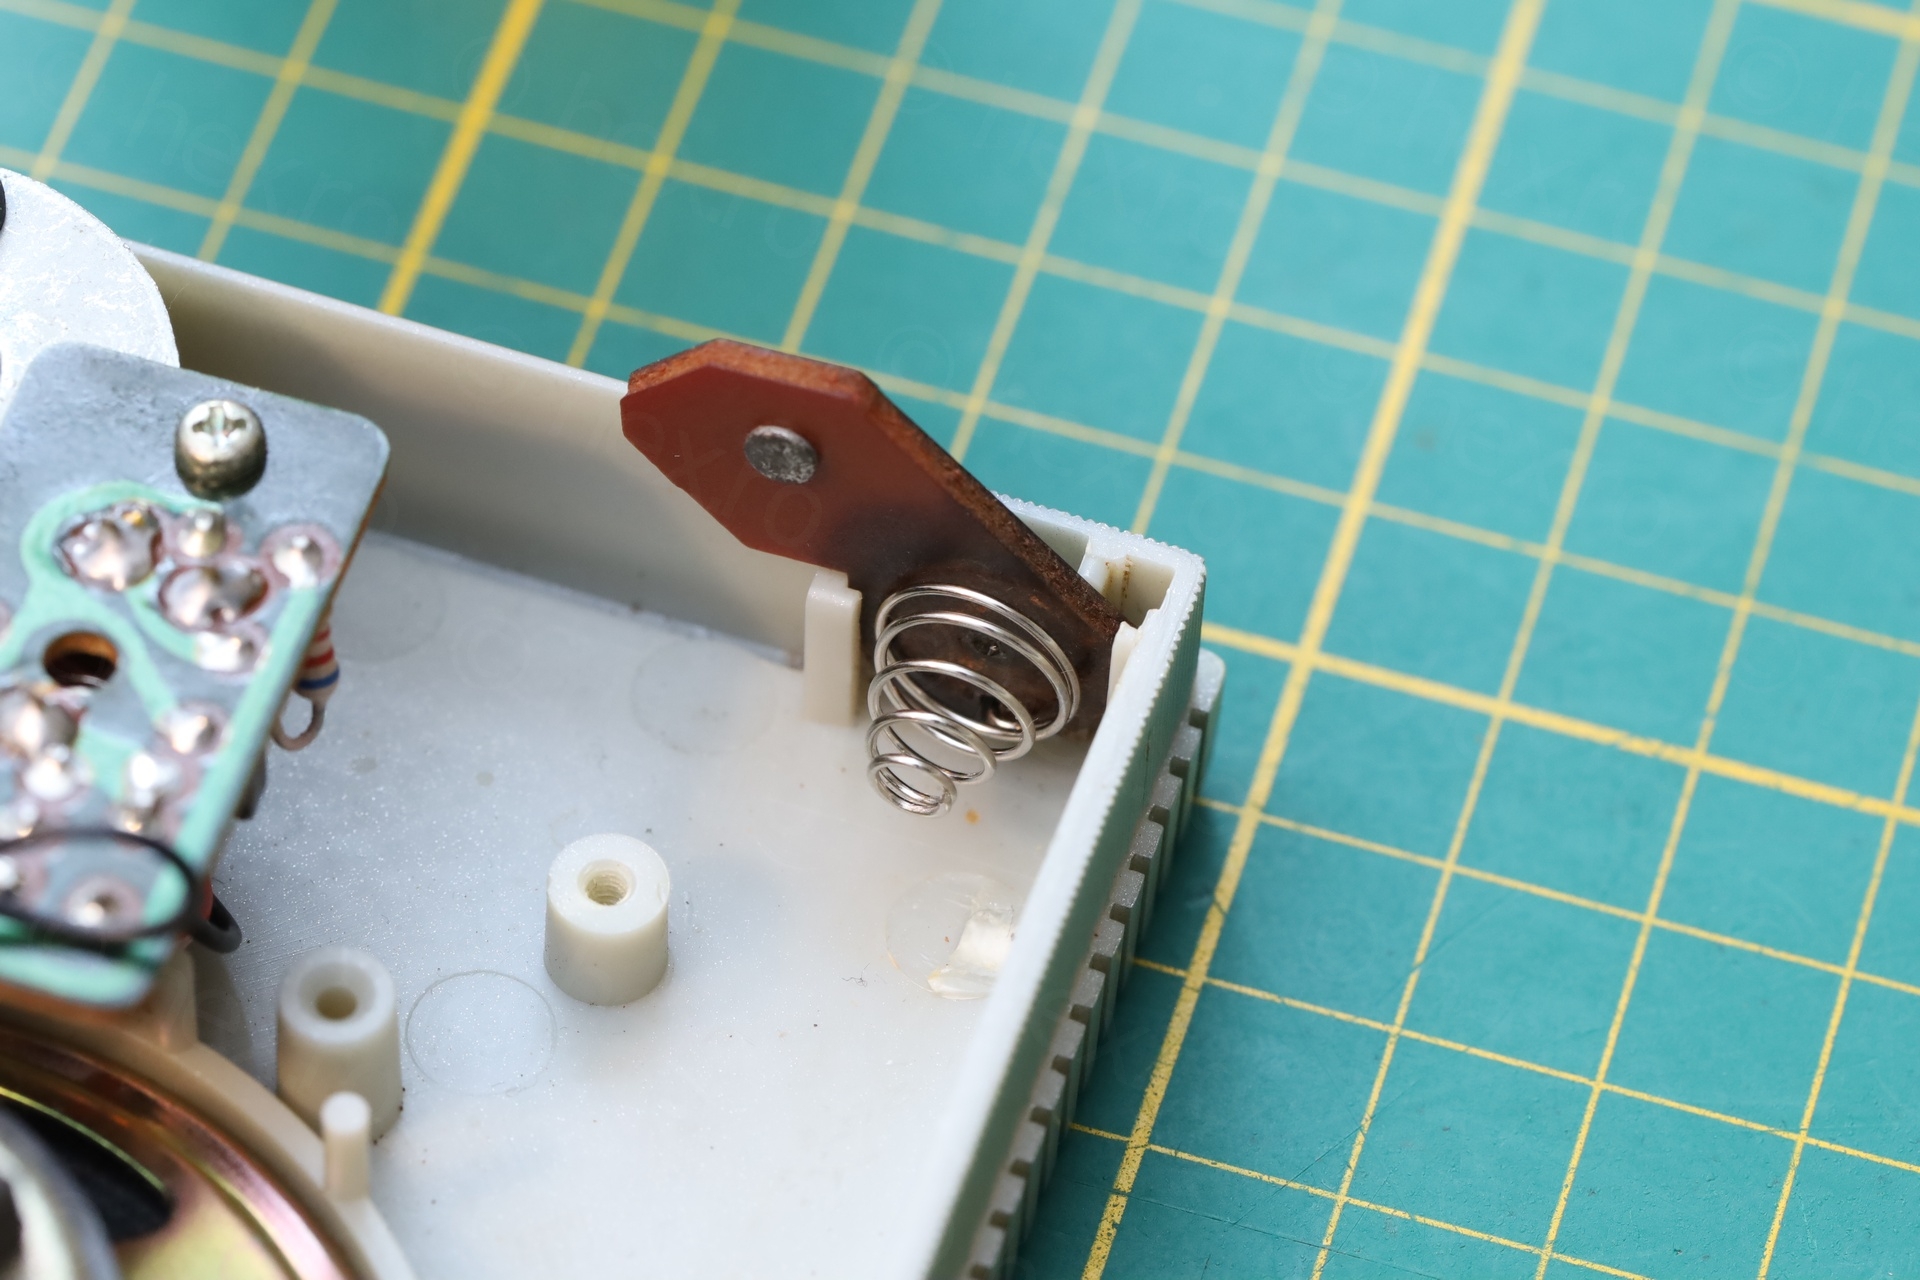
Replacing corroded battery negative spring
Here I had to reuse a spring that I took from a modern battery pack. I could not just drop it in, I had to adapt it, but it ended up nicely.
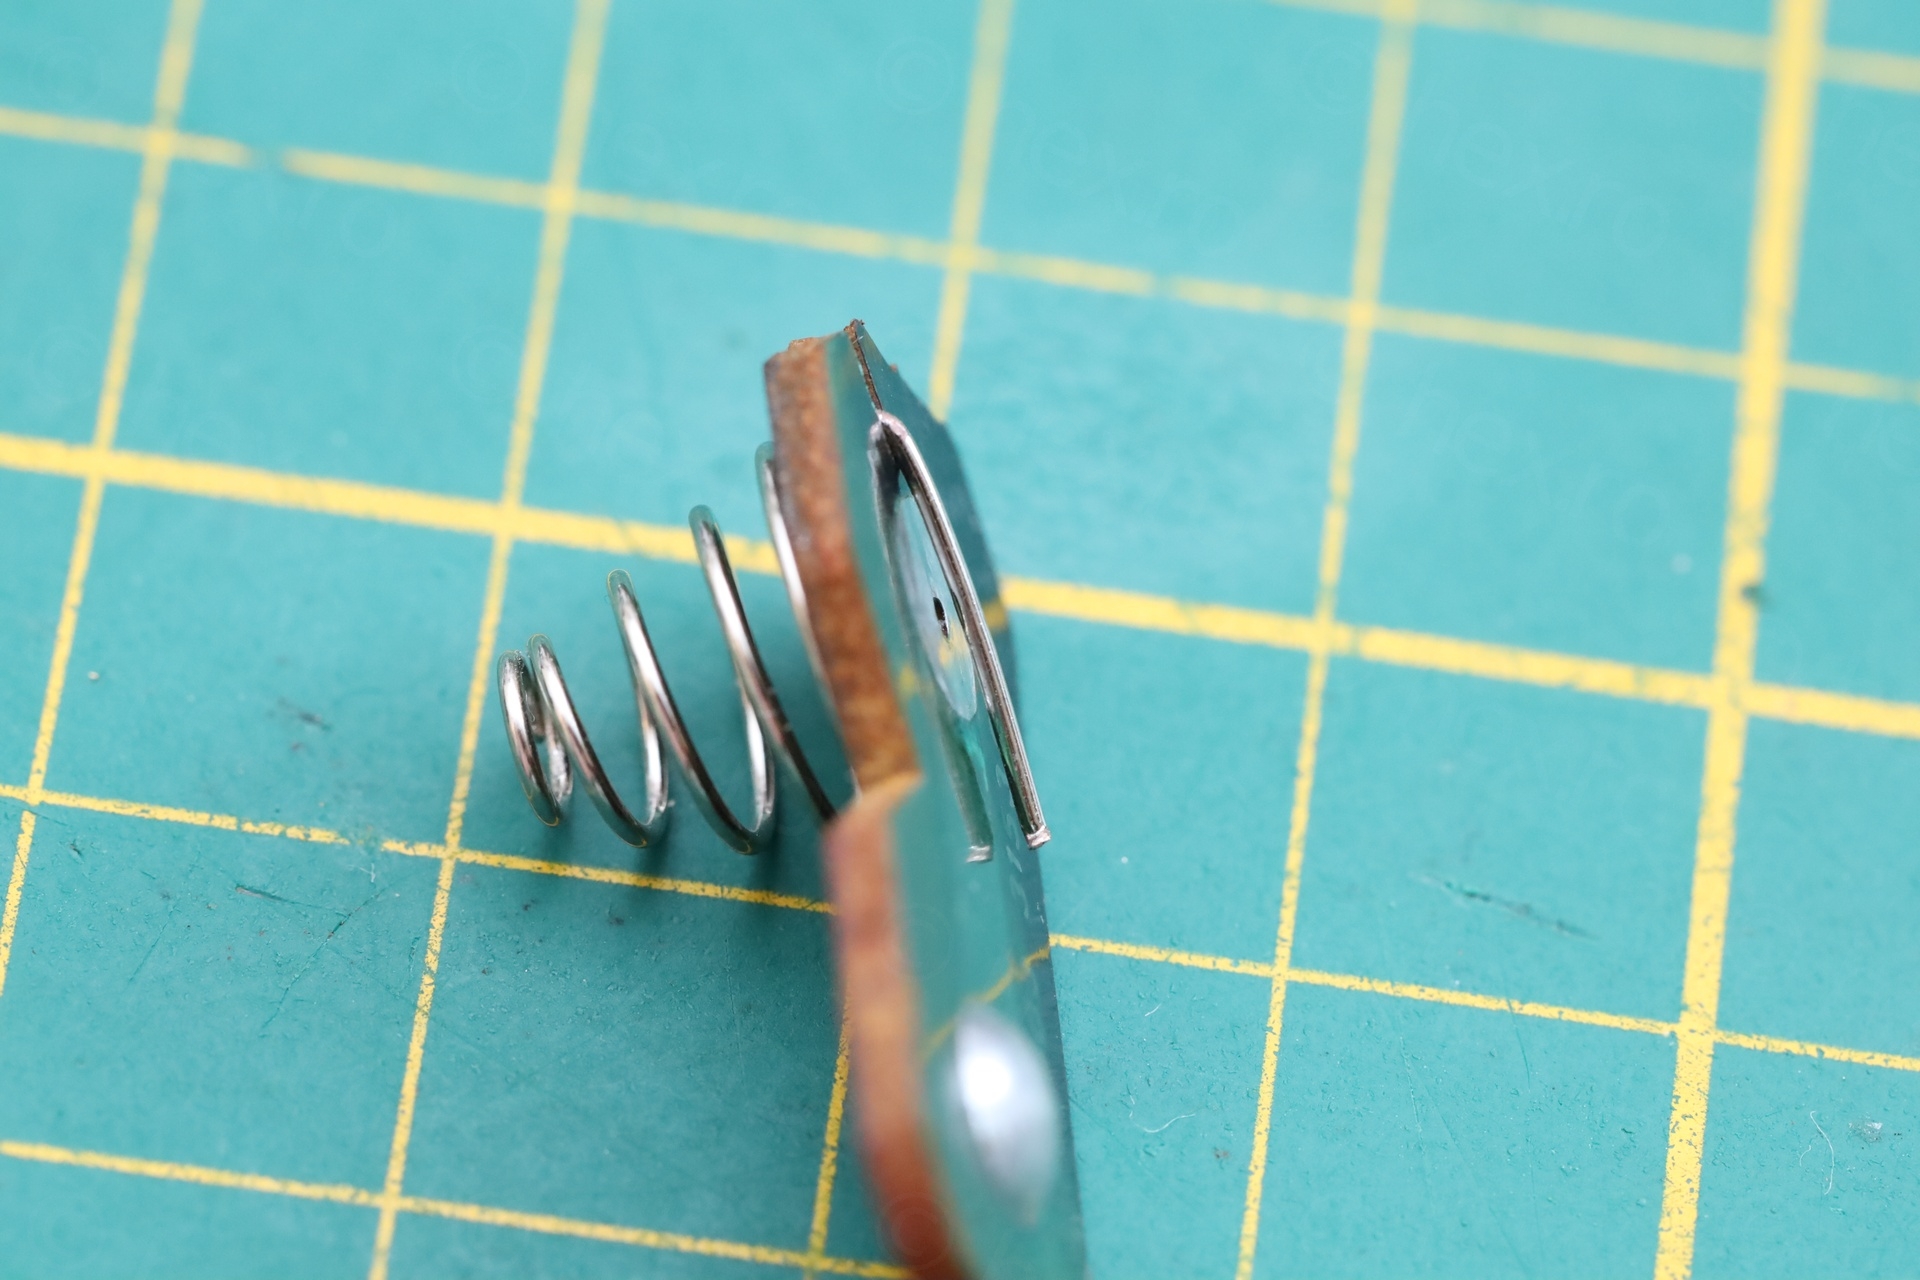
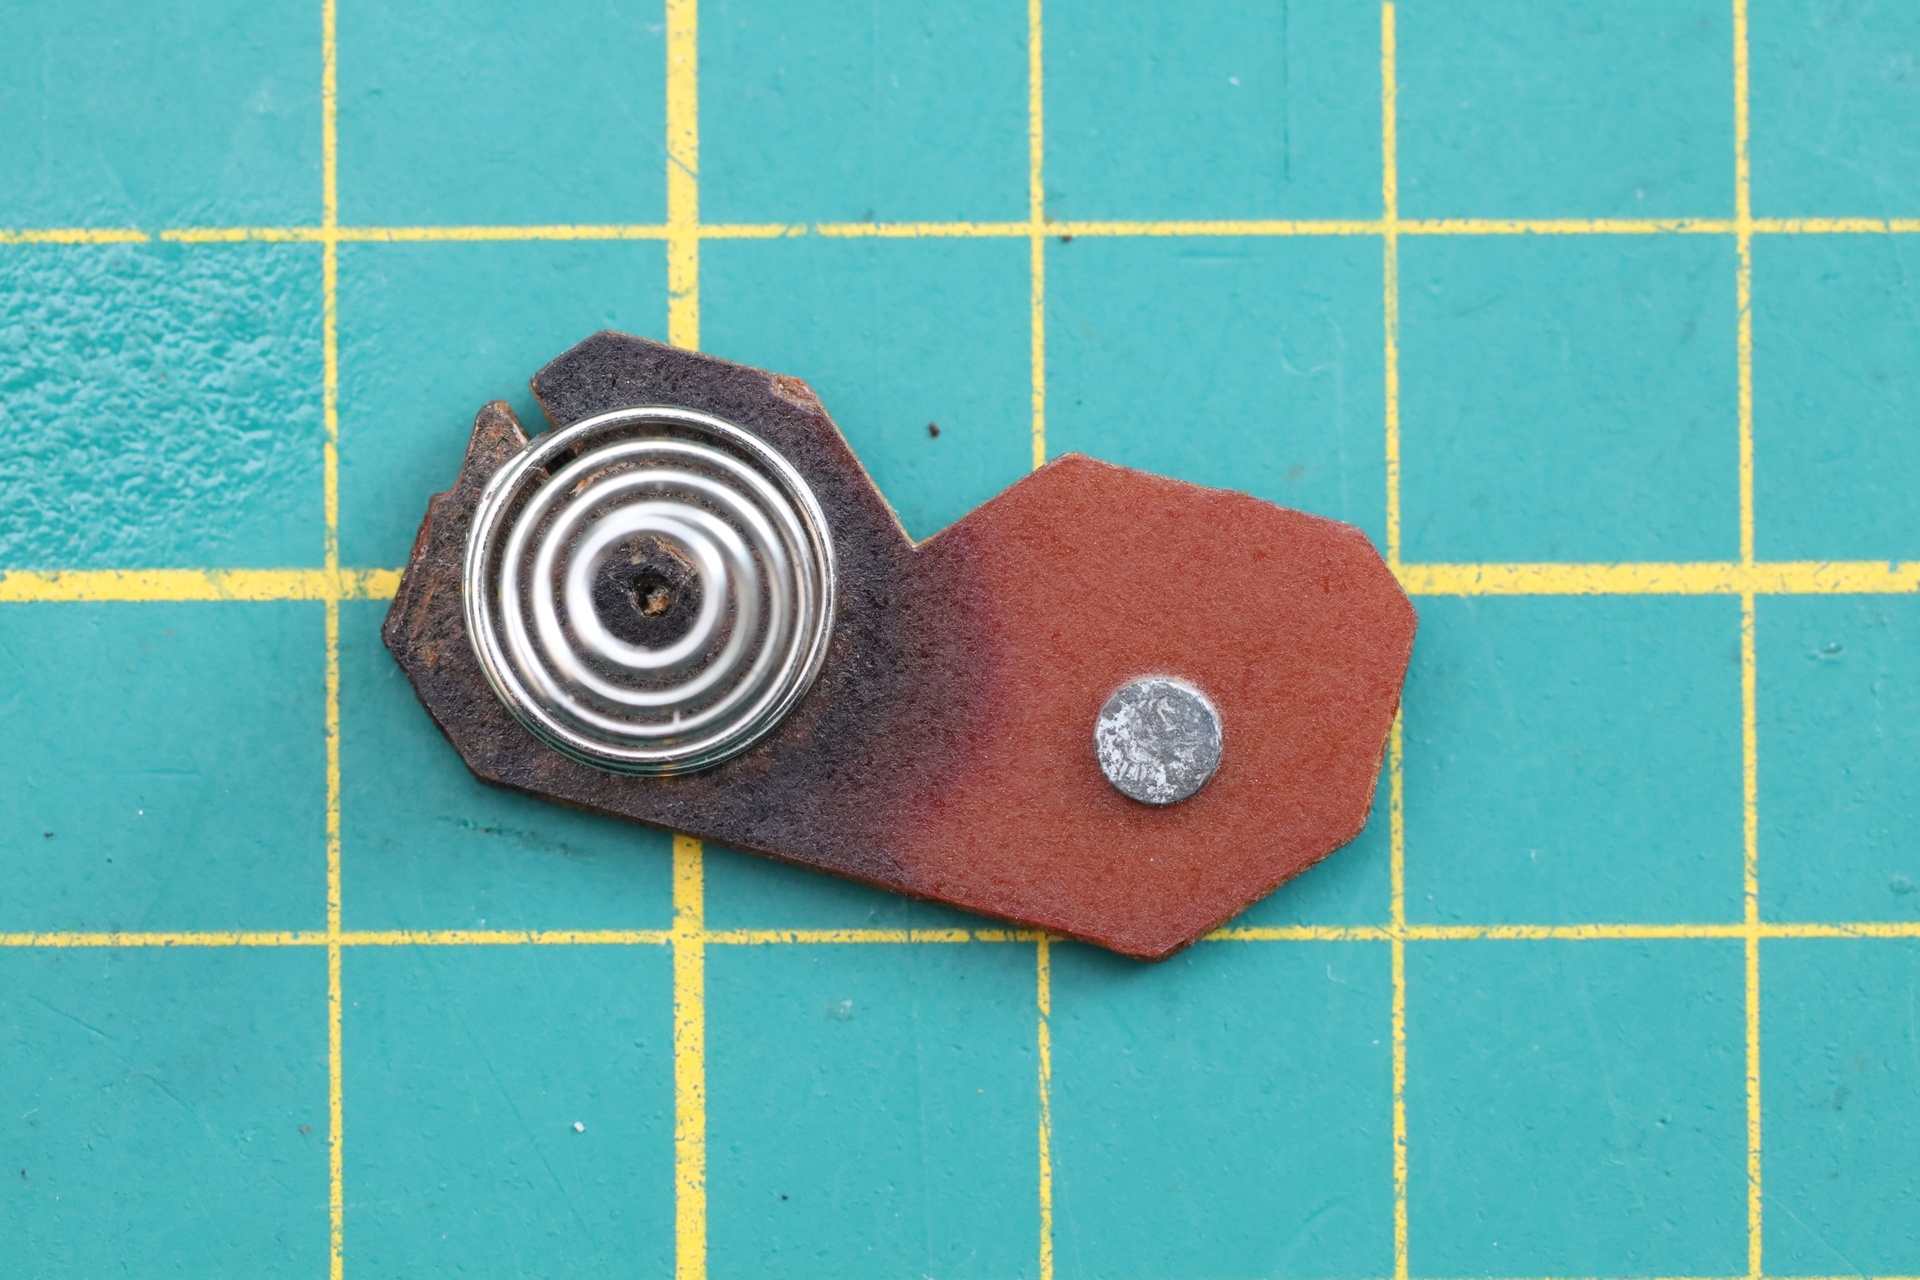
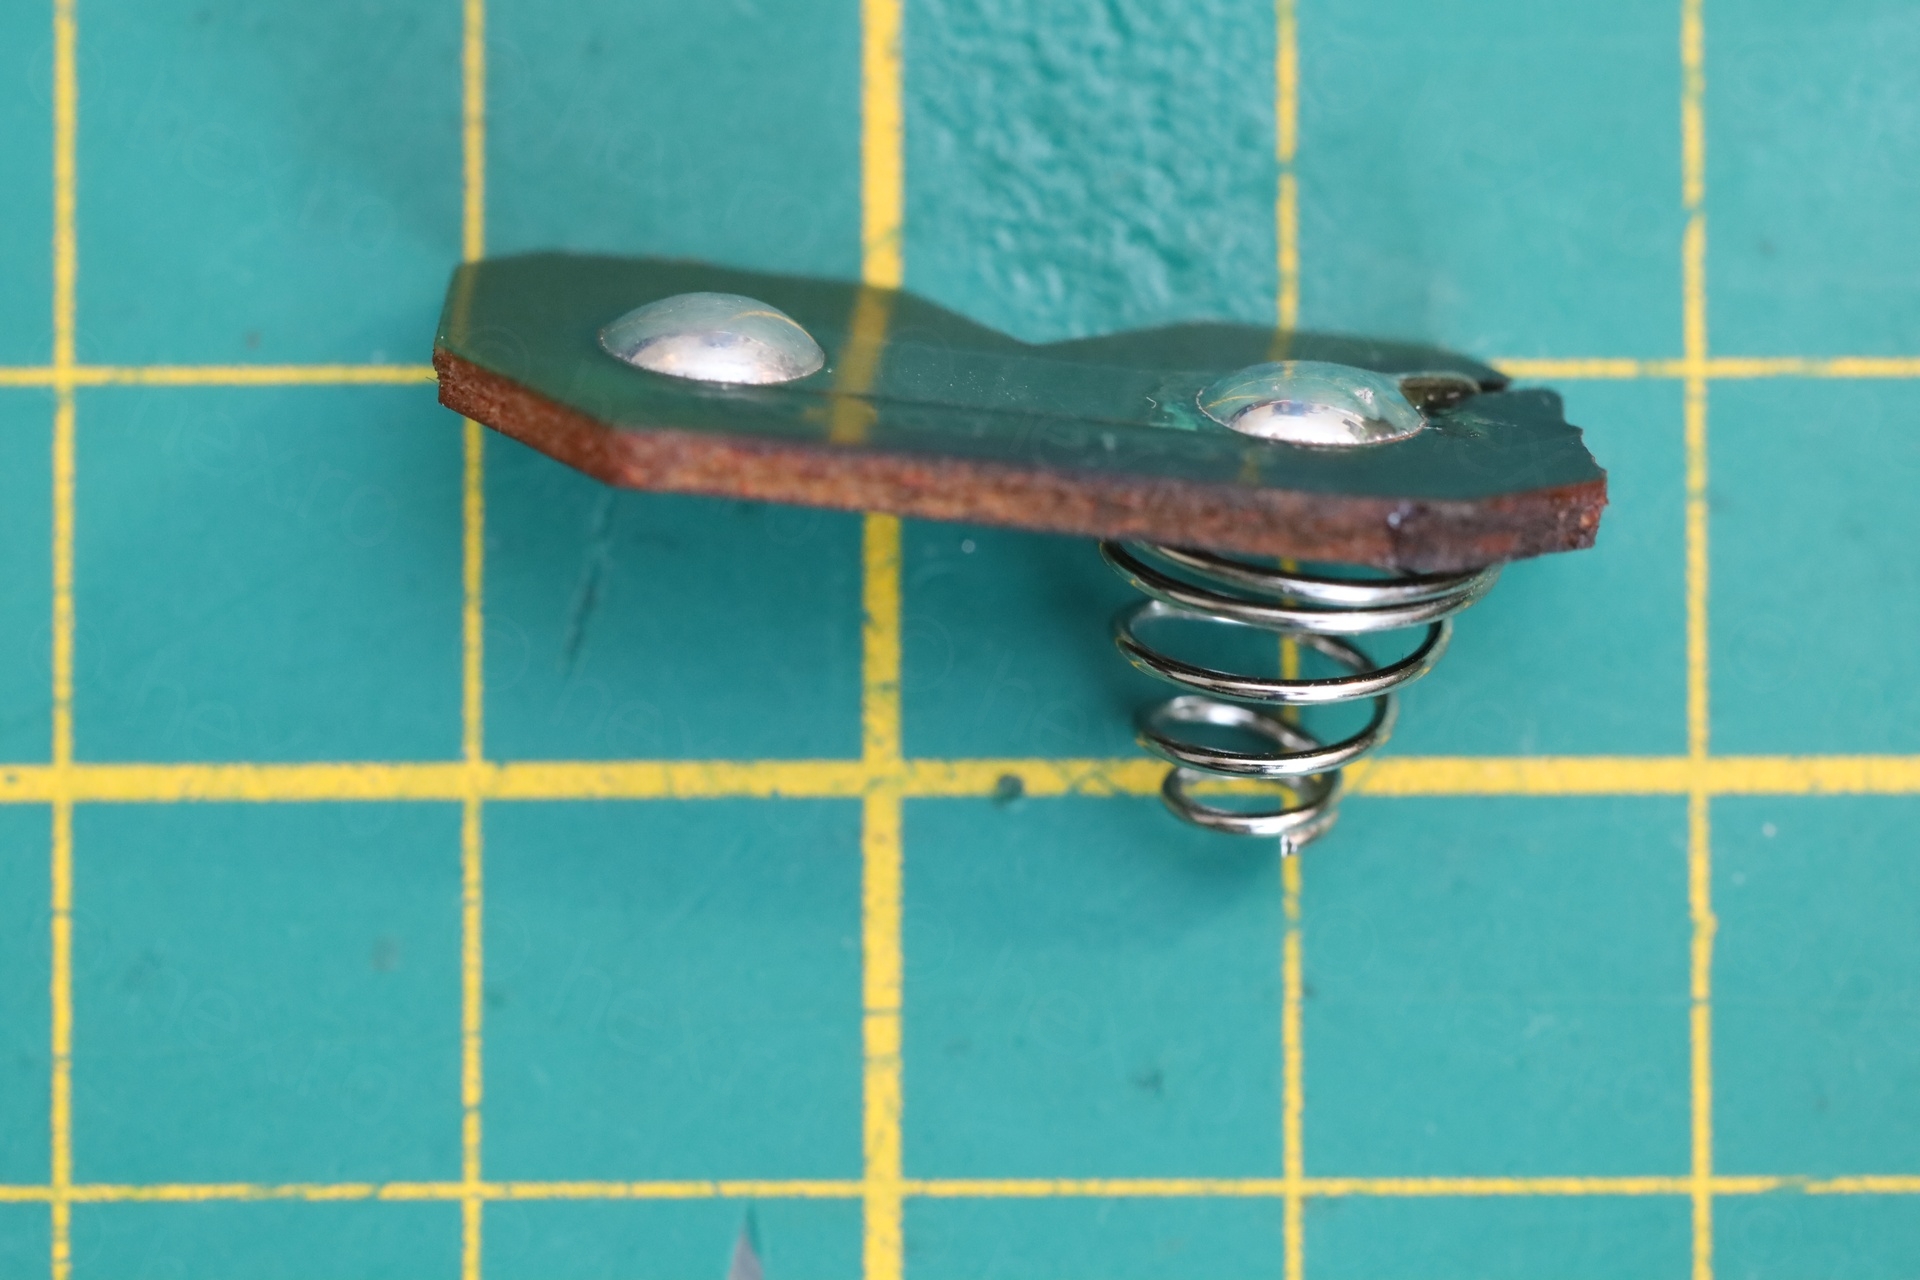
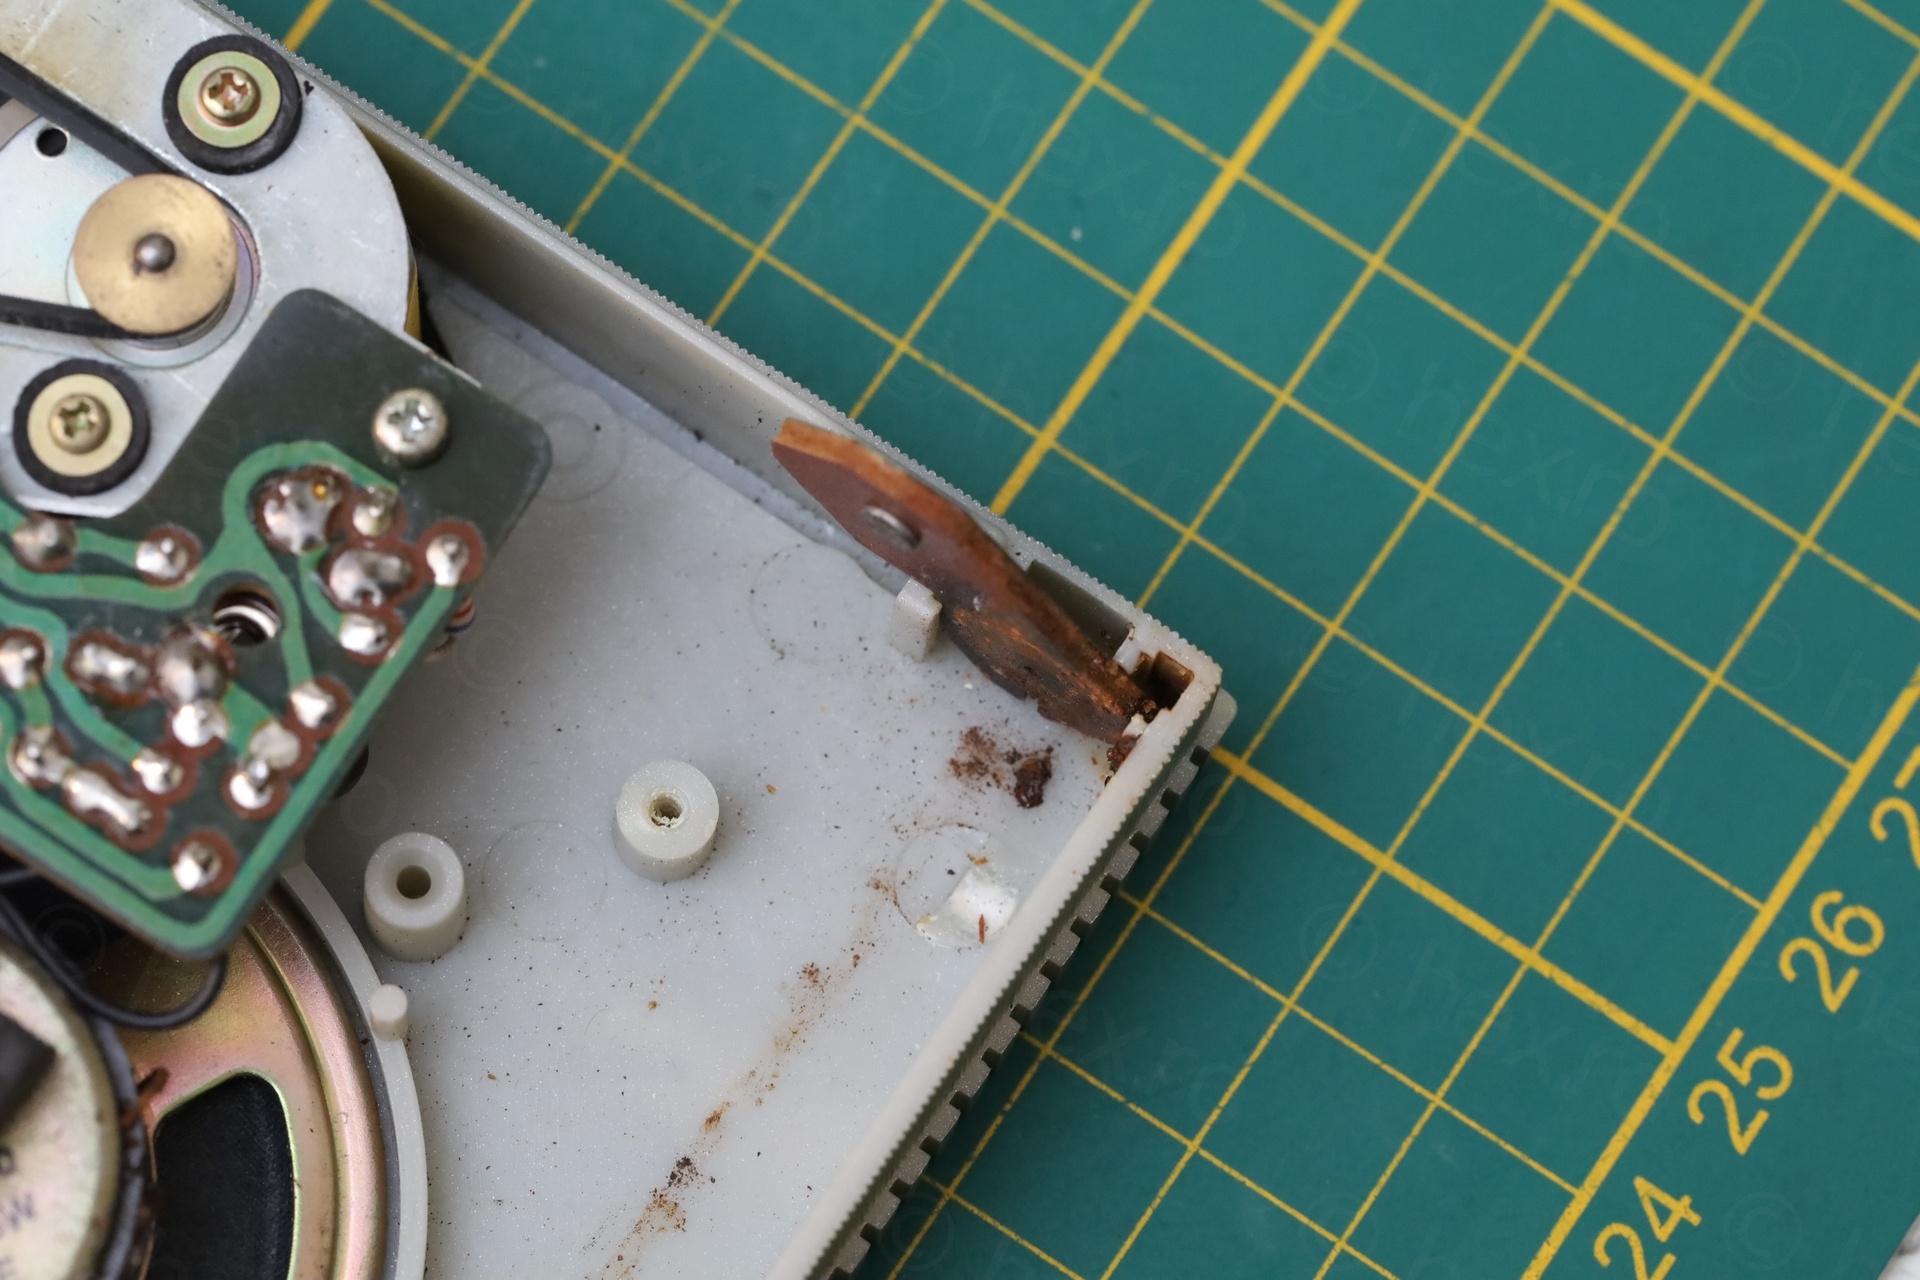
I also took time to dissolve away the brown corrosion in lower corner of the case, as you can see above. Lots of vinegar. Stubborn crust was scraped away with a toothpick.
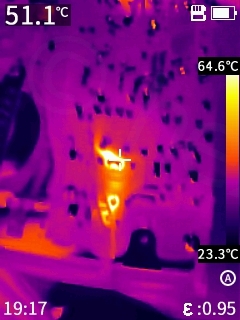
Smoke!
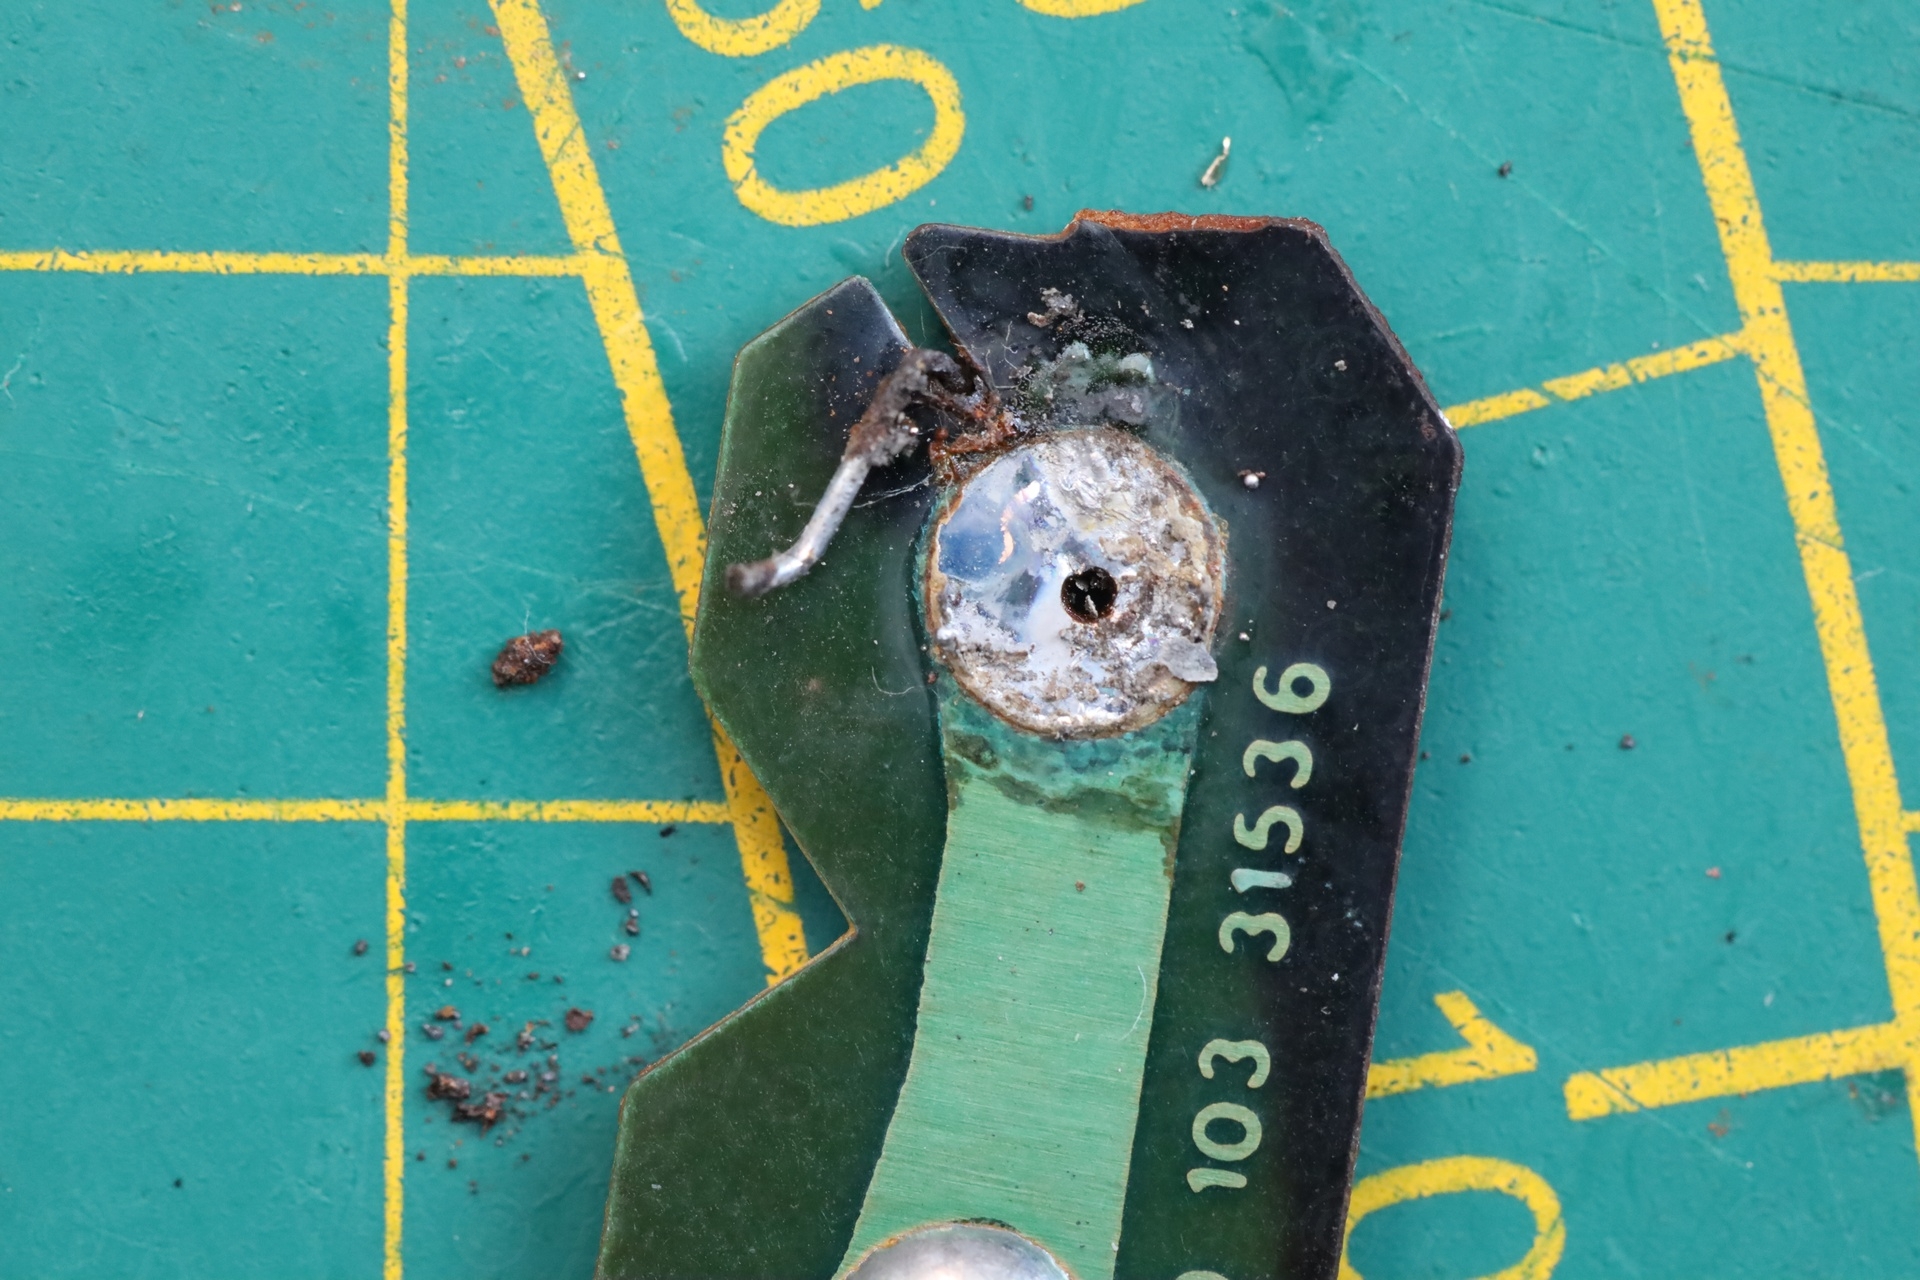
I thought I had finished repairing it, but nope. After putting it back together, a strong burning smell, faint traces of smoke but and lots of current draw. Pfffff …
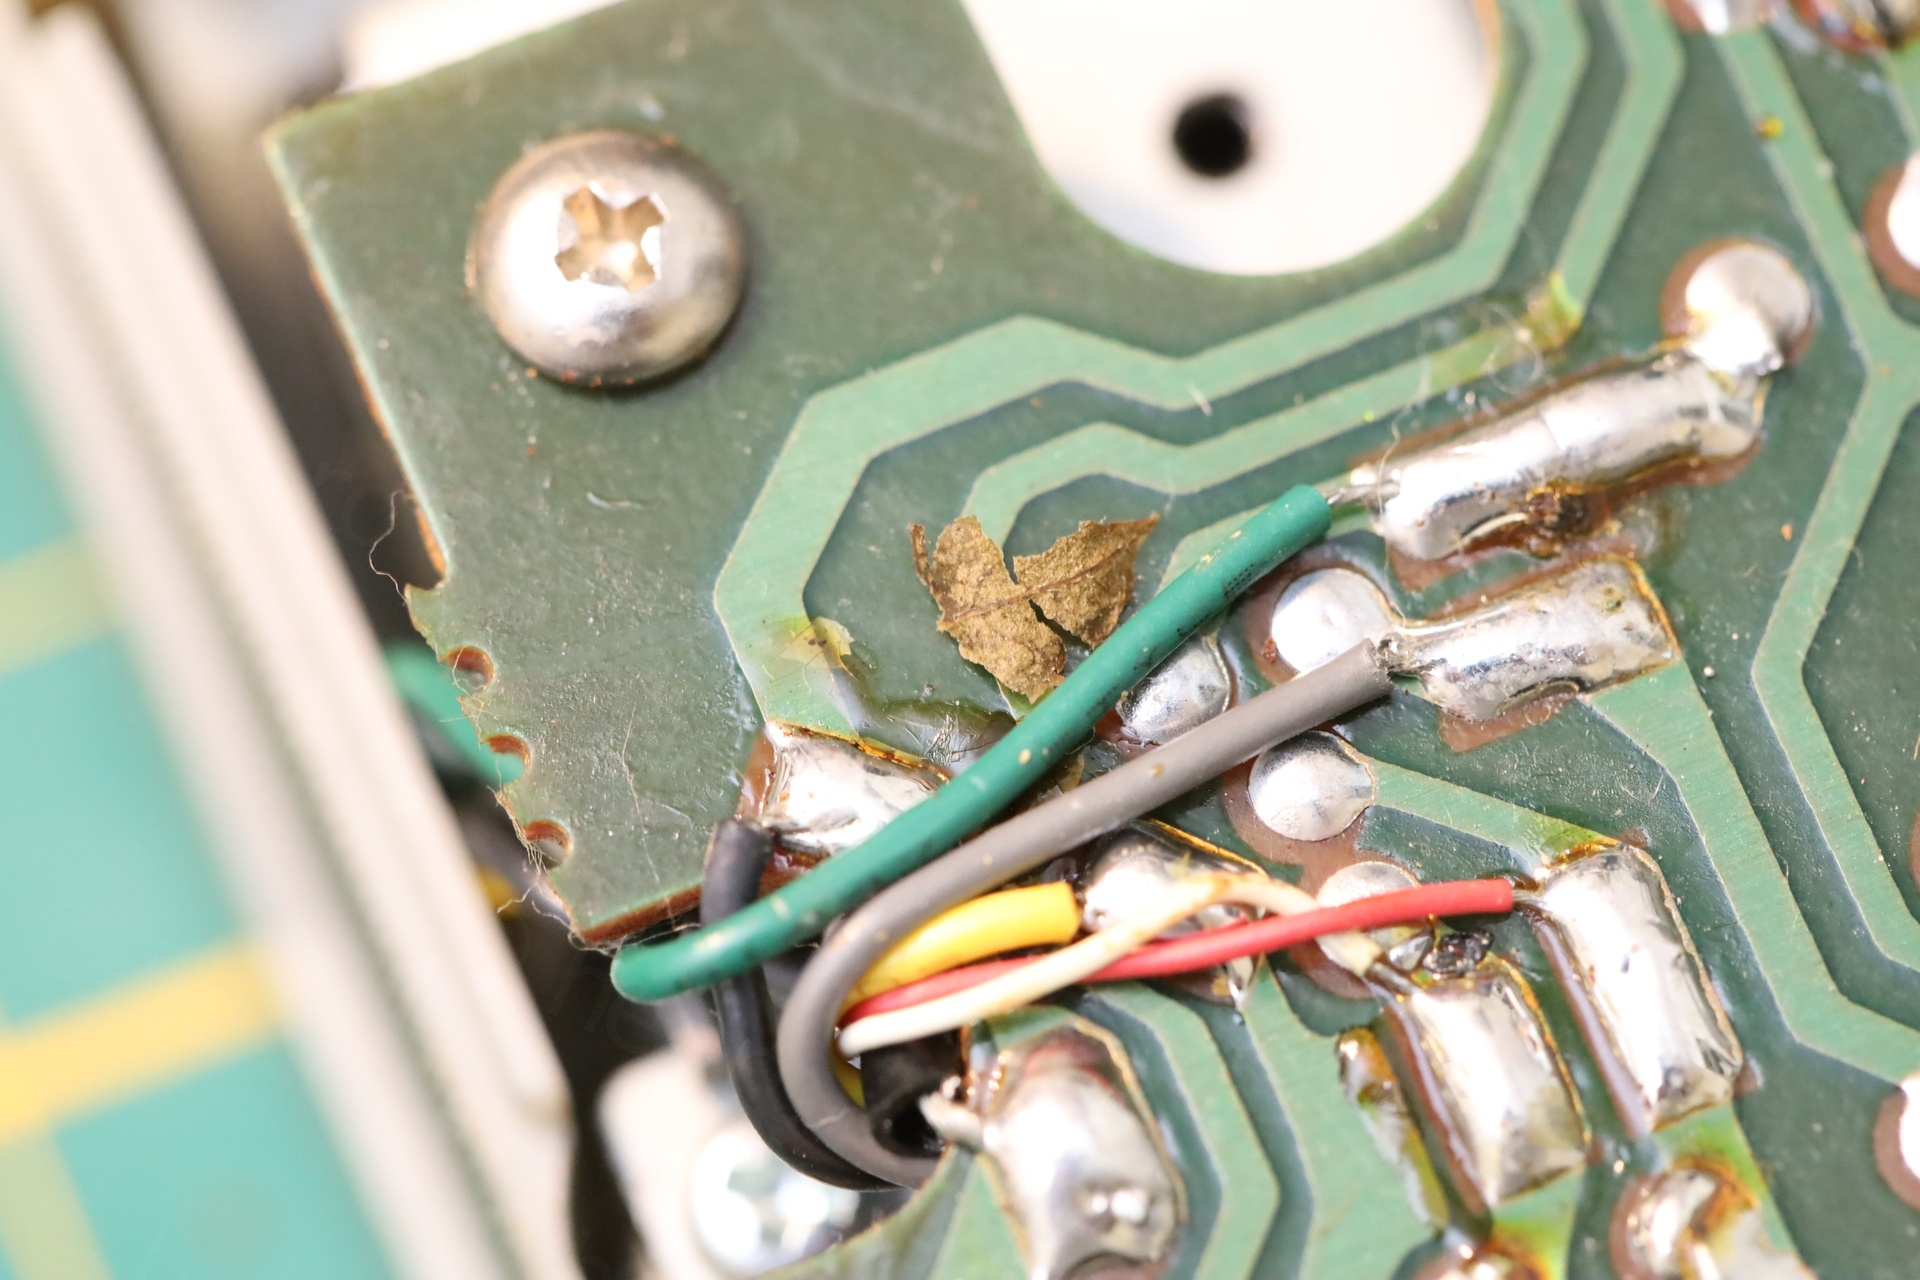
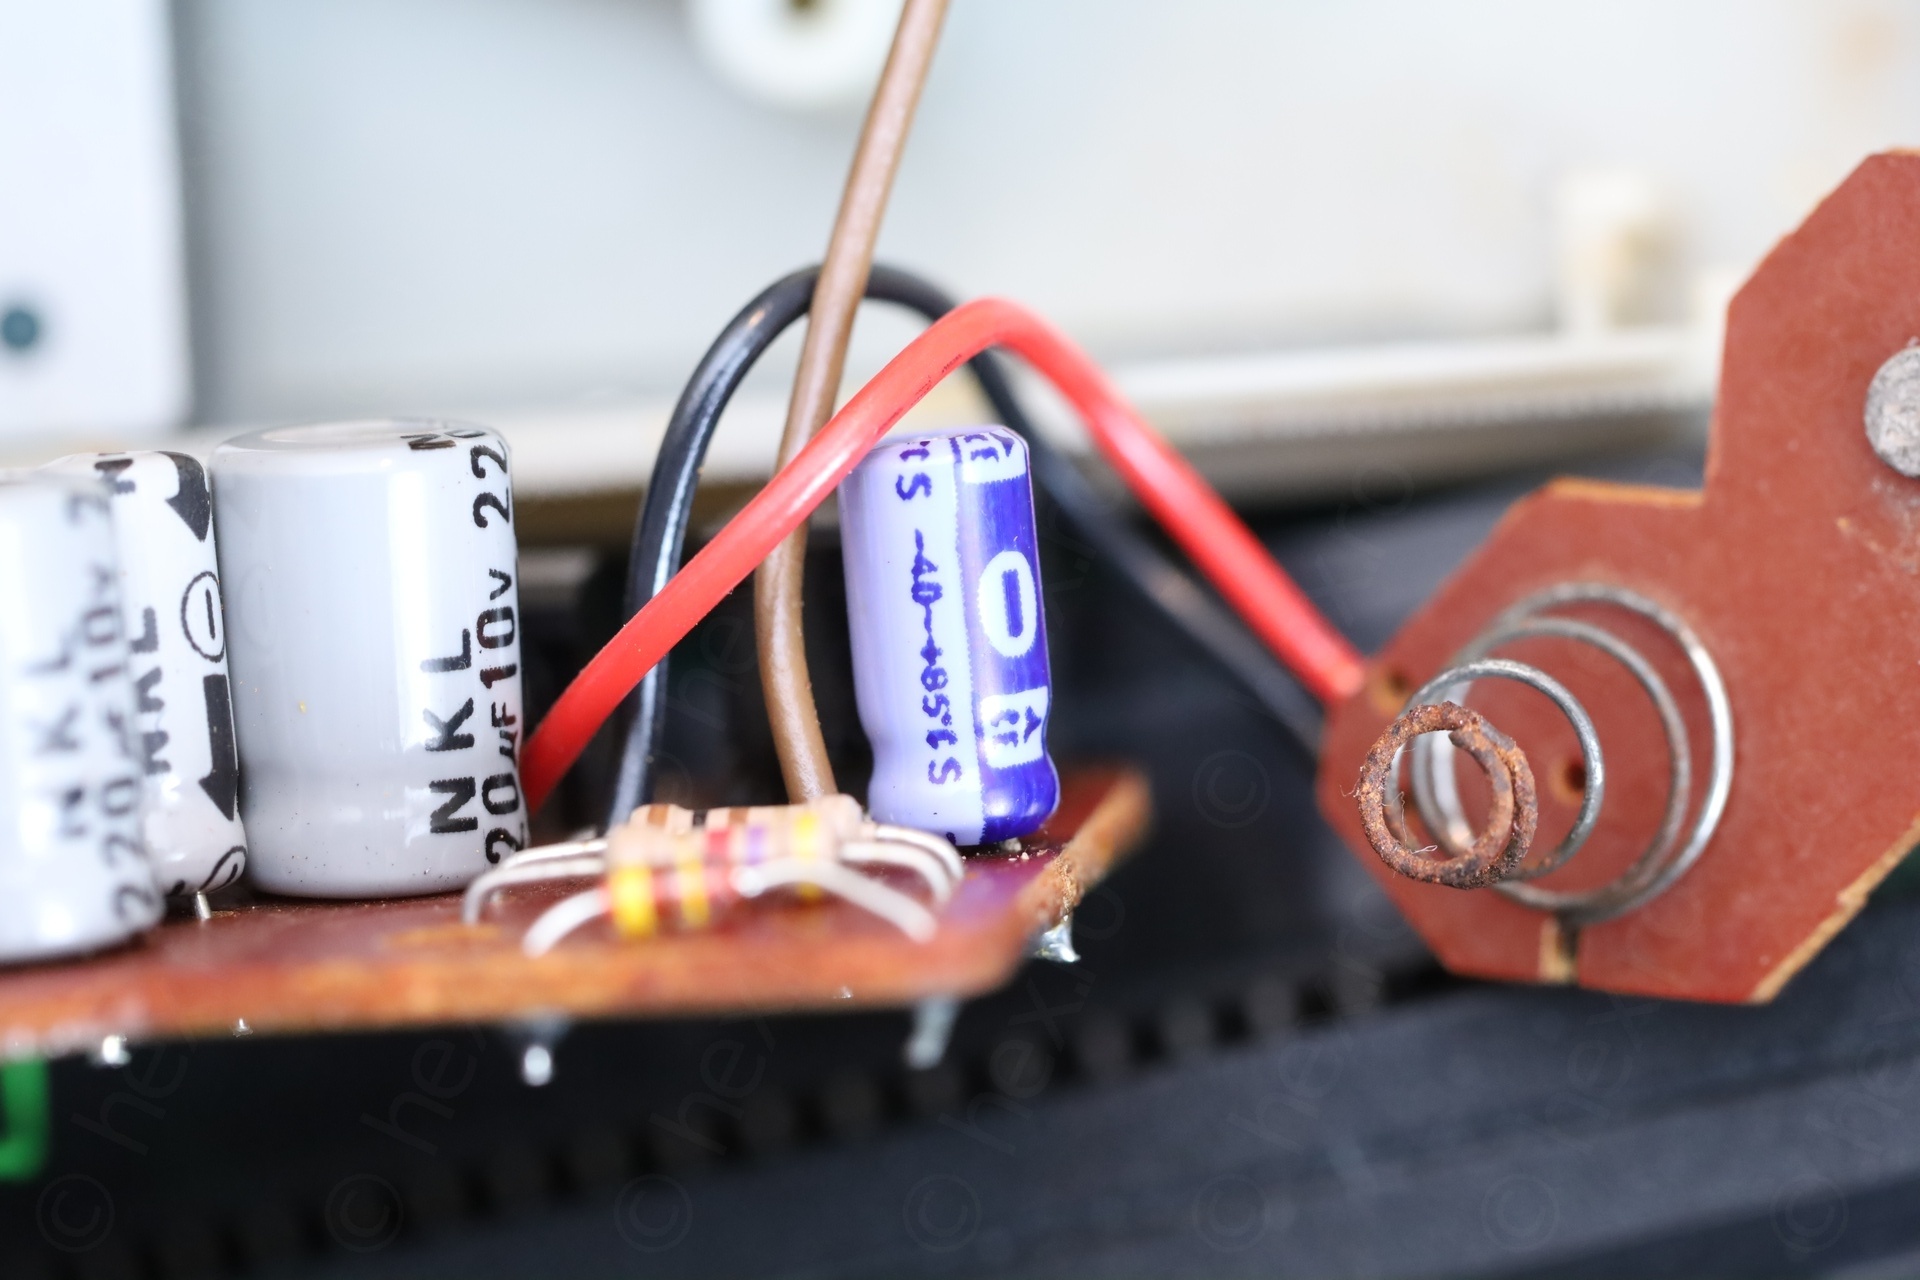
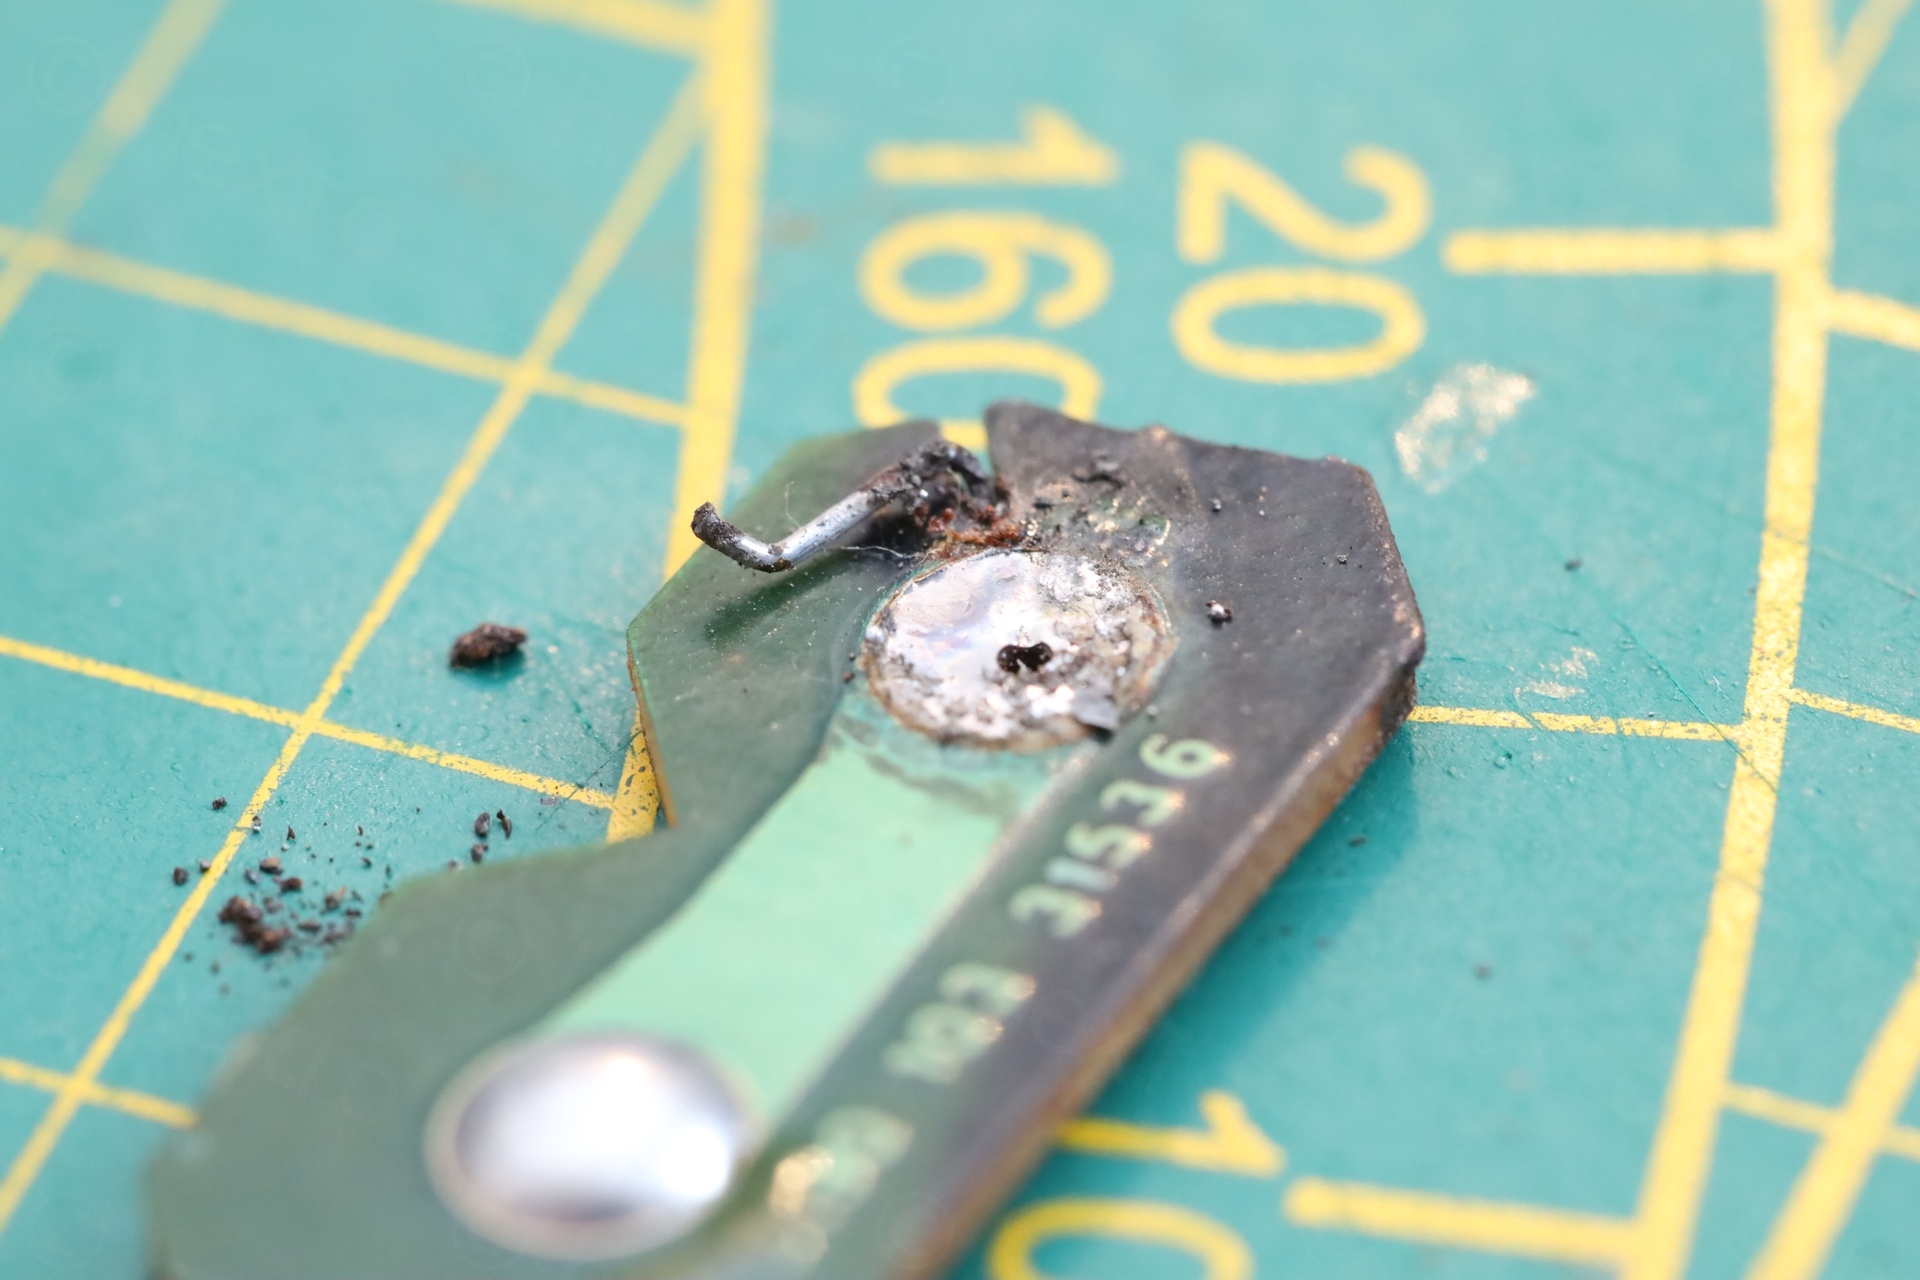
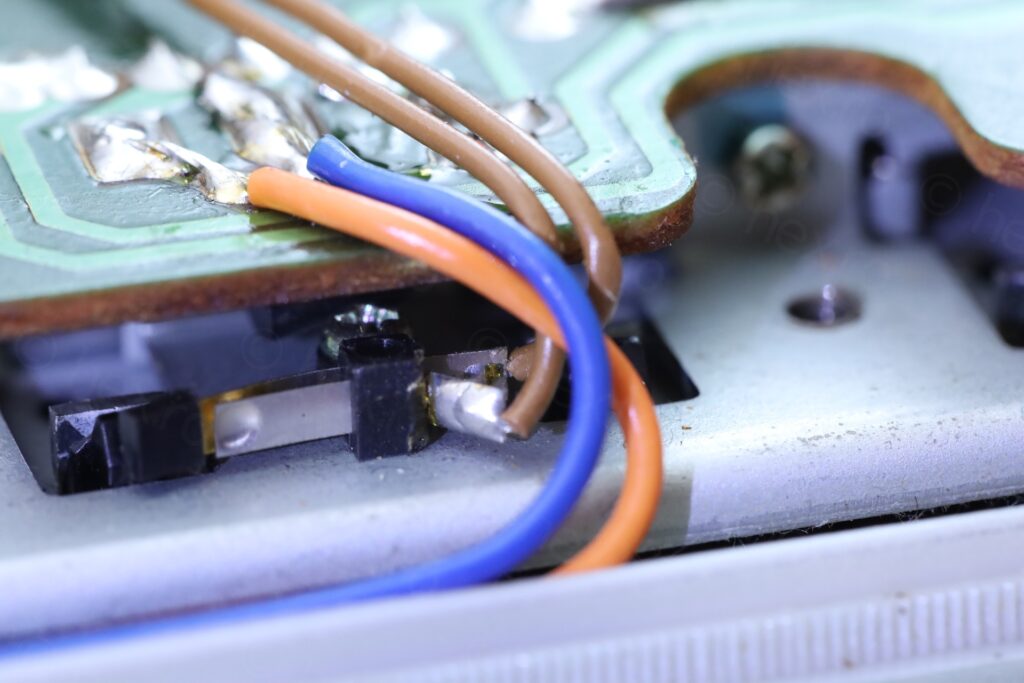
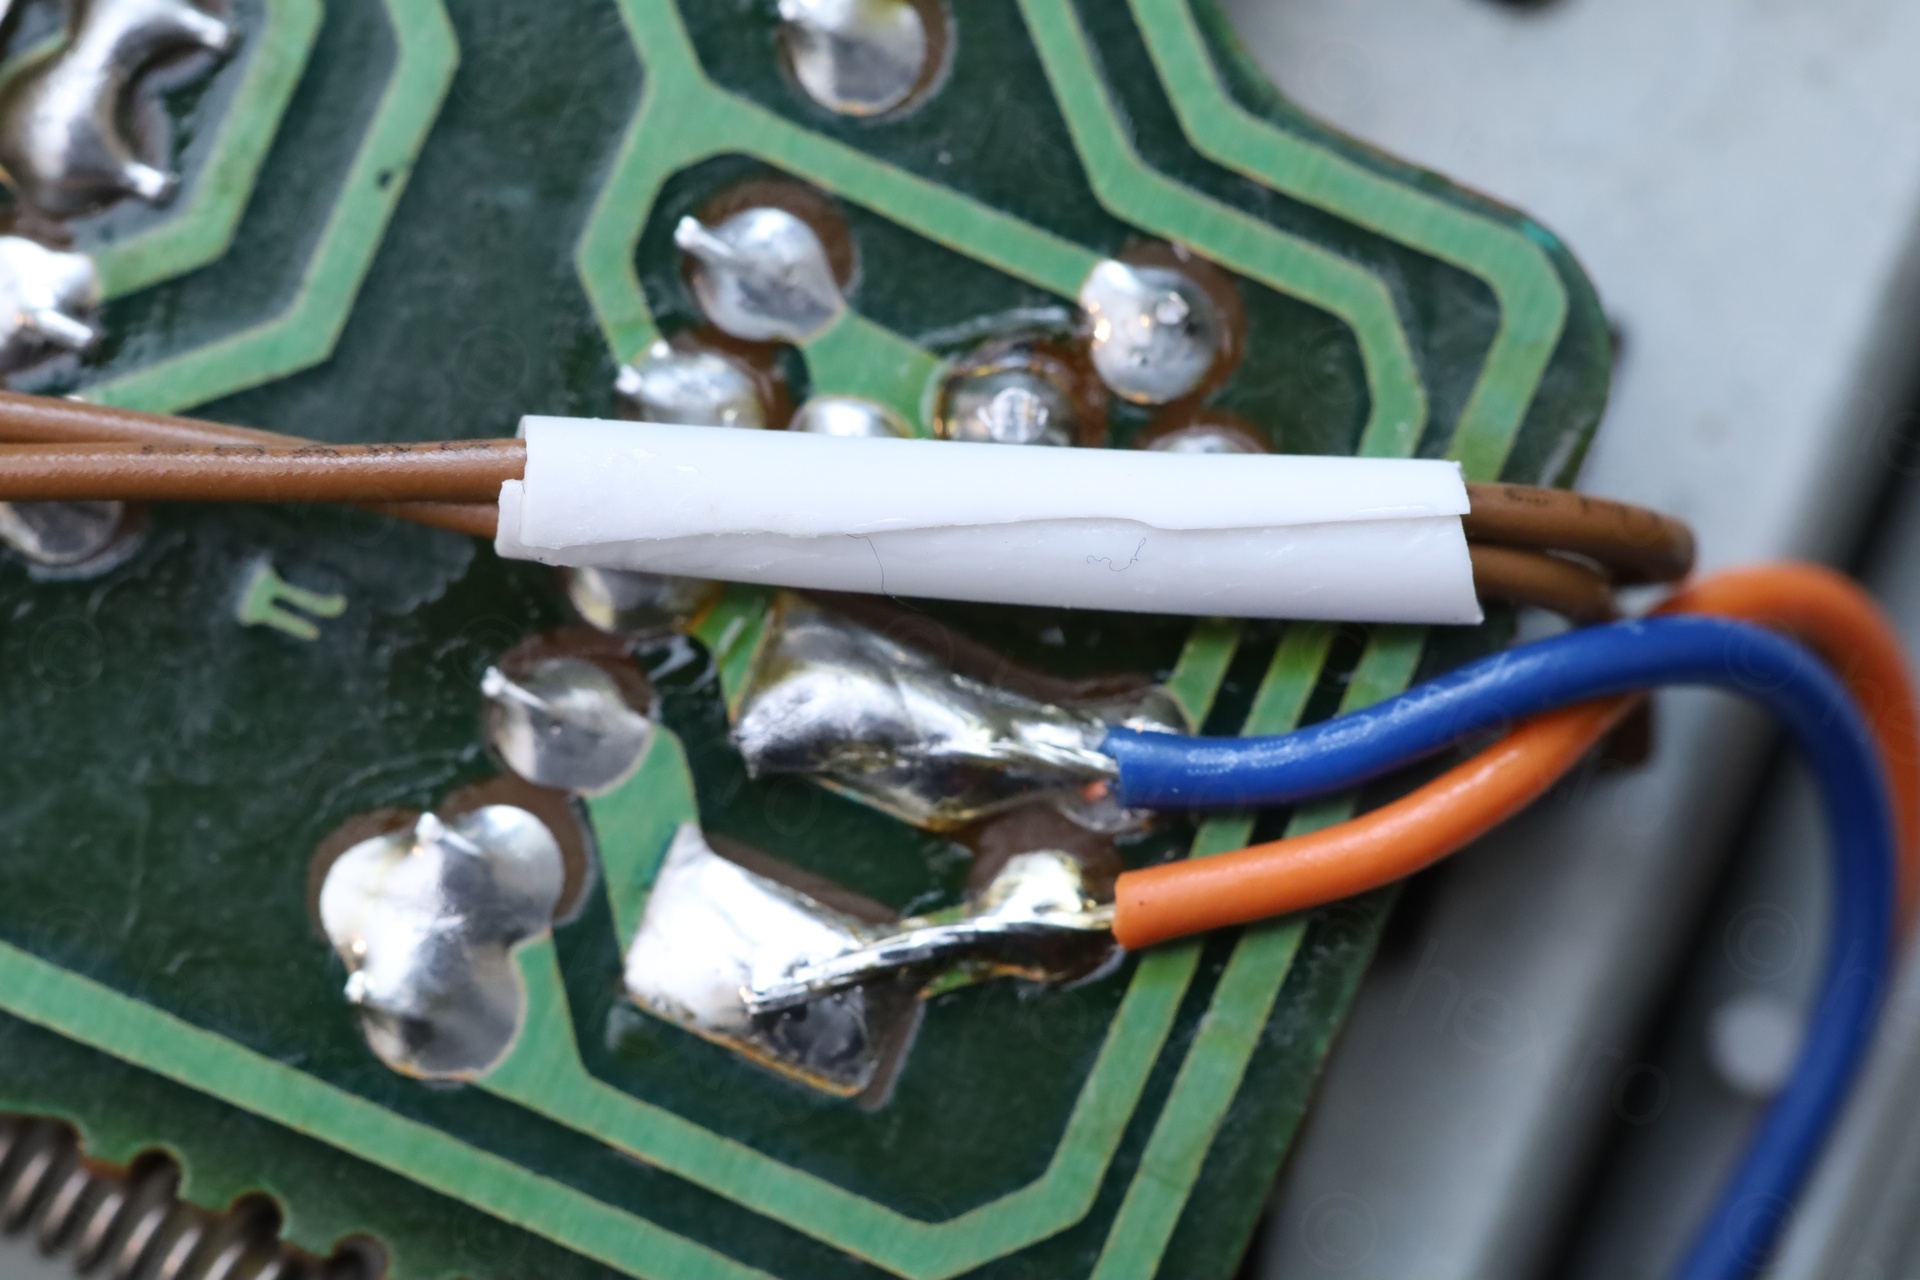
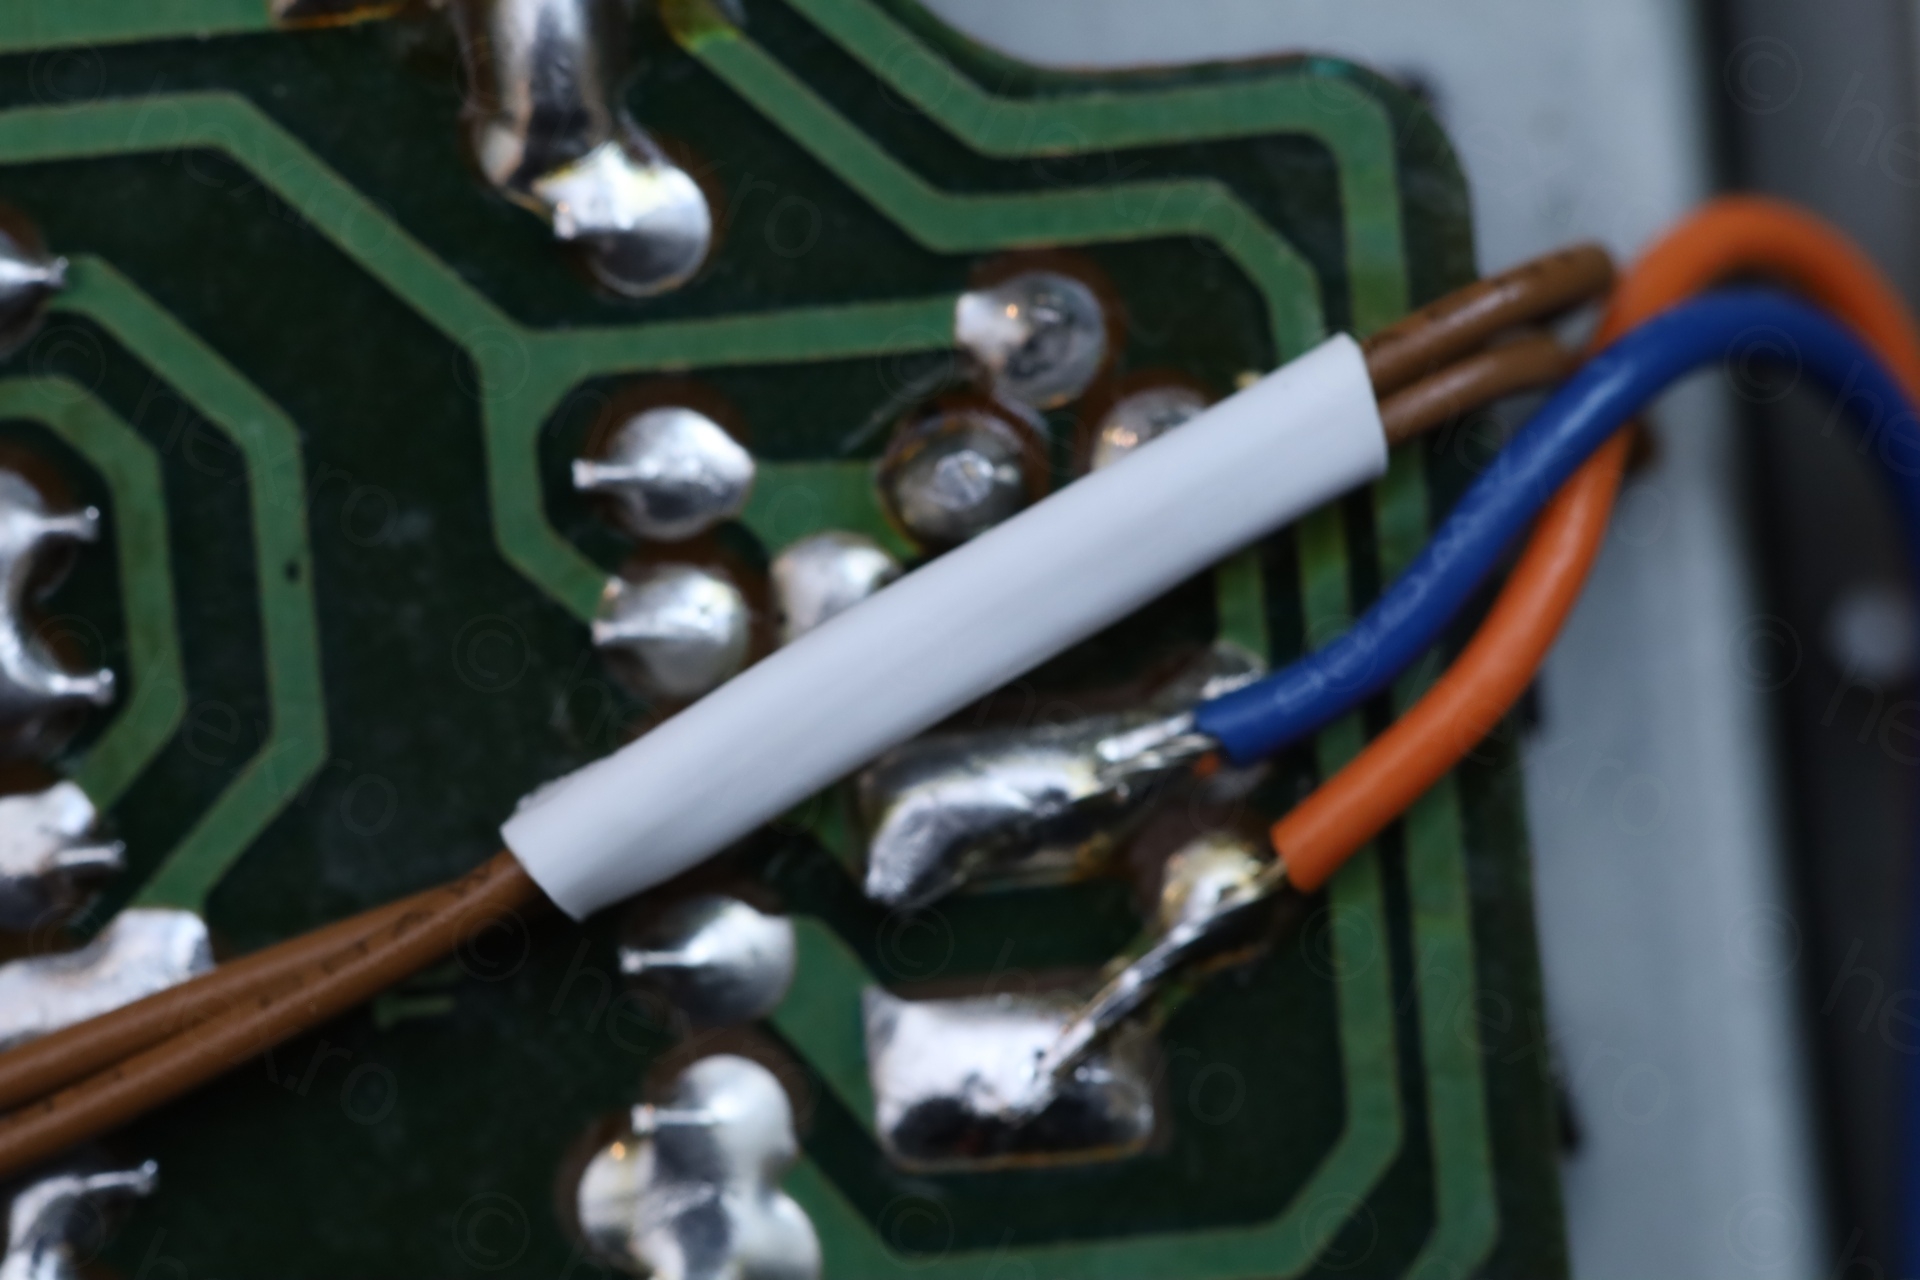
It turns out that while putting the circuit board back, one wire did got sandwiched between the back case and the top of an existing component lead on the circuit board. While operating the mechanism (pushing buttons, etc), the lead on the circuit board pierced through the wire and was causing a short. It took a while to spot what the problem was. As taking the back case away, there was no more pressure on the wire. Eventually, I spotted the hole where the lead pierced through the sheath of the brown wire:
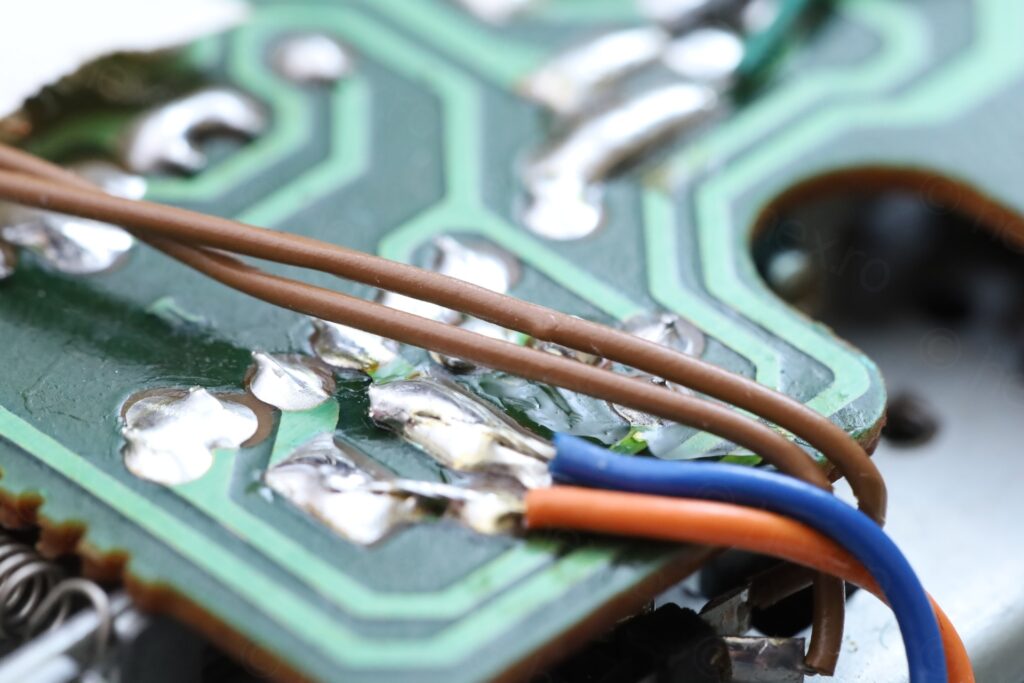
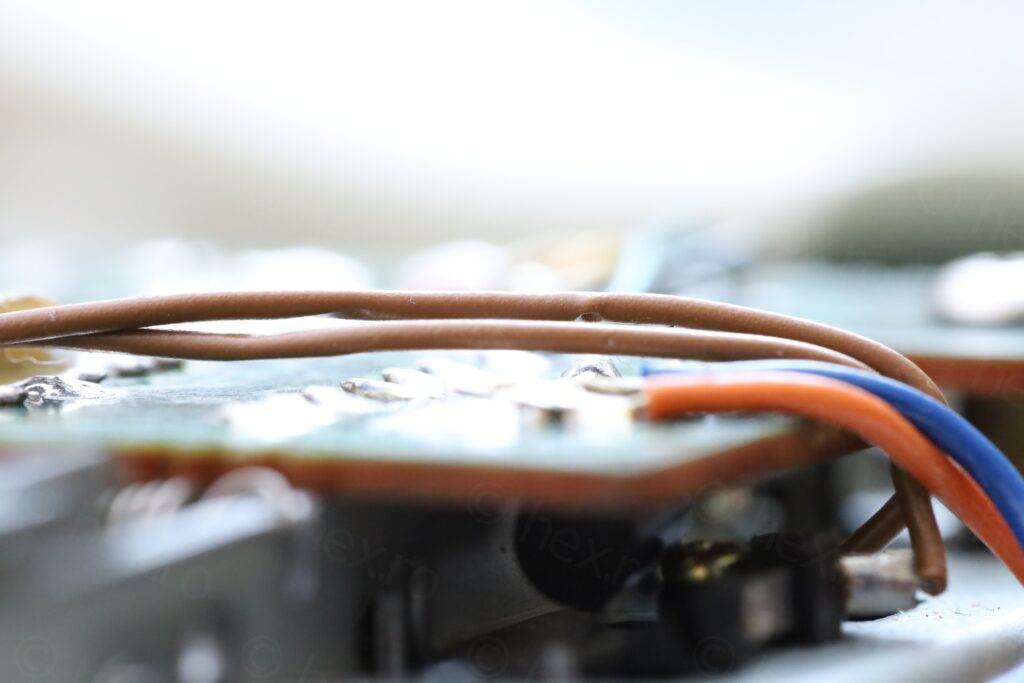
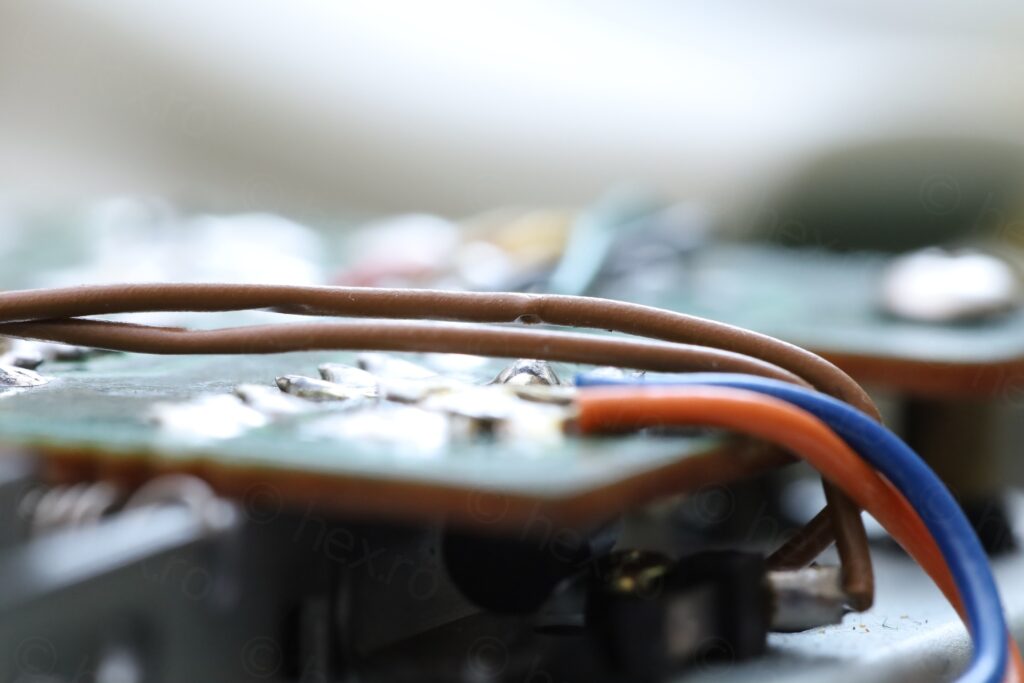
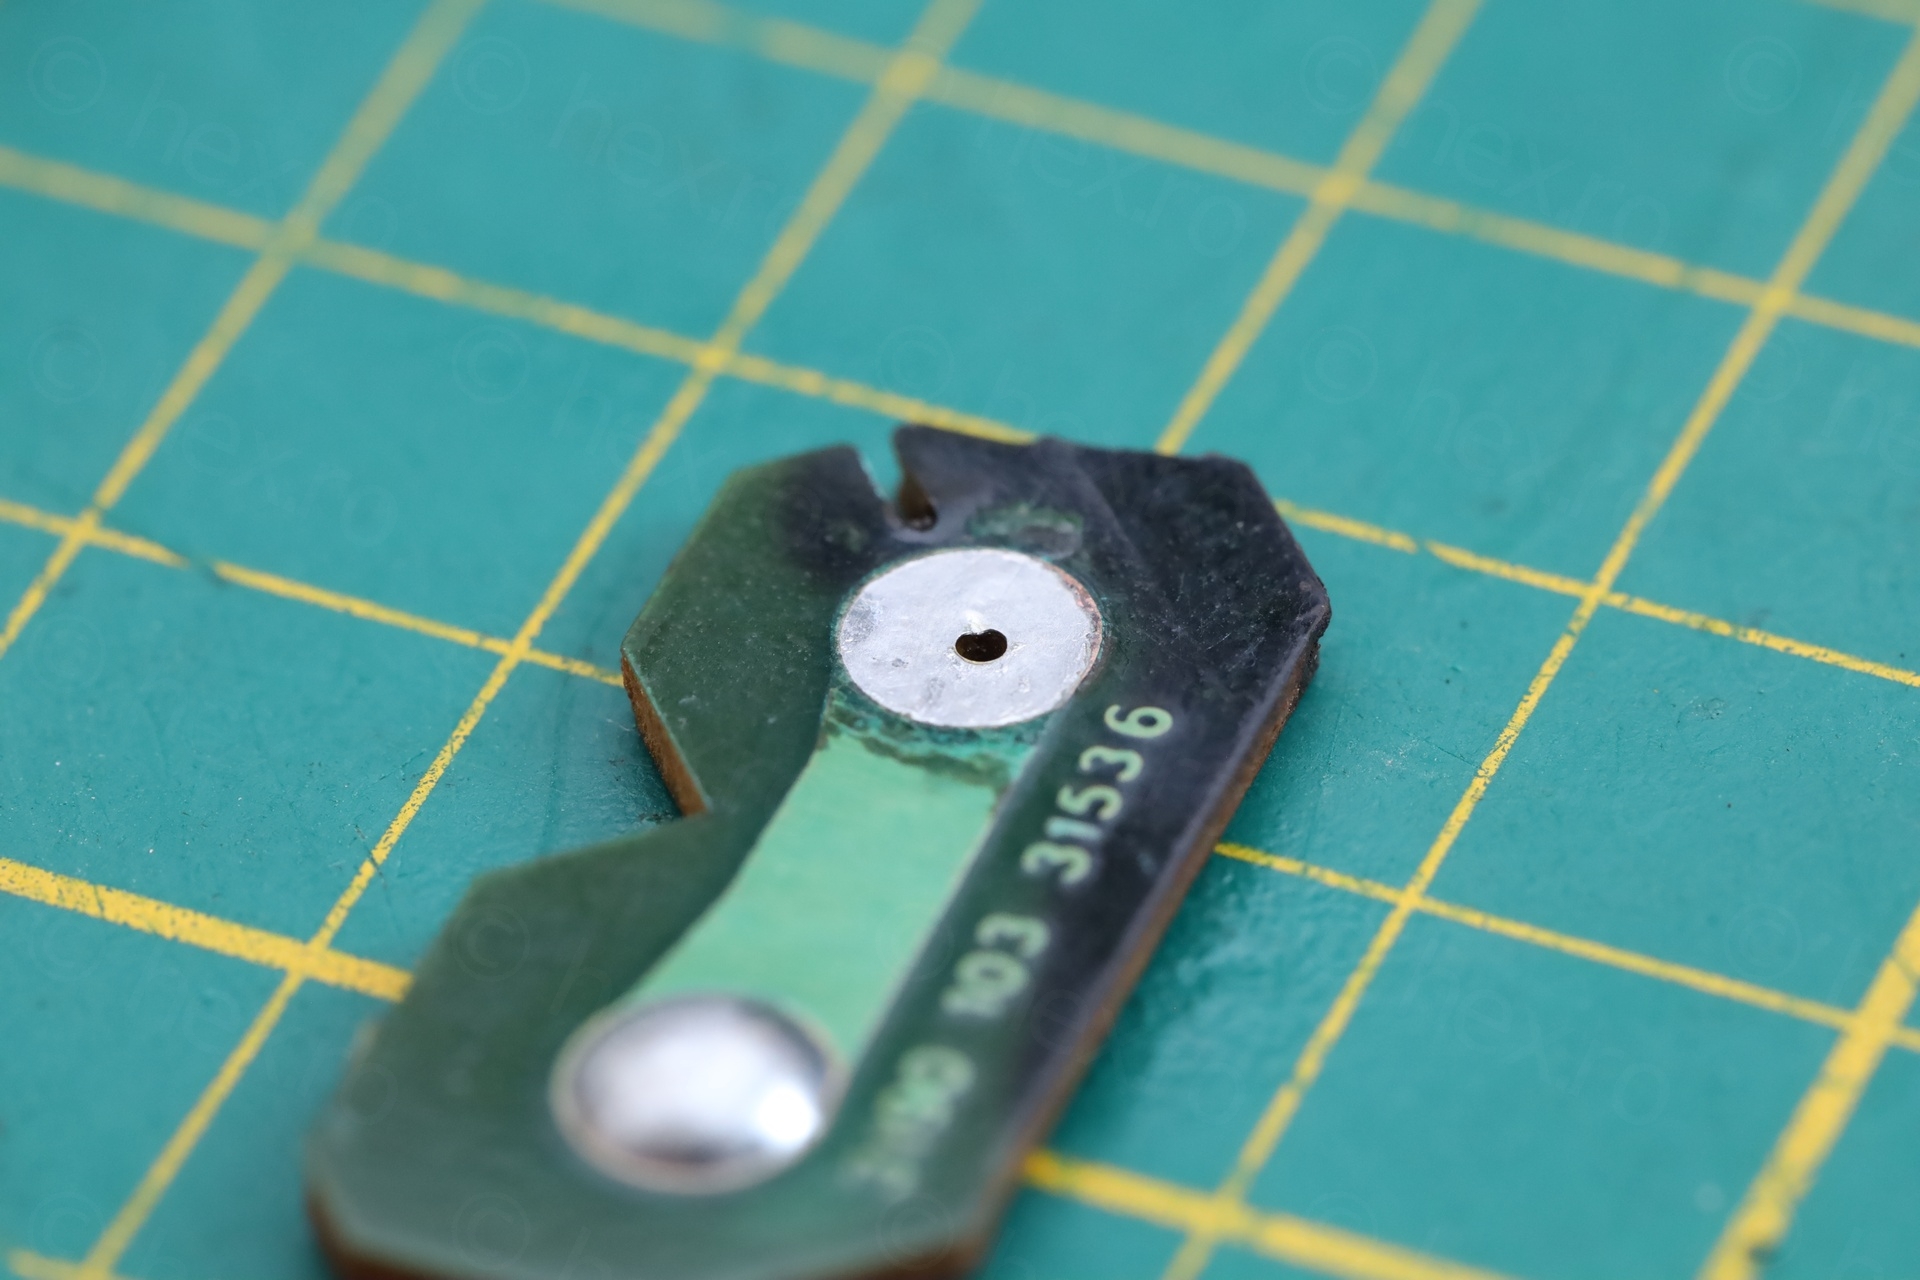
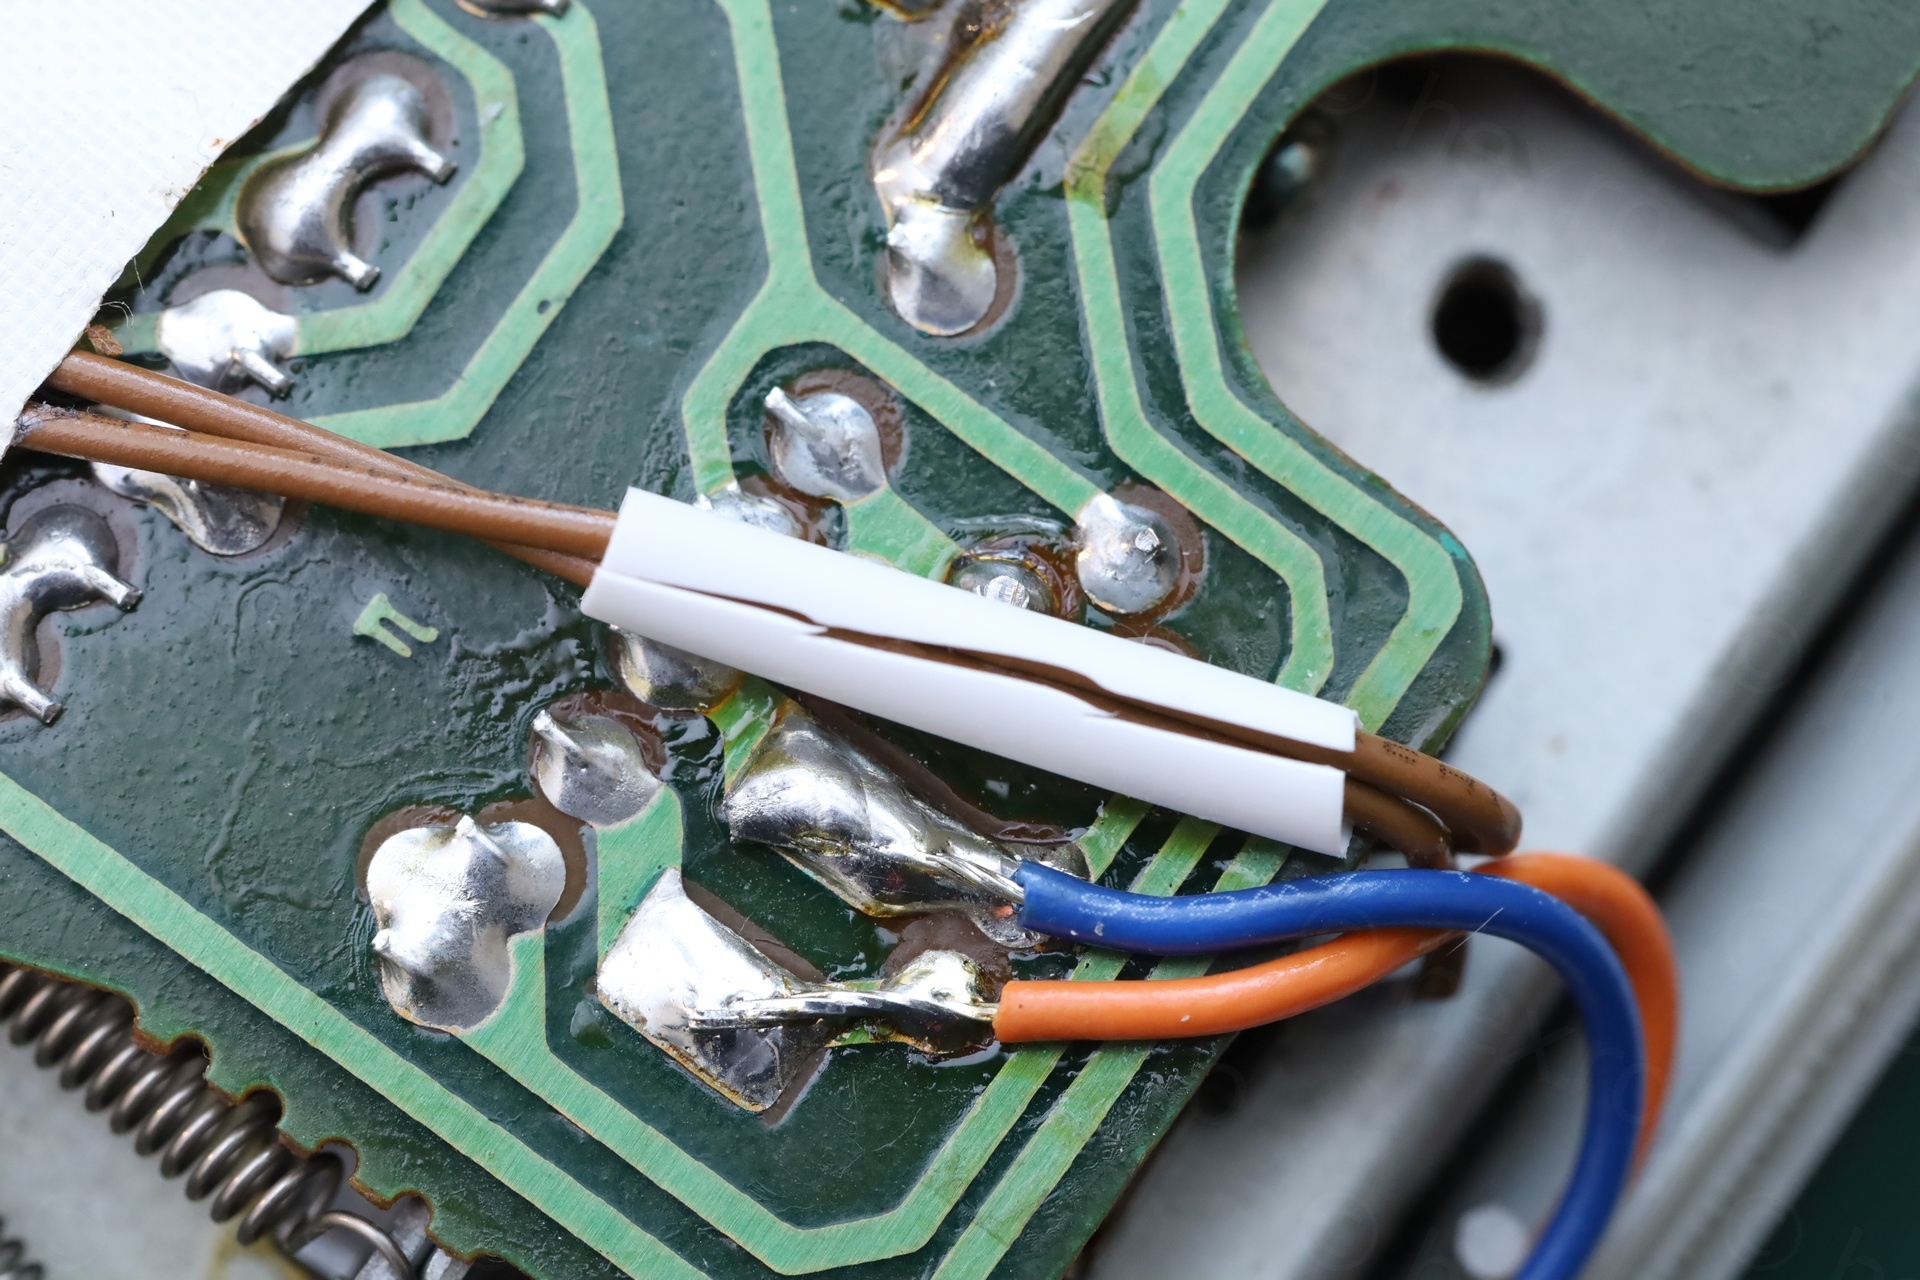
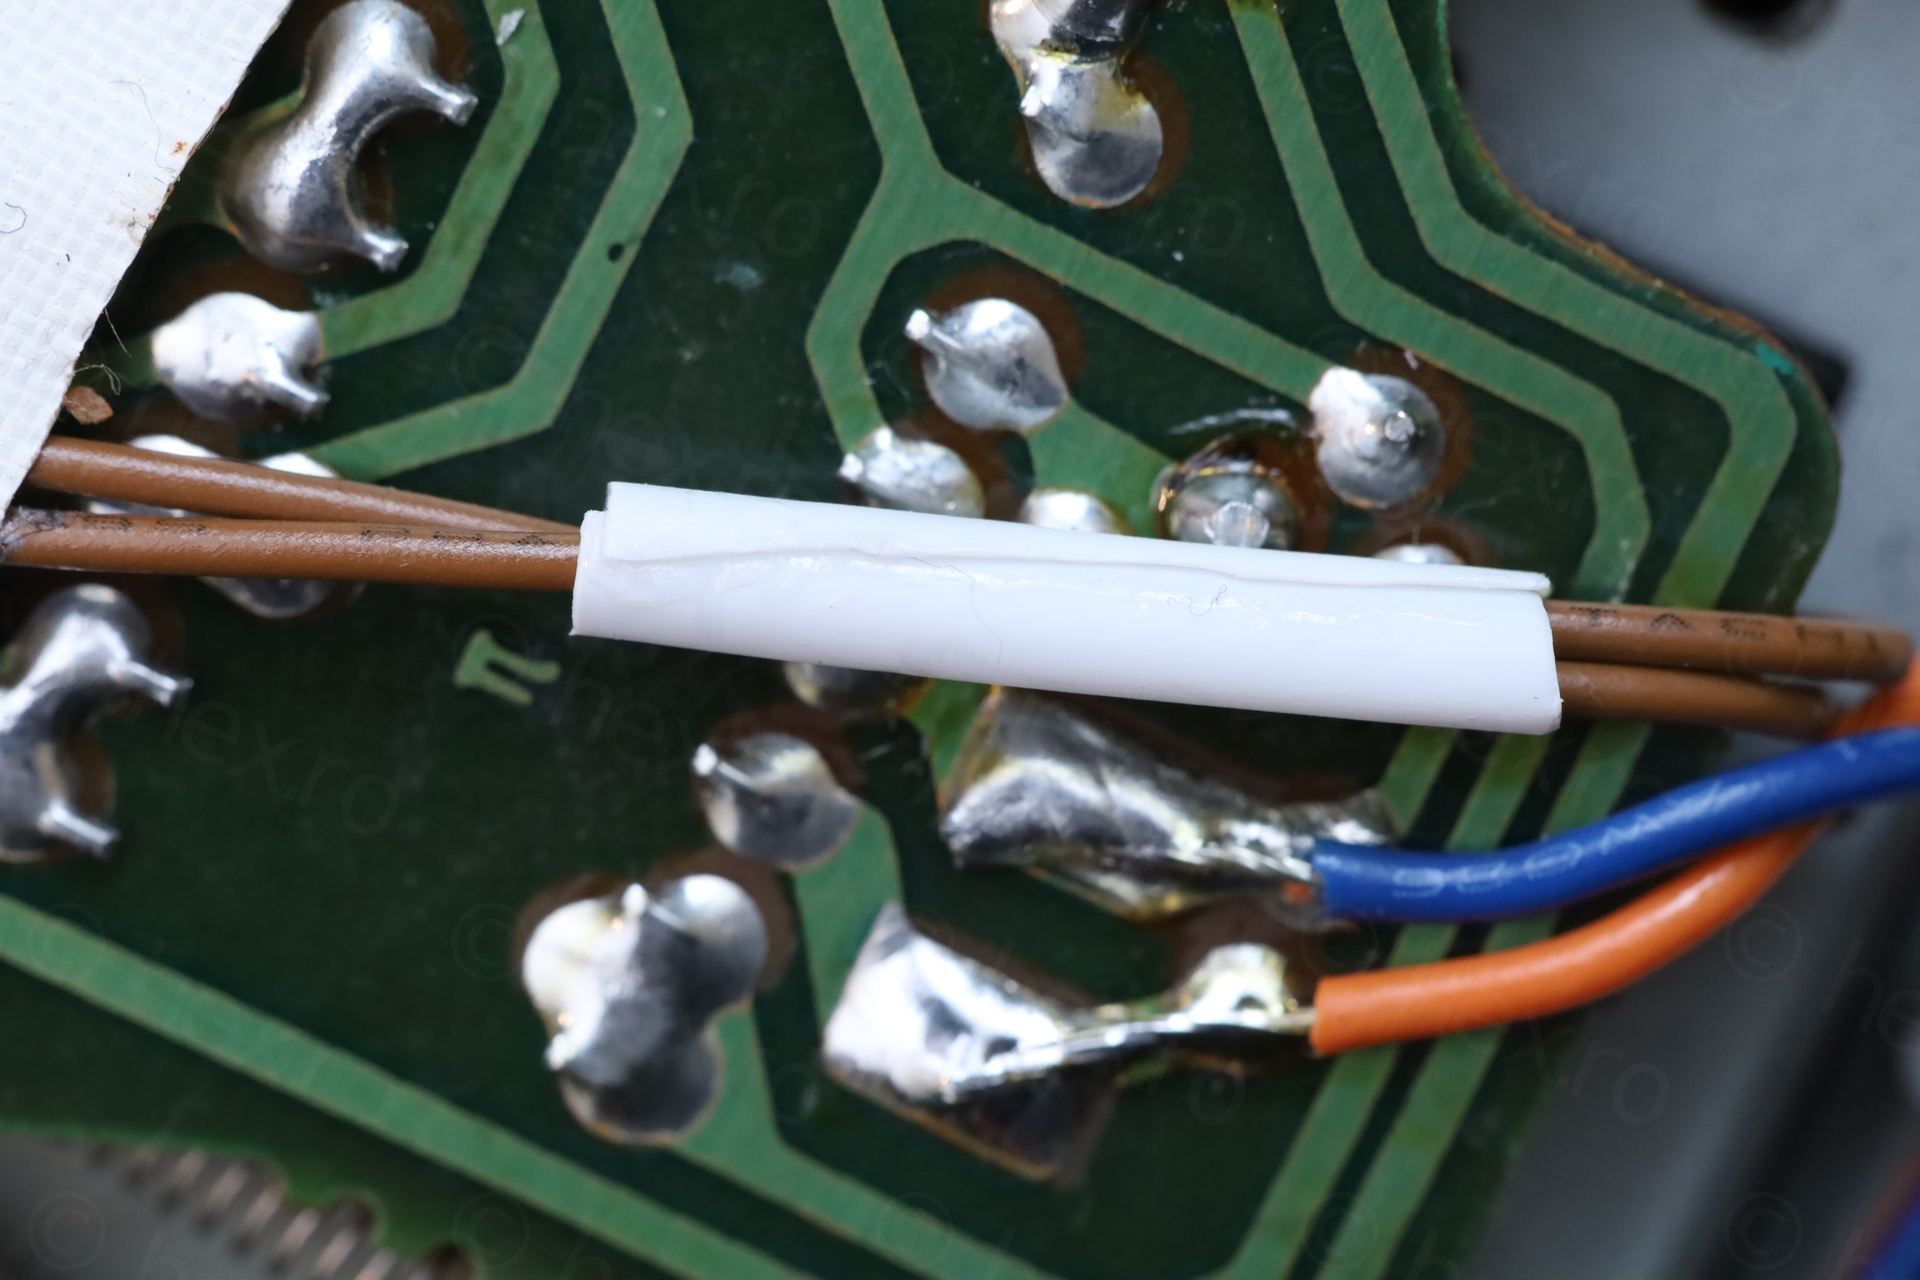
I made sure the previous lead is now properly cut to size and flat, so it can’t pierce anything anymore. The brown wires were connected to a micro switch and it a bad position to de-solder – so I preferred not to replace it.
Thus, I cut some heat shrink tubing, carefully used tiny amount of super glue to get the two sides to overlap (paying attention to not glue the wires underneath). Then heated it with the heat gun. Not too much since it would melt the super glue away, but enough so that it stays in place.

Wrapping up
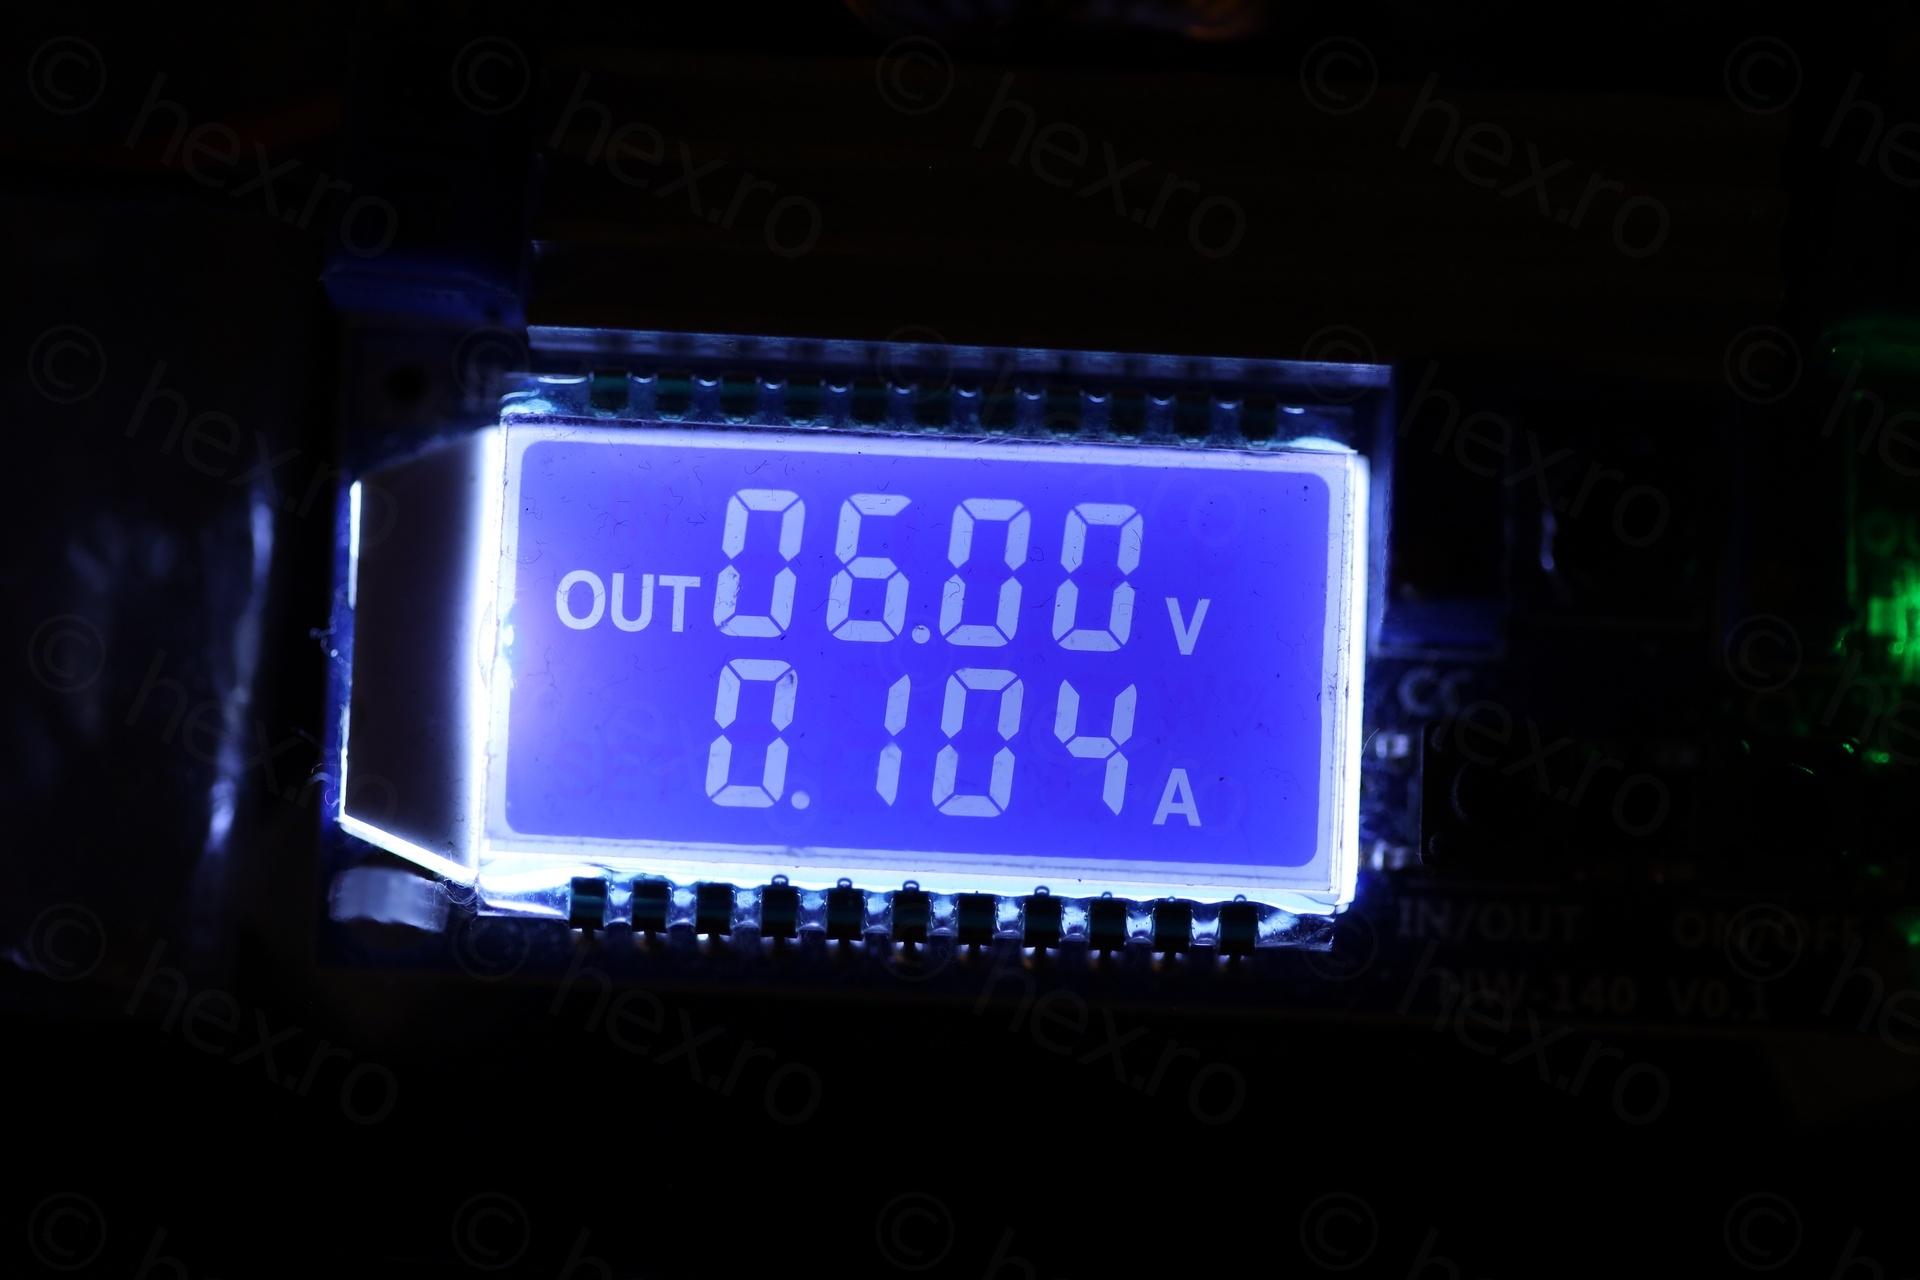
It draws about 100mA at 6V while playing. I cleaned the case thoroughly and used silicone grease on the case screws while putting it back together.
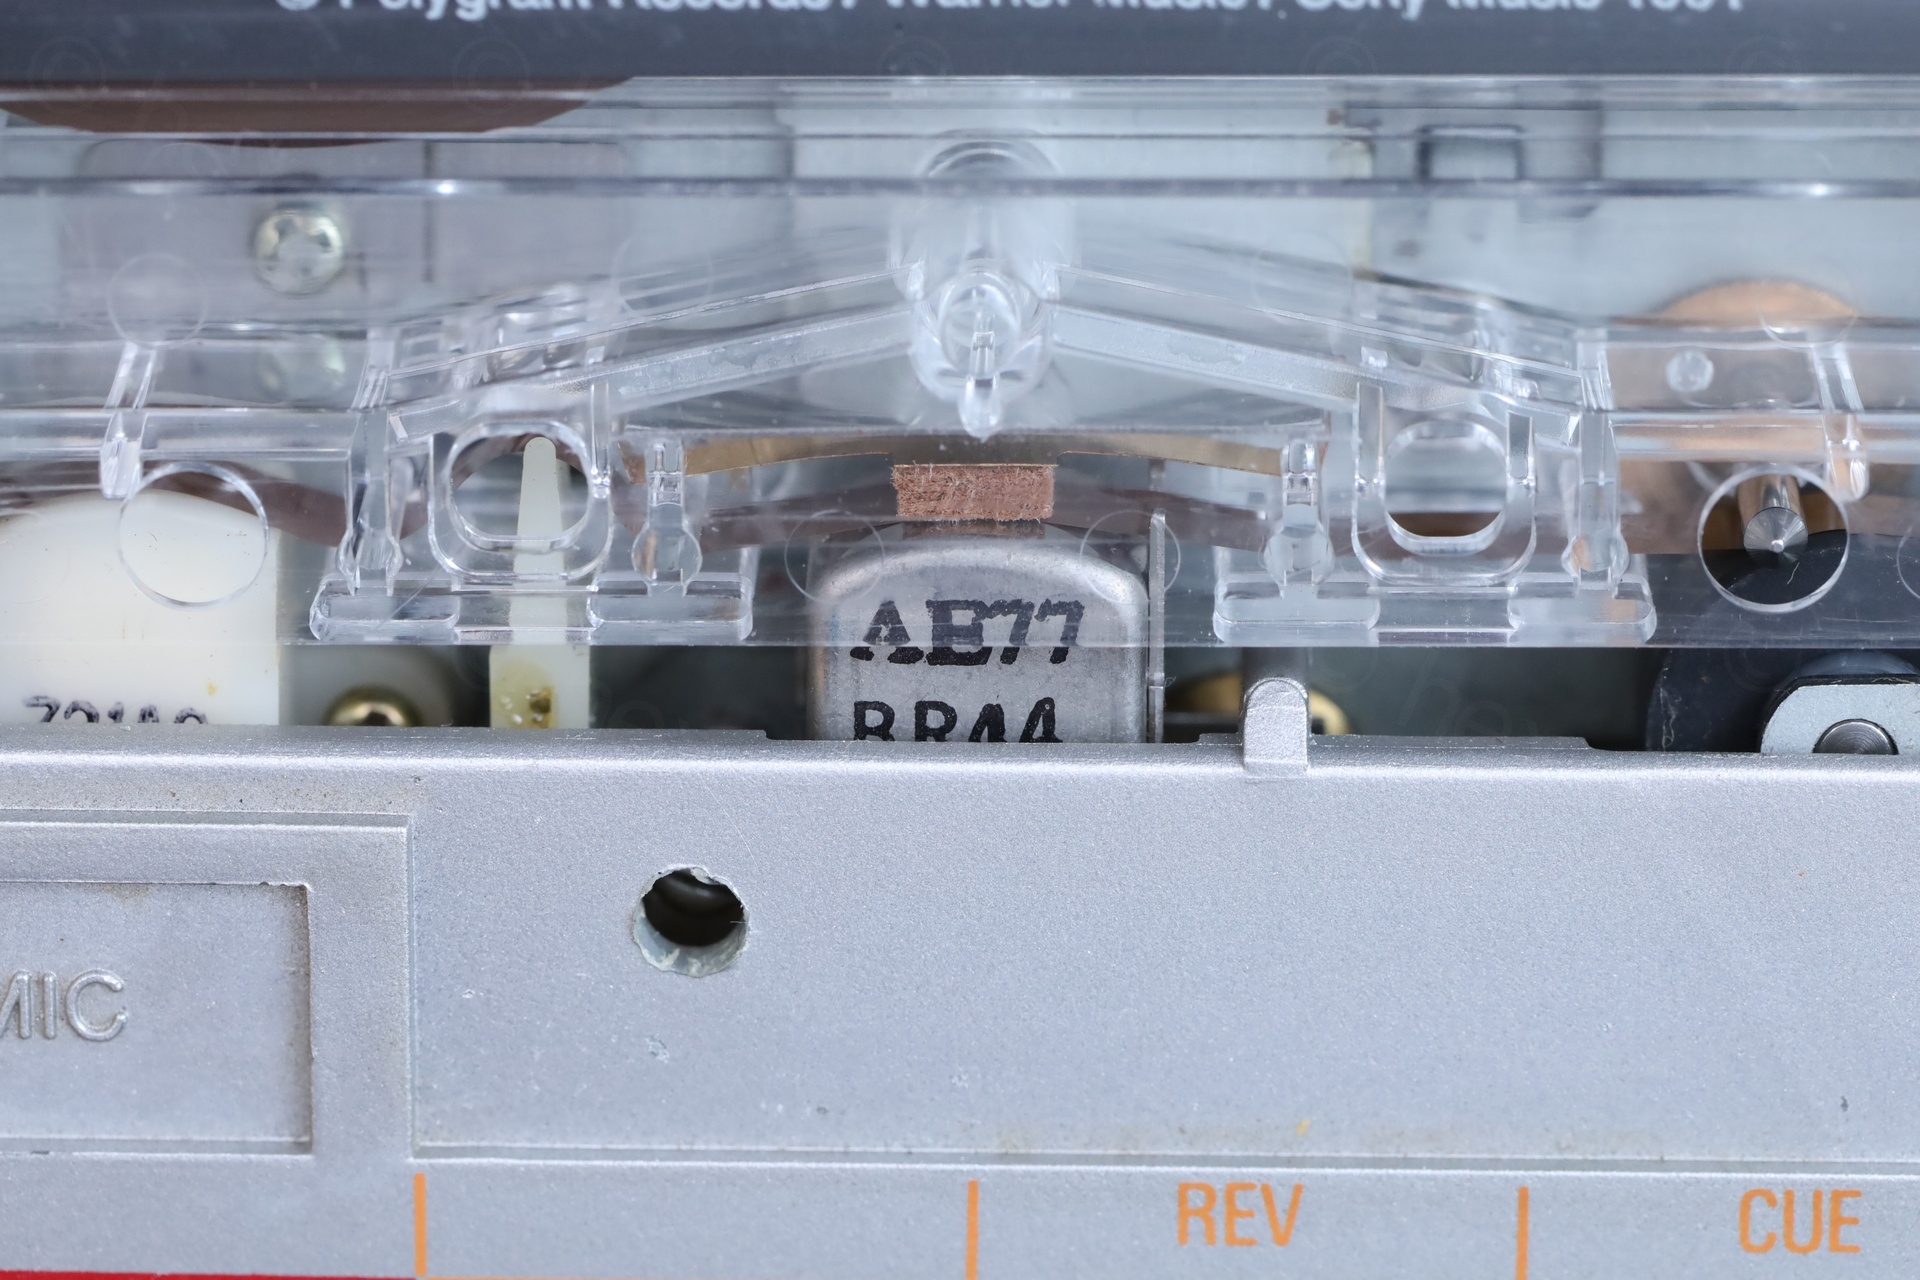
Phew more photos with the repair complete:
I’ll use this one for some Sinclair Spectrum nostalgia!
Leave a Reply