I bought a very cheap Nintendo at the “Le Marché Matinal” …
The seller asked for 5 euros. I was prepared to negotiate, some sellers do ask 30 euros, but 5 euro just froze me. I was flipping it around and appalled by its grime, do I really need one more, especially this dirty ? As I was putting it down, I hear the seller: for 3 euros you can have it.
Thus, here it is:
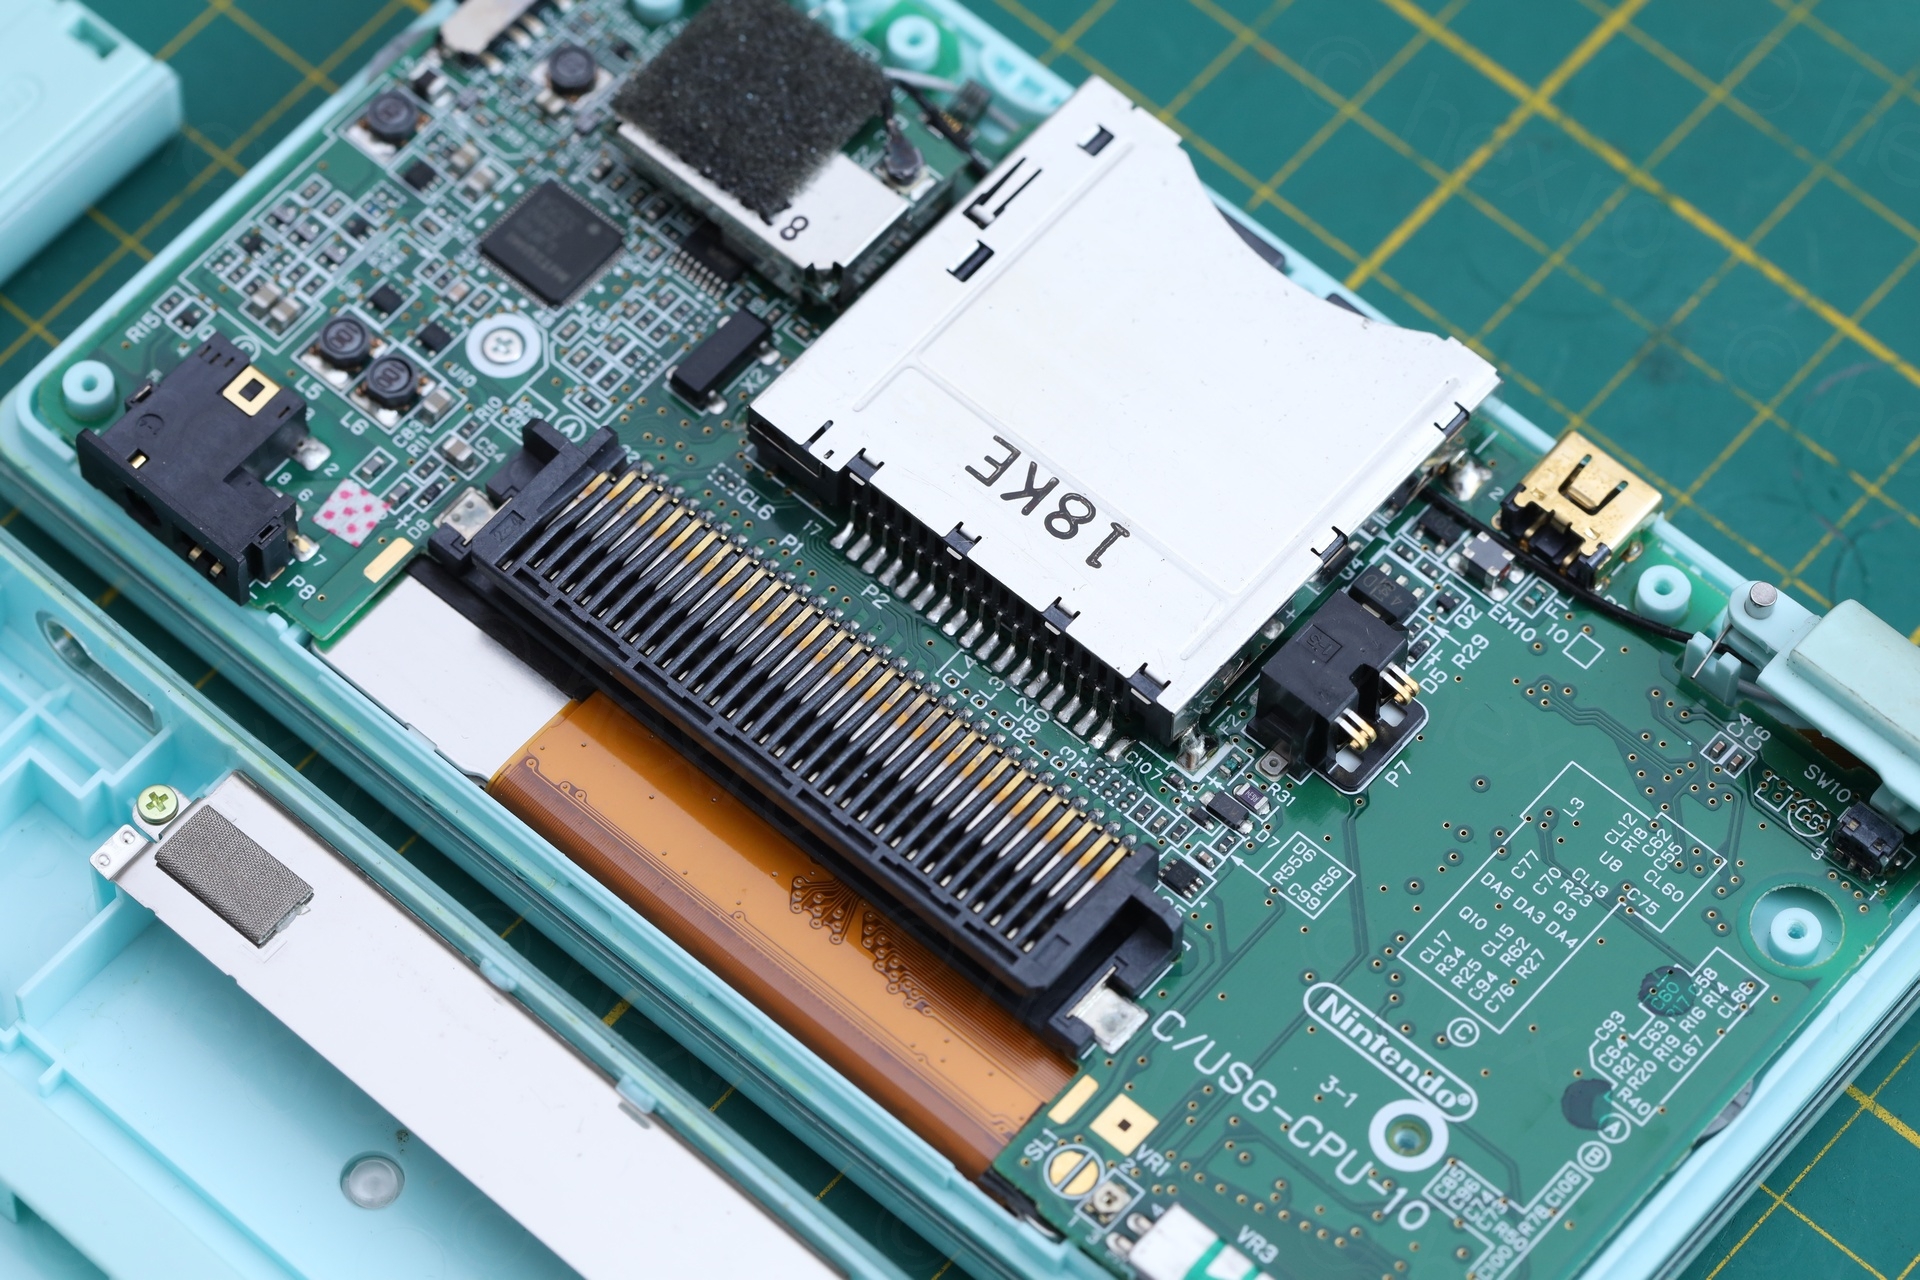
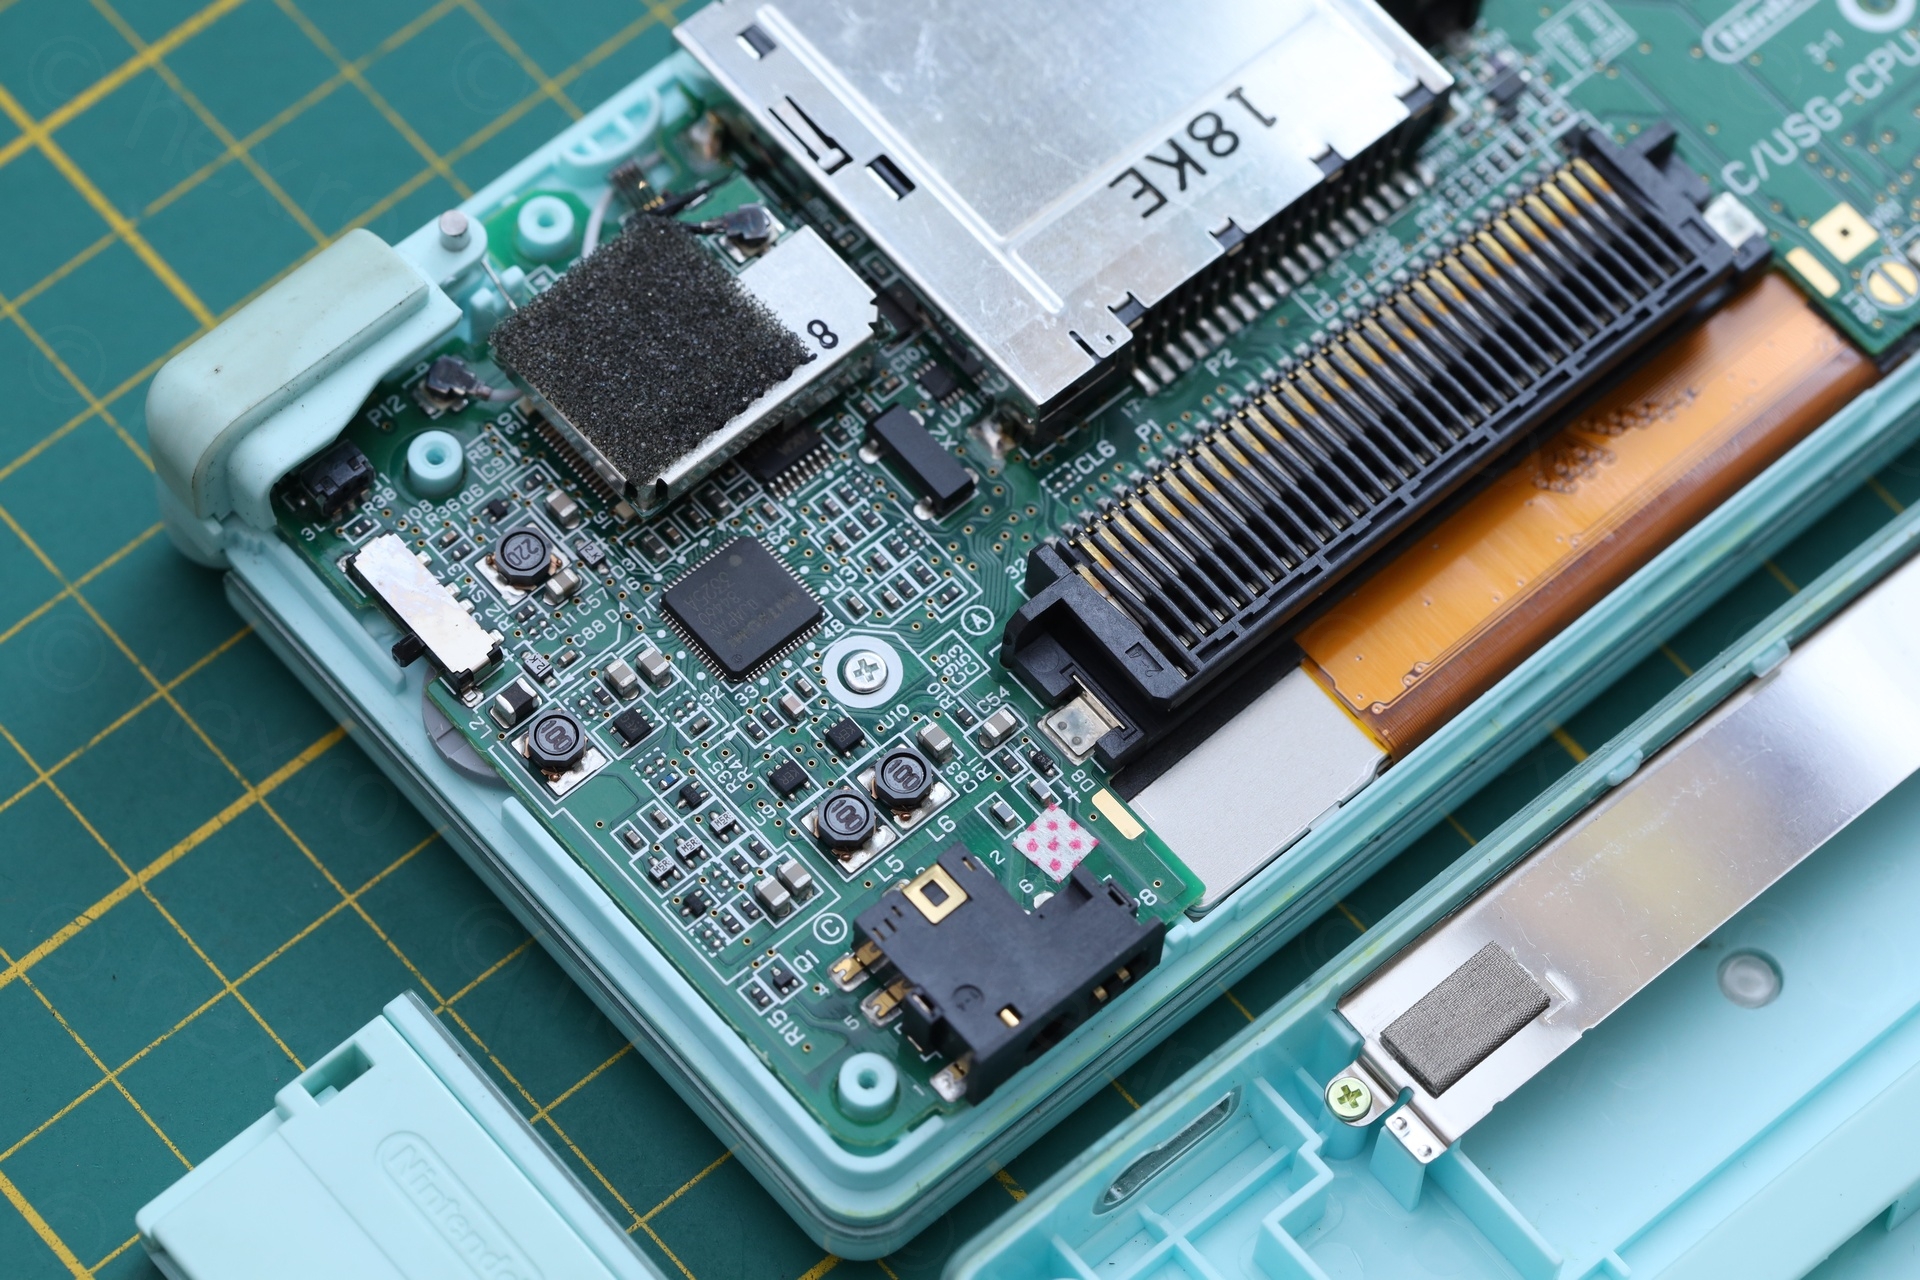
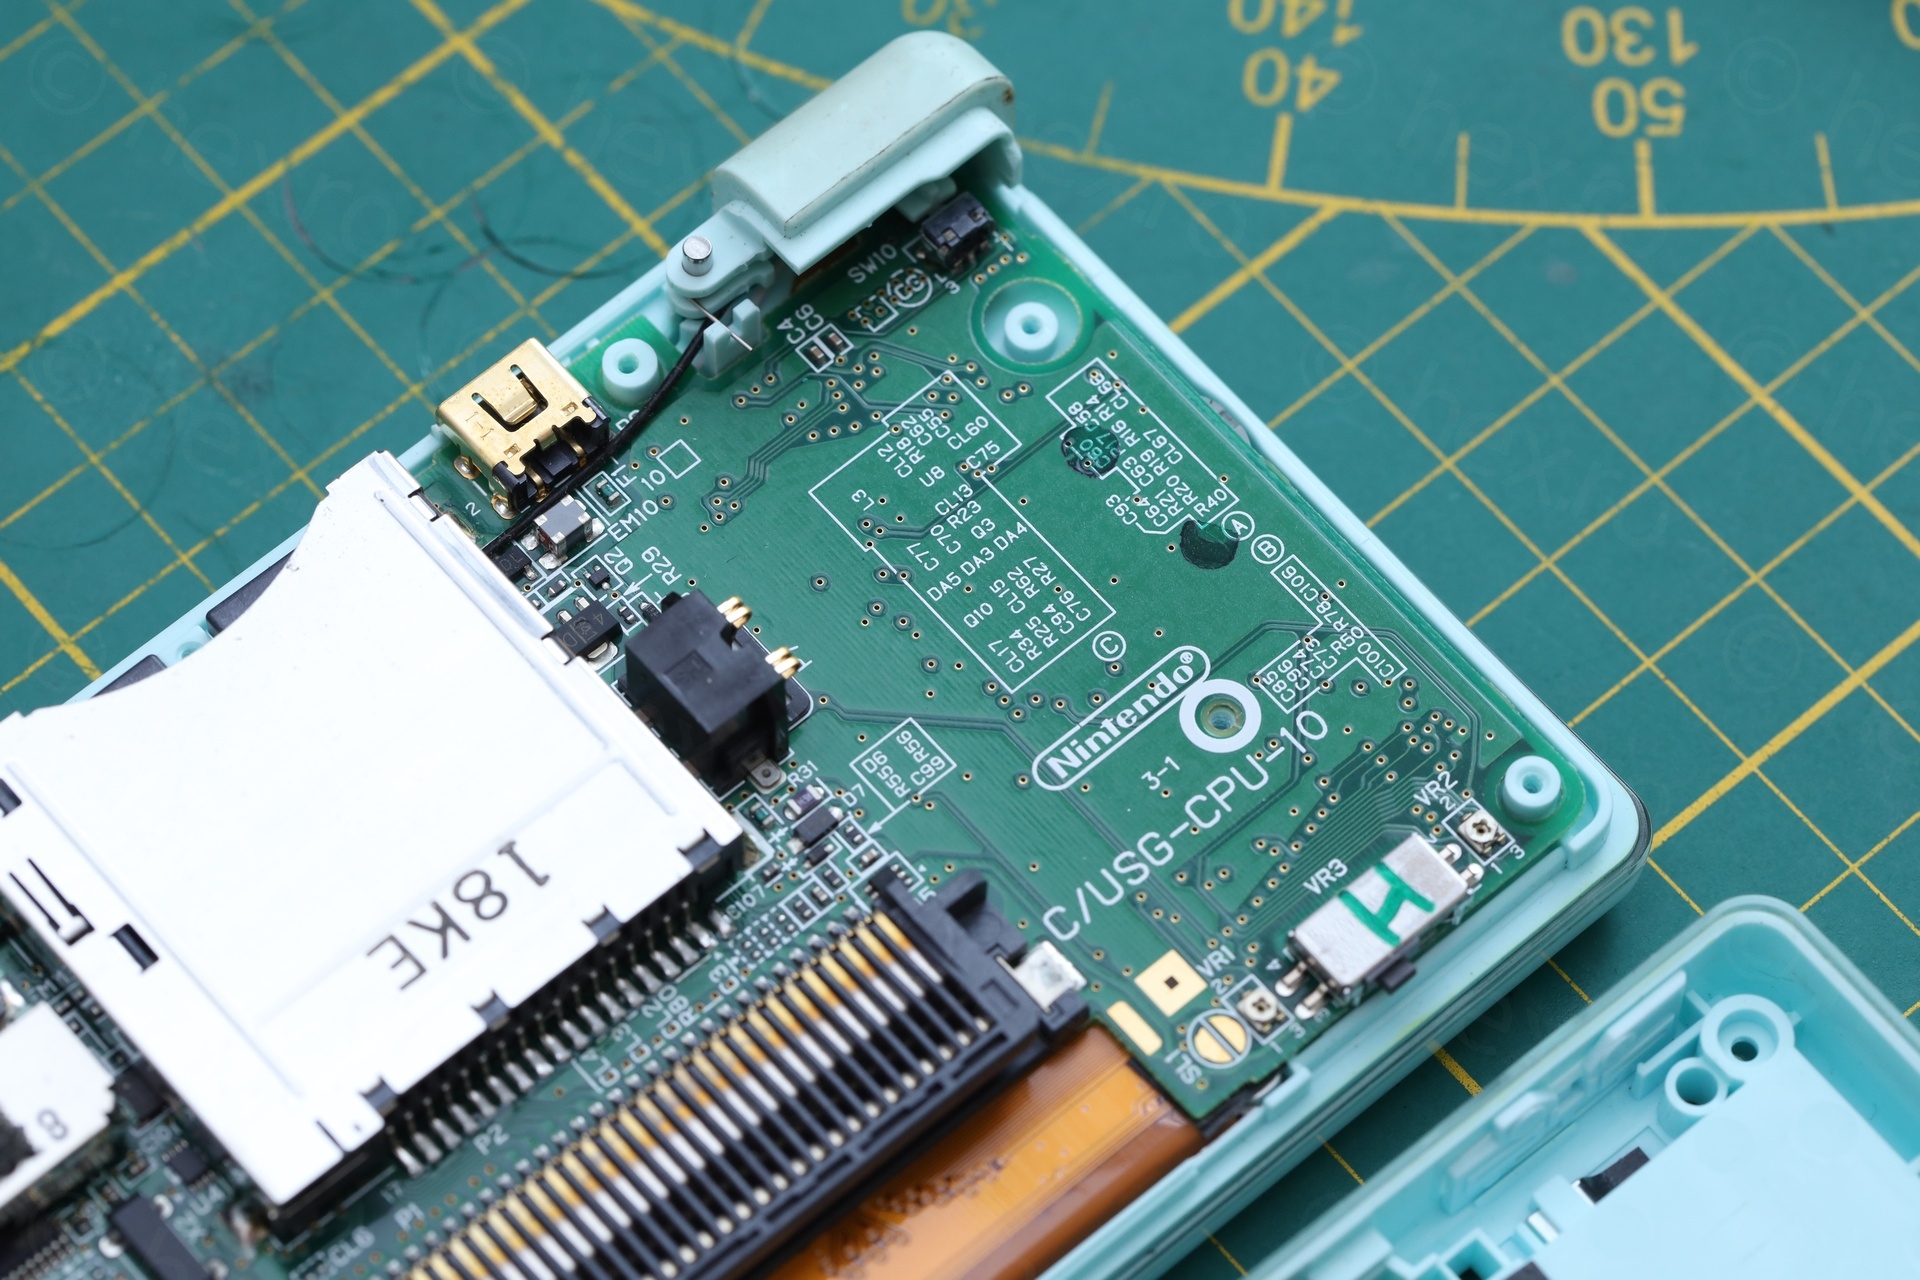
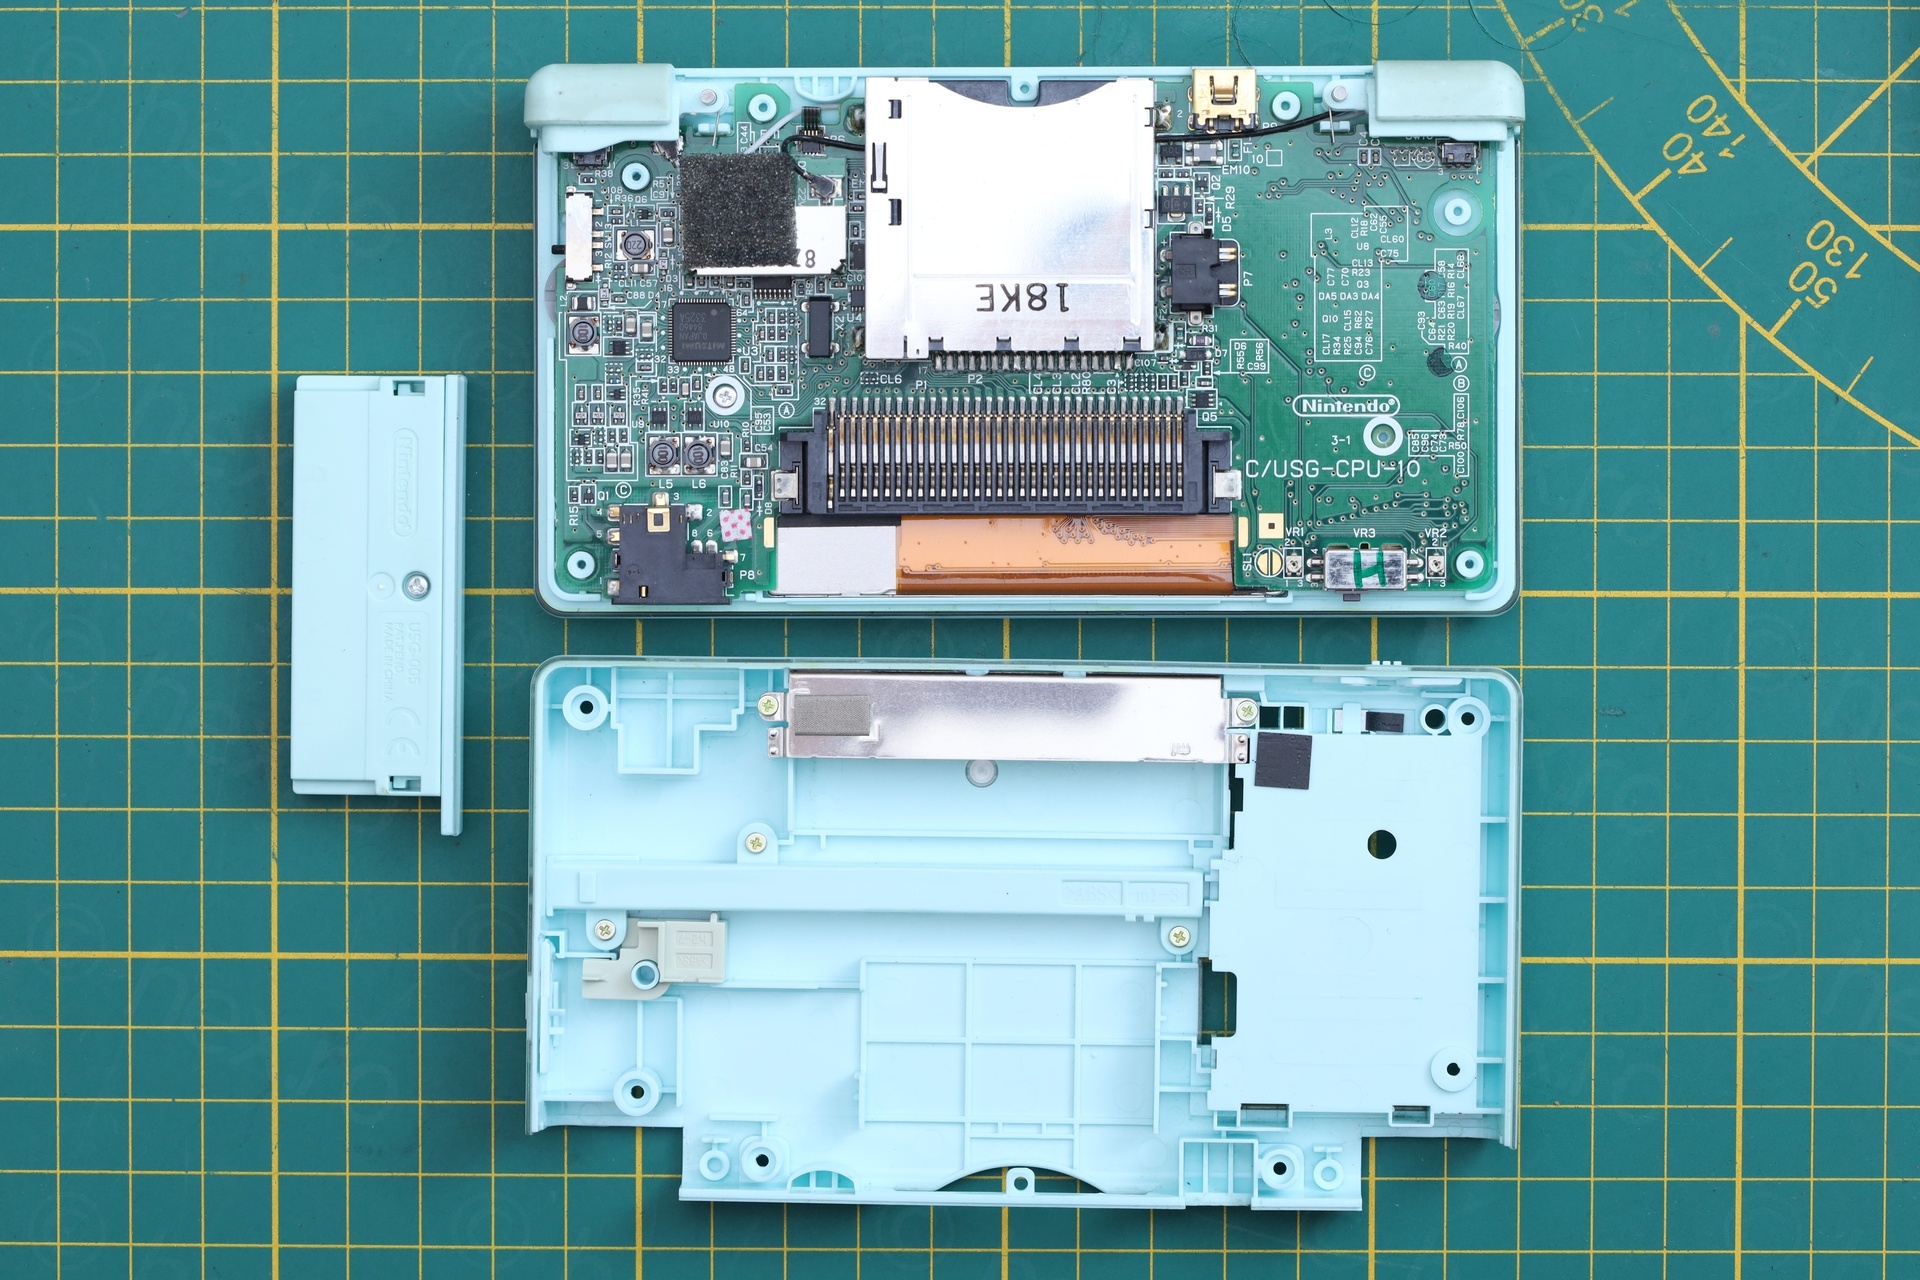
The goal was to take the DS apart fully and soak all plastics in soapy water for at least a day. I watched some videos on how to take the DS Lite apart. It looks easy, but I got stuck trying to pull the black WiFi black wire underneath the cartridge slot. Thus, I was not able to dismantle it fully.
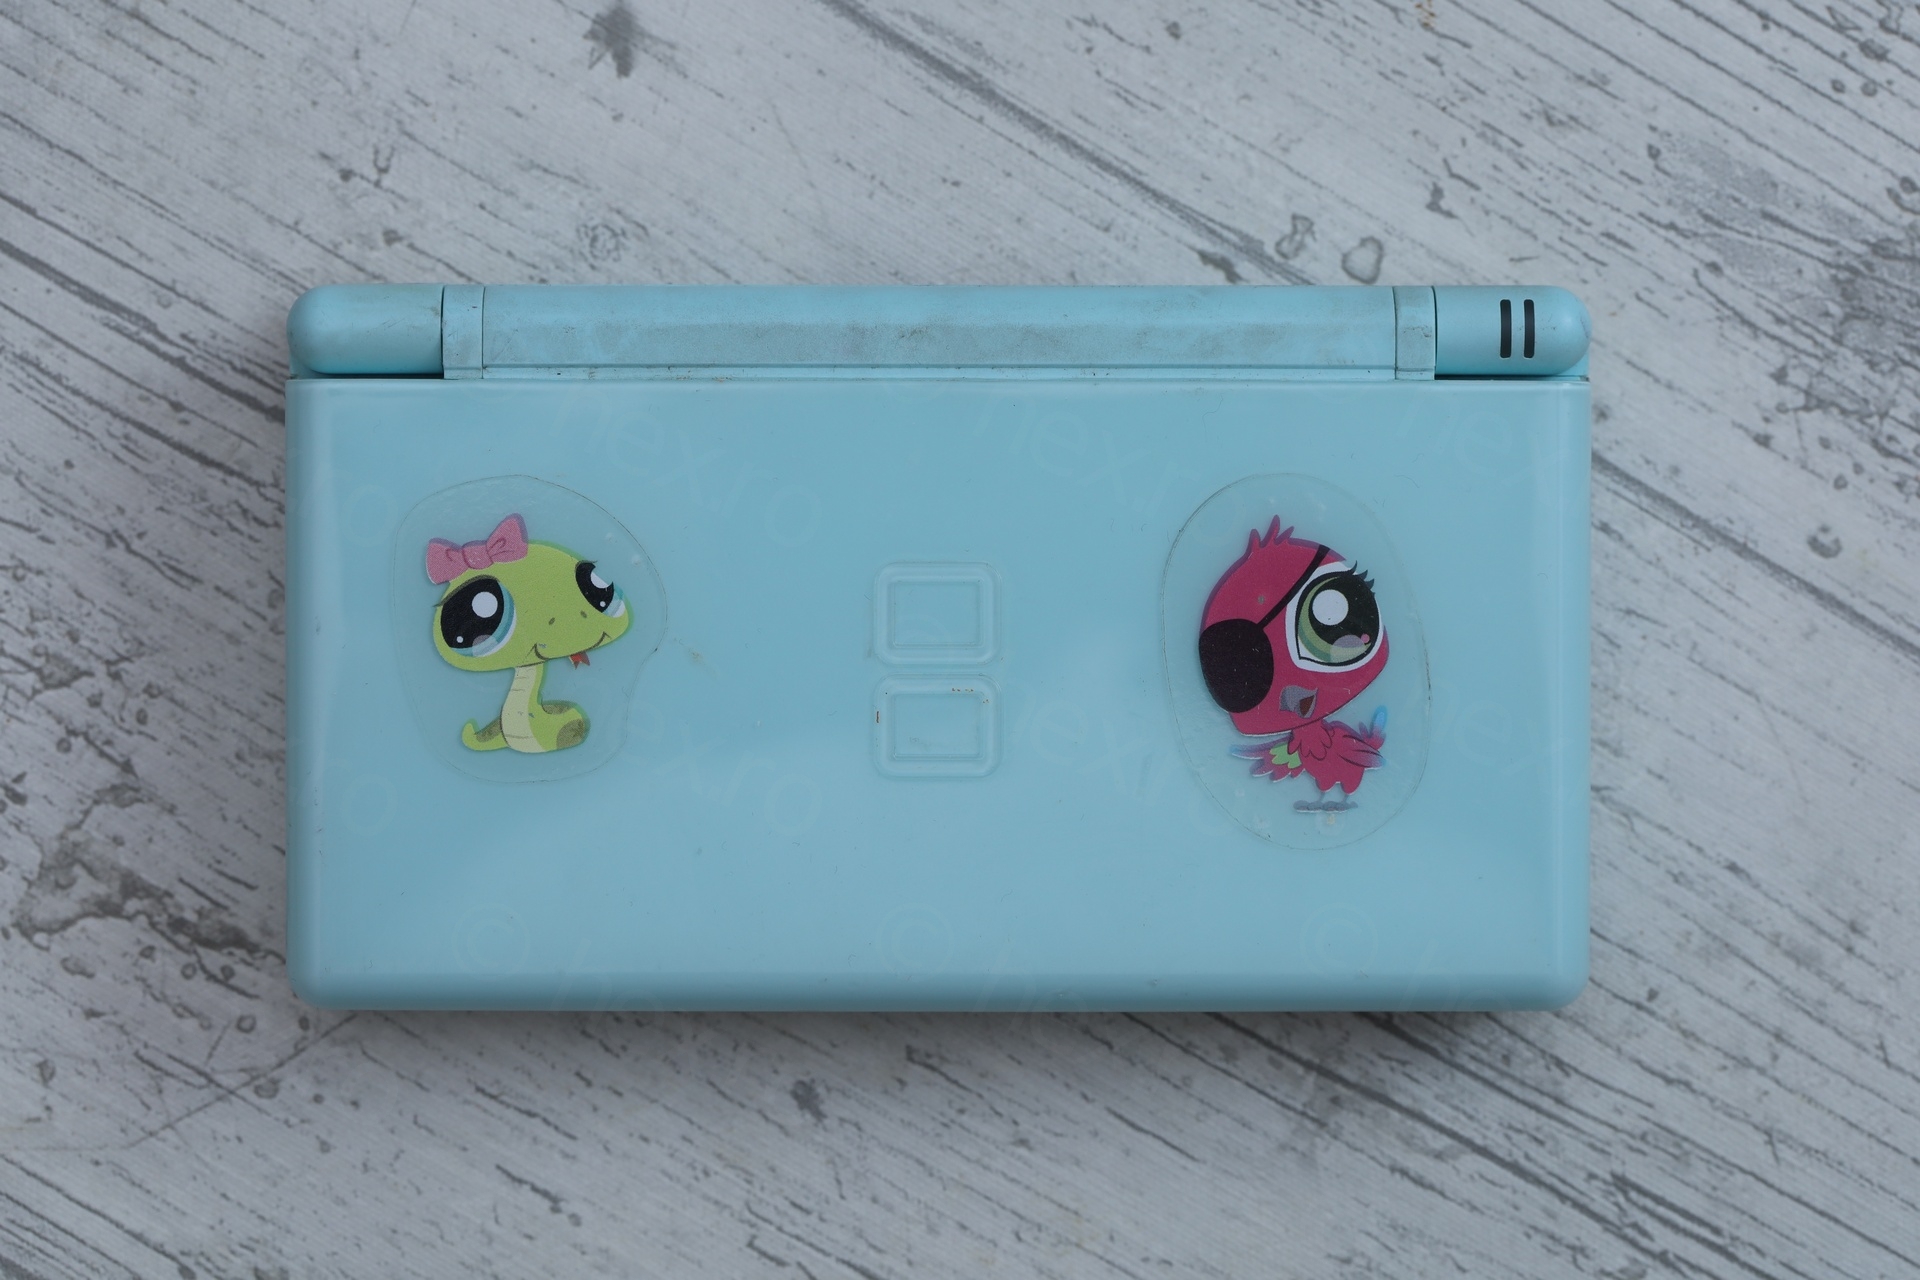
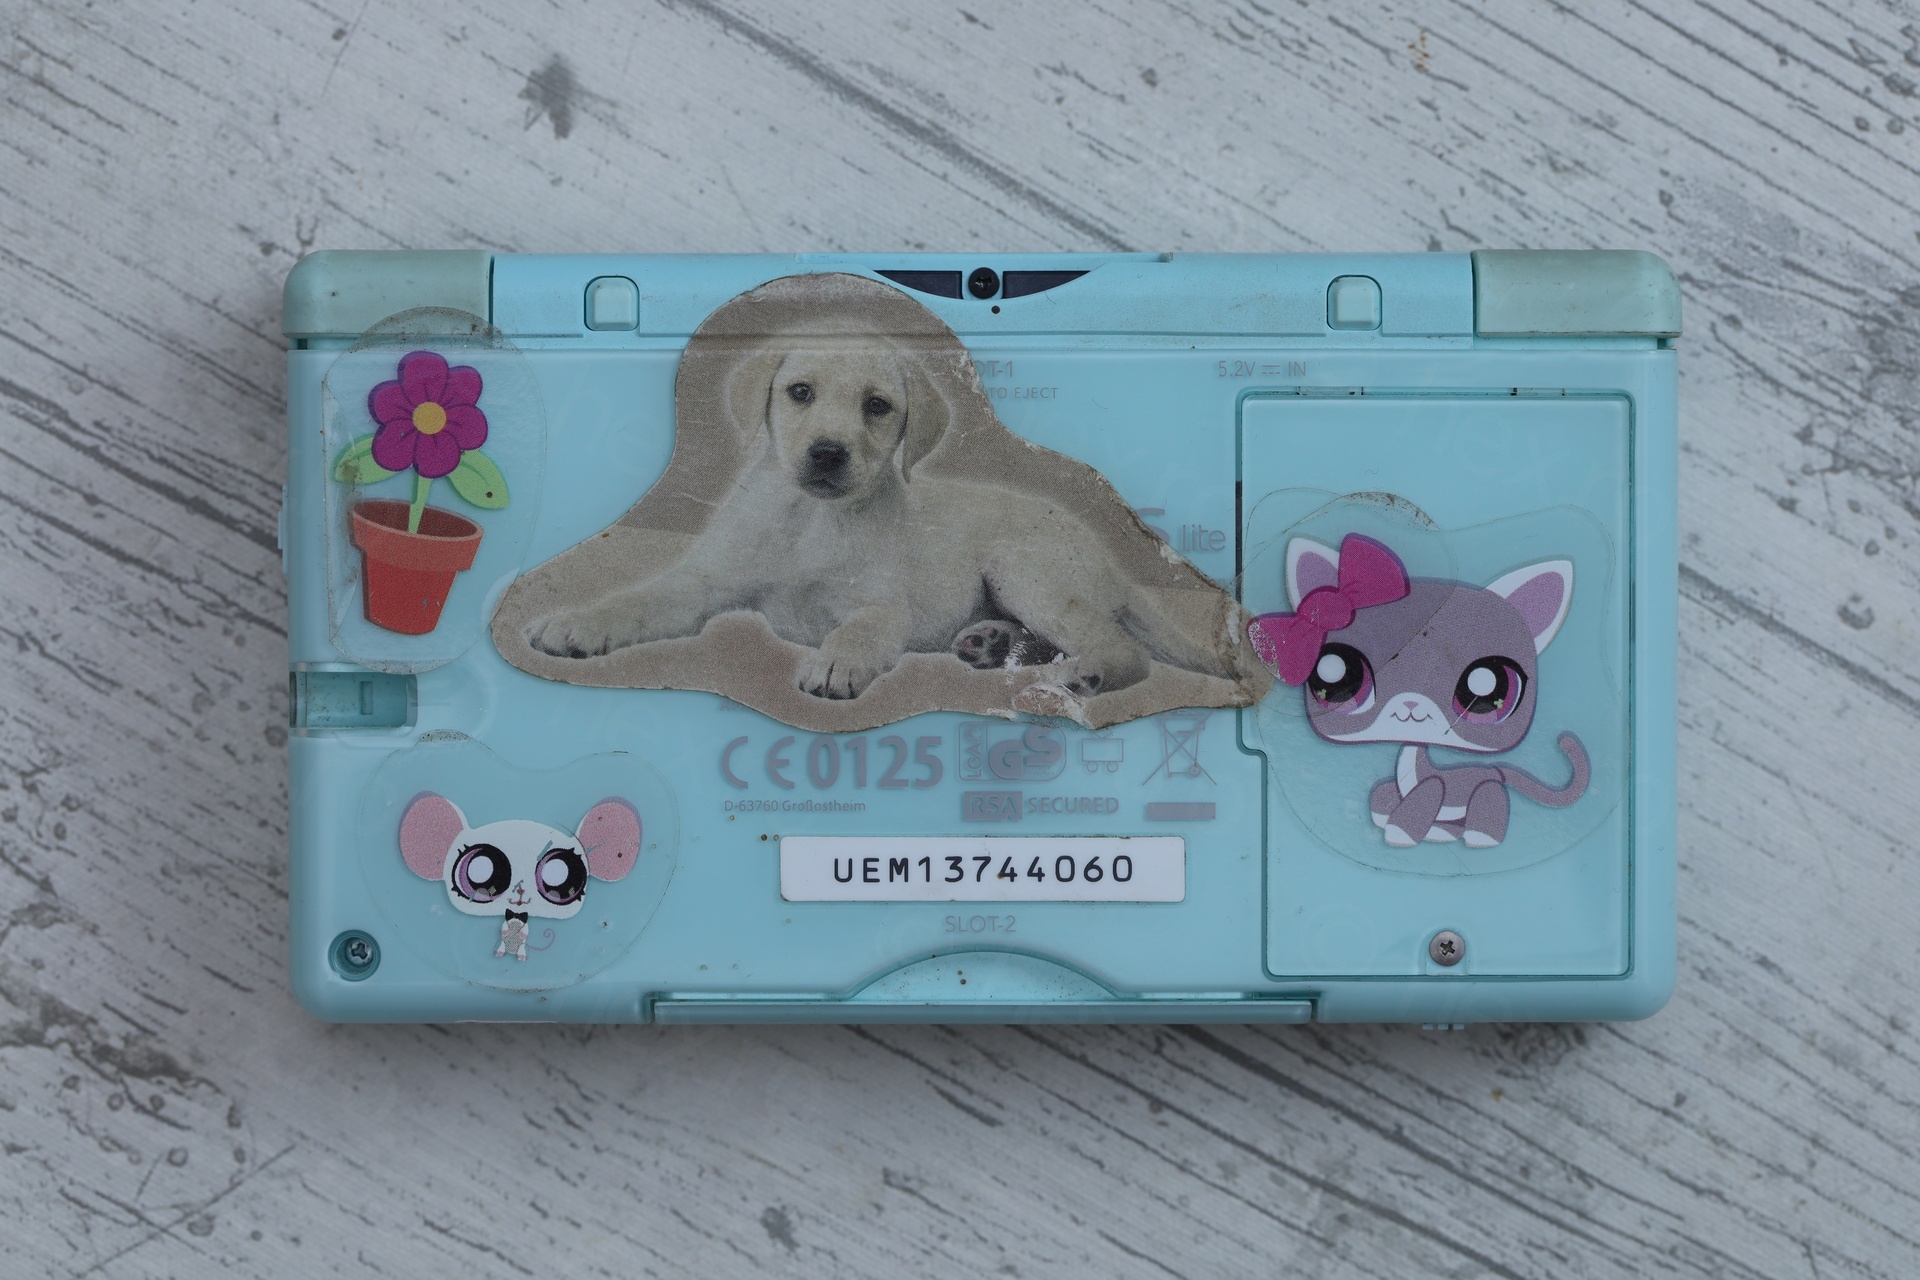
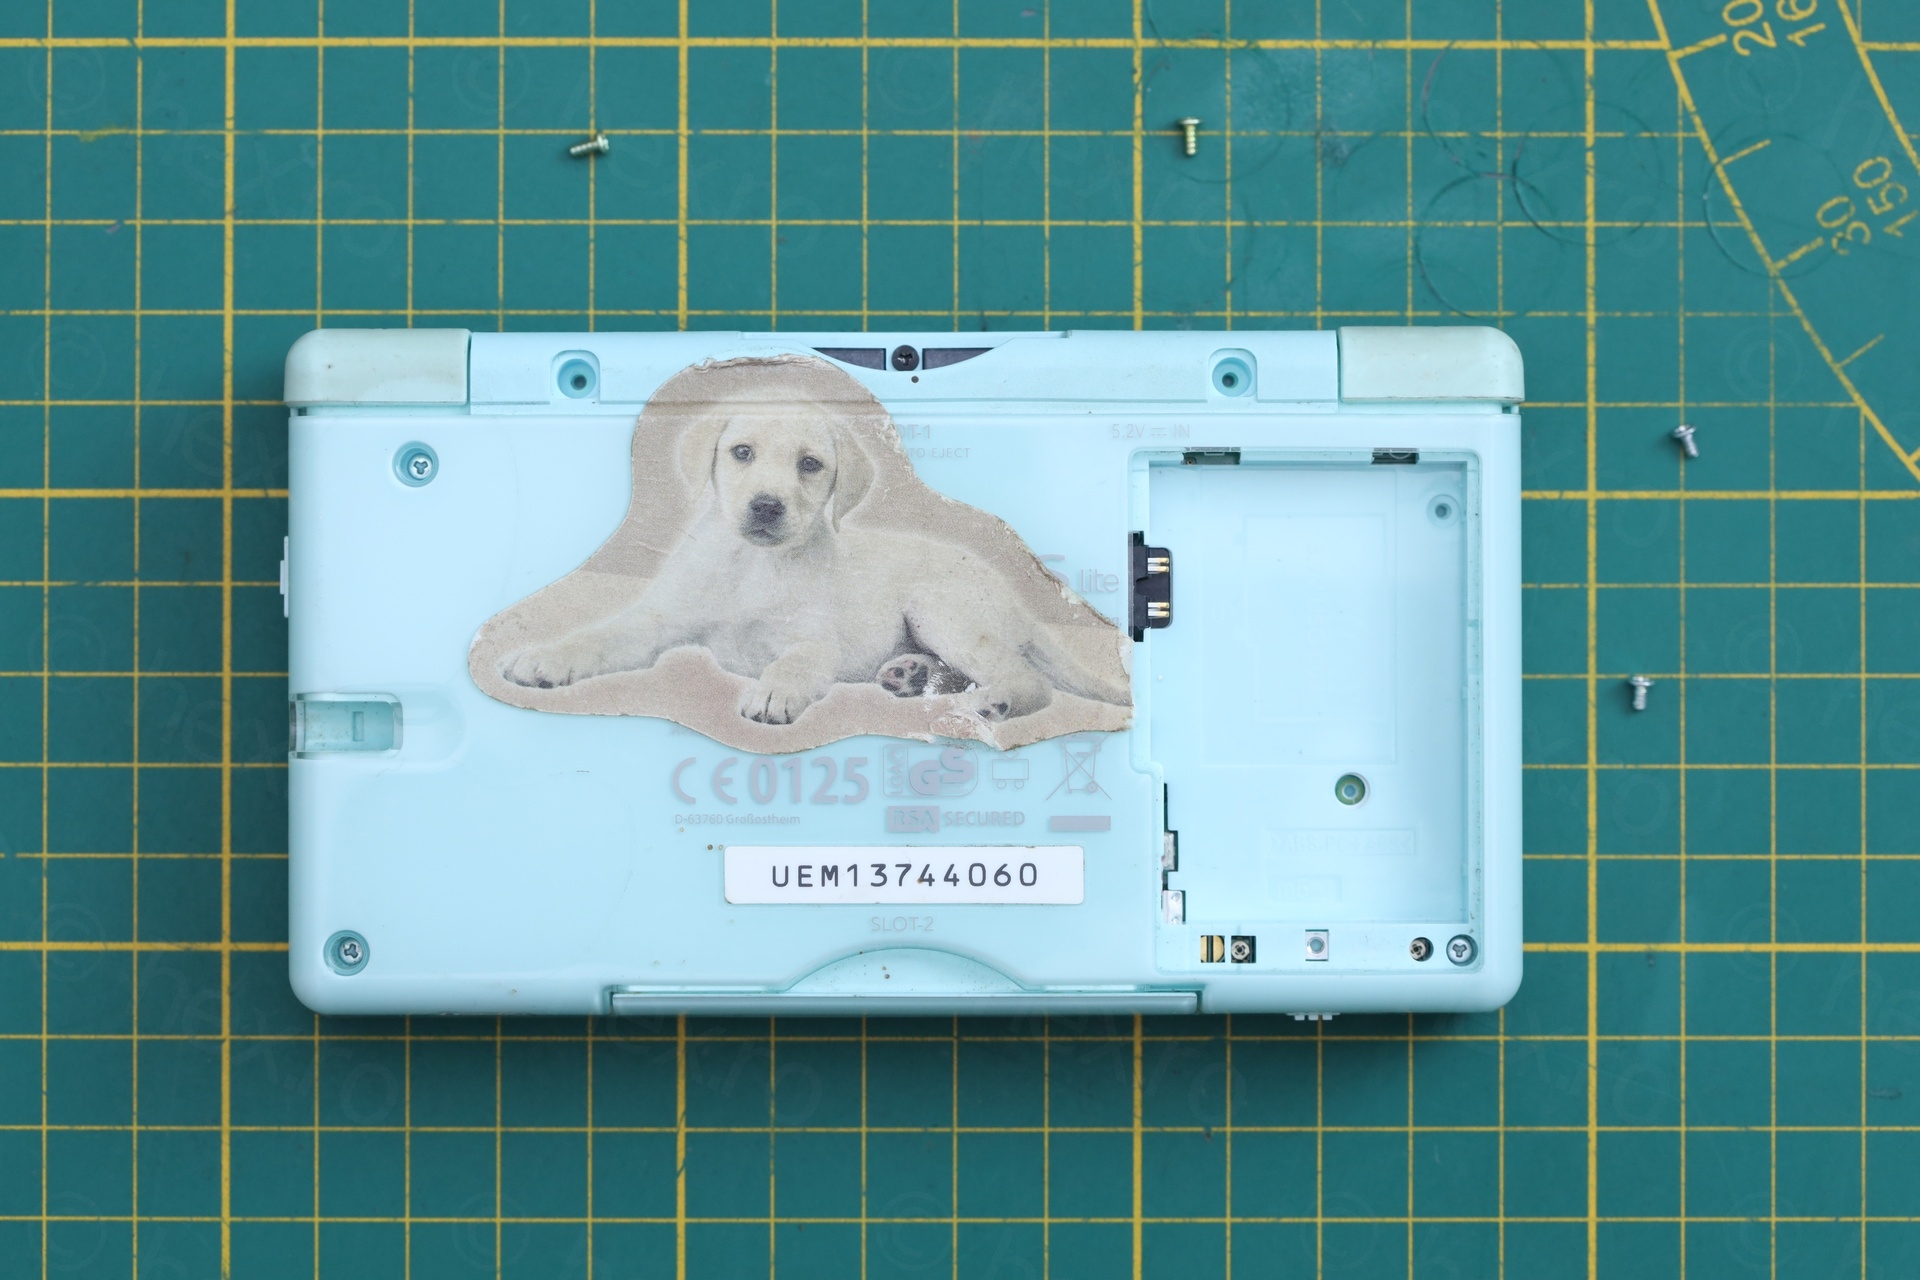
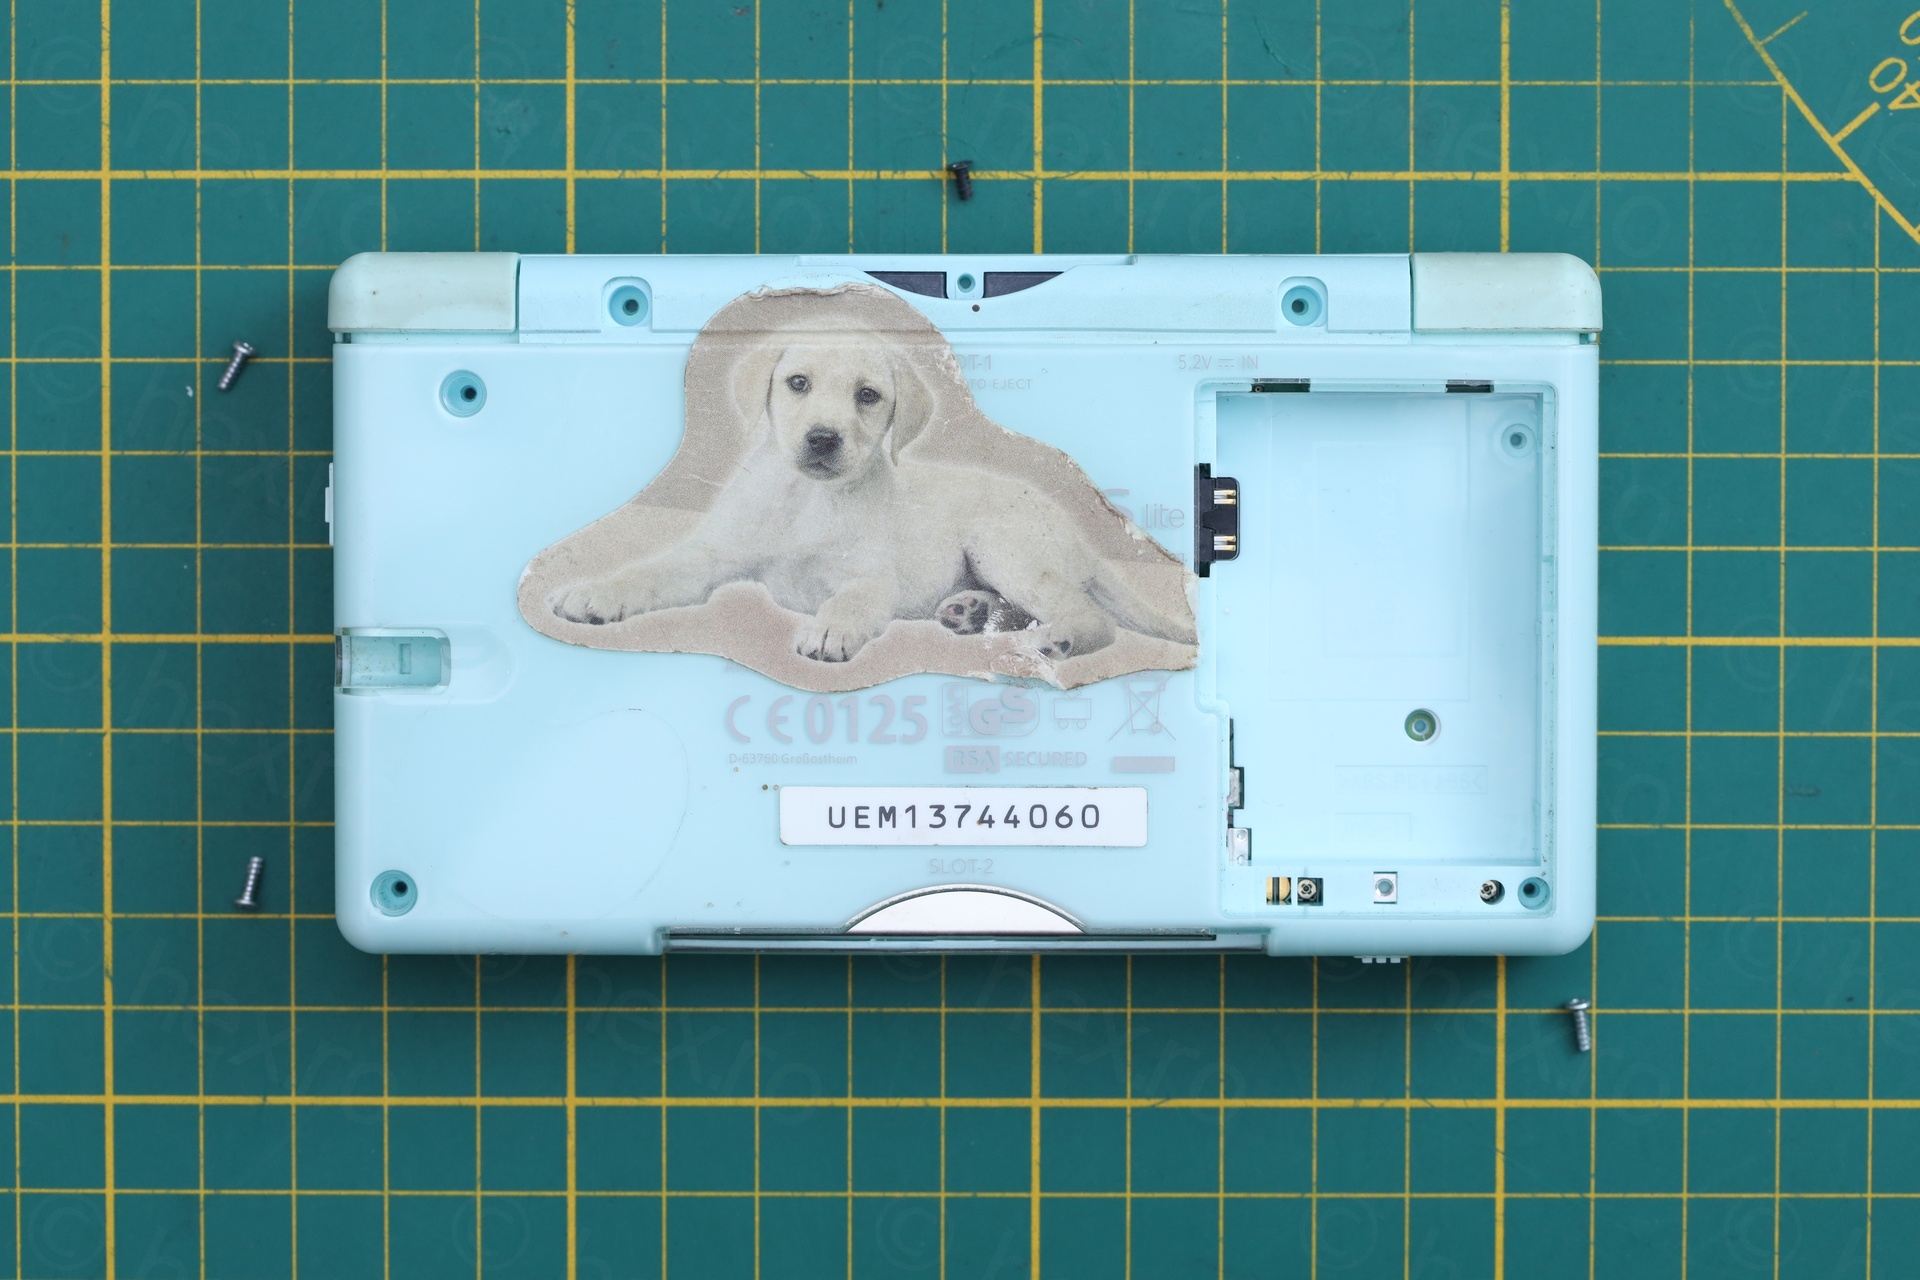
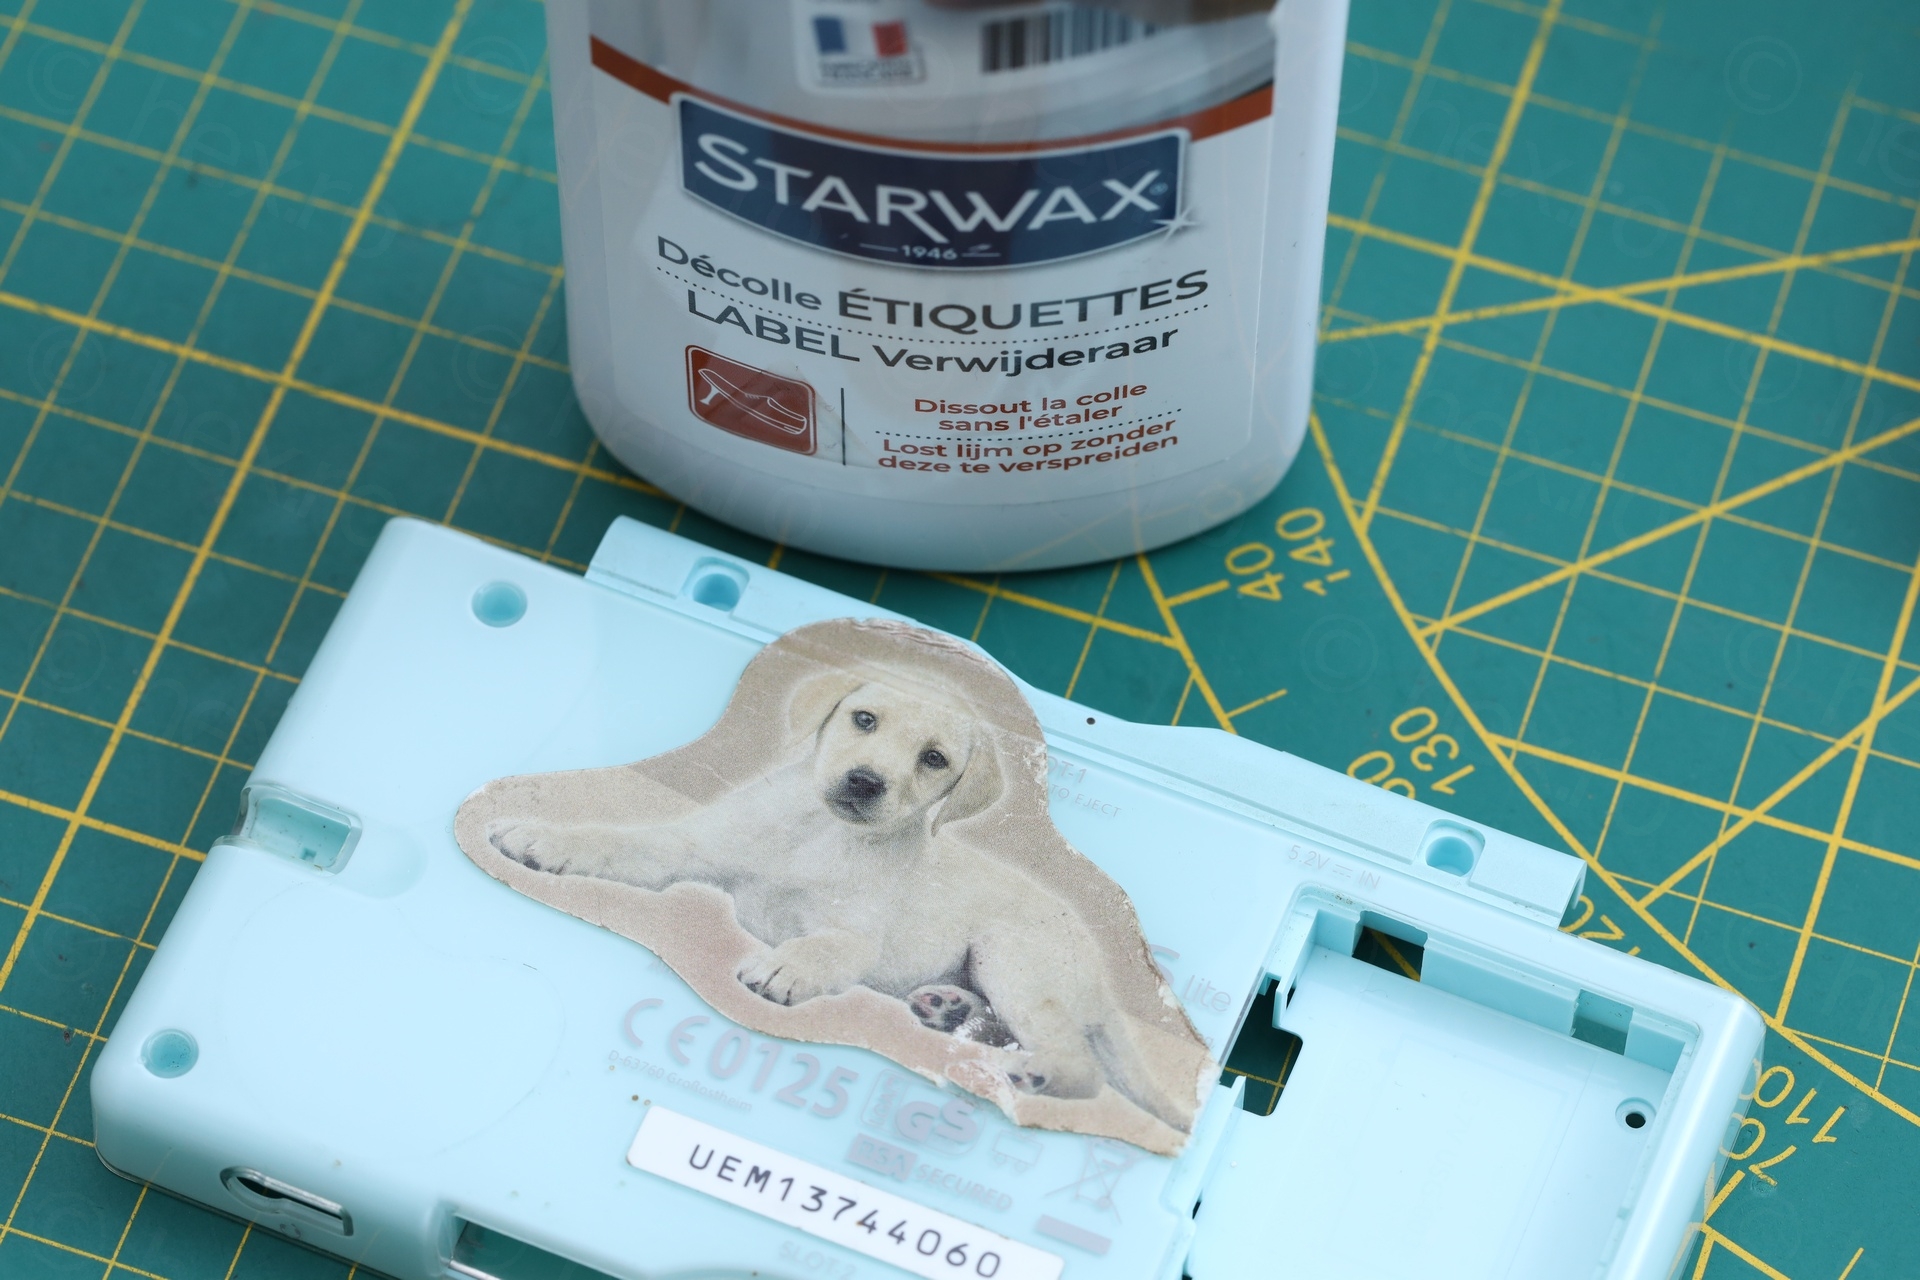
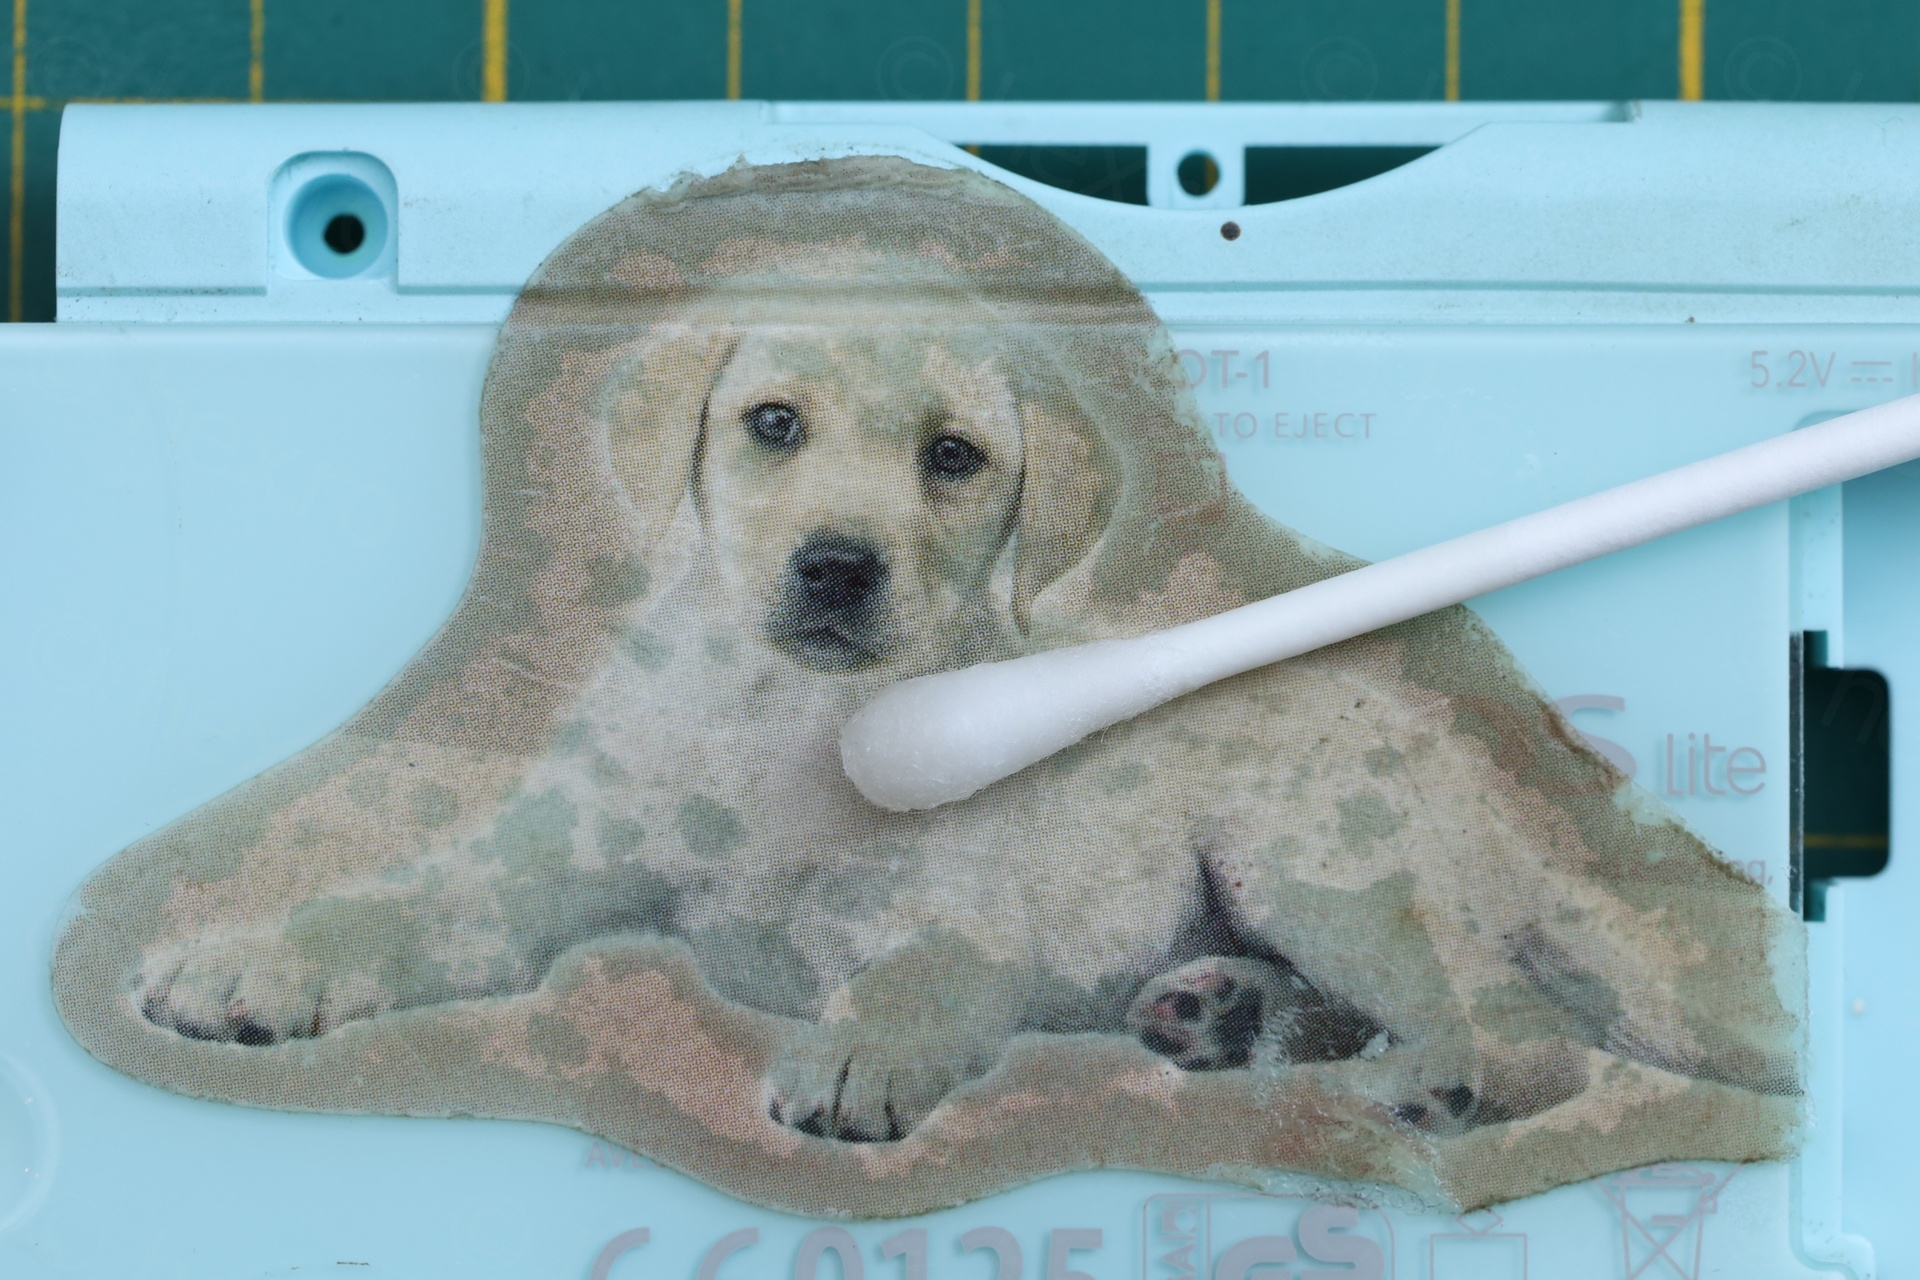
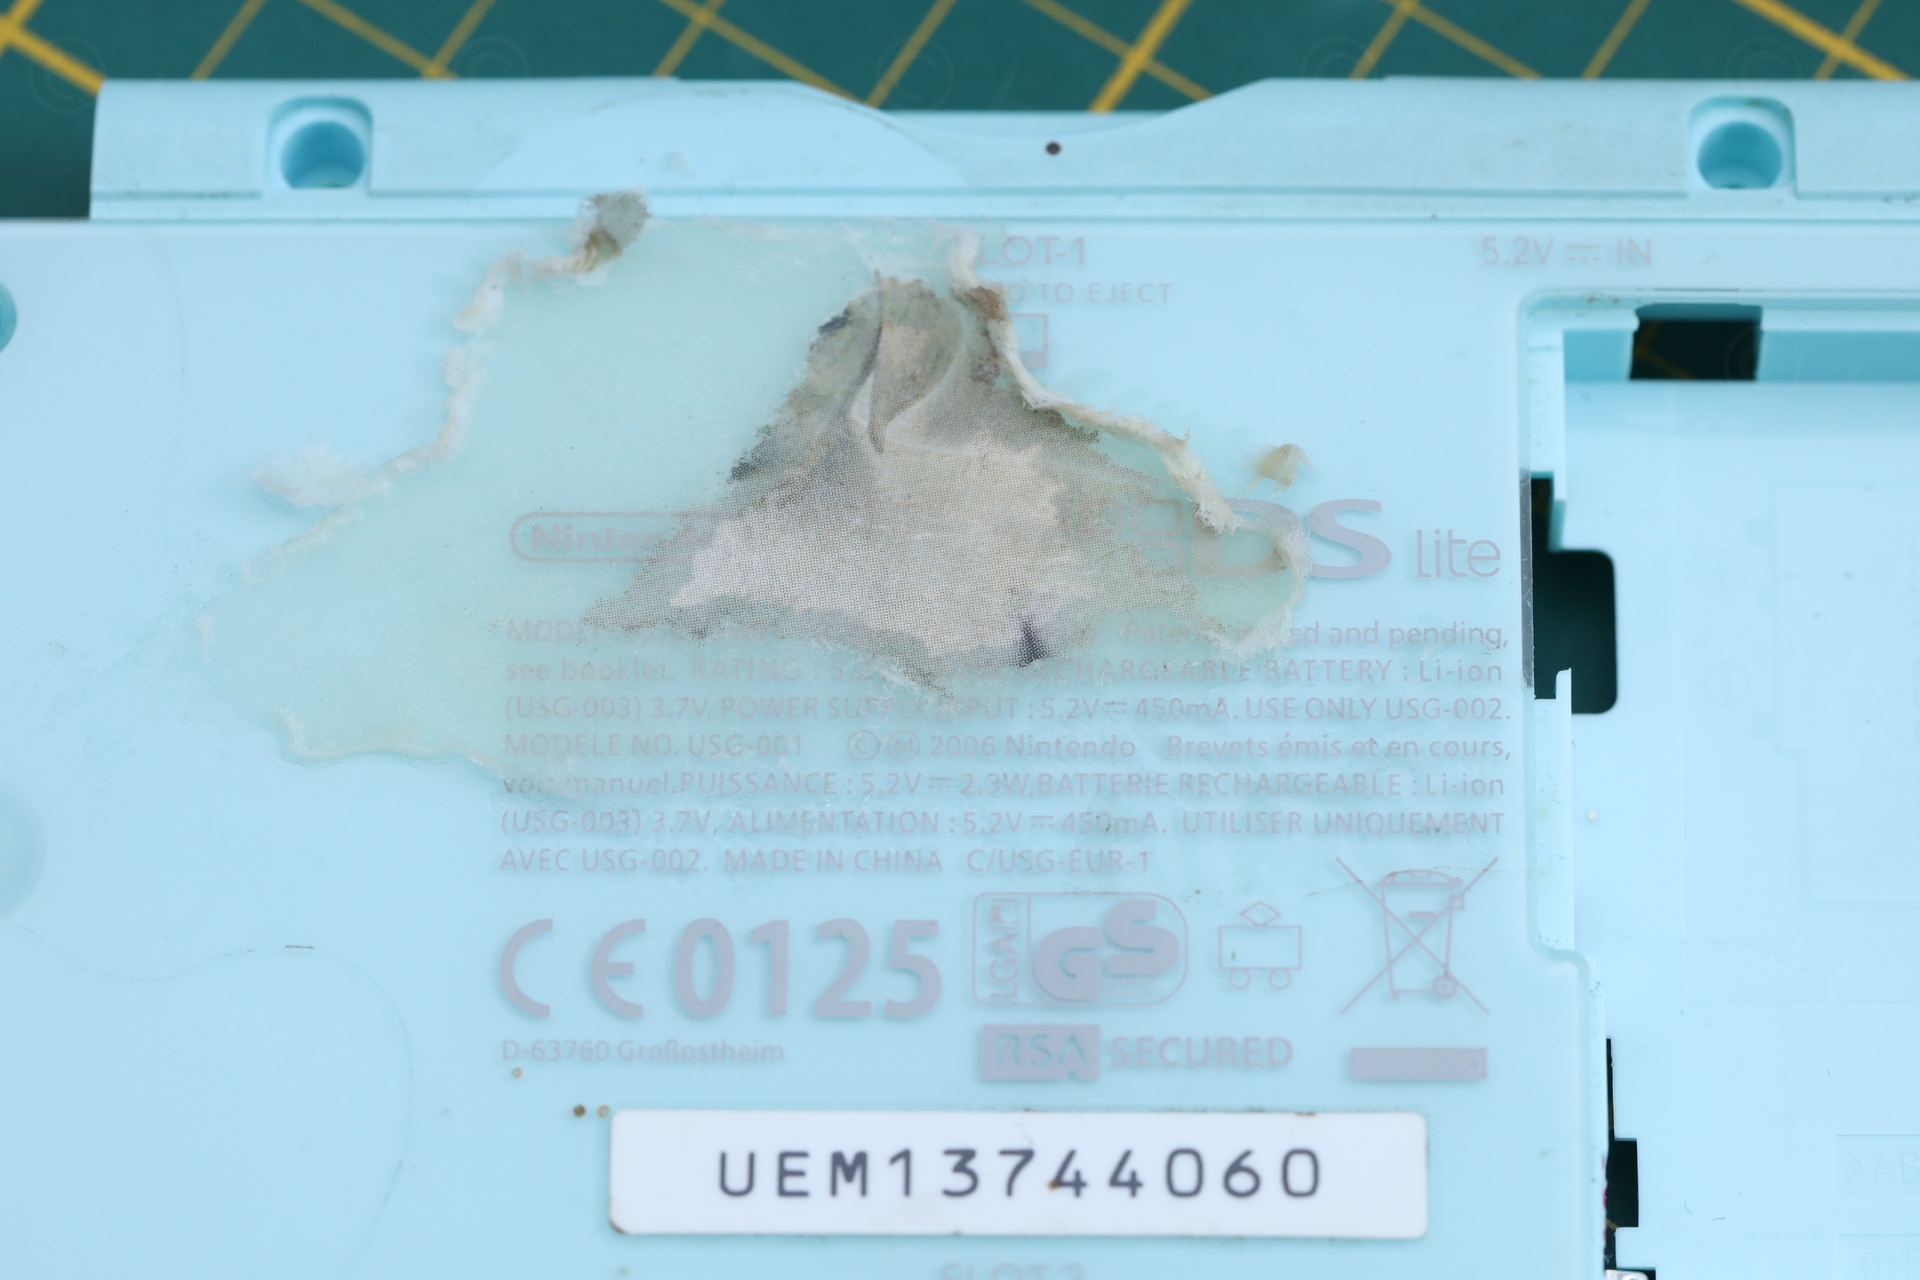
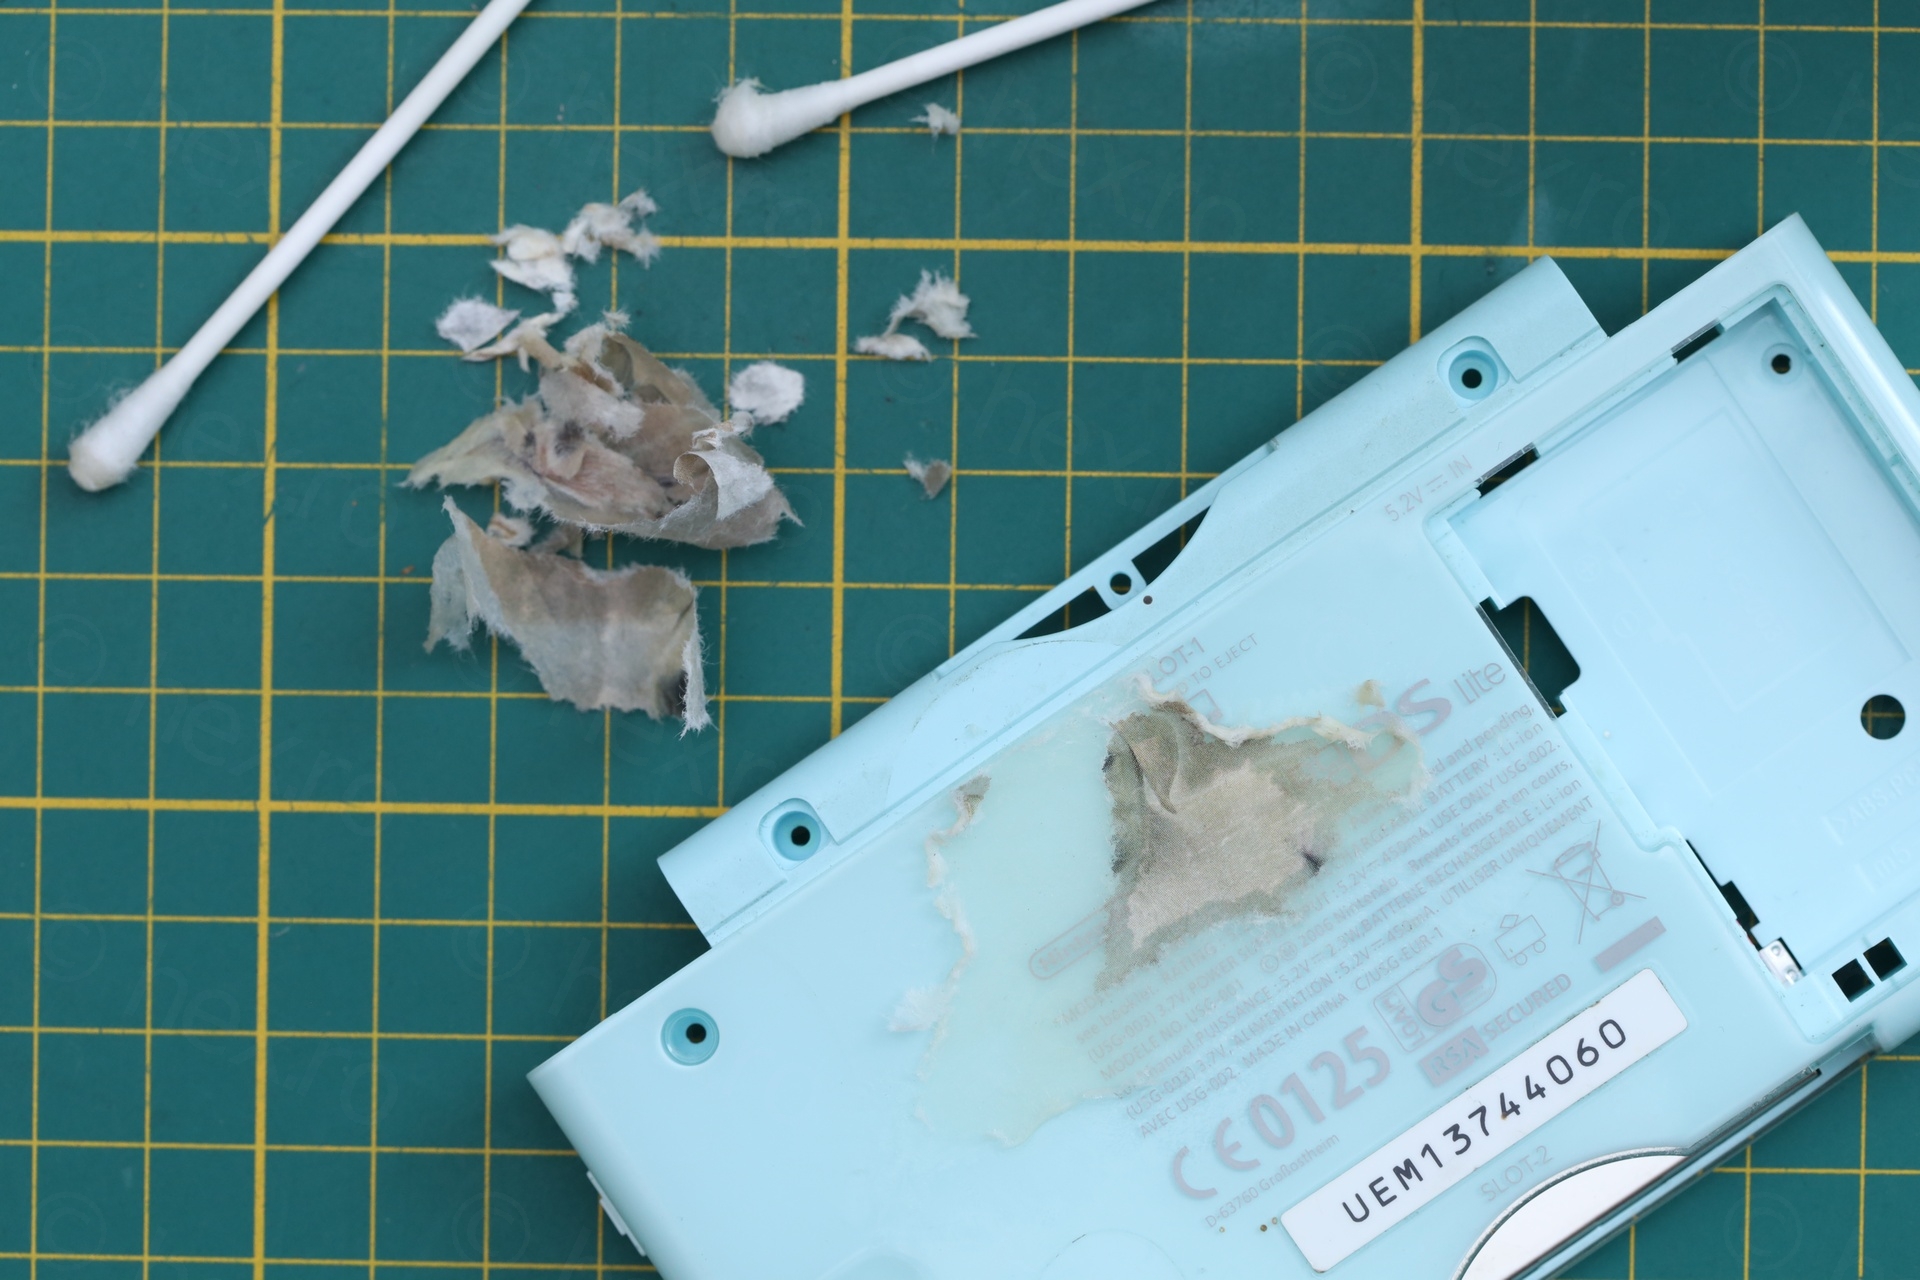
The plastic stickers came off easily. The dog sticker on the back needed a lot of persuasion and copious amount of Label Removal product. I payed attention to not get the oily substance close to the serial number label!
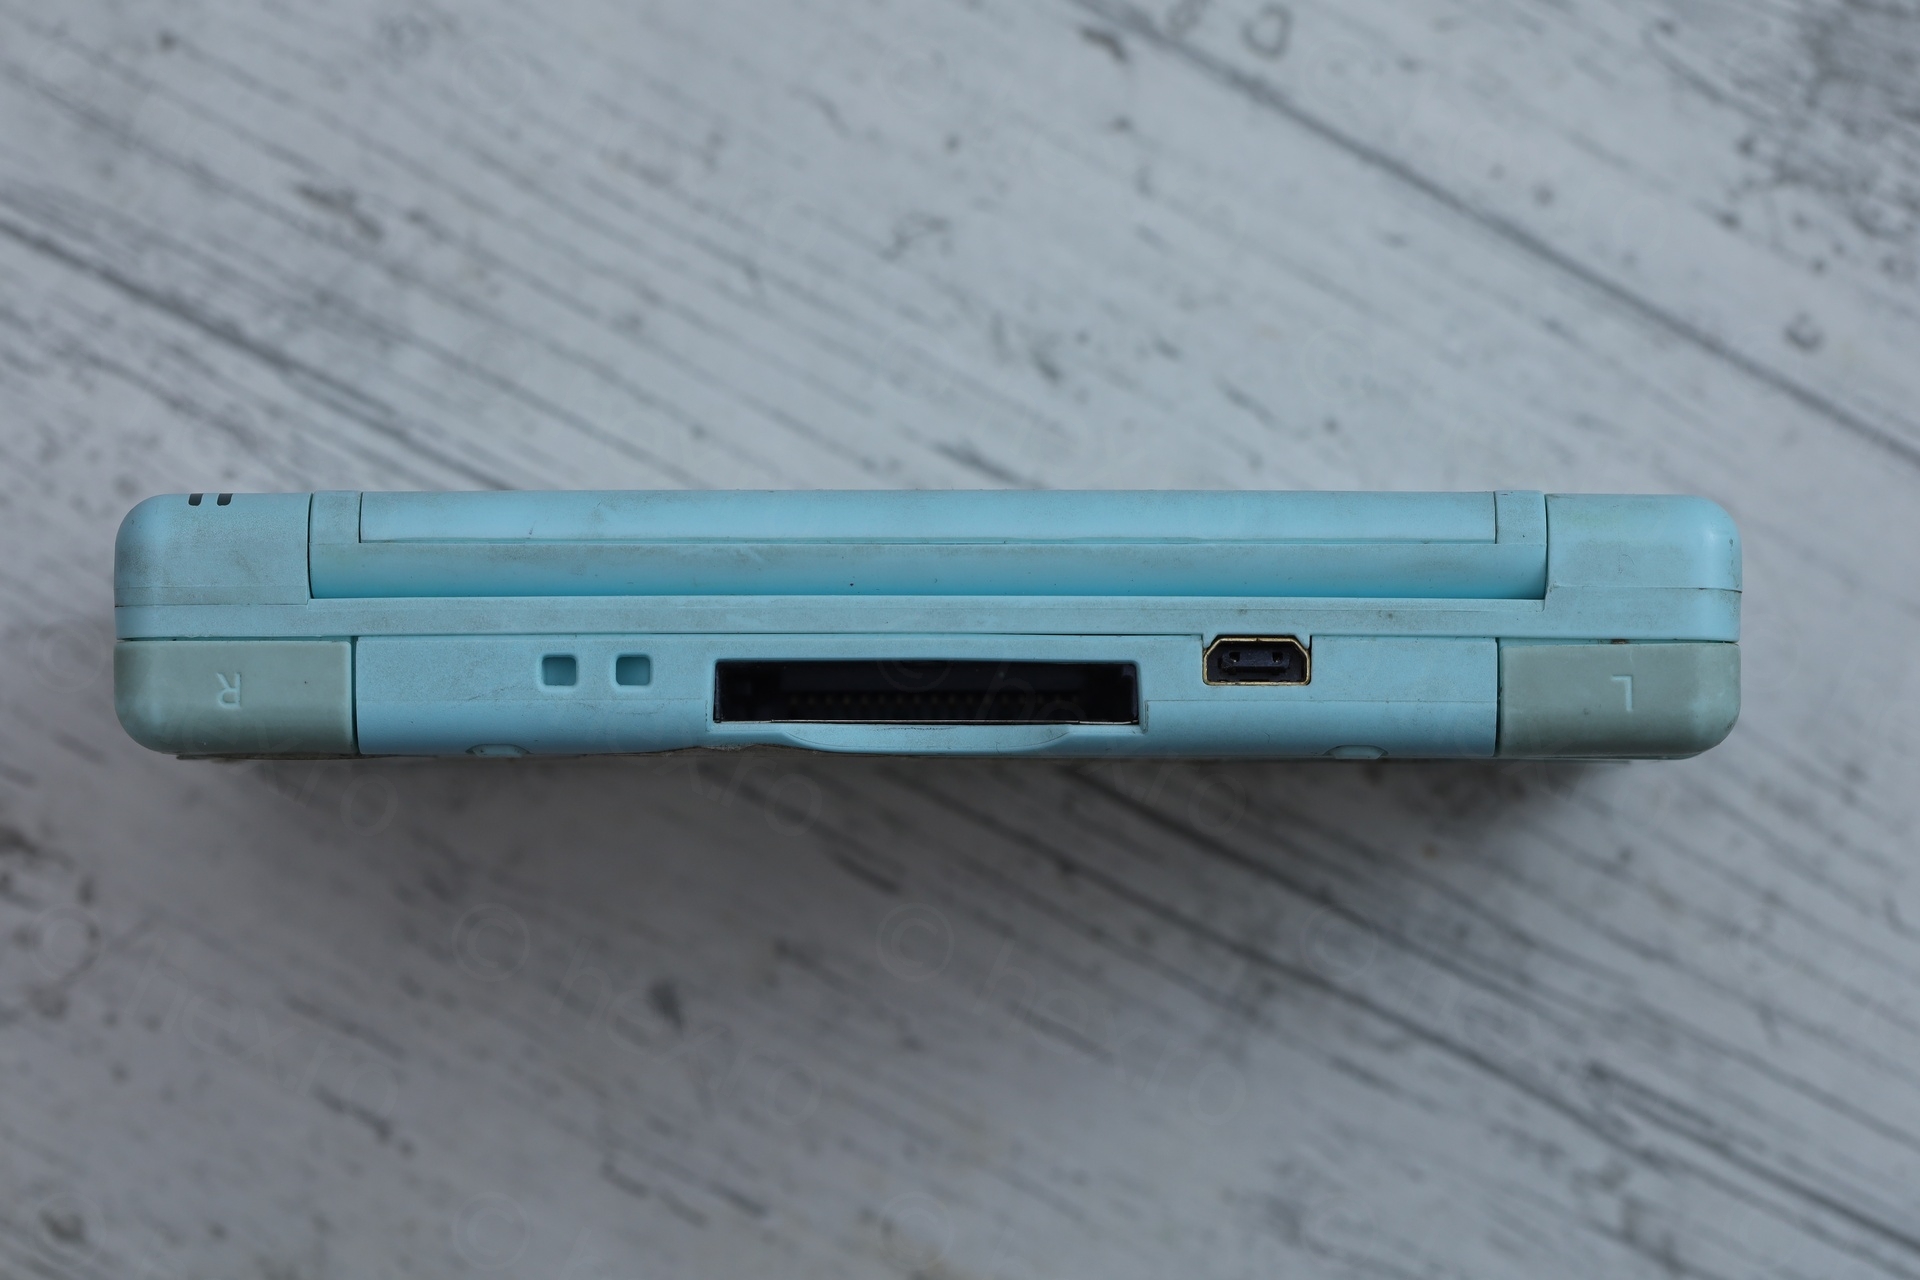
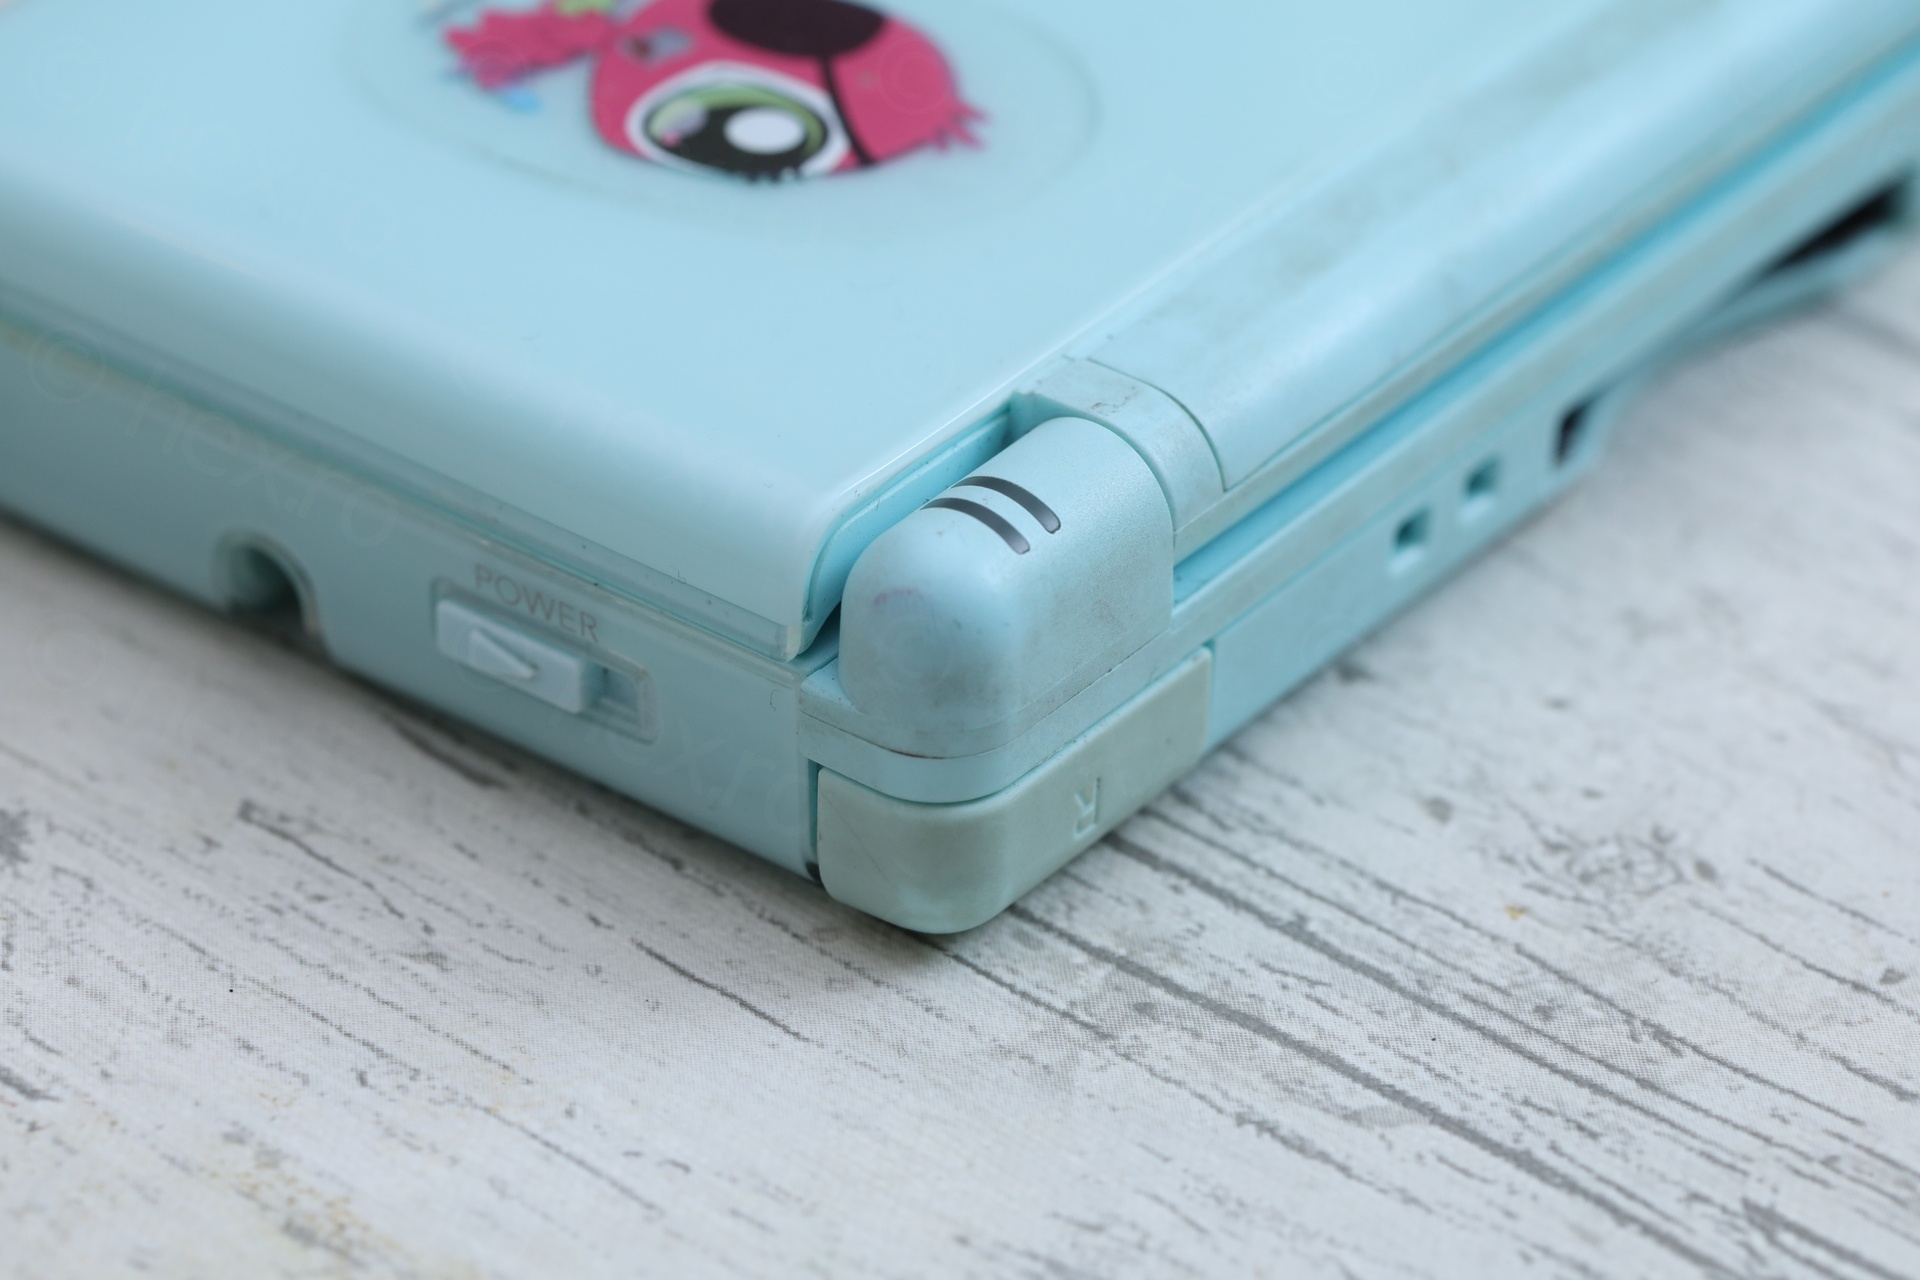
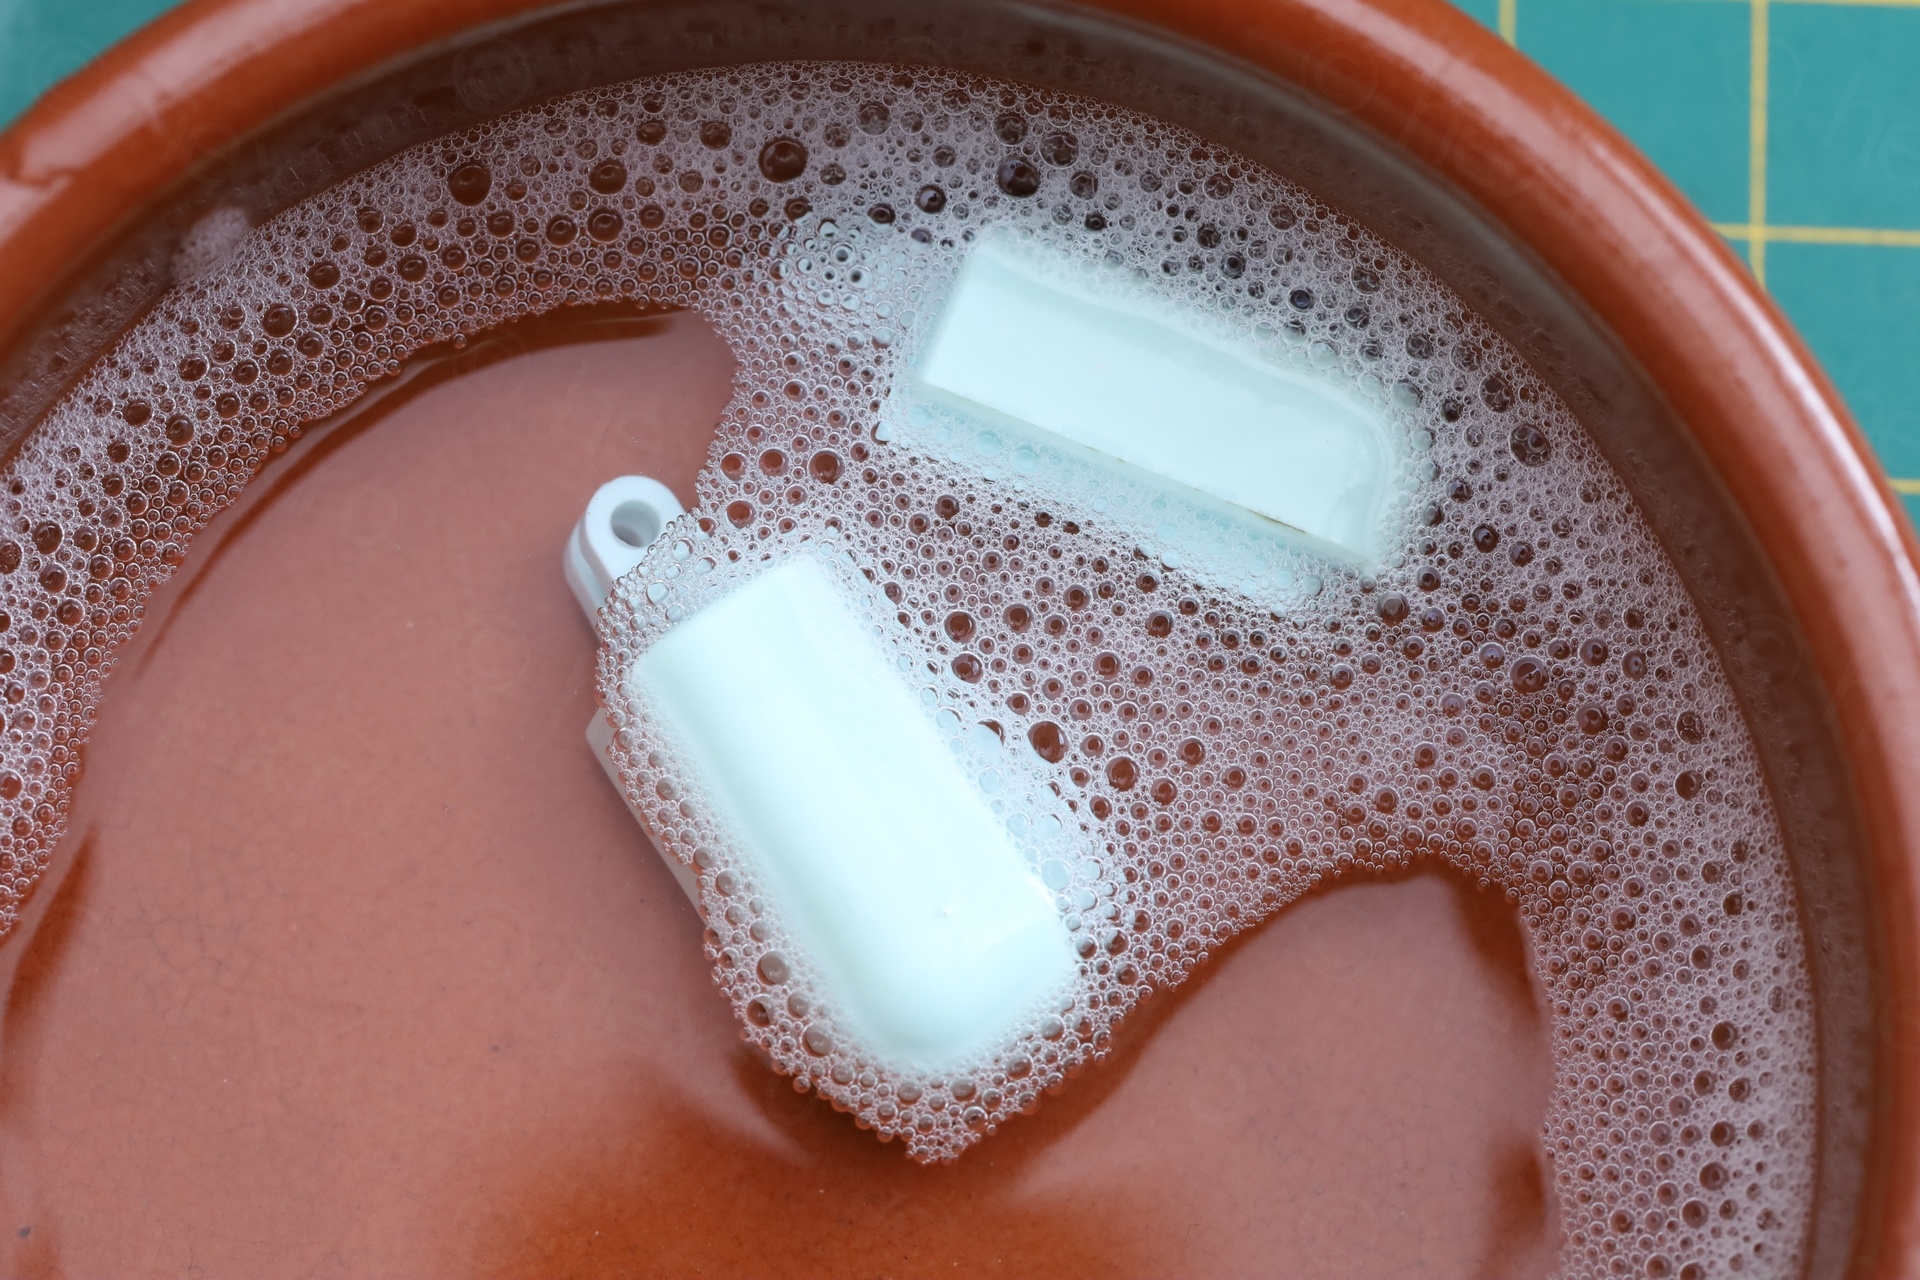
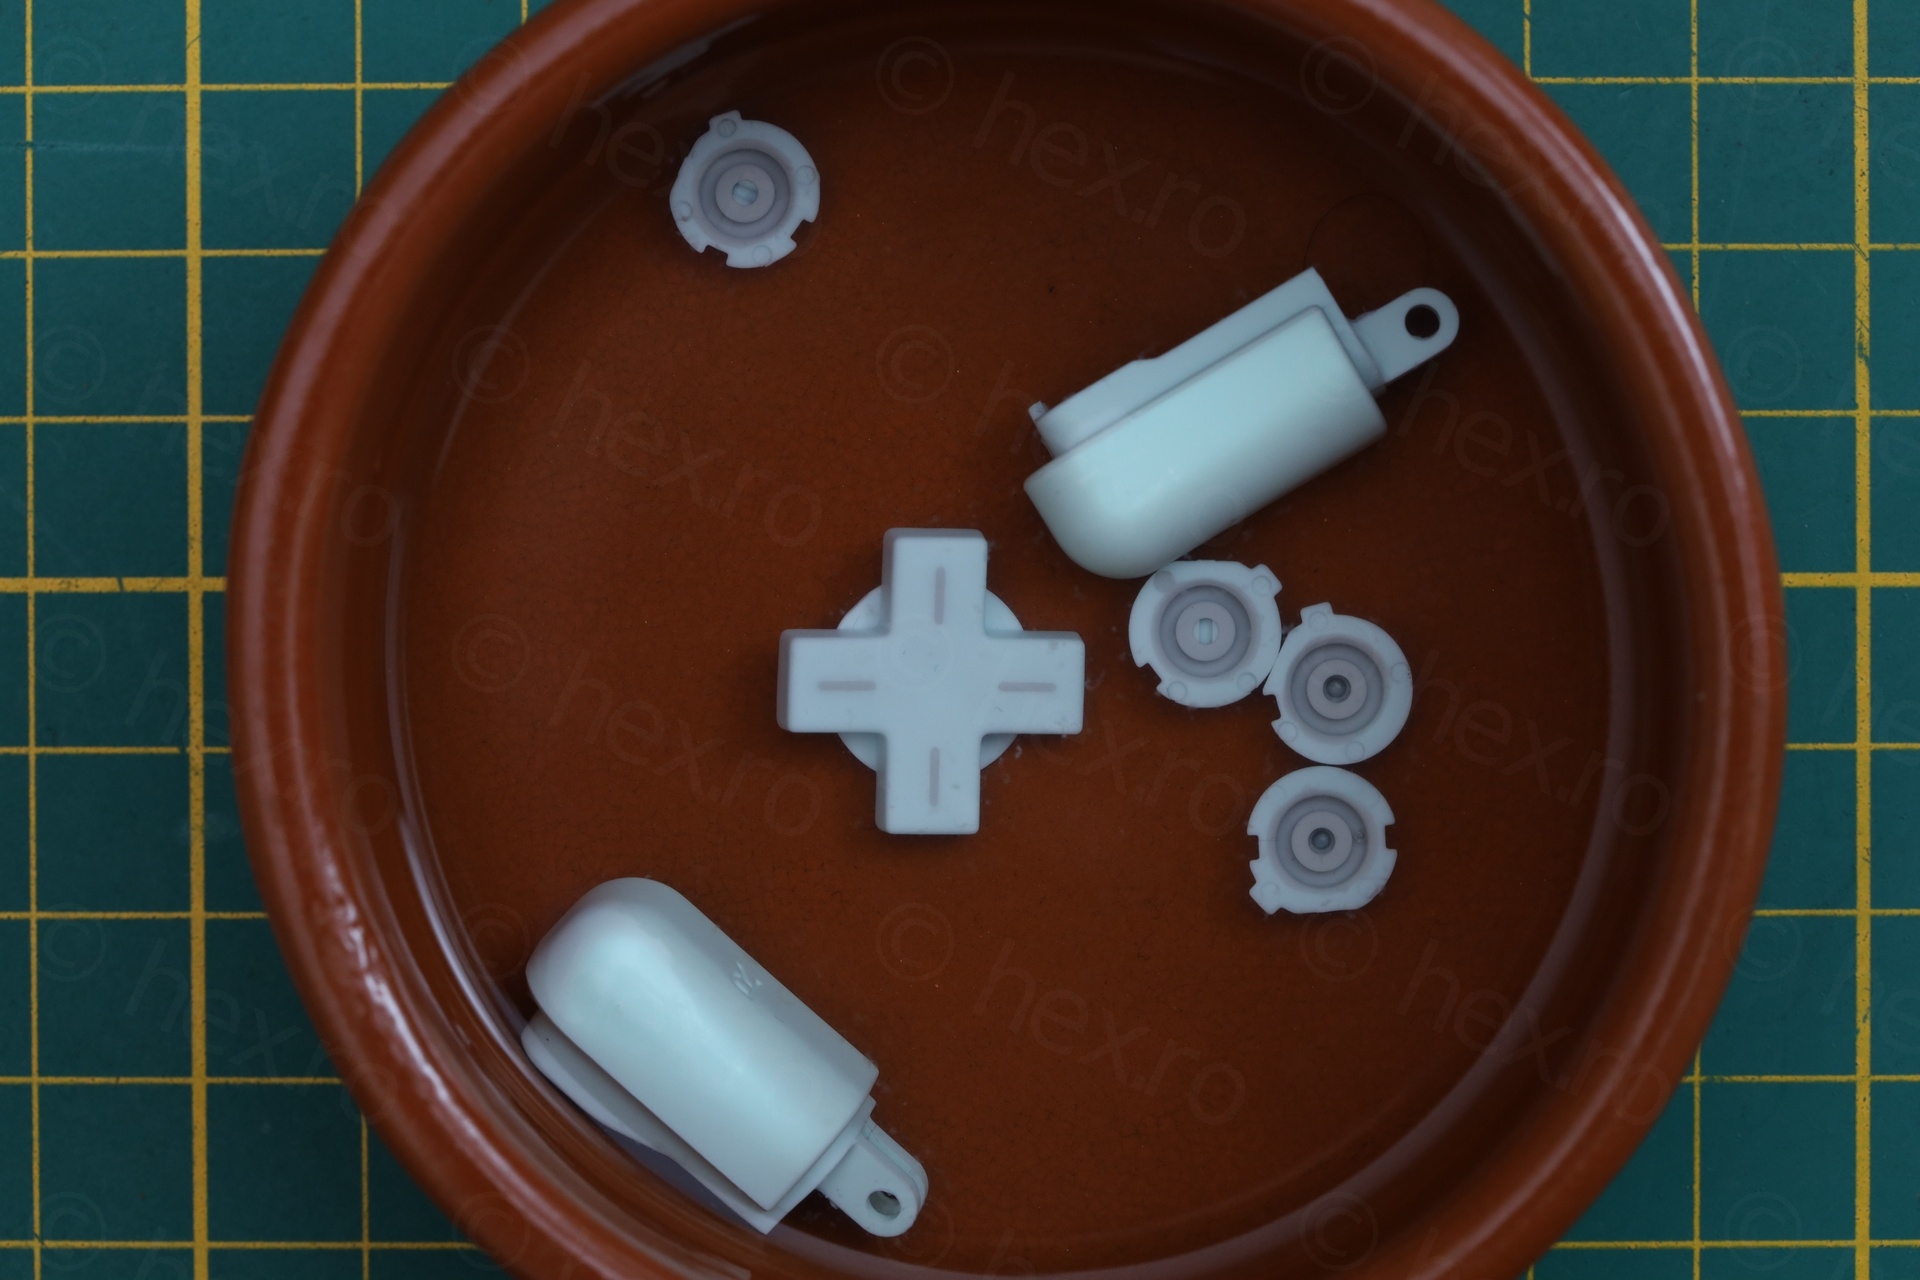
The worst was cleaning the L / R trigger buttons. I kept them in soapy water for 1 day, brushing them occasionally with a used toothbrush. However, they still look darker color. I switched soapy water to diluted “Mr. Muscolo” and continued to have them soaked and occasionally brushed. They turned out perfectly – although they look a bit discolored now.
I had a dilemma on how to reach in and clean the cartridge slot connector – without risking bending pins. I eventually put Isopropyl alcohol on cheap game cartridge connector and pushed it in and out few times. It is not the best way, since the possible oxidation would have be physically wiped / removed. But I was afraid that any wrong move with a toothpick with cotton could actually damage the pins inside. I may be braver in the future. The console was properly detecting the games anyway, it didn’t justify the risk ..
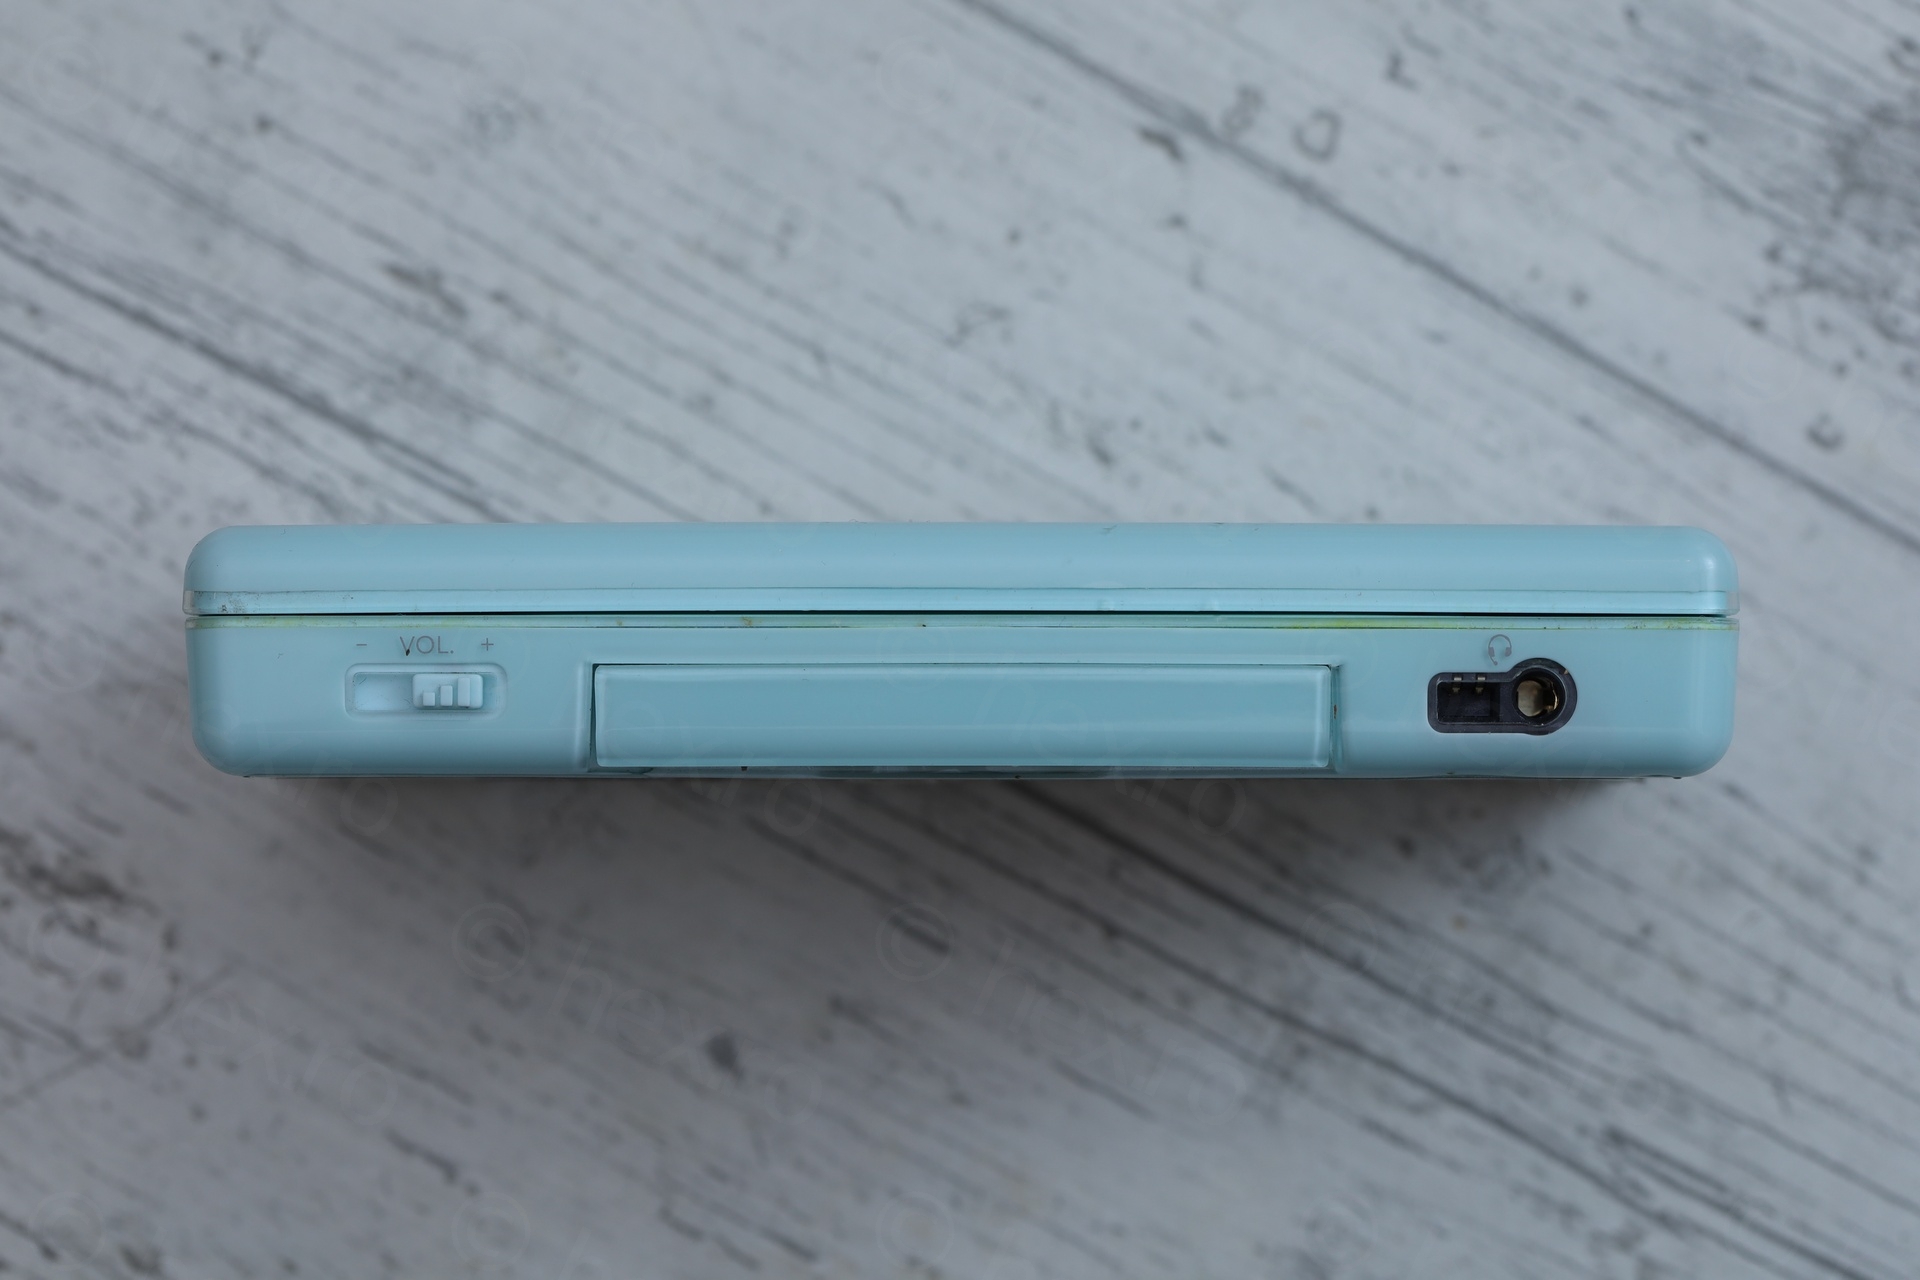
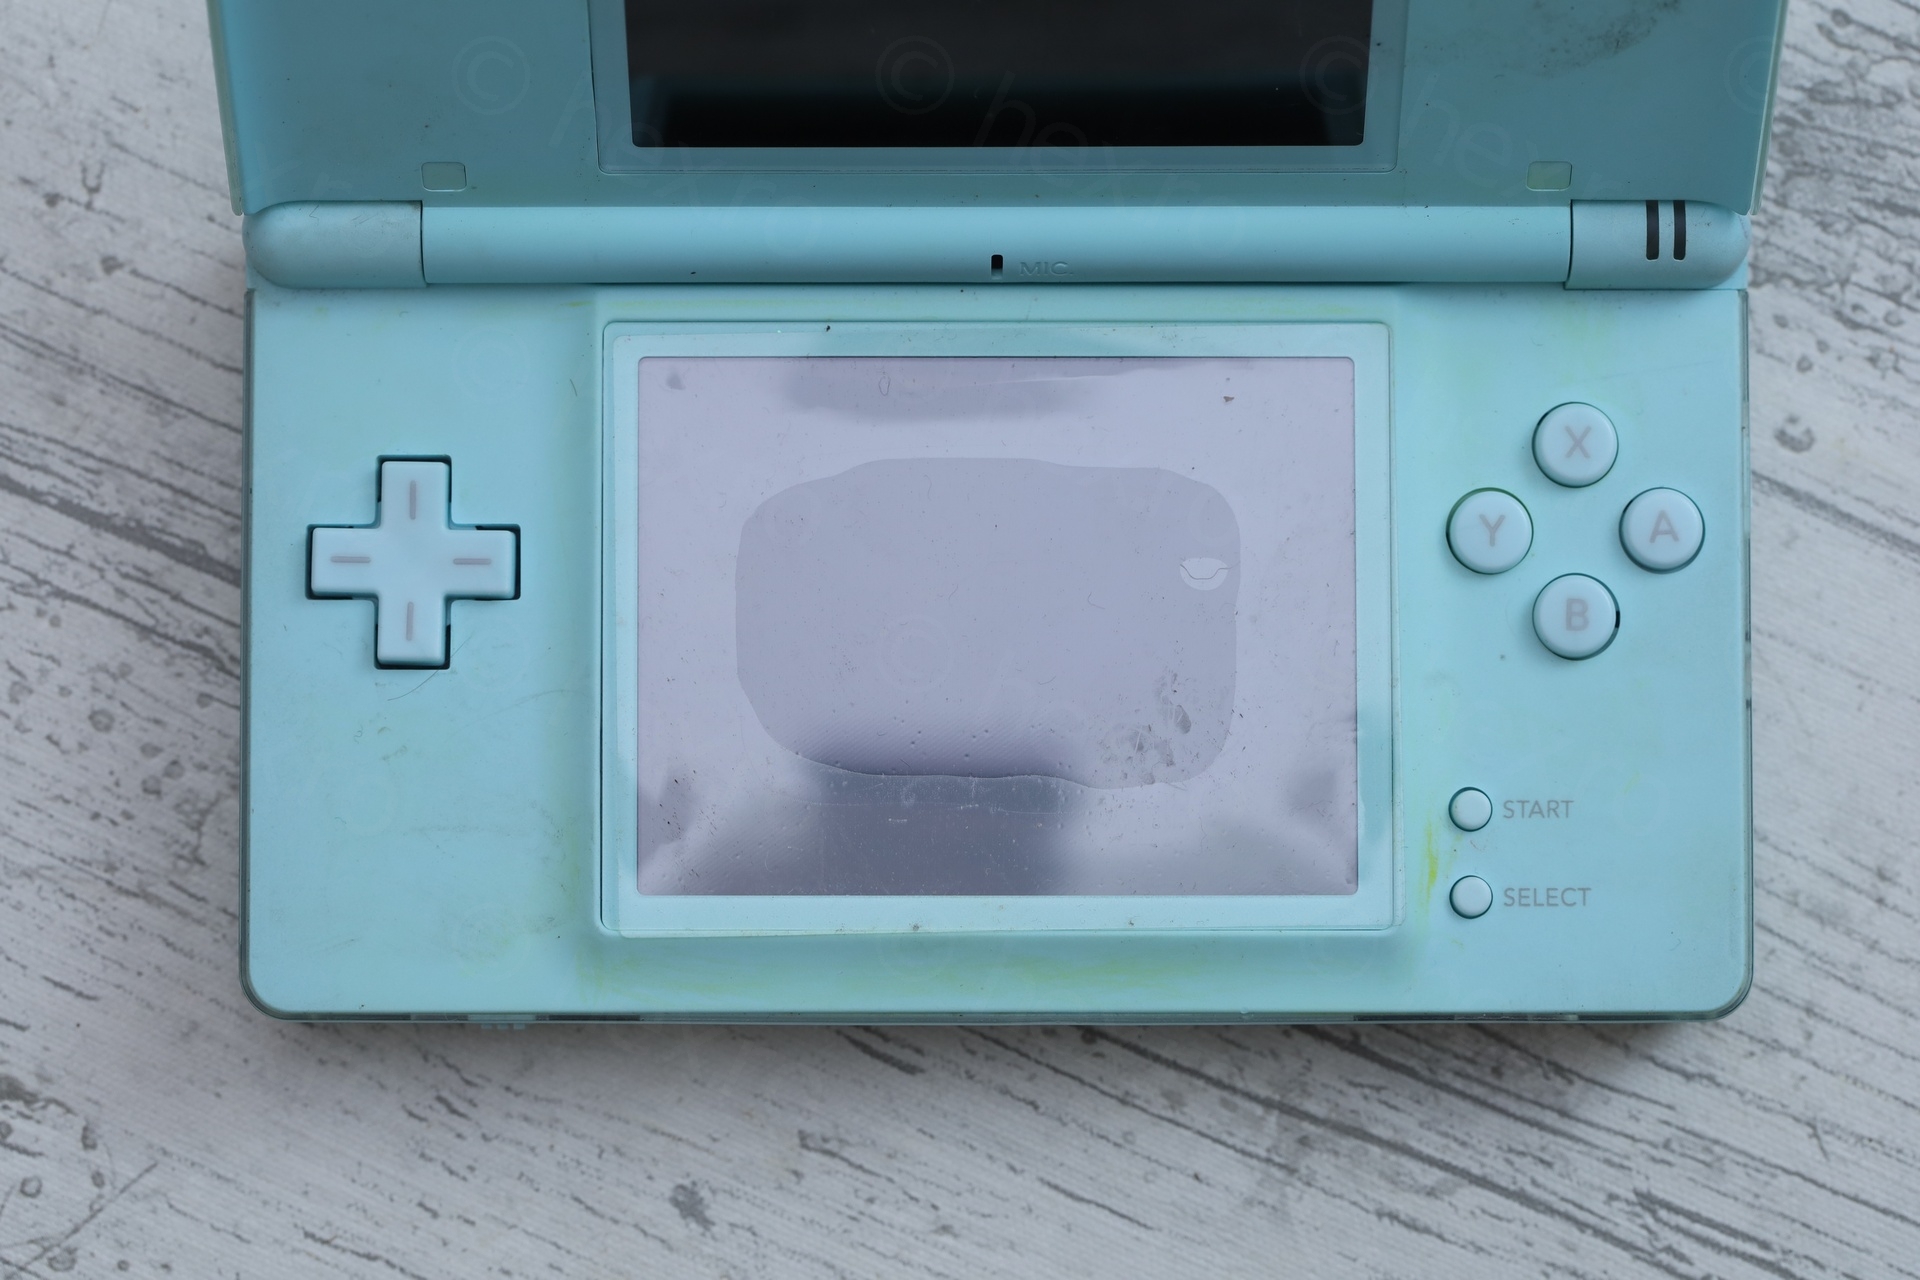
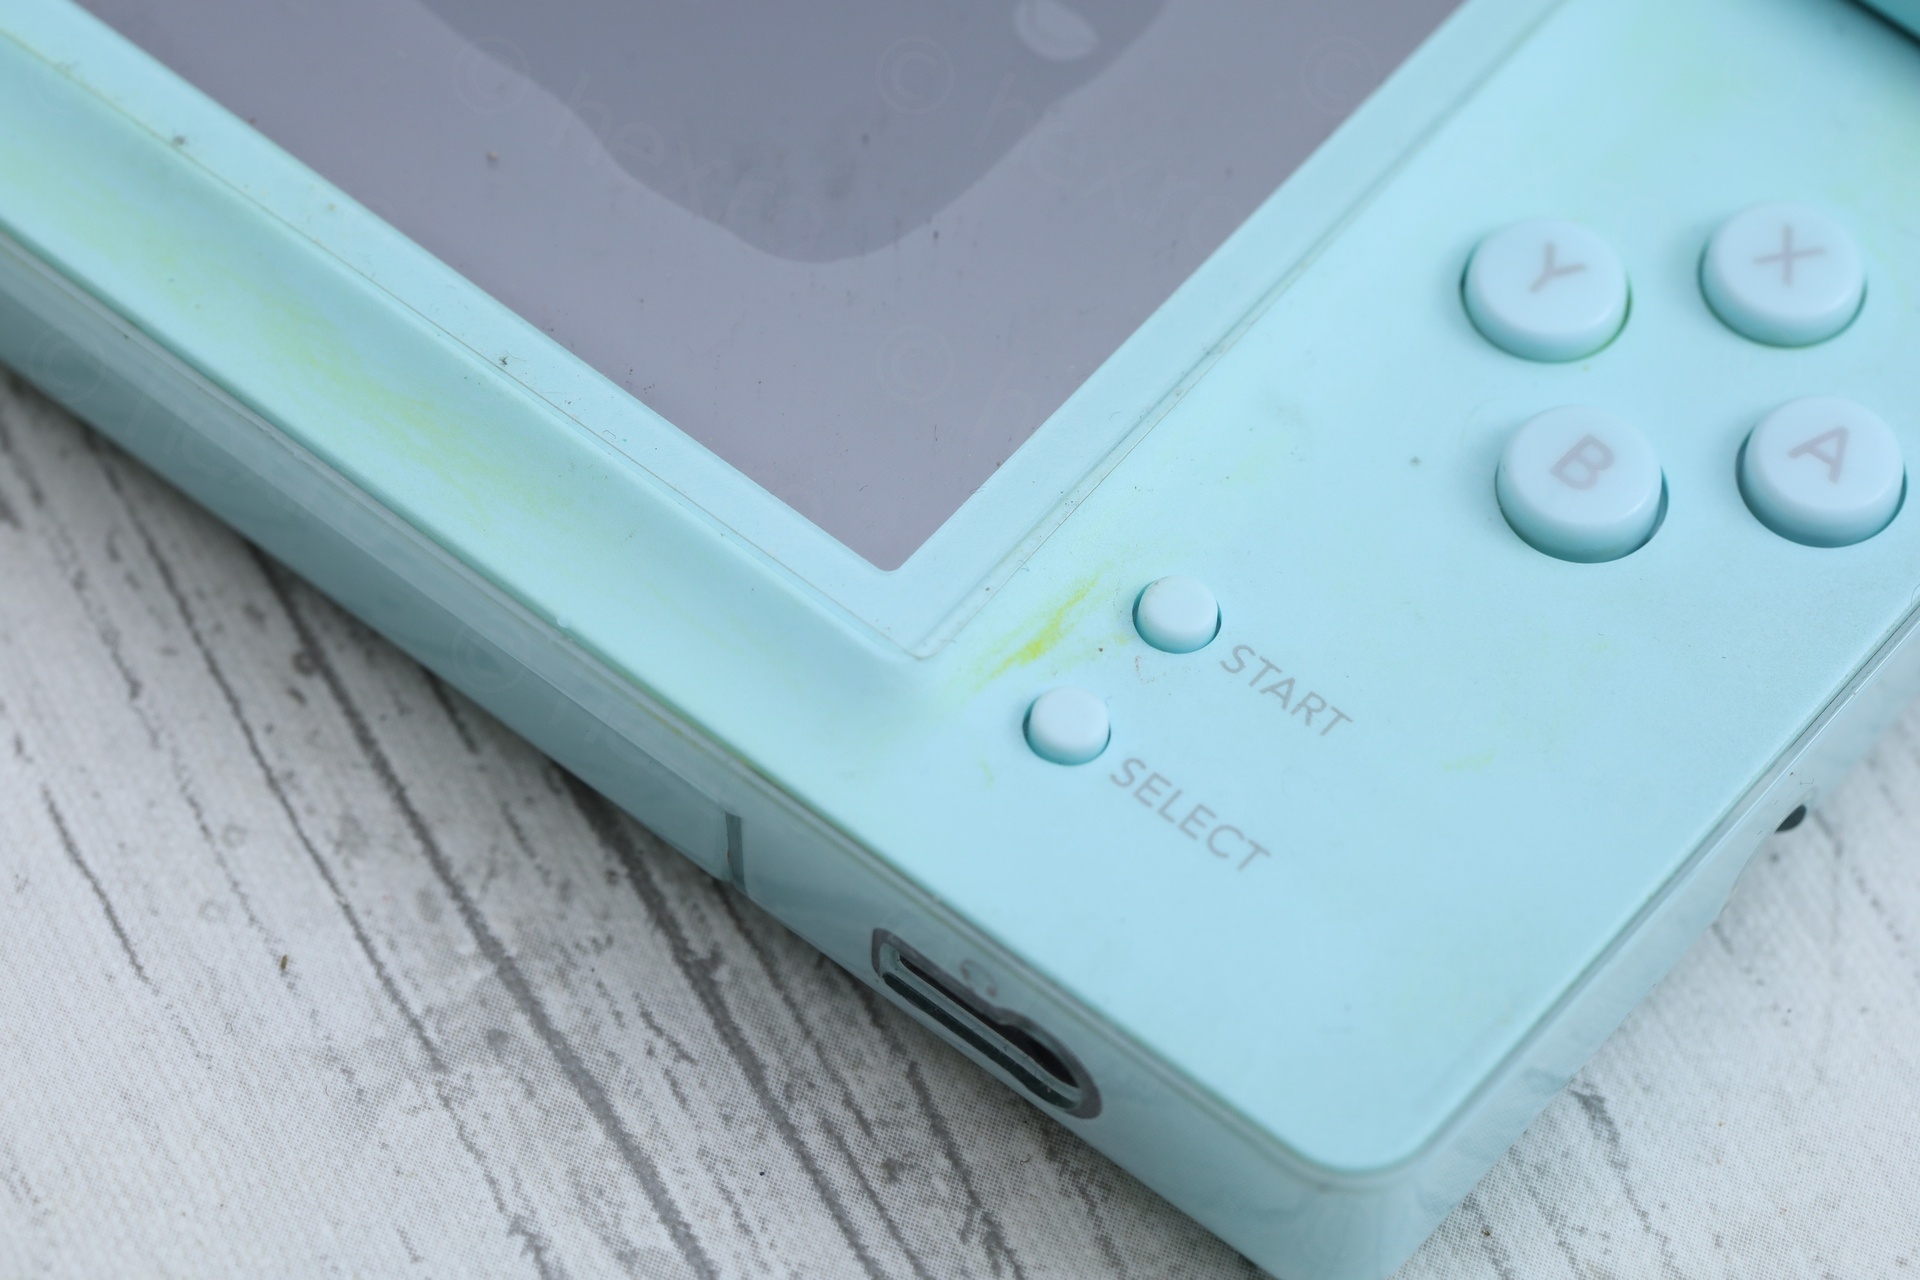
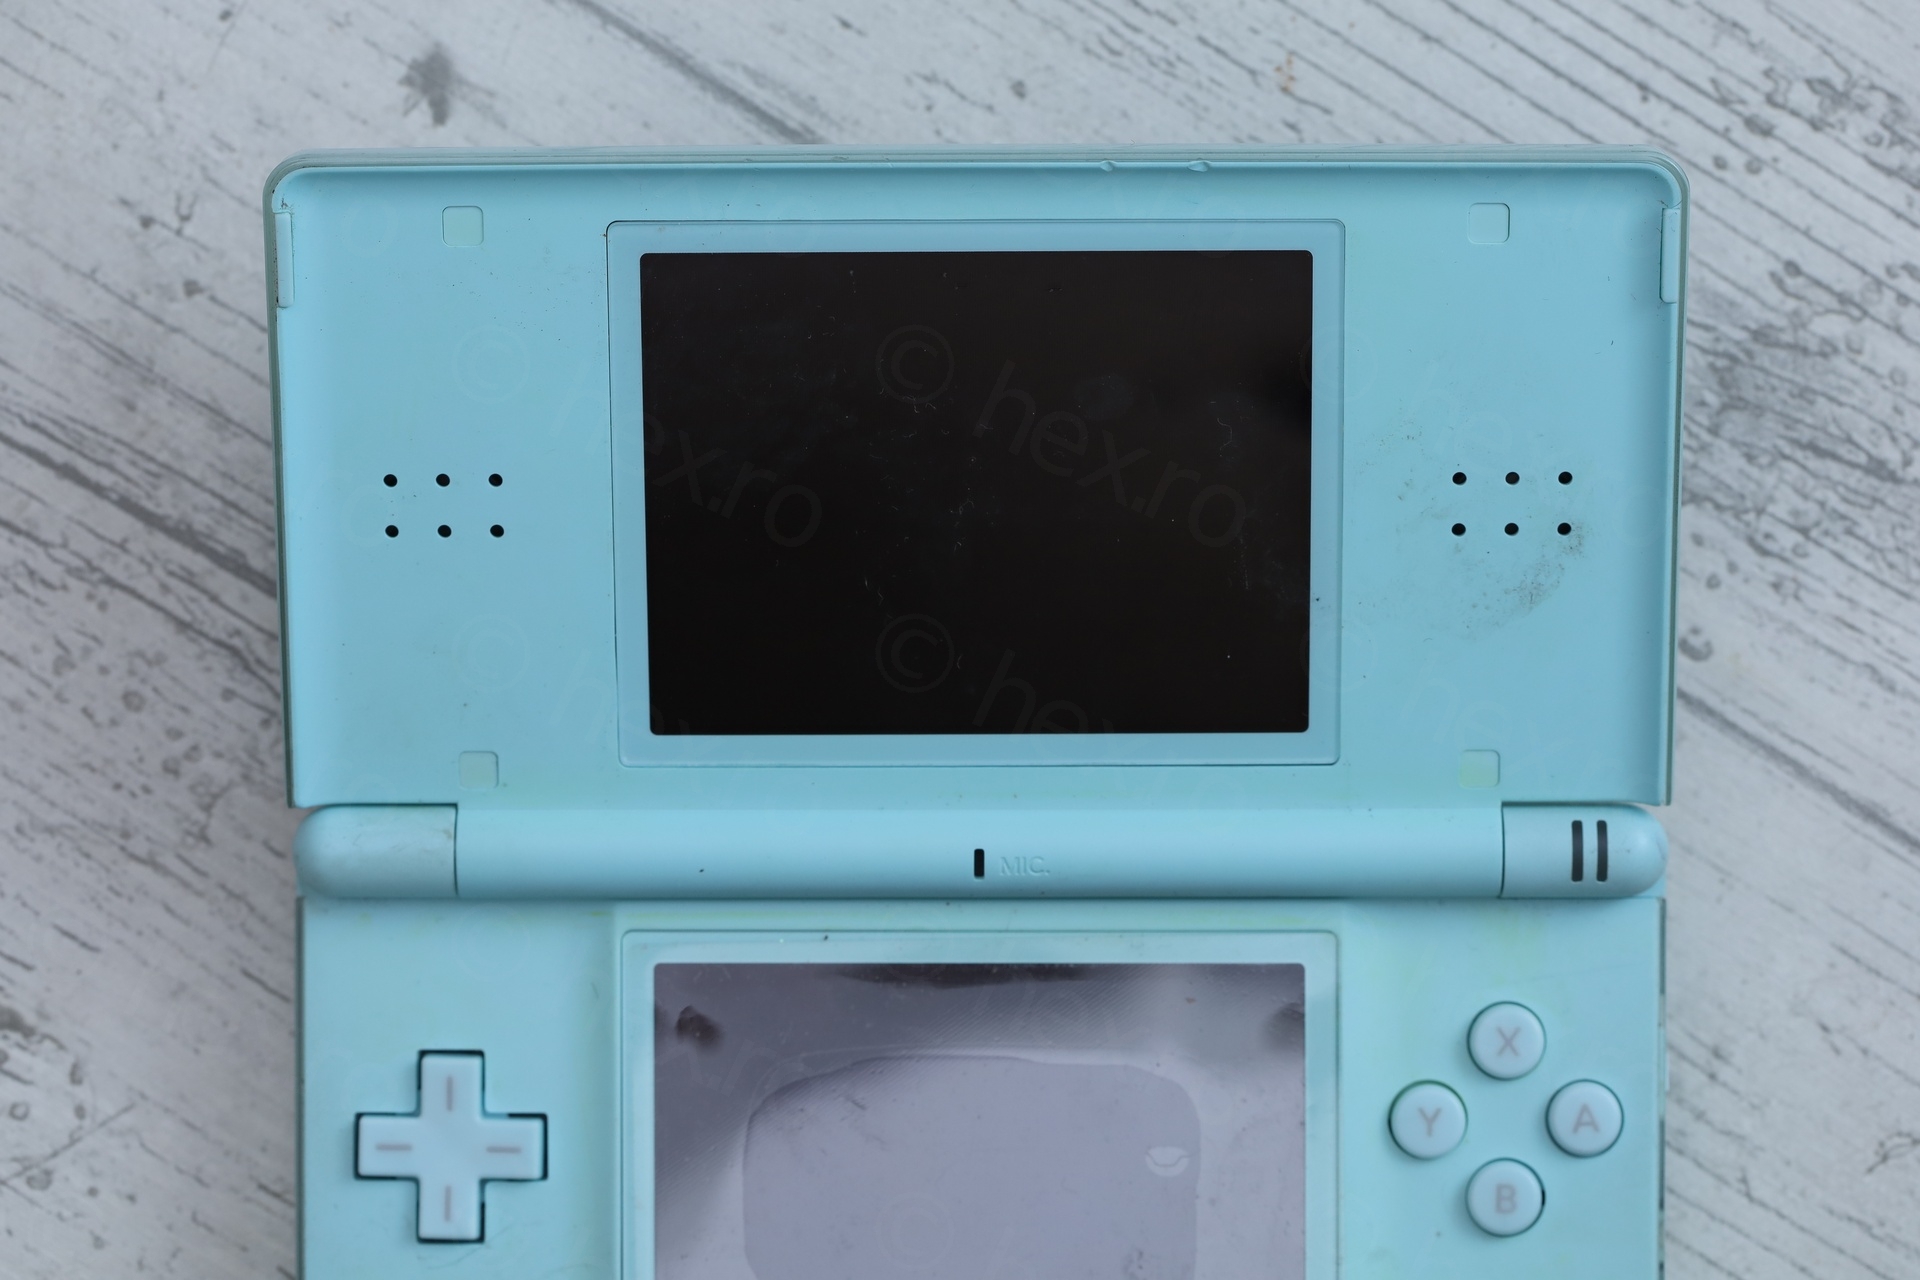
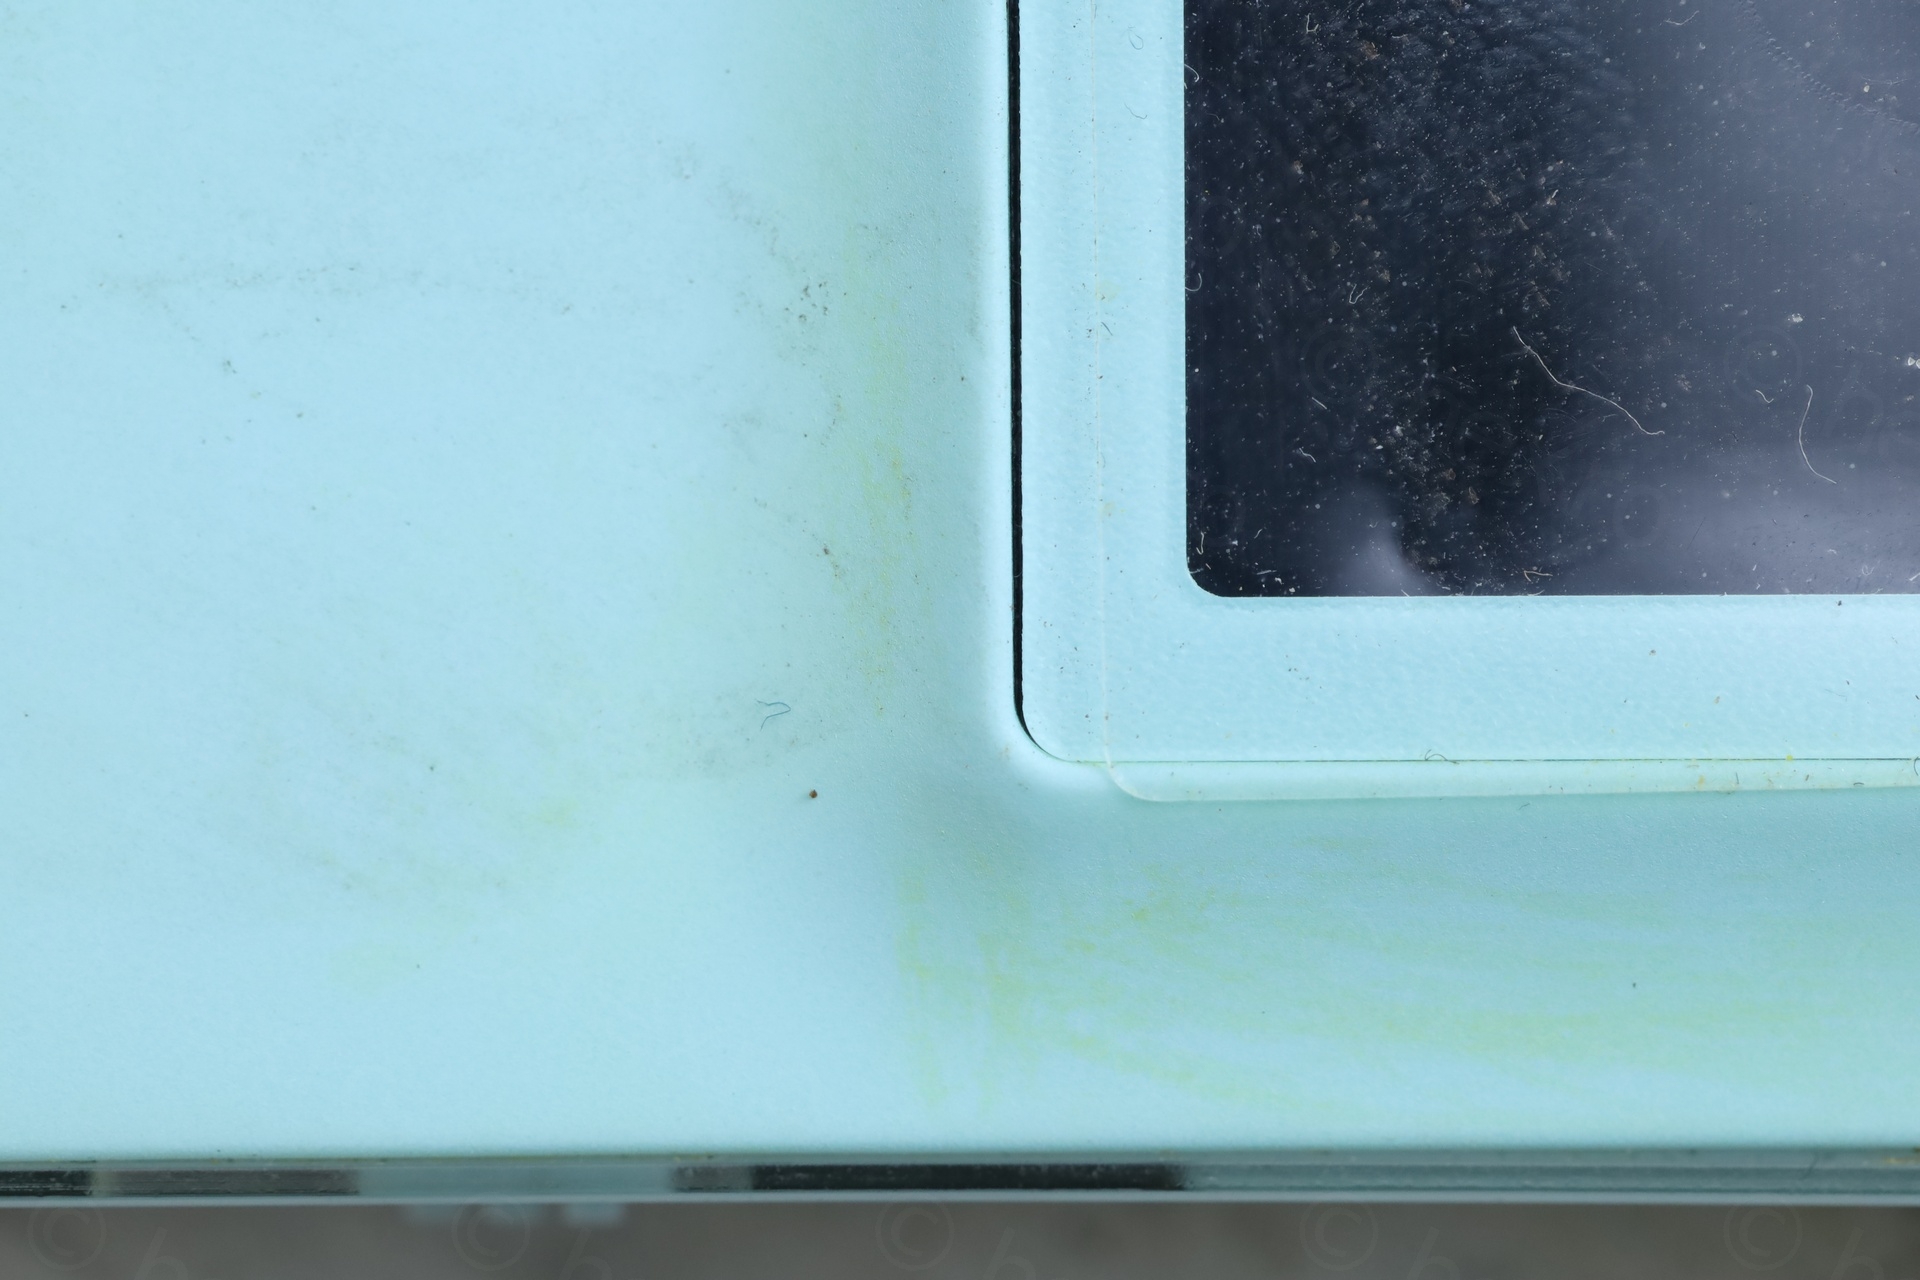
There was also lots of yellow grime on the exterior, especially around the touch screen. Mr. Muscolo worked fine, applied with a wet towel.
I had problems trying to remove the dirt that accumulated between the transparent plastic cover and the top of the console. The best to reach in and get most dirt out was blister foil. It too can tear out – that transparent protection is really really close to the plastic – but thankfully, it still came out since I was prying with the fingernail.
Progress Photos
These are the two reference photos I took while removing the screws:
Thankfully, the insides of the console looked clean and untouched:
I cleaned up the paper sticker with few cotton buds soaked in the Label Removal solution plus lots of rubbing:

Buttons stayed in water to soften up all the grime:
It was impossible for me to pull this wire underneath the slot. With the board out, the touch screen is unsupported. Various attempts to pull the wire underneath, lots of board wiggling – saw the little flat cable nearby just in time. Next time I will disconnect it too.
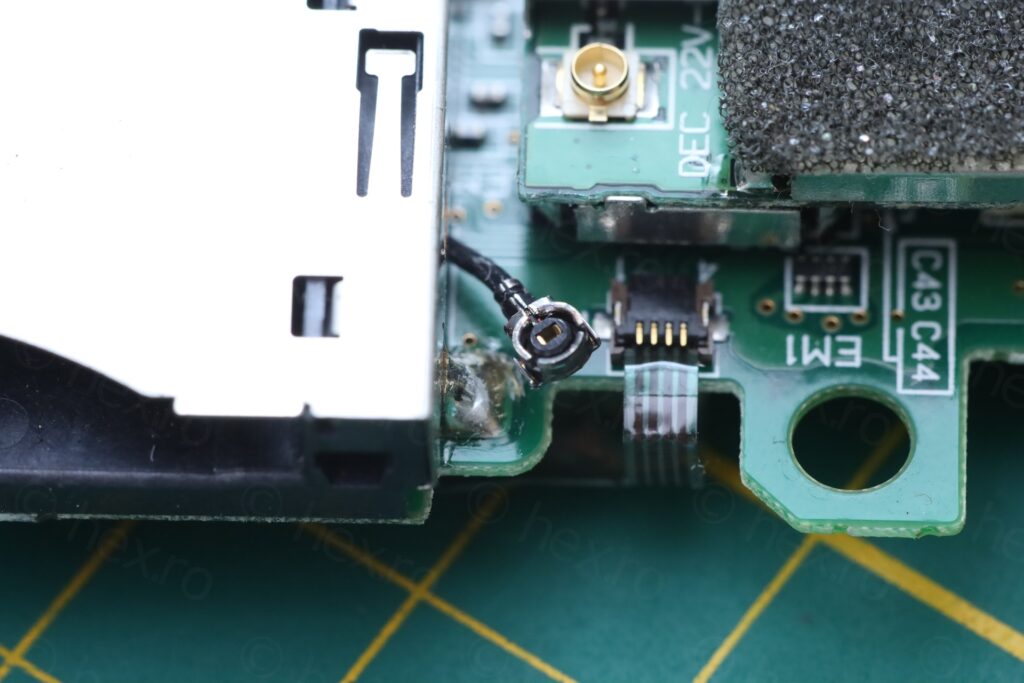
I also had problems reconnecting the top screen. It felt as if I was pushing its signal cable all the way in, but I wasn’t. The console was not booting, just a flicker and it would turn itself off. I had to support it with a small screwdriver while sliding it in – and then it sat well into the connector.
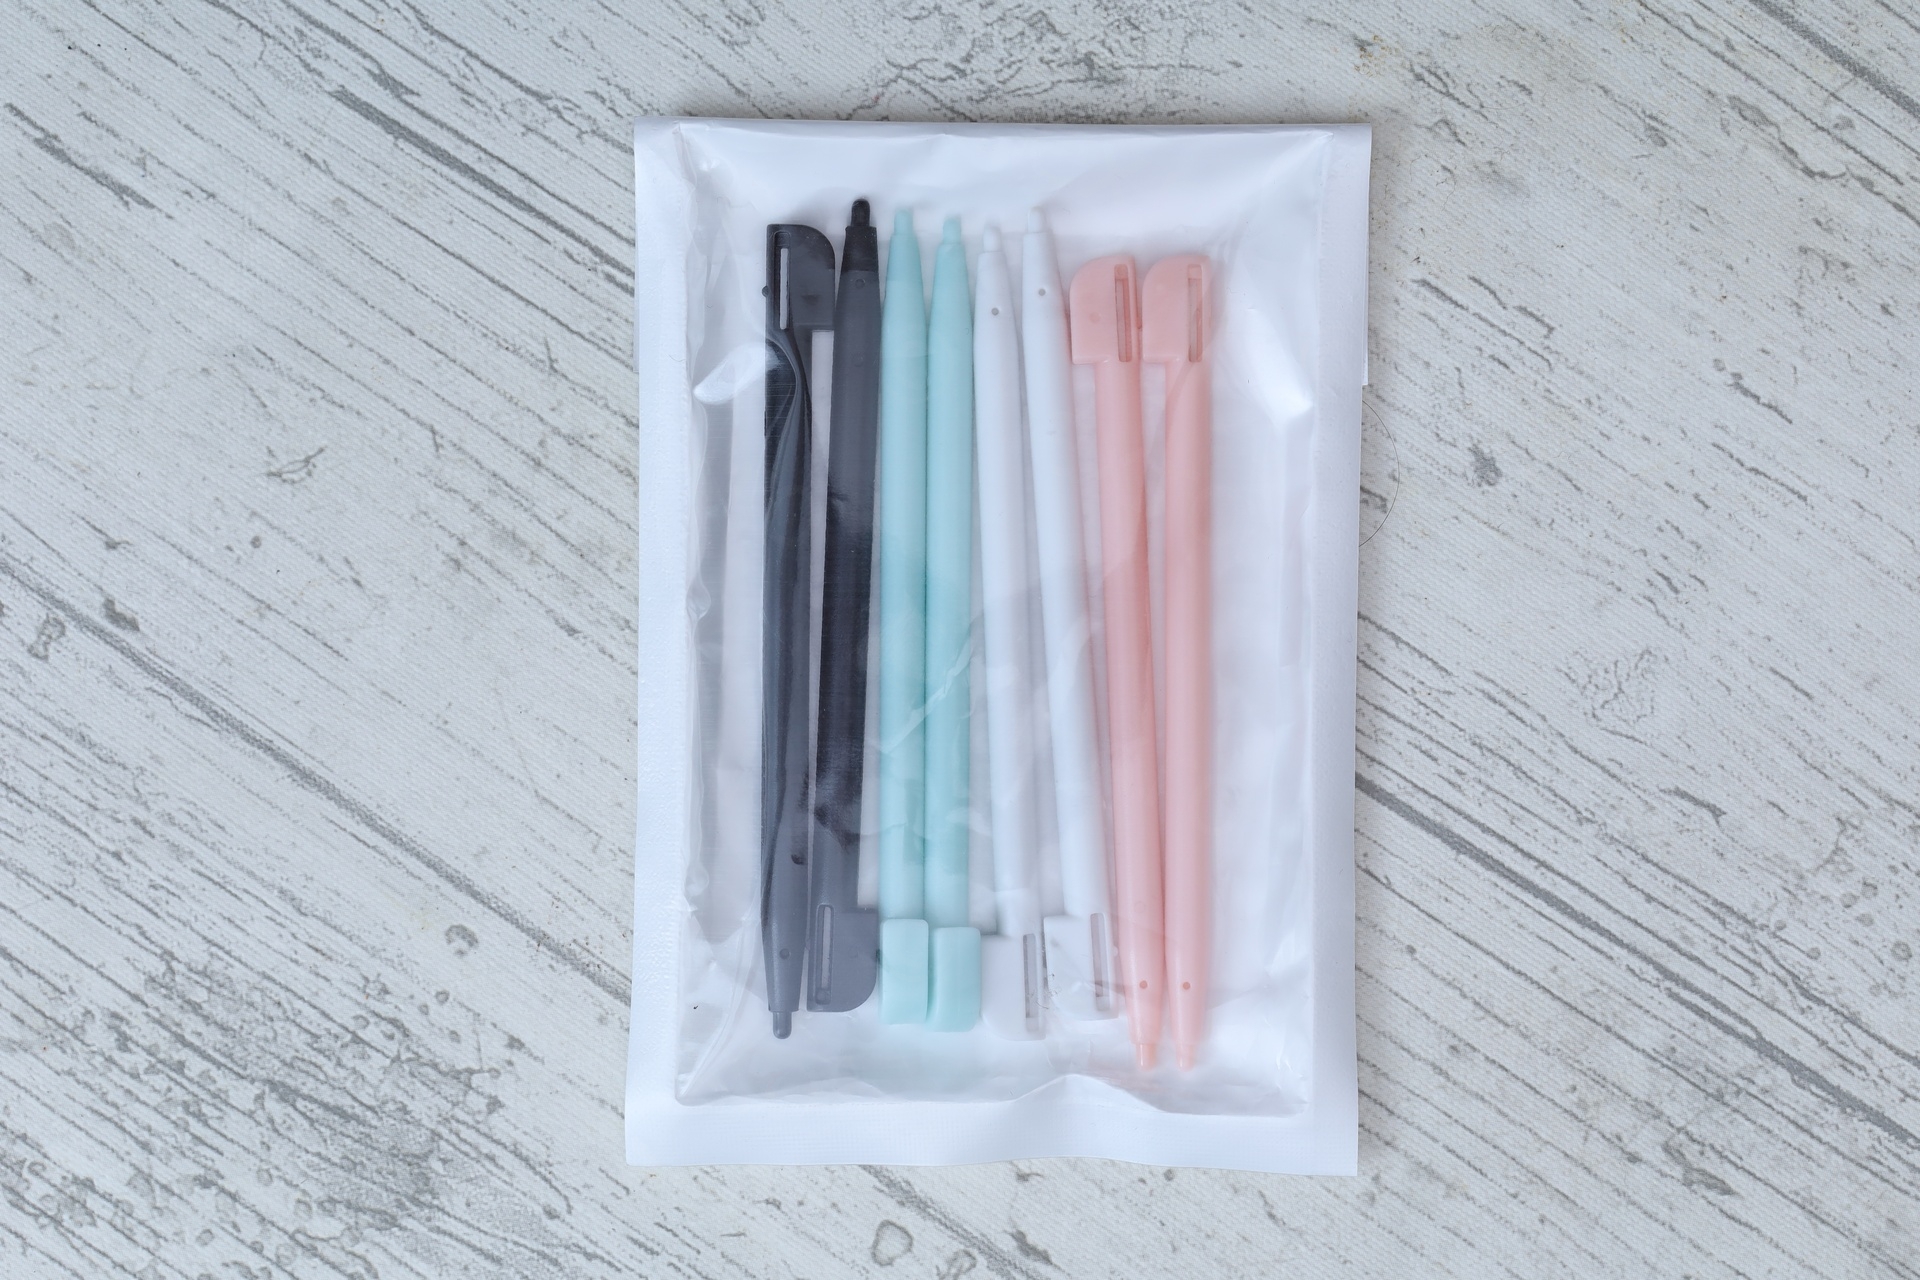
The console was also missing its stylus, thus, had to order a bunch of them:
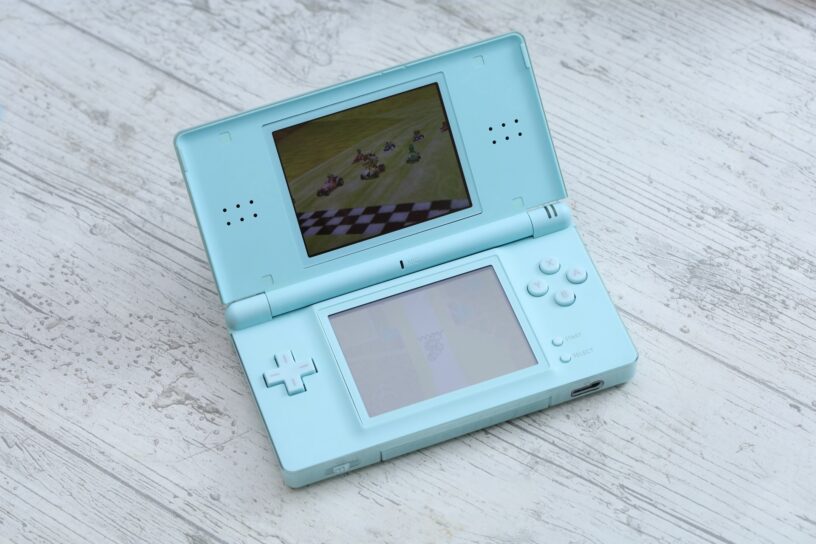
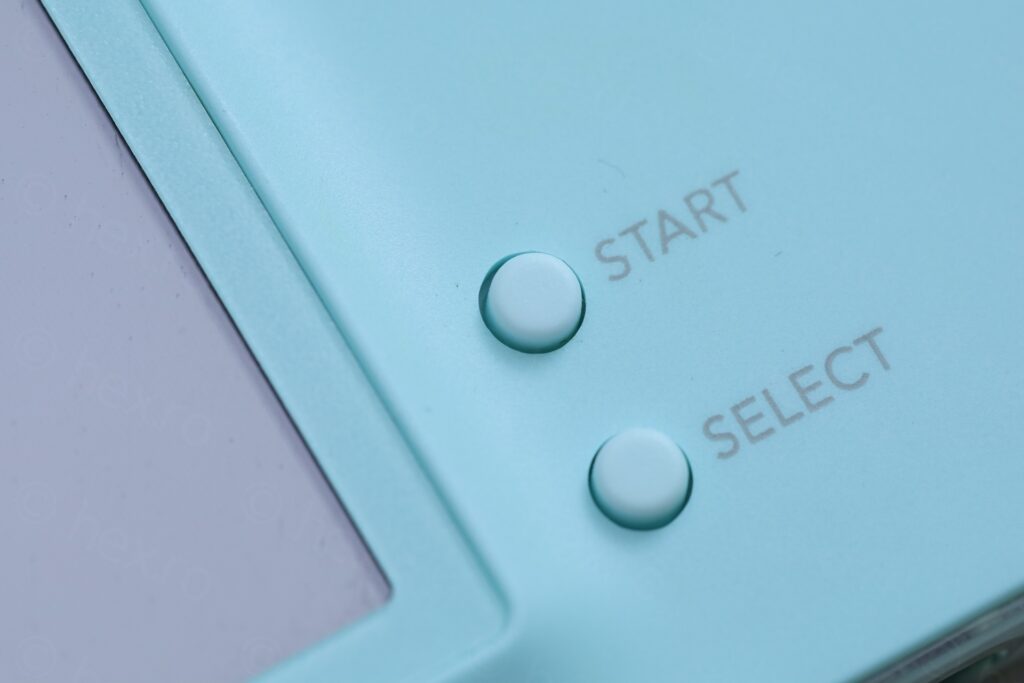
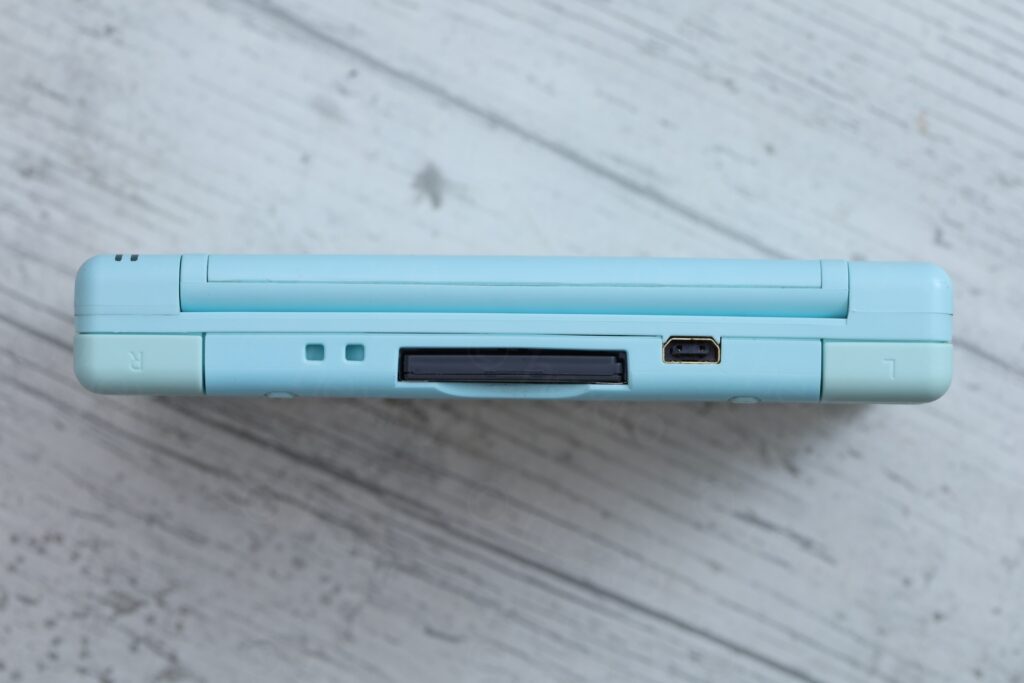
Results
Very clean 🙂


In conclusion, I need to fix more DS Lites and get more accustomed. Here I got lucky and nothing was broken 🙂
nash
yeah its good just remove the stickers ok