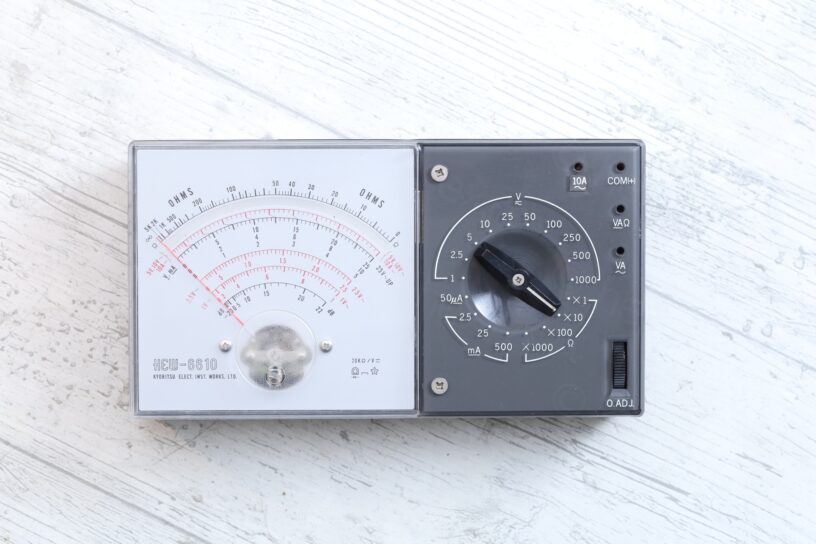


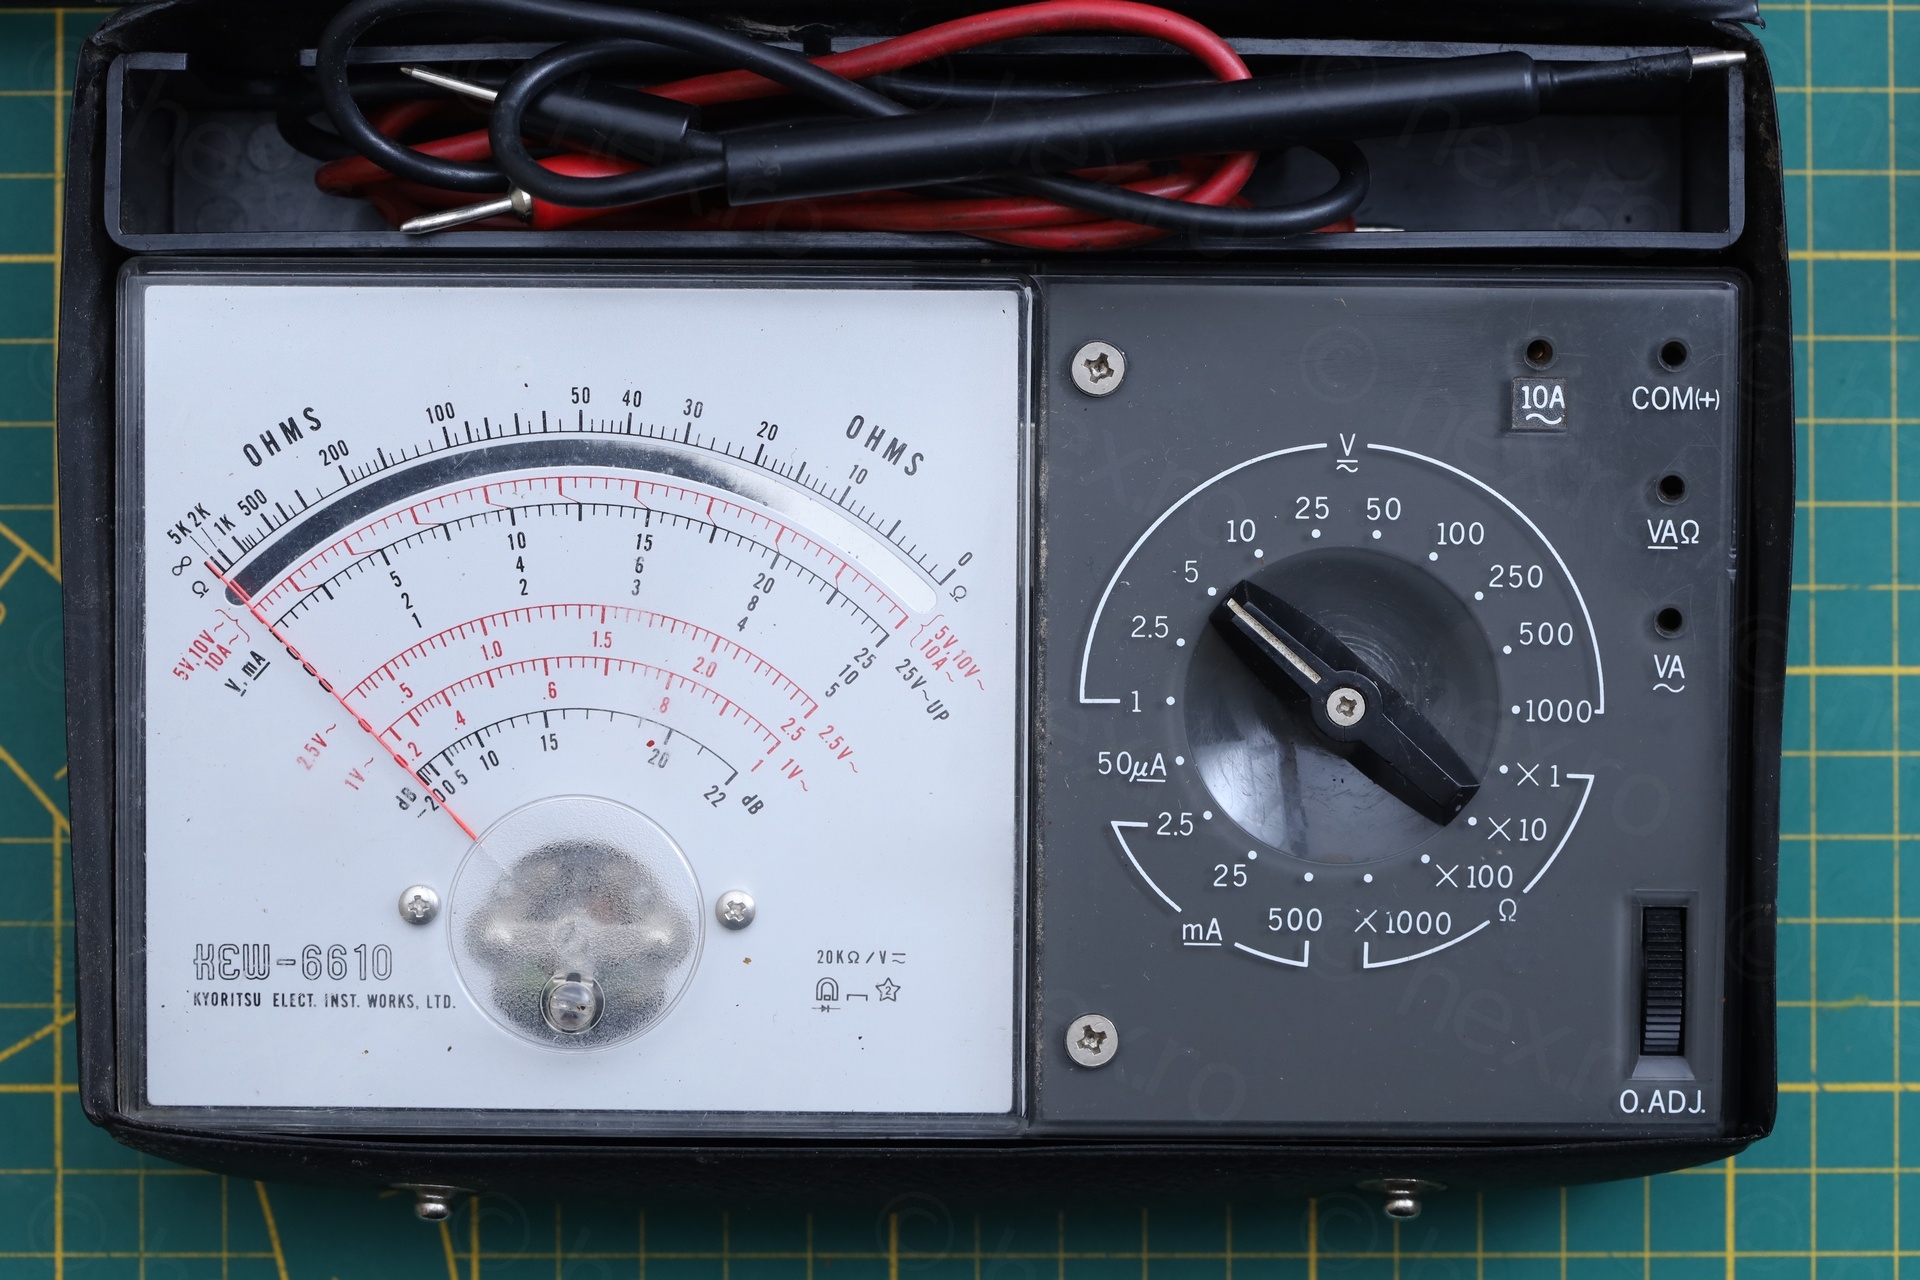
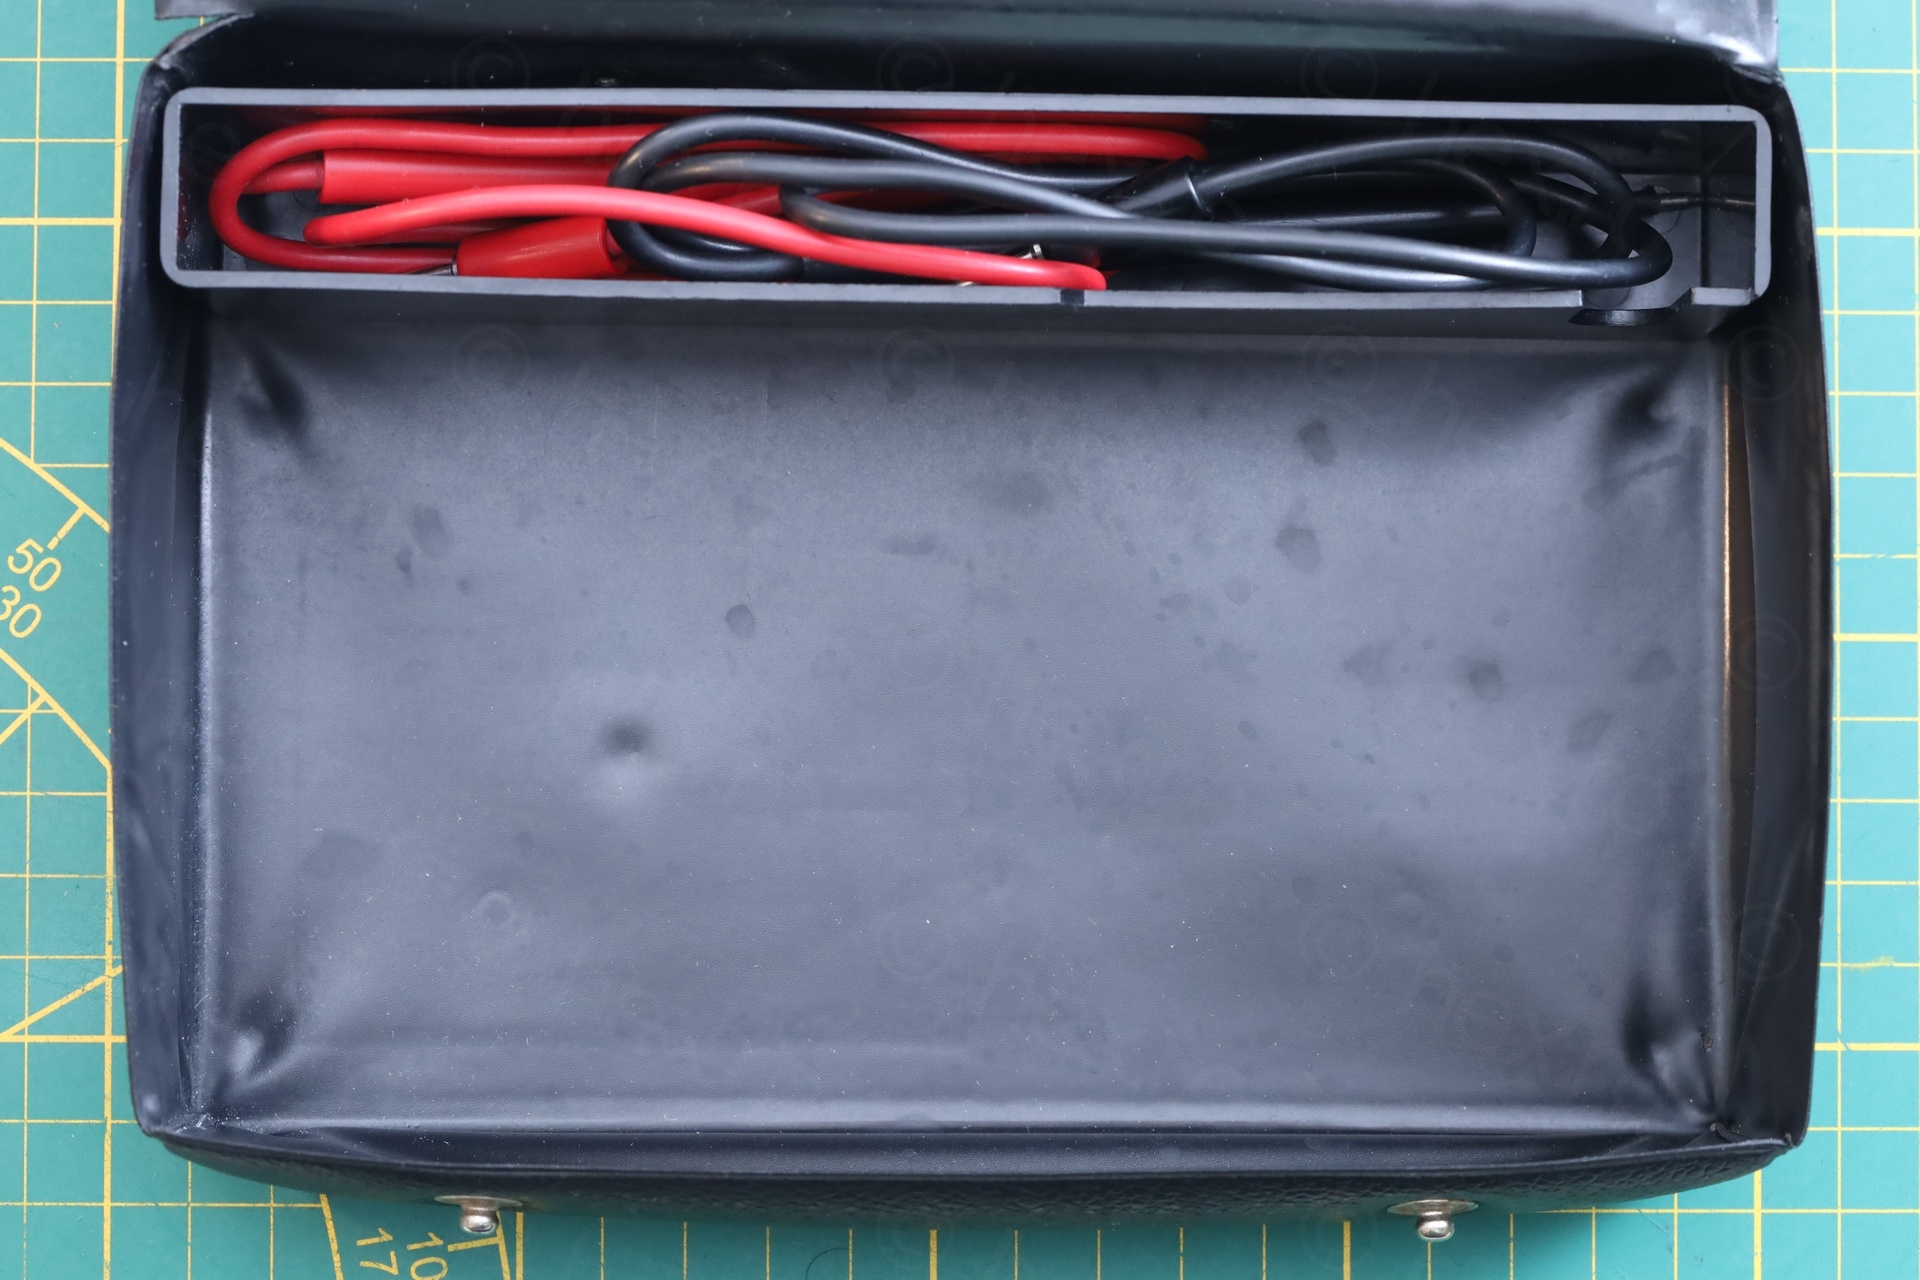
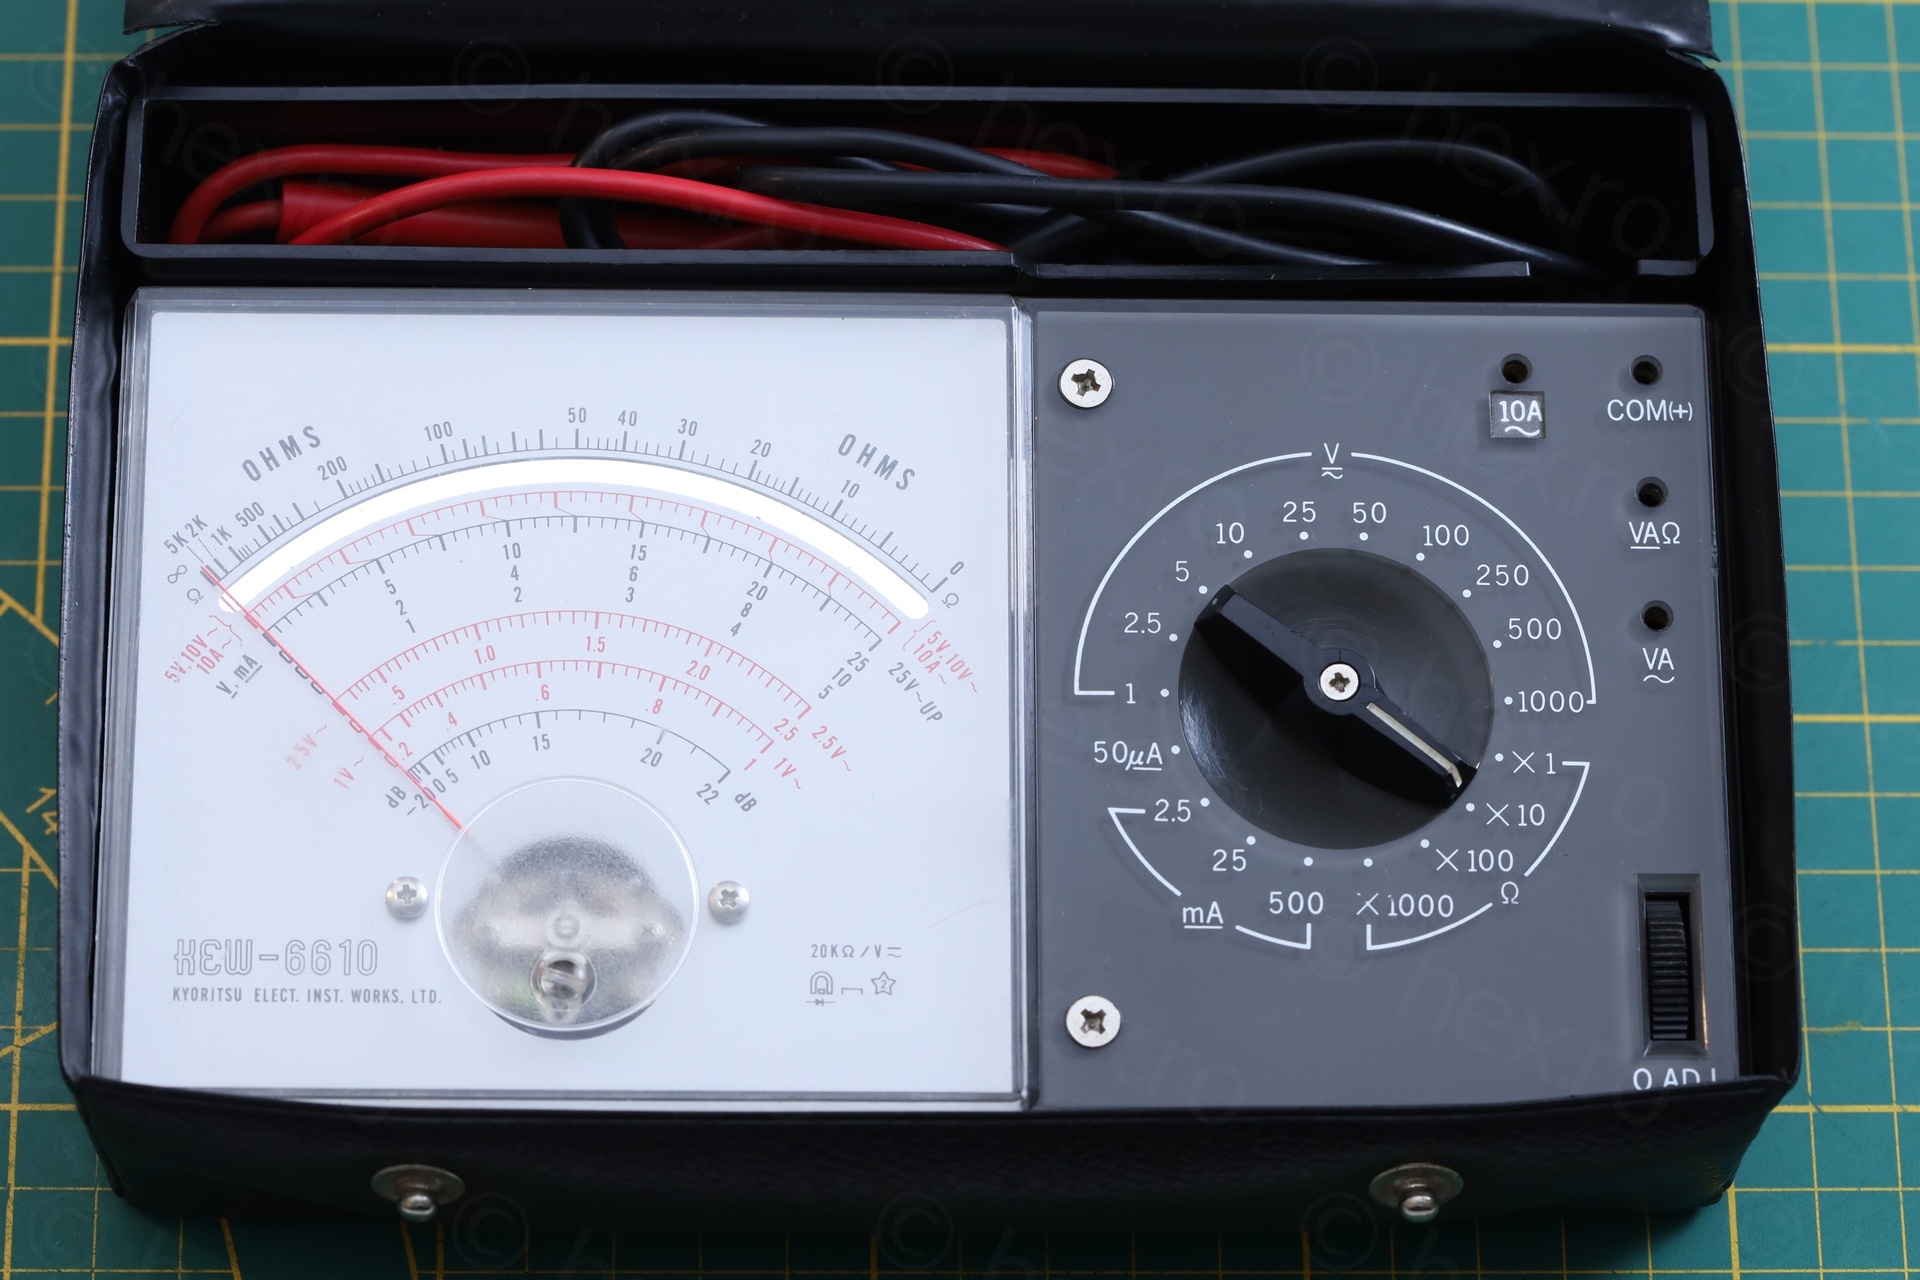
I found this Kyoritsu KEW-6610 at a flea market, early on a rainy morning. I decided to buy it since it still had the original case.
Table of Contents
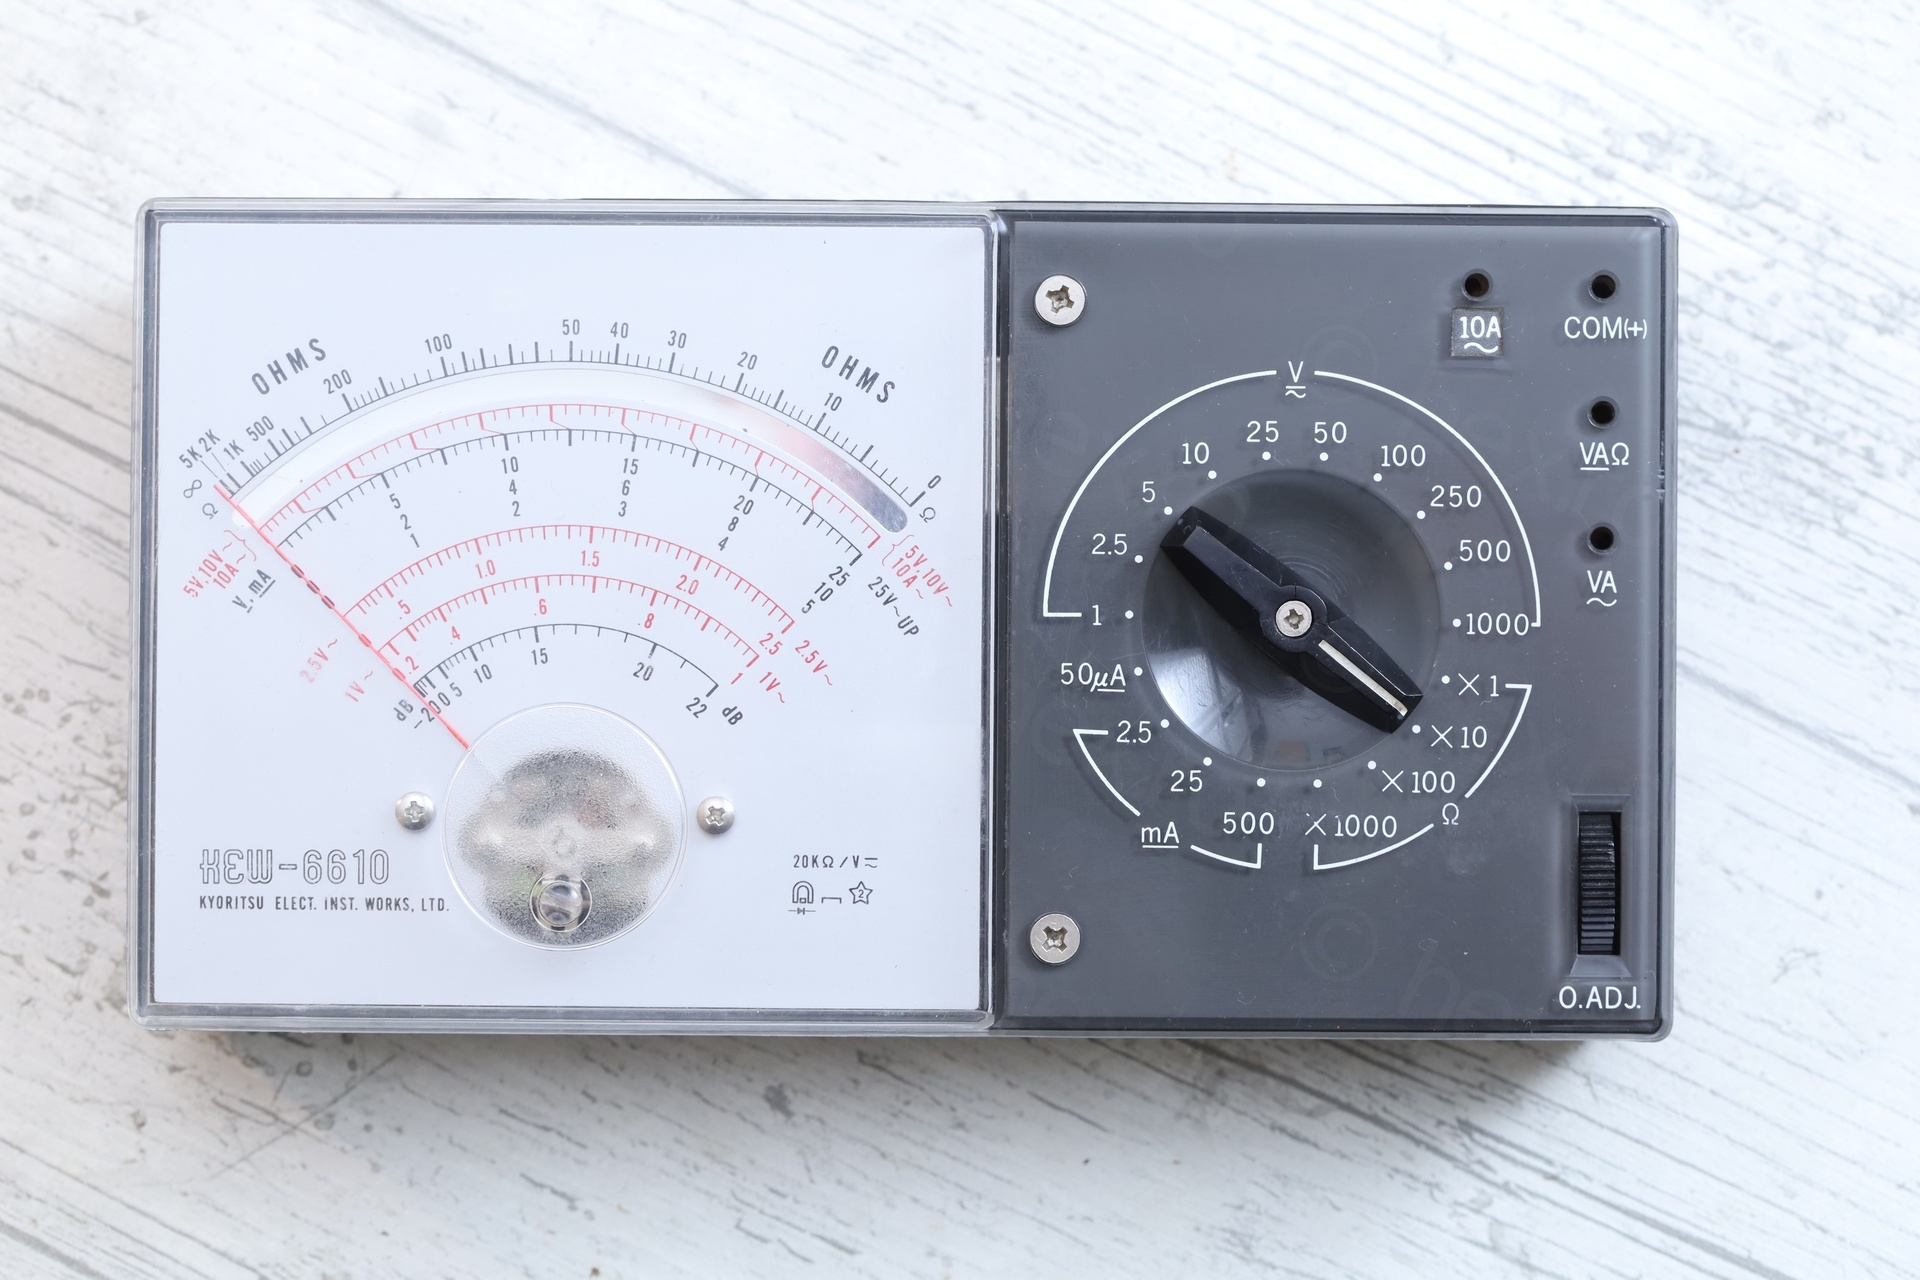
- Presentation
- Removing the blue/green corrosion
- Cleaning the knob
- Opening up
- Testing the Kyoritsu KEW-6610
- Problems
- Attempted calibration
Presentation
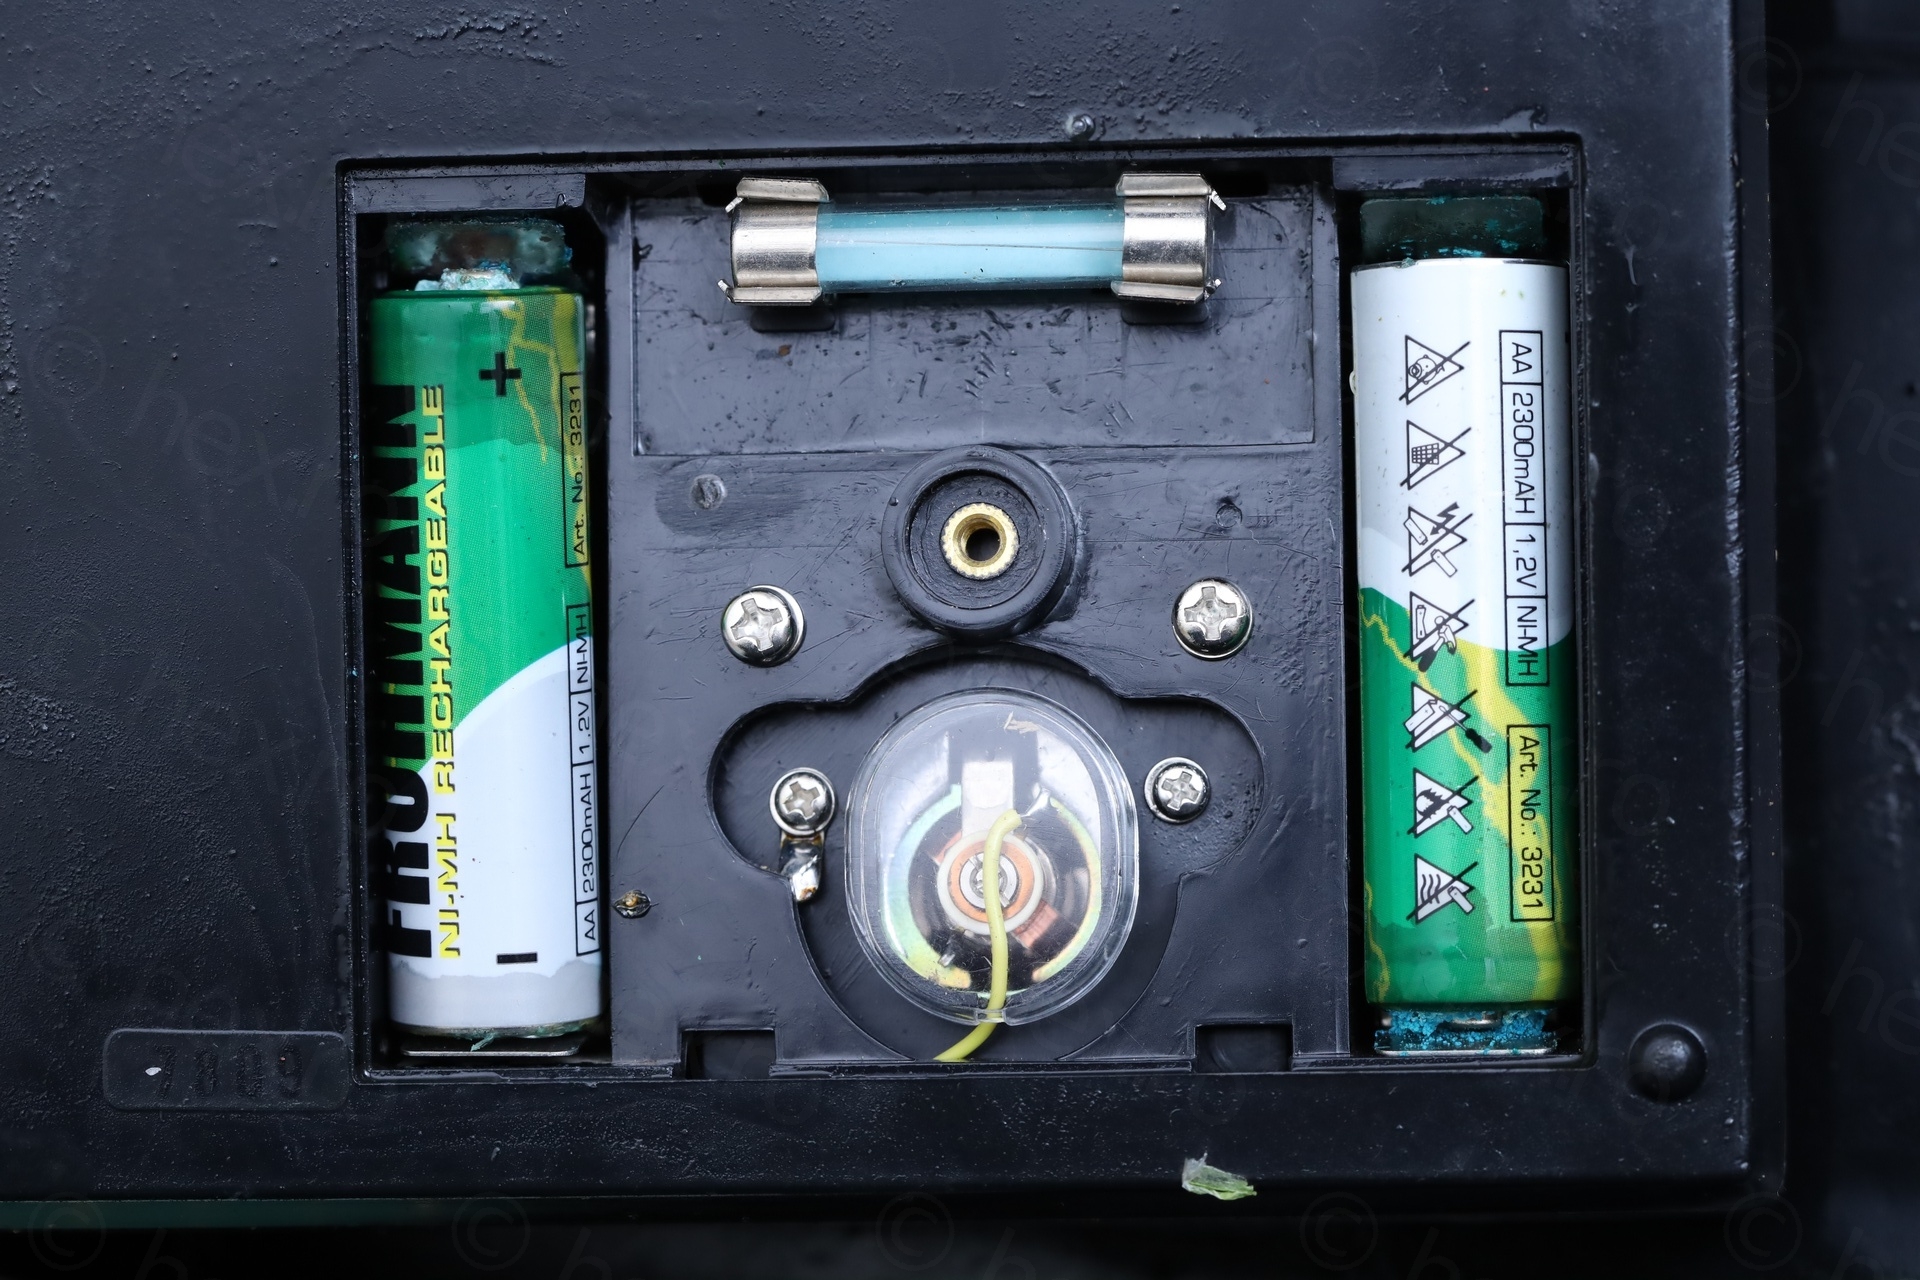
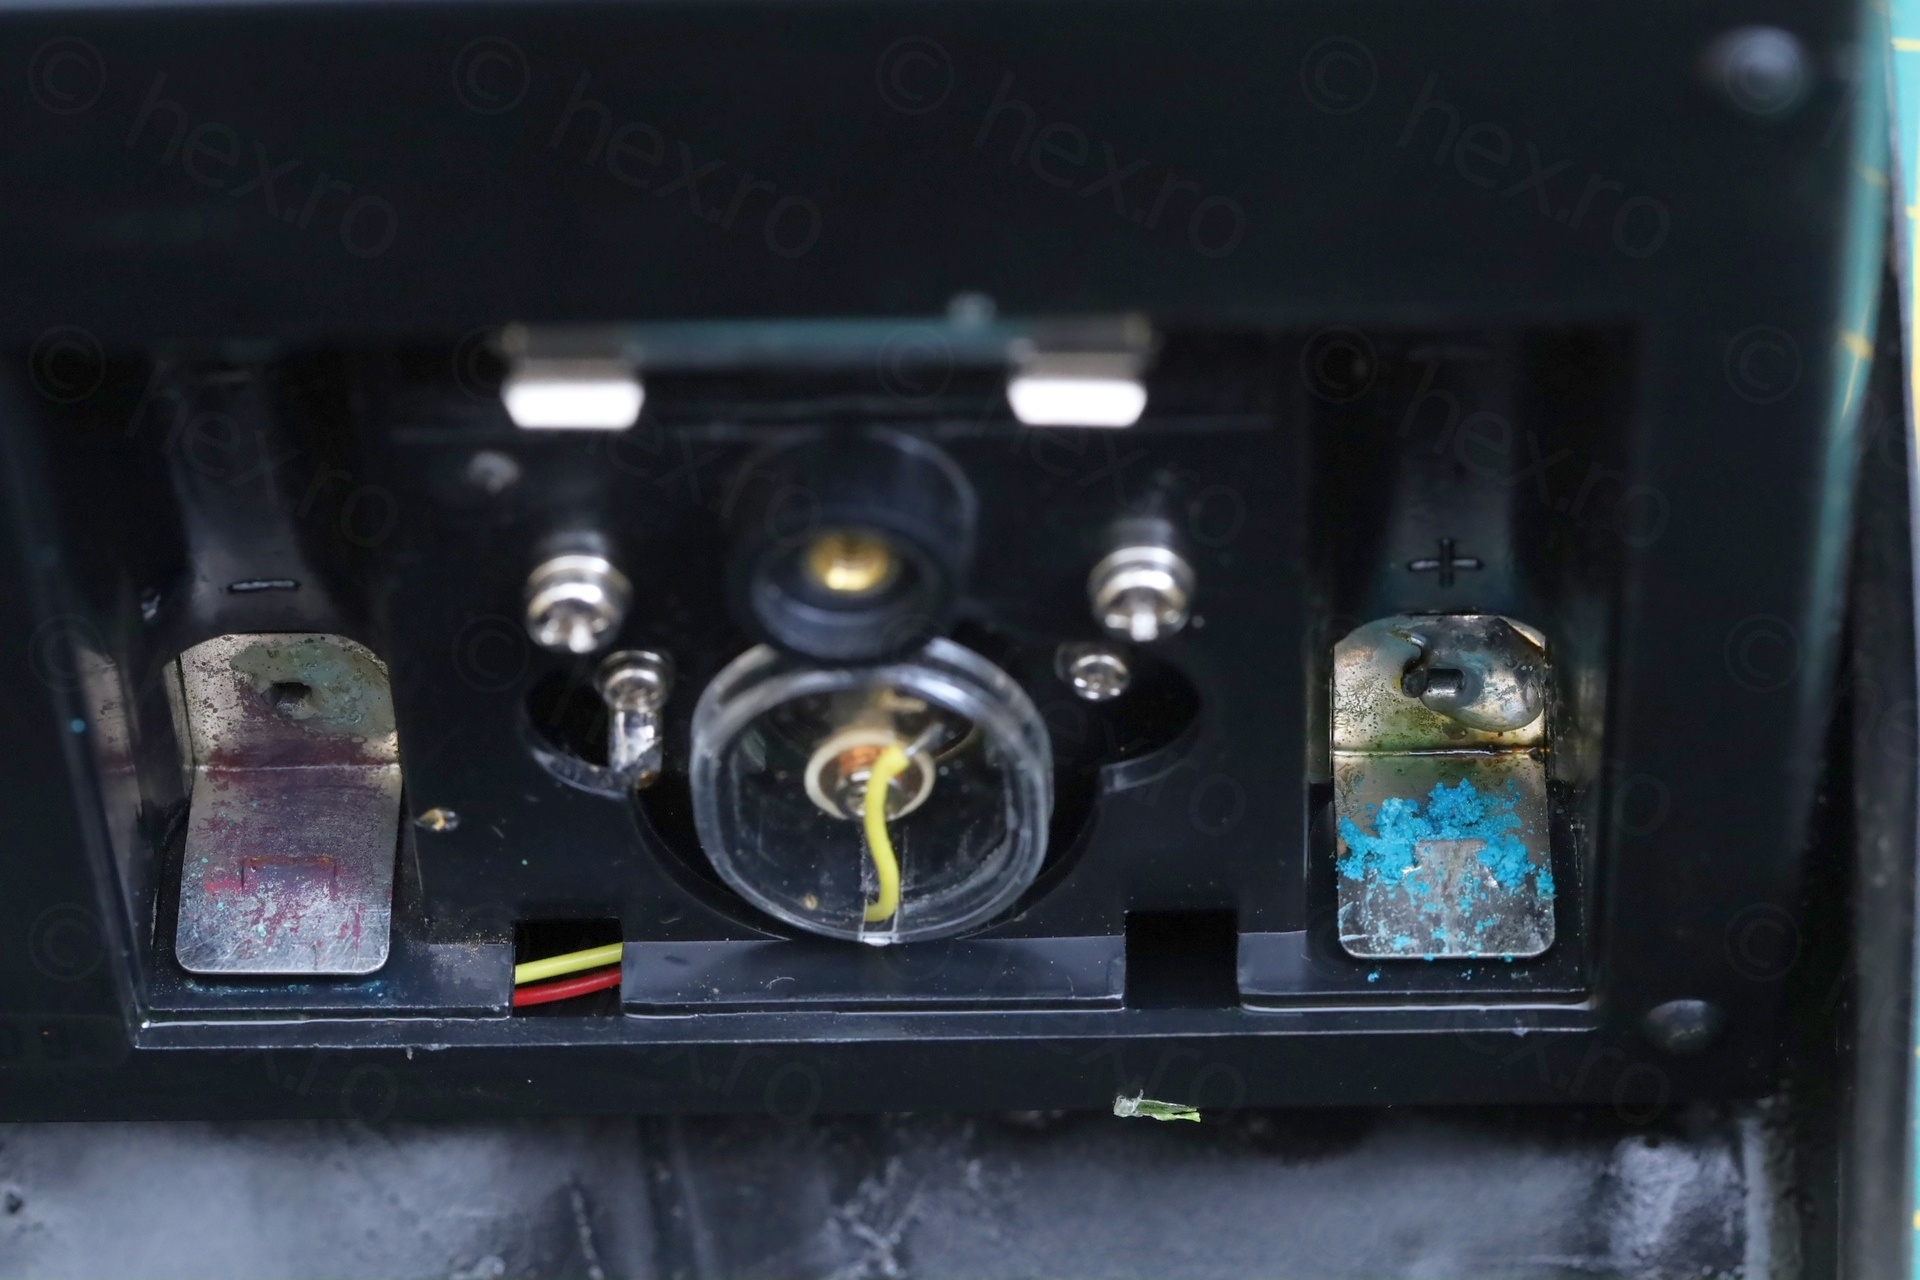
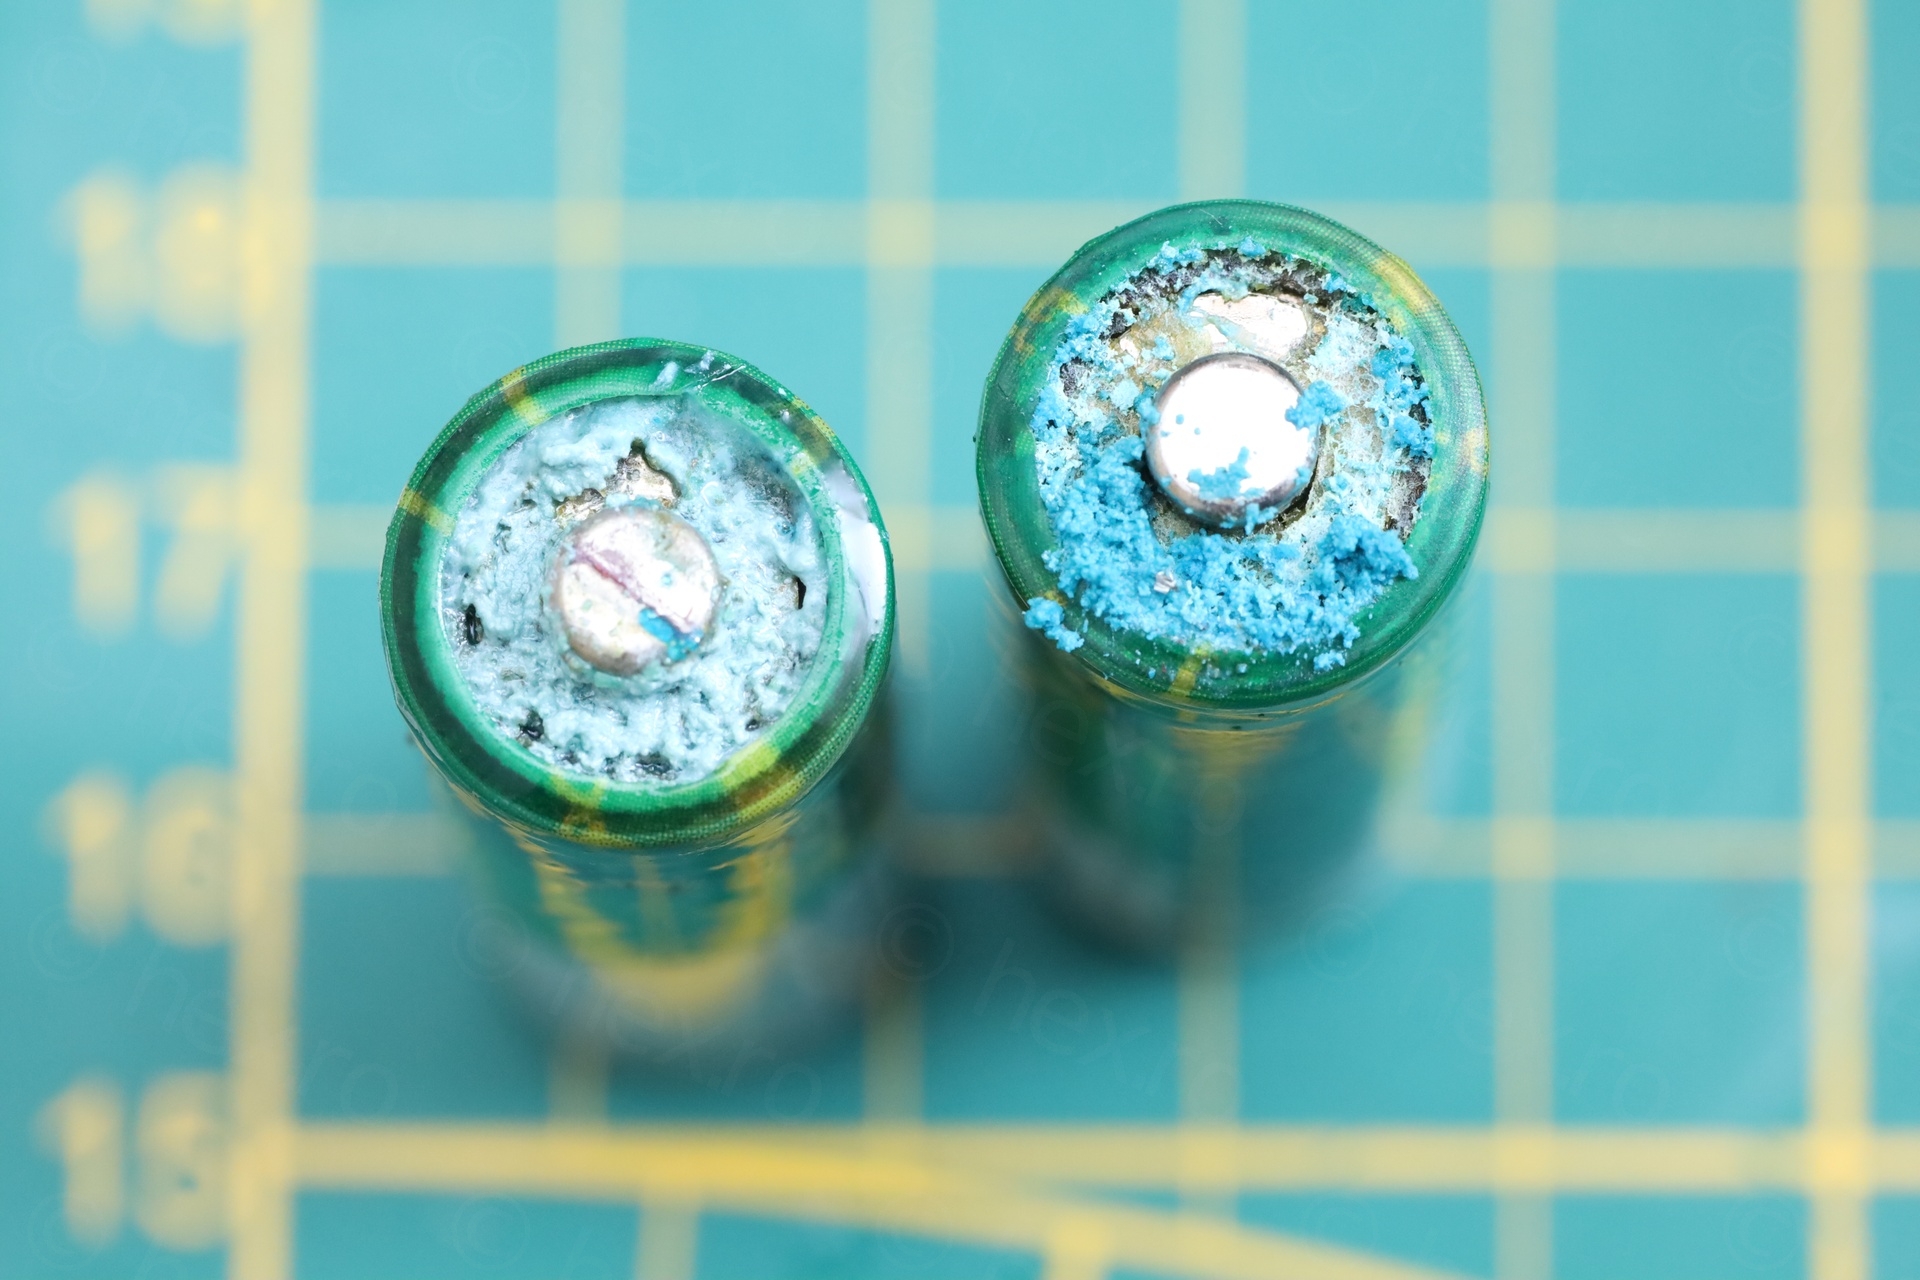
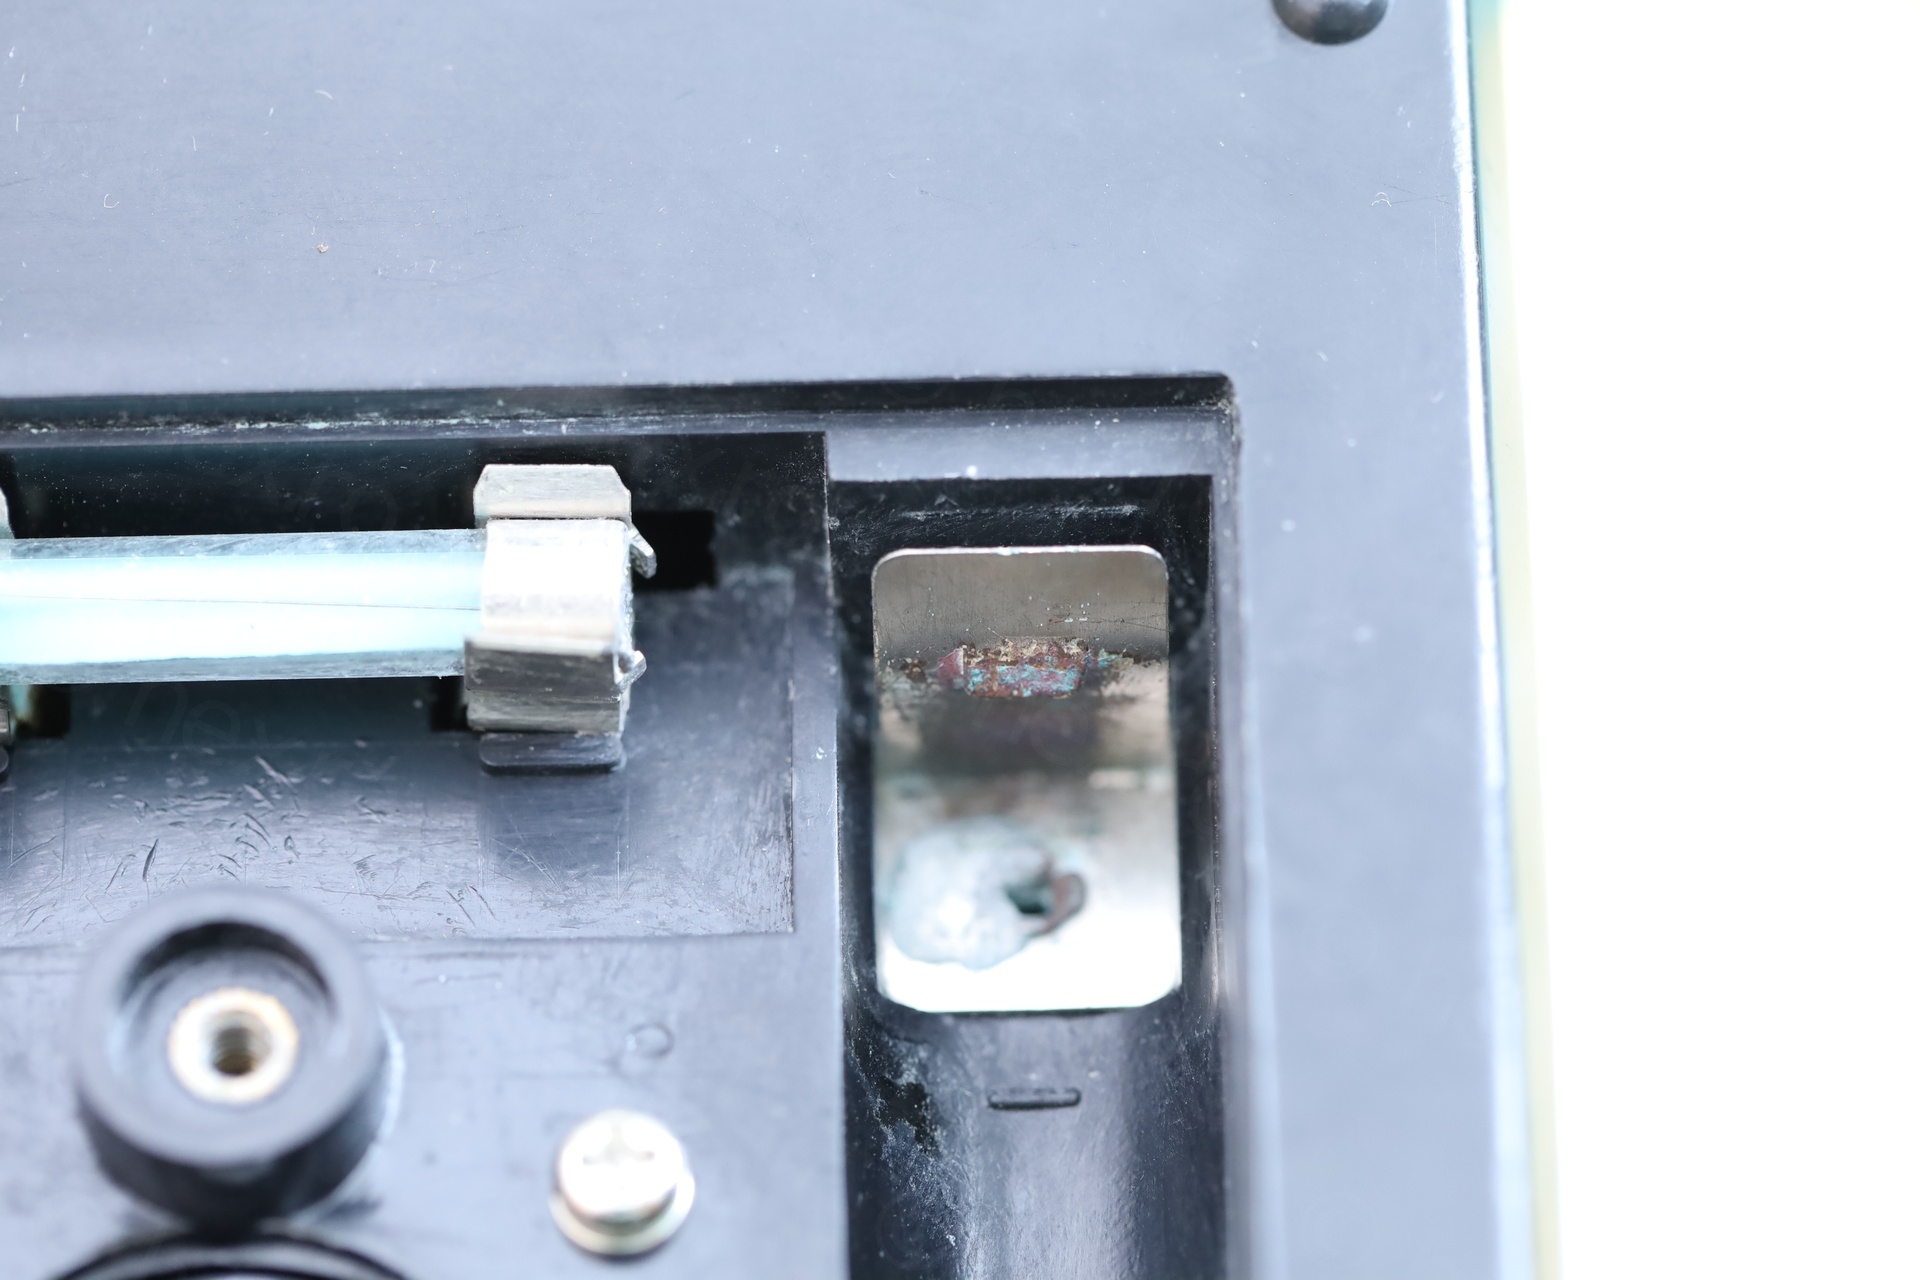
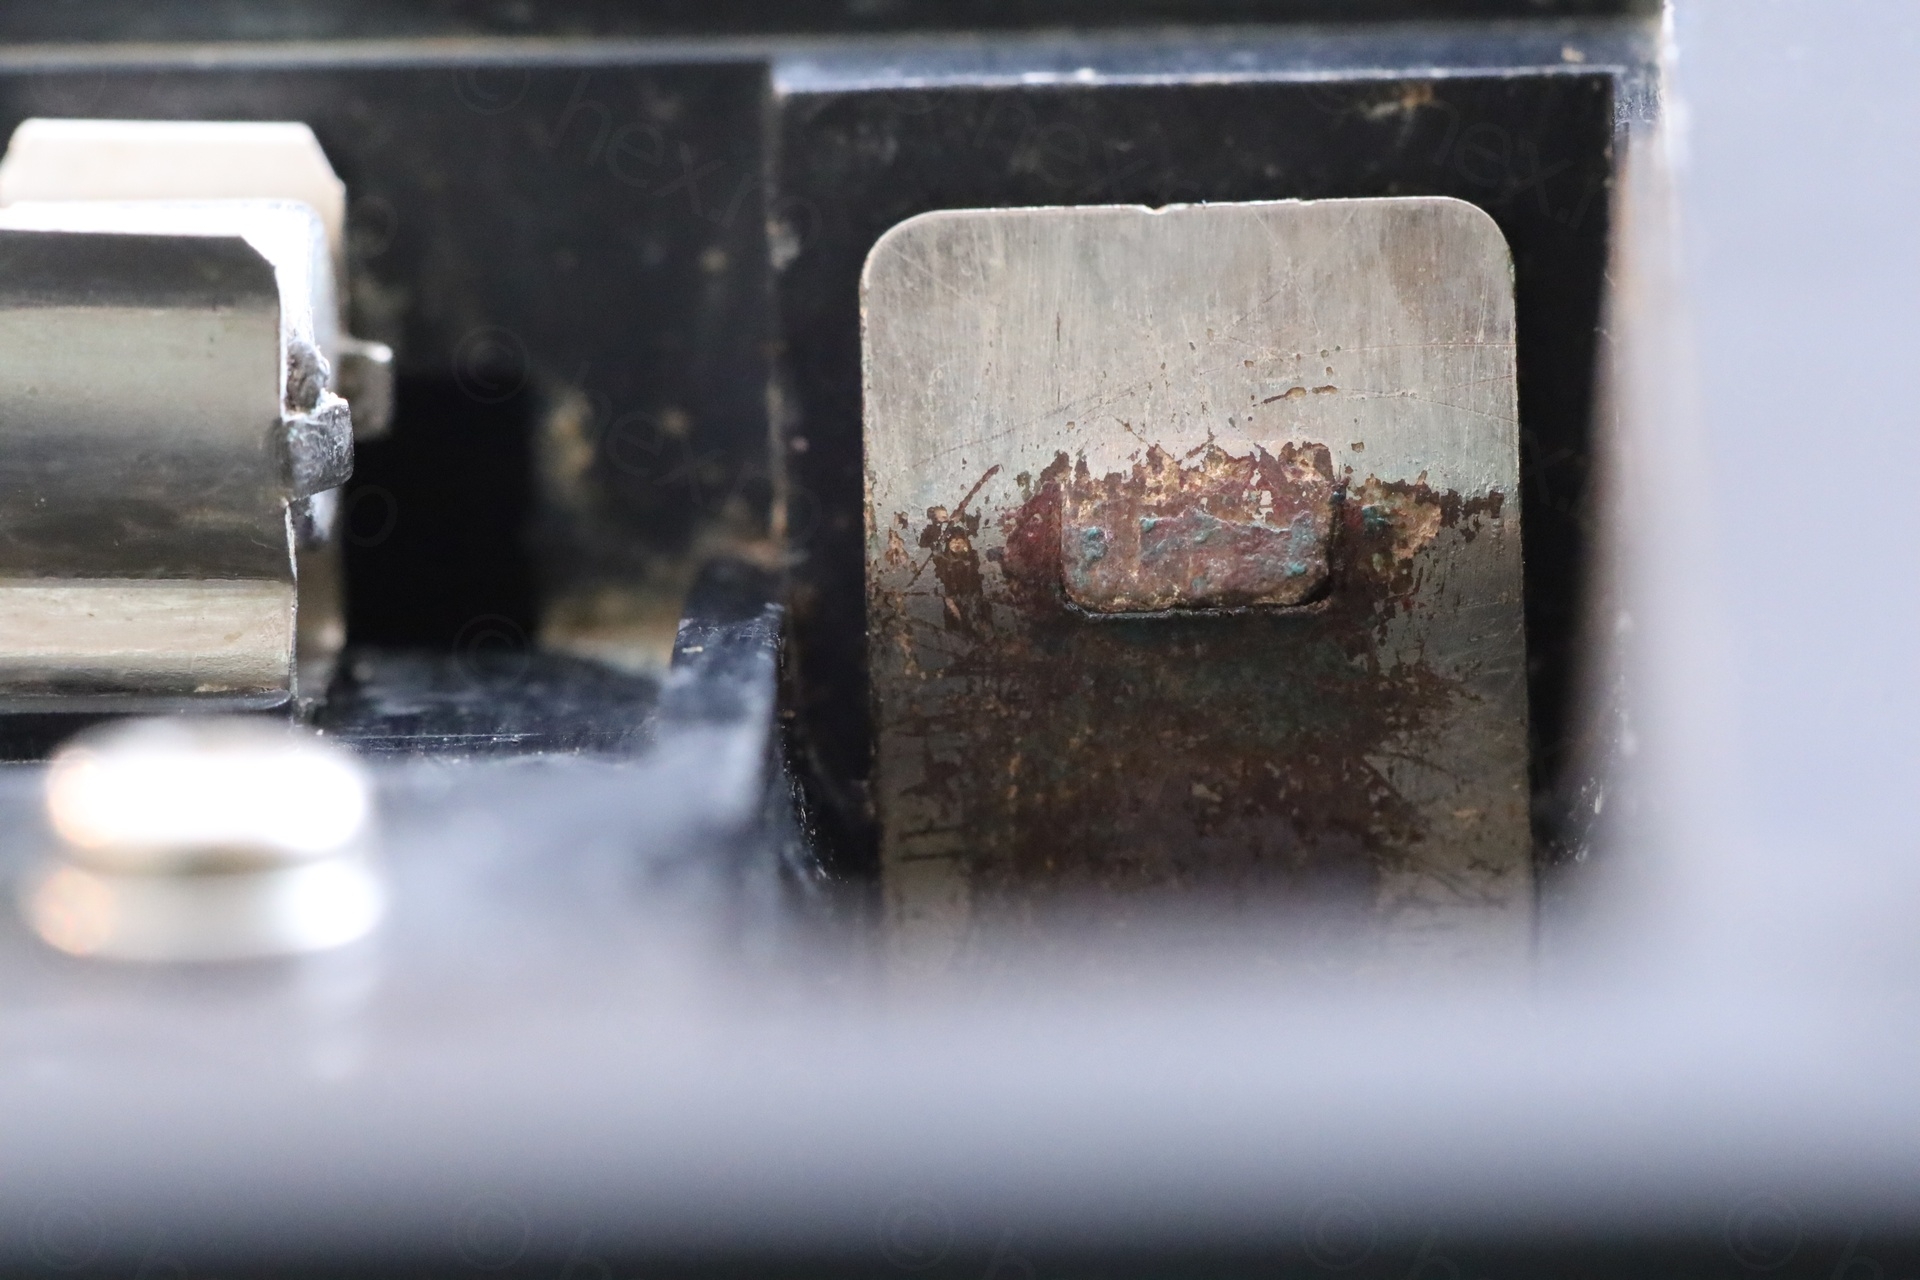
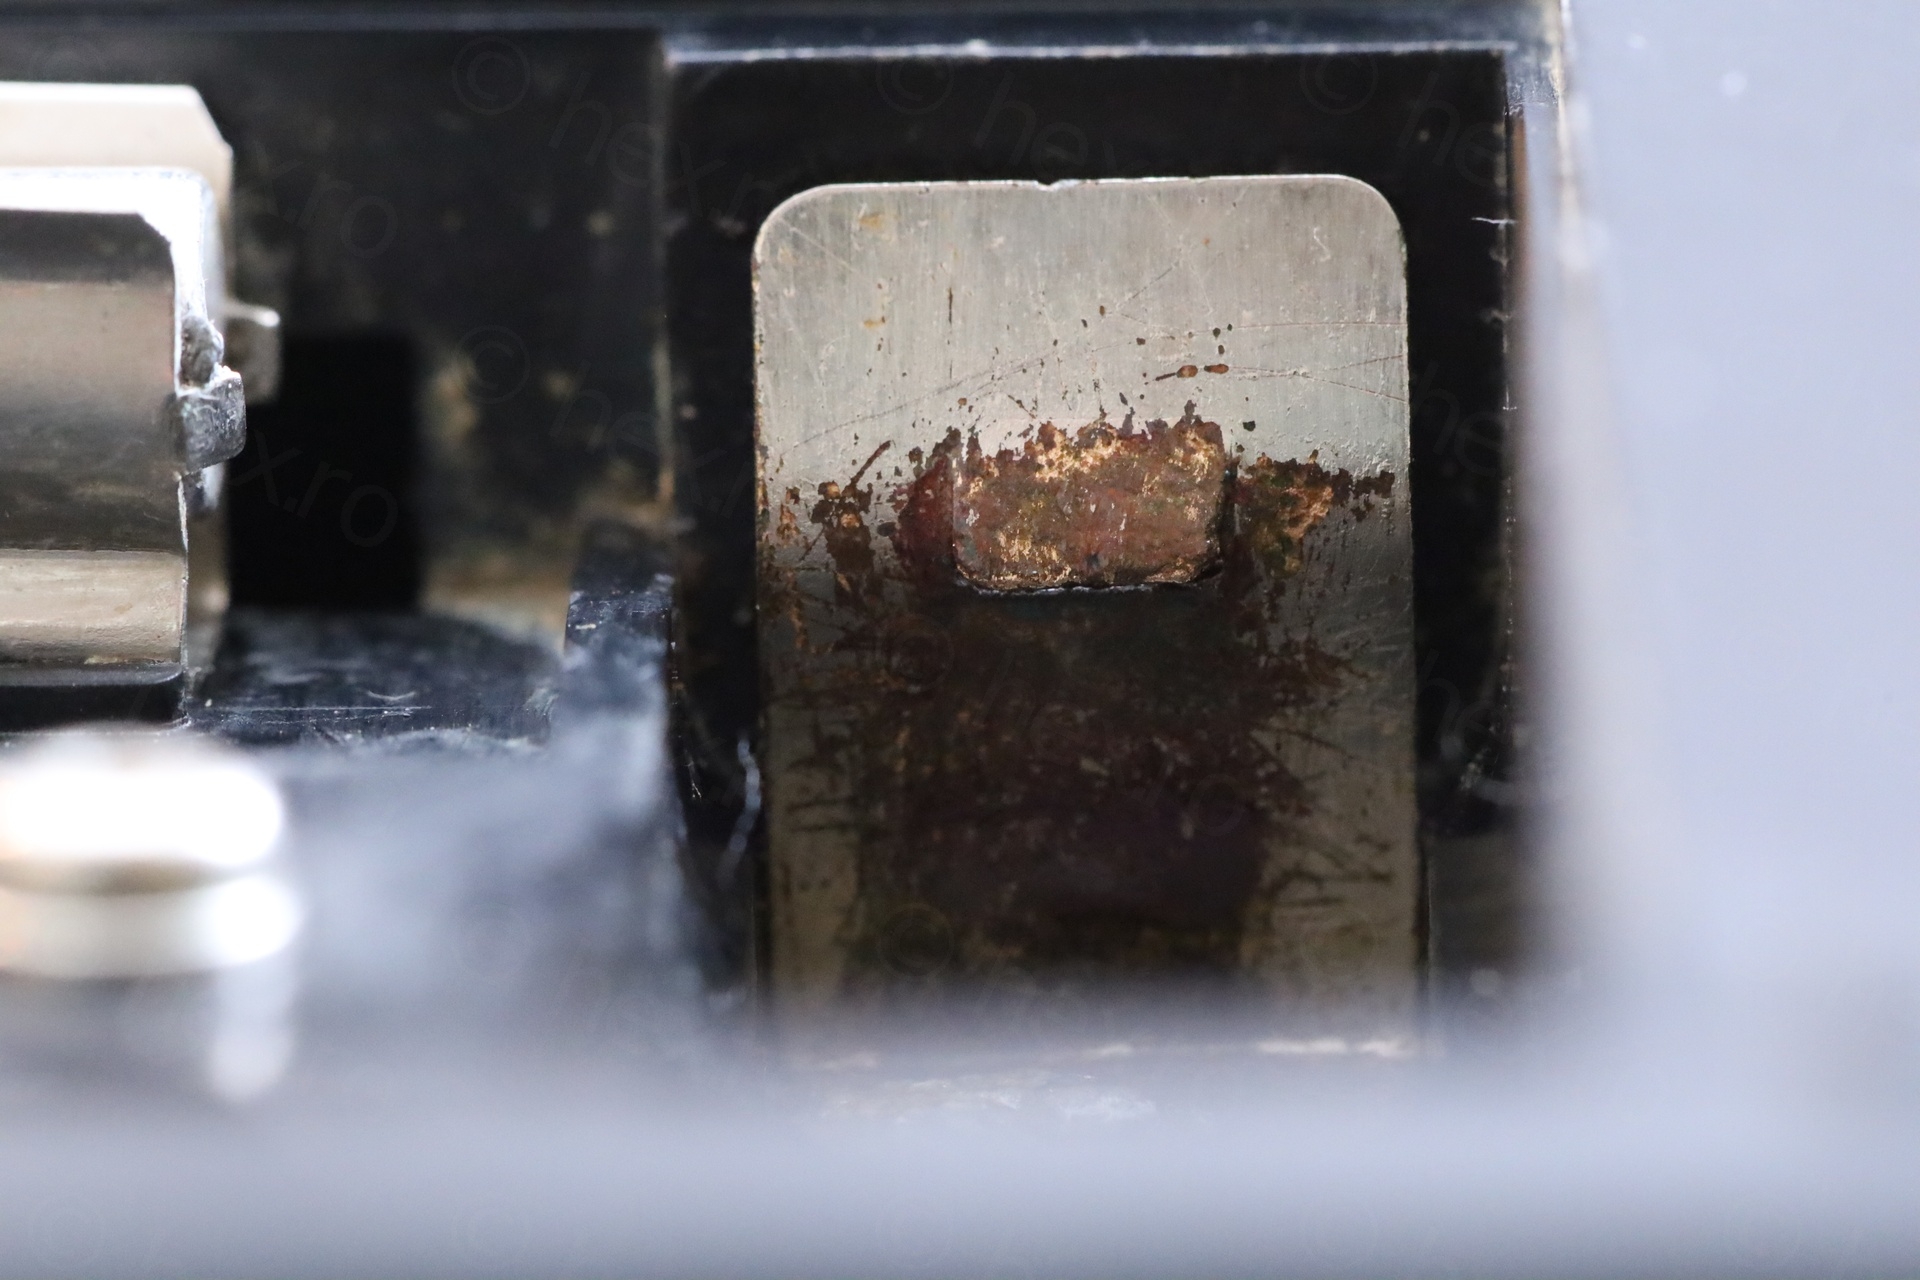
I took some photos when I got home. It was still wet and battery compartment was heavily corroded:
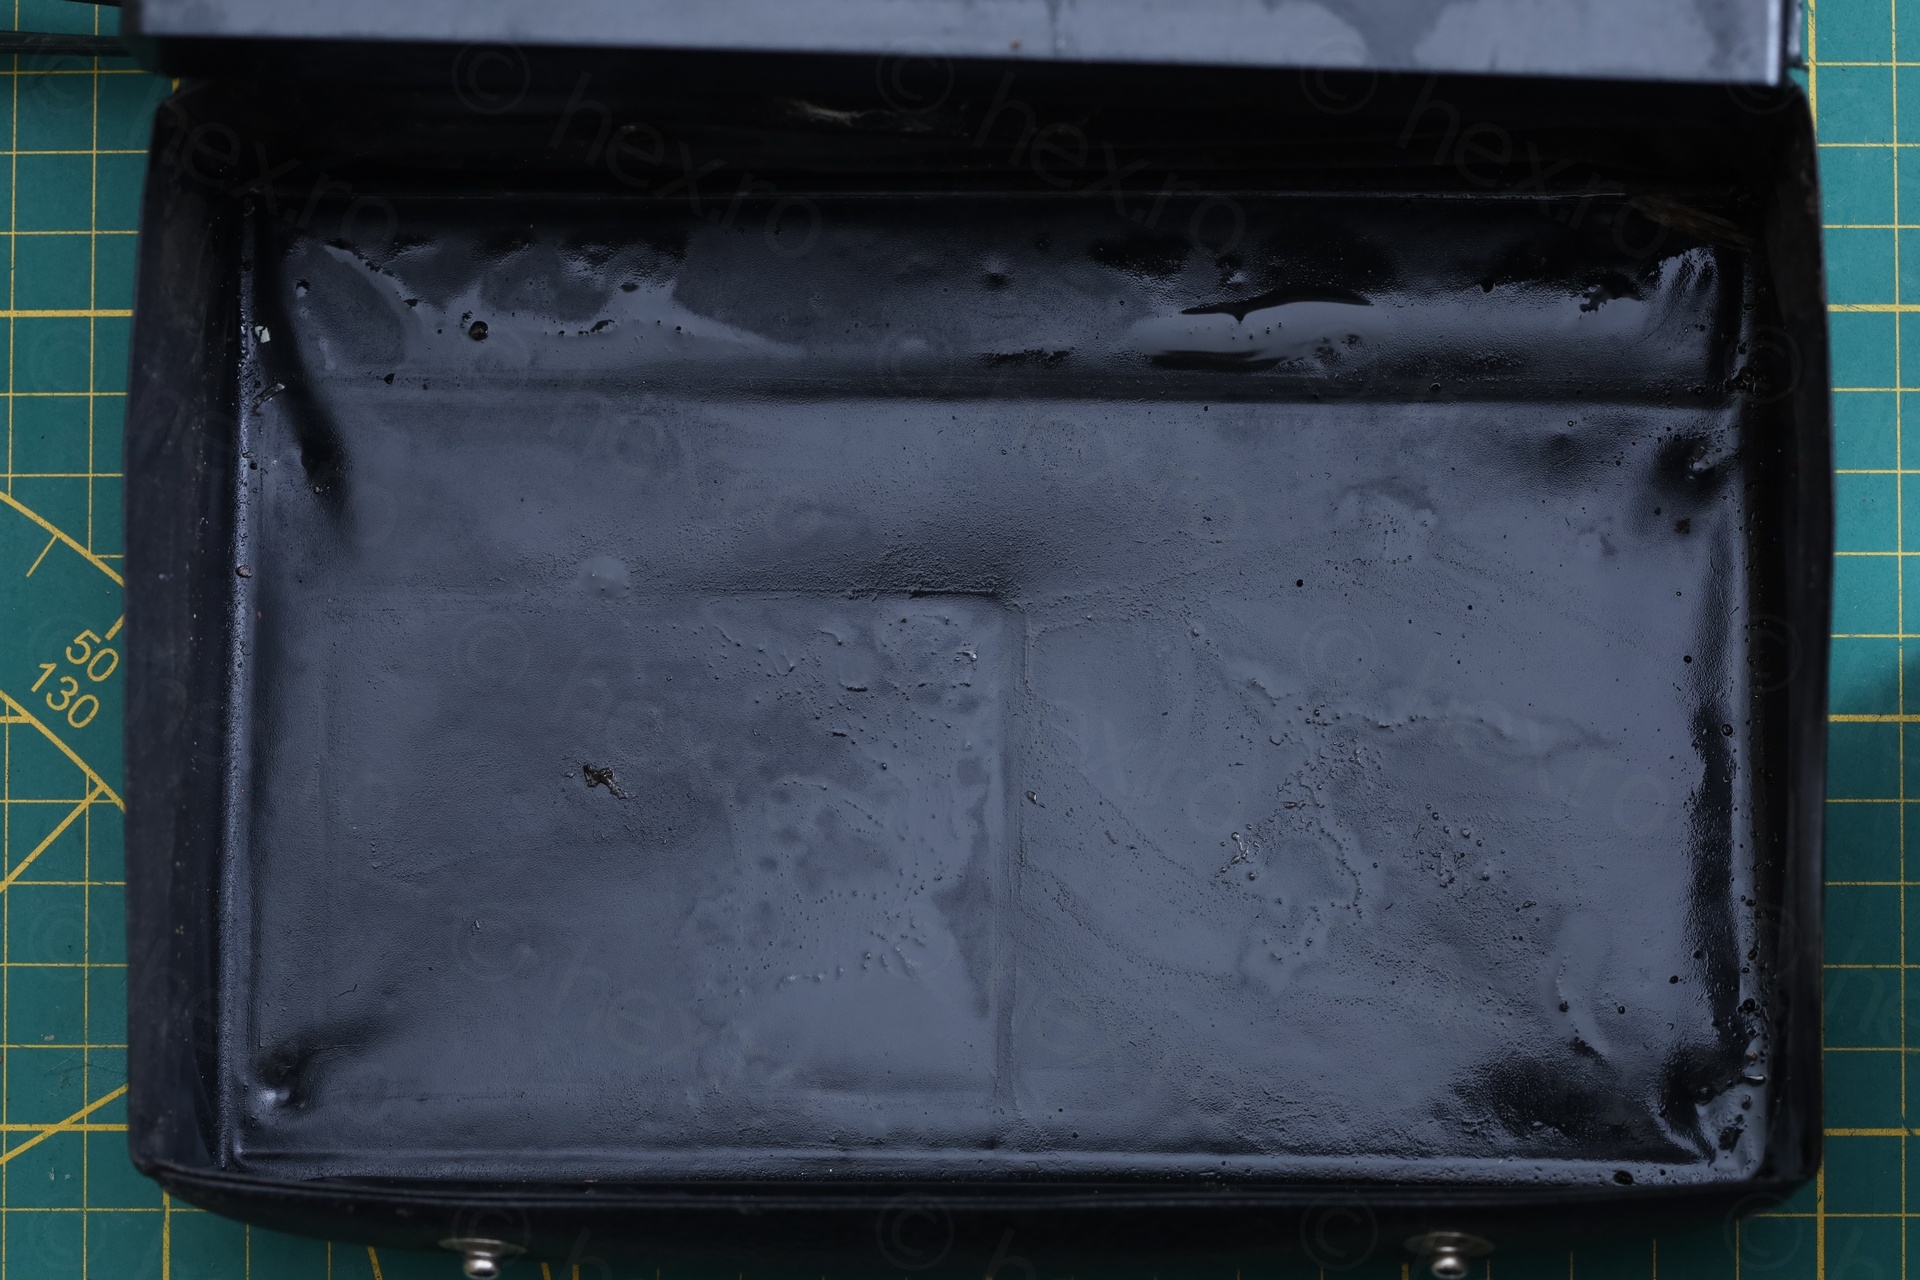
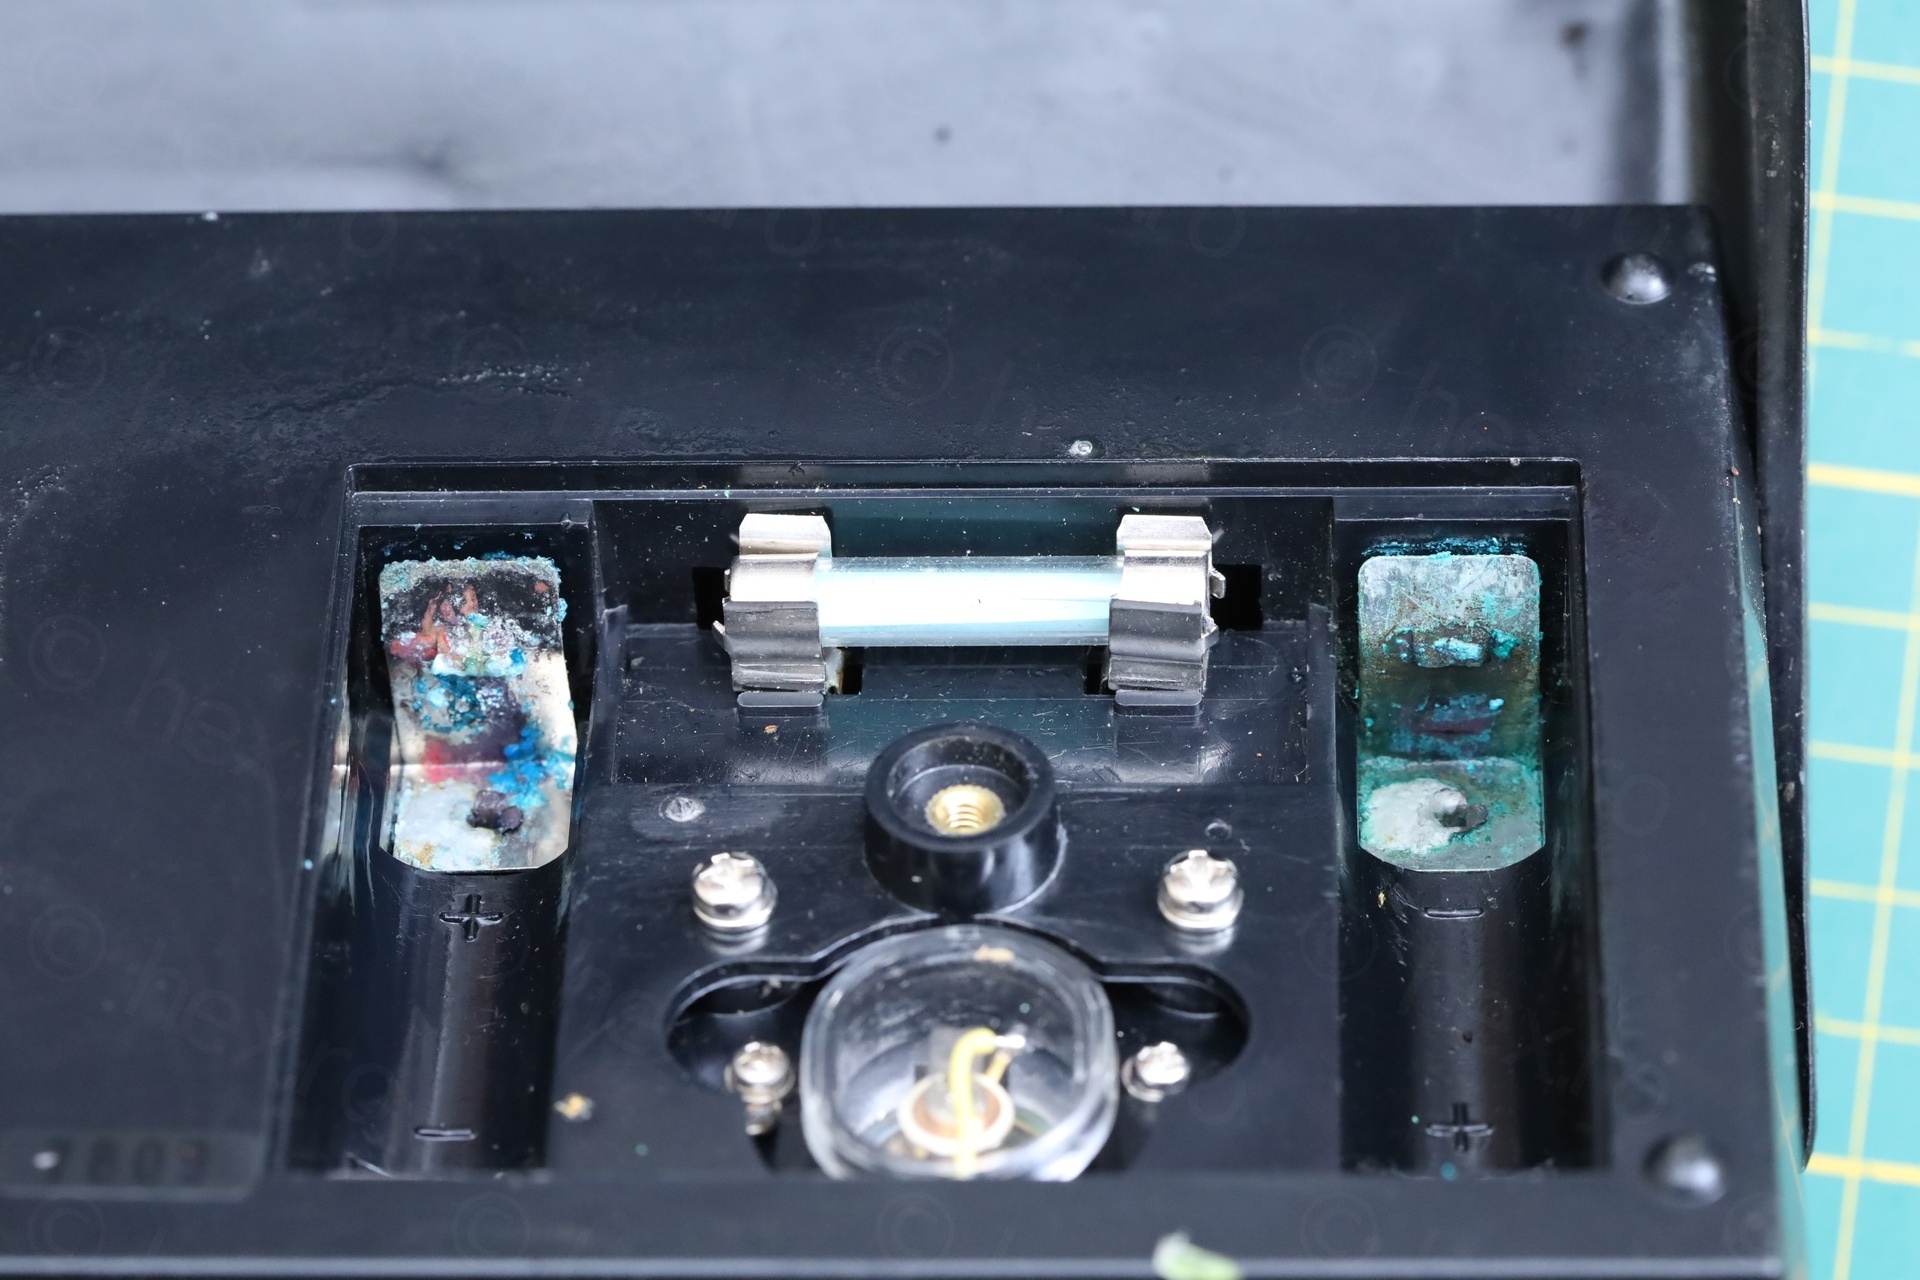
Removing the blue/green corrosion
I first tried to use baking soda mixed with water, but this didn’t do much. I switched to vinegar and finally there were some results. Using a toothpick, bits / flakes of corrosion started to come off.
However, vinegar seem to make it worst also, and it took me few days to realize this. My goal was not to use any metal scraping, to try to preserve as much as the original material as possible. To convince the more ticker corrosion / stubborn bits to soften up, I was wetting the tabs with vinegar and leave them for next day. Next day to discover that even more blue / green corrosion spots would appear. Eventually, I realized it is not going better with vinegar. While it does remove corrosion, it also triggers new buildups.
I had to resort to using metal scraping, eventually going for a thin layer of oil to cover the tabs. The hope is that the oil will limit copper getting corrosion long term.
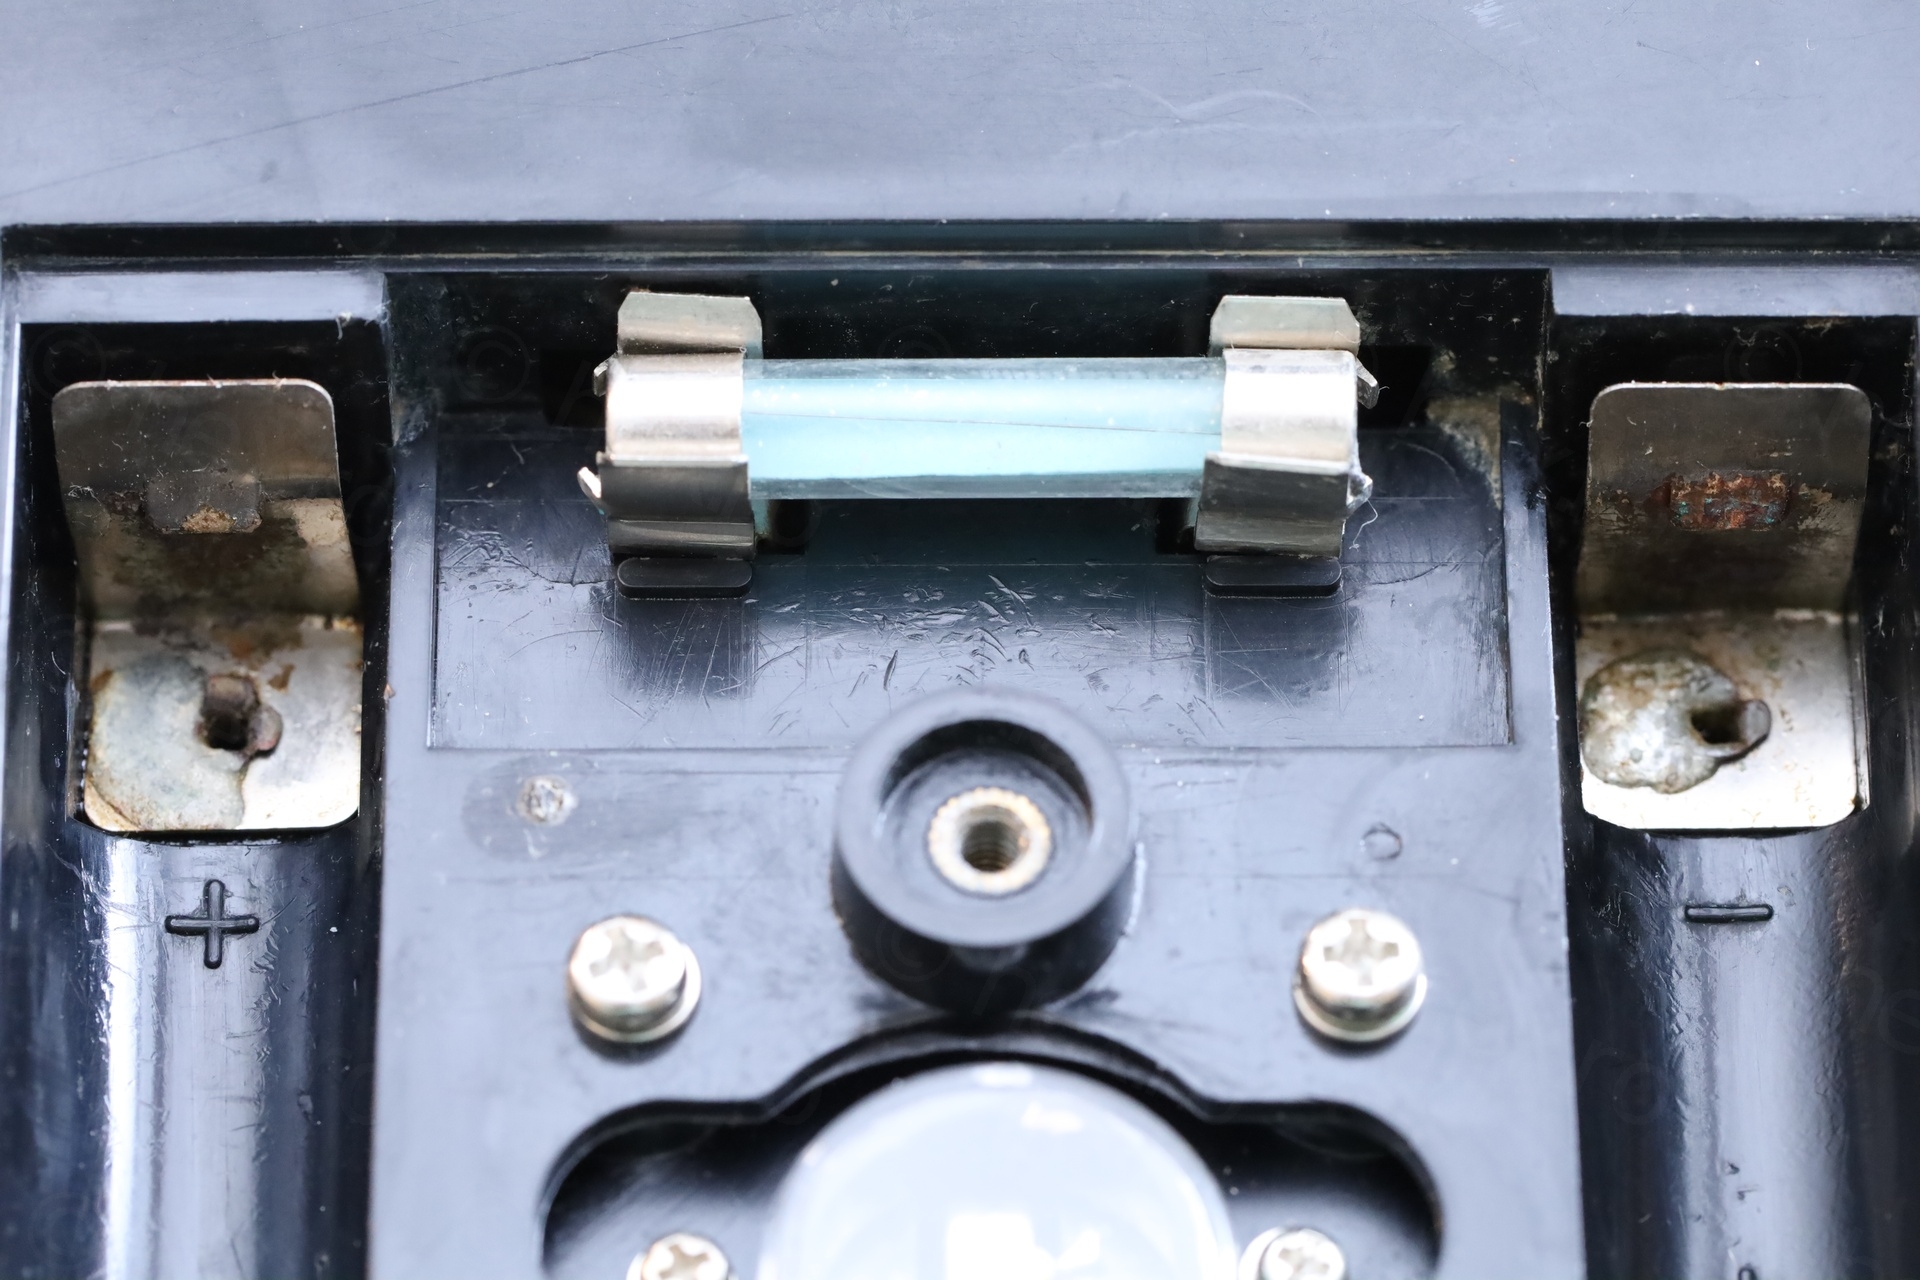

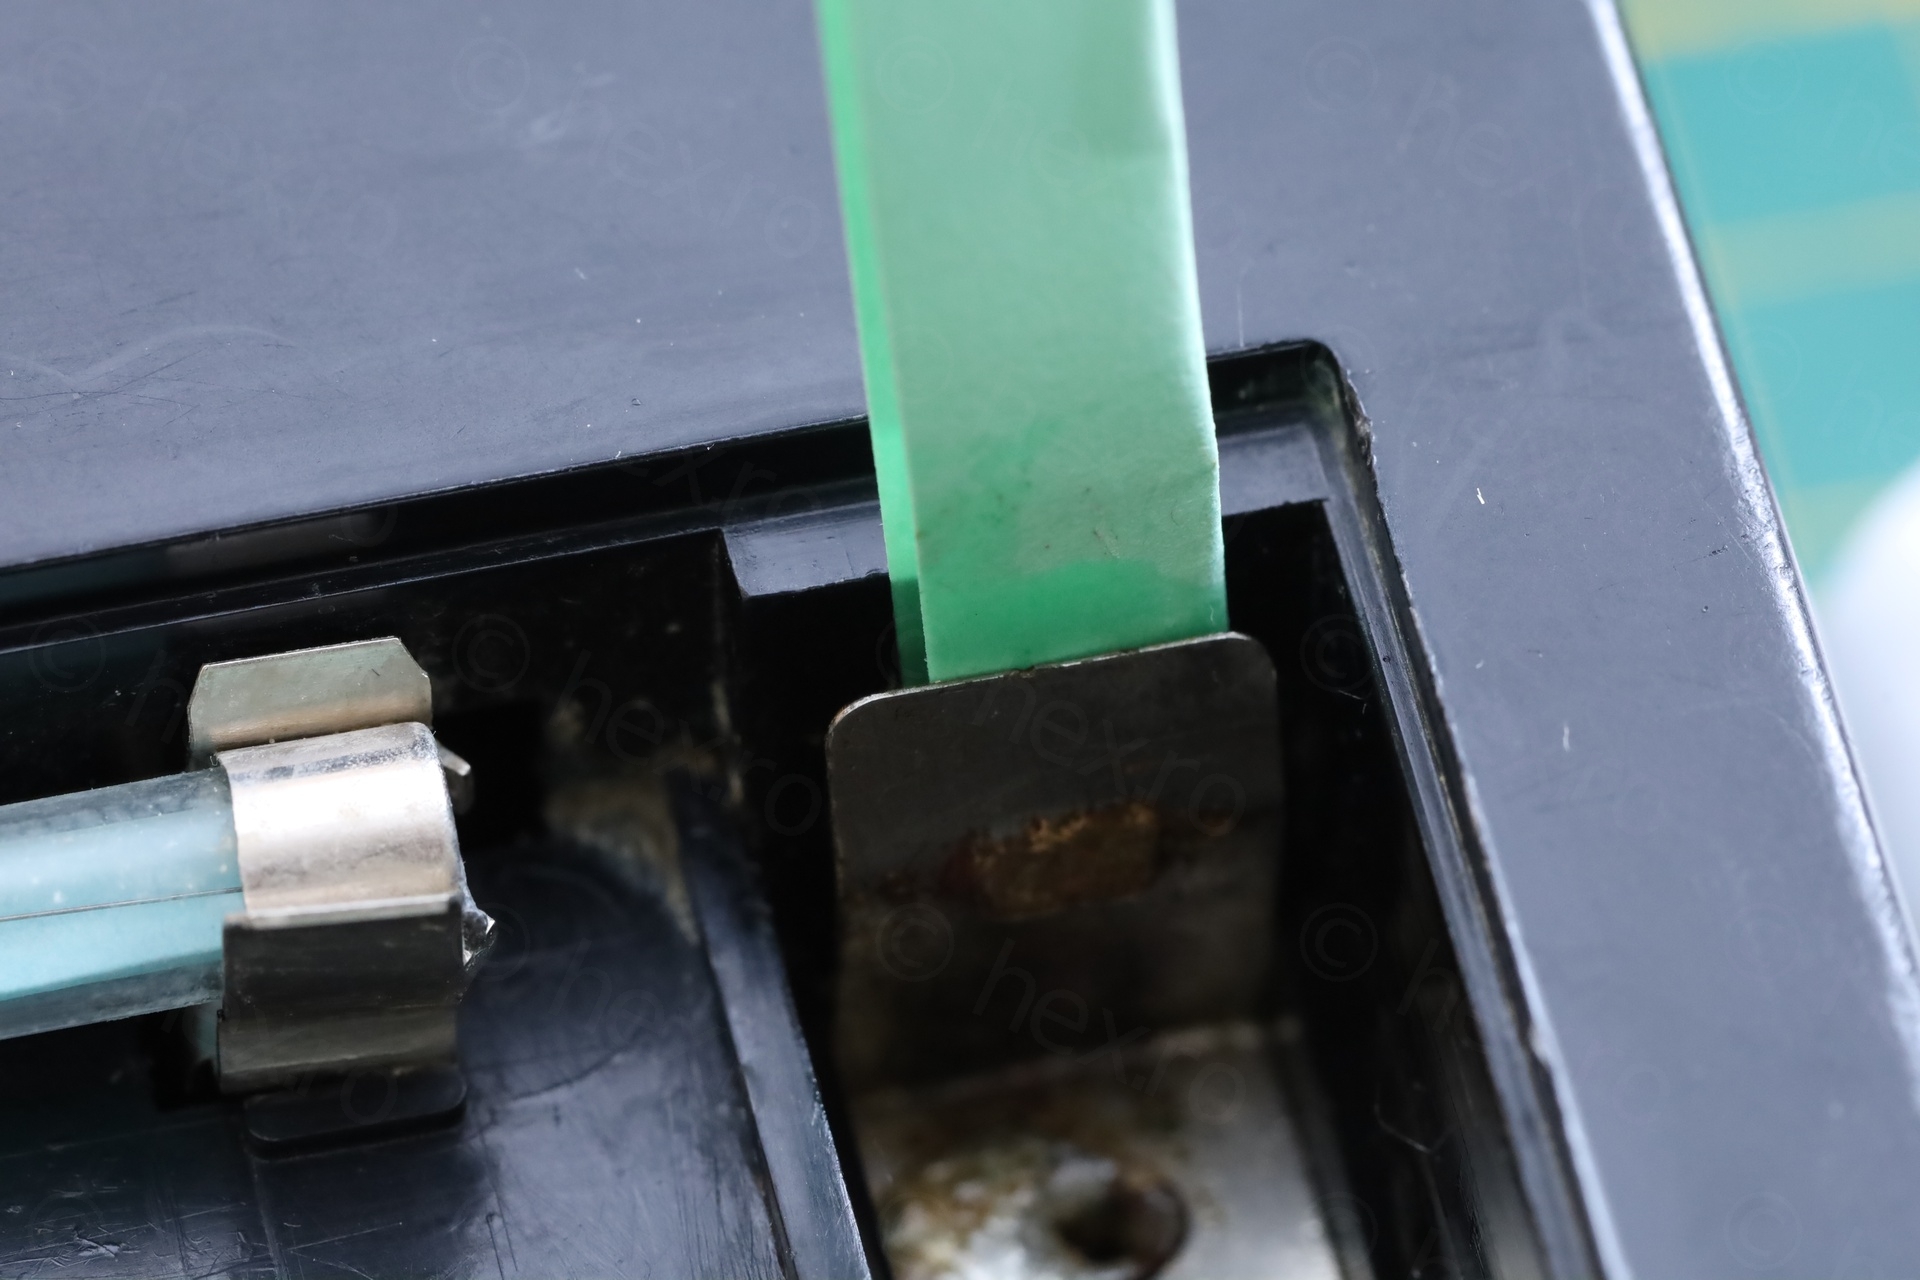
The tabs can’t be removed – they are riveted and then soldered. To apply the oil without bending foward the taps, I used a thin piece of carton soaked in oil.
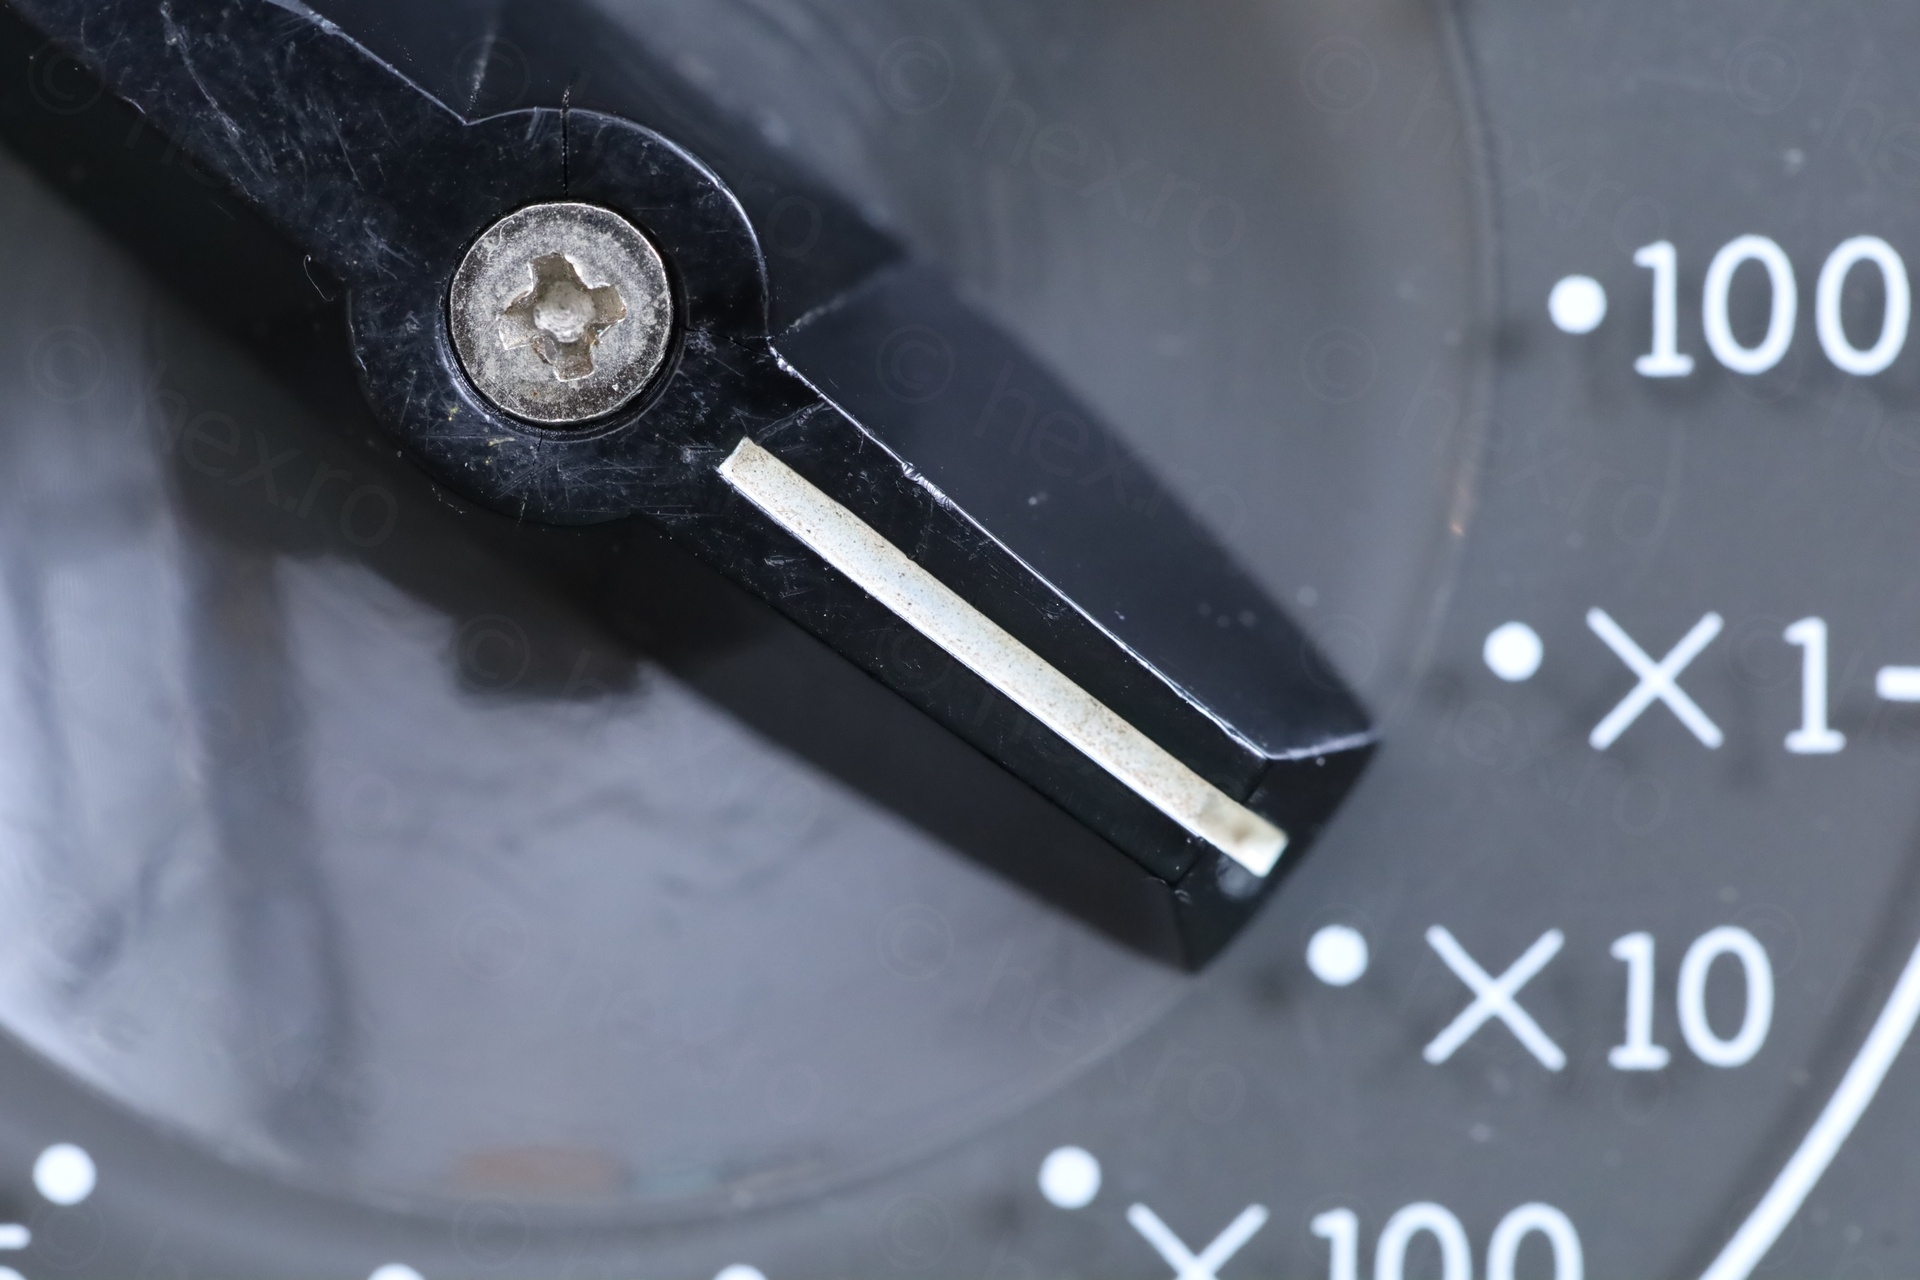
Cleaning the knob
The knob has white paint on it and it was dusty. Was afraid I may destroy the paint, so I used a very soft brush and water to chase the dust away. Paint stayed intact.
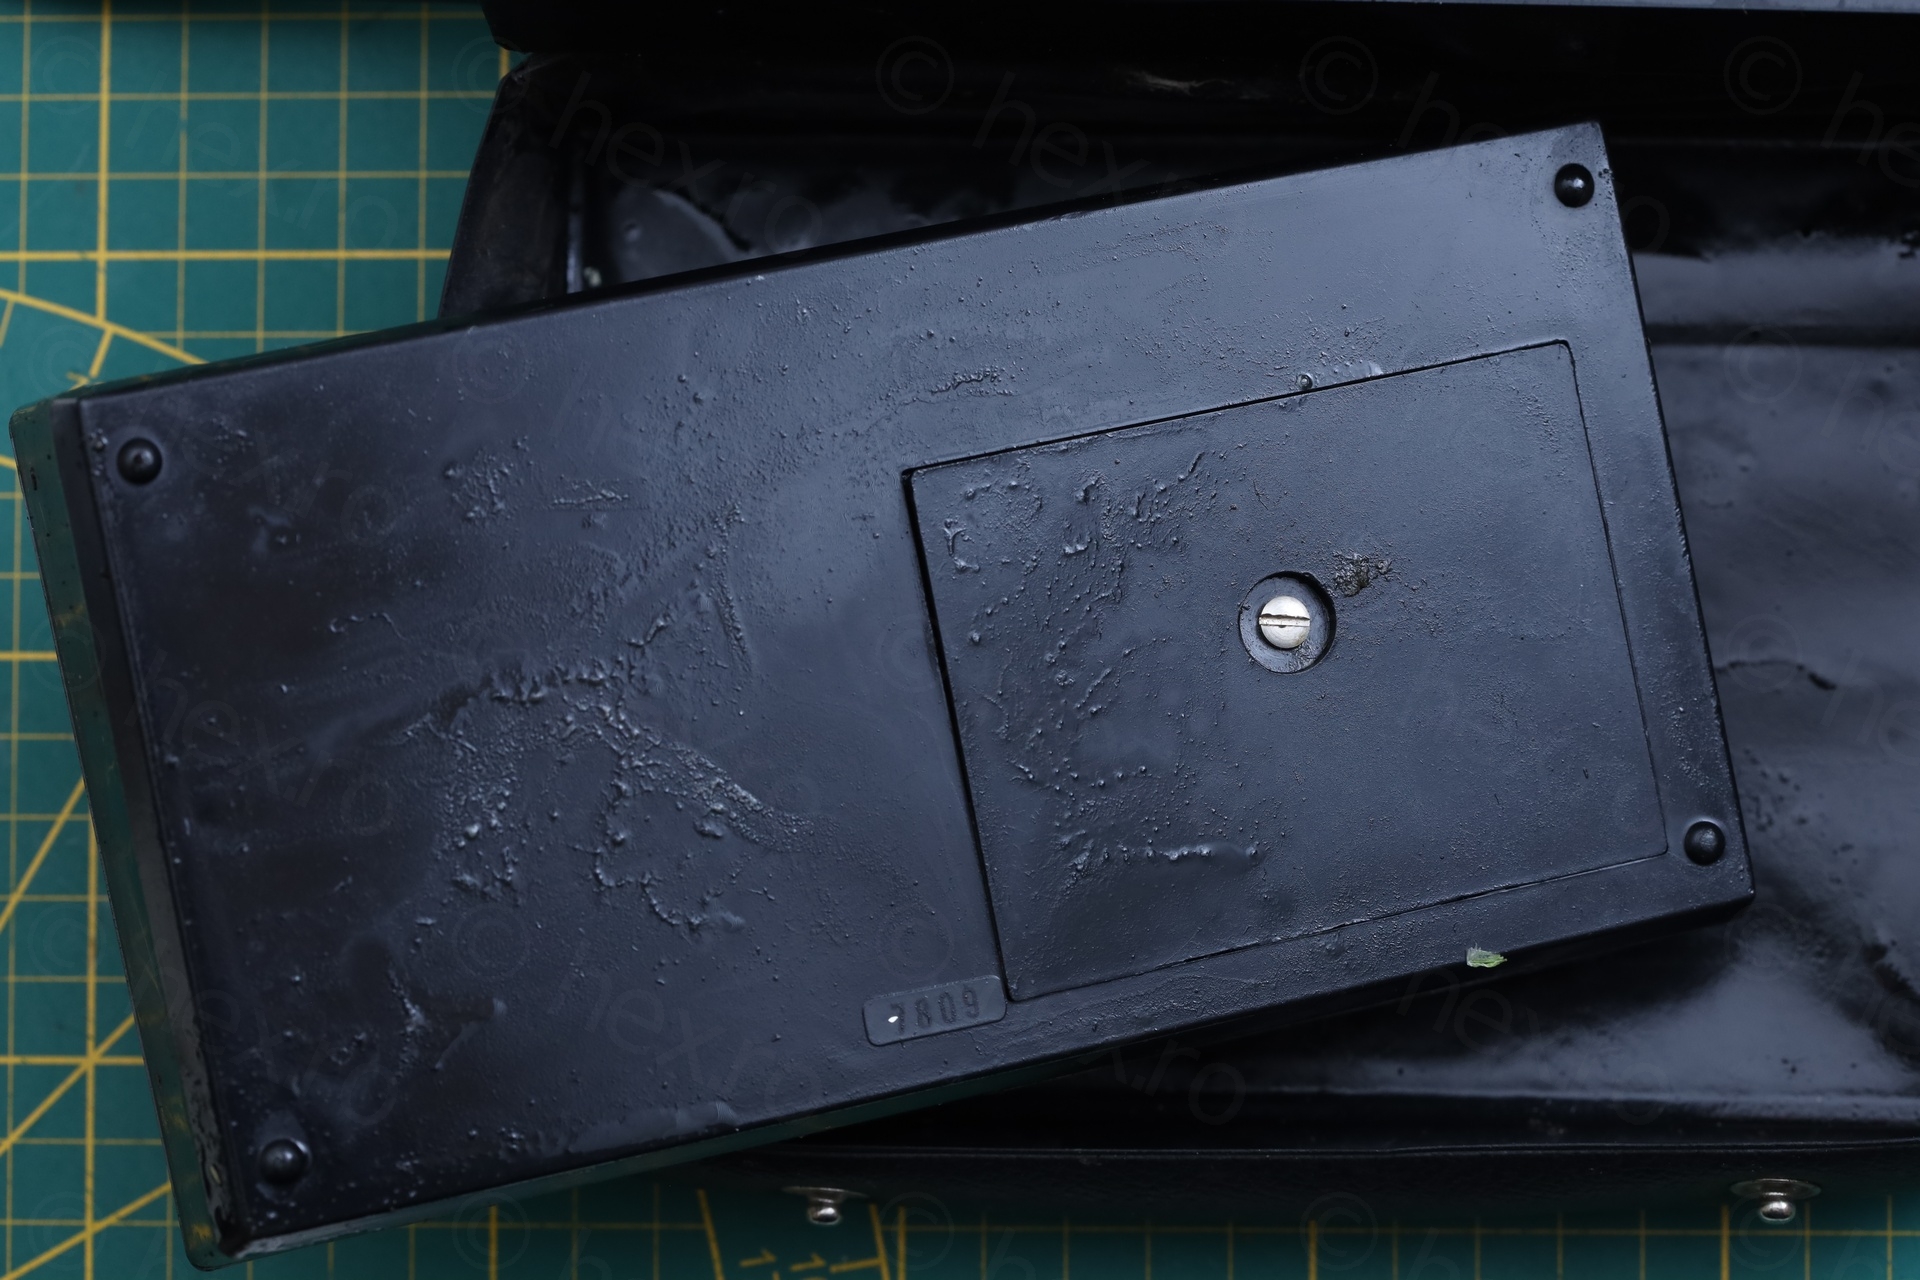
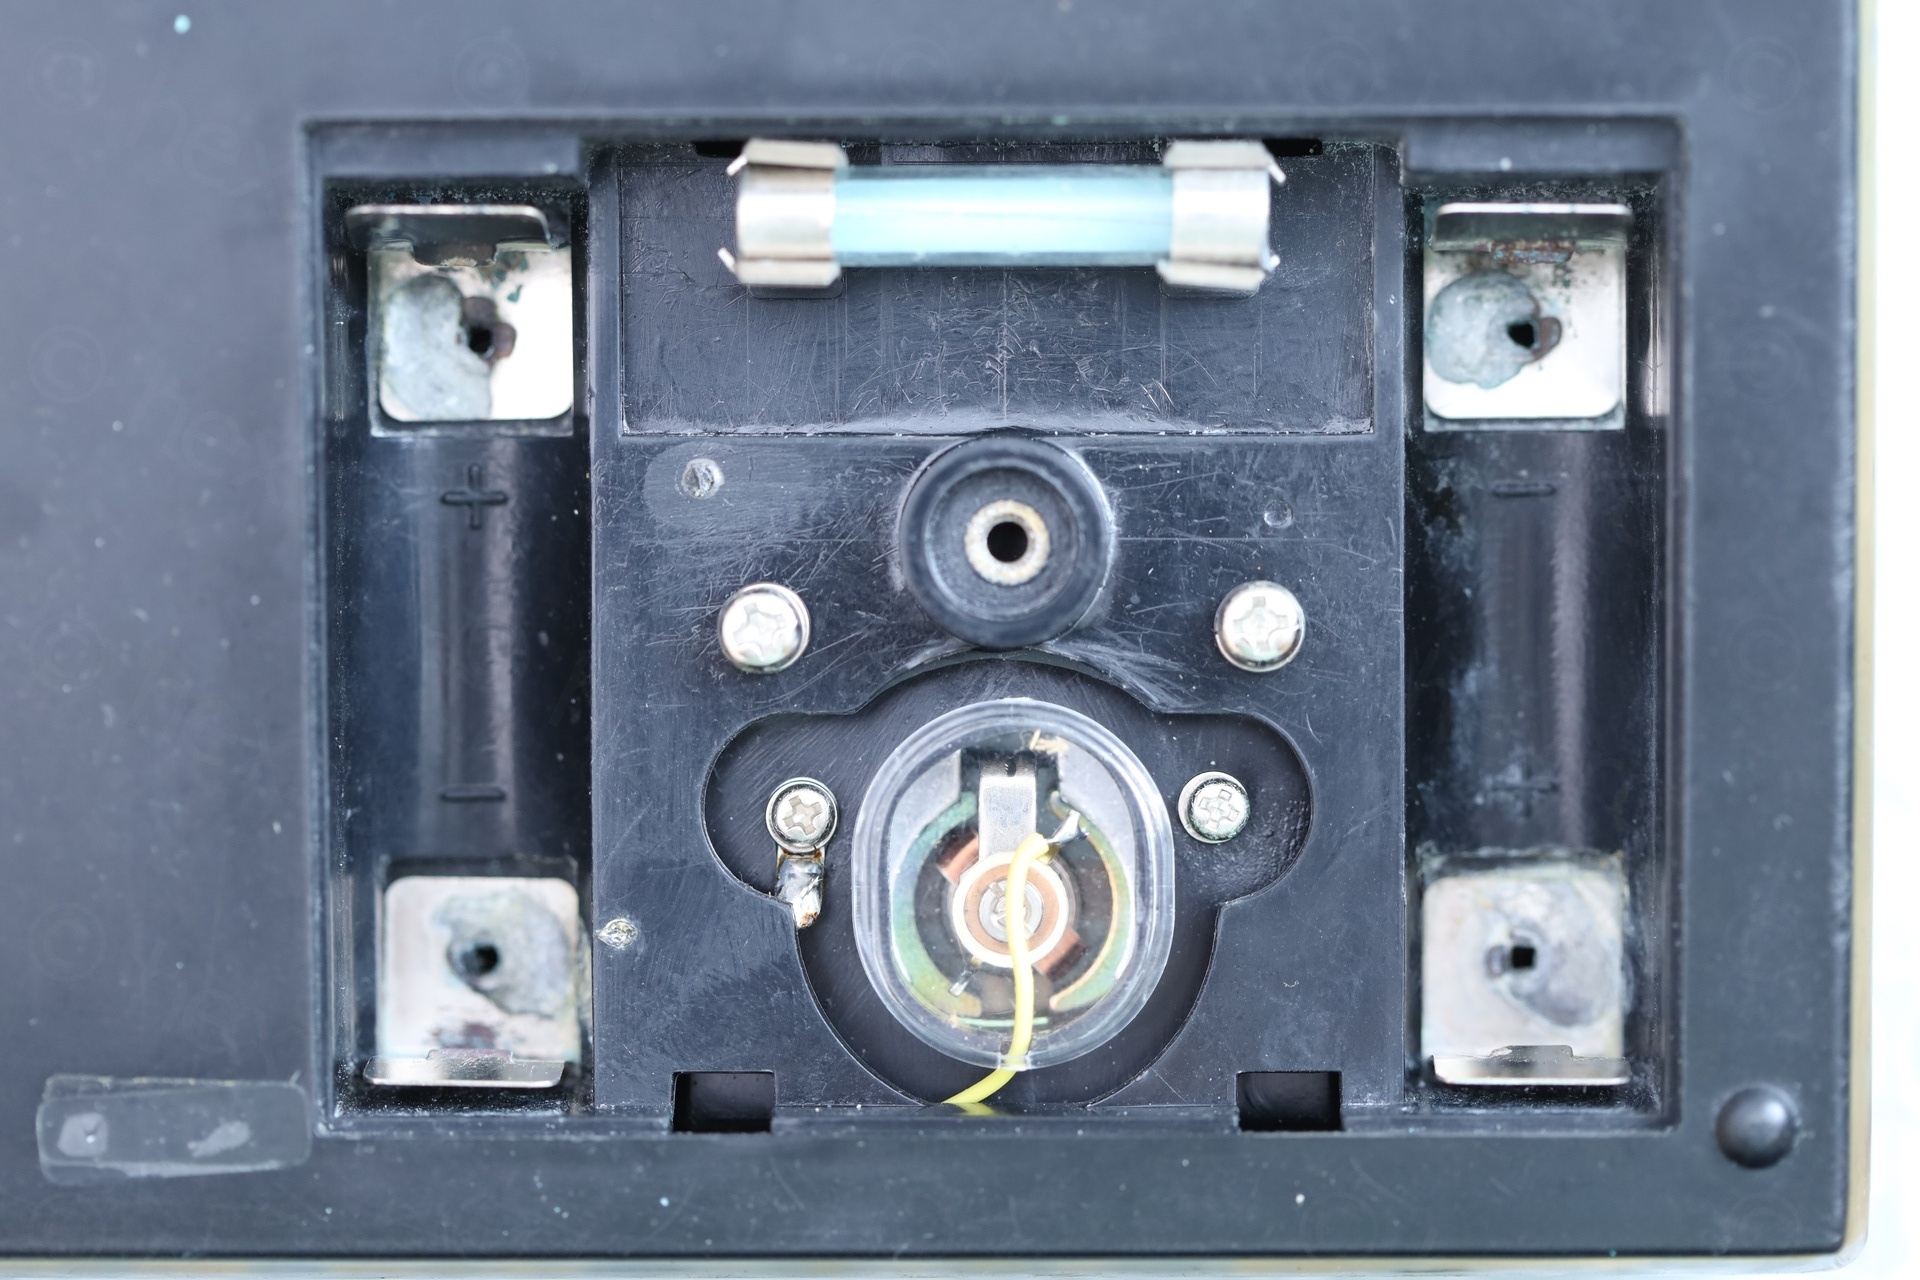
Opening up
To open the Kyoritsu KEW-6610 meter, only three screws need to come undone. Two next to the panel and one holding the knob down – which also has to be removed. Then the face plate just comes off. Very serviceable.
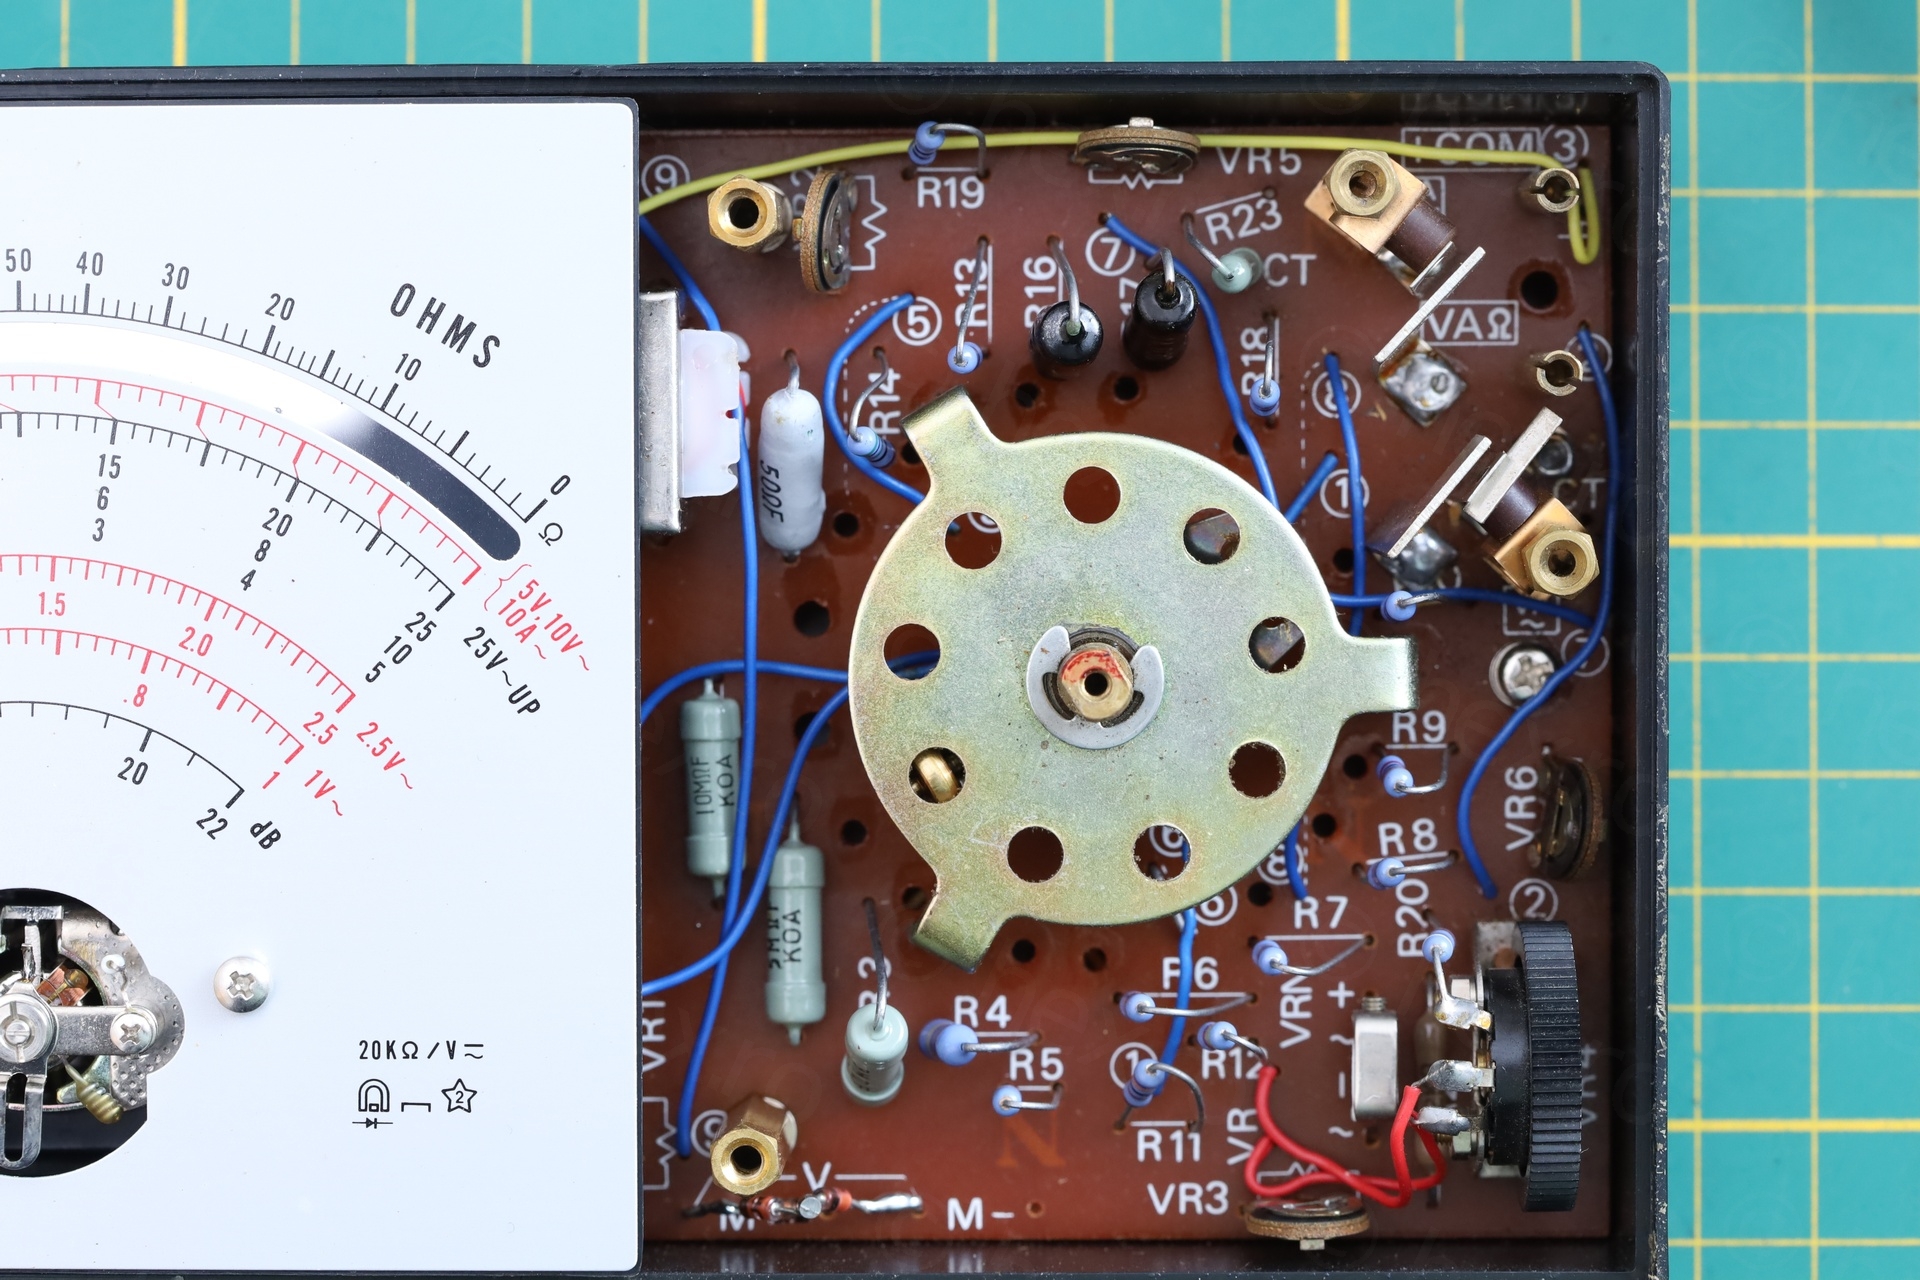
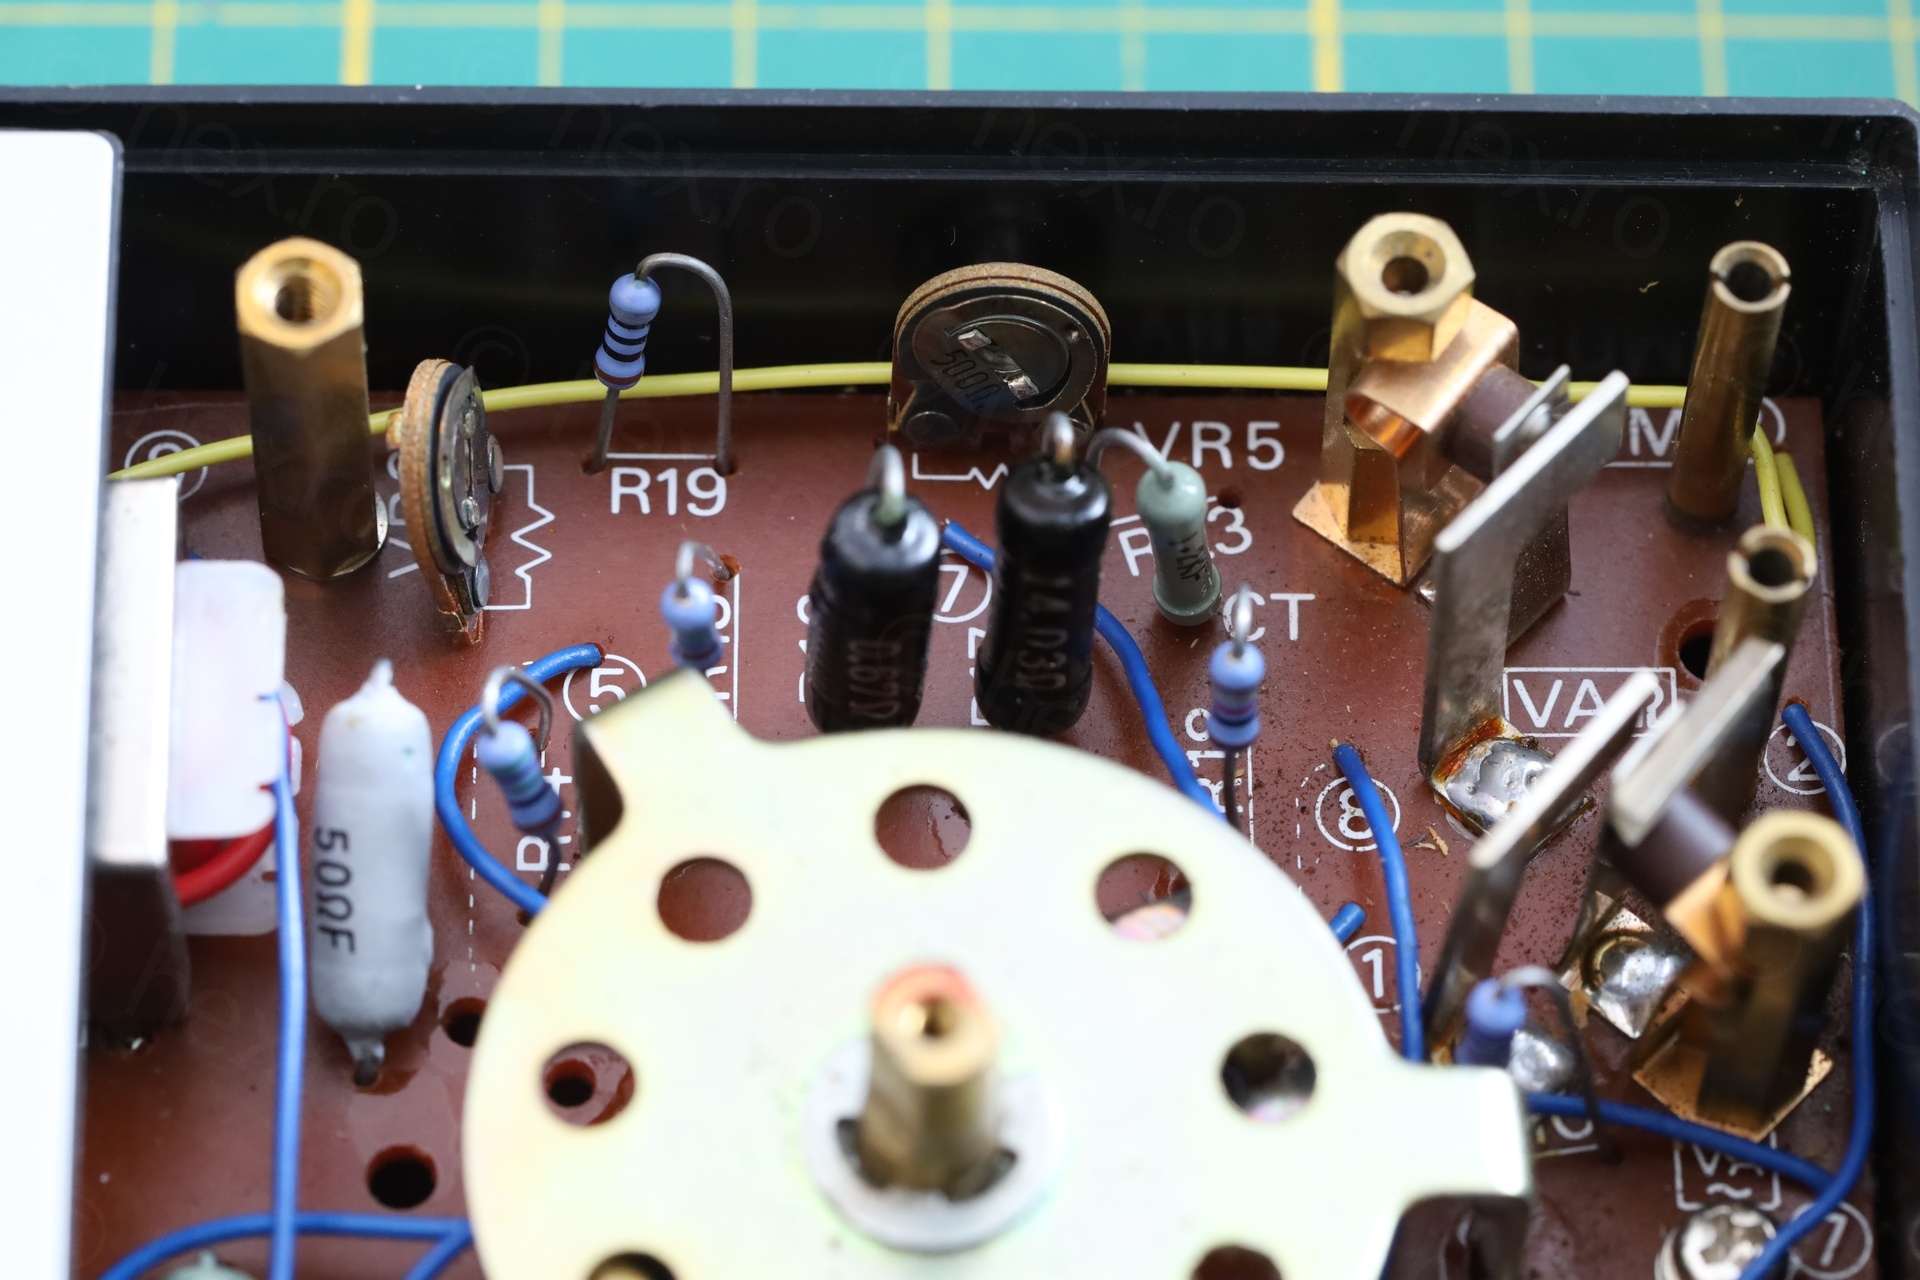
I wanted to open it up just to clean the dust that has accumulated on the dial. There were also many small bits of plastic that I believe scrubbed off the knob. I brushed away as much as possible. There are few black spots on the mirror, but they don’t come off – I think the mirror is chipped (or corroded) there.

Testing the Kyoritsu KEW-6610
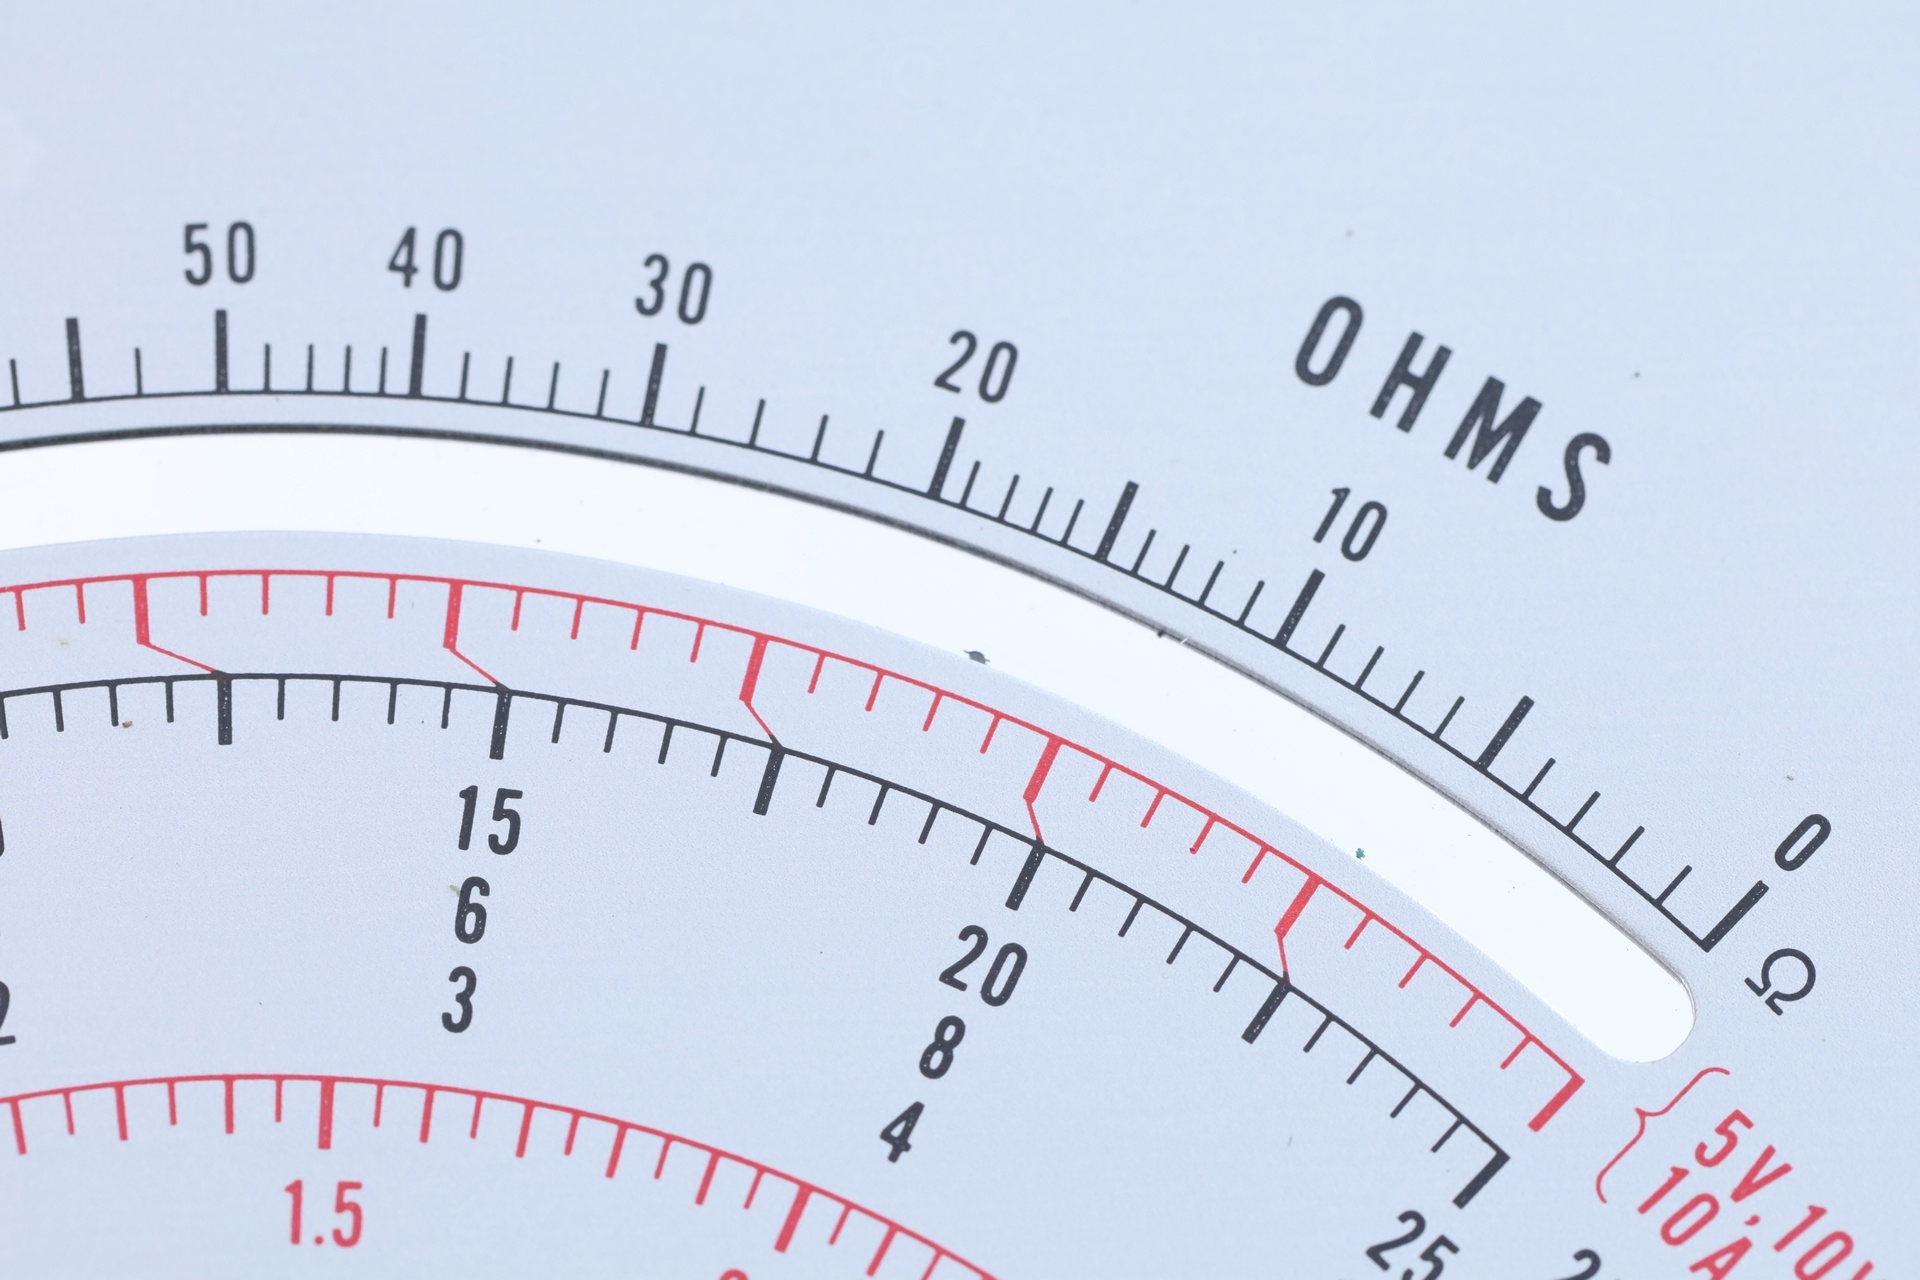
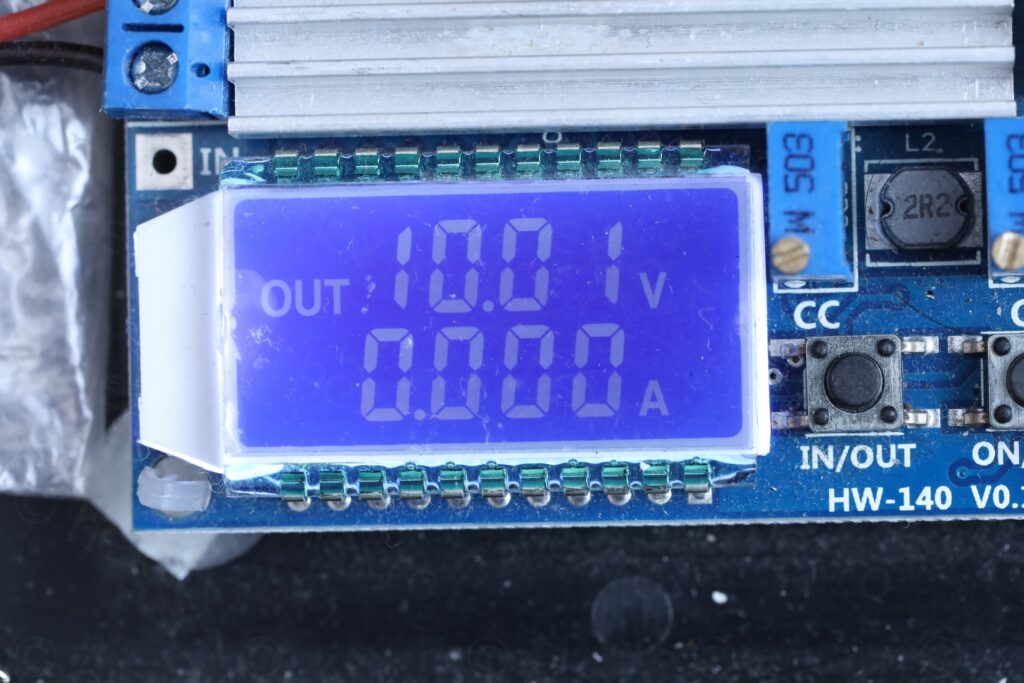
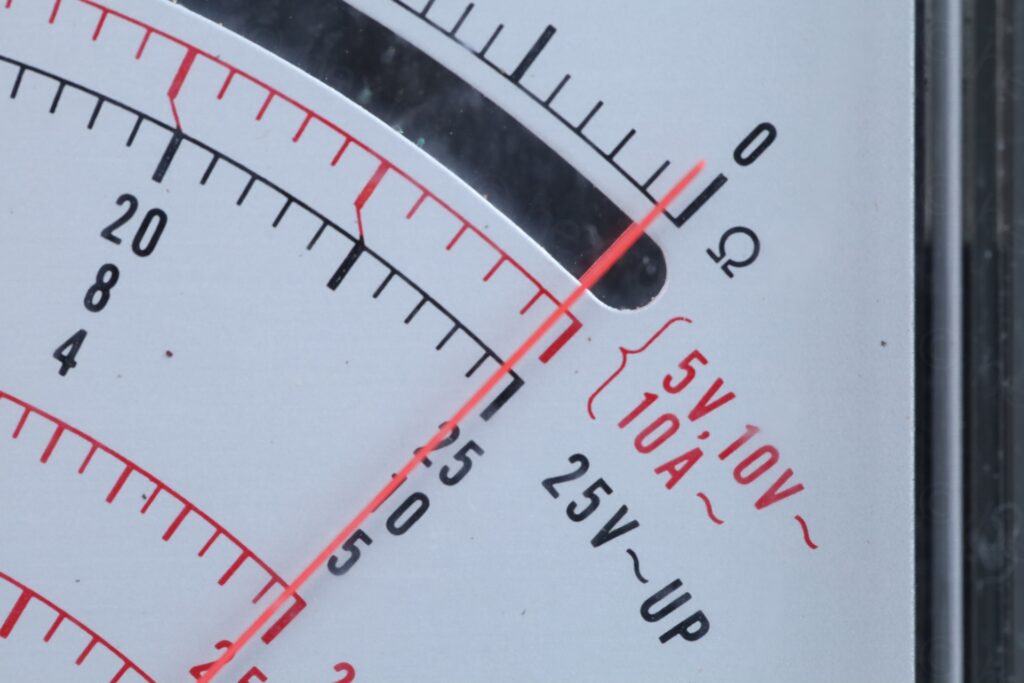
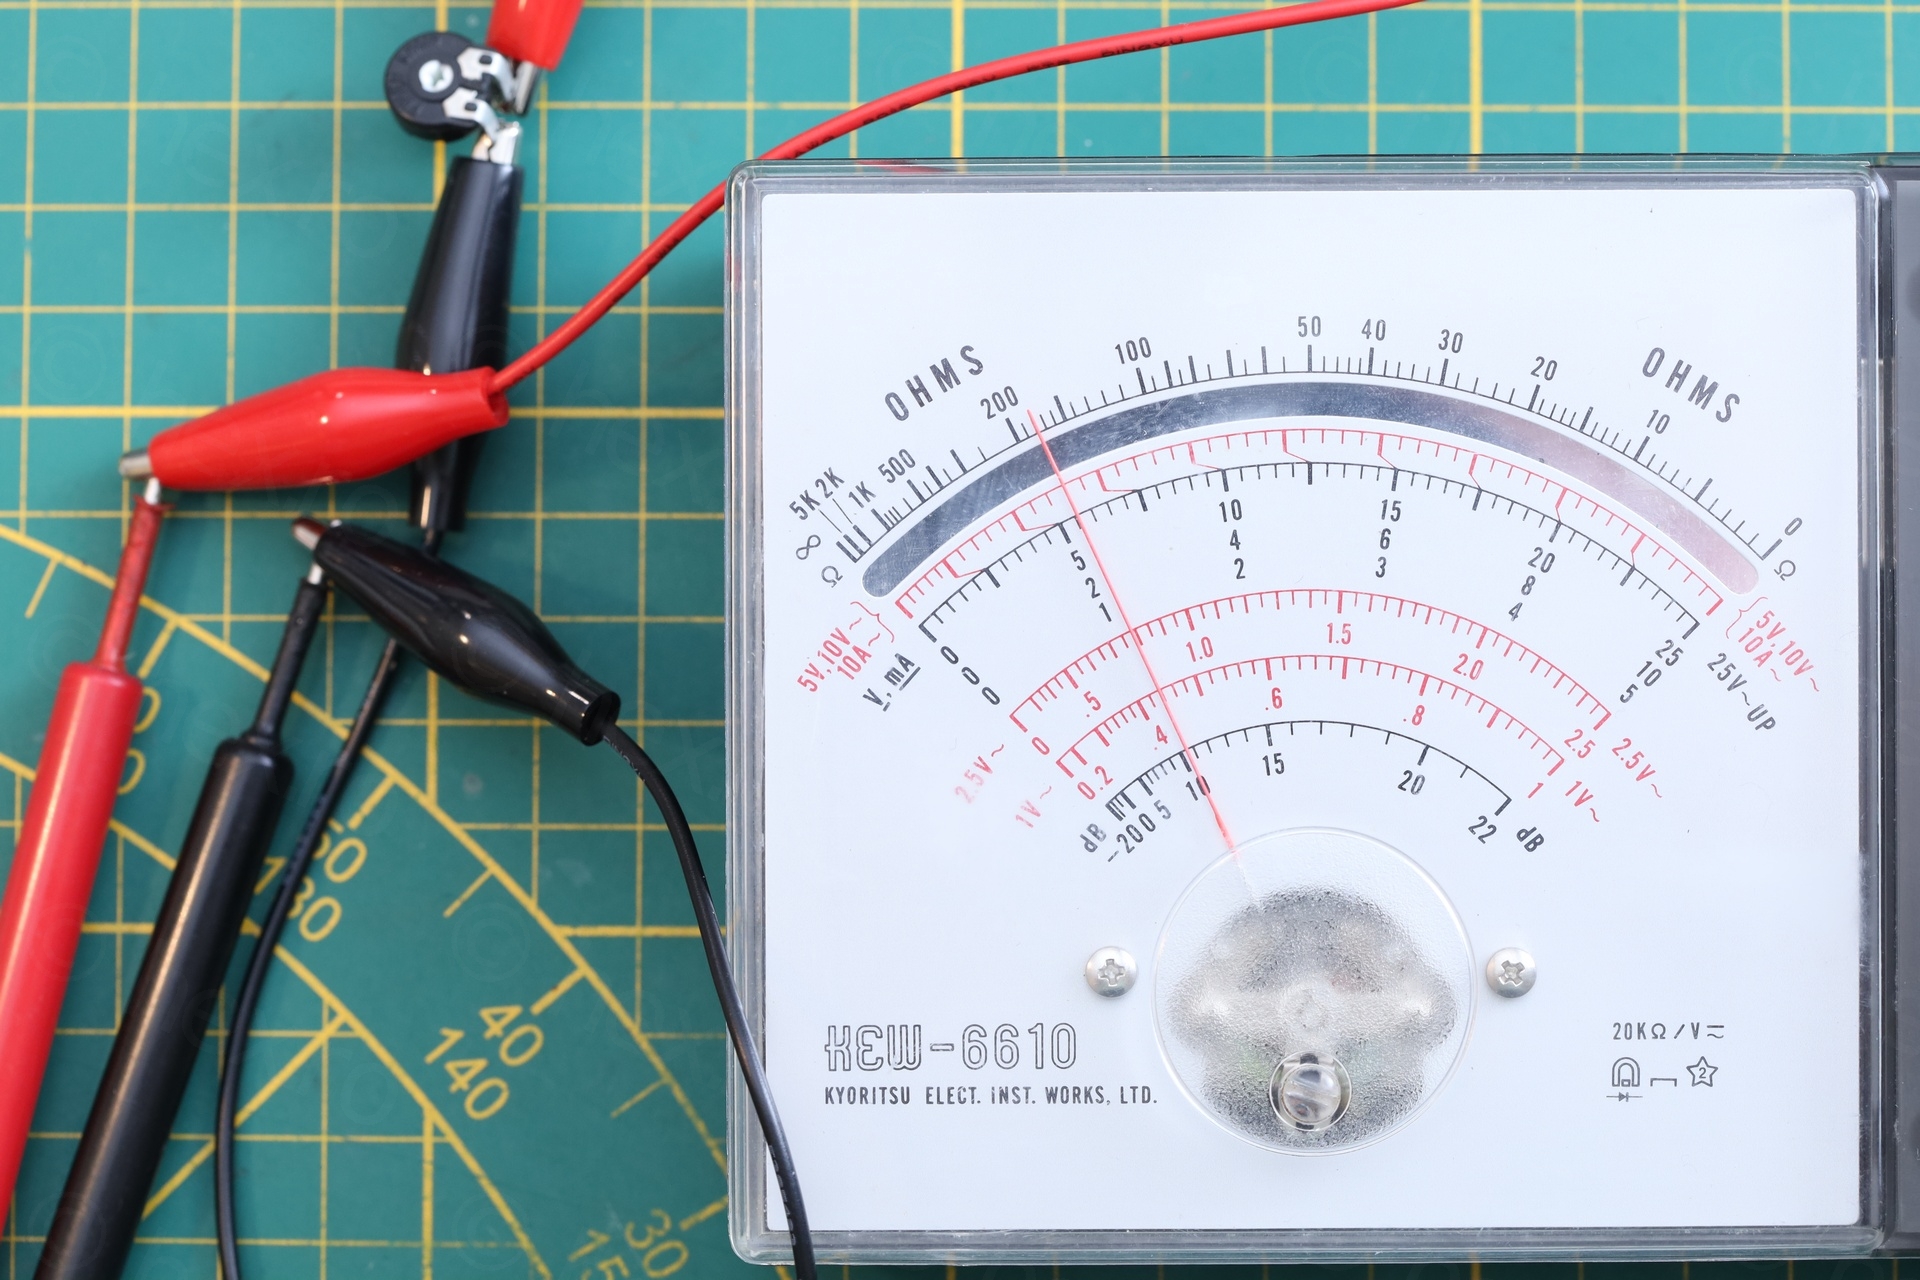
I decided to use my cheap power supply to test the meter in DC. It seems accurate till the middle of the scale, but once past, it shows 10V as being 9.9V (so about 1% off).
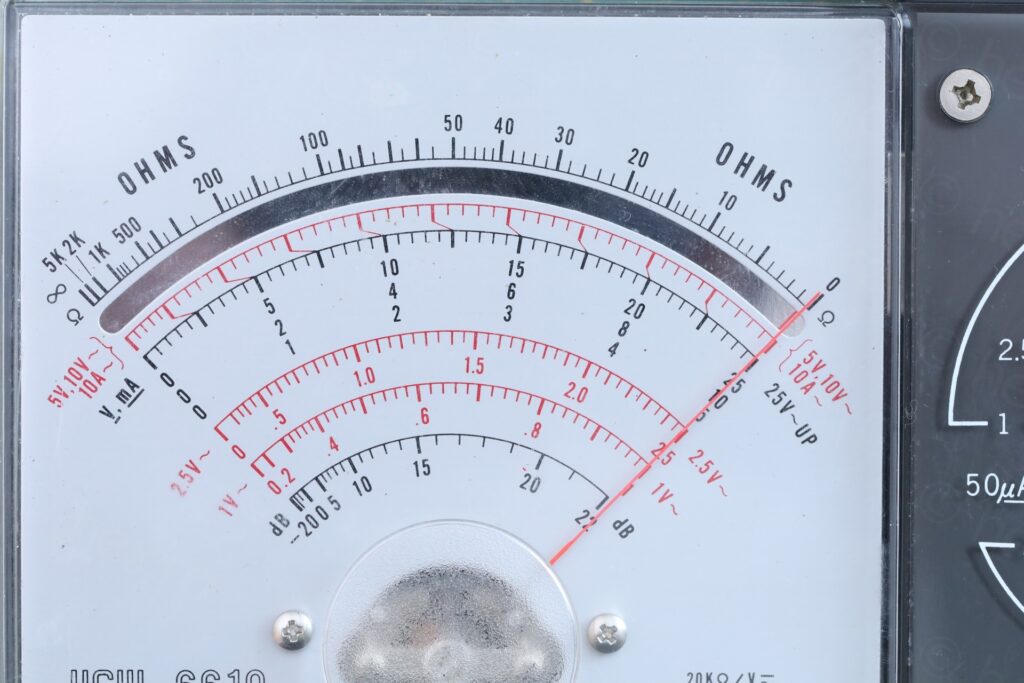
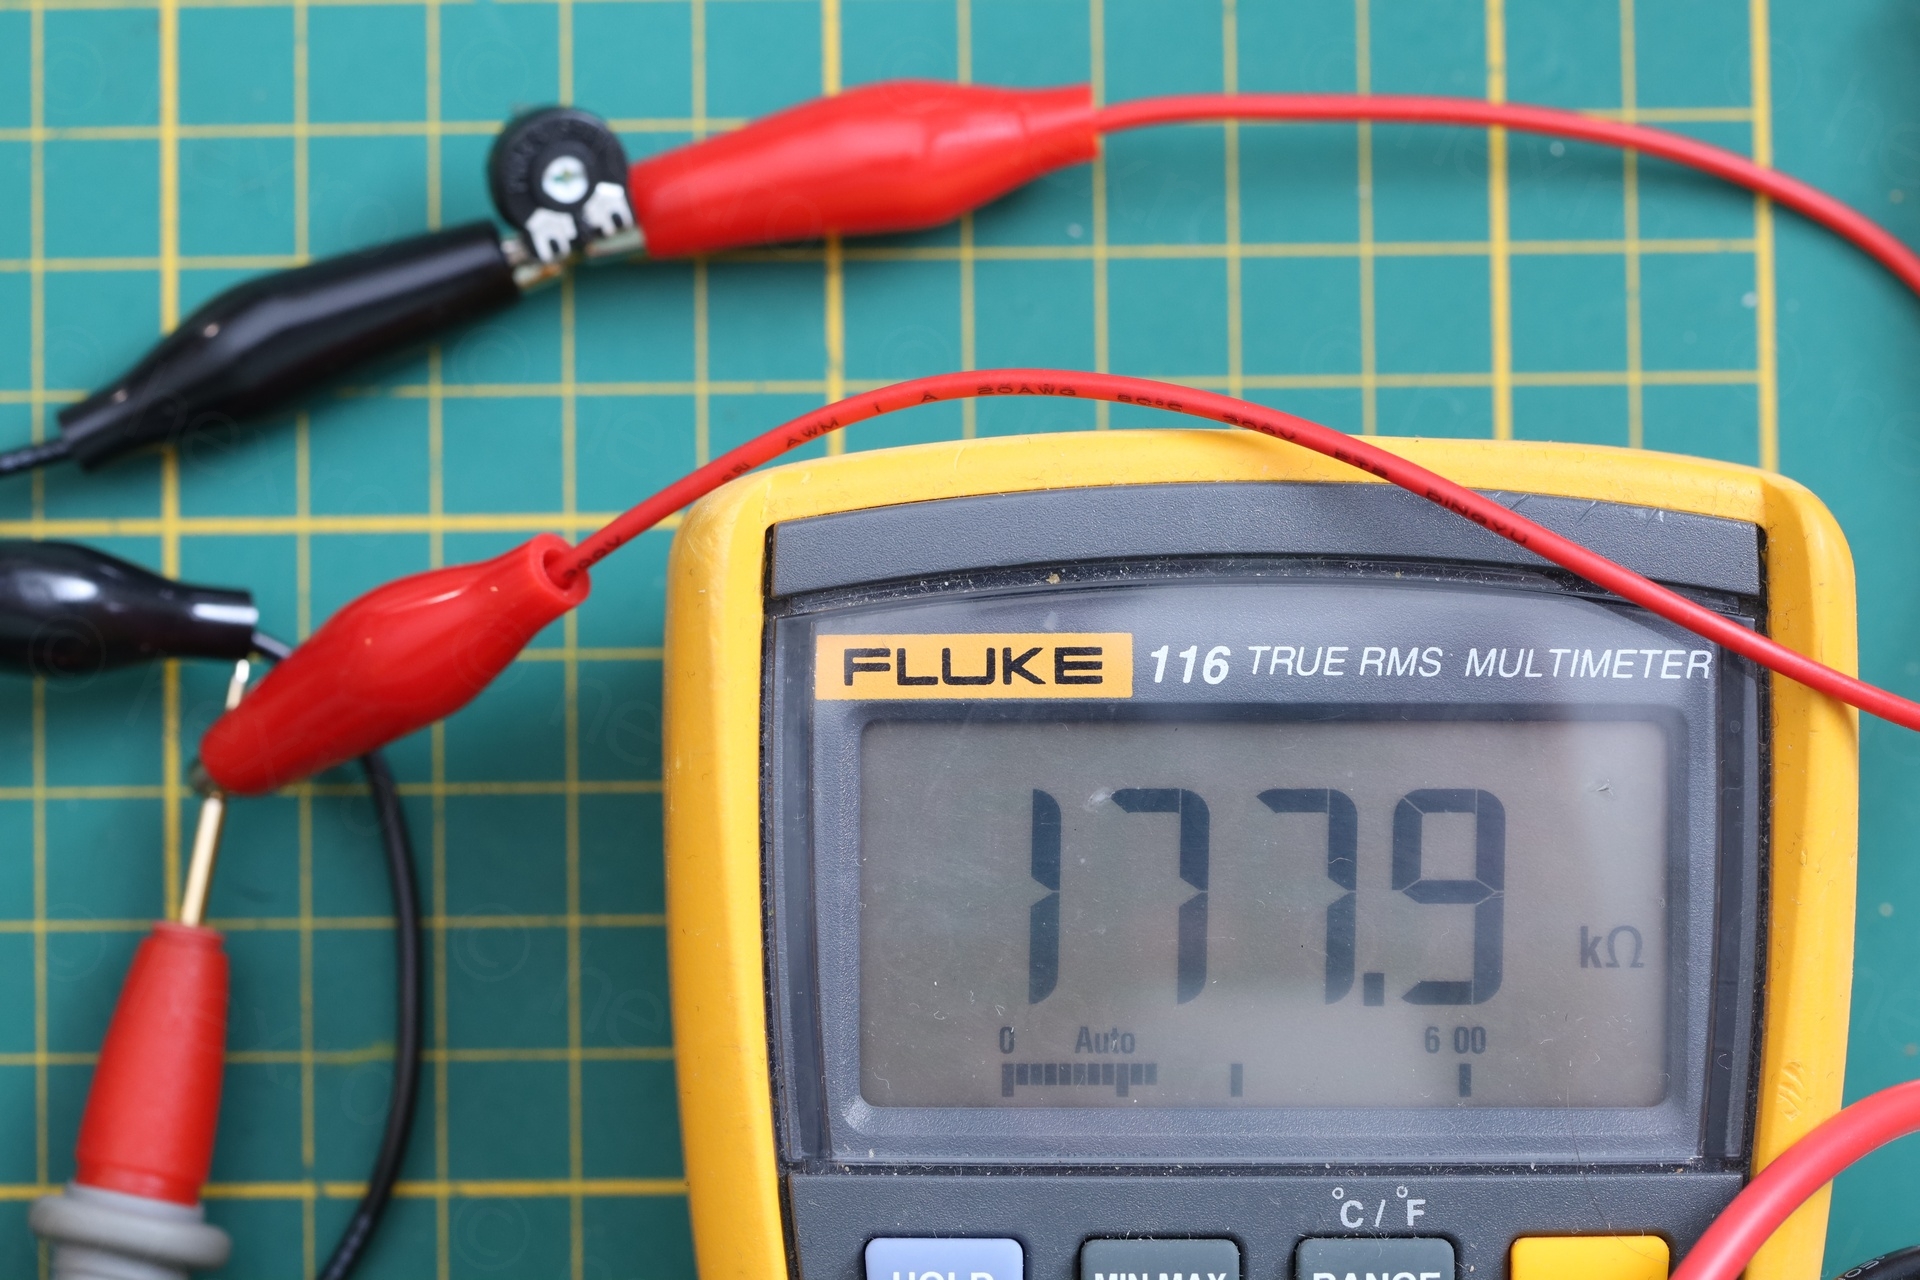
For the Ohm range, I picked a 180kΩ pot and it seems it indicates fine:

Problems
The most annoying problem is that the leads are very loose on the DC / Ohms scale:
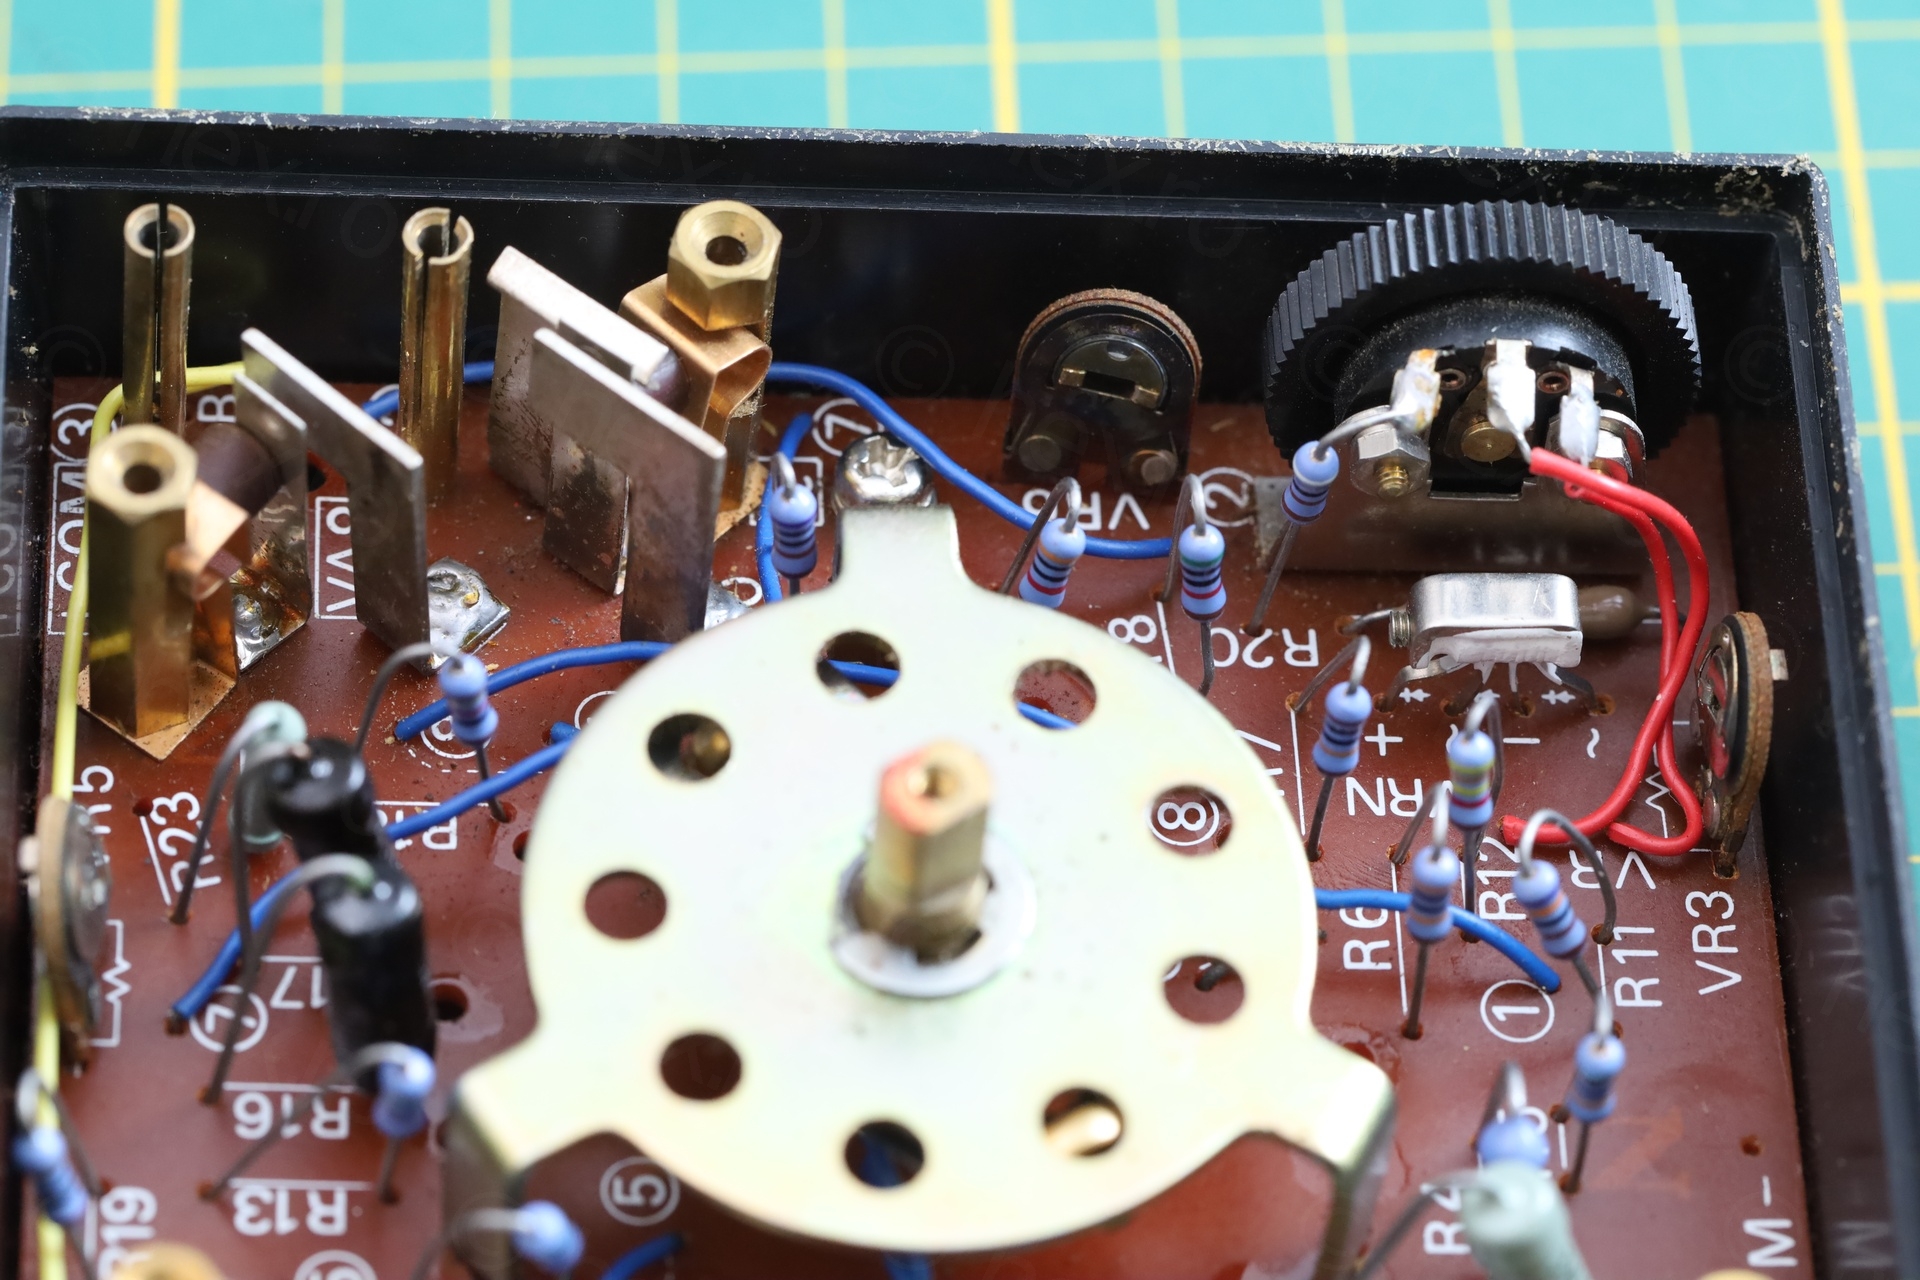
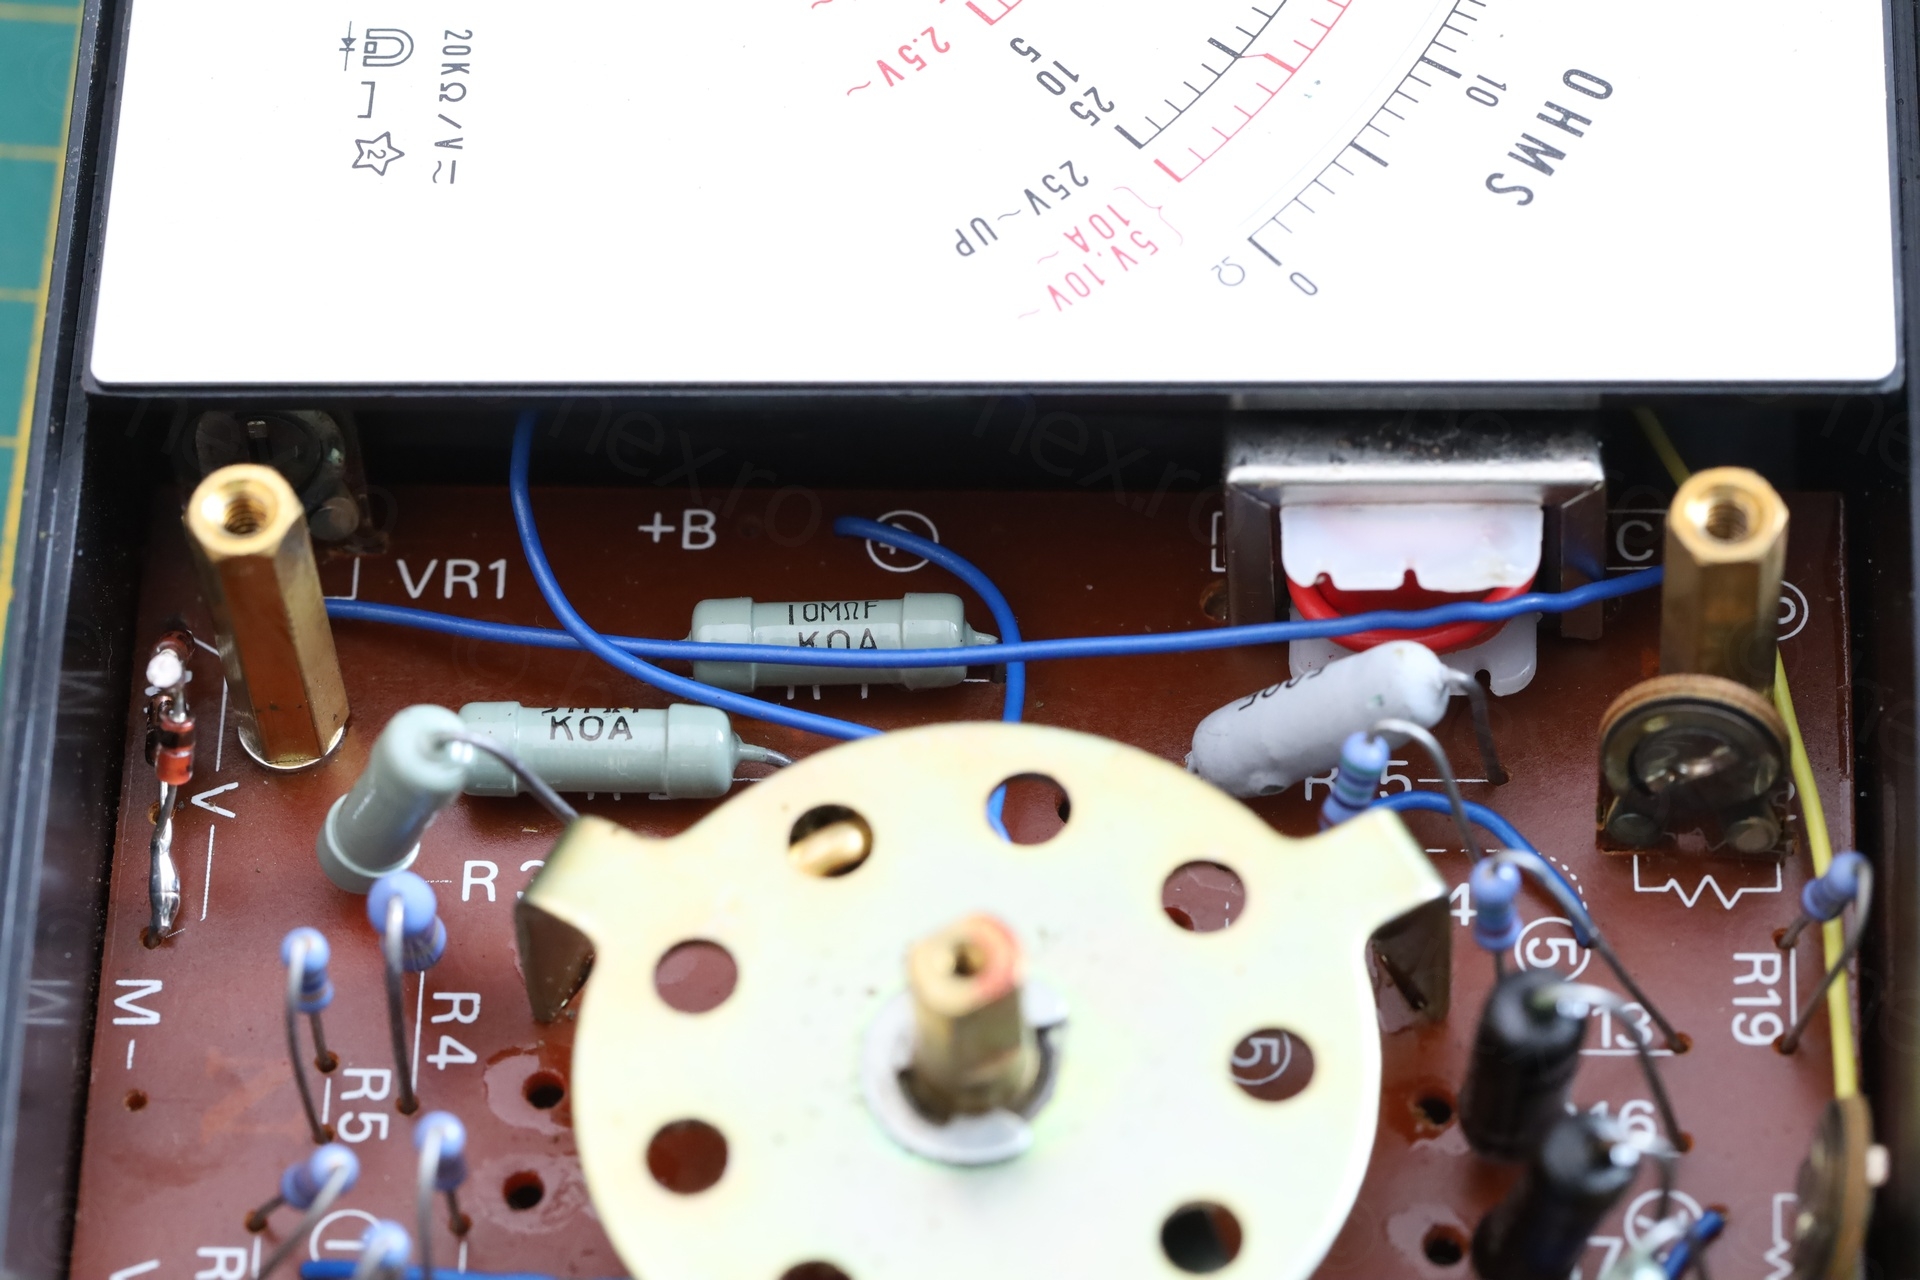
Looking inside, the 10A AC as well as the VA AC posts have a spring leaf pushing against the leads, providing very good contact. Those leafs serve as switches too. However, the DC / Ohms posts are normal standoff posts. I think these leads are not original. I found in an ad (Electronics Australia 1971 (Nr.4)) that the leads are right angled, not vertical. I could have tried to squeeze the posts, but I will probably not use the meter, so I didn’t try.
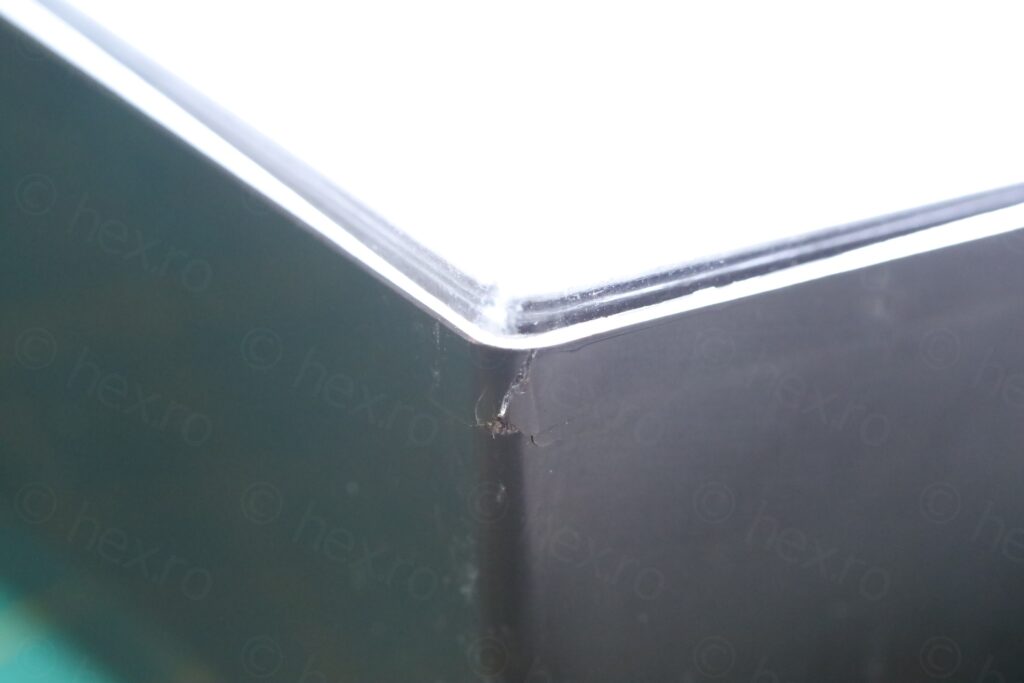
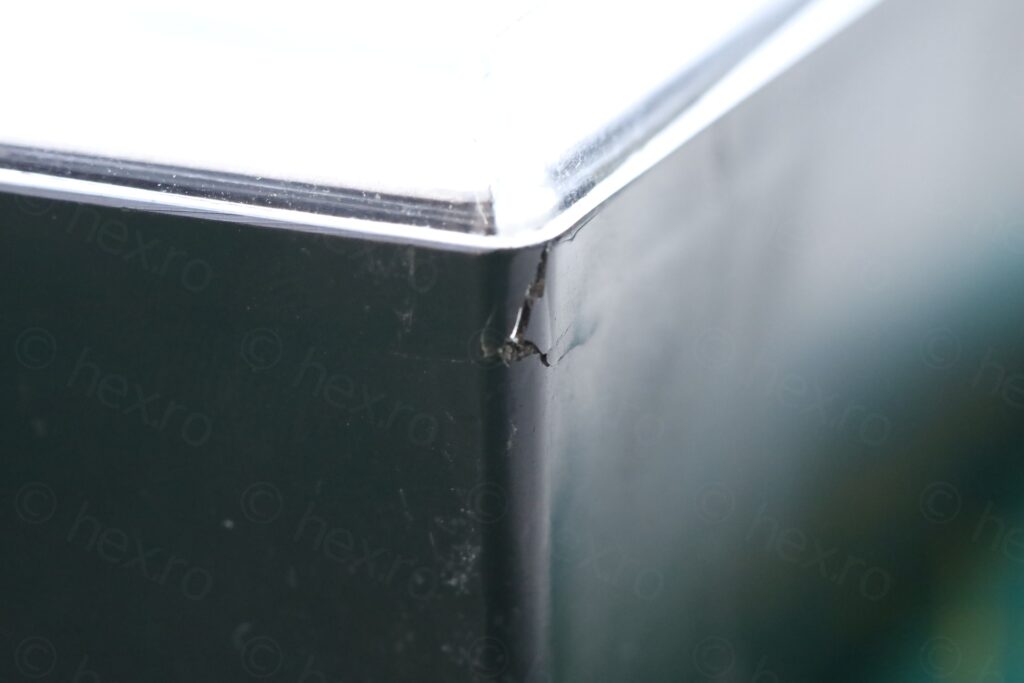
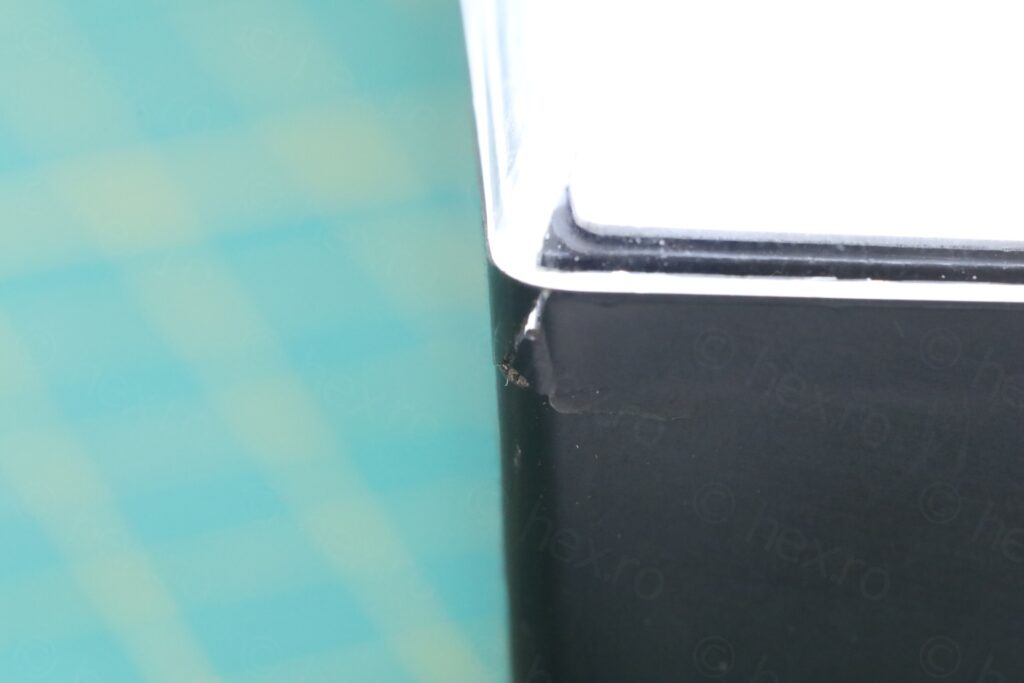
Another problem is that I found the plastic cracked. Even if the corner is a little chipped, it seems that the crack is is longer.
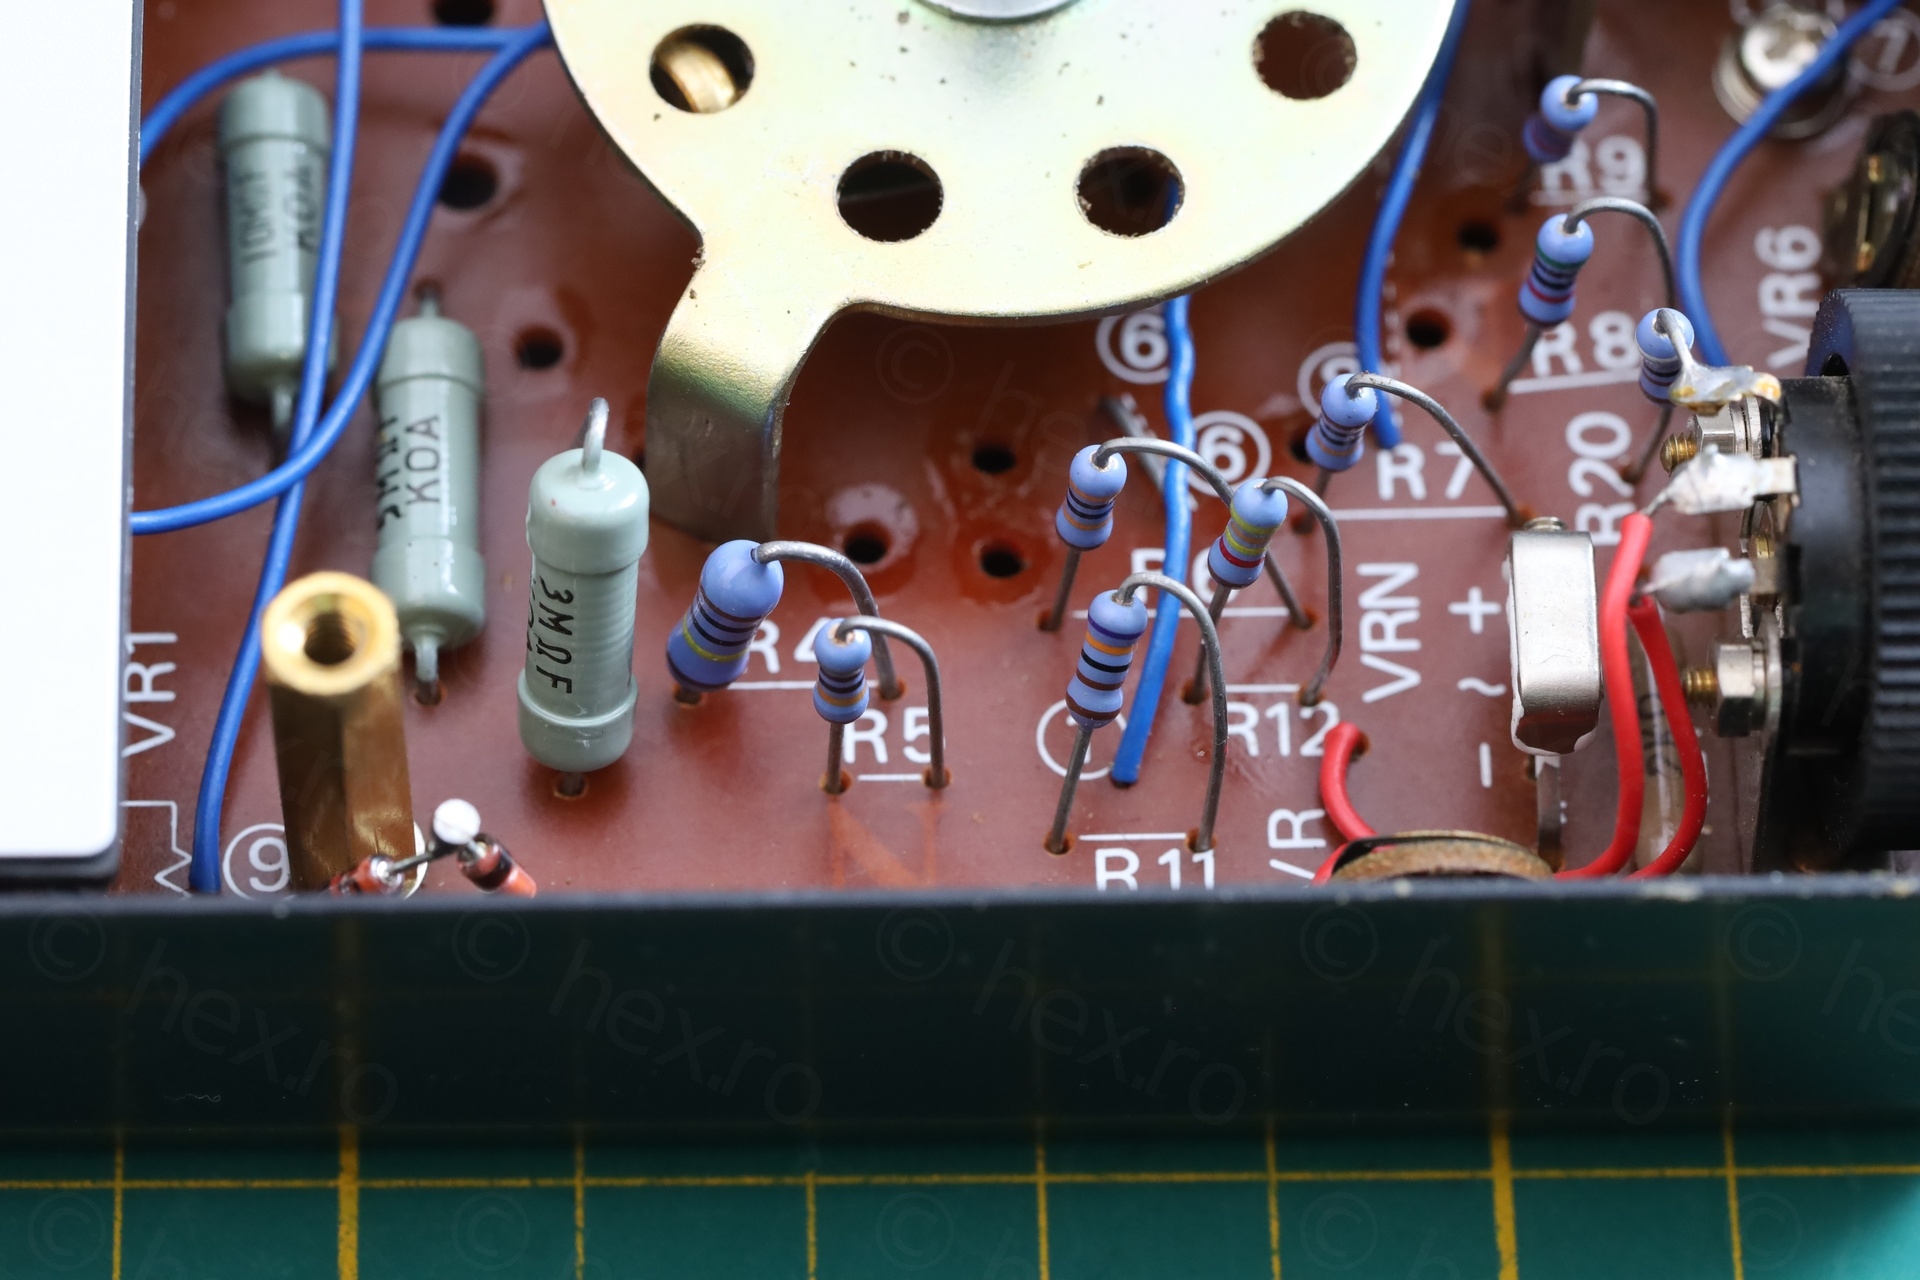
Attempted calibration
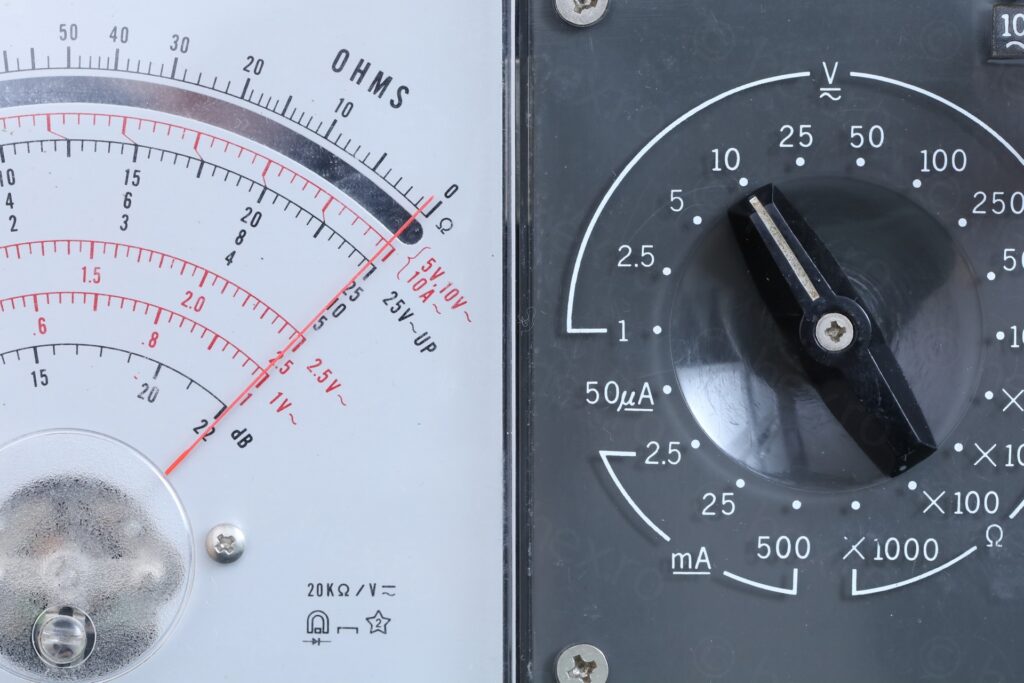
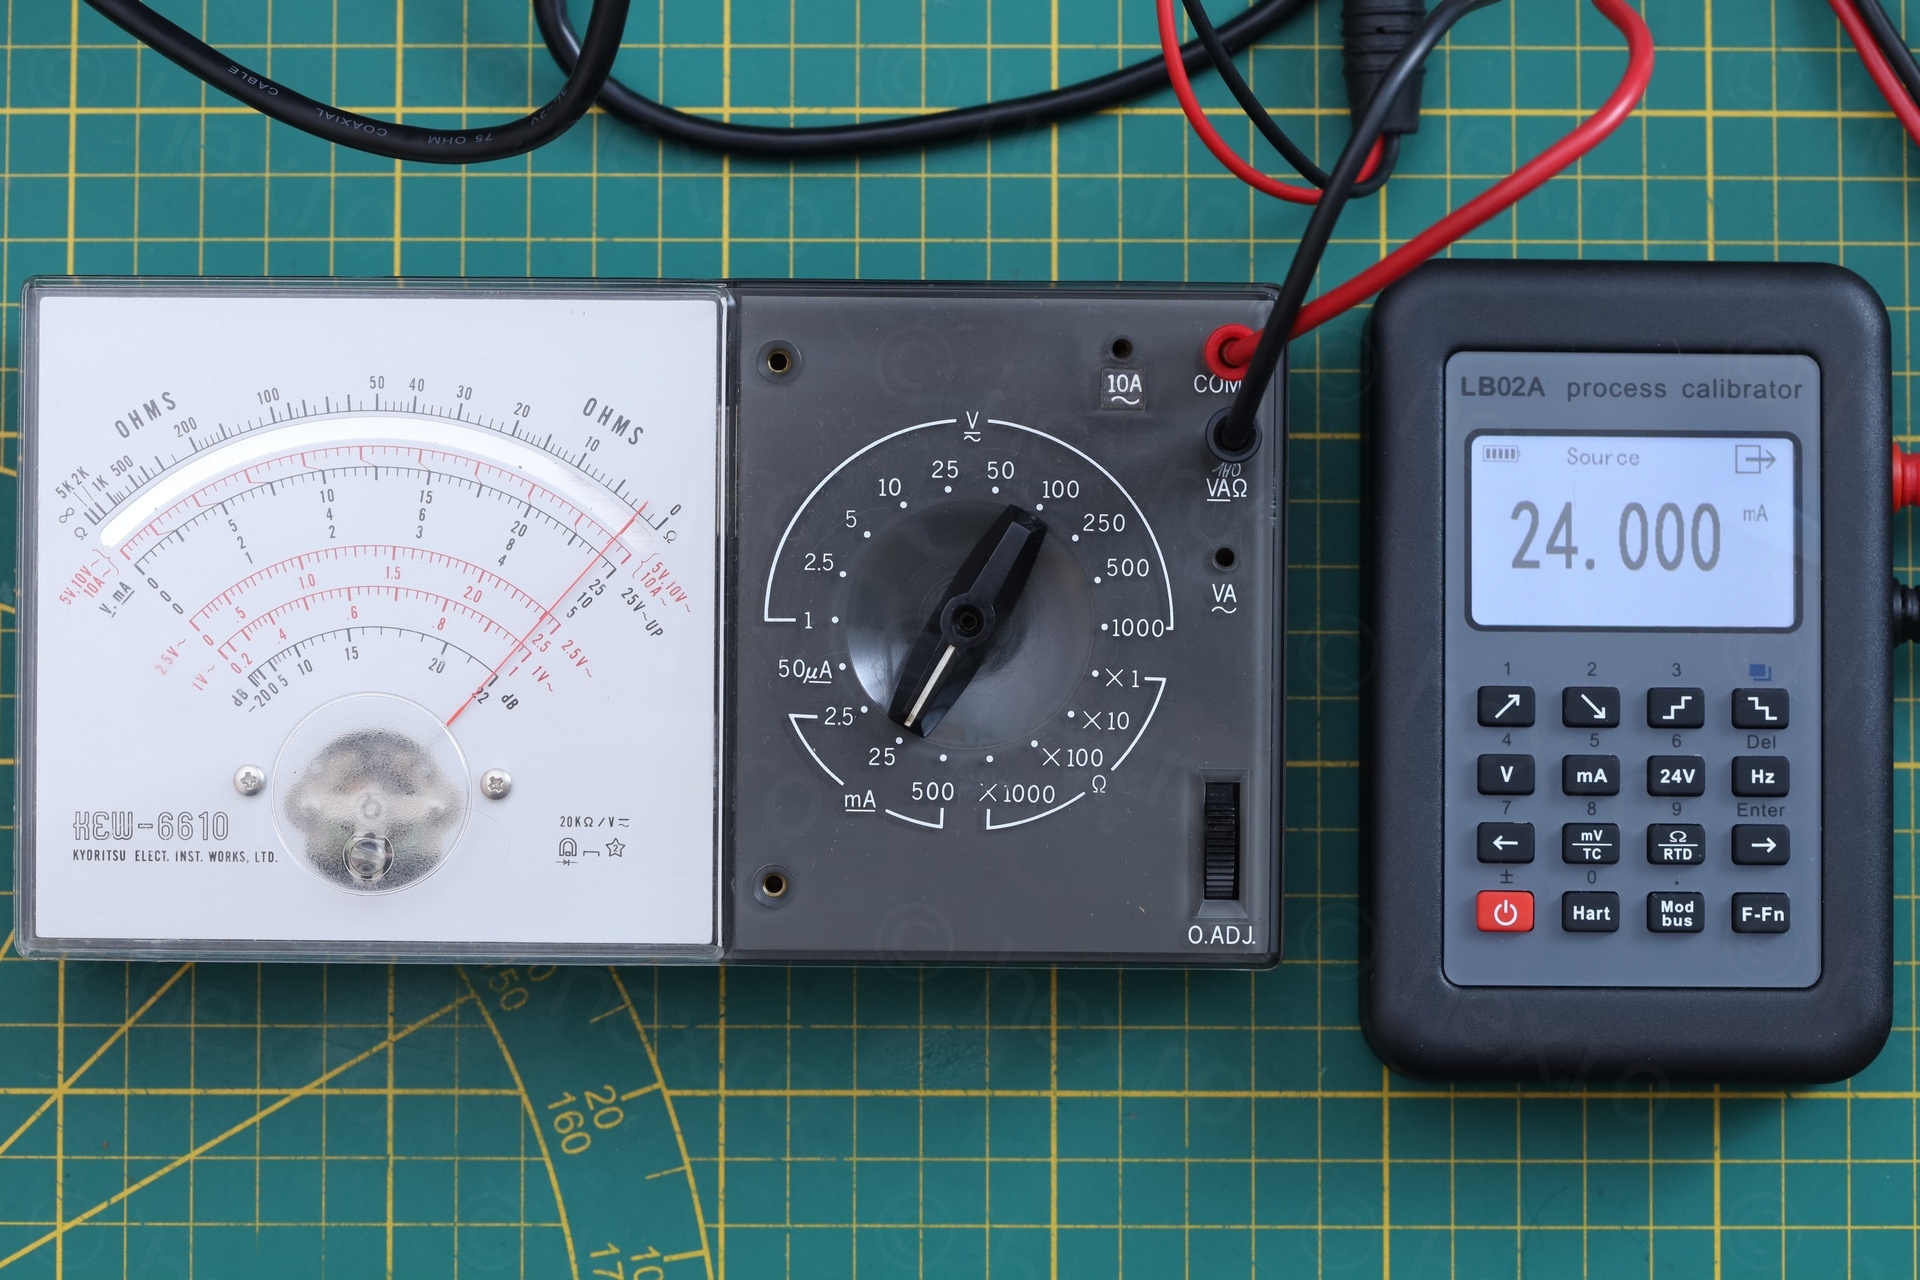
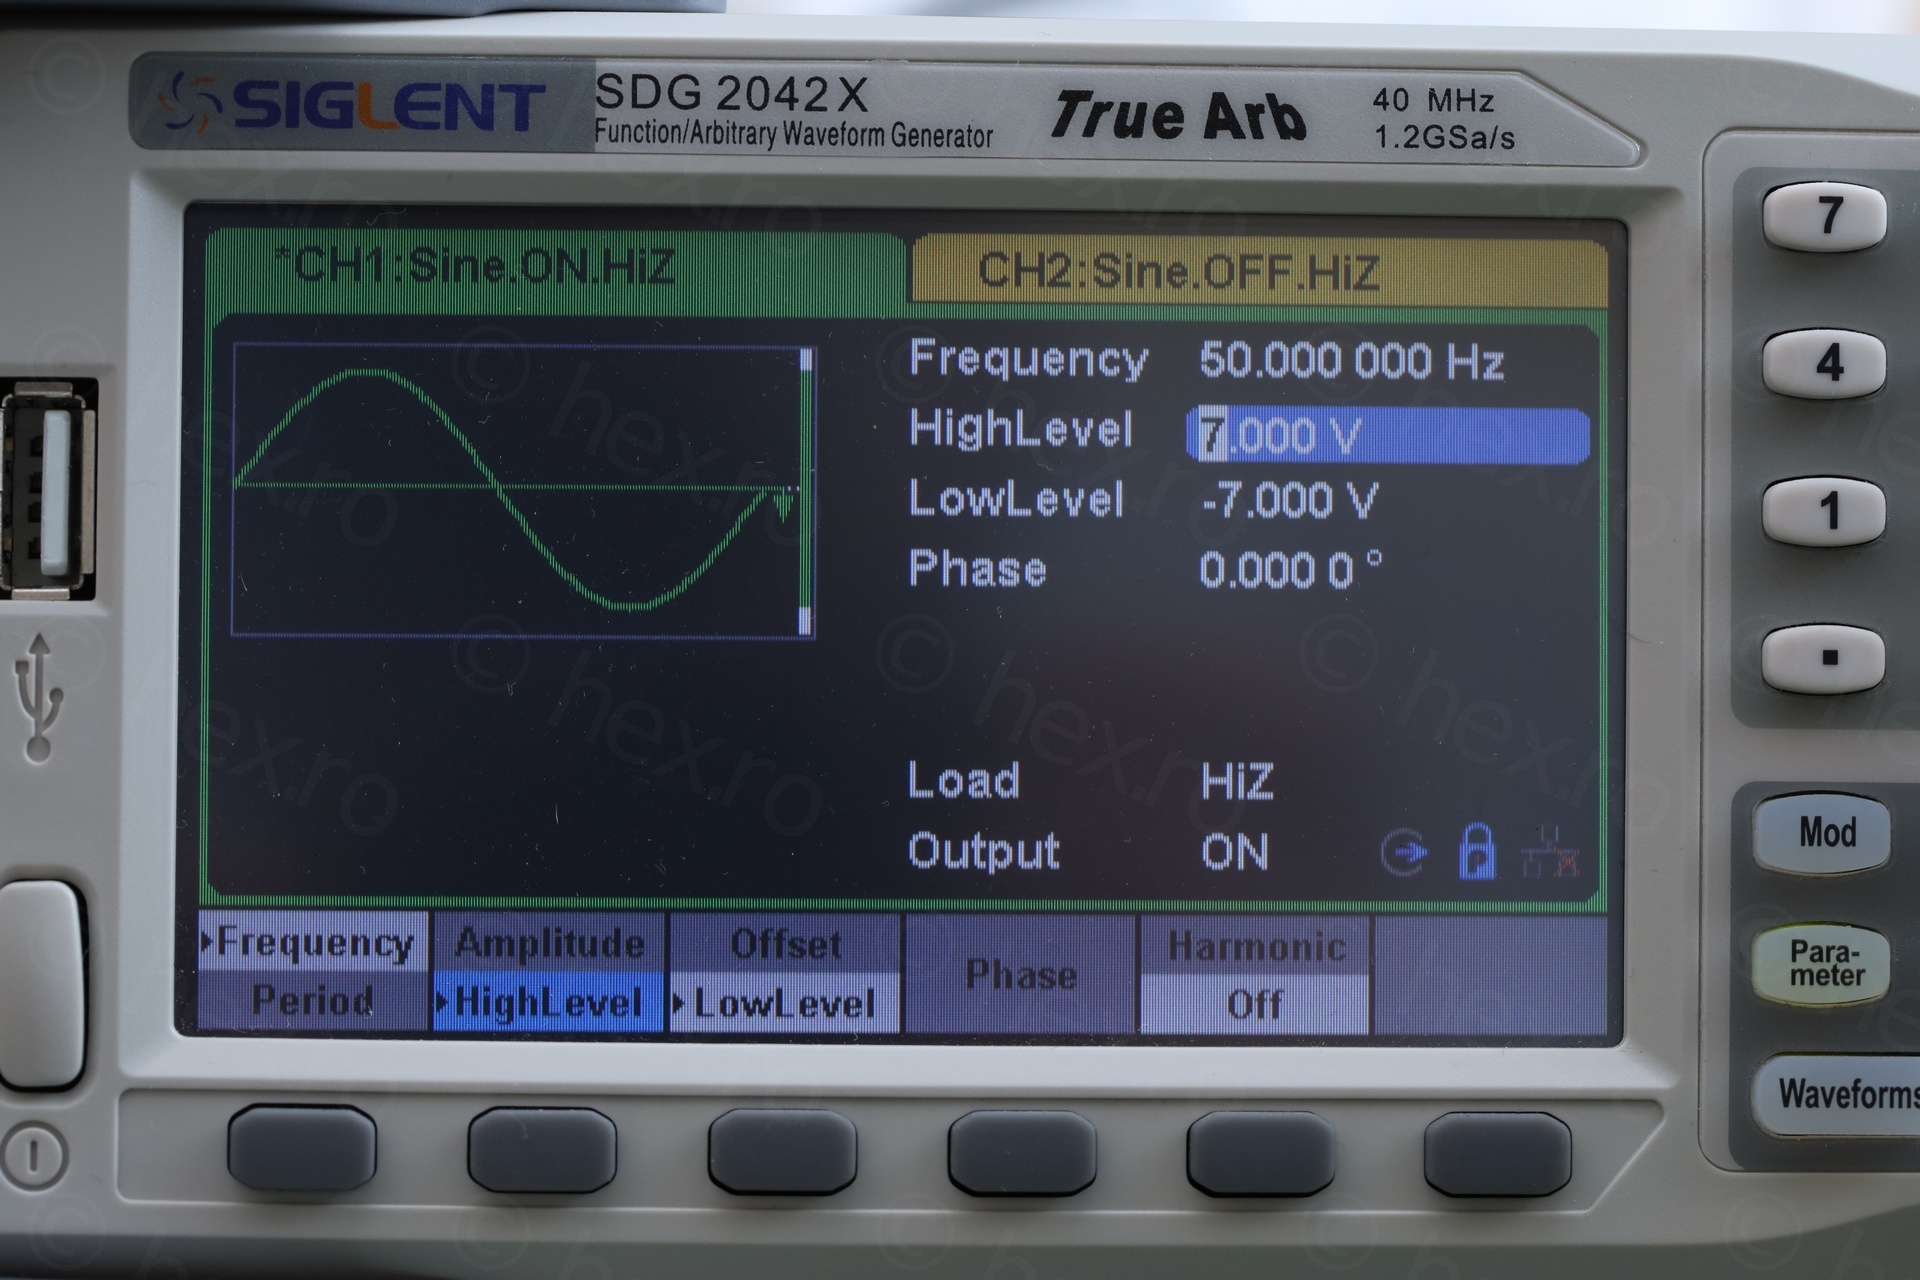
I don’t have any device with certified calibration, the best I could do is with a mix of LB02A for Current (lower scales), a Fluke 116 meter for resistances and an SDG 2042X for small AC/DC voltages.
I found no calibration procedure for the meter. The schematics are available online, but they are not clear either.
The most annoying was DC range, showing 9.9V instead of 10V. I took good notes where the pots are set, and started fiddling with them. For DC Voltage calibration, the only one that made a difference was VR1. I was able to get the meter to show 9.95V for 10V by just taking VR1 to the bottom of the scale (reading almost 0 ohms).
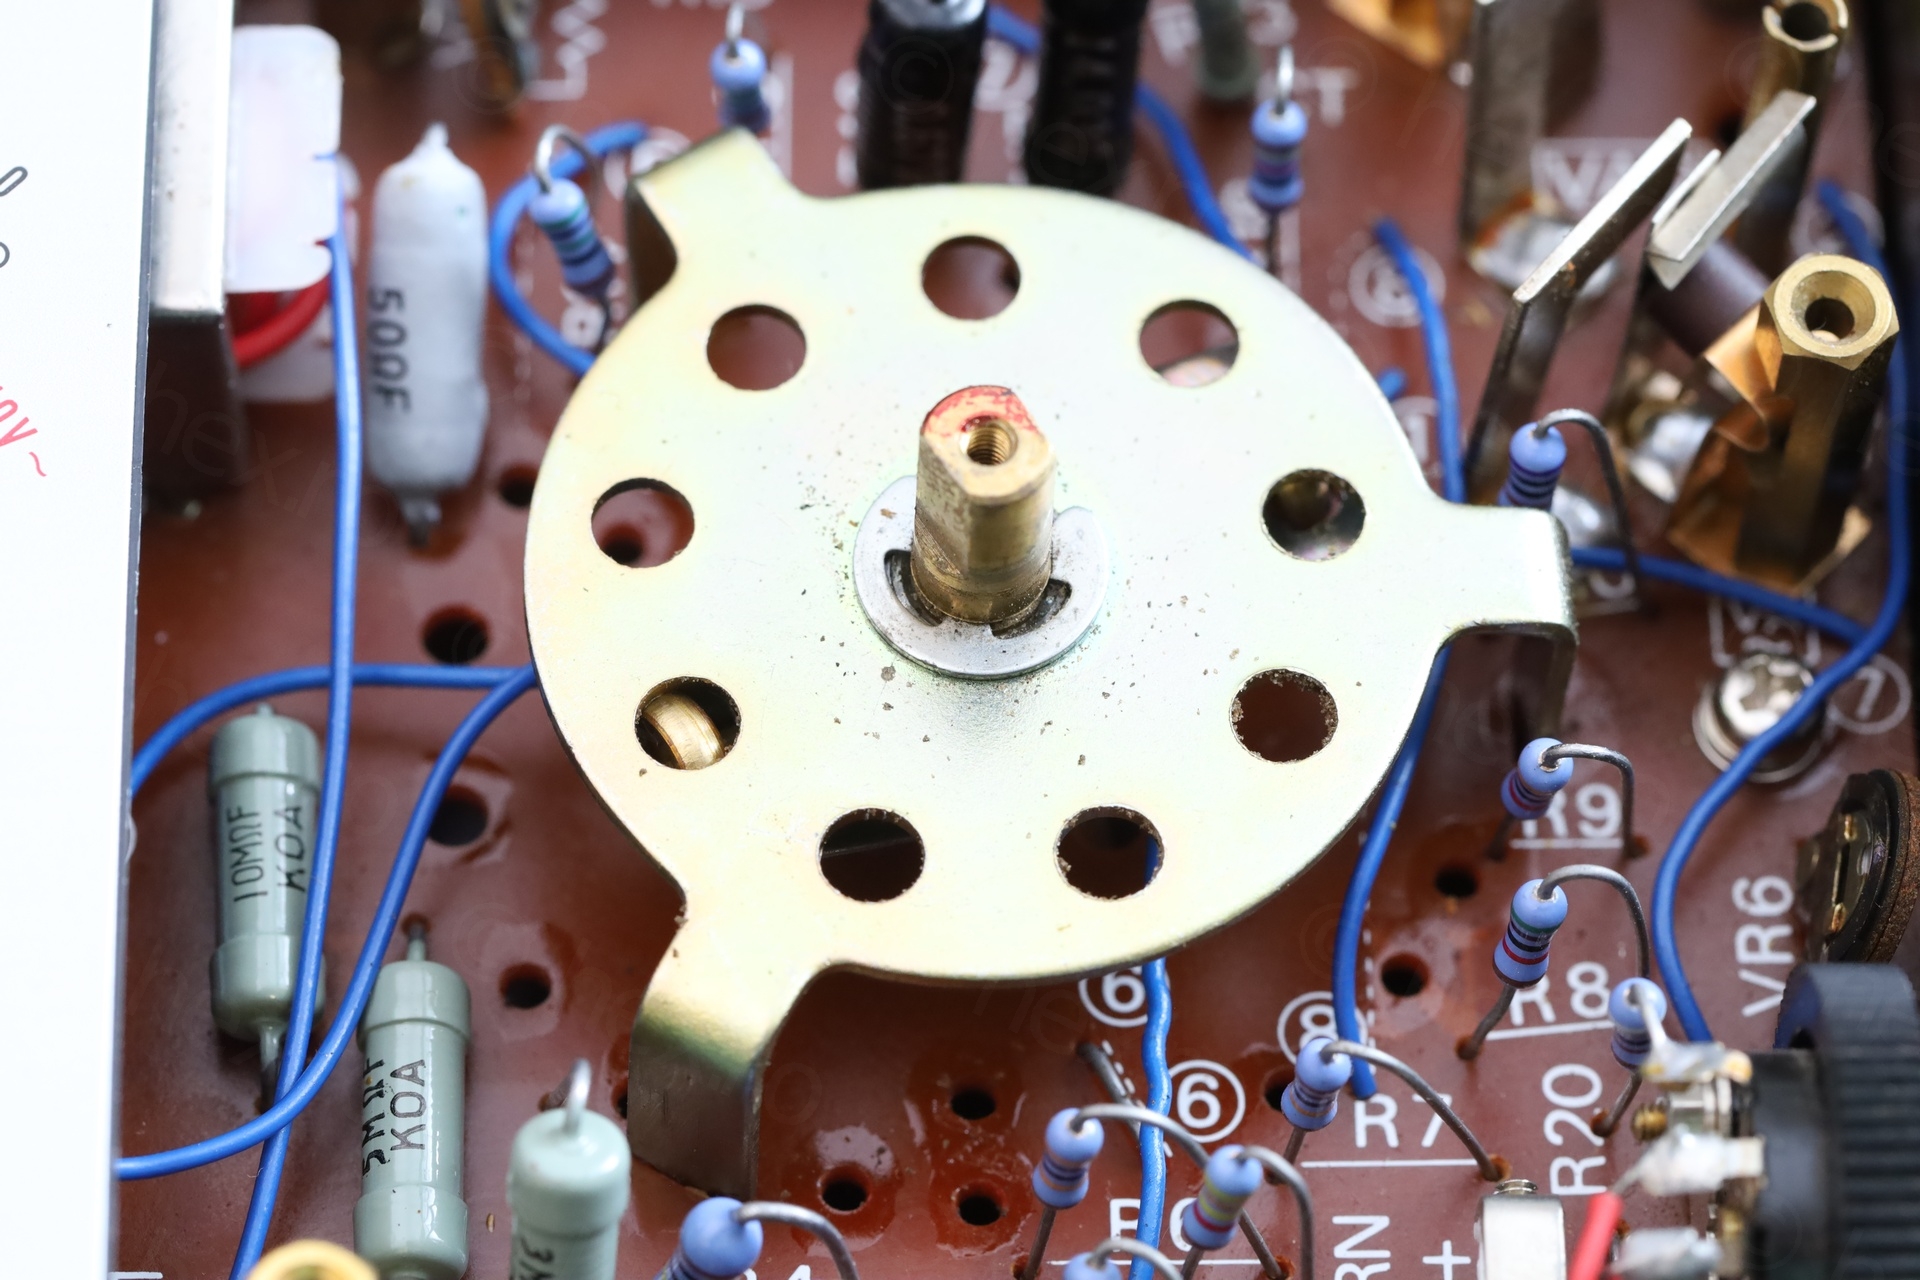
But VR1 looks like a ‘master’ pot, directly in series with the analog meter itself. It affects all measurements. Tweaking VR1 for DC I ended up with corrupted current measurements. Those thankfully have their dedicated pot, VR2, which allowed me to bring the meter back into the range for current.
Ohms reading are now slightly off, a 115.2ohms resistor is reported as a 110 and that is more than 3% (while the manual says it must be 3% all across the scale). There is no other pot for Ohms except VR4 (which is the Zero Ohms adjust). The only remaining pot is VR1. So I’d have to dial back VR1, accept the 9.9V instead of 10V (1%) and to get the Ohms back under the 3%.

I gave up on alignment and put the pots back to original position. I doubt this will ever work better. Next steps would be to fully take the meter apart, inspect all resistances and the analog meter itself. And hope it is not the meter itself. I saw how it is inside, now, onto the next project!
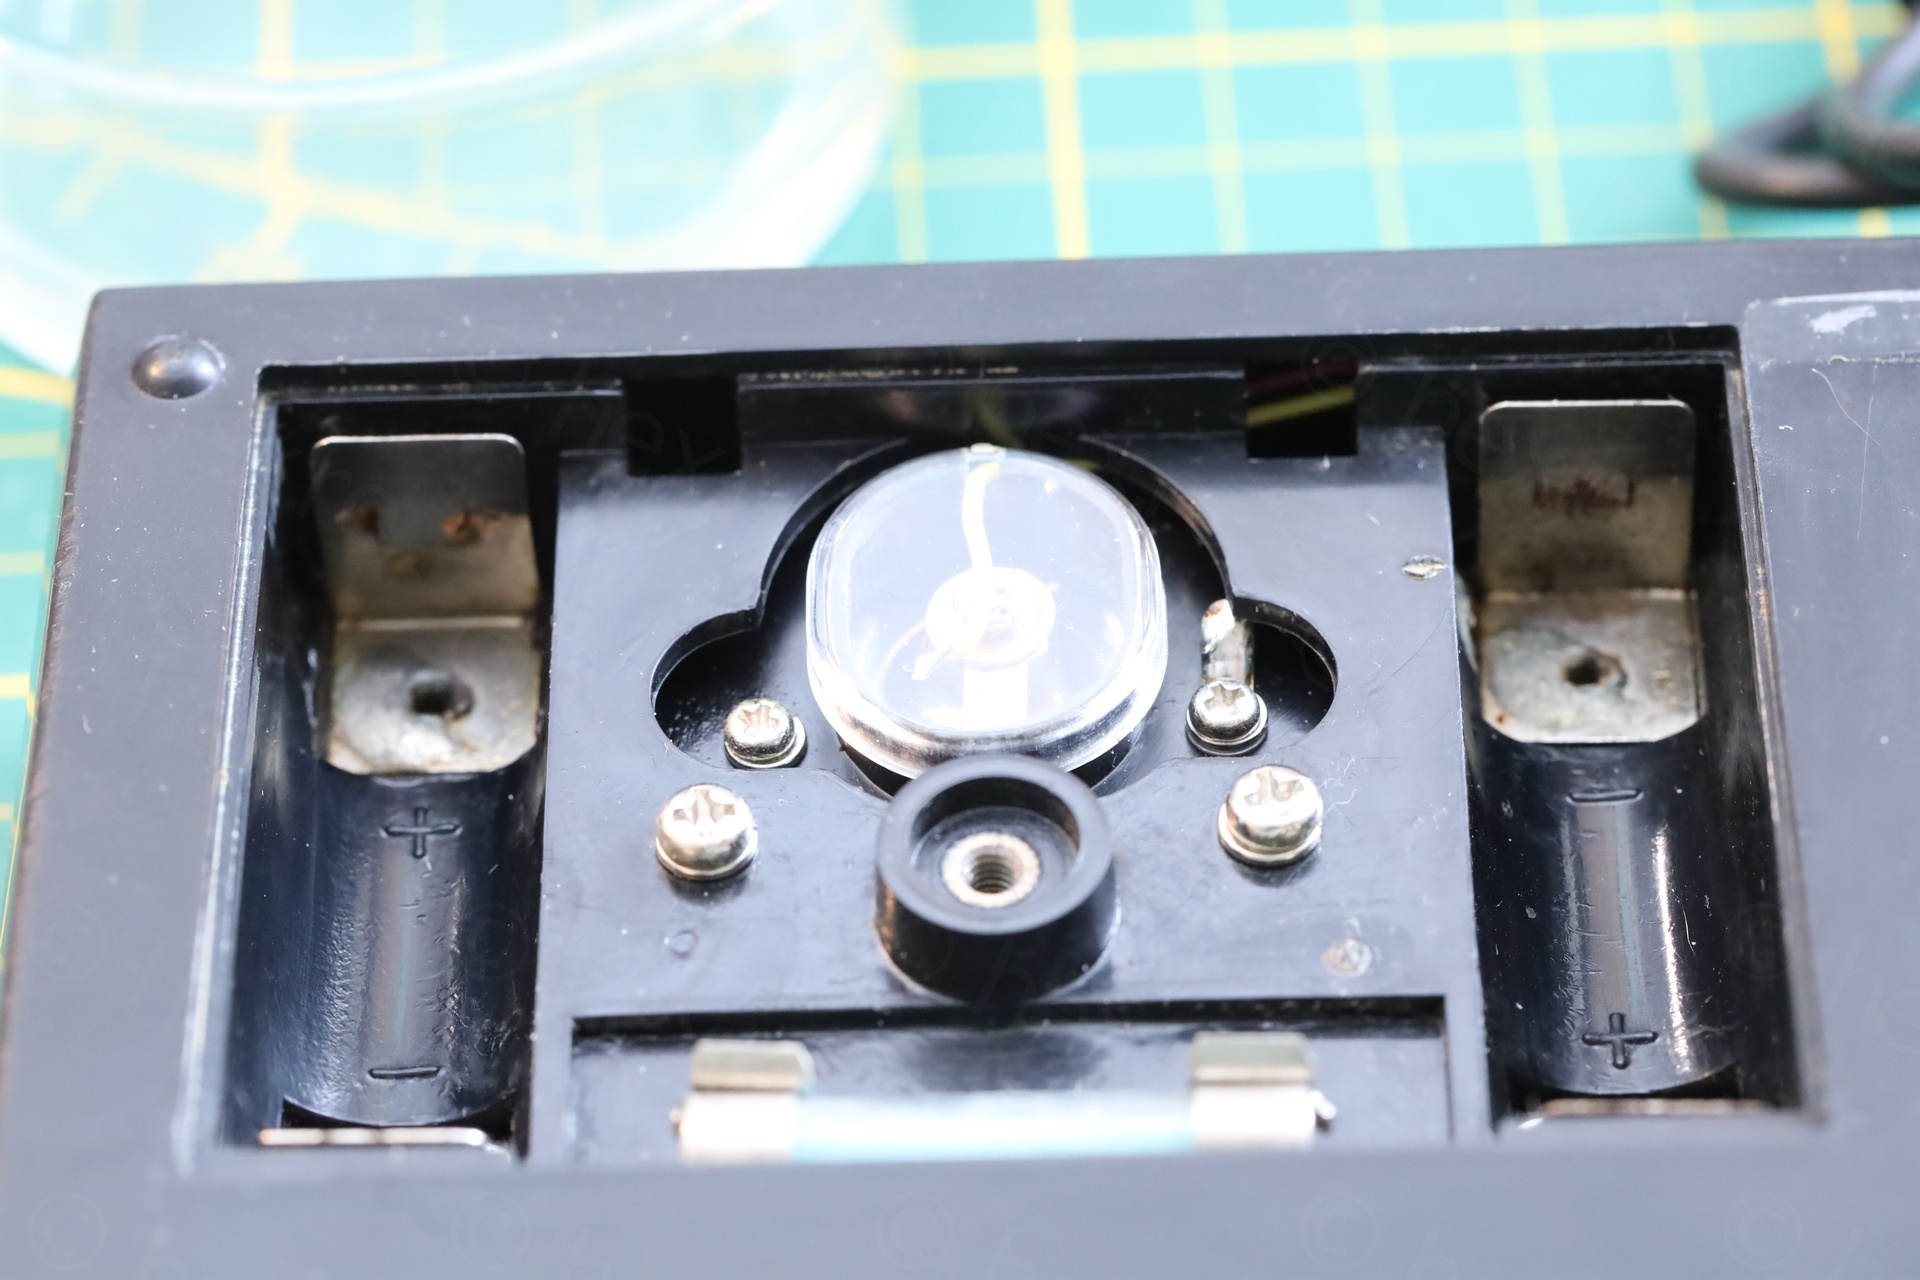
Few more photos:

ObsoleteFuture
This is an instrument specified at 3% of full scale at DC, 10 reading 9.9 with otherwise good linearity is very much in calibration.