There is this internet advice, that one can fix dead vertical lines by running the hot soldering iron tip over the cable just under the affected lines. Touch, lift, touch, lift, and eventually, it will work.
But it feels wrong … to heat it up but not keep pressure on it as it cools down ?
The easier way of fixing it
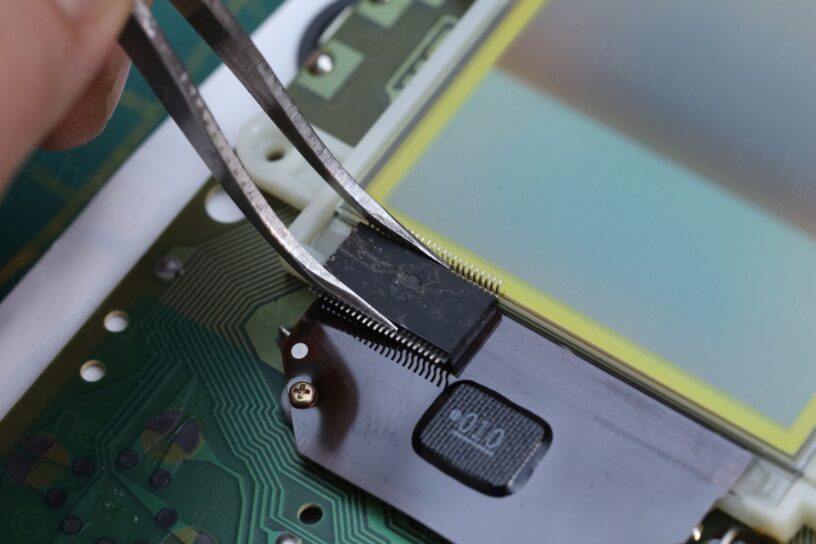
I saw a small IC on my bench, and I realized this may work. I pinned the IC down with some tweezers (IC belly up). I kept the tip on iron (400C) on the IC until all lines came back solid. You can see the marks on the IC:
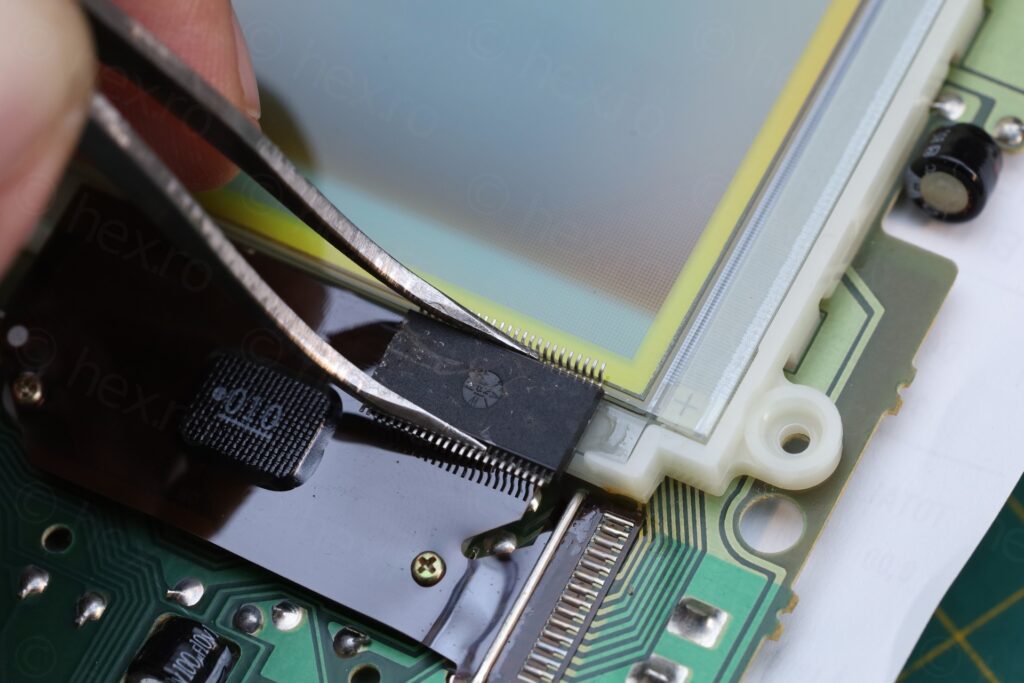
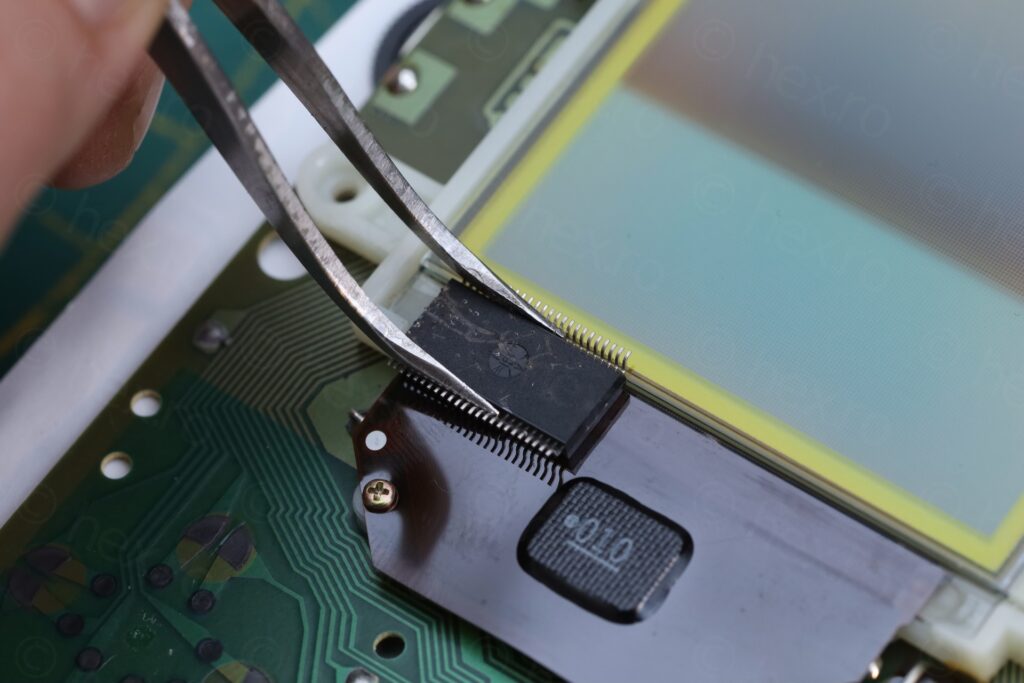
This took me a little more than it should have, but it only took few minutes.
First thing that happened (after a bit of heat on the IC) was that the whole block of lines just vanished, turned off. It was frustrating and annoying. Applying a little heat, then taking iron off had no effects, lines were still off. Then I figured, I should just leave the iron there, duh, of course the IC takes a while to heat up properly. So I just kept the iron down on it, and watched, and watched … I think after 30 seconds (but not sure, since I was stressing out) but then all of a sudden, many lines just re-appeared. The most stubborn one was the first one of the left which was still flickering. I decided to stop applying heat (while keeping pressure on the IC) and eventually, it settled in the ON position.
Now, if this doesn’t work for you, I take no responsibility … but it worked for me. It can be argued that is more efficient too, than using the bare tip to heat up / lift, wait, heat up / lift, wait. It is also cleaner, only slight marks remain from the pressure of the IC on the flat cable.
The only drawback that in general, people don’t have a spare IC lying around on the bench.
Do not use alcohol for cleaning the conductive pads
I also see videos where people dip cotton buds into Isopropyl Alcohol and proceed to “clean” the conductive graphite pads. They show how black the cotton bud becomes and imply the pads are now “cleaner”.
Well, yes, the pads have way less graphite now.
My fix for the buttons is to stay away from IPA, but instead use a Graphite spray. Spray a bit to form a small puddle on a paper then apply a thin layer on the pads, using a thin paint brush:

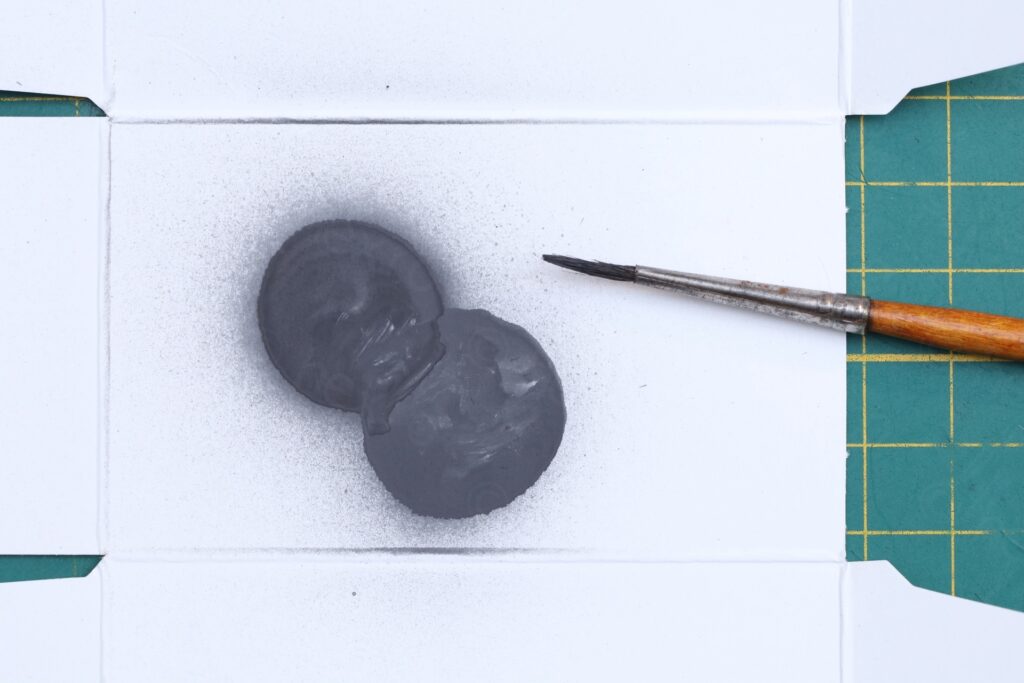
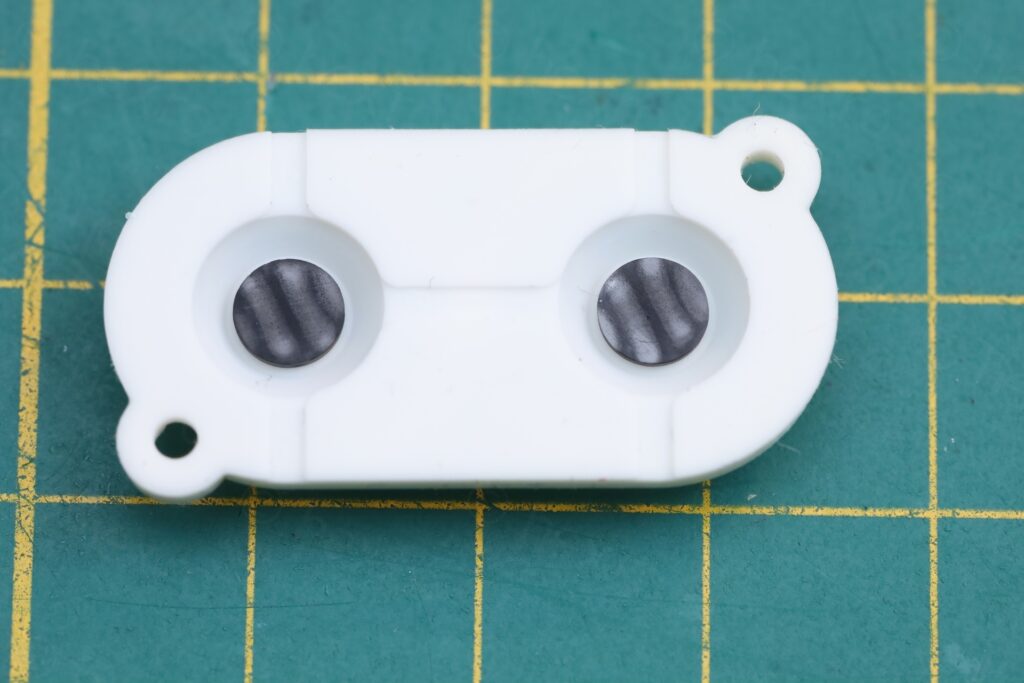
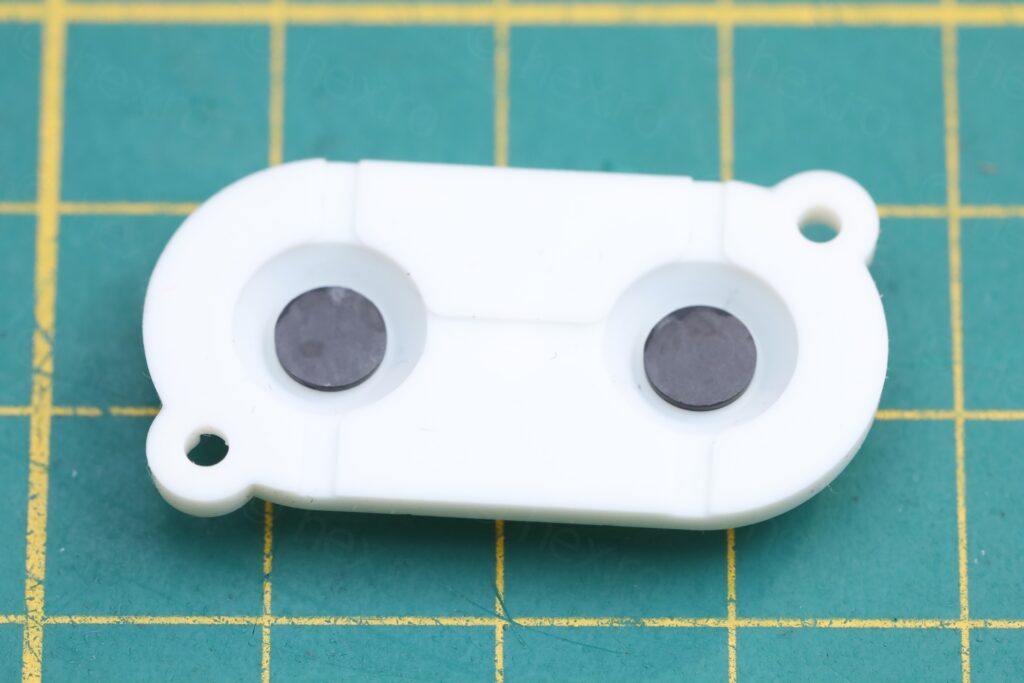
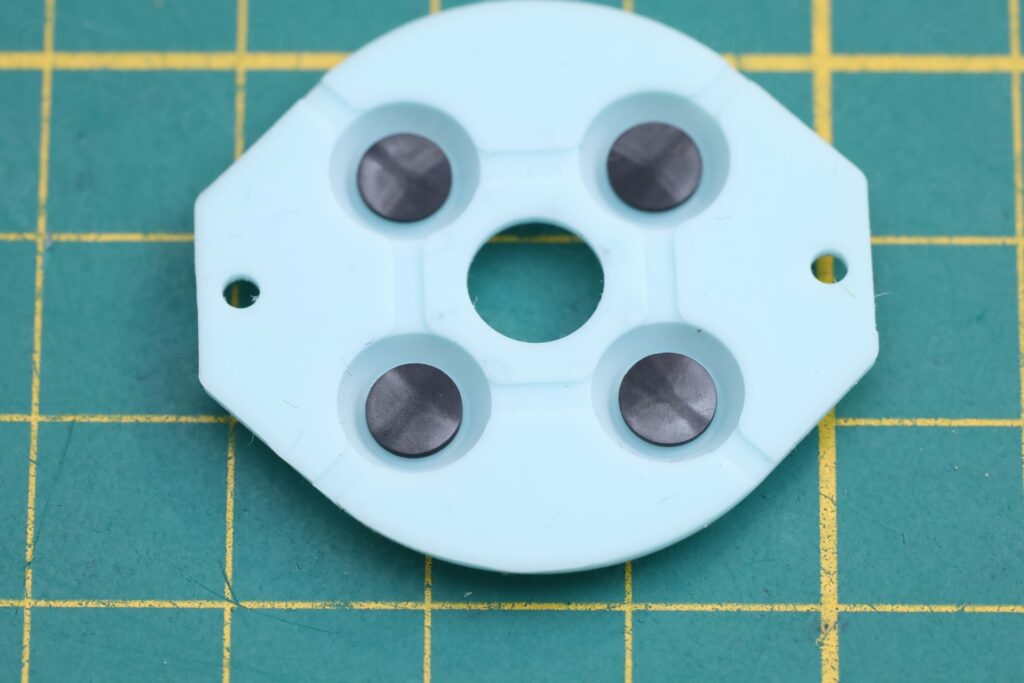
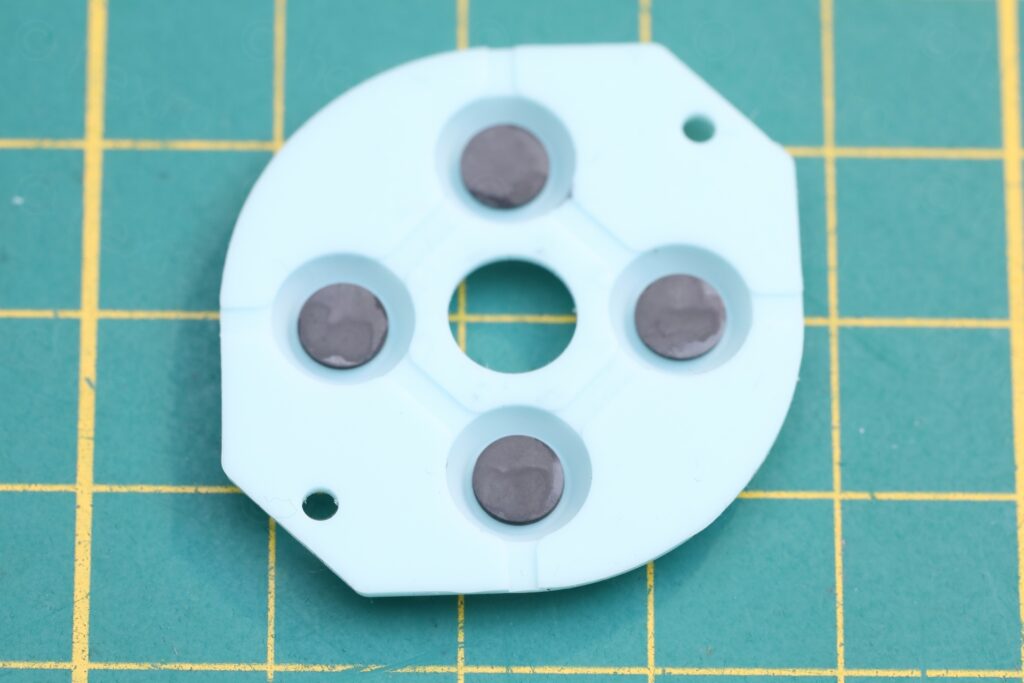
The graphite dries very quickly, so few puddles may be needed ..
Story of this console
As usual, I found it as a flea market. It was cheap, had the battery cover and looked in decent shape.
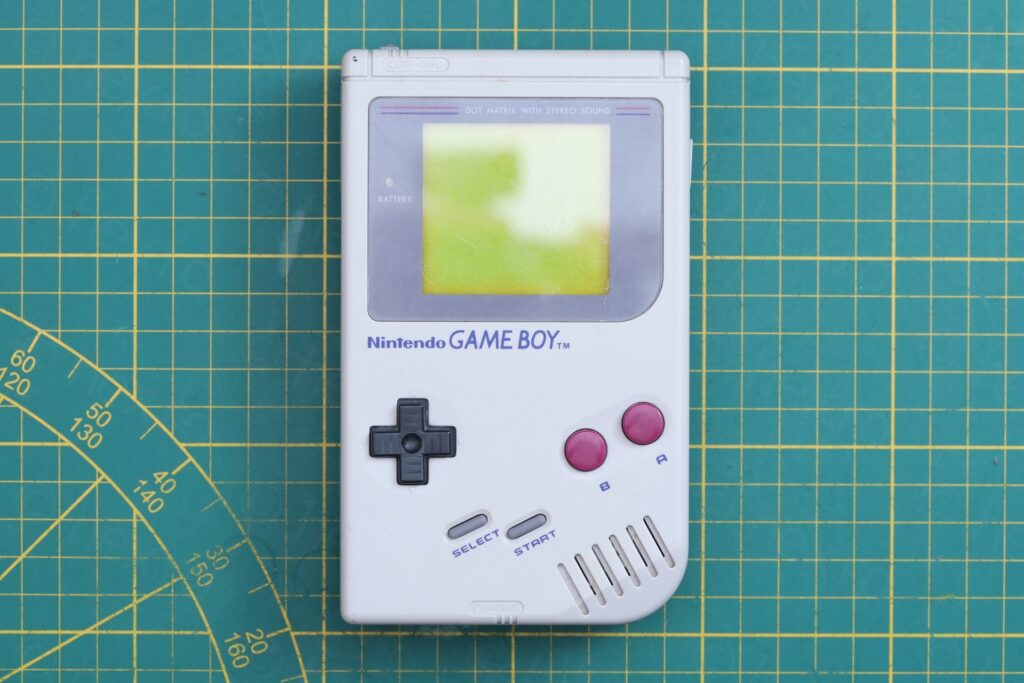
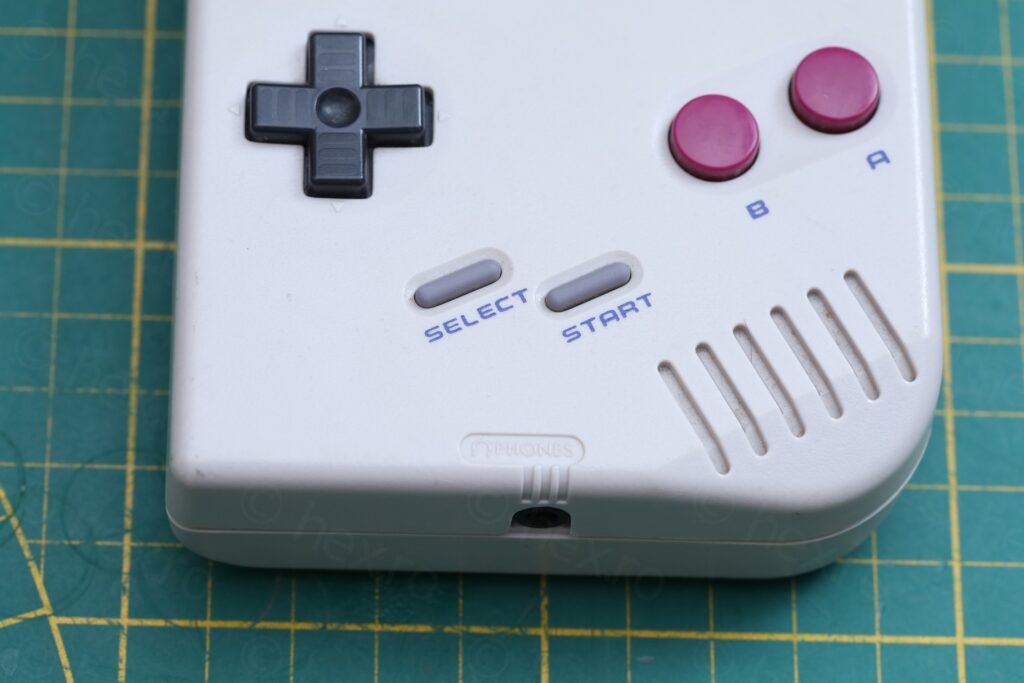

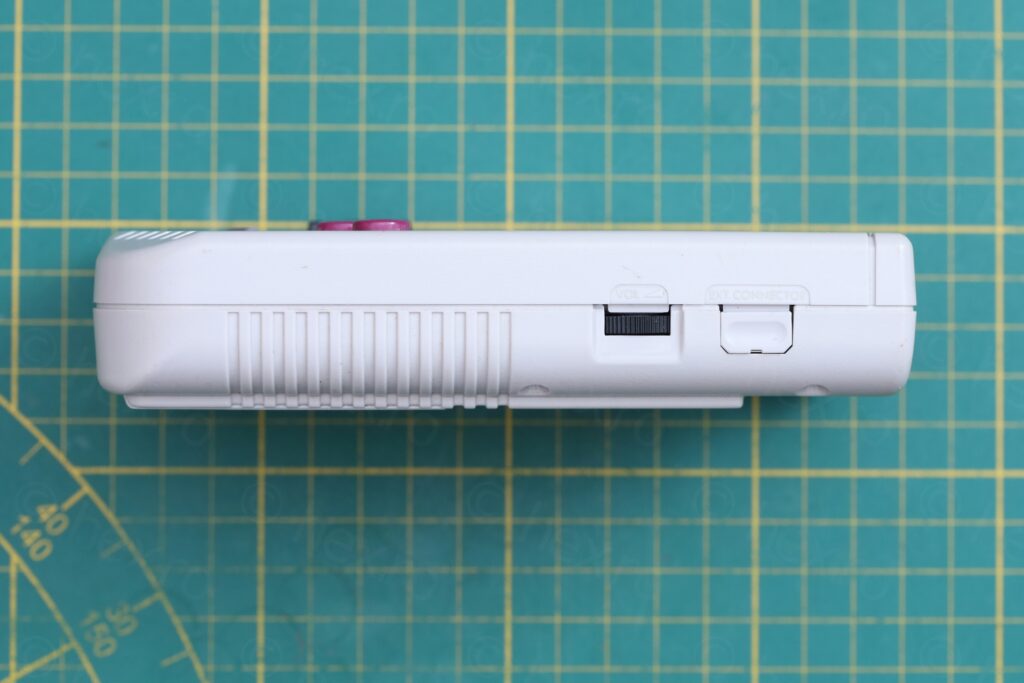
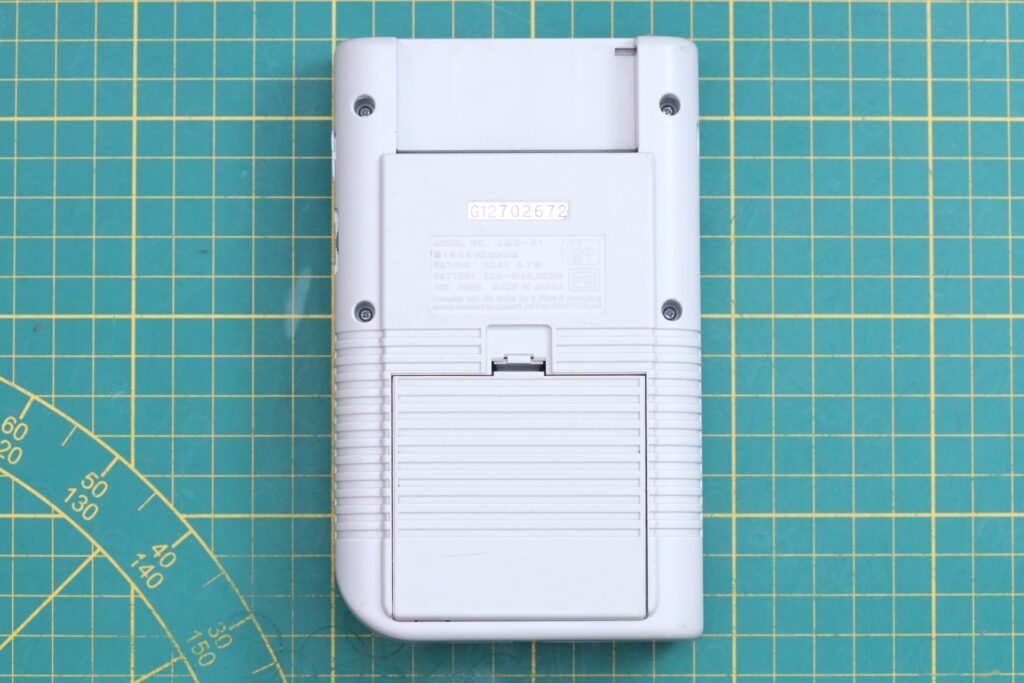
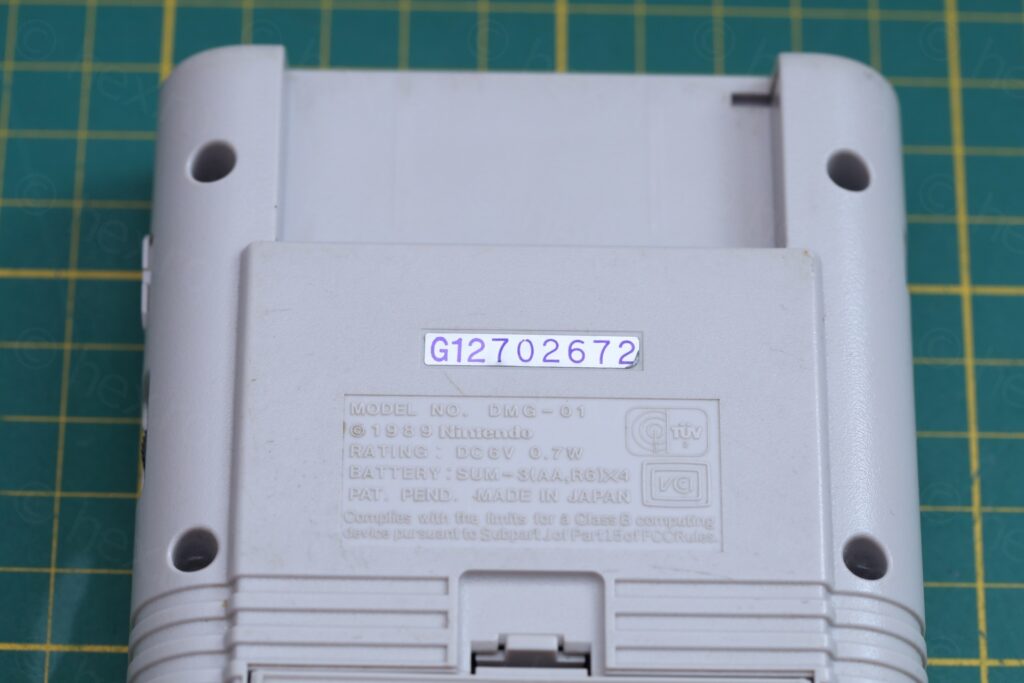
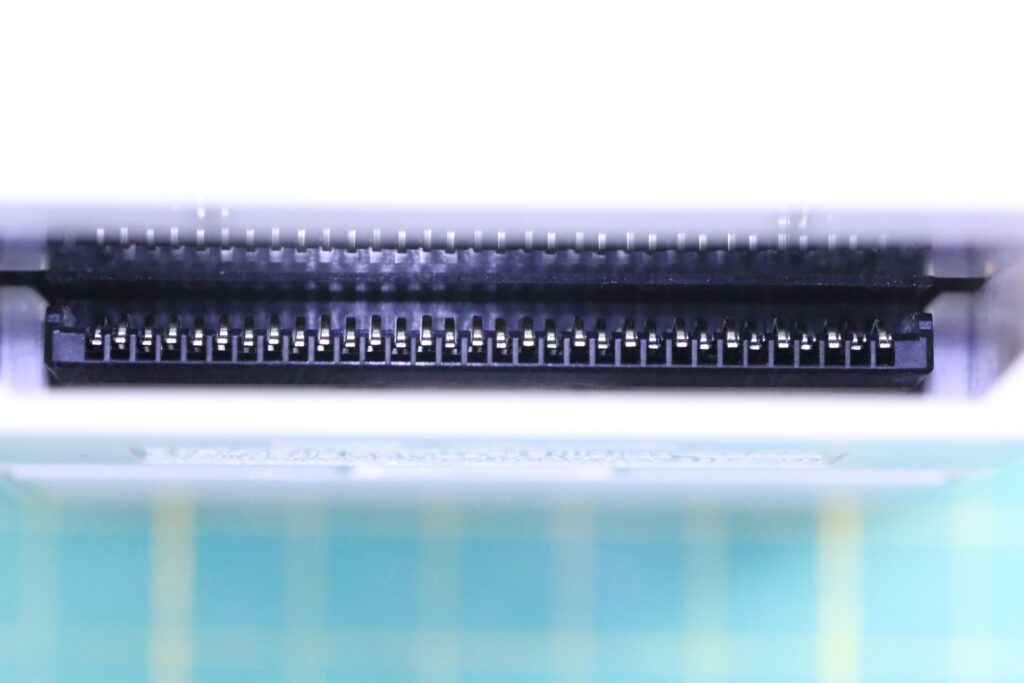
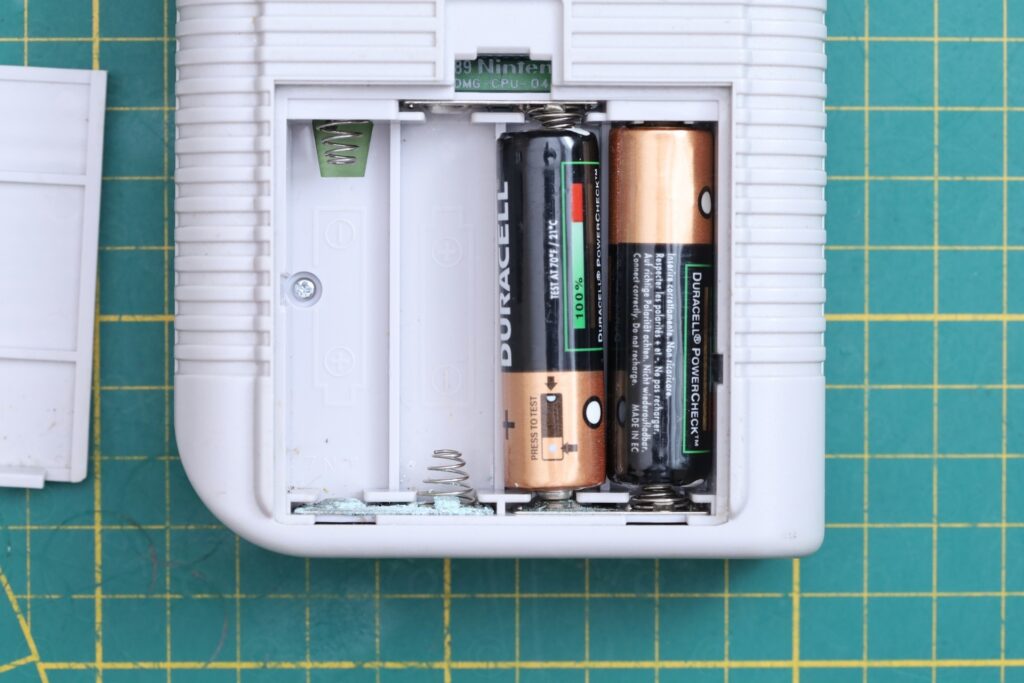
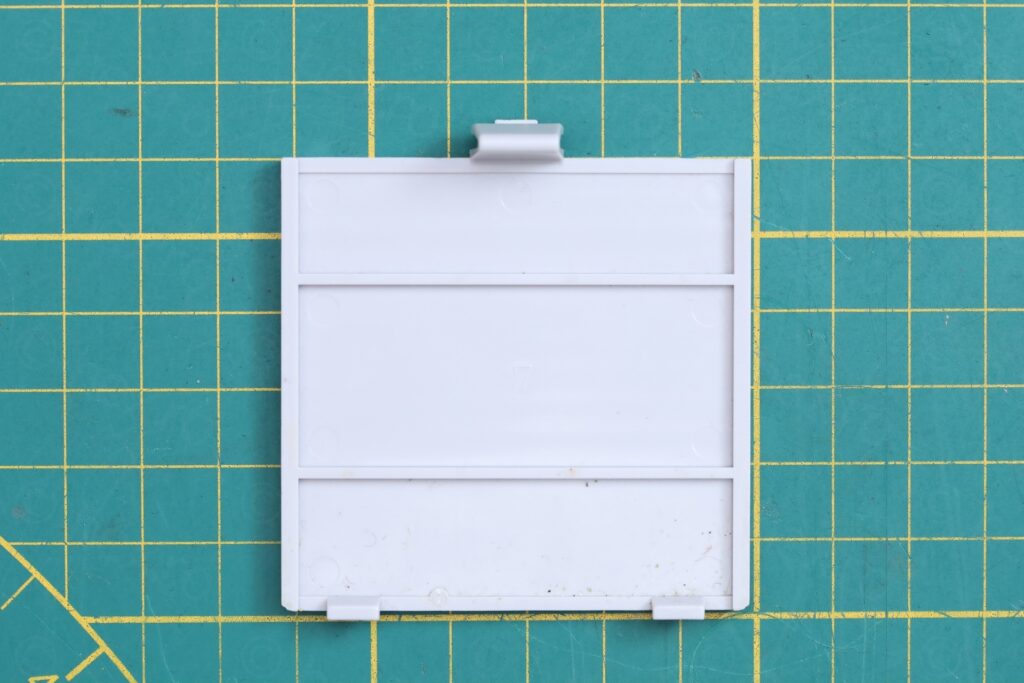
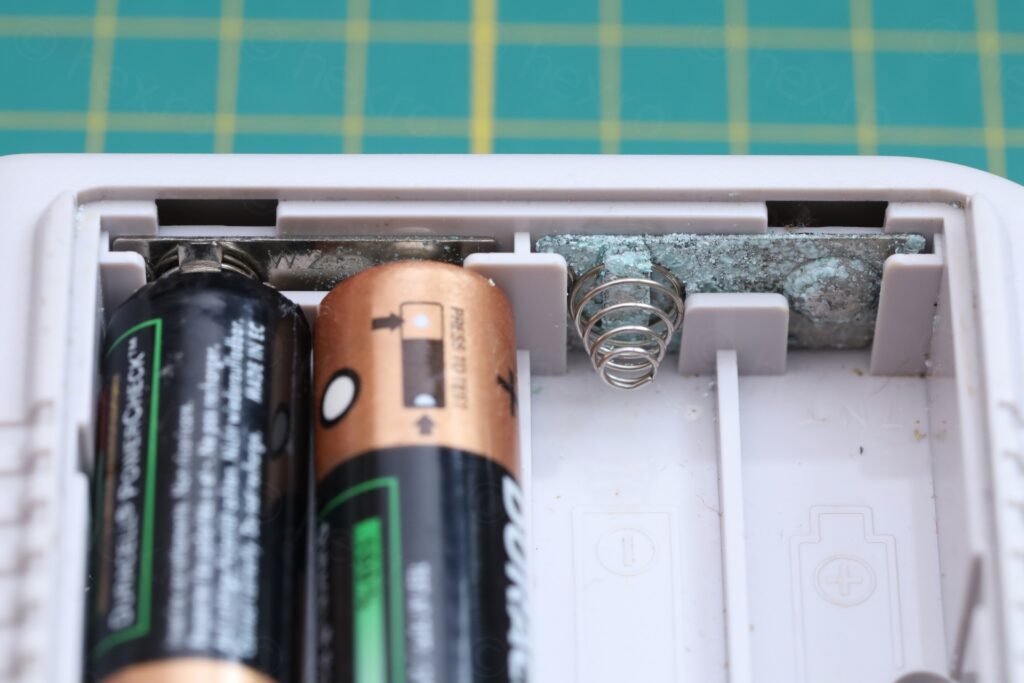
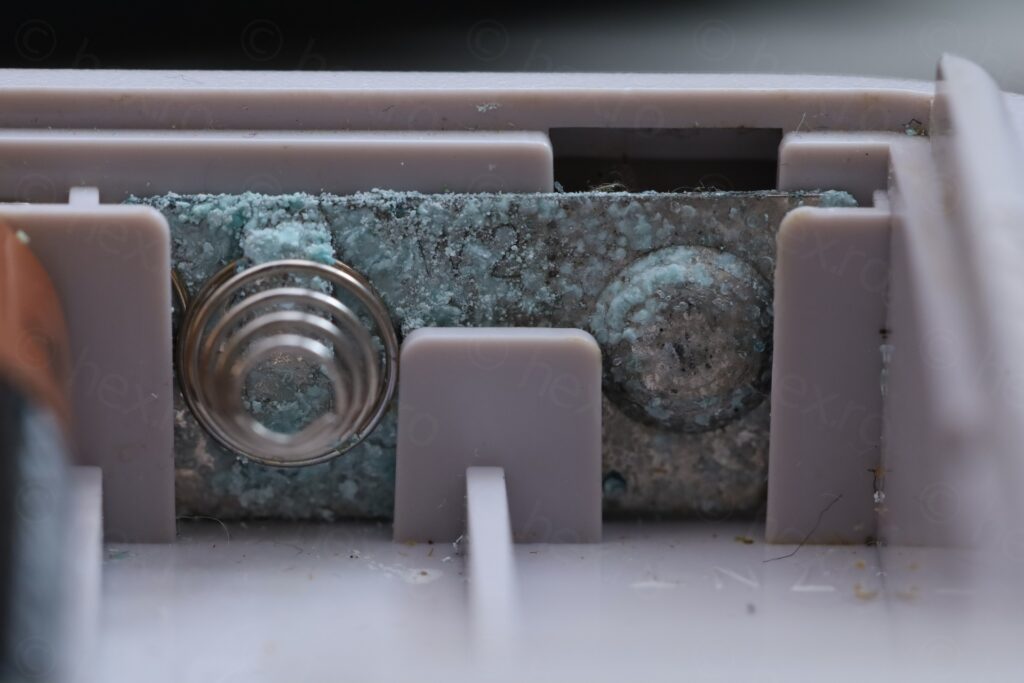
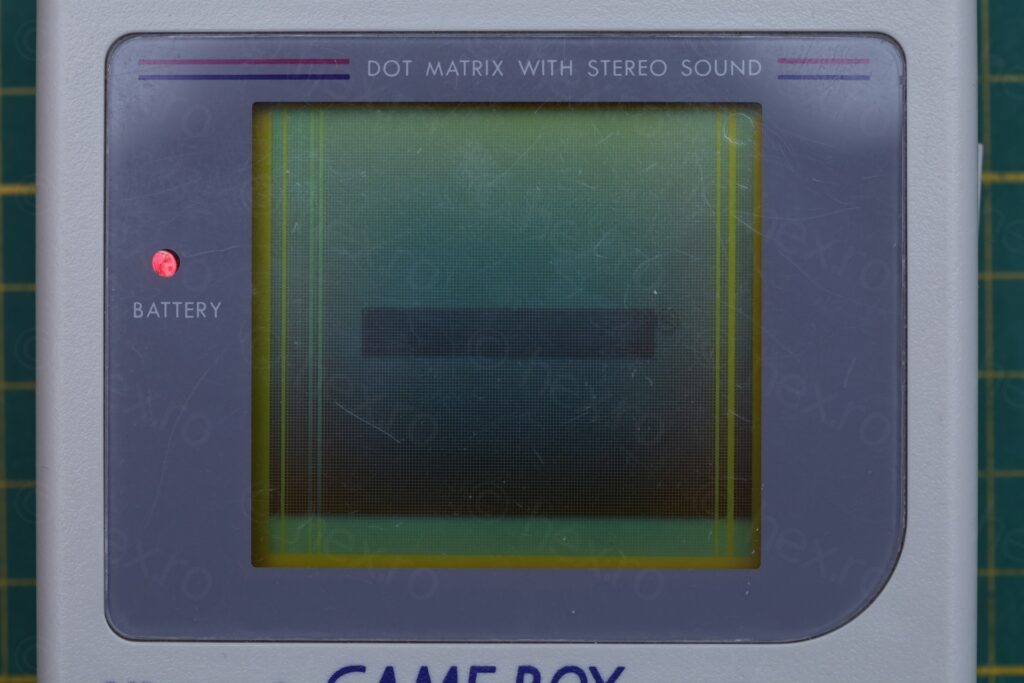
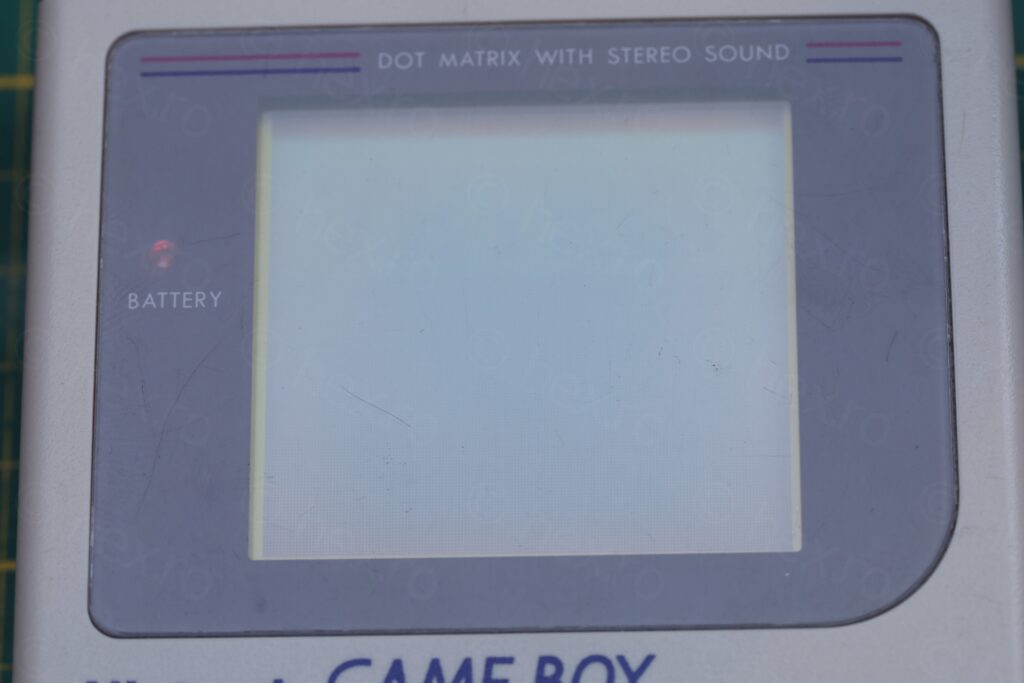
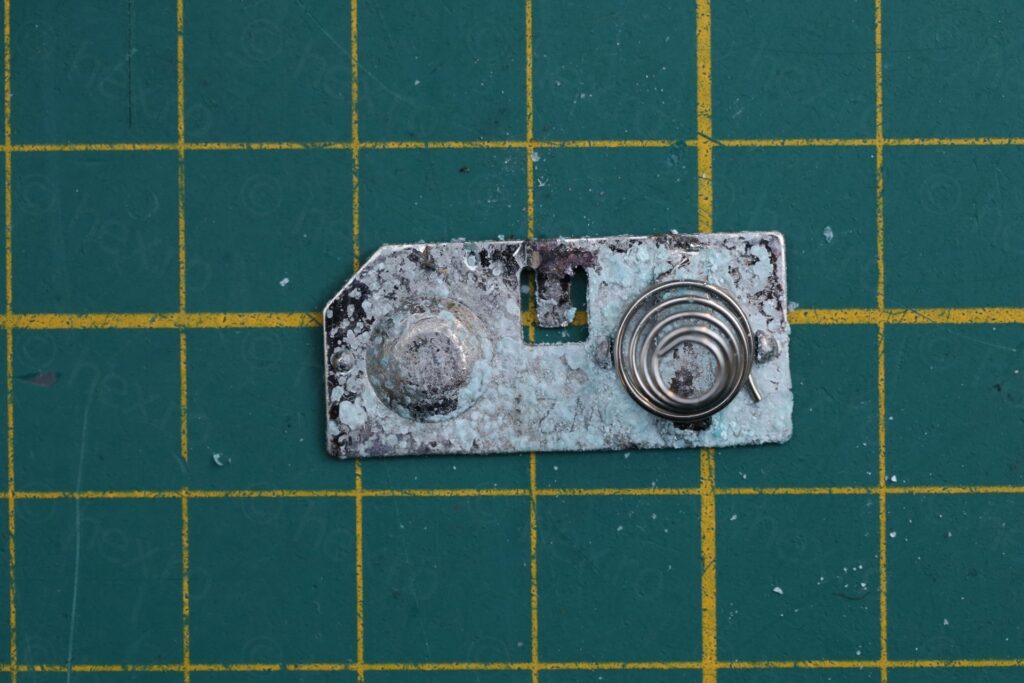
At home, I discovered the annoying vertical lines … and some corrosion on the battery terminals.
If you ignore what appears to be horizontal white lines (which are artifacts of the camera speed not matching the refresh rate of the Nintendo’s screen): you can see the annoying missing vertical lines:
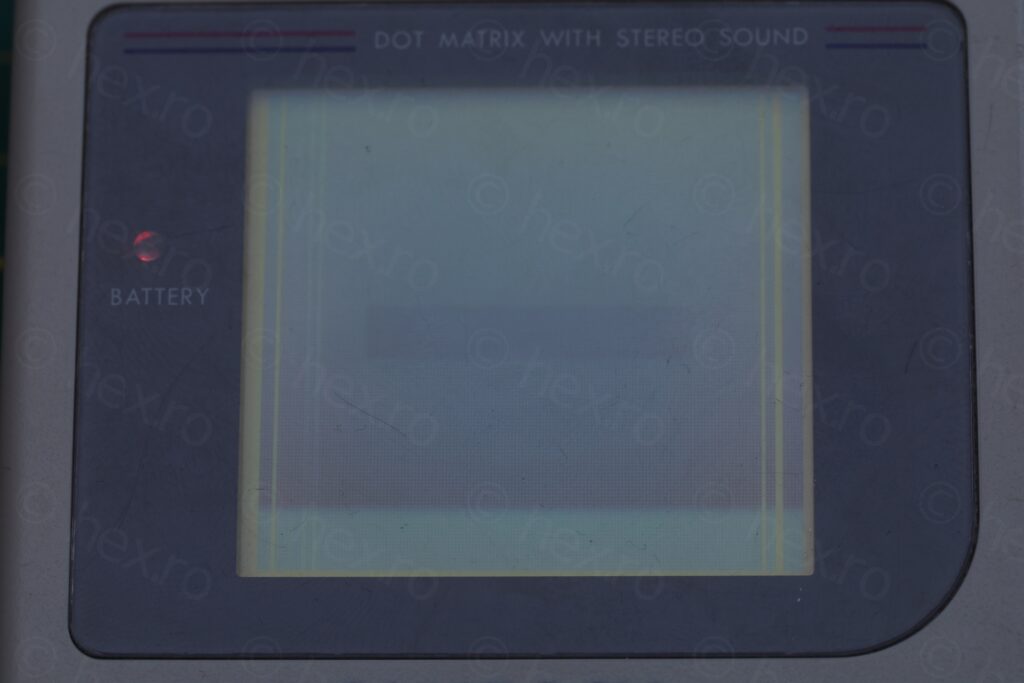
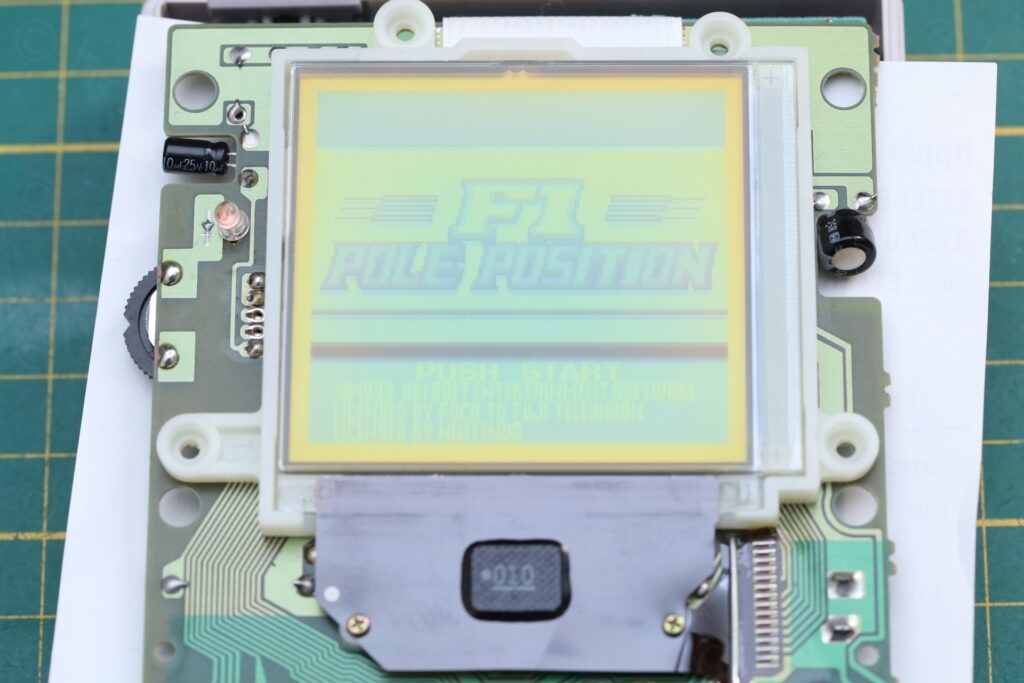
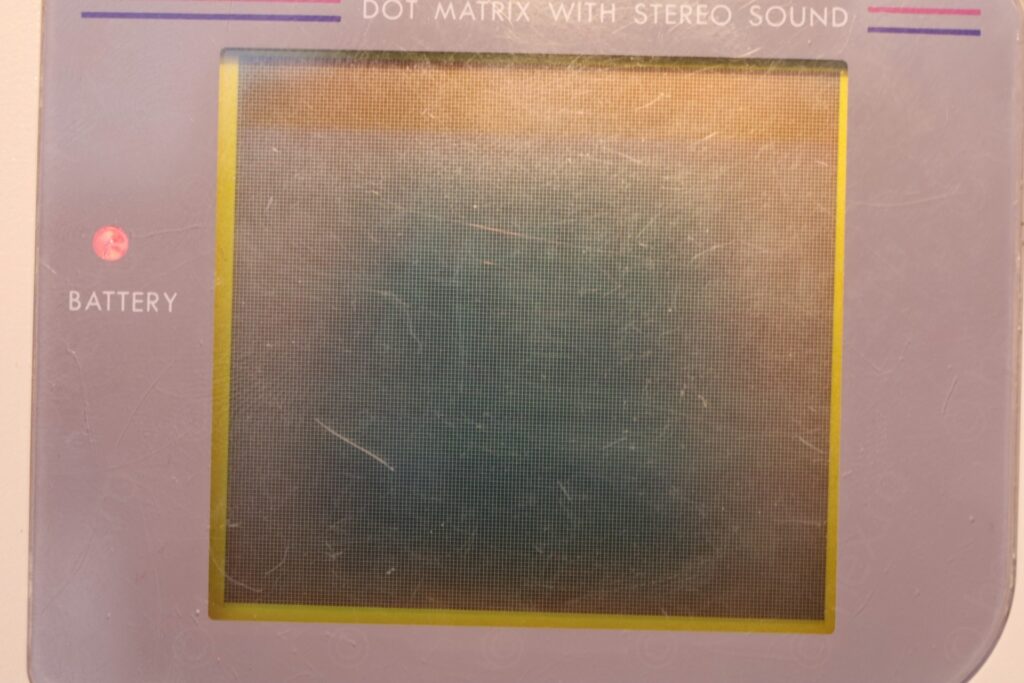
After the fix:
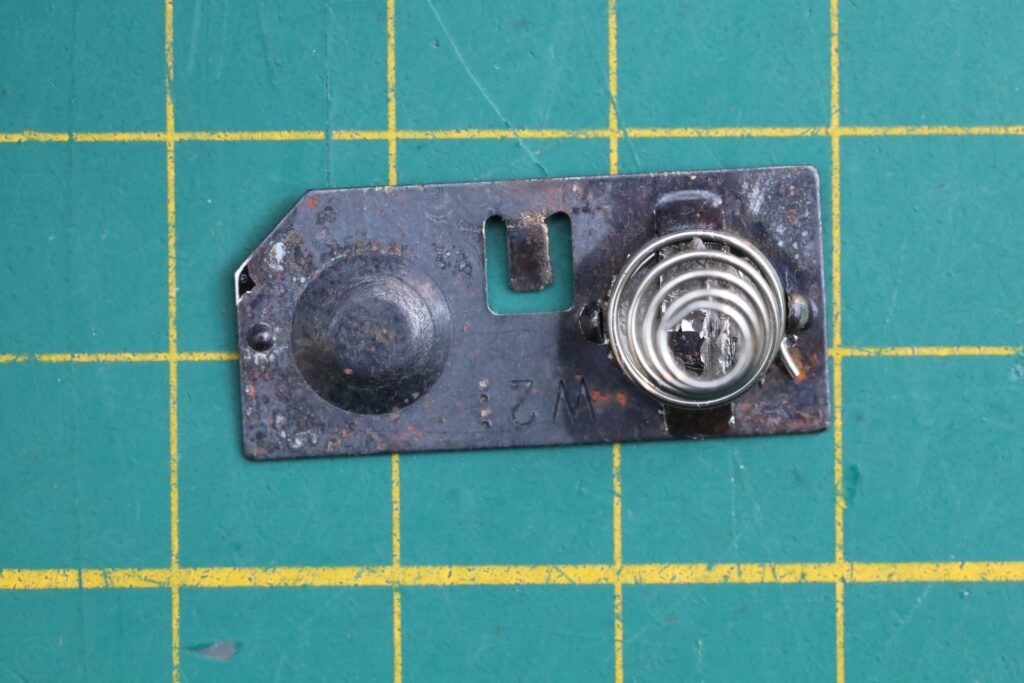
Next problem was that some battery terminals were very corroded. Unfortunately, I do not have spare battery terminals that could fit, so I had to remove the corrosion. Dipping it in vinegar took off all the shiny coating leaving me with a corroded backing that wasn’t even making contact anymore.
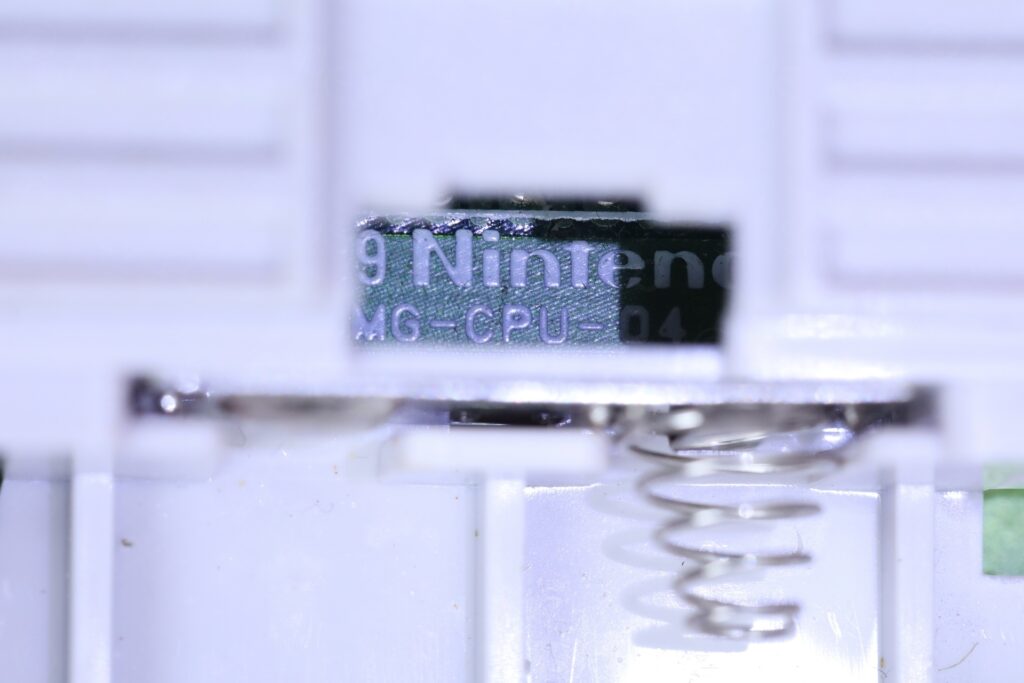
I scraped the most important places where I applied some solder to lower contact resistance (and also to a-fix the battery spring to the metal support, also to lower contact resistance):
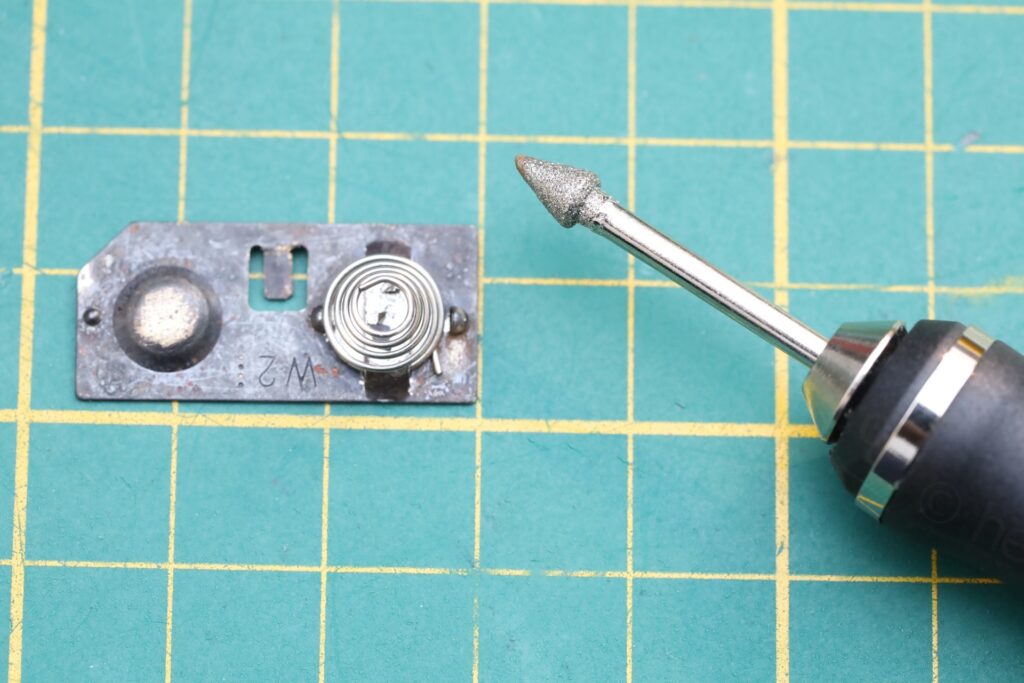
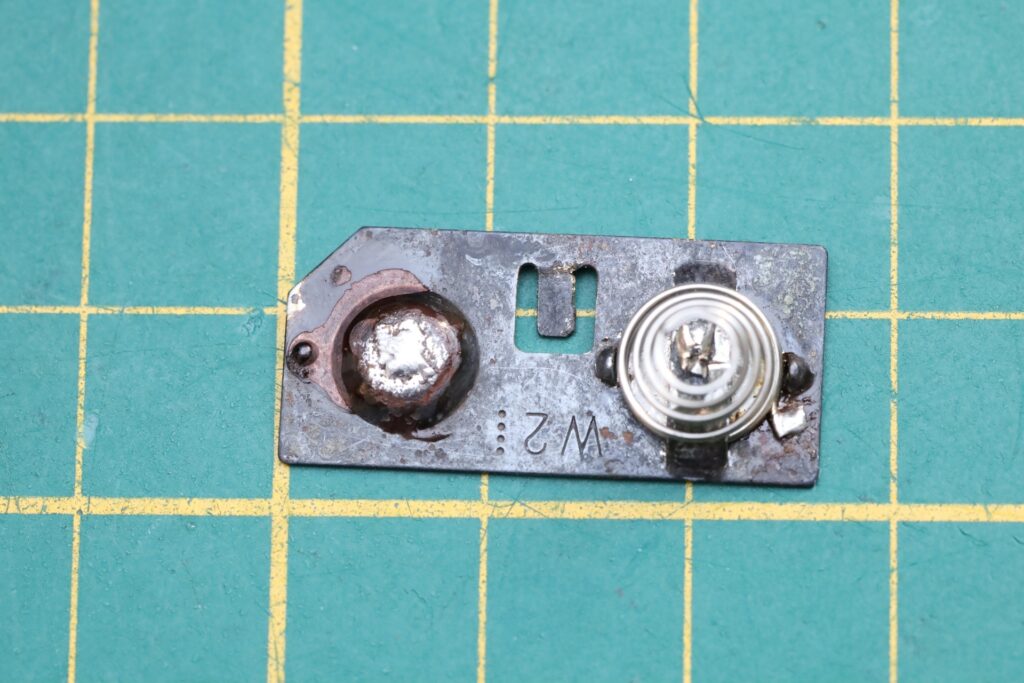
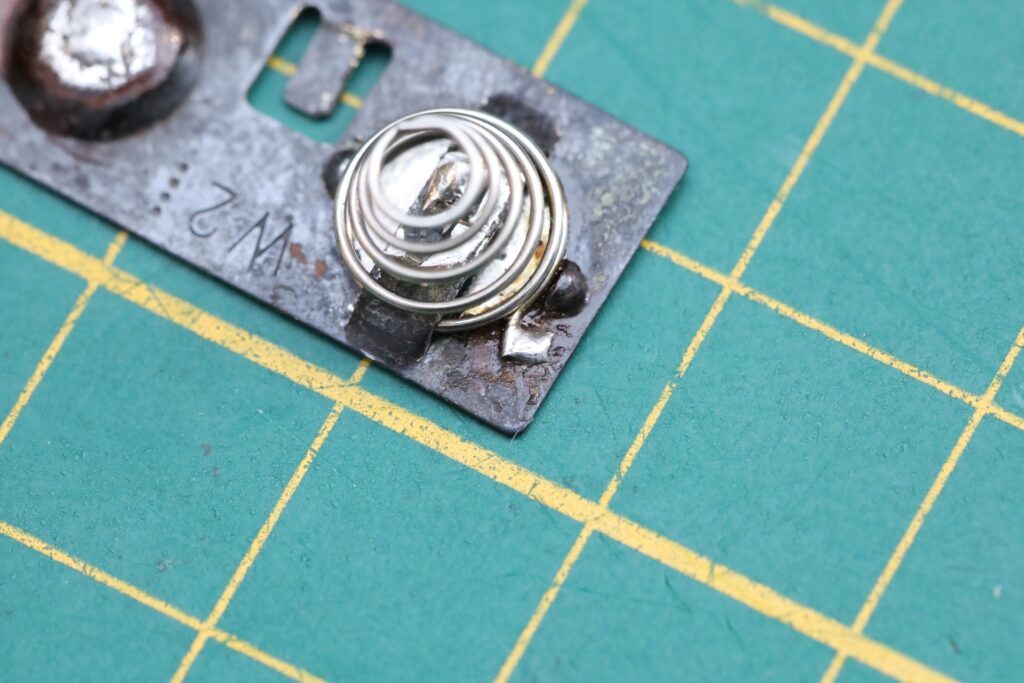
This fixed the problem, and I can play – but I did order some spare terminals.
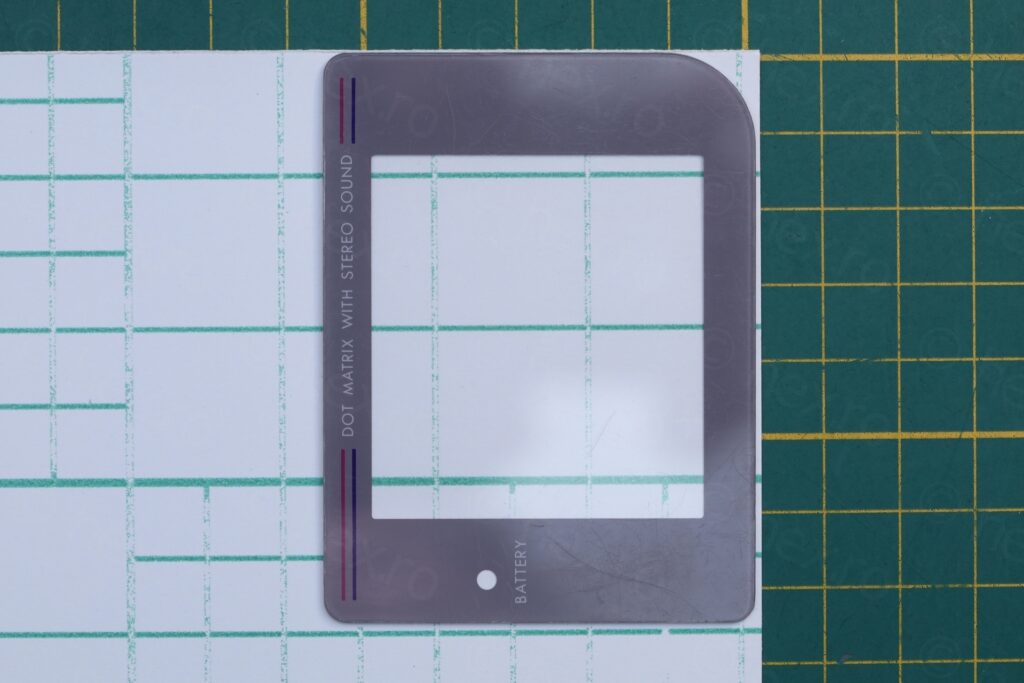
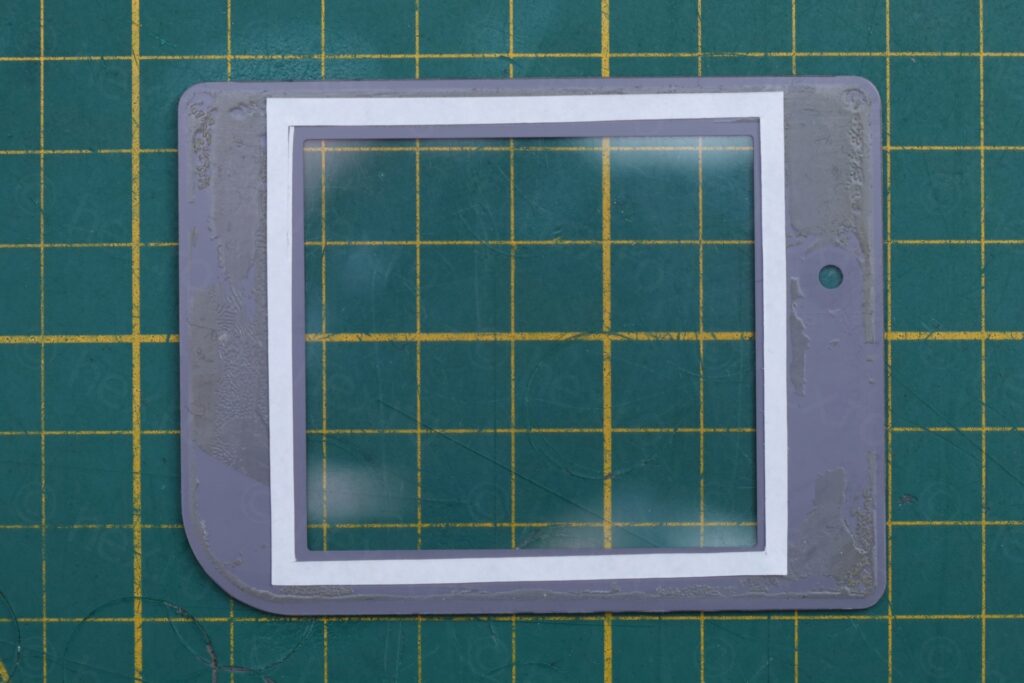
When I thought I finished it, the face fell off. Seems it is a general problem with the glue giving up after so many years. I do prefer to keep the part with as many original components as possible. A thin double-sided sticky take does the trick:
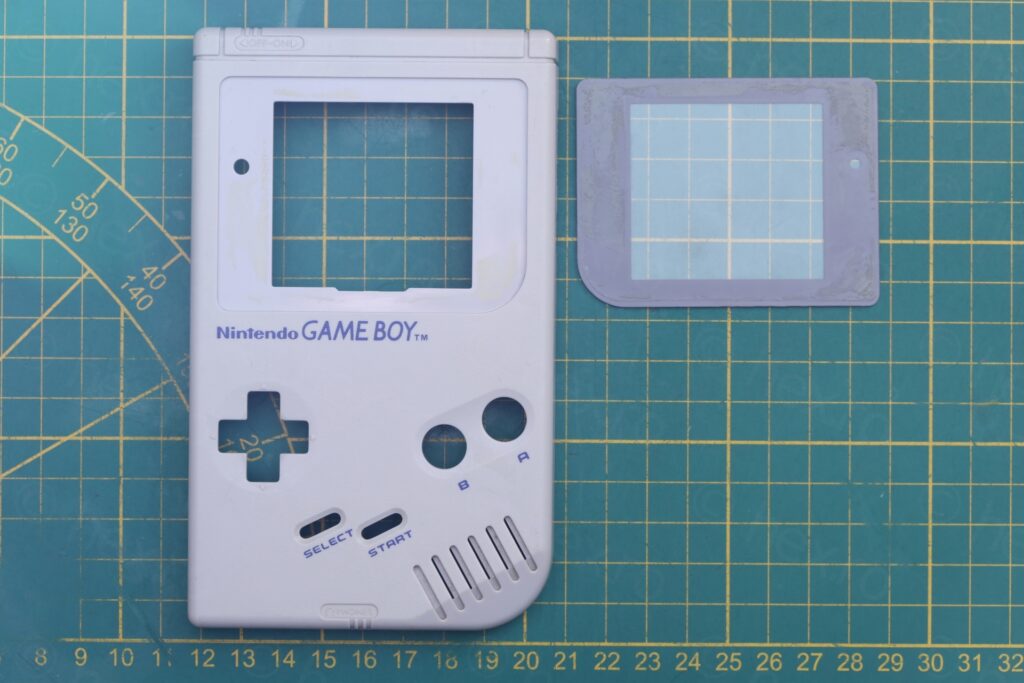
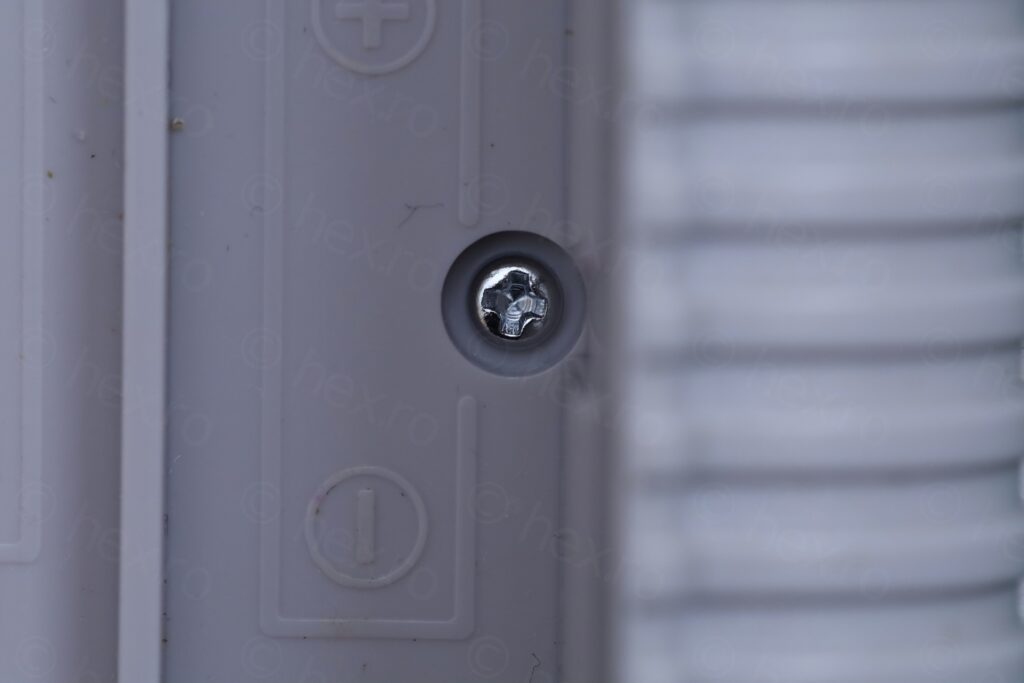
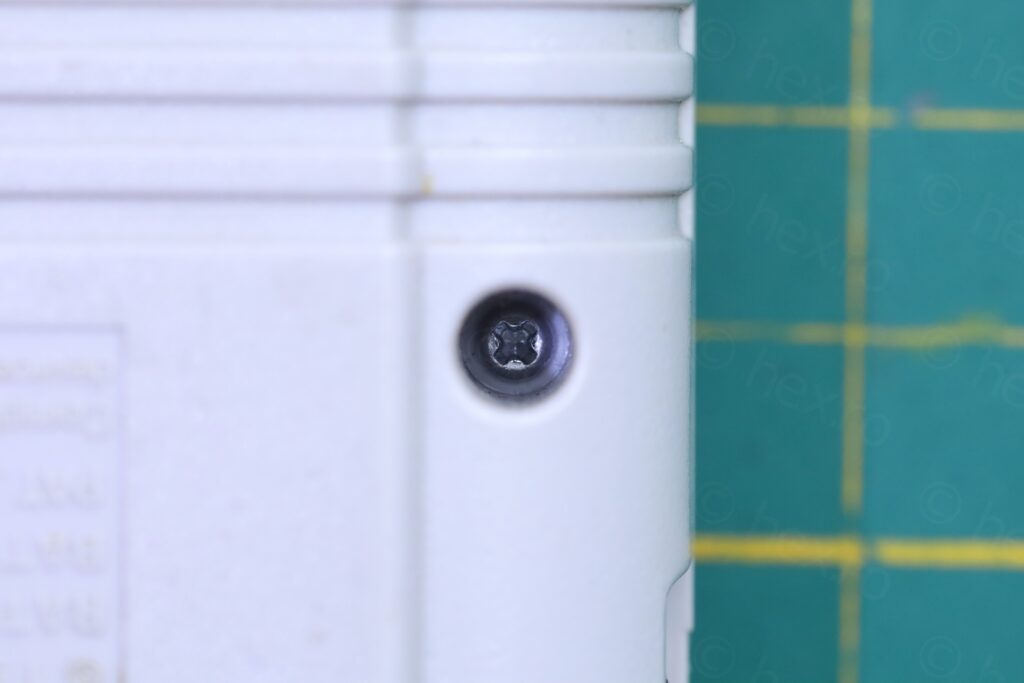
One notable mention is that it seems that this Gameboy did not come with tri-wing screws for the case, they were all normal Philips screws:
I didn’t even had games for it – got few cheap ones from the local second hand shop. The saddest part of this whole repair is that I’m not good at all at F1 Pole Position …
Leave a Reply