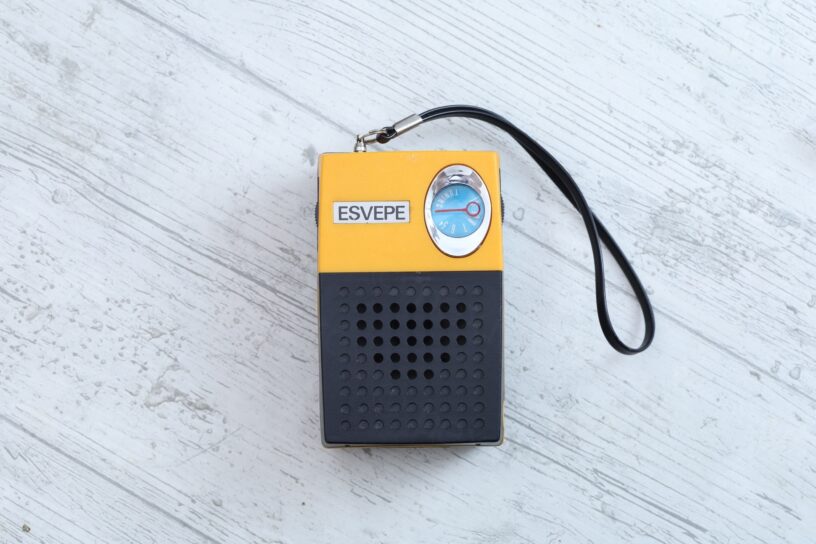
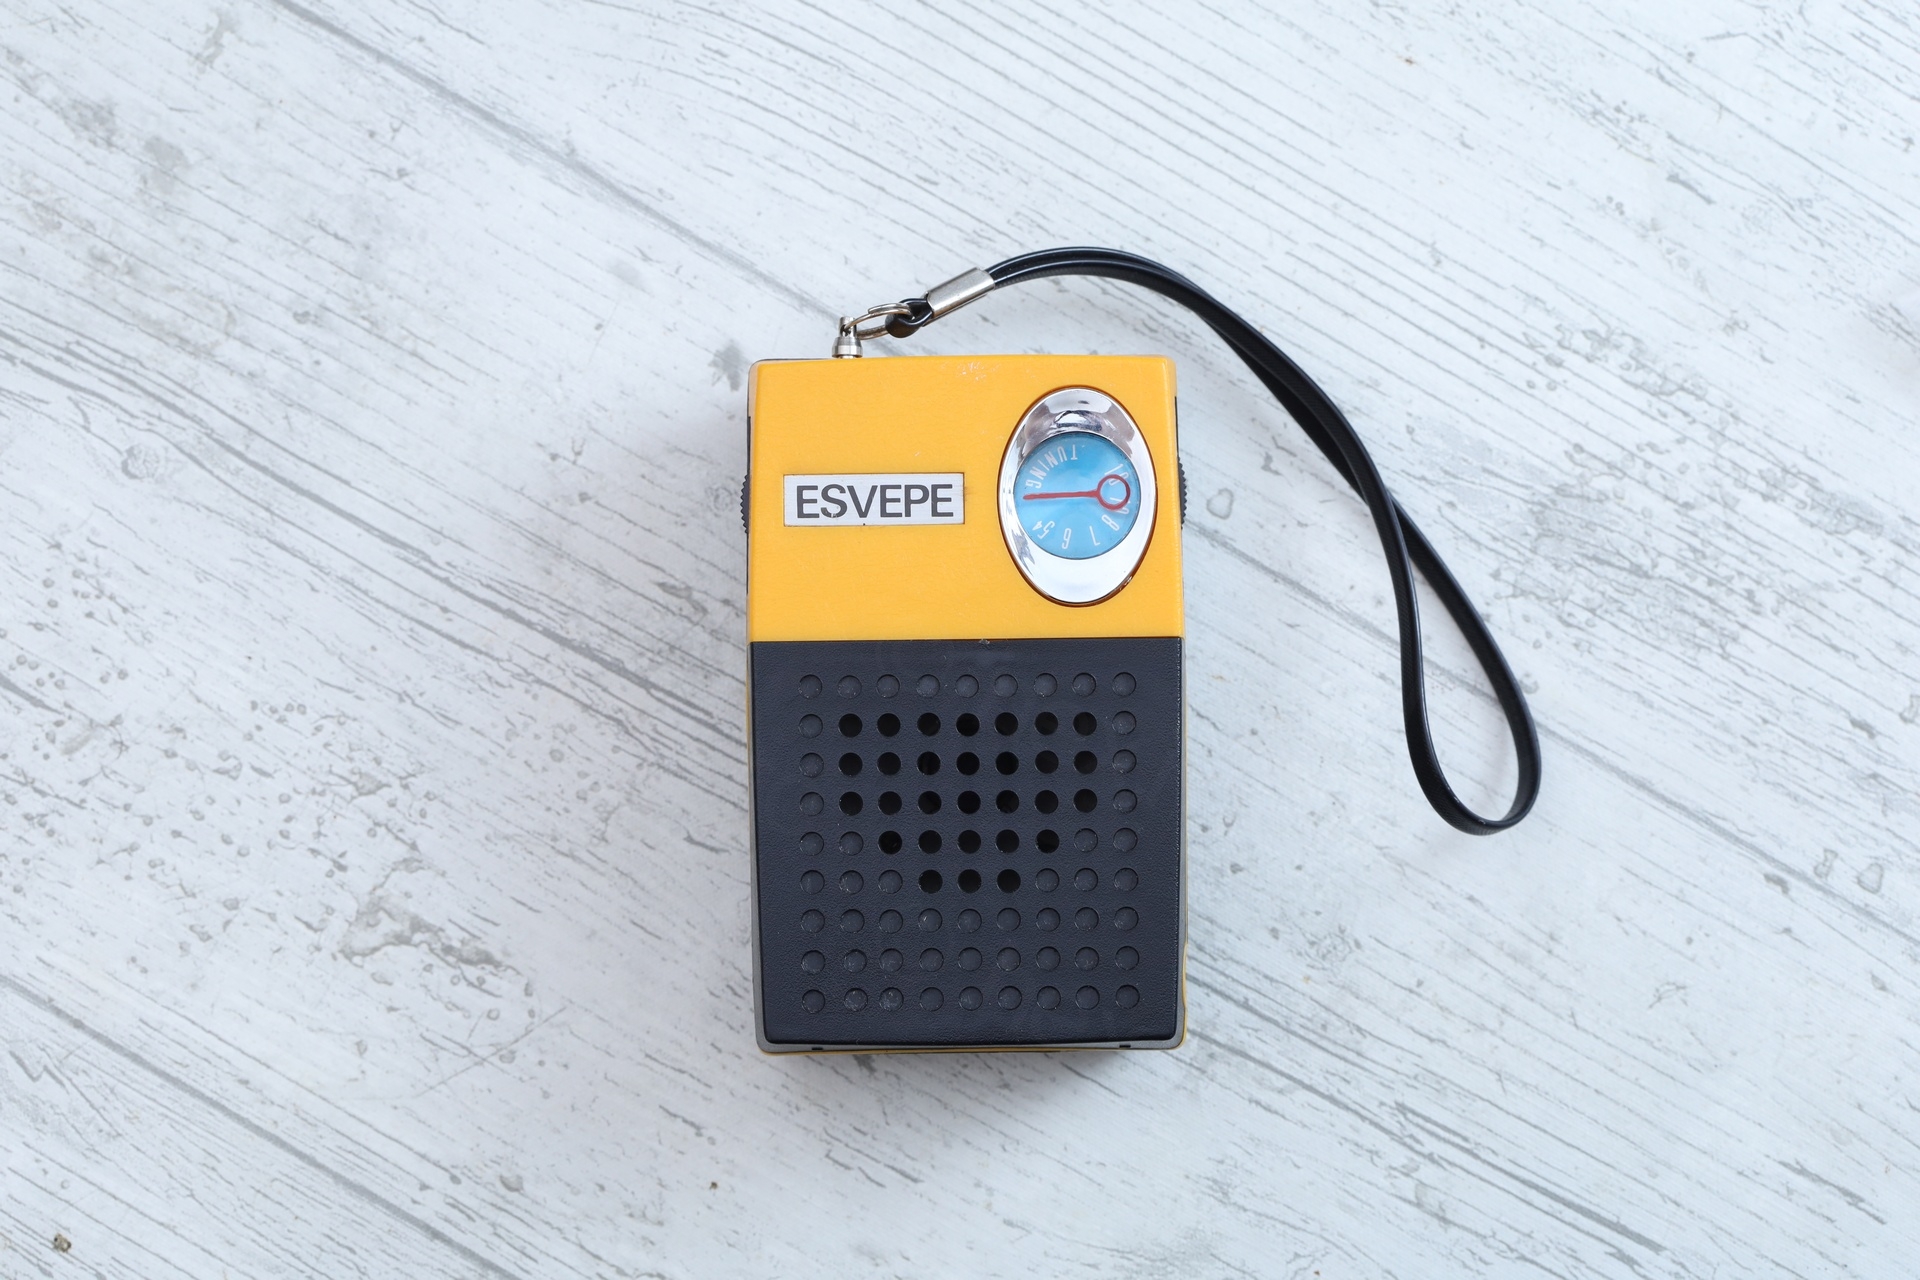
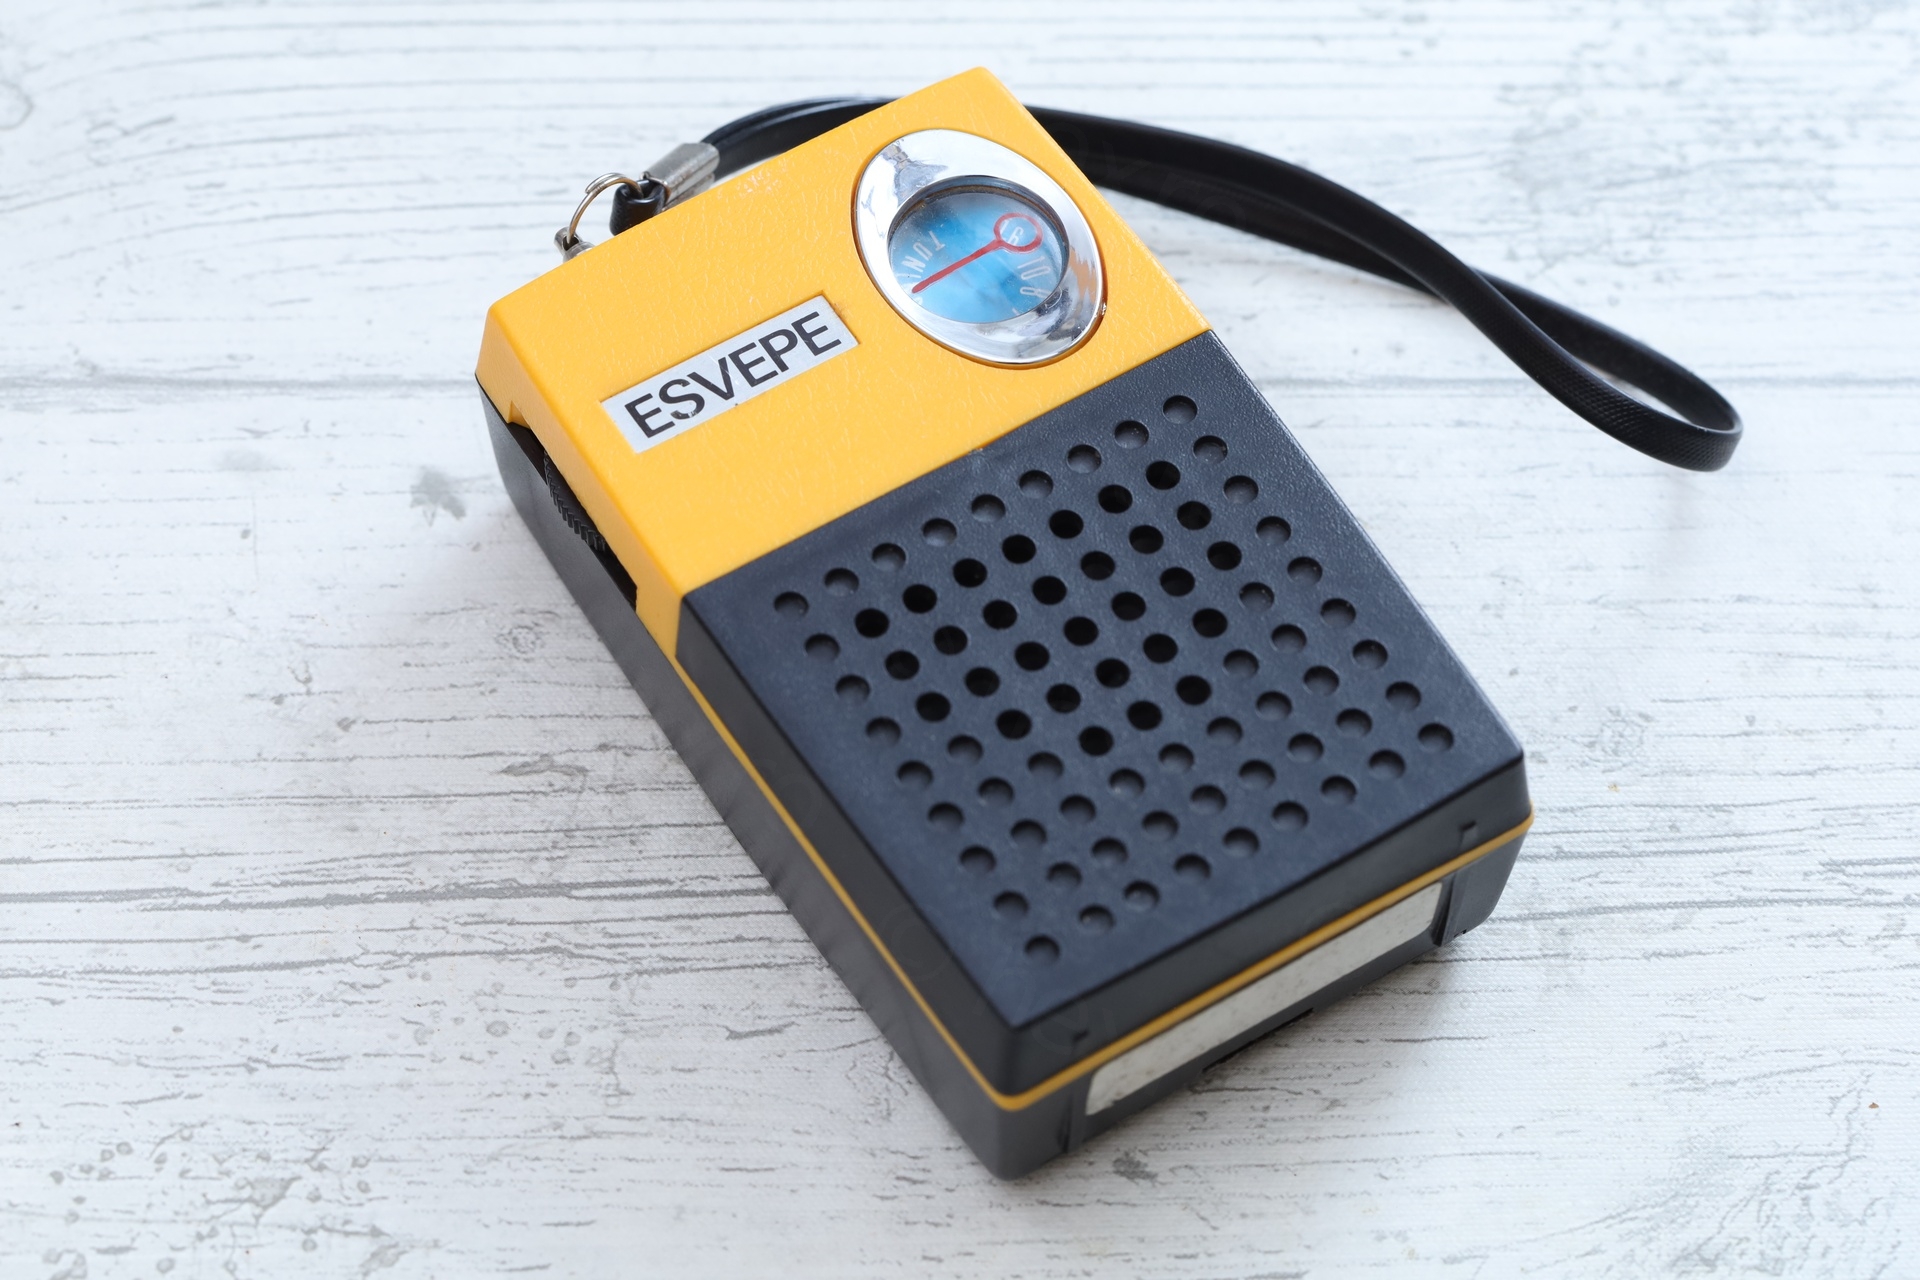
While waiting for more parts to come through to advance on various projects, I decided to have a look at this very cheaply bought radio.
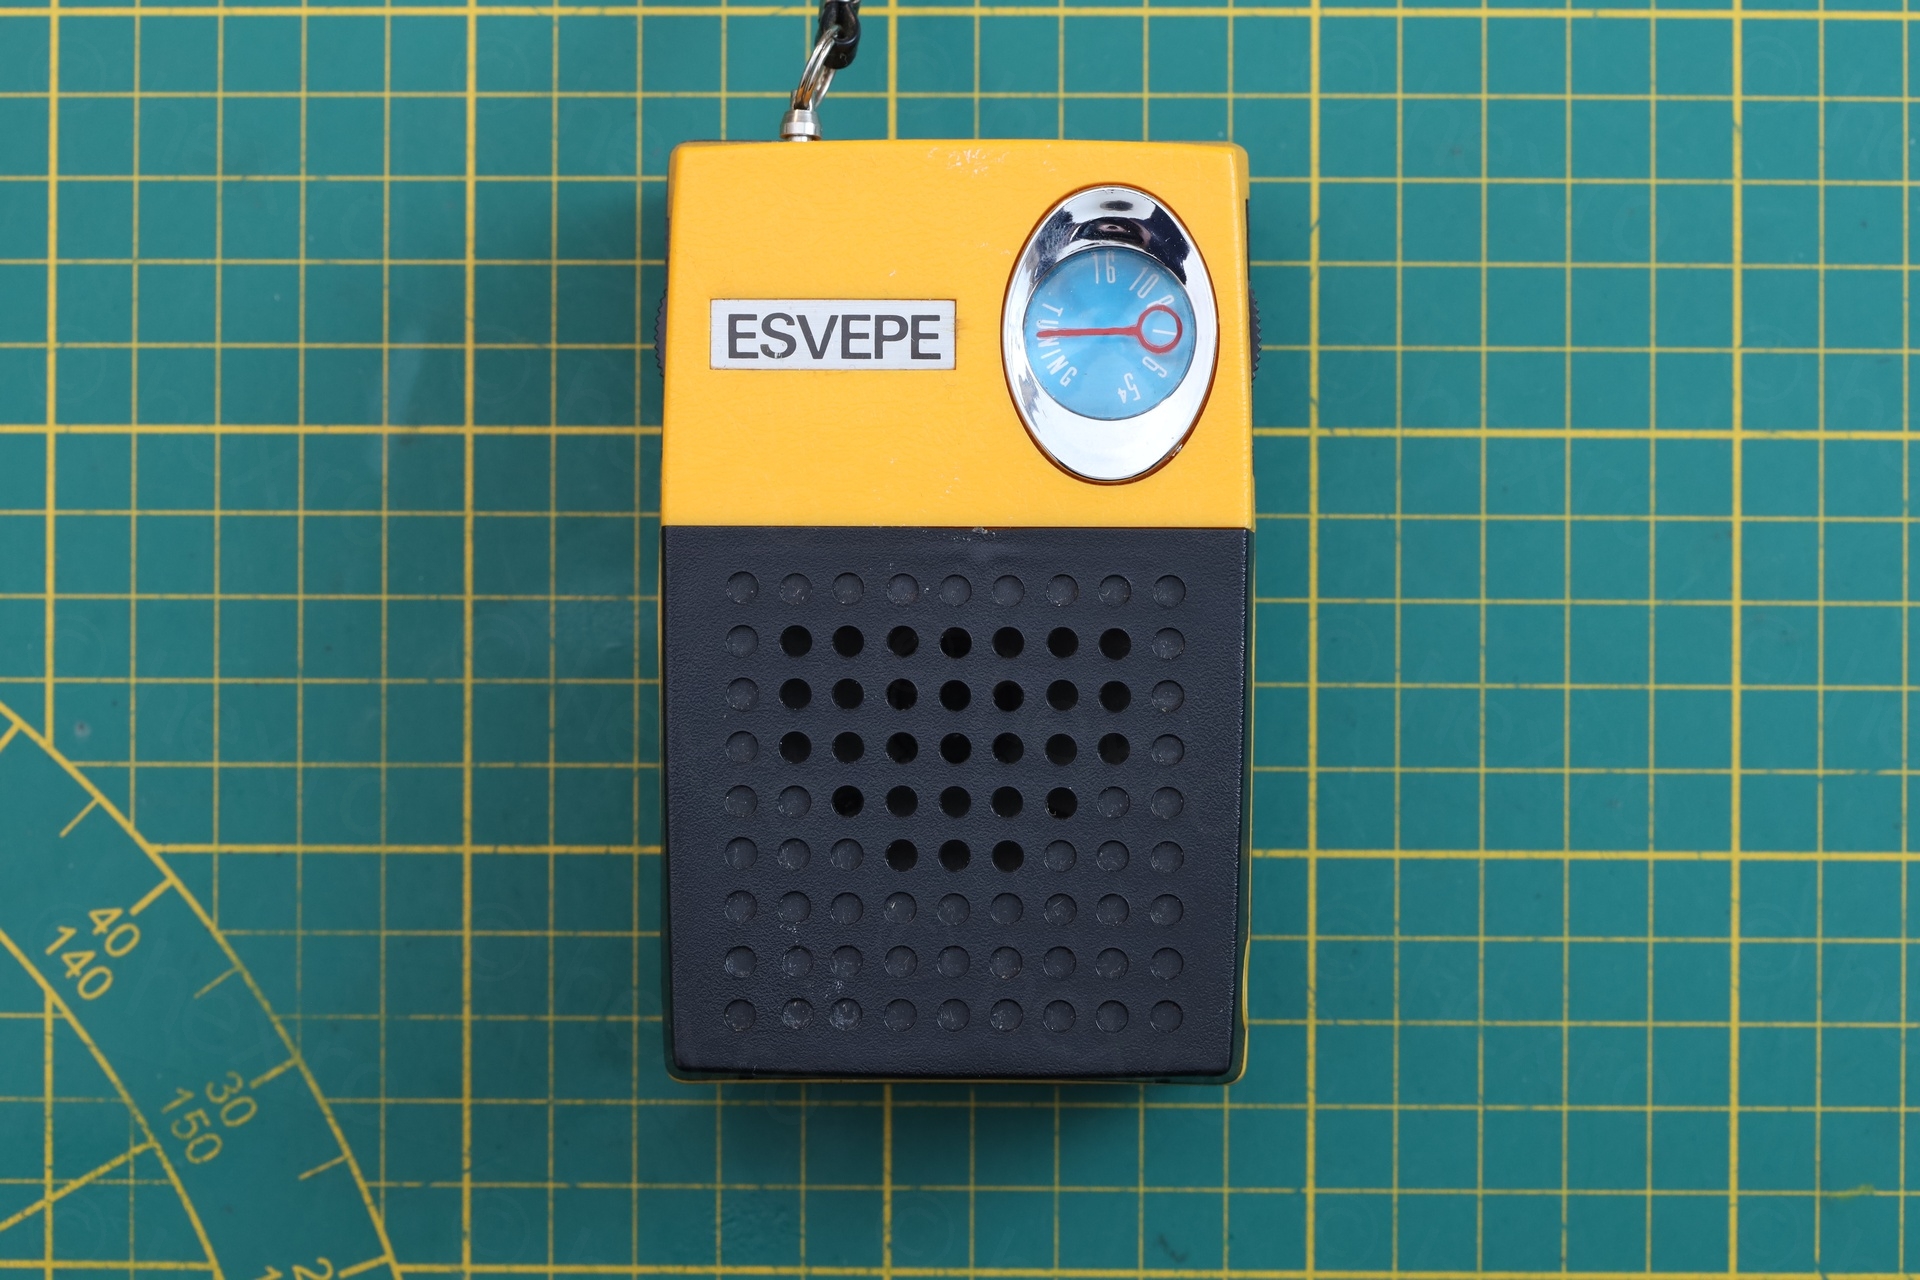

This ESVEPE Radio seems so rare, I only found a single mention on the internet, a Polish website which was selling a different model.
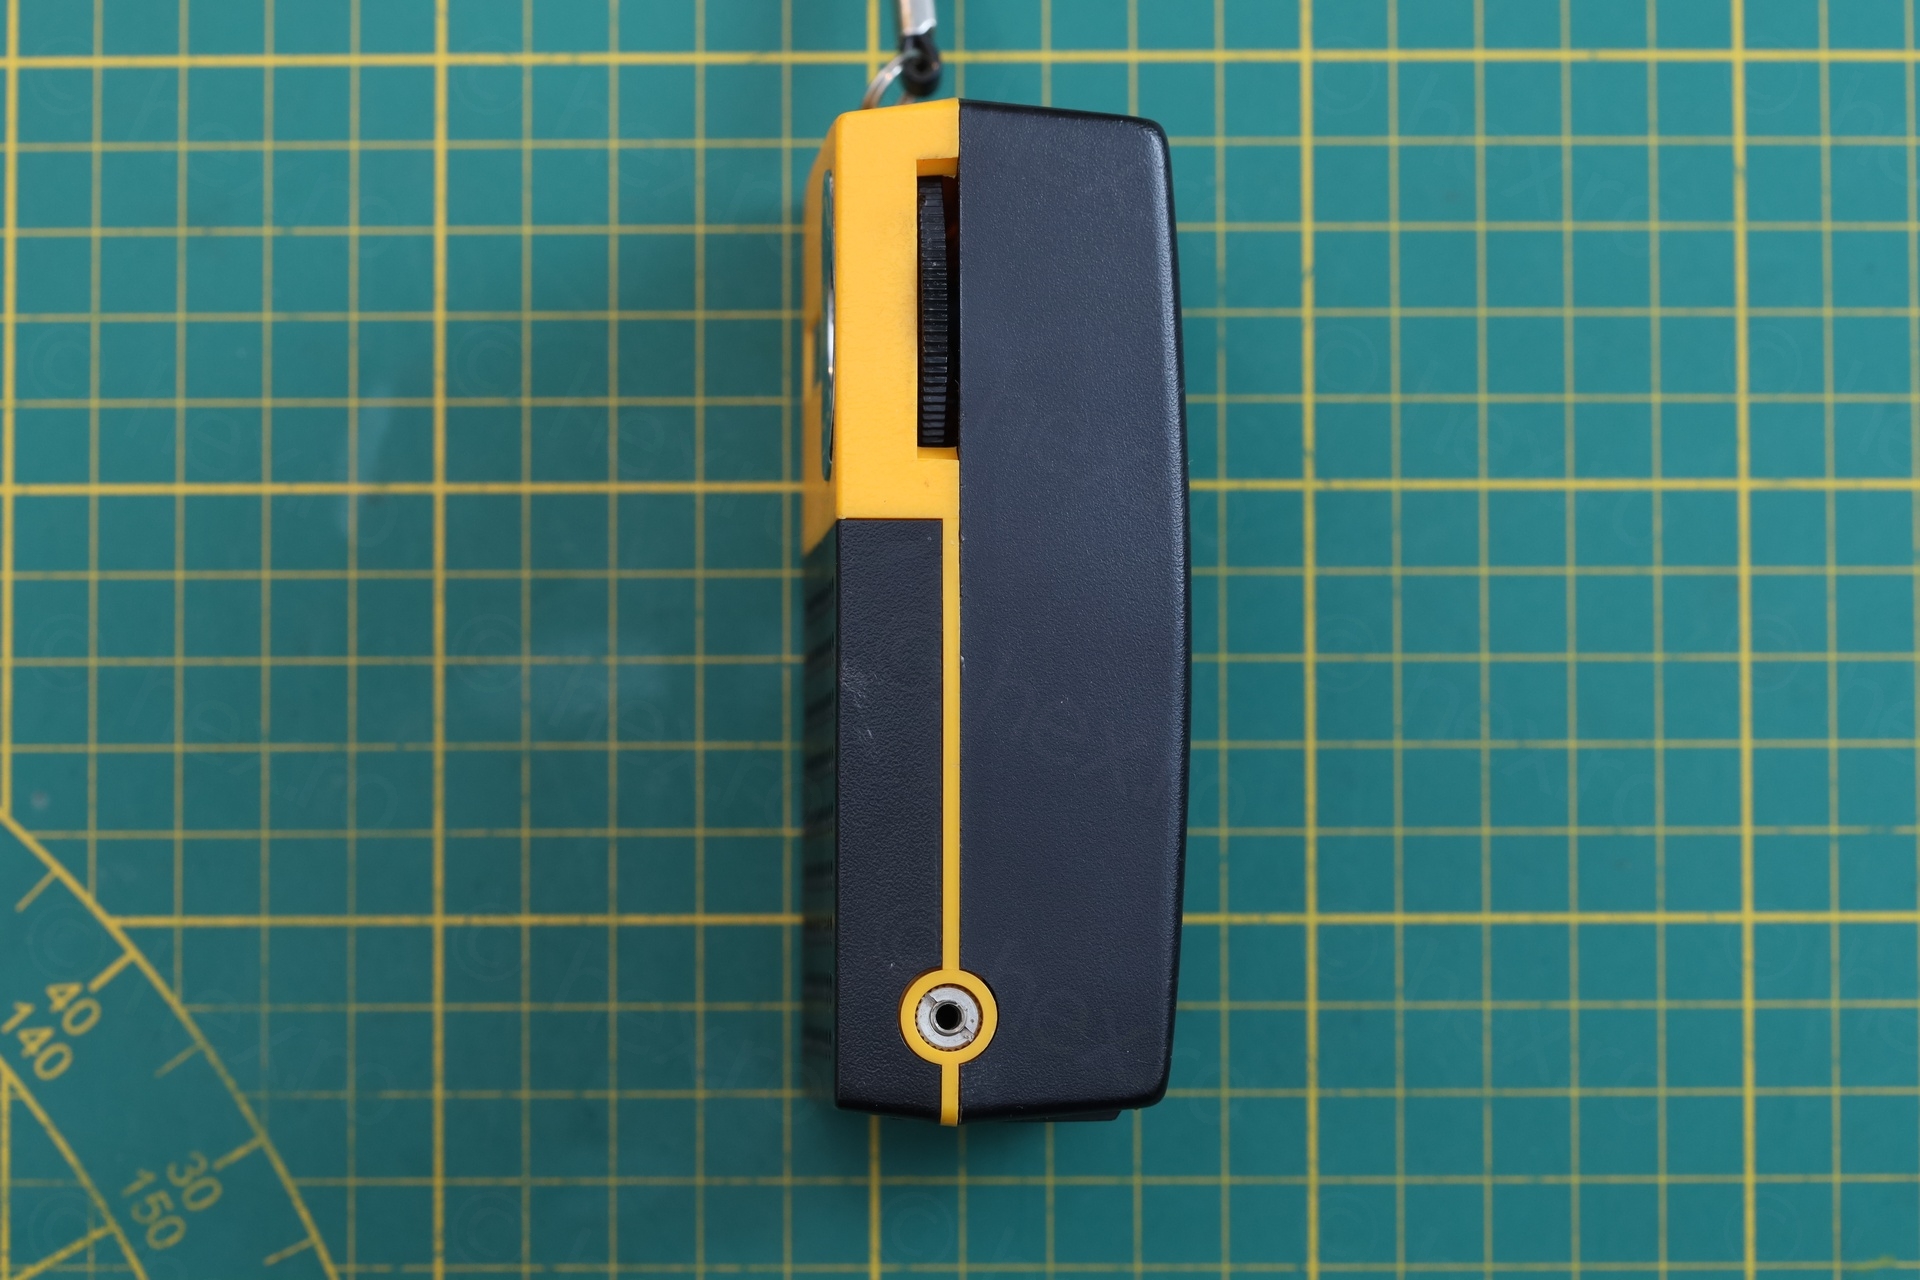
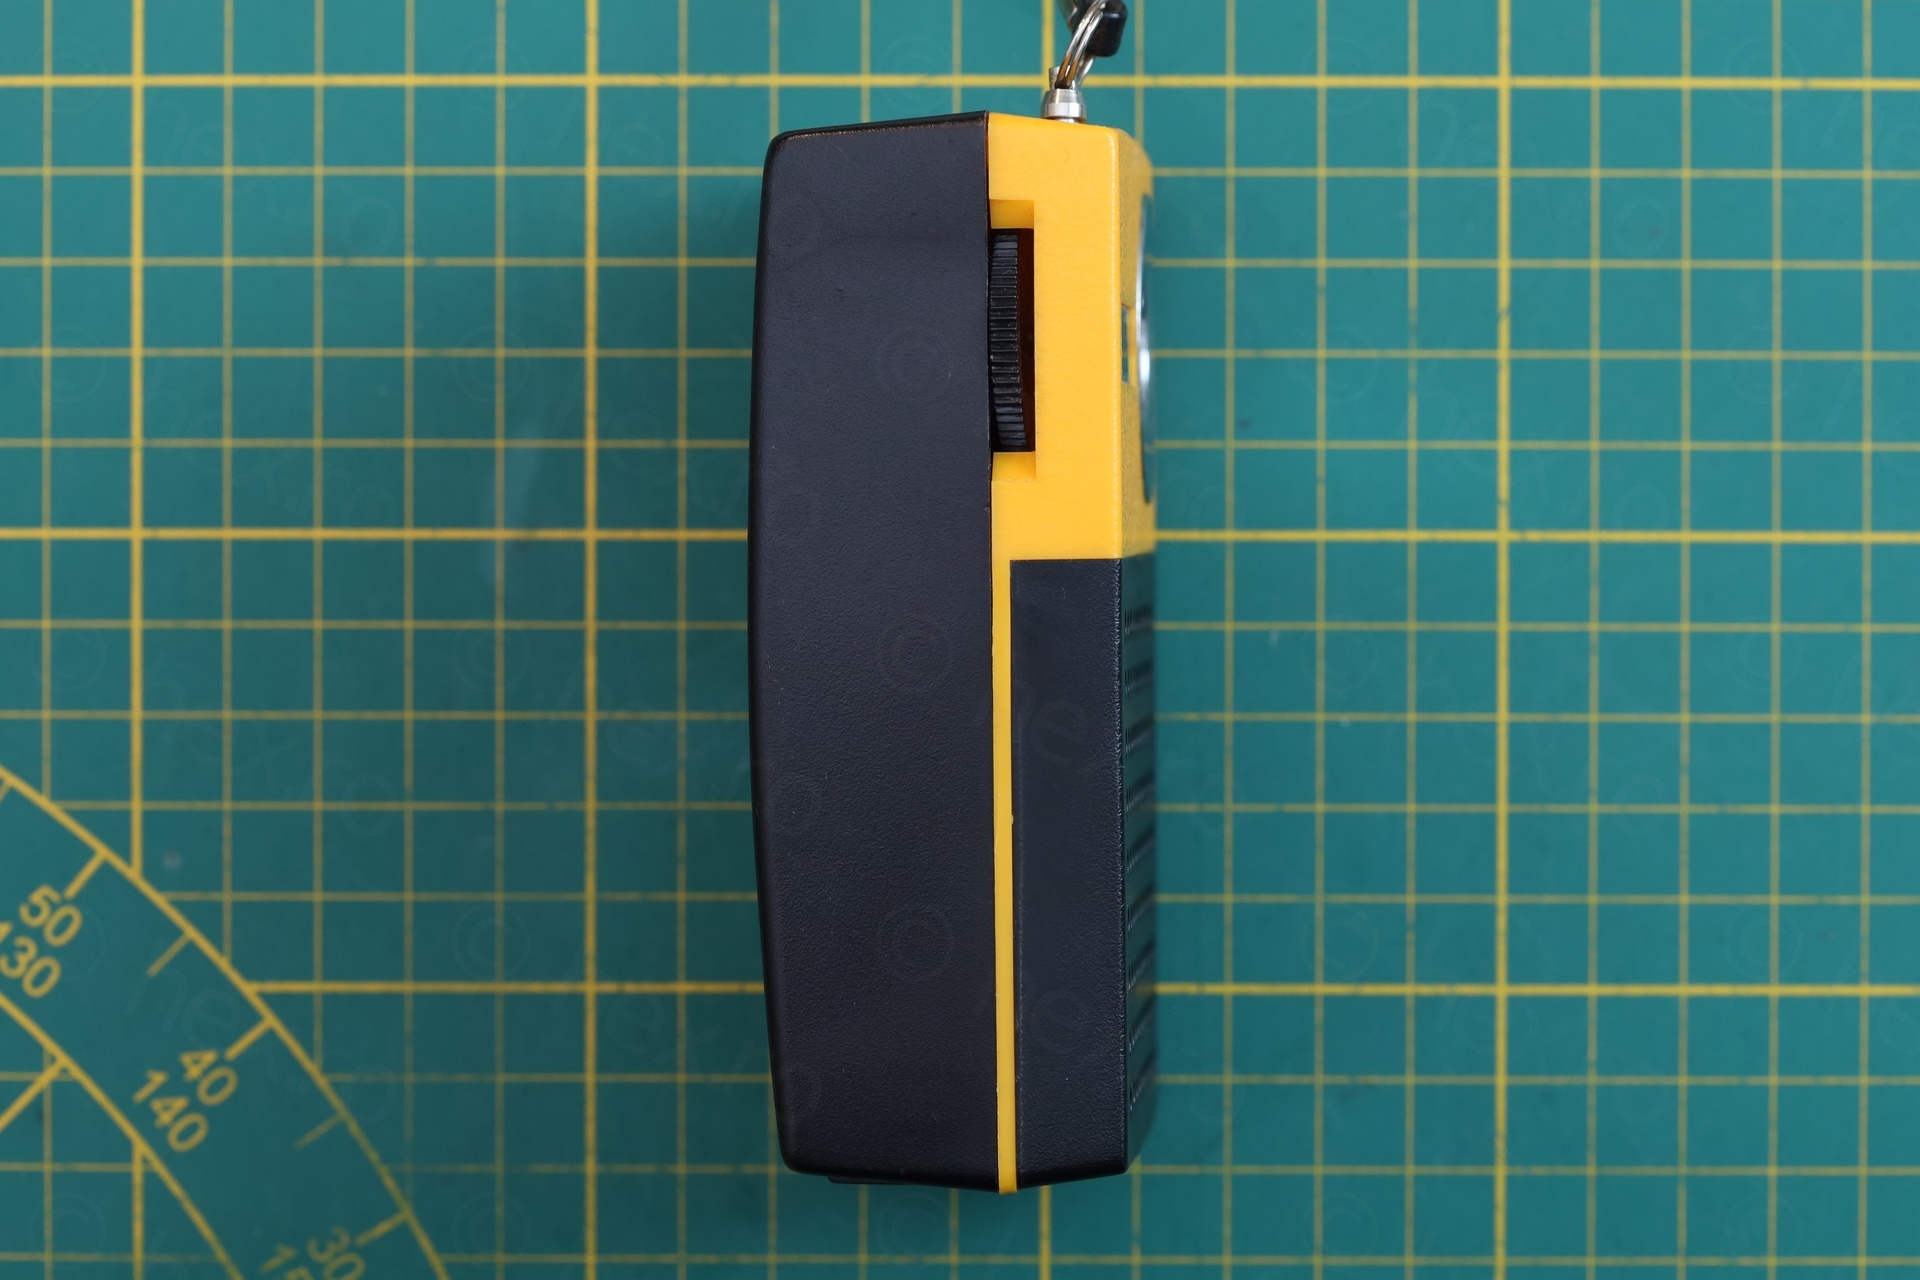
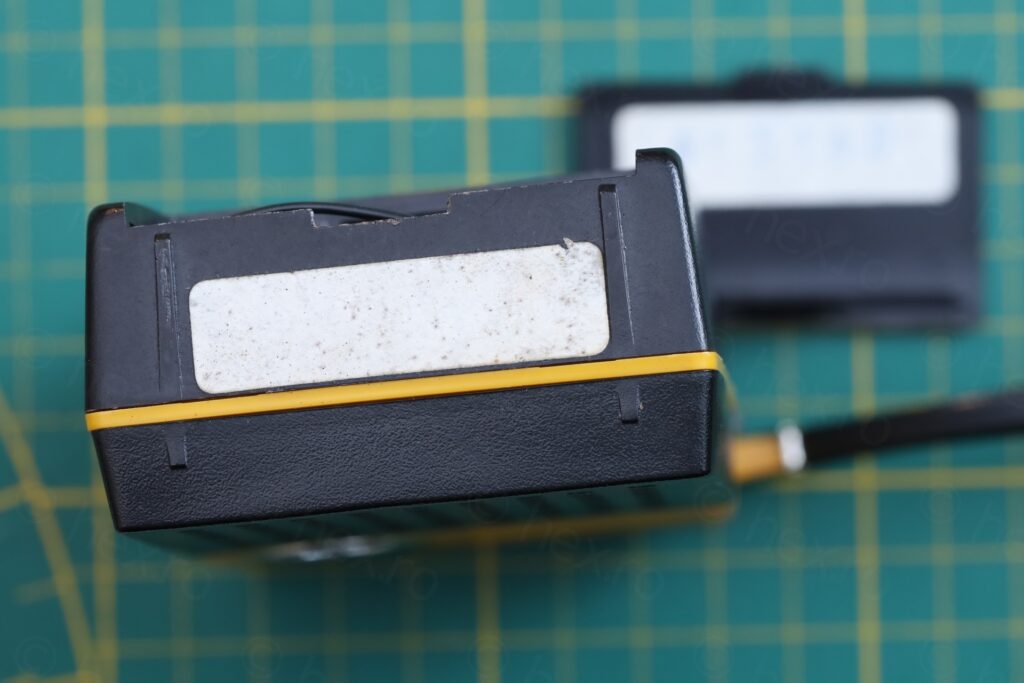
Visual inspection
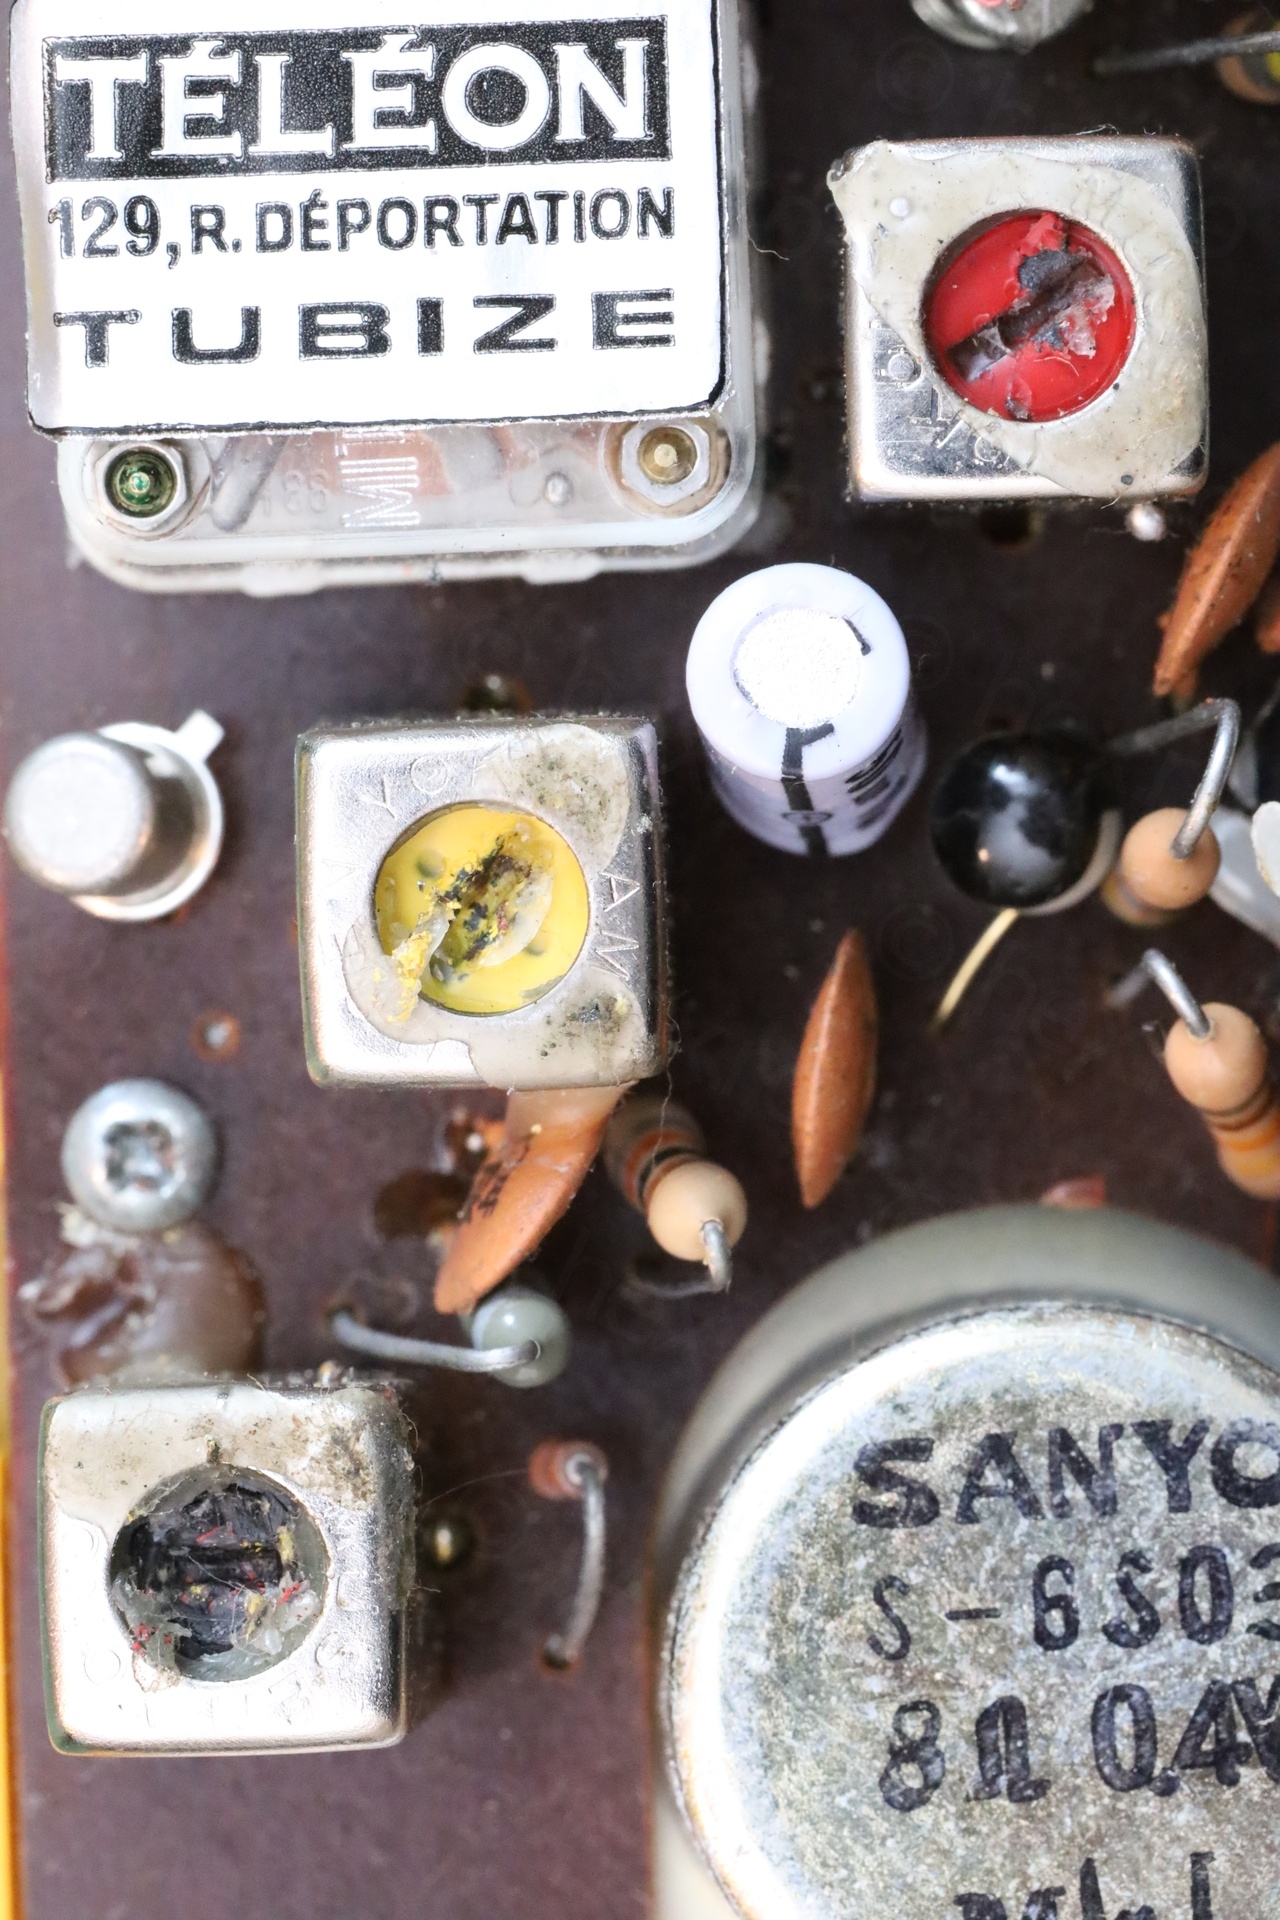
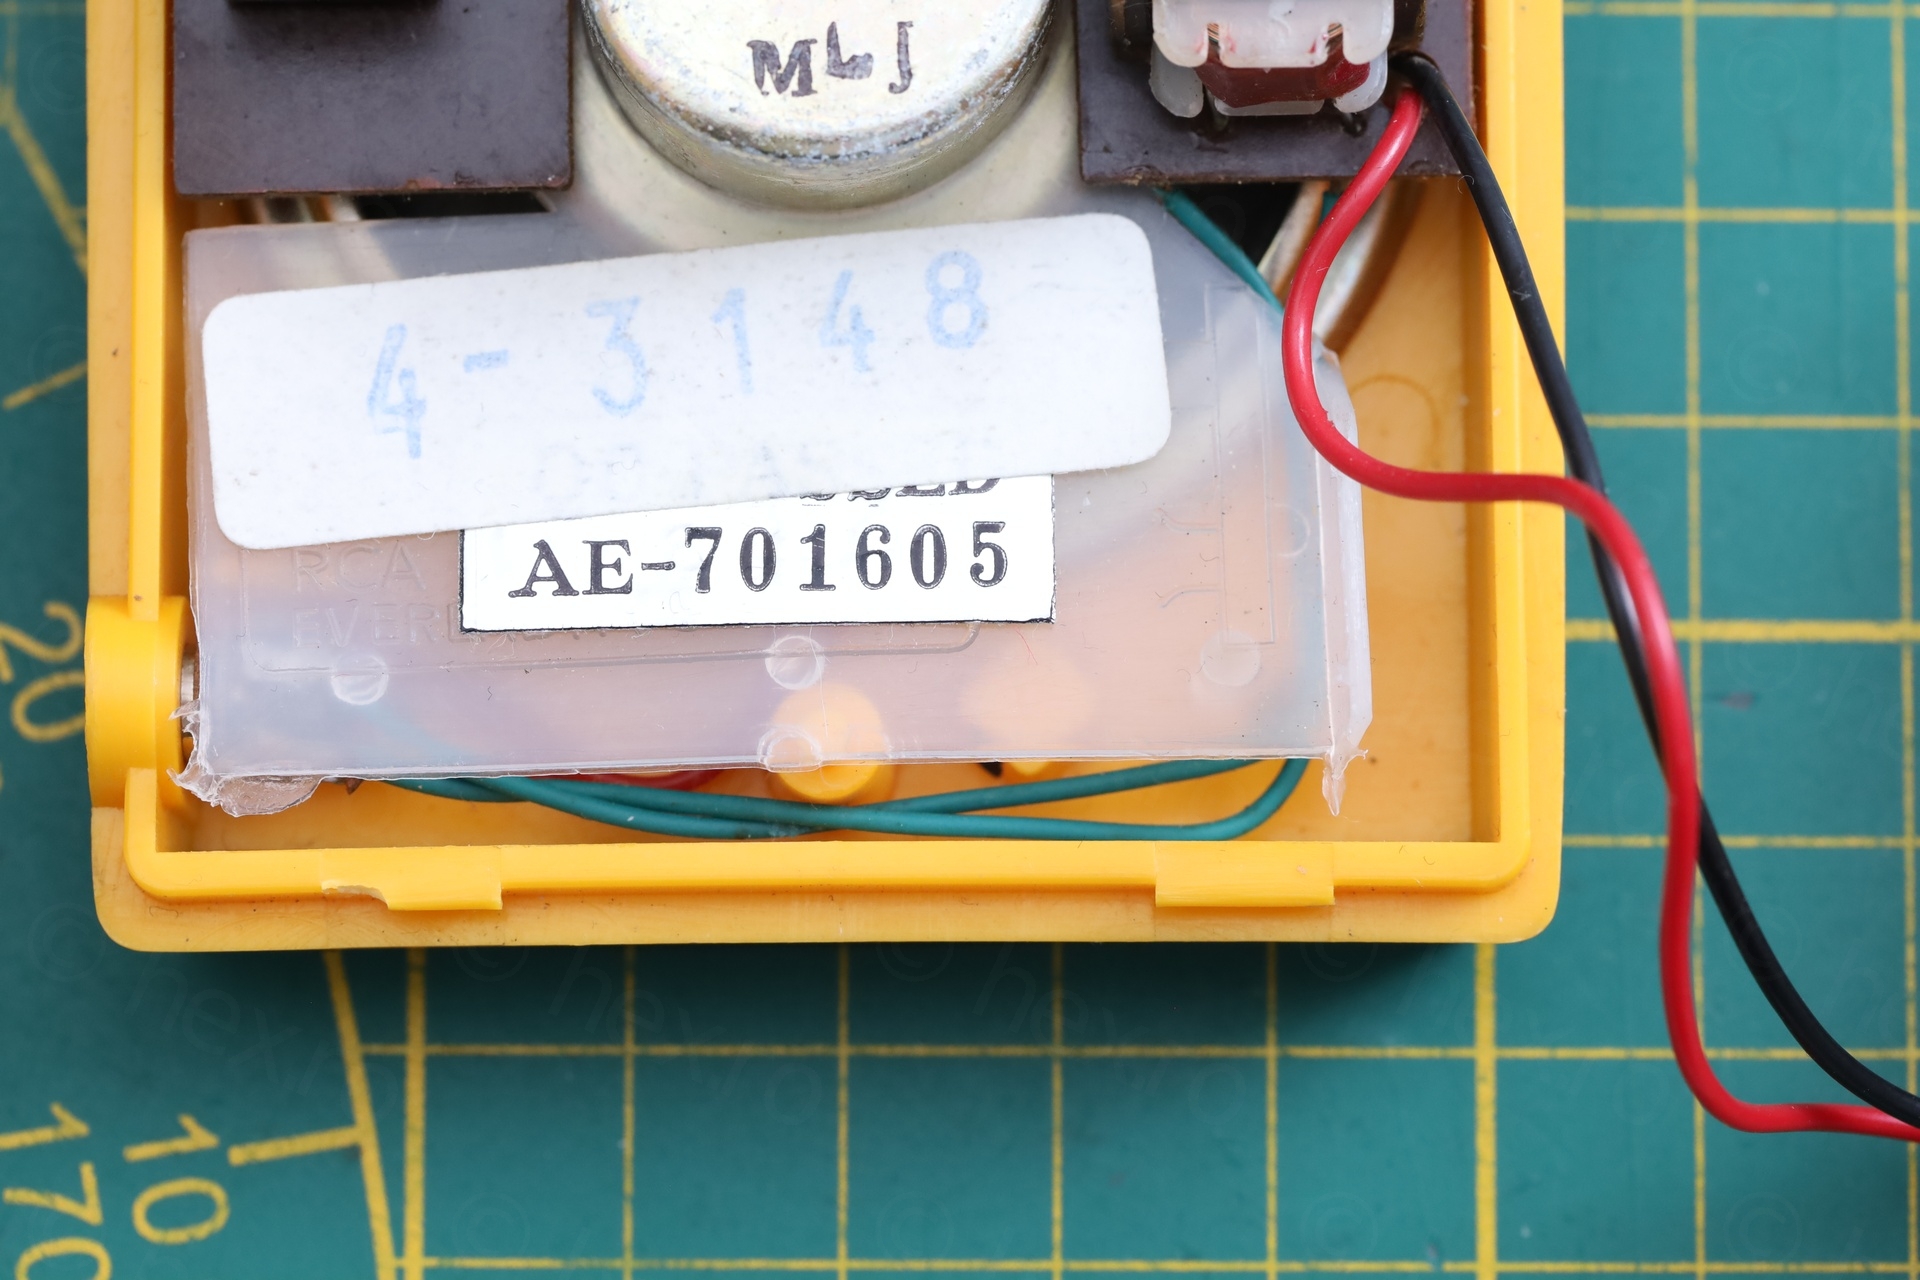
There is another label on the bottom which was missing its markings, but it is almost identical with two other labels that are inside:
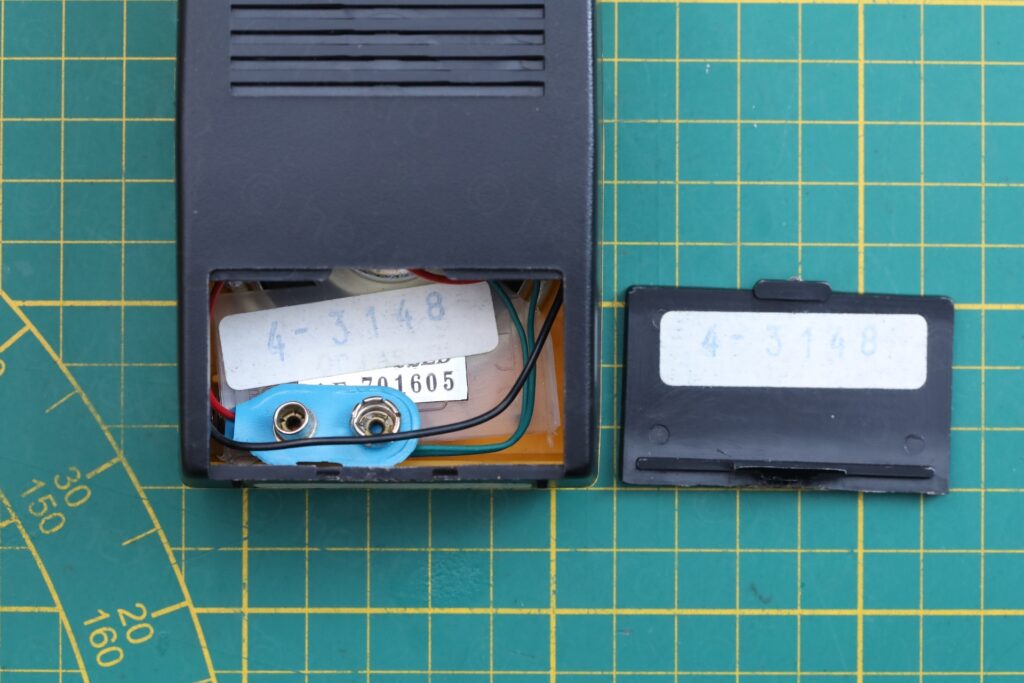
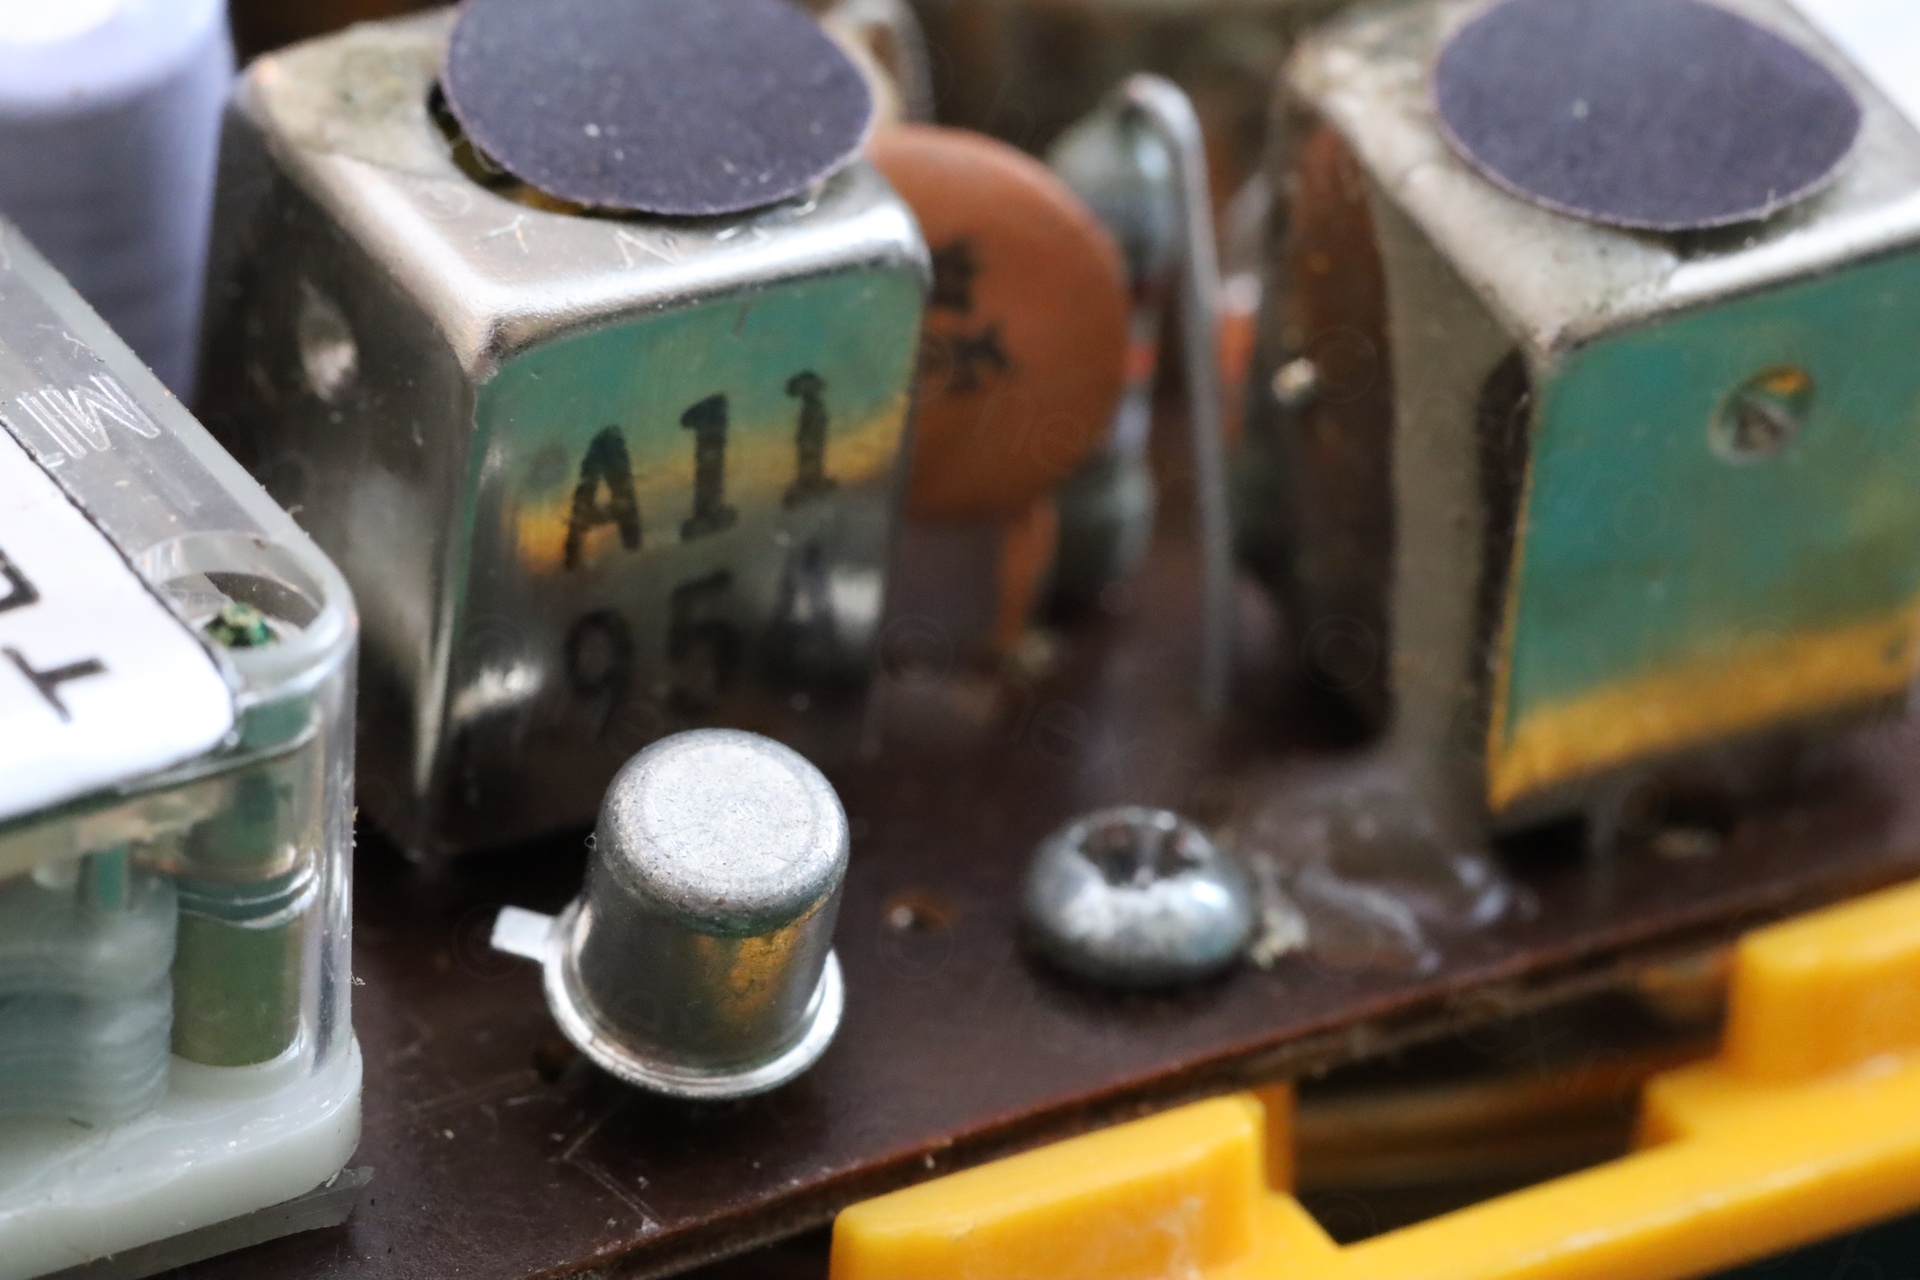
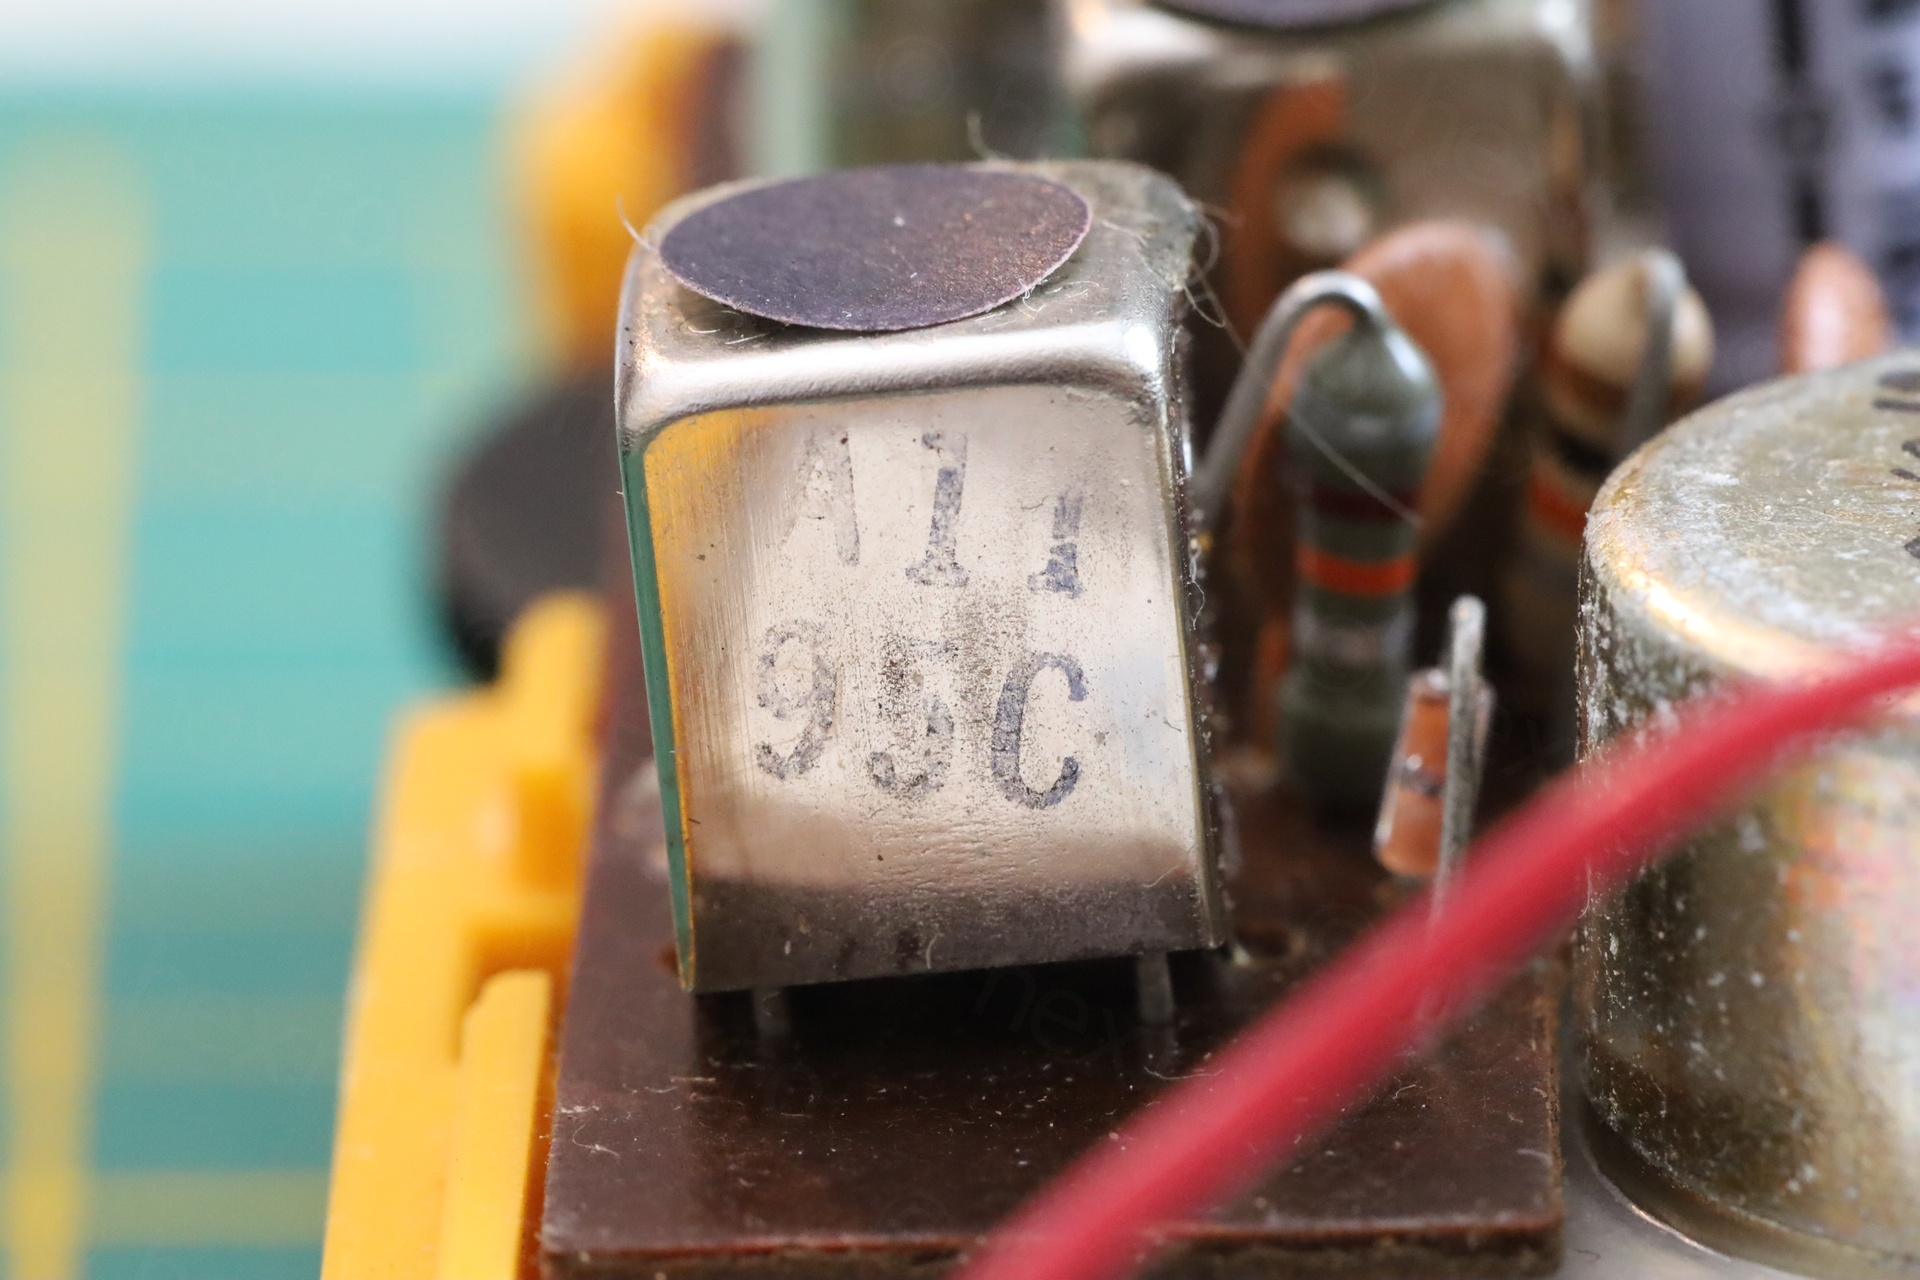
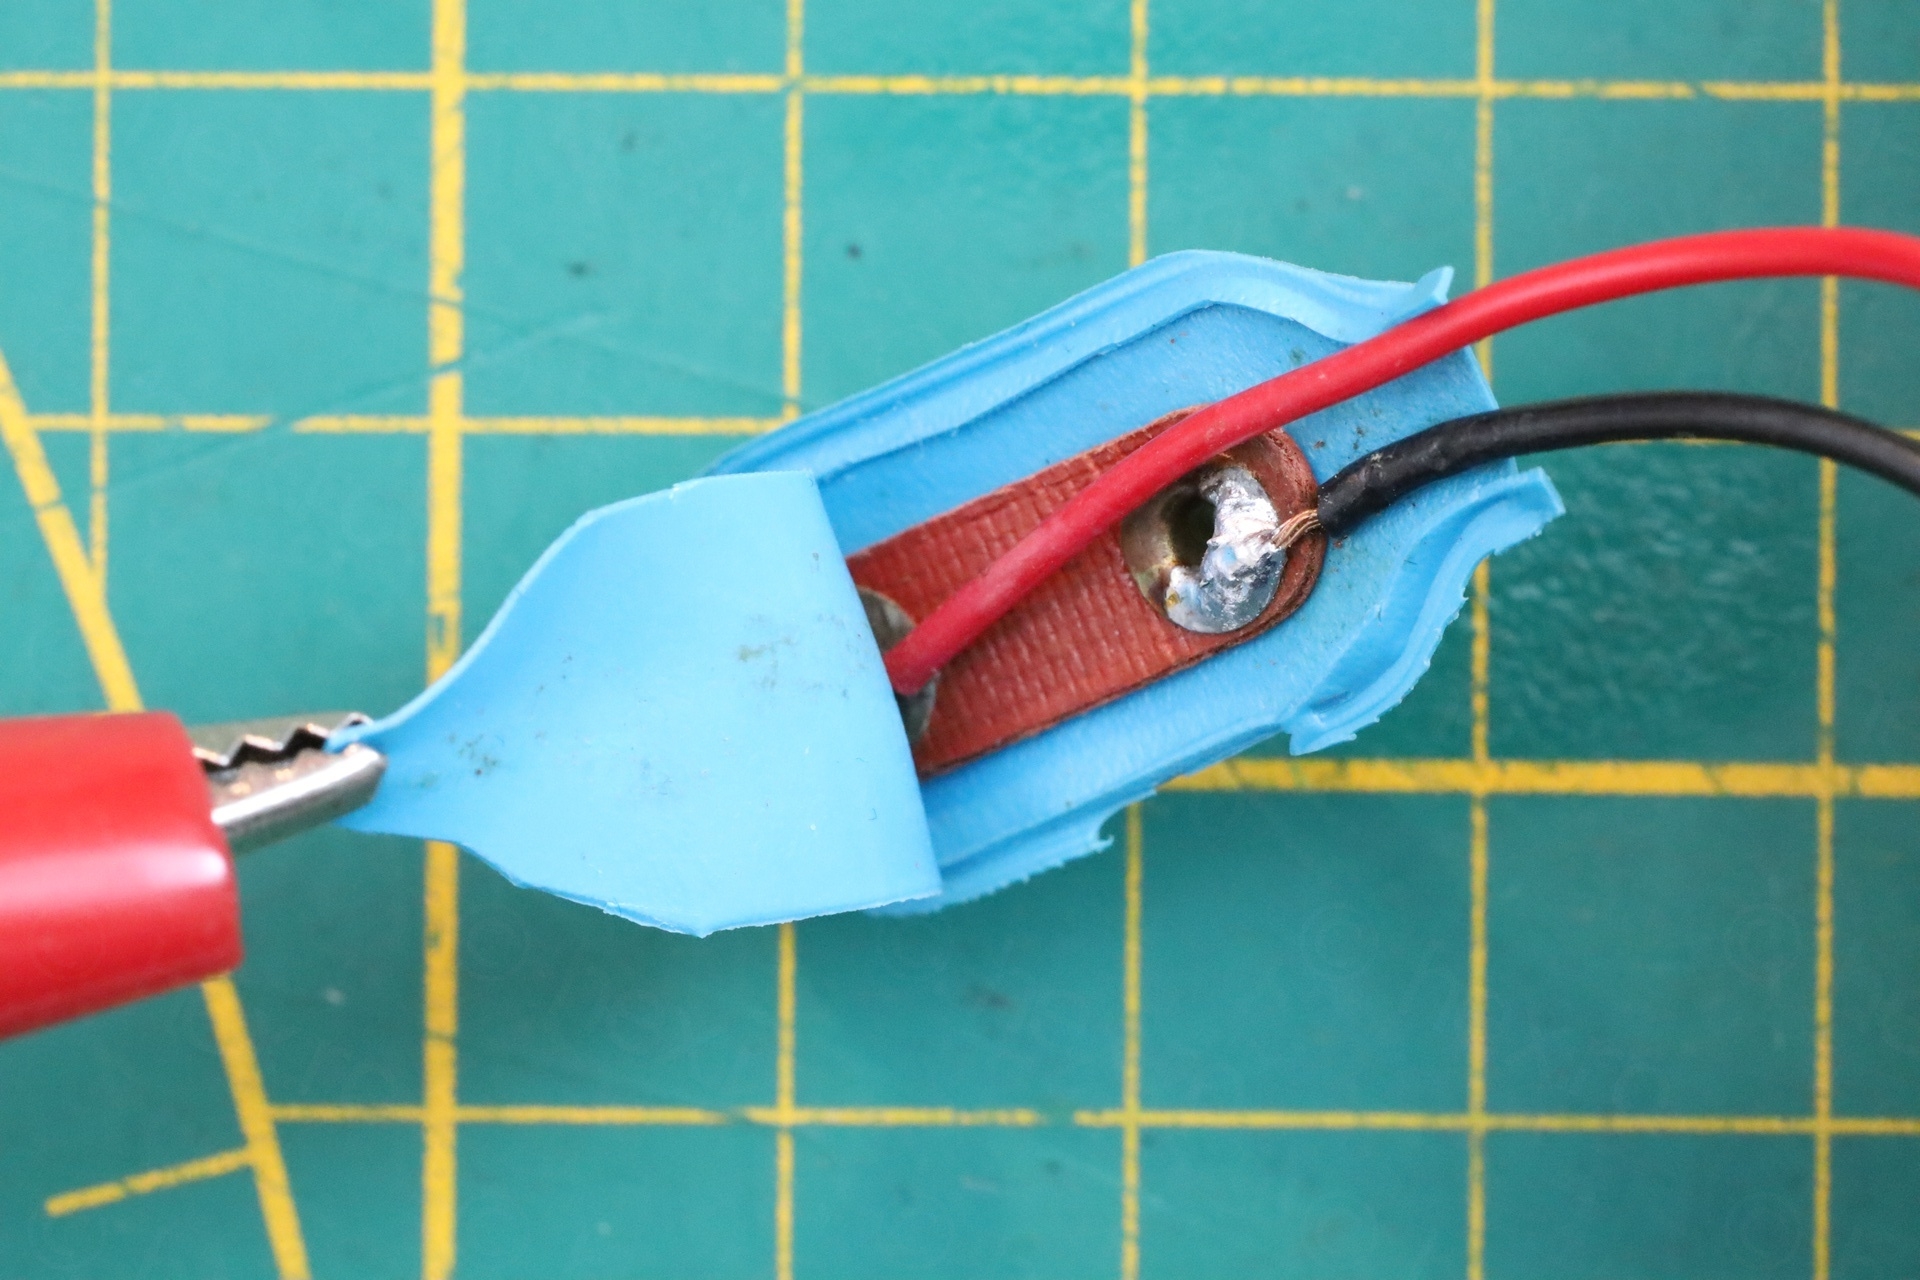
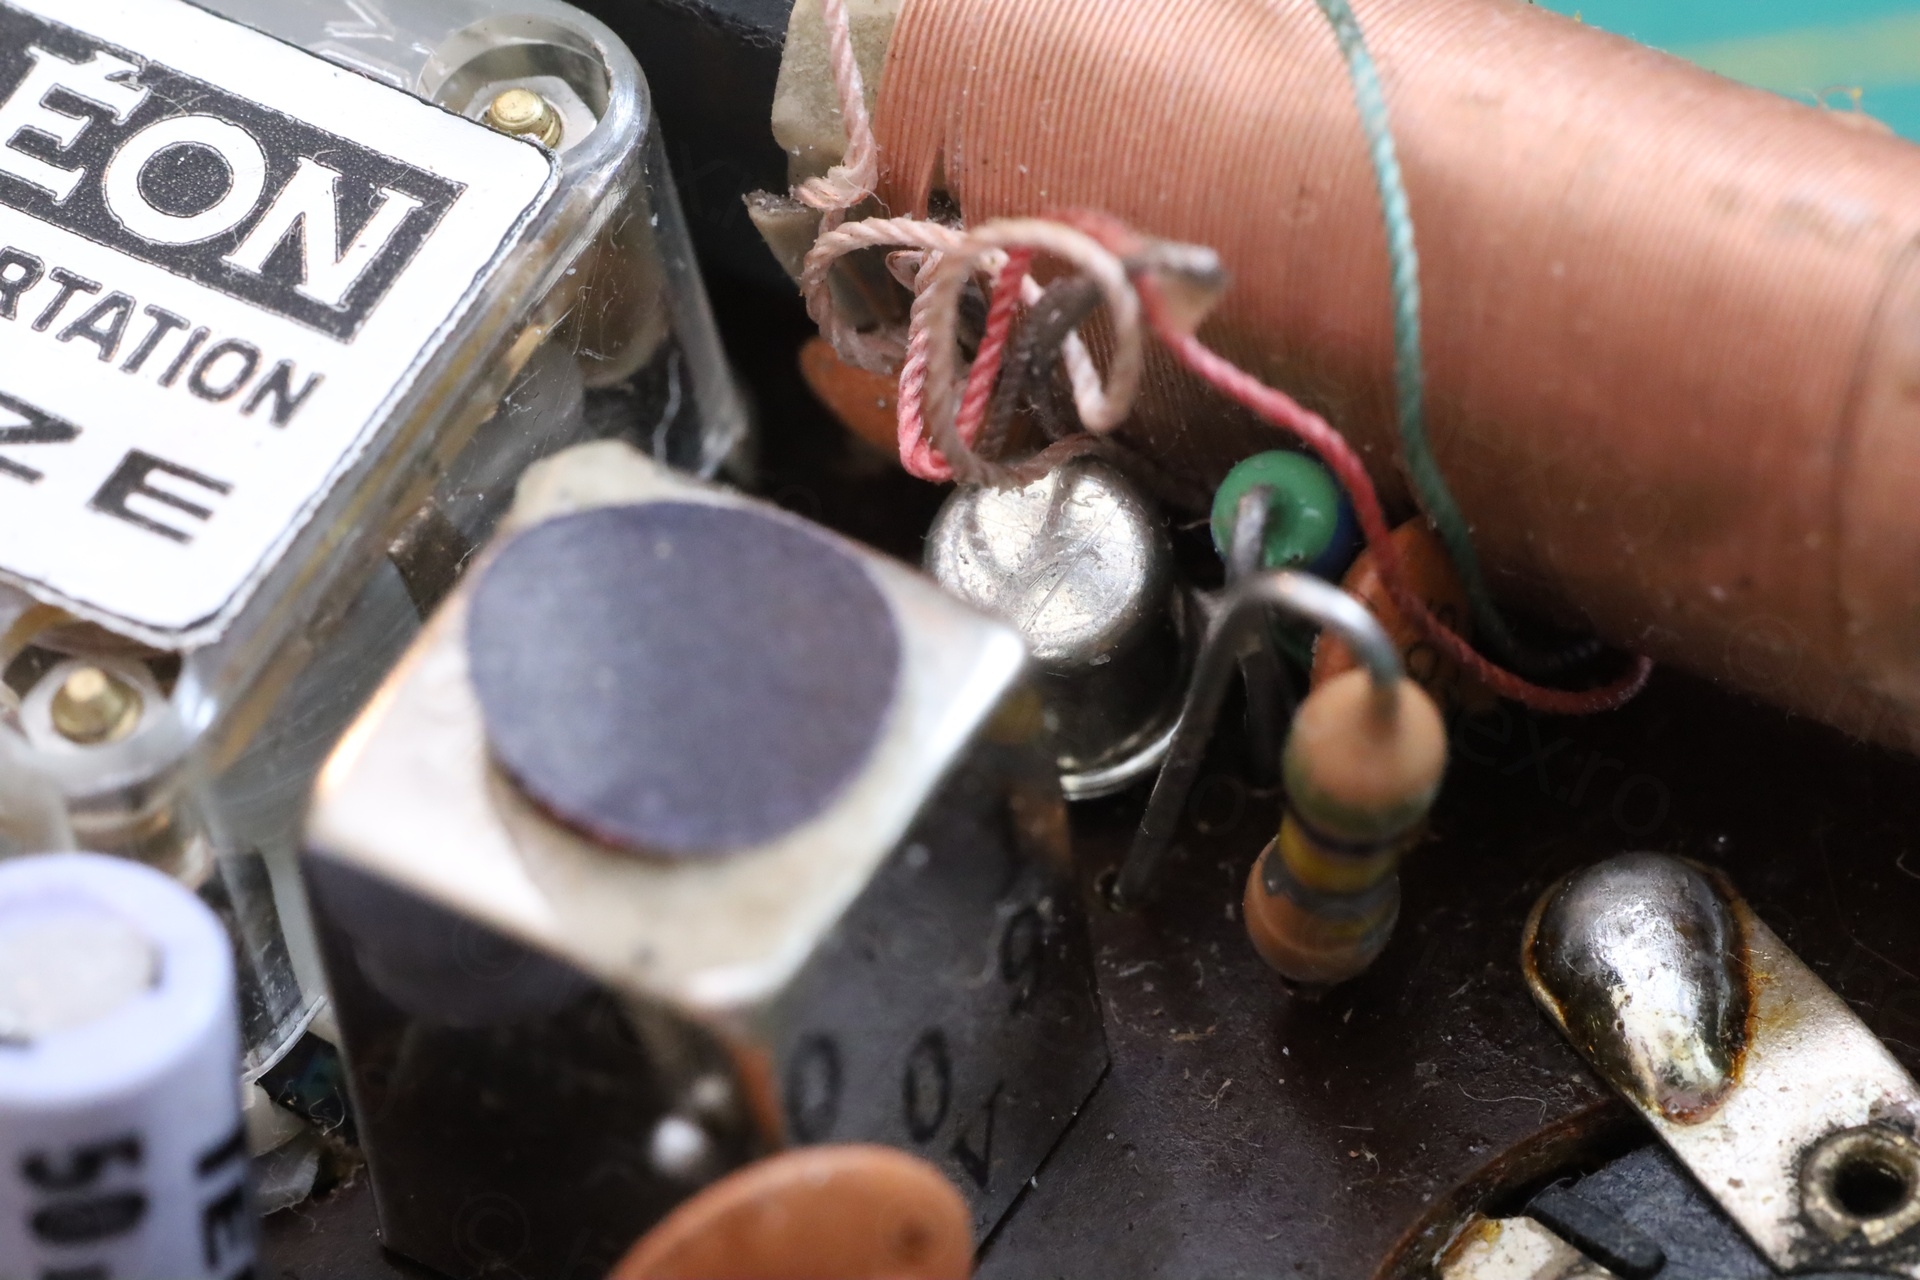
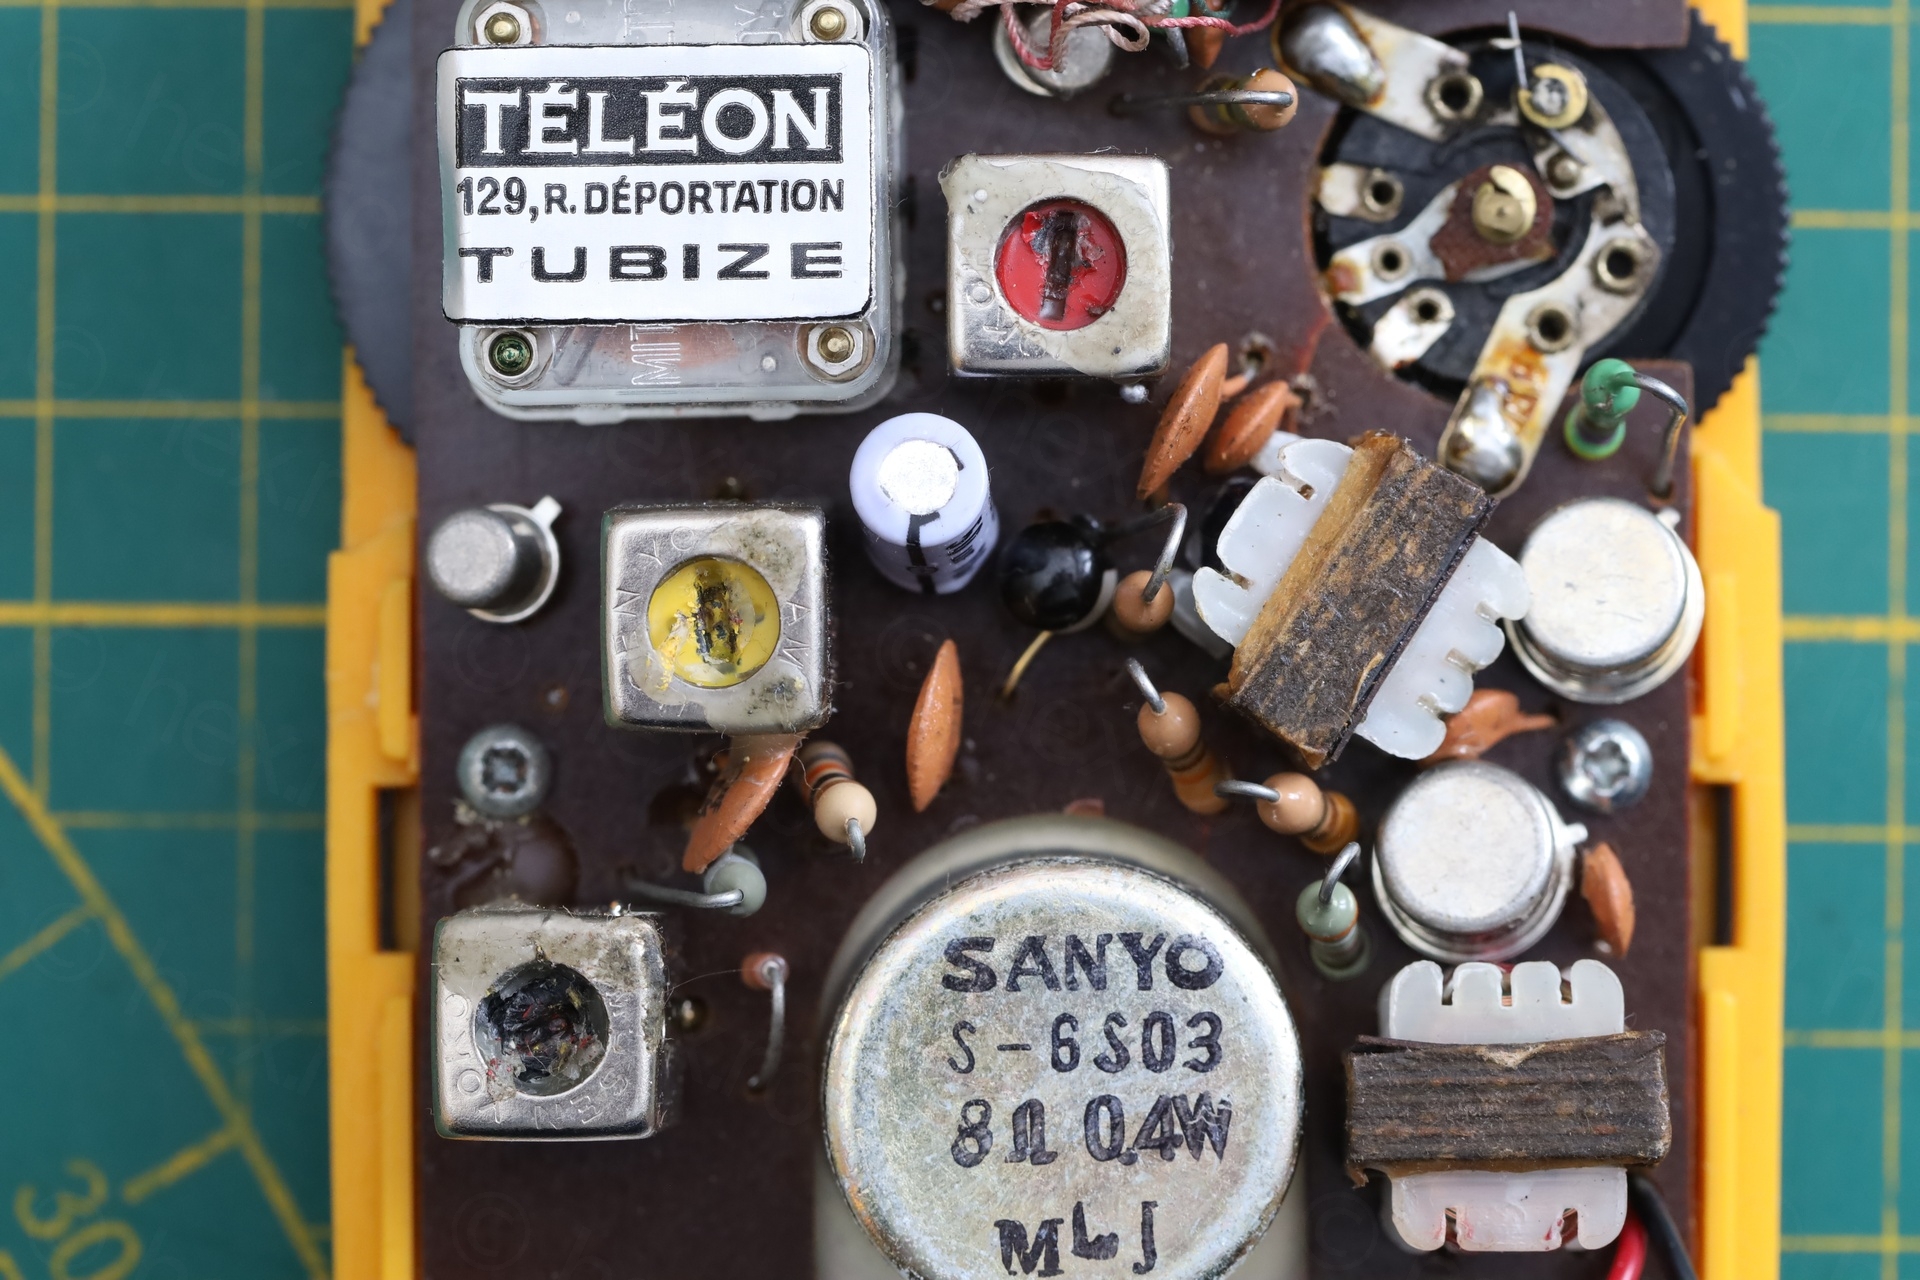
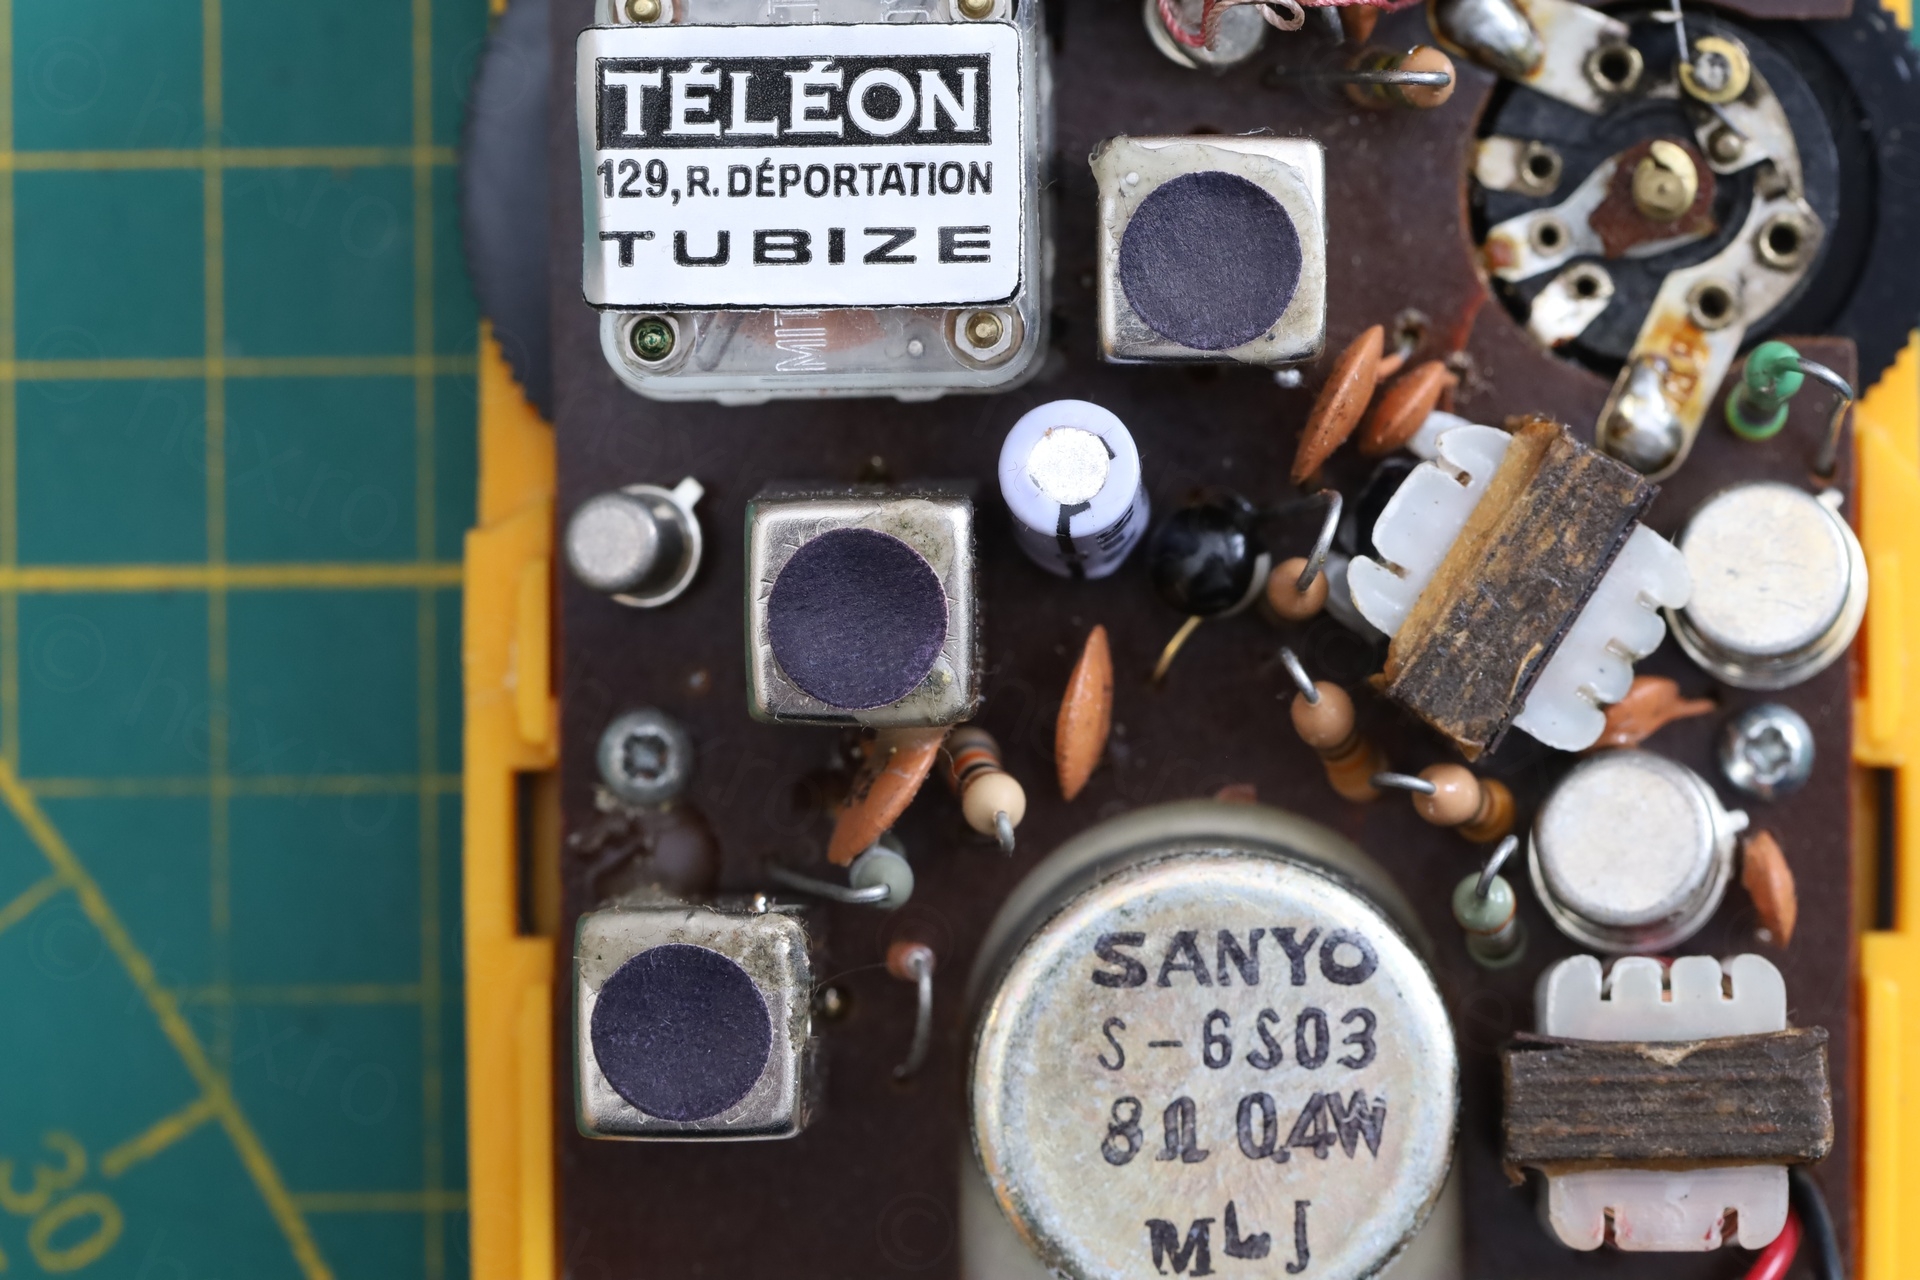
A look inside reveals a torn battery clip (the negative wire is disconnected), unmarked transistors and a rather minimalist design.
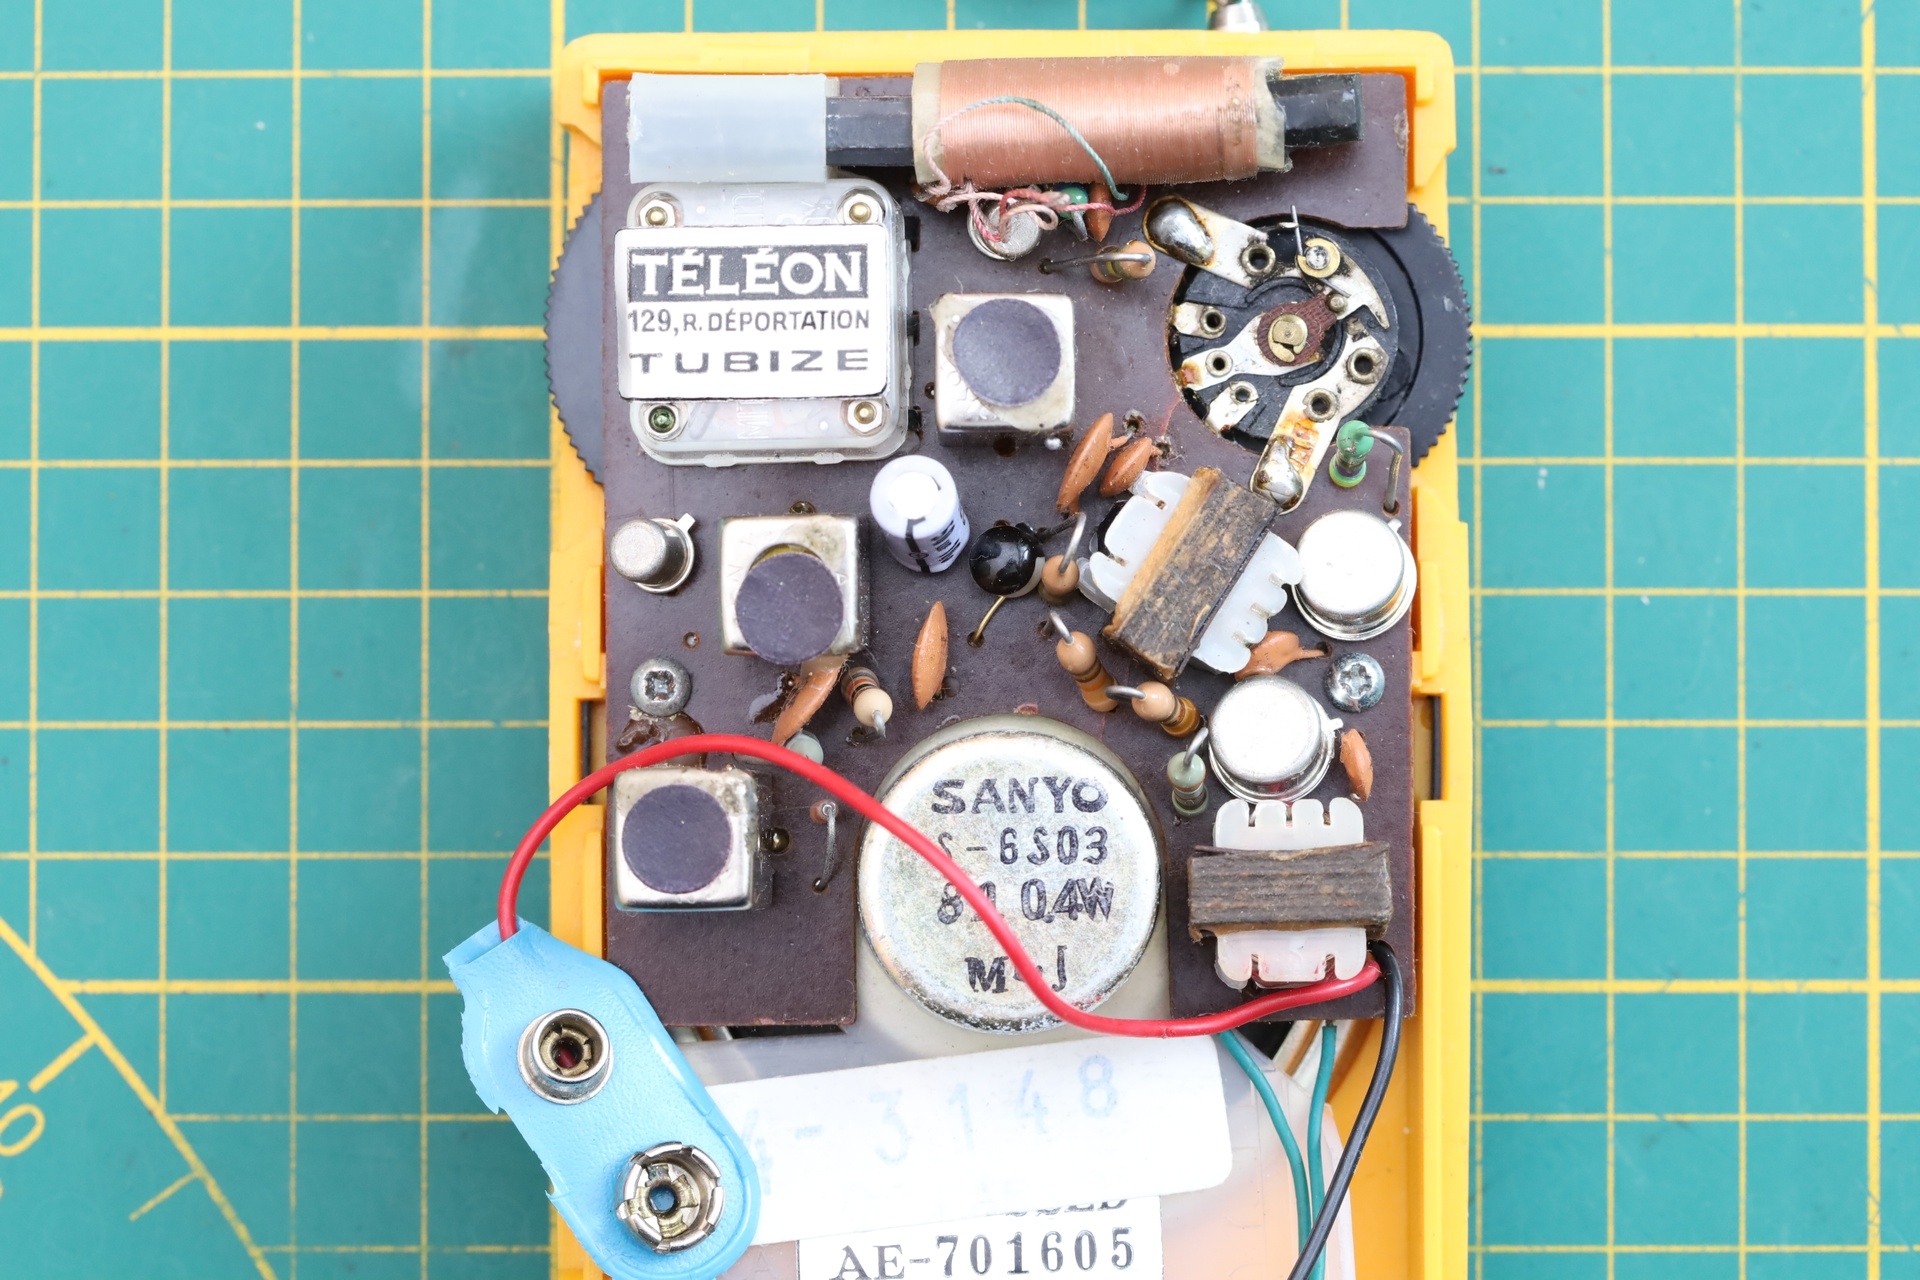
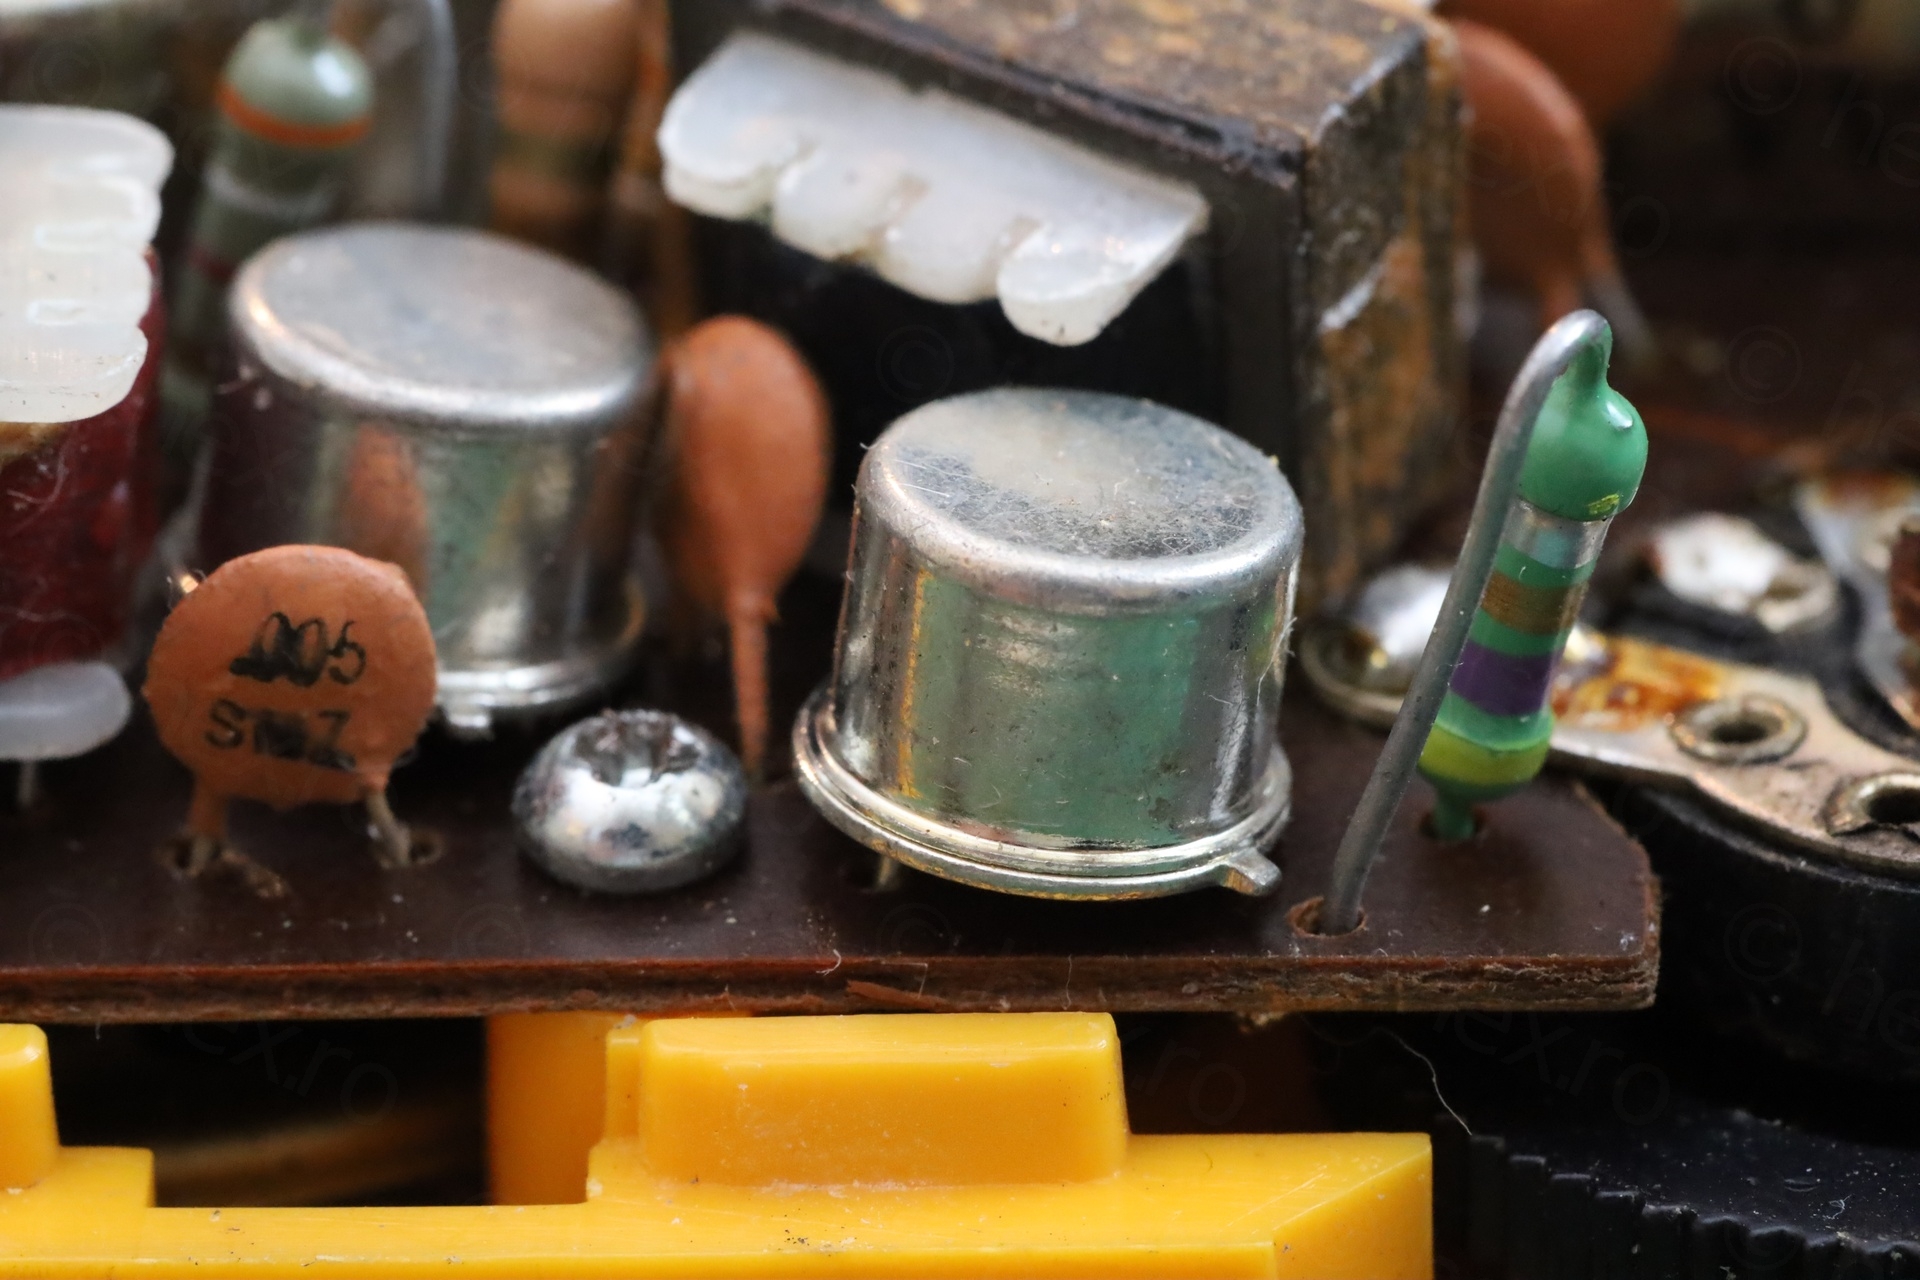

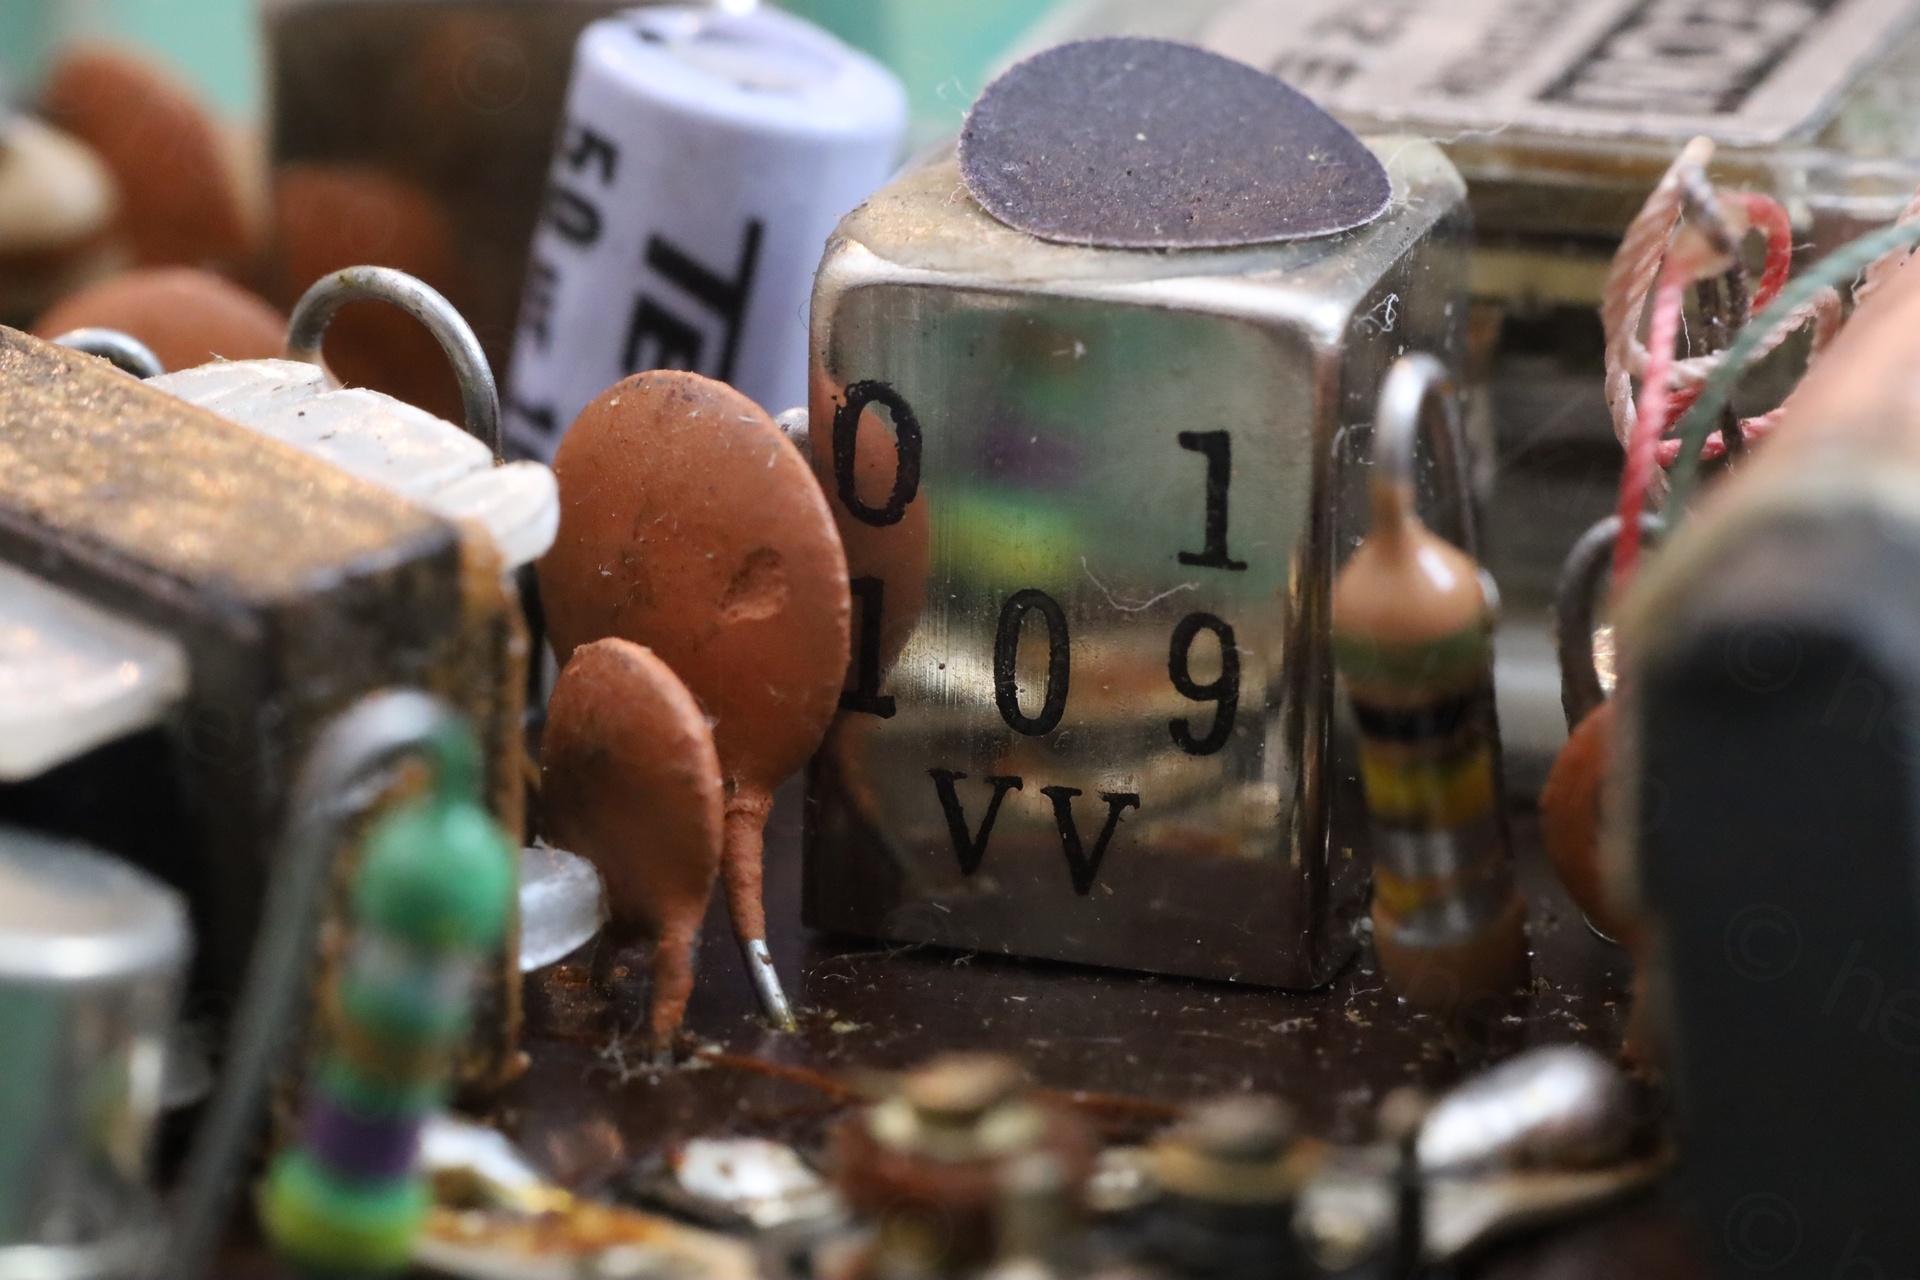
I could only spot one electrolytic capacitor, but it measured good. A paralleled brand new capacitor didn’t improve anything, thus I left it in place.
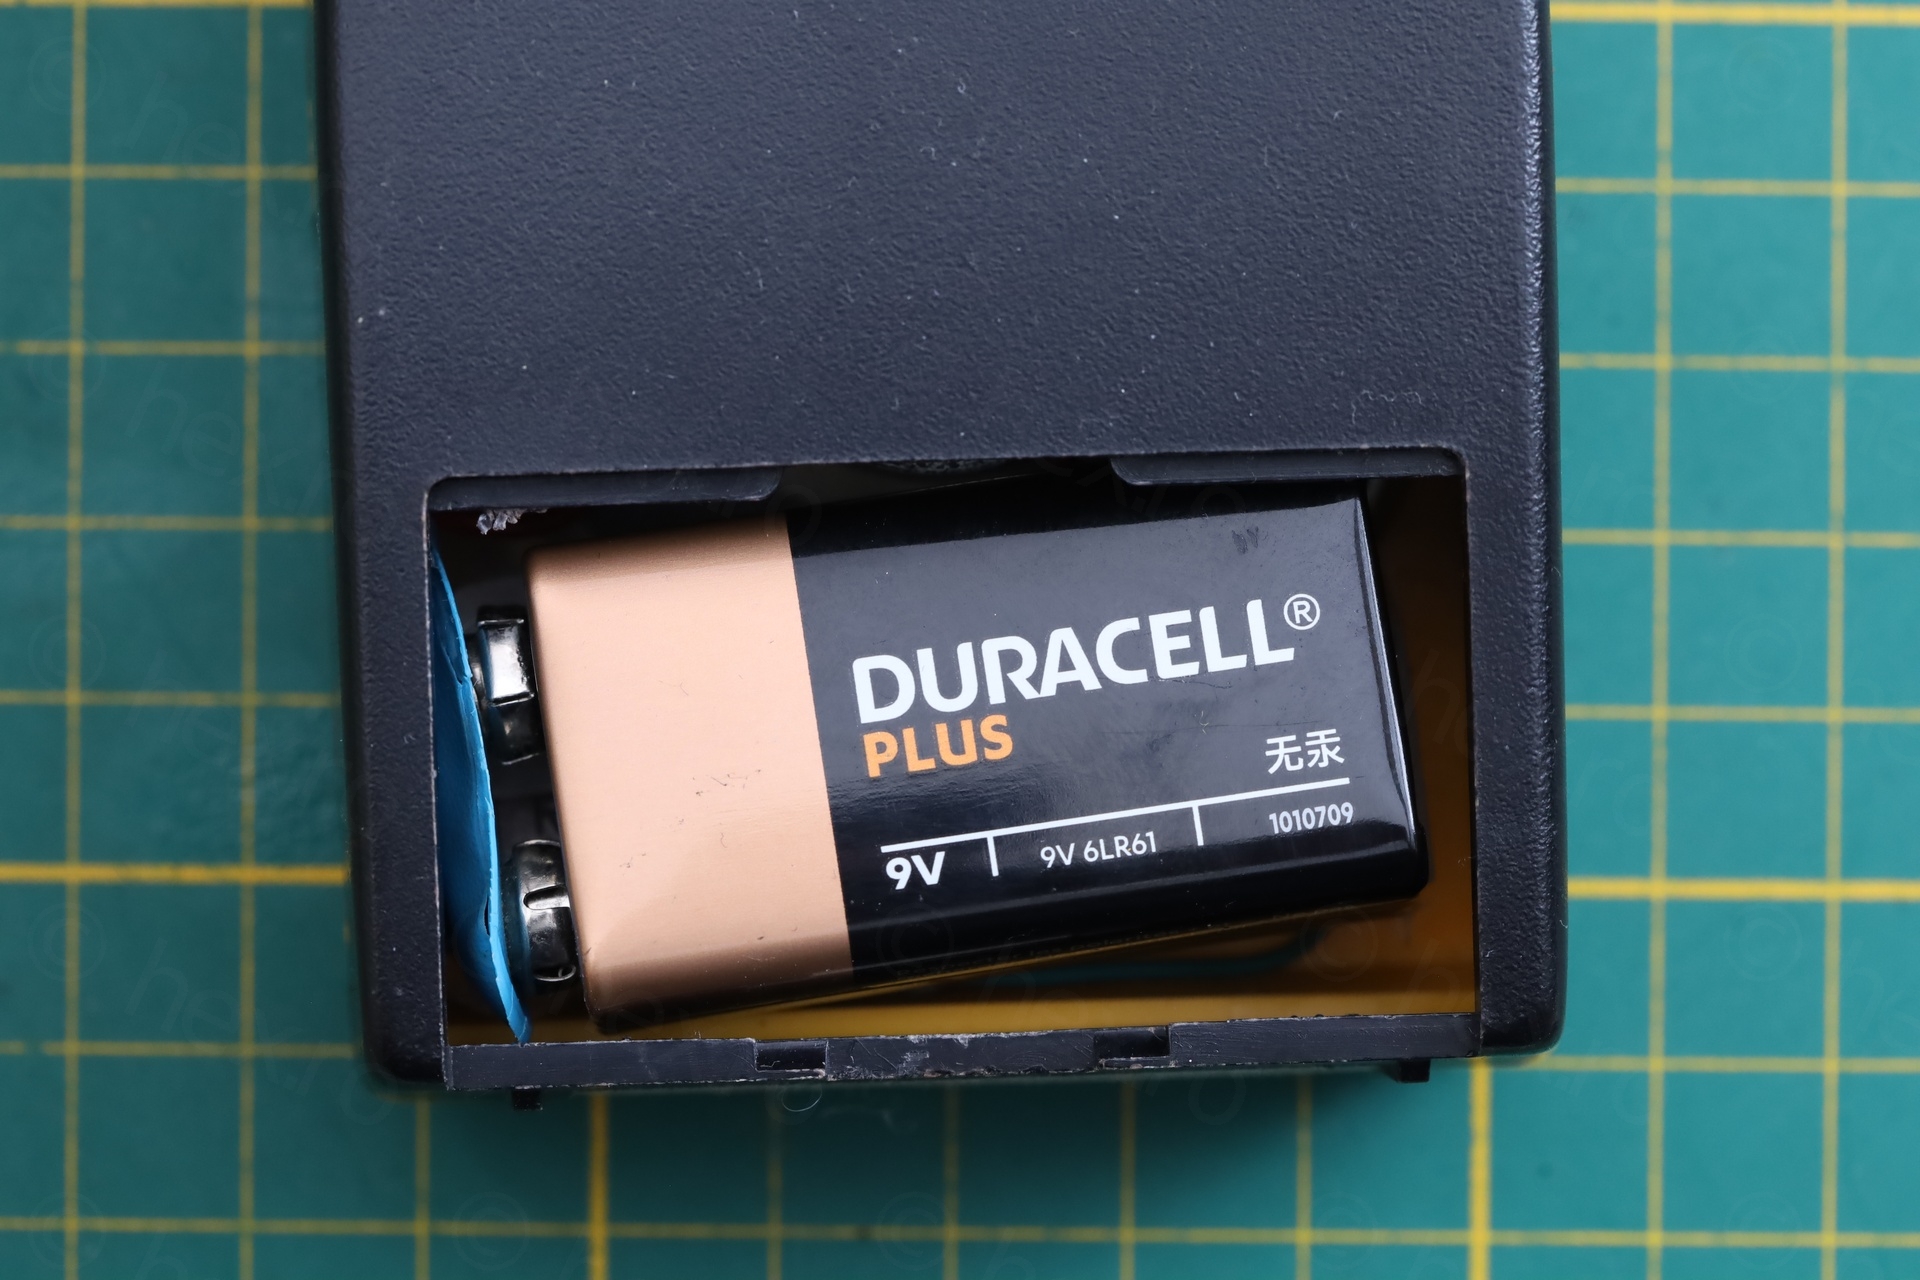
9V battery clip fix
I didn’t have a suitable 9V battery clip. I do in fact, but not blue color. And why to risk cracking old plastic by taking the board out just to swap the clip ?
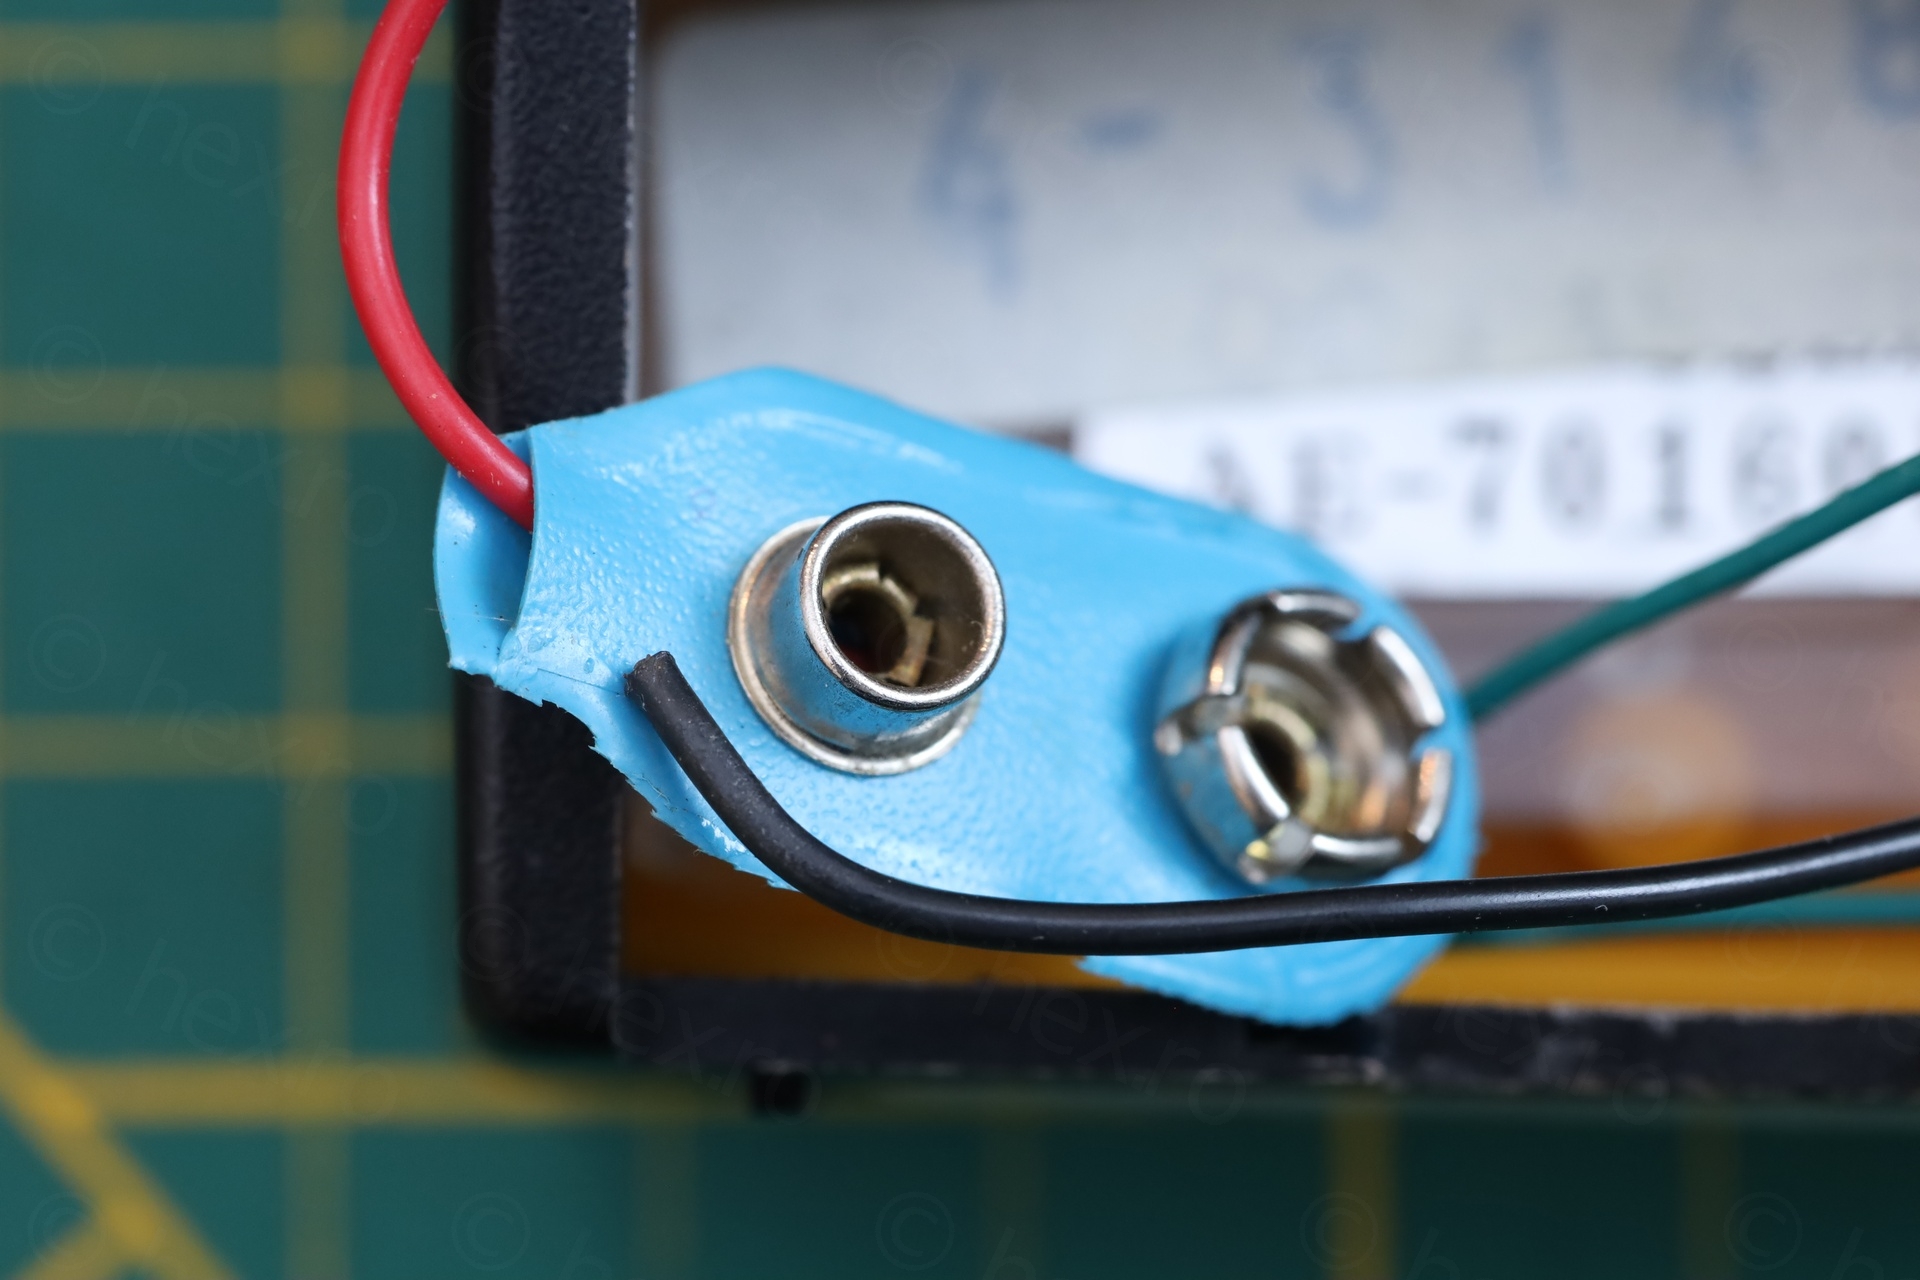
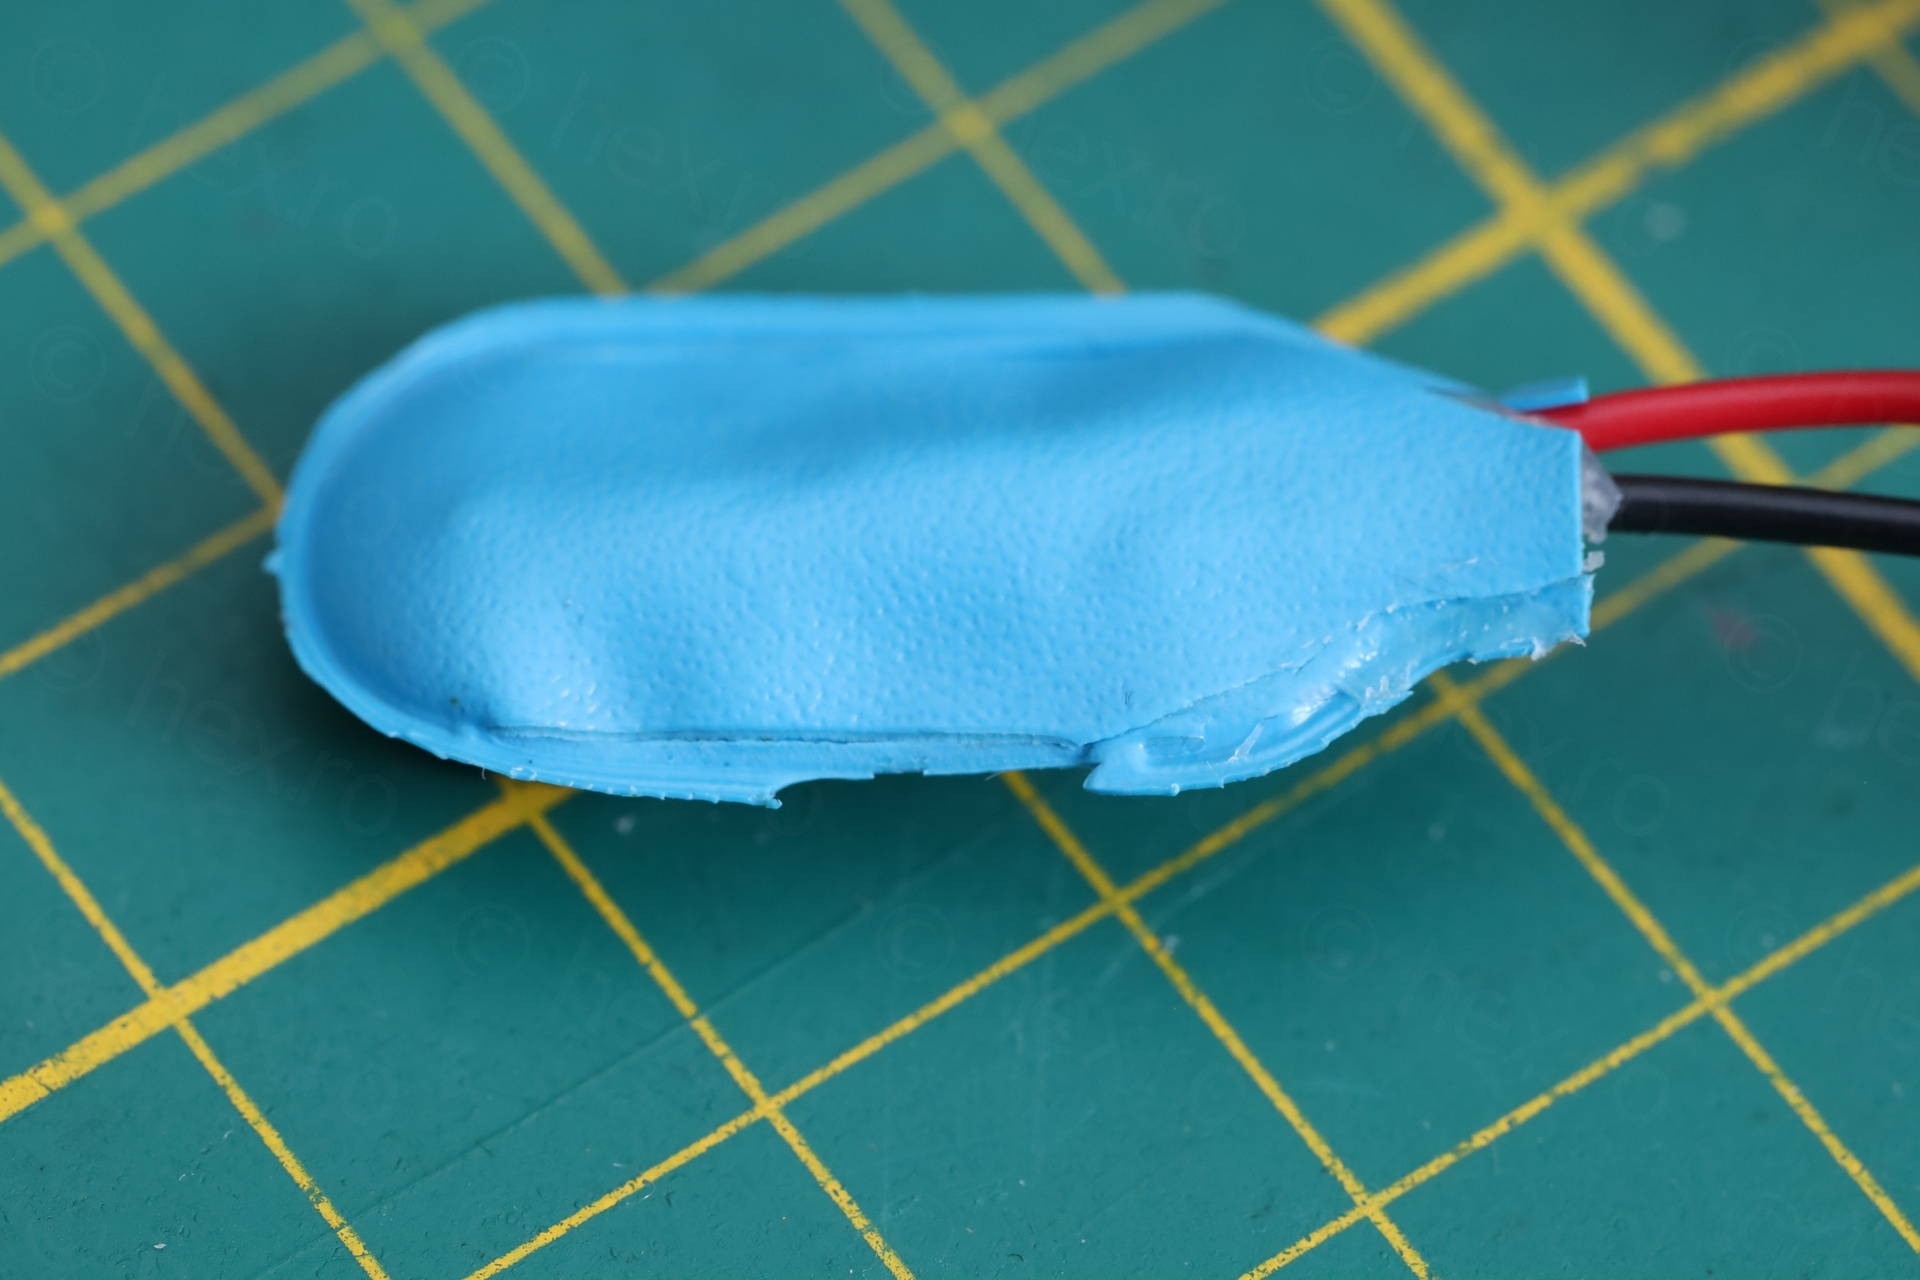
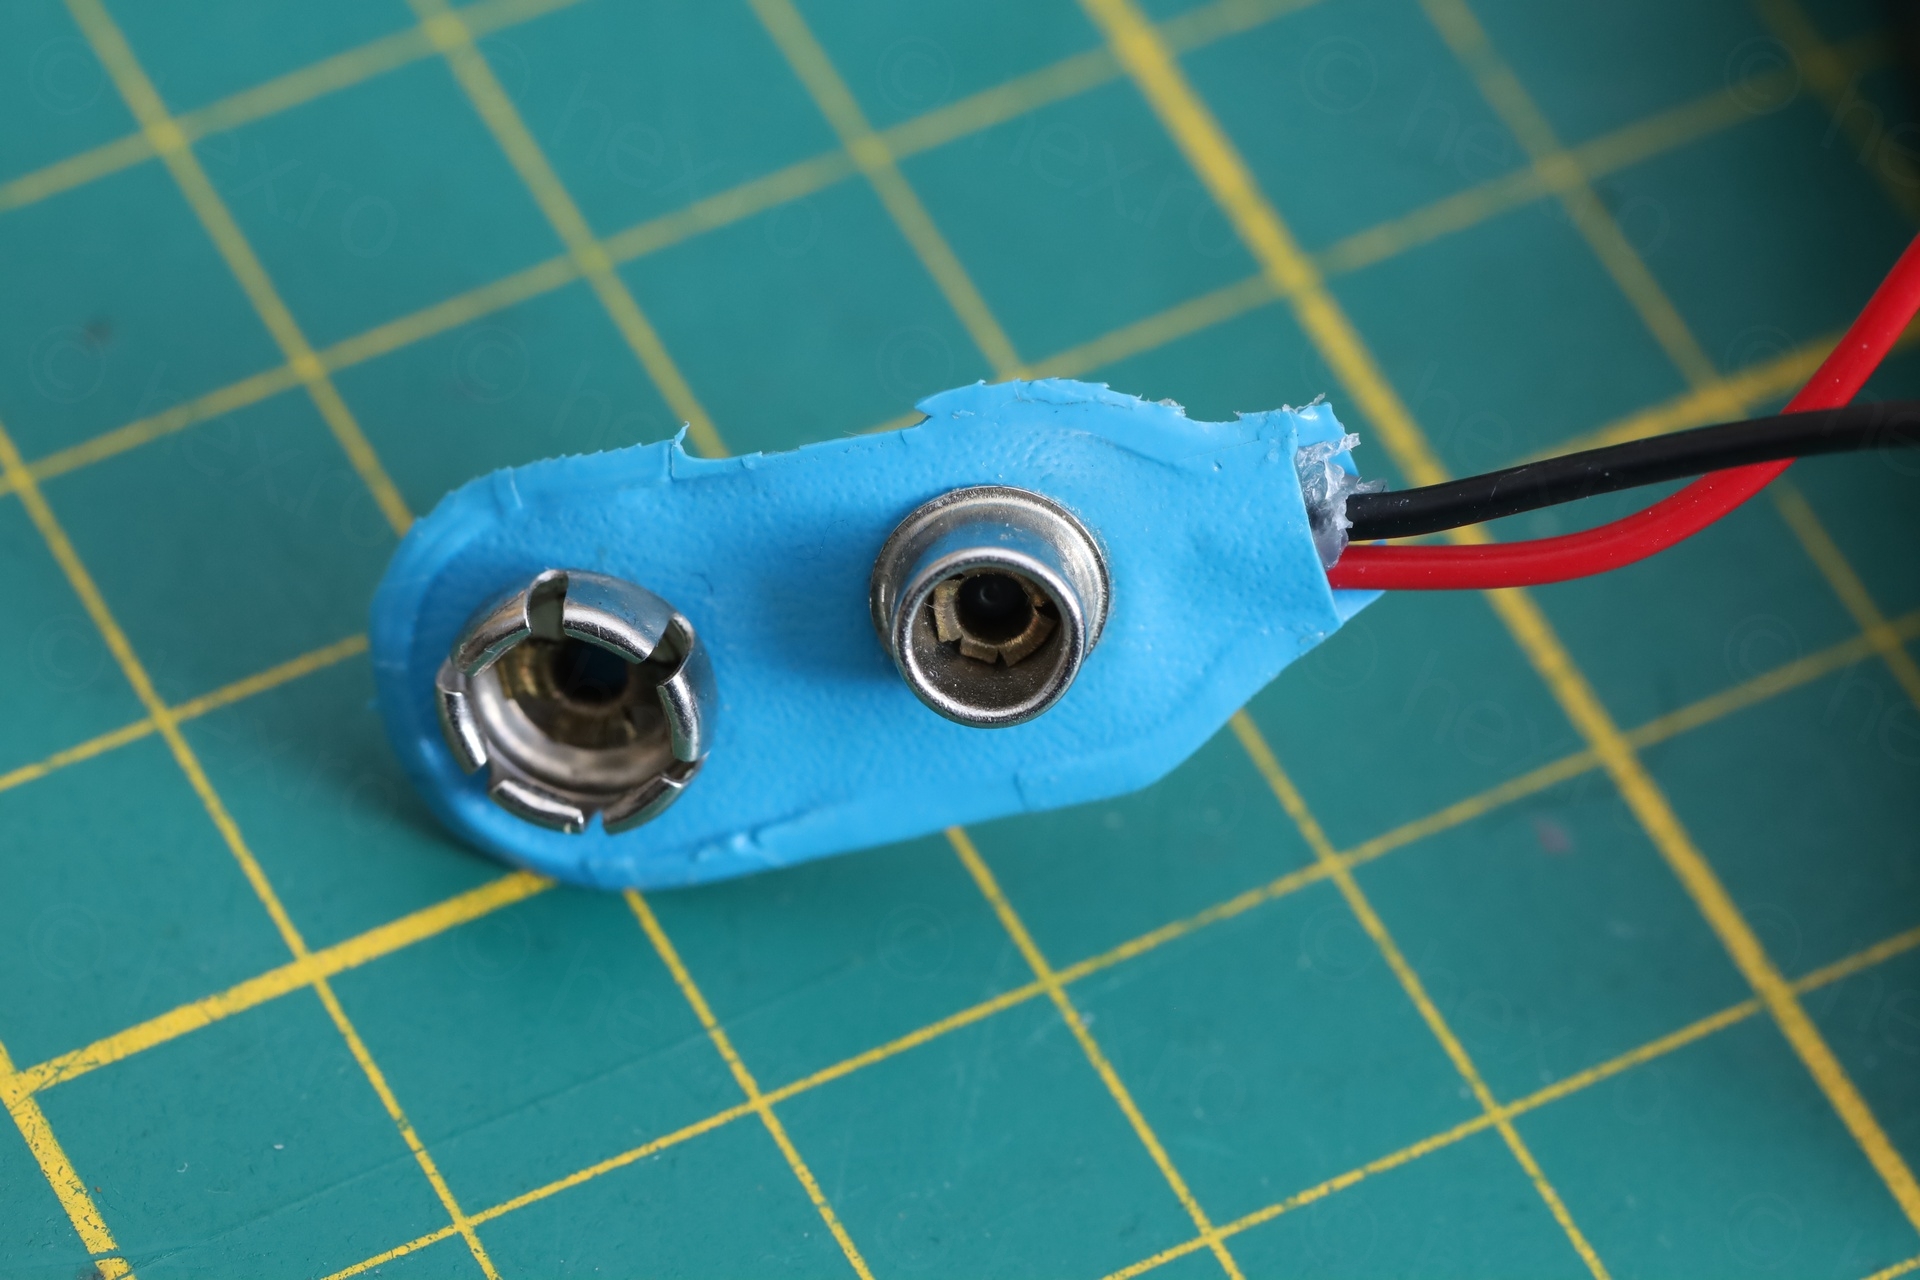
To fix the battery clip I used a small scissor to cut the back side to get access to the mini-circuit board, soldered the negative wire to its terminal, fill the gap with some hot melt glue. While the glue was still hot, I put the flap back.
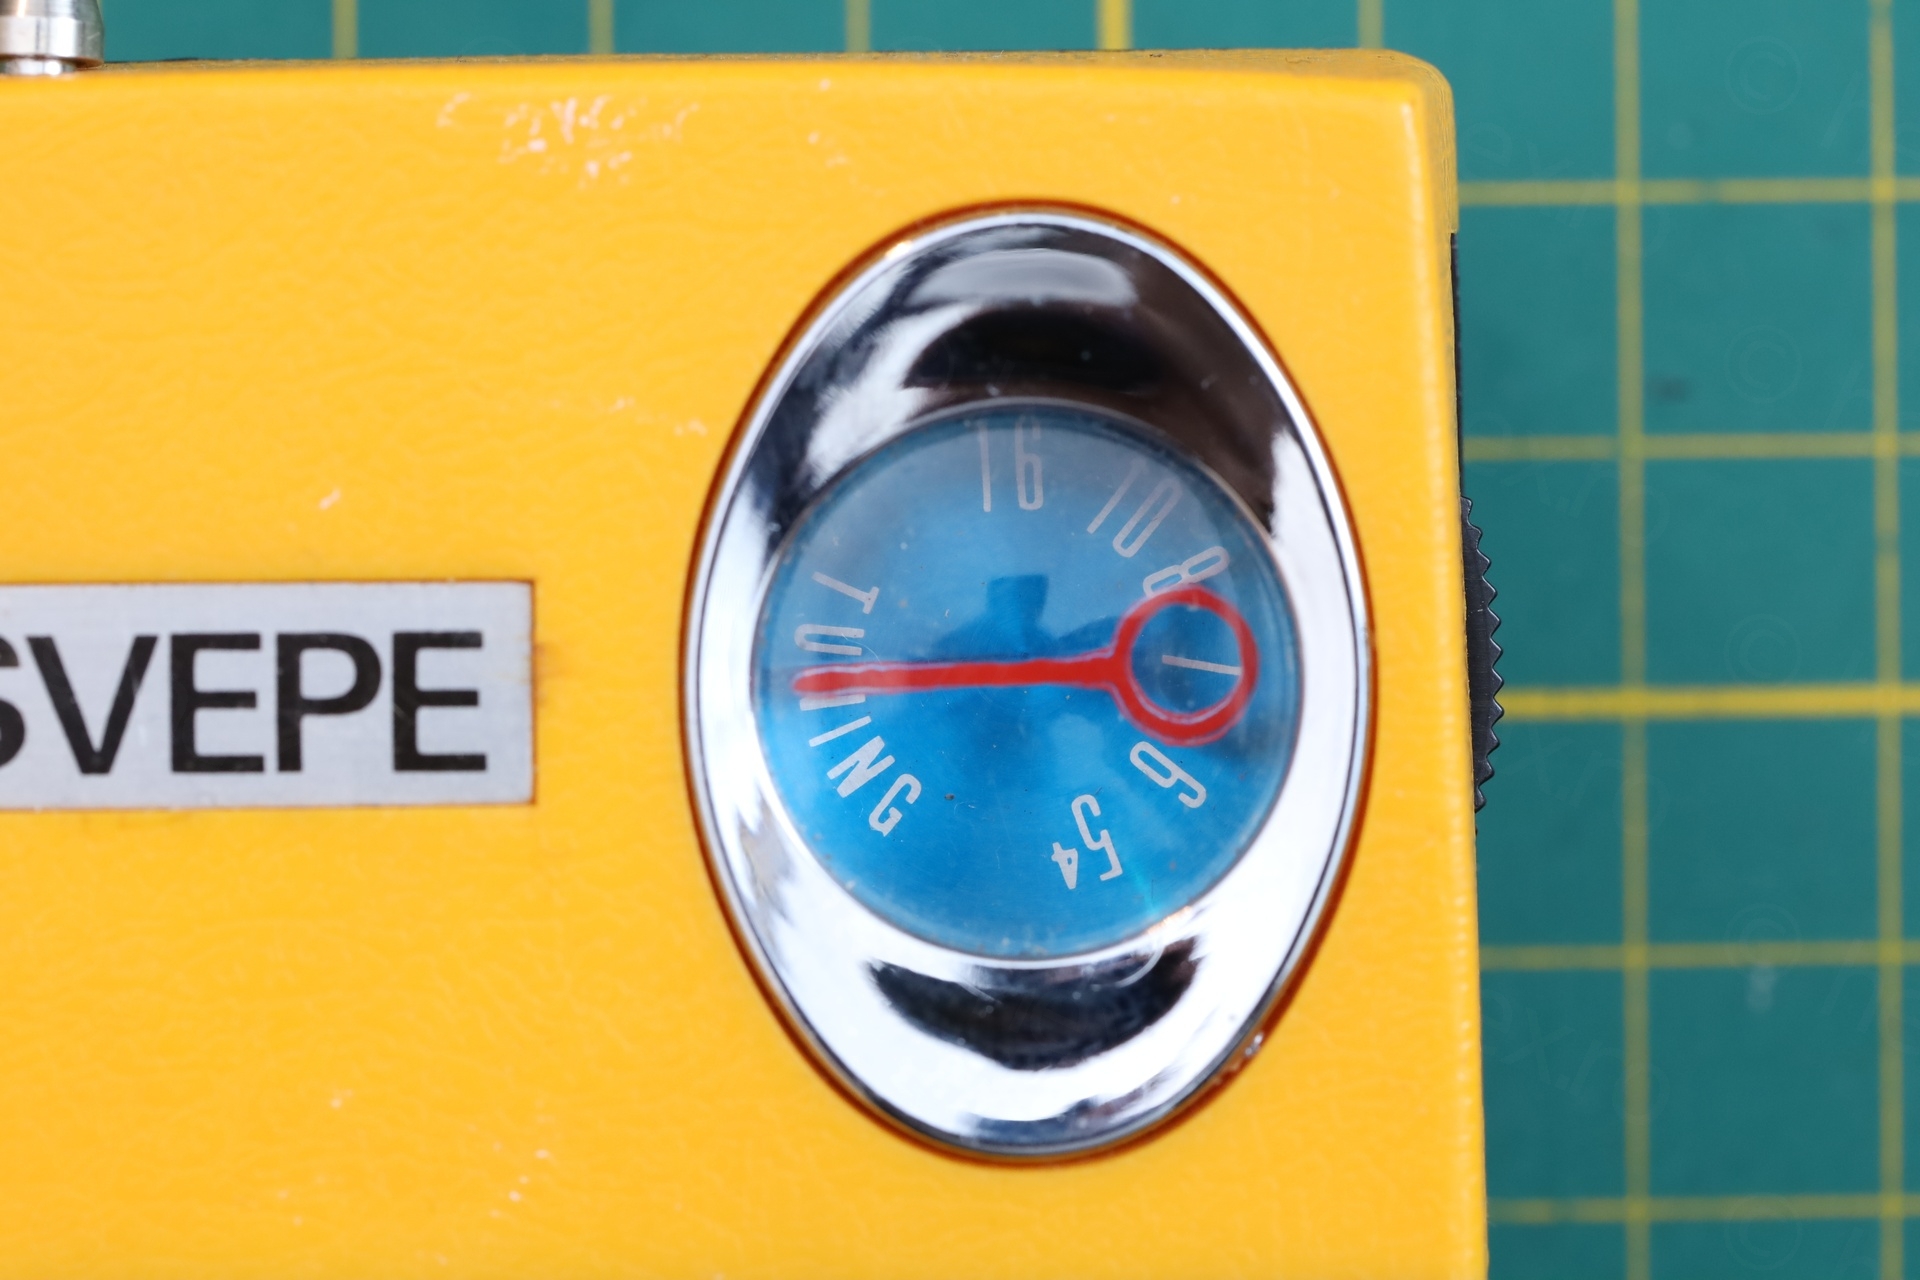
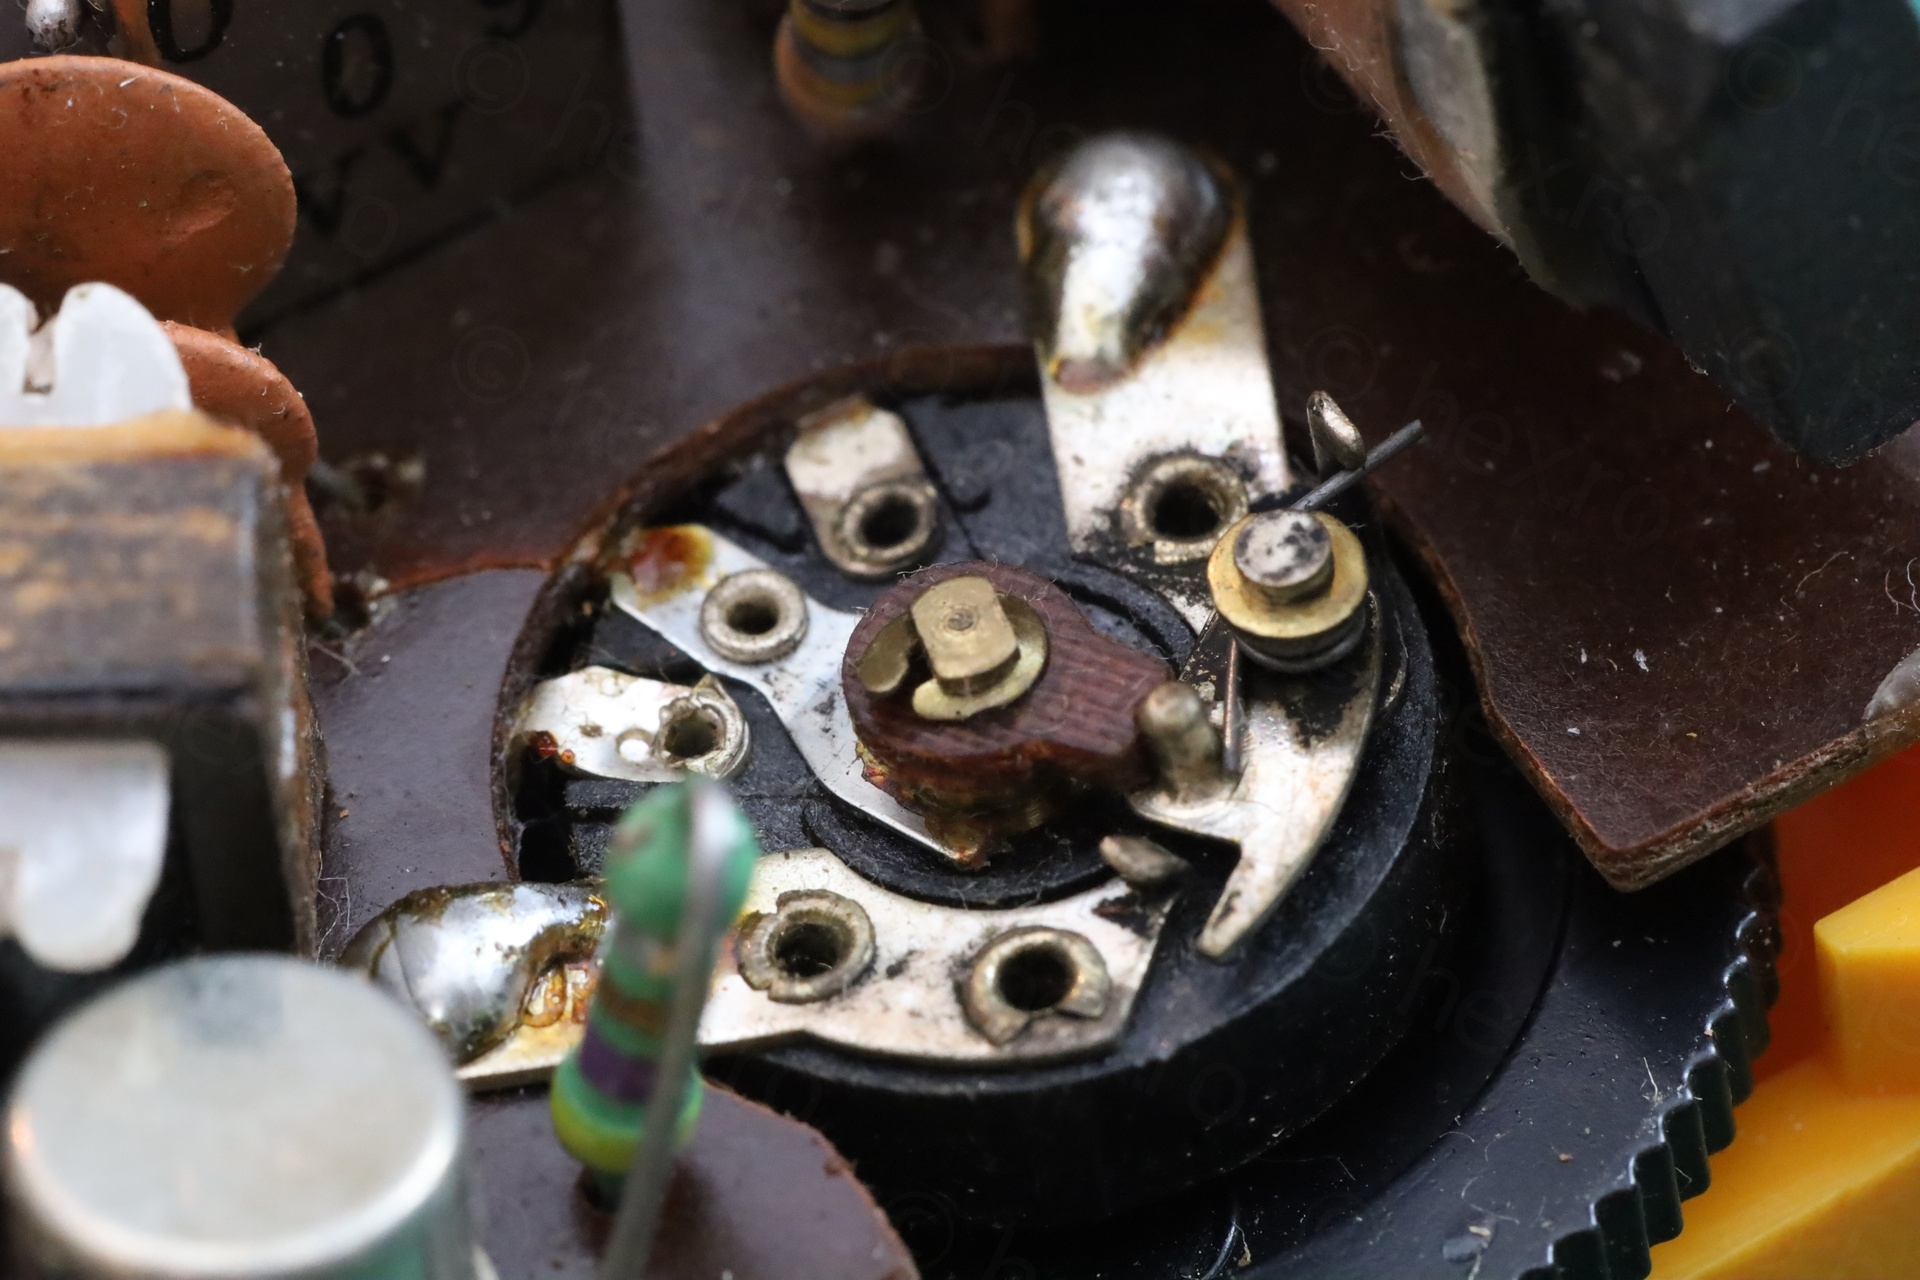
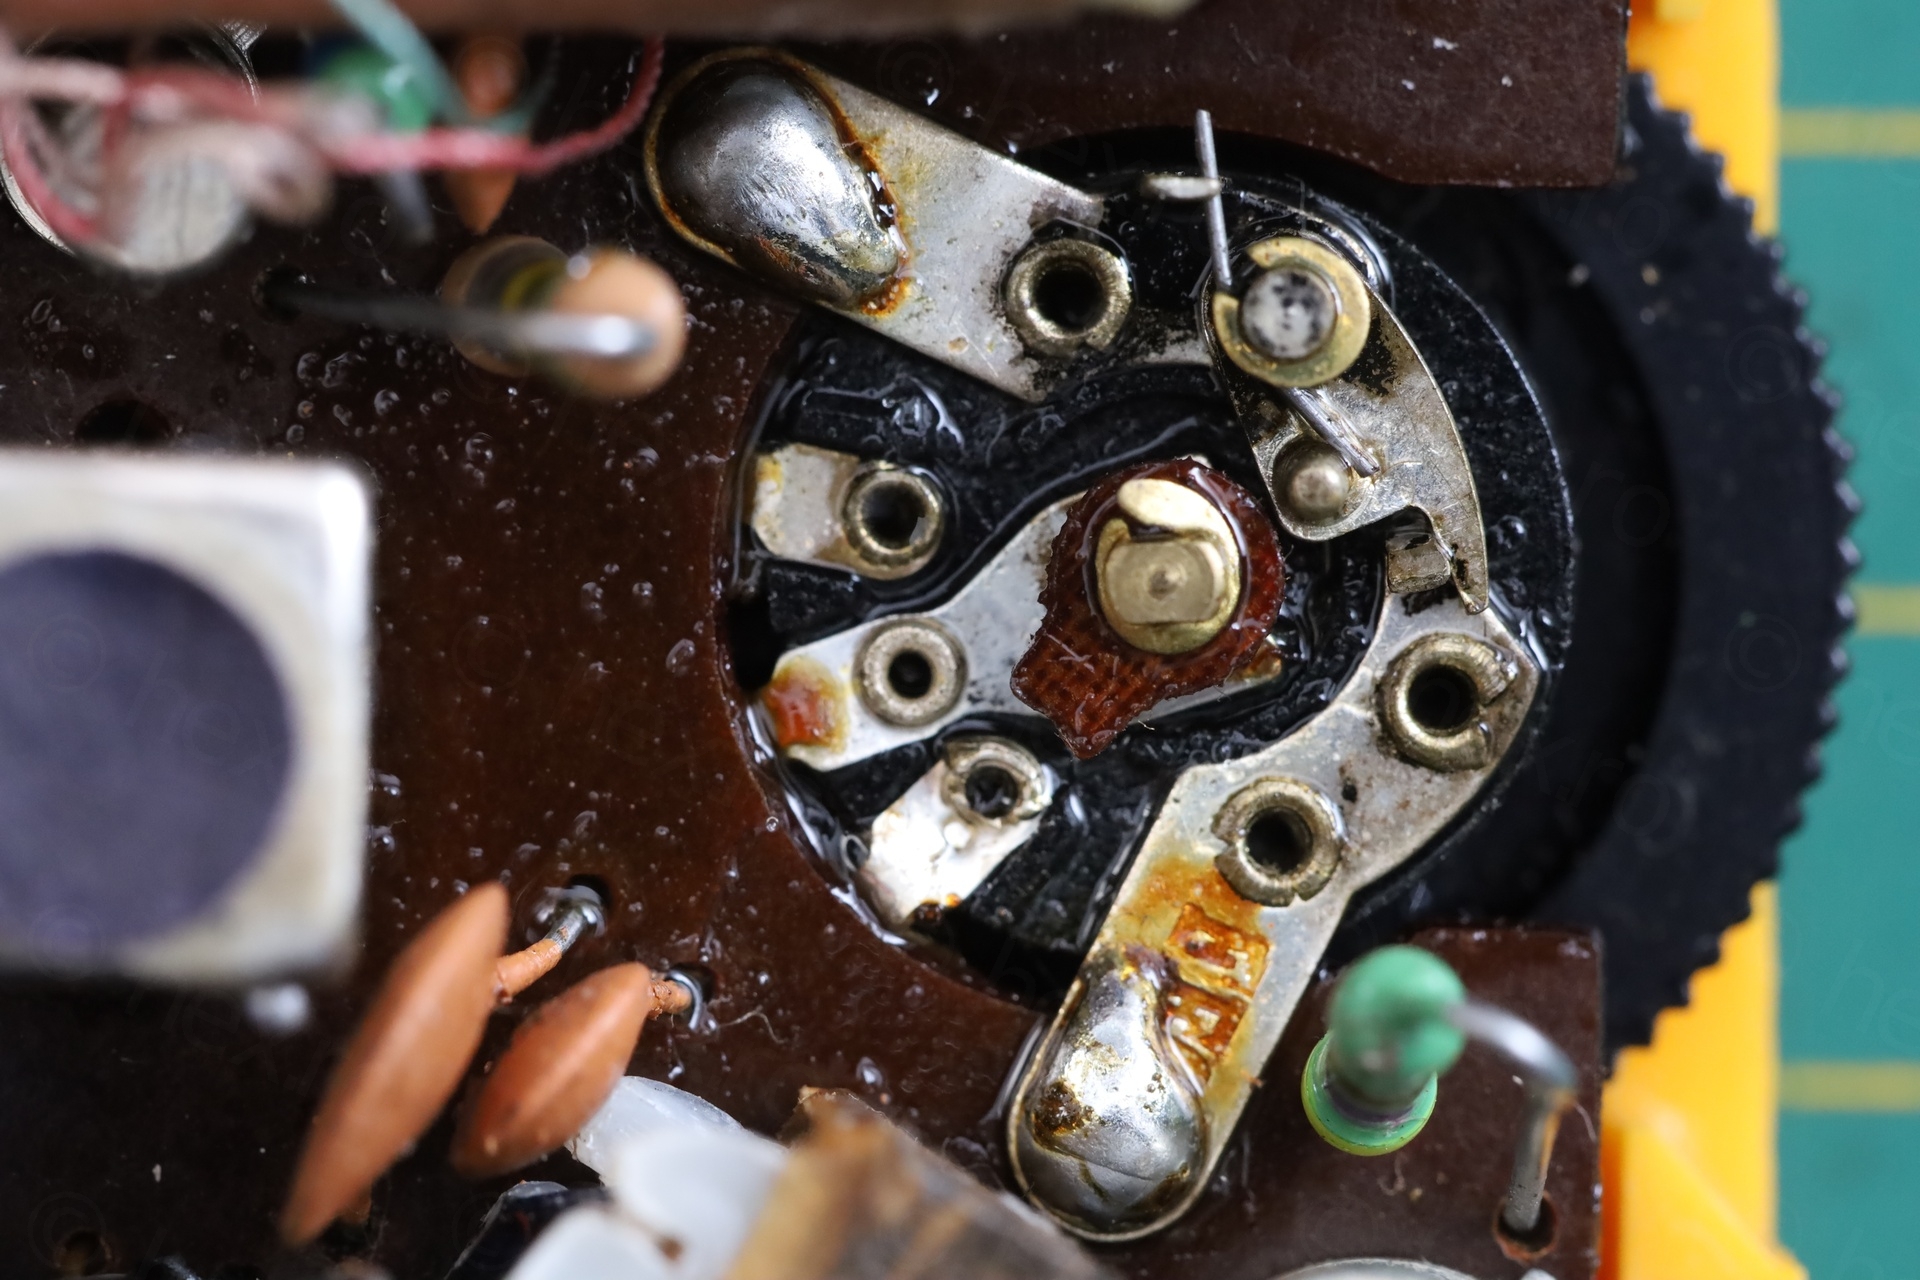
Alignment
The radio has poor selectivity. You have to microscopically turn the tuning dial, otherwise you skip many stations.
I decided to try an alignment. Even if the IF cans were covered with small round sticky paper cut-outs, I found somebody was there before. The wax was was showing signs if previous screw-drivers:
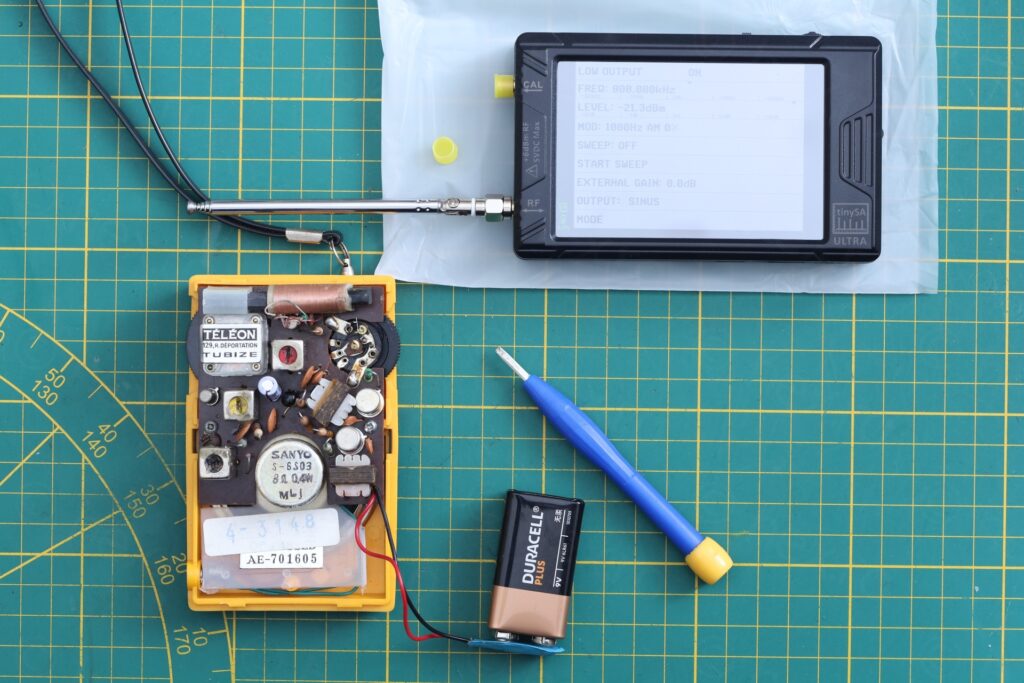
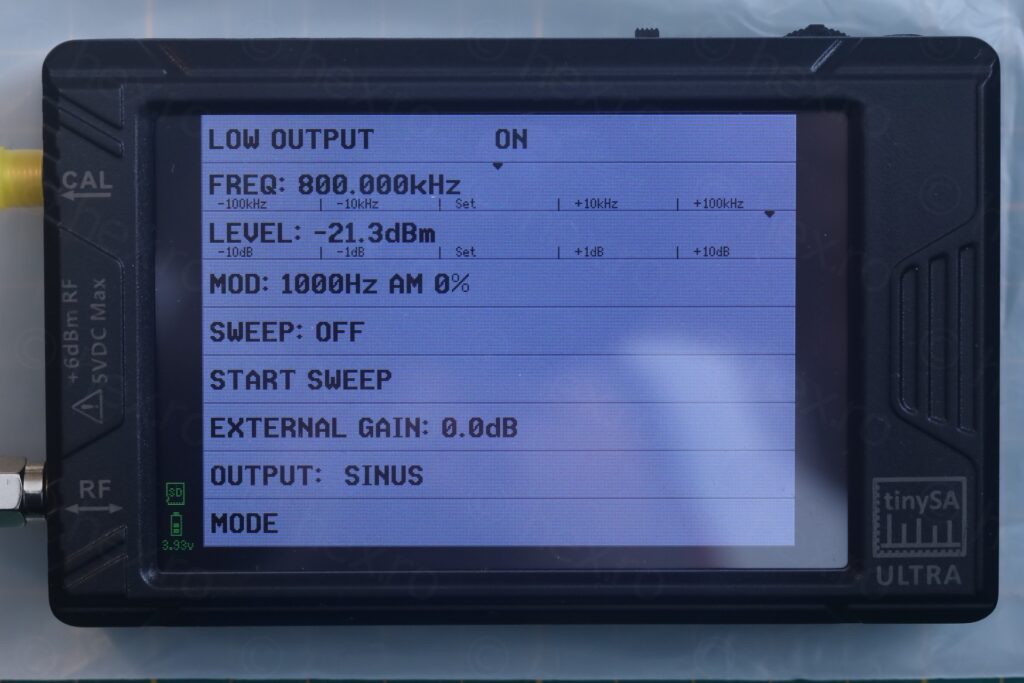
For alignment, I used the TinySA Ultra, paired with a small telescopic antenna positioned closed to the AM antenna of the radio. I found the radio to be almost perfectly aligned. So I just put the paper “lids” back.
In conclusion, the Radio has very poor selectivity, thus, not really pleasant to use. Applied a bit of contact cleaner on the Volume pot (which surprisingly was not scratchy), rerouted the headphone jacks under the 9V battery support, and clipped the back case onto the radio:
Since I am far from AM emitters and since the radio is hard to get it on station, I made use Tecsun AN- 200 Loop Antenna. There should be more stations out there (I tested during night time), but I kinda gave up fiddling with the tuning dial:
Few more shots:
In closing, a cheap radio, which … probably never worked right because of the tuning dial jerkiness. Thus, it didn’t get much use and looks pristine.
Leave a Reply