


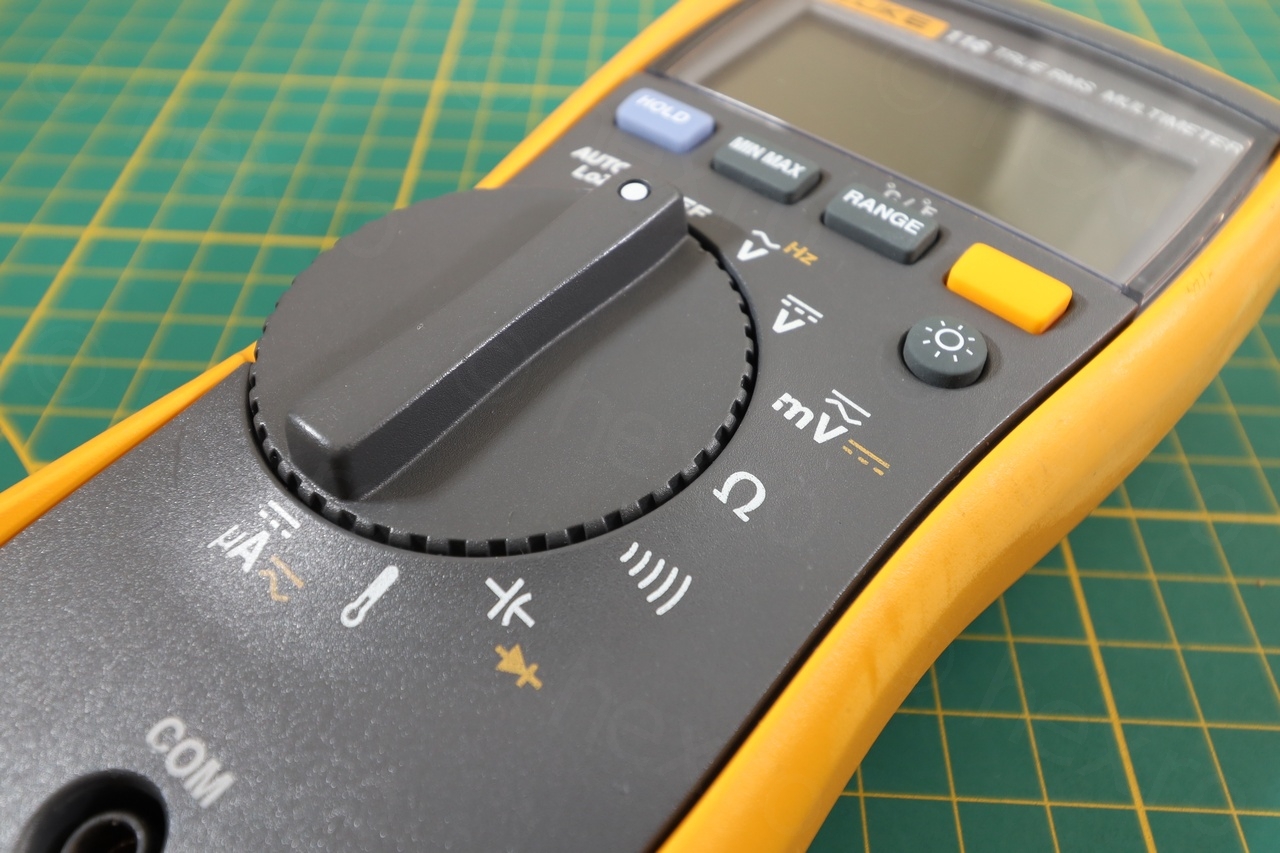
Why Fluke ?
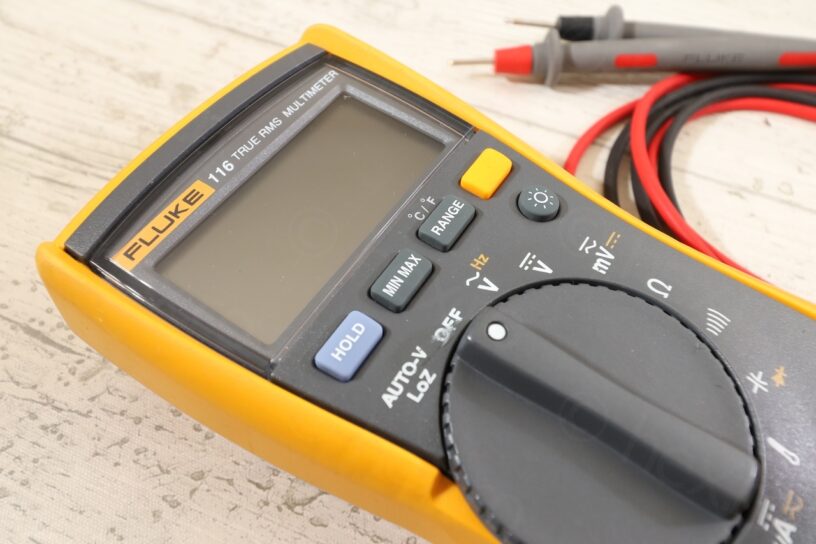
For a while I have been using an ANENG AN8009 meter with which I am mostly happy with. Not using it for high energy / high voltages measurements, it is a lightweight, big digits meter that doesn’t put too much drain on batteries. There are some small drawbacks though. The ‘-‘ sign on negative voltages is easy to miss being too close to the left side of the screen hidden under the glare. “Continuity check” is a secondary function (activated with an additional button push) of the Ohms mode. But you can’t push that button immediately after switching to Ohms mode, you have to wait about a second for the meter to settle first, otherwise it ignores the button push.
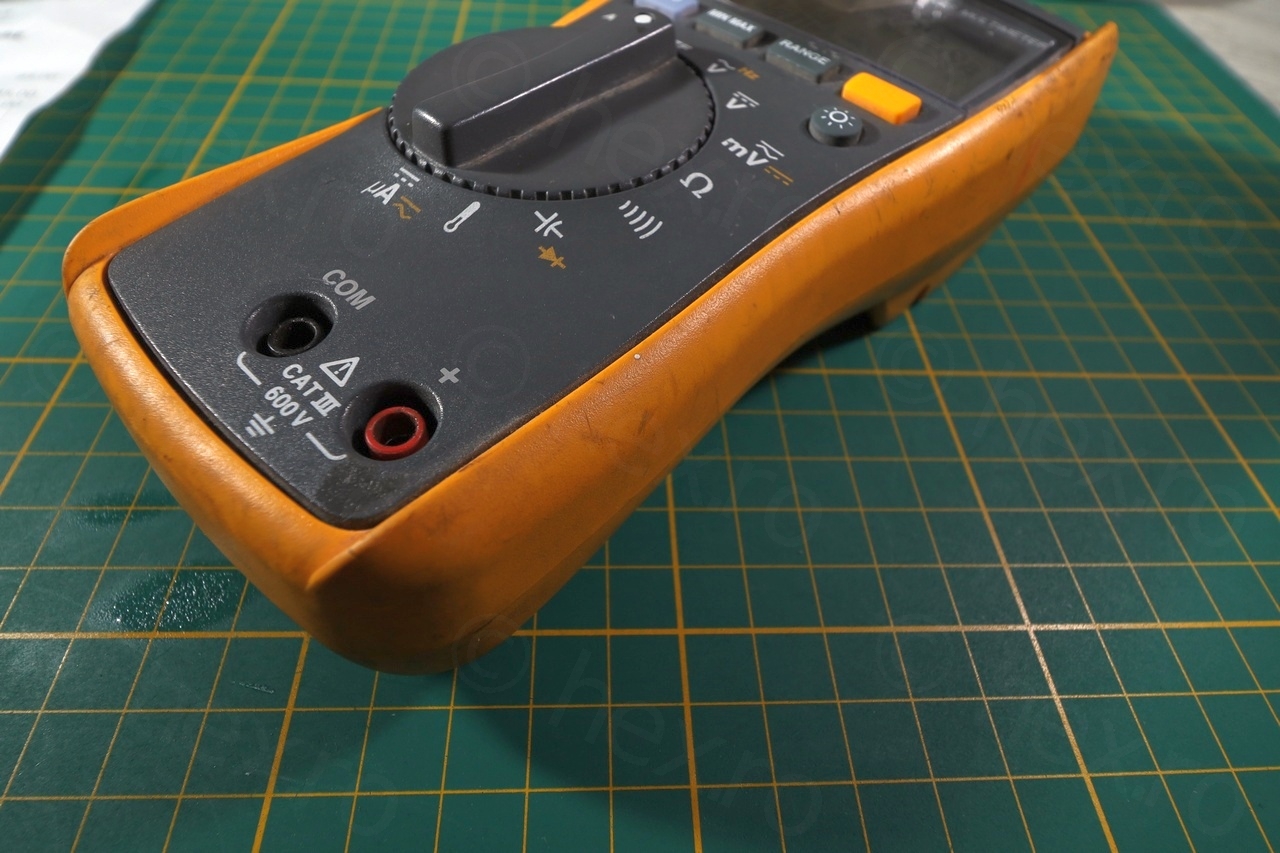
Thus, I was on the look out for some meter which does not have glare and has a dedicated switch position for Continuity mode. I saw few Flukes that ticked these boxes (the Fluke 11x series, 17x series and the 87v) but I could not justify the price. But when I saw this 89€ second hand Fluke 116 HVAC at a local second hand shop, I was like … what if ? The was a catch for such small price though. Meter looked like it had a rough life. Very very dirty, tips of the leads were bent and one was even snapped, and to top it all, the holster had a large area covered with permanent marker.
I decided to buy it and try to clean it.
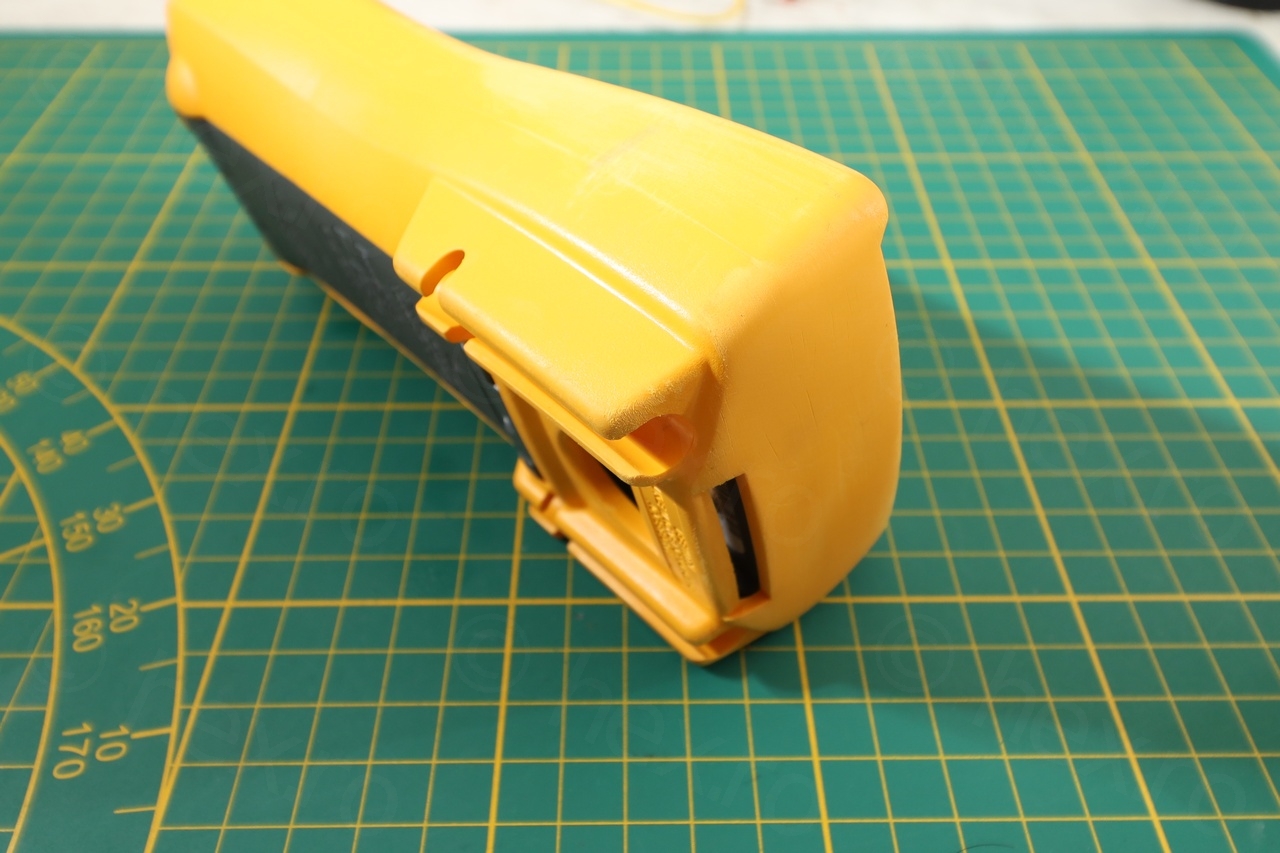
Before / After shots


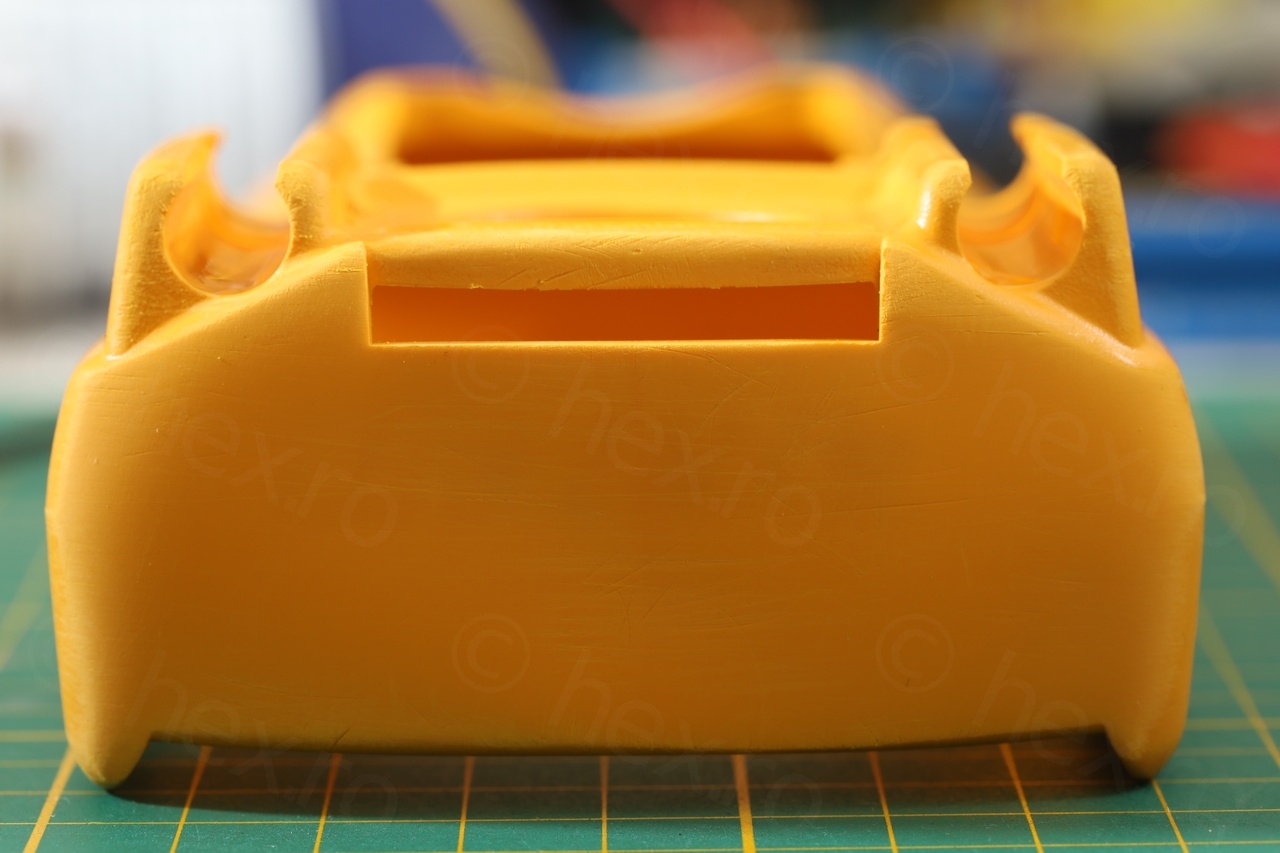
Below I’ll detail the cleaning steps. This is the first Fluke meter I had to restore – so I wasn’t sure of the results. However, it turned up much better than what I had expected.
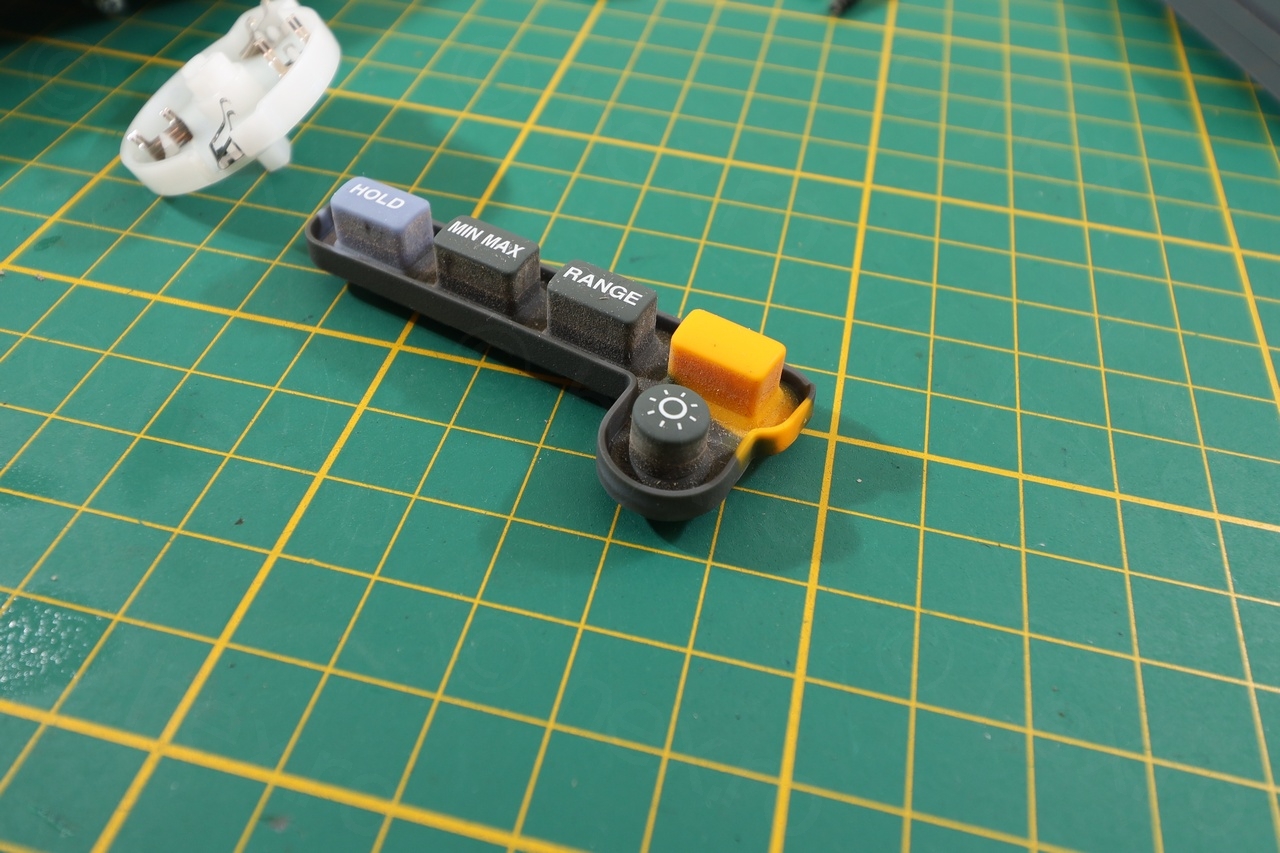
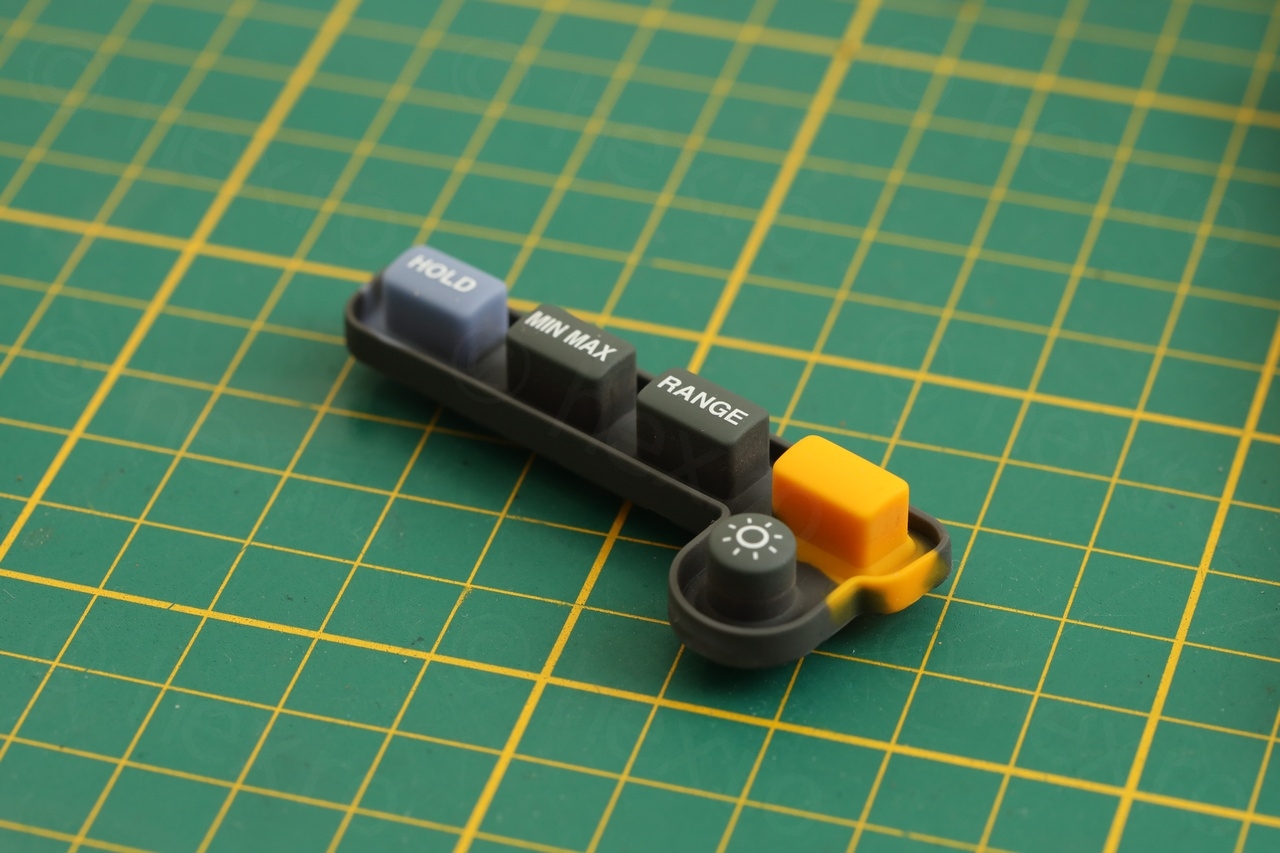
Grease / Dust removal
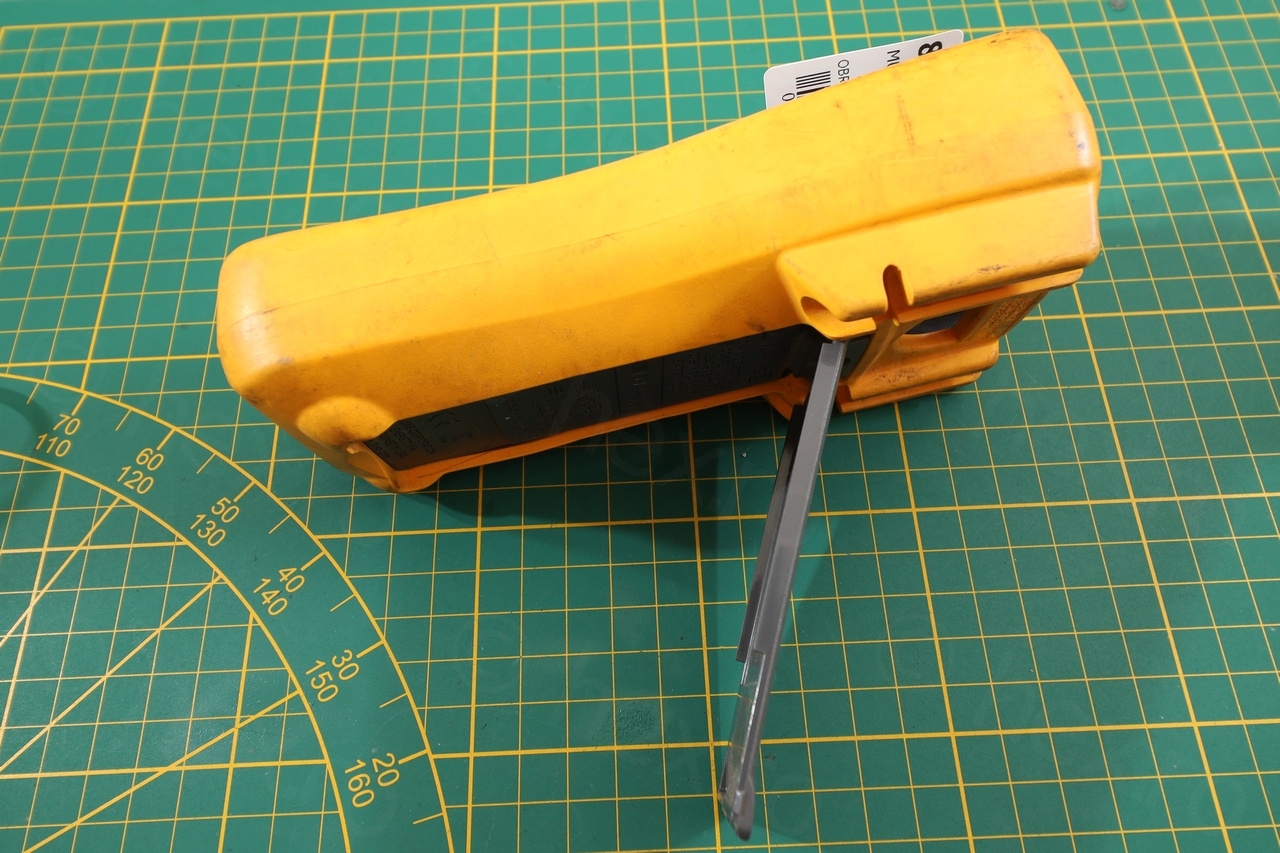
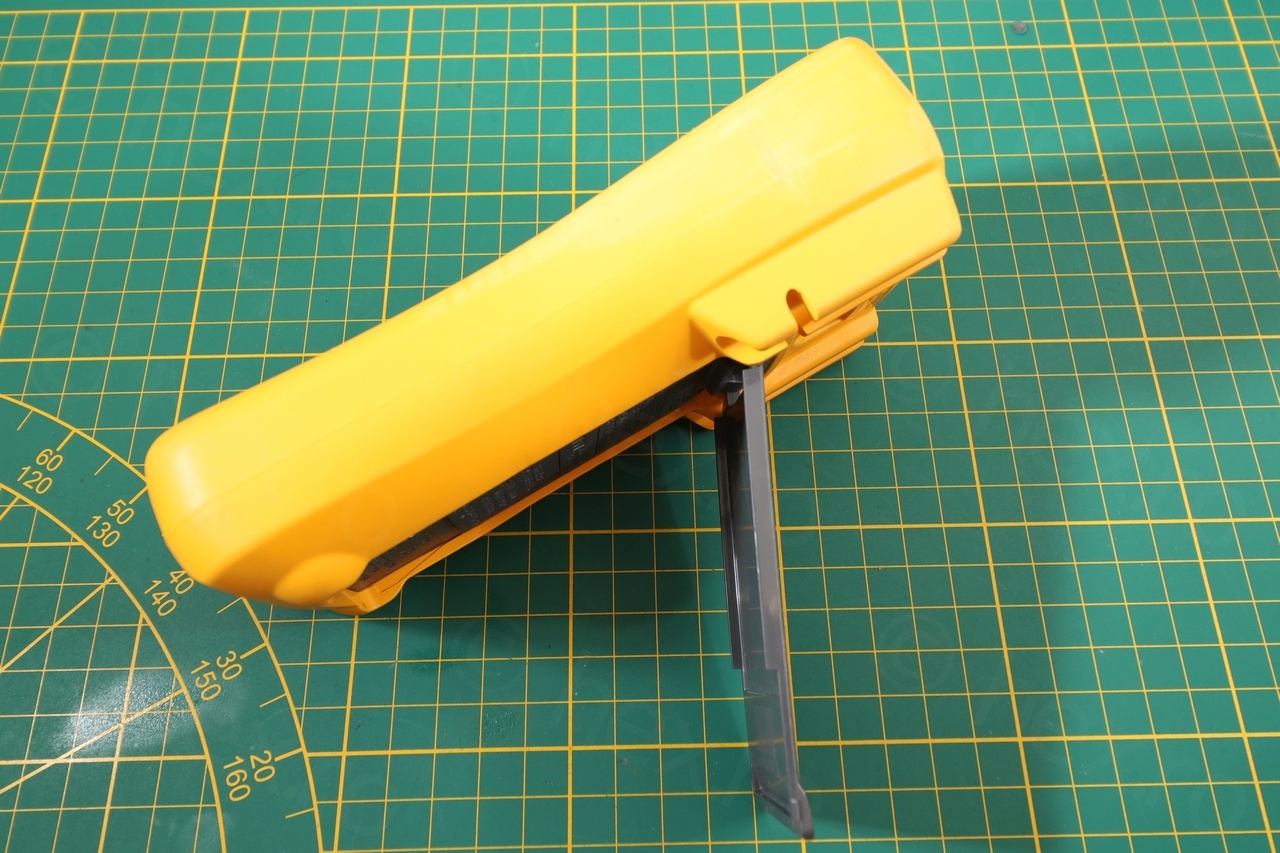
I decided to take the meter apart completely and submerge everything non-electronic into warm water with diluted dish washing liquid and few squirts of Mr. Proper (Mr. Clean).
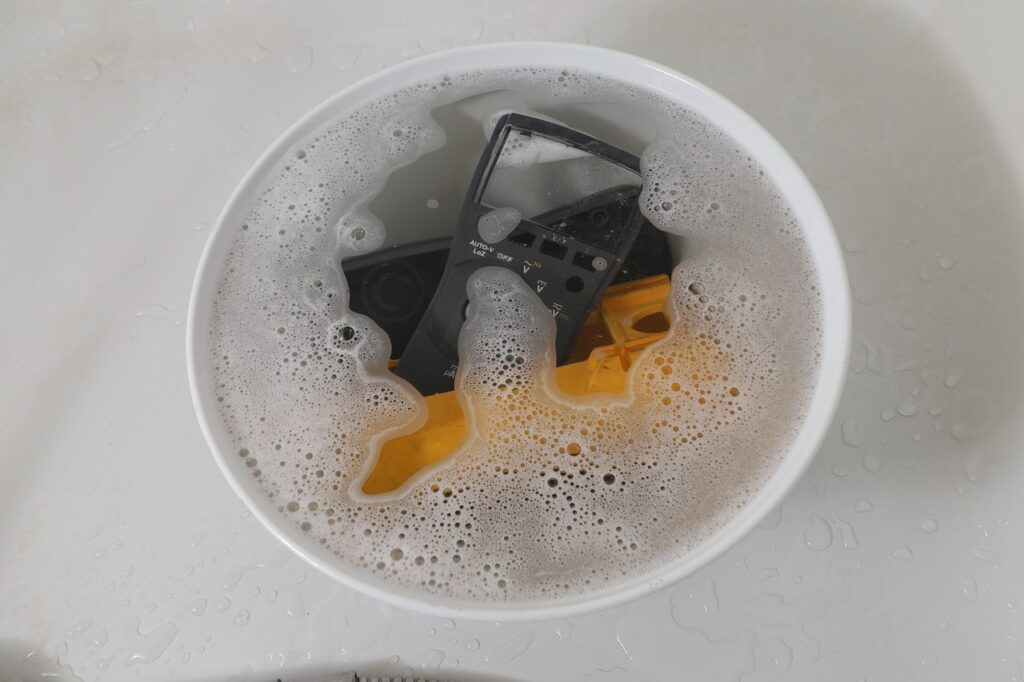
Soaking the plastic parts
I left everything sit for more than 1 hour, occasionally moving them around gently. At the end, I have cleaned them with a soft sponge (the soft part of a kitchen sponge). For the harder to reach places I used a clean oil paint brush.
The leads themselves were not submerged, I used baby wipes plus an old tooth brush for the grooves.
This removed all dust and grease and (un-)surprisingly it looked like new!
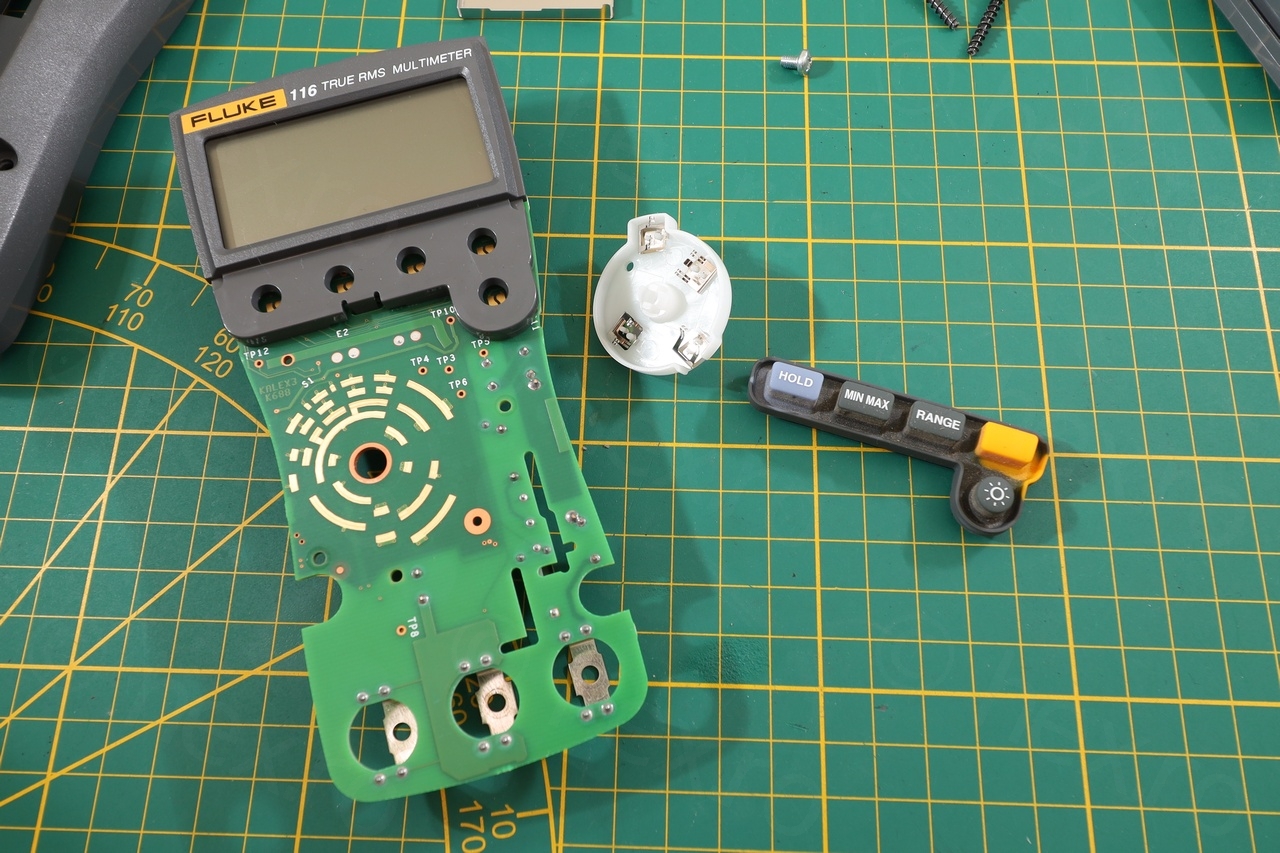
Circuit board
(Un-)surprisingly for a Fluke, despite the poor exterior aspect, interior was impeccably clean. Just as a precaution – I used IPA to clean the rotary switch traces, the button pads and the wipers of the switch. All still very clean with very little sign of use.

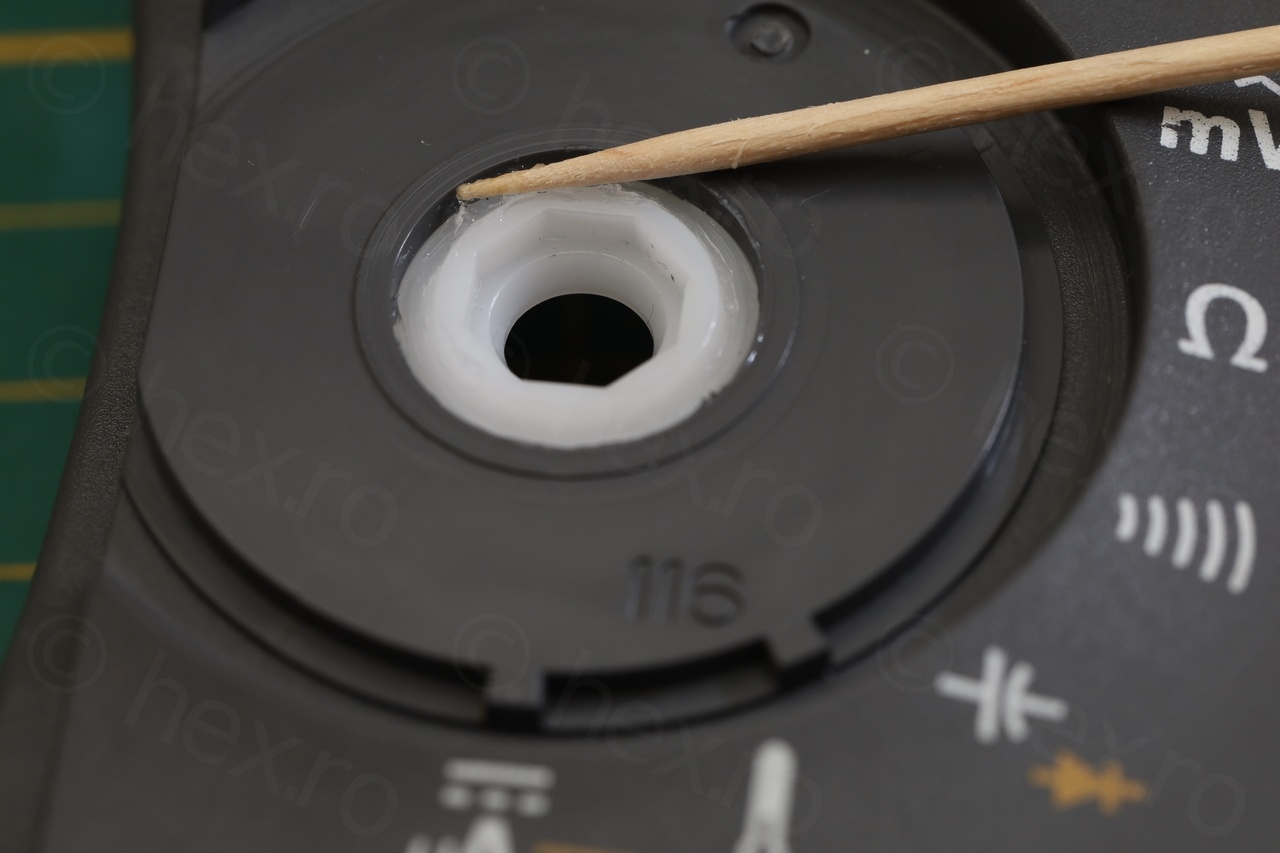
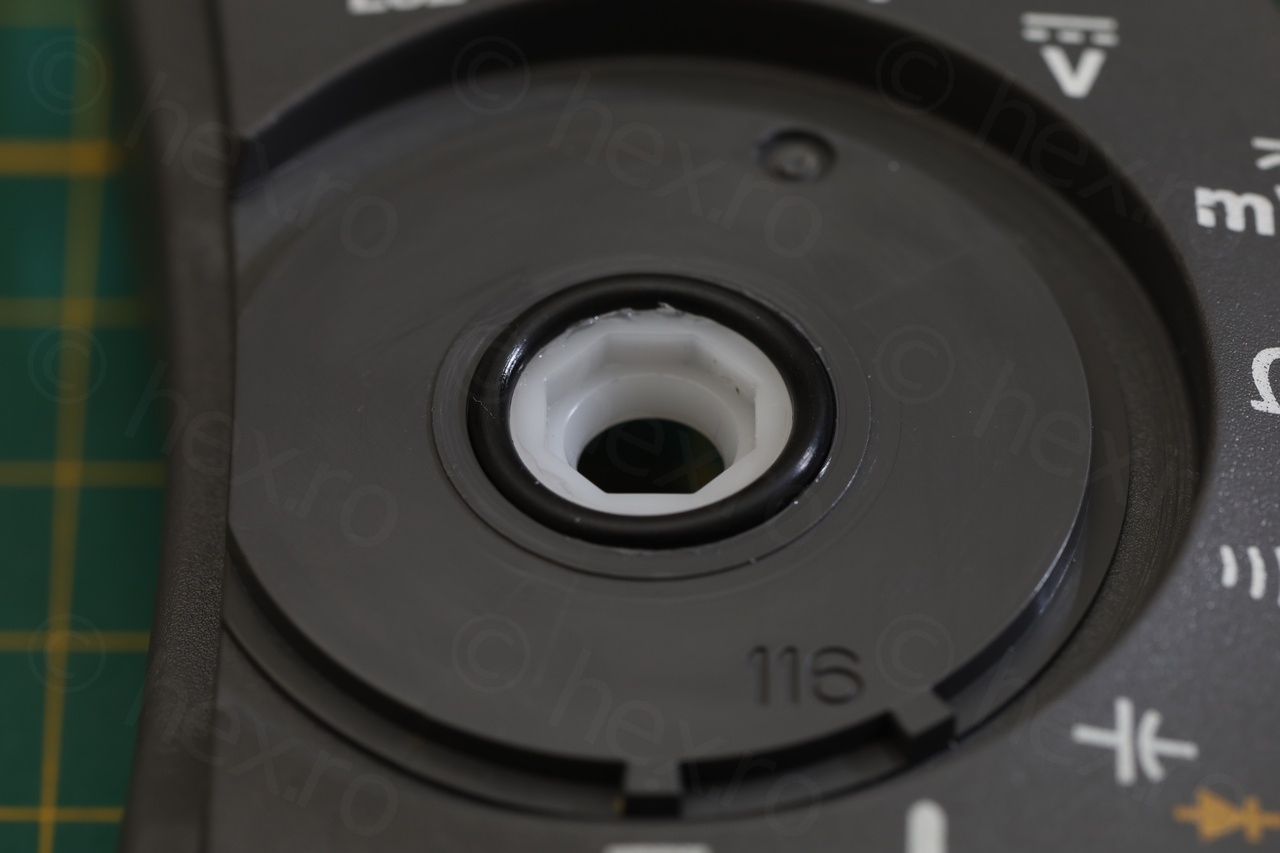
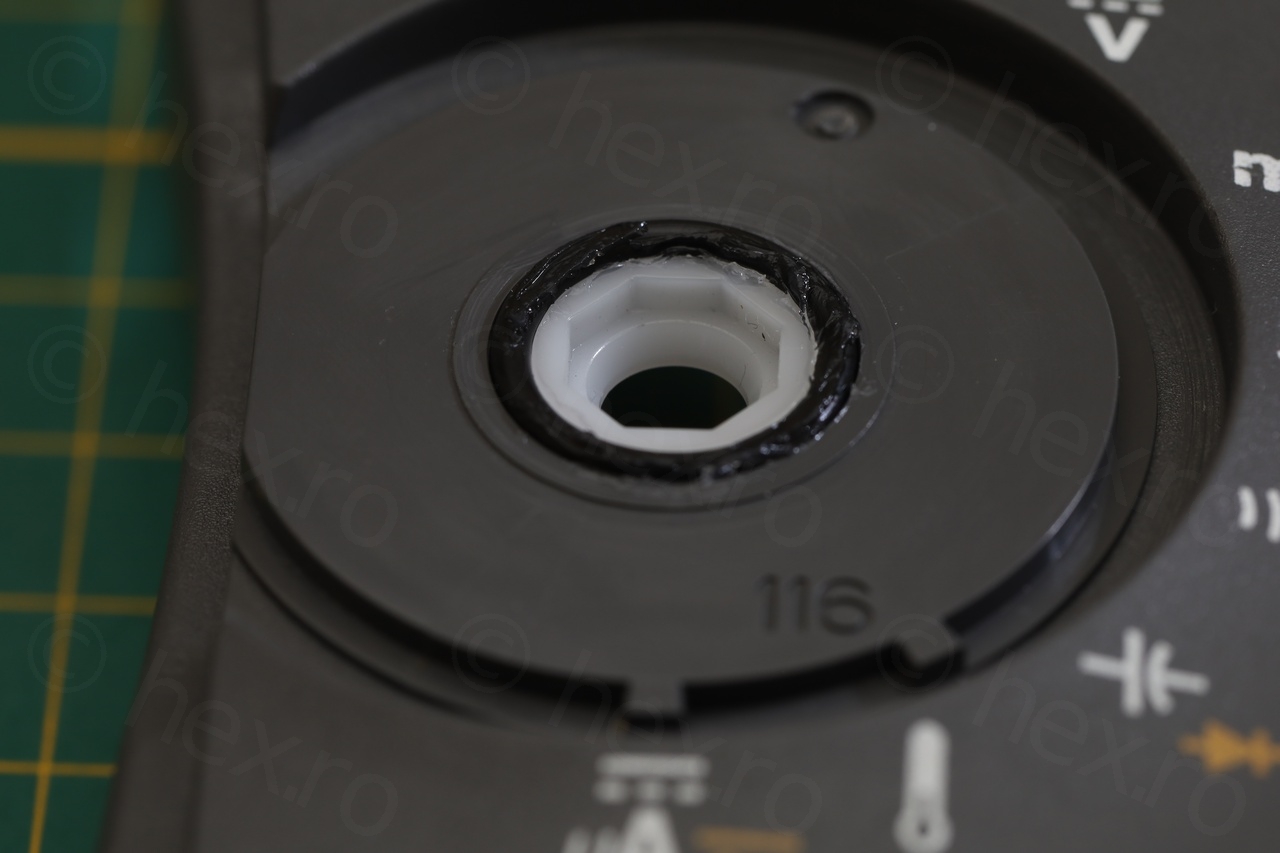
When putting the meter together, I added some silicone grease on the little o-ring between the the switch knob and the switch body:
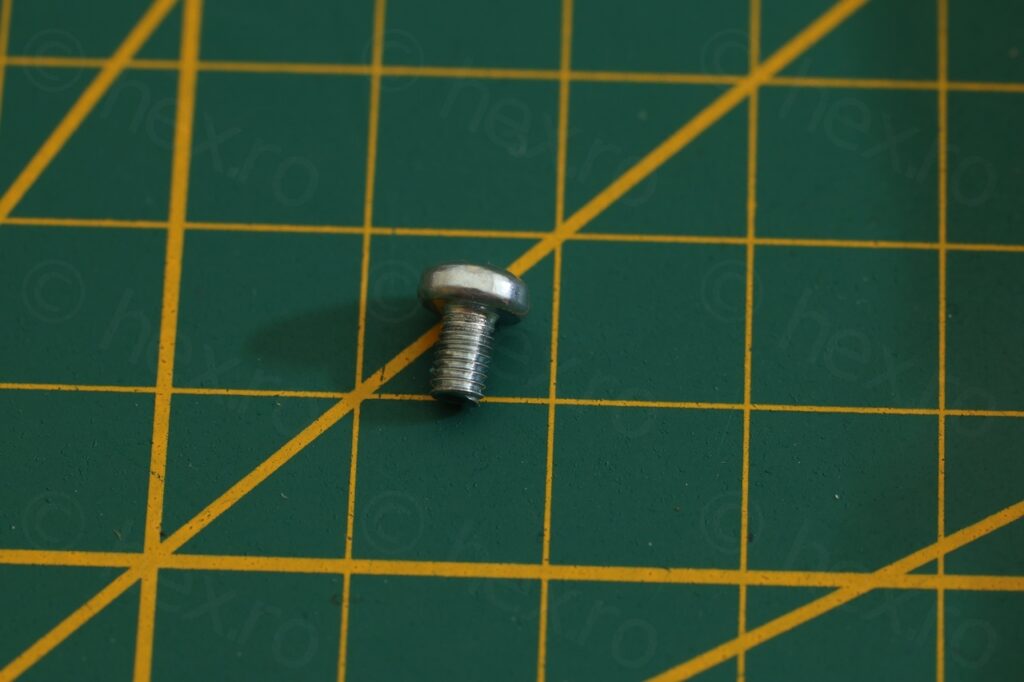
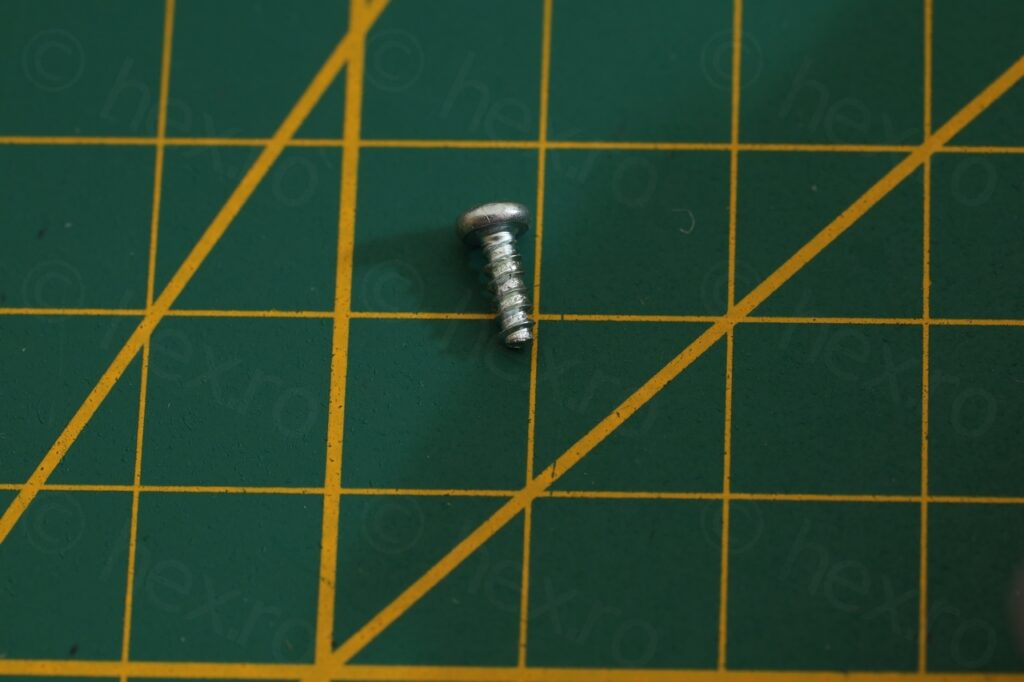
When taking the meter apart initially, I noticed one of the screws was half de-screwed – somebody tried to open the meter ? There were no finger prints inside so it may be that somebody tried to change battery not knowing what screws to take out:
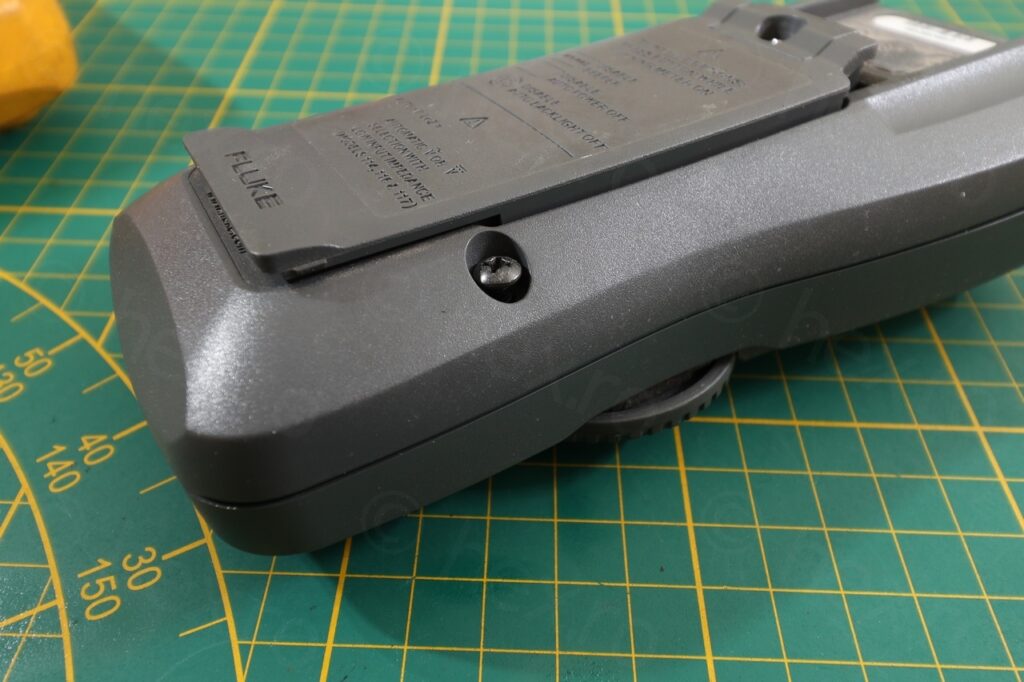
When putting back the meter, I also decided to add a bit of sewing machine oil on the screws:

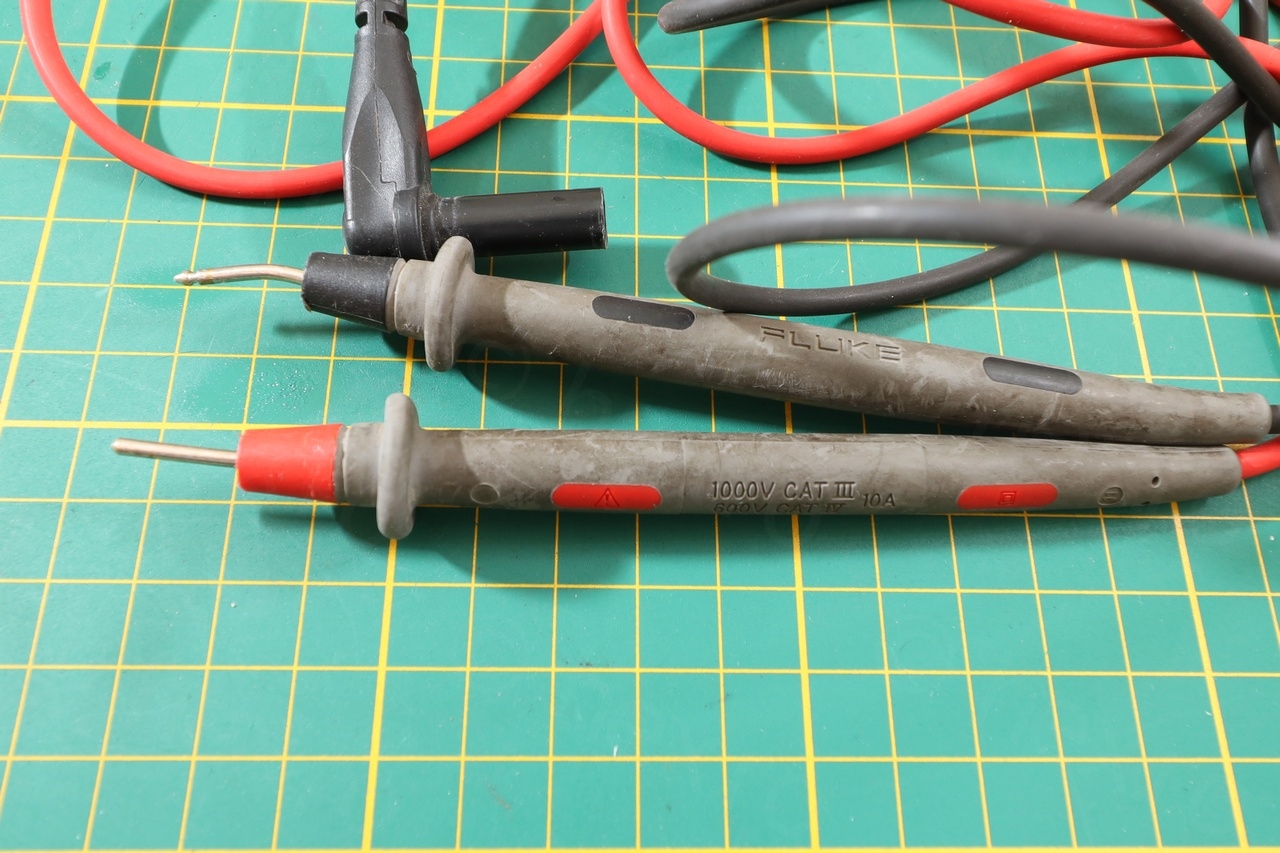
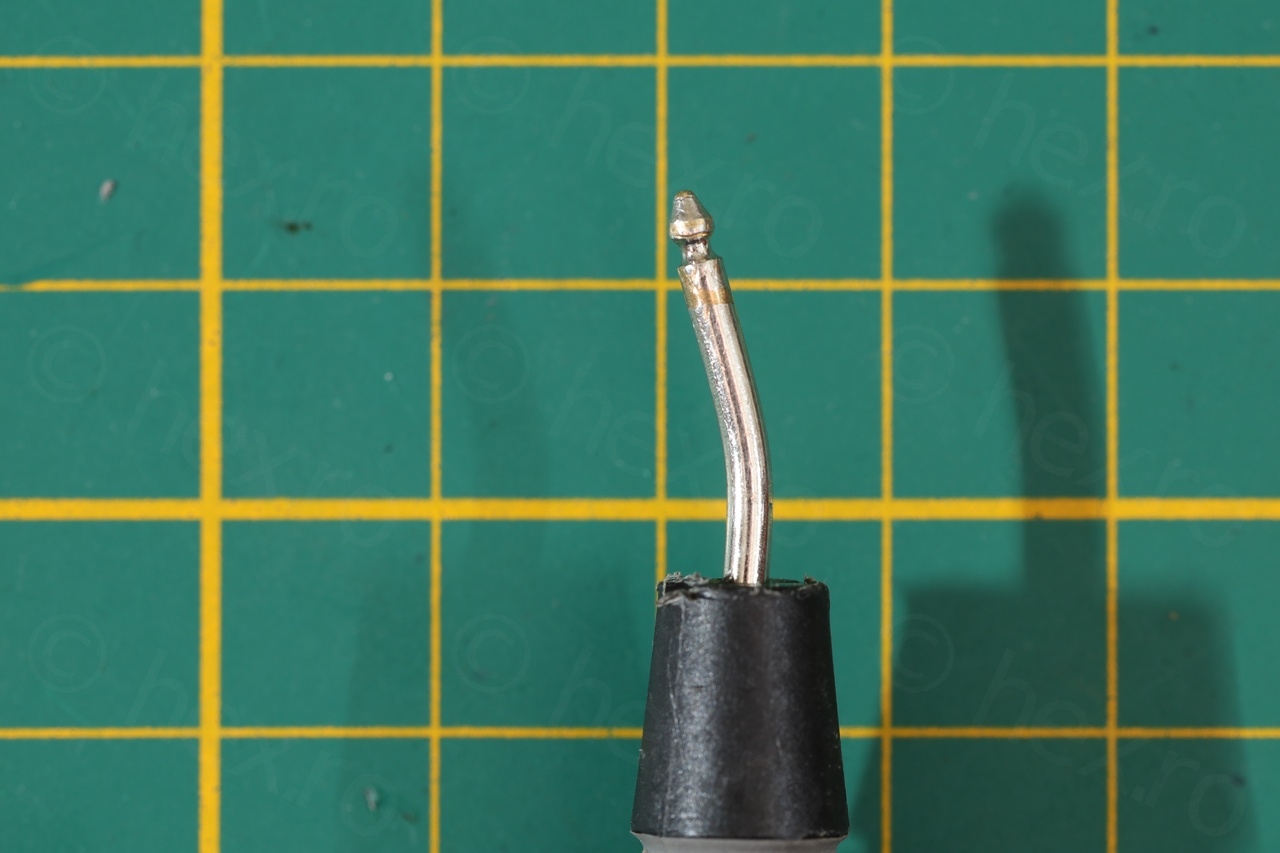
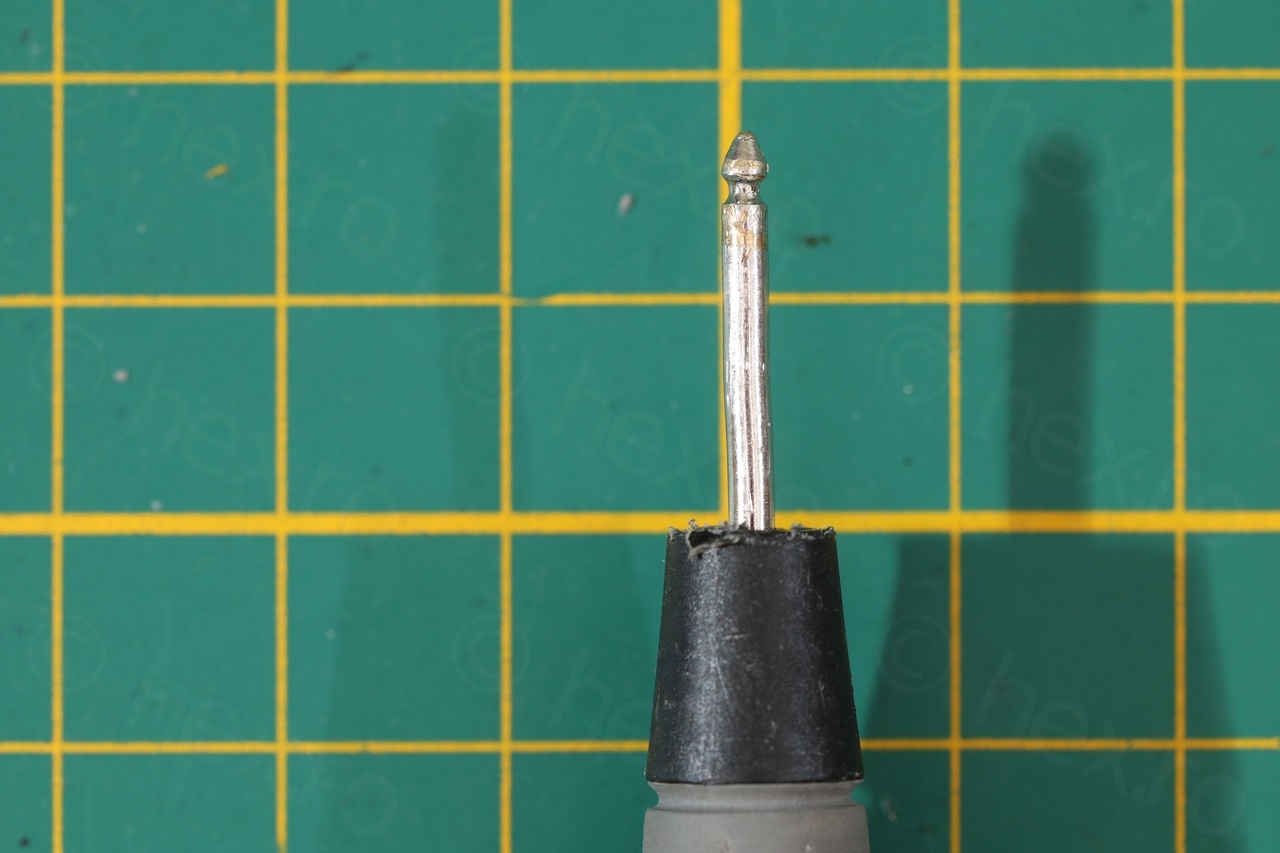
Straightening the Fluke leads
The Red test was damaged – tip was missing. Initially I thought that I would buy a replacement set, but I later changed my mind – there are other test leads more suitable for what I need (I would like a TL175 and TL910). So I decided to straighten them back.

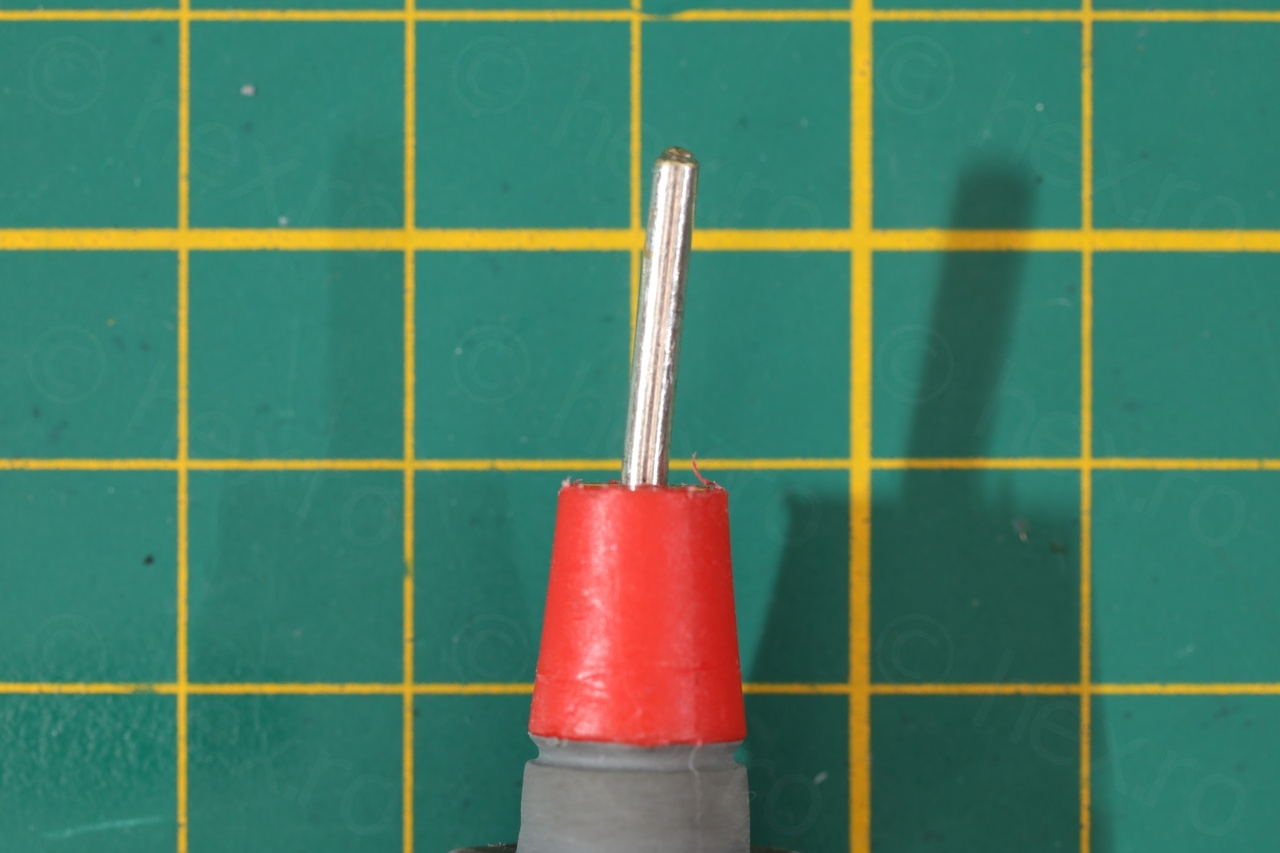
First I bent them back with pliers, after wrapping the leads in some cloth tissue not to scar them even more:

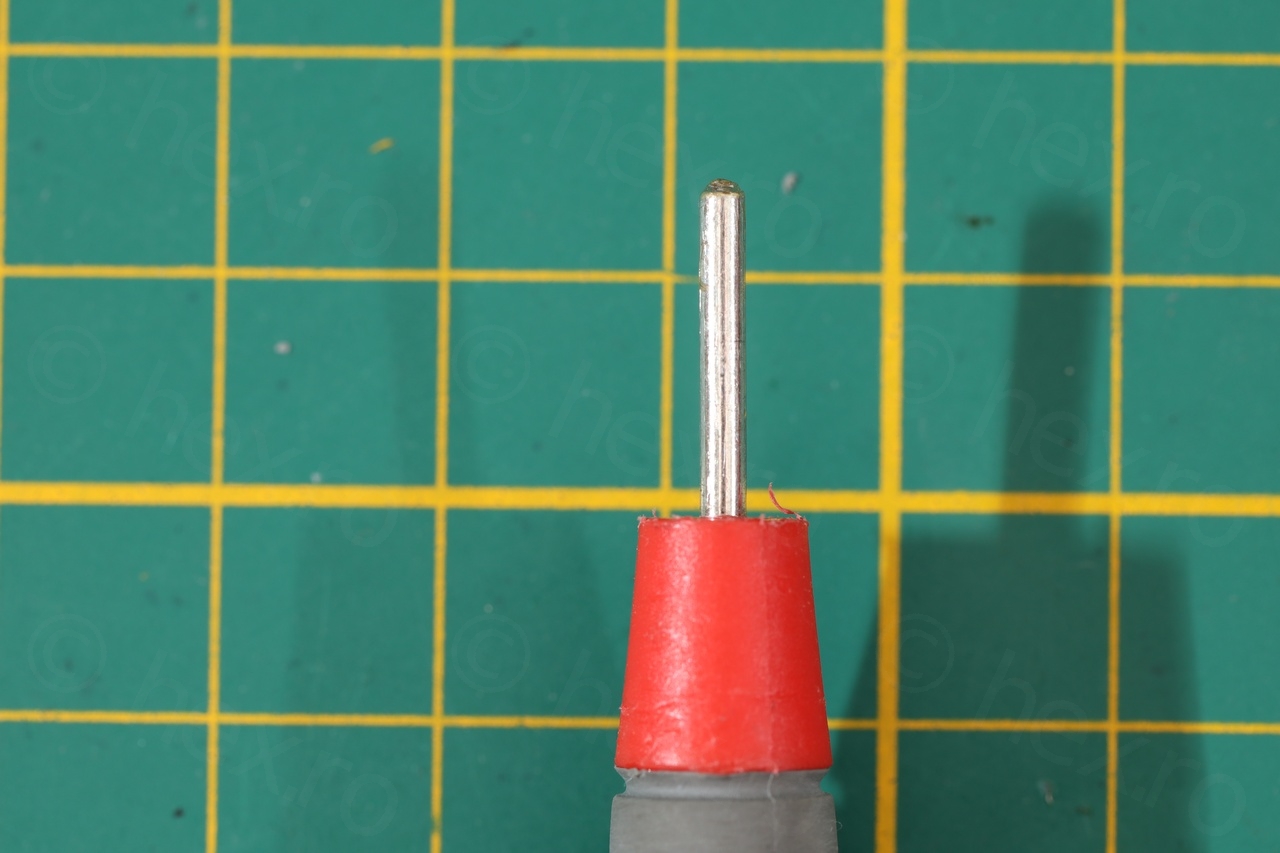
The tip seems to be made of the same solid material (and a yellowish coating is seen under the deep dents and scratch marks…). I will probably order the TL910 set for small electronics and keep these as a worst case scenario until I get better ones (like TL175).
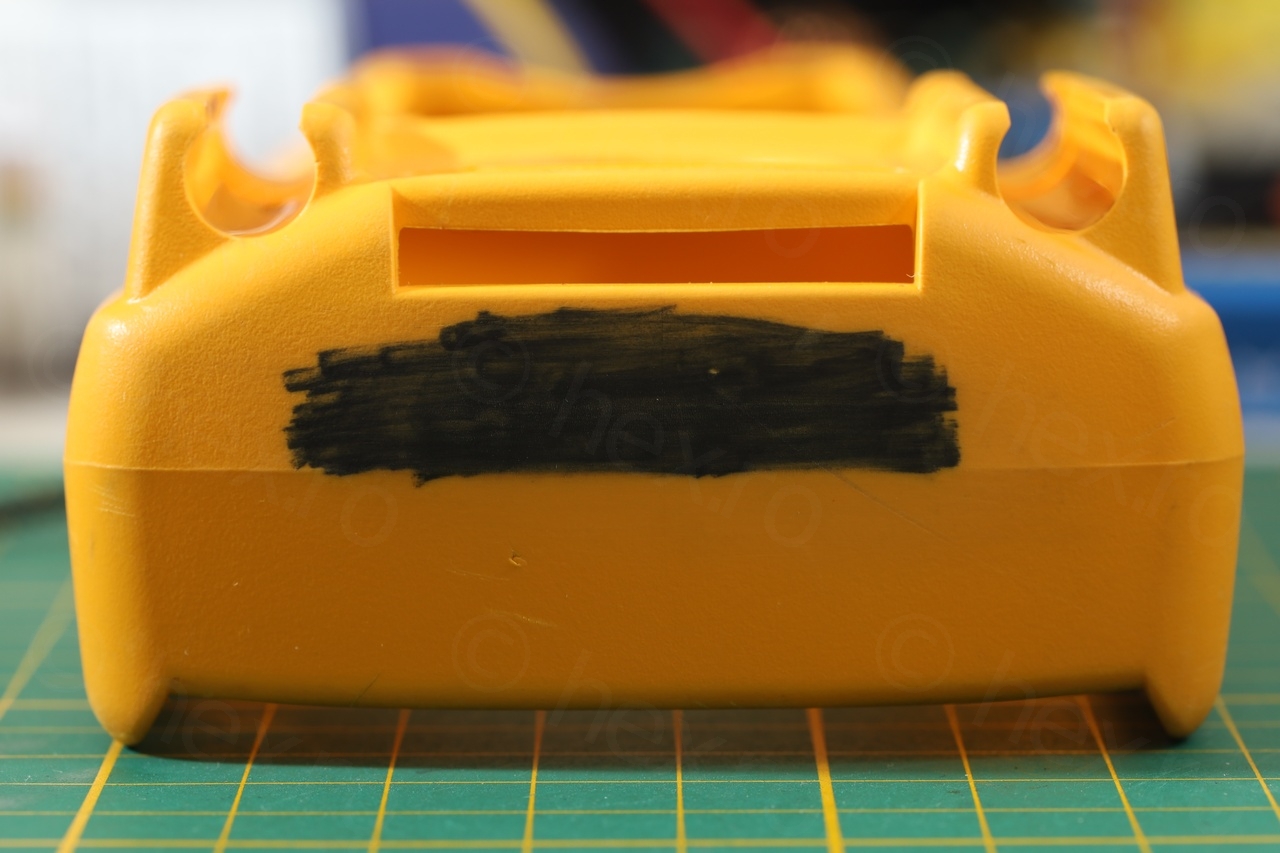
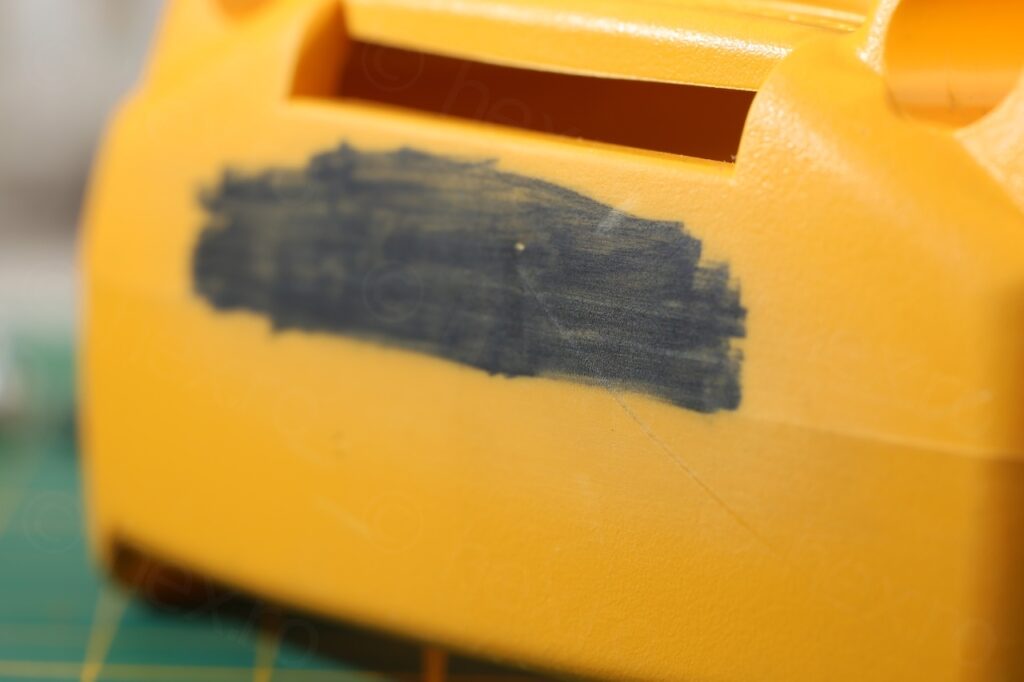
Cleaning the permanent marker from the Fluke holster
This was the most laborious part of the cleanup, took more than 1h to scrub it off. Initially I have tried with isopropyl alcohol – faint traces of paint where rubbing off onto the q-tip but zero sign that I’m getting somewhere. I’ve tried Acetone, but q-tip stayed perfectly white.
I even tried some petroleum based product, again, no results.
I have decided to use a heel scrubber made in metal. The pumice stone didn’t seem to have an effect either, but the metal started ‘biting’ into the rubber. This process was very tedious, as there’s not enough room to create a continuous ‘random’ and ‘ample’ motion. Tried to pay attention not to scrub in the same direction. After a while, I started alternating the heel scrubber with a 150 grit sand-paper.
The large permanent marker patch was to cover another text underneath (what appeared as few numbers that I could not read). Maybe a former inventory number ? That initial paint penetrated a little deeper than the current one that I was fighting against and I could see faint traces of a different color.
Finally, I tried to smooth up the rubber surface with a 600 grit sandpaper:
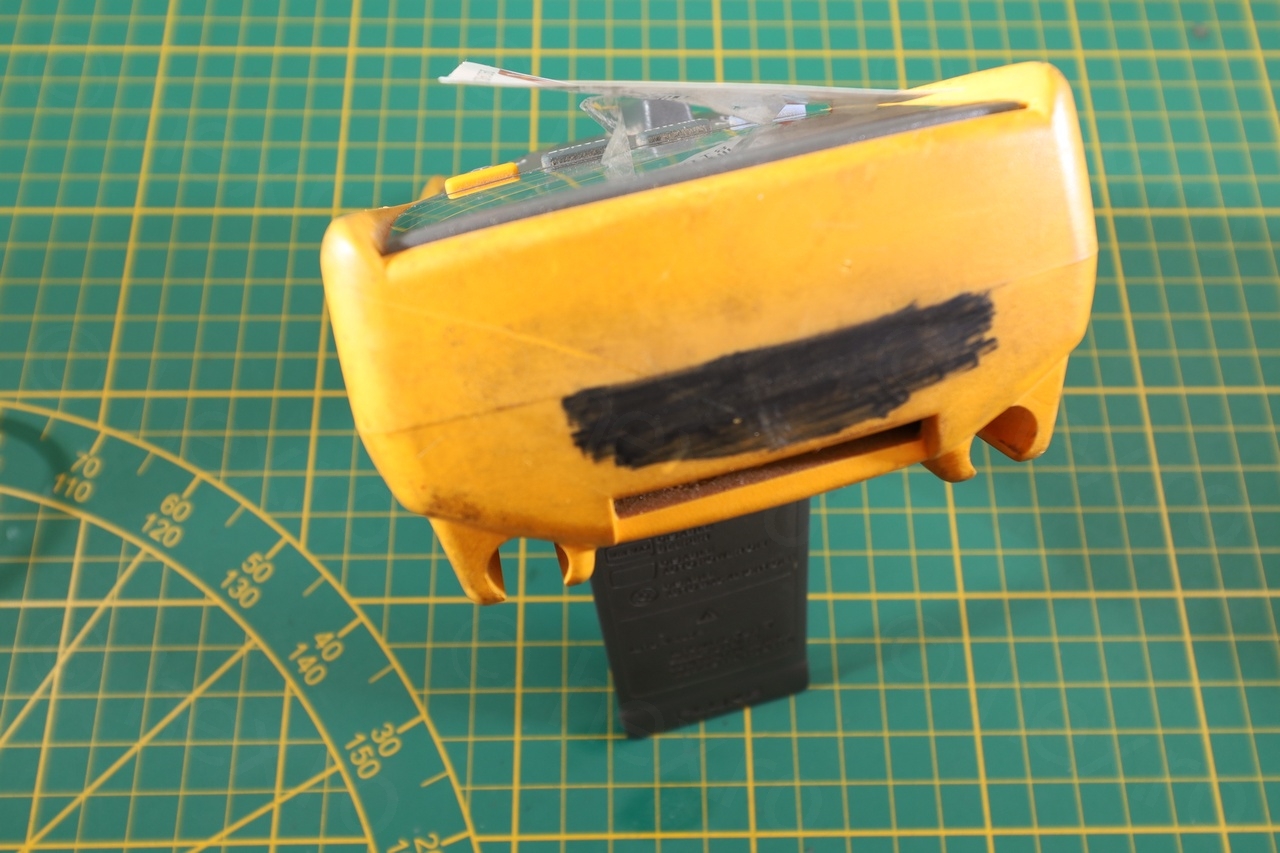
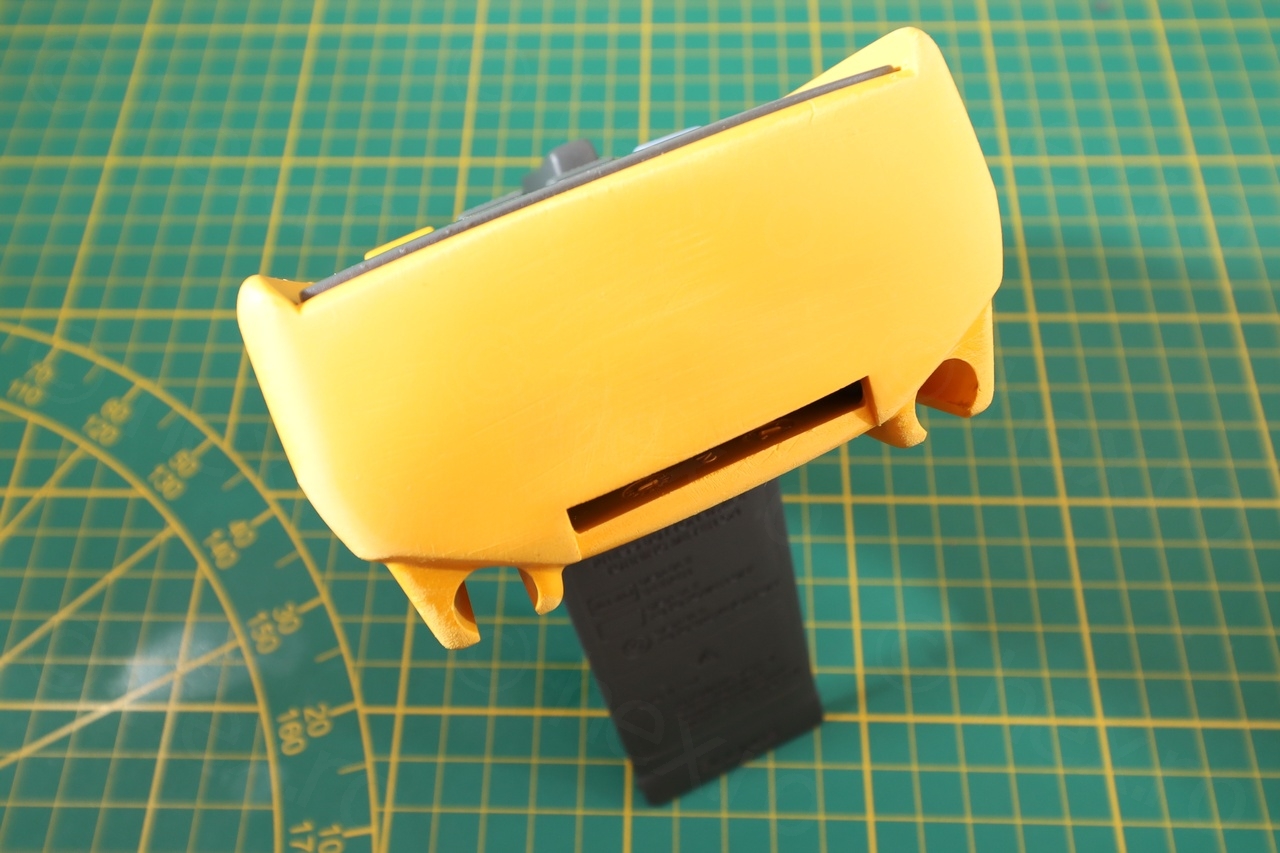


Thankfully Fluke created a respectable holster instead of a flimsy one, scrubbing it away for 1h still left a sizeable amount of ‘thickness’.
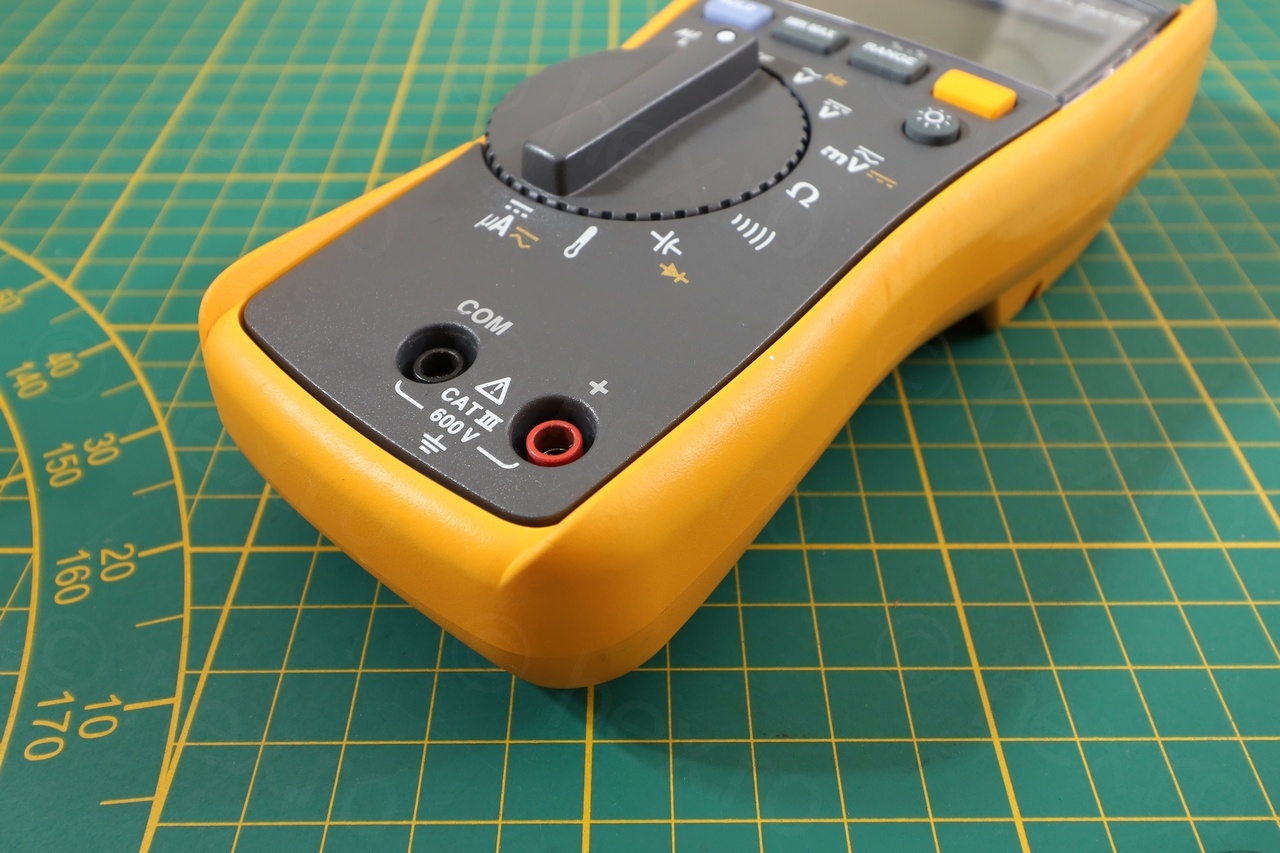
In conclusion, I am a bit ambivalent. Given the meter is made for HVAC technicians (extreme temperatures, built like a tank, etc), it is a bit too big for my needs. It also lacks mA or A modes, only has µA range (up to 600µA). The micro Amp mode could be handy for some low power circuitry. The size may also be an advantage: switching modes without the meter running anywhere and it won’t move just on a slight pull on the leads.
matthew j bauer
how did you remove the selector knob from the body? i can figure it out for the life of me…