
!!! ERROR !!! “No NICs are installed in this computer.” The card’s EEPROM was failing, but I had no clue.
It worked, until it didn’t
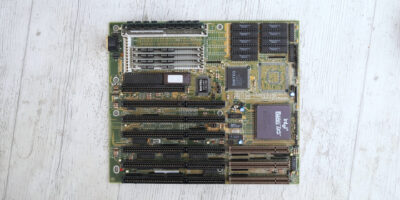
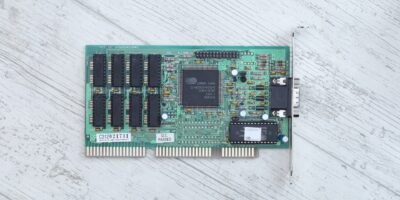
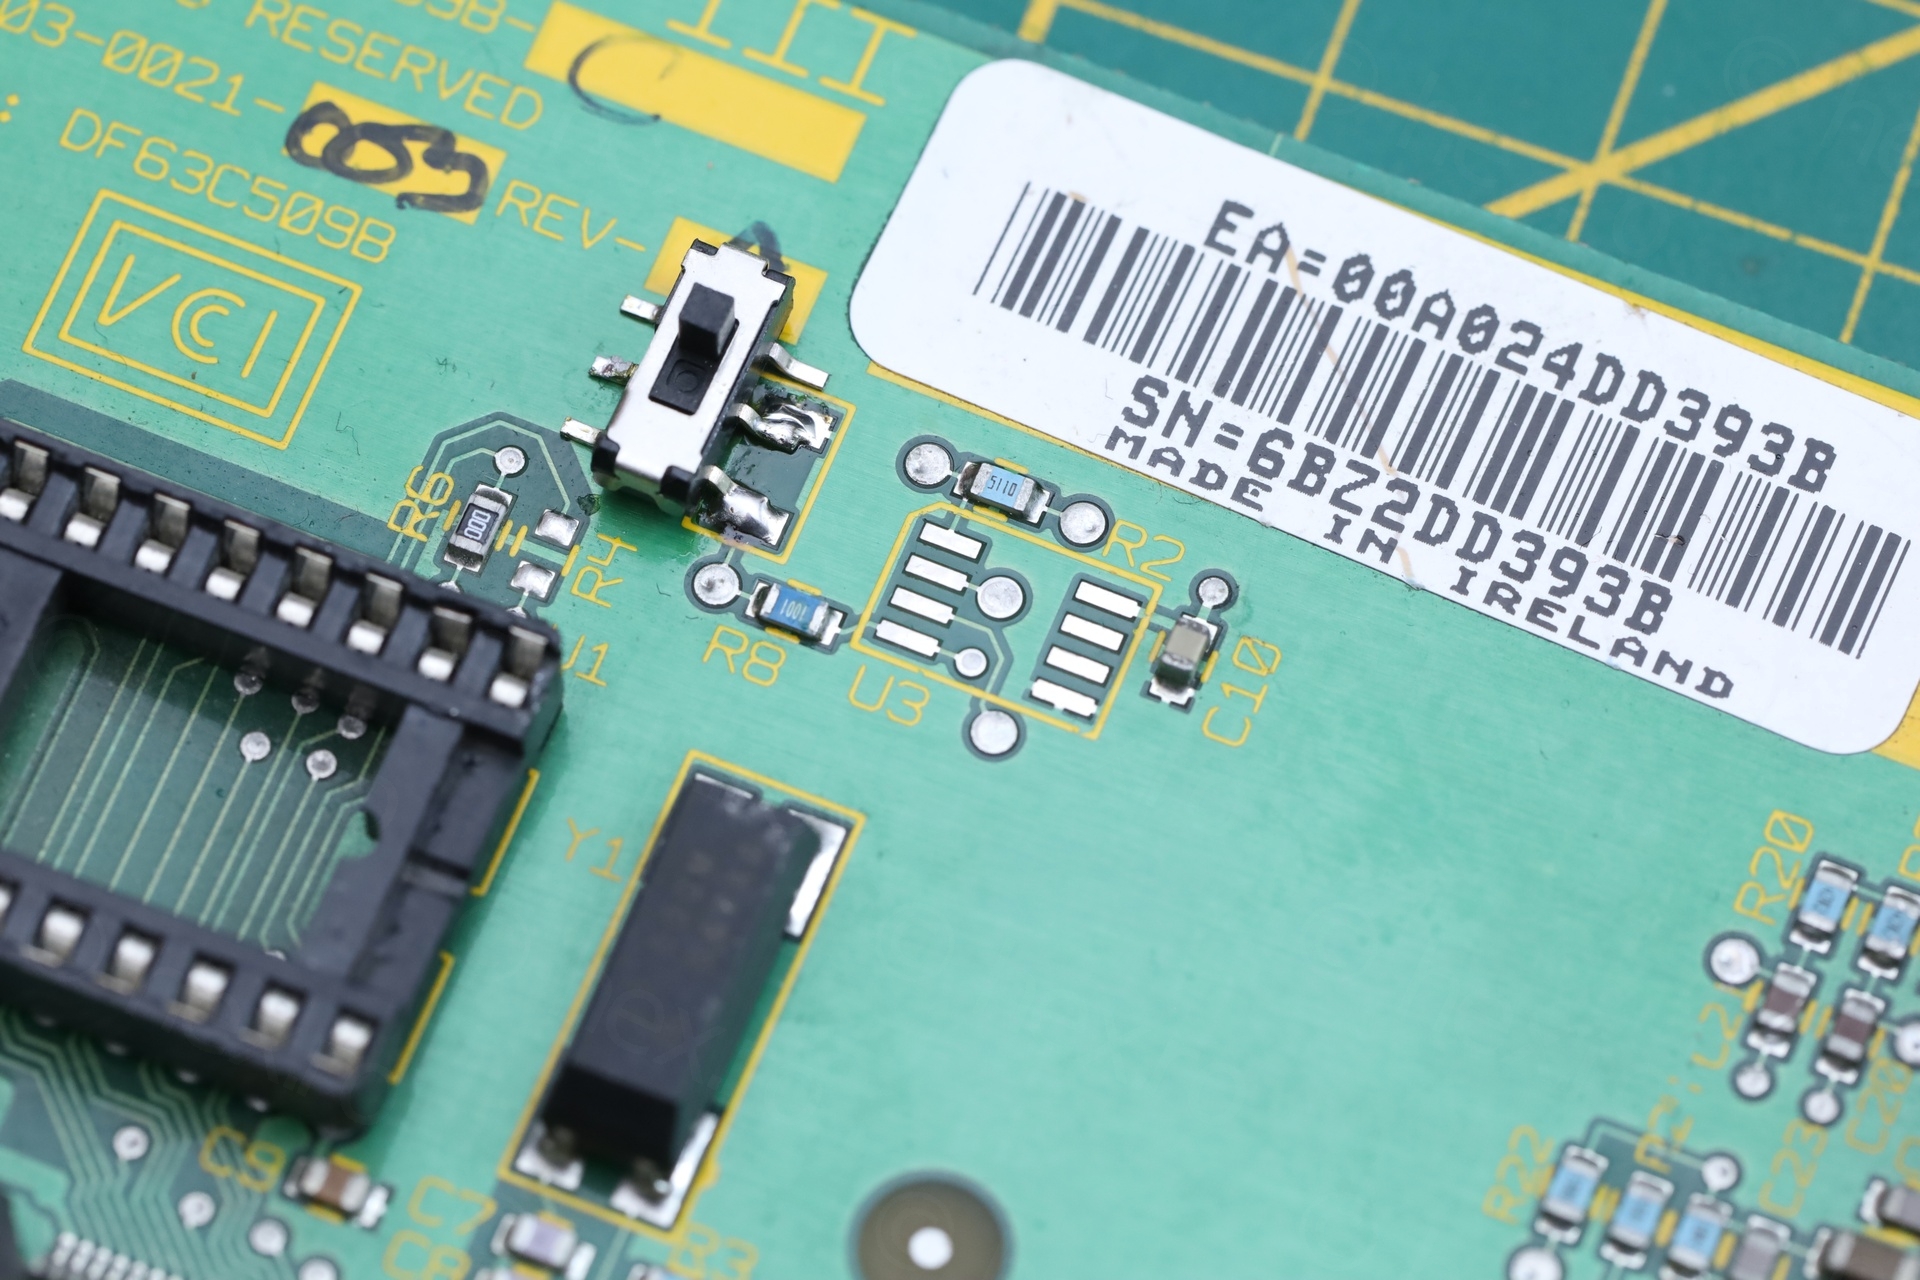
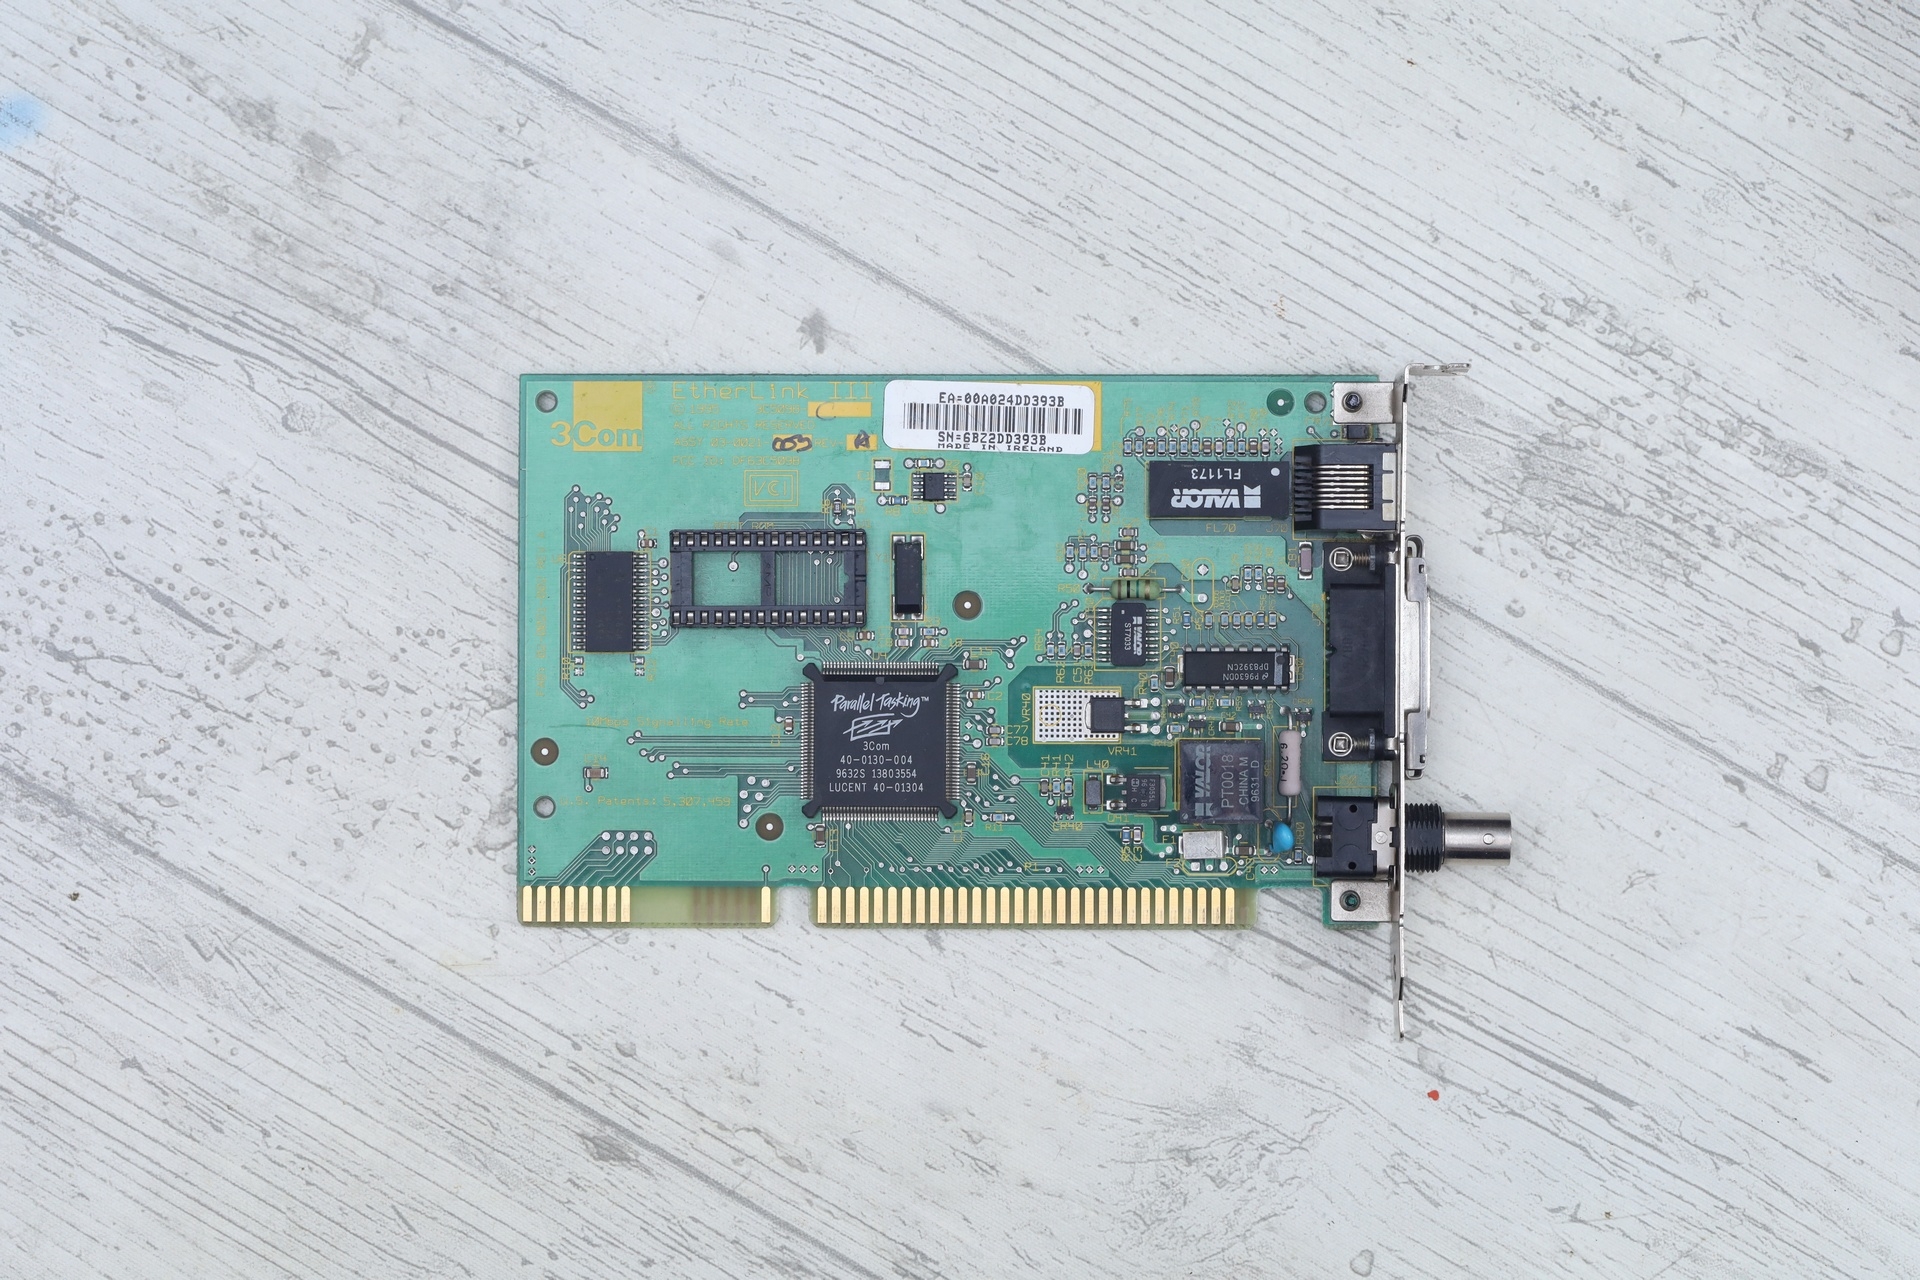
I purchased a lot of untested ISA cards, including two 3Com 509B-C network cards. They both worked, and I put one to boot XT-IDE. And it worked fine for weeks. But after a long session of Power ON/Power OFF (testing external cache chips), I noticed that green LED of the card doesn’t come on anymore.
I’ve tried shorting the E1 pads to see if it gets detected, but nothing worked. With E1 Shorted or not, the 3c5x9cfg.exe was reporting that “No NICs are installed in this computer.”
Investigations
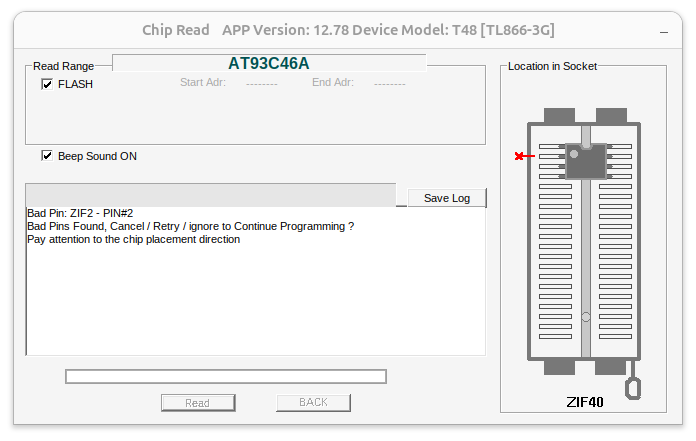
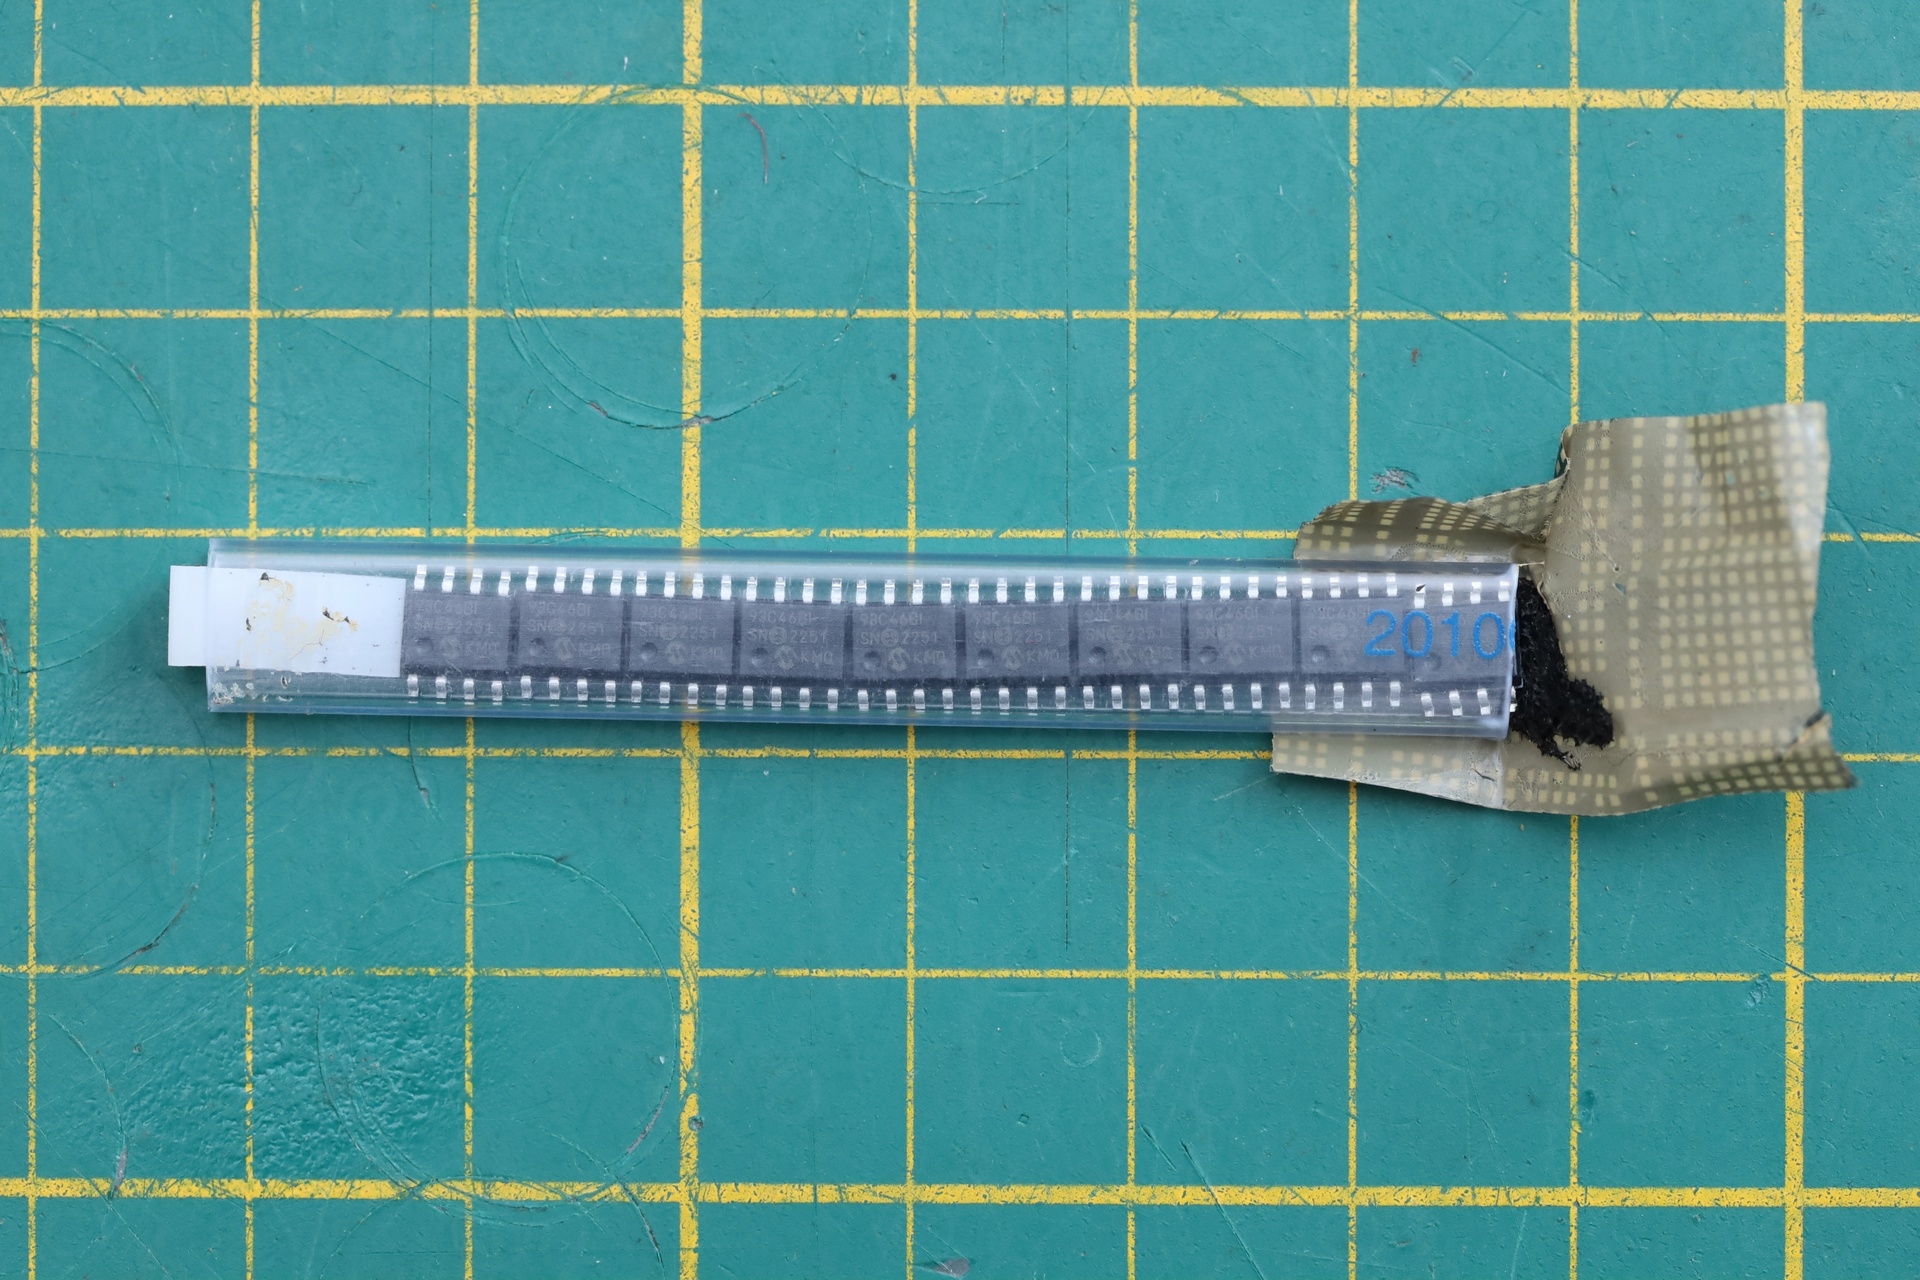
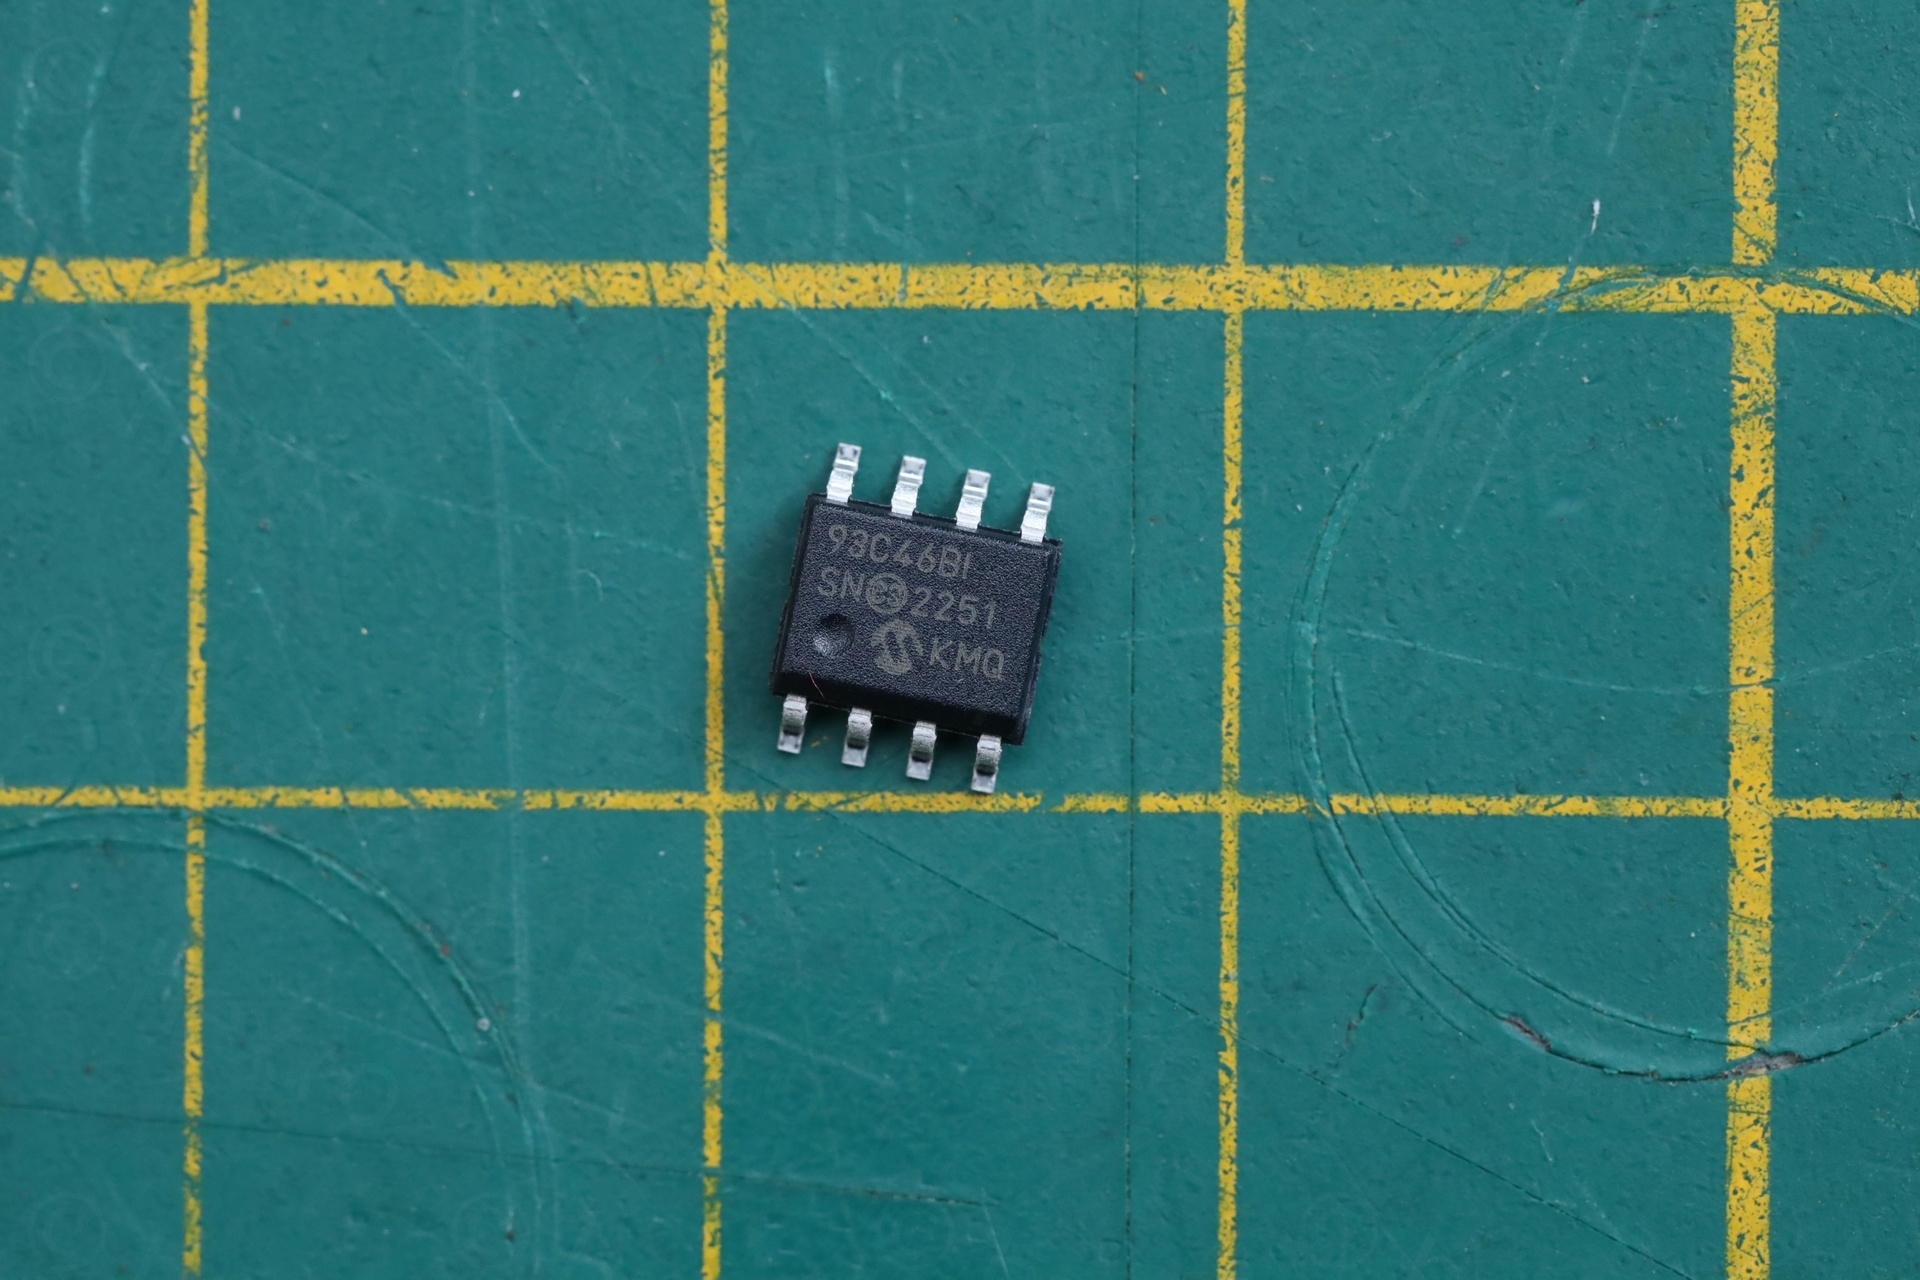
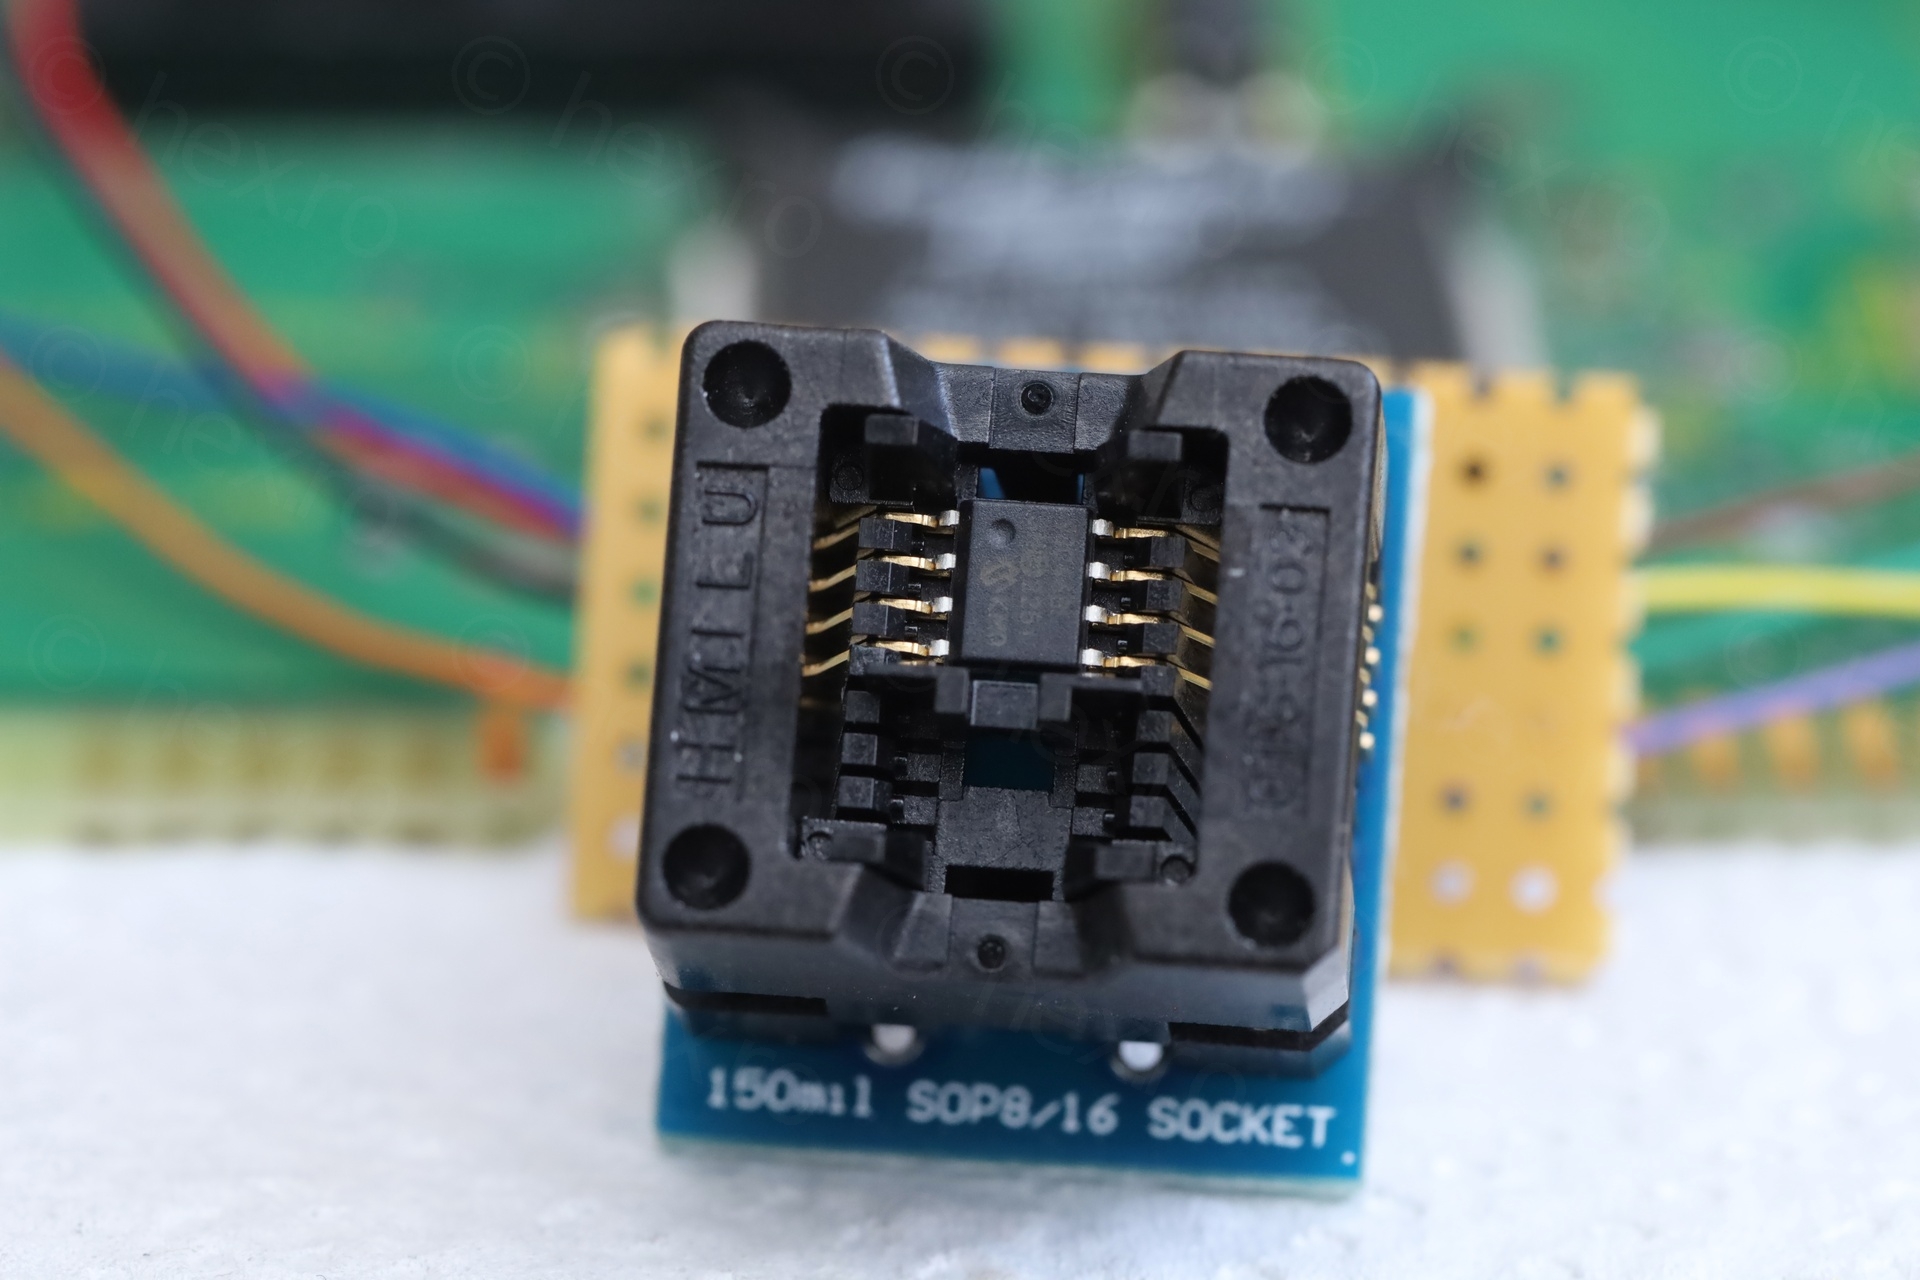
With nothing else left to do but throw the board away, I was curious if I can at least try to read the EEPROM chip (an Atmel 93C46A). Not trying to fix the board, but just playing with the Xgecu T48 SOP8 To DIP8 150mil adapter.
Reading the chip, everything came back as FFFF … the chip was empty! What ? How ?
I proceeded to:
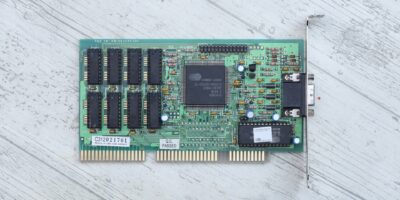
- dump the EEPROM content from the second card I had. I used the E3C509X.EXE (from https://www.vogons.org/viewtopic.php?p=966028#p966028) – so that I don’t have to de-solder its EEPROM.
- flash it to the existing EEPROM using the Xgecu programmer
- re-solder existing EEPROM back.
Magic, the card worked perfectly! I was in awe. From ready to send it to the recycler back to working, just because I was curious about using the SOP8 adapter.
It is not fixed … yet
By now, I knew that the MAC address is also held in the EEPROM. The EEPROM image should be modified to the original MAC address. This address appears twice in the image, but there a twist. A checksum has to also be calculated after the modifications. I used the checksum code from https://www.vogons.org/viewtopic.php?p=1090278#p1090278 Linux utility to confirm that the new checksum is correct, so I proceeded to:
- desolder (again) the Atmel 93C46A EEPROM
- flash the new updated image using the Xgecu programmer + adapter
- solder it back onto the card
But, card was failing again. I even ended up soldering a switch on the E1 pad, trying to make my life easier with attempted diagonistics. Tried the card on a more modern PC. Tried it also with the Linux utility linked above. Nothing.
Maybe the checksum was wrong ? I needed it the card working. Out of ideas, I re-desoldered the chip and prepared to flash the known working (but with wrong MAC address) back. When, another surprise – the chip was now rejected by the programmer!
The fix
Too many questions:
- Was the chip already close to failing ?
- Did de-soldering / re-soldering few times kill the chip ?
- Does the card kill the chip ?
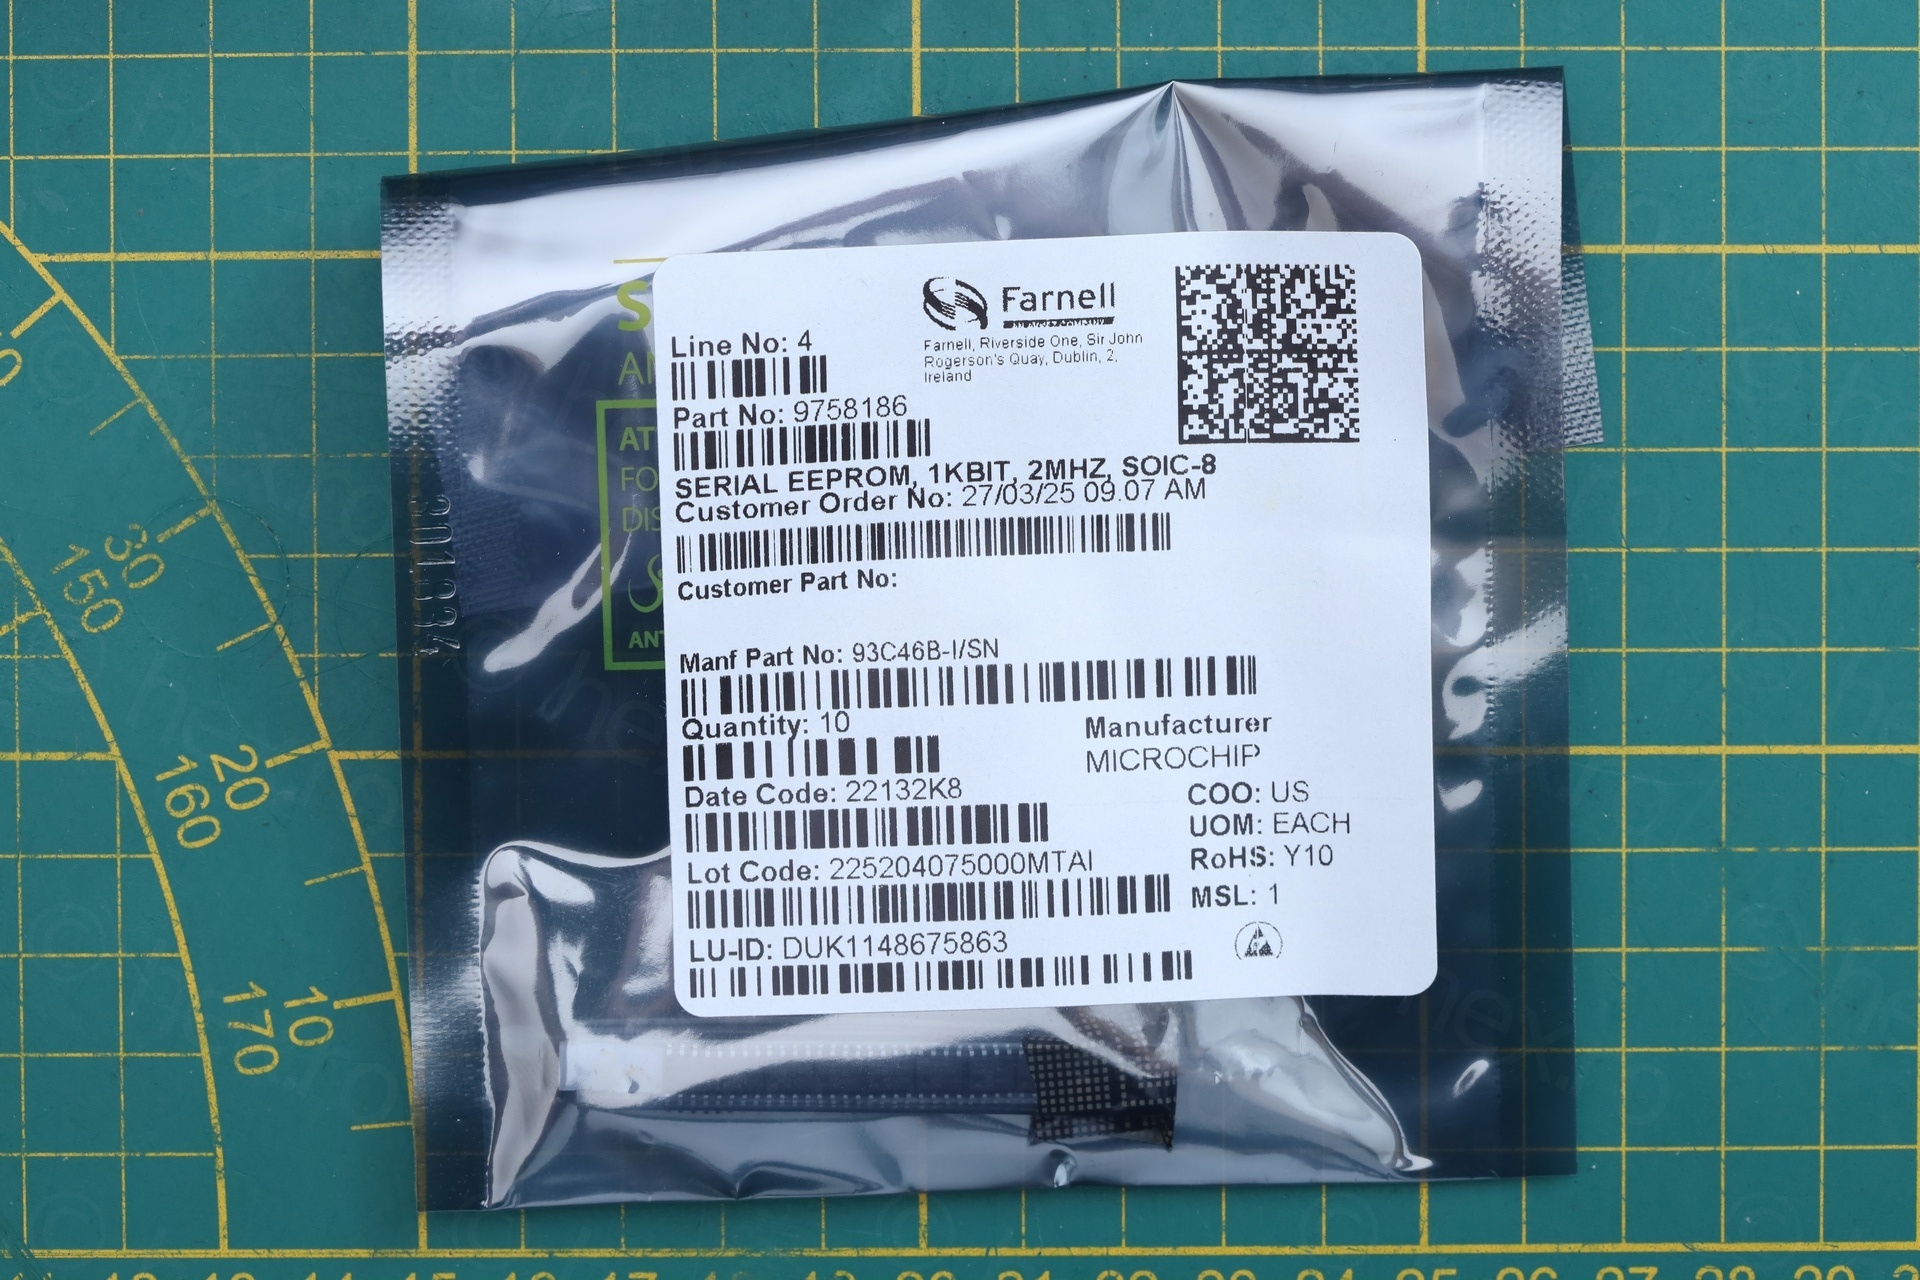
Only one way to find out. Order a chip replacement. This was a little tricky. Atmel 93C46A part is described as having a 64 words of 16 bit each internal structure. The new Microchip 93C46A is structured as 128 words of 8 bit each. Hmmmm. I wish I would know more about this. Does the card really care ? Or ? No idea. Reluctantly, I ordered the Microchip 93C46B which has the same internal structure and pin-out of the original Atmel 93C46A.
Part arrived but still didn’t know if the checksum was correct. And worried that the de-soldering / re-soldering may not only negatively affect the EEPROM, but what if I lift some pads from the network card itself ? Given that I risk having to flash the image few times in an attempt to get the checksum right.
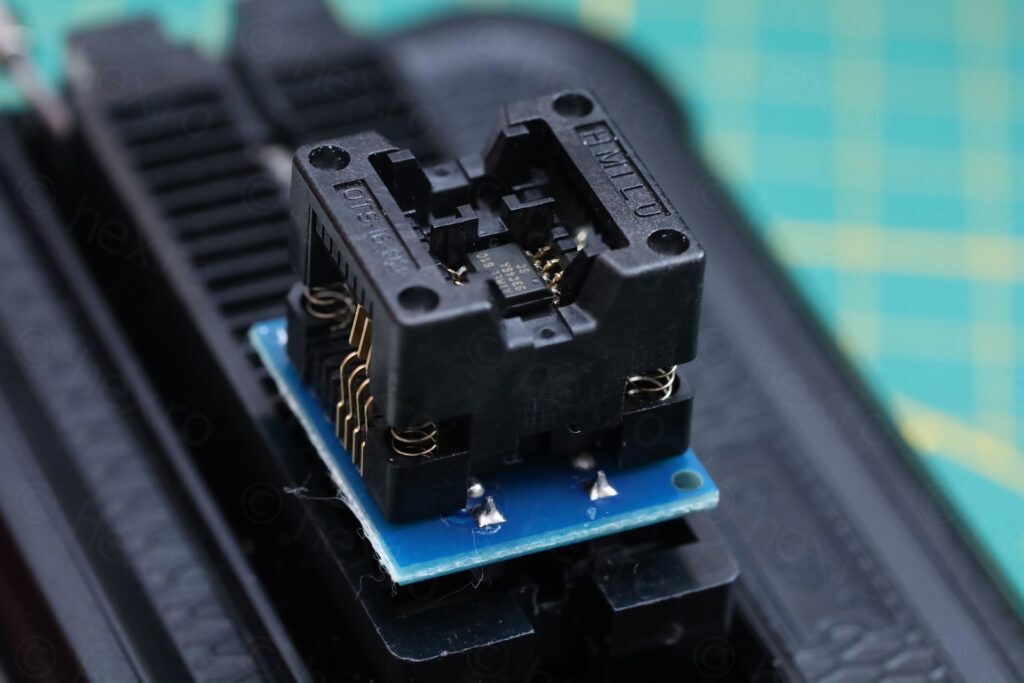
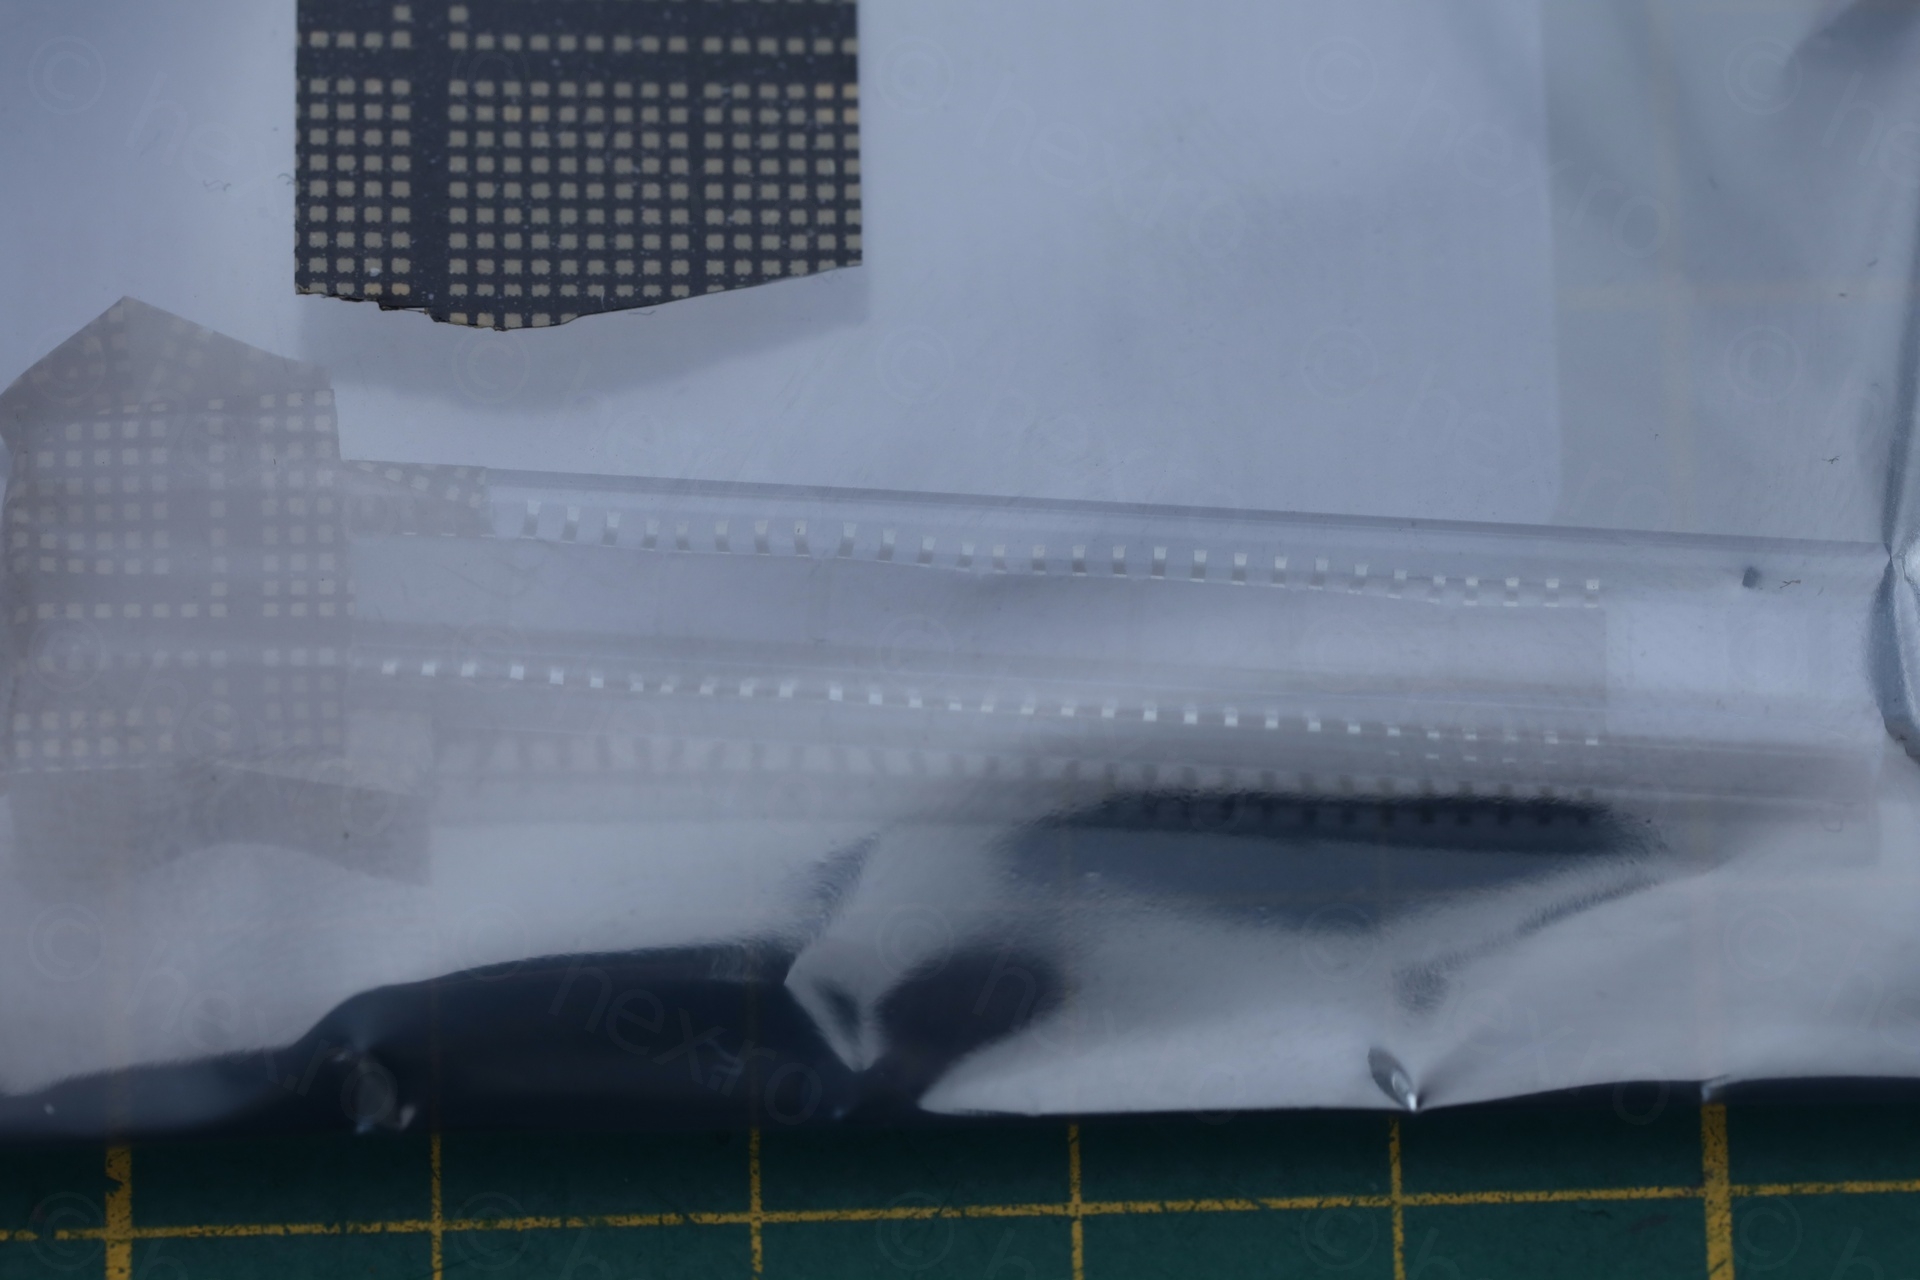
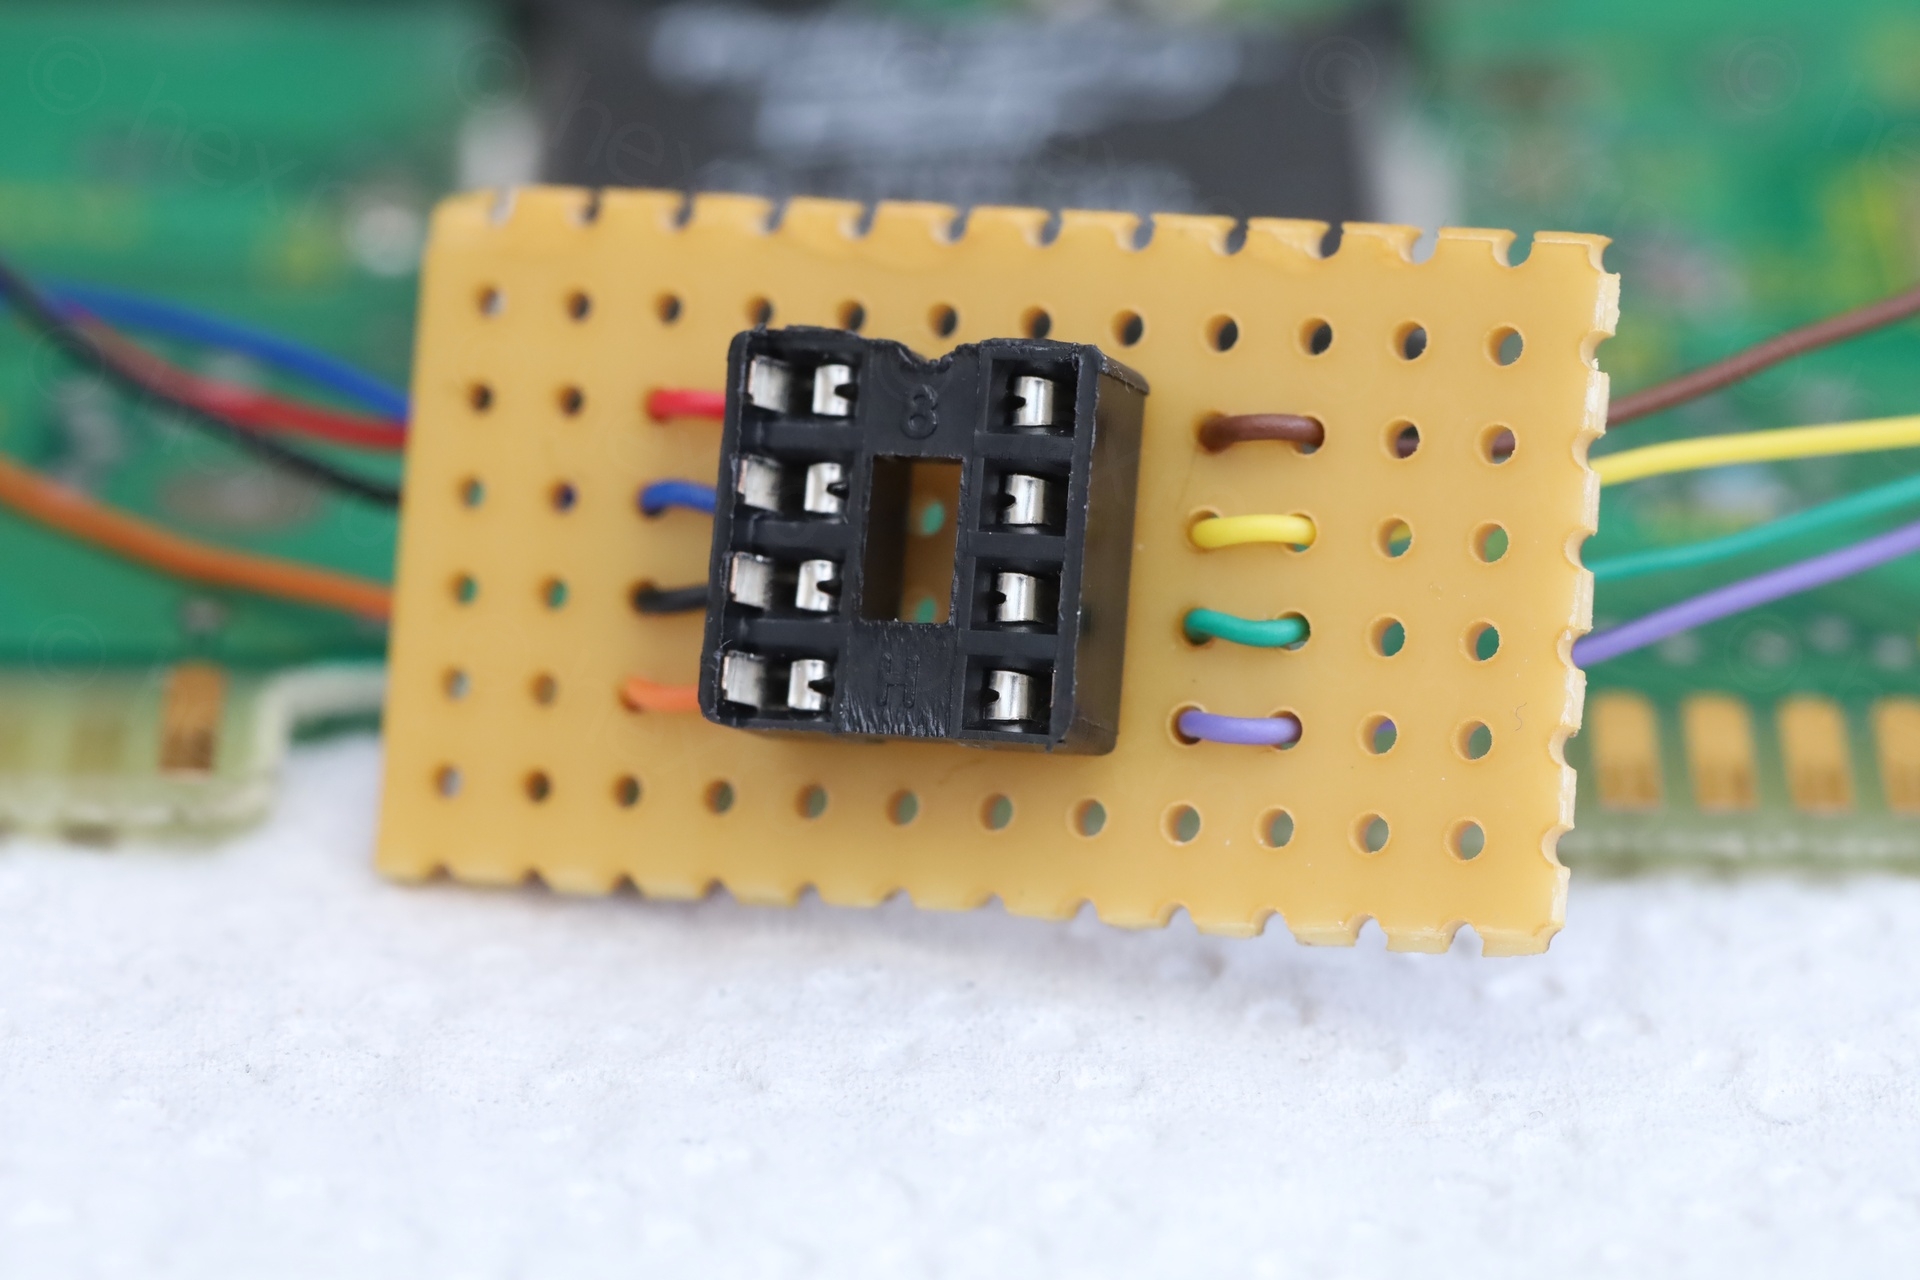
Since I couldn’t find any SOP-8 to SOP-8 socket that I can buy, I came up with a crude setup, allowing me to preserve intact the SOP8 to DIP8 adapter:
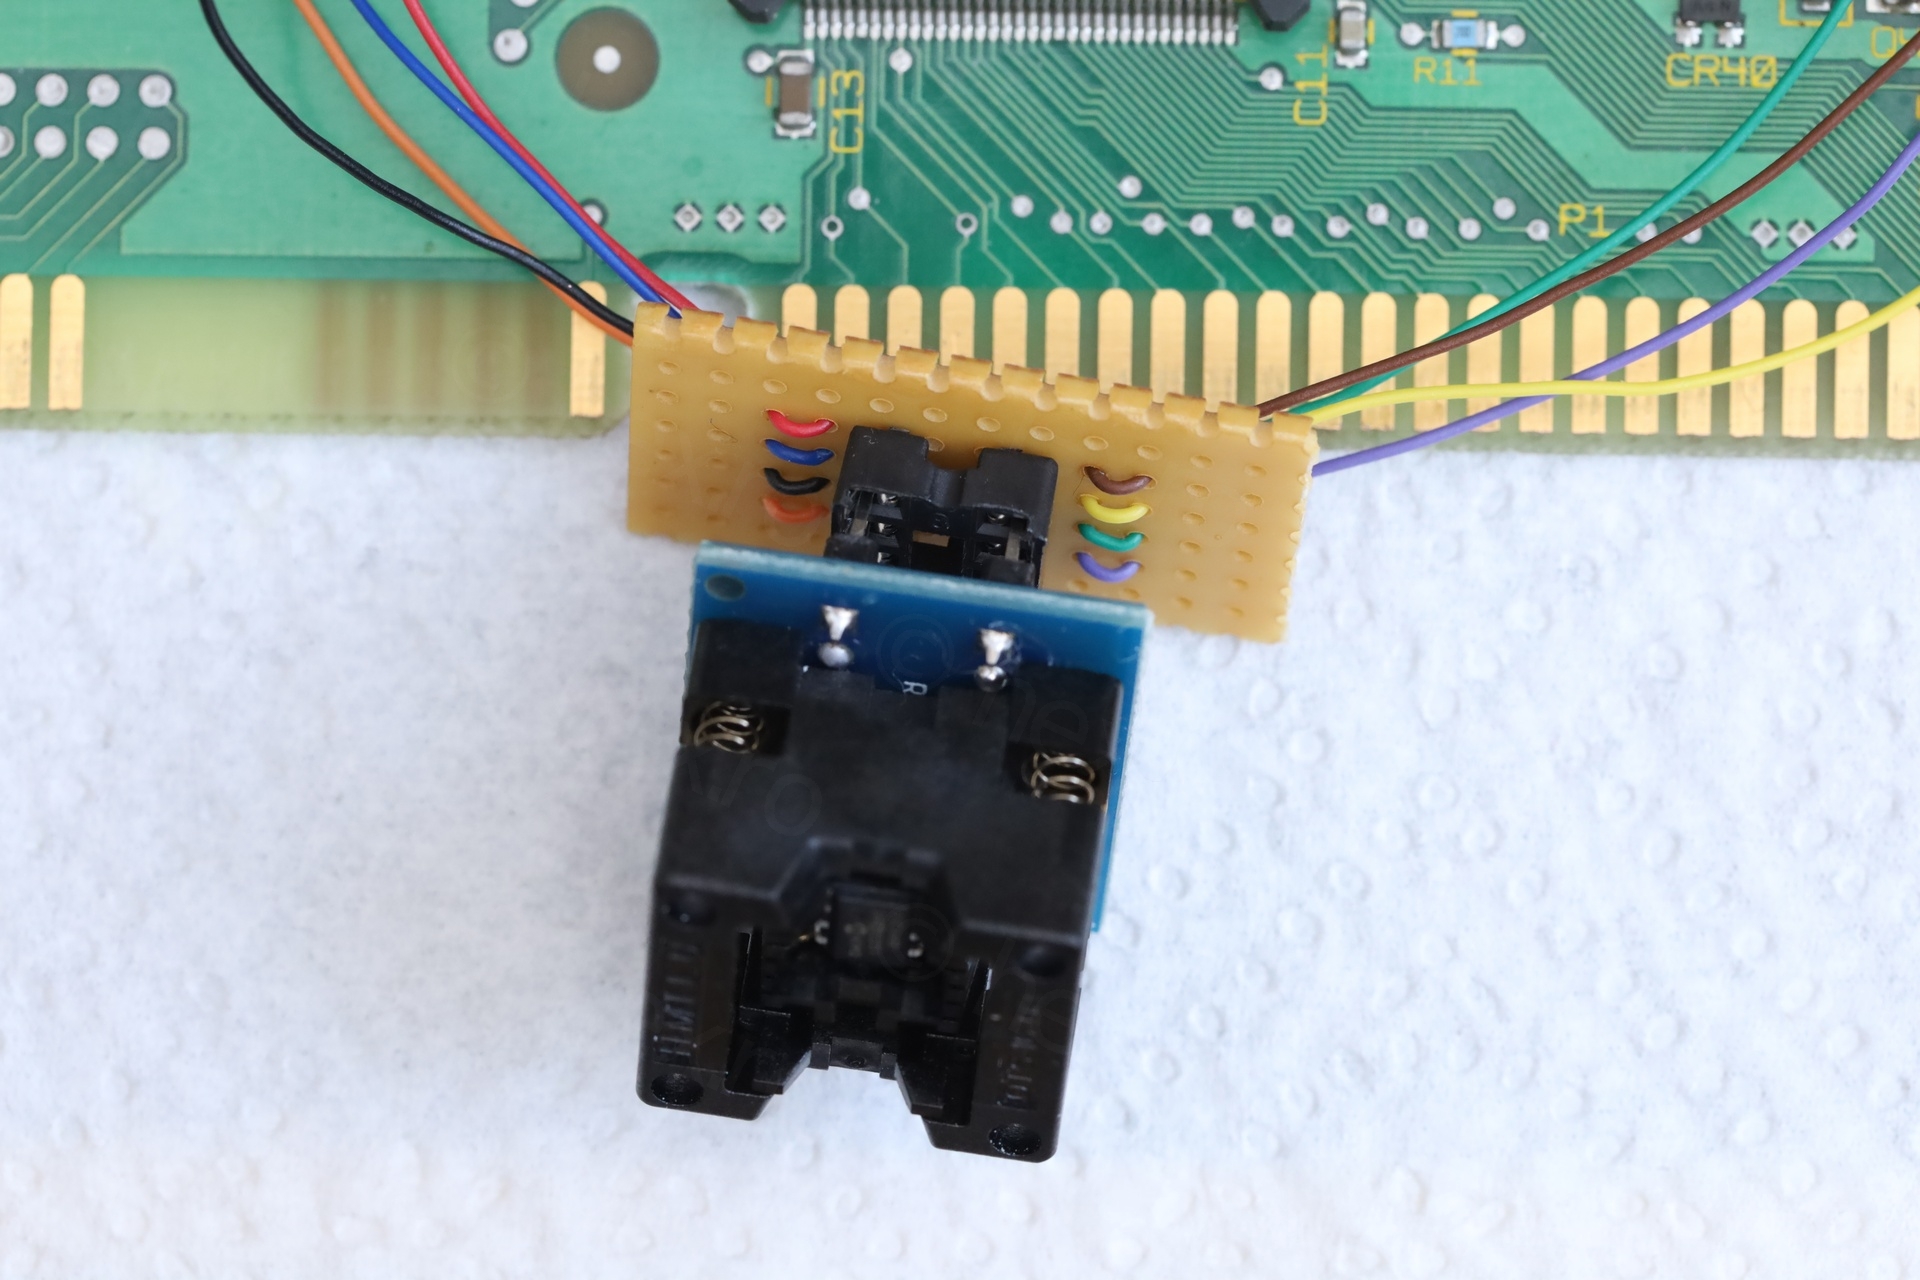
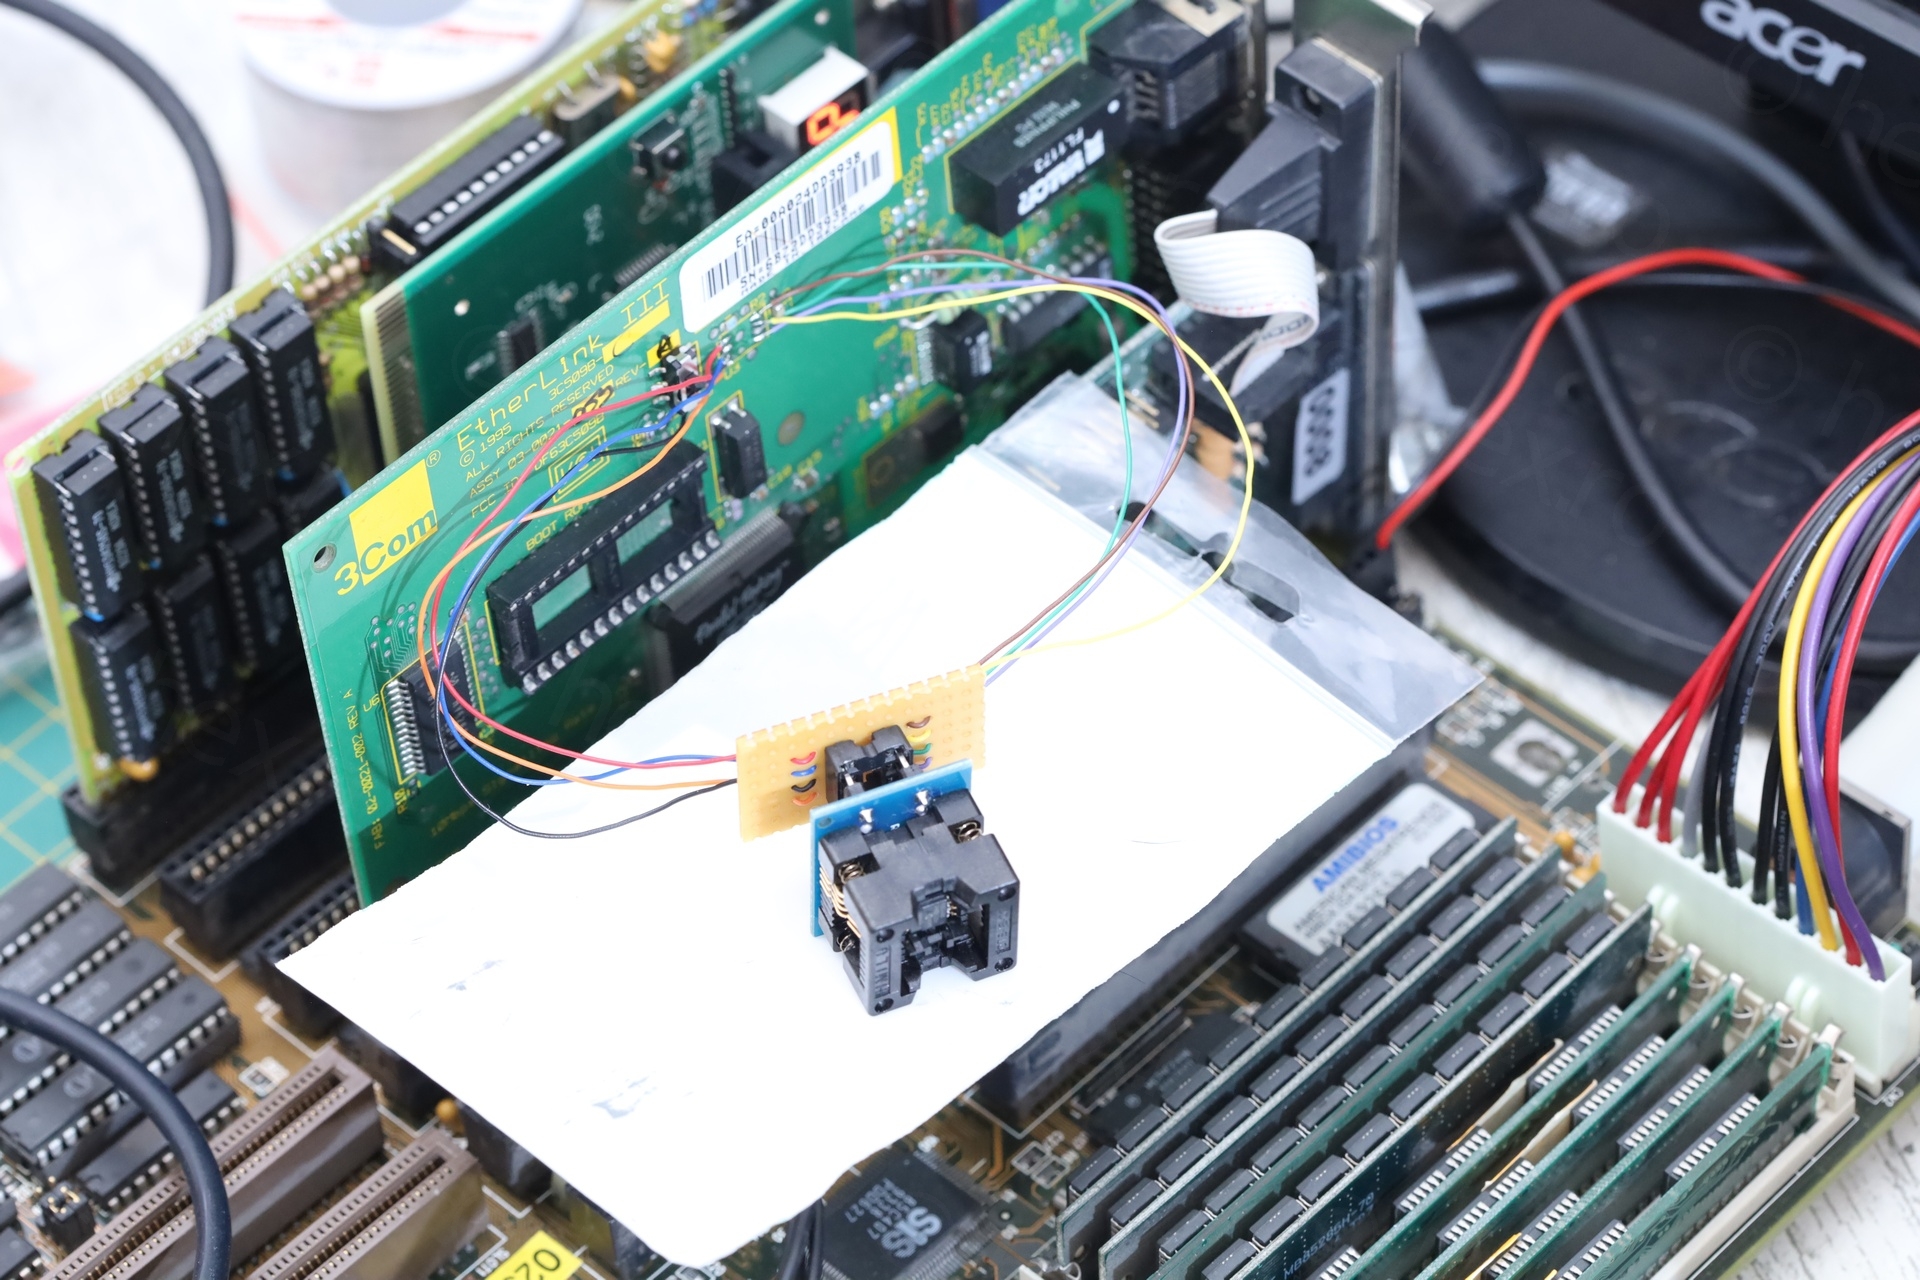
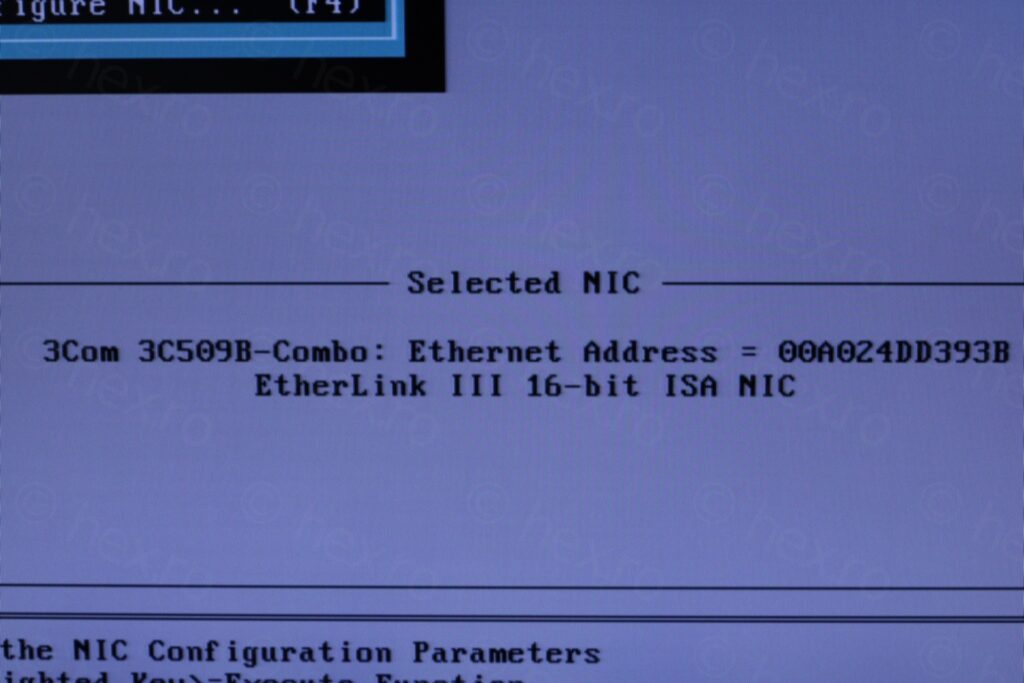
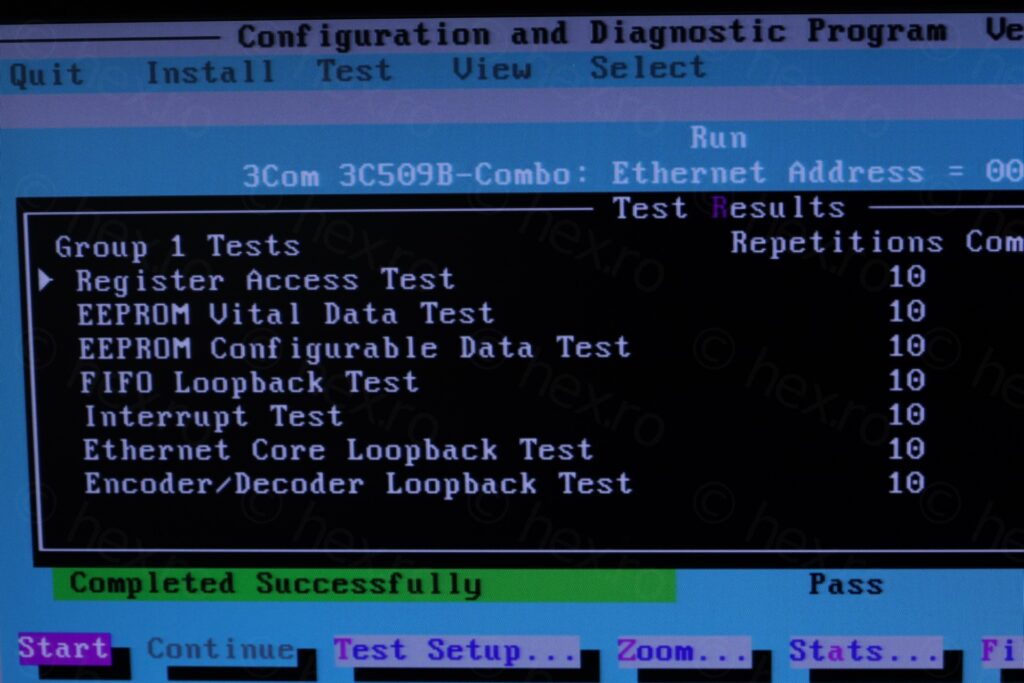
It was useless though because it worked from the first try 🙂 The checksum was correct and card works:
Few more shots:
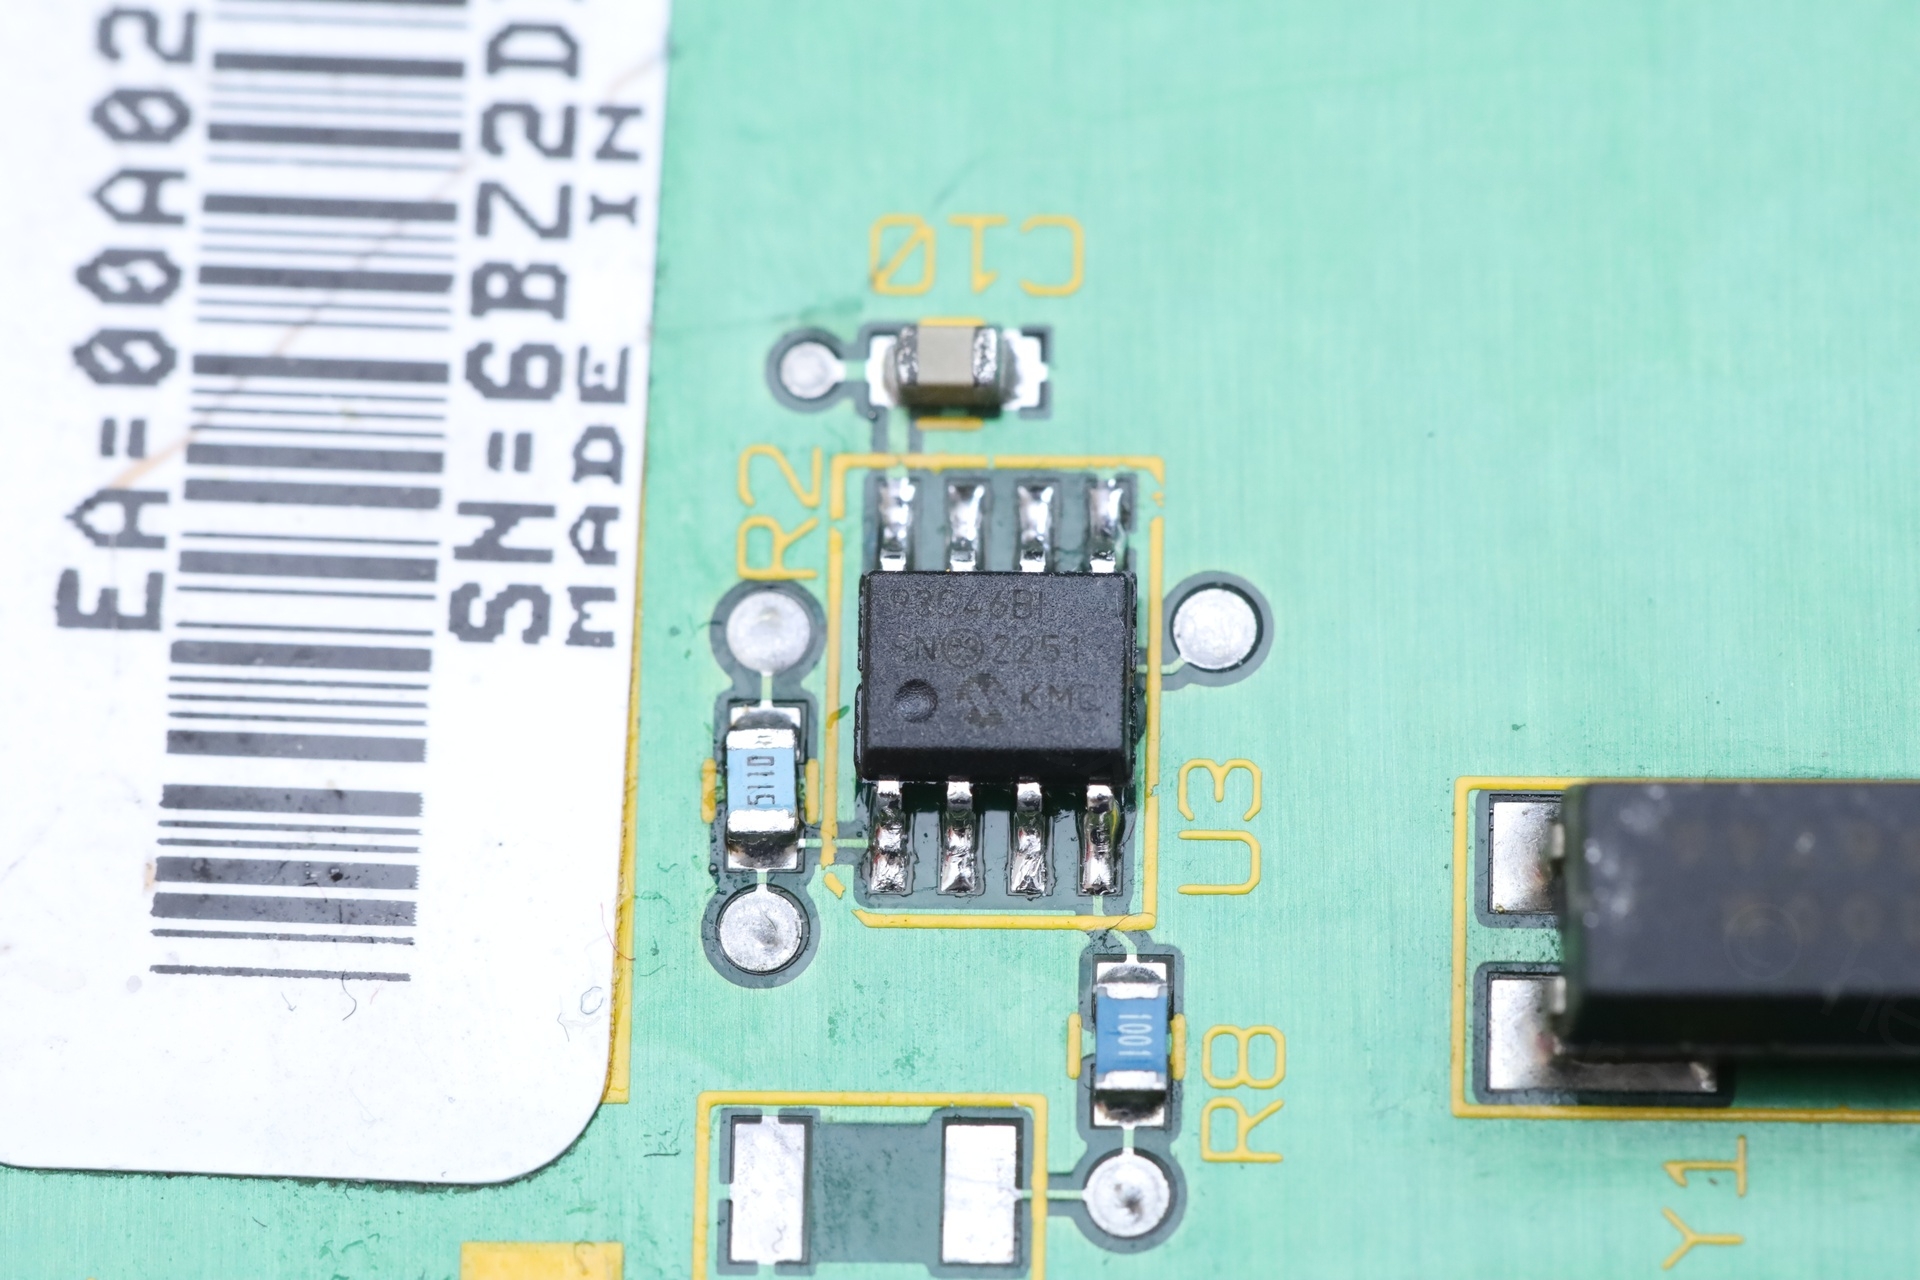
Happy I got to salvage the 3Com network card. It was the EEPROM chip failing, that put it in a bad state and undetectable.
And conclusion is … maybe I should use those cheap ISA boot ROM cards instead of risking more expensive cards.
Leave a Reply