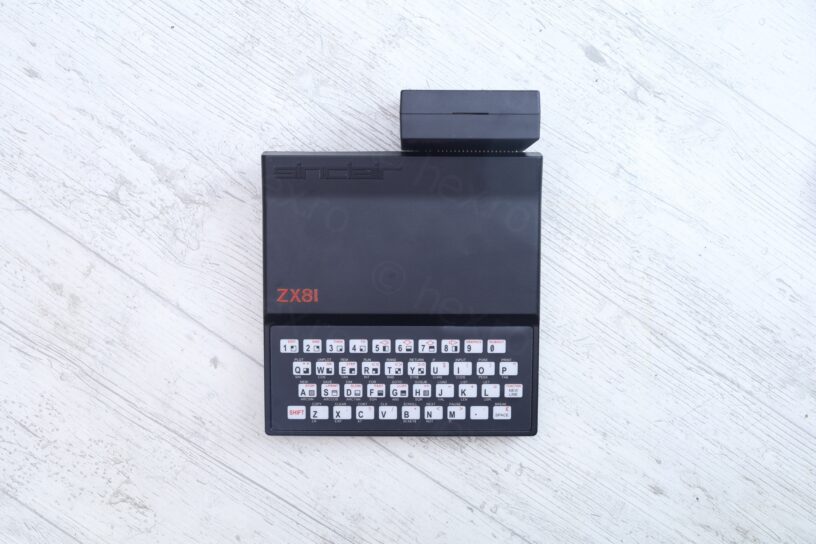

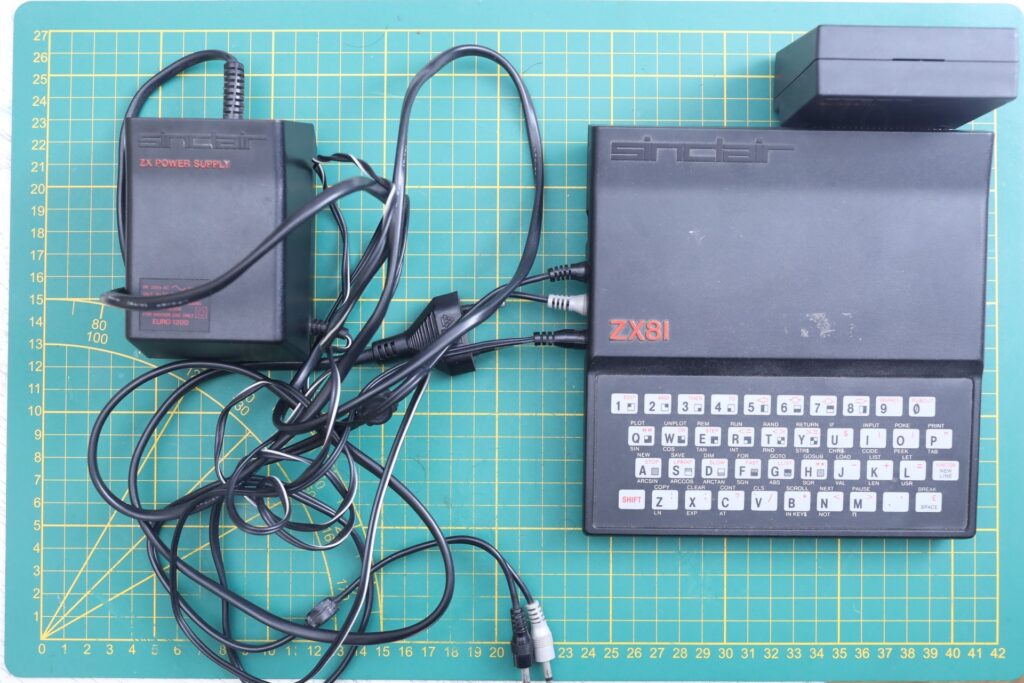
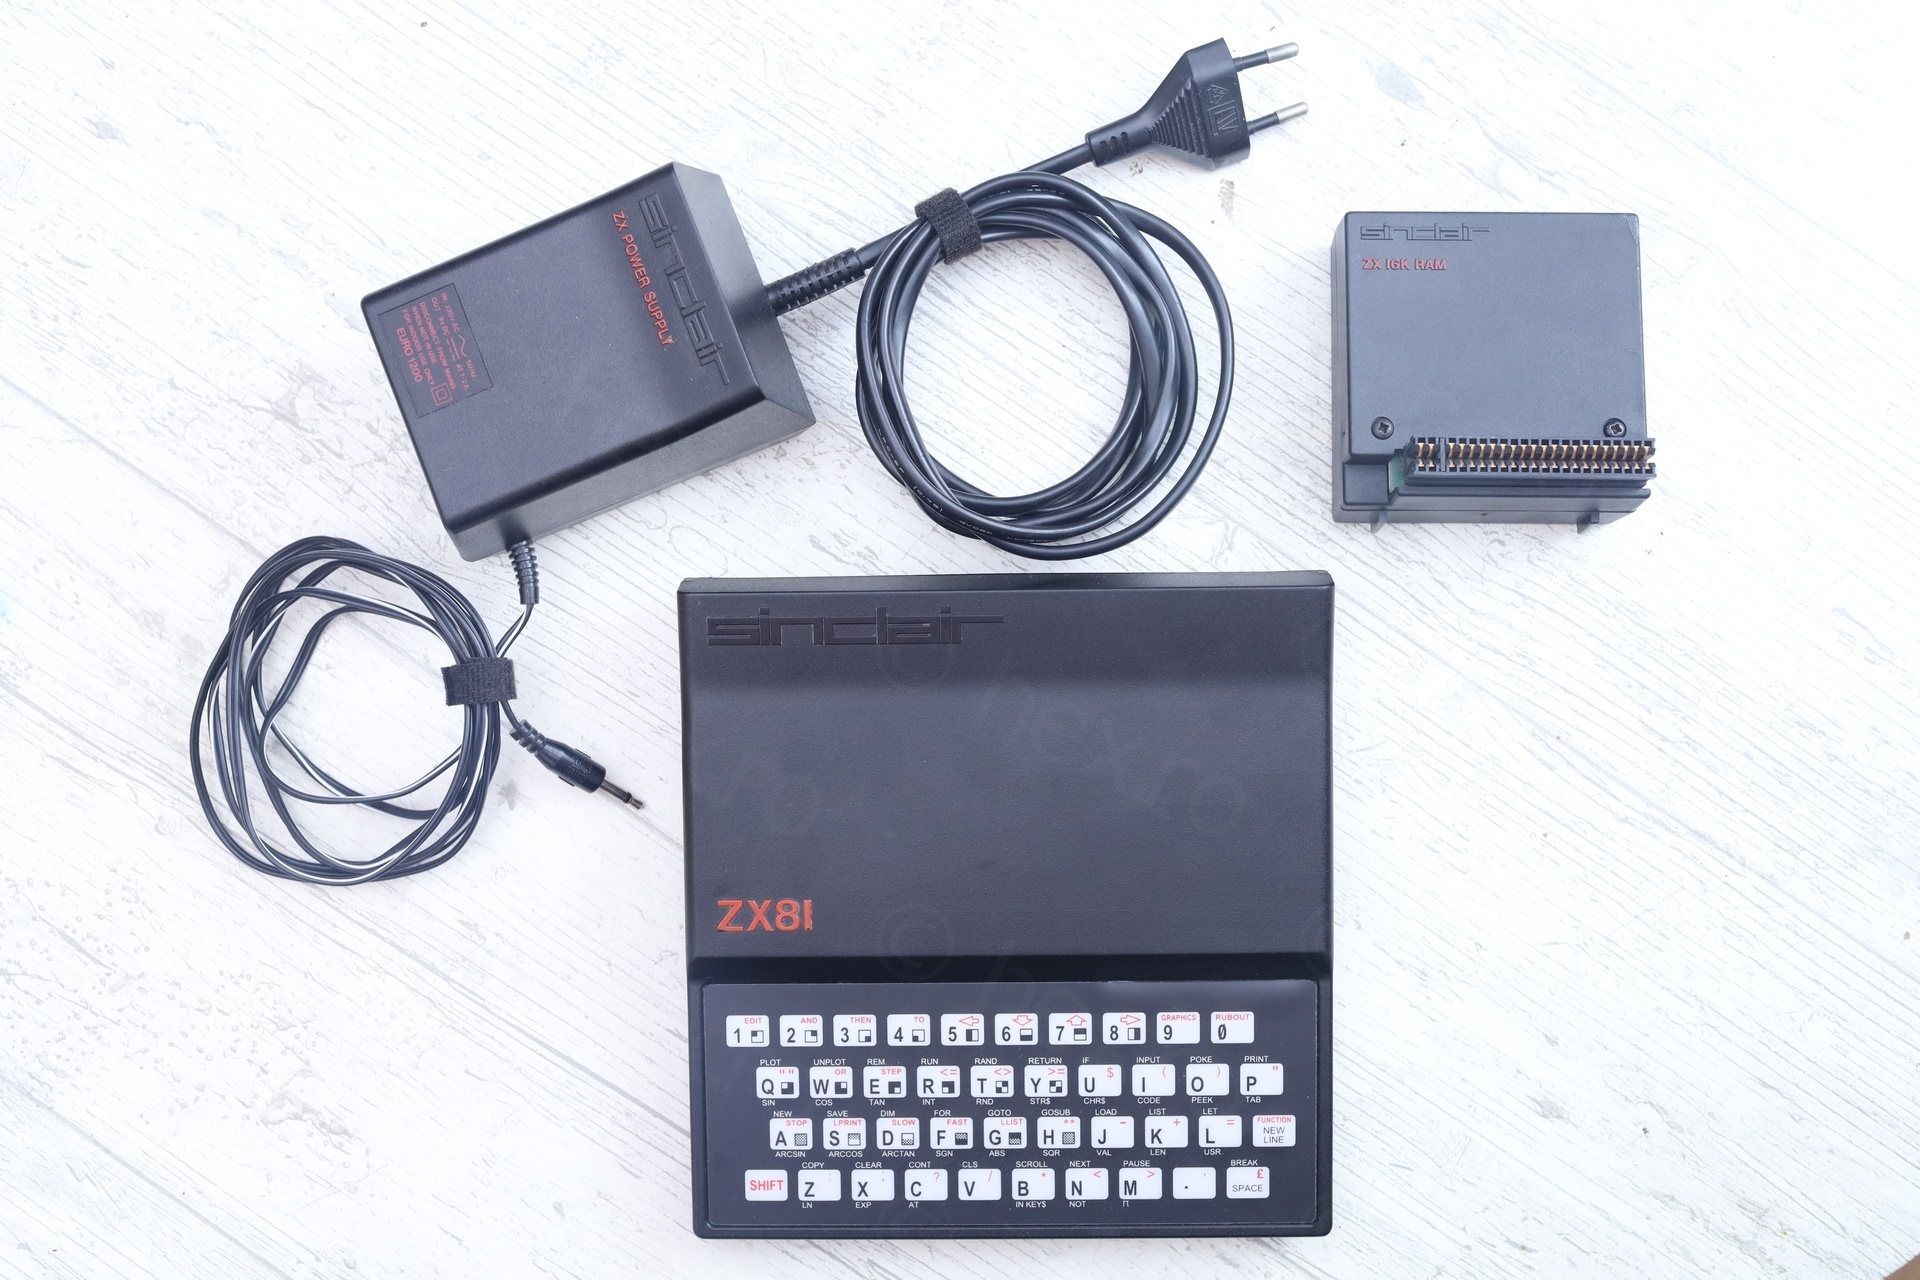
I got this ZX81 at a Retro Gaming fair. It looked clean, it had its power supply, a 16Kb memory expansion and cables but no box.
Table of Contents
- Overview
- Motherboard – Inspection
- Keyboard membrane – Replacement
- MOSTEK MK4801AN – Oxidized pins
- Capacitors – ESR checks
- EURO 1200 Power Supply – Clunk Clunk ?
- Sinclair ZX 16K RAM
- Loading Programs
Overview
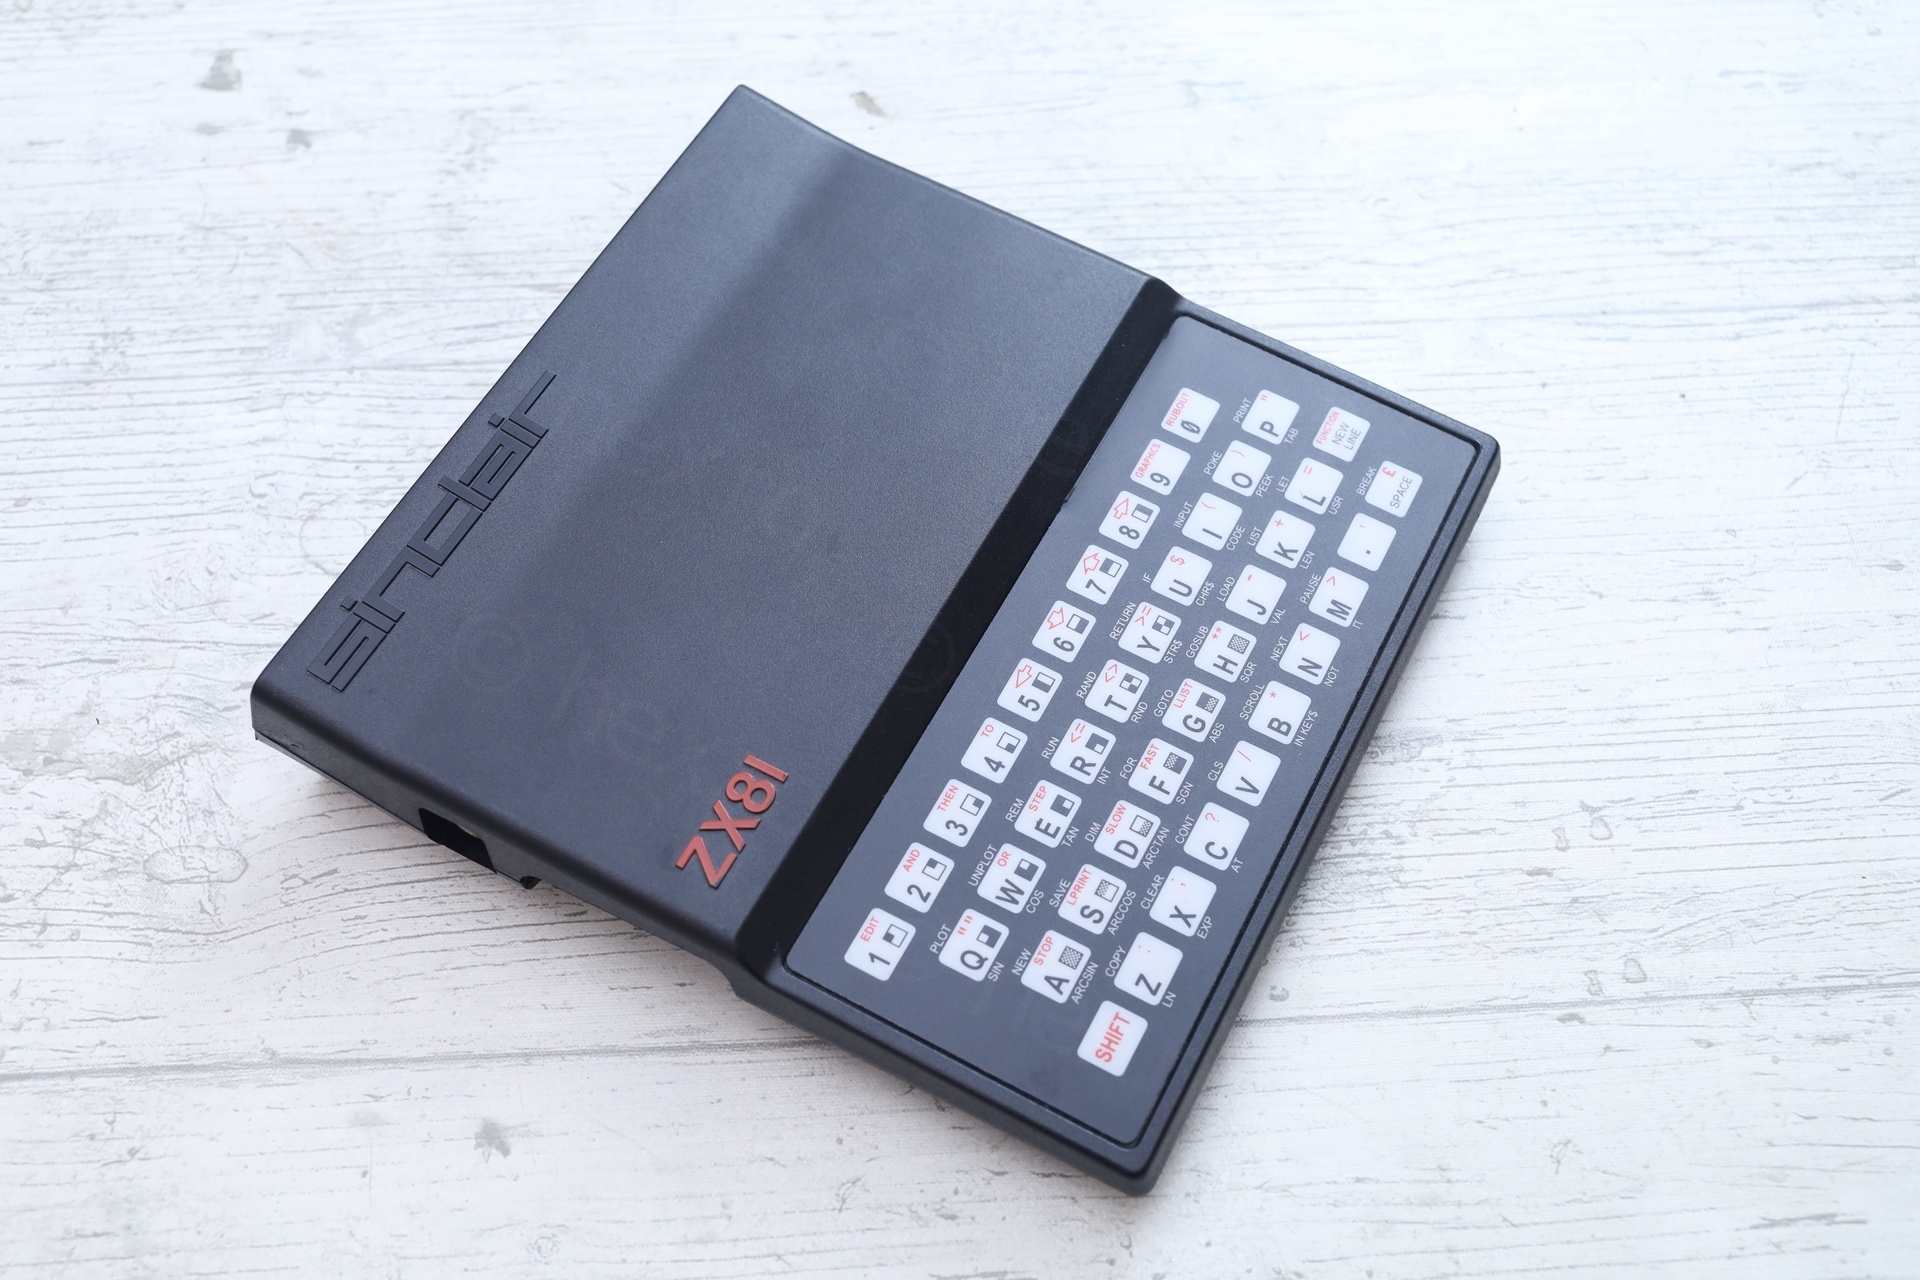
I never worked on a ZX81 before, but having some experience fixing its bigger brother, the ZX Spectrum, I figured … why not. Here’s how it looked:
I would have liked to power it up to make a quick current draw test, but I couldn’t.
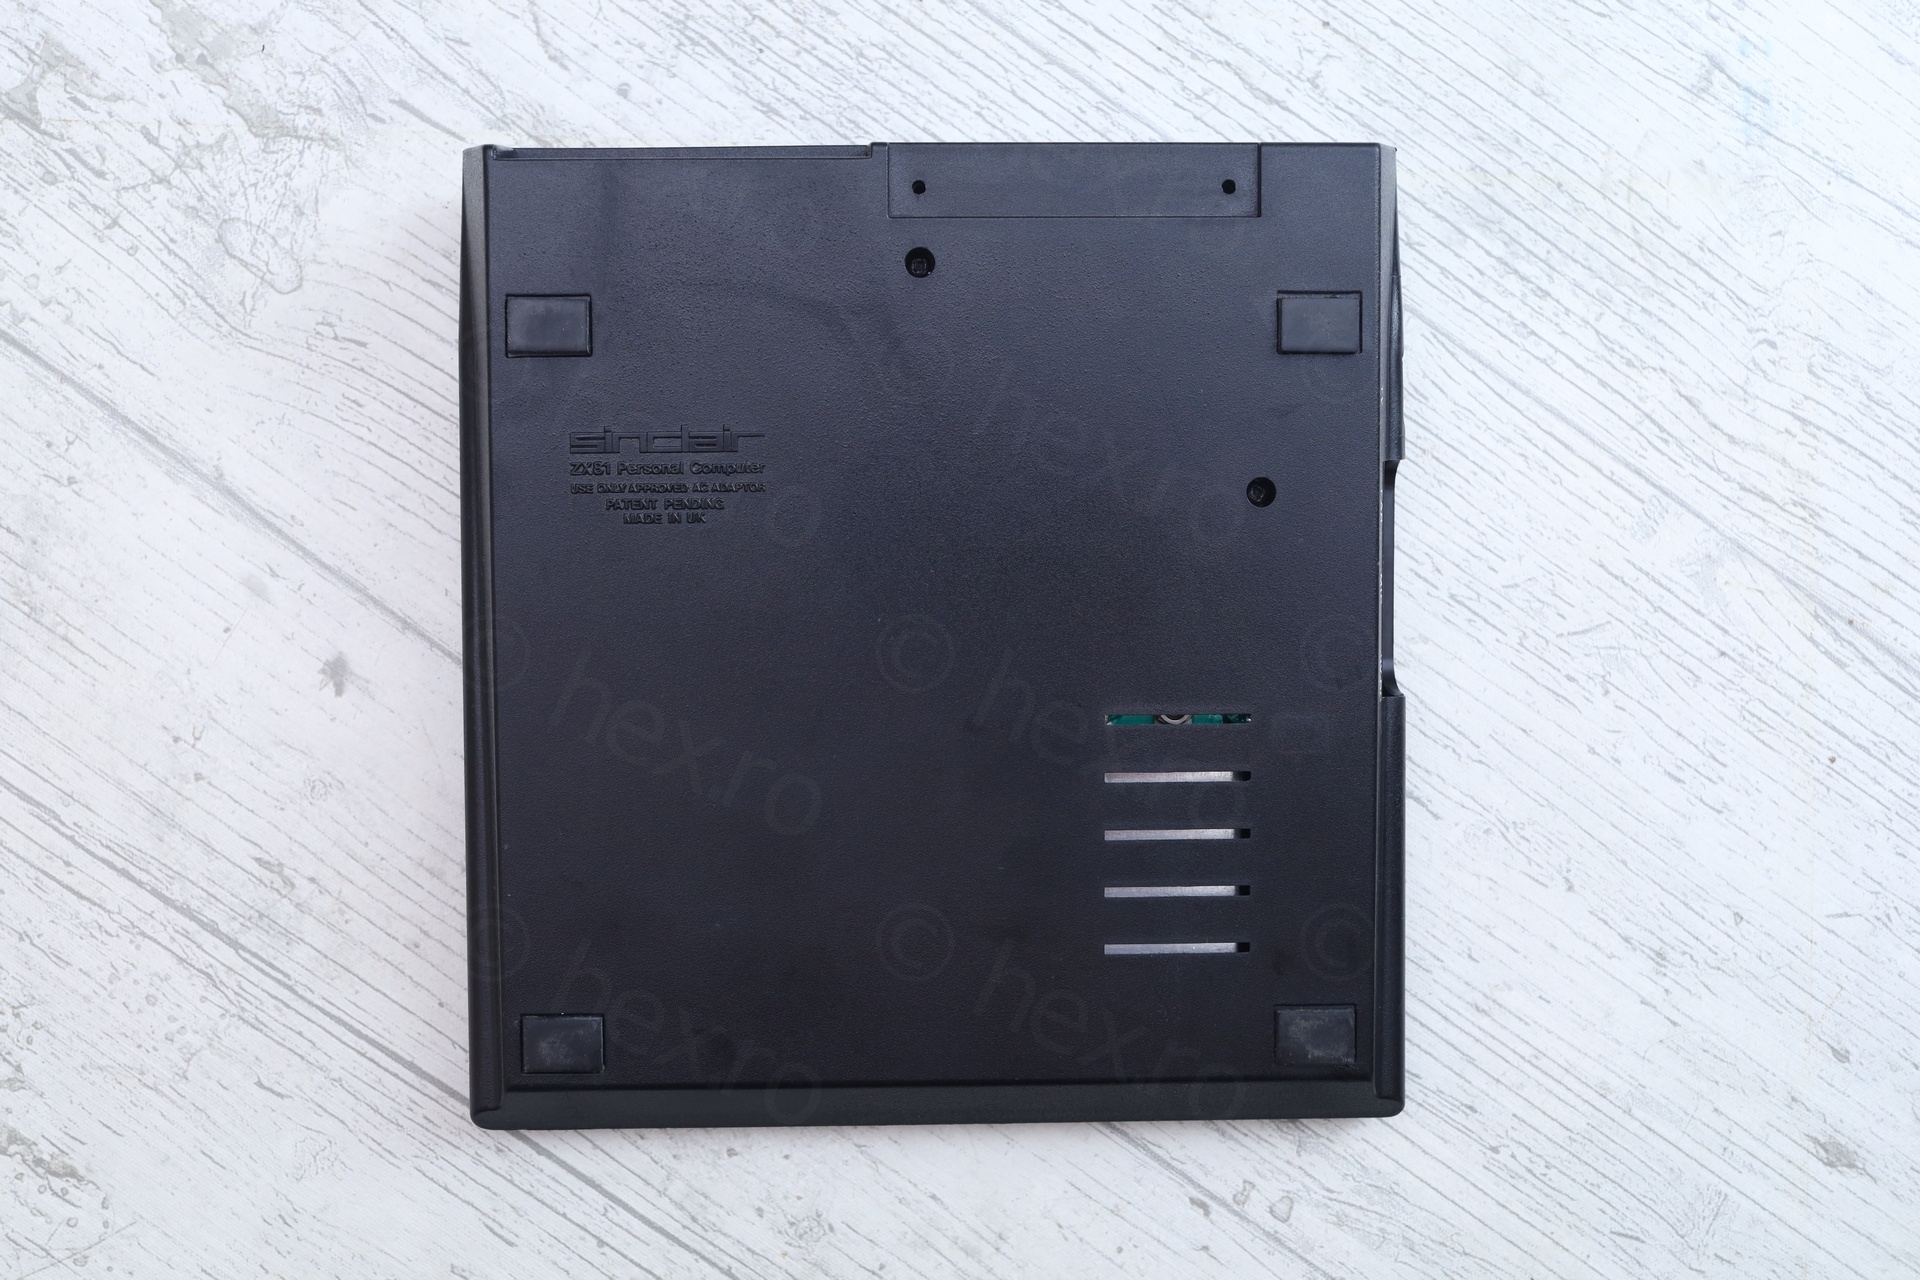
Although the power supply was included, it made some clunking noises, as if the transformer inside was loose. Not wanting to plug that in, I had to open the computer to see what is the polarity it needs on the 3.5mm DC IN Jack.
Motherboard – Inspection
Getting into the computer is easy, but when I took the motherboard out, the keyboard ribbon connectors tore right off the sockets.
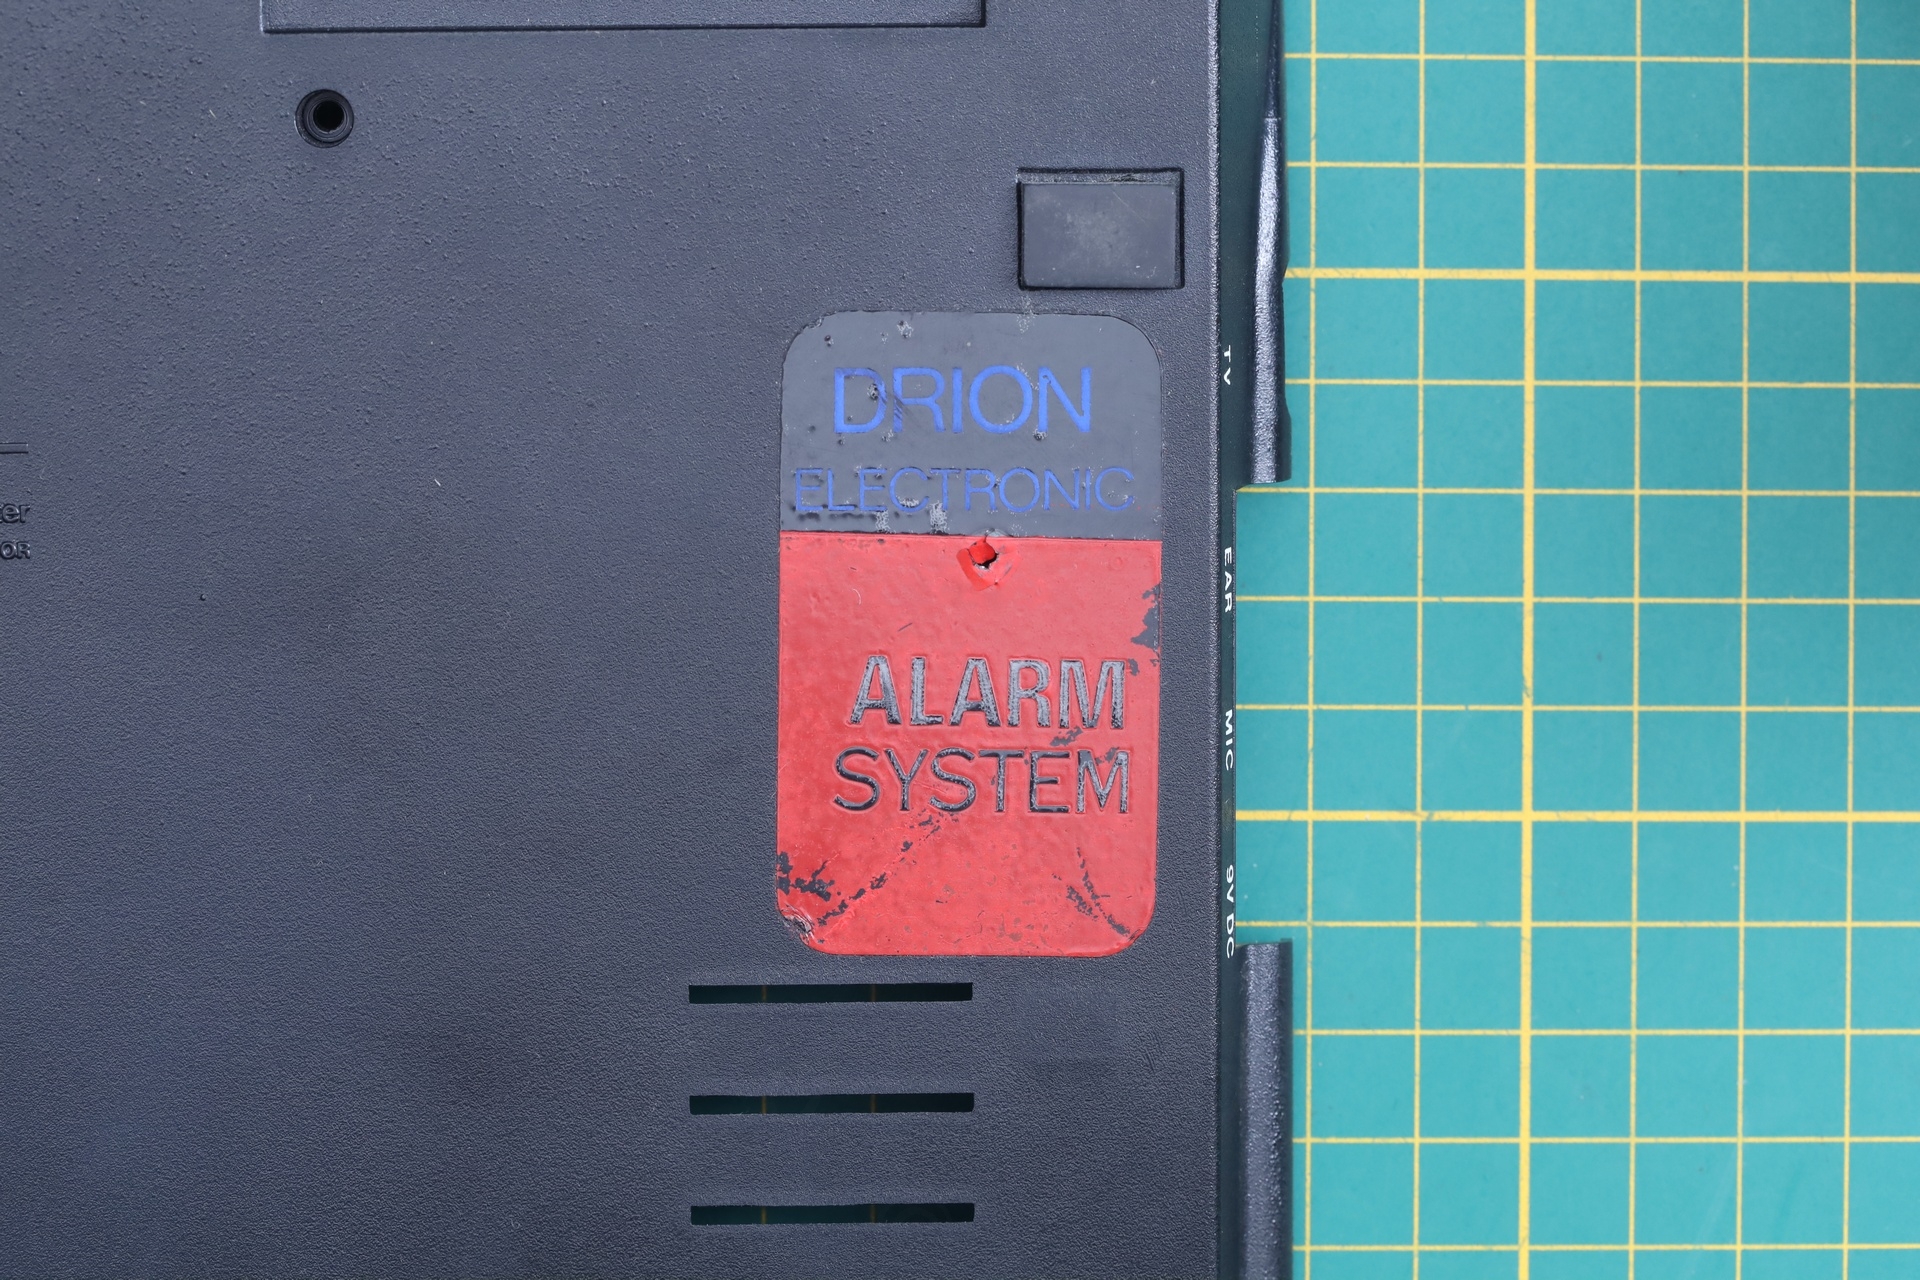
This added to my suspicions the computer was never opened before. The screws made a popping noise when unscrewed, I had to pierce through an old looking tamper sticker to get to one of the screws, plus this discovery that the flexible flat cables were brittle.
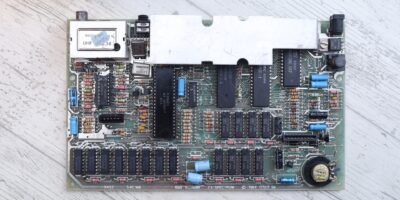
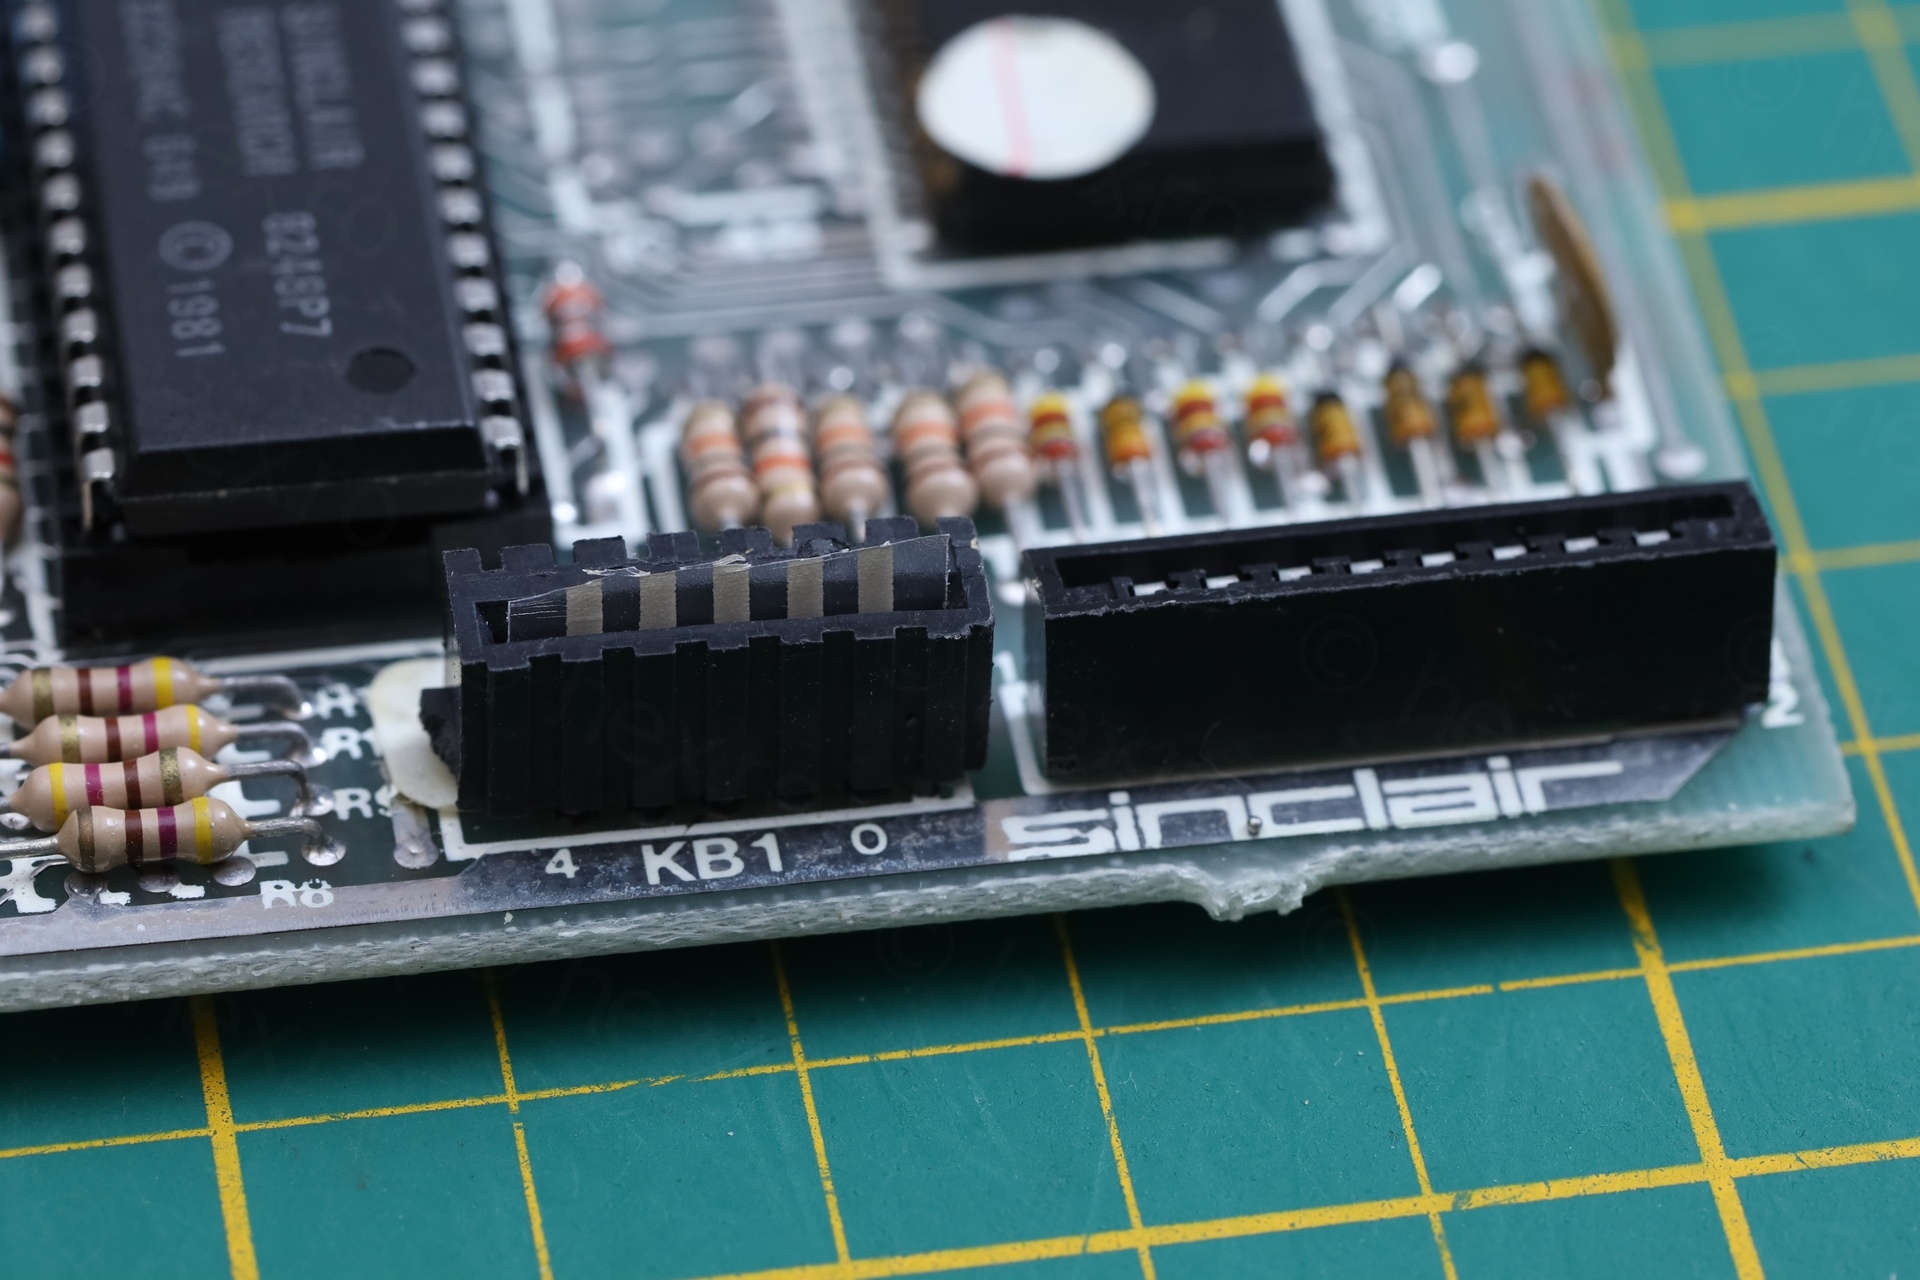
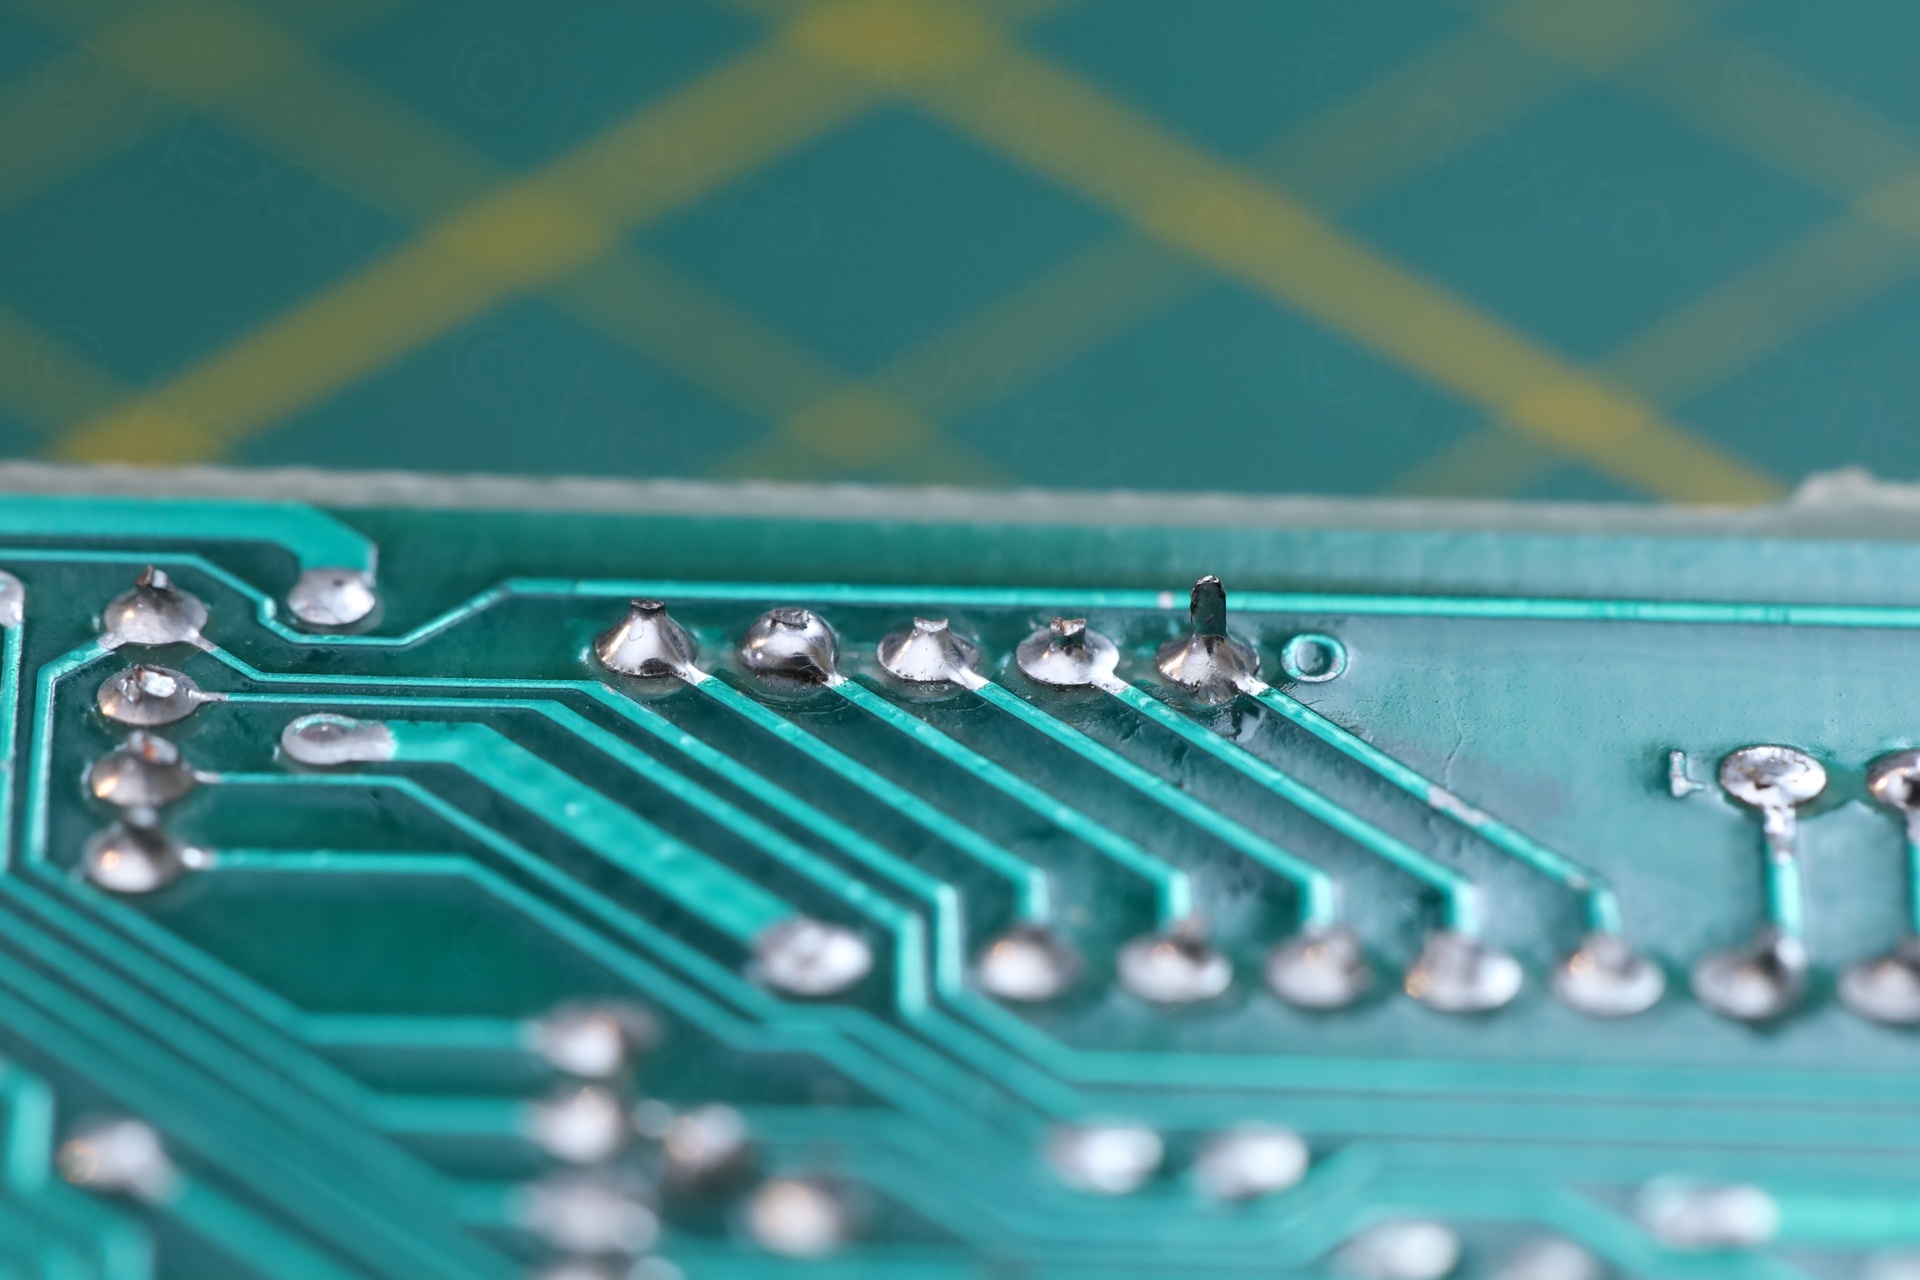
Upon first opening, it looked very clean:
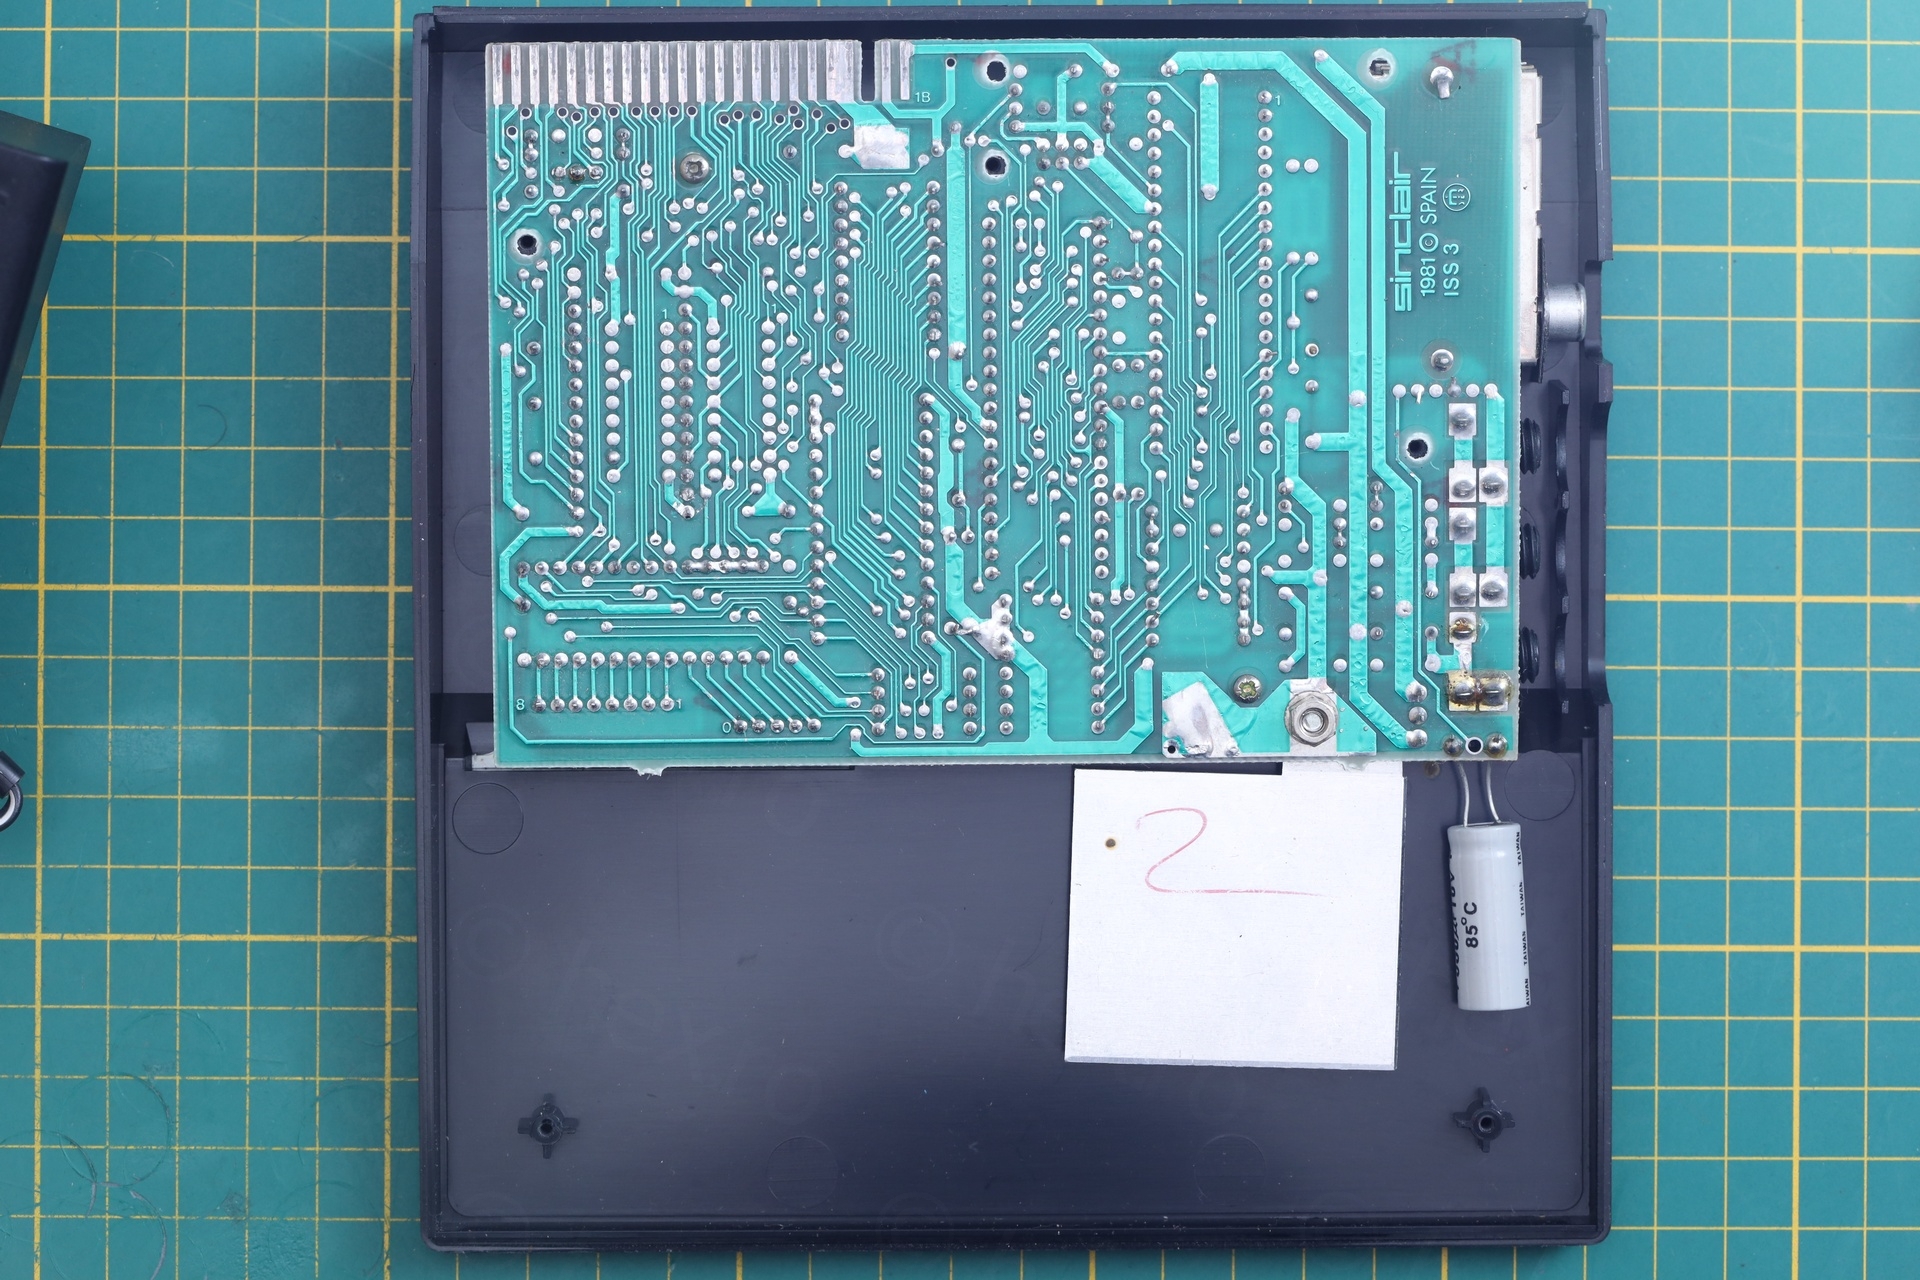

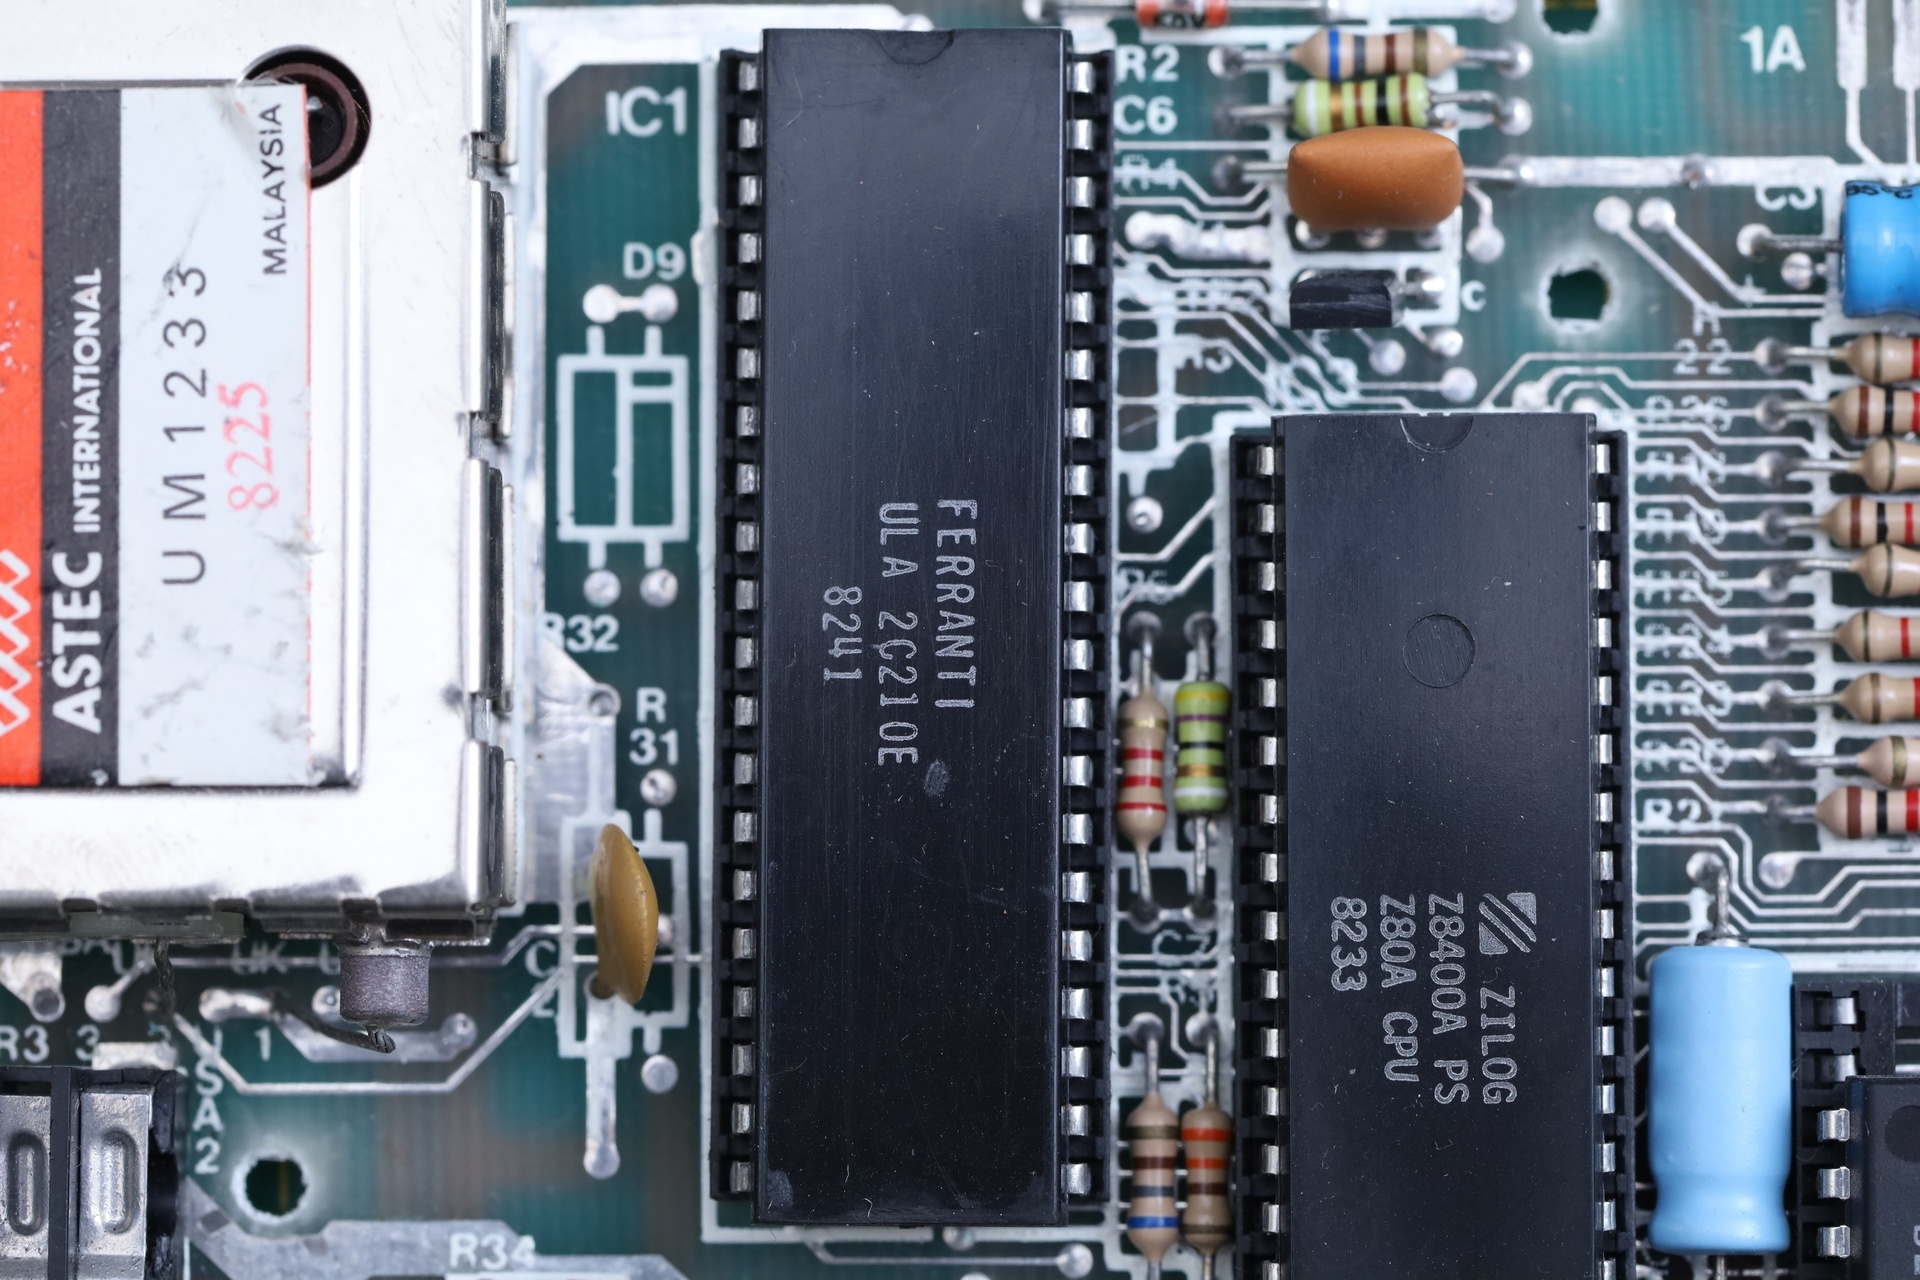
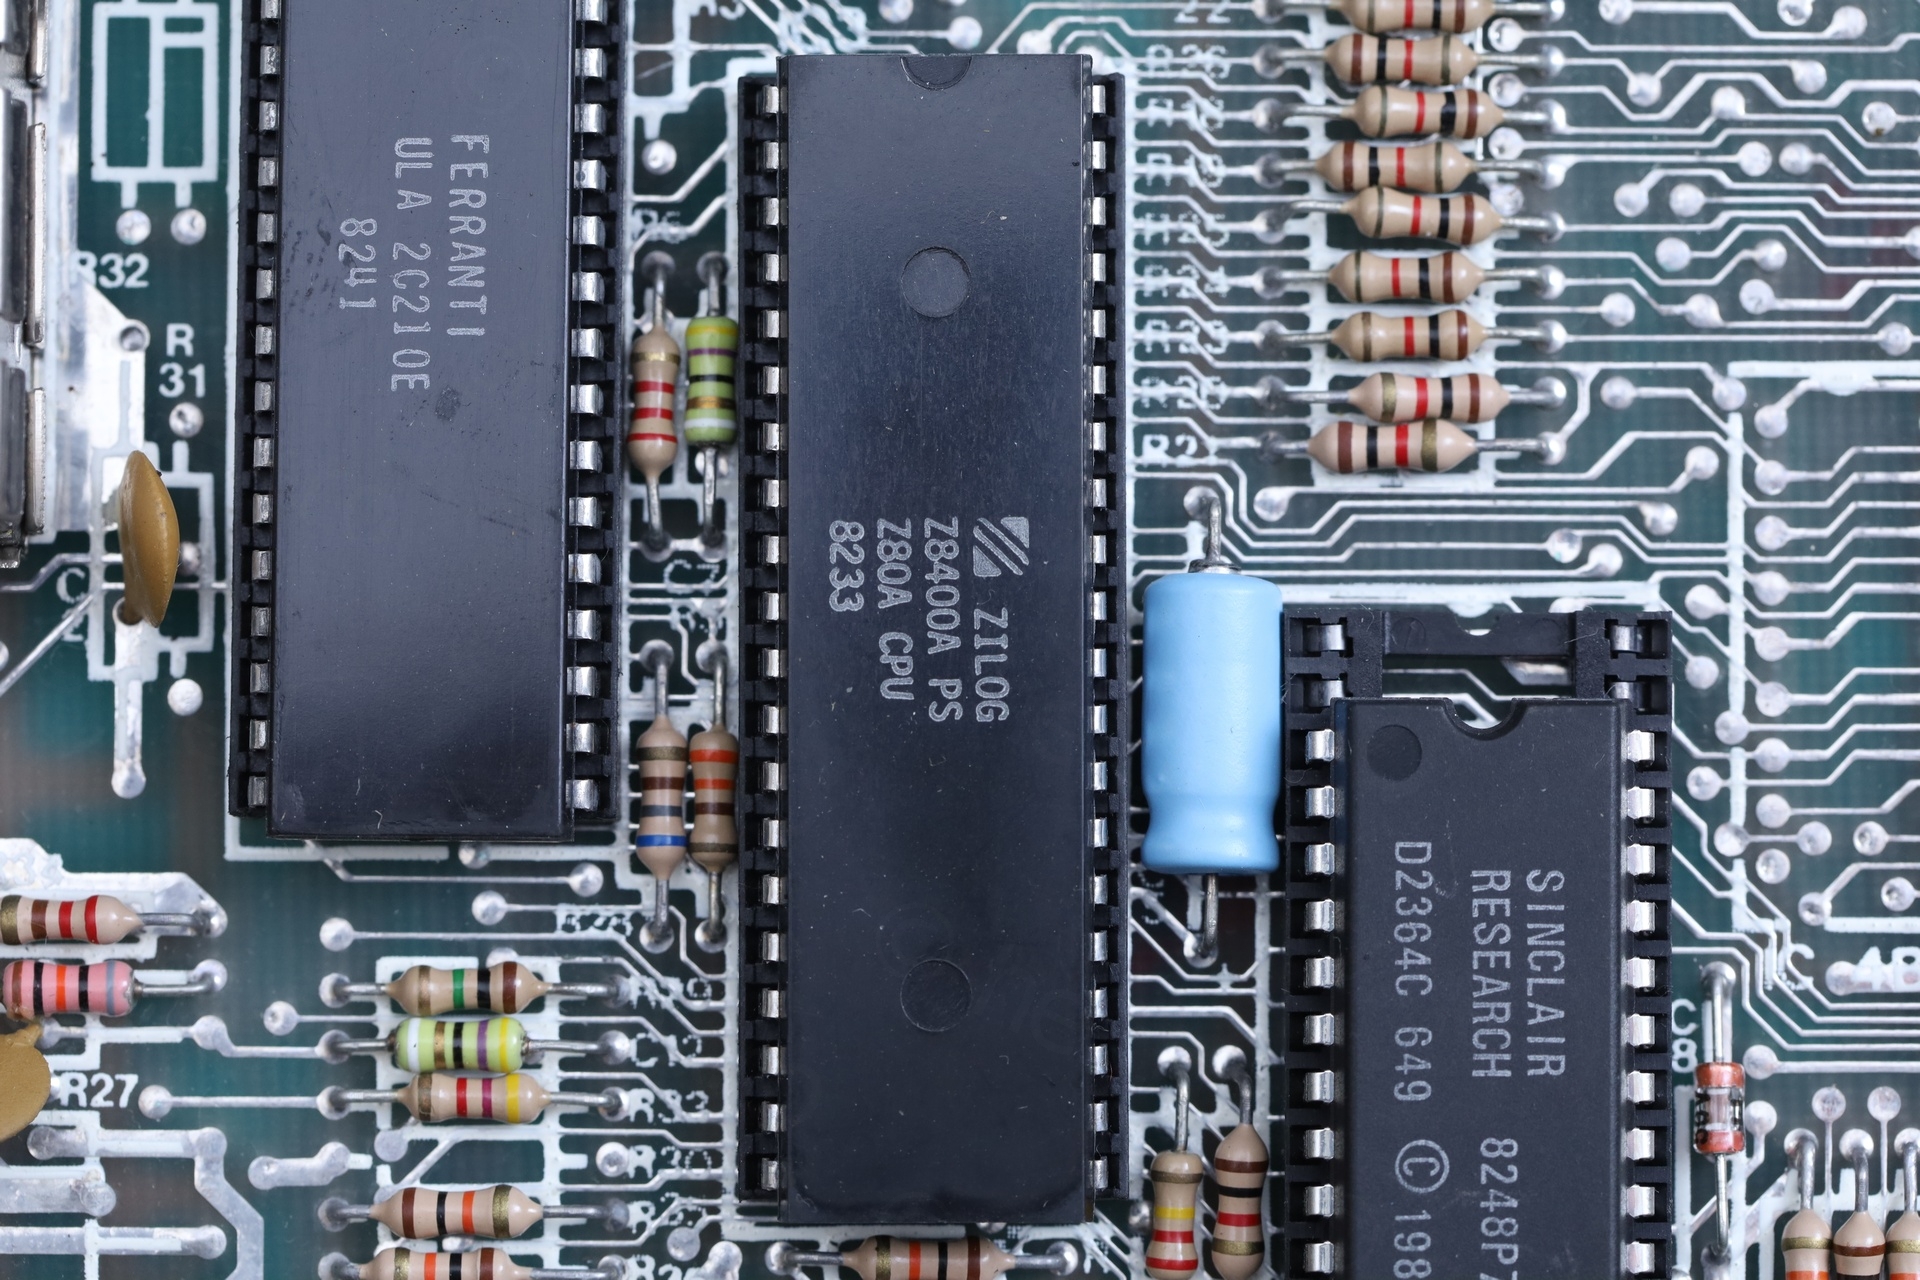
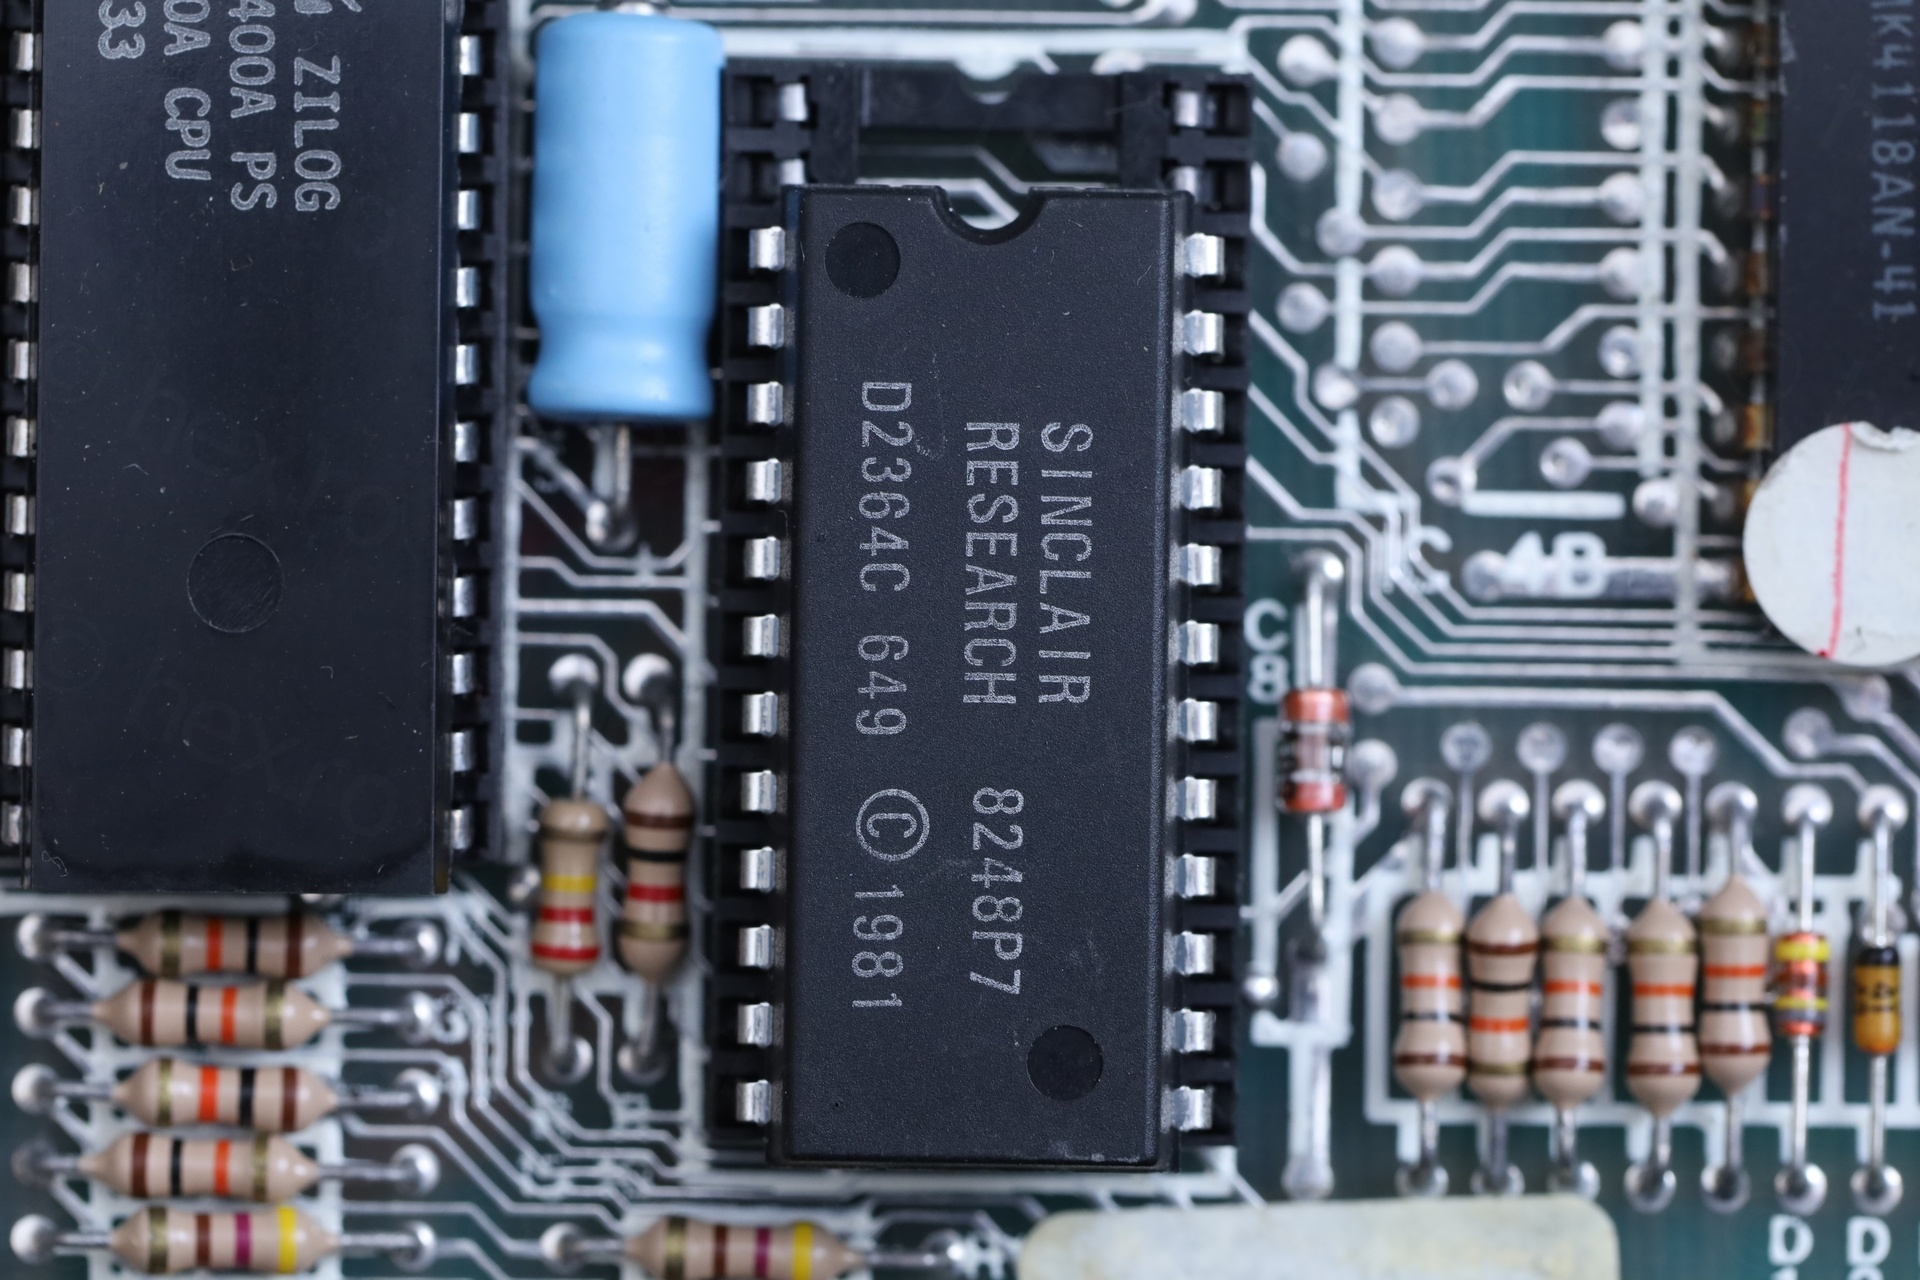
The RAM is a MOSTEK MK4801AN/MK4118AN-41 IC, but more on this further down. All ICs have 82 as date code.
Continuing the checks, I found some solder wire leftovers next to the DC IN socket. I can’t believe it stayed there so long without detaching and causing major issues. I removed it with some tweezers.

Then, there were some flux residue around few components – but the joints look fine and the transistors were all original.
One more double check of the power supply polarity and it powered up! Draws about 350mA at 9V:

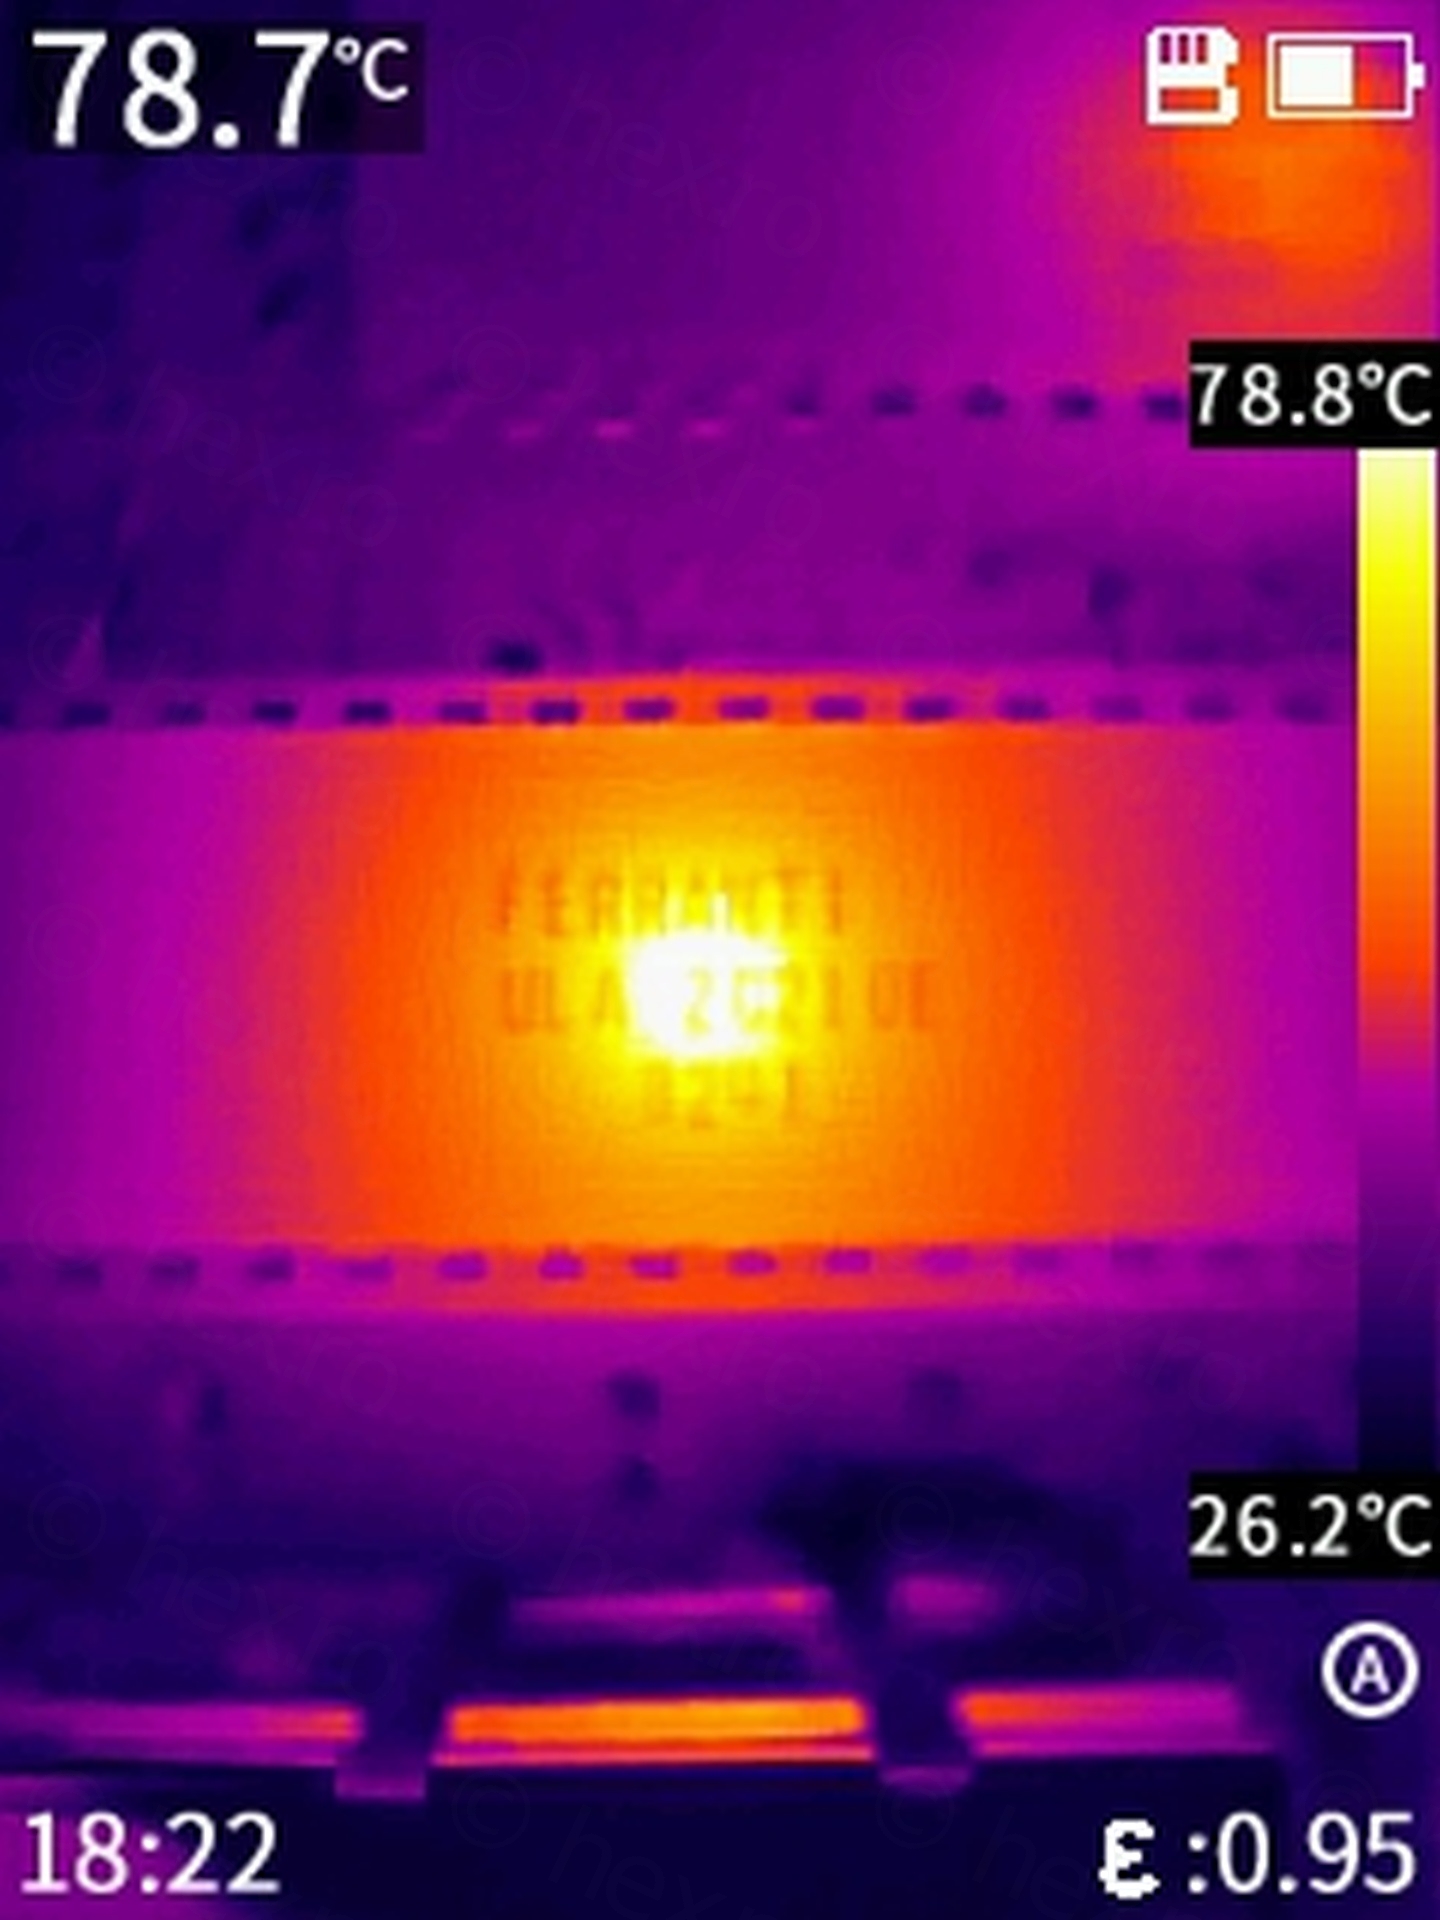
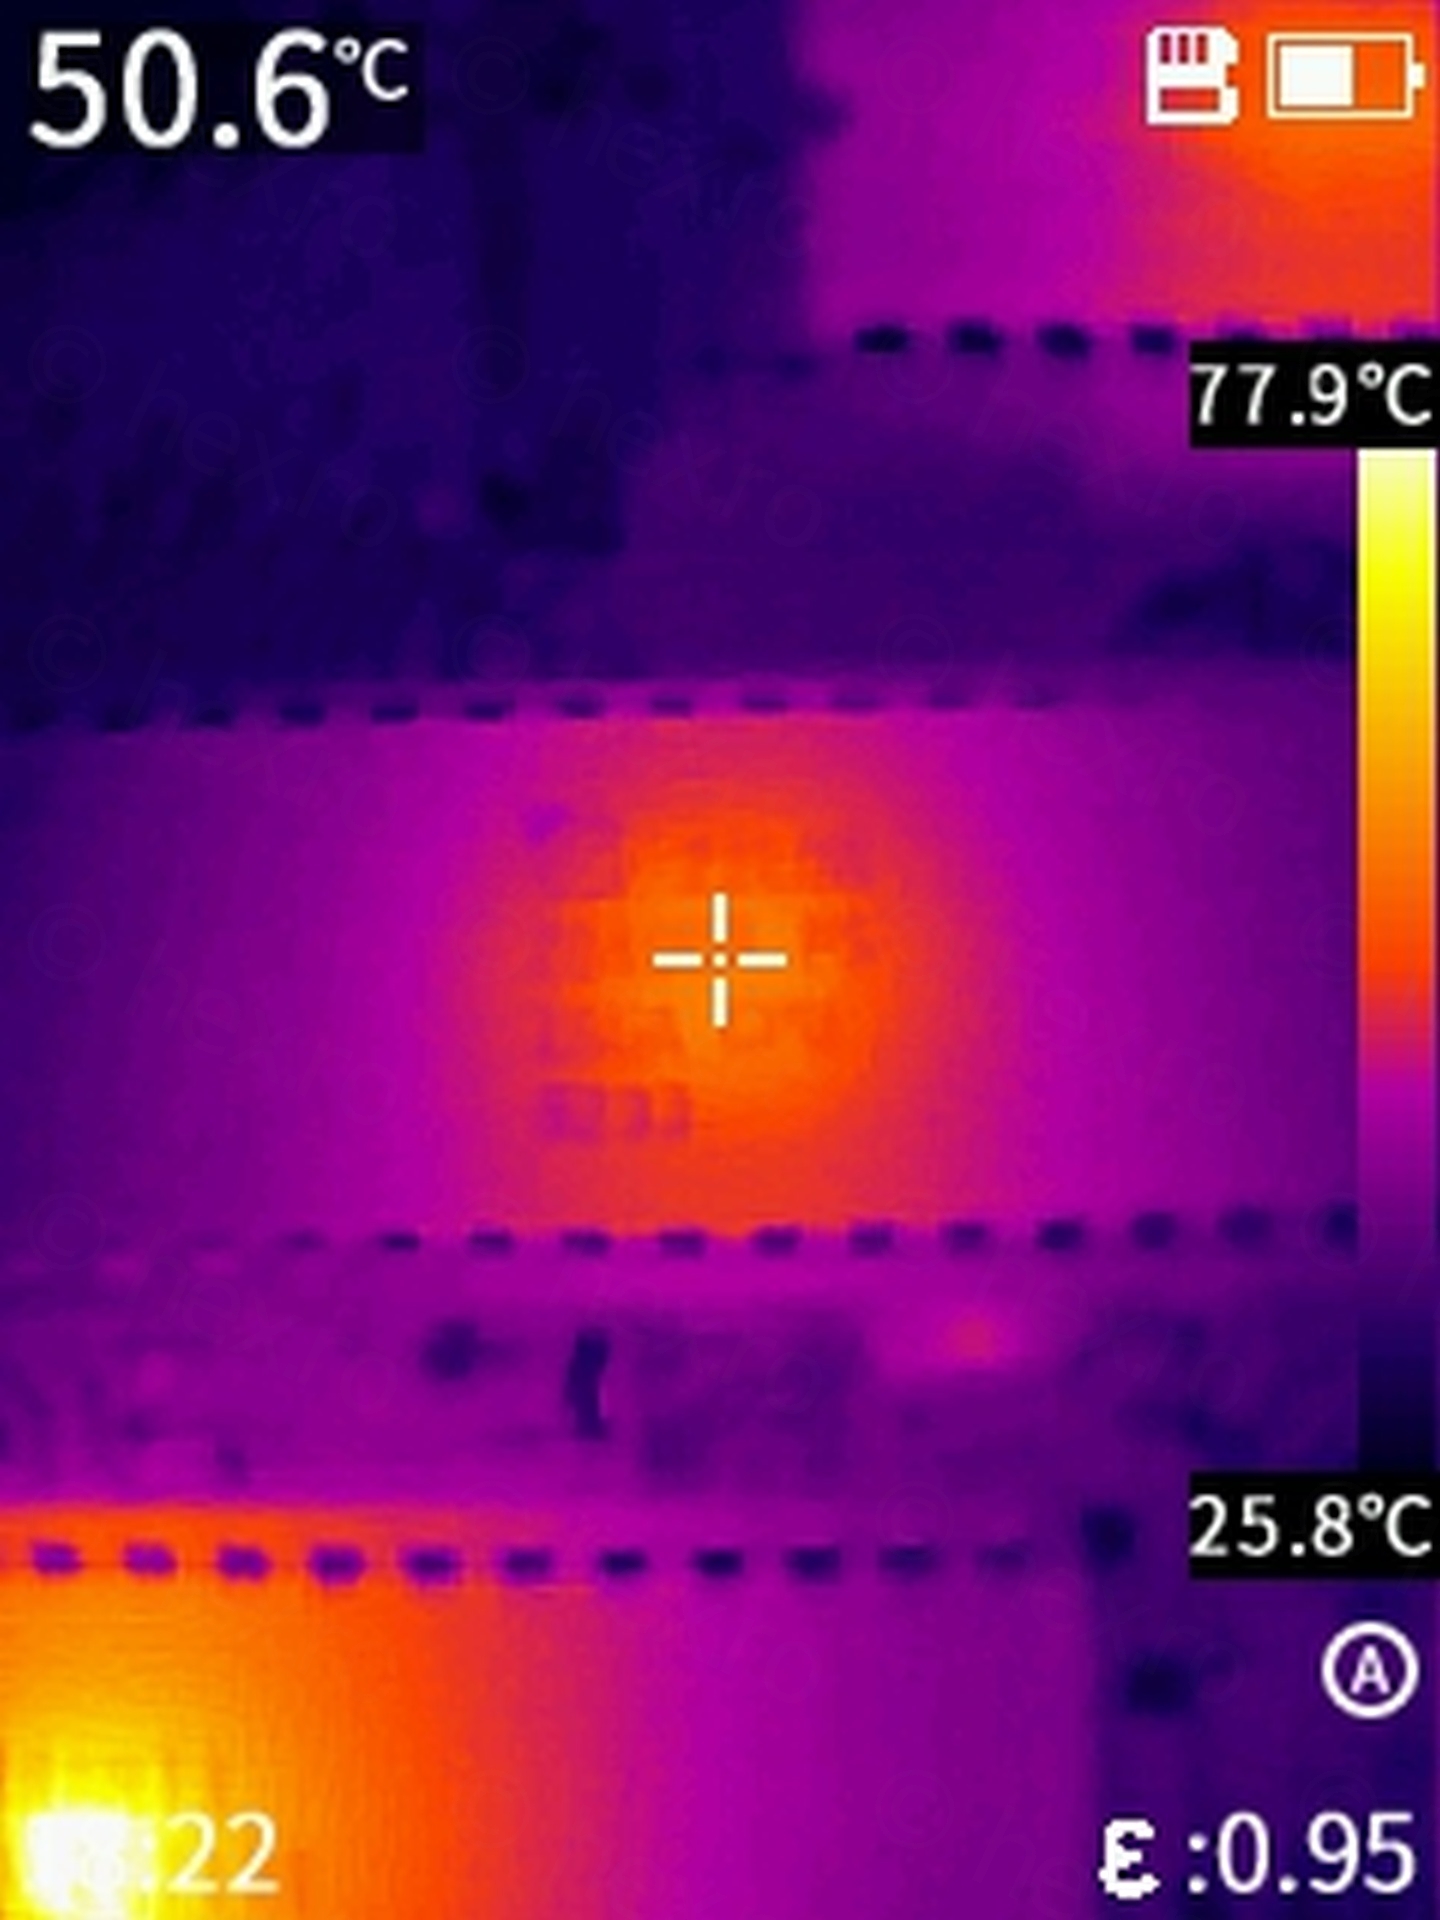
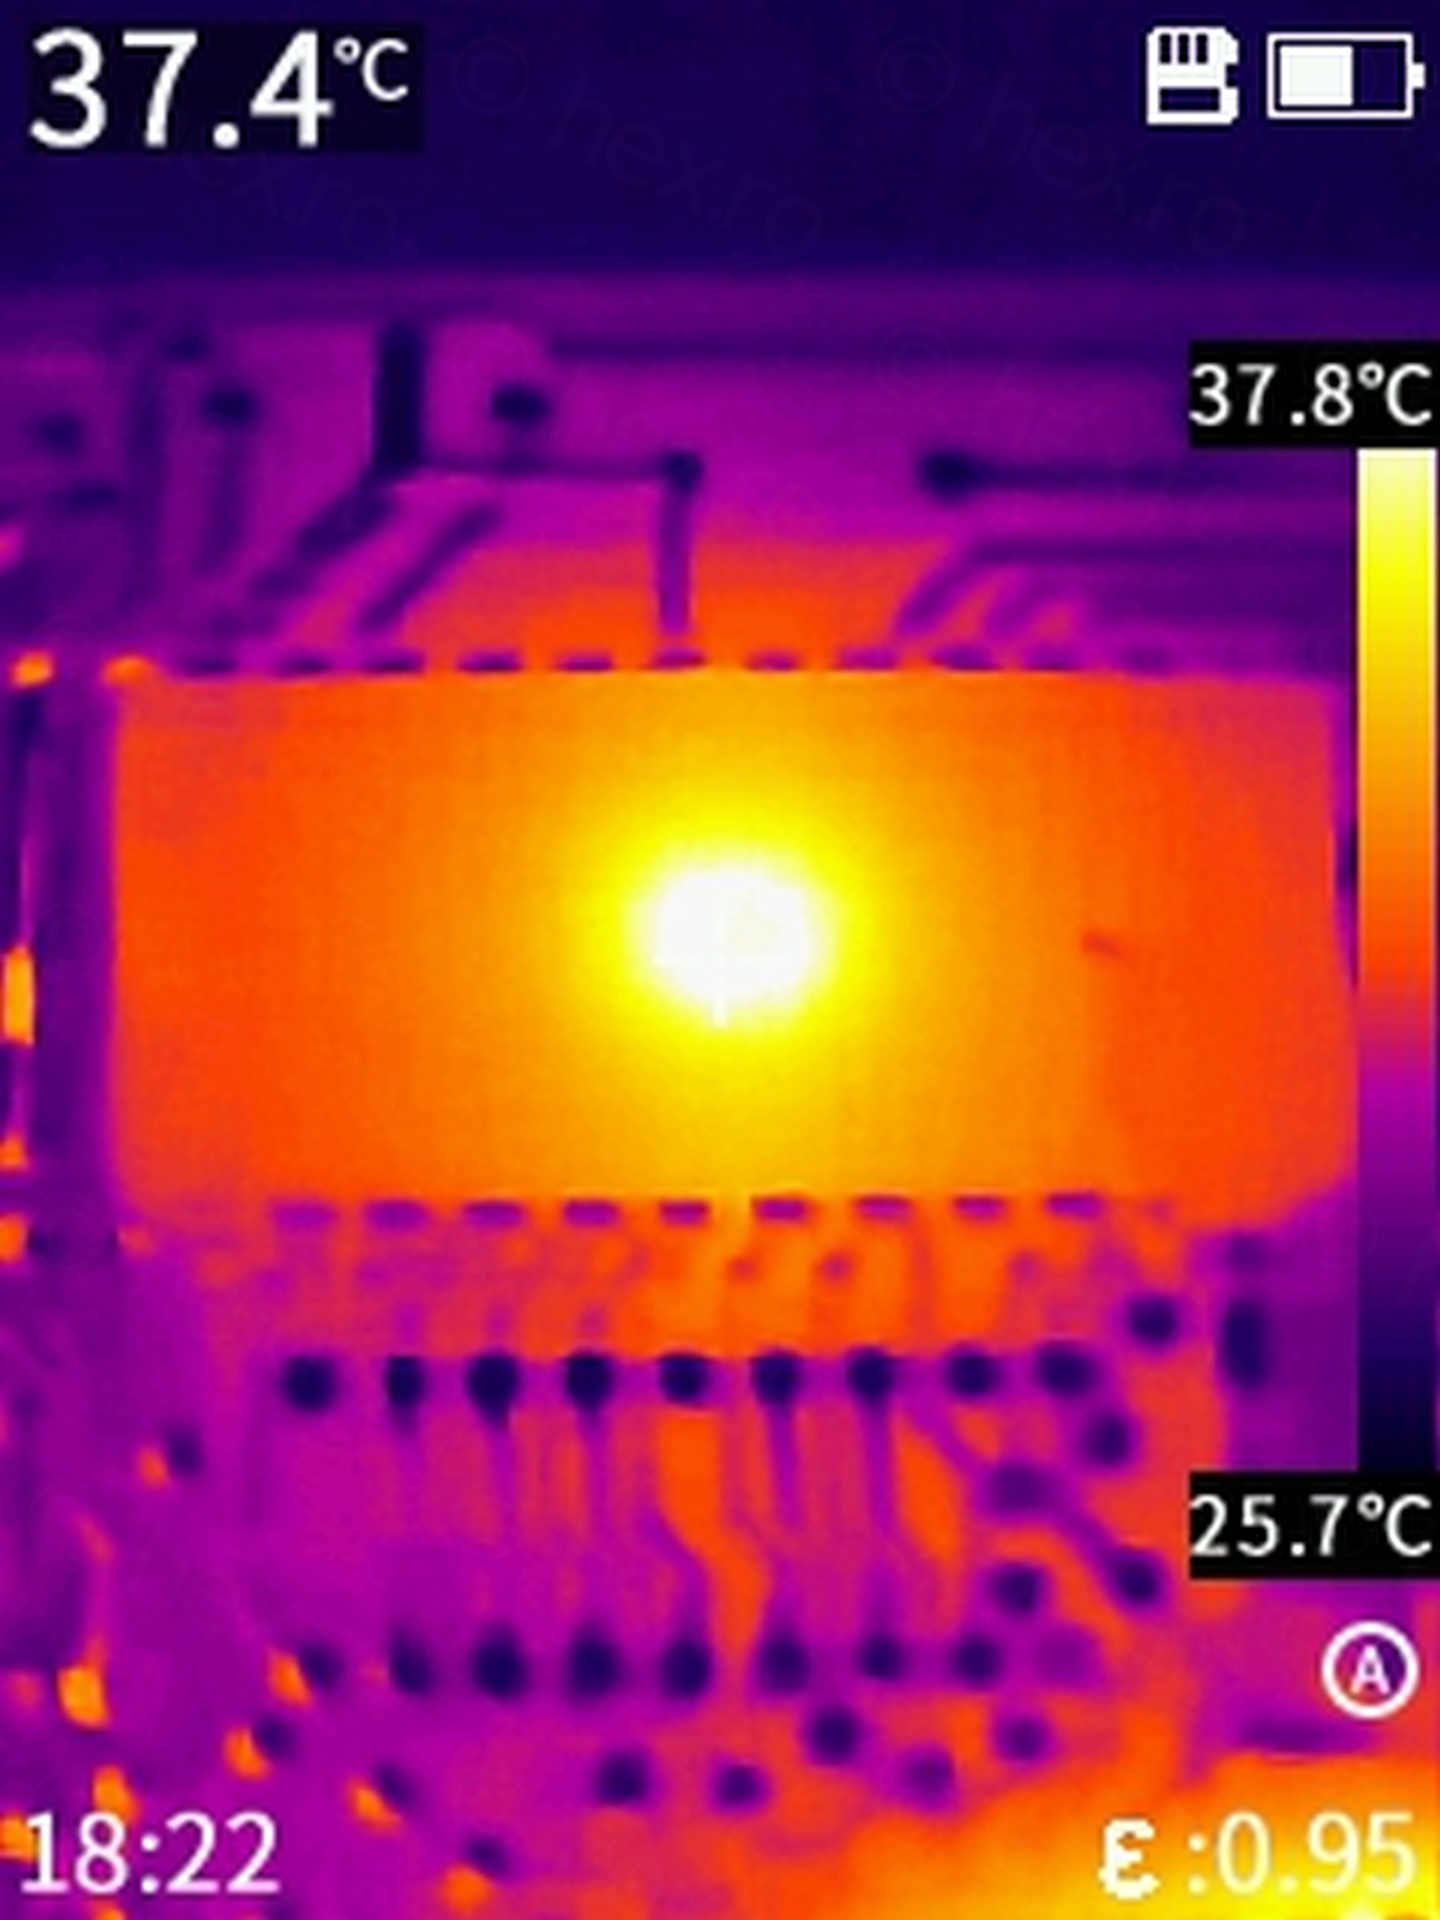
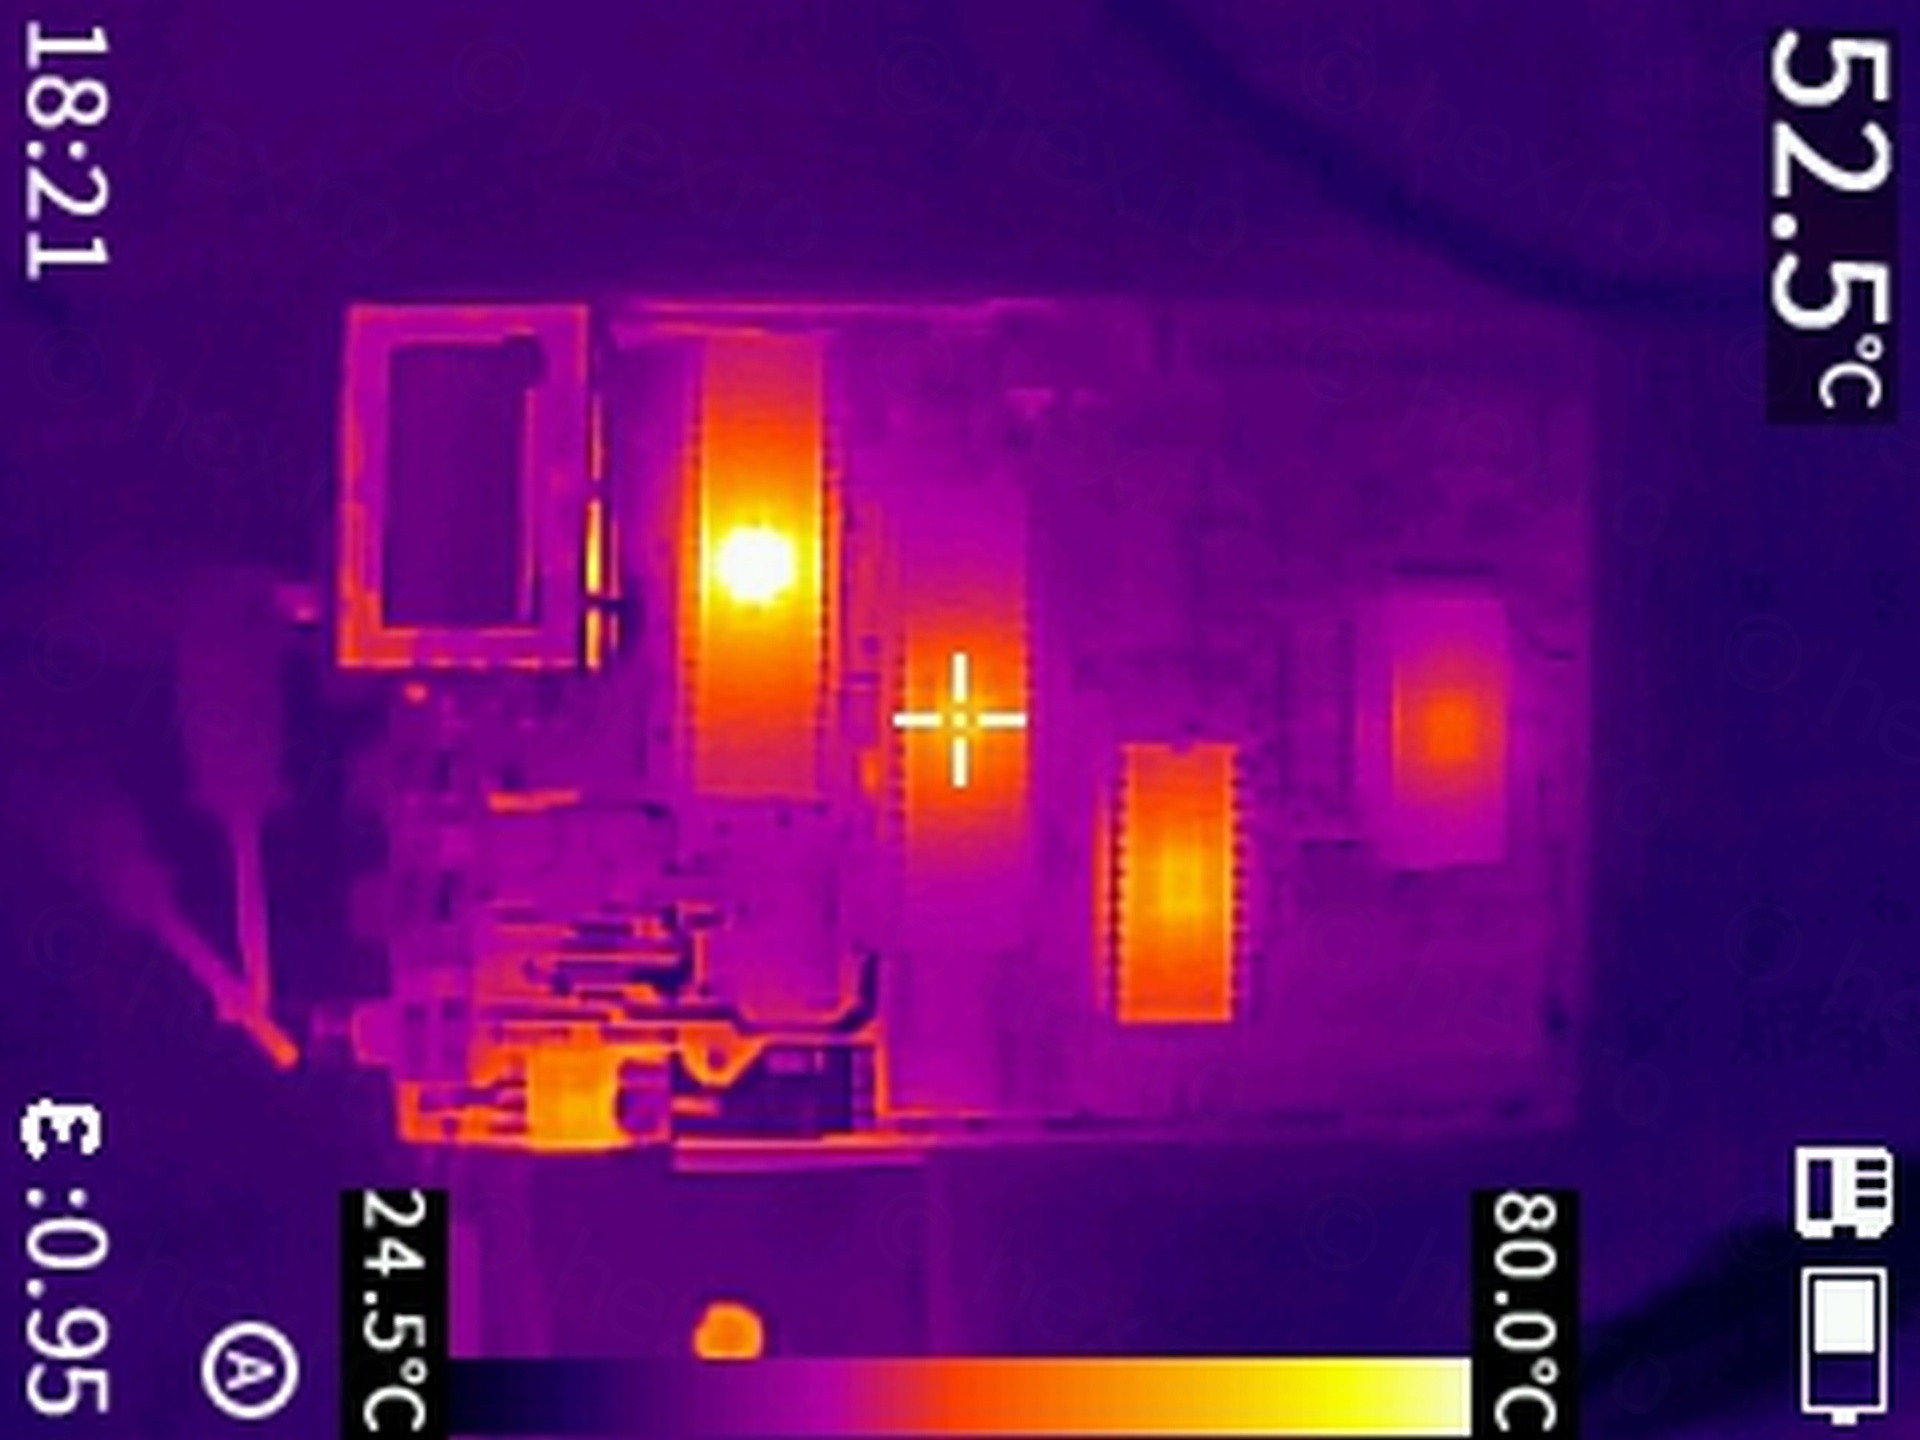
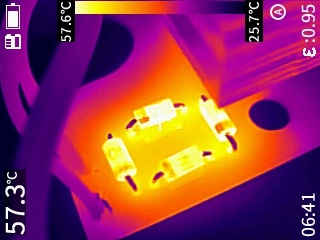
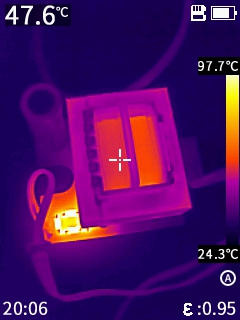
I was also ready with the Infrared camera, just in case something would get hot. Here are this ZX81 temperatures (Celsius) after running in open air for few minutes. Most notable, the temperature of the ULA rose up to at 79C.

Keyboard membrane – Replacement
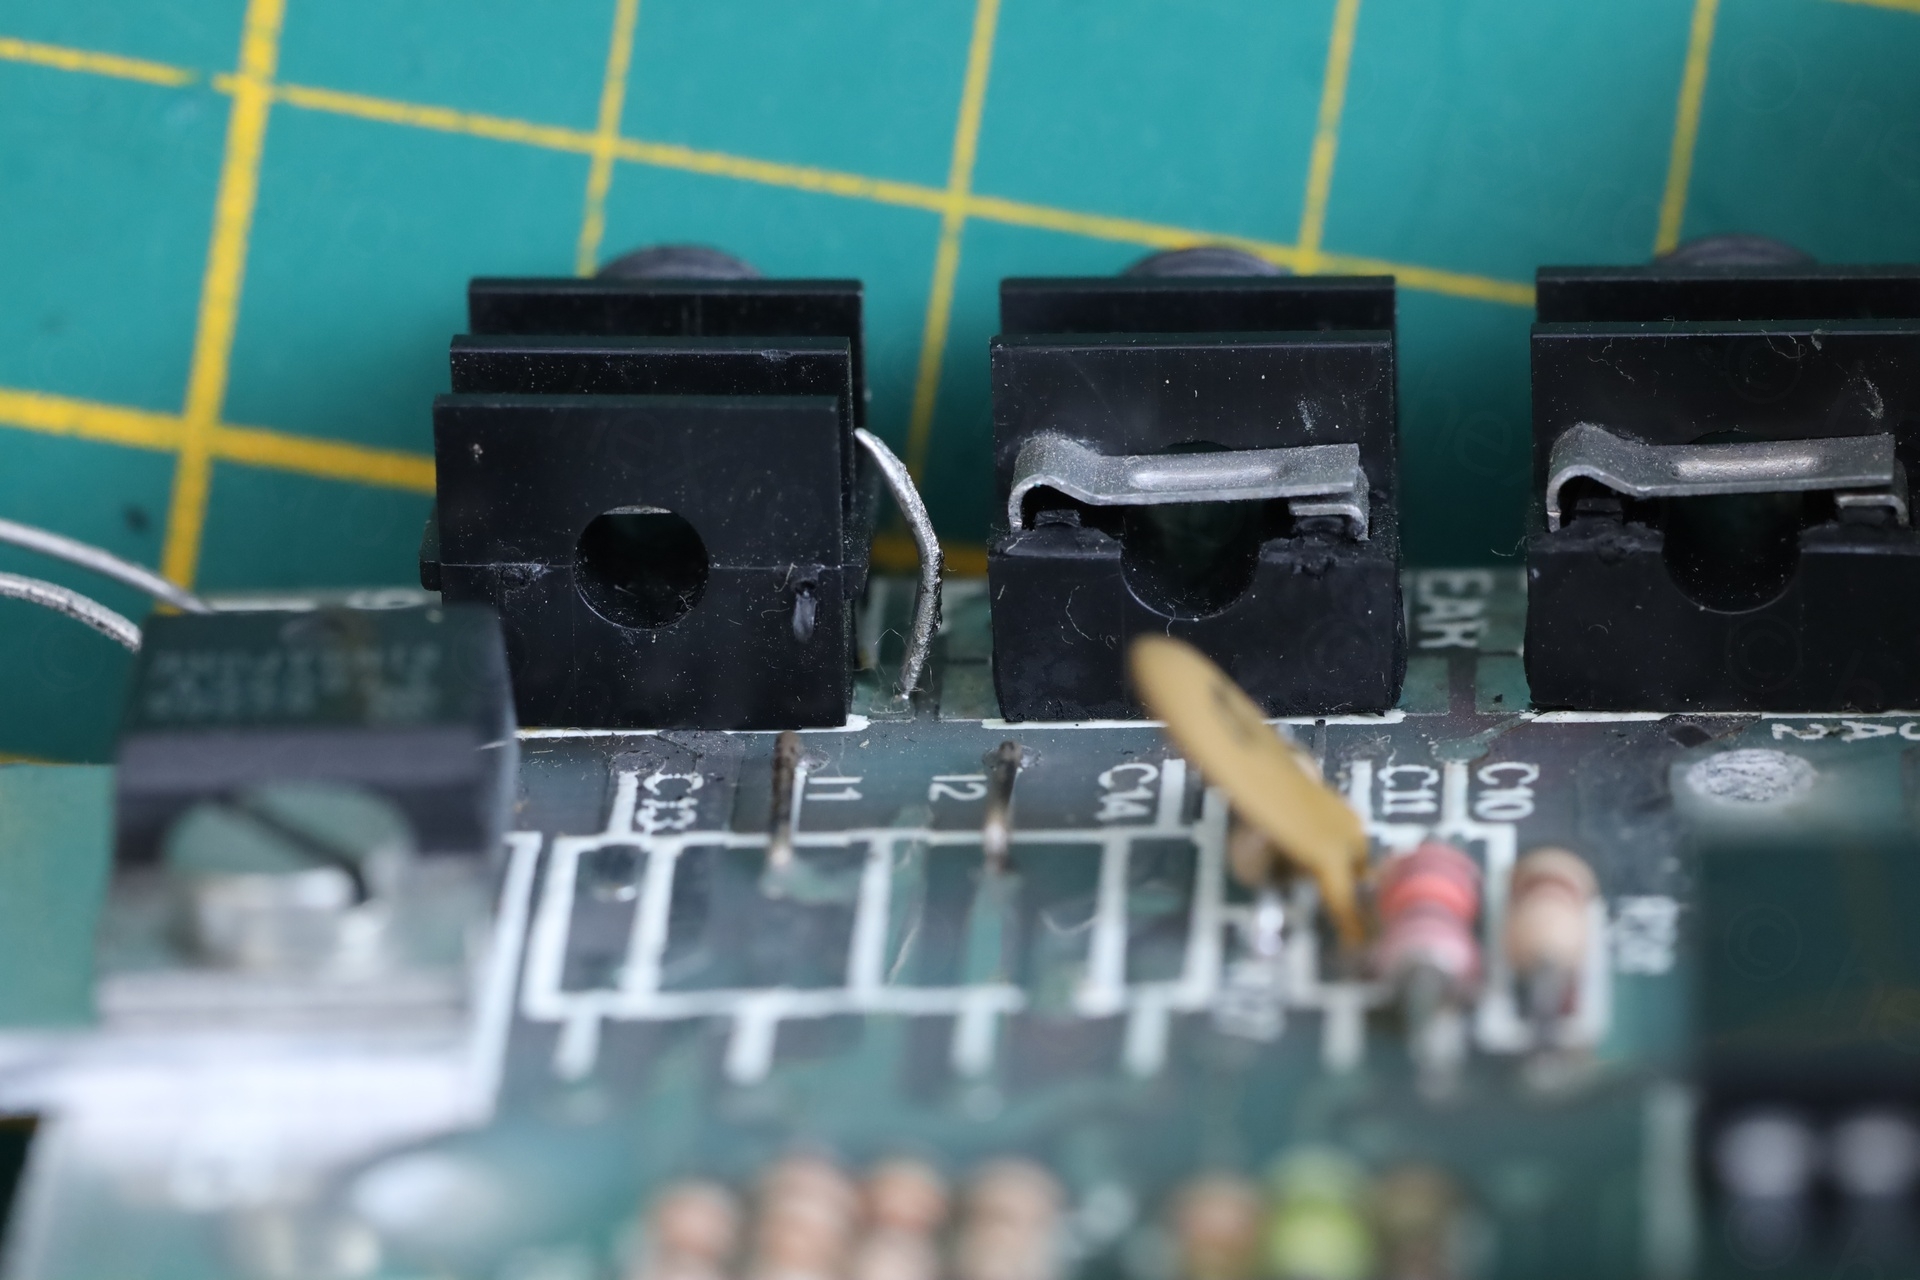
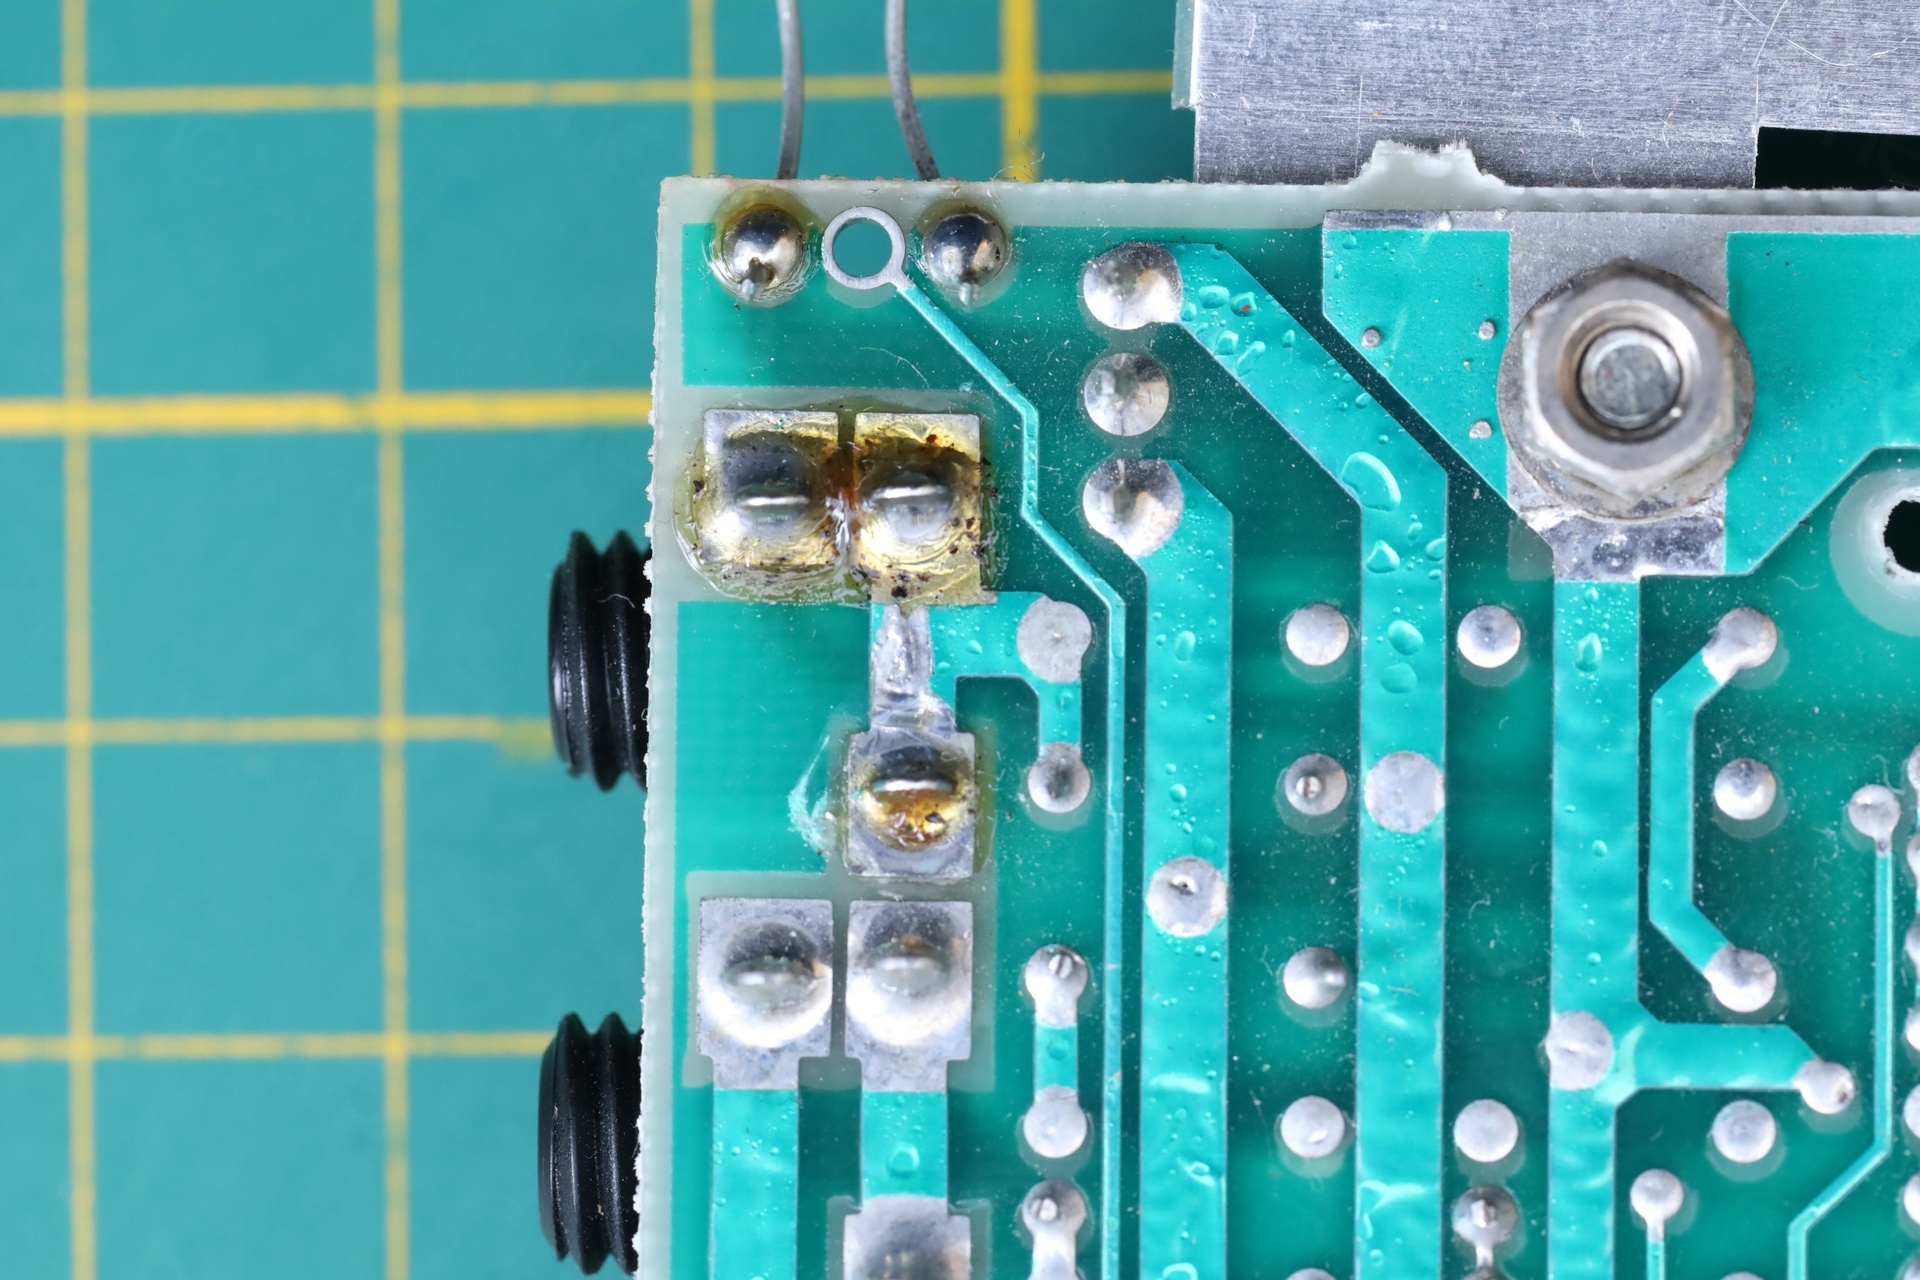
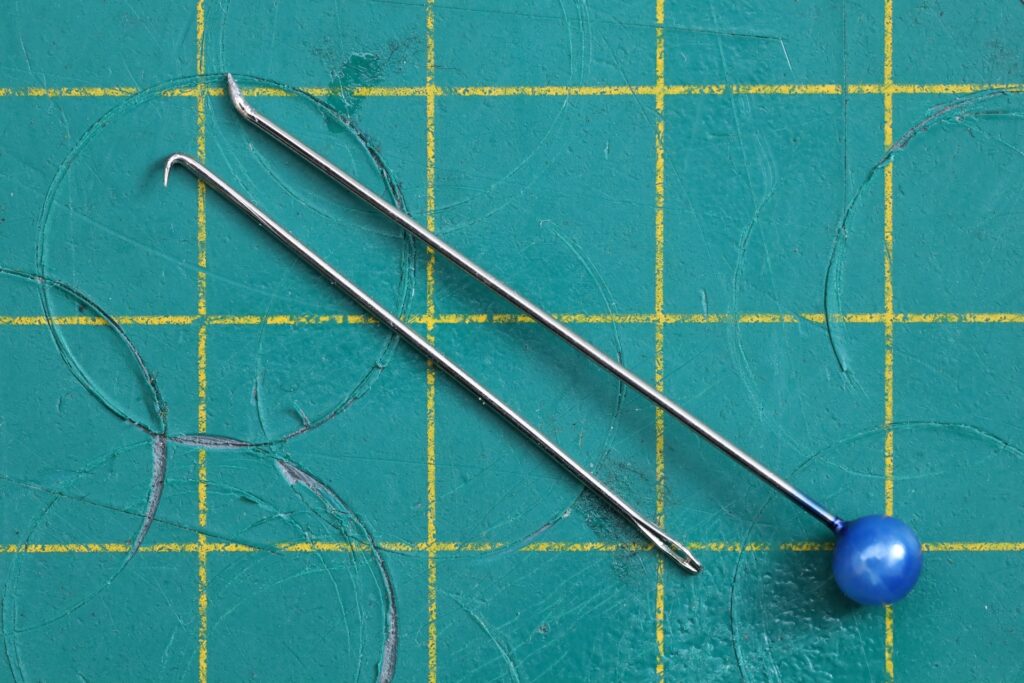
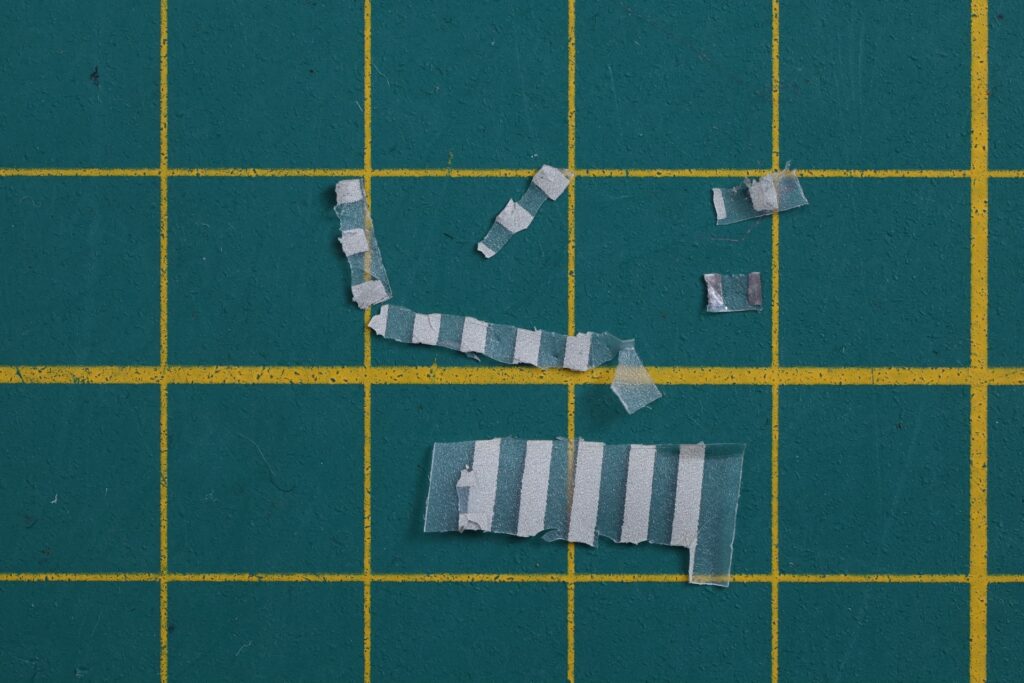
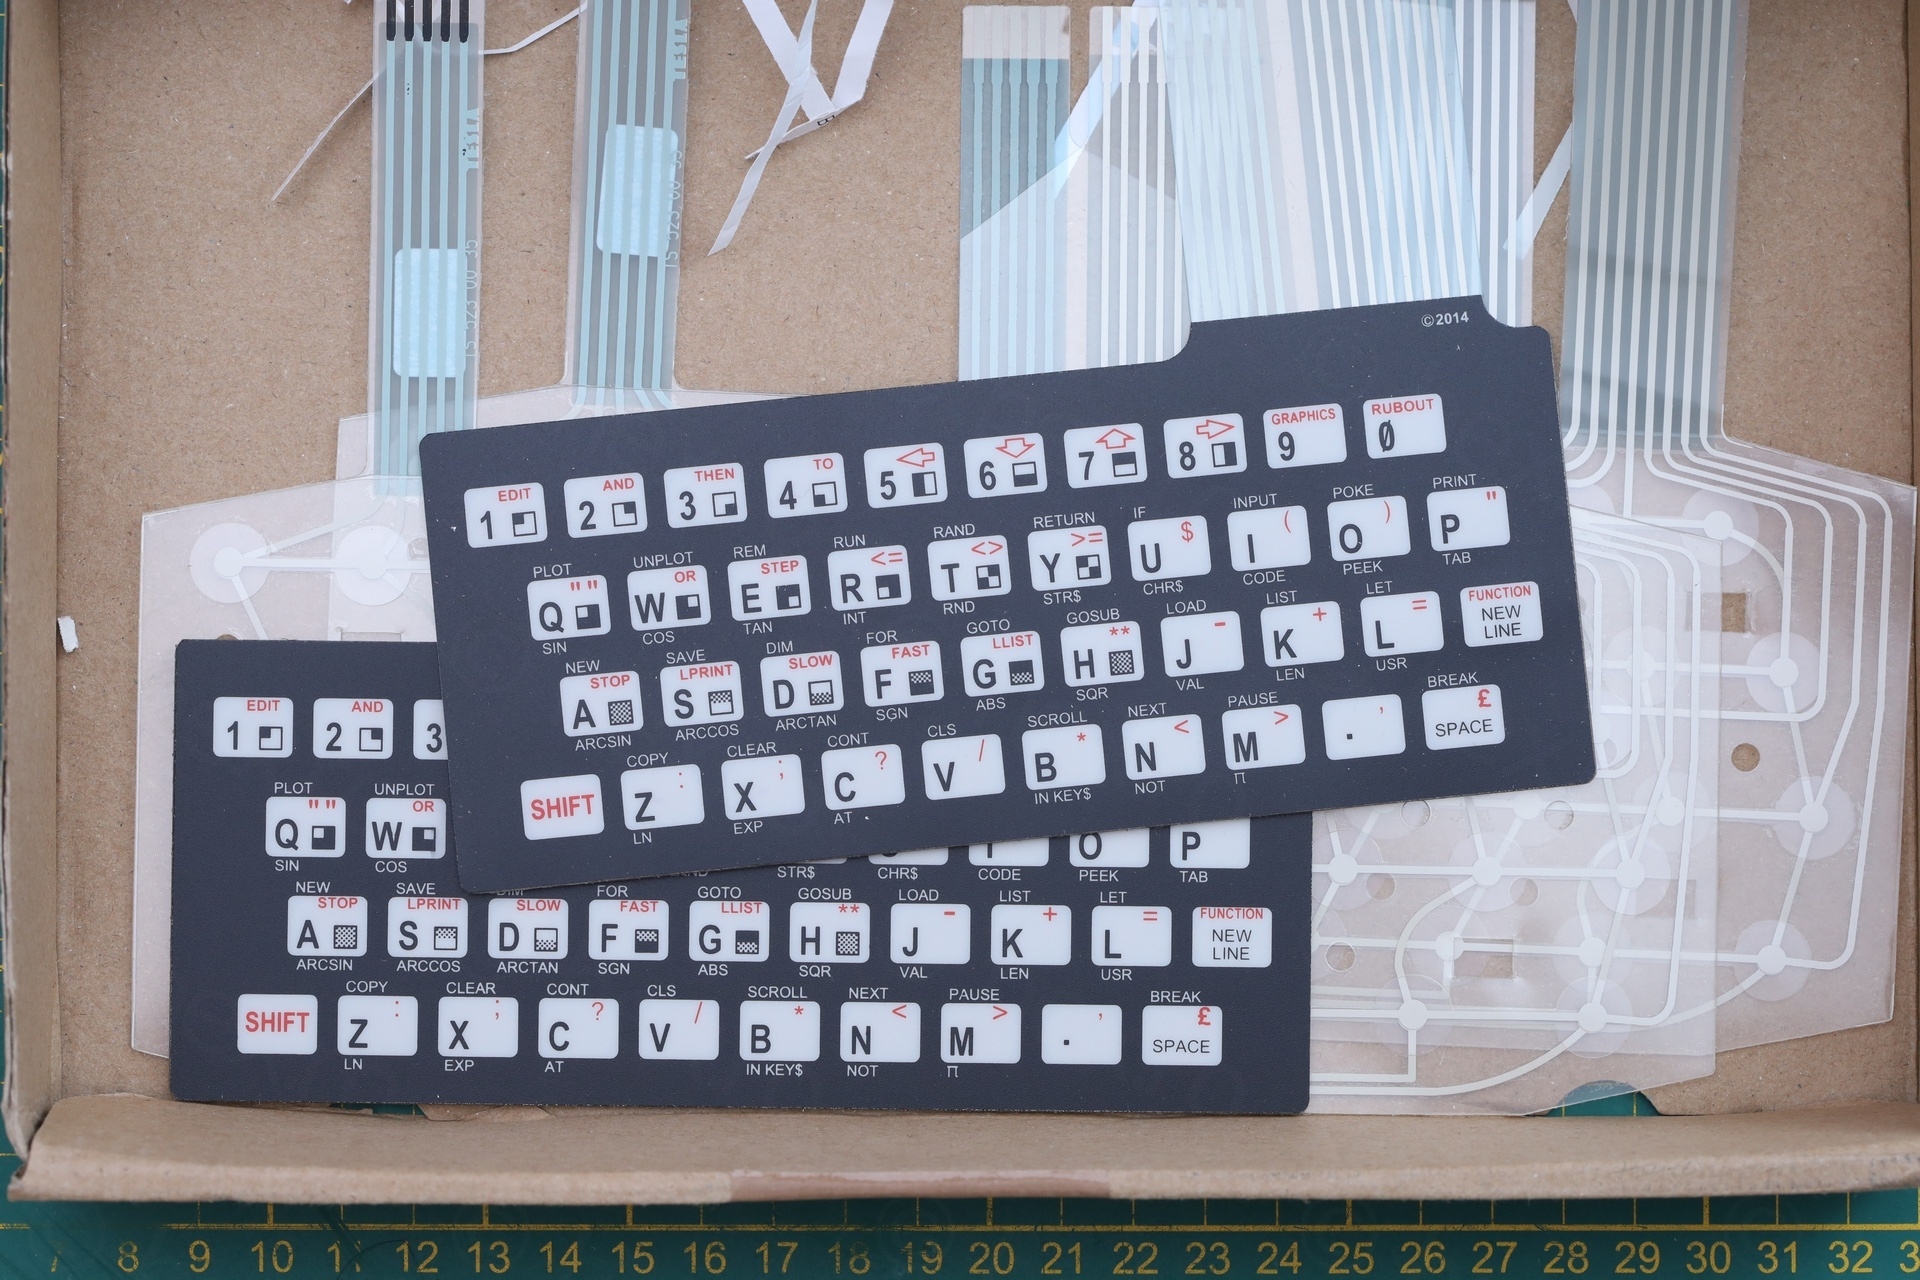
Removing the bits of membrane that got stuck into the Molex socket connectors was very tedious. I tried to bend some needles to try to hook the bits and drag them out. Some larger chunks did come out, but some broke down even more and were stuck inside.
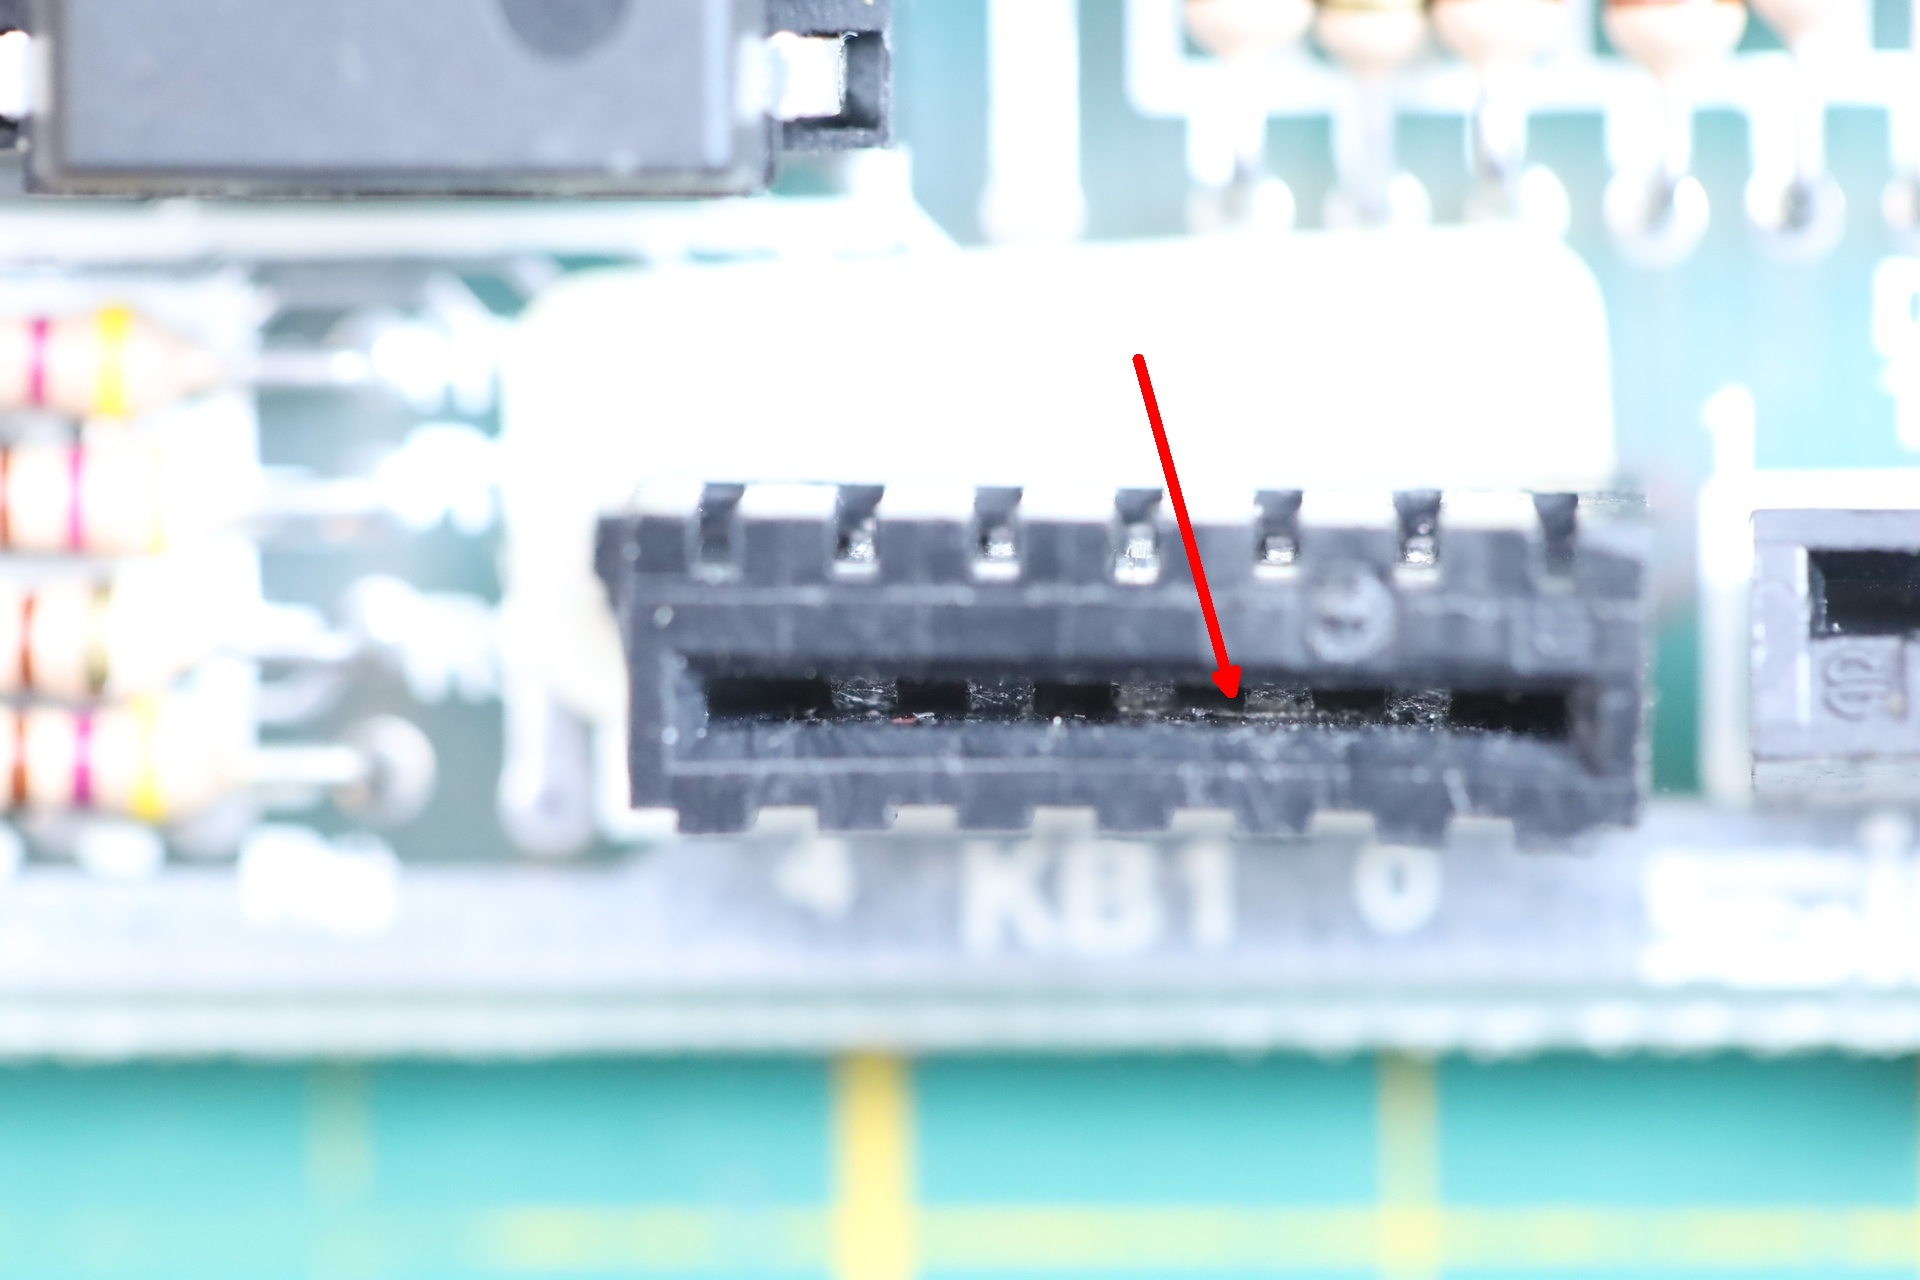

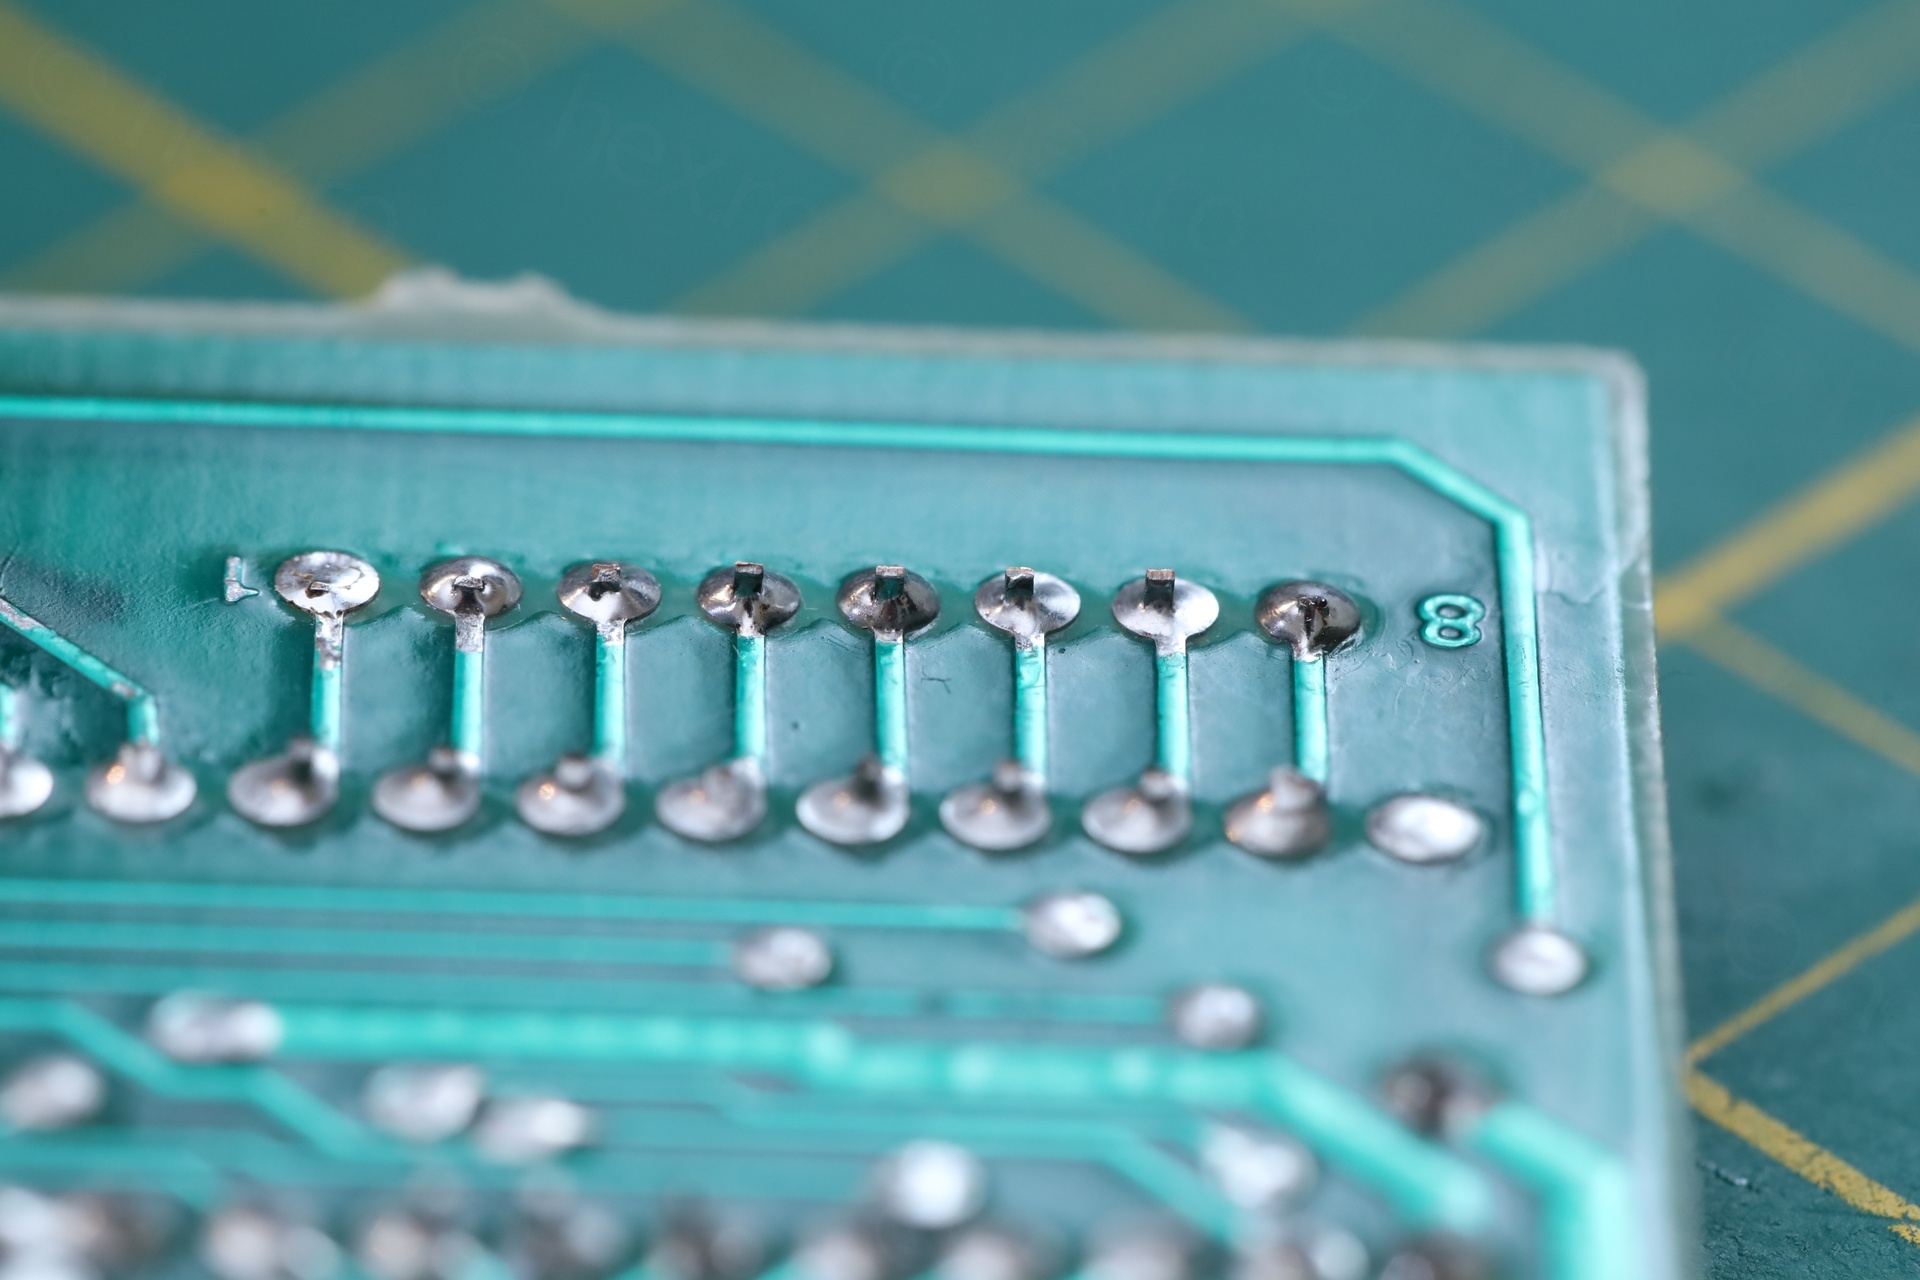
I had to actually de-solder the sockets and remove their pins. Only this freed up the tiny plastic pieces out that were stuck there.
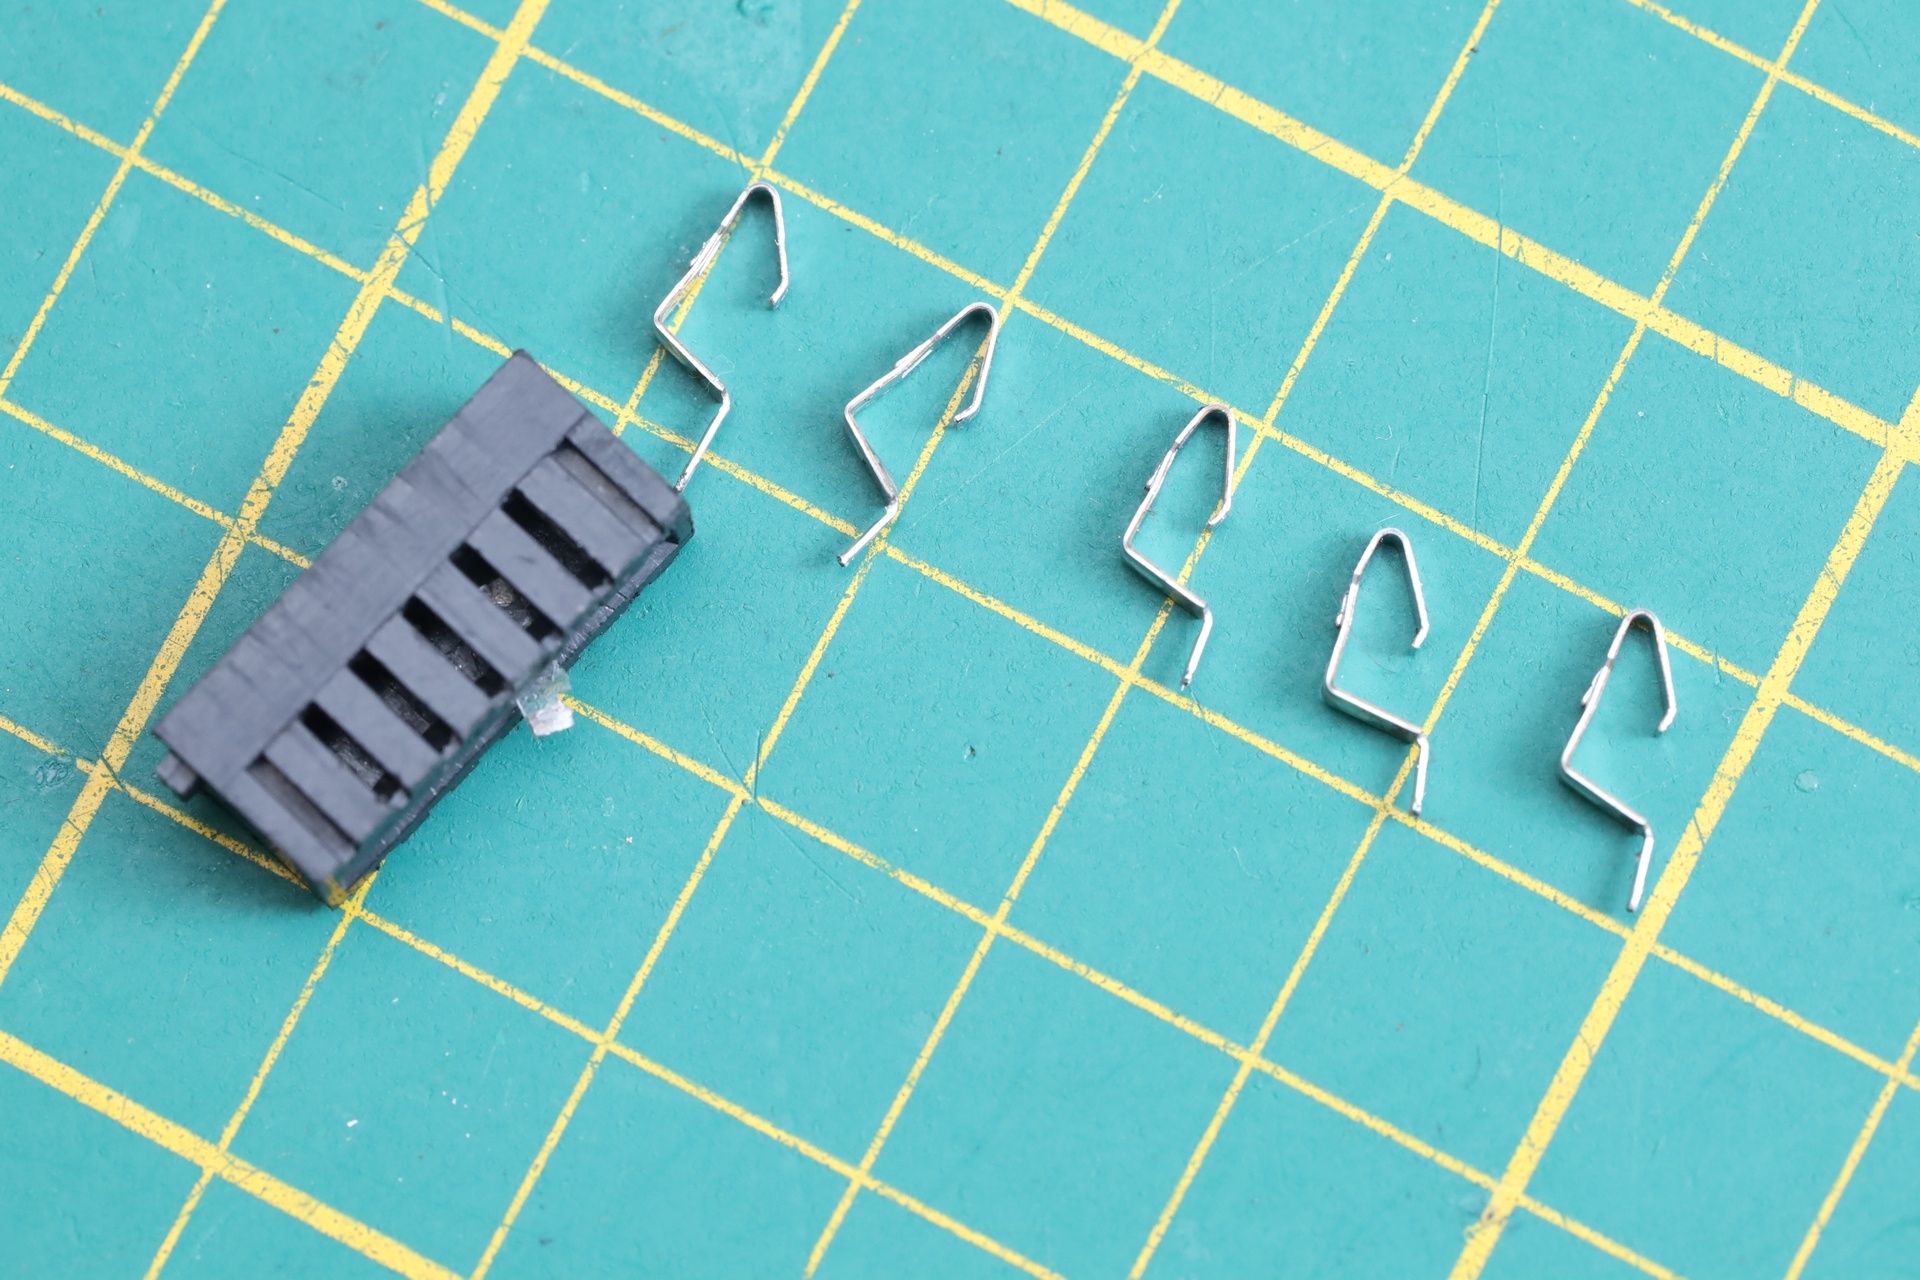
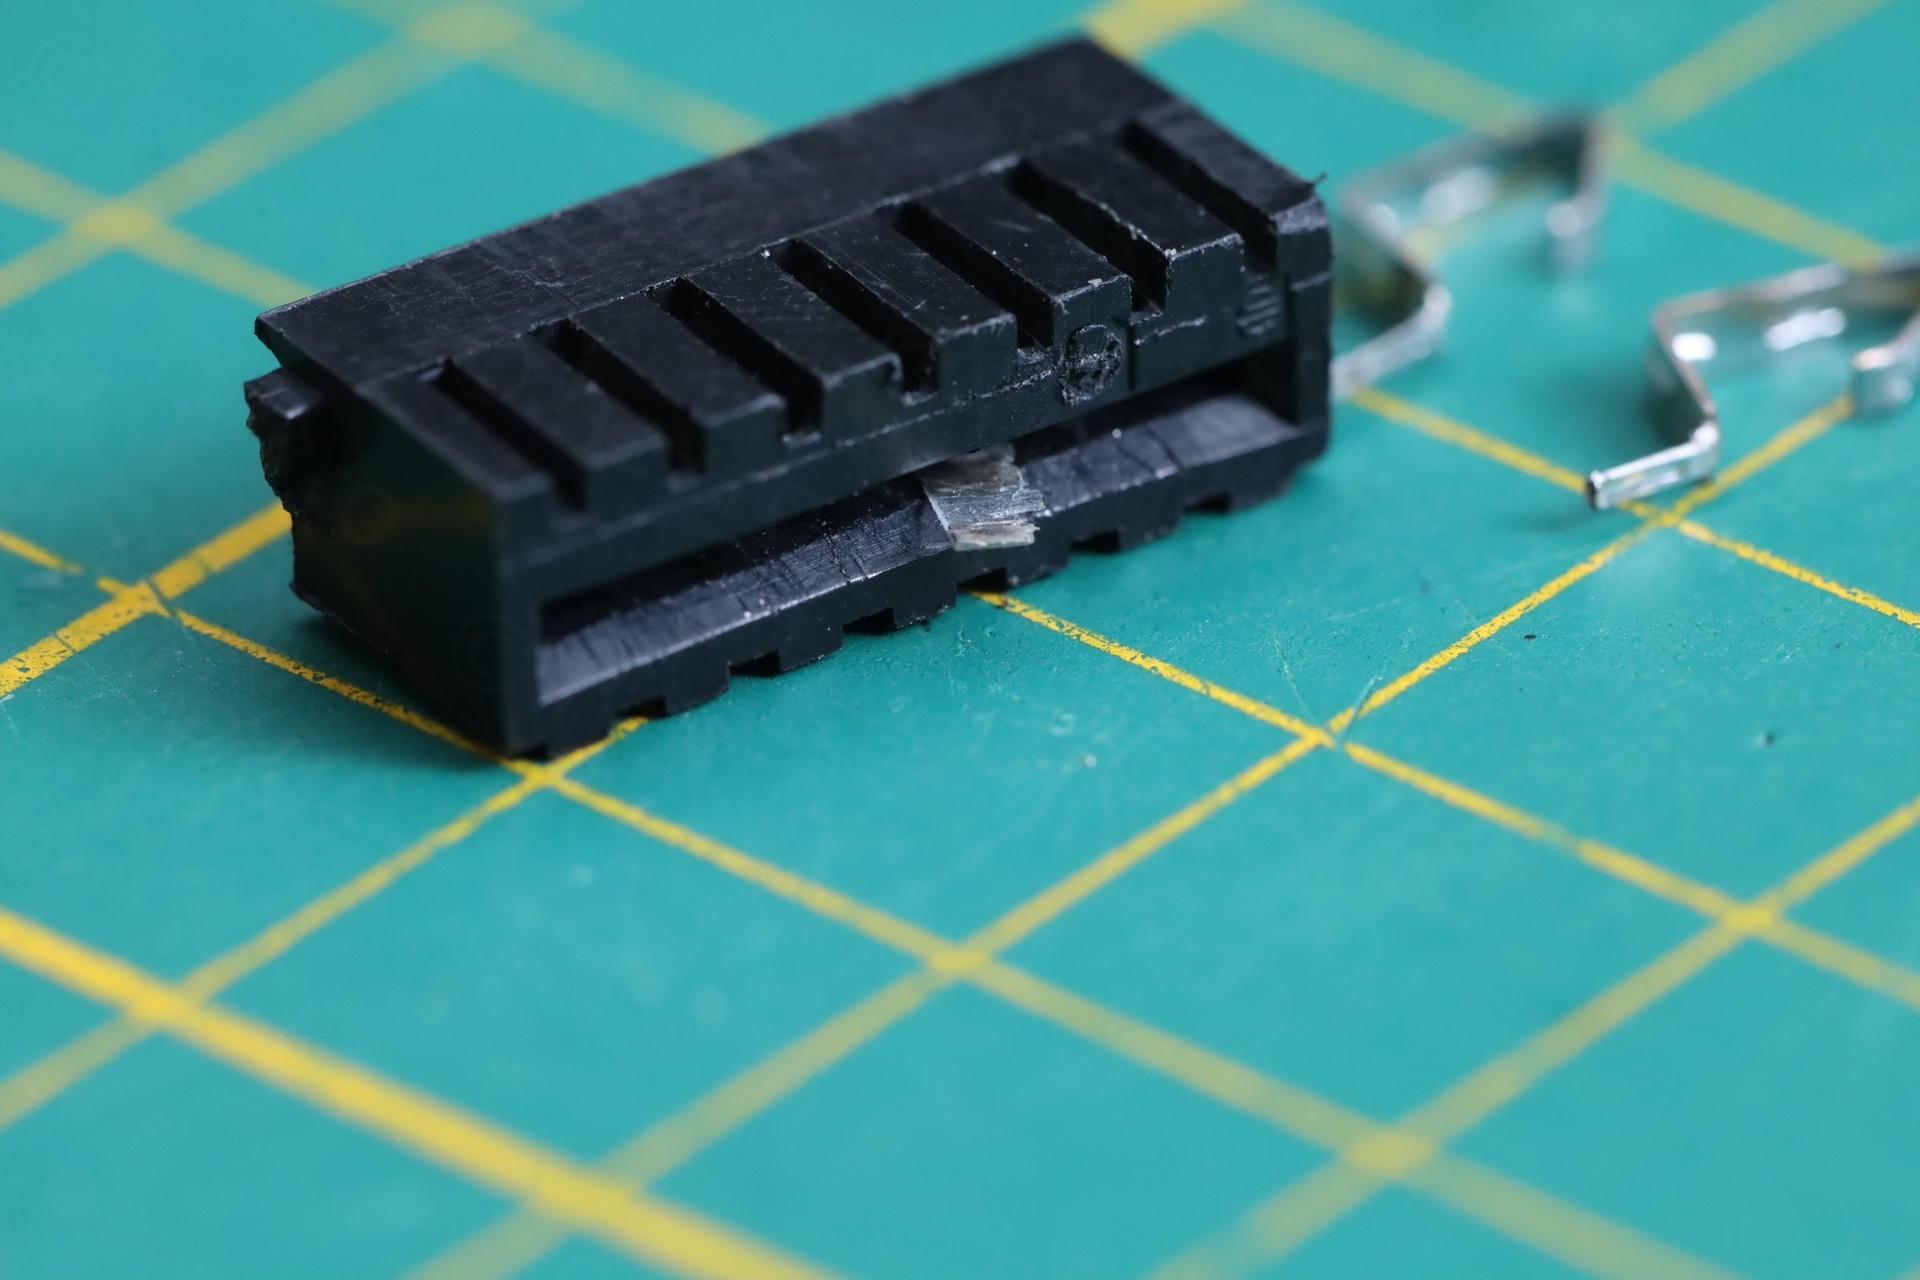
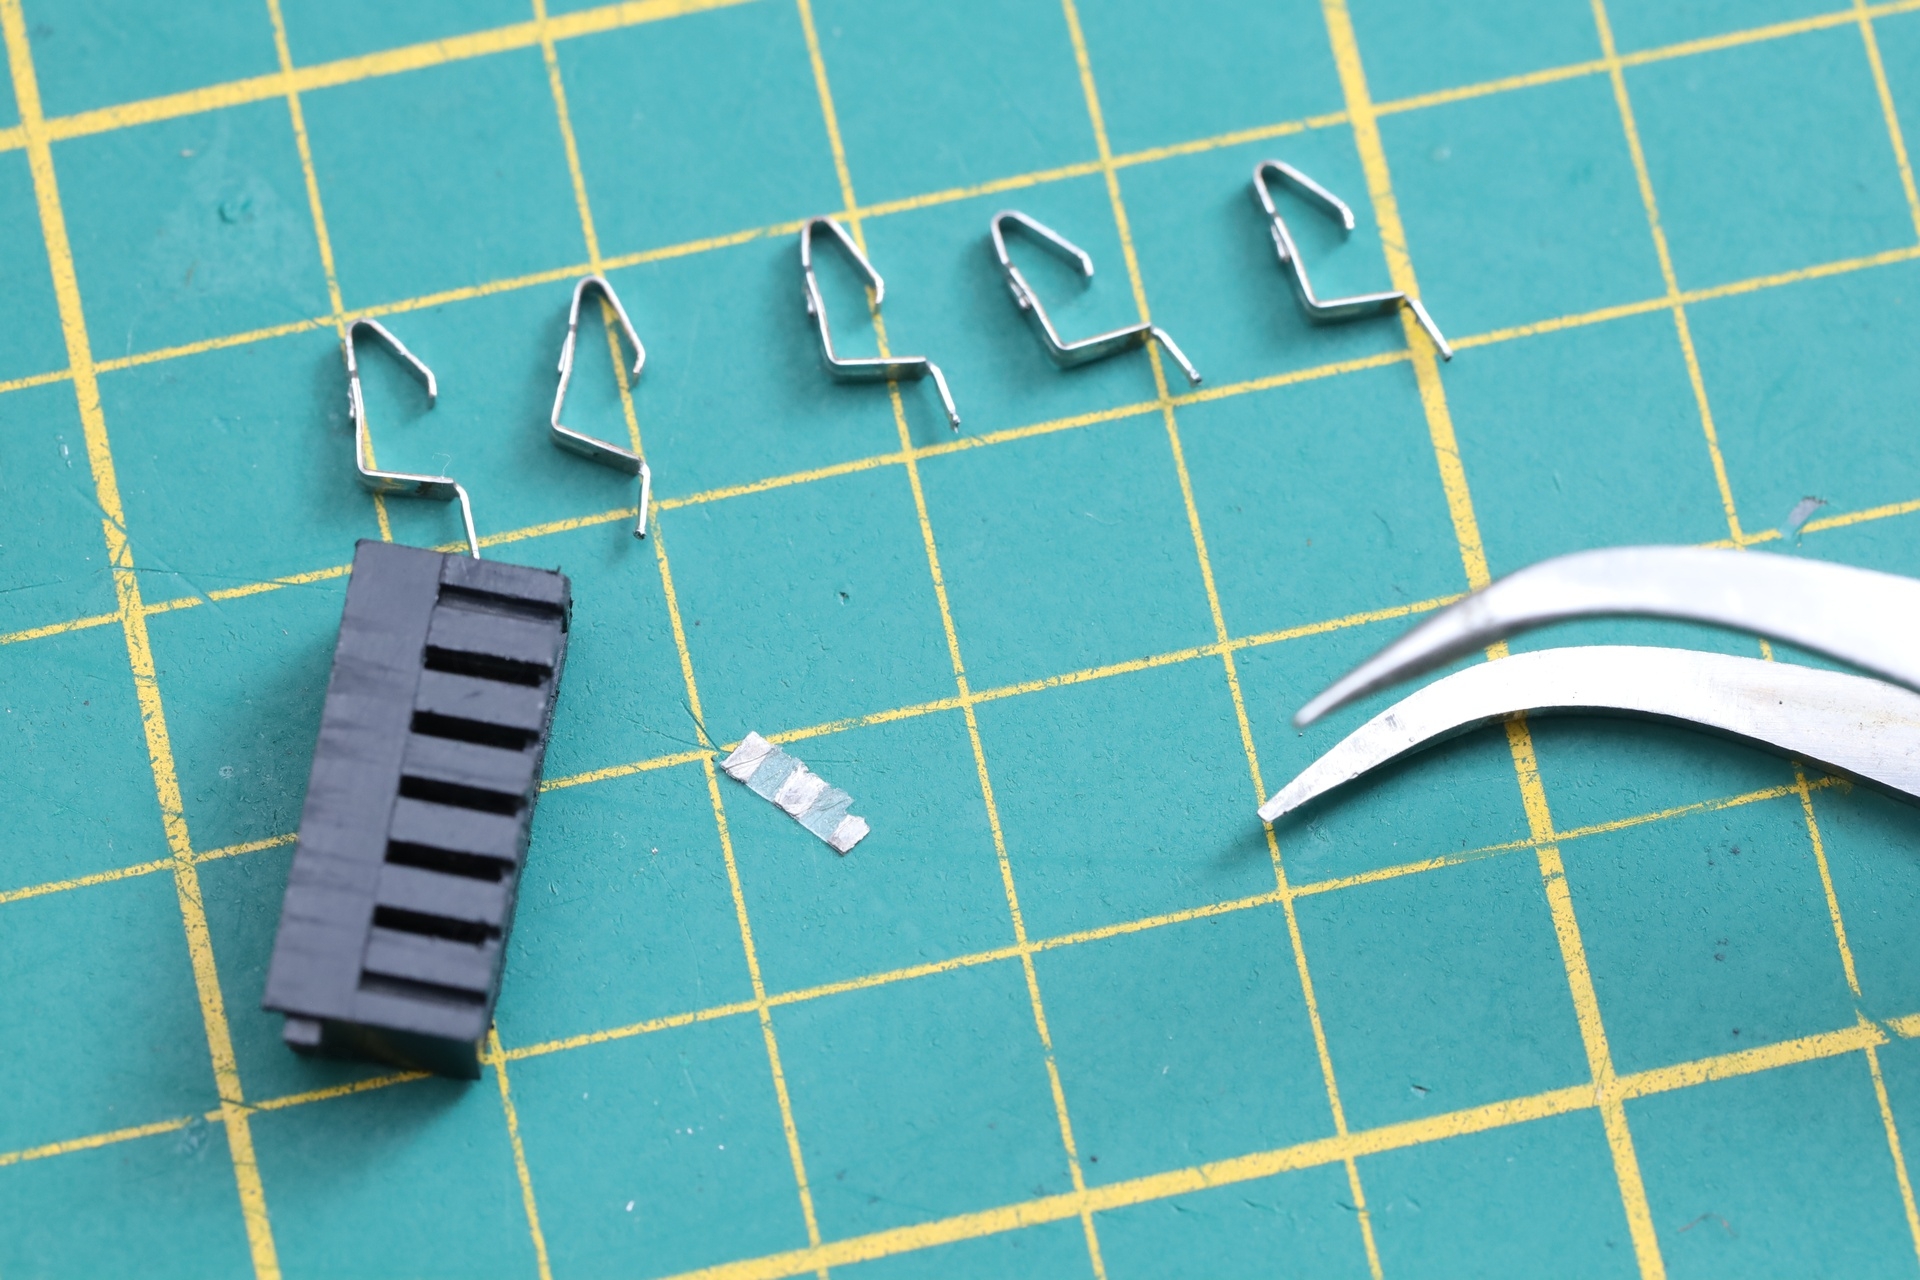


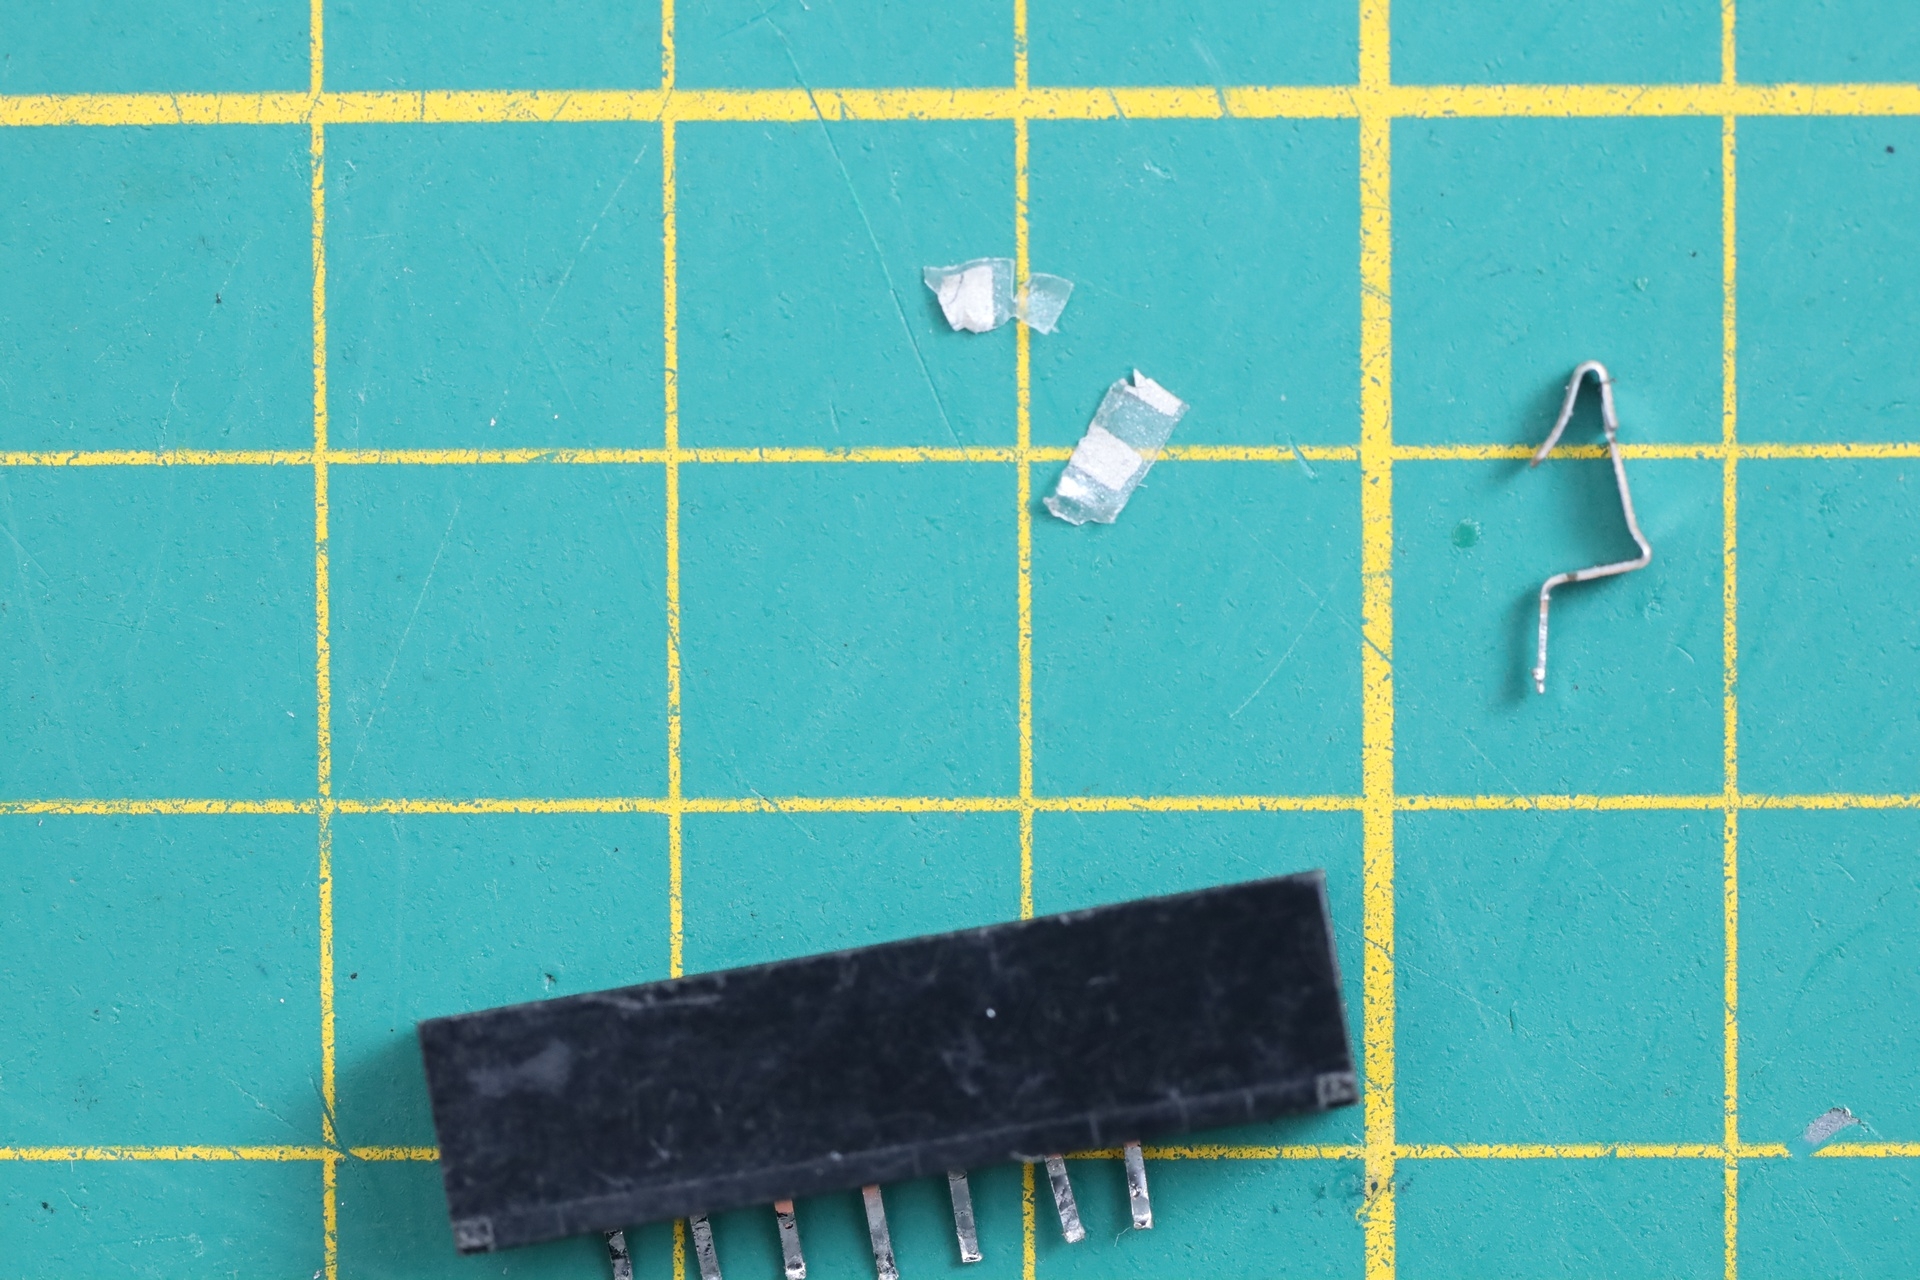
If you look at the last photo above, the pins of the large socket are not rounded at the pressure point against the membrane. They seem sharp and pointy, acting like hooks if you try to remove the membrane.
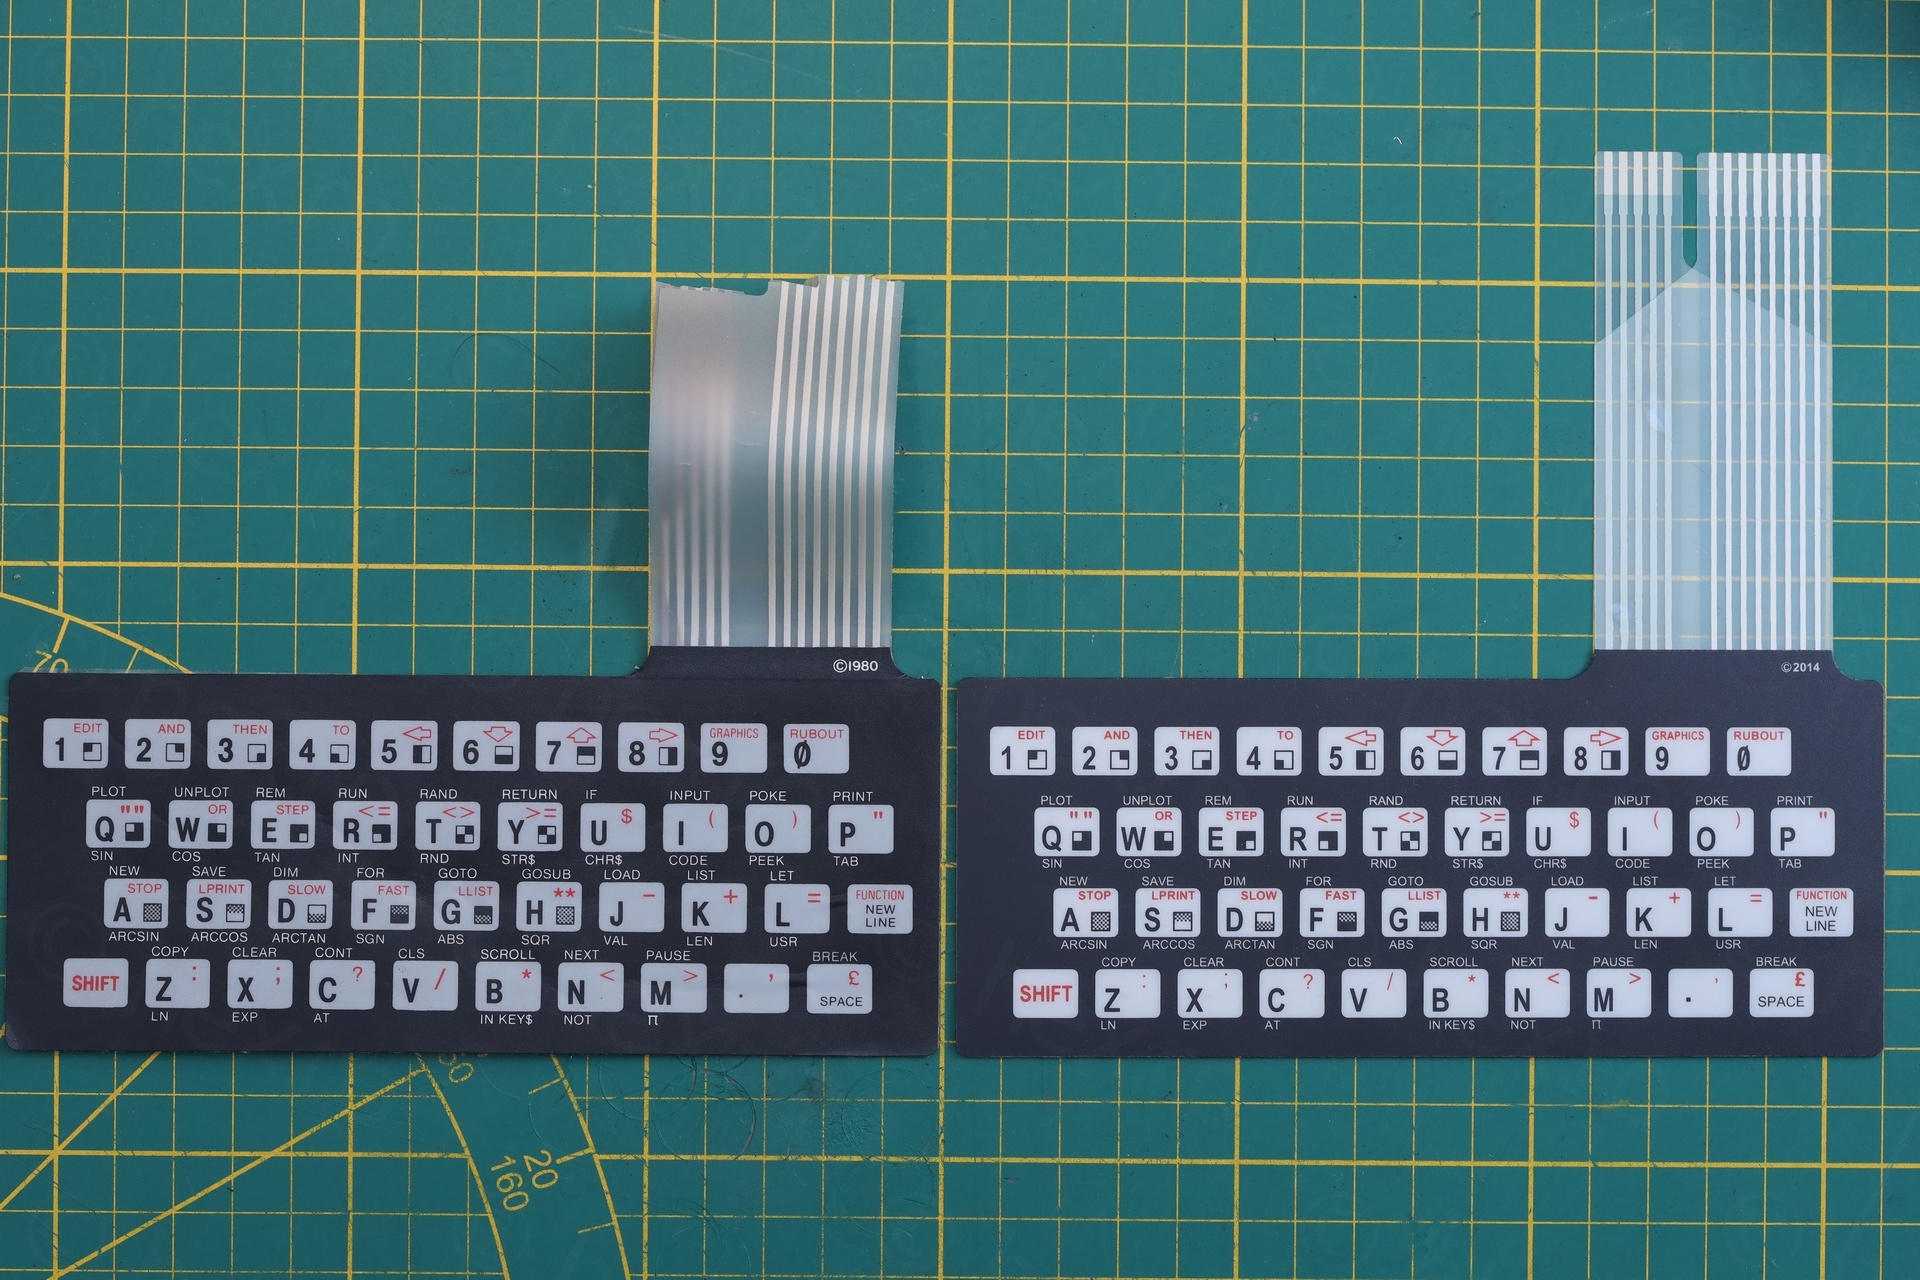
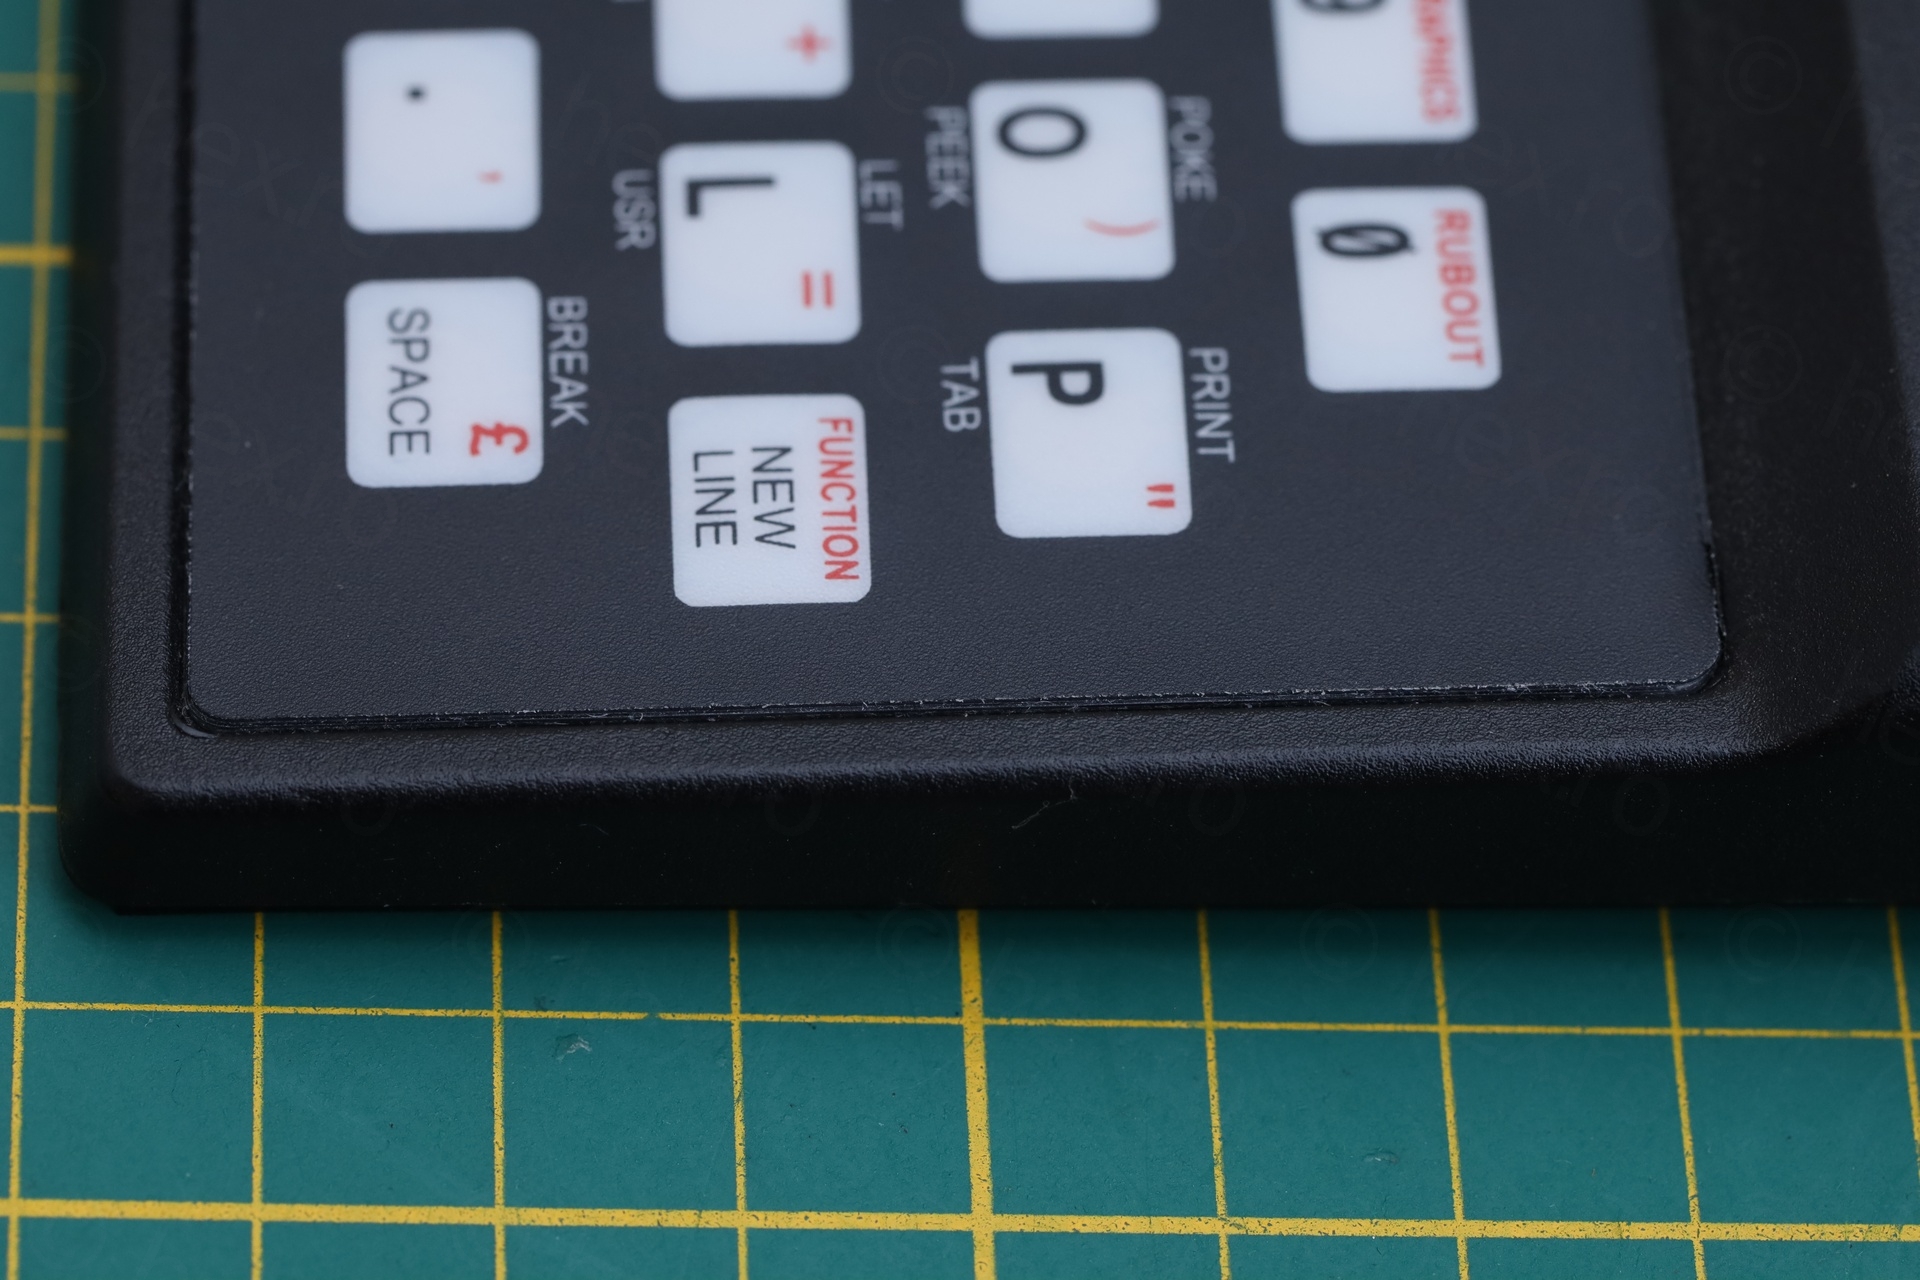
I ordered a Keyboard membrane replacement and proceeded to replace the old one. The new keyboard seems more rigid and doesn’t sit flush with the plastic case when the flat cables are inserted through the gap:
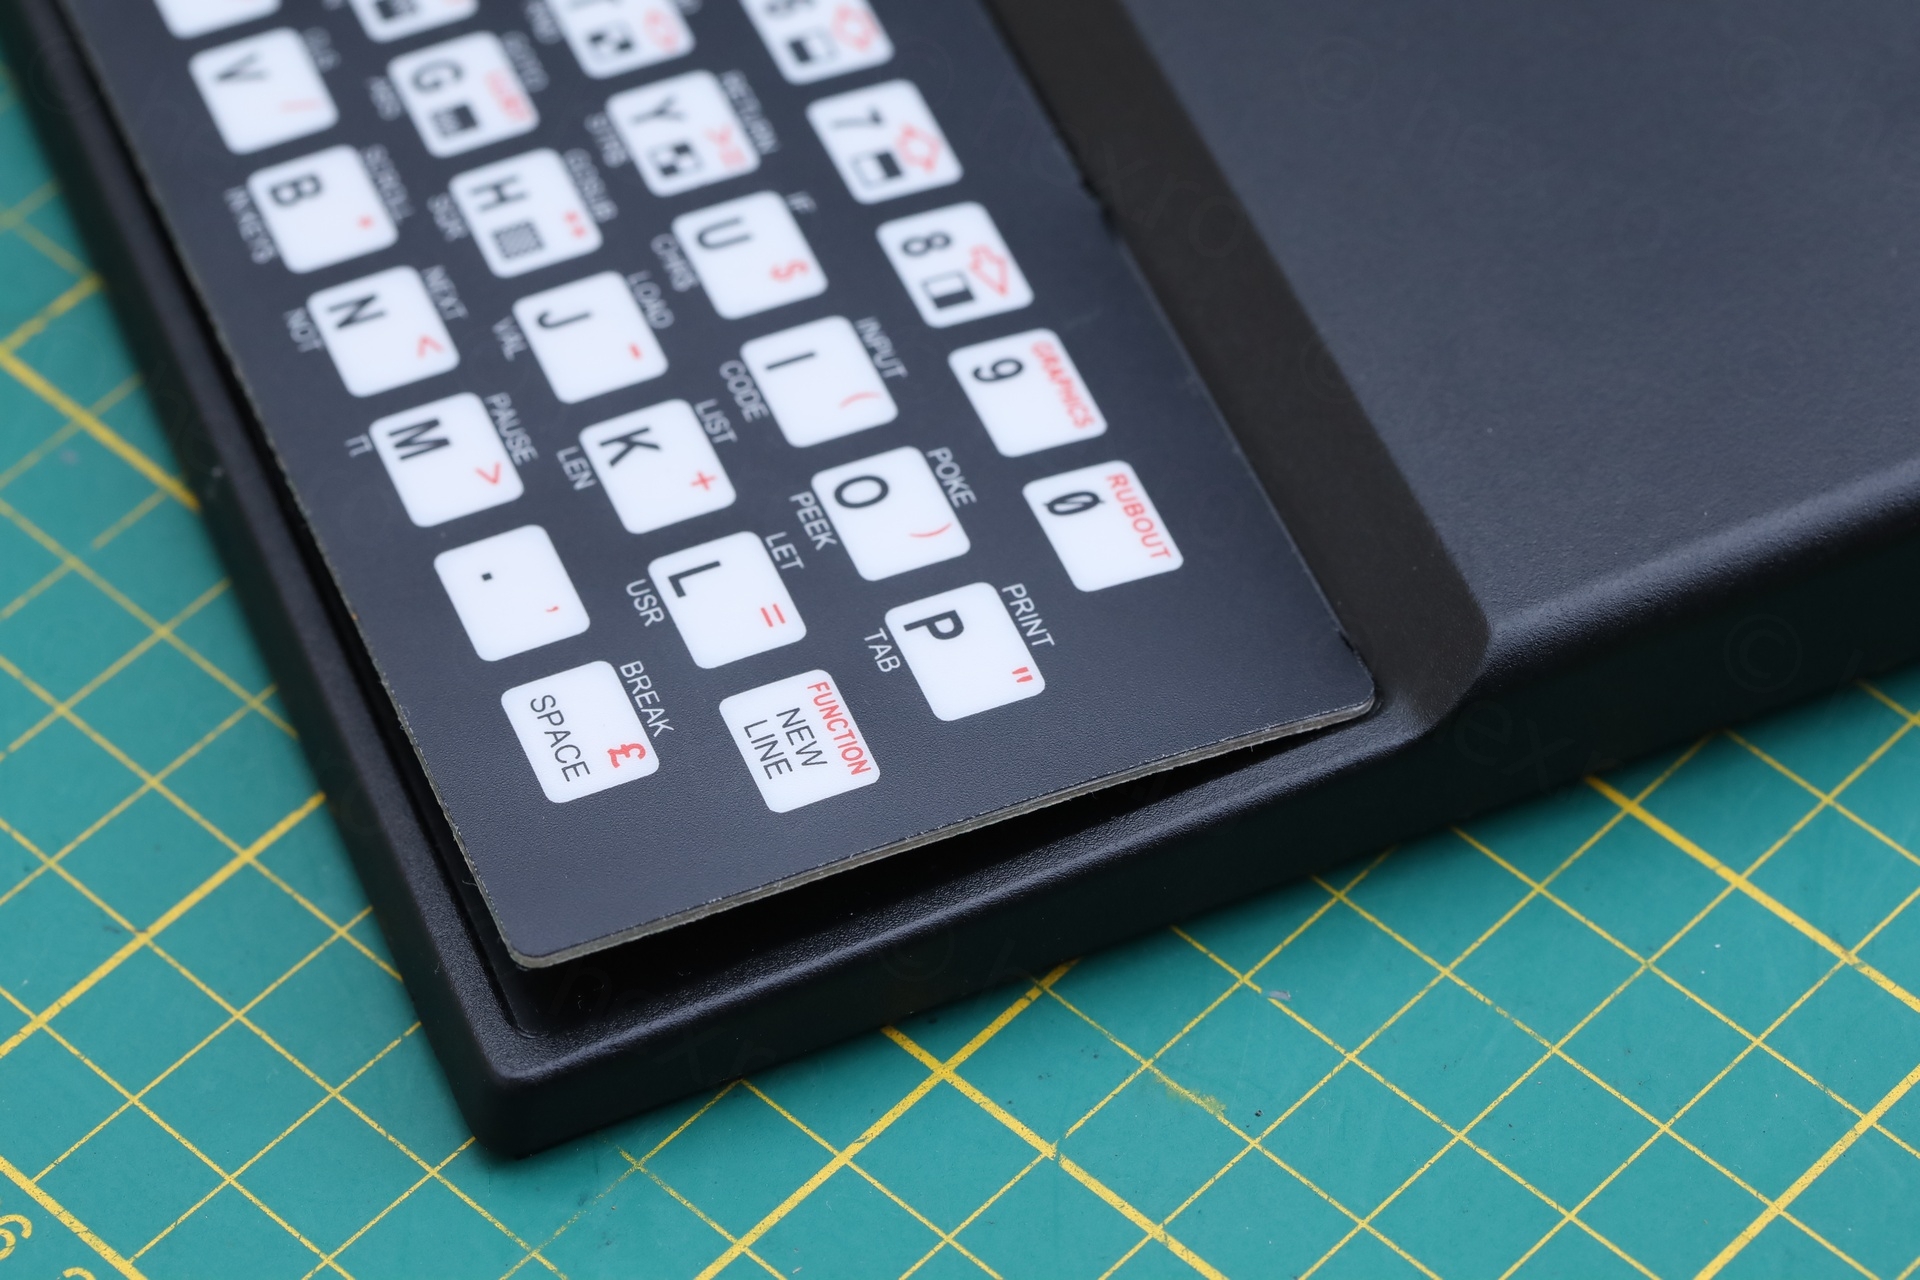
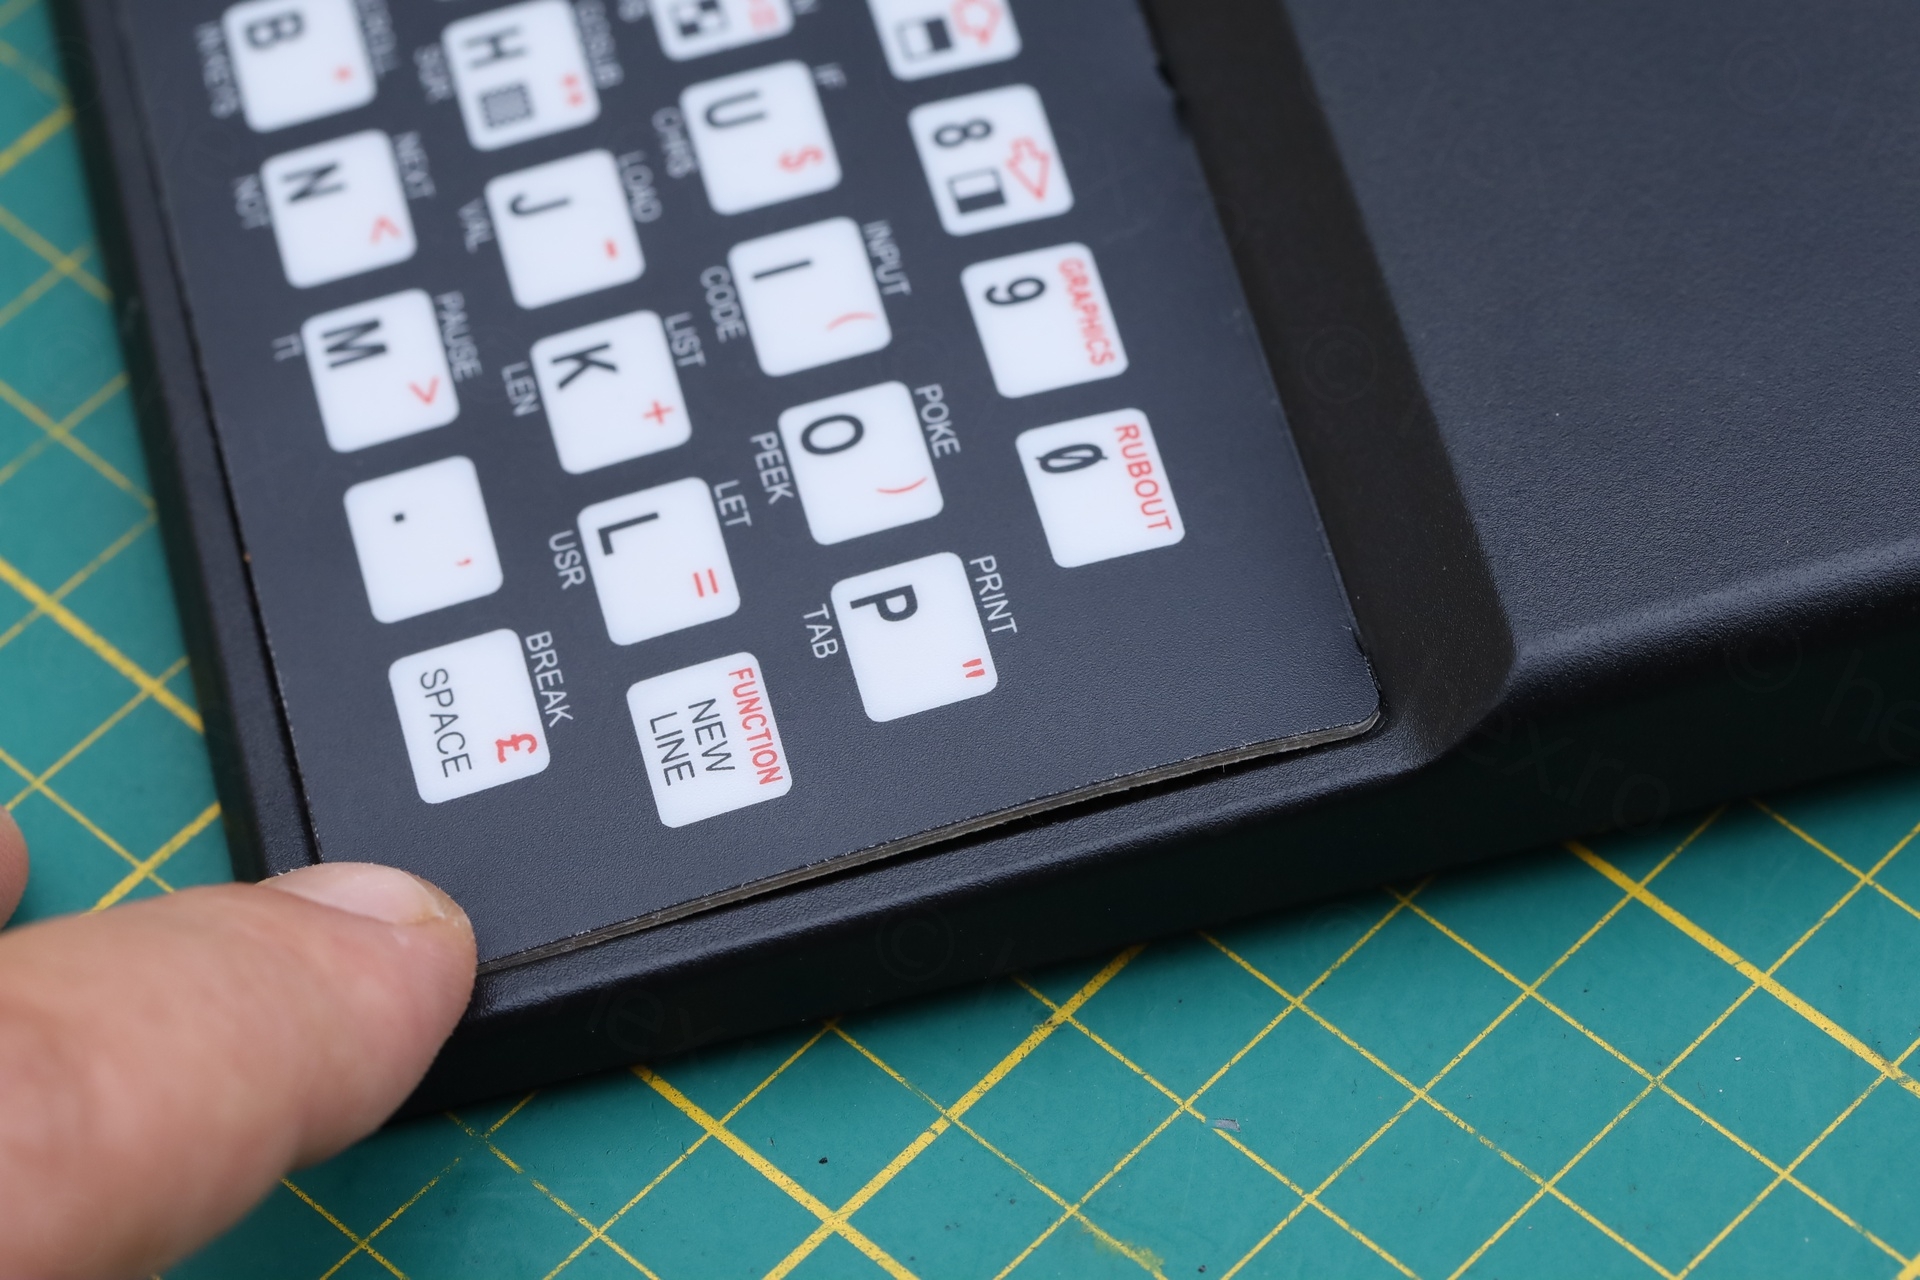
The glue keeps it down but not sure if it will last. Letter P seems affected in the sense that when I push it down after 1 day of not using the computer, I get to hear that sound made when you peel off / push back a sticky tape.
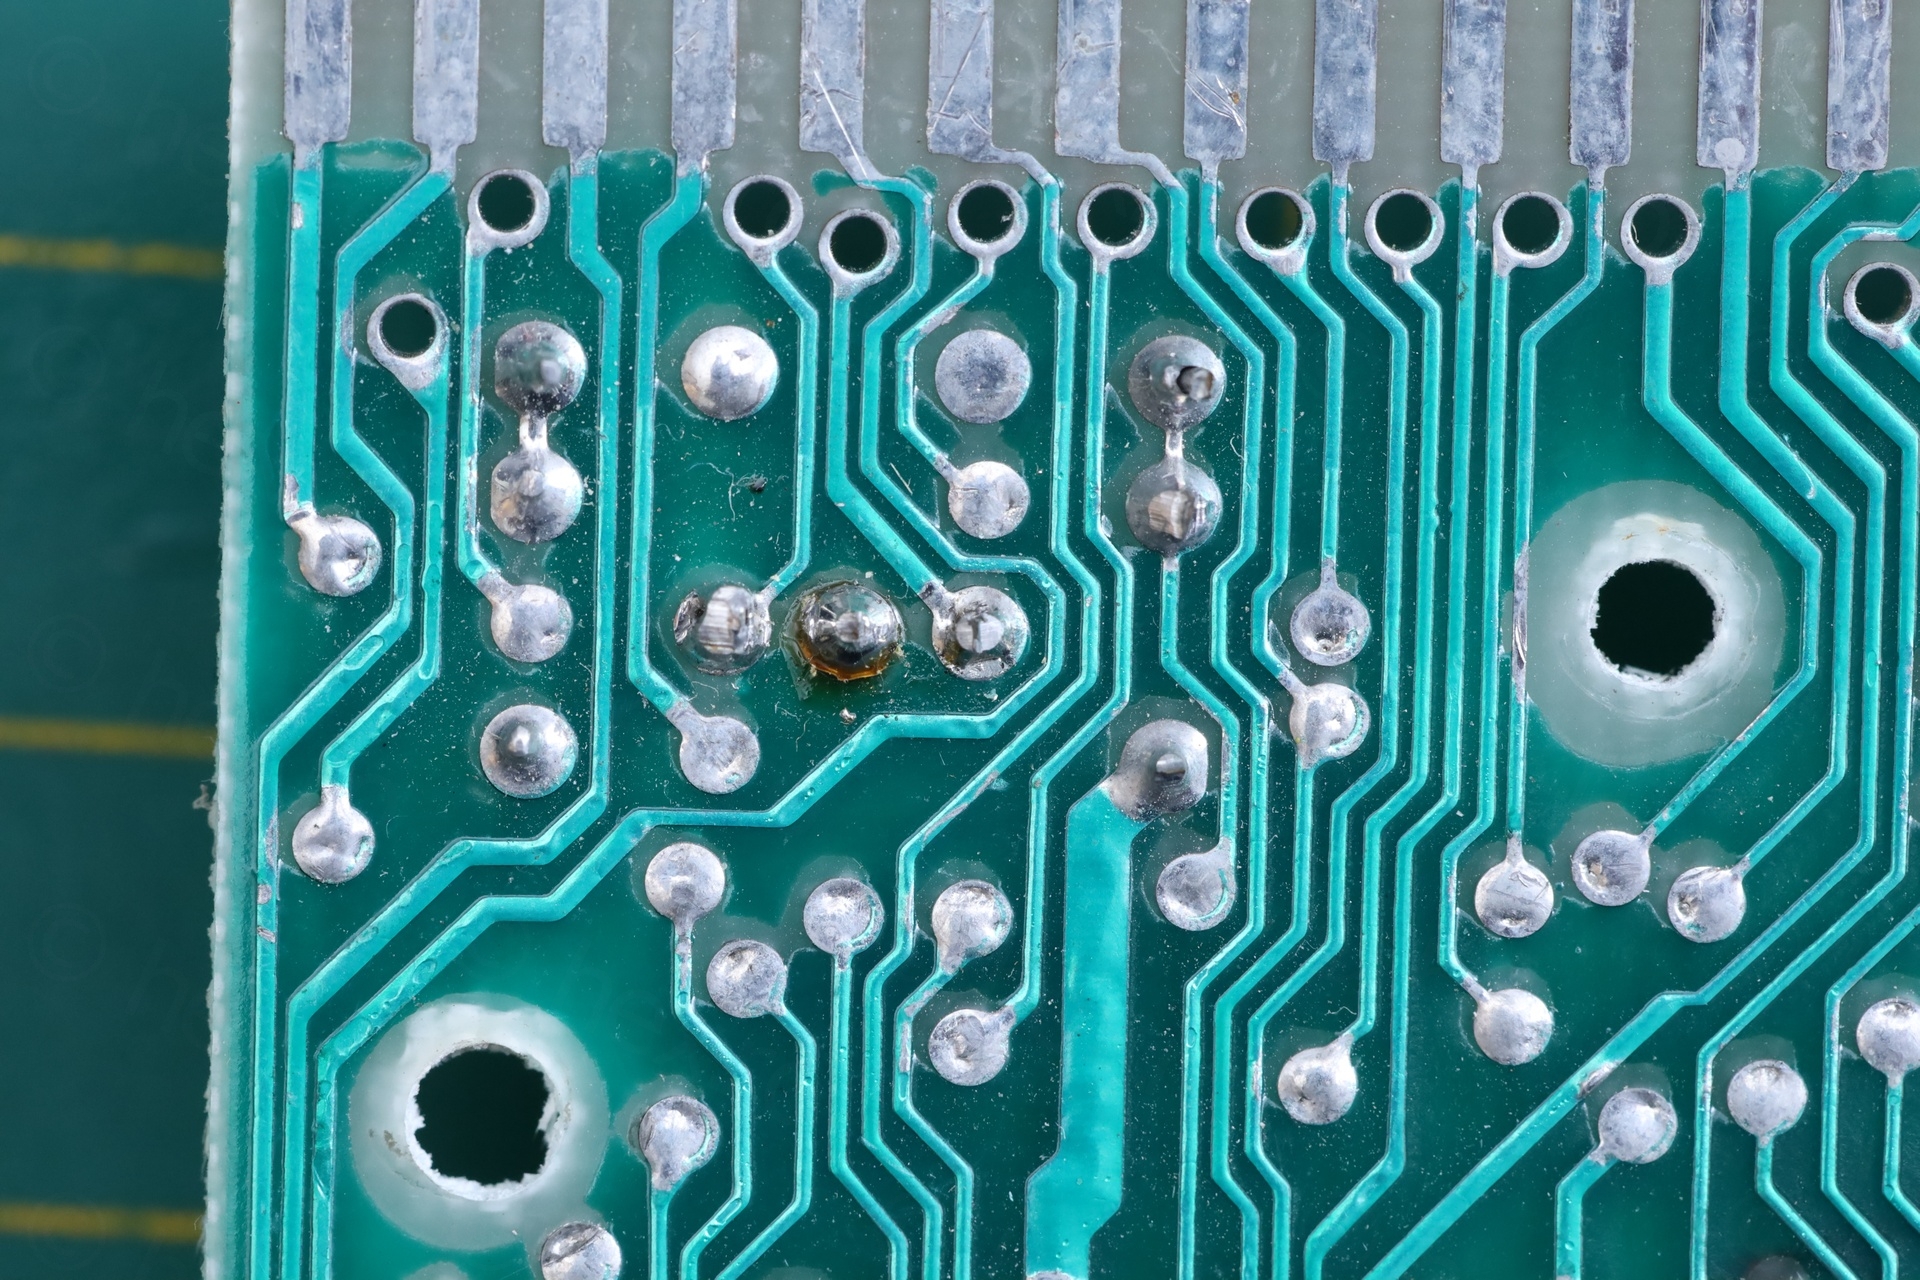
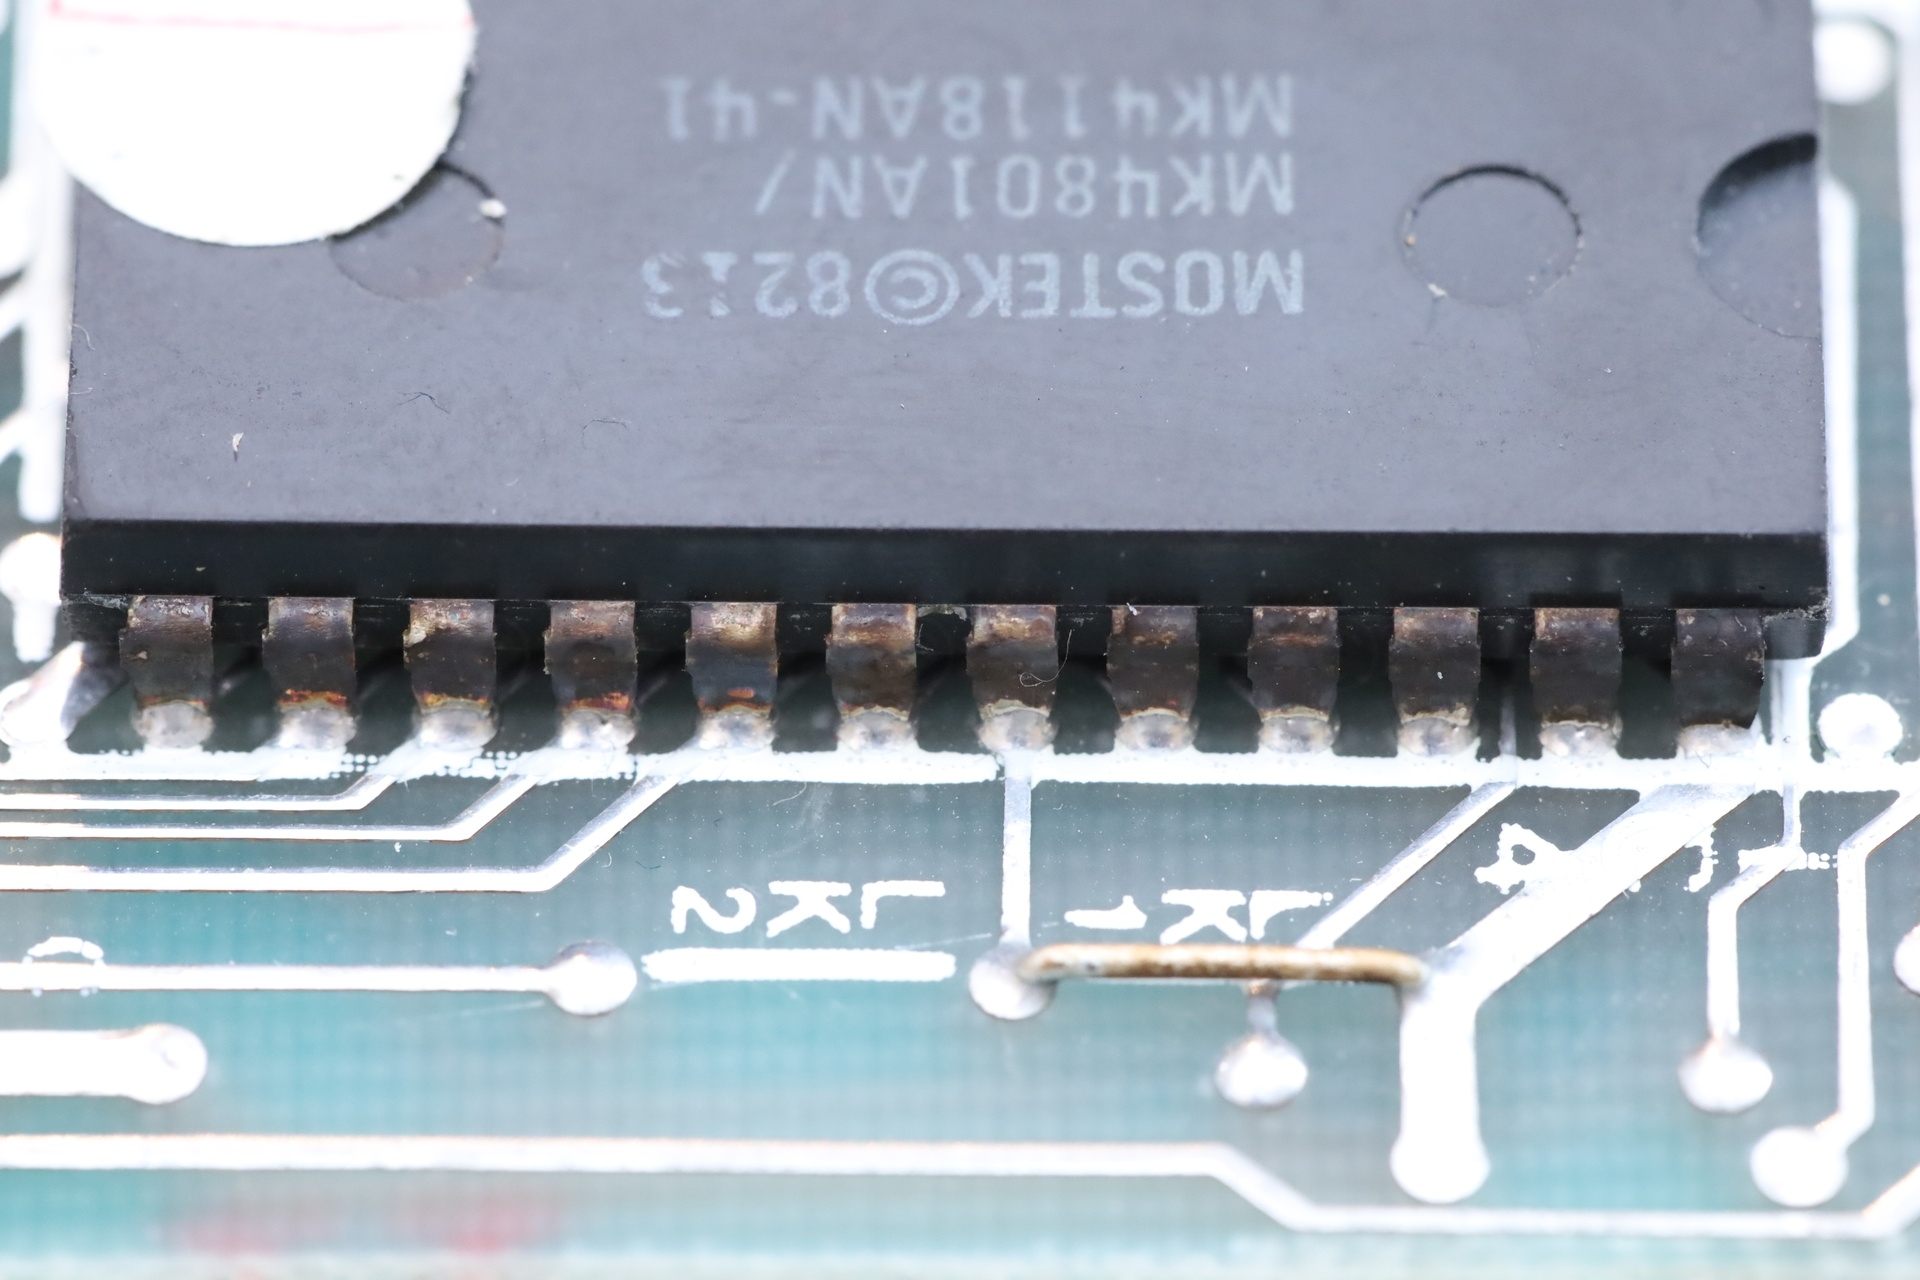
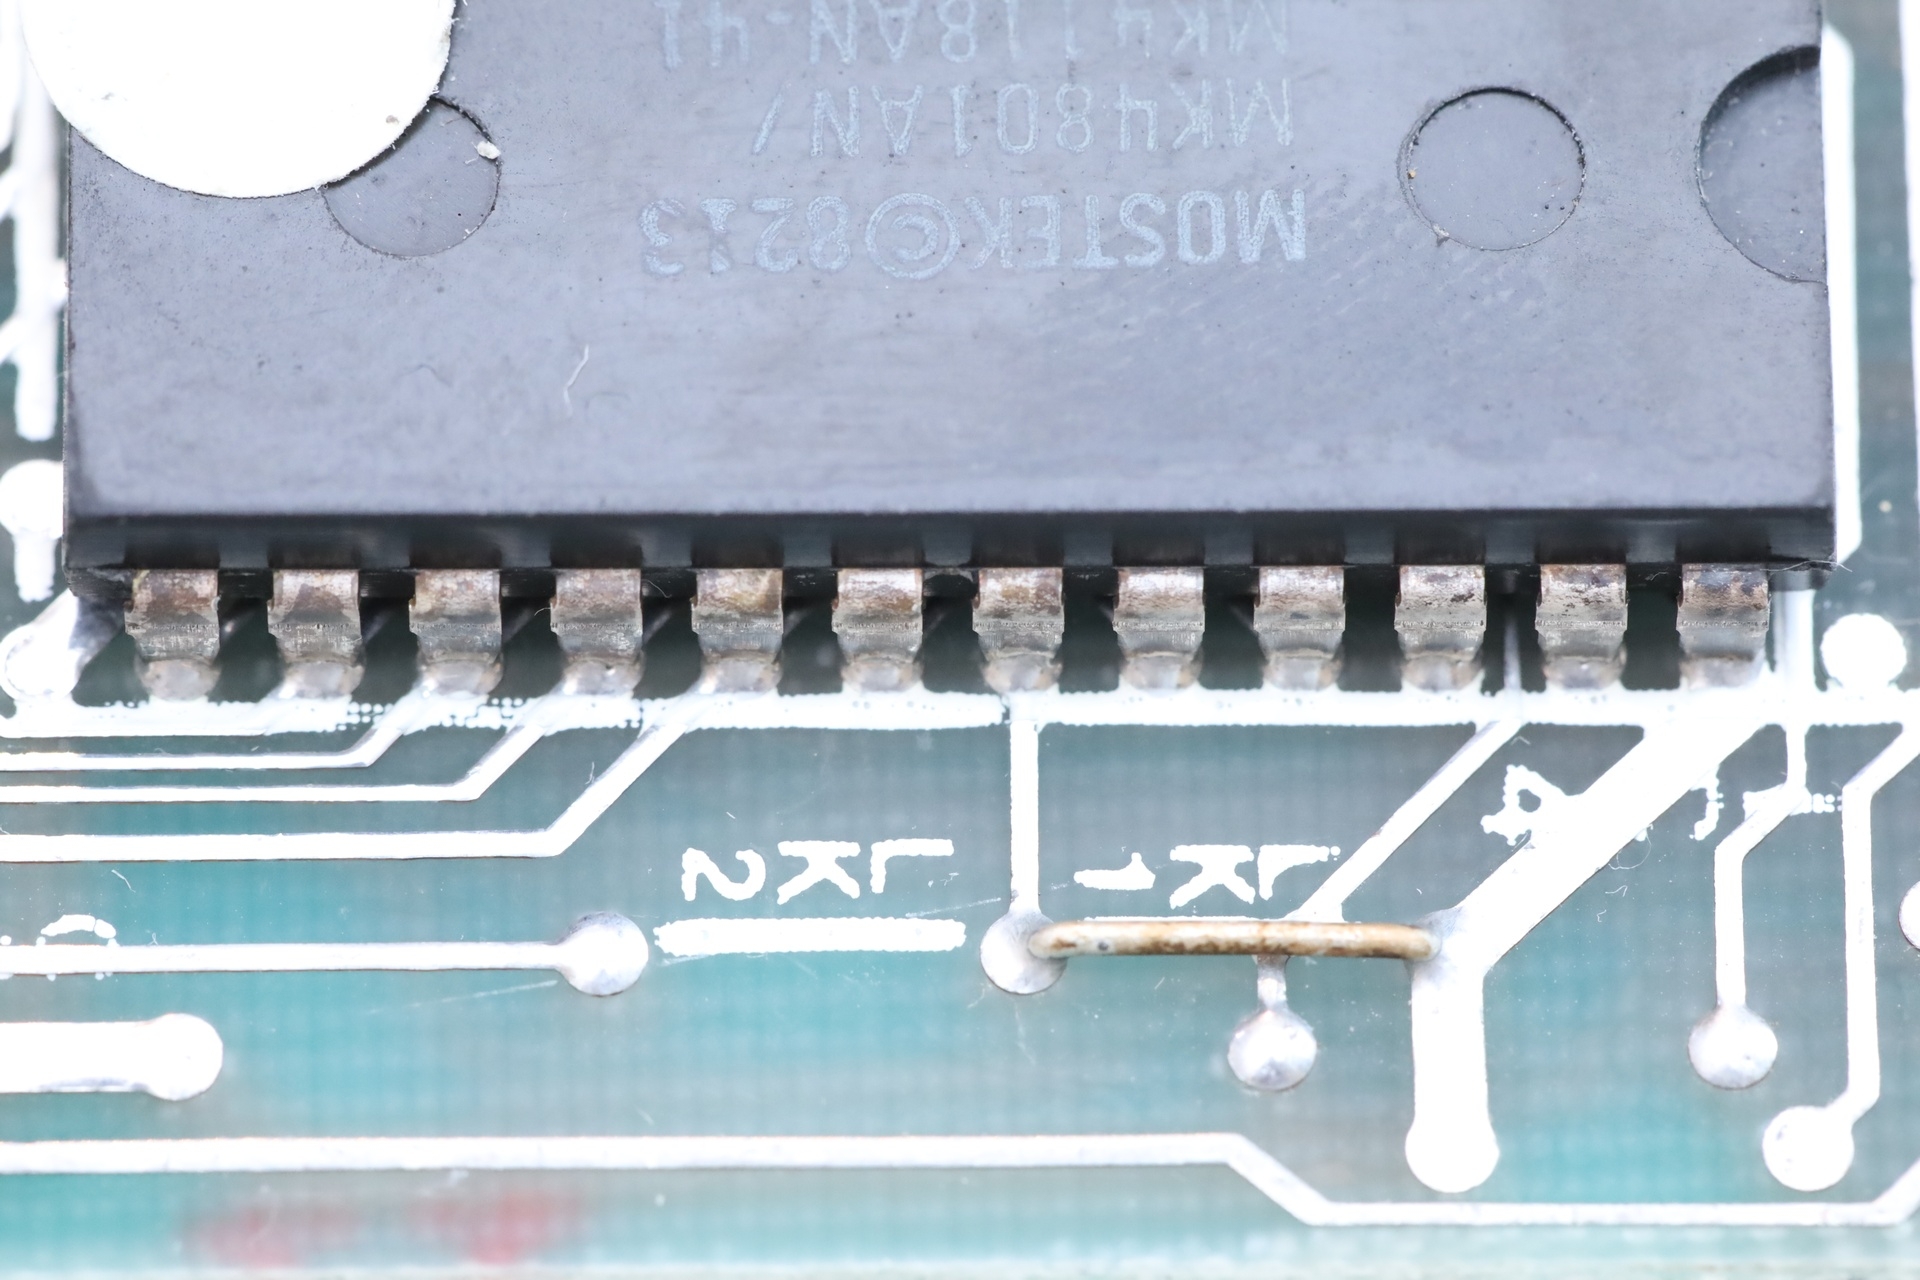
MOSTEK MK4801AN – Oxidized pins
I noticed also that the pins of the RAM IC were almost black of oxidation. Thankfully they cleaned up well with IPA. I applied a bit of sewing machine oil on the pins (in an attempt to slow down further oxidation) while trying not to touch the plastic housing – since I have no idea if the oil interacts with the plastic housing of the IC.
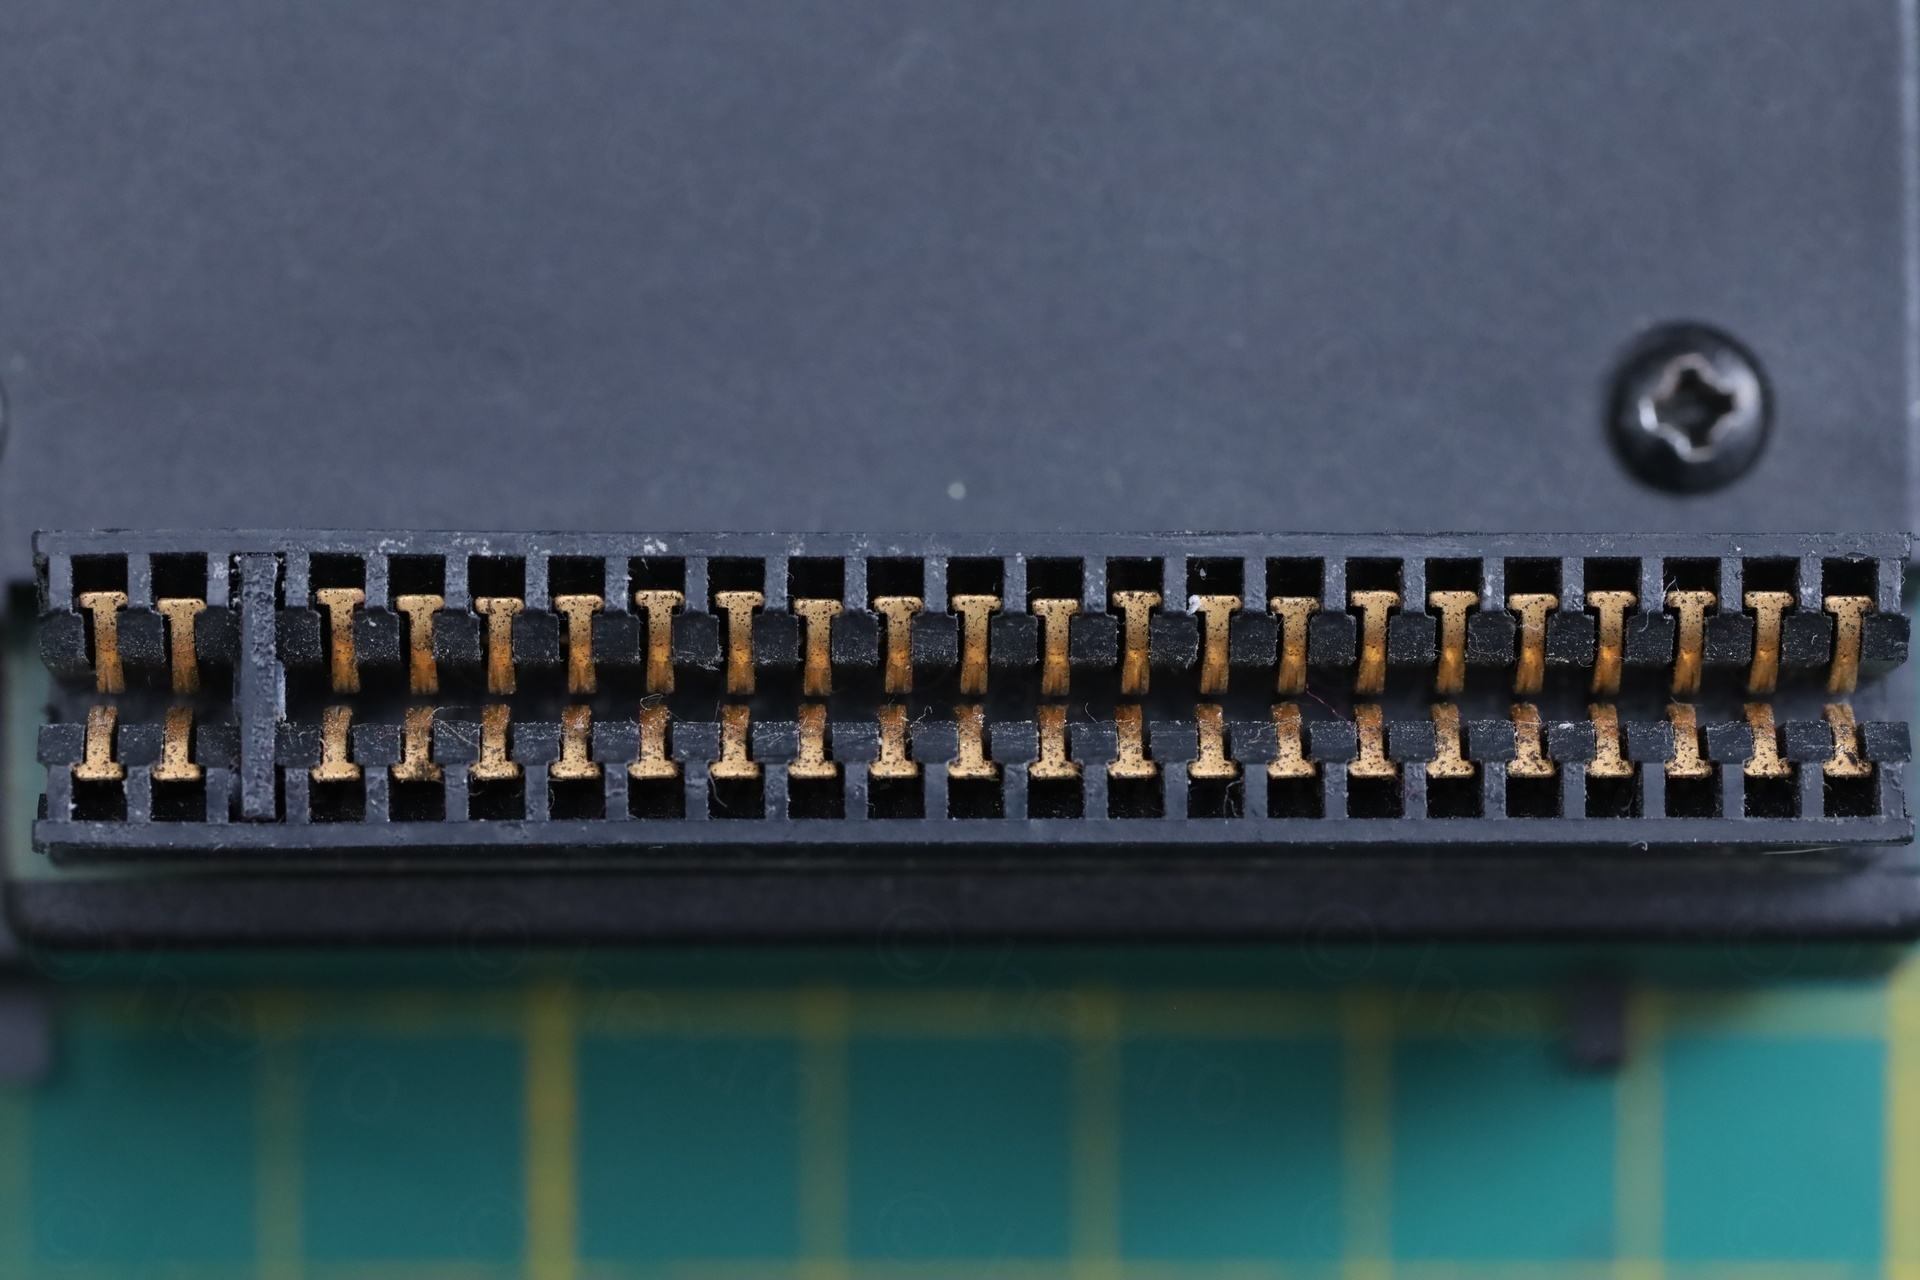
Applied same treatment to the expansion port pins, although they were looking just fine.
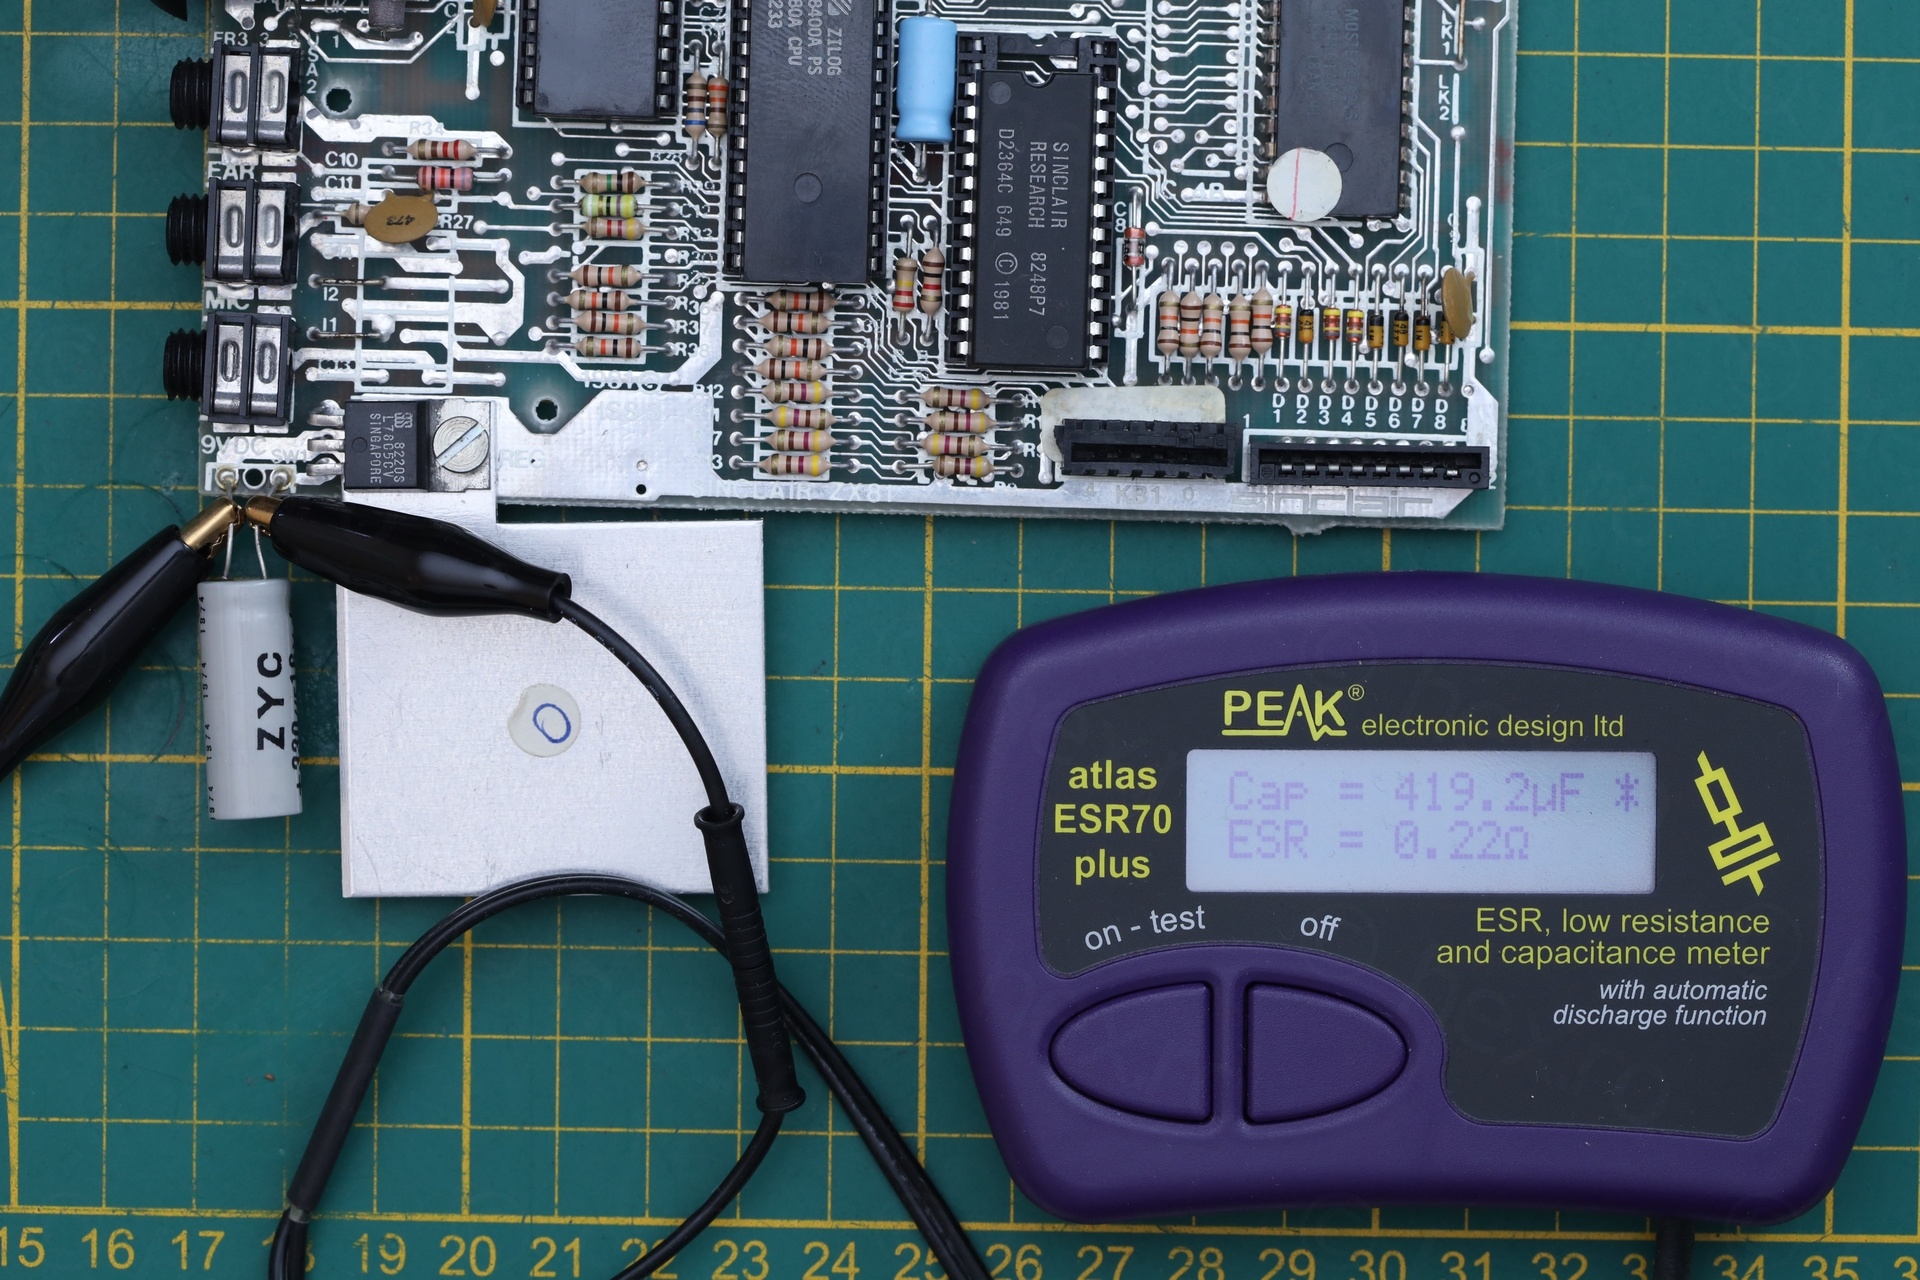
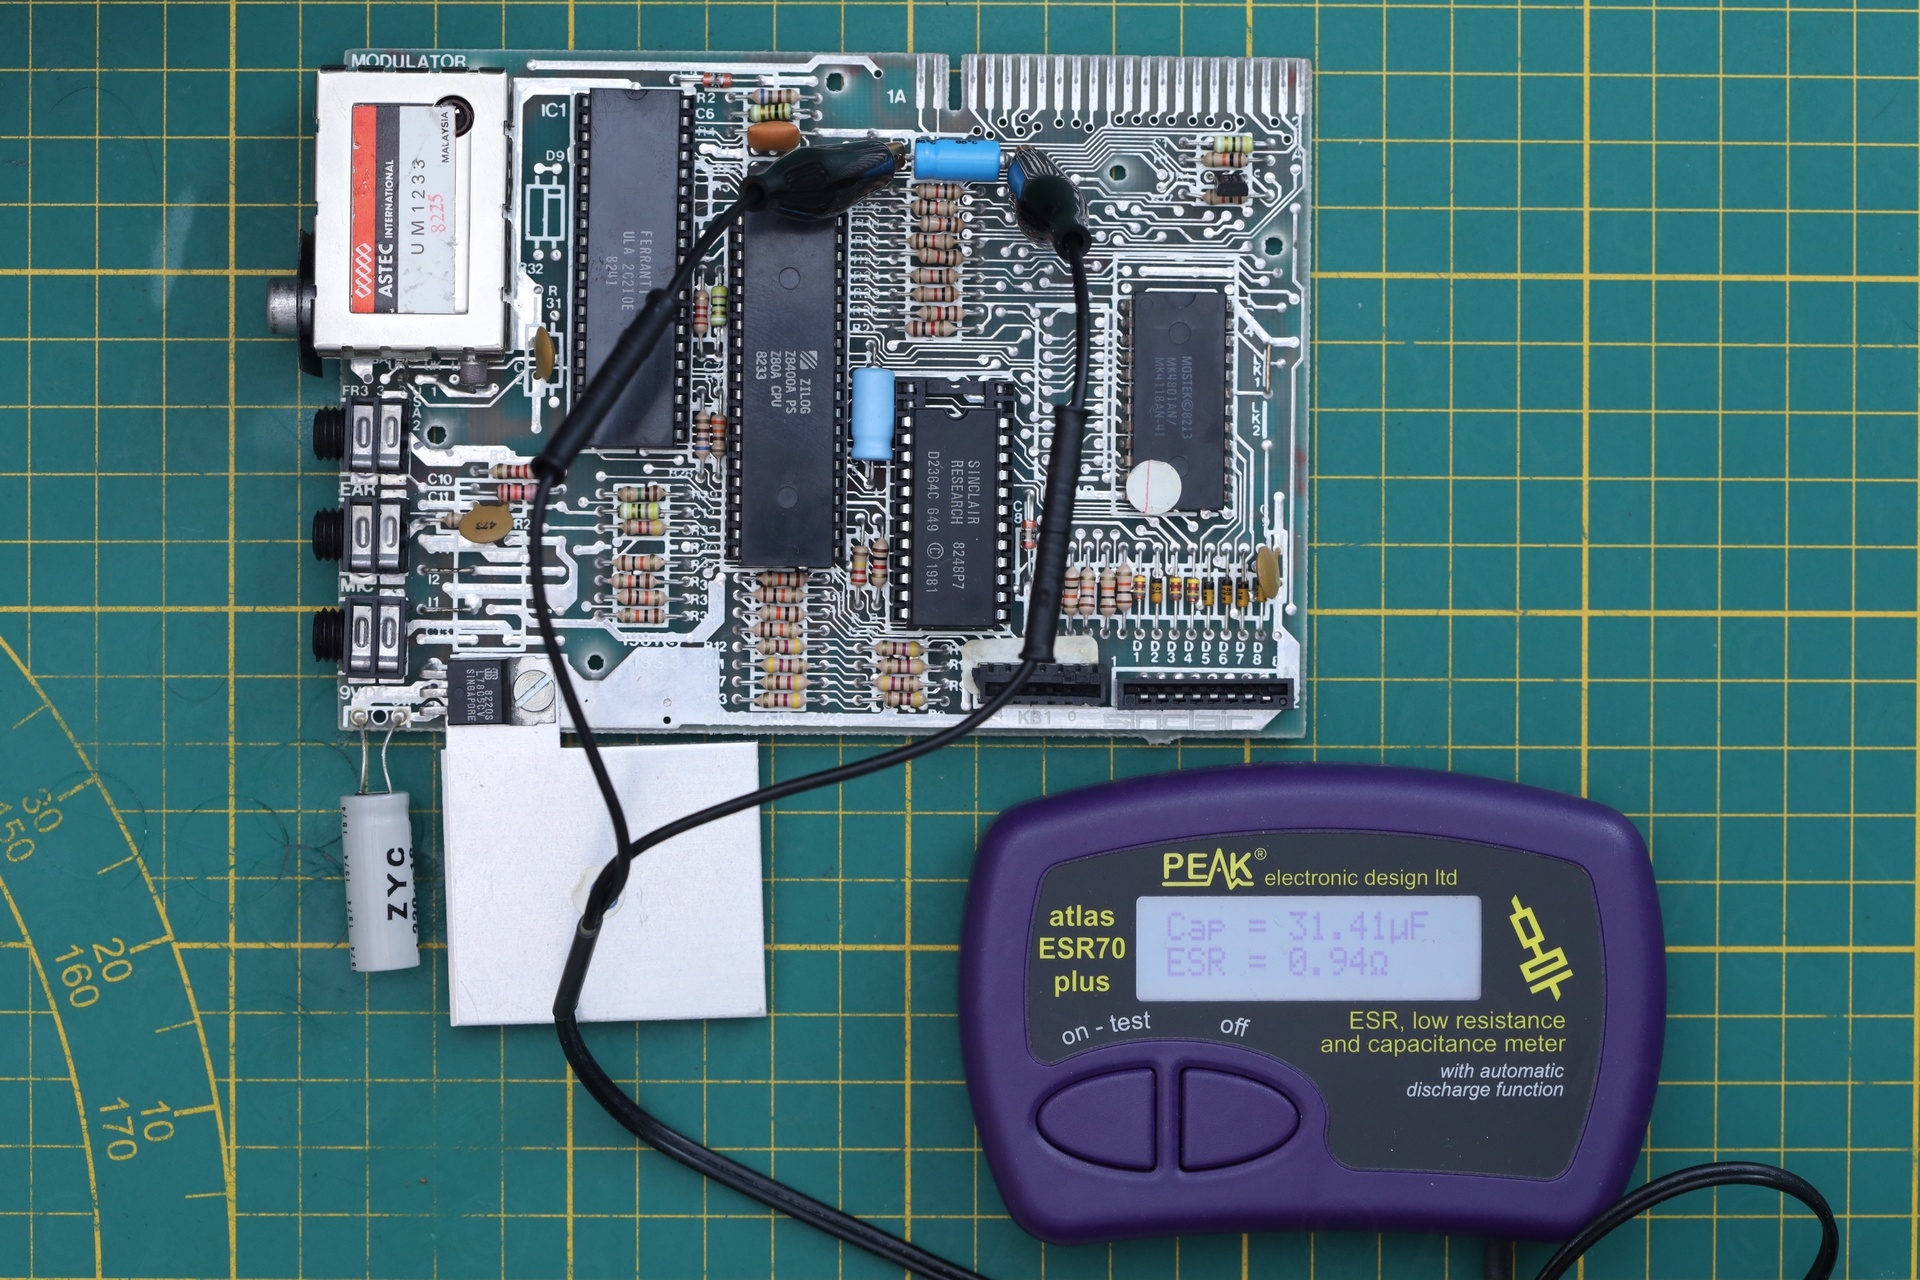
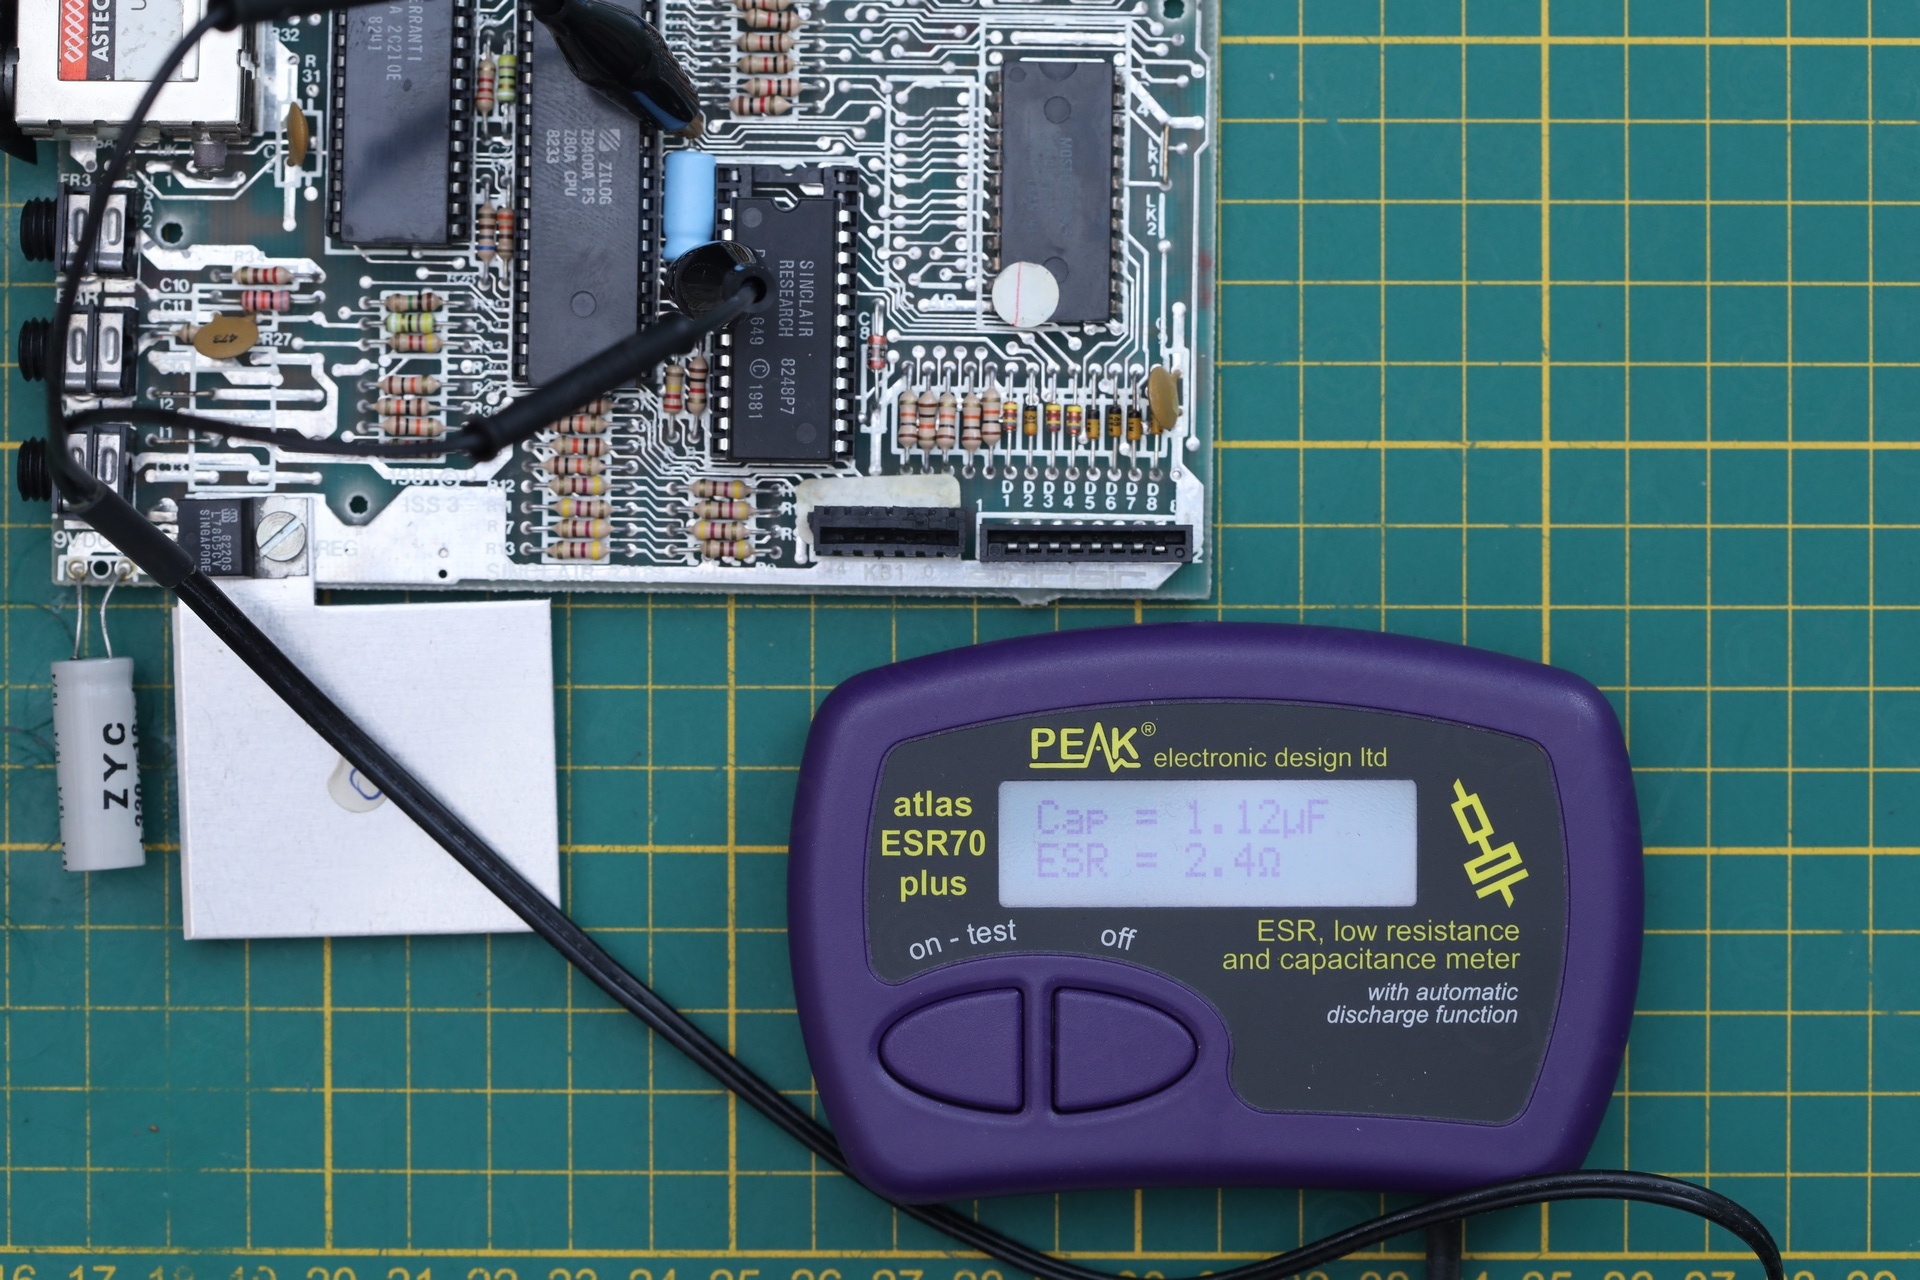
Capacitors – ESR checks
Had a quick look to see if the electrolytic capacitors are still OK and they do seem fine. I left them in:
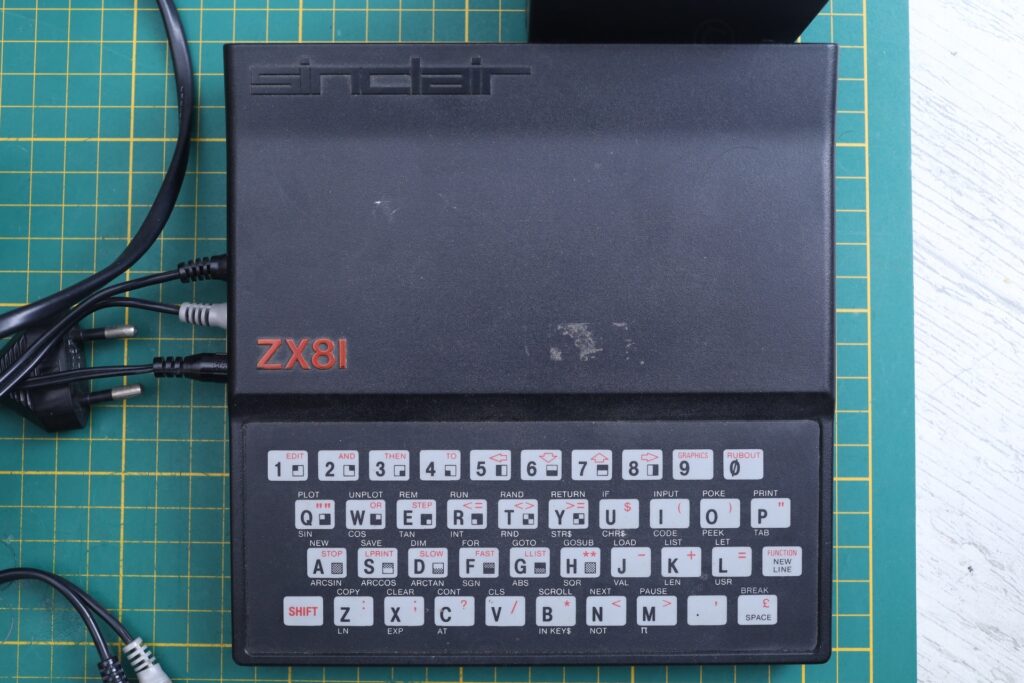
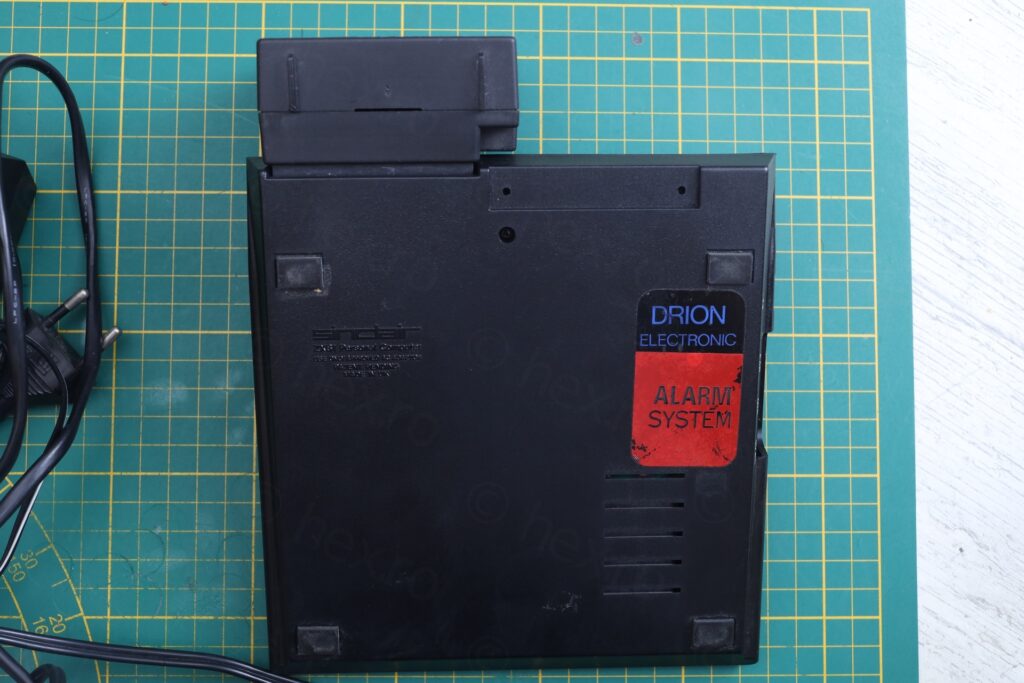
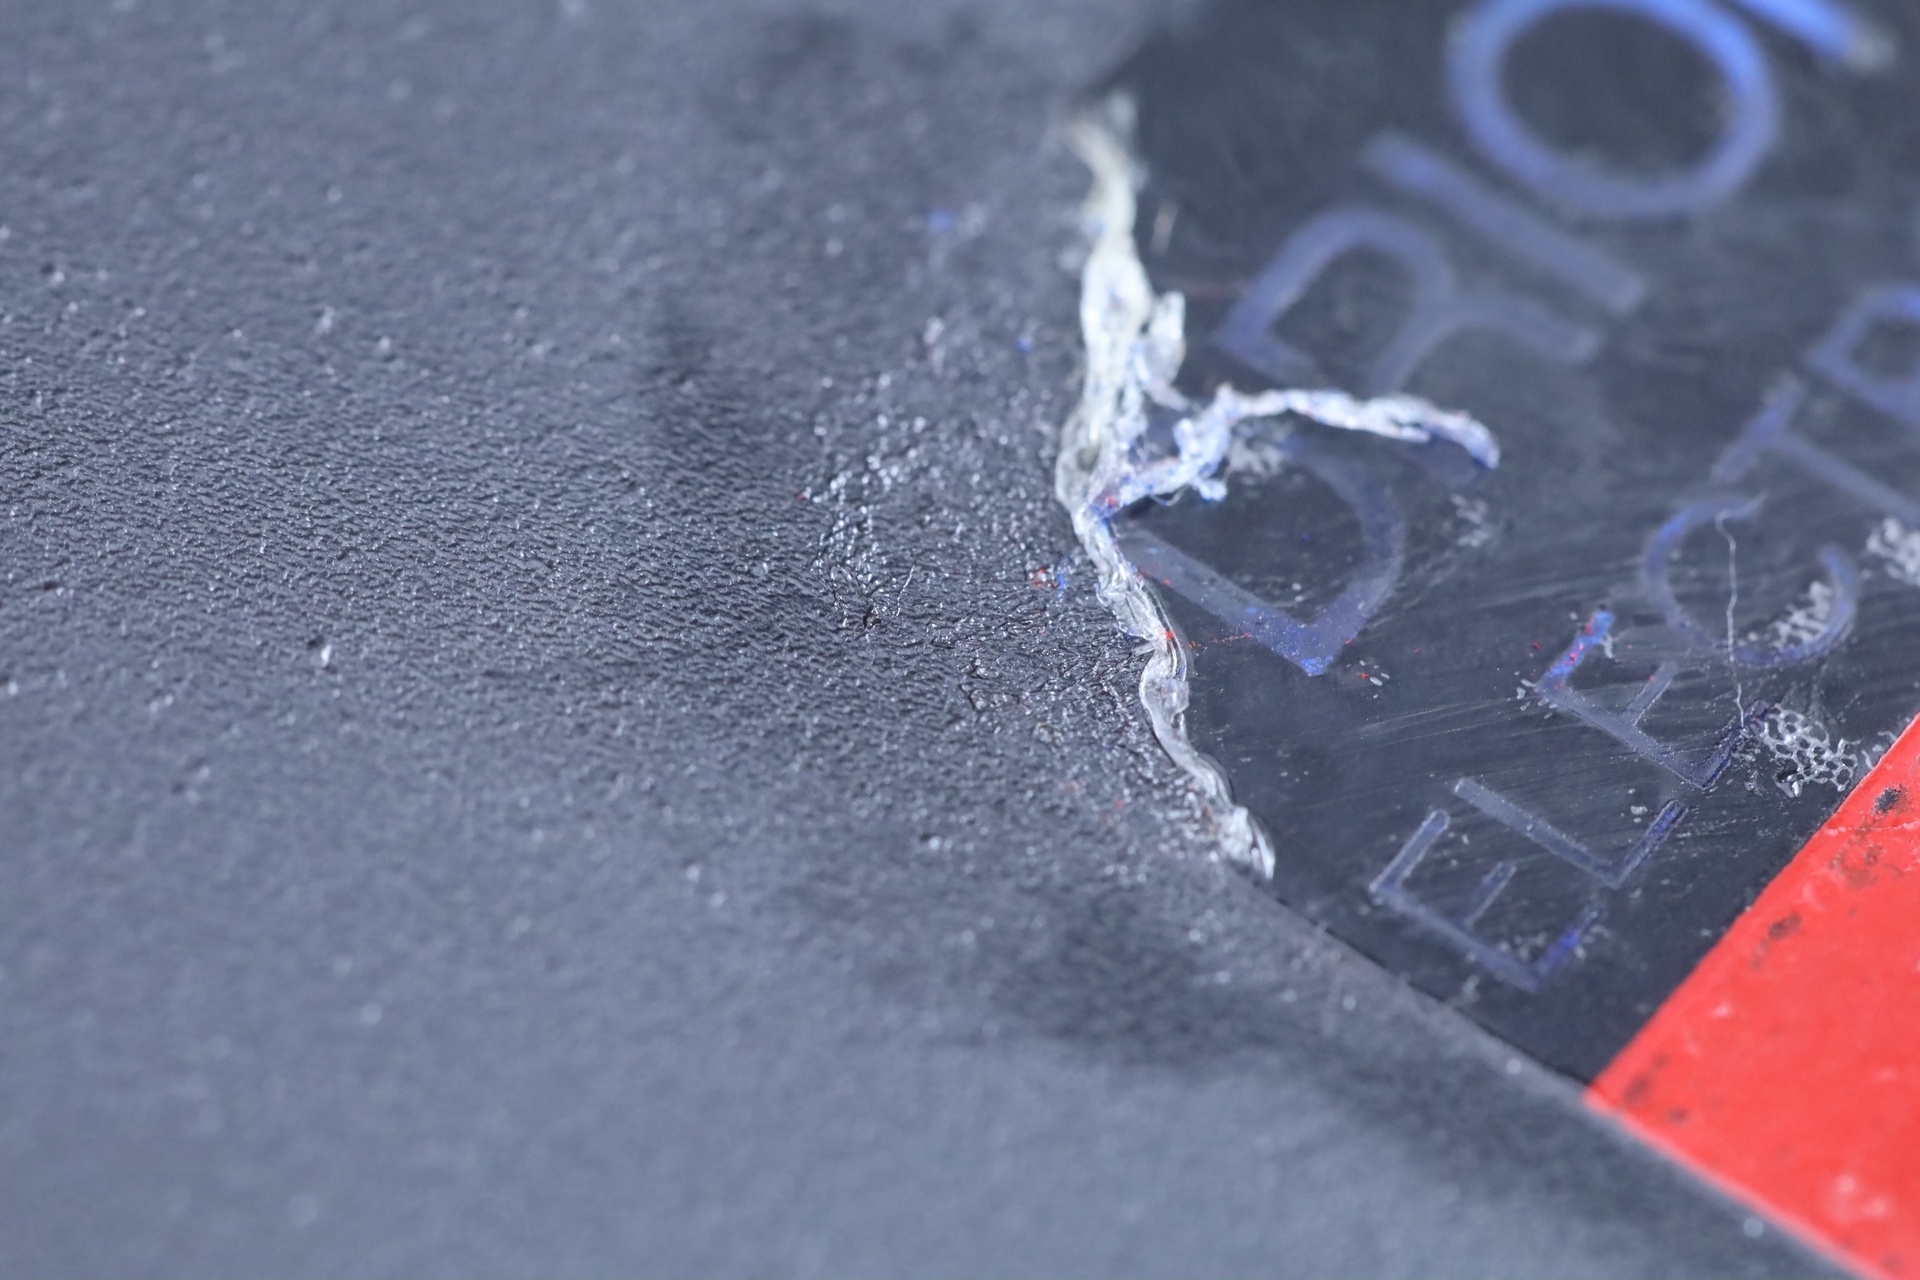
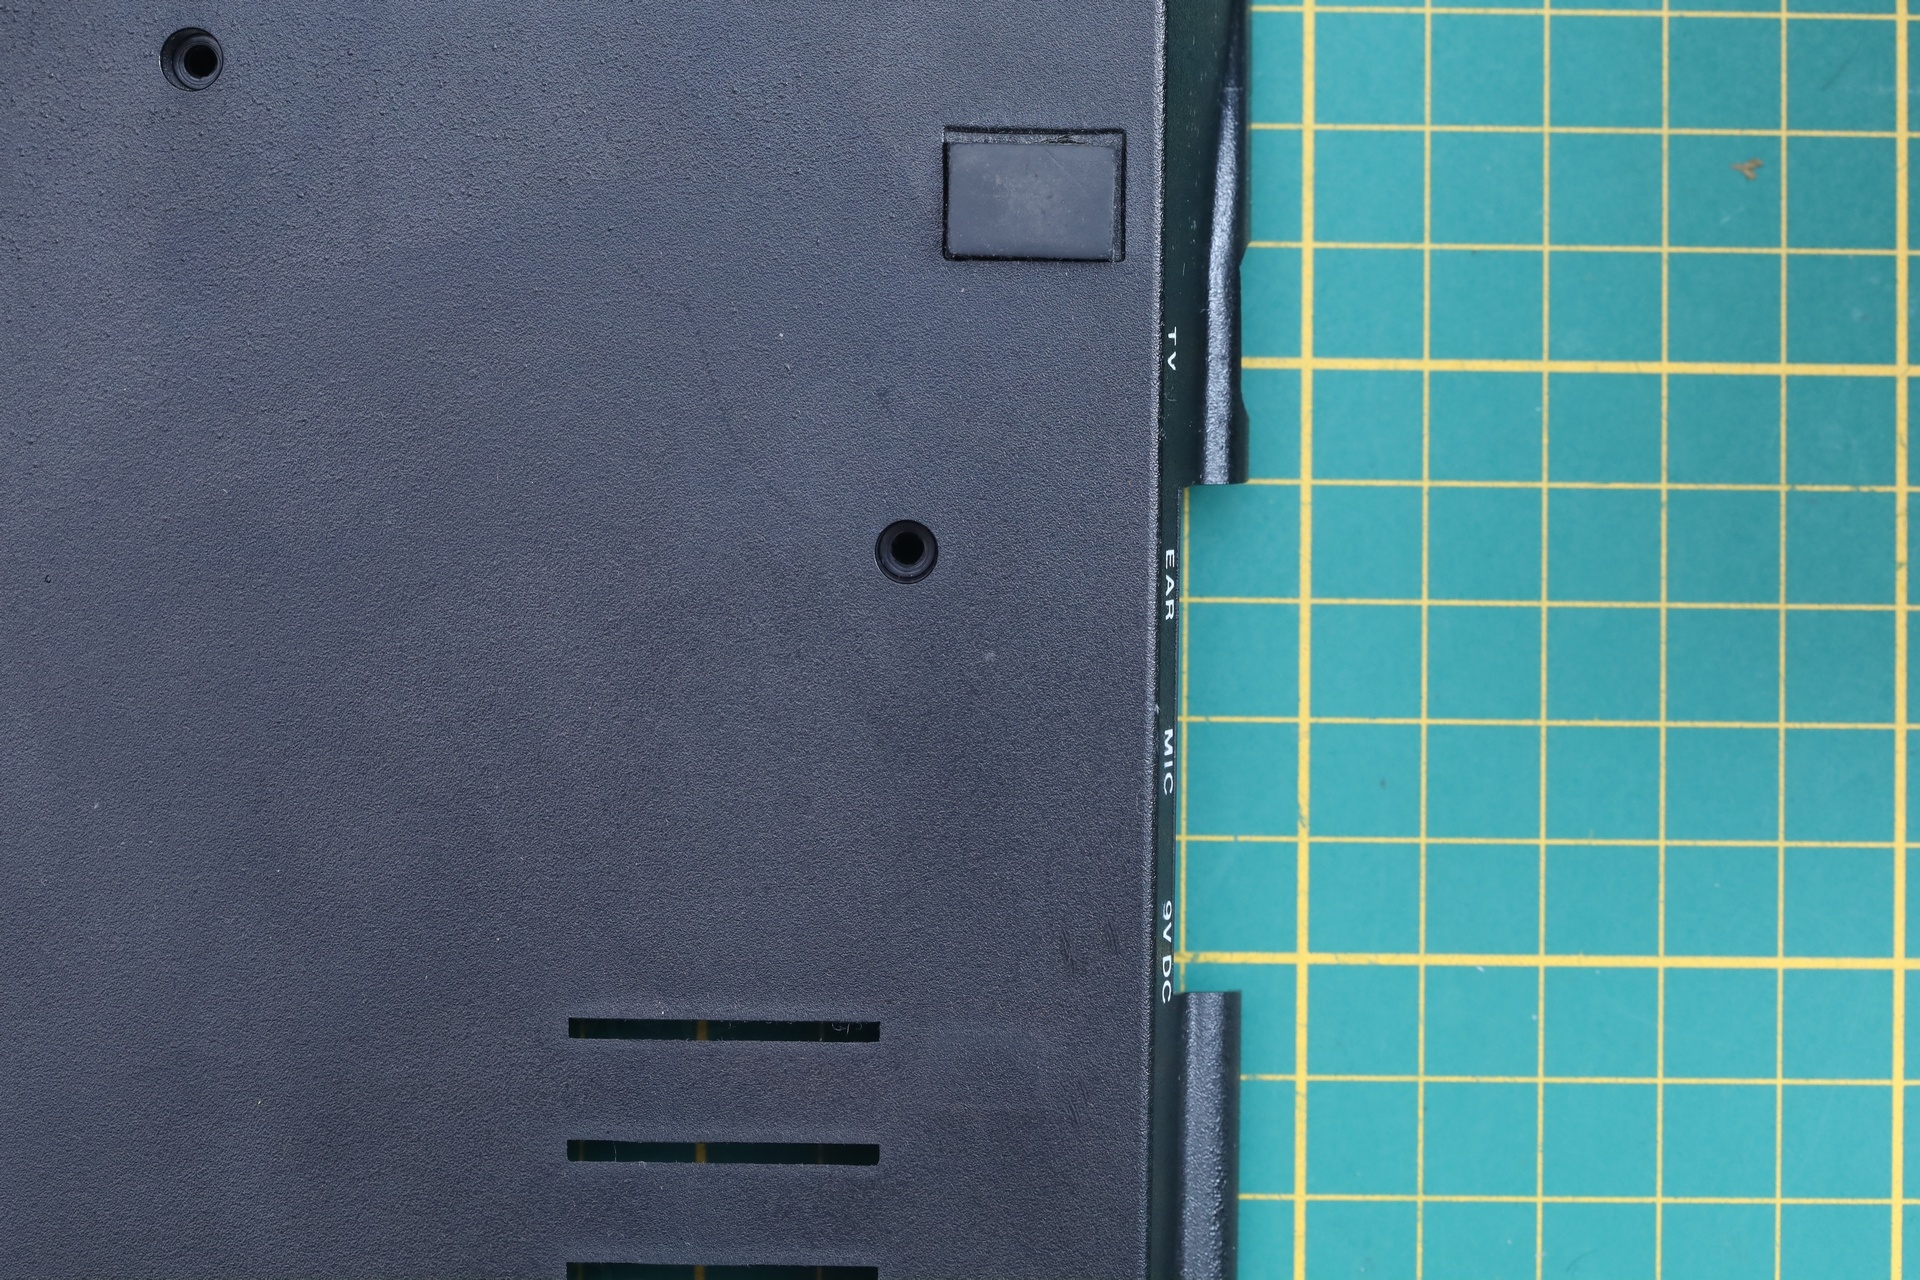
Before heading to check the power supply, I also went ahead and completely removed the sticker from the back of the computer. This was very very hard – even with copious amount of label remover as well as IPA. I didn’t want to create additional scratches on the case and had to use fingernail to scrape it…
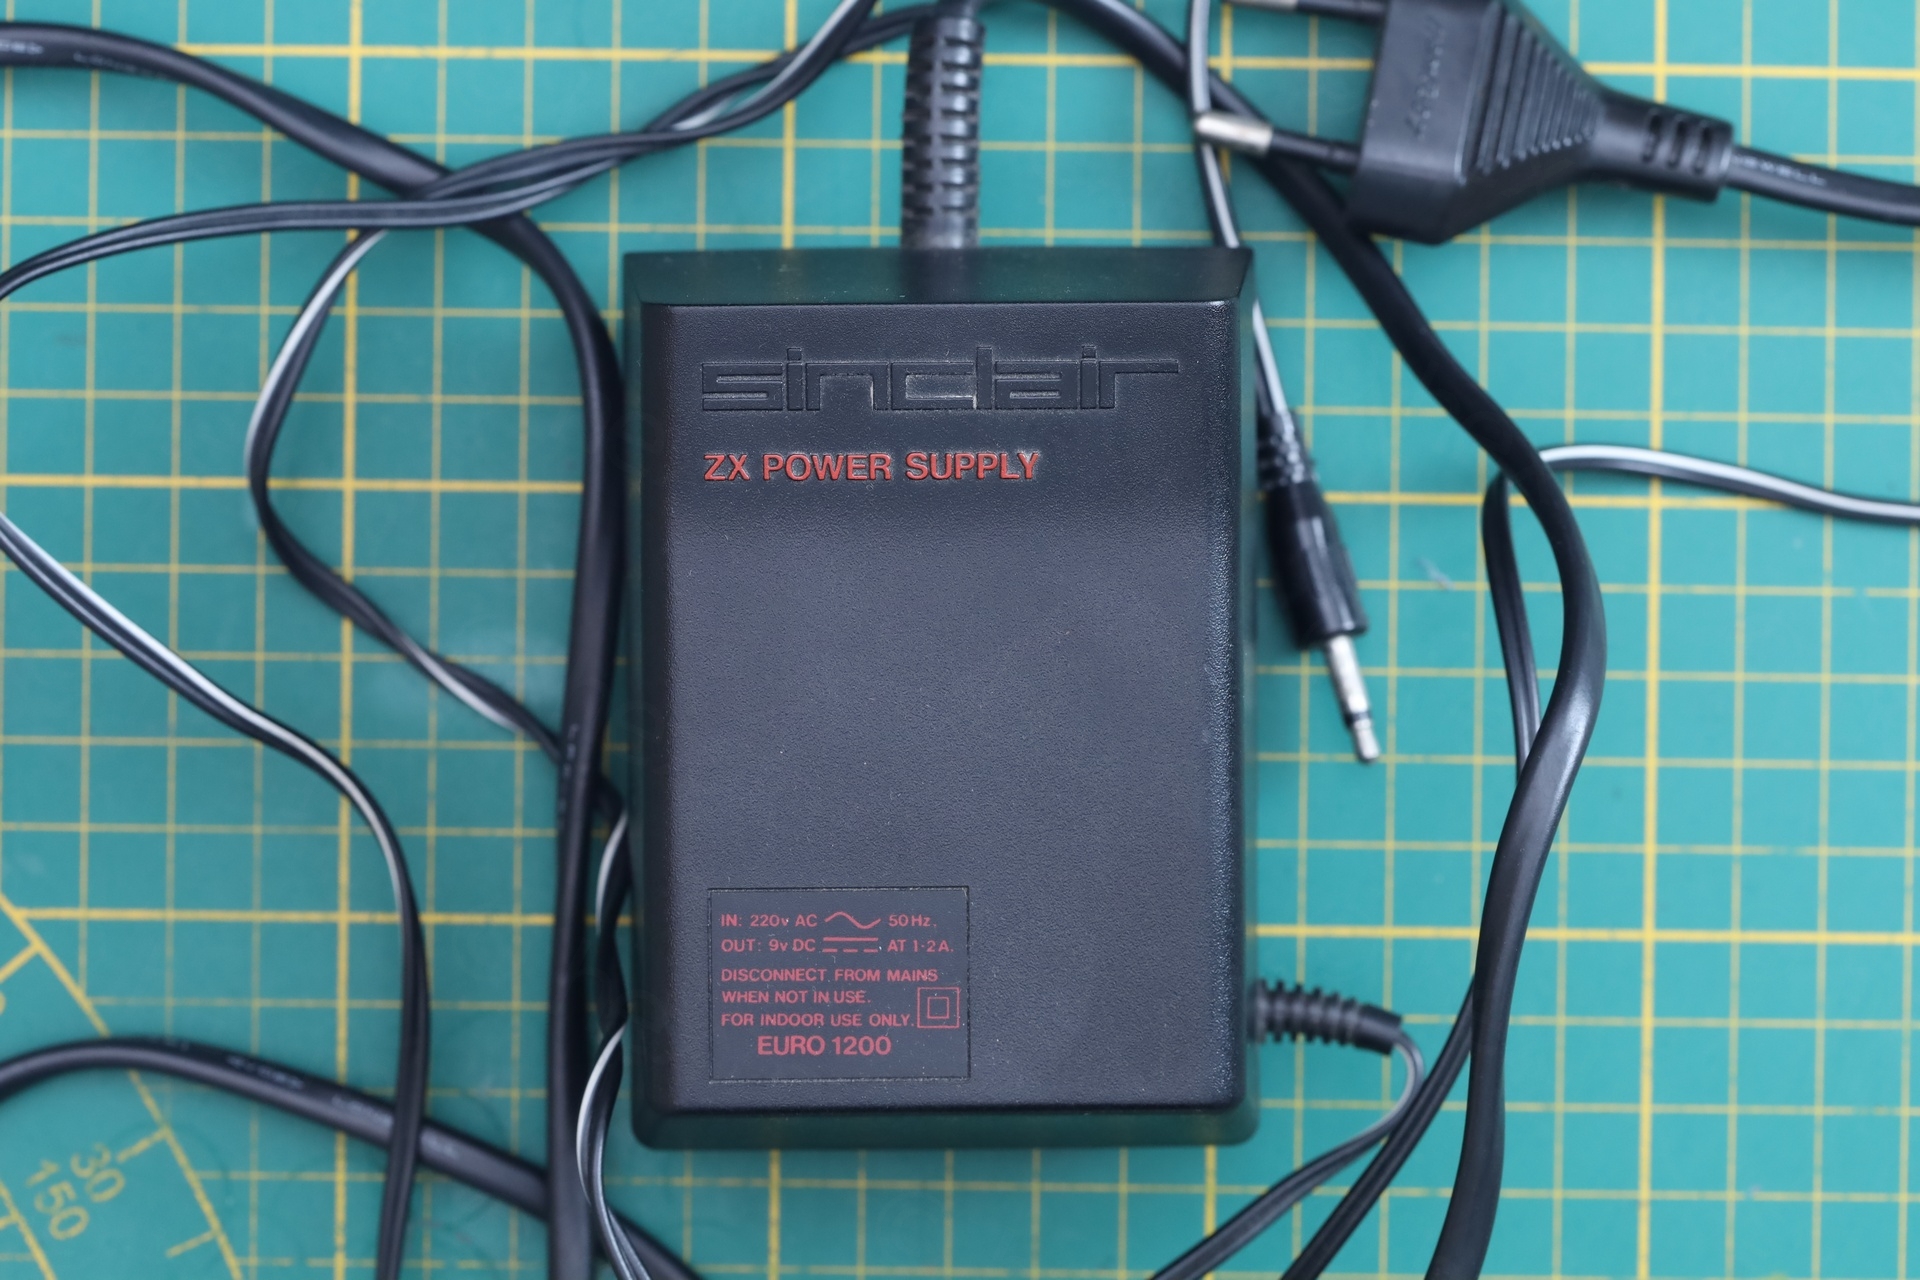
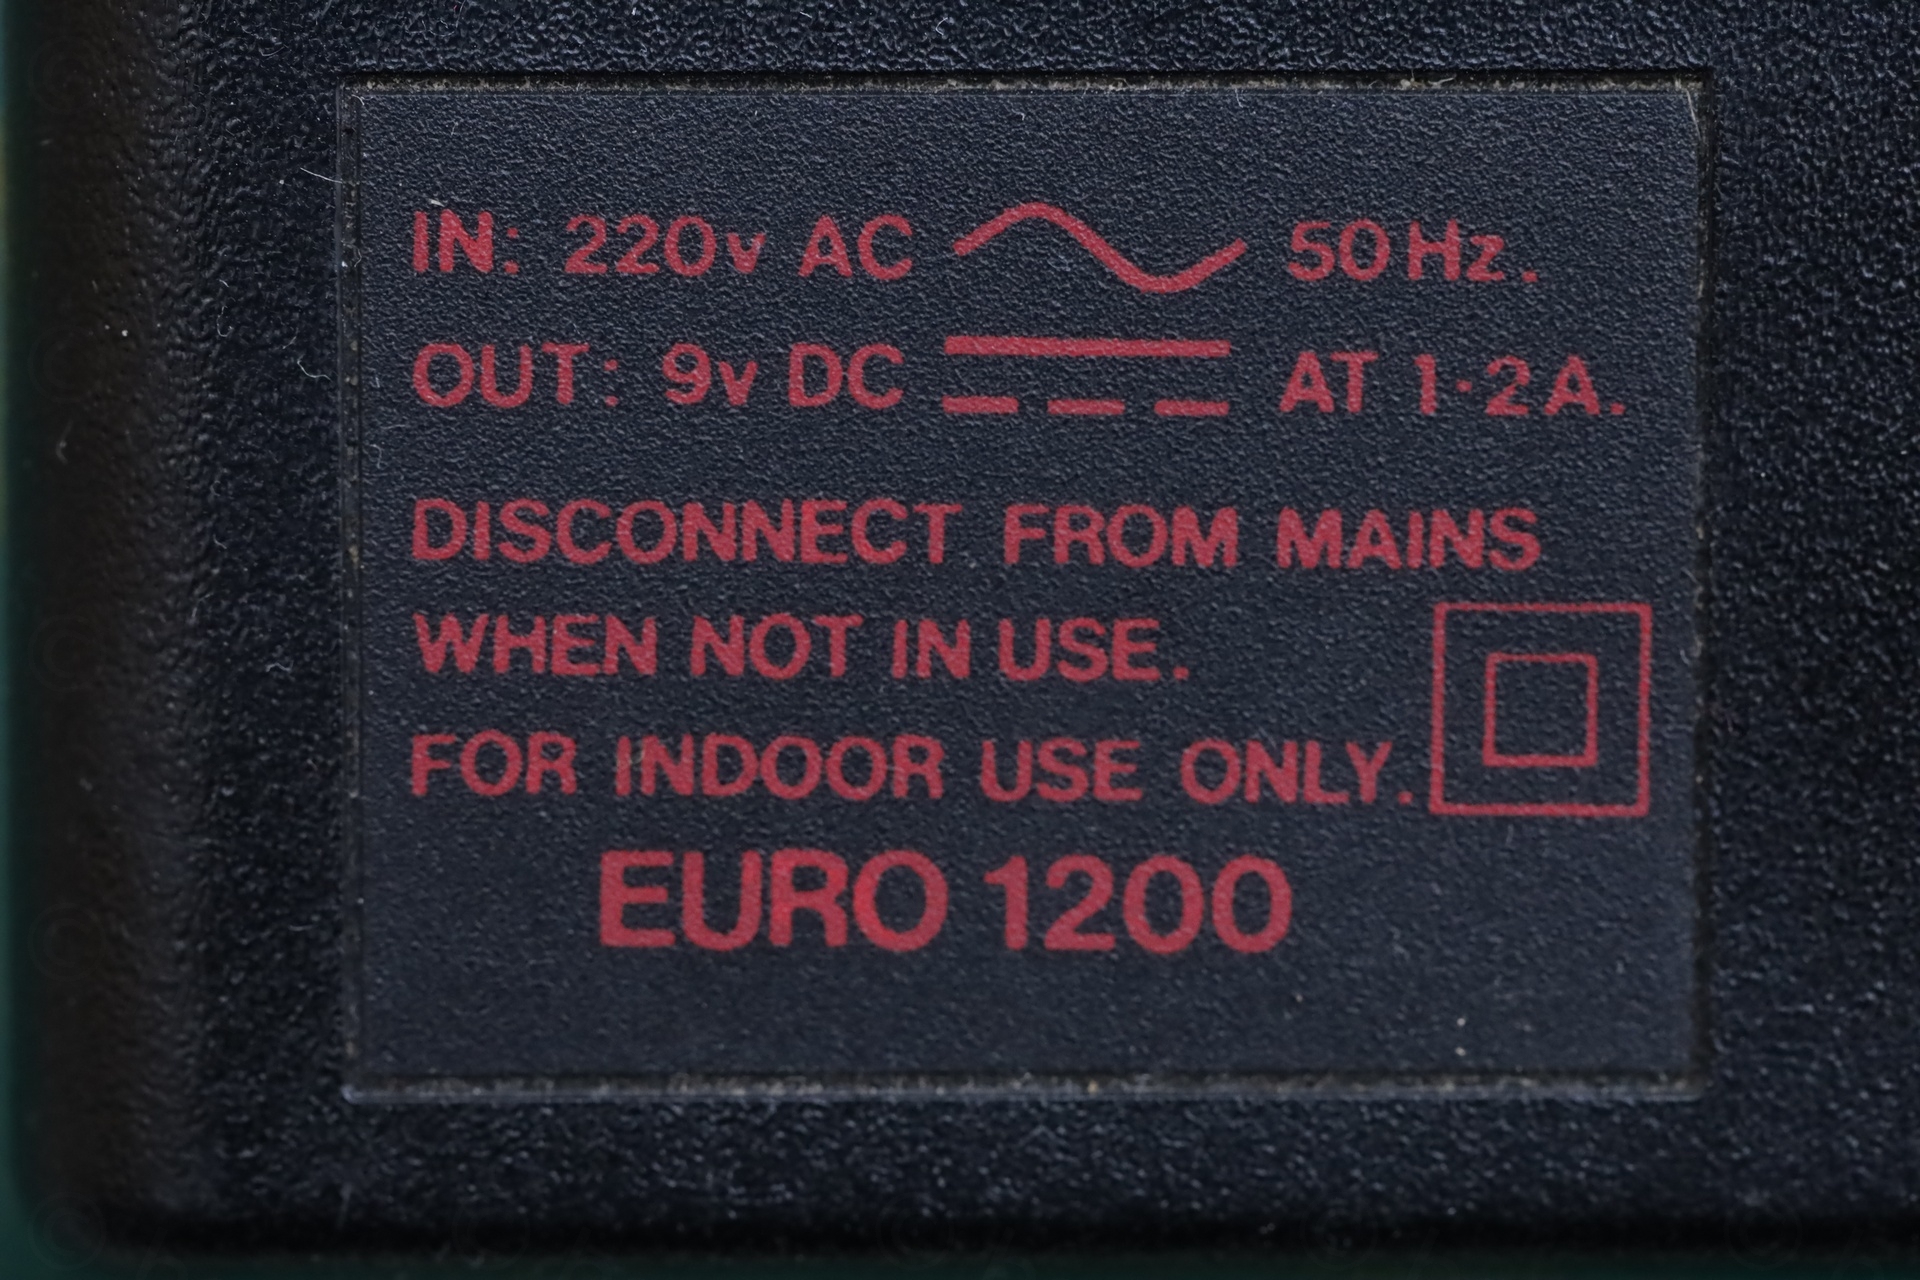
EURO 1200 Power Supply – Clunk Clunk ?
[this section involves working with mains voltage which is very dangerous; if you try to replicate this, please make sure you understand the risks you take.]
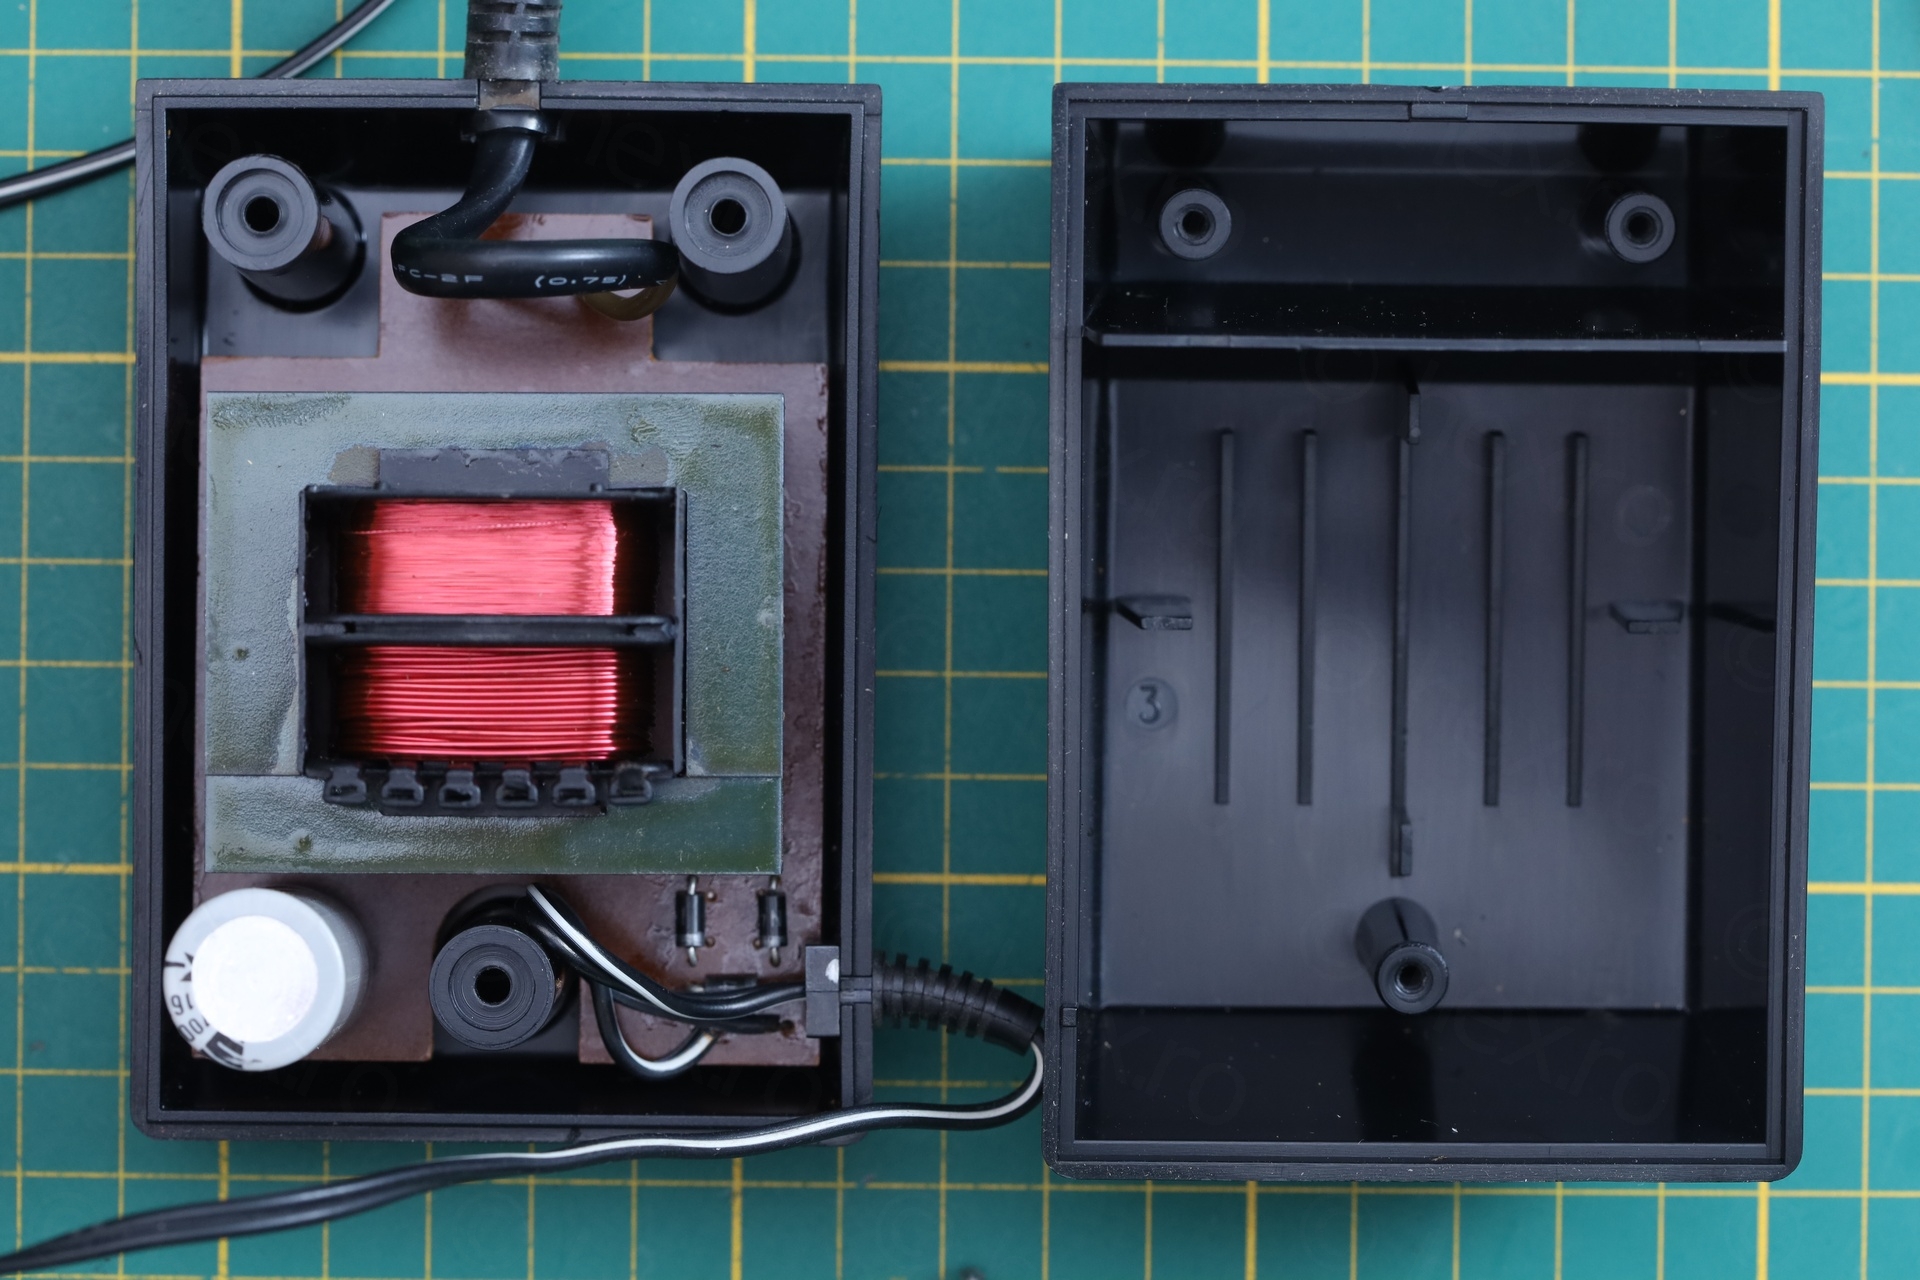
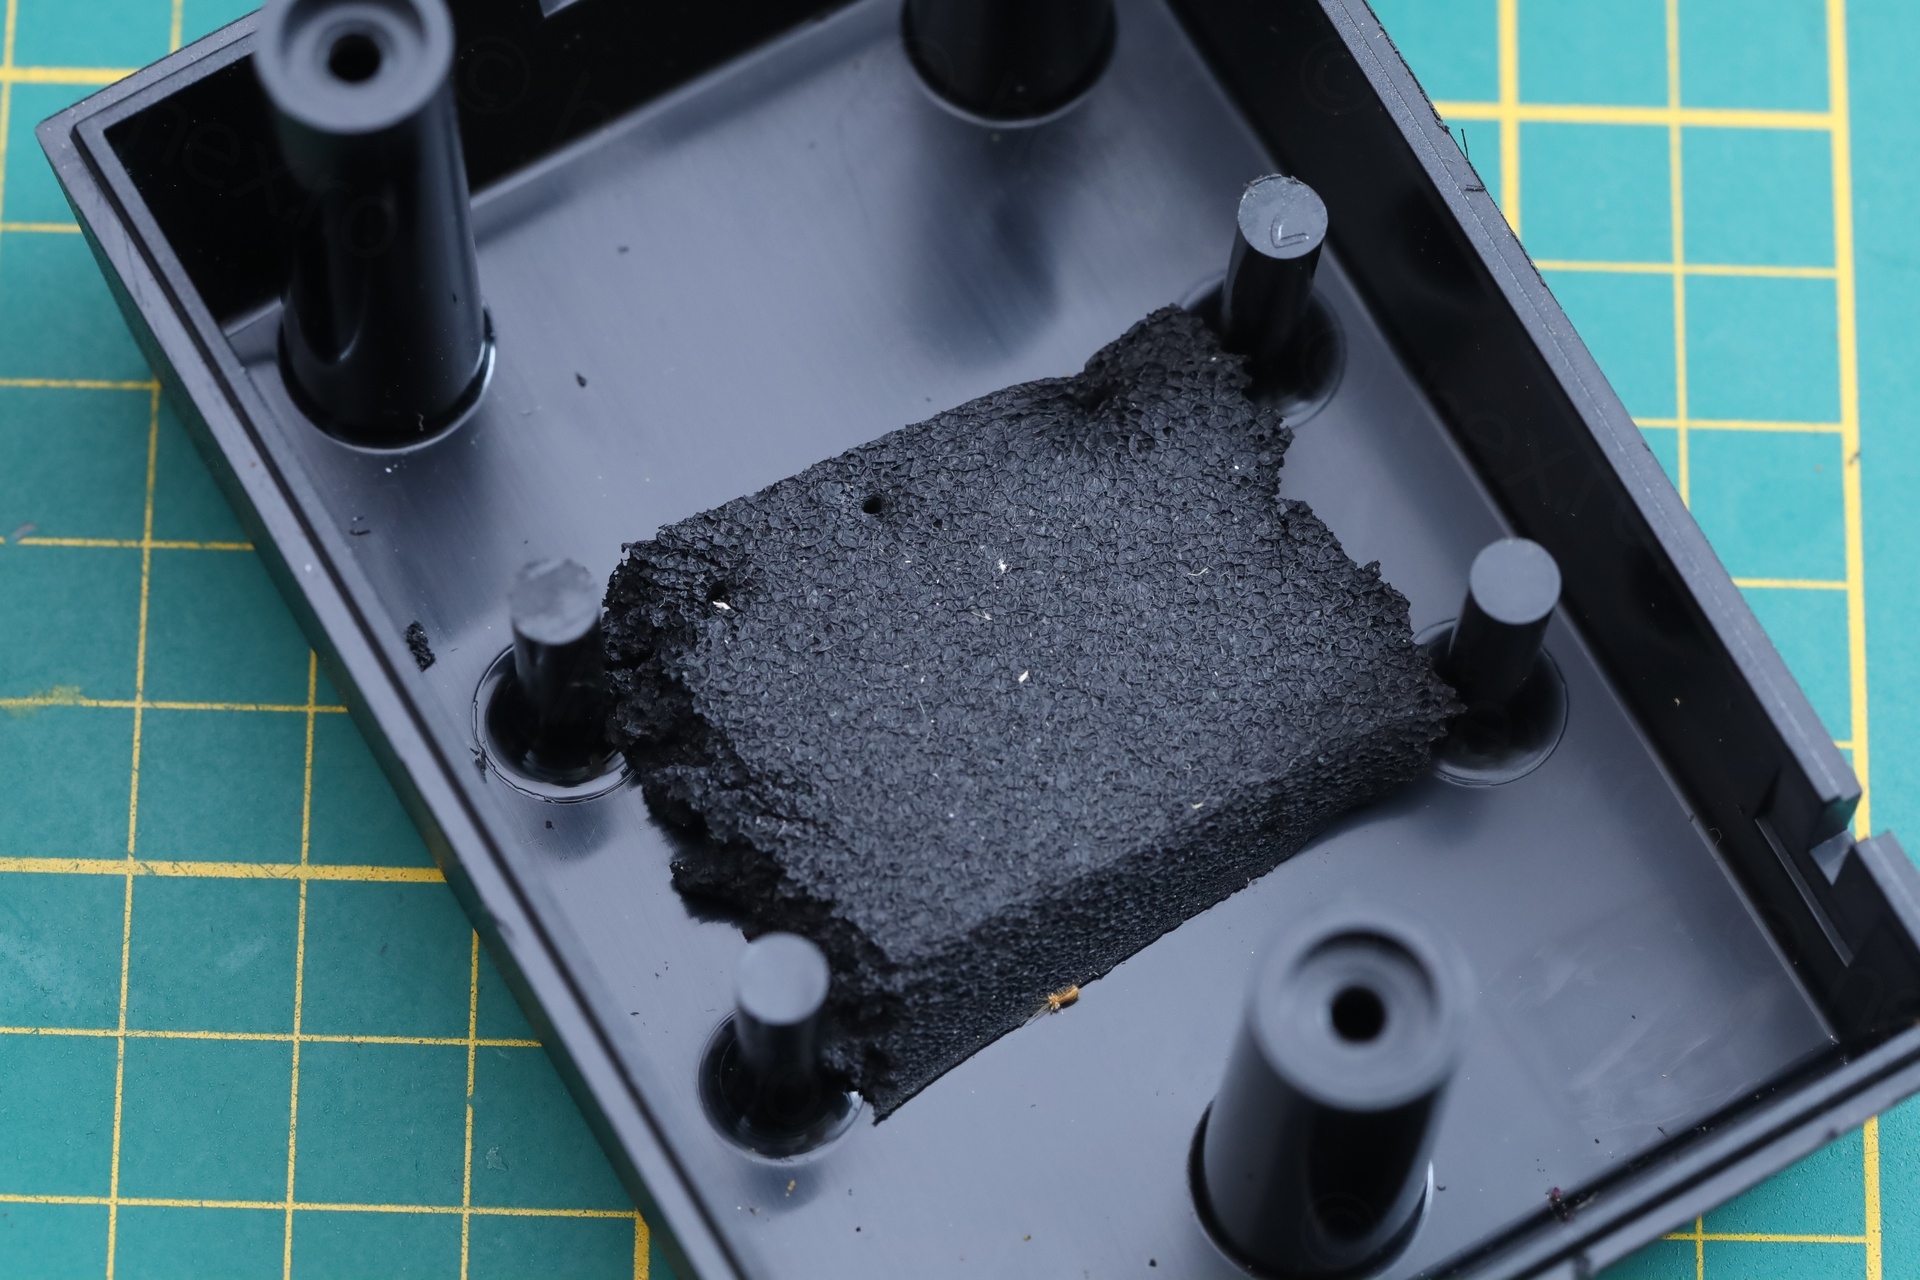
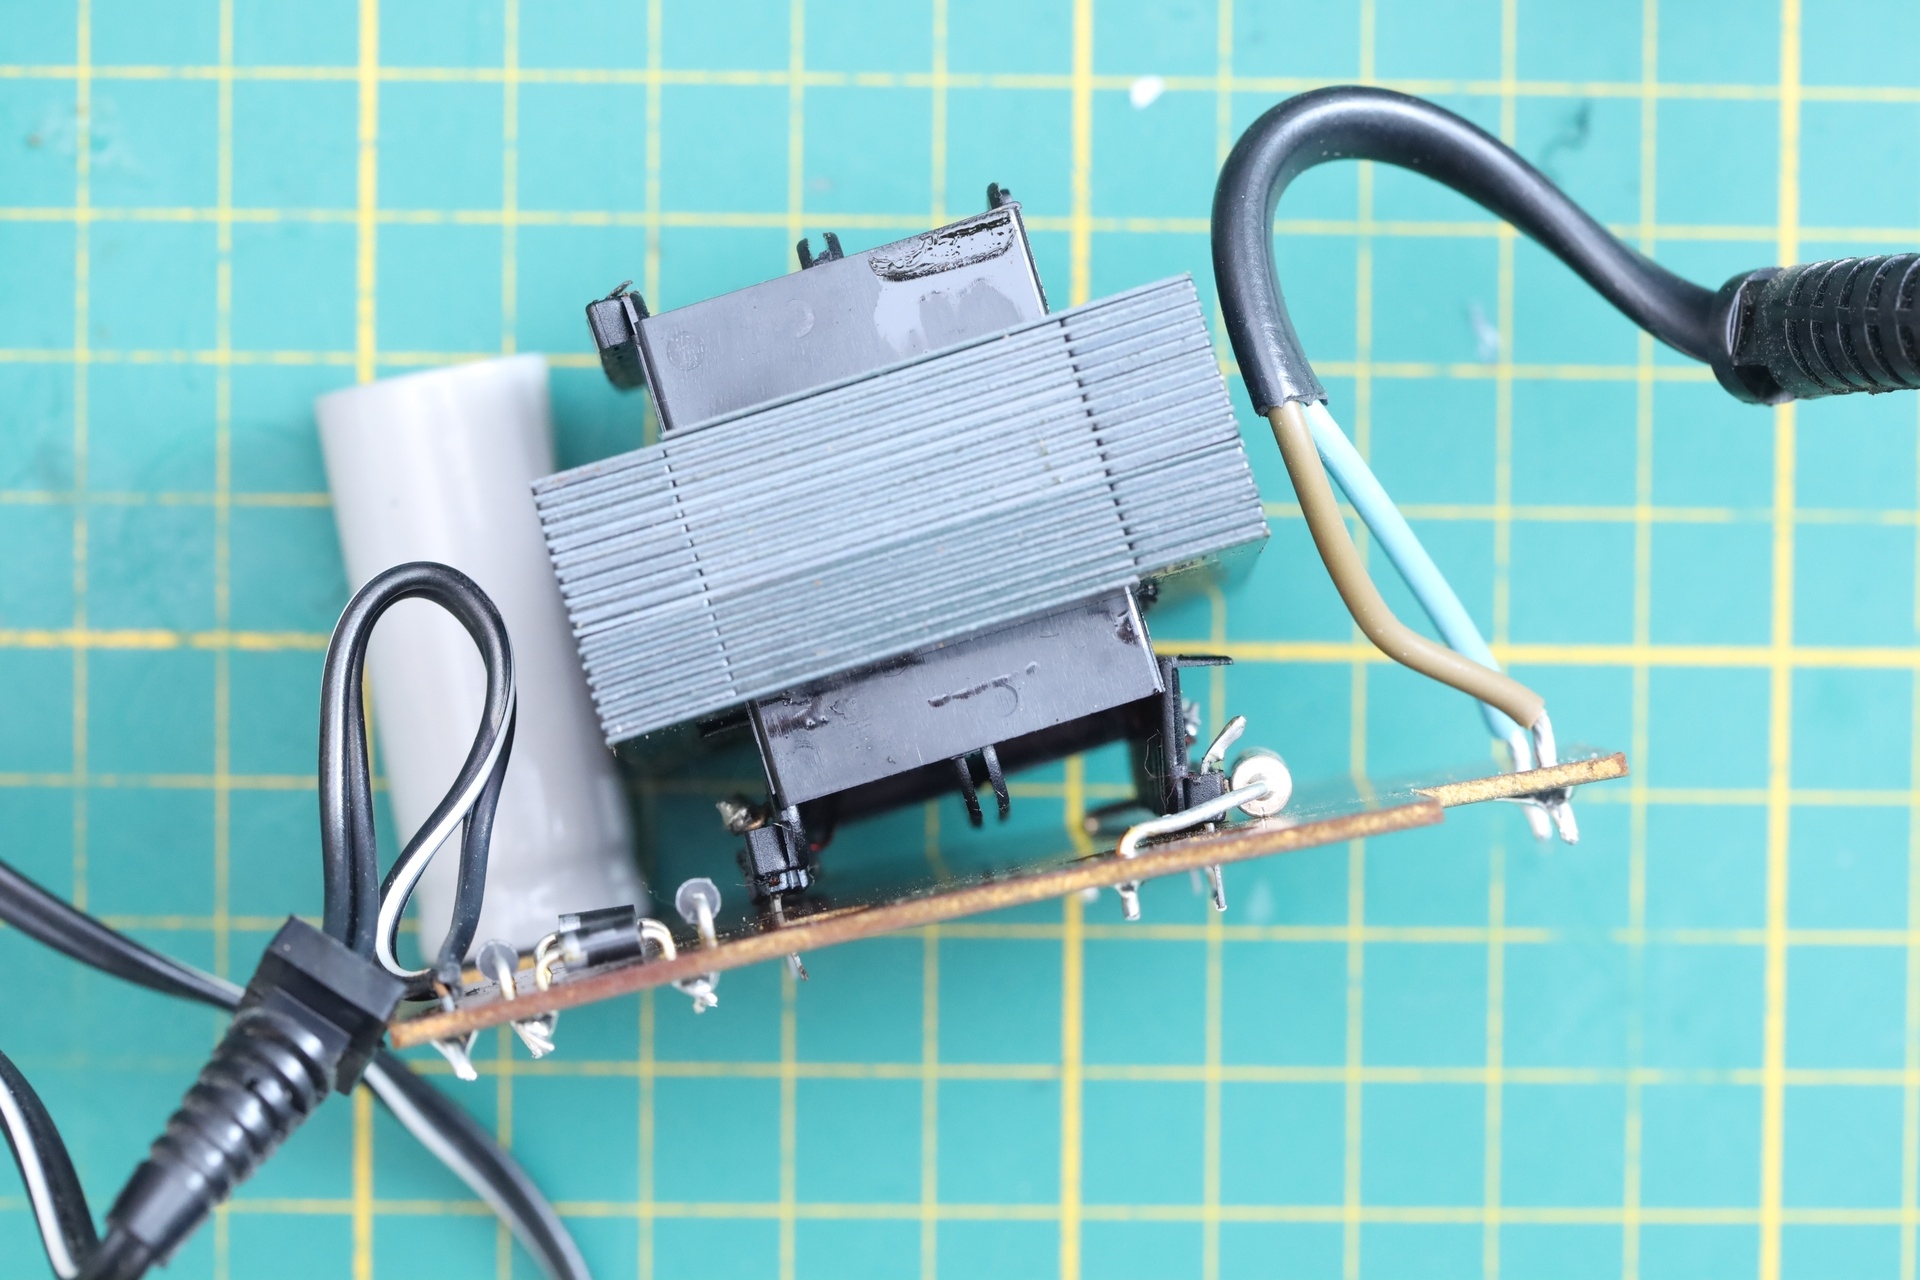
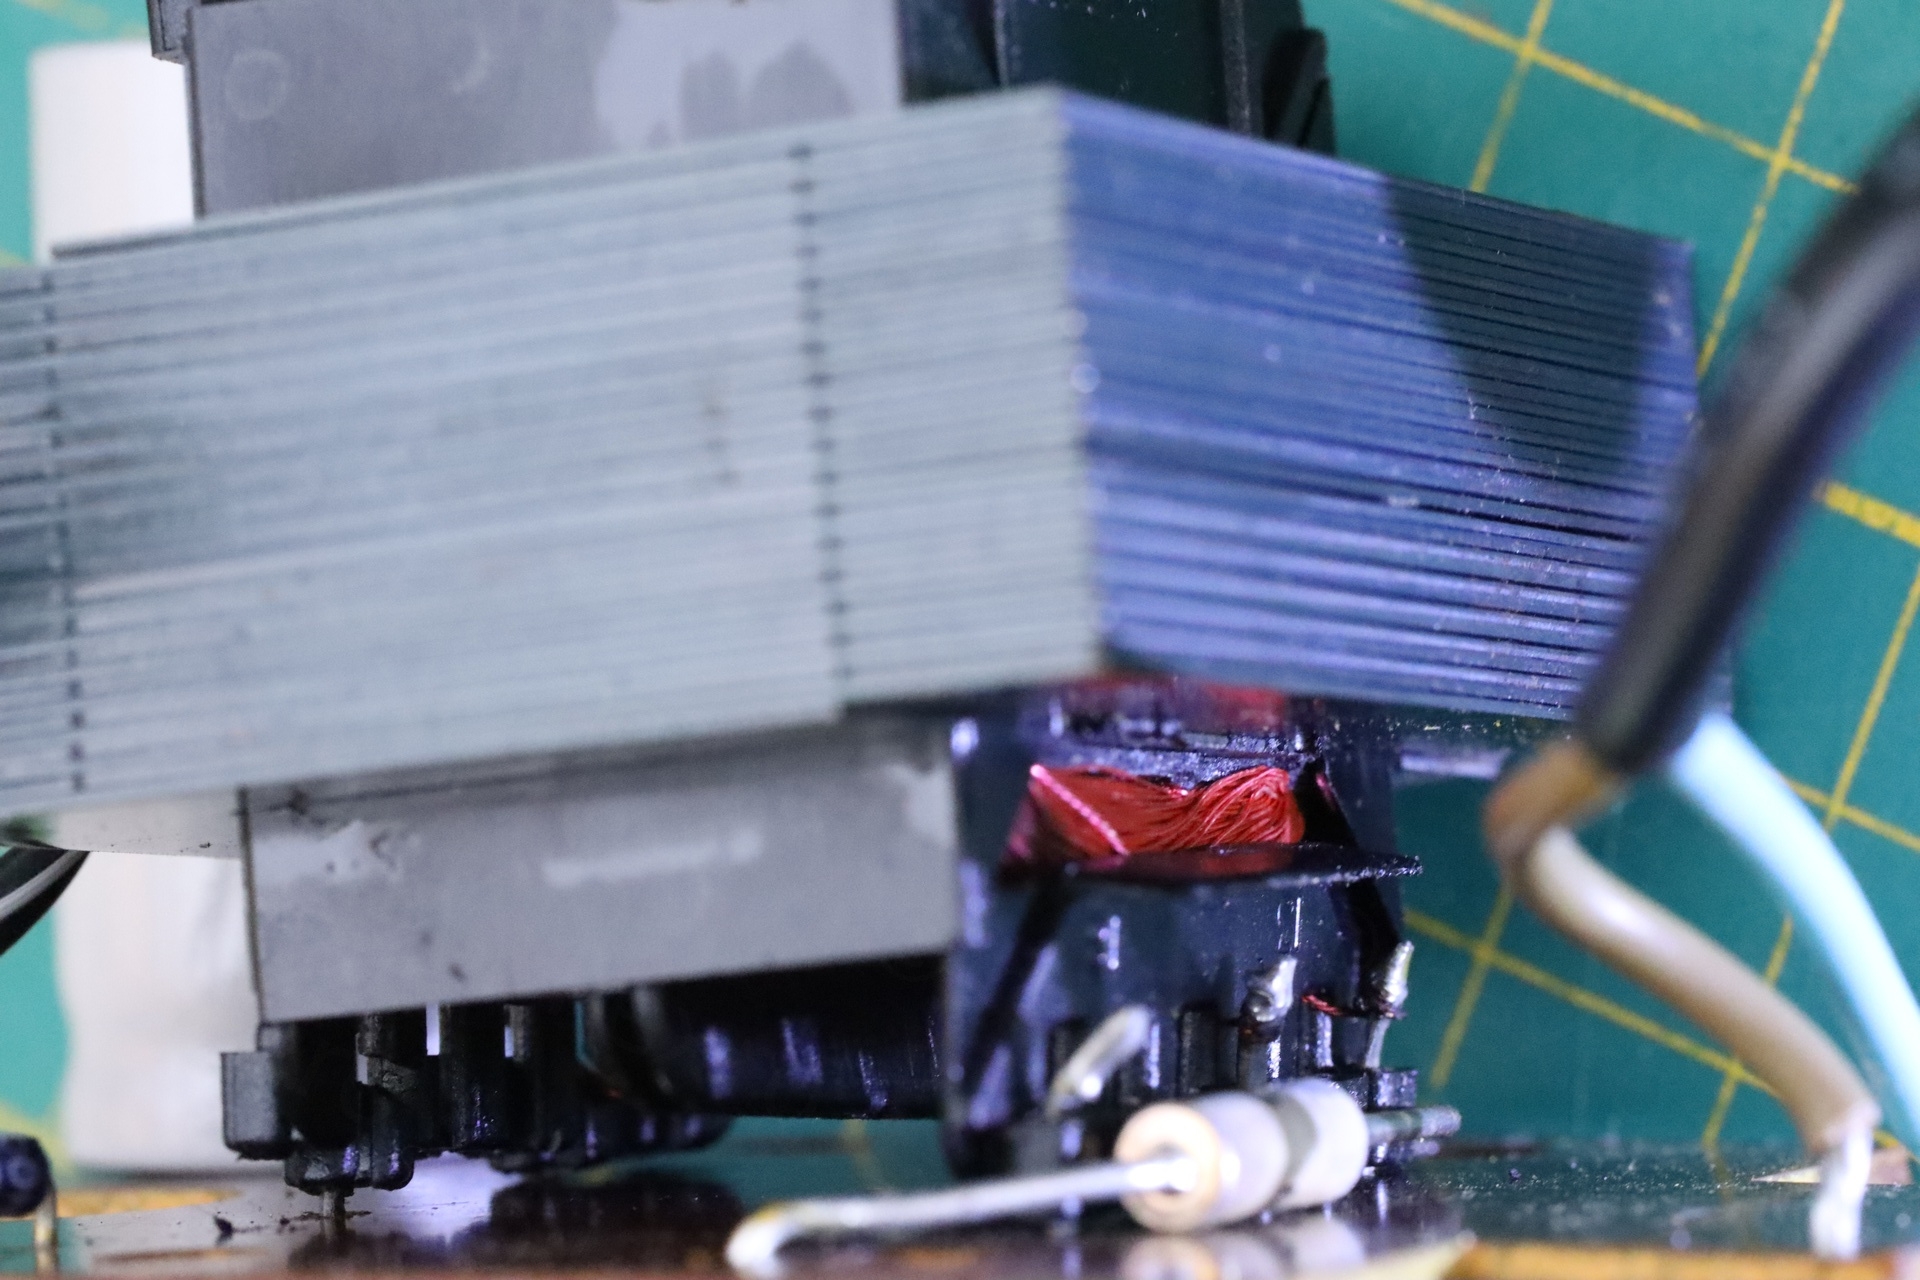
I took apart the Power Supply and some things struck me odd about it: it was lacking a neoprene support between the top of the transformer and the top of the case. I saw that in a different power supply, but this one didn’t have it. There was some neoprene (or whatever is called) at the bottom, under the circuit board.
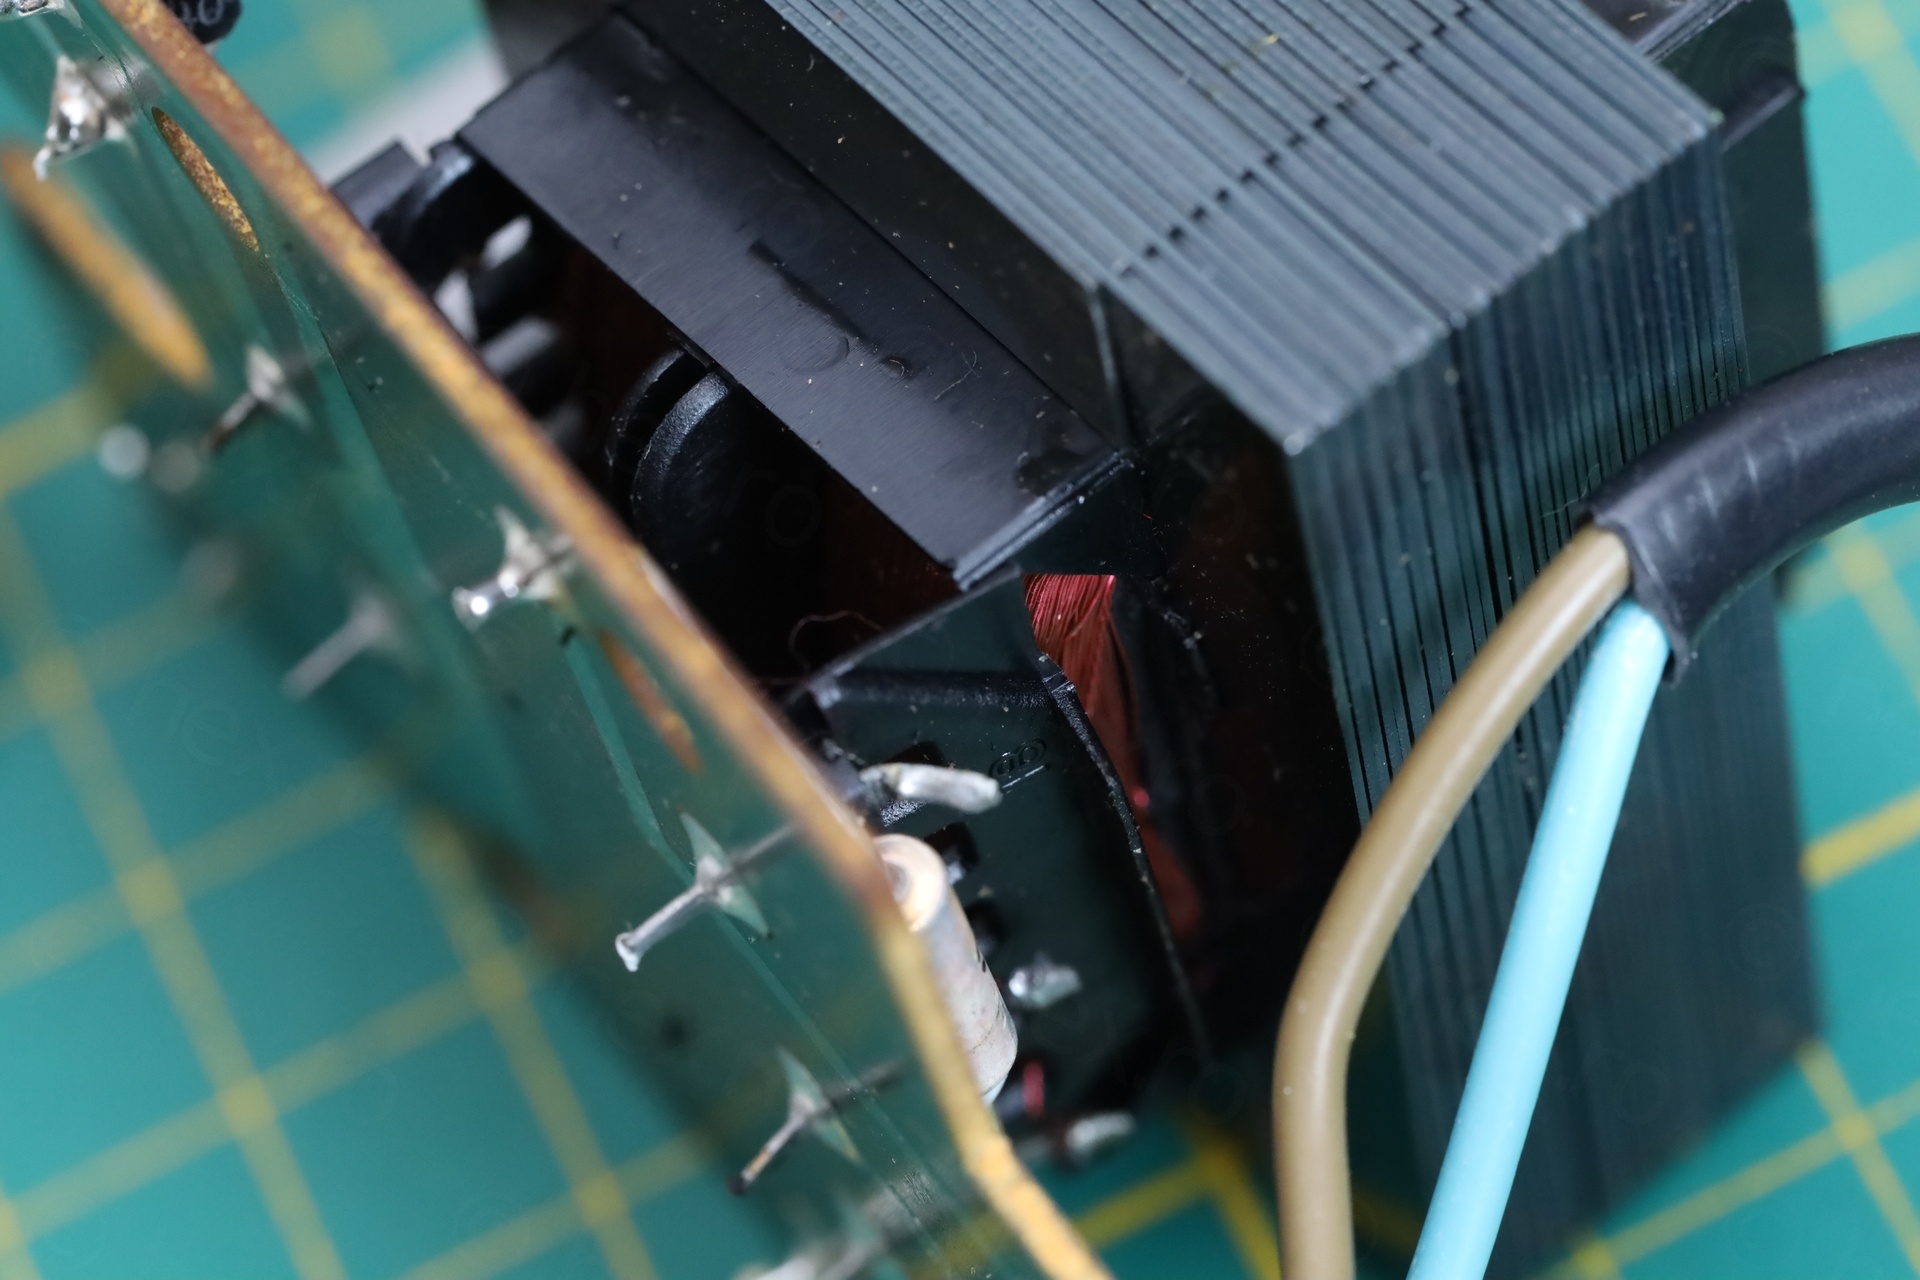
Without top support and due to handling, the thin plastic attaching the transformer to its pins snapped. Transformer was wiggly and was hitting the capacitor.
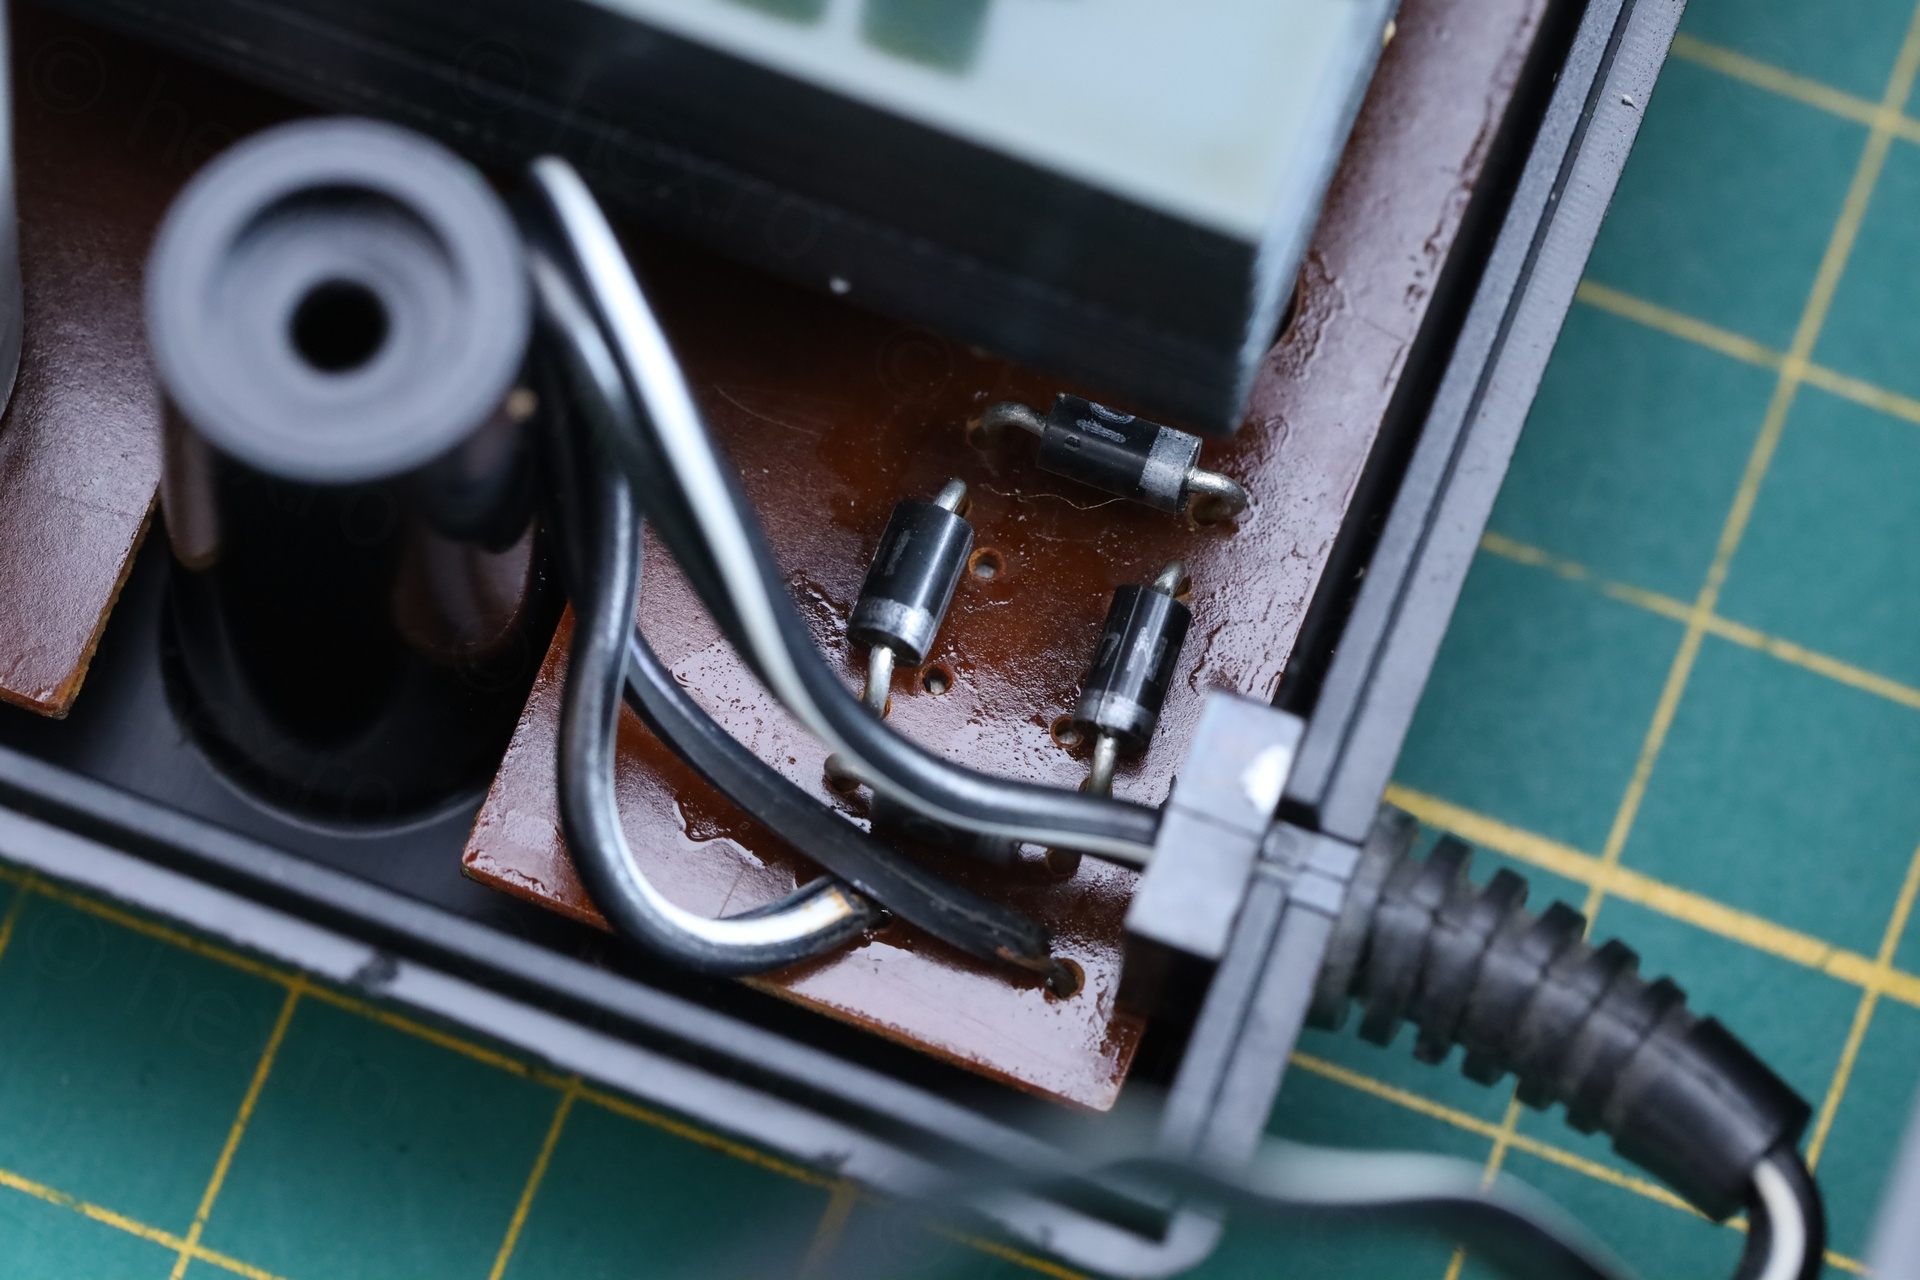
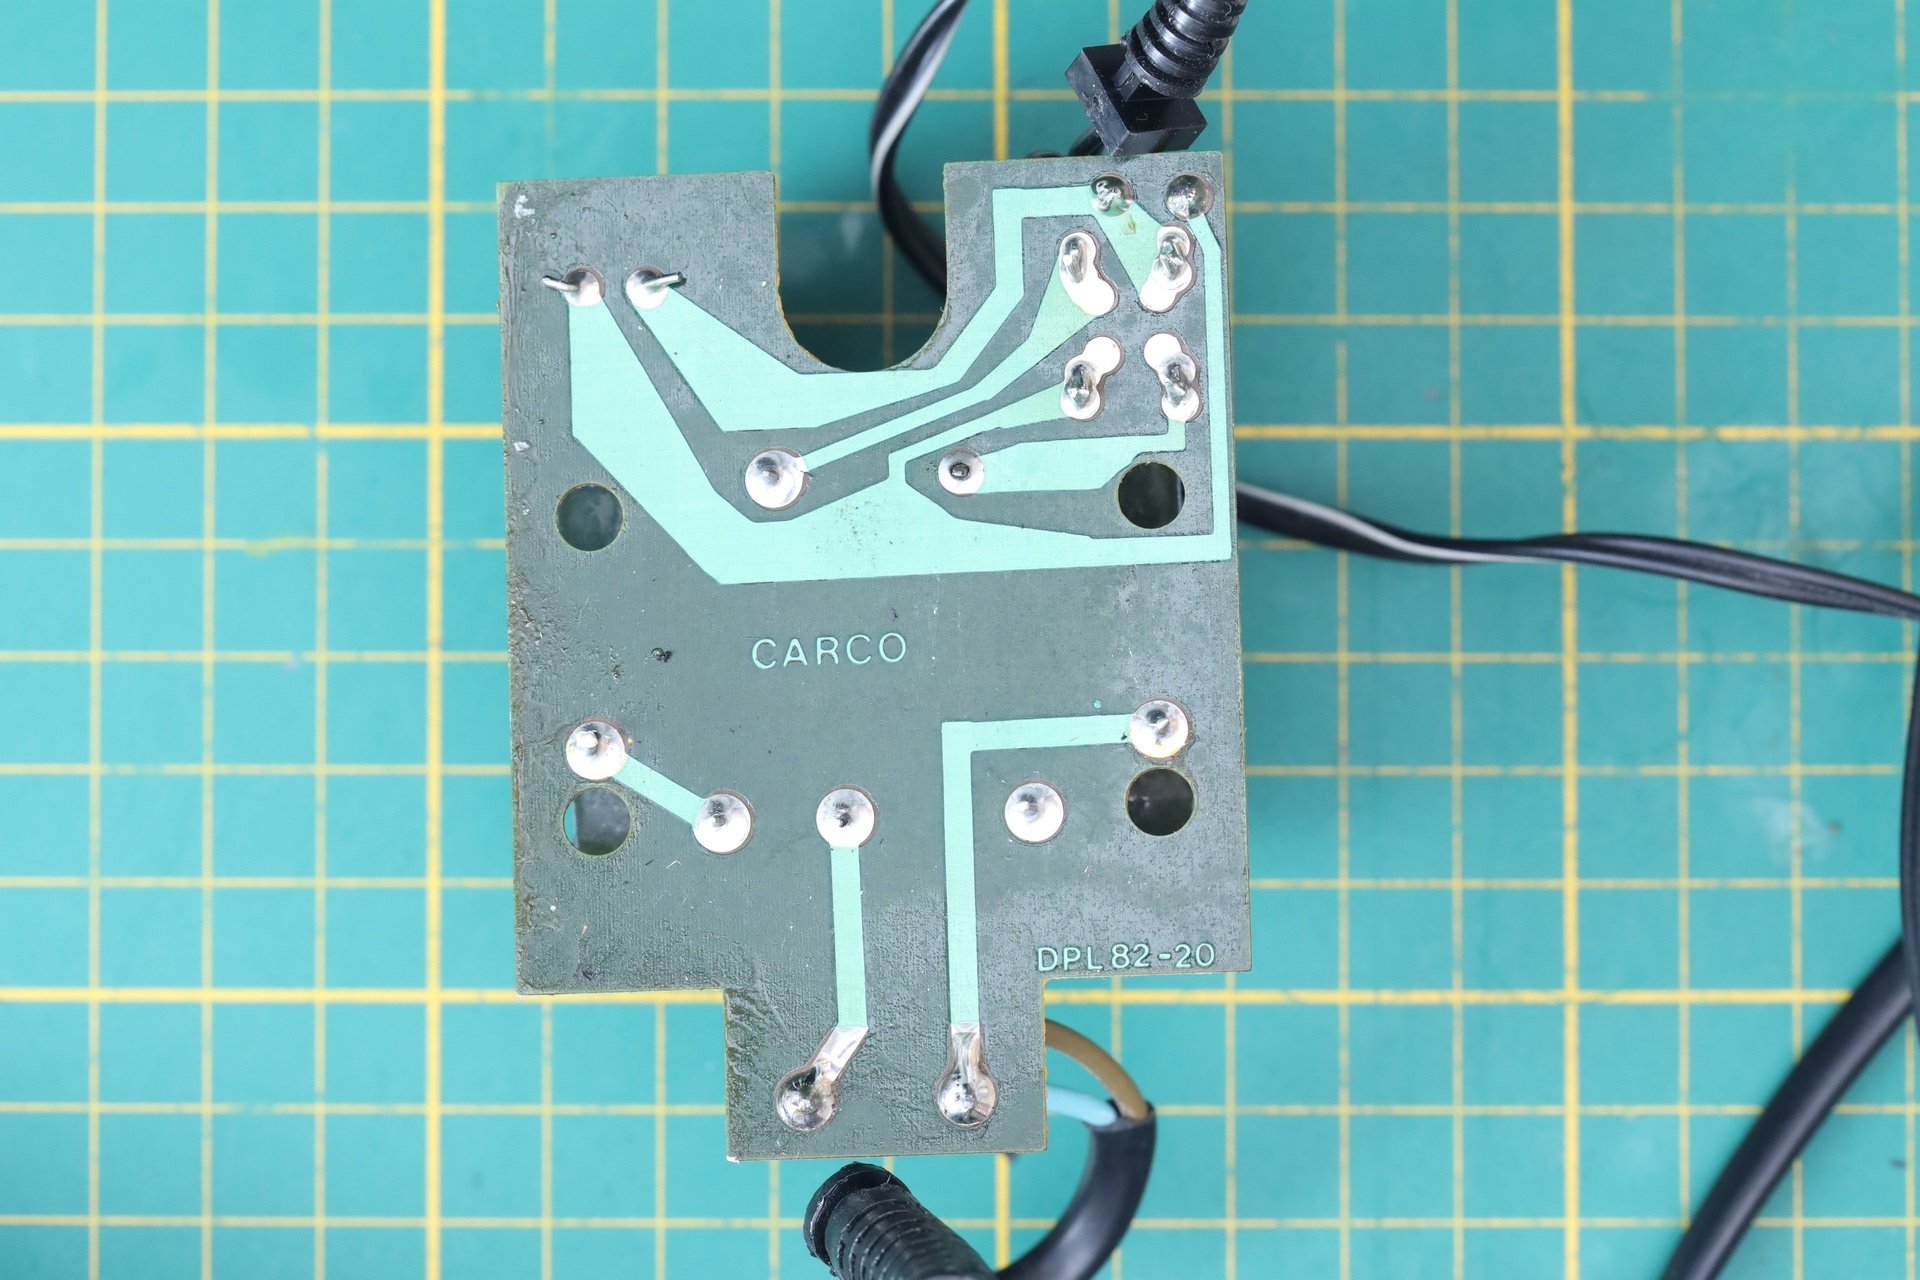
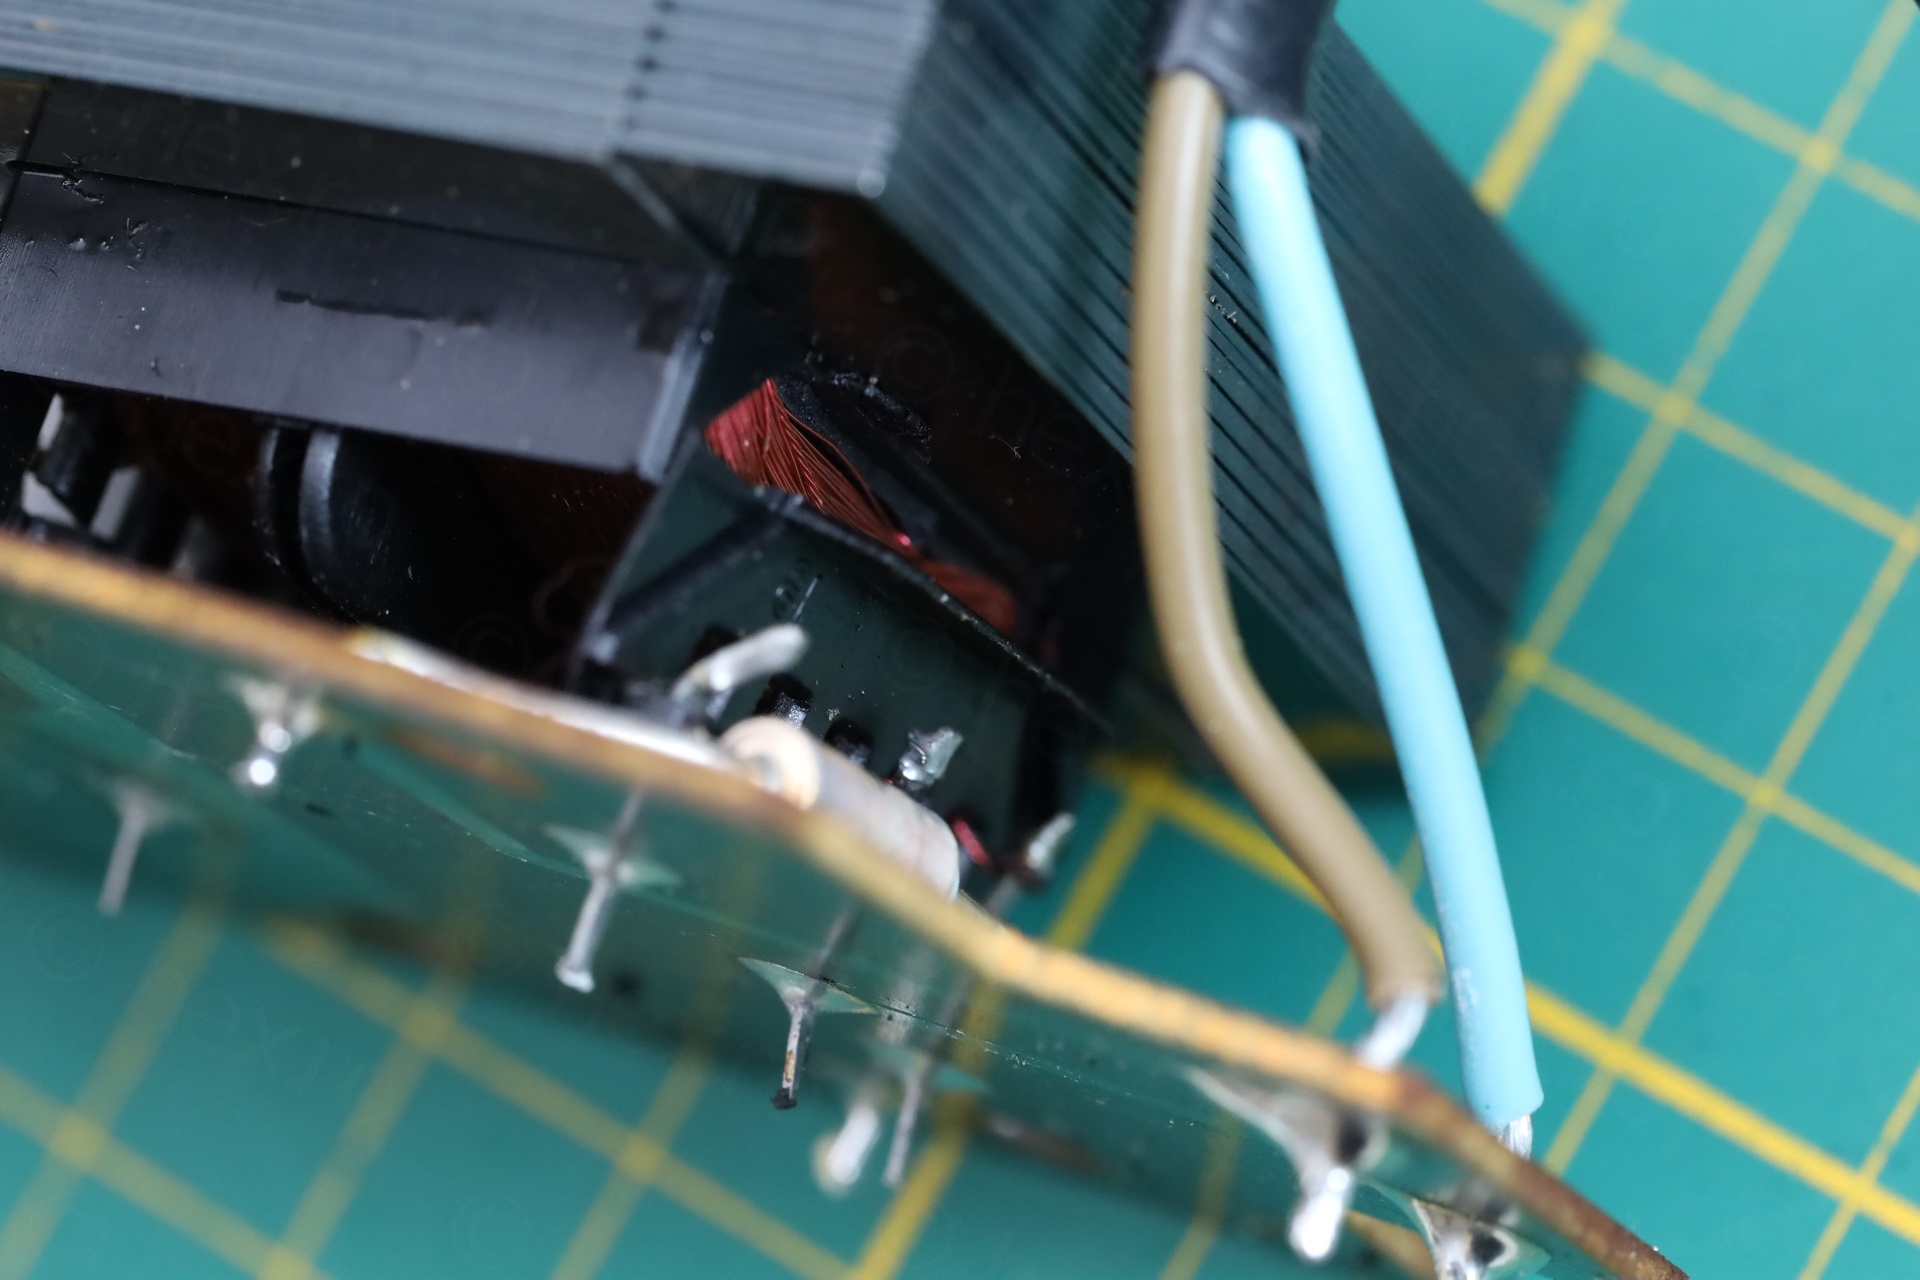
Additionally, due to movement, one of the transformer pins got de-soldered and stopped making connection:
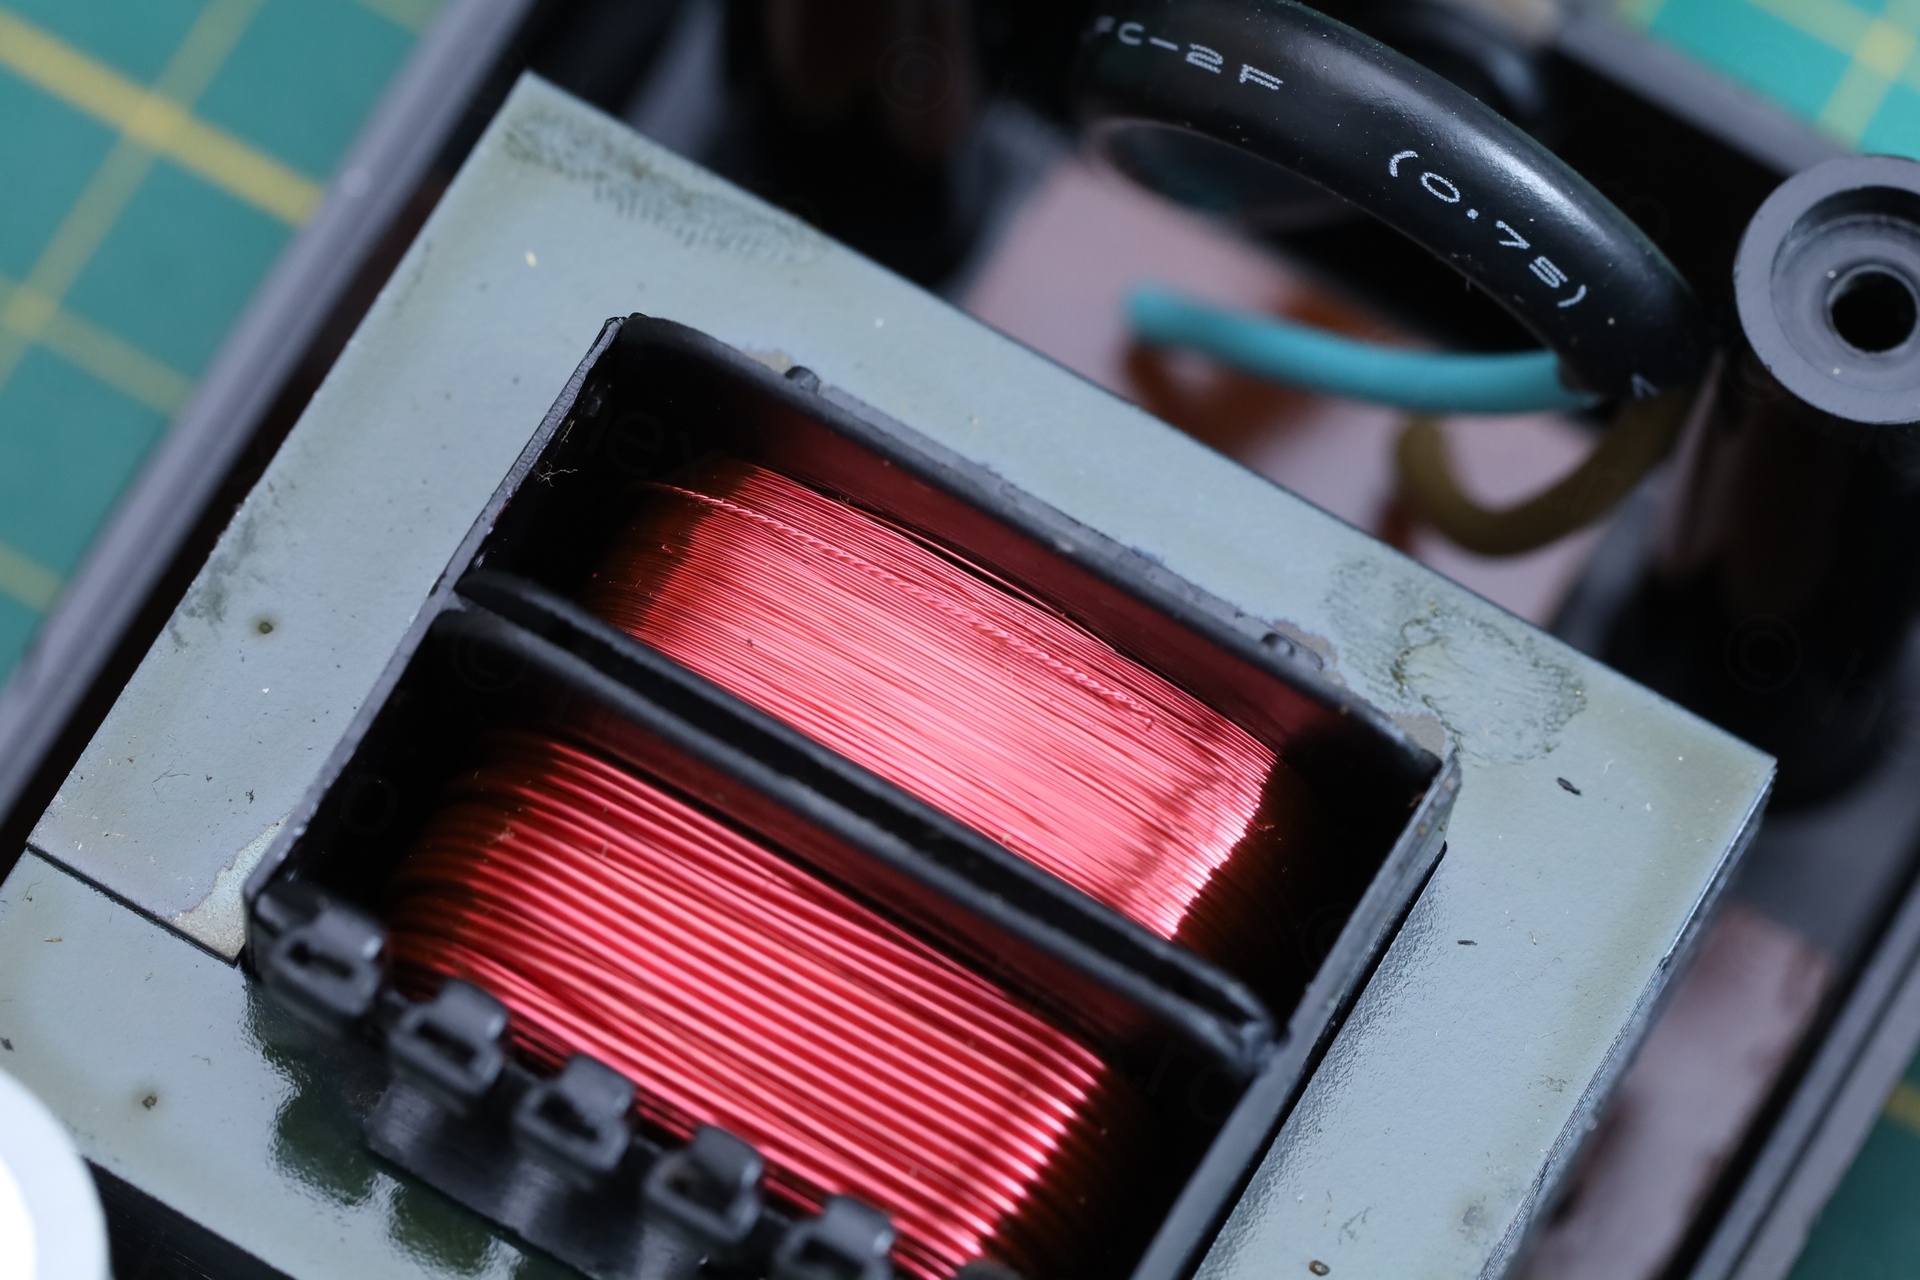
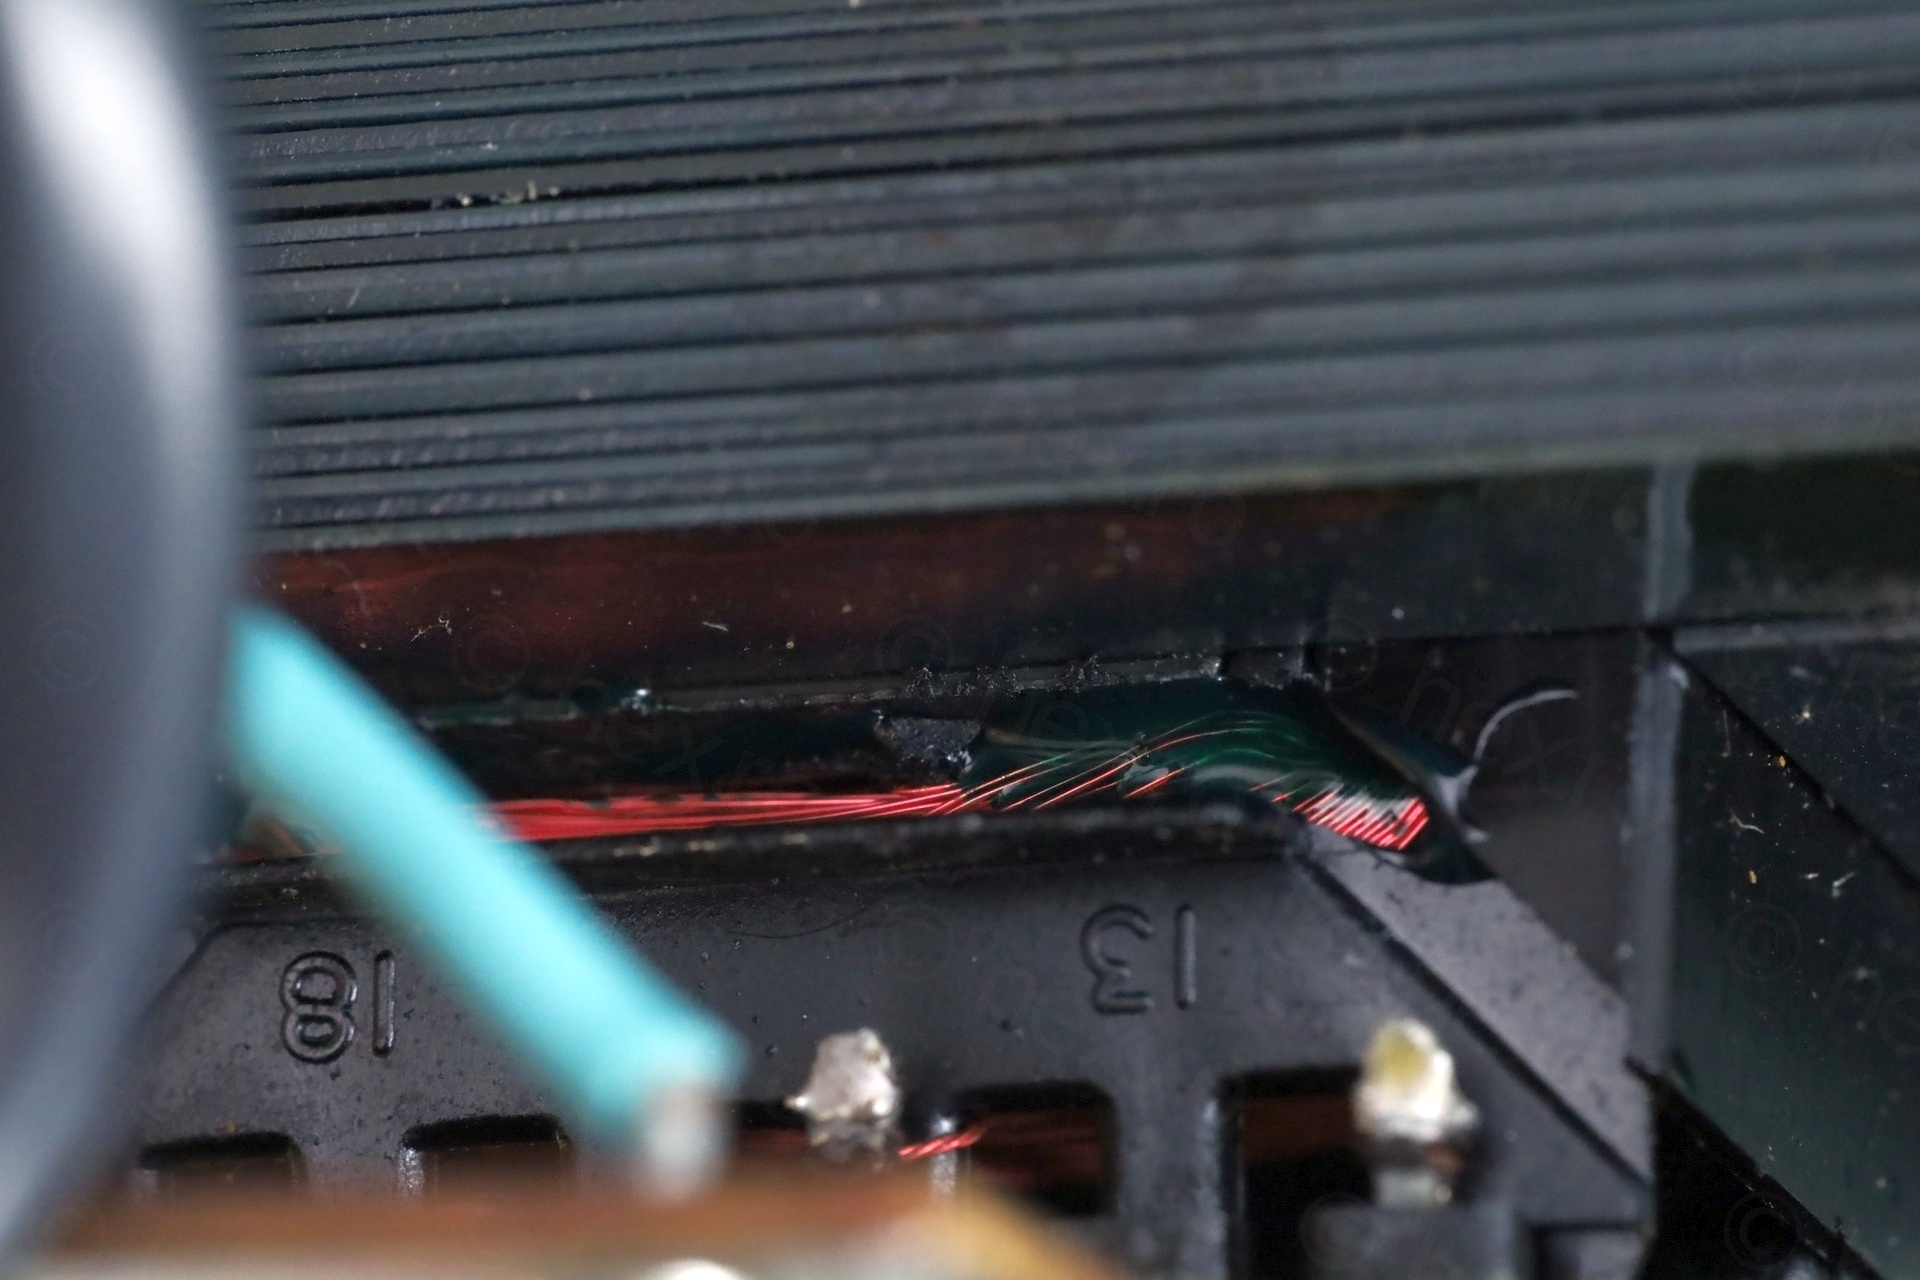
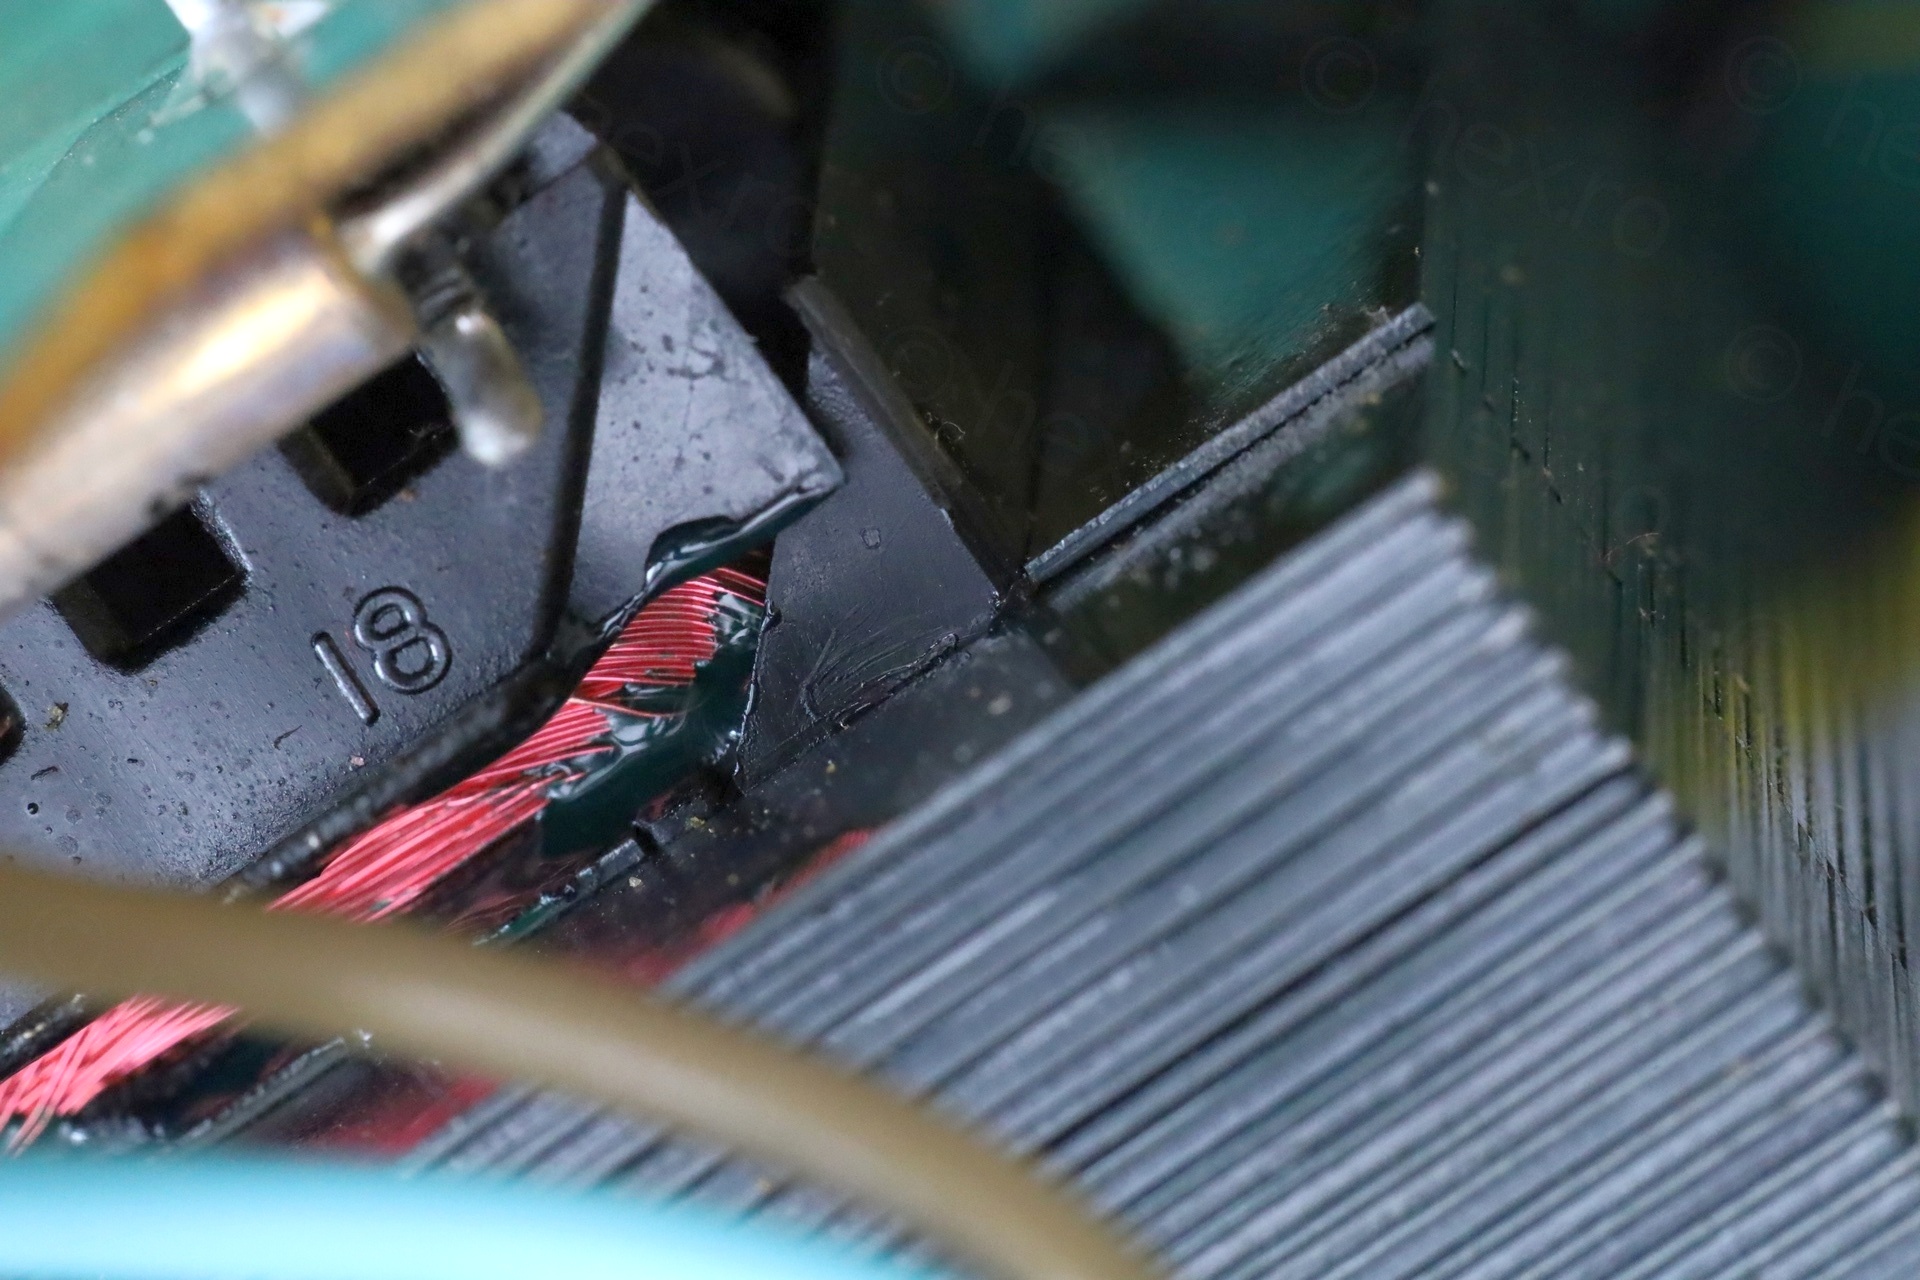
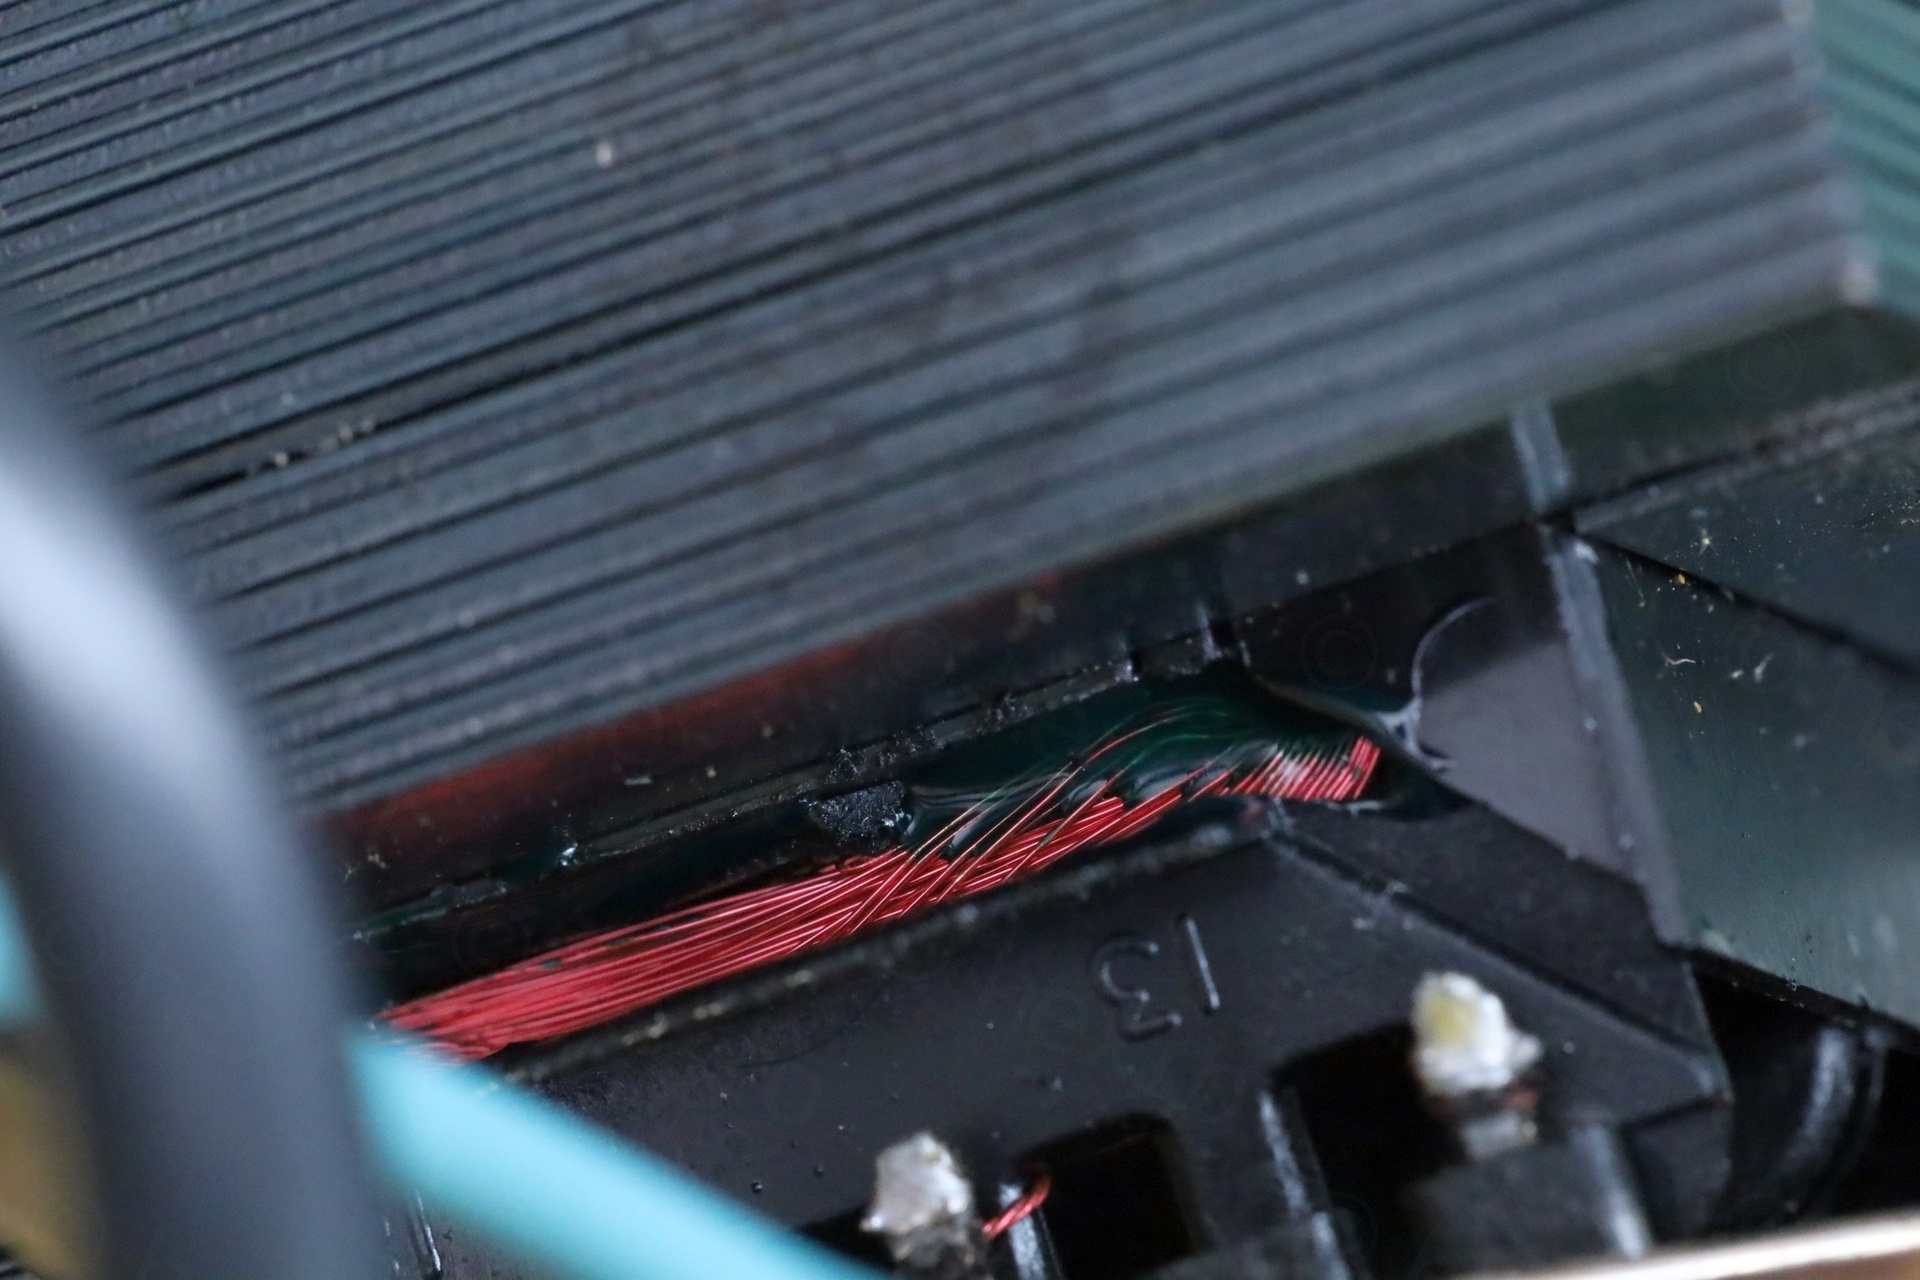
Having a closer look at the transformer where the plastic snapped, I discovered that some of the wires were caught / squeezed in between the support and the transformer – at risk of being severed:
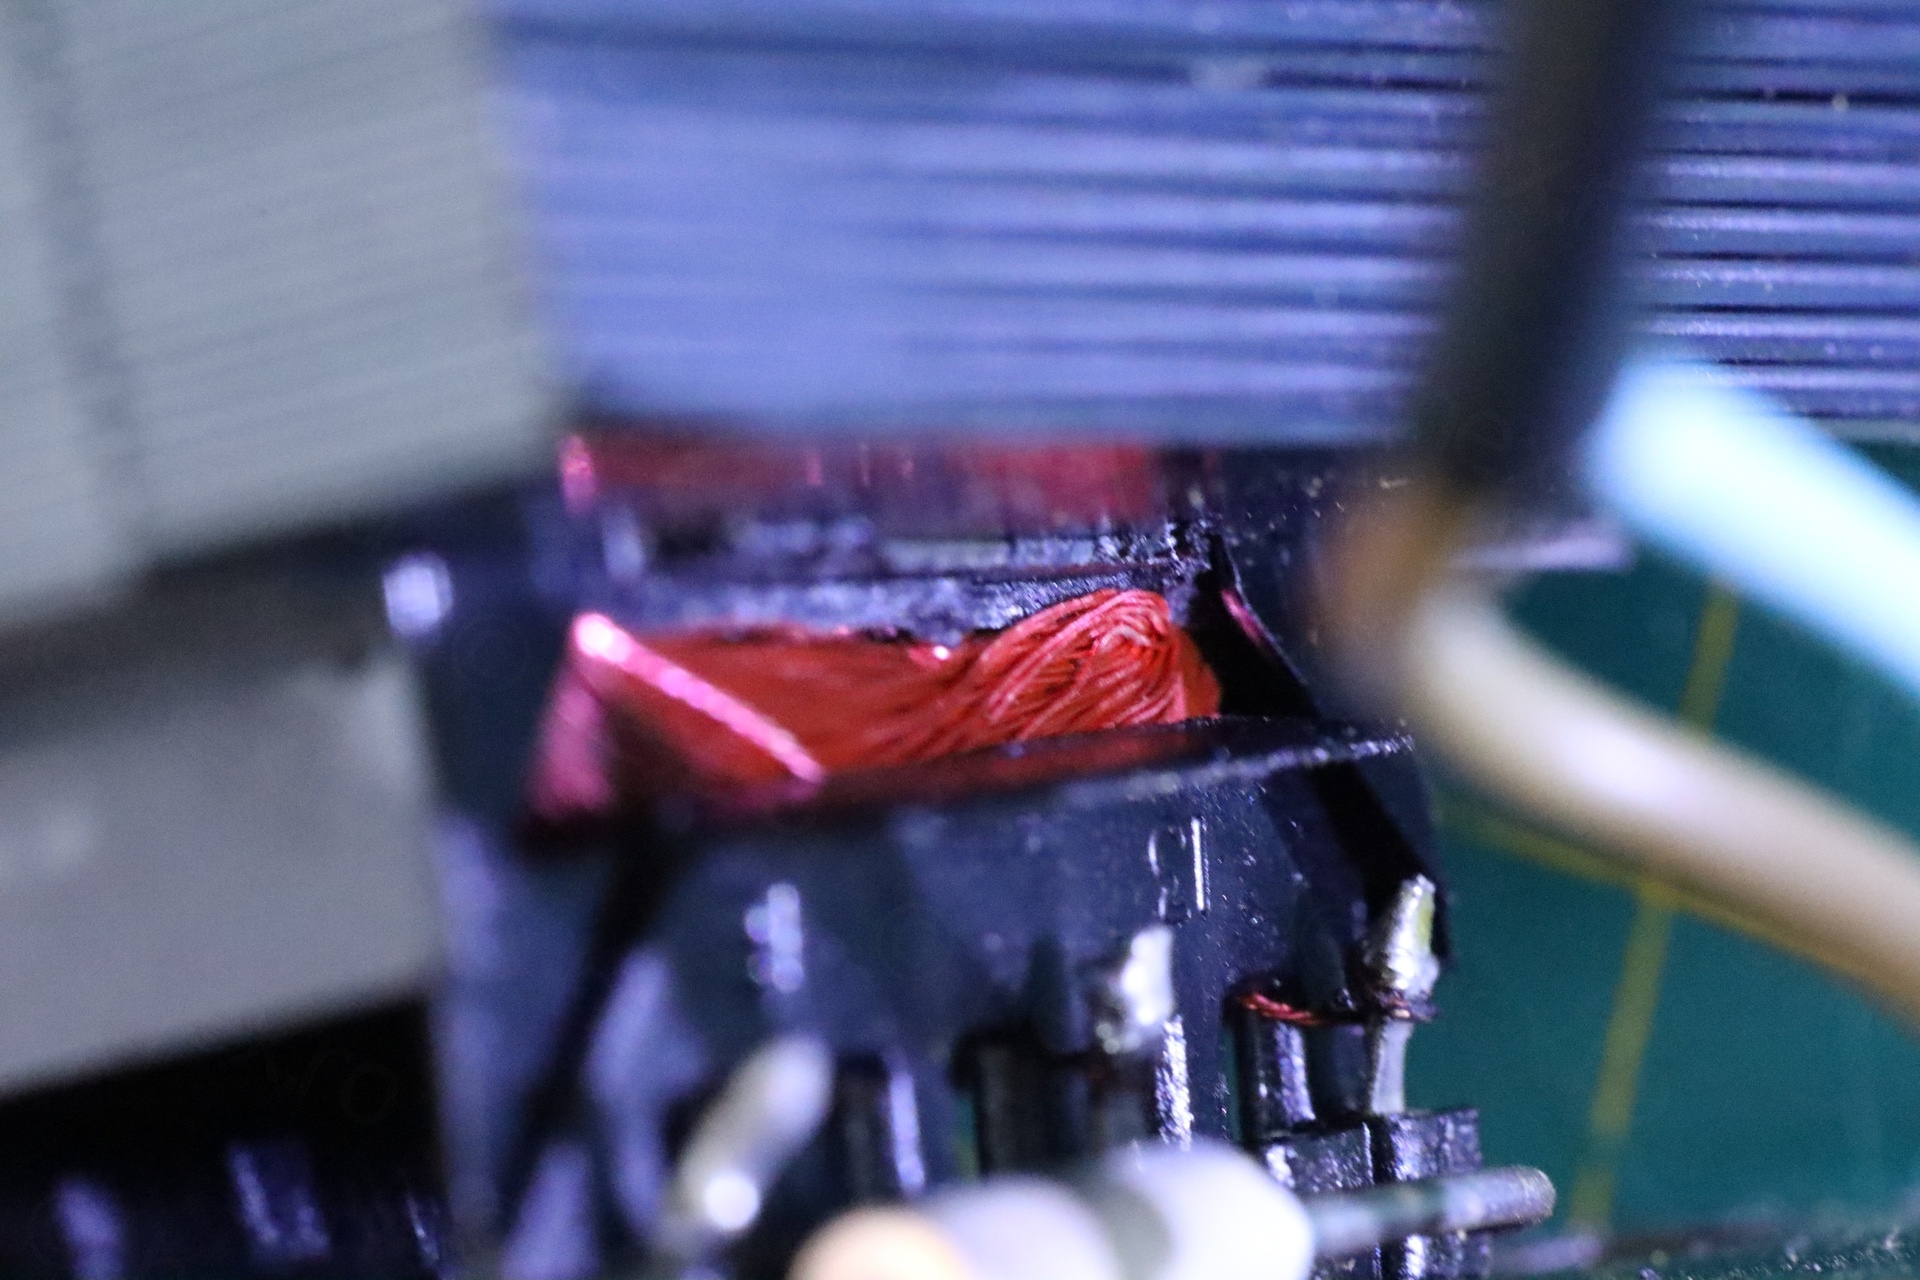
I kept thinking what to do. Trying to peel them off and fold them back into the body of the transformer seemed also risky, what if the copper has already weakened and I do more damage ?
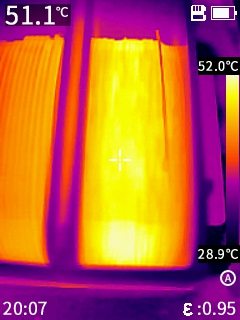
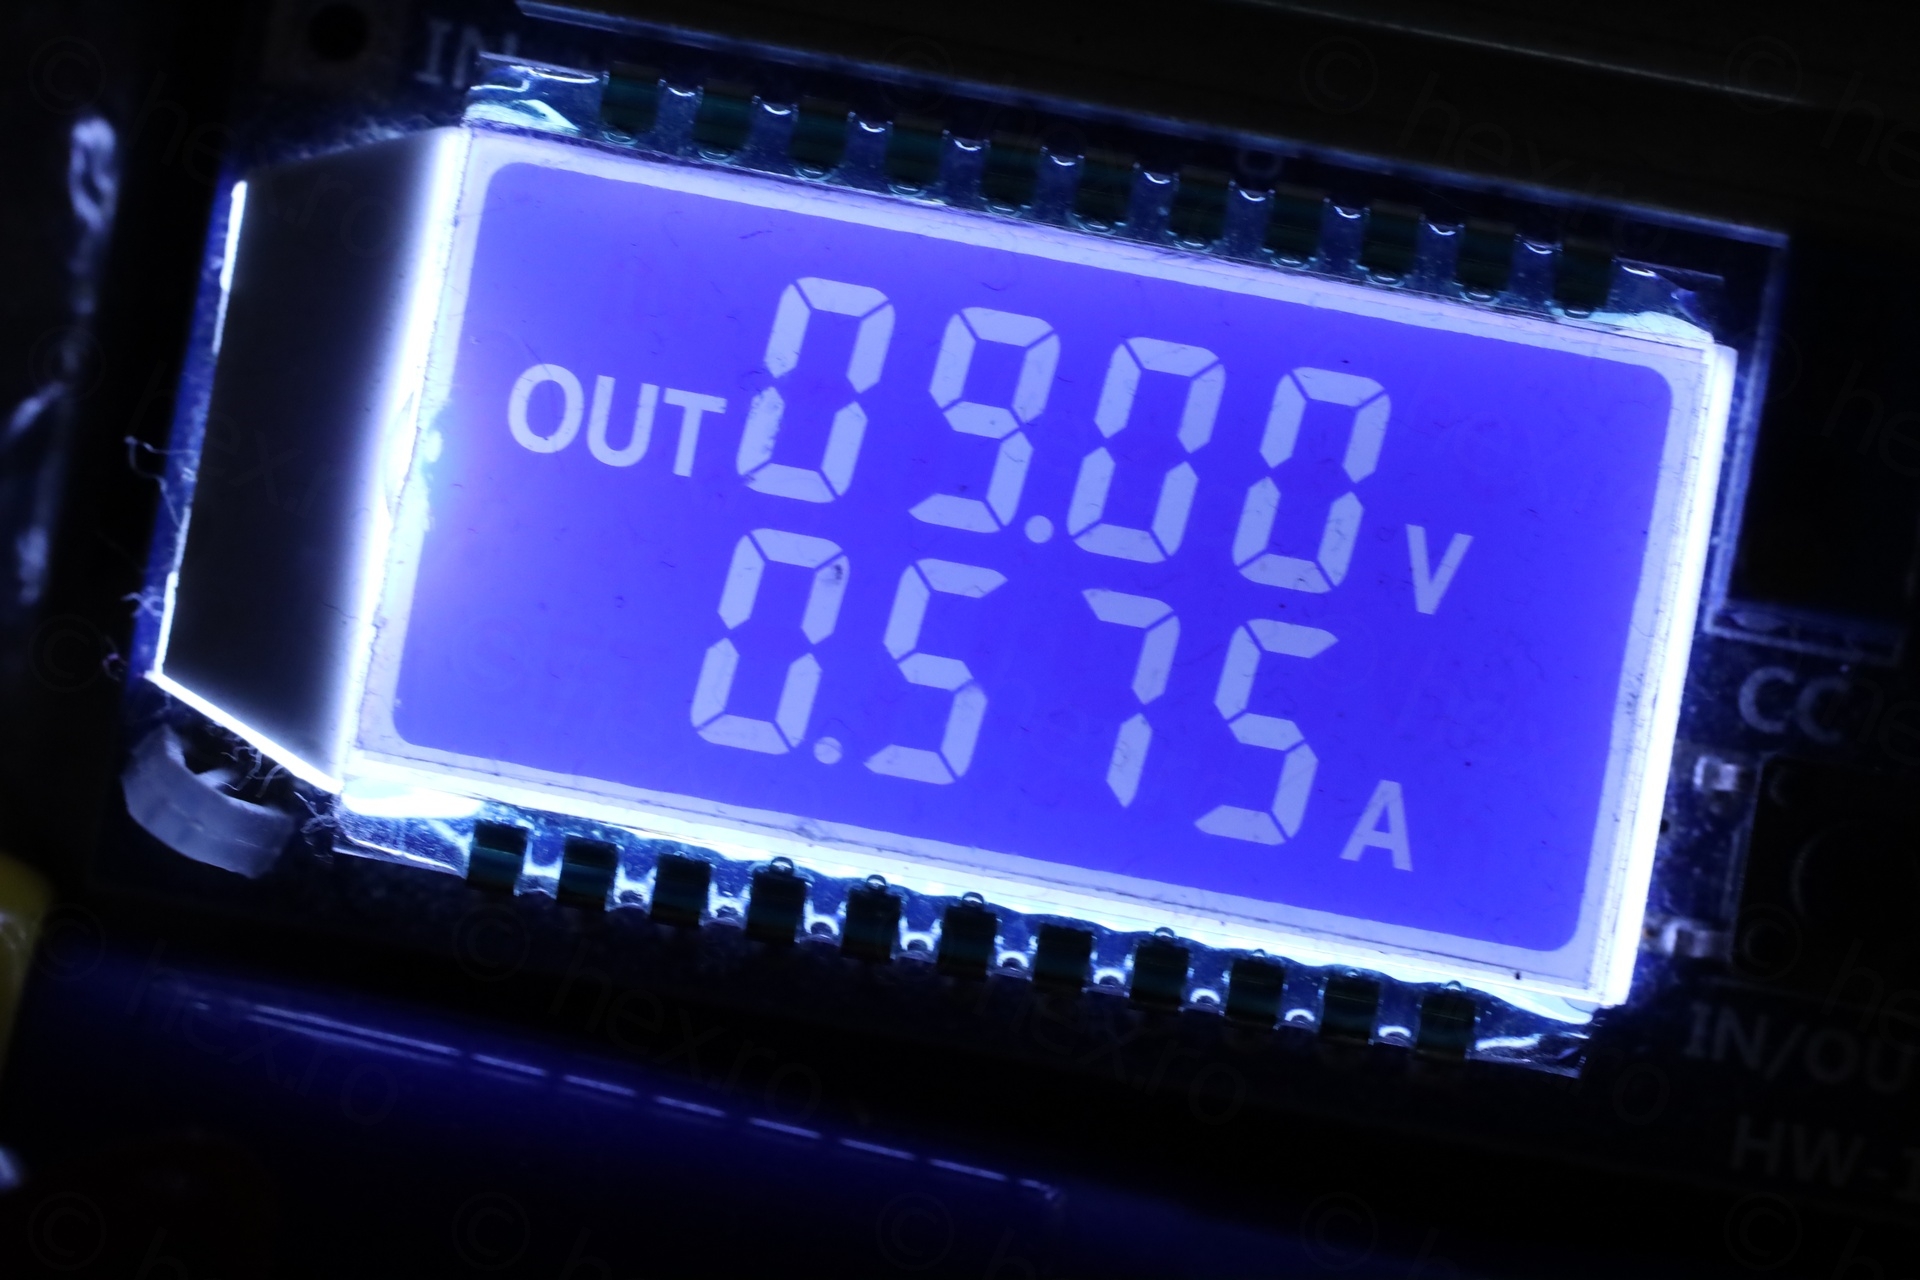
I decided to first test it first with an Electronic Load. I soldered the wiggly pin and hooked the supply up for a 350mA current draw.. This way, if I see any hot spots, then I just abandon the plan to fix the supply. Thankfully, everything turn out to be fine:
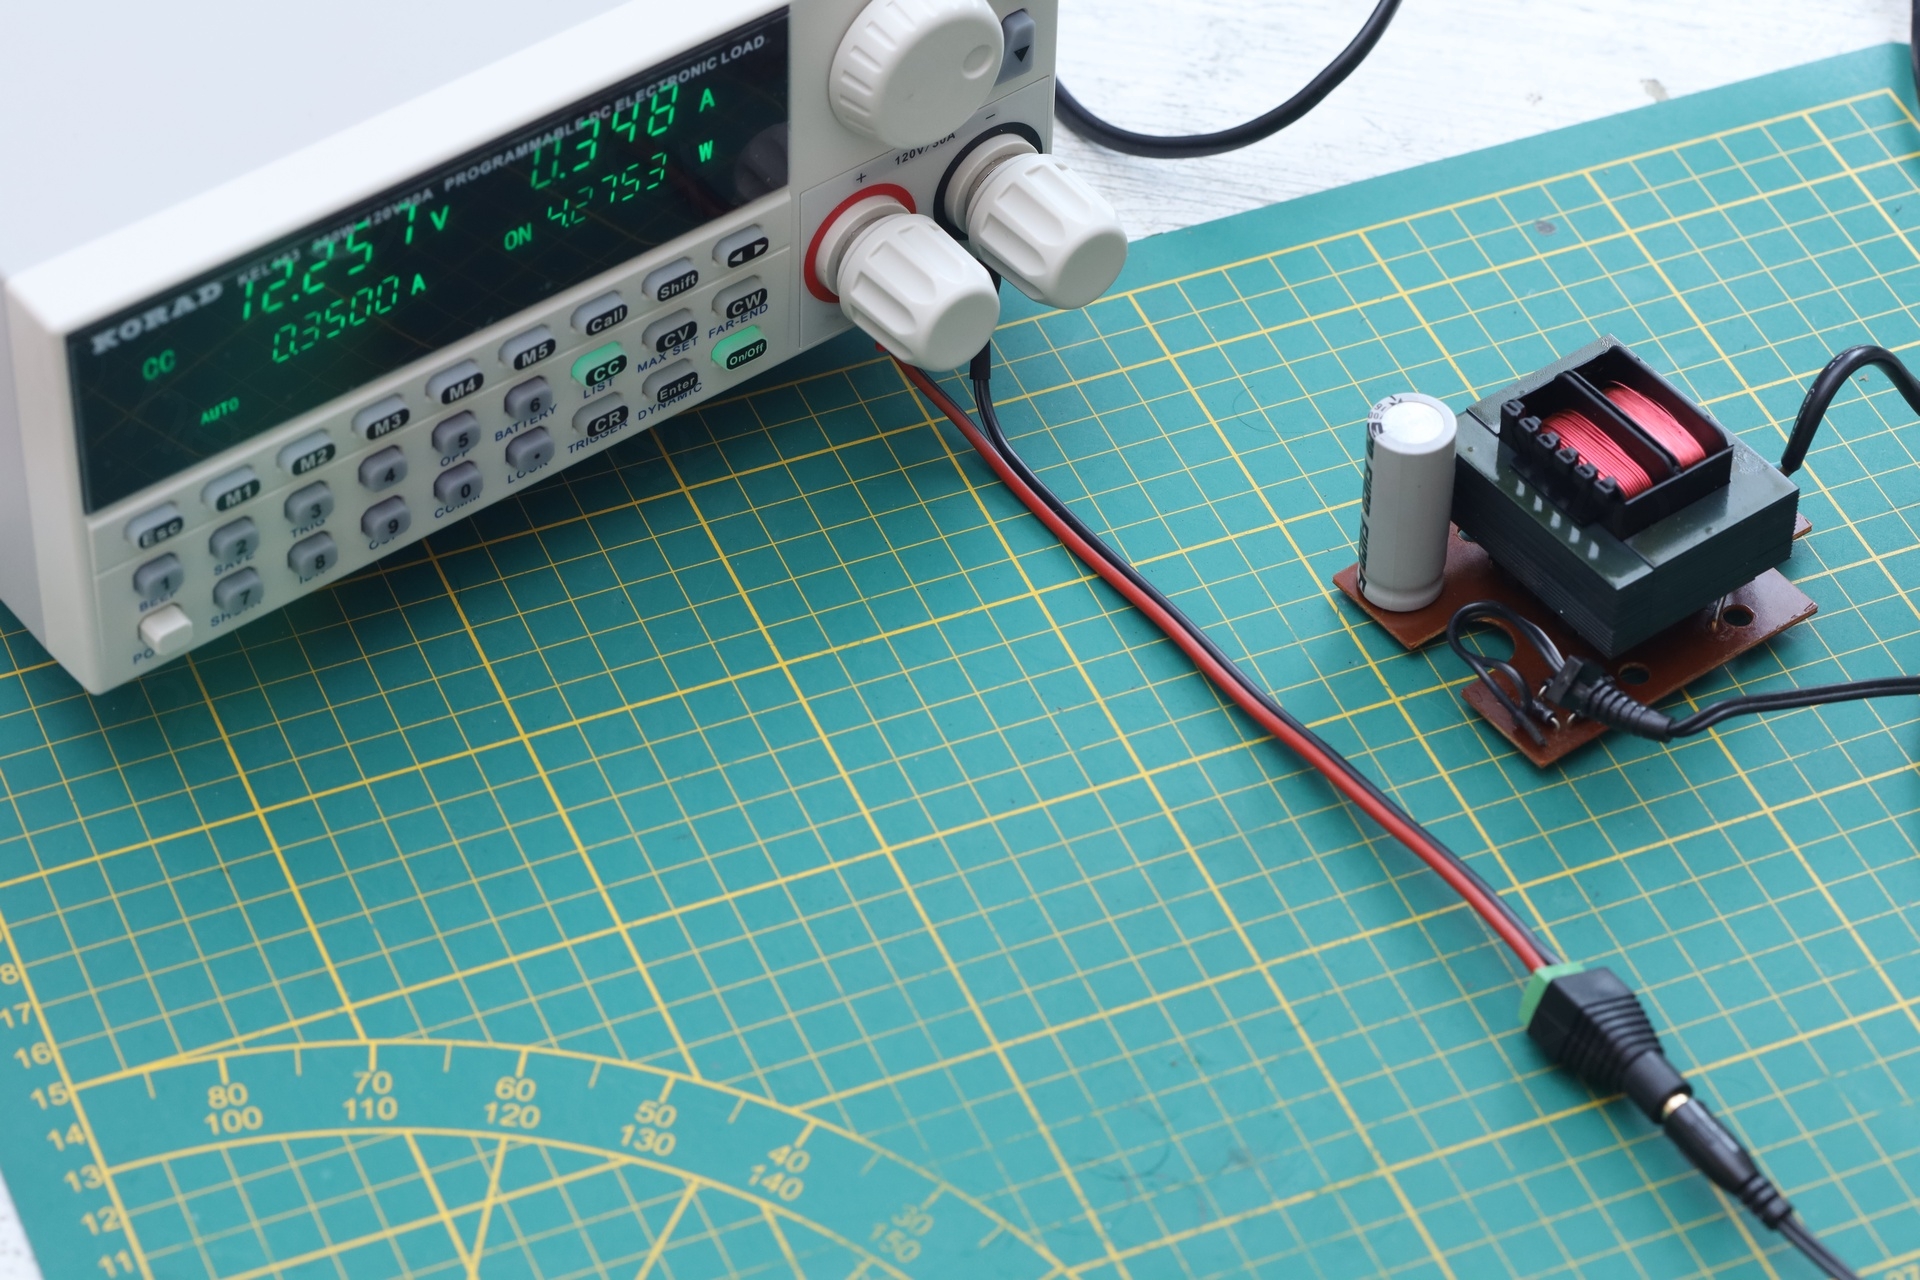
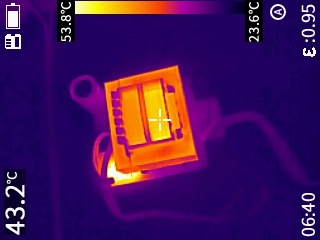
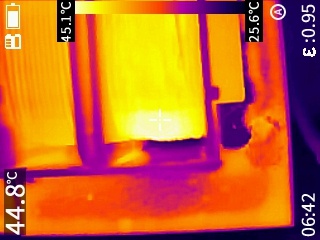
I feared the that the capacitor may also get warm (who knows what happens when capacitors get hit by transformers 🙂 right ?) but it was cool.
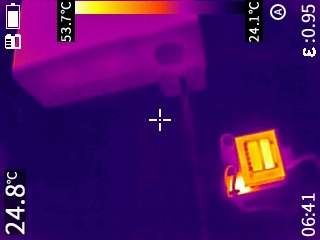
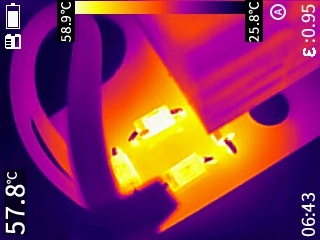
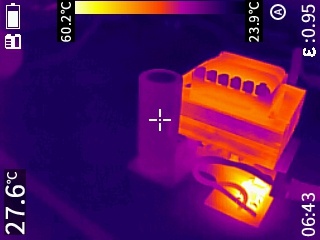
As all was fine, I got bolder. 350mA is the normal draw, but to see eventual problems, better if I test a bit more to the limit. I didn’t go for 1.2A – figured I should leave some room and tested at 1A. Have a look at the temperatures – the diodes went > 100C:
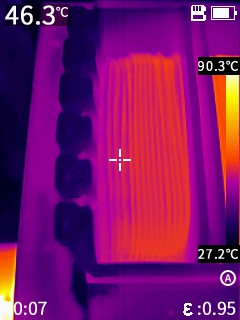
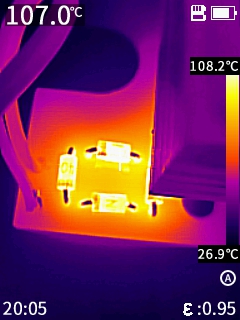
I was a bit worried by the very hot diodes, but I figured, could it be that they tolerate high temps ? Still felt wrong though. This was “not yet stabilized” open air temperature, what about when the case will be closed ?
Went to check the datasheet for the 1N4001 diodes that were installed. Just when I wanted to breathe a sigh of relief that the maximum rated temp is 150C, I saw it. These diodes are rated for 1A only! I was so close in destroying them, trusting the marking on the case. Good I didn’t go all the way to 1.2A:
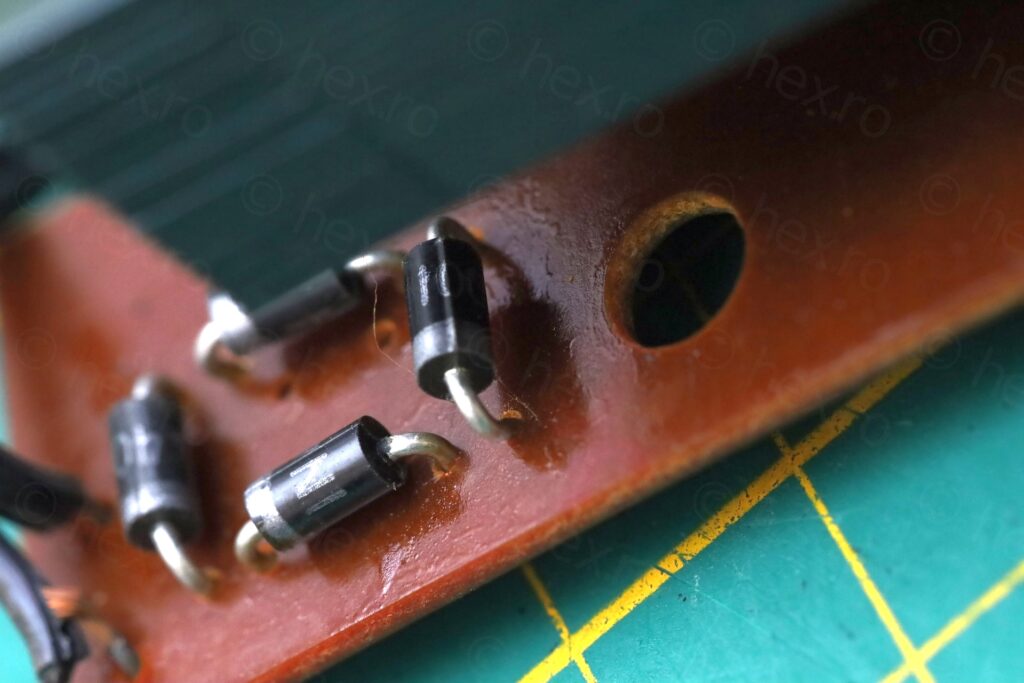
I do not know if 1N4001 are the original diodes, but I decided to leave them in.
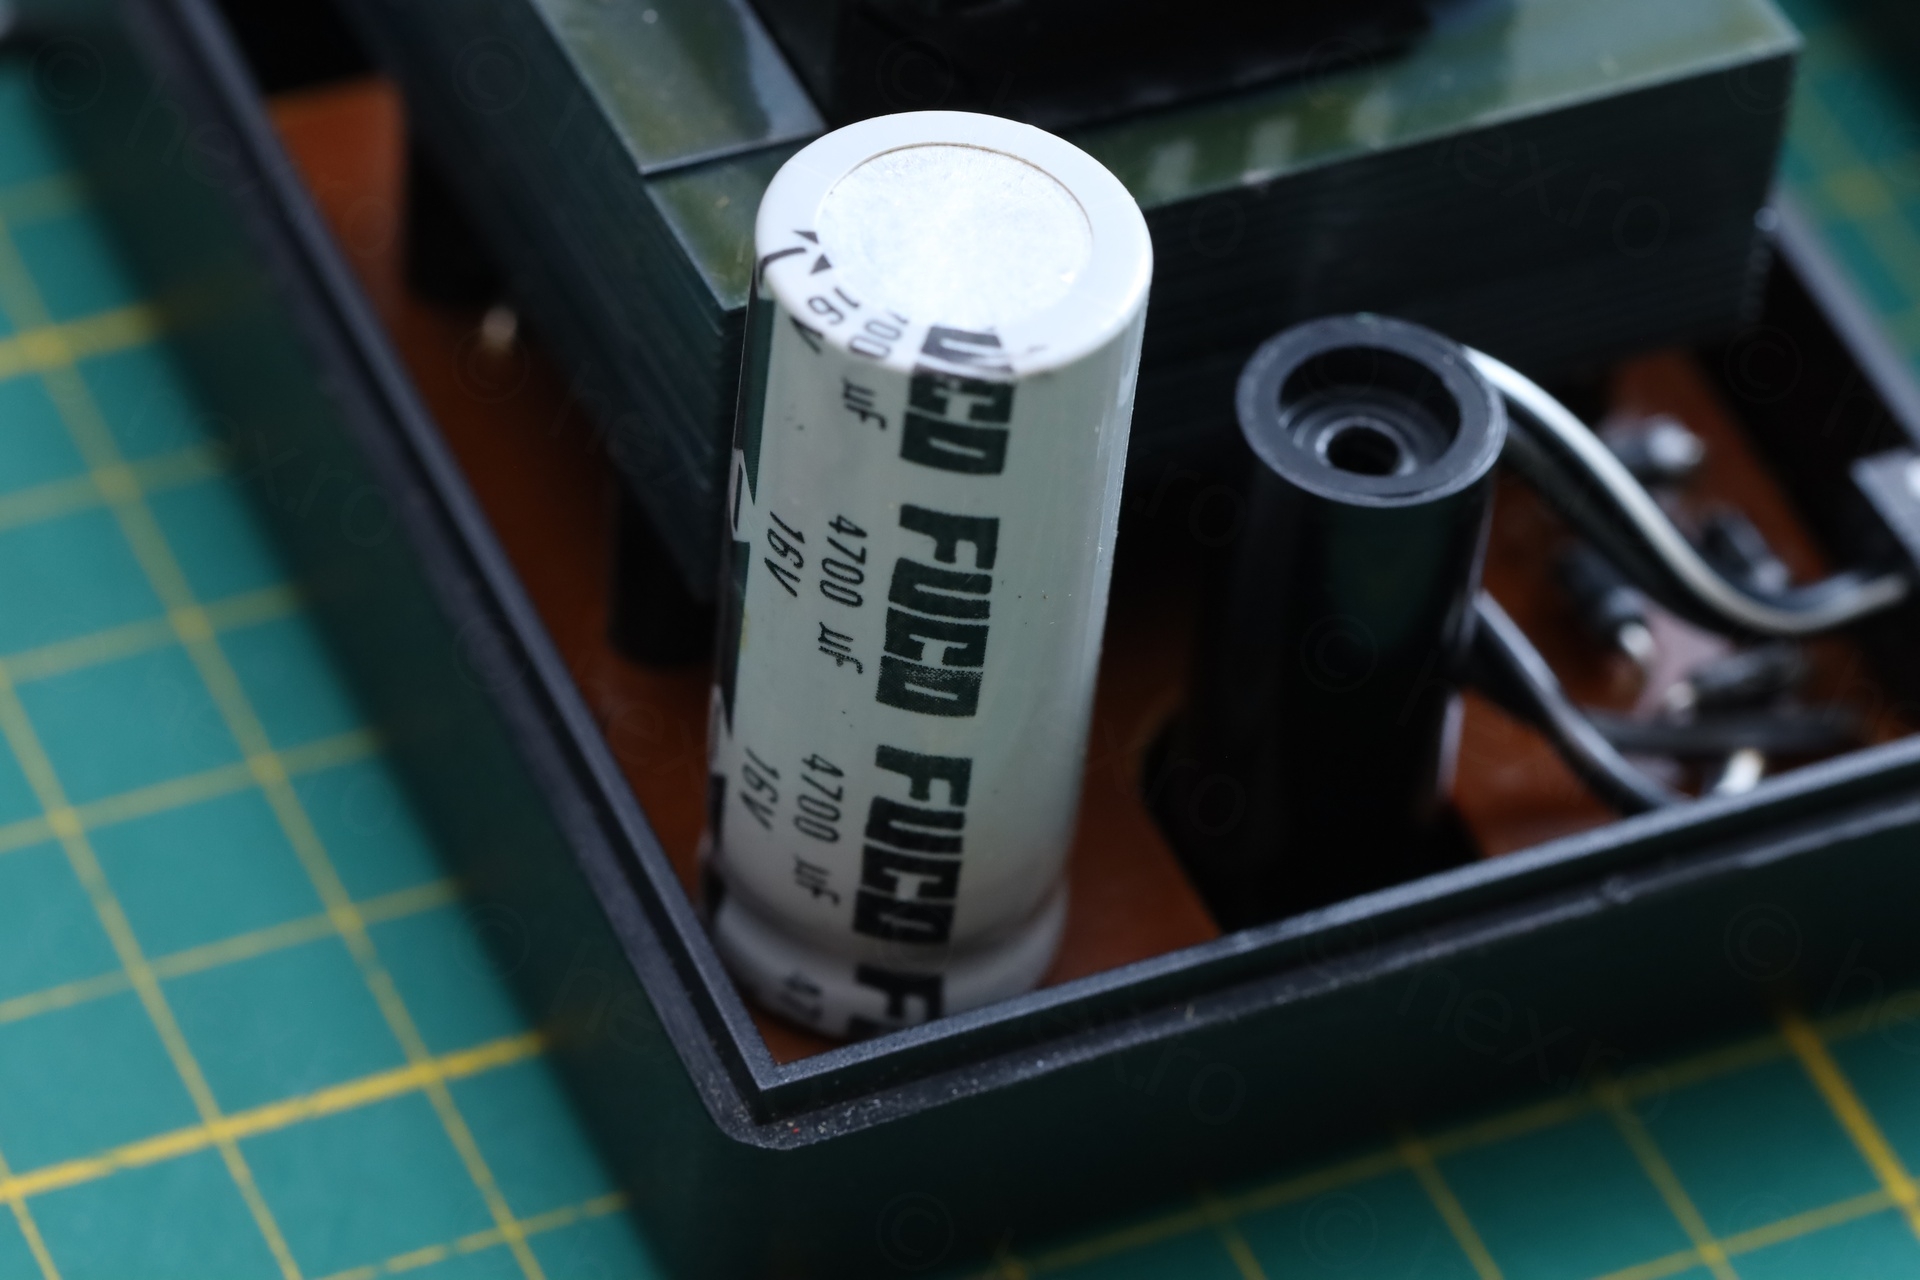
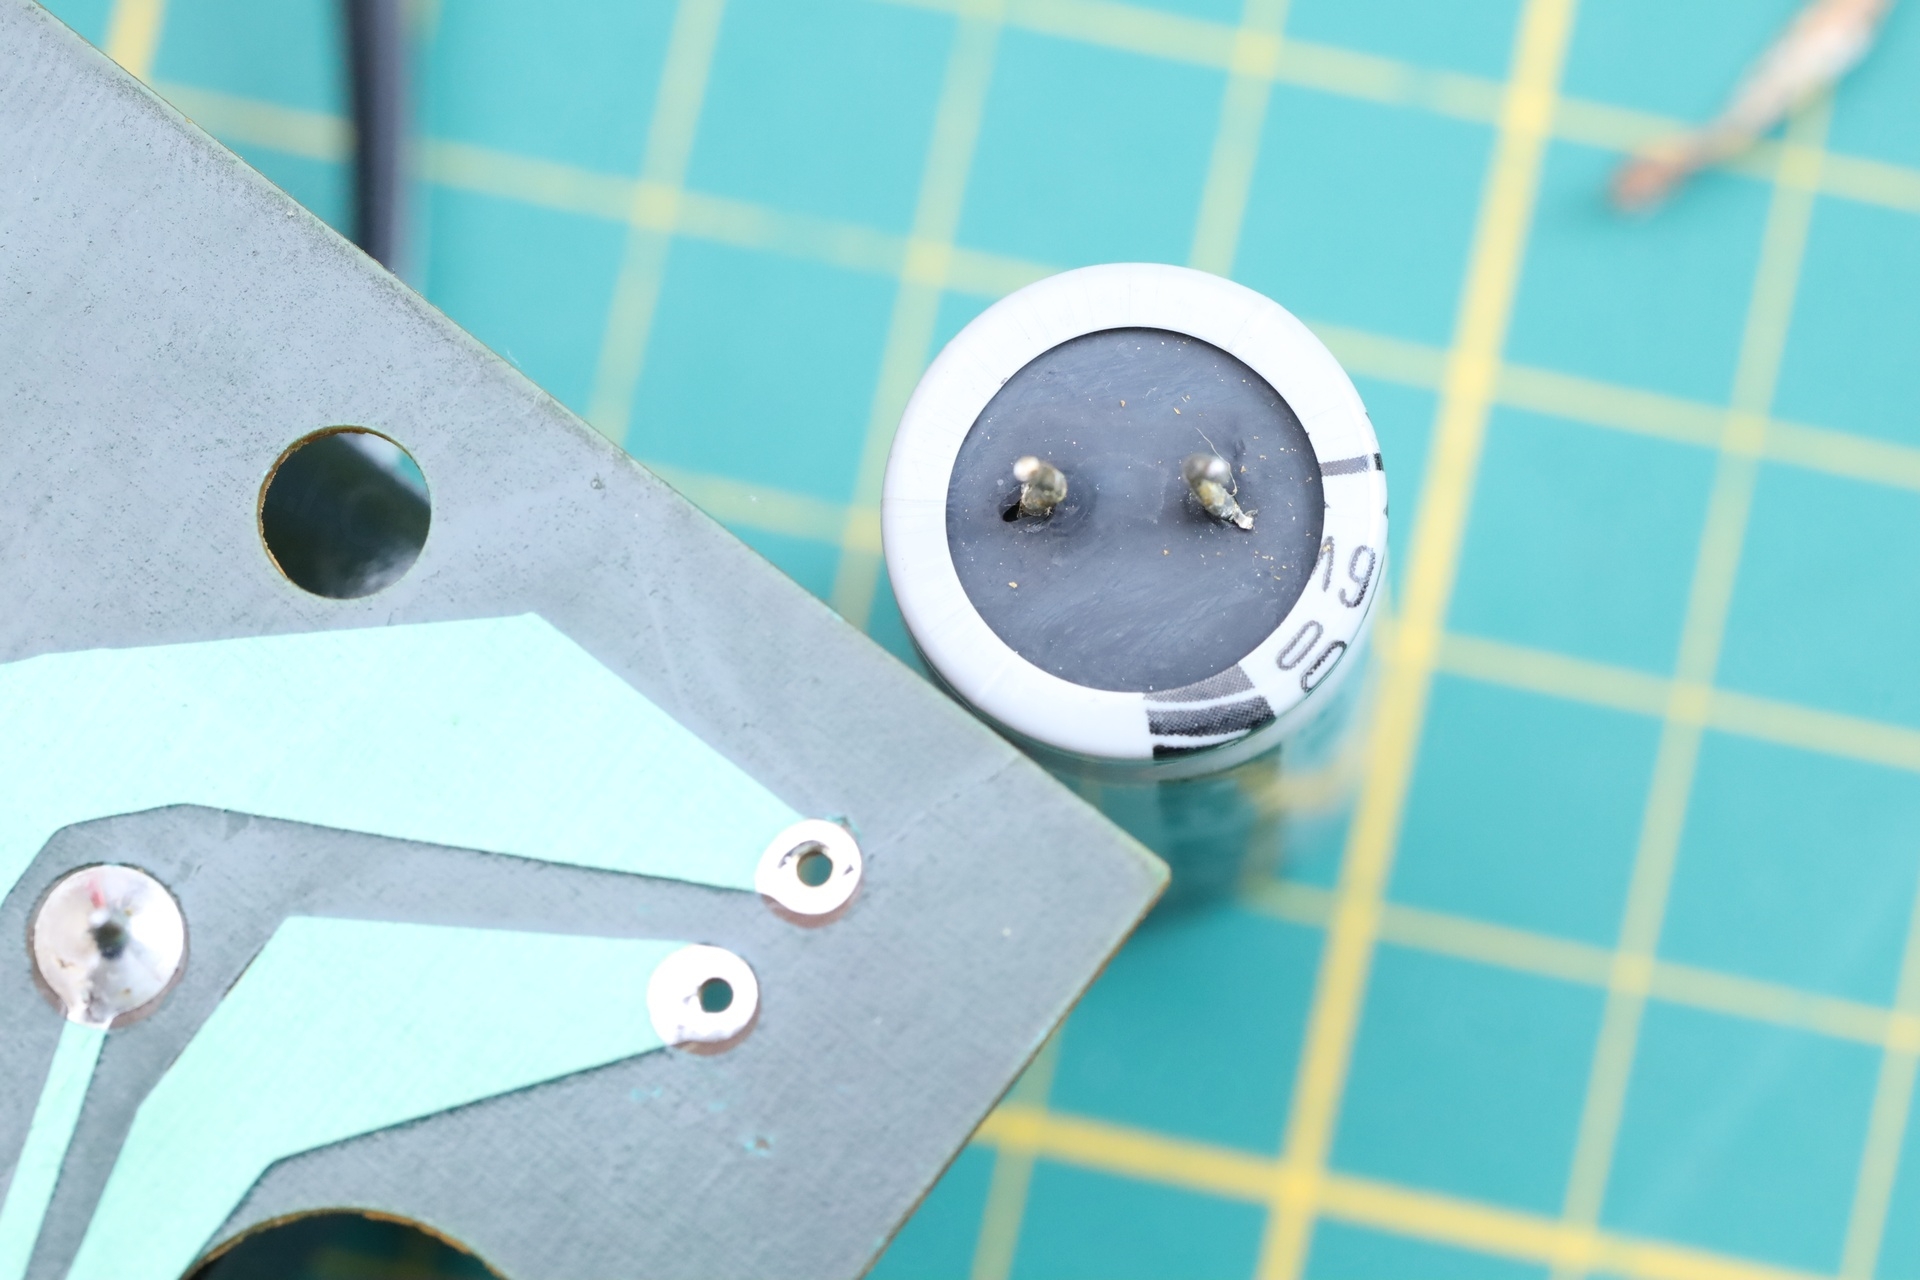
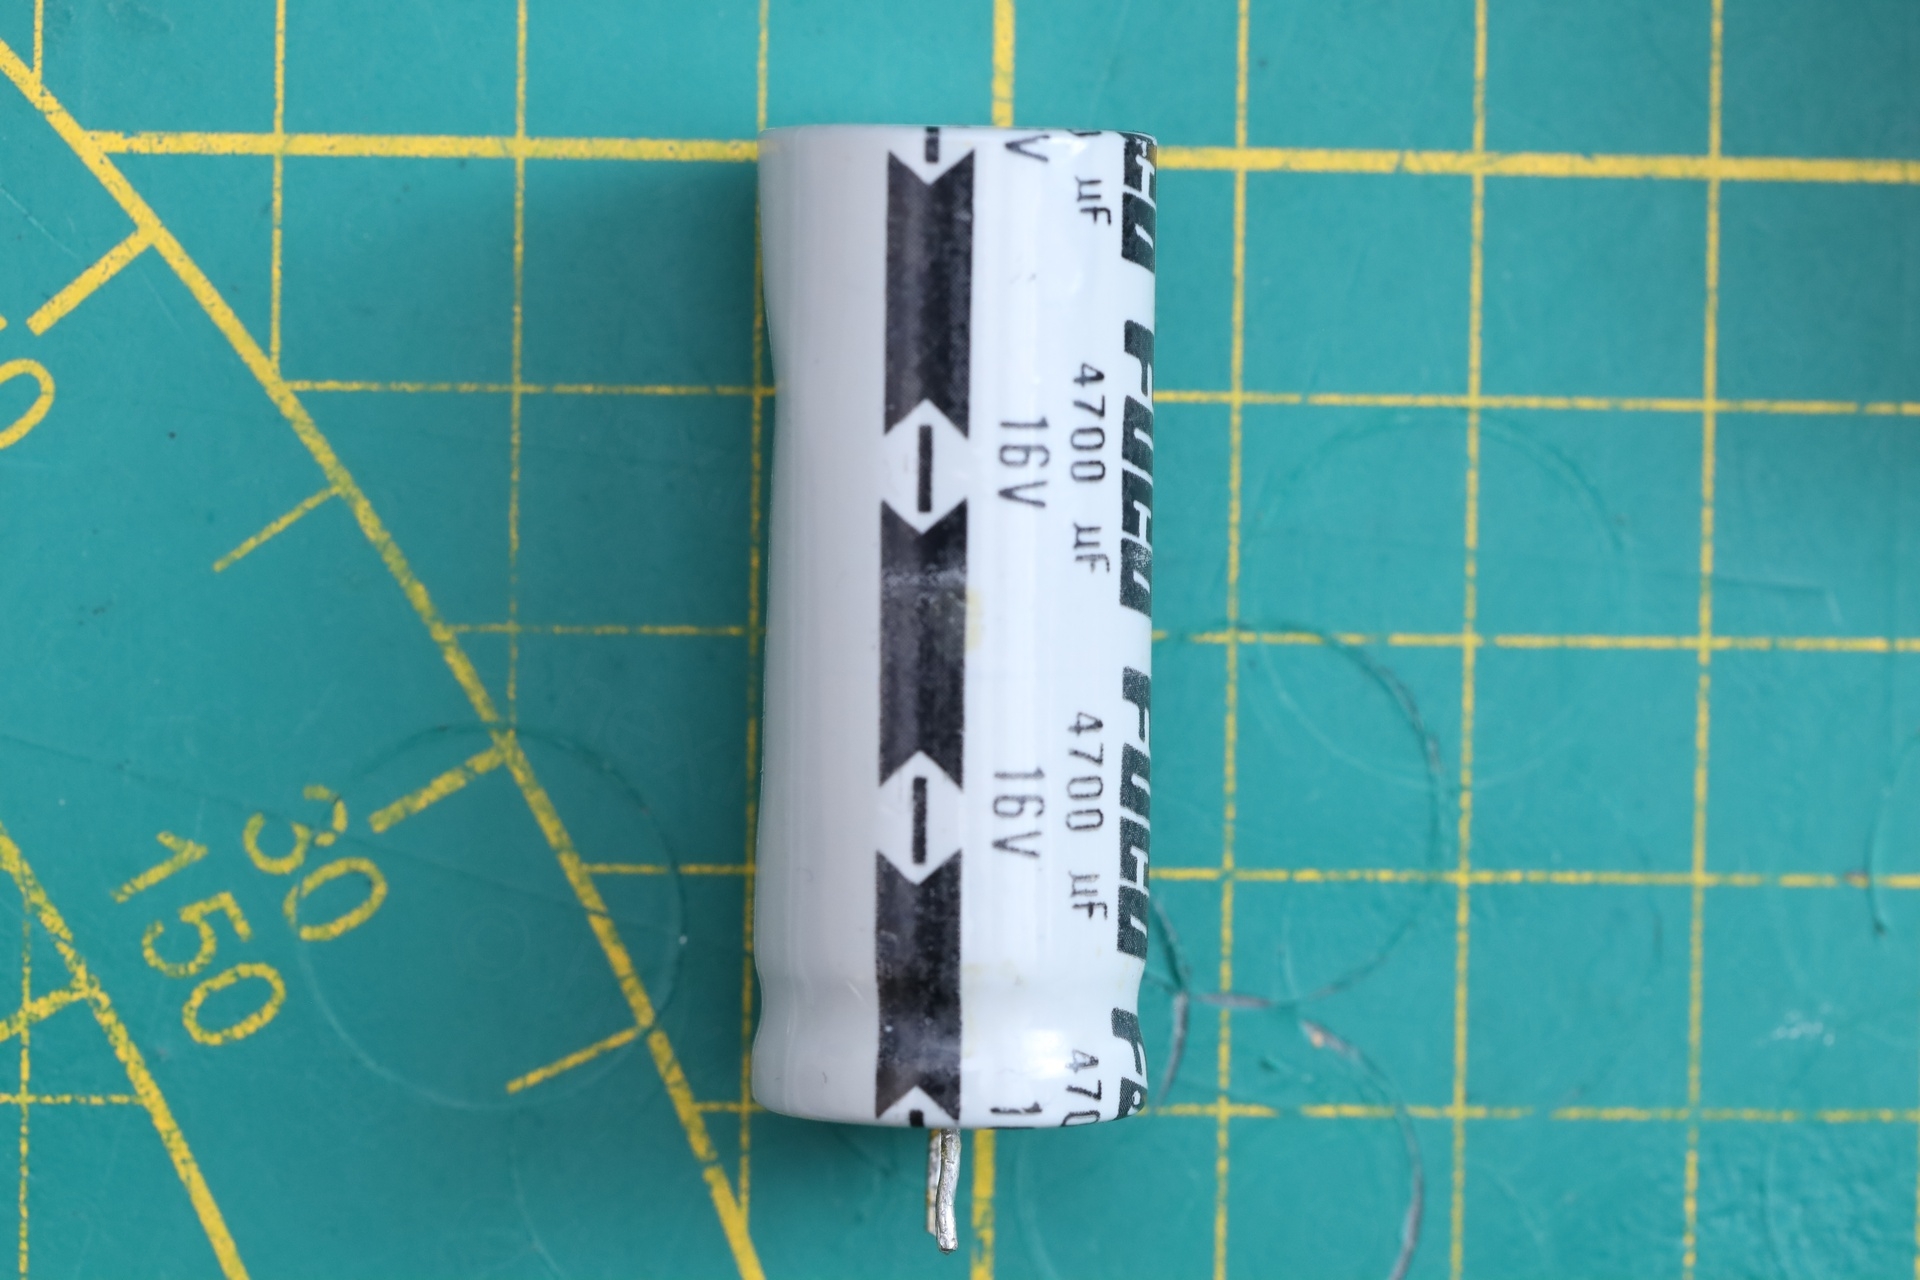
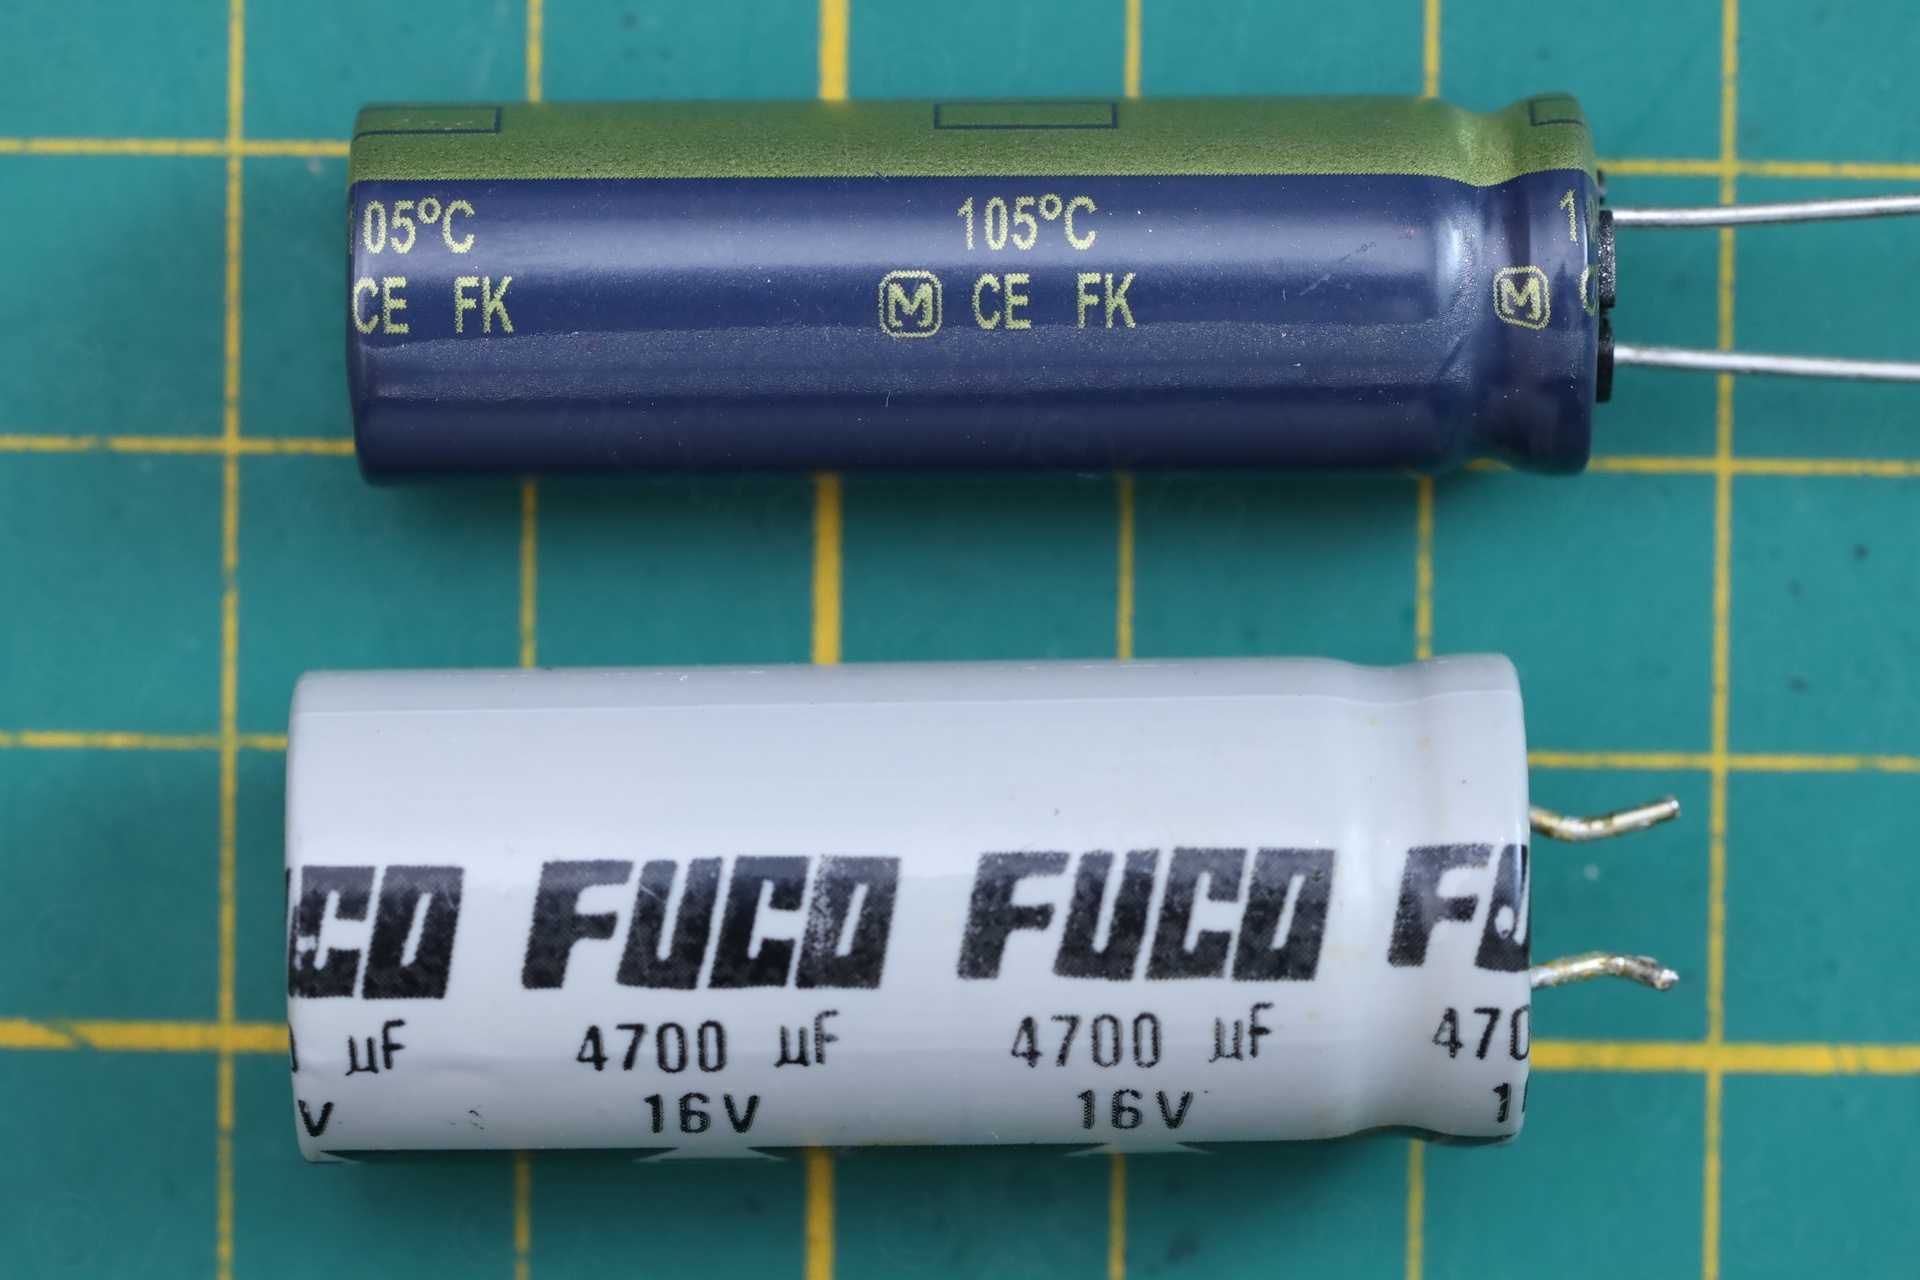
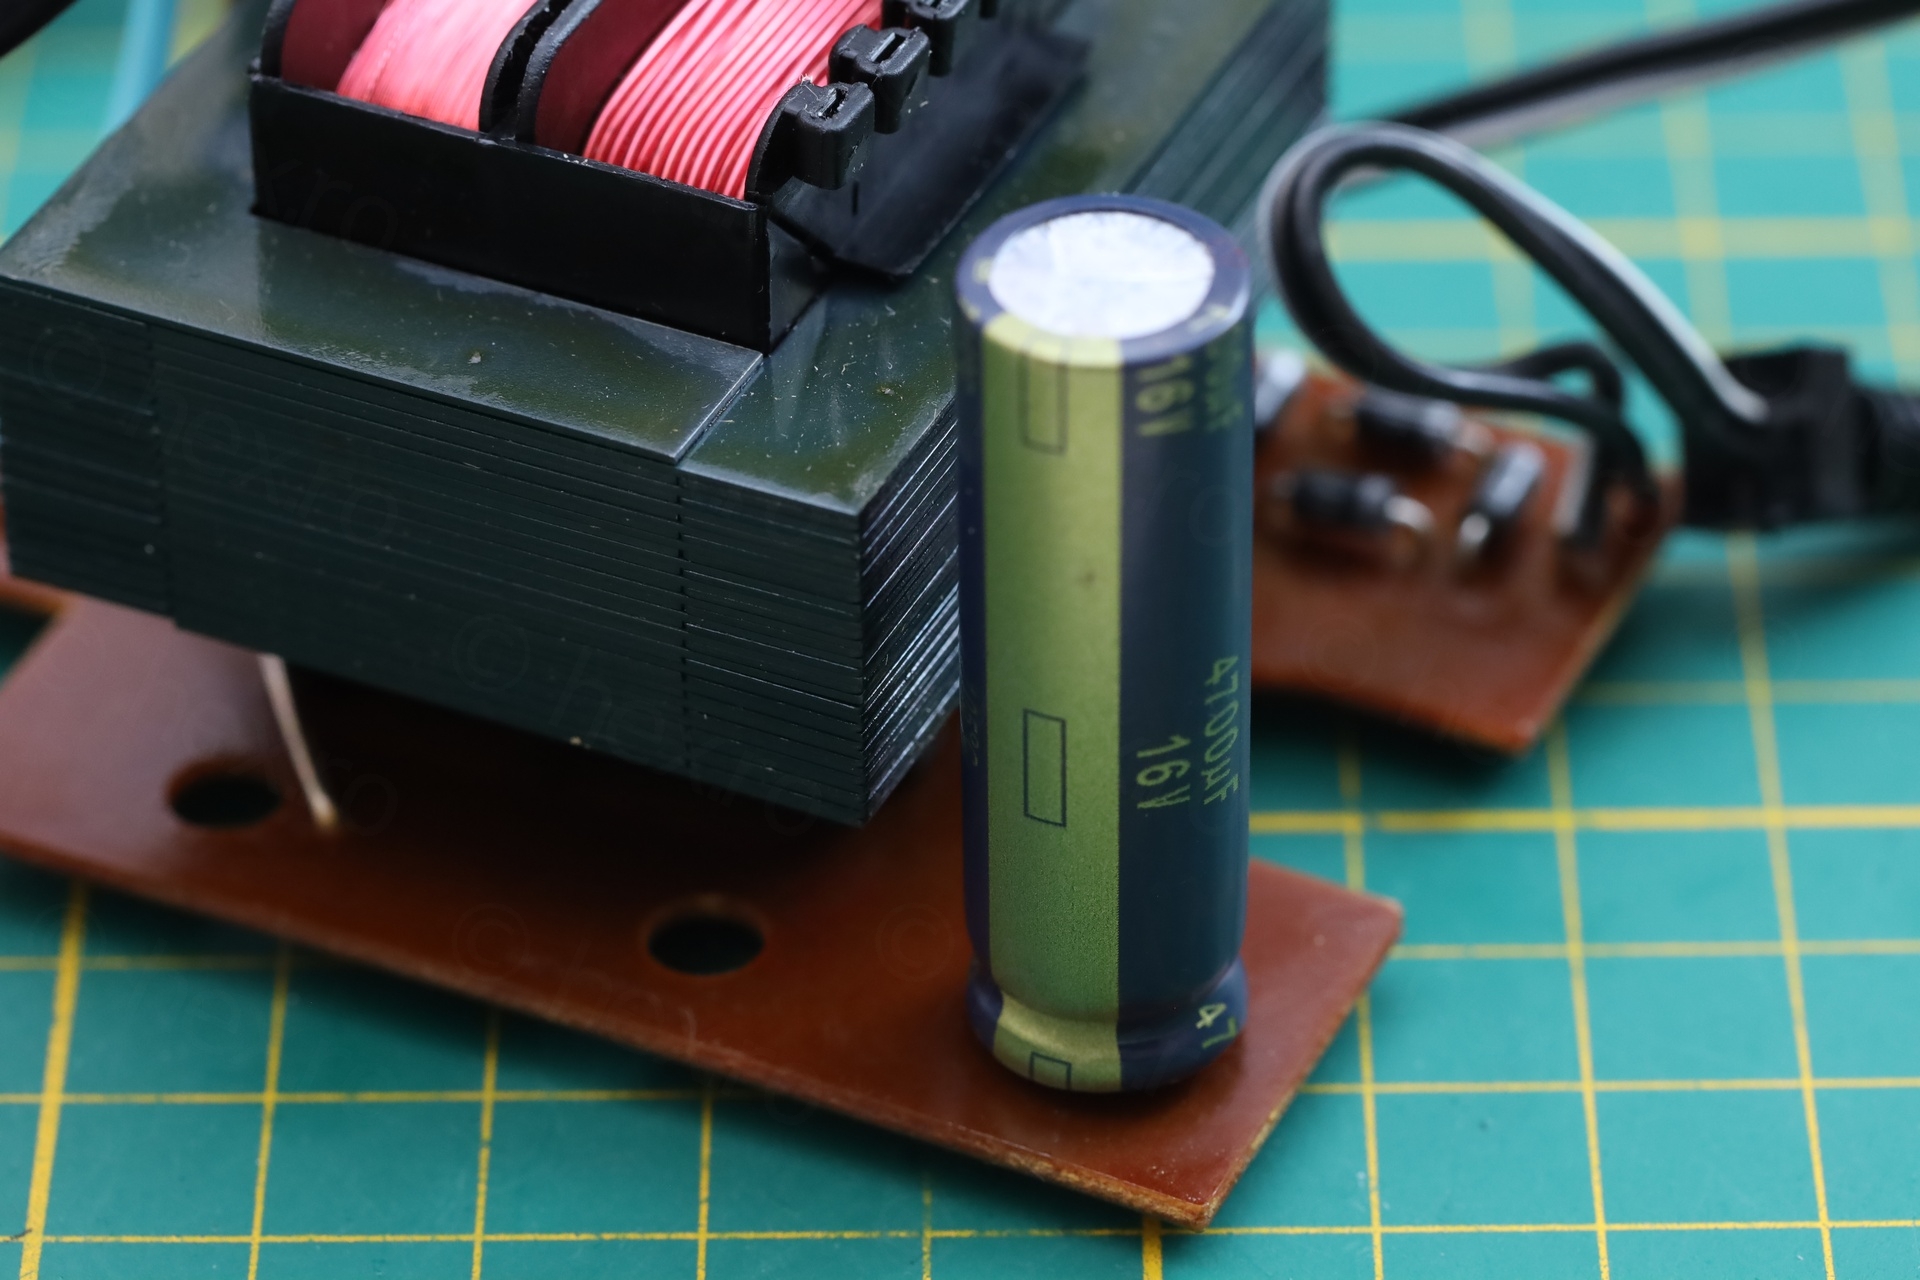
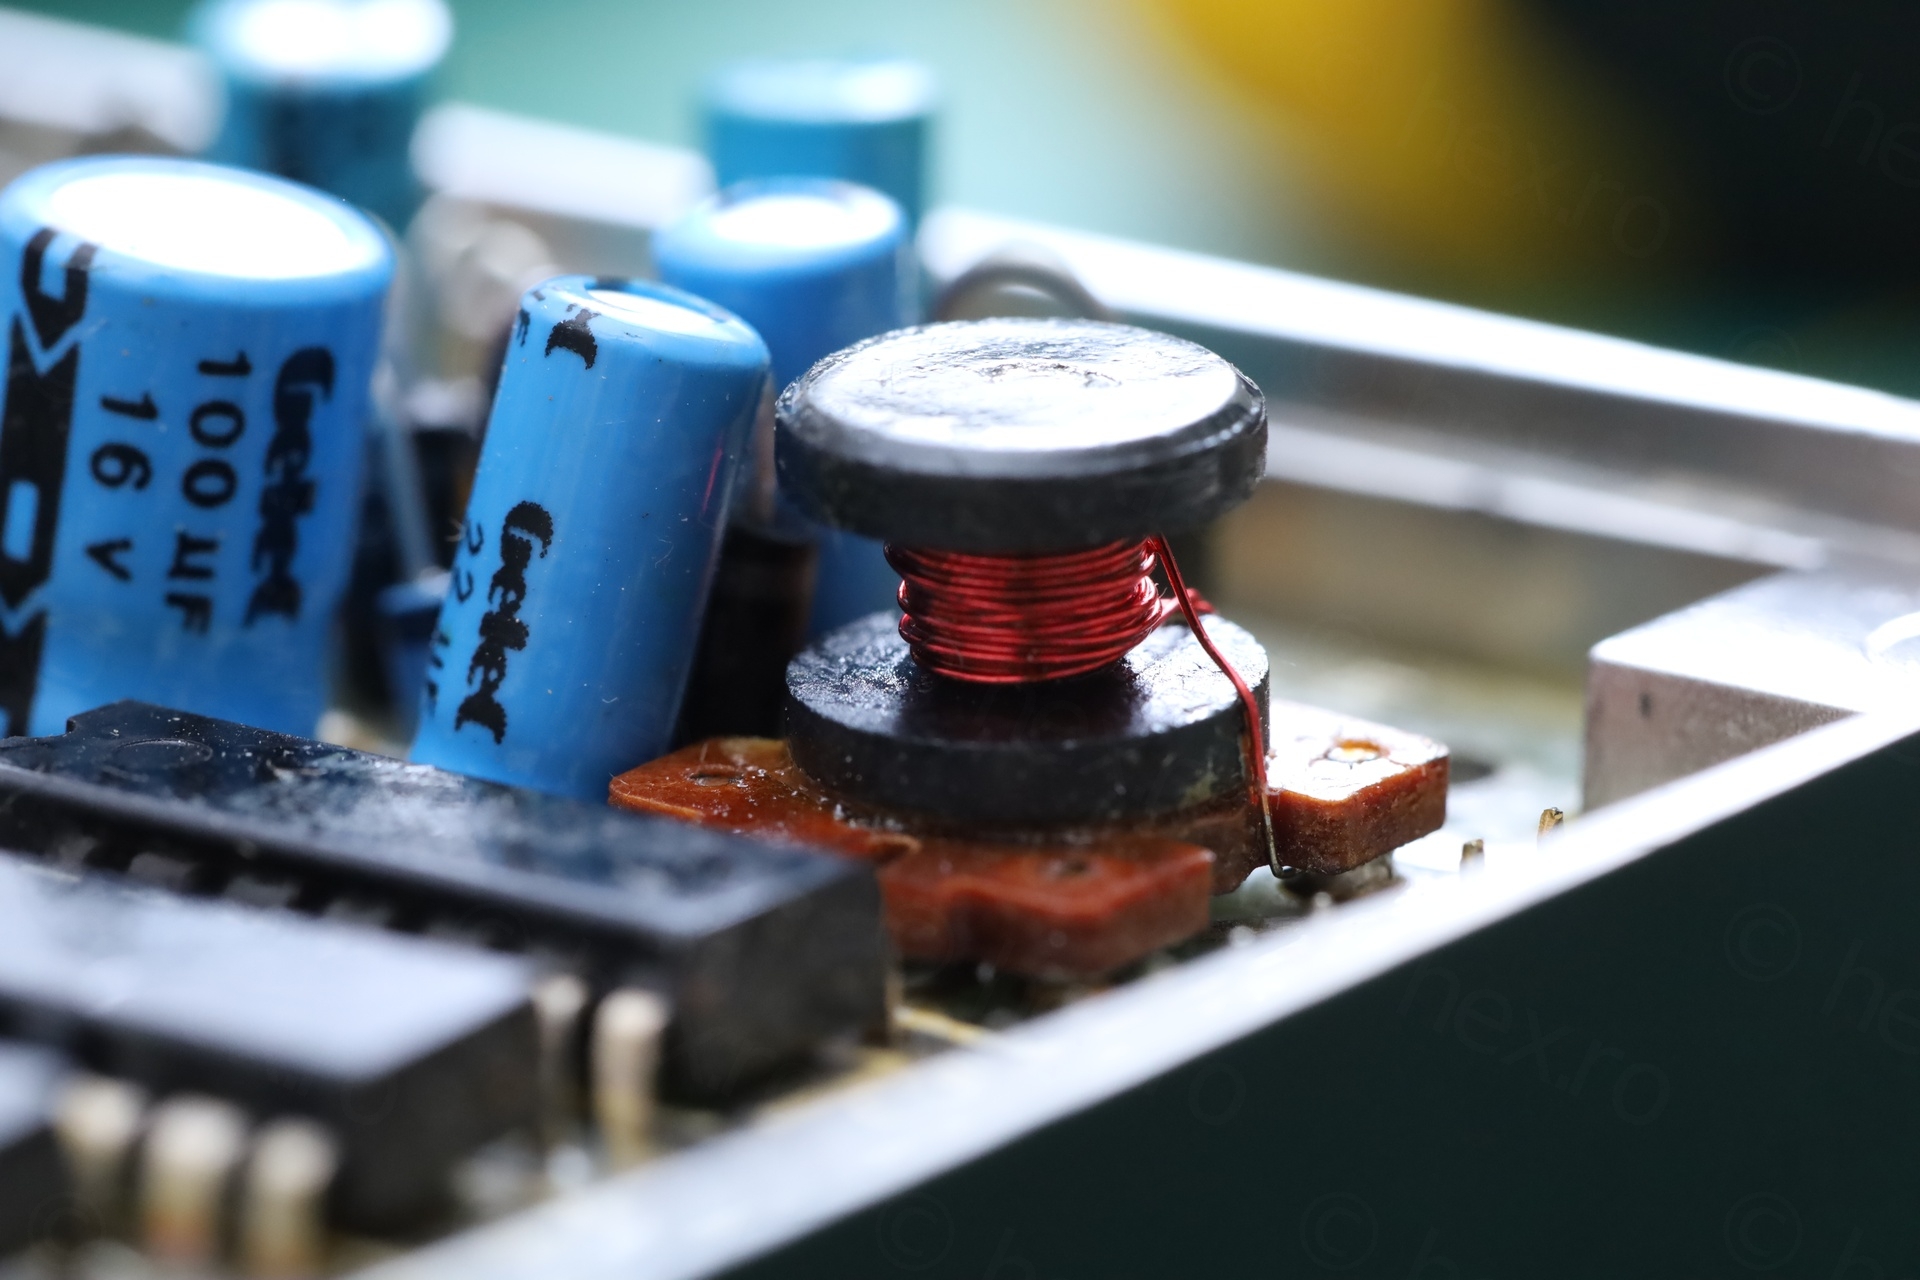
To fix the transformer, I applied some epoxy both on the exposed windings as well as on the plastic part – left everything to cure for 1 day. Swapped the capacitor with a Panasonic, 4700µF @ 16V, 5mm lead spacing and 12mm diameter, rated for 5000 hours at 105C.
To hold the transformer down, I cut a piece of 6mm thick neoprene (with adhesive on one side) and sandwiched it between the top of the transformer and the case:

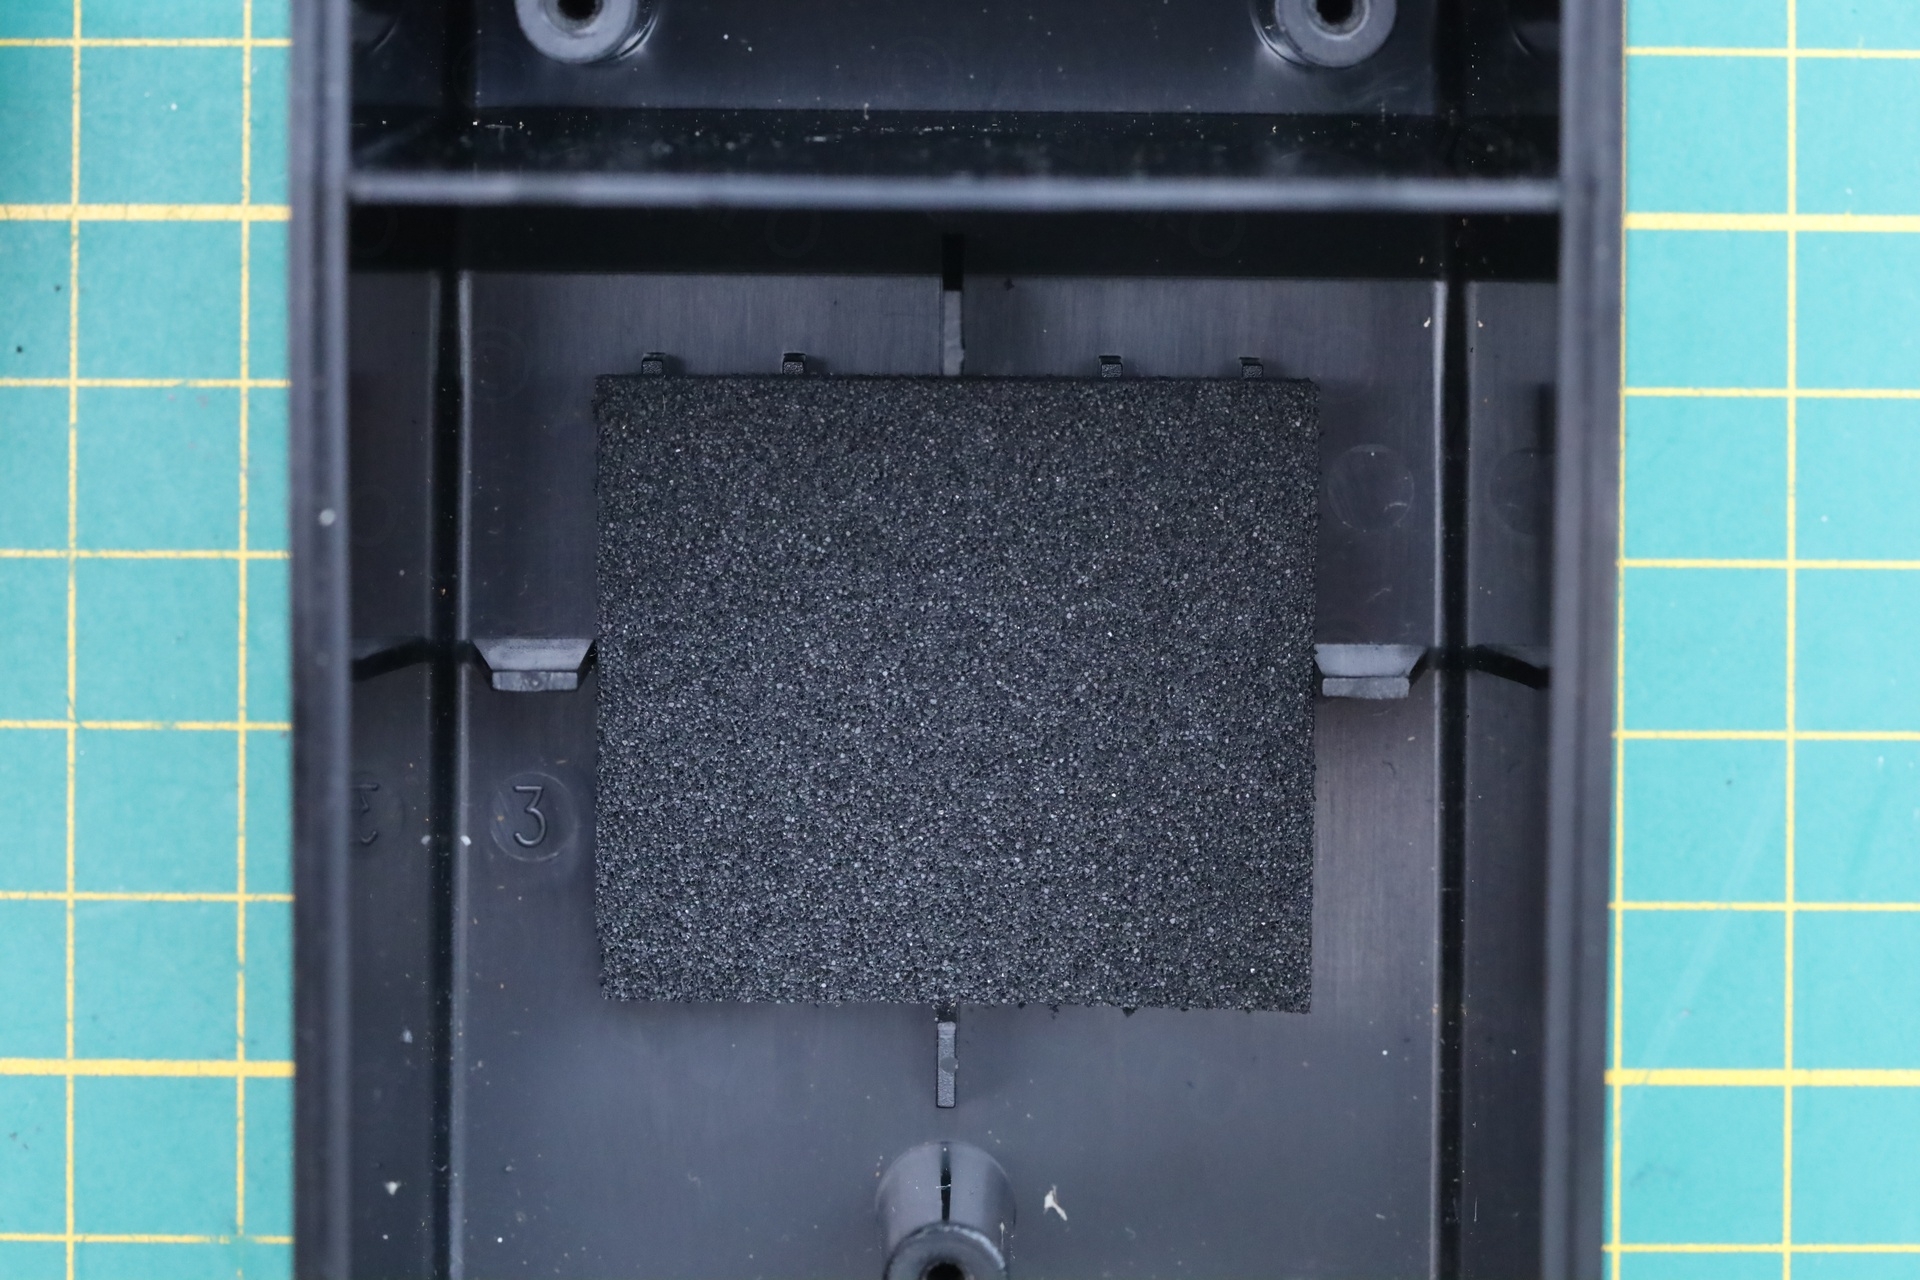
6mm thickness seems just right – I remember seeing a similar thickness in a different power supply:
No more clunk cluck sounds now, when jiggled.
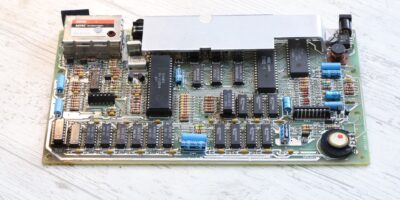
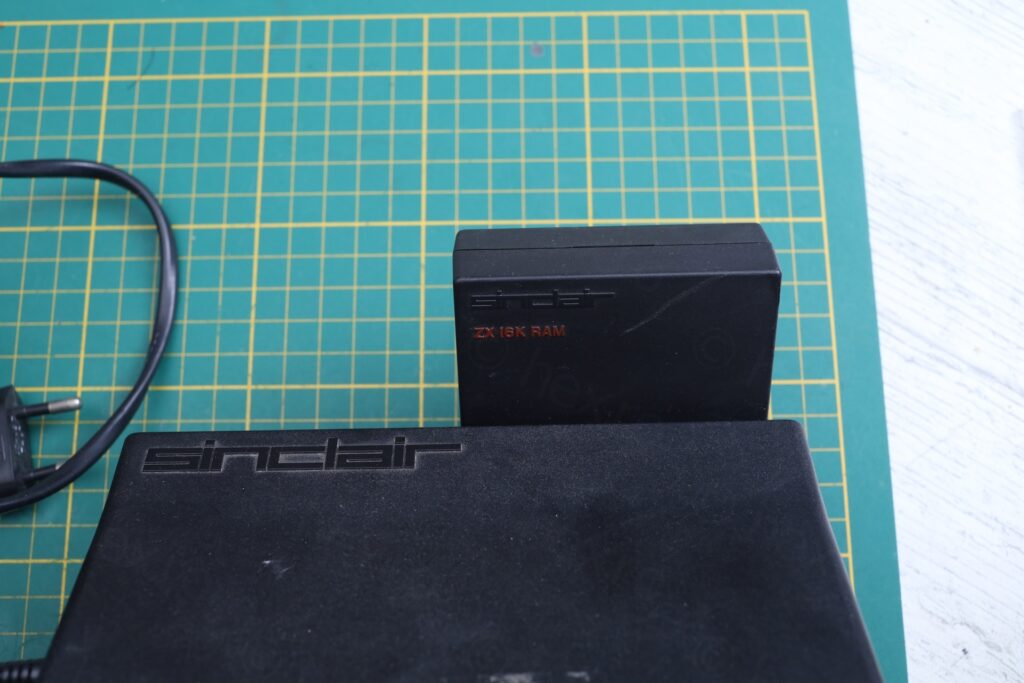
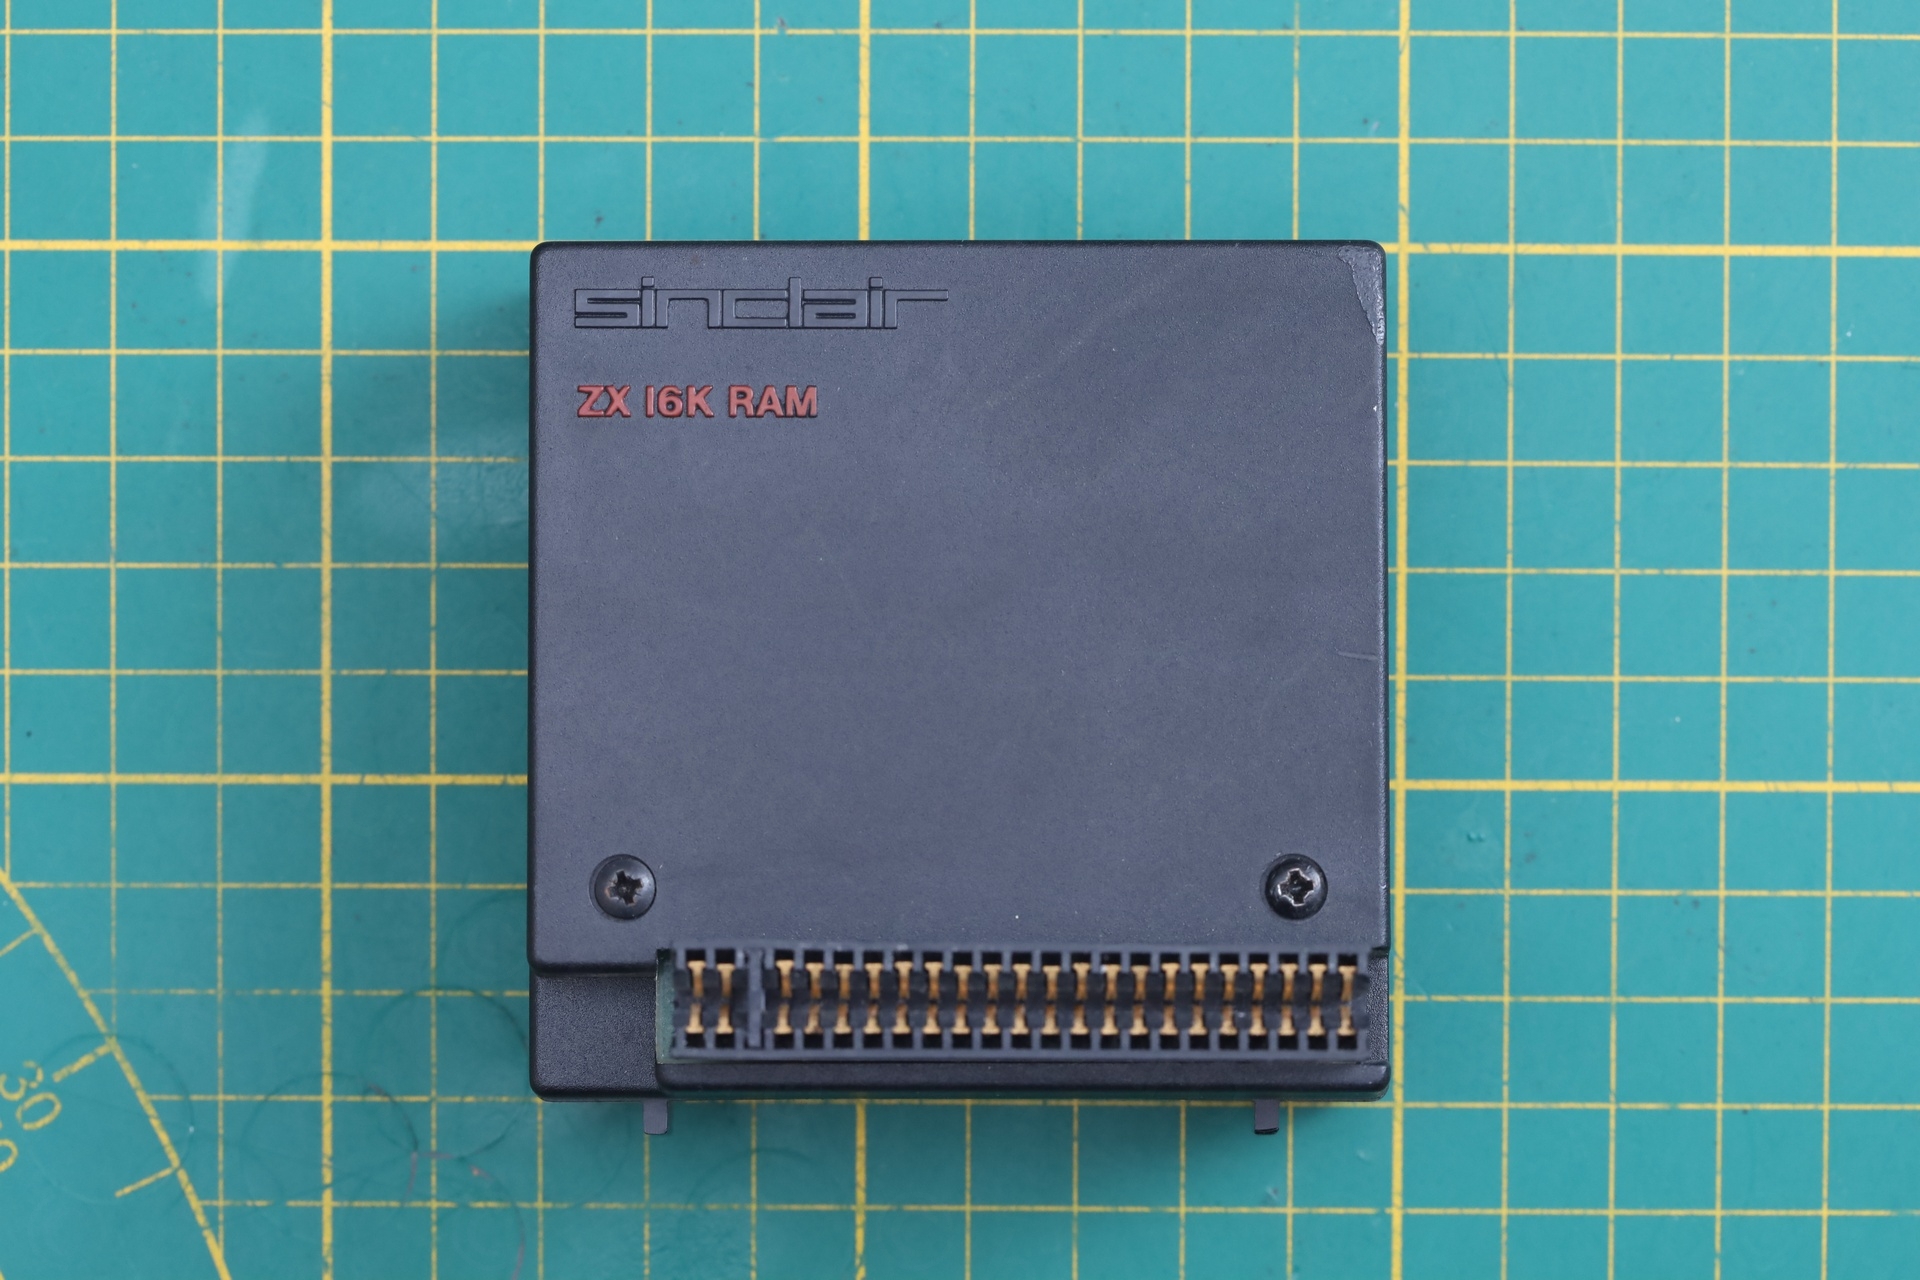
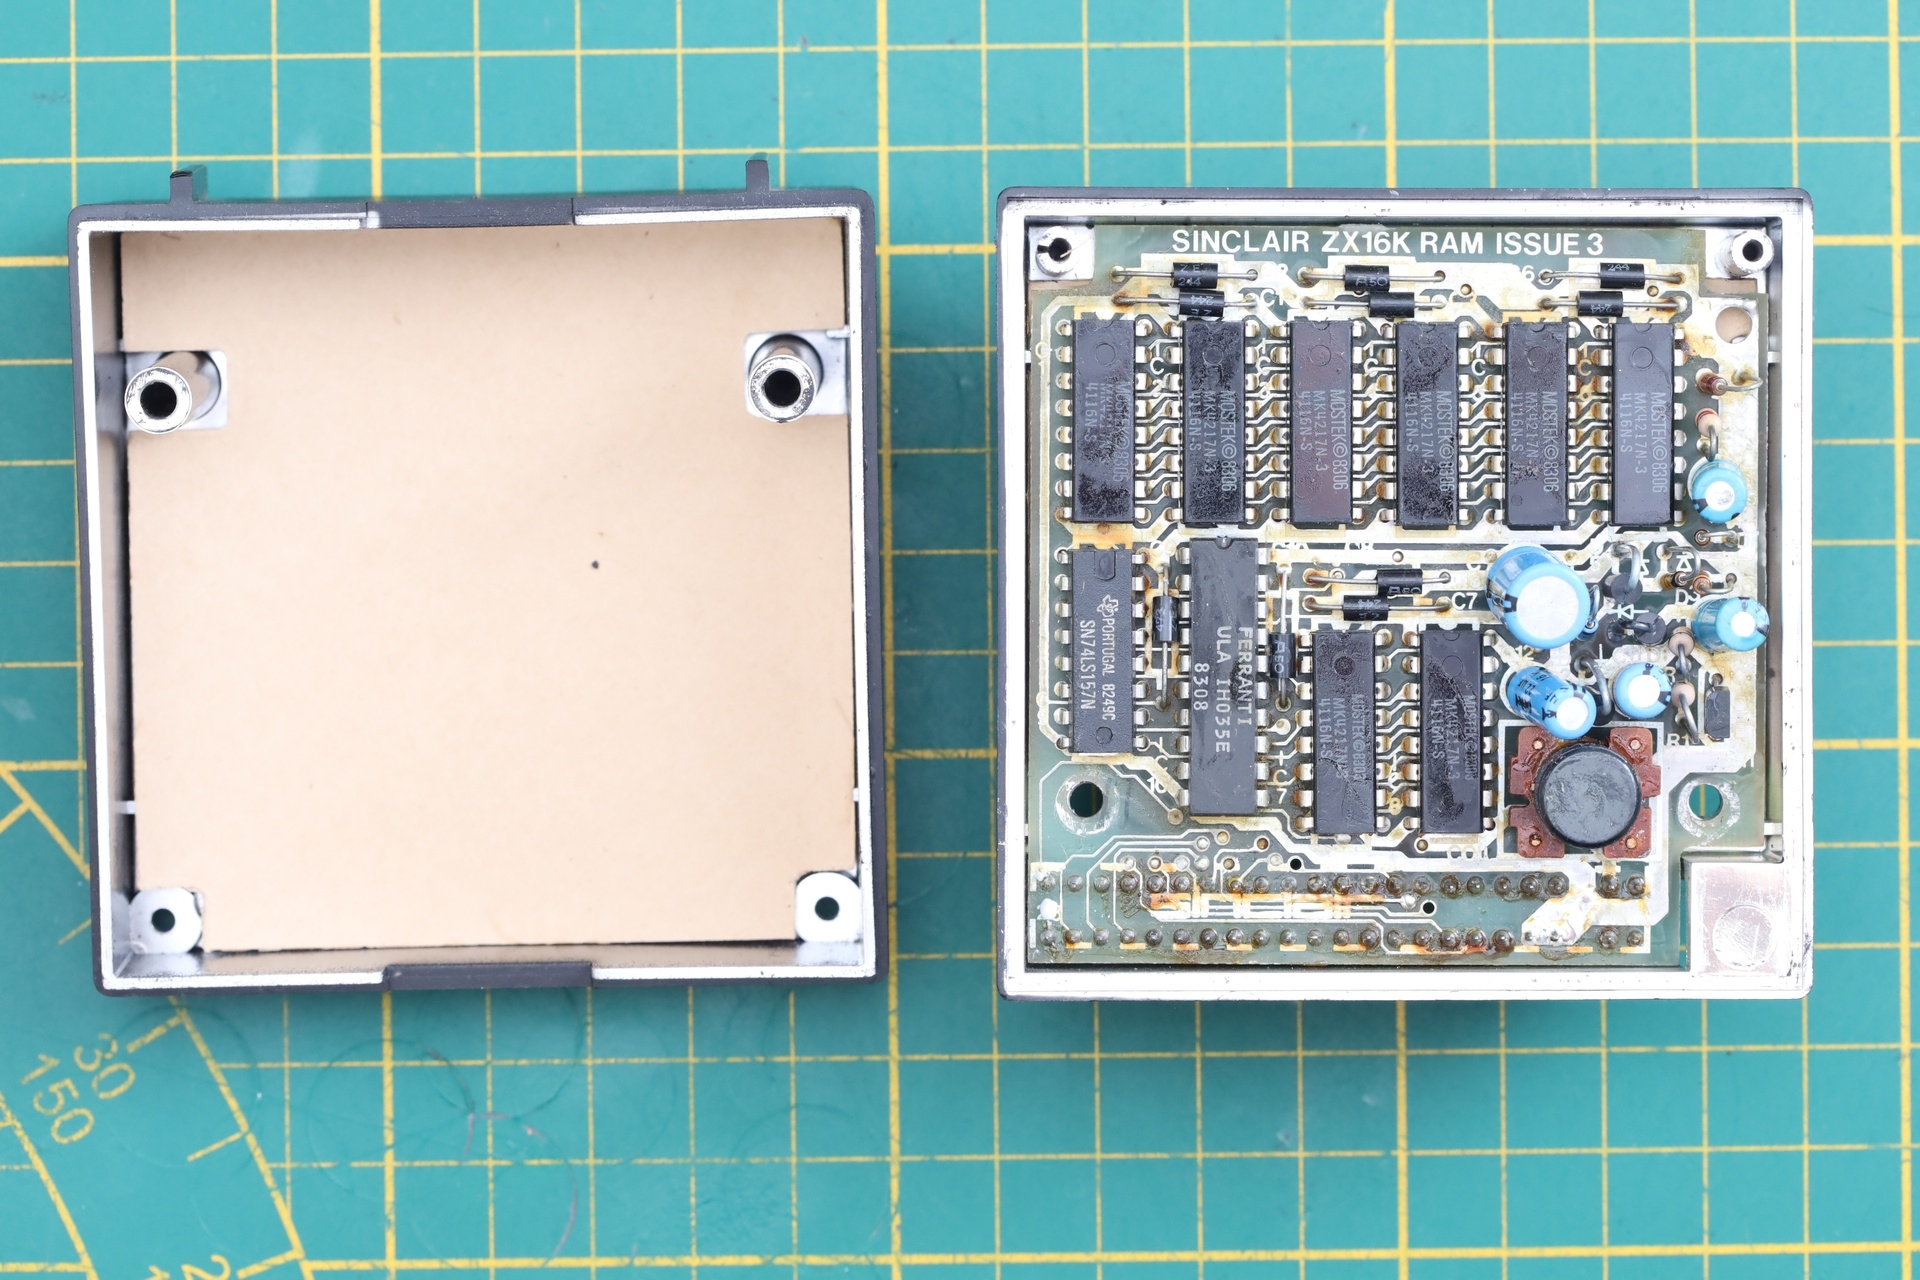
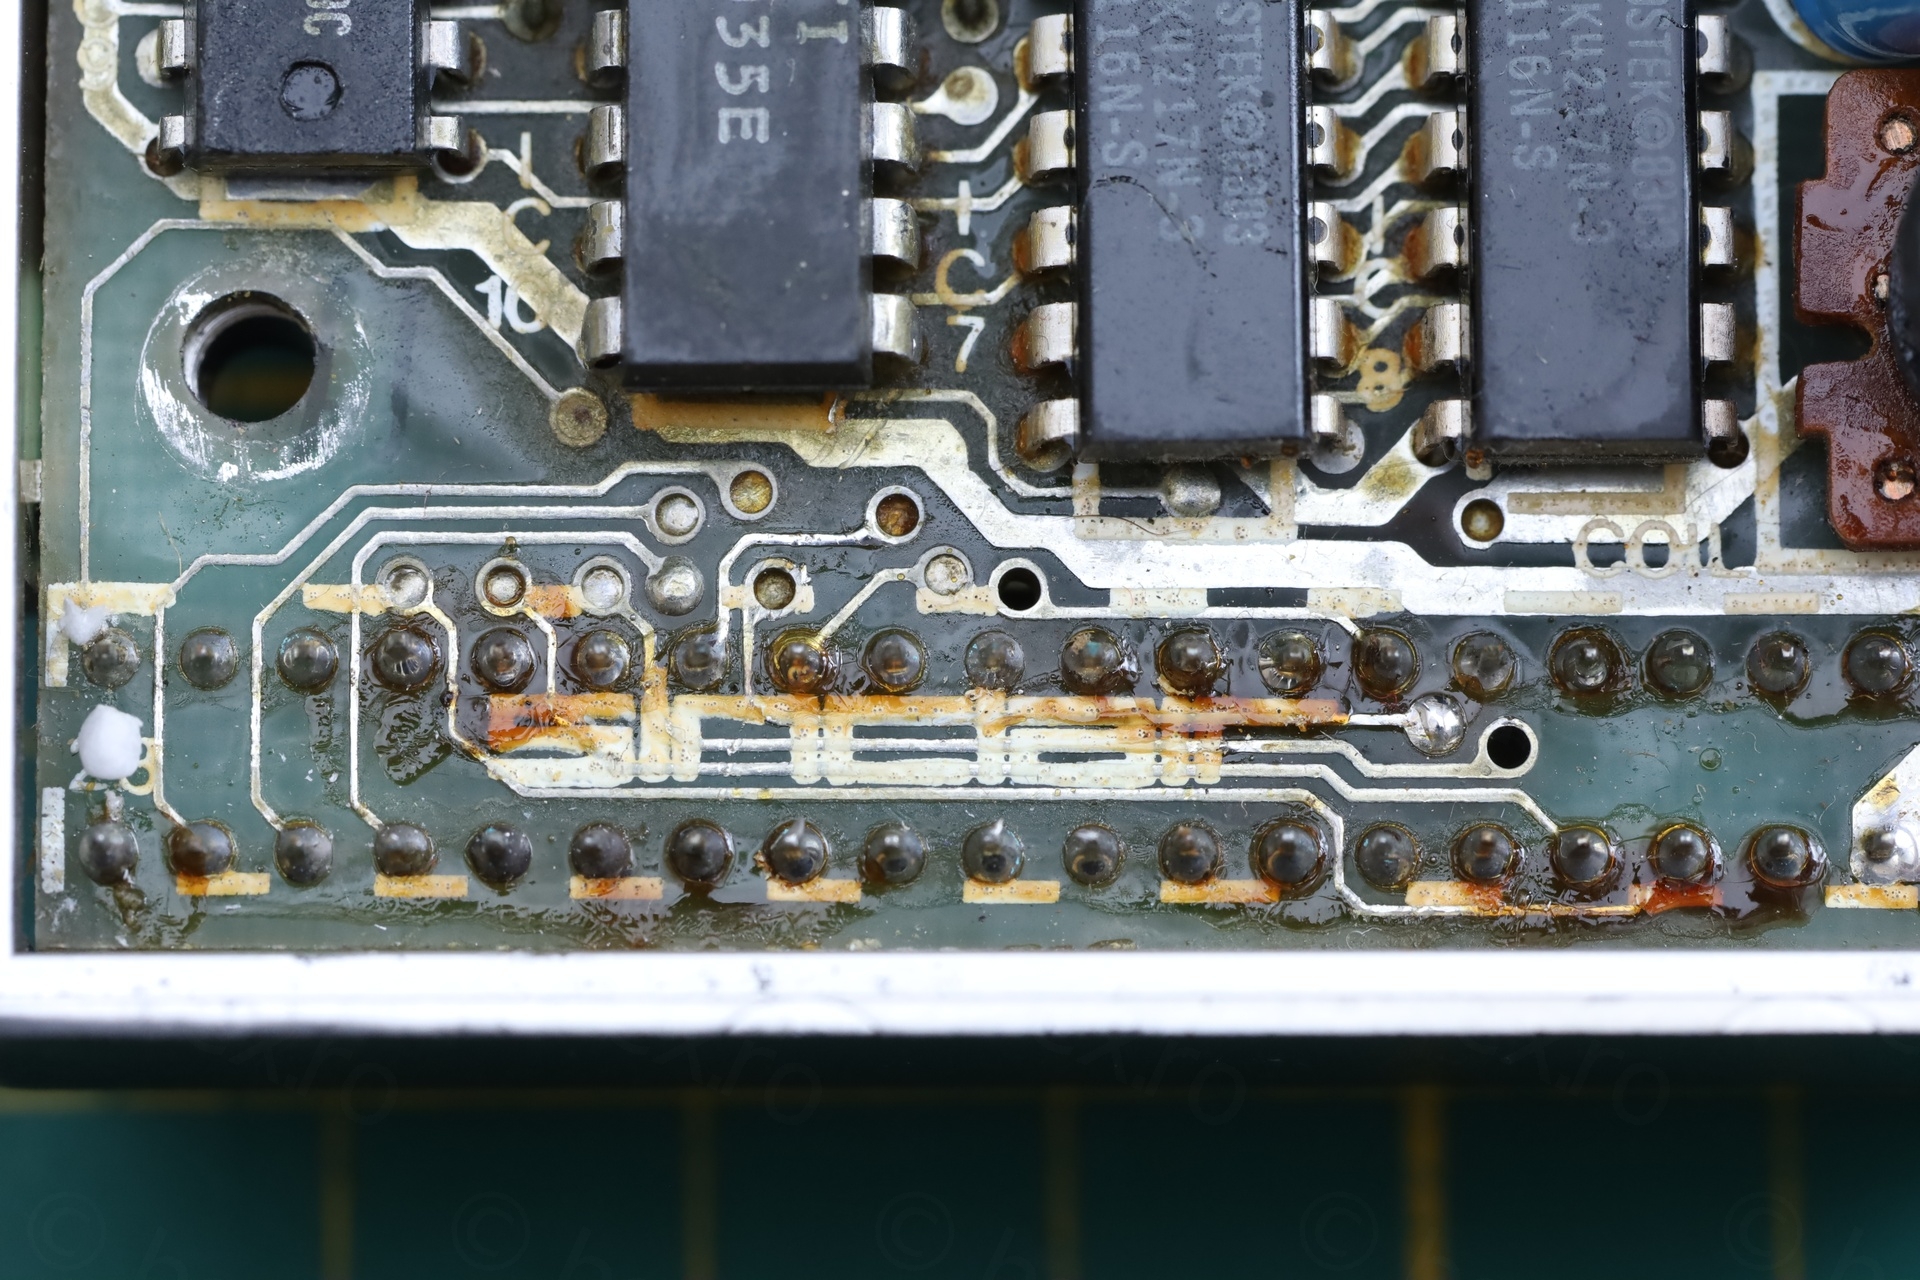
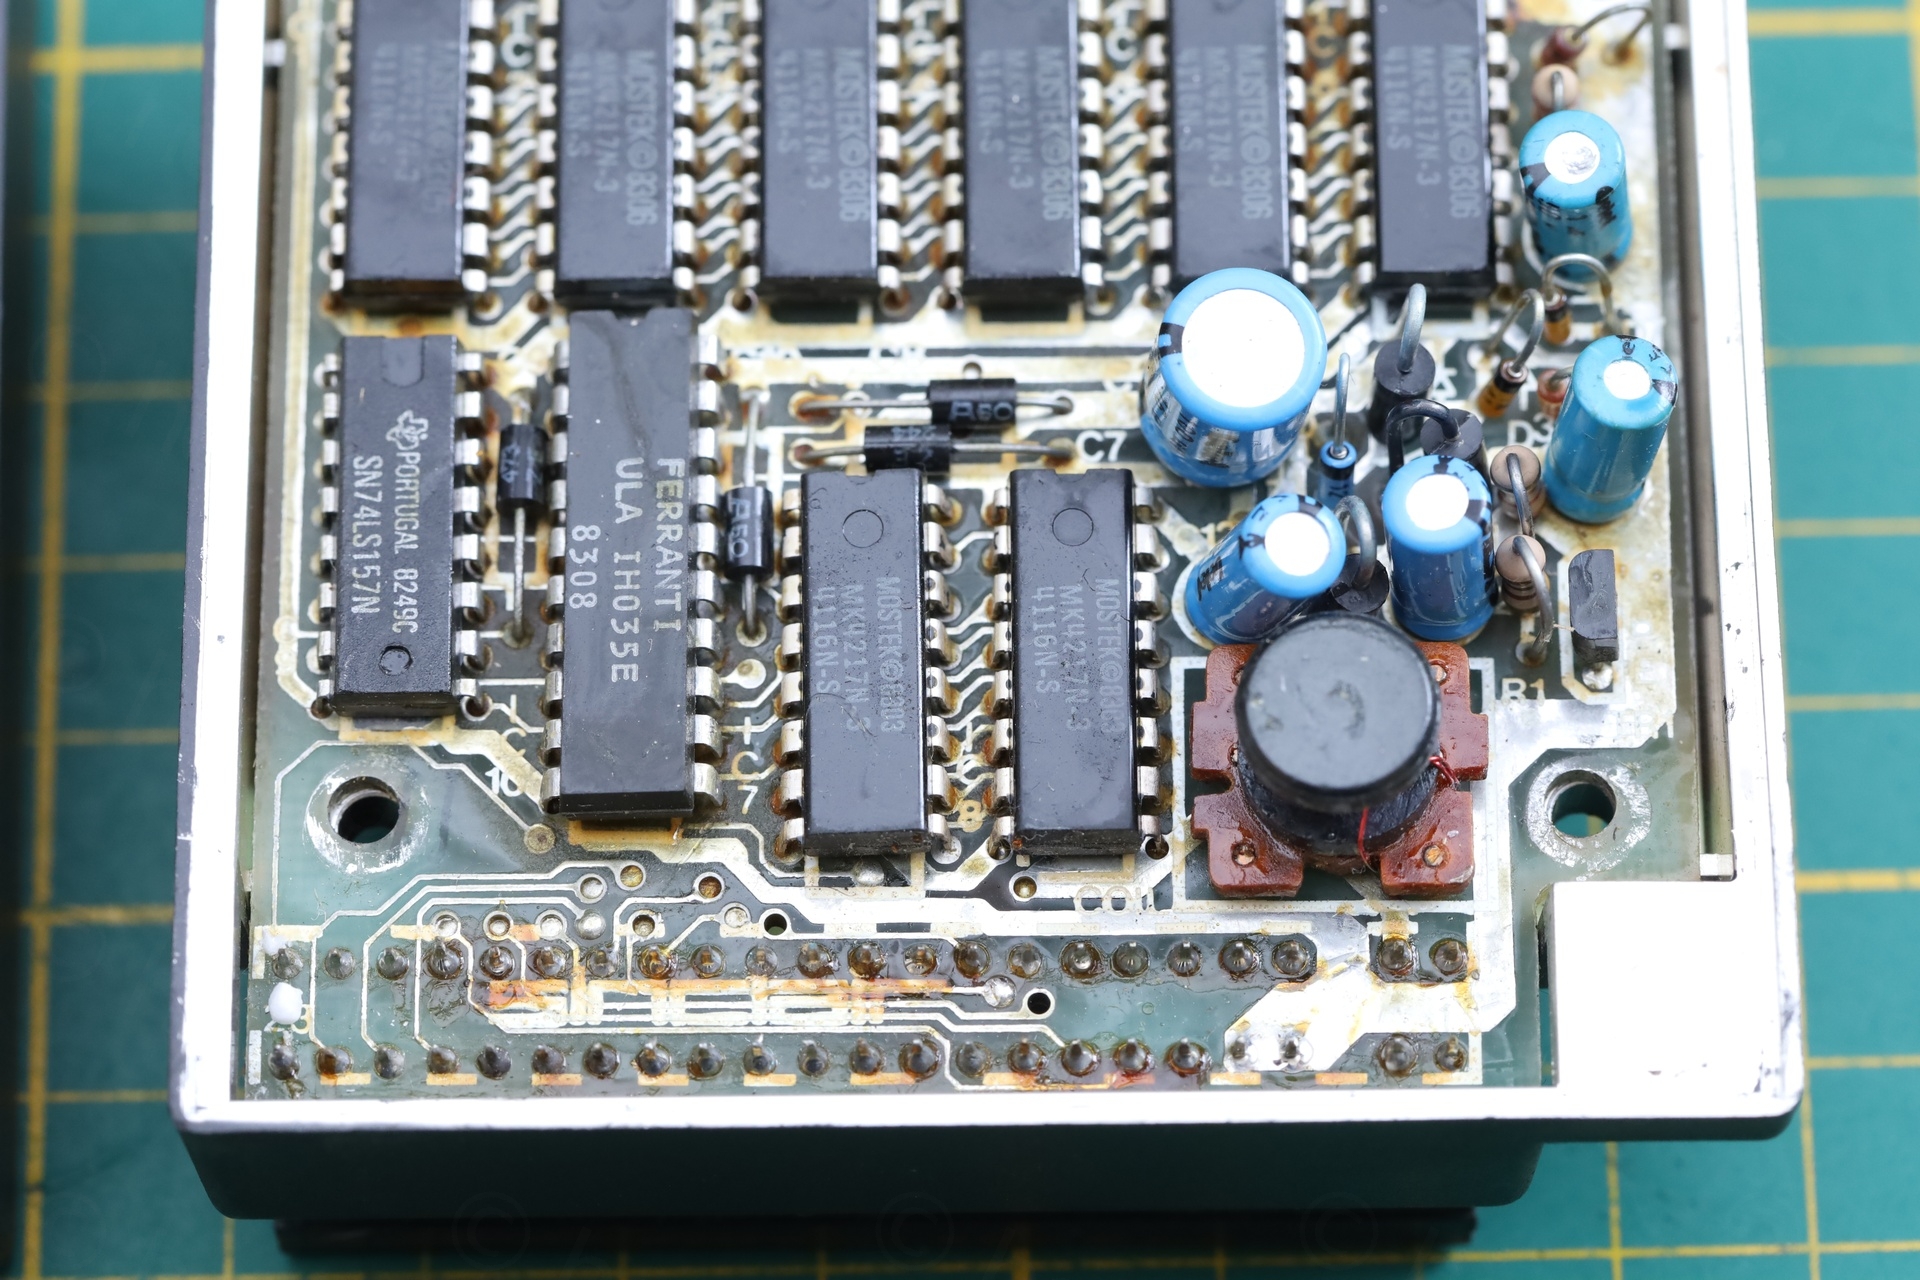
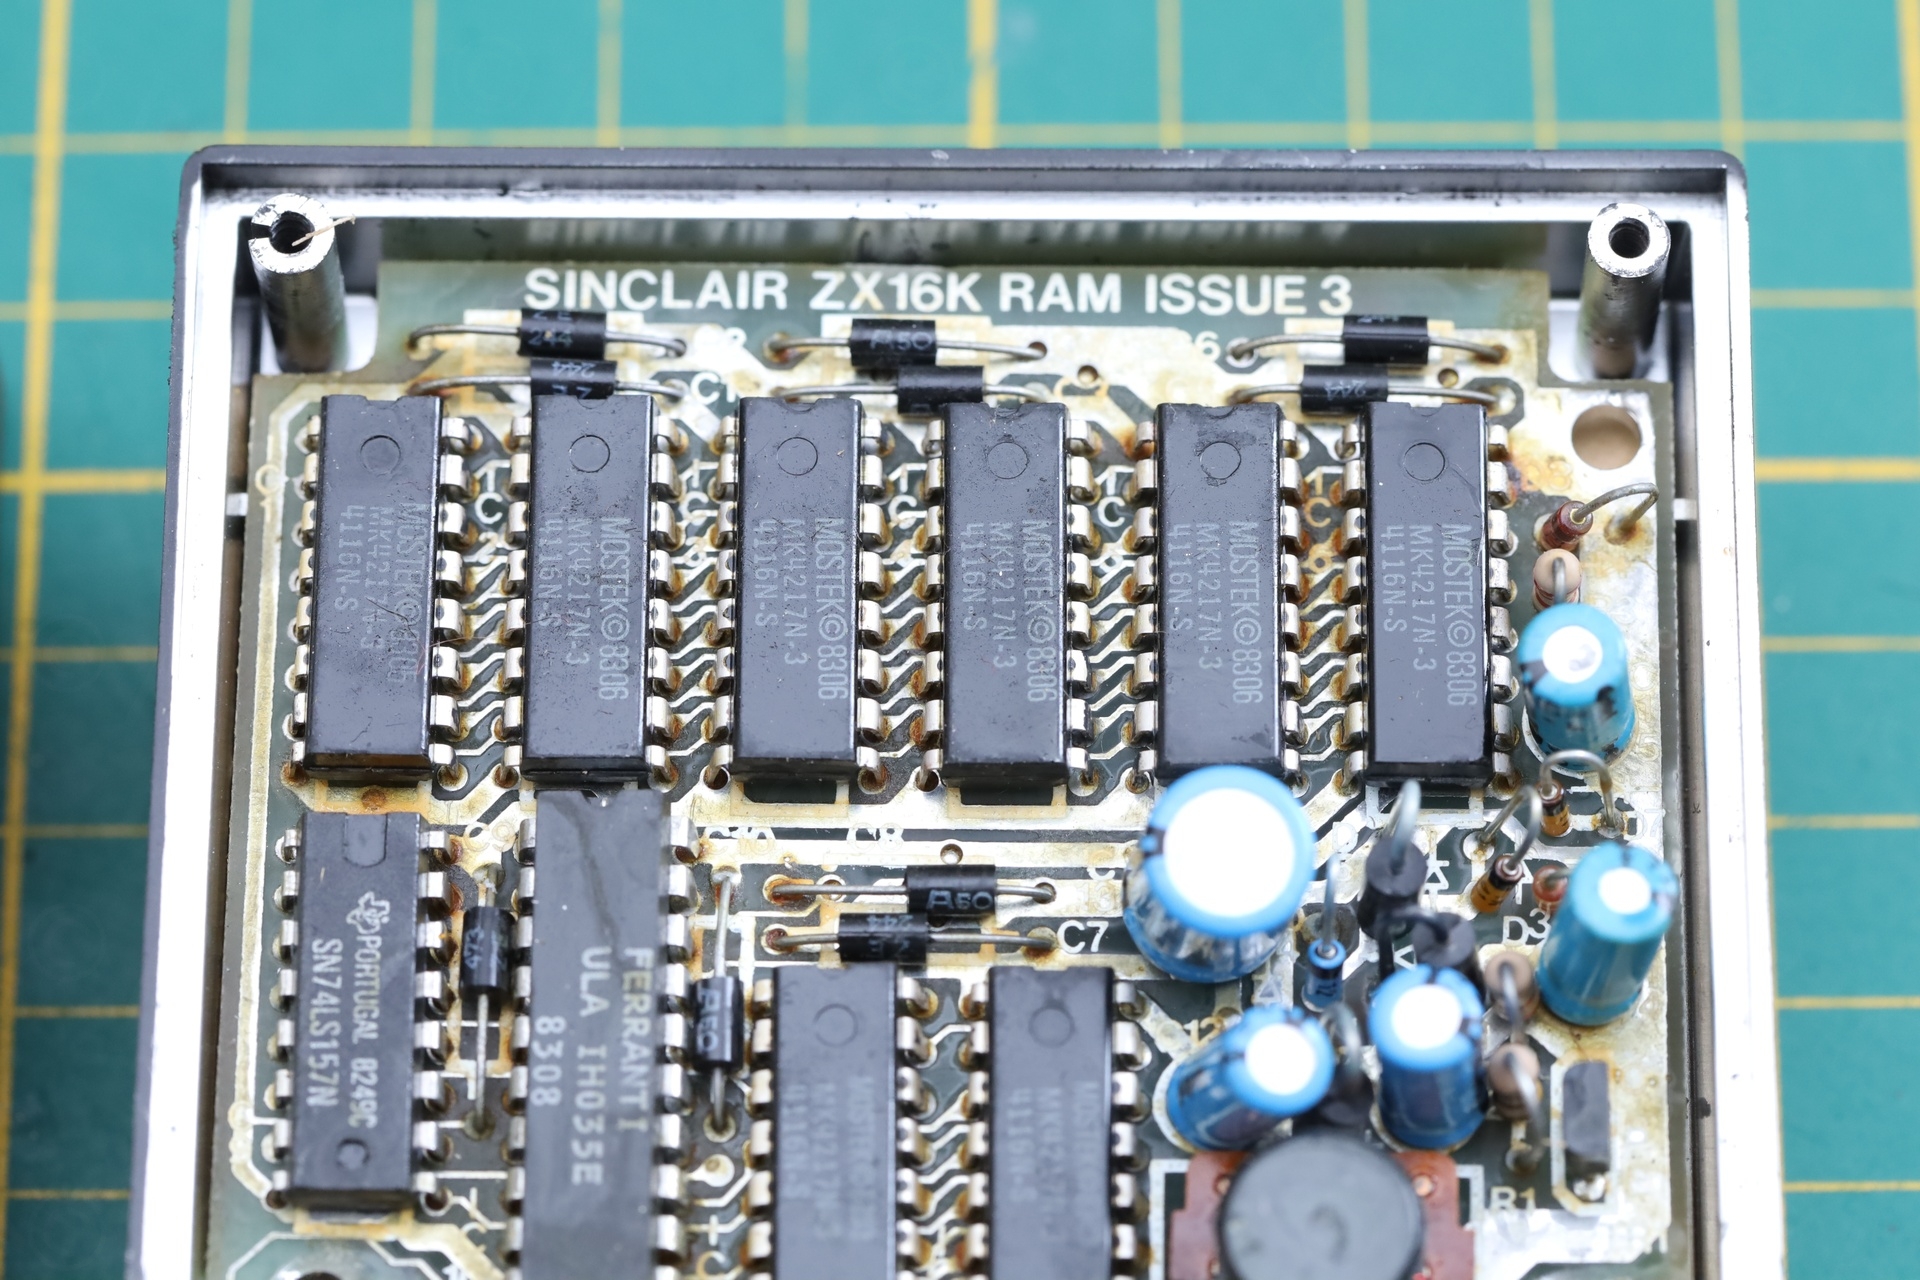
Sinclair ZX 16K RAM
This unit is working fine. I don’t have a dedicated tester for it, but loading 16K games works fine. The board inside carries the marking “SINCLAIR ZX16K RAM ISSUE 3” and, what surprised me, a chip called FERRANTI ULA IH035E.
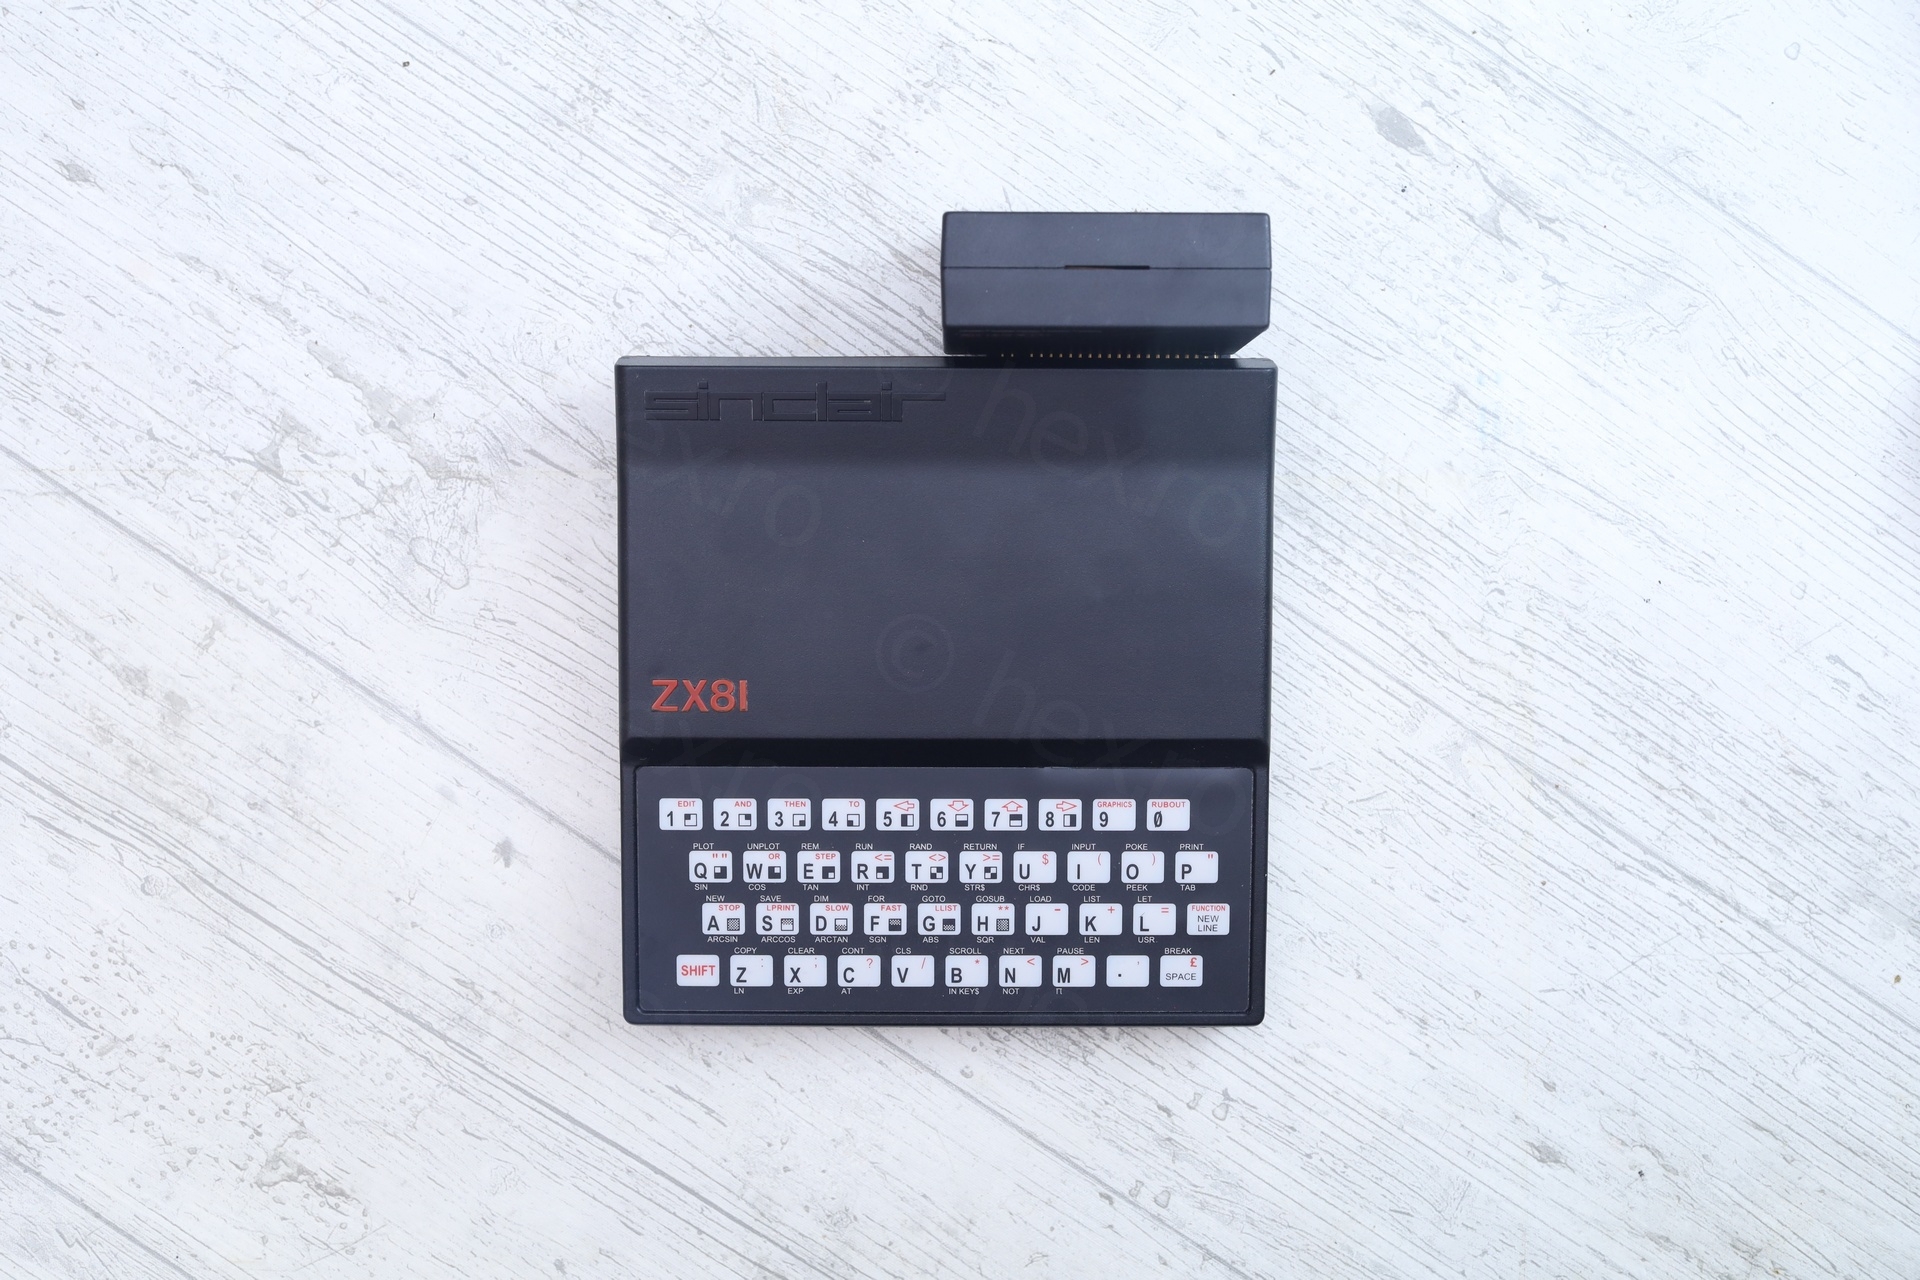
When ZX81 is powered with the RAM, the K prompt takes a little longer to appear, and power consumption increases with about 220mA.
Loading Programs
This was a trial and error operation that took me a while to sort out. Instead of listing the attempts, I will probably just list the findings / conclusions (so far). Maybe this is worthy of a more in-depth article.
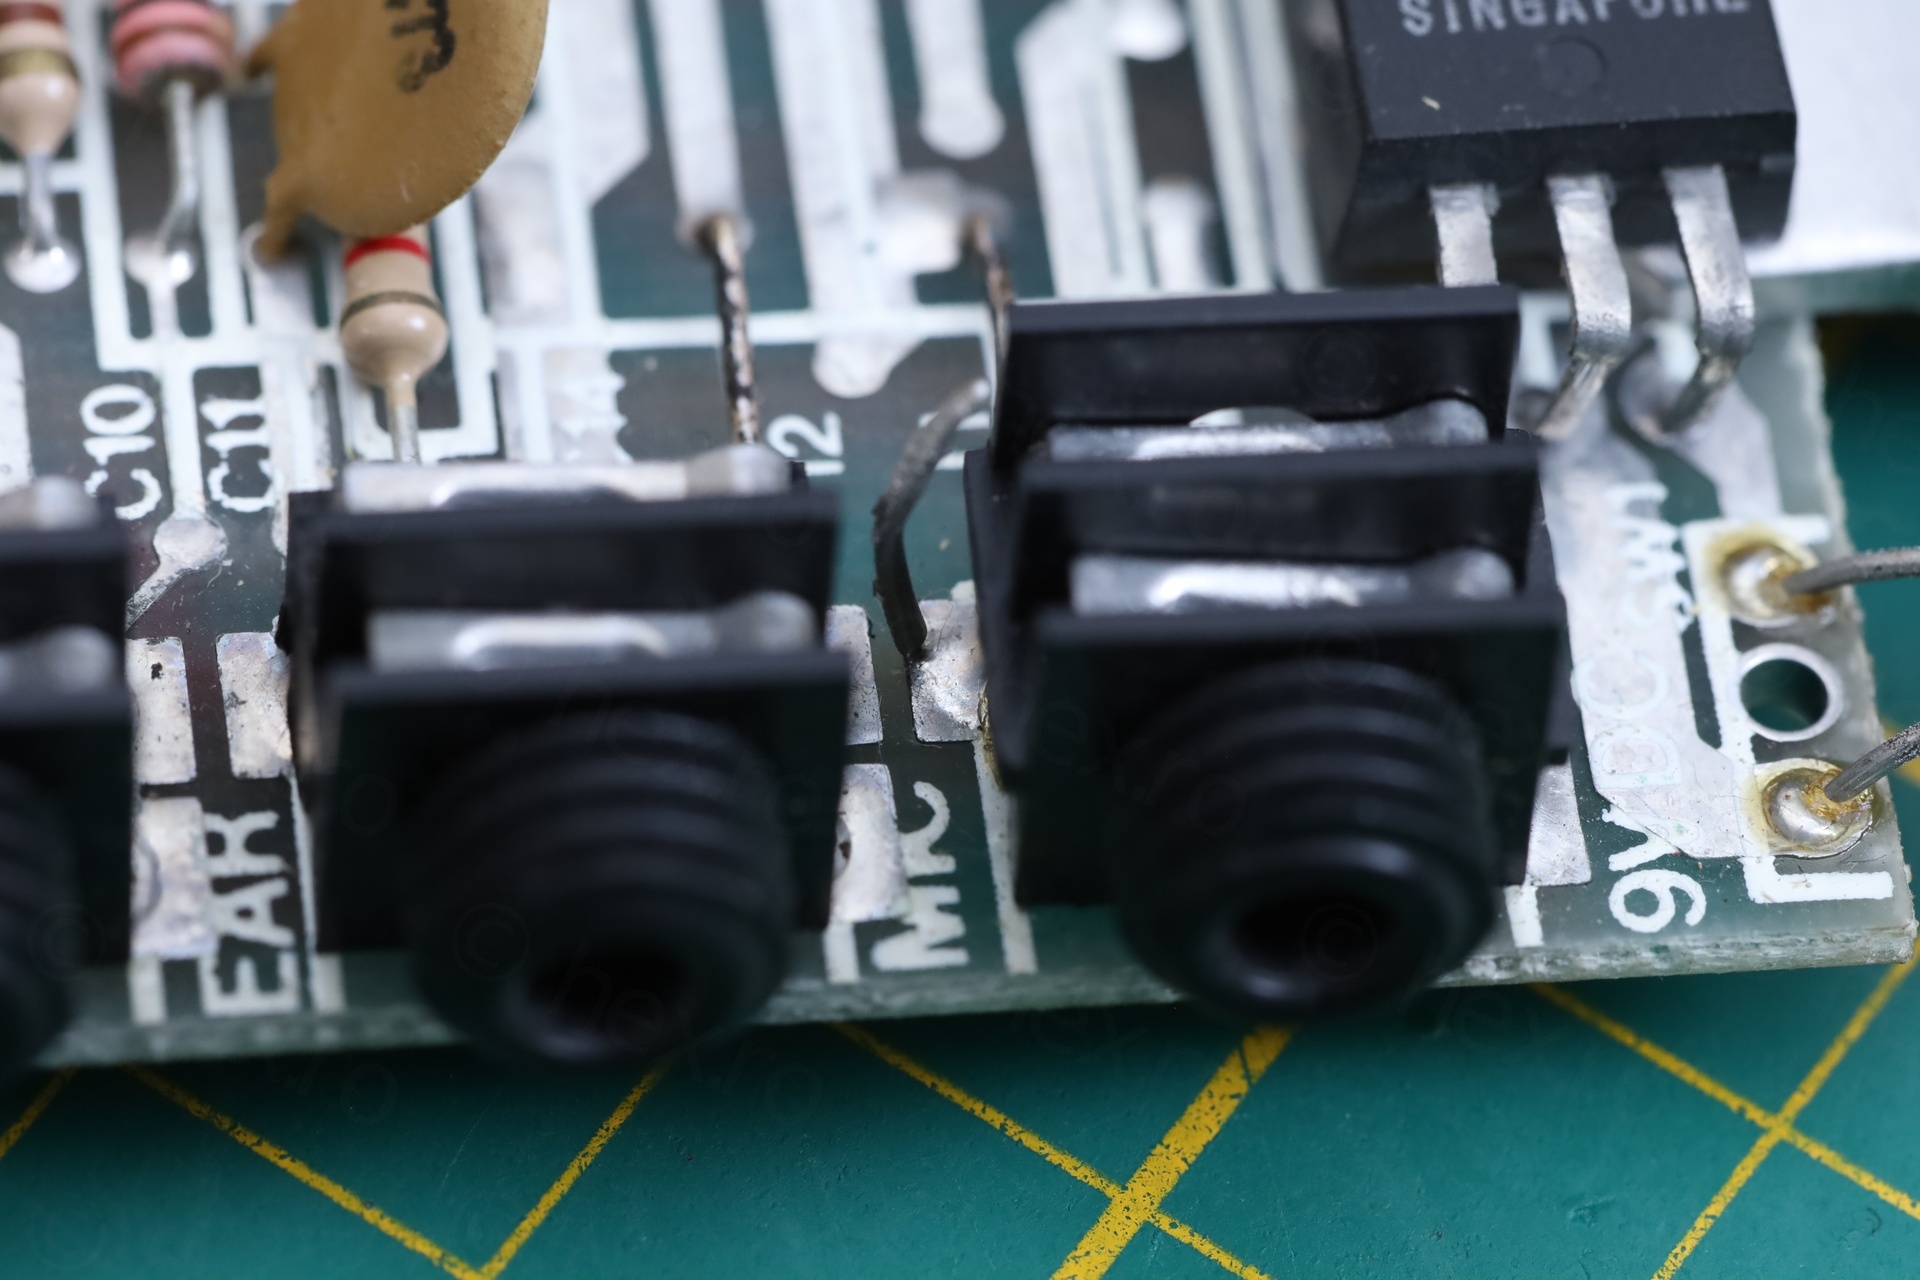
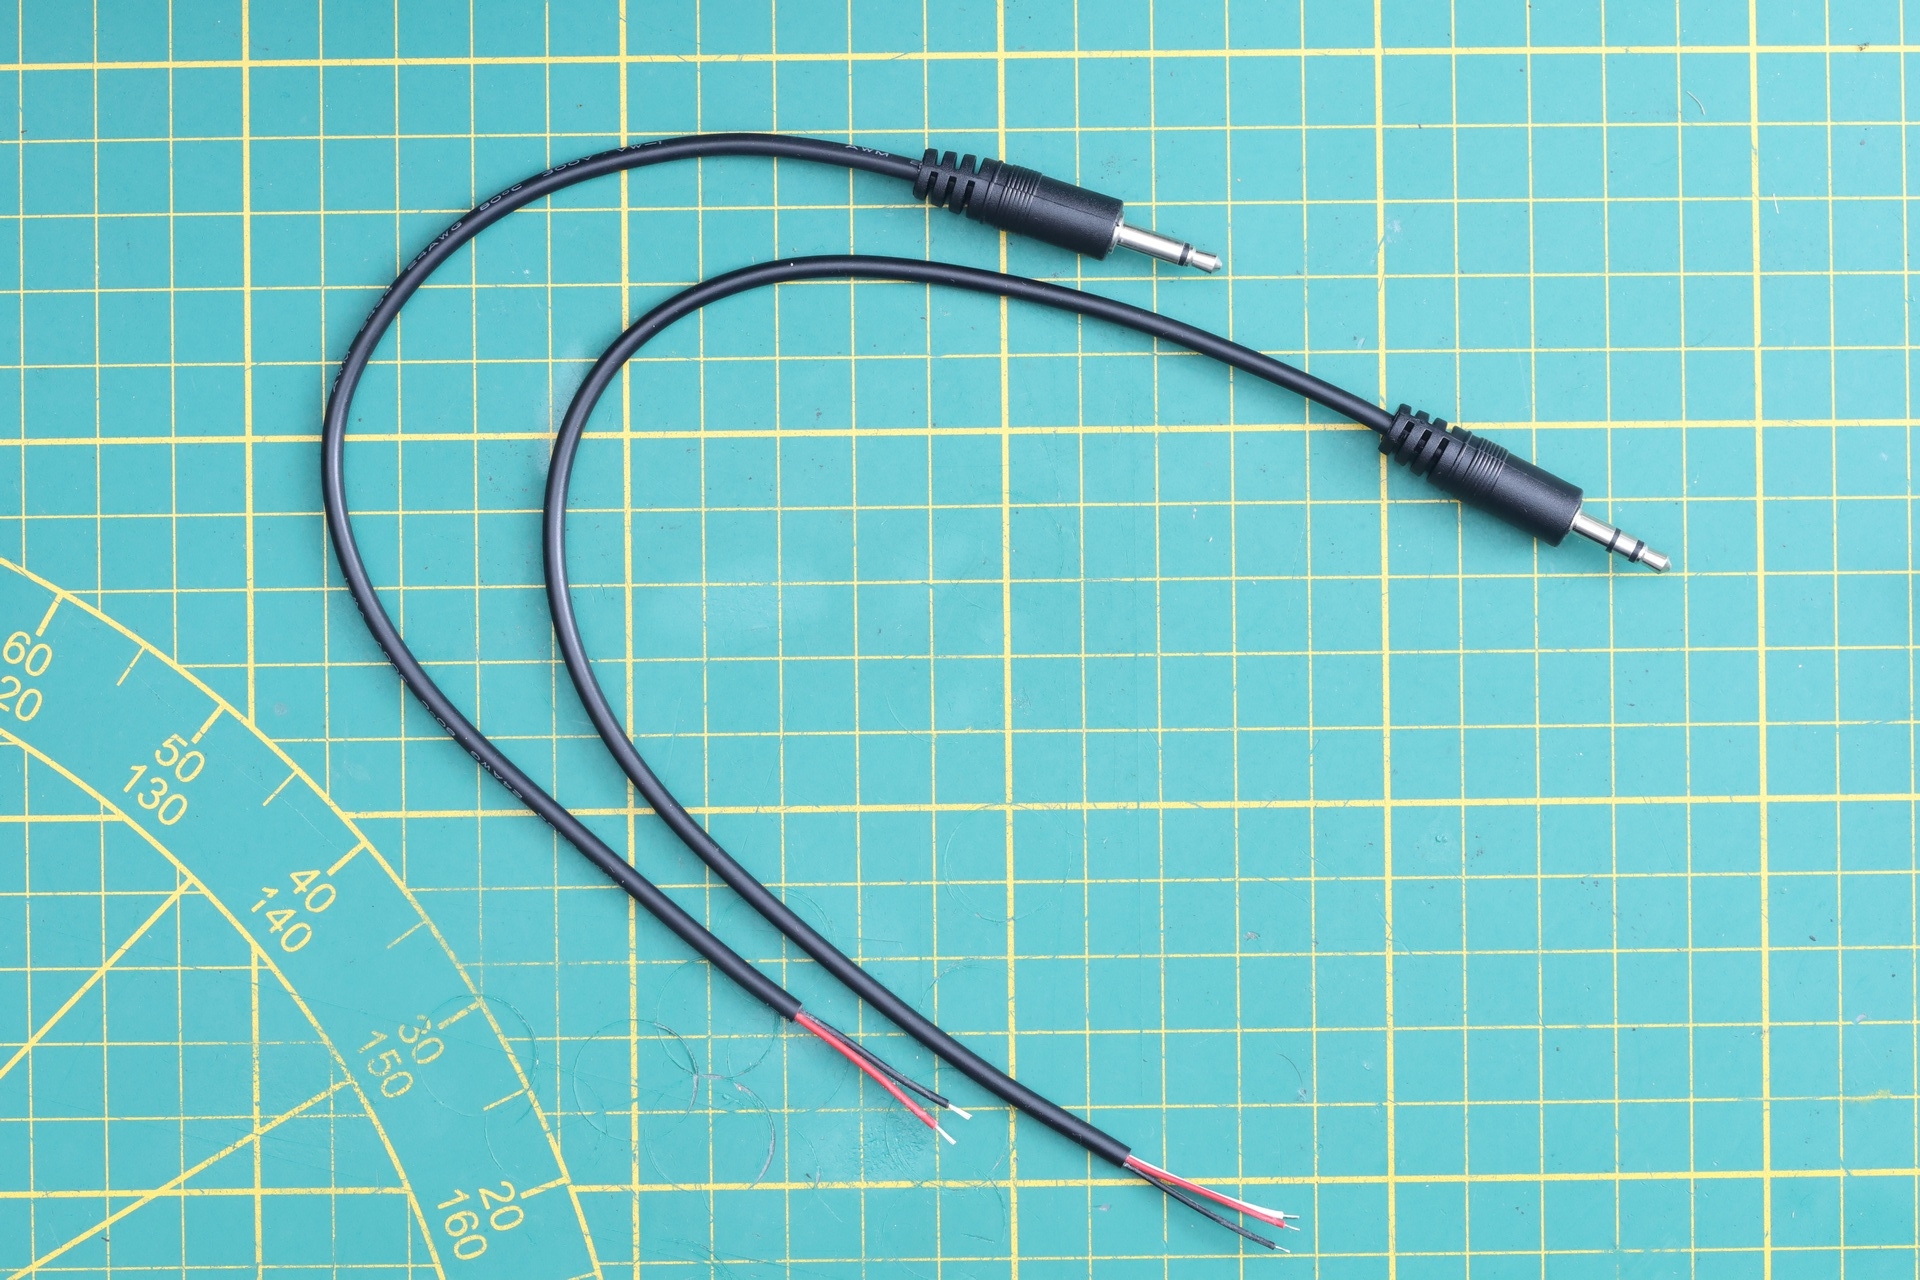
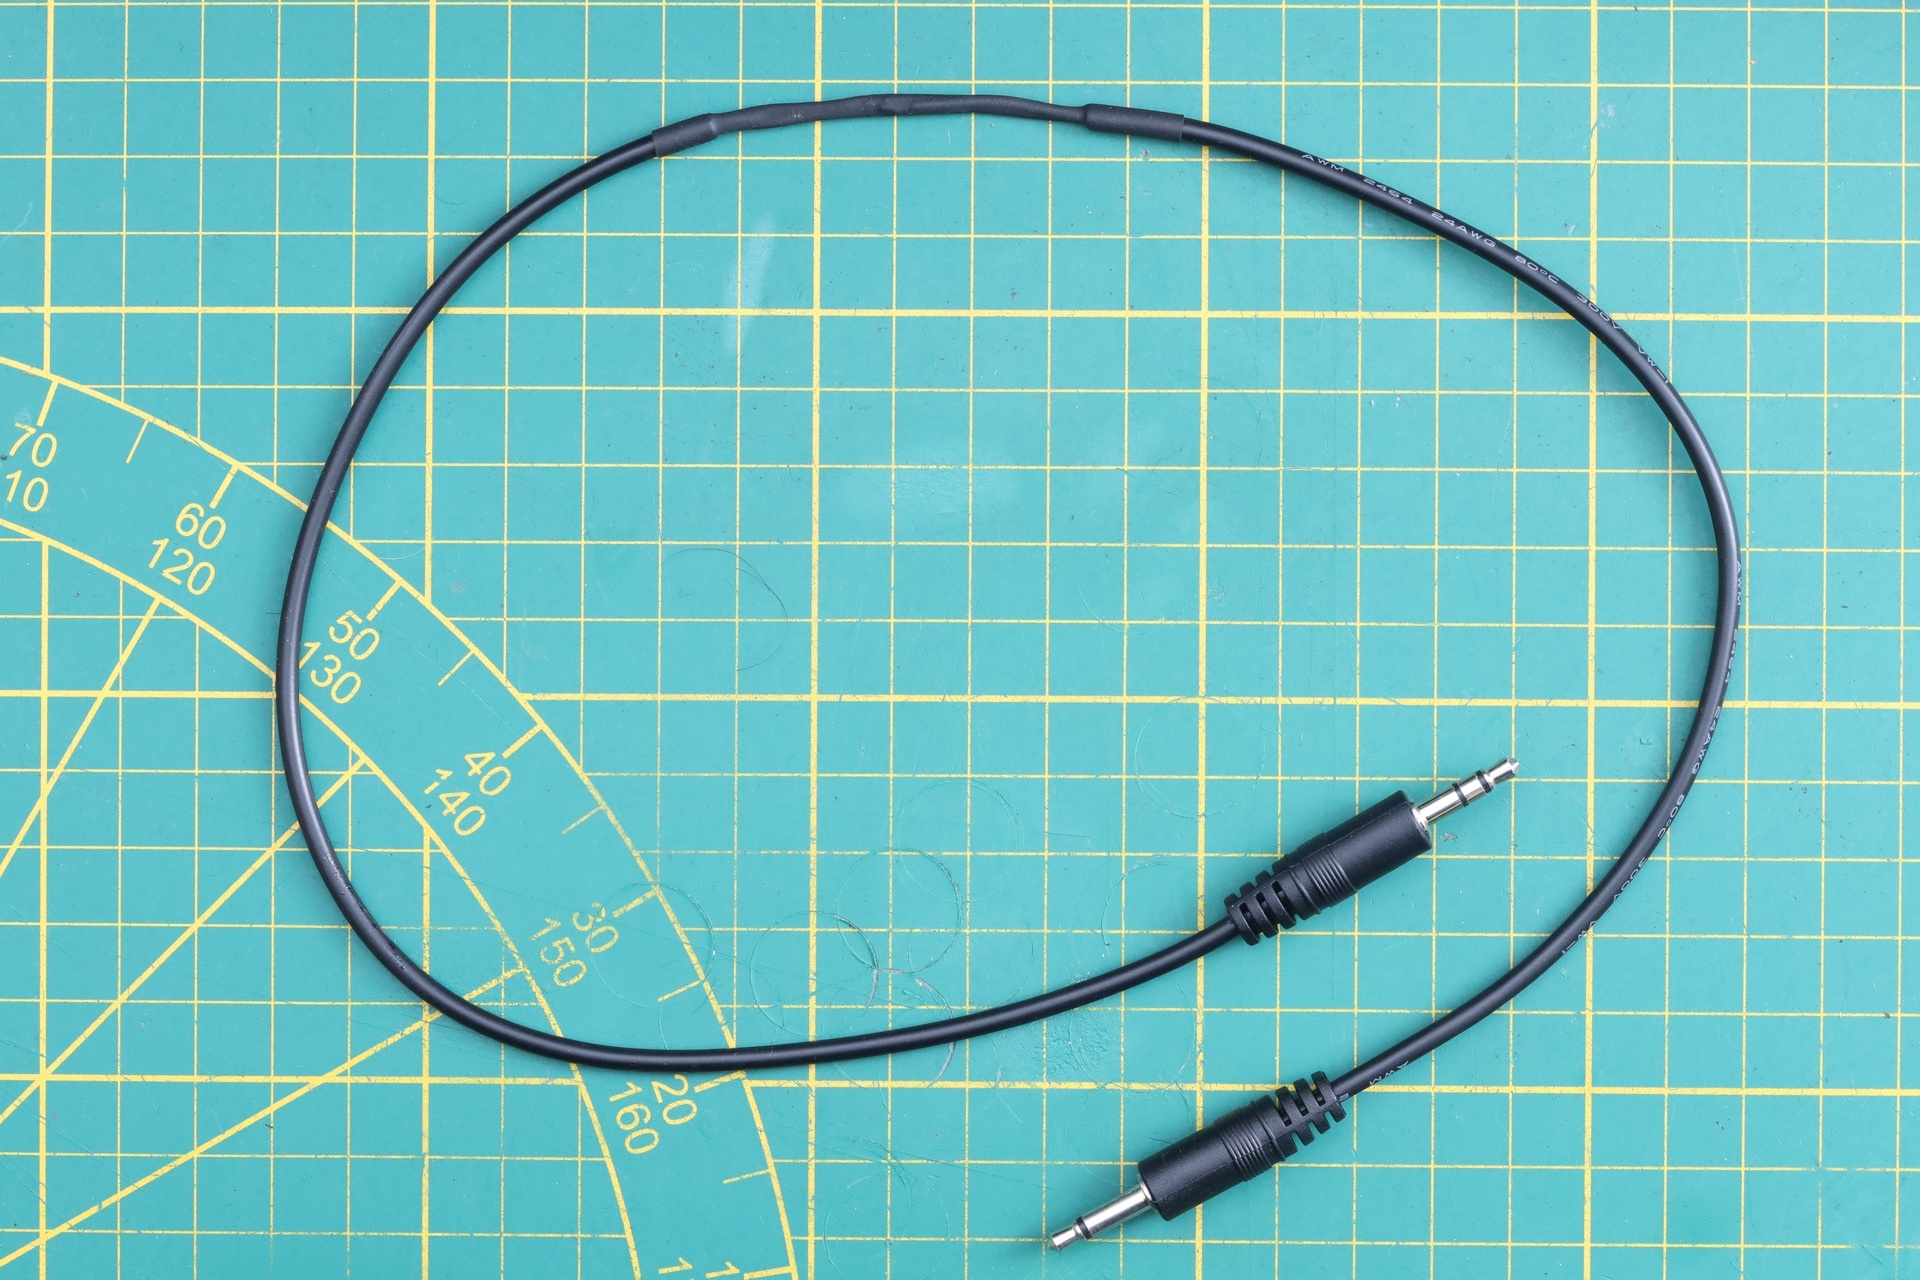
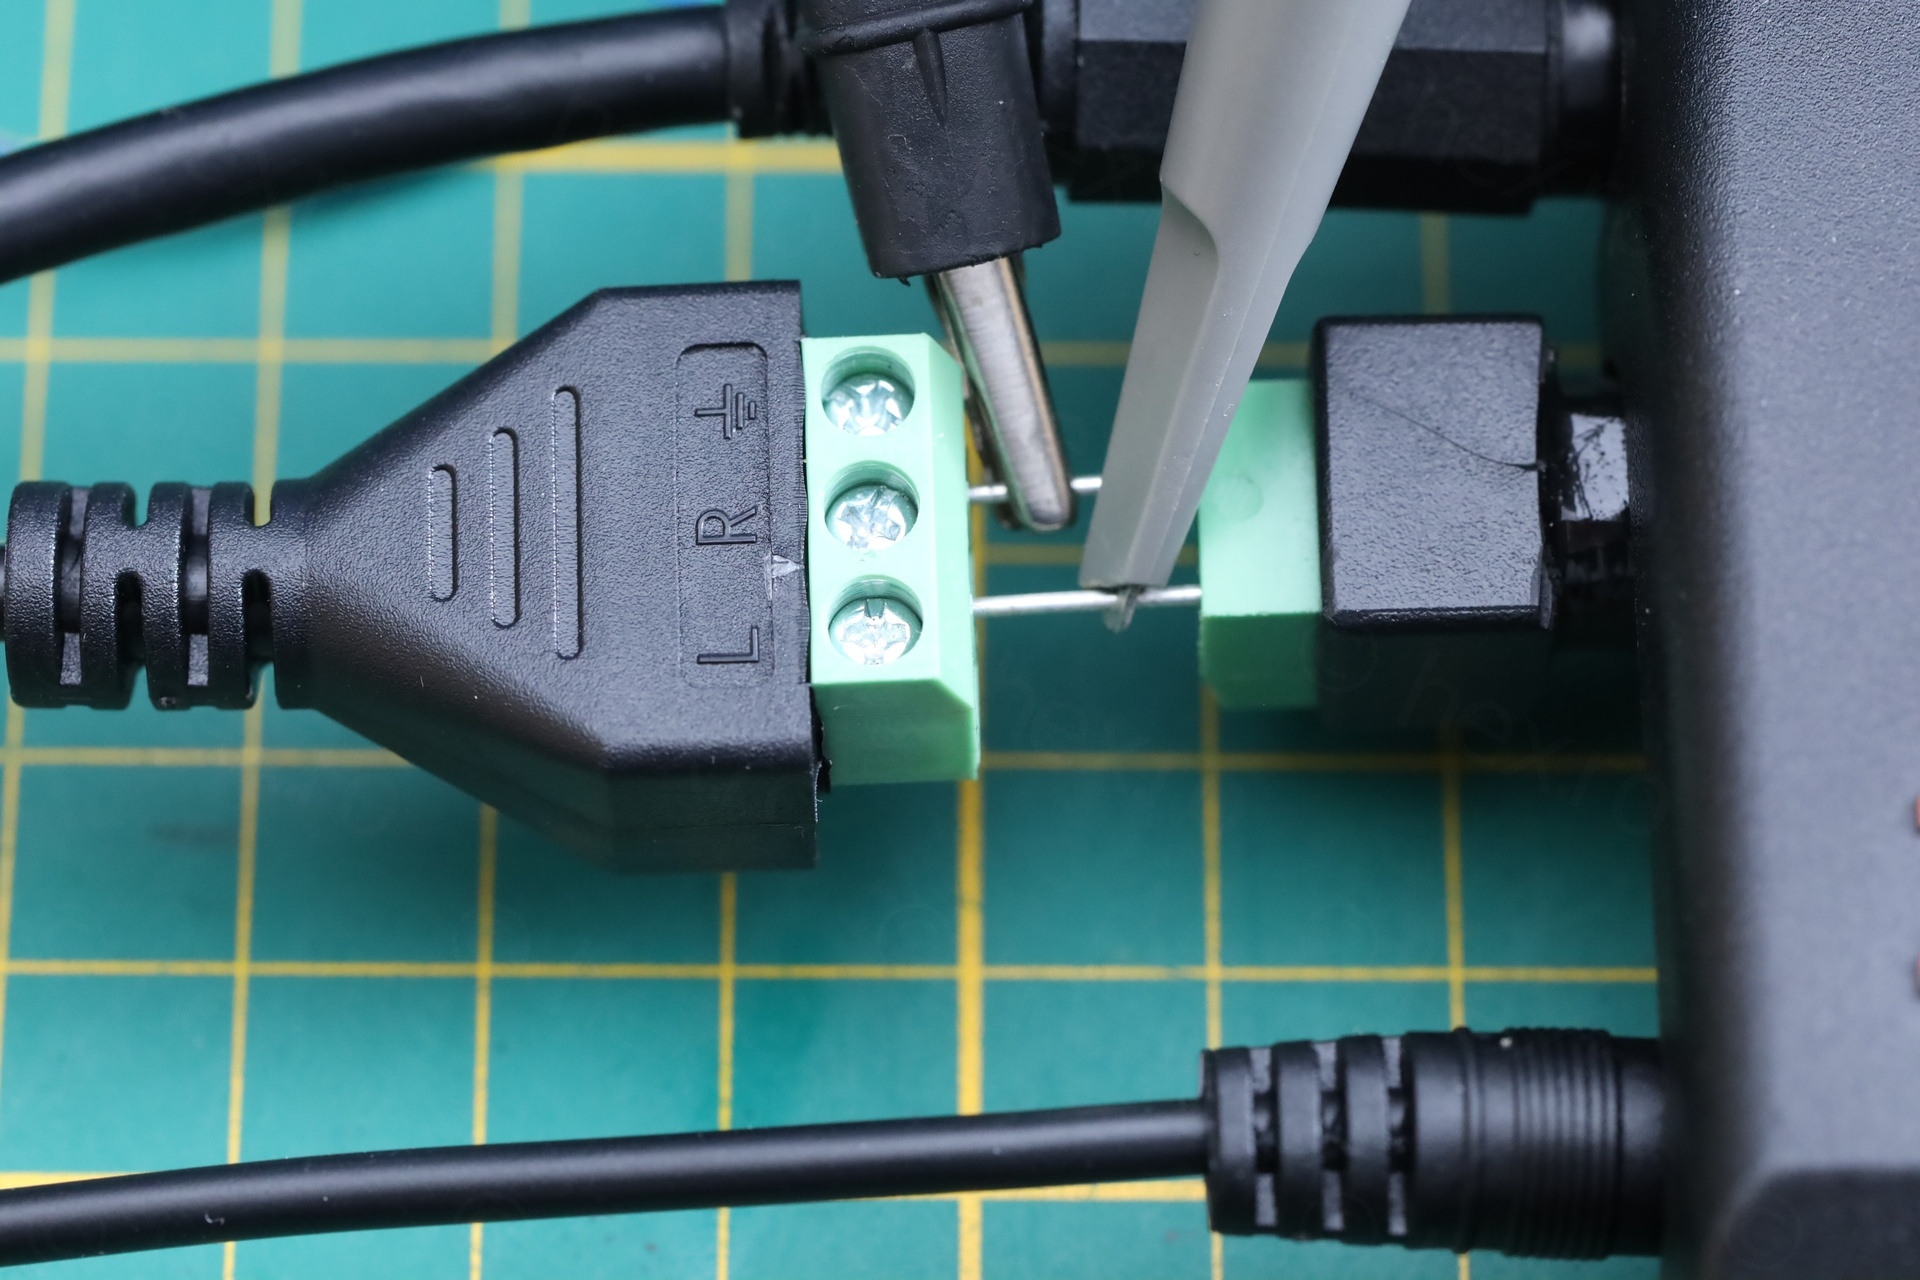
Stereo to Mono cable
A Stereo to Mono cable is needed. Although the length of the 3.5mm Stereo and Mono jacks is the same AND the tip separation is at the exact spot, there is absolutely no pickup of sound from ZX81 irrespective of the volume level. As if the ZX81 Mono socket has the ground contact exactly in between the Ring and the Sleeve separator of the Stereo jack. I made my own adapter:
.p to .wav files conversion
The tapeutils.jar from https://www.zx81stuff.org.uk/zx81/tapeutils/overview.html works for creating .wav files – and I am very grateful this exists. The command I use to convert the .p files to .wav files is:
java -classpath tapeutils.jar tapeutils.zx81.PFileUtils -p "backgammon.p" -f "backgammon.wav" -z "BACKGAMMON"
The “-z” is necessary, otherwise the program crashes with a NullPointerException:
Error loading backgammon.p : null
java.lang.NullPointerException
at tapeutils.impl.zx81.ZX81SampleGenerator.getZX81ProgramName(ZX81SampleGenerator.java:108)
at tapeutils.impl.zx81.ZX81SampleGenerator.(ZX81SampleGenerator.java:96)
at tapeutils.zx81.PFile.writeSampleToFile(PFile.java:313)
at tapeutils.zx81.PFileUtils.main(PFileUtils.java:155)
The “-z” argument value is mandatory in uppercase, otherwise it will complain with:
Error loading backgammon.p : Error: program name contains invalid characters: bbbb
java.lang.IllegalArgumentException: Error: program name contains invalid characters: bbbb
at tapeutils.impl.zx81.ZX81SampleGenerator.getZX81ProgramName(ZX81SampleGenerator.java:114)
at tapeutils.impl.zx81.ZX81SampleGenerator.(ZX81SampleGenerator.java:96)
at tapeutils.zx81.PFile.writeSampleToFile(PFile.java:313)
at tapeutils.zx81.PFileUtils.main(PFileUtils.java:155)
VLC – OpenSL ES output
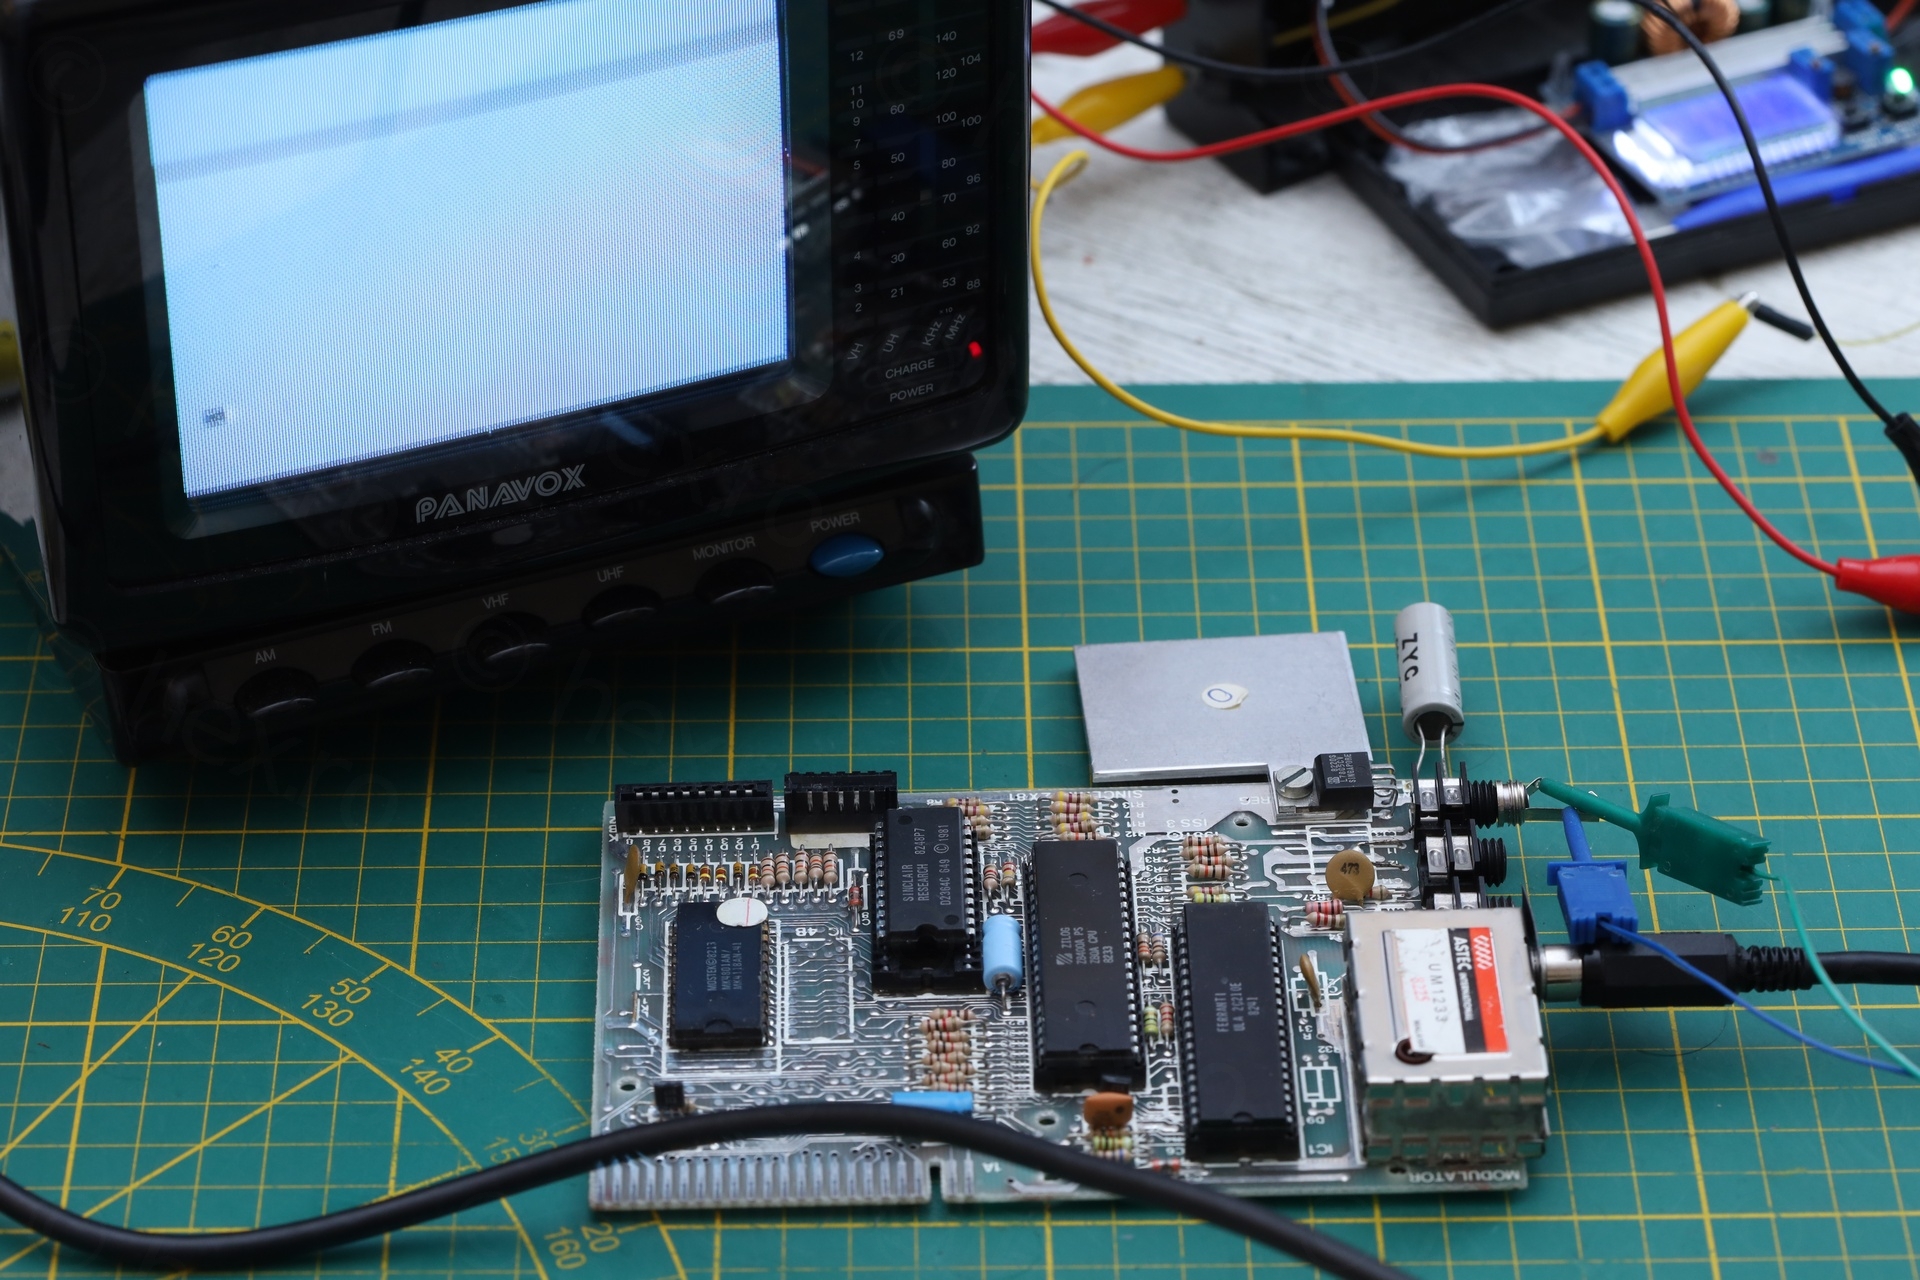
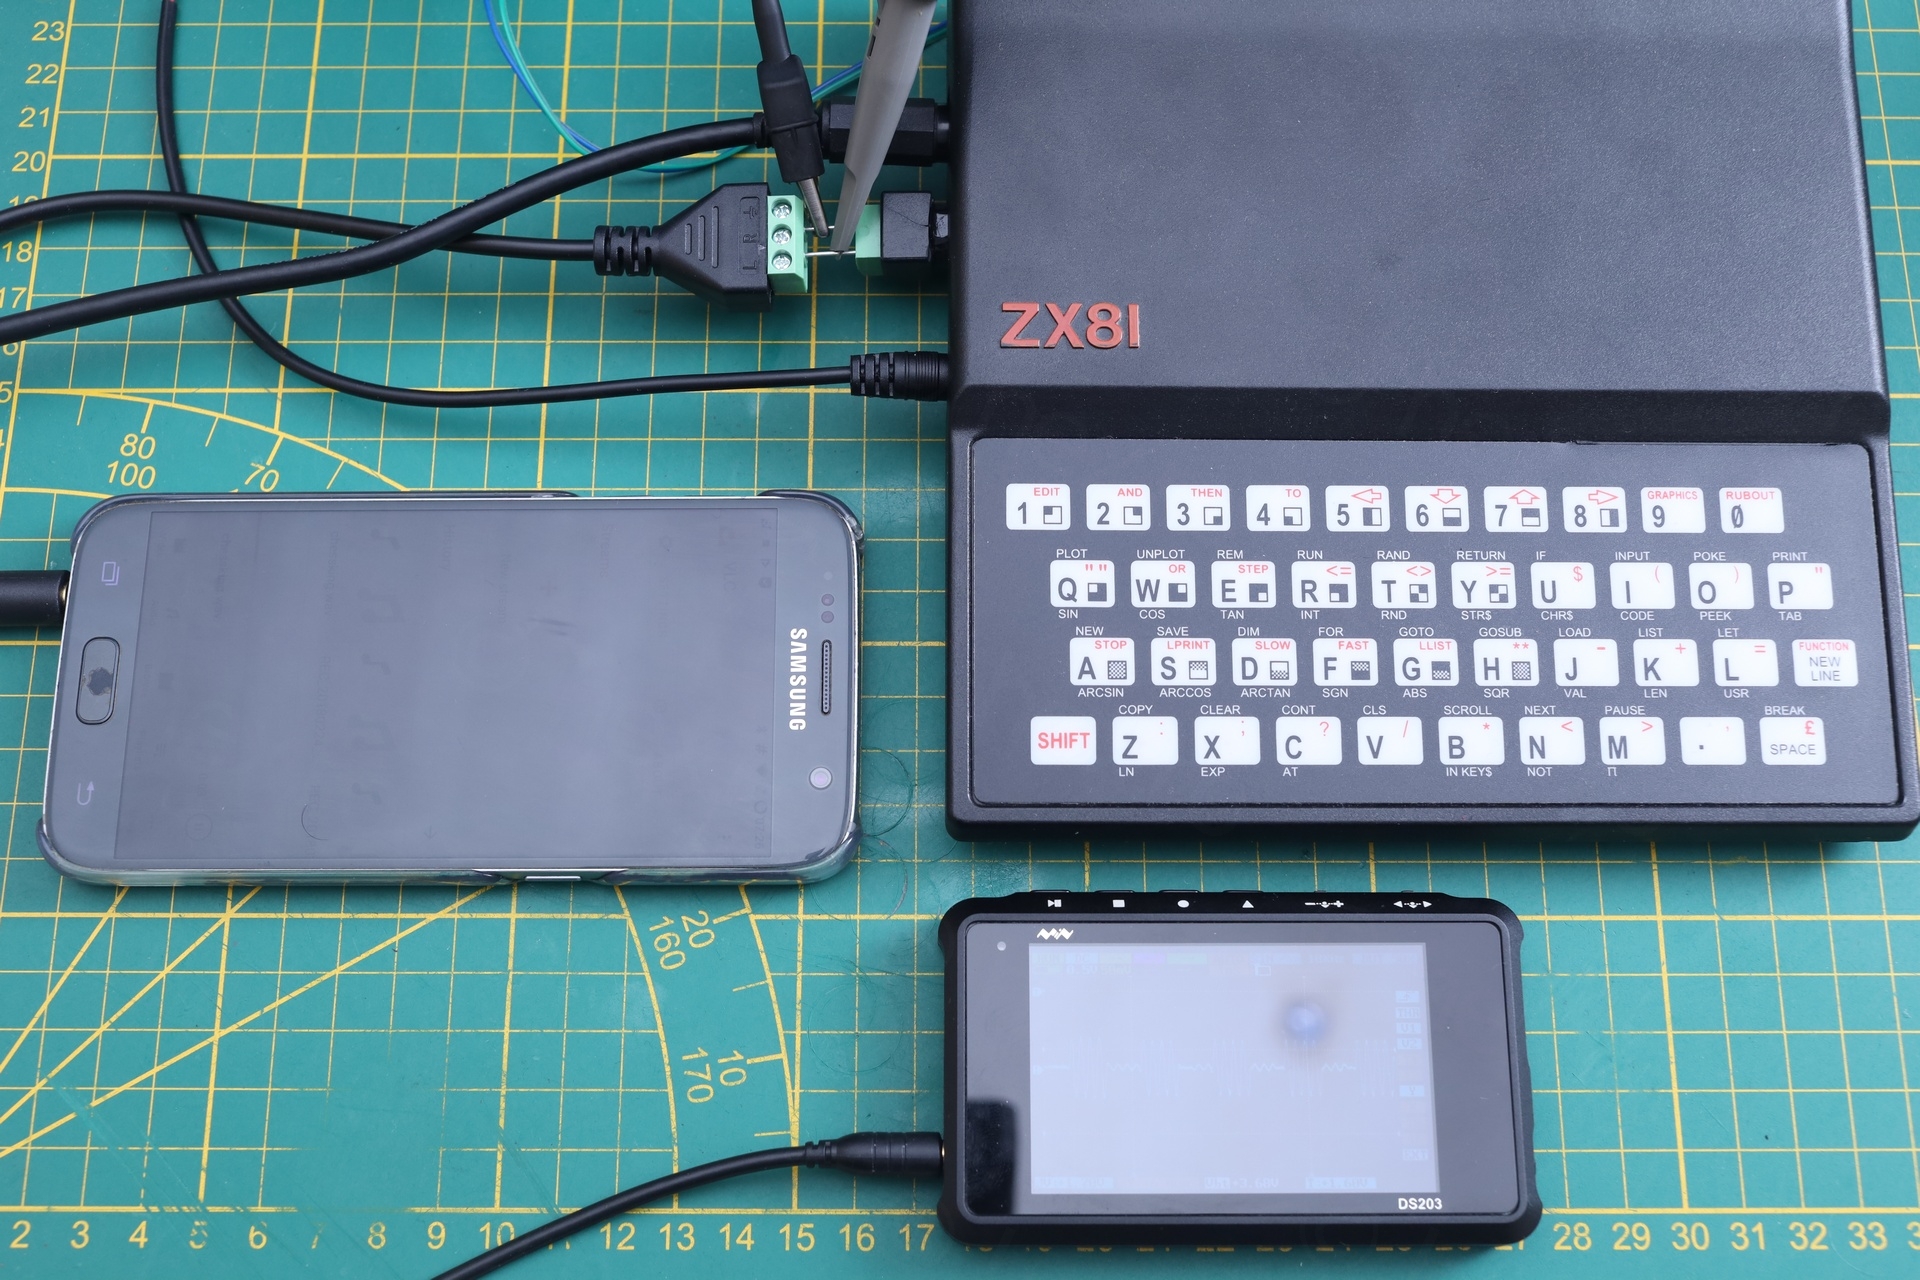
I have VLC (for Android) installed on two phones (S7 and S10plus) and by default, the VLC / Settings / Audio / Advanced – Audio Output value is set to ‘AudioTrack’. This produces poor quality output for ZX81. Switching to OpenSL ES creates a very clean output:
Thus, even at 1.1Vpp output, this ZX81 is perfectly capable of ‘hearing’ the games. The Equalizer in VLC is by default disabled and I kept it that way. Media Volume of the phones was set to Maximum.
Without OpenSL ES, the game appeared to load but dropped me back to the flashing inverted K prompt.
The test setup is below:
PlayZX
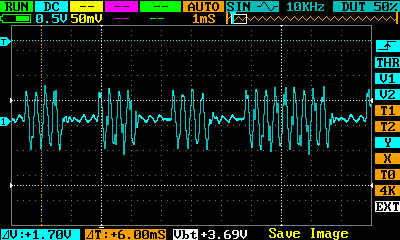
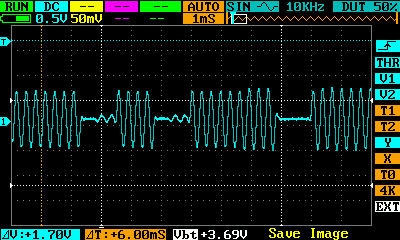
I was not able load local .p files using PlayZX version 3.2. It plays them, but nothing is registered by the ZX81. Using the same test setup, I compared the signal going into the ZX81 – left is the PlayZX generated file, right is the tapeutils generated file:
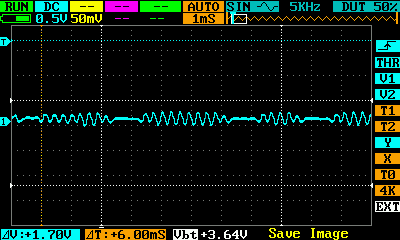

This does explain why ZX81 didn’t register anything.
I found a feature called “Save Last Wave File to Downloads” in PlayZX. The steps I did to get the .wav files were: set to Stereo in Settings, replay the file, then Save Last Wave File to Downloads. Then similar, but for Mono.
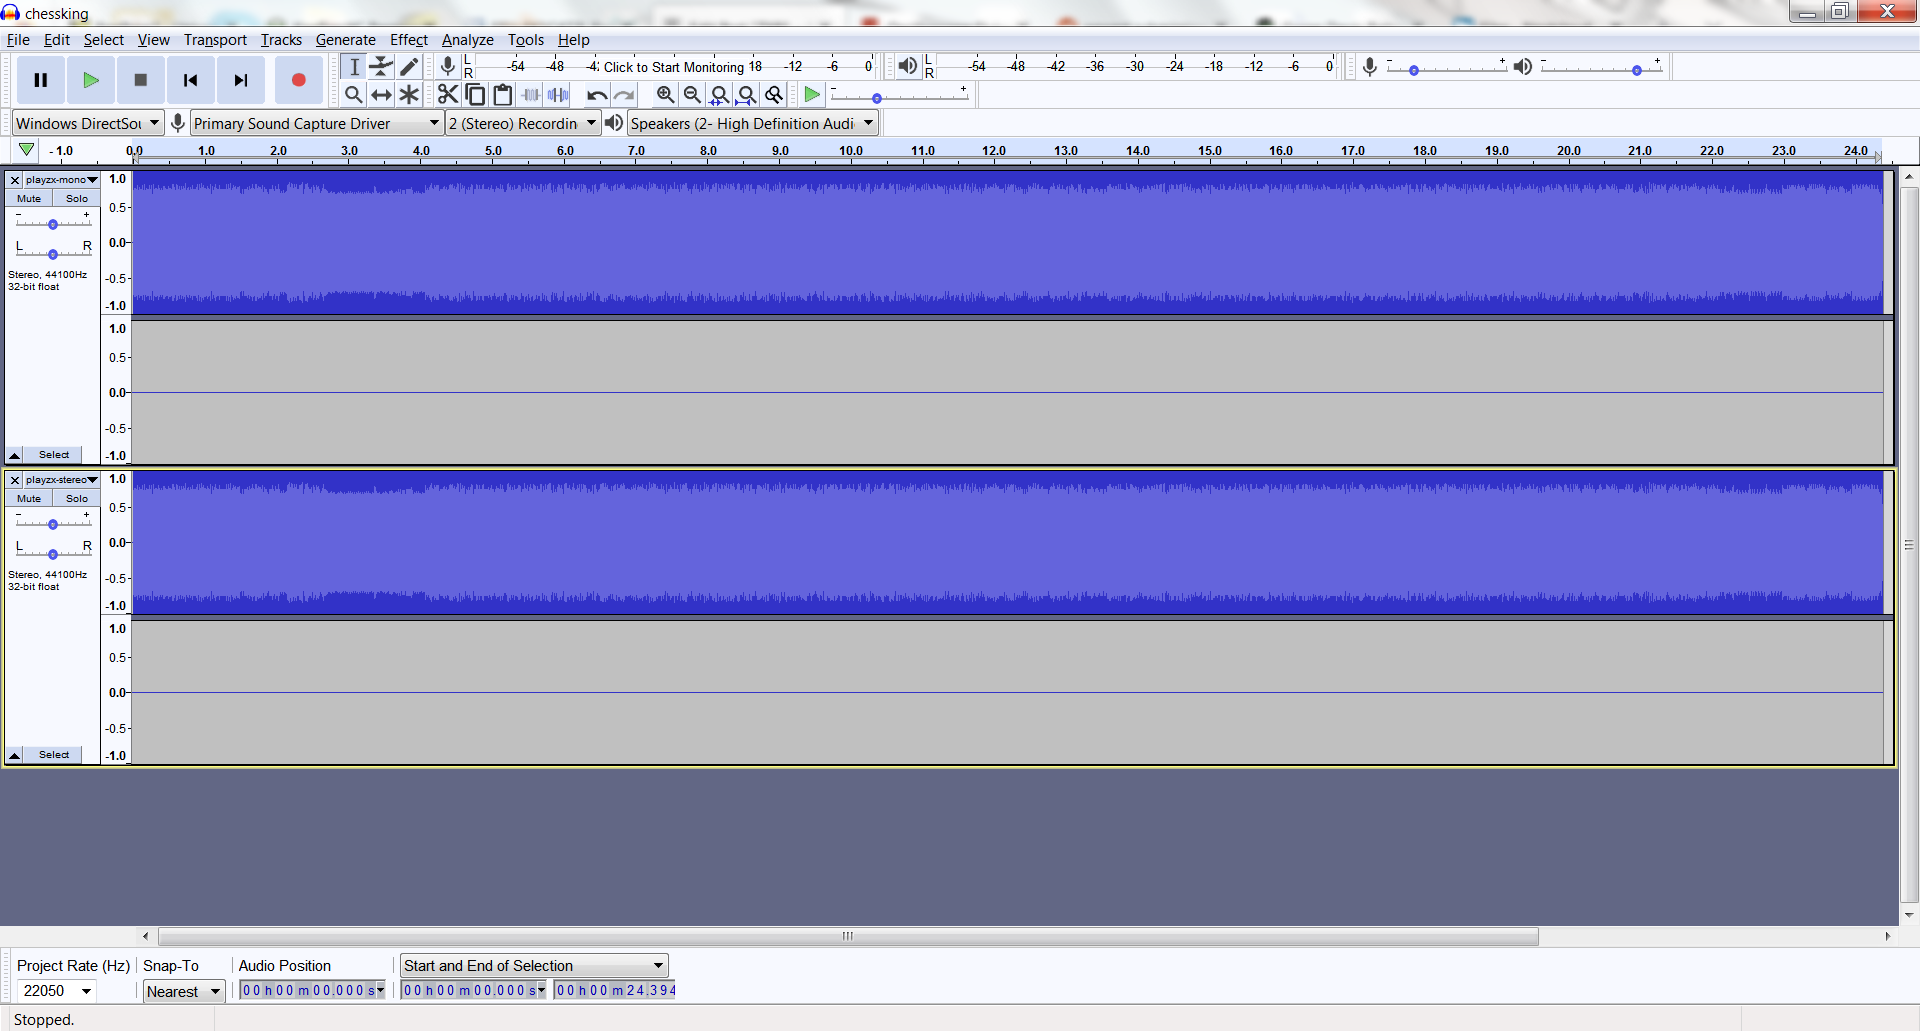
The resulting files are both Stereo – with only the Left channel containing data. My DIY cable of Stereo to Mono has the Right channel wired, and not the Left channel. Thus, this may explain why the volume is very low when when using PlayZX – if the right channel is ‘silent’, the low level signal that I see may just be cross-talk.
I do not know how PlayZX works internally. If this exact same .wav is played. If yes, then this could explain the observations. Or I made some mistakes somewhere.
As a comparison, the .wav file generated by tapeutils.jar is a mono file (top trace), and a little shorter than the equivalent PlayZX file:
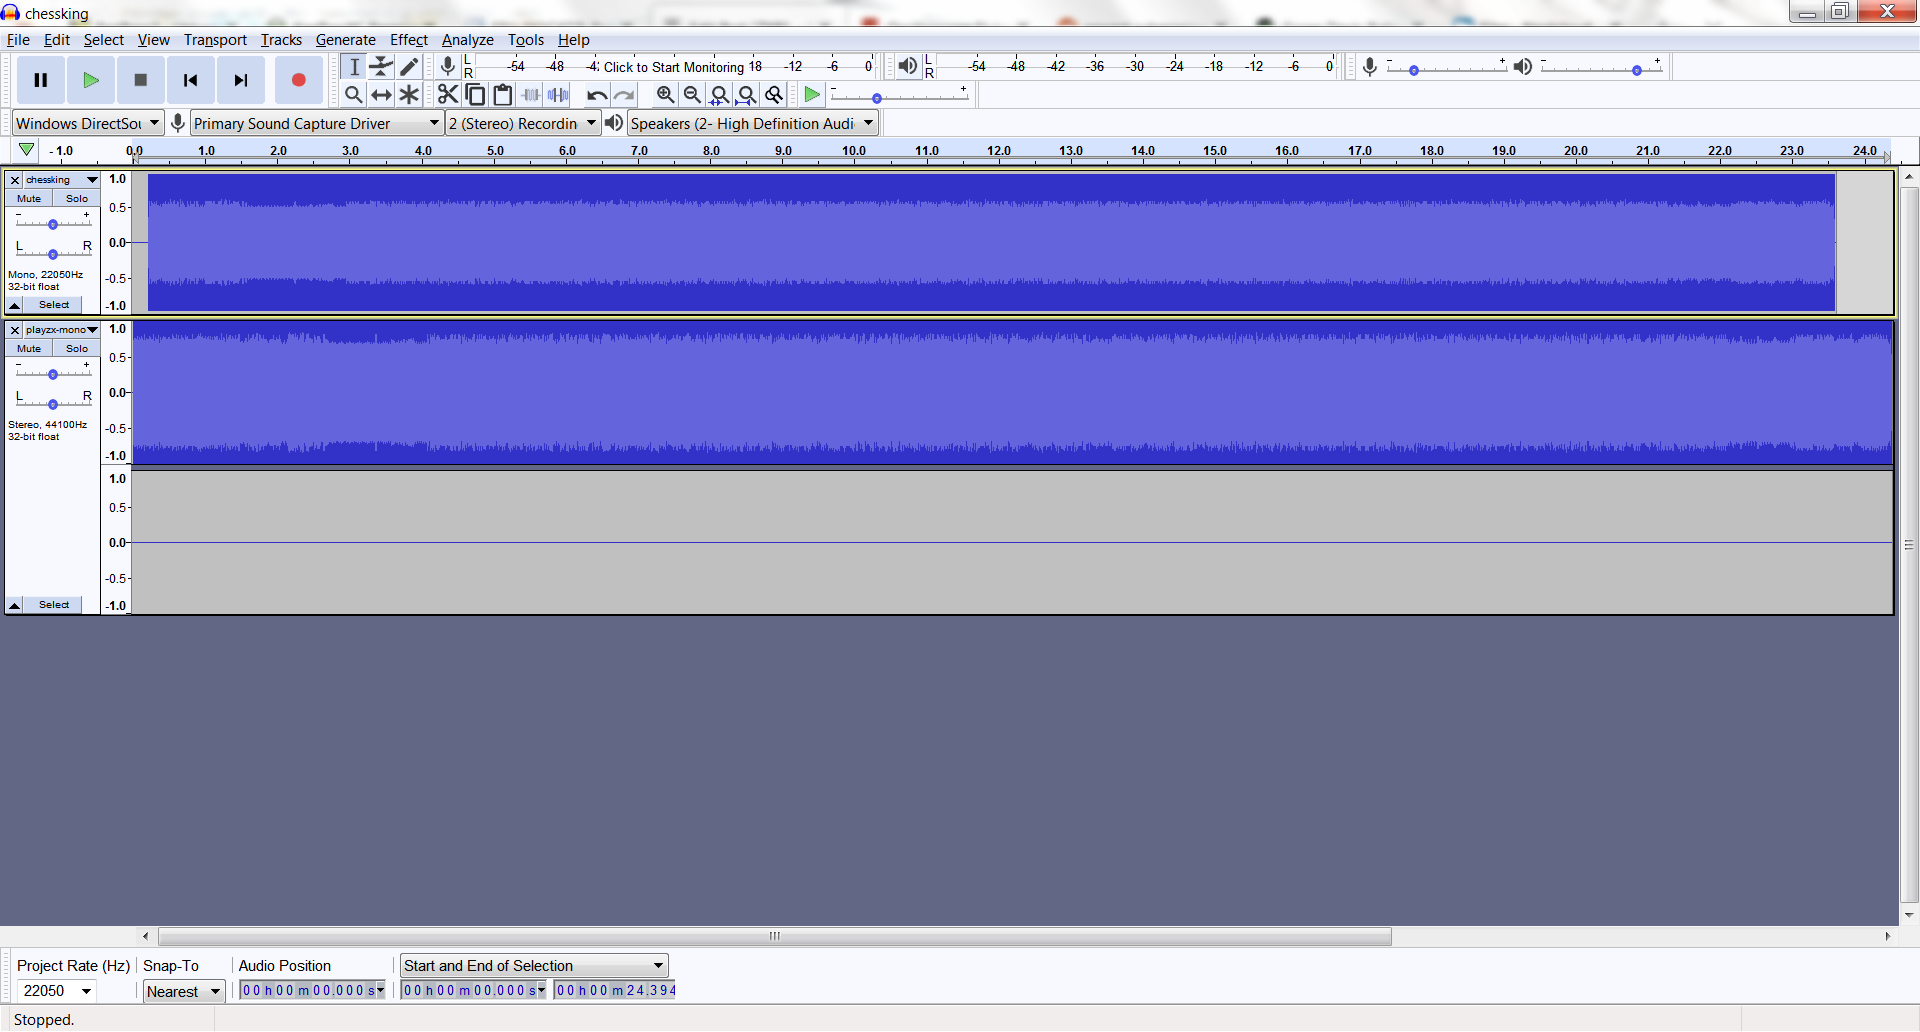
Although I like the convenience of PlayZX, I don’t have time to investigate more…
Two videos on showing the ZX81 working, using VLC set to OpenSL EL and Max Volume, to play the wav files obtained form tapeutils.jar.
First video shows loading of Super Micro Chess engine, 1Kb game:
Second video only shows the last minute or so of loading Backgammon for ZX81 (otherwise it would have taken 5m49s to load). Same setup, except this time ZX81 has the Sinclair 16Kb Memory Extension pack:
Thus, the computer works fine. It took a a while to put this article together, but happy I have a working computer. It will probably not get much use. Meanwhile, I have found a very nice announcement on EBay, and I have bought another one. An article about that one will be coming soon.
Few photos for closing:
Leave a Reply