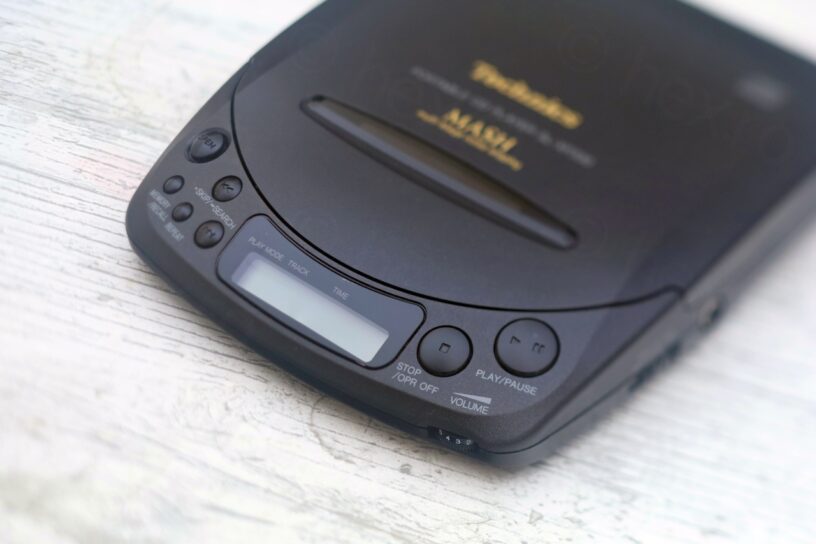
I spotted this Technics SL-XP330 portable CD player at a local flea market and it grabbed my attention. I never saw such a small Technics thing, I encounter mostly large amplifiers or loudspeakers.
I hesitated in buying it and walked away trying to get my mind off of it. There are ton of CDs that second hand shops beg you to buy since “they need an owner”. There is so much variety with online streaming, what’s the point of buying a CD for only 1-2 interesting tunes ? On the other hand, this player looked timeless, sleek, thin, I cannot tell if it was recently made or maybe it was made 30 years ago ? It doesn’t have a “Web 2.0” aspect of huge large buttons, but … it was beautiful to me.
On the way back to the seller, I was thinking to offer half the price the seller asked. If he wouldn’t agree, I would not buy it.
Table of Contents
- Overview
- Corrosion inside the Battery compartment
- Corroded DC IN connector
- Hissing sound while playing
- Volume knob and ASC/S-XBS Button
- Video
- RFEA401s – Official adapter
Overview
Just before I bought it I noticed that batteries leaked big time. They were still the original Panasonic rechargeable ones, which means that the CD player didn’t get too much use at least.
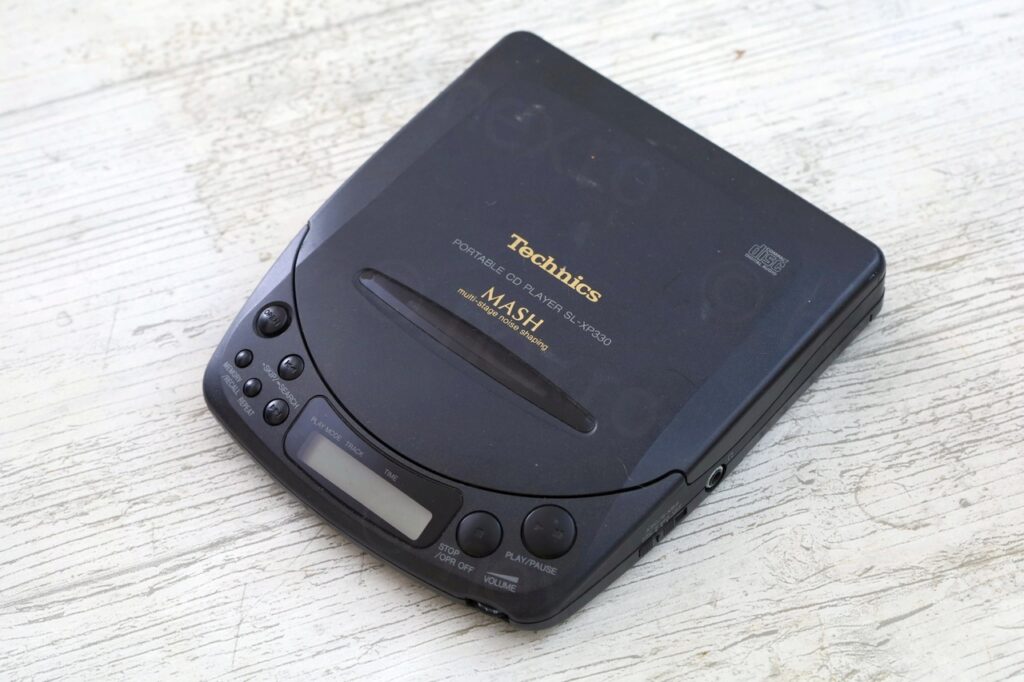
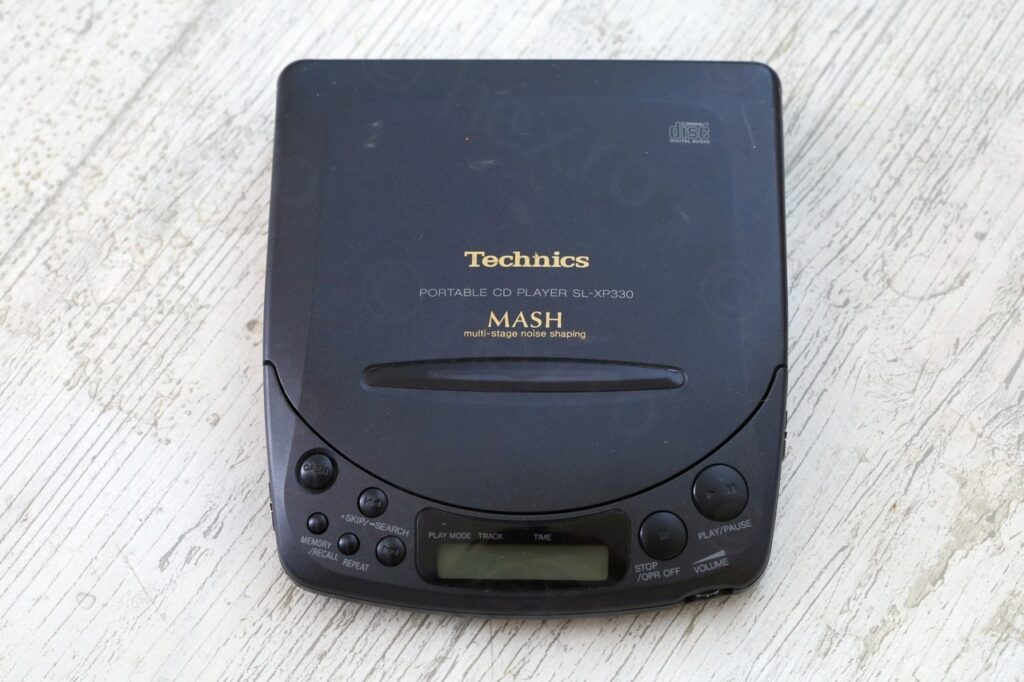
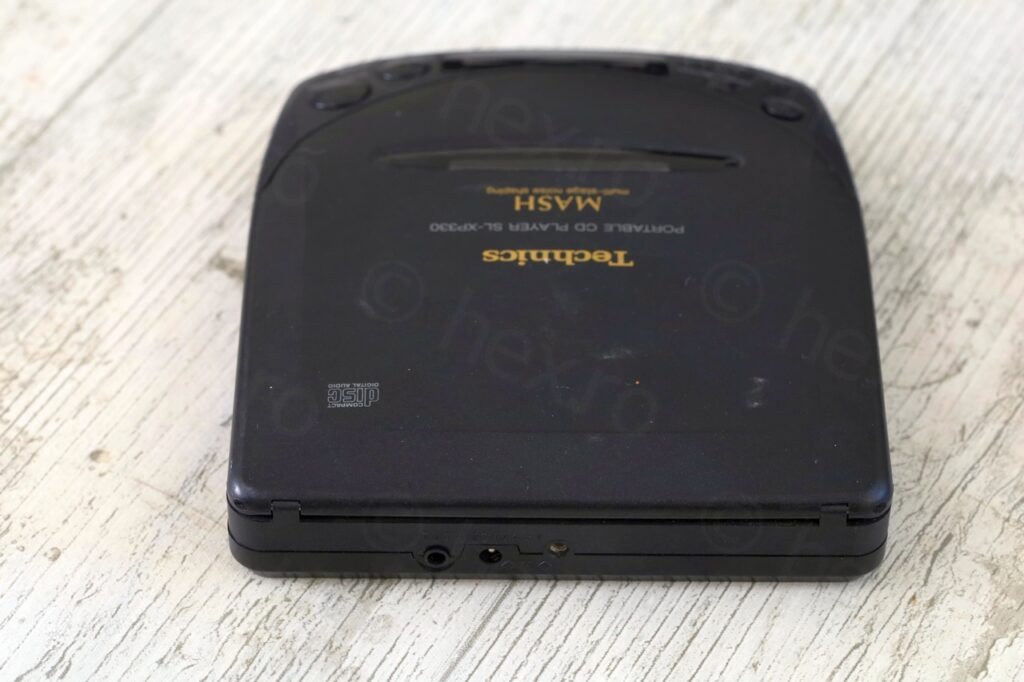
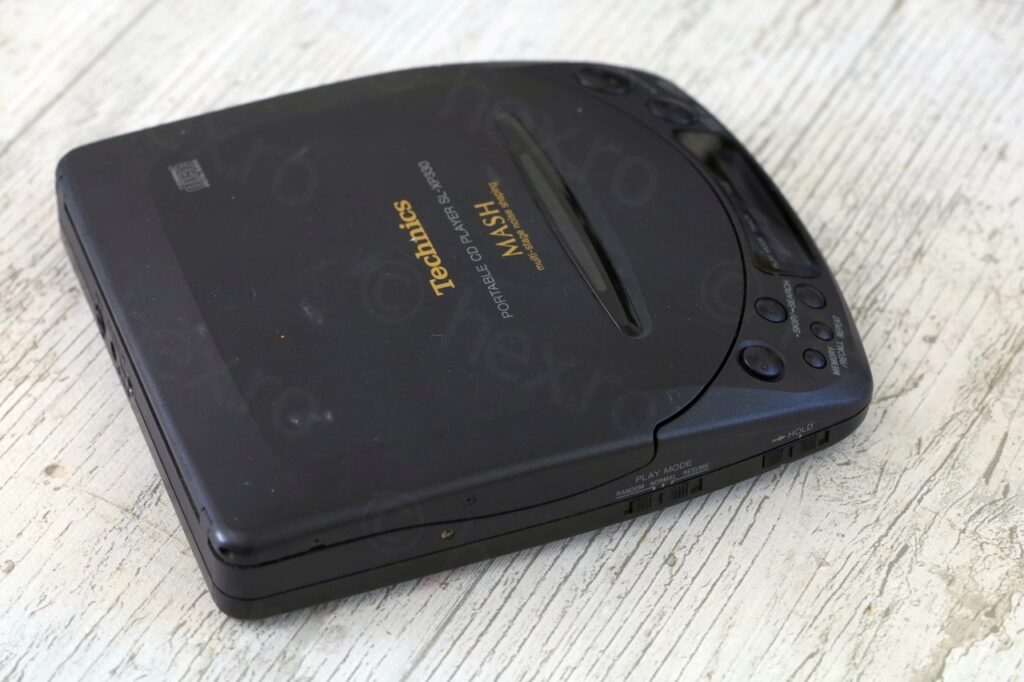
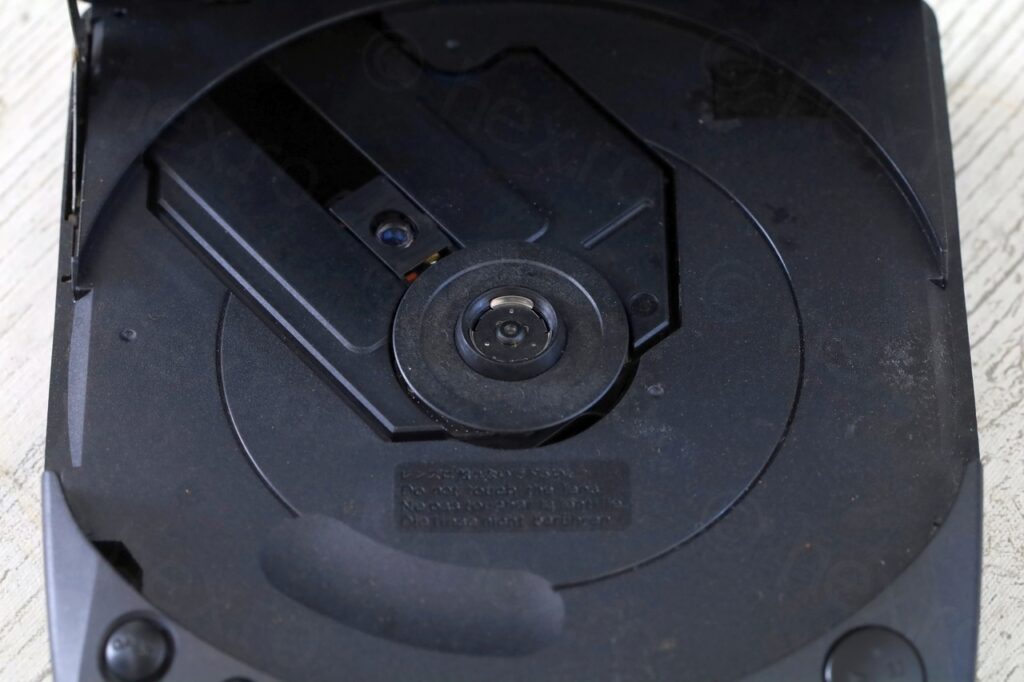
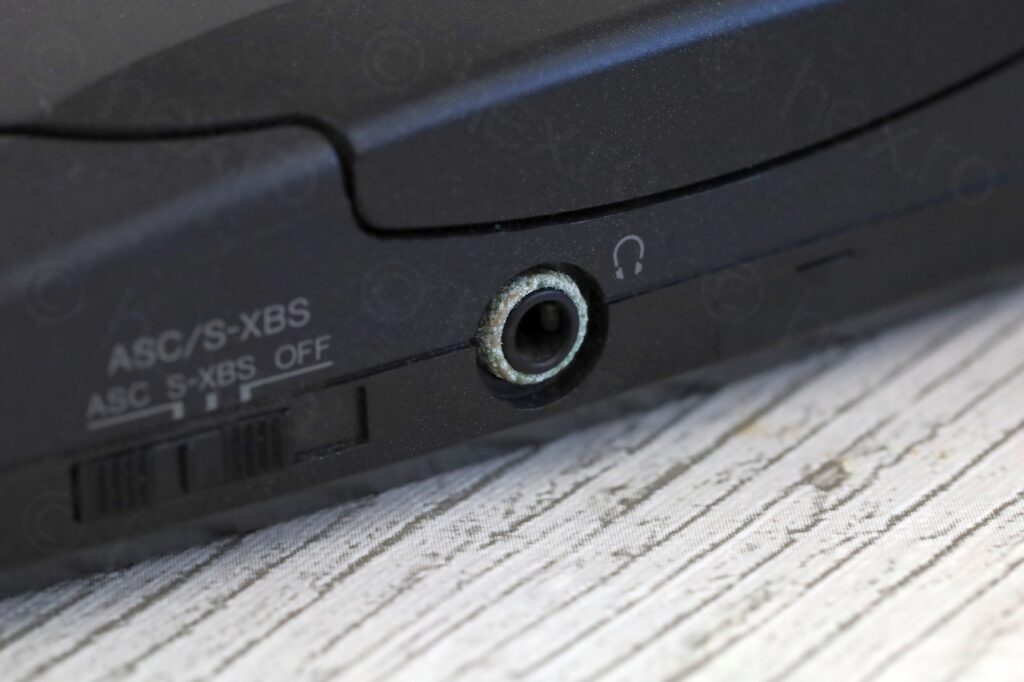
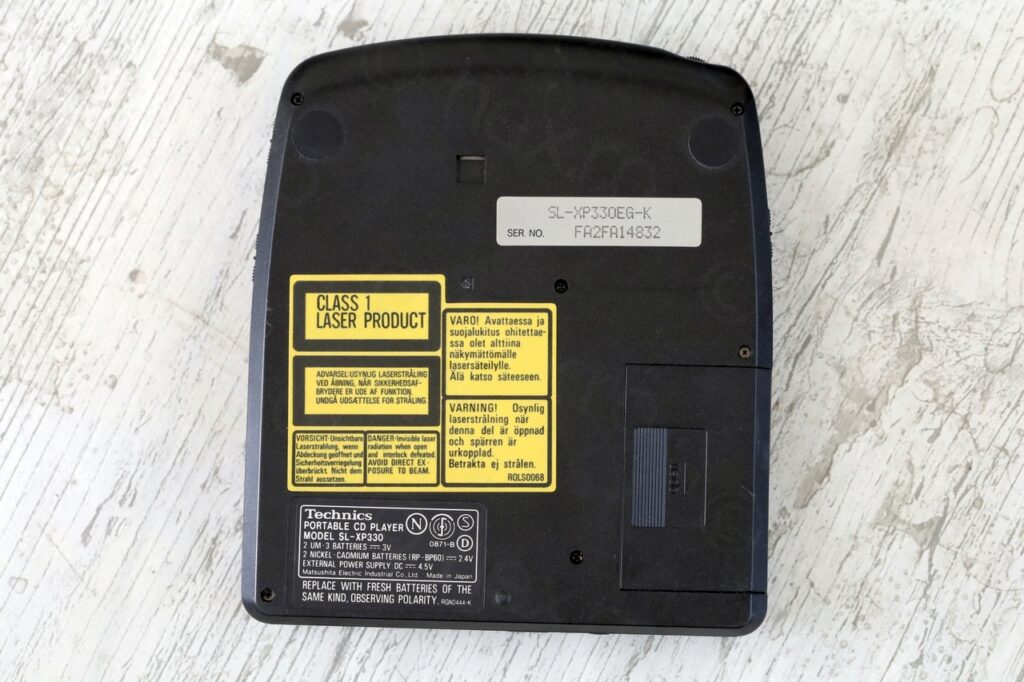
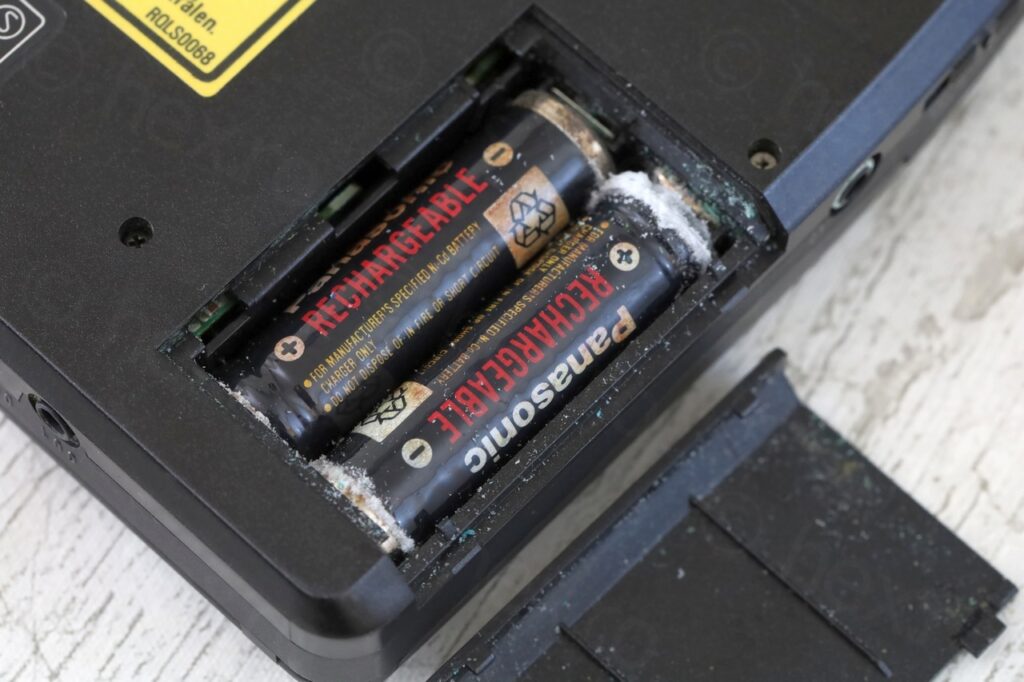
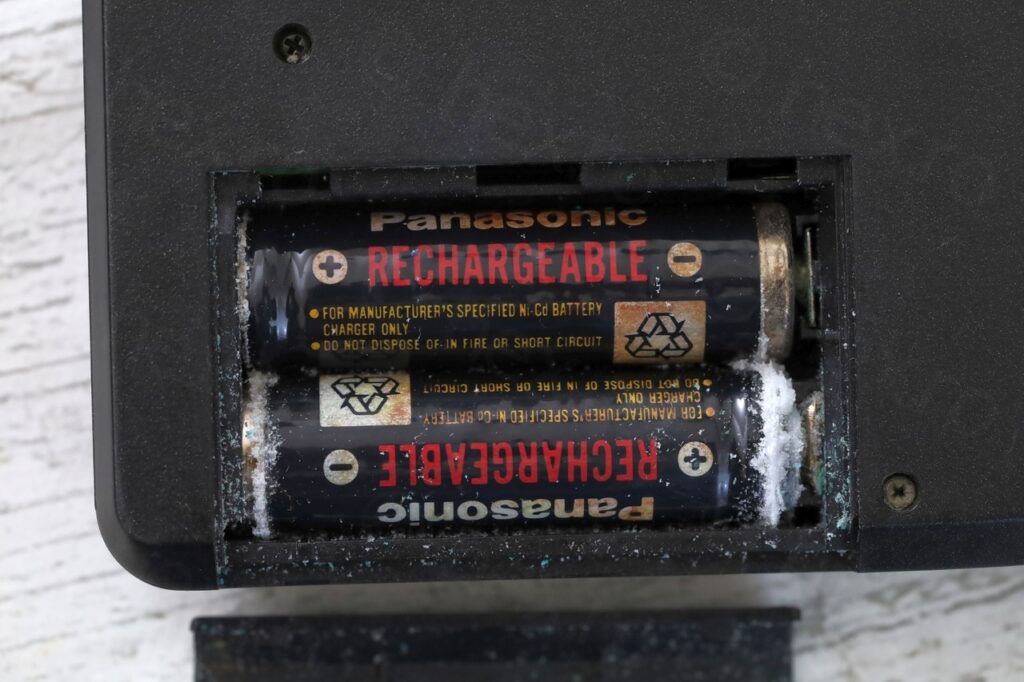
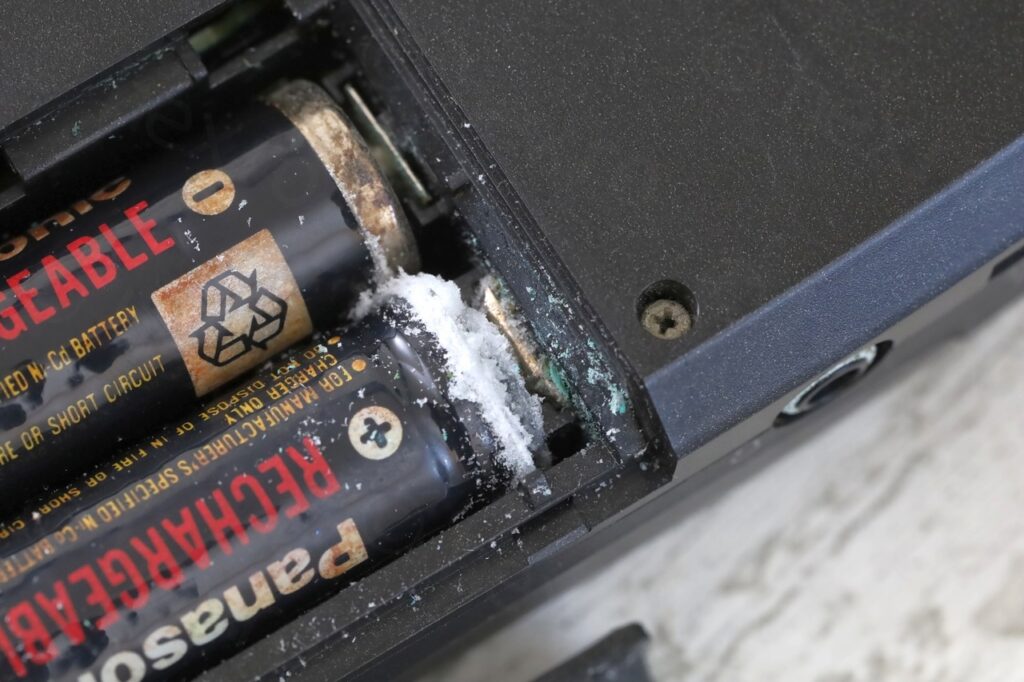
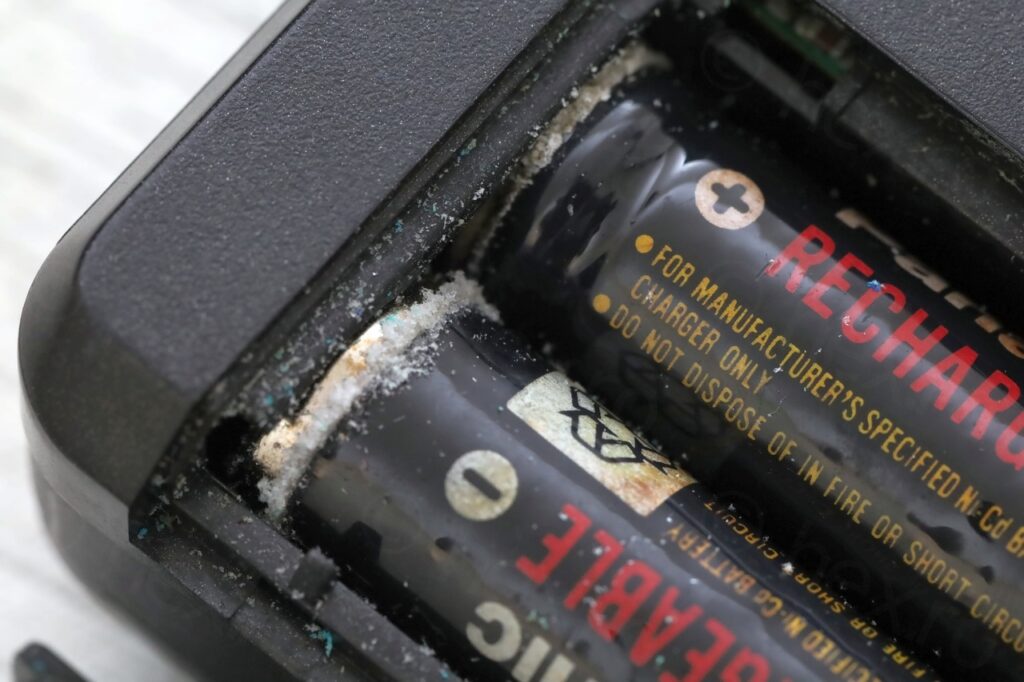
I figured I can cleanup the corrosion in the battery compartment and get it to work, but … it was not so easy. Corrosion has spread to the DC IN jack causing it to not make contact between DC IN GND and Battery GND. Audio jack was also affected, causing it to have low volume and distorted output. There was also corrosion on the main circuit board (towards the Audio jack) causing it sound to have an audible hiss throughout the whole playback.
Corrosion inside the Battery compartment
I took out the batteries and inspected the damage:
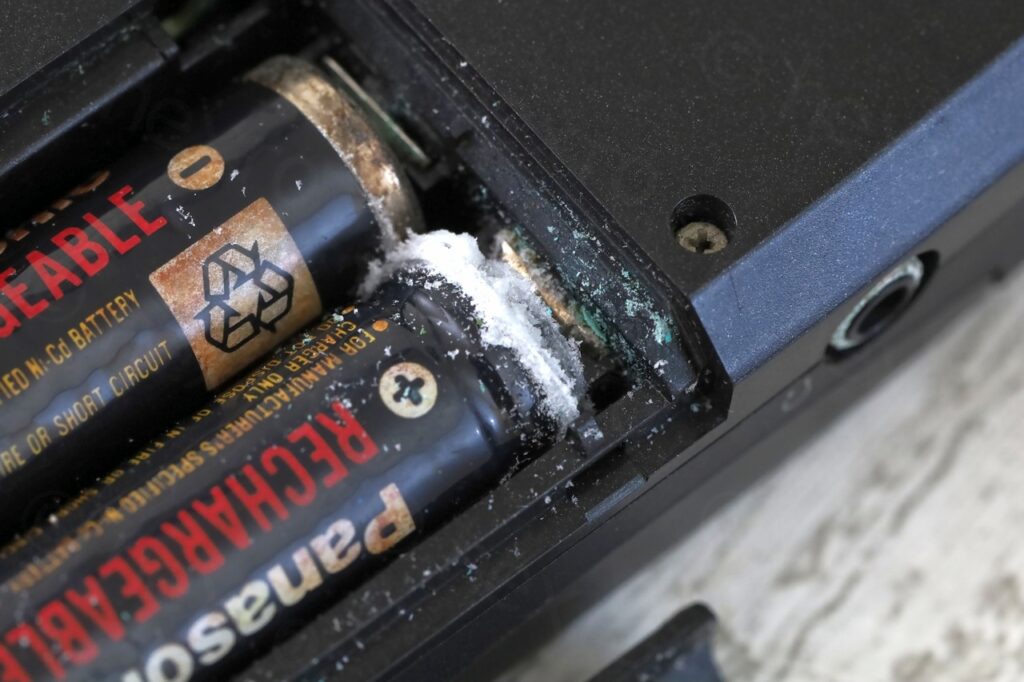
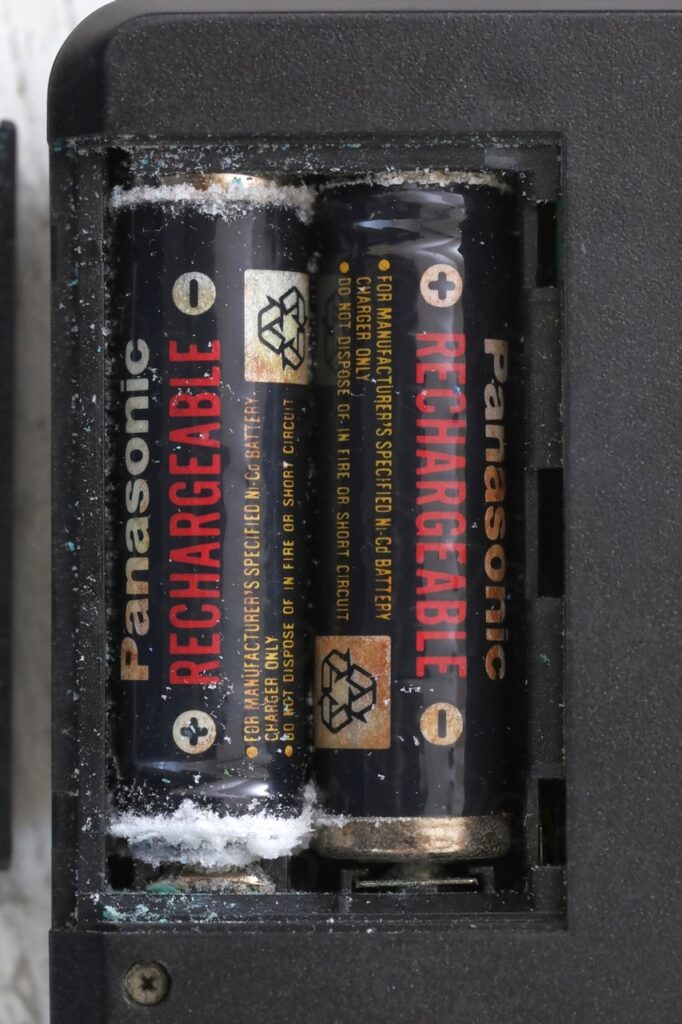
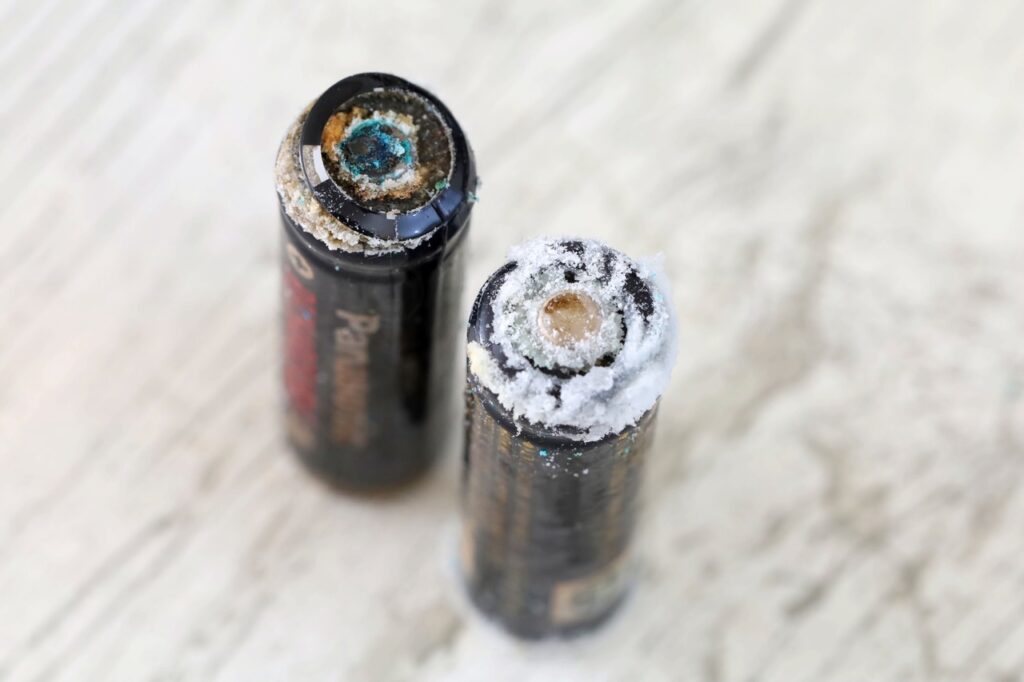
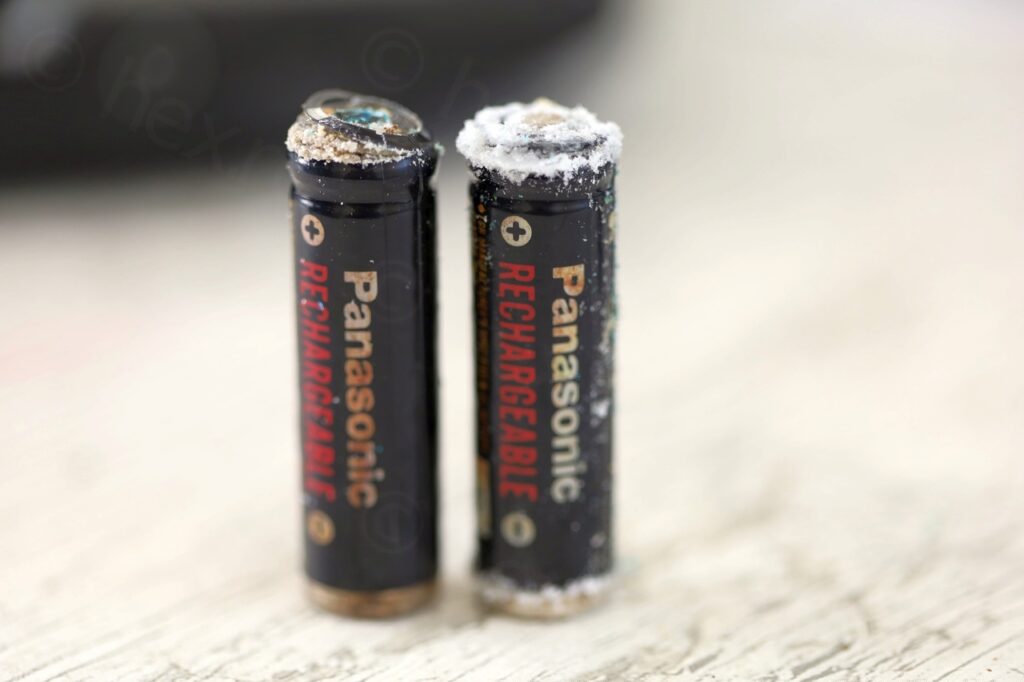
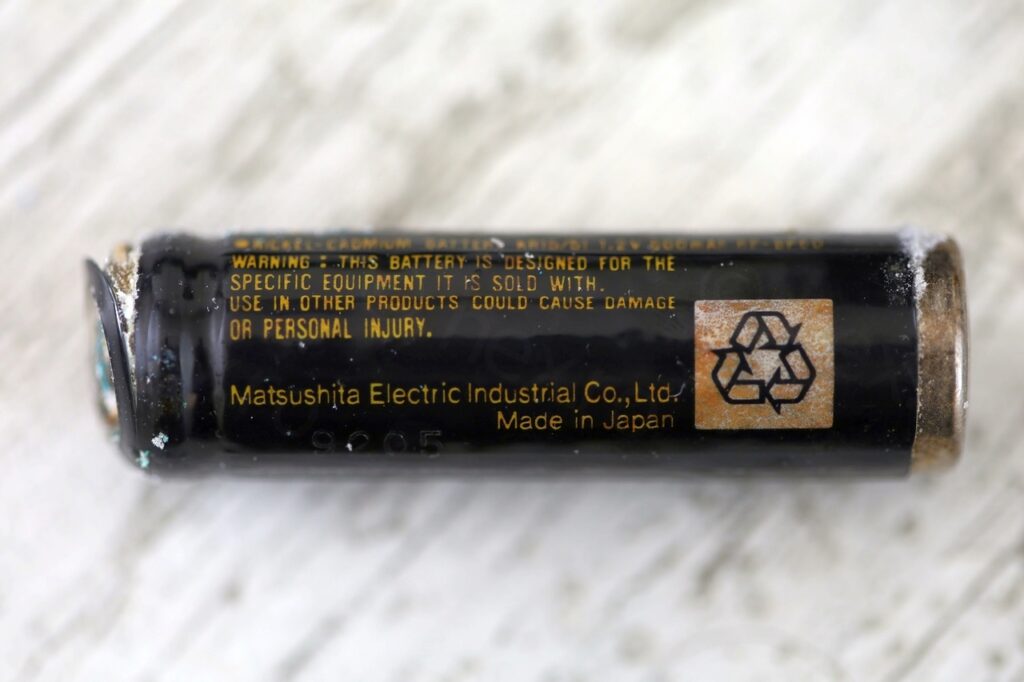
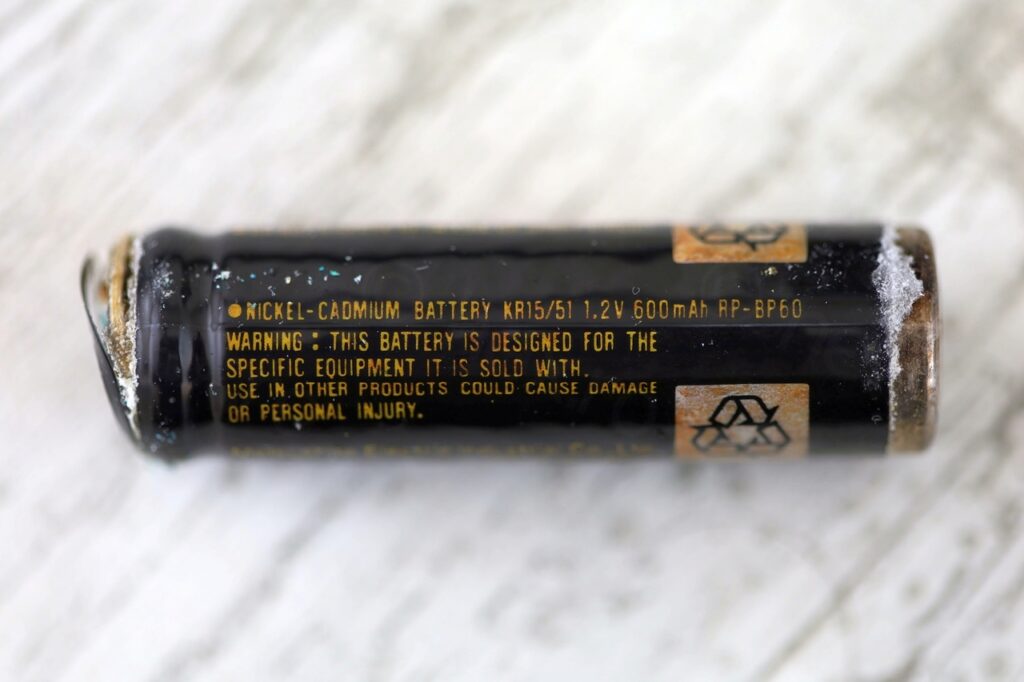
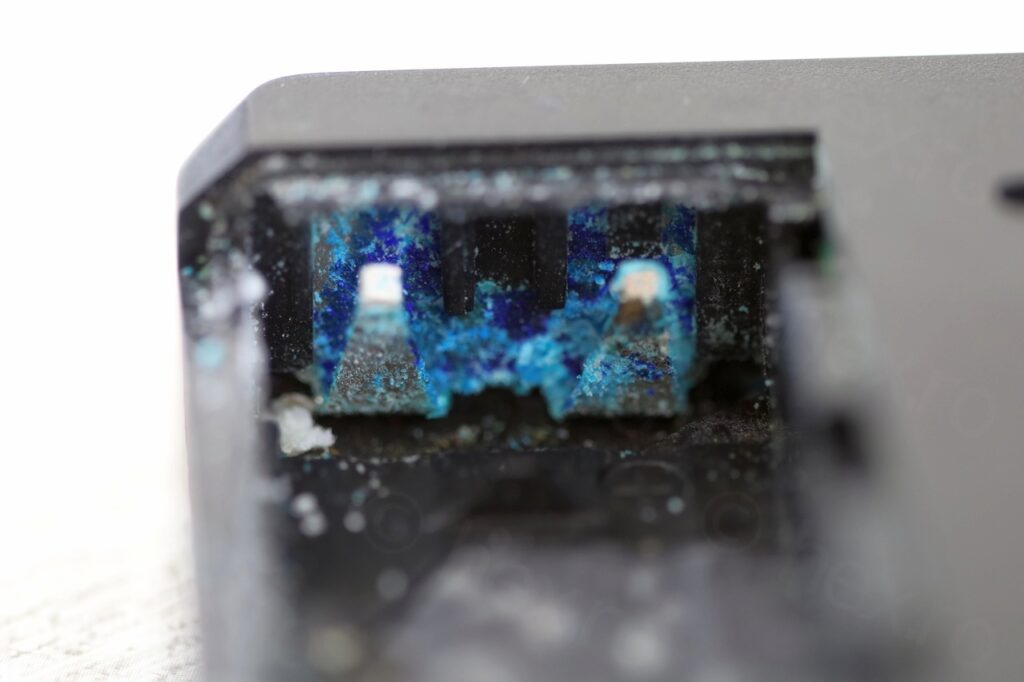
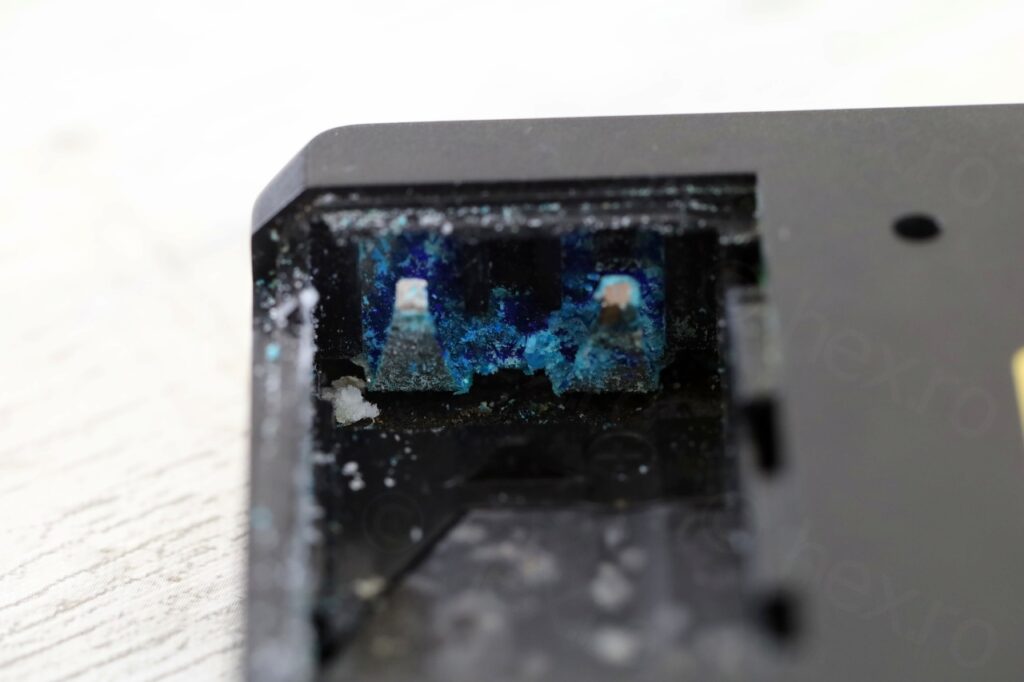
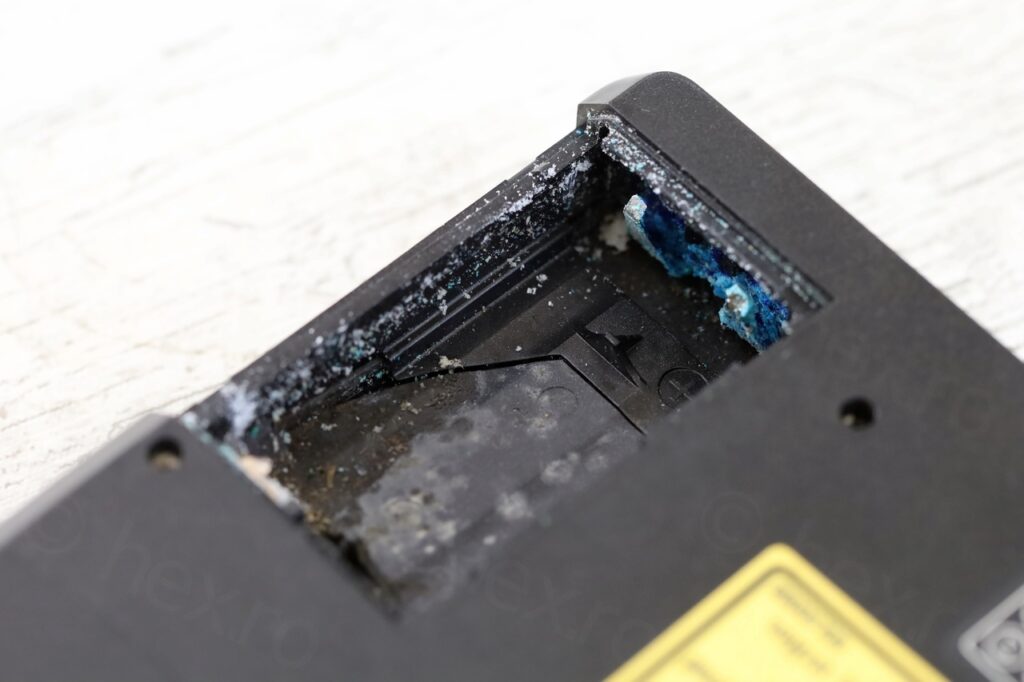
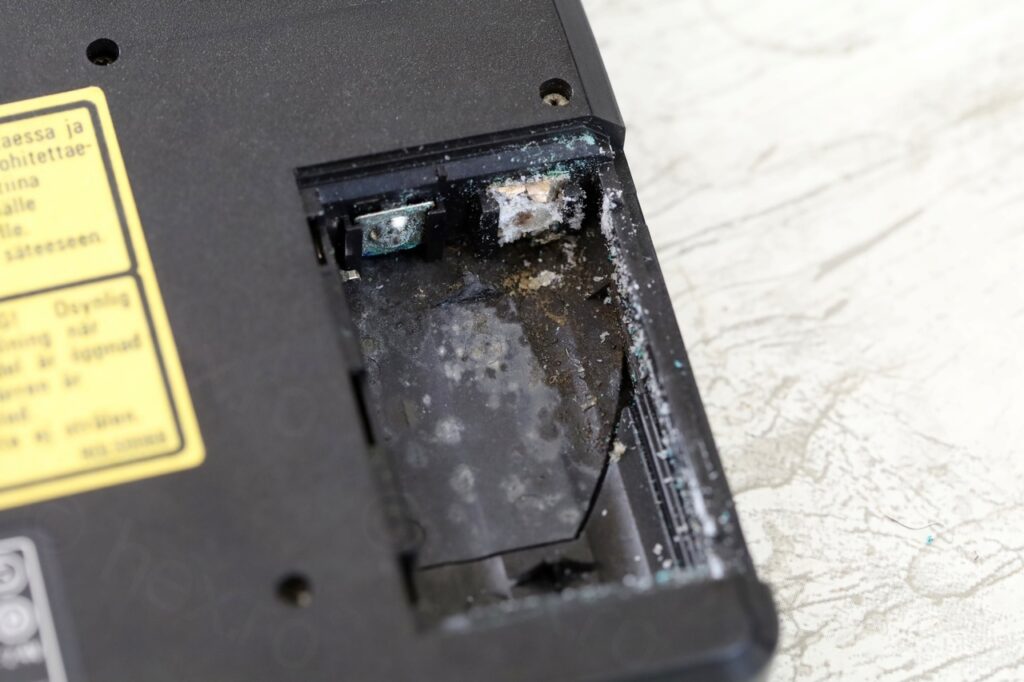
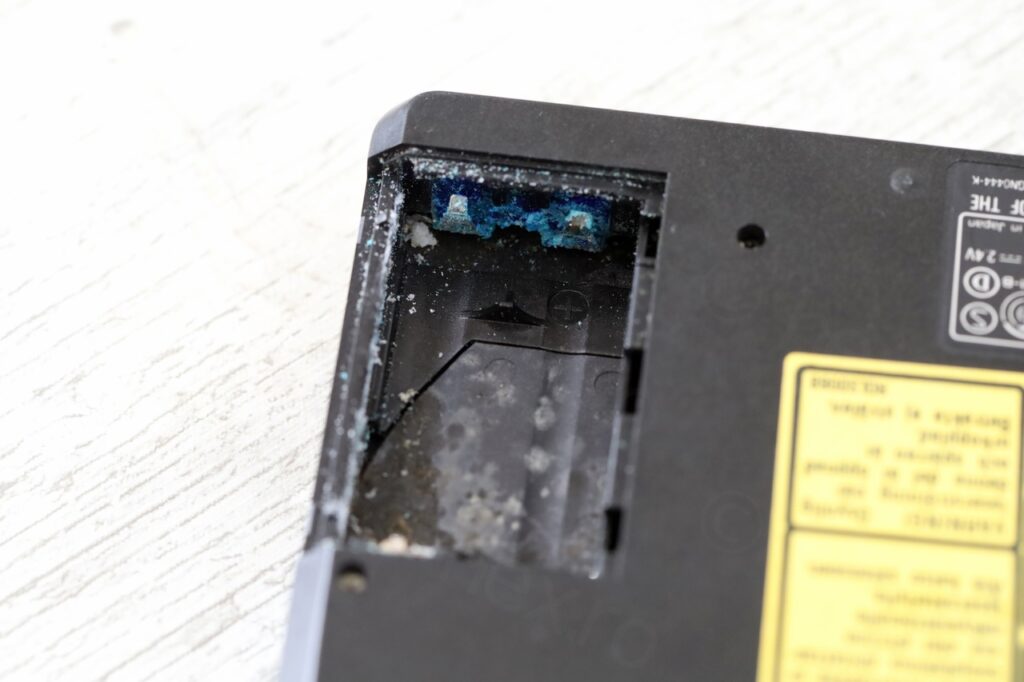
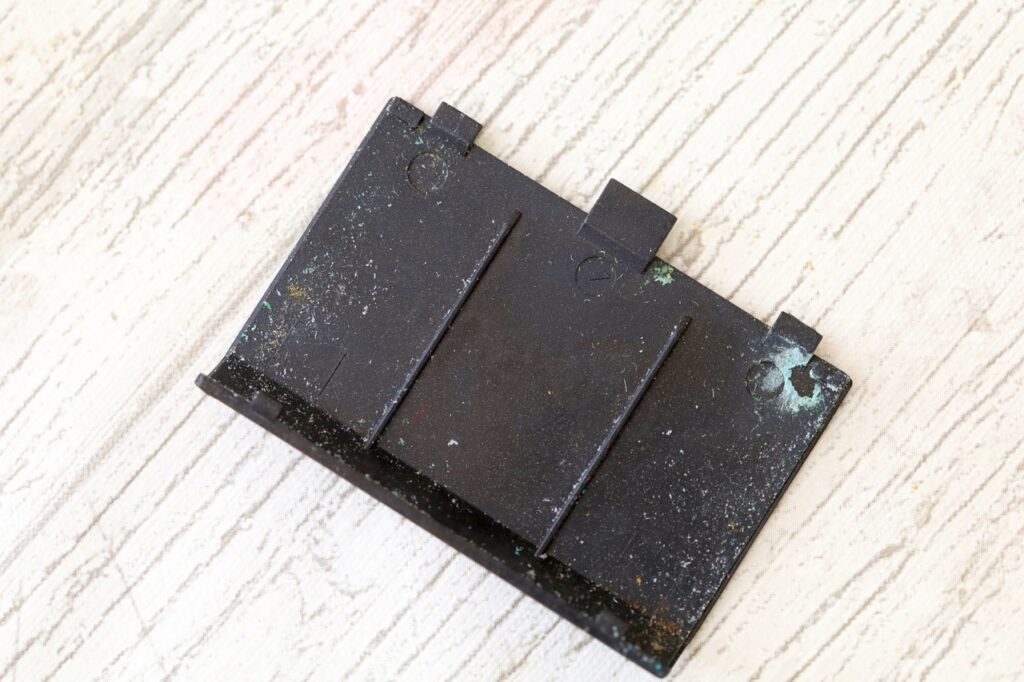
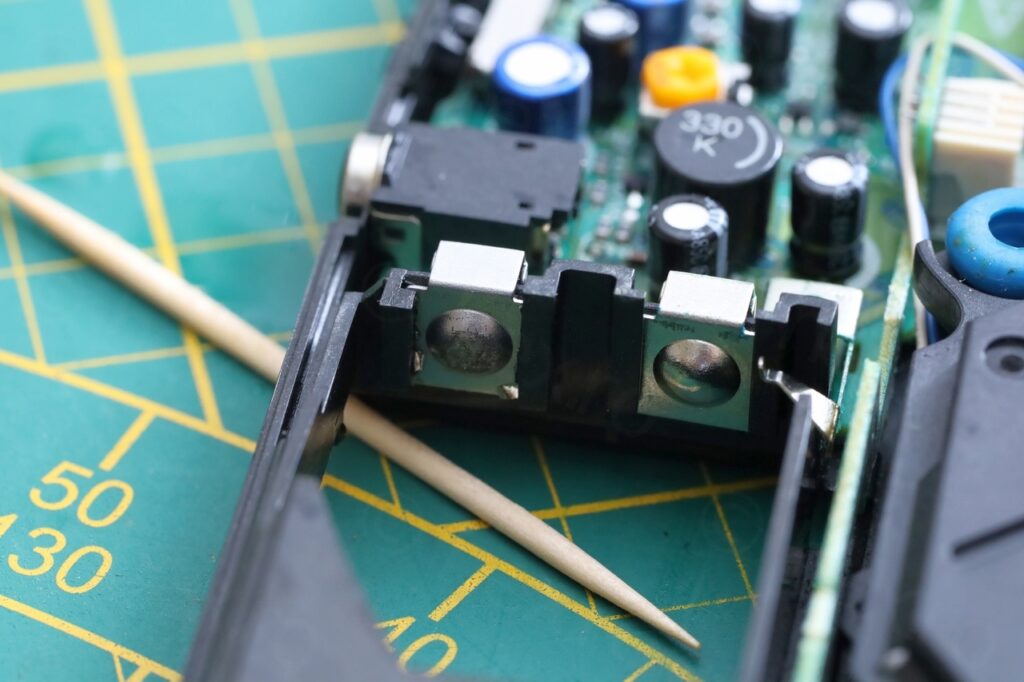
I realized that I can’t clean properly the compartment without taking the player apart.
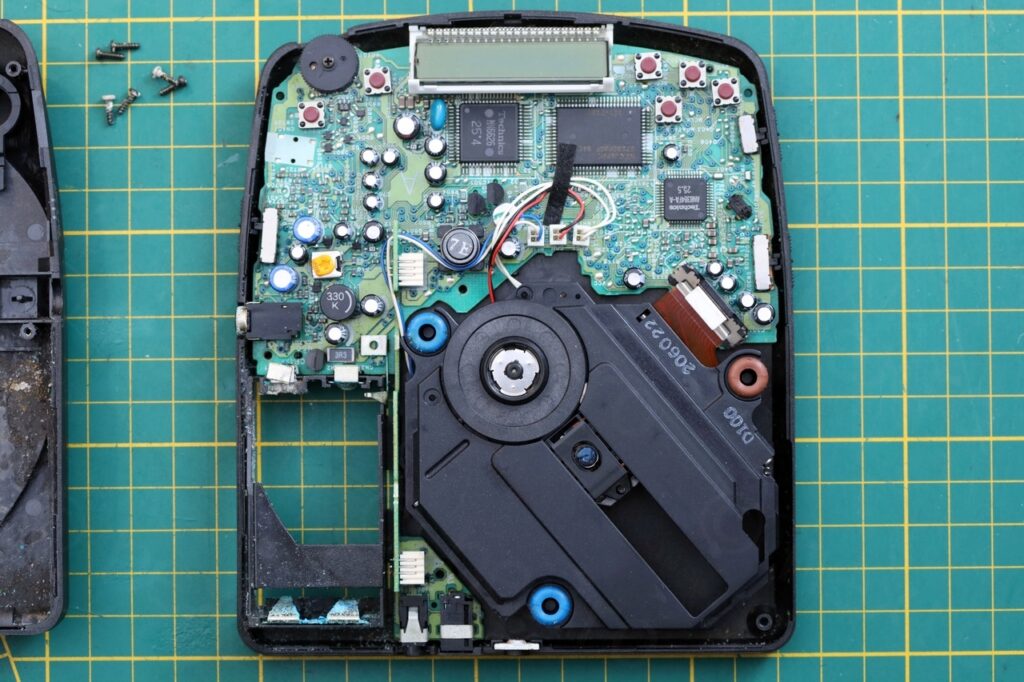
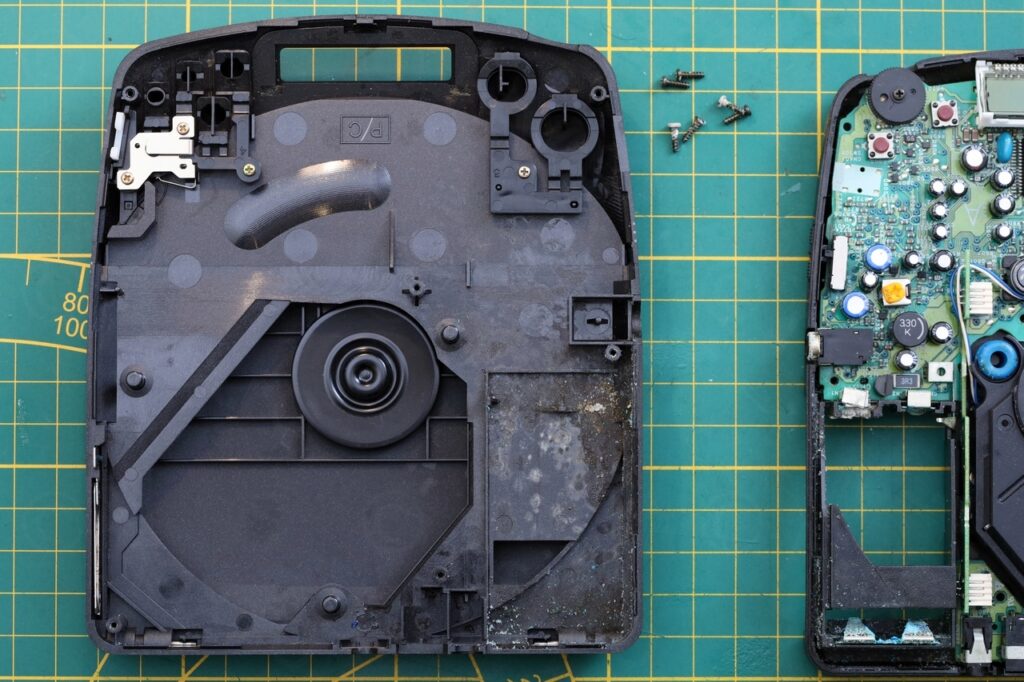
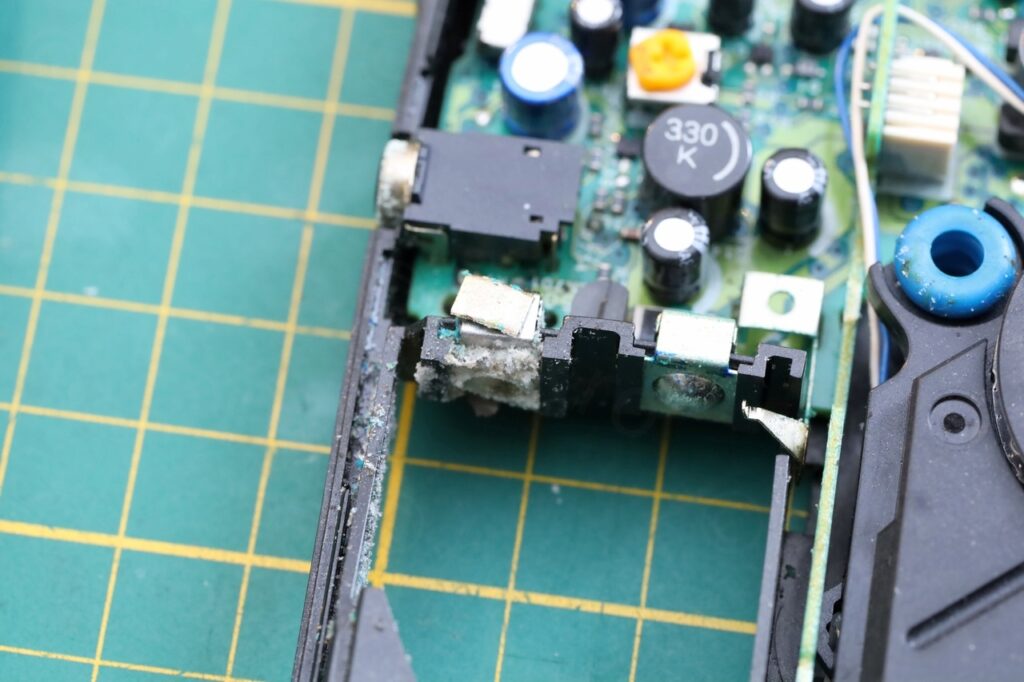
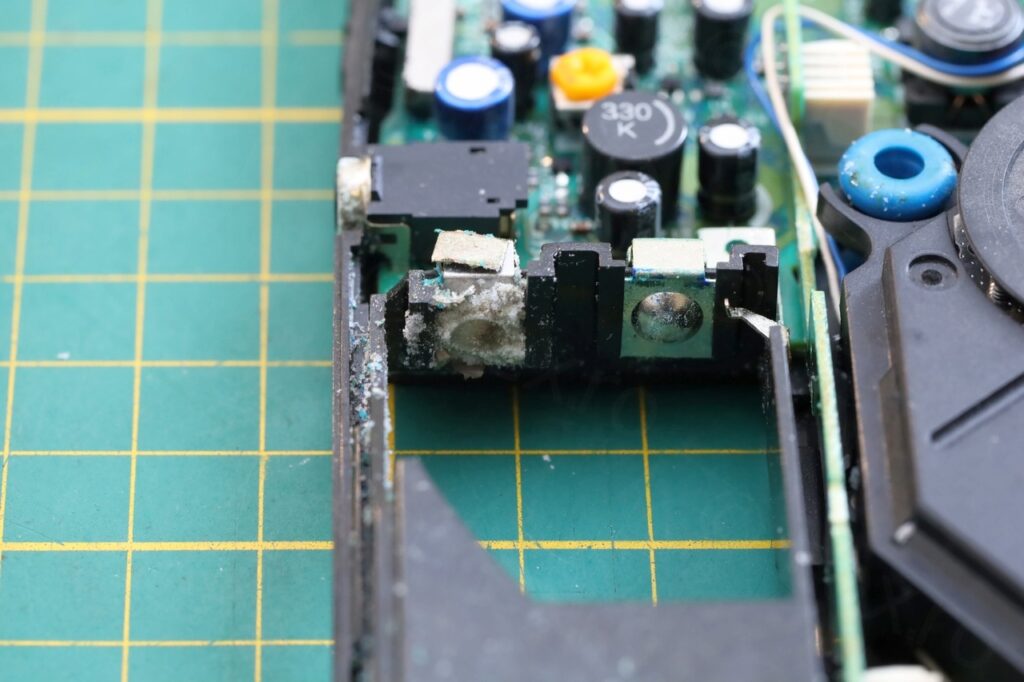
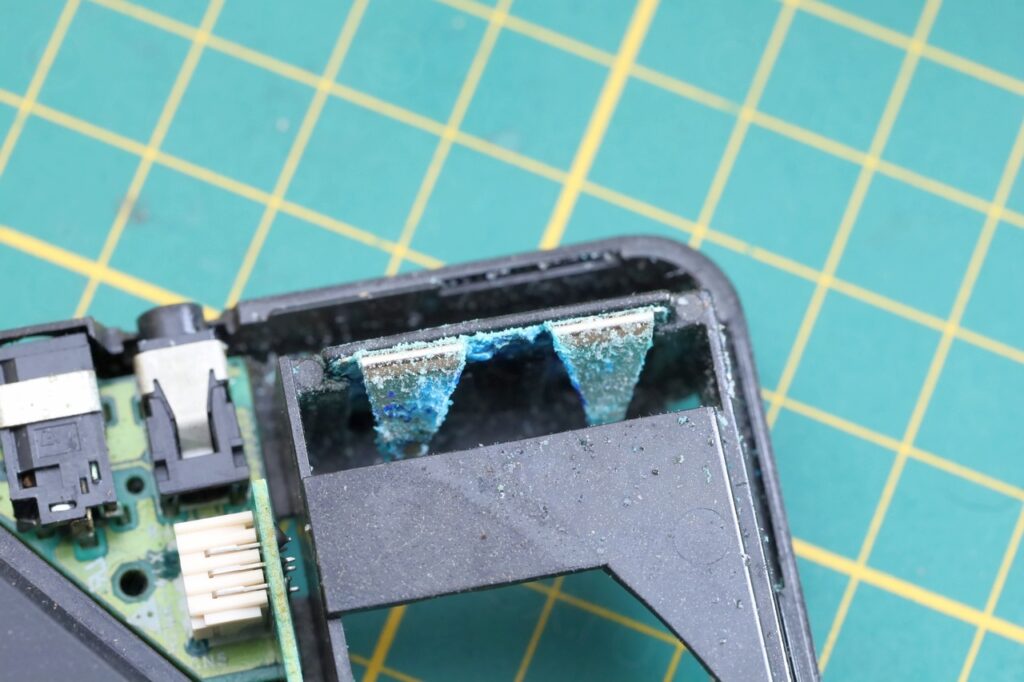
The leaf spring contact wasn’t budging from its slot.
I used vinegar and a had paint brush to apply it. The battery compartment in a corner and I held it in such a way that the vinegar drips down instead of getting onto the board. And kept going and going, the hardened crystals started to melt and eventually dislodge. Some of the coatings of the connectors peeled off during the process. Eventually, I could even take out the leaf springs (very gentle wiggles, so that I don’t bend the leaf springs) and everything was properly cleaned:
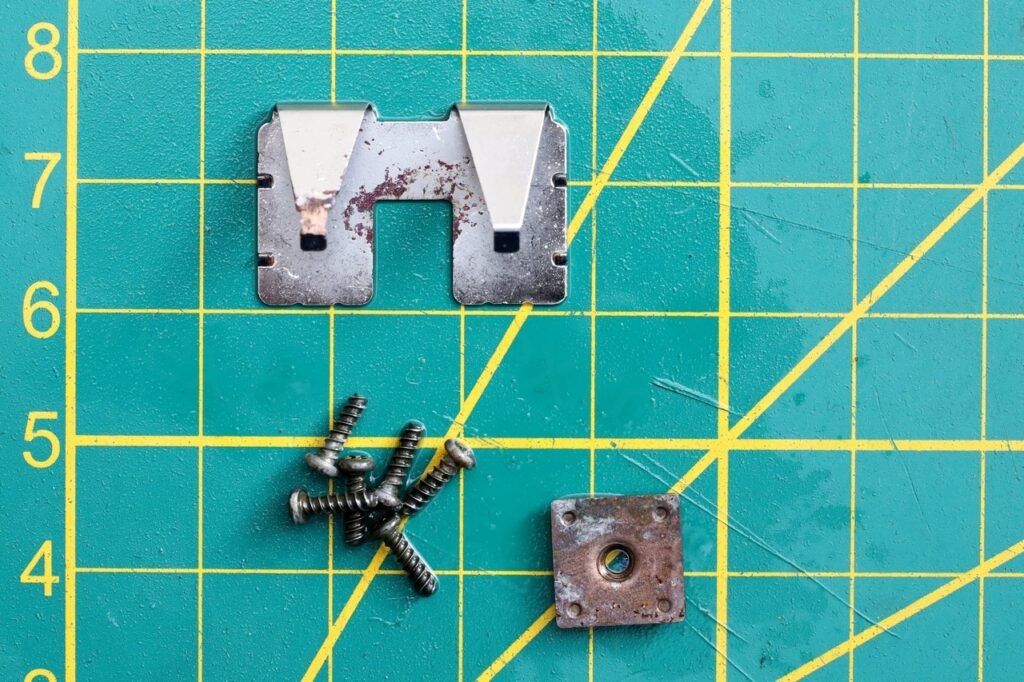
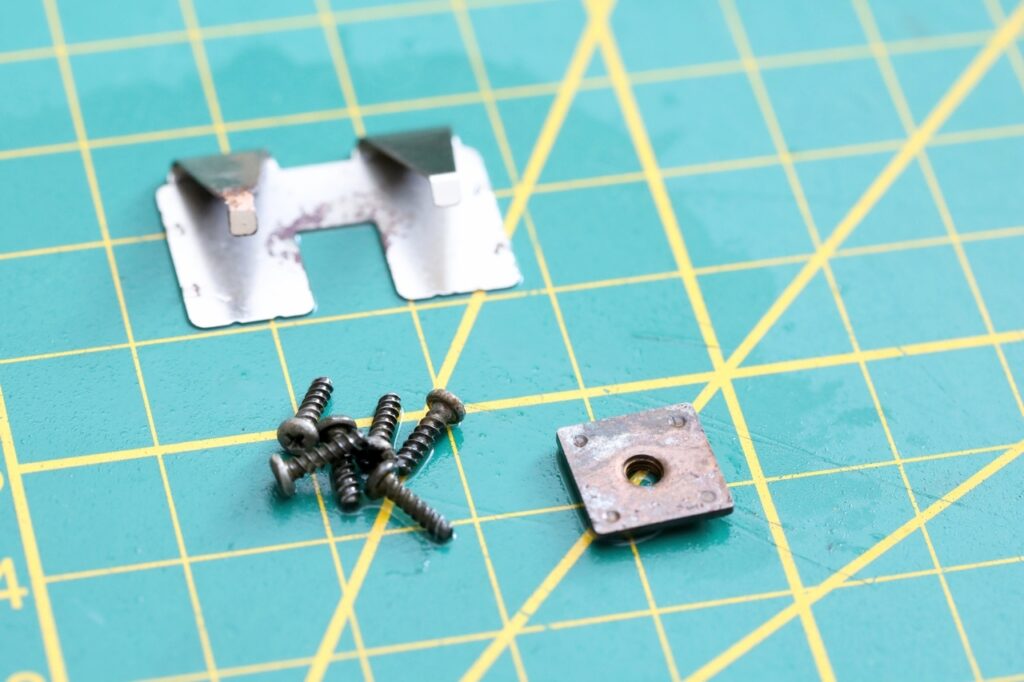
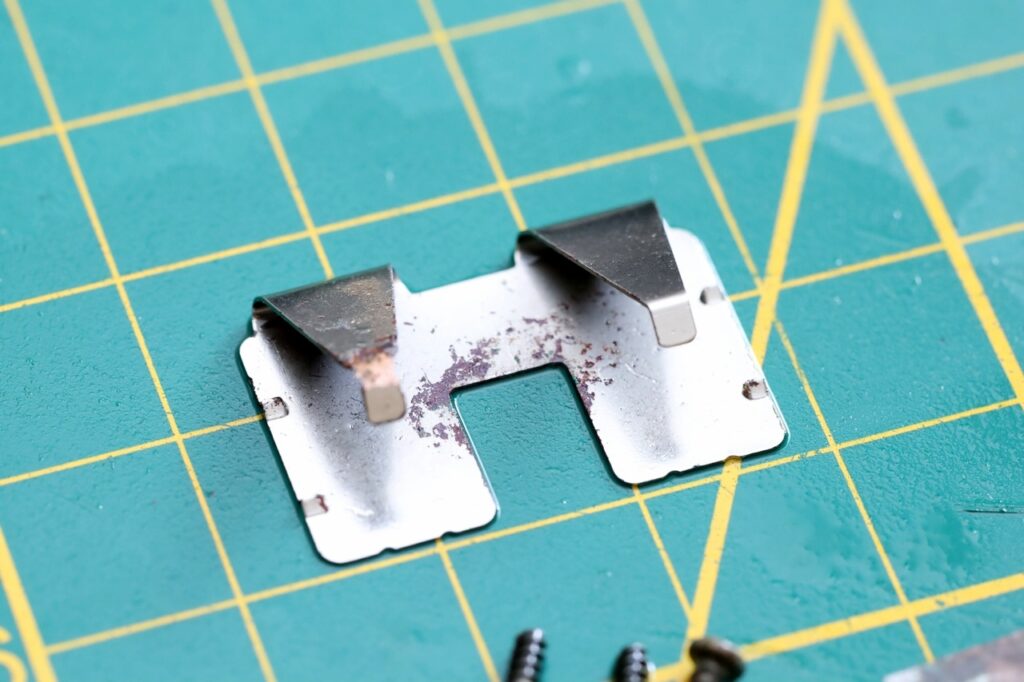
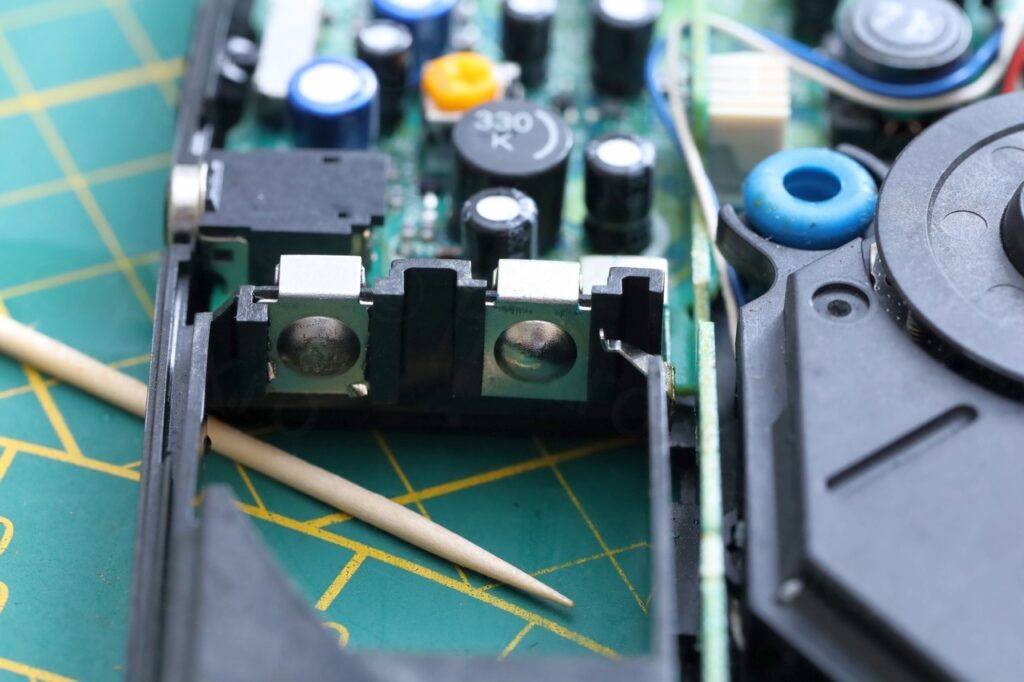
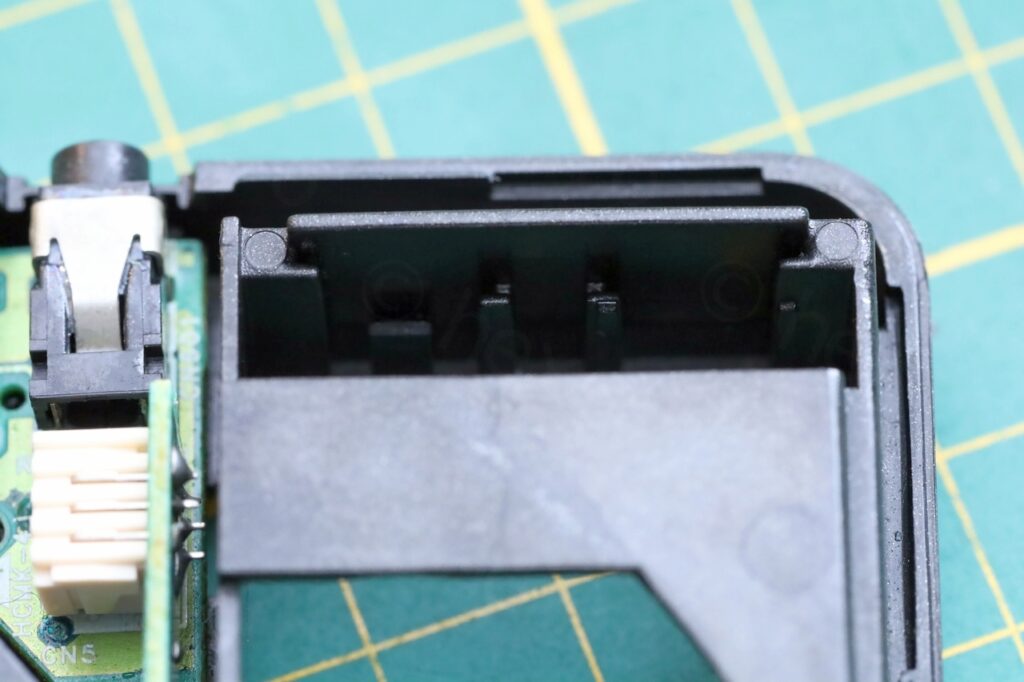
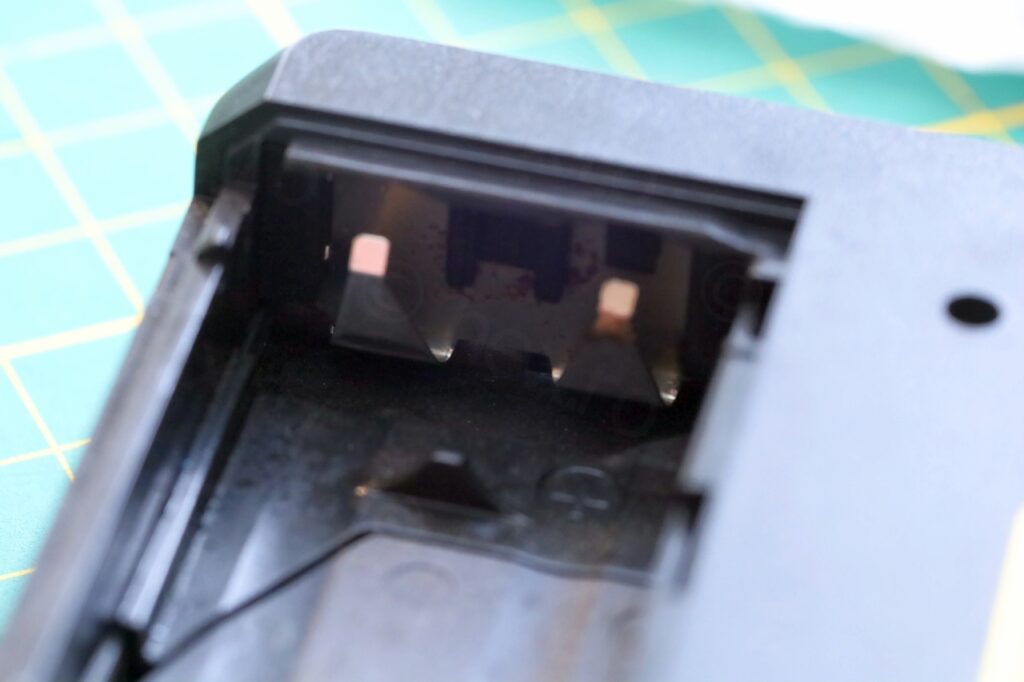
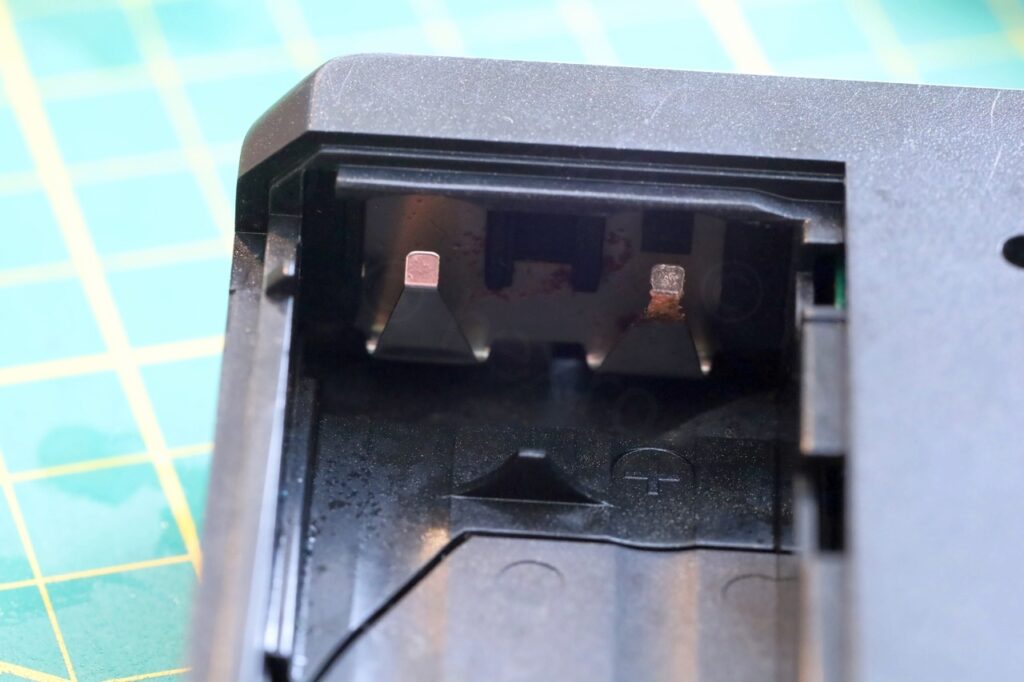
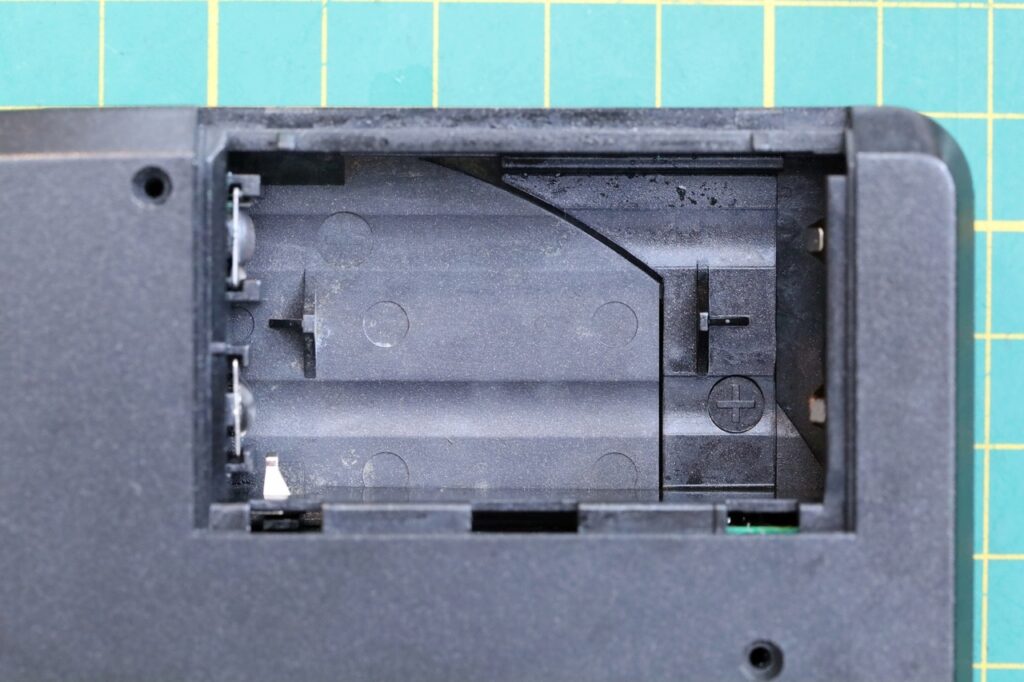
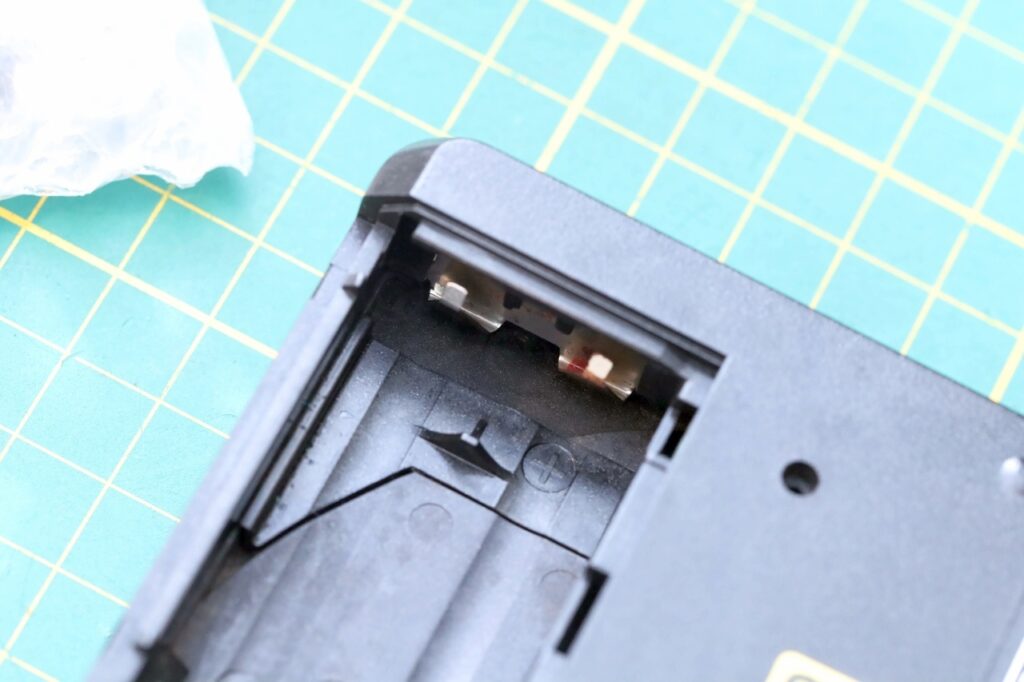
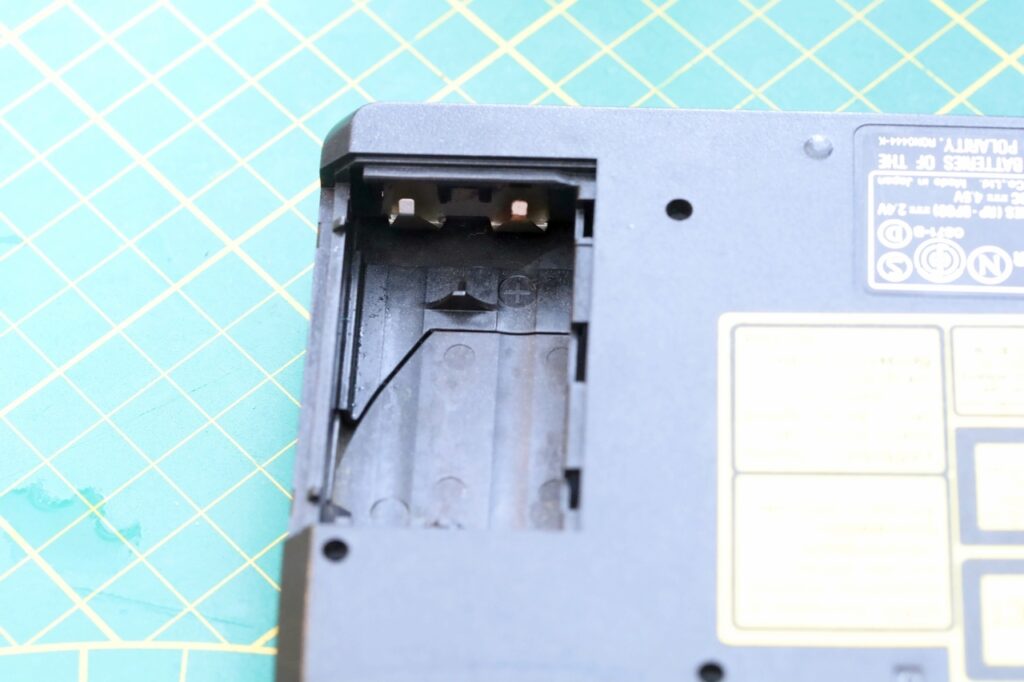
It was time to try to power it up.
Corroded DC IN connector
I tried to power it up from 2 x 1.5V AA batteries, but found disappointment. The device would not turn on. Kept thinking what to do. I decided to try to power it up from the DC IN connector. Without a suitable DC plug (and the player was not sold with any AC adapter) I’ve identified what PINs of the DC IN jack connect to the power rails and using some small grabber probes, I injected the 4.5V.
As a side note, there was this mental load using the desk bench power supply: when injecting voltage via the battery connector, I had to use 3V, but 4.5V were needed when injecting voltage via the DC IN jack. So I could not easily jump from one place to another without fiddling with the power supply.
Surprise though, powering it up via the DC IN jack – it did power on!
But why wasn’t it working with the batteries ?
By this time I started looking very carefully at the schematic diagram and at the board itself. There is a test point called VCC that should be at 4.1V (side note: there is a little boost converted on board, to rise voltage from the 3V of the batteries). But it was only reading 1.8V volts when injecting 3V via the battery connectors, however, there was no draw from the power supply, so it wasn’t at 1.8V because of something dangerously shorted and pulling the voltage down.
In a moment of disbelief, seeing that there is also the GND test point nearby, what if I measure its potential ? Useless I thought, why shall I do it ? But the curiosity got the best of me. Another surprise. The GND test point was also sitting at 1.8V. Aaaaa!
So it was like the VCC and GND were either floating ?! There was no power draw when applying the batteries 3V using the power supply, no shorts. Were they just floating ?!
I took the DC IN board out just to see if there was a problem on it:
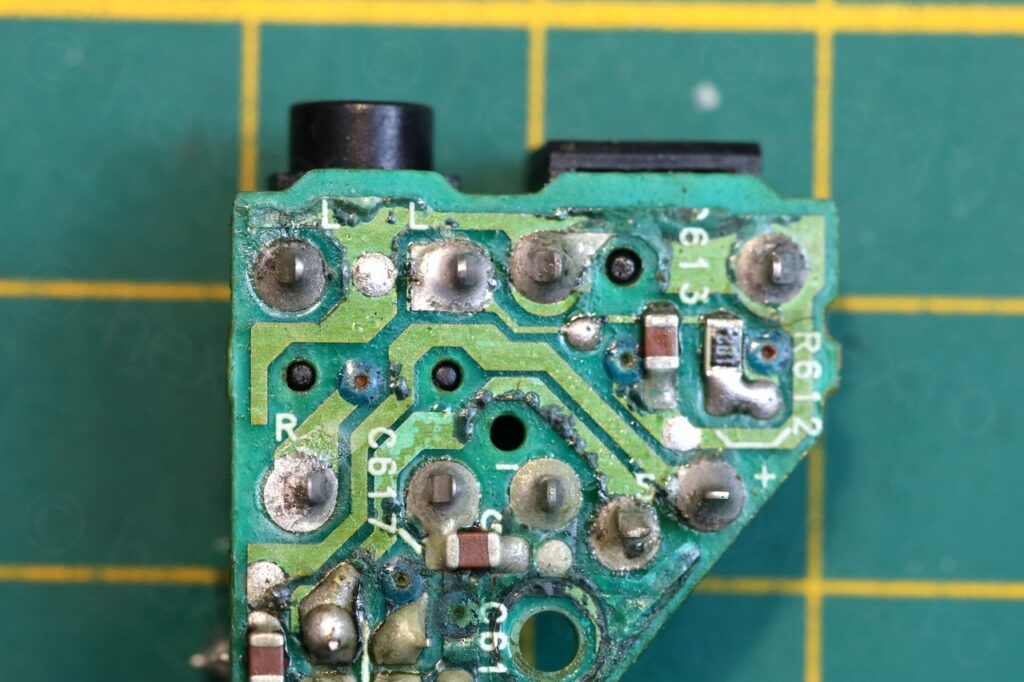
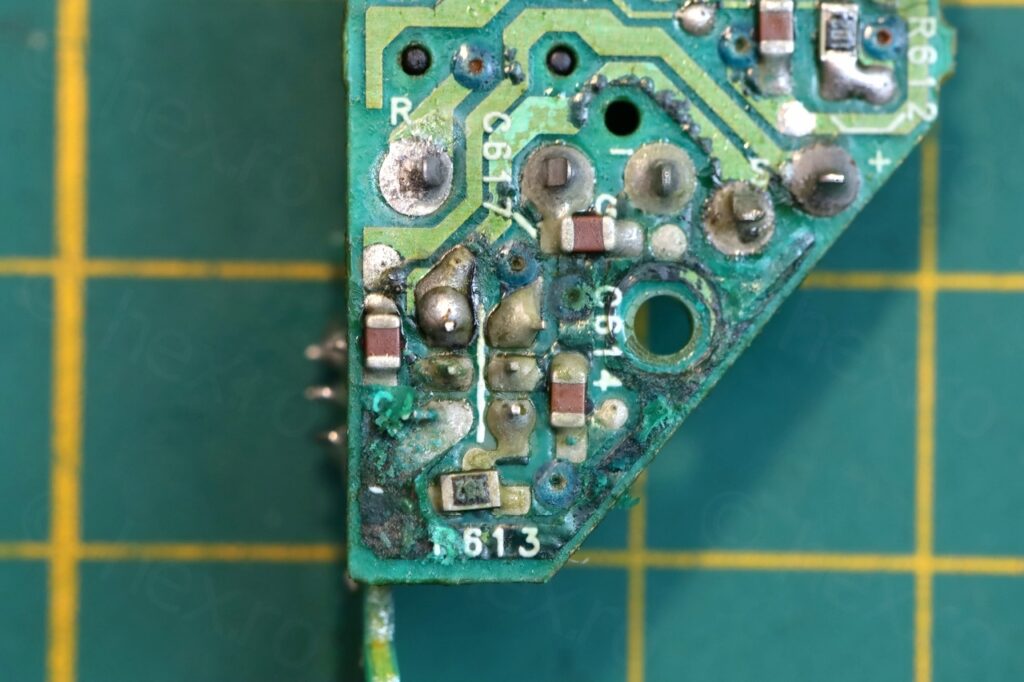
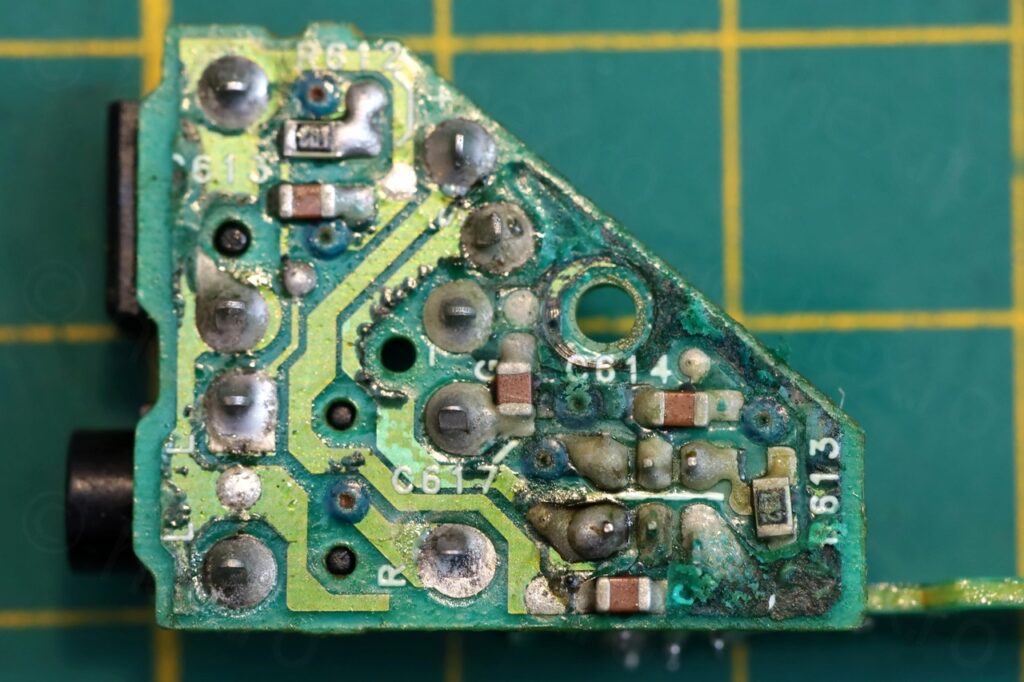
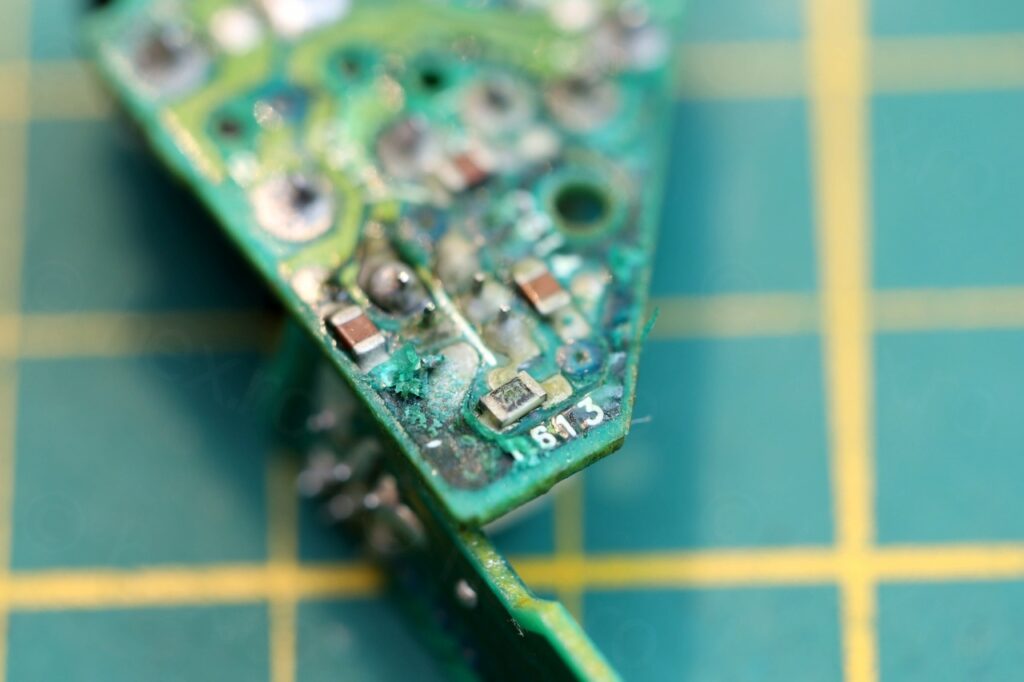
It was almost melted due to corrosion 🙁
I proceeded to clean it up also .. first with vinegar, then with Isopropyl Alcohol. I got it much cleaner and thankfully the copper traces were still intact – the only damage was just the green coating of the board:
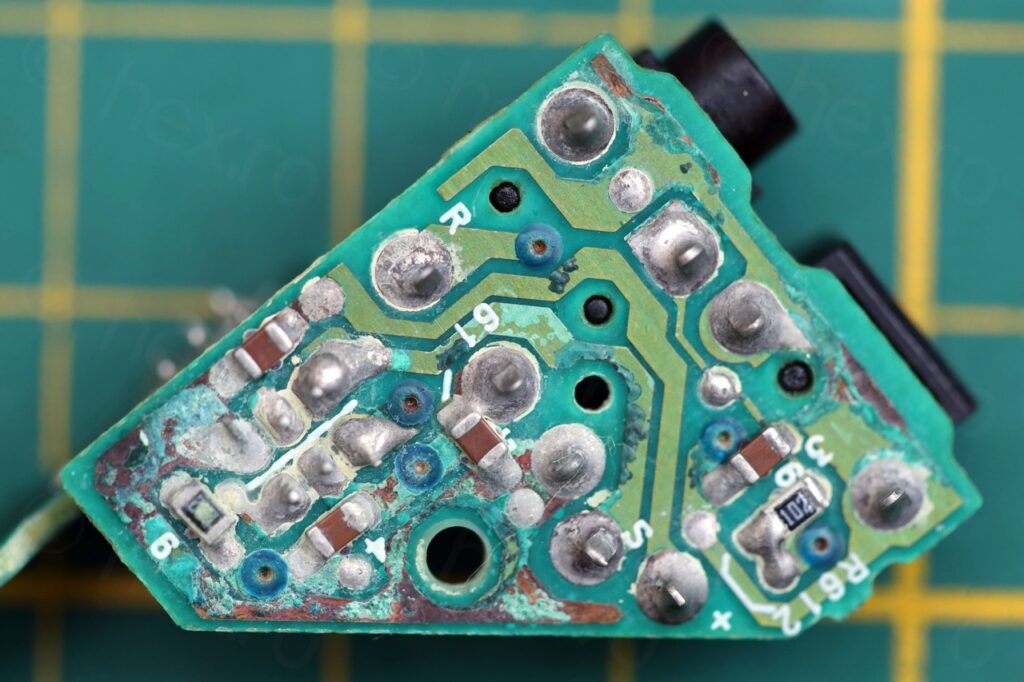
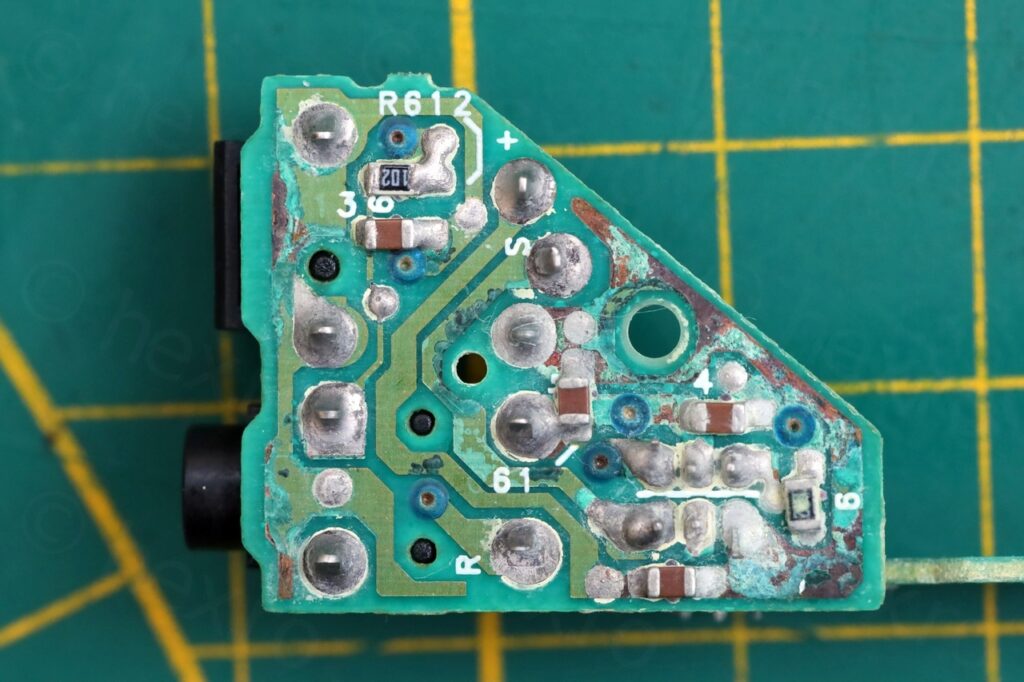
Unfortunately, this didn’t bring back the power when using the batteries 🙁 – GND traces were awful looking but intact.
Re-reading the schematic and trying to understand what could cause the separation between the GND of the battery and the GND of the DC IN connector, the only place where they connected was via the switch contact inside the DC IN connector. And while cleaning the DC IN board, I did spot some blue corrosion inside the jack too … Hmmm.
Last confirmation was measuring continuity of the switch contact. There was none. There were also no identical spare parts that I could find online. I did find some similar looking ones, but not exact match. So … I had to devise a way on how to let the contact submerged in vinegar in the hope that constant liquid would help melt the accumulated crystals / corrosion:
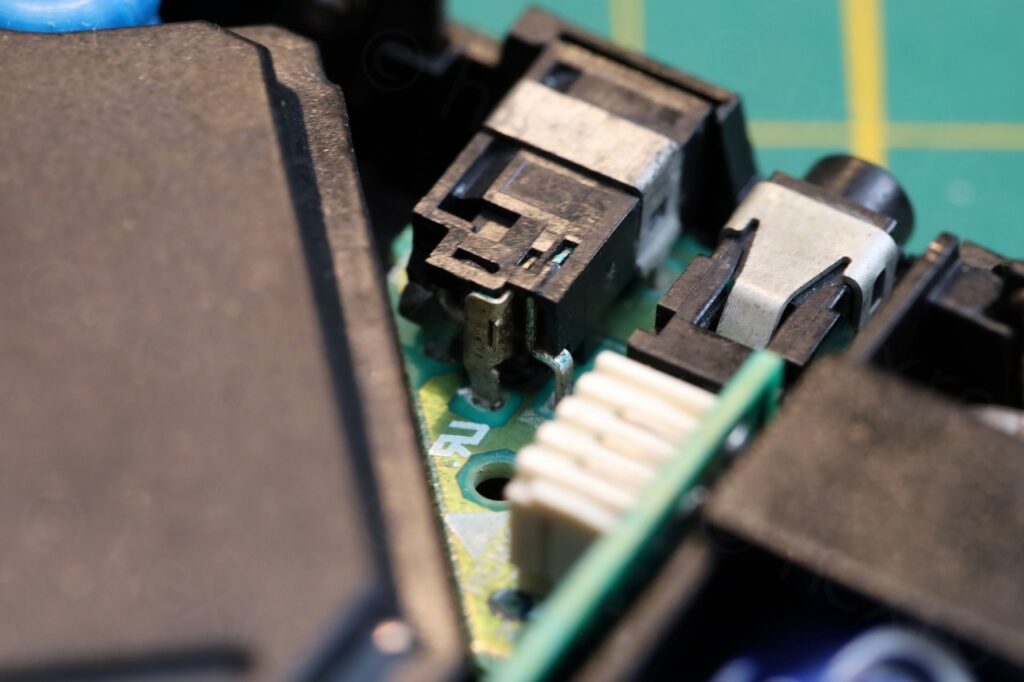
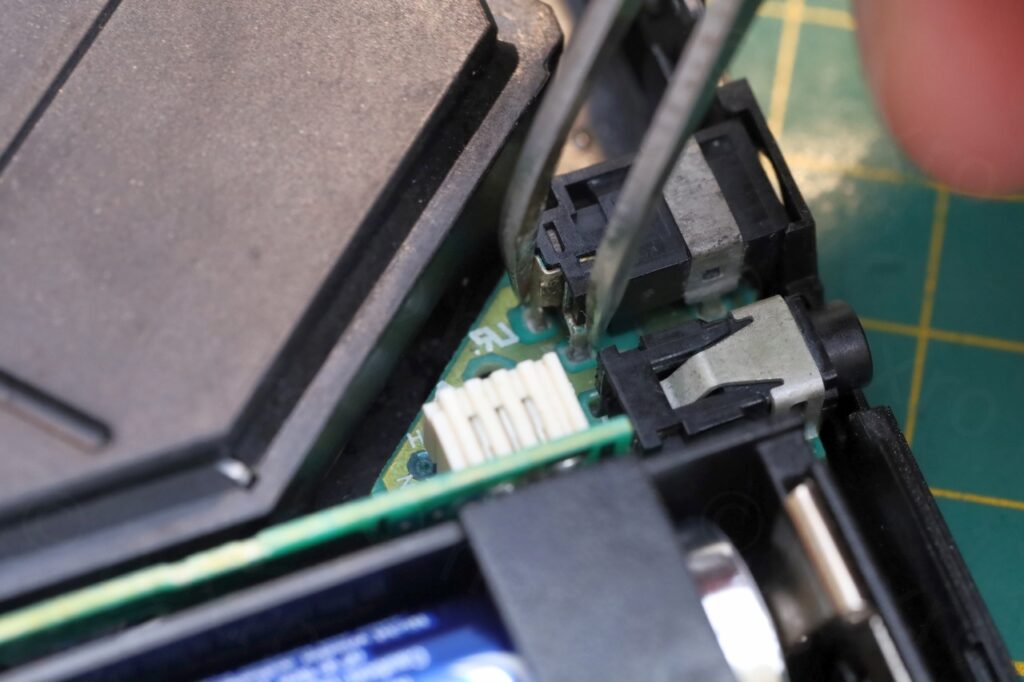
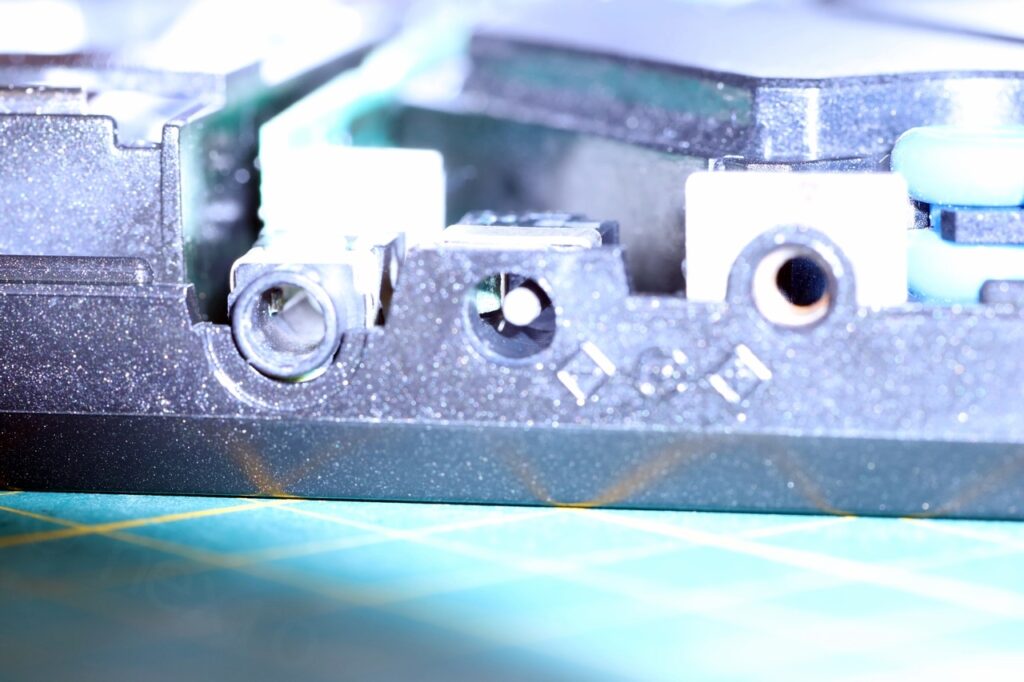
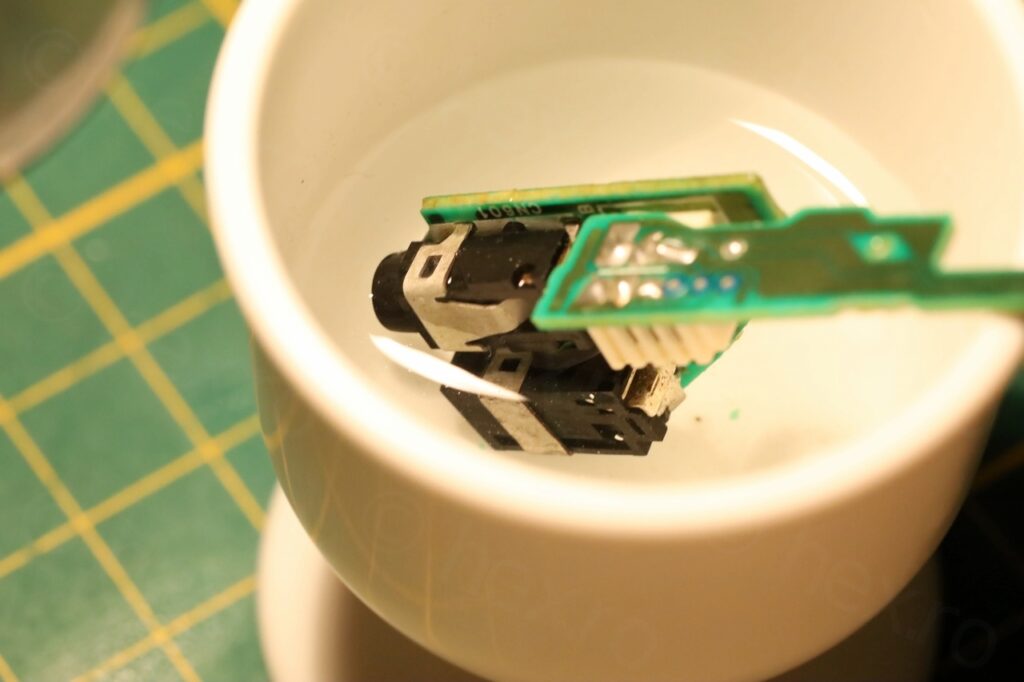
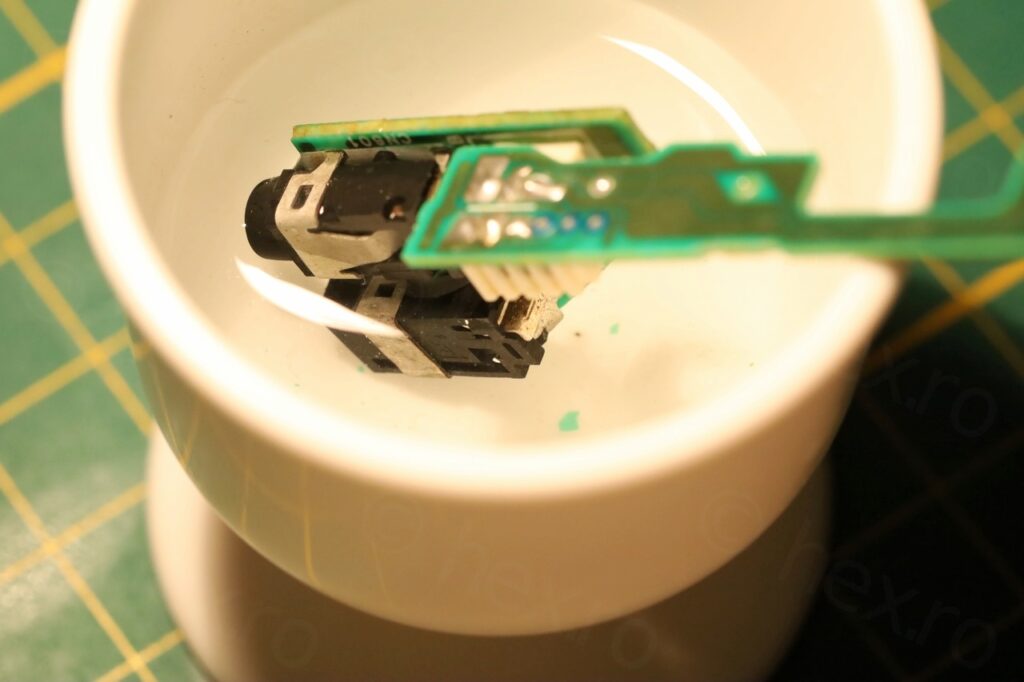
After leaving it to soak for about 1h – I finally got the continuity back 🙂
While it was soaking, I have also used a tooth pick to try and push down the leaf contact inside, hoping to dislodge more corrosion and allow the vinegar to get to the metal contacts inside.
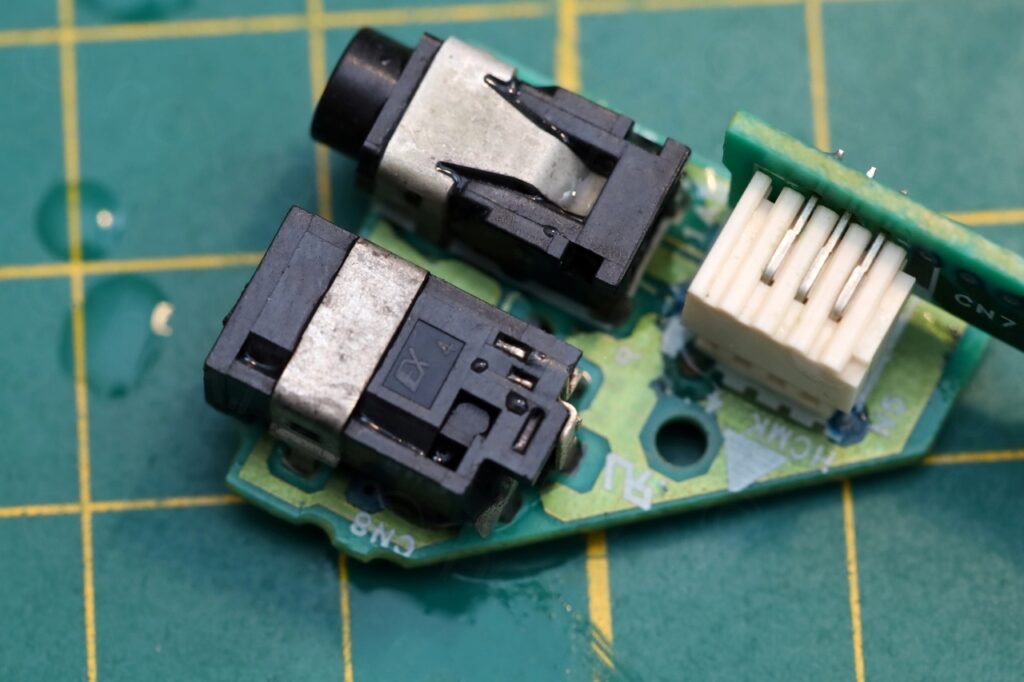
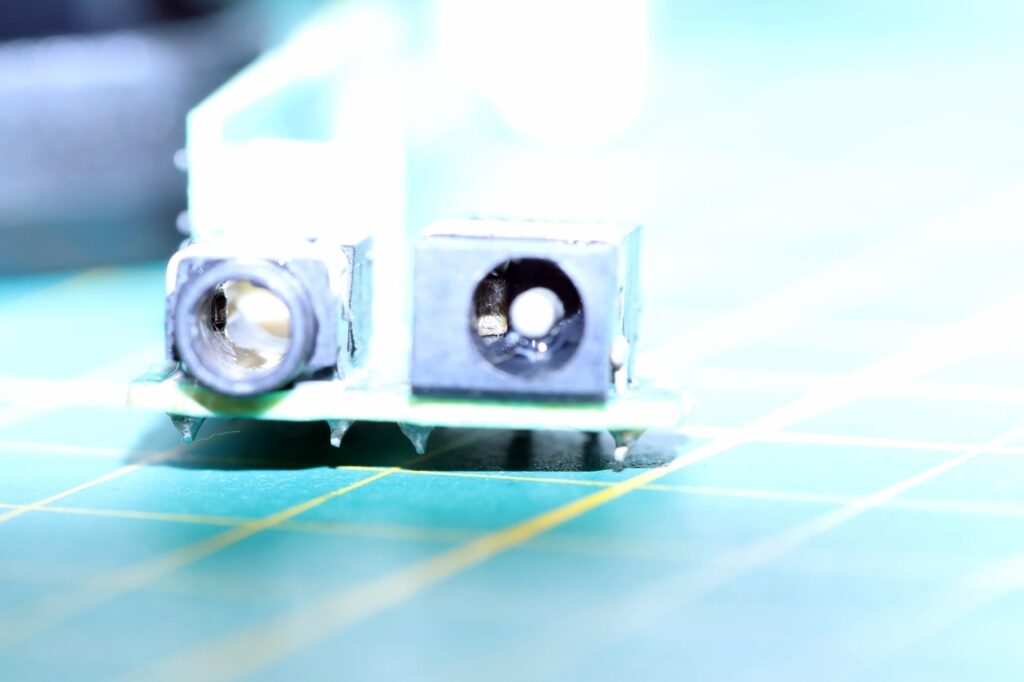
When inserting the DC plug, the battery GND is lifted from the GND of the circuit board. It makes sense, the device can charge the two NiCd accumulators – but I somehow expected that VCC is disconnected, but no, it was the Ground.
Hissing sound while playing
I thought cleanup was finished after I got it to run on batteries. But once I started listening to a CD, I realized two things:
- There was an audible hissing sound for 1-2 seconds just before any tune would playing (as the device un-mutes for playback); the hiss was there during the quieter part of the music.
- The sound level was low and distorted (I had to keep it to 10 (from a 0-10 scale) to have a normal sound level – but it was distorted.
The hissing was audible , but when I tried to record it, it seemed very faint. Below, it is amplified to demo it. You will hear the motor spinning (first 3 seconds) then the hissing / buzzing afterwards:
Forums would say that some portable CD players have issues with leaky capacitors, but I wasn’t finding specific reports on Technics. I had to take the circuit board out to try to measure the ESR of existing capacitors – but before getting to measuring them, the horror …
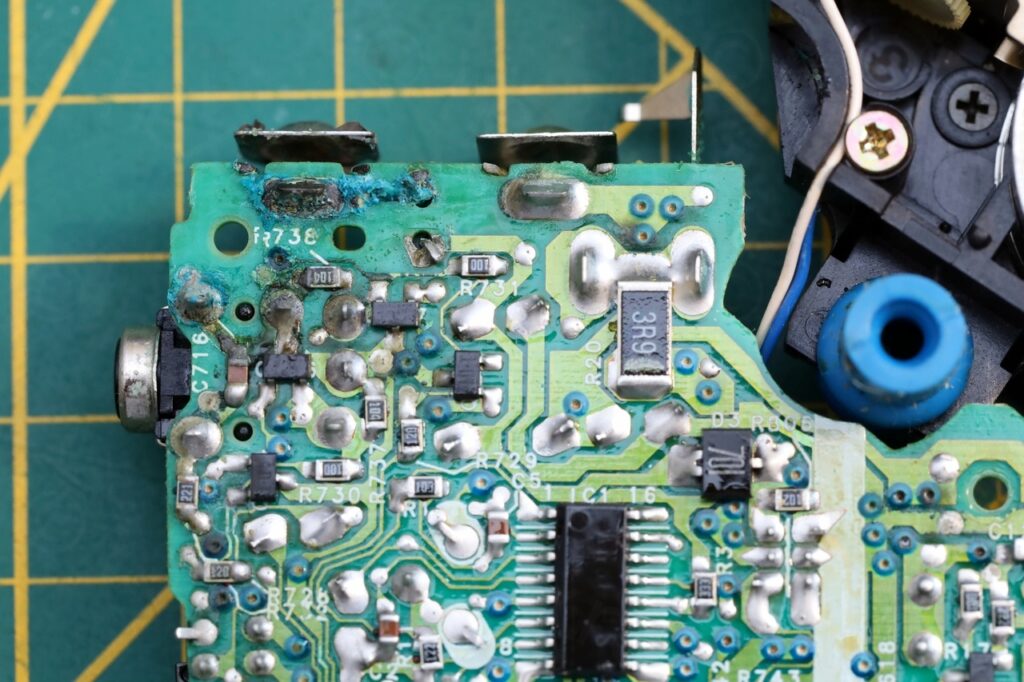
…circuit board was corroded too, very close to the Audio stereo jack.
After few more rounds of vinegar, board was now clean and the hissing disappeared!
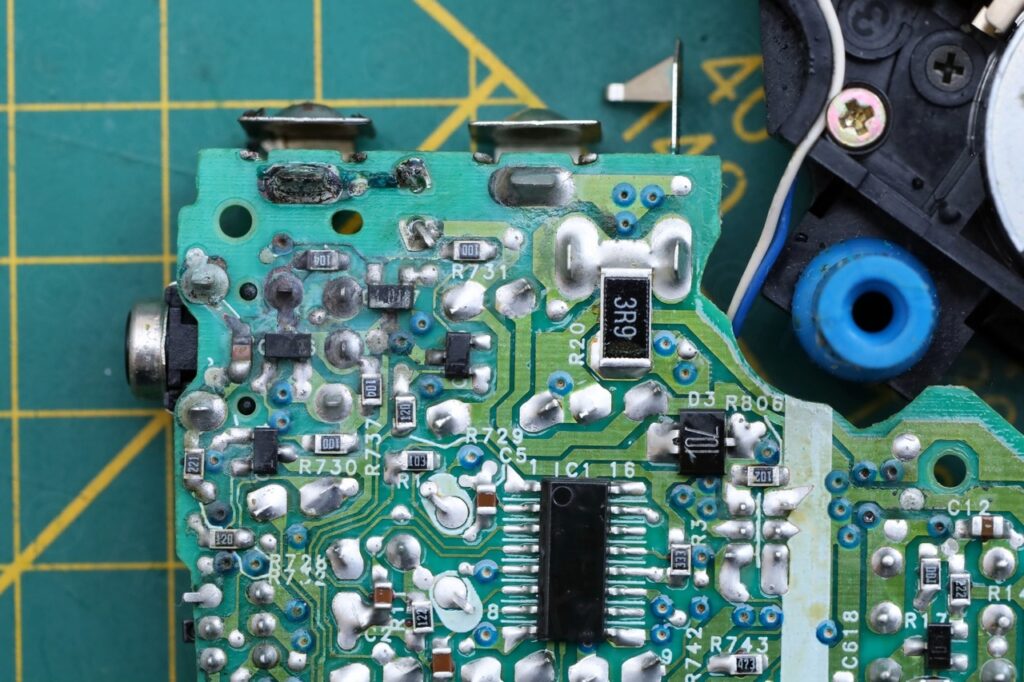
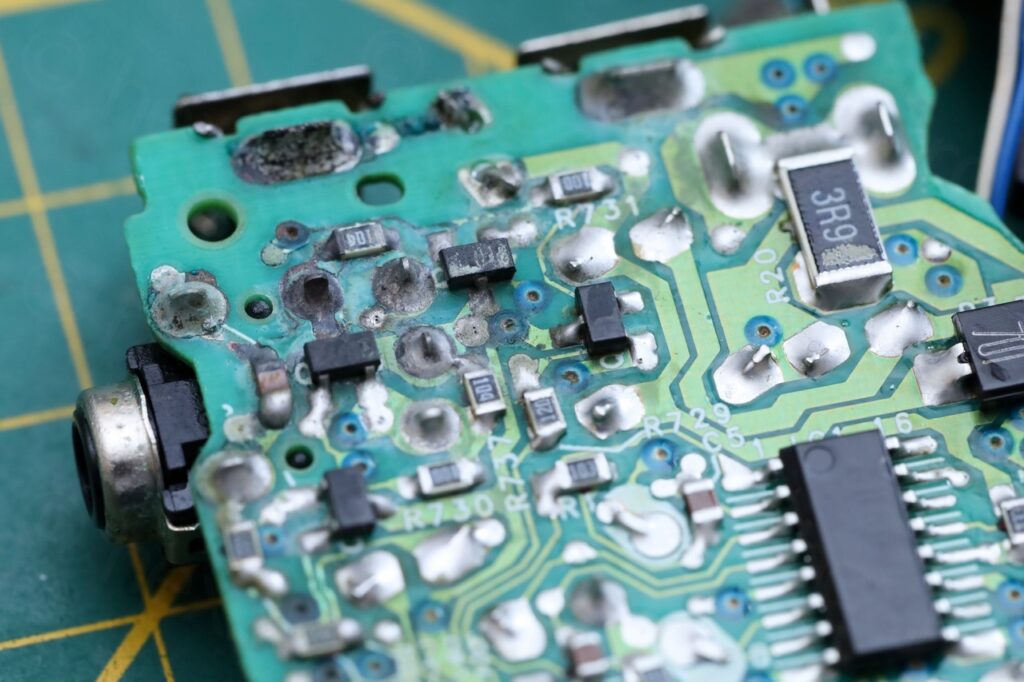
Still, the problem persisted with the low distorted sound.
The ESR was ok for most of the capacitors, except few smaller capacity ones that had an ESR of 10Ω. Wasn’t convinced that they are the culprits and decided to hang the board in air (on the side of the table) while struggling from underneath to parallel a known good capacitor of all the reachable ones. Absolutely no change on the sound output.
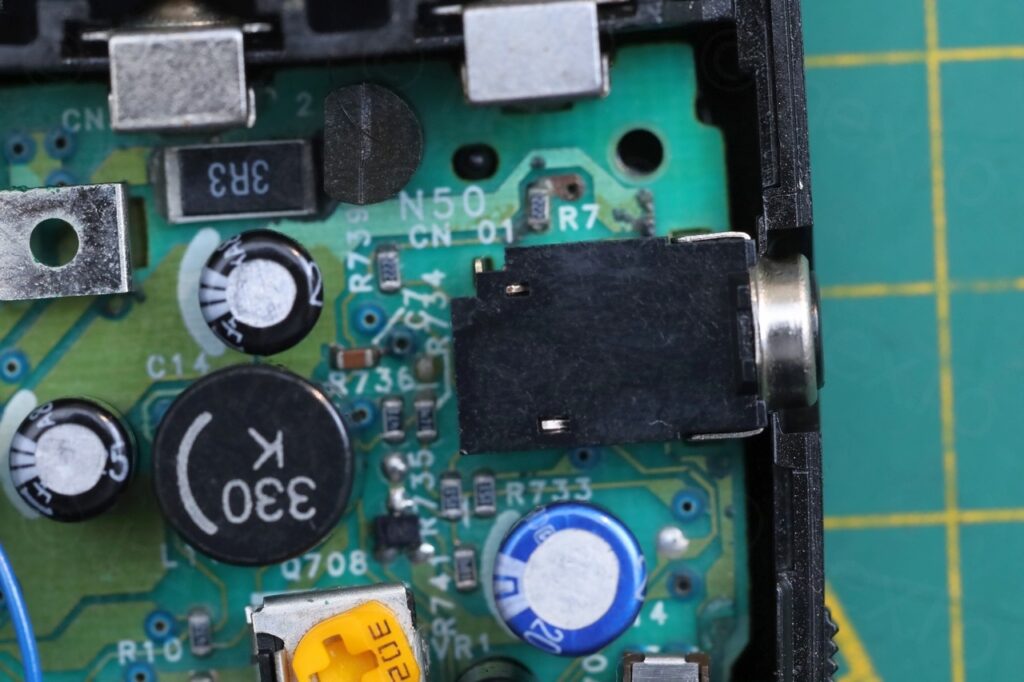
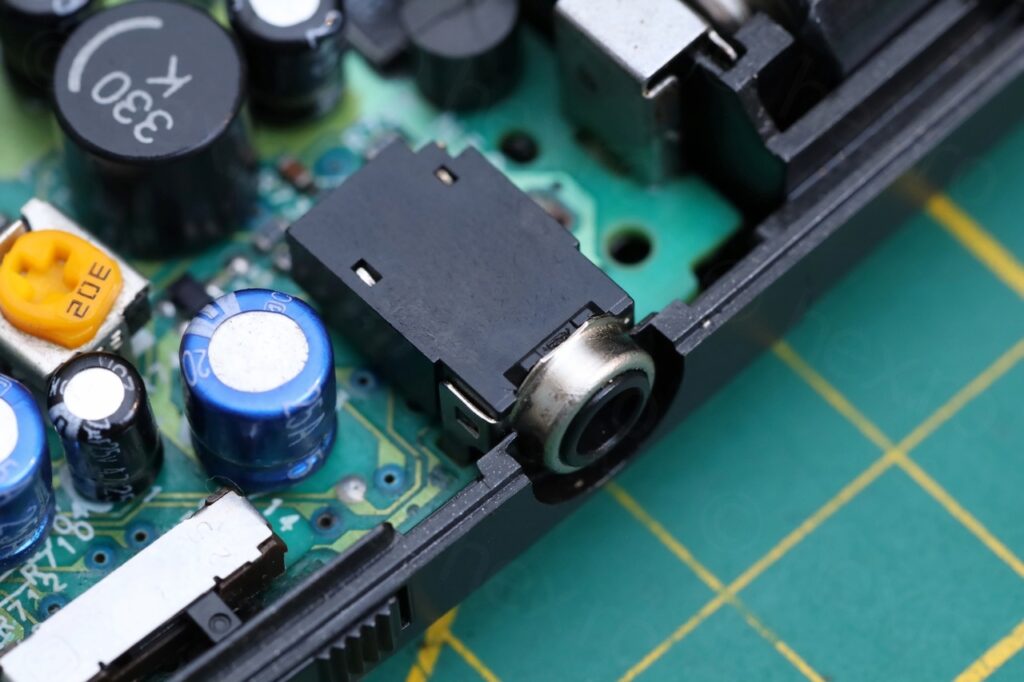
In a stroke of luck, while inserting the stereo jack of the headphones, I heard the sound much louder for a split second, then instantly went back to lower volume. No amount of fiddling could reproduce it. And then it hit me. What if the stereo jack was also badly corroded inside ? I started cleaning it, first with vinegar, and then with Isopropyl Alcohol. Just being very patient in adding vinegar, inserting / removing the headphones jack, and so on. Eventually, it started working better and better until all corrosion was dislodged and the parts inside started making good contact. Now it works perfectly.
Volume knob and ASC/S-XBS Button
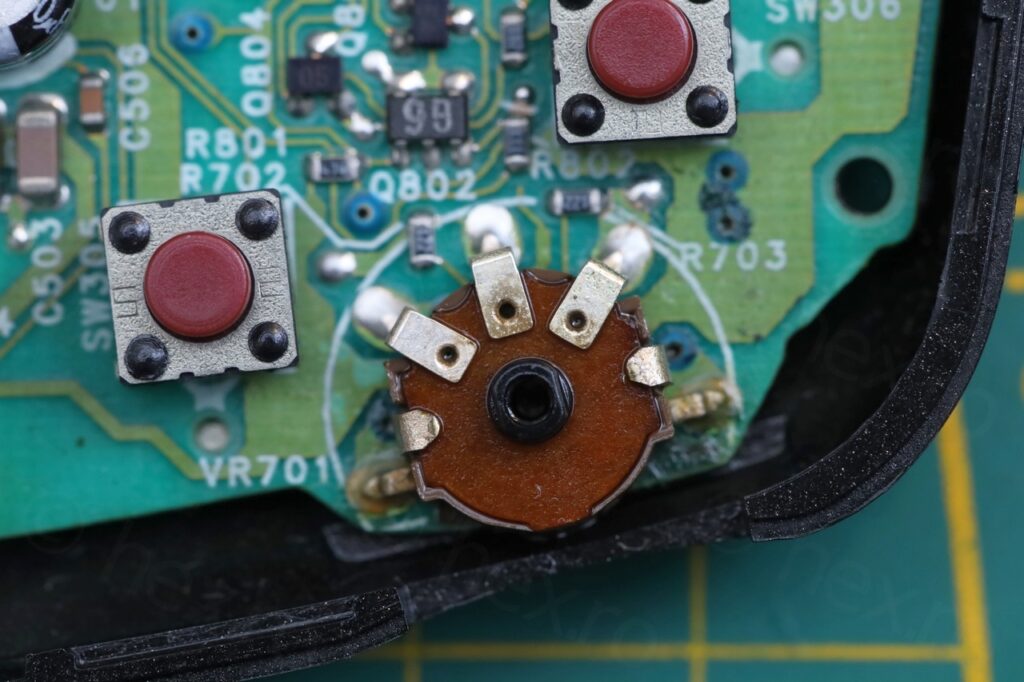
The Volume knob has a scratchy spot as you go past level 5. No amount of contact cleaner helped. It improved it a bit, but it is still there.
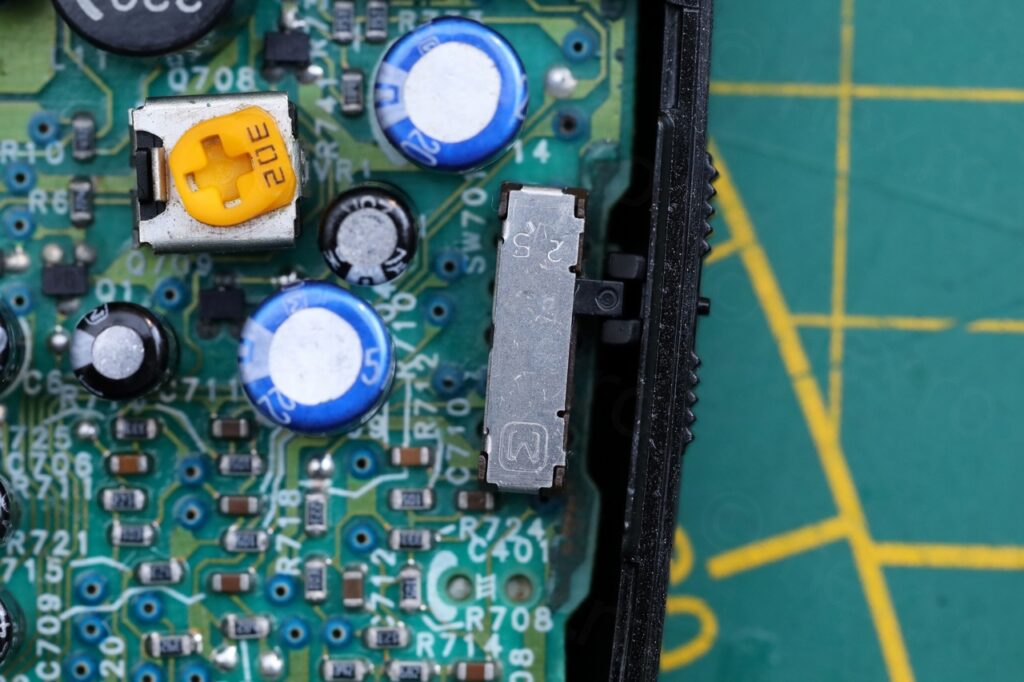
The ASC/S-XBS button was too very scratchy, but contact clearer did take care of that.
Video
A small test just to make sure everything works 🙂
In conclusion, this is a cute player. They seem to be not so expensive on ebay – I should have bought it from there and save myself a lot of time.
RFEA401s – Official adapter
An update to this article … since I was on the lookout for an official power adapter to complete the CD player.
I saw few ebay announcements in Europe. One asks 17€ + 15€ shipping. Another one asks for 27.8€ + 16€ shipping. The cheapest available with shipping to Belgium costs 10€ + 15€ shipping. On one side, I wanted the original Panasonic charger / adapter. But 25€ feels very expensive though – I’m not looking to buy an old lathe having the 2 tonne shipping more expensive than the lathe itself. And 15€ for shipping such a lightweight / small charger ?
I did have many looks at the photos though, imprinting the adapter shape into the long term memory. What if I find it at some other flea market ?! Chances were zero but I didn’t really needed it, it would just feel very nice to have it. I was willing to play the long game.
And I could not believe the coincidence.

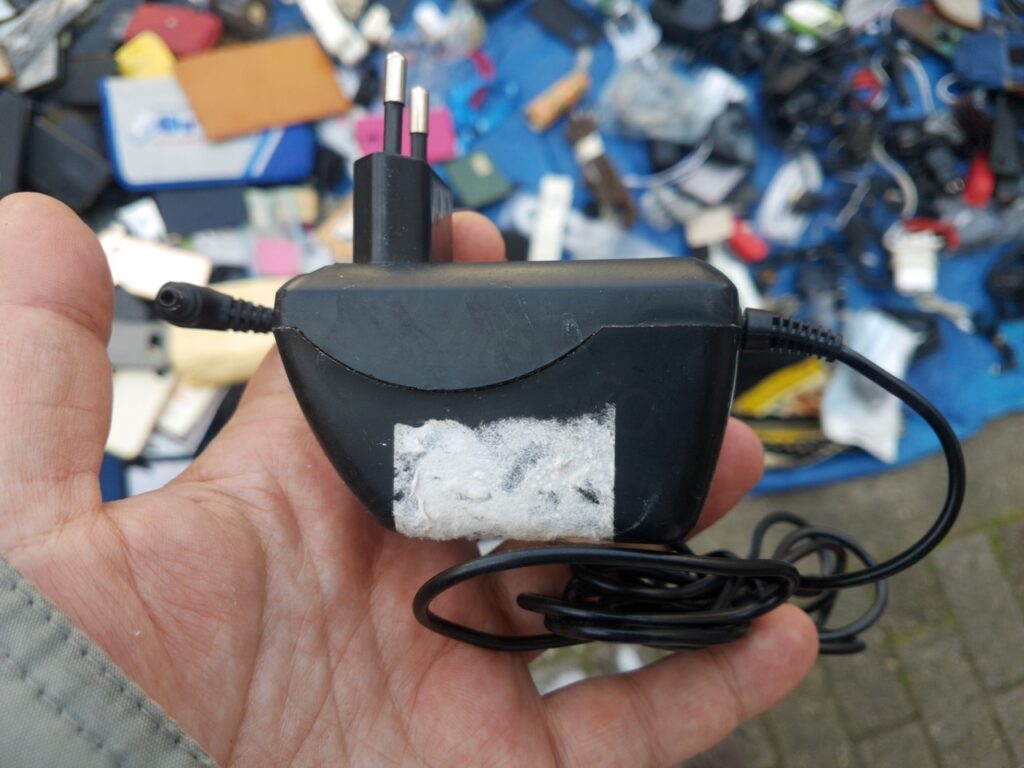
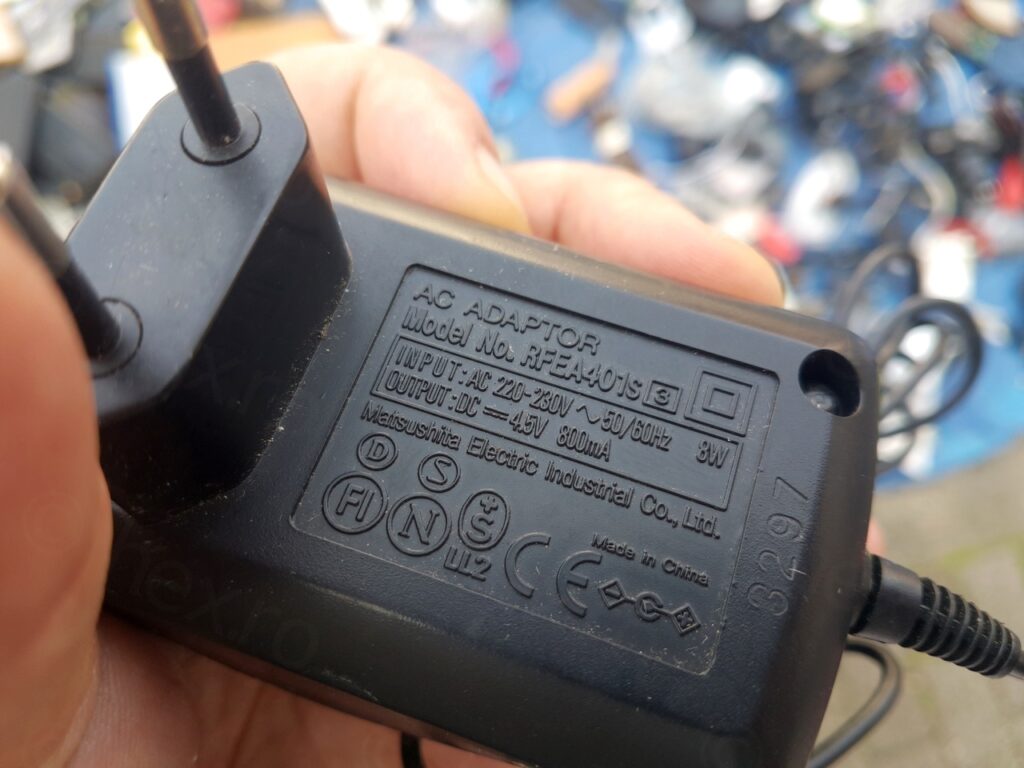
In the blue bag, after shifting through the top layers of chargers / transformers, what shape do I recognize 🙂 I had to turn it and read the model number so I can believe myself. This was the third seller that had many transformers to sell..
The white remains are what I assume the leftovers of a label that sellers put with the voltage of the transformer. So that when people ask that they need 3.7V or 6.2V or etc, it is easier to spot which one, otherwise people give up searching. This transformer but went through so many sales where it rained and was rubbed against the other transformers, that the paper started to melt and rub off. Only the glued part stayed.
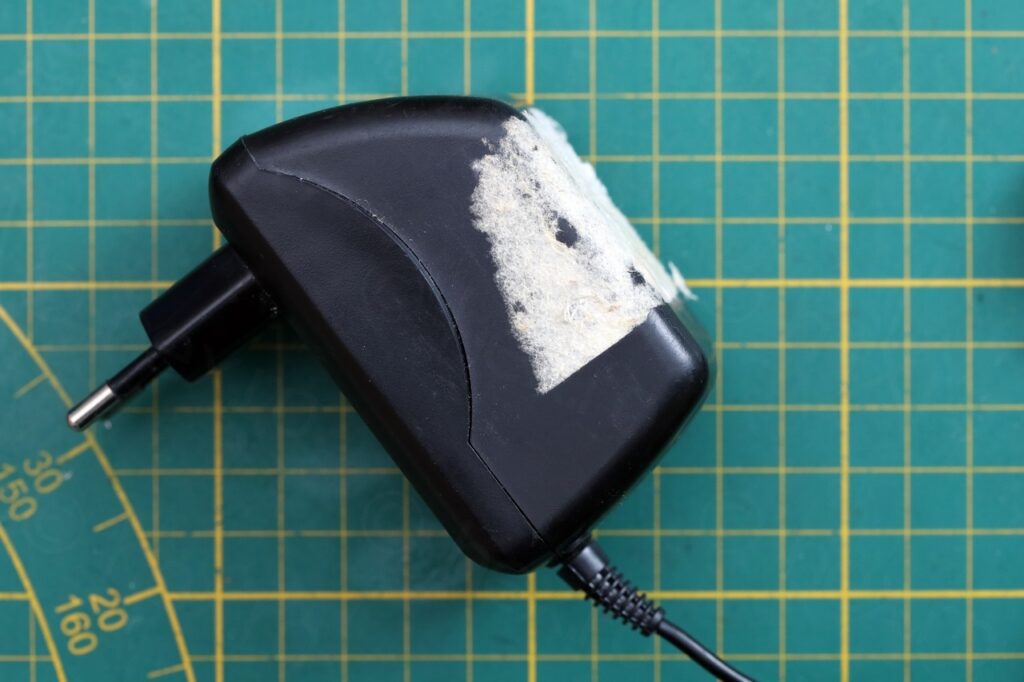
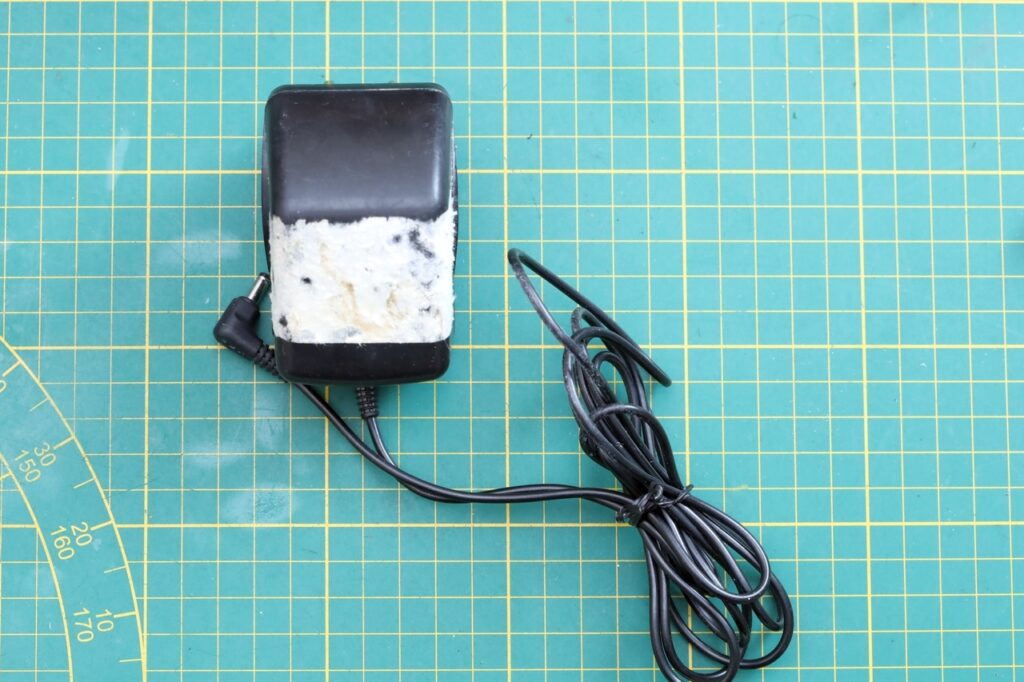
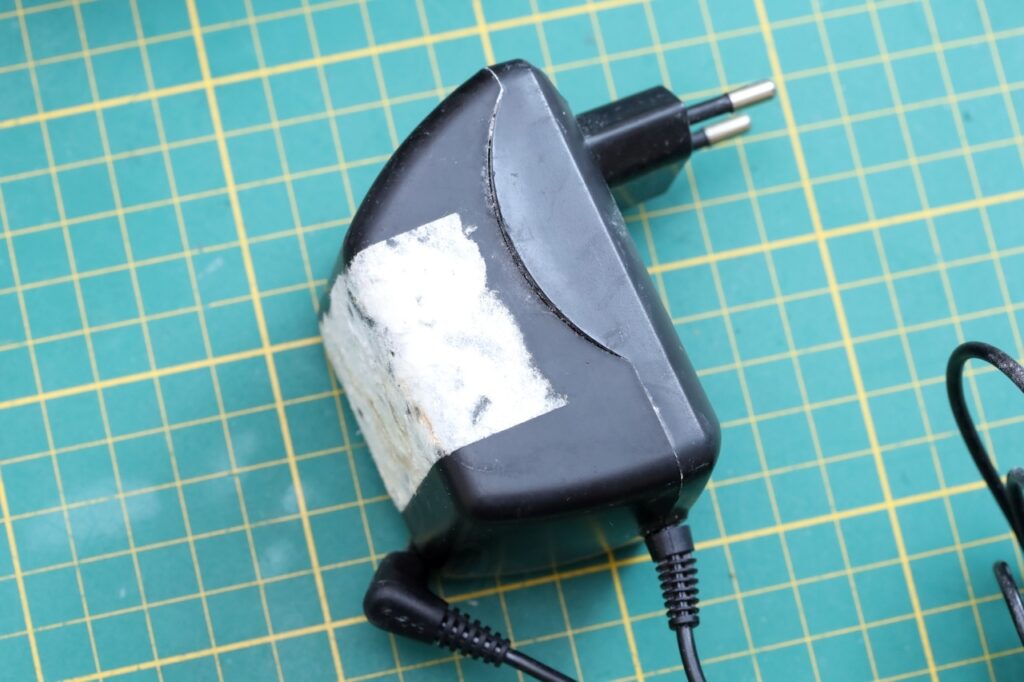
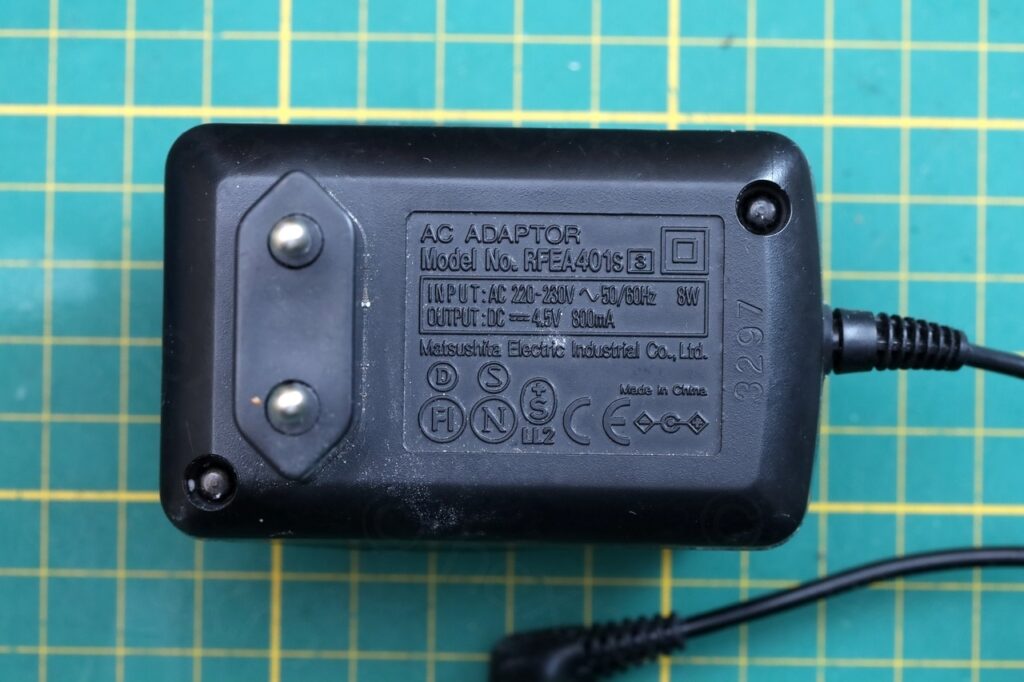
A little bit of Goo Gone goes a long way and I was able to remove the remains of the label:
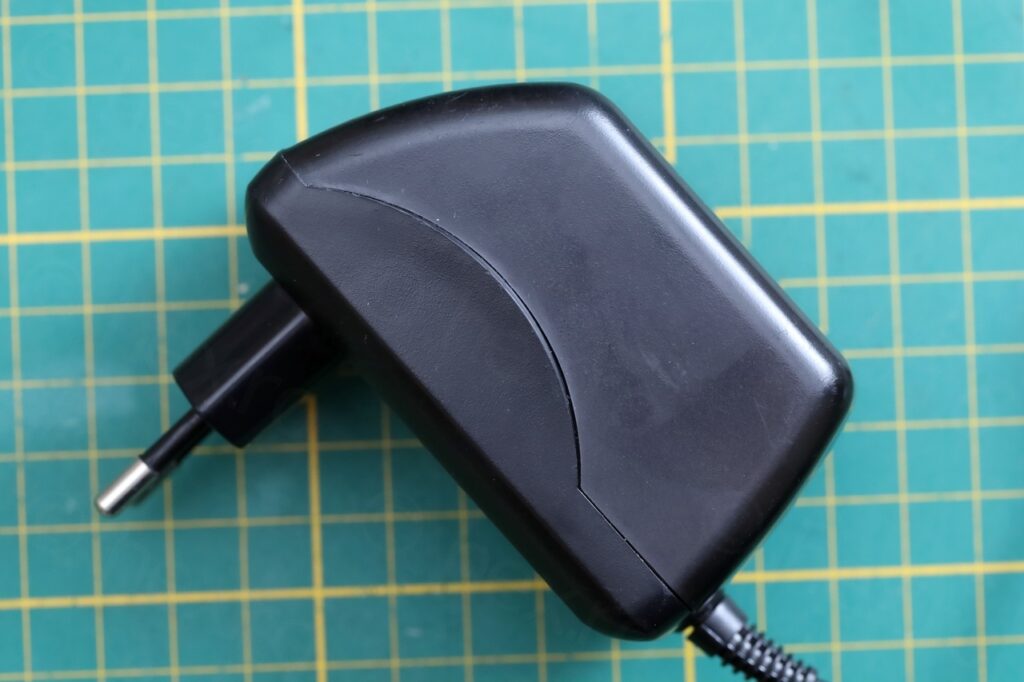
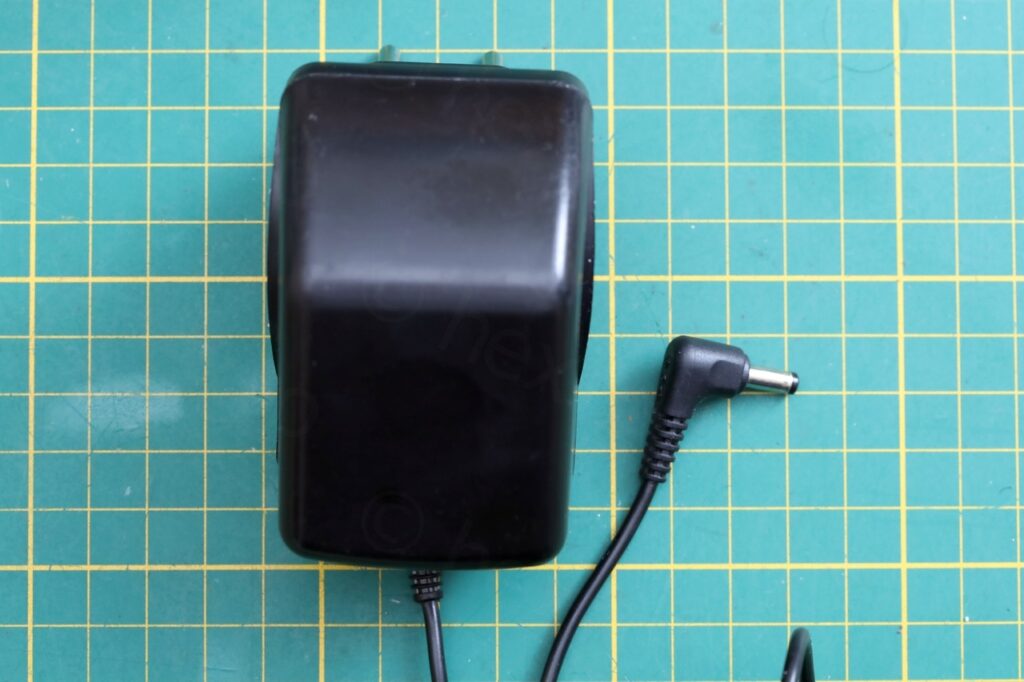
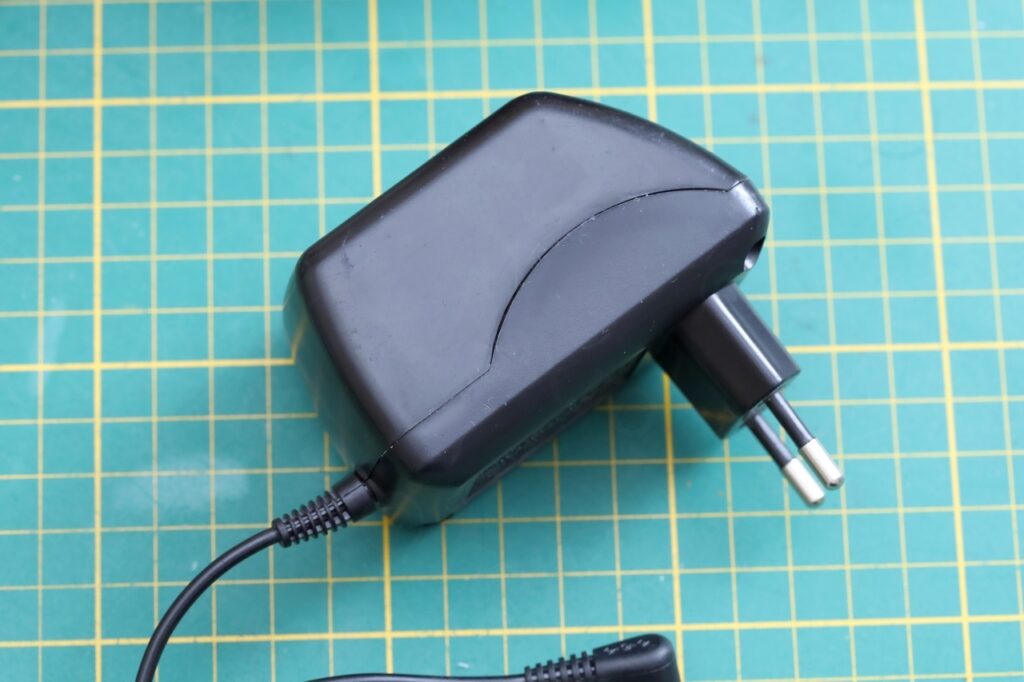
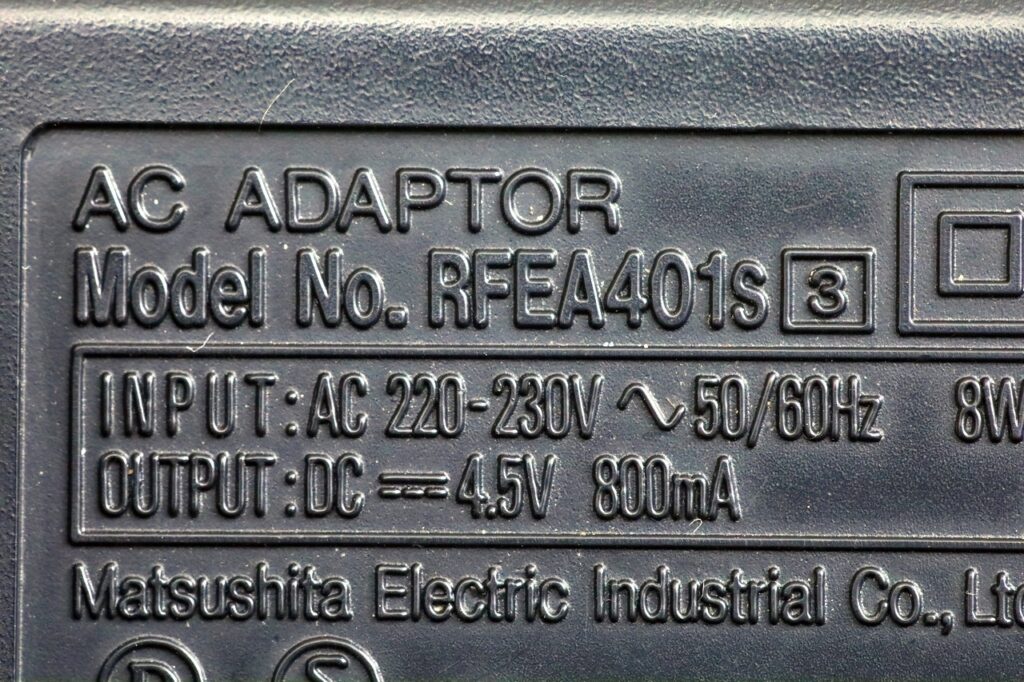
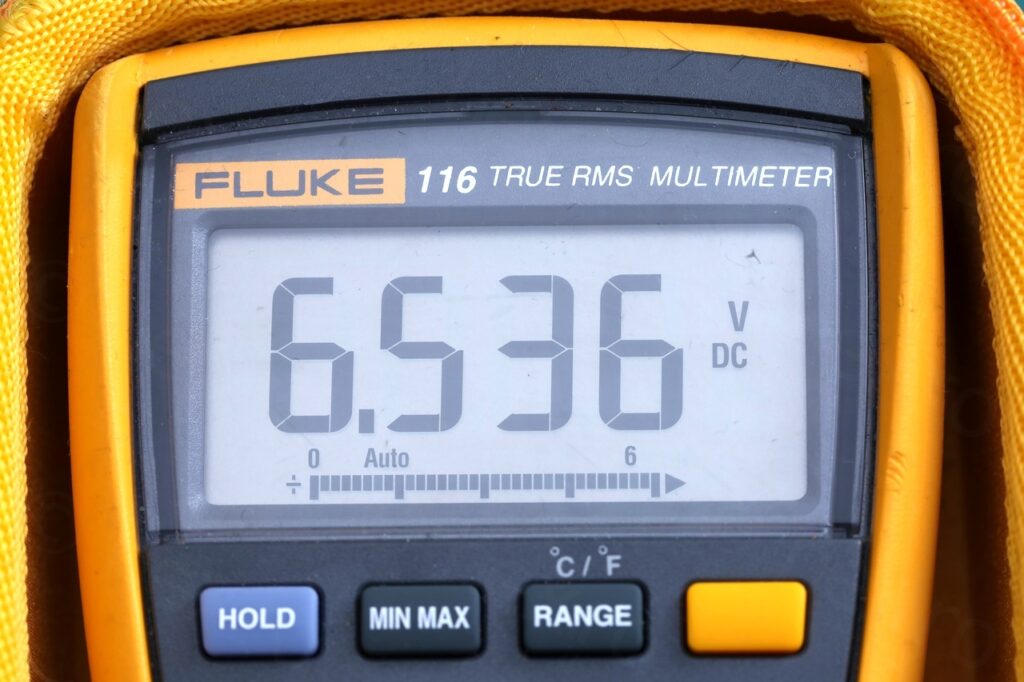
I still can’t believe I found it 🙂 price 3€. This feels right. Lucky find and affordable.
Werner
Hi !
Thanks for the post, does the backlight work? plugged in with the AC adapter ?
I am doubting if this model has a backlight option…
Kind regards Werner
viulian
Hello,
I don’t remember seeing any backlight coming on… Neither with this one, nor on the other one that I fixed here. Thus, I too doubt its existence.