


Table of Contents
Introduction
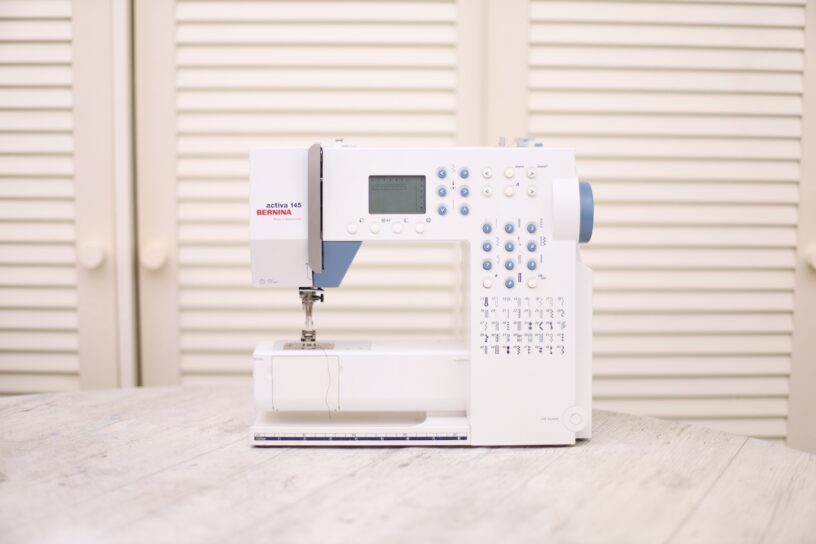
The owner reported trying to turn on this Bernina, but it made a loud “FEEEEE!” sound and then shut off. It was bought from a flea market and seller said that it was tested. I got a chance to have a look at it and have a go at repairing it.


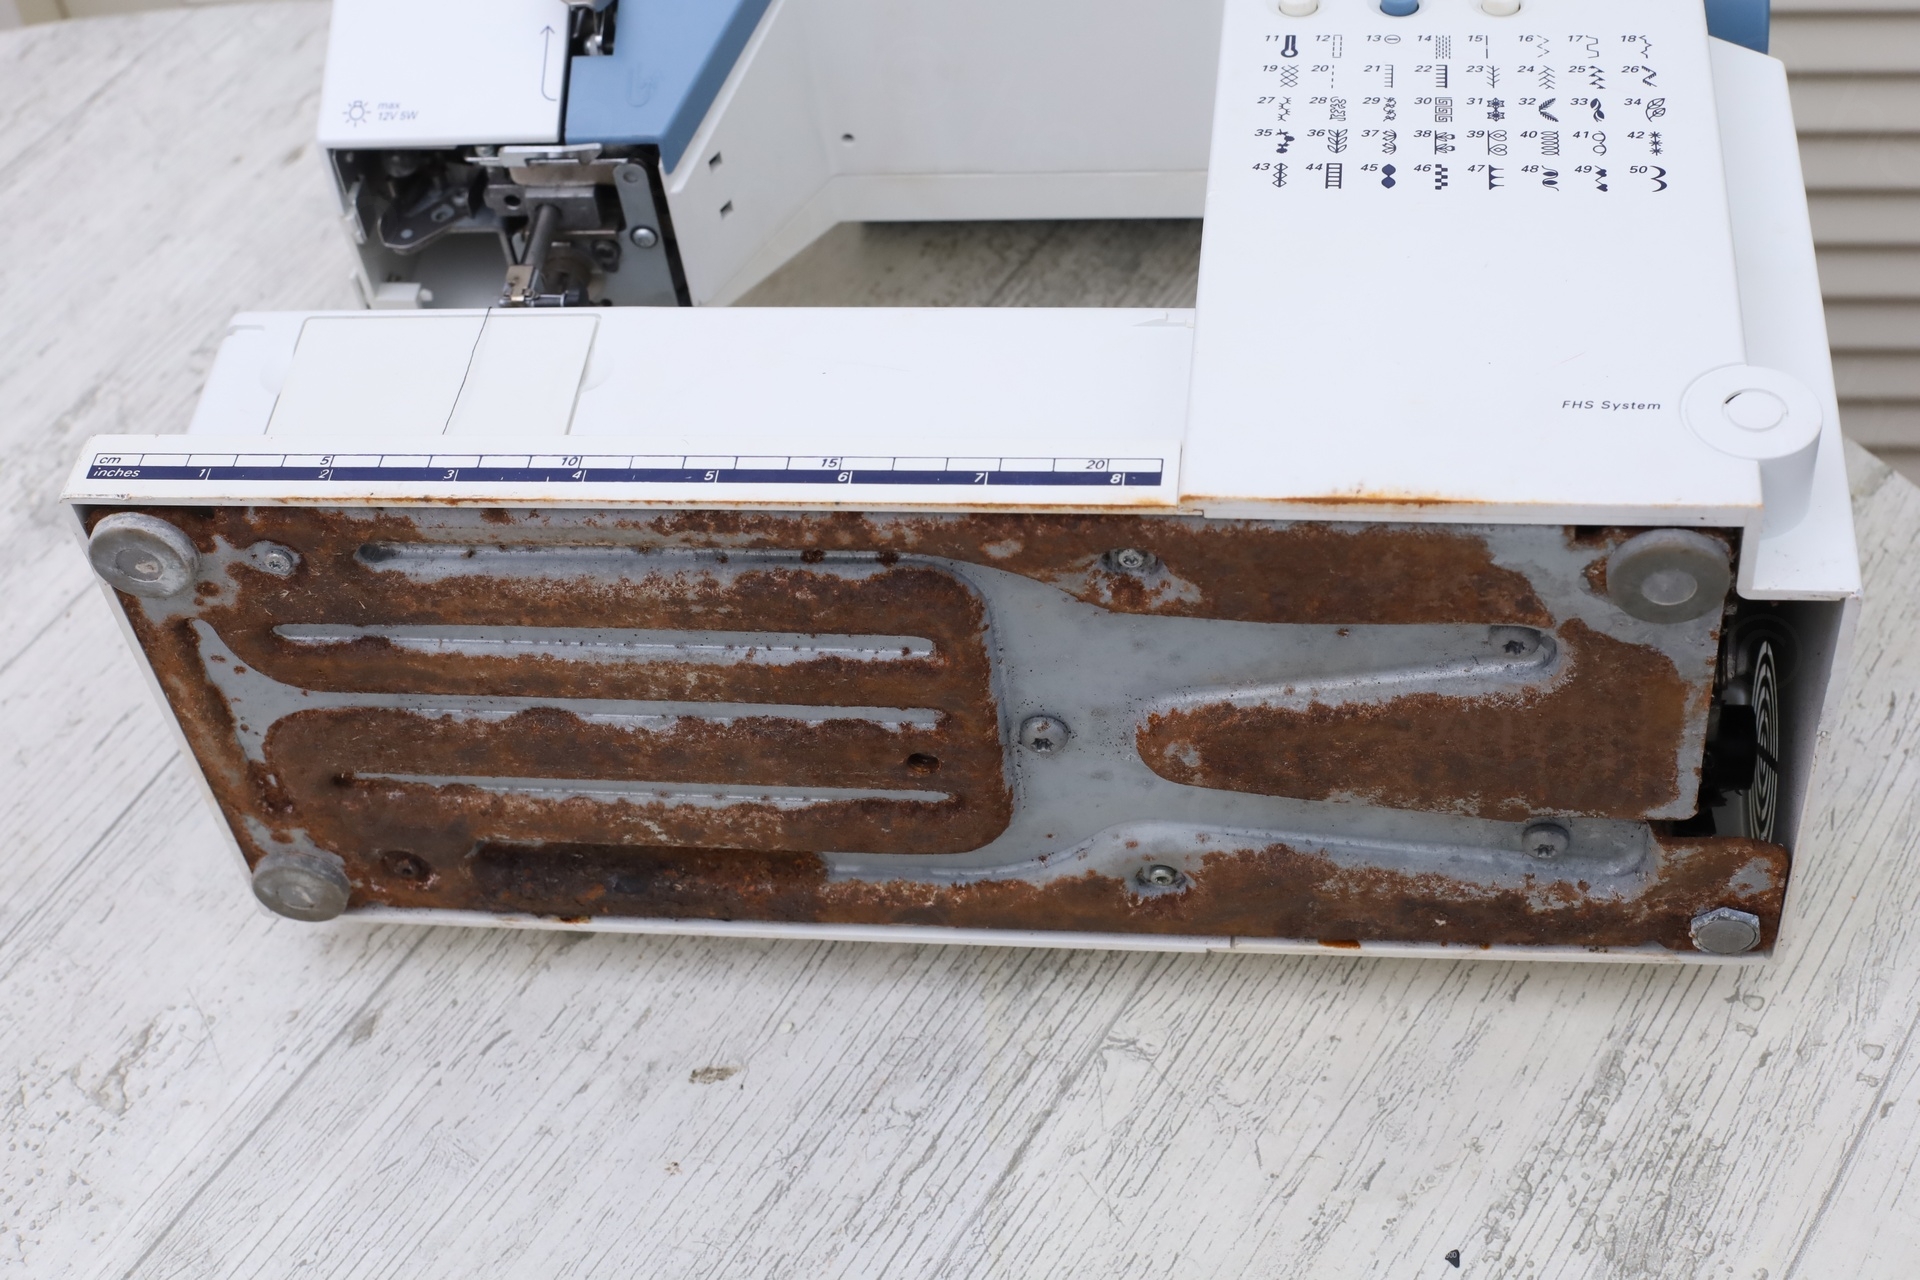
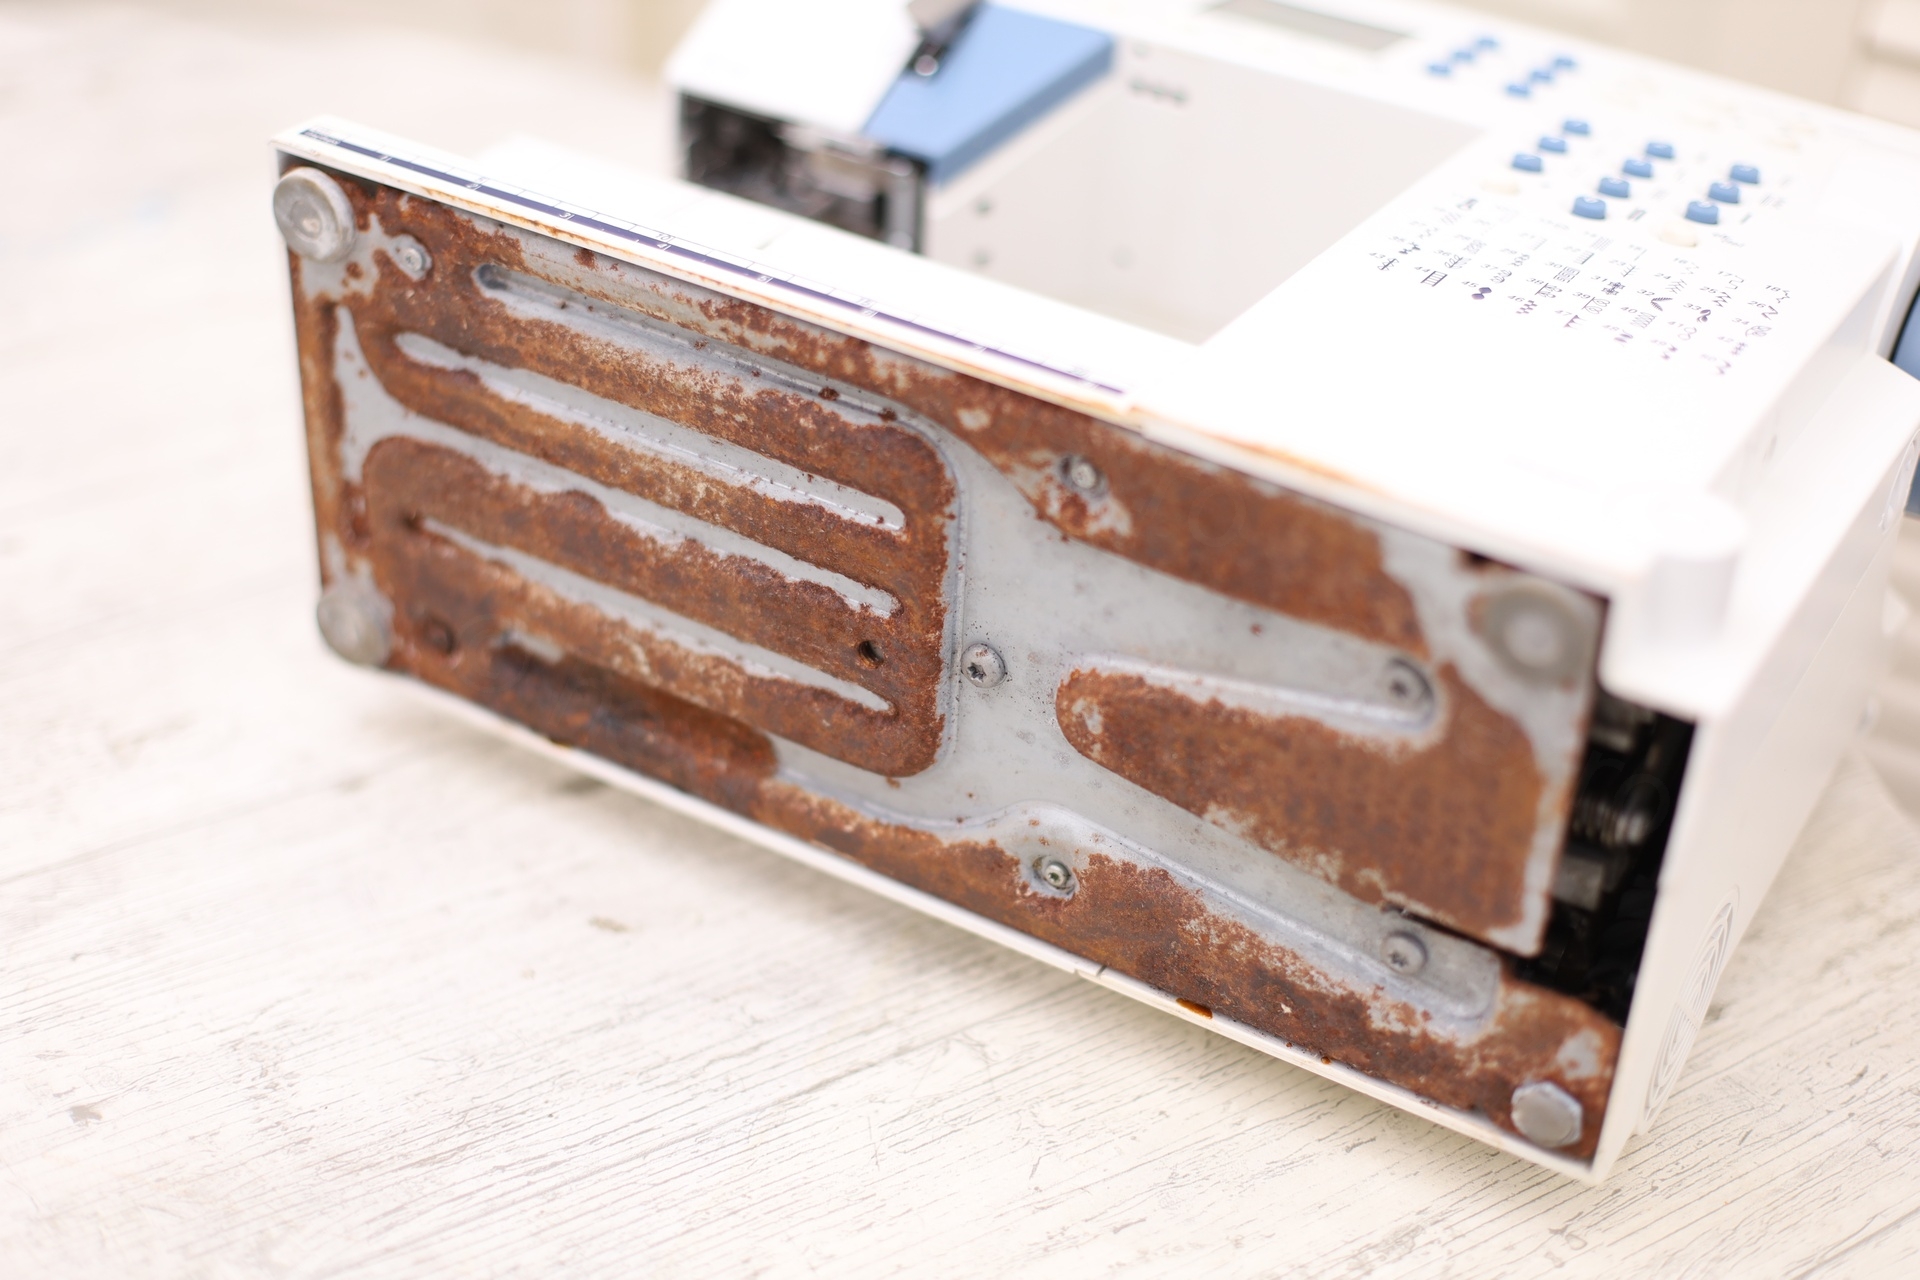
Besides the machine not turning on anymore, there was also a lot of rust. It was obvious that some rust already existed beforehand (dark/black, instead of fresh color):
Electronics repair
The small explosion inside the machine made me think of some capacitors misbehaving. However, the machine was also very rusty, the restoration was going to be more involved than repairing the electronics.
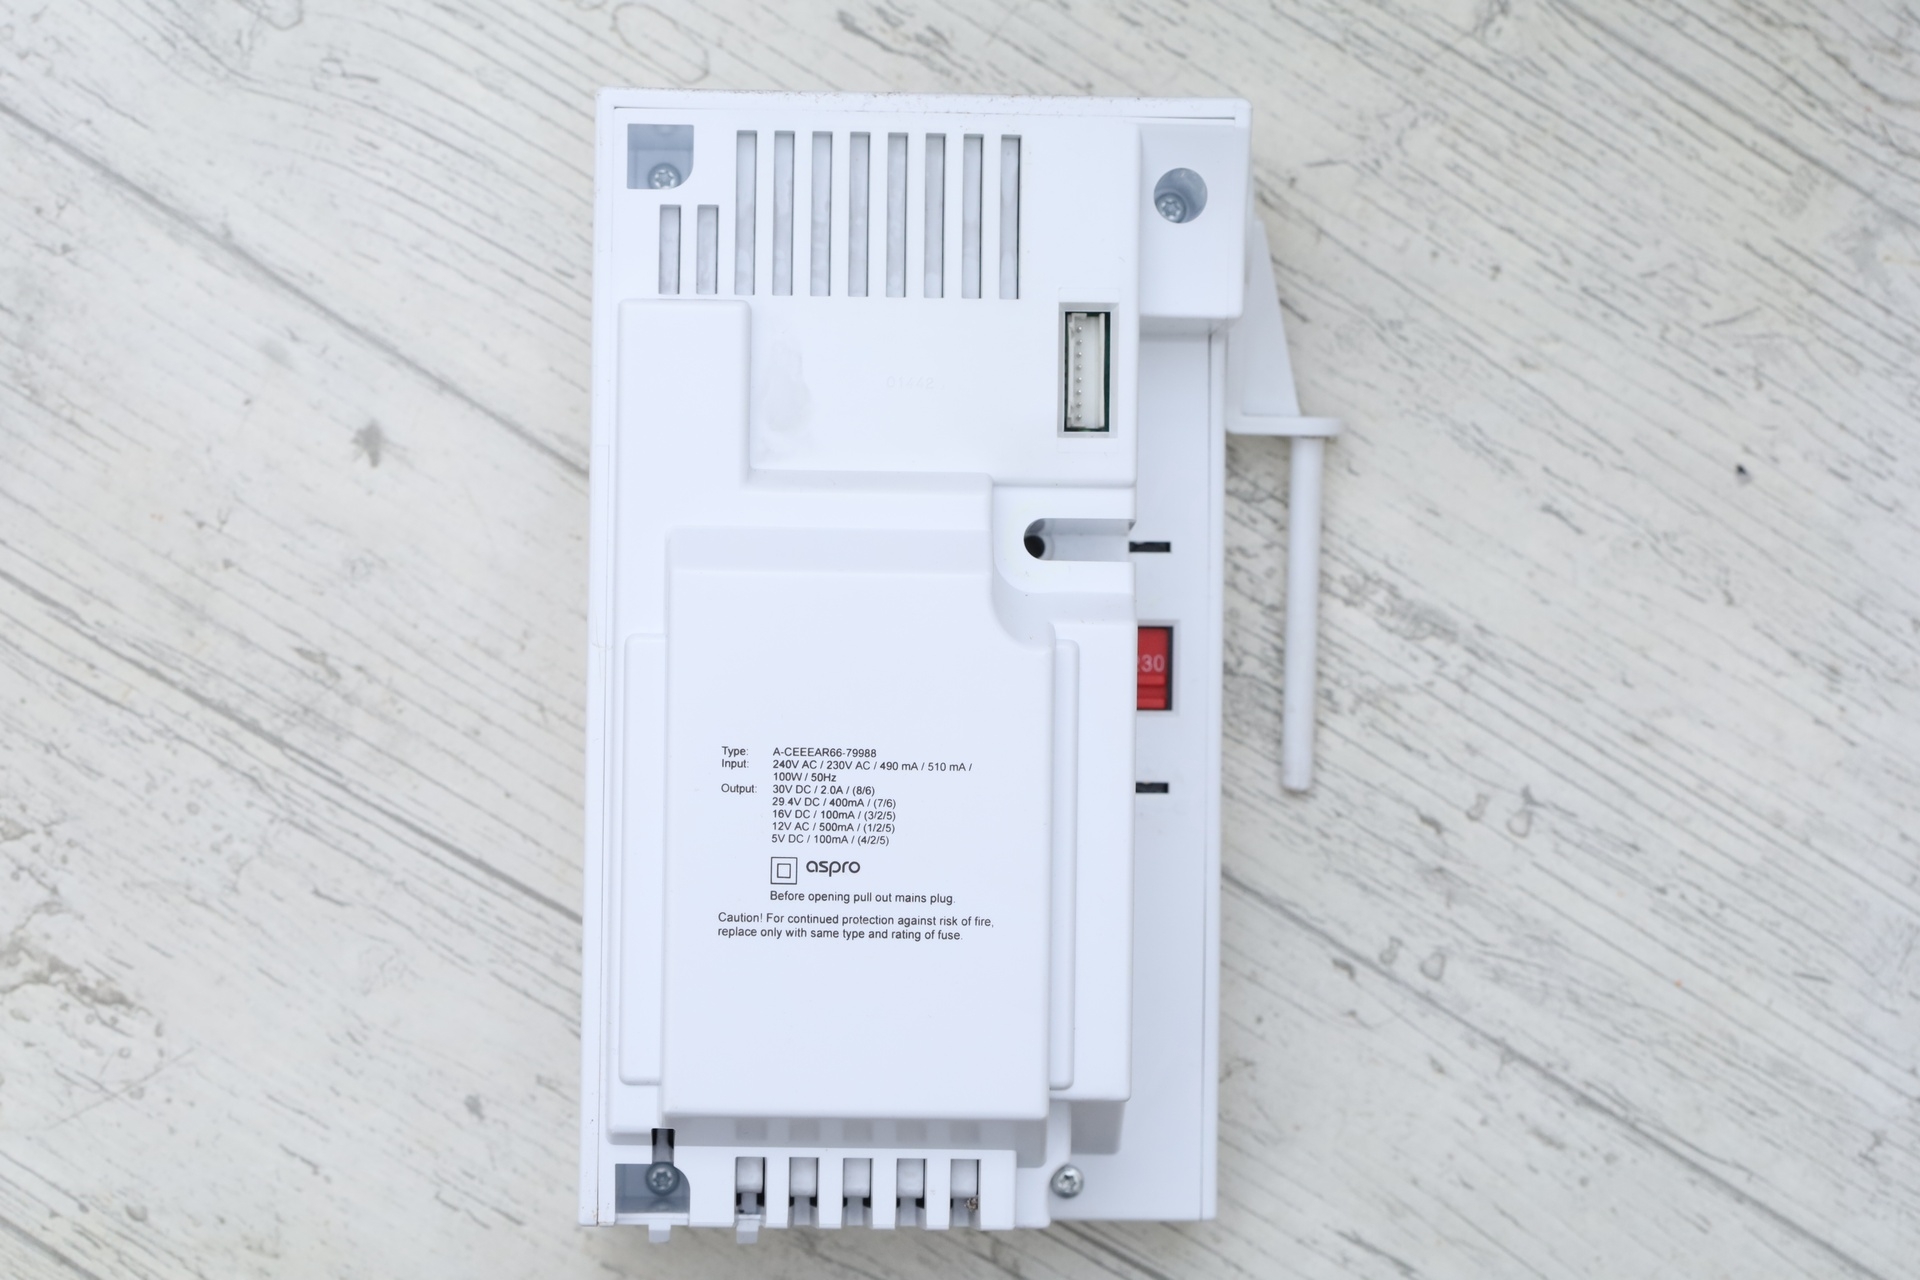
Power supply
DANGER: This blog post addresses mains voltage (typically lethal levels). Do not proceed unless you have extensive hands-on electrical repair experience and a clear understanding of the risks.
Electric shock, burns from arcs, fire hazards – all are possible. These procedures should only be performed by qualified individuals in accordance with relevant safety standards. I provide no warranty or guarantee of safety. Readers assume all risk.
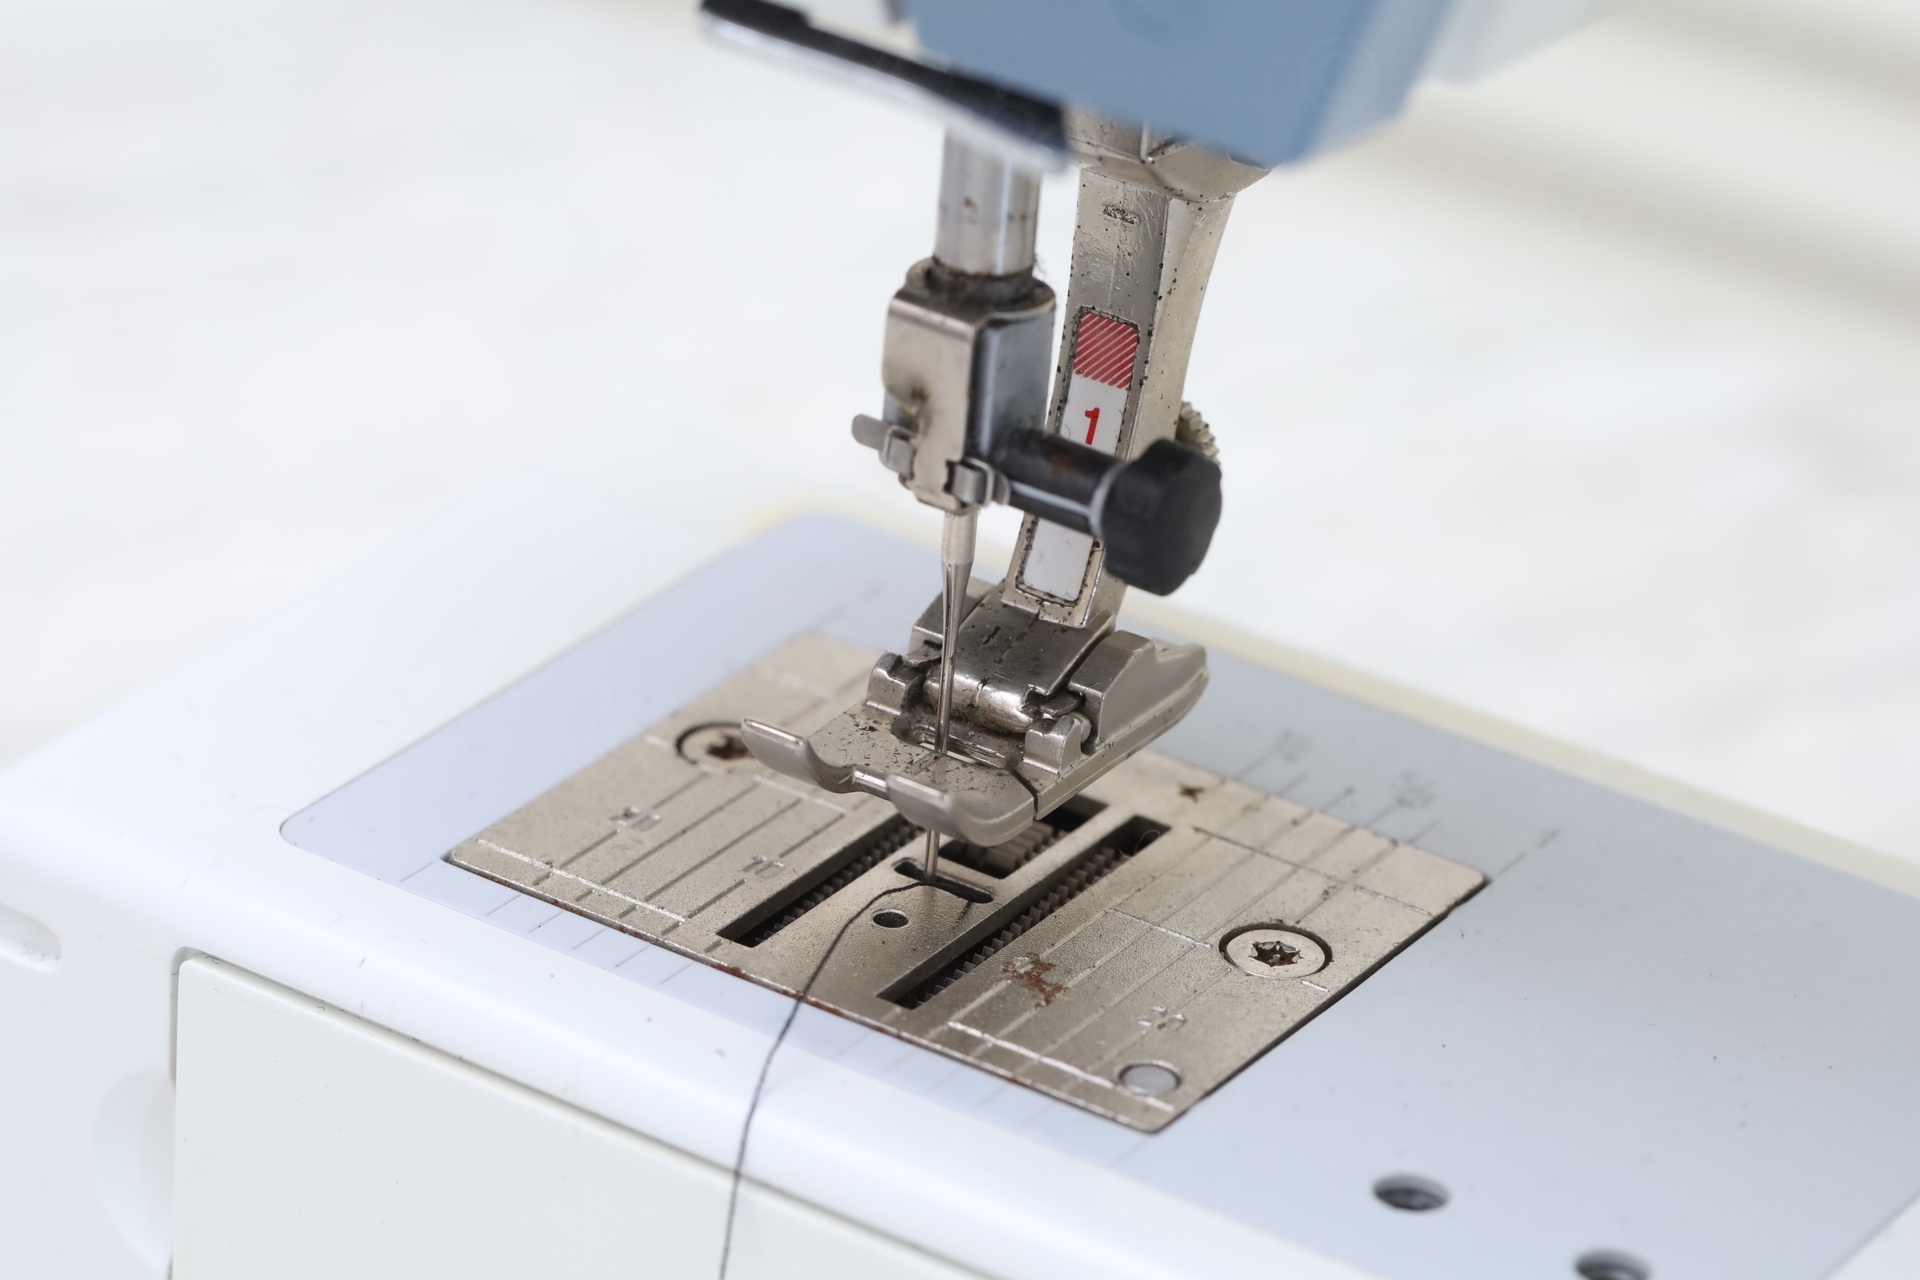
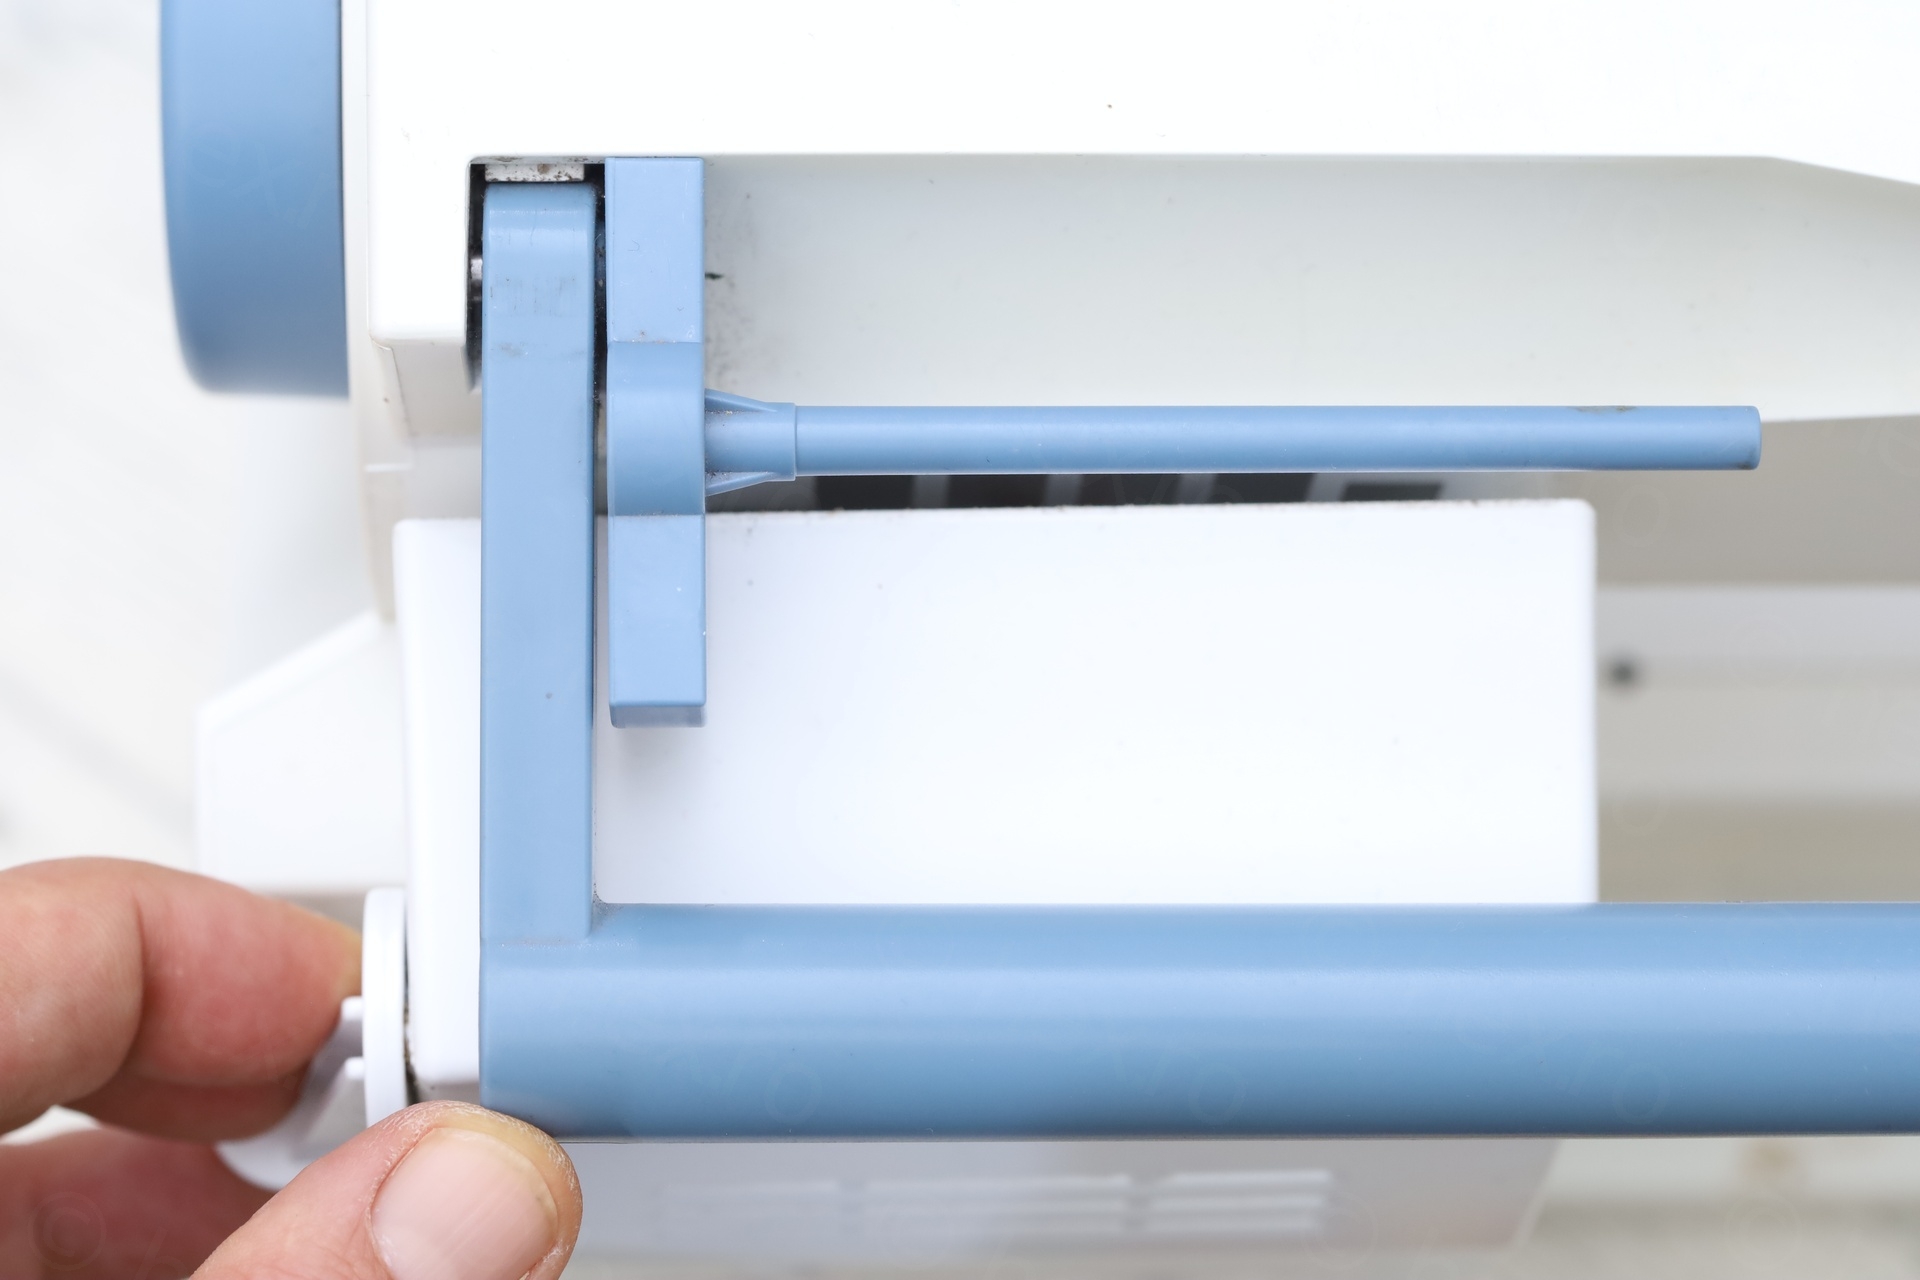
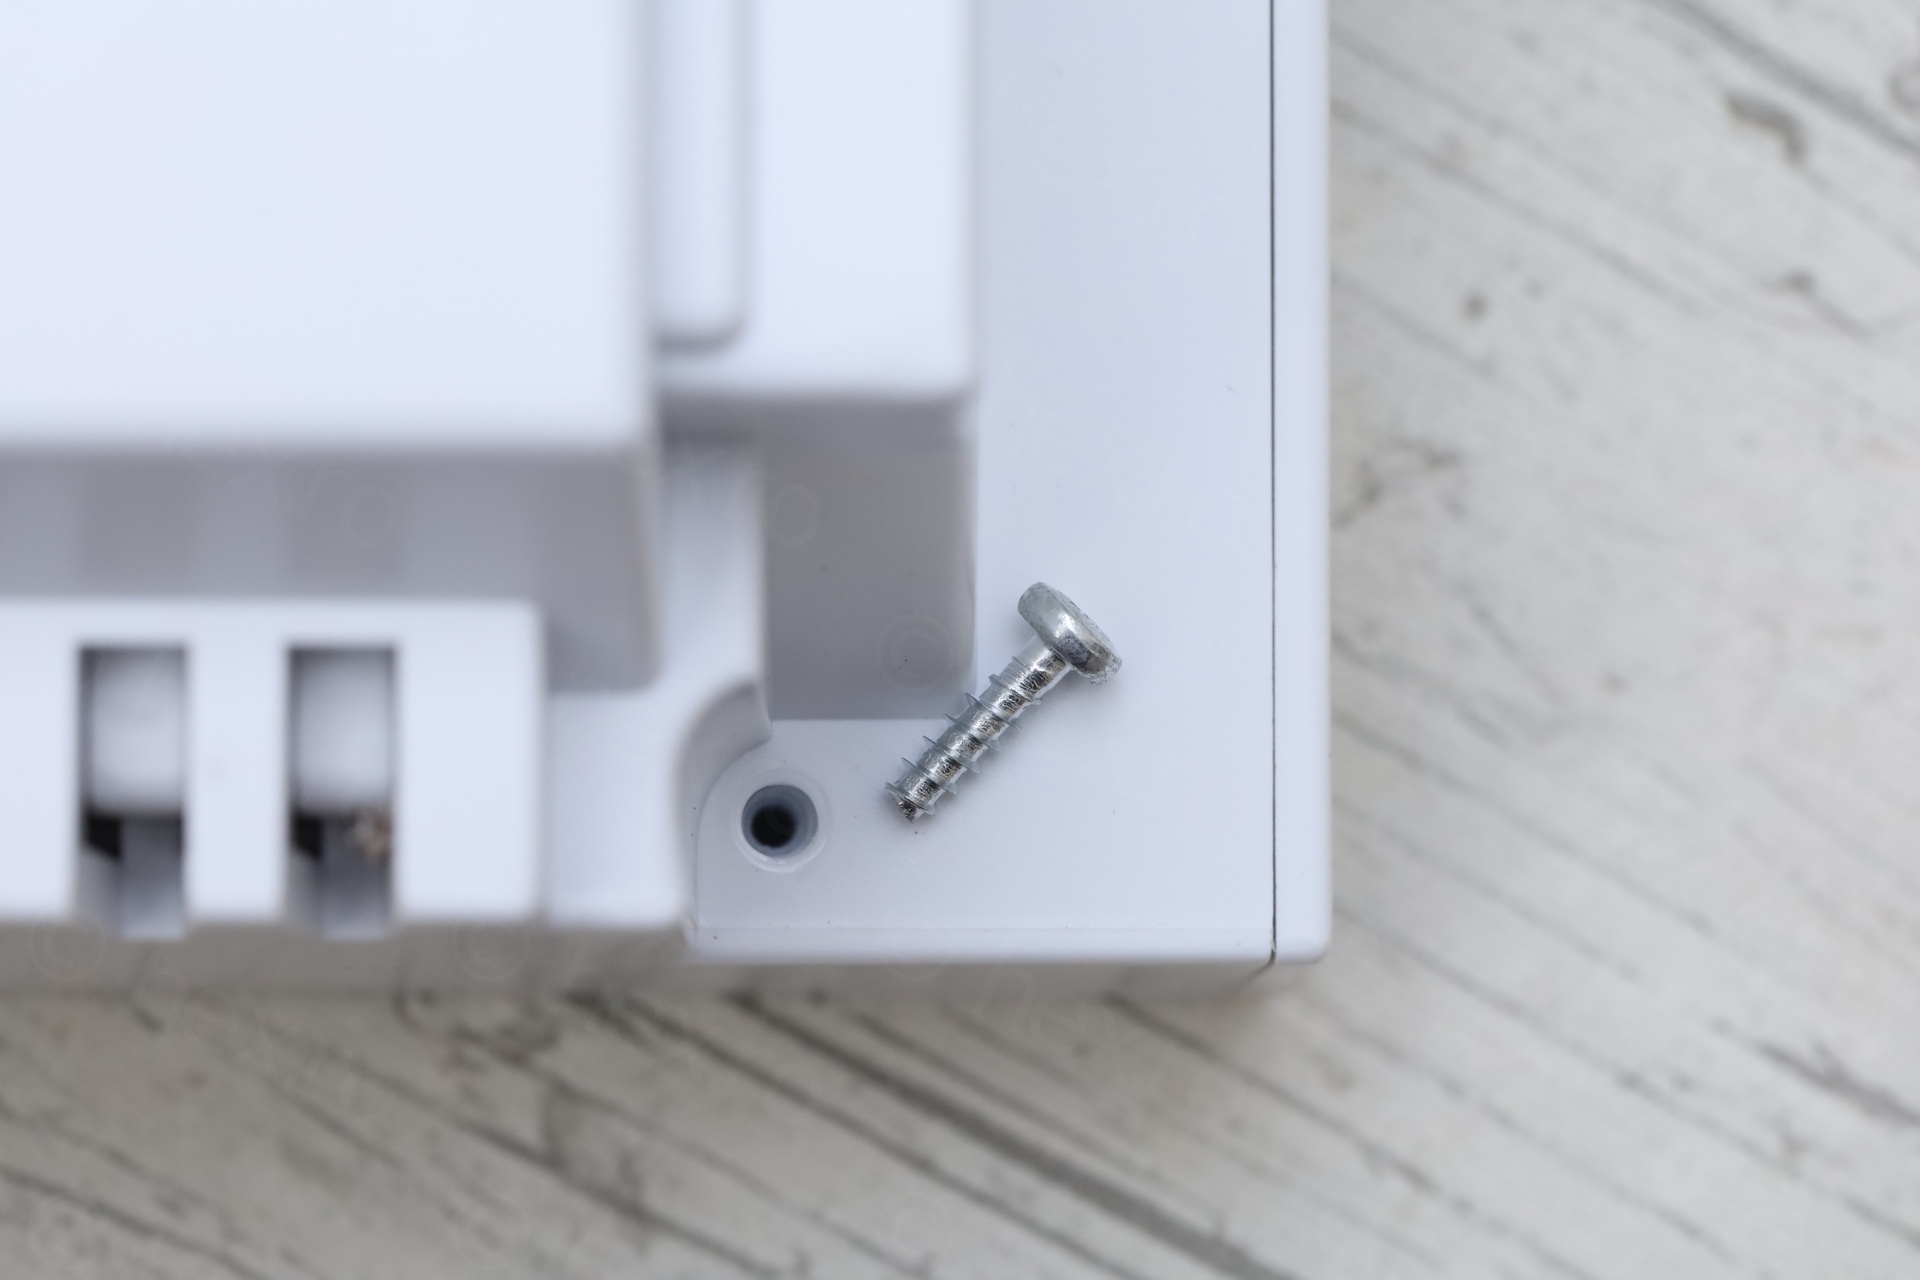
The machine is surprisingly easy to take apart provided that you have a set of long Torx screwdrivers. Of course, I had it unplugged. There was a bit of a problem trying to take the power supply out – it was hitting the horizontal bobbin holder. However, with a bit of persuasion, the power supply comes off. The horizontal bobbin holder is attached from inside the case and you can’t take it out from “outside” (to make room to just take the power supply out) – this I saw only after I took the machine apart.
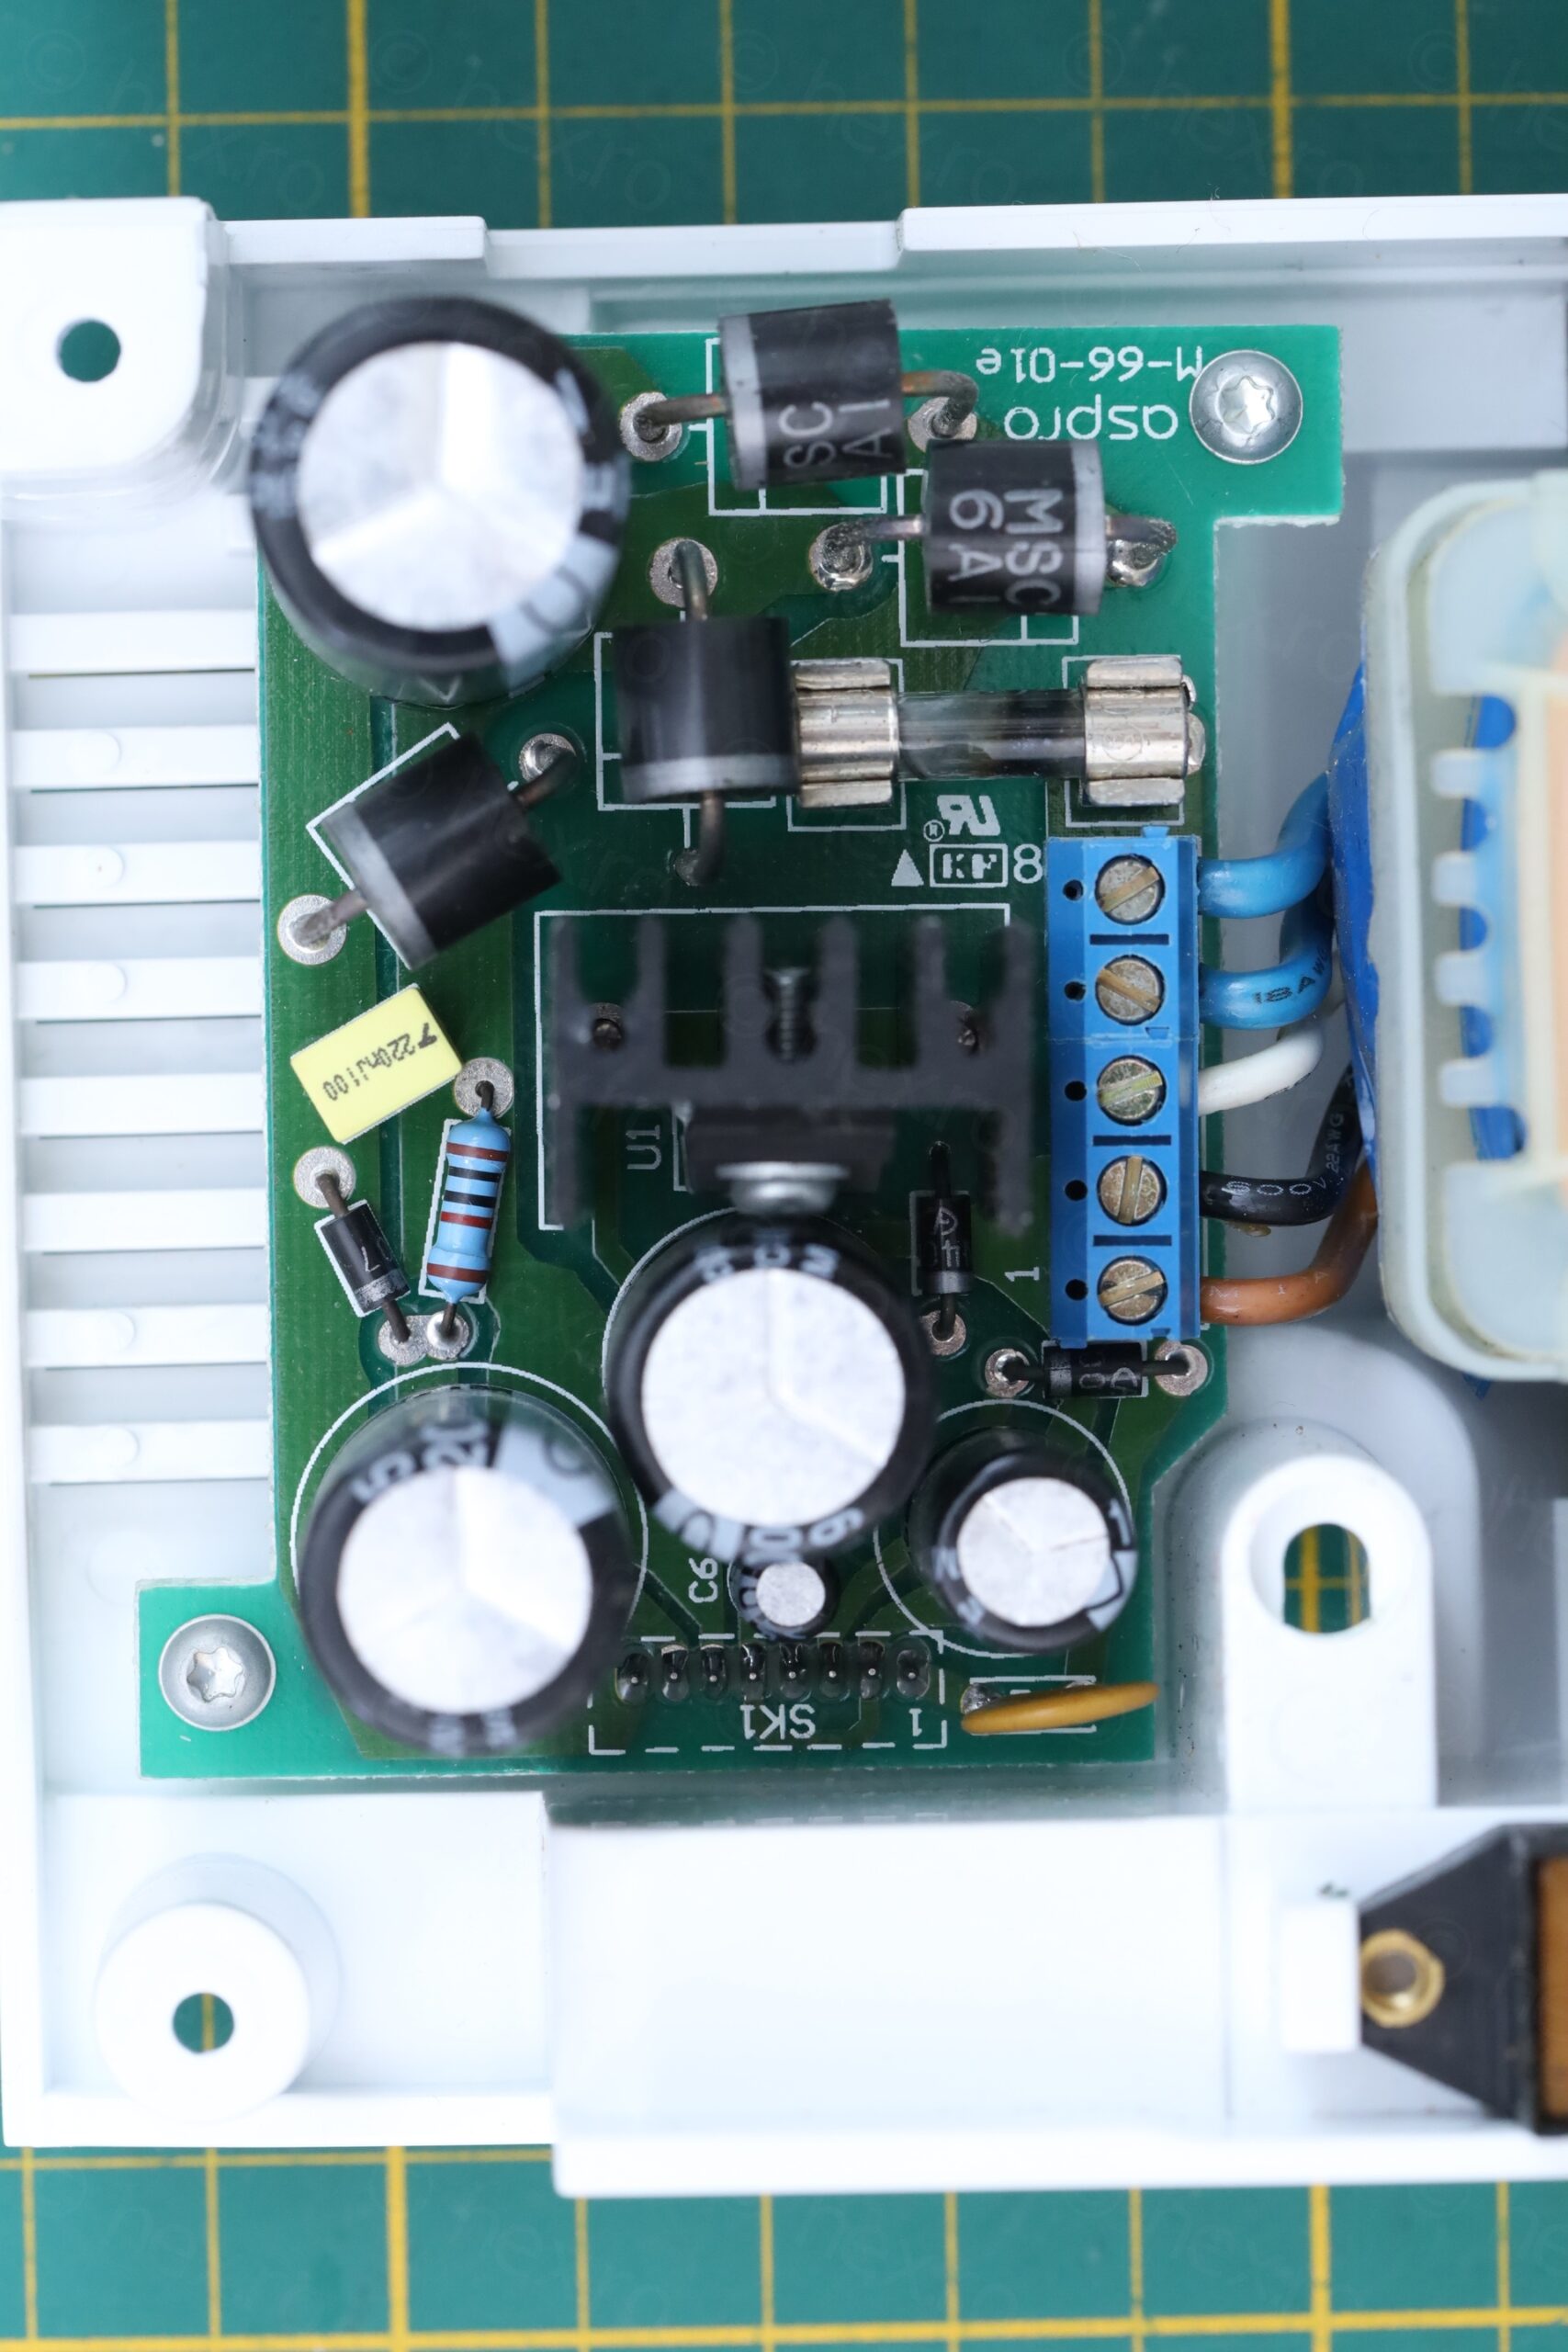
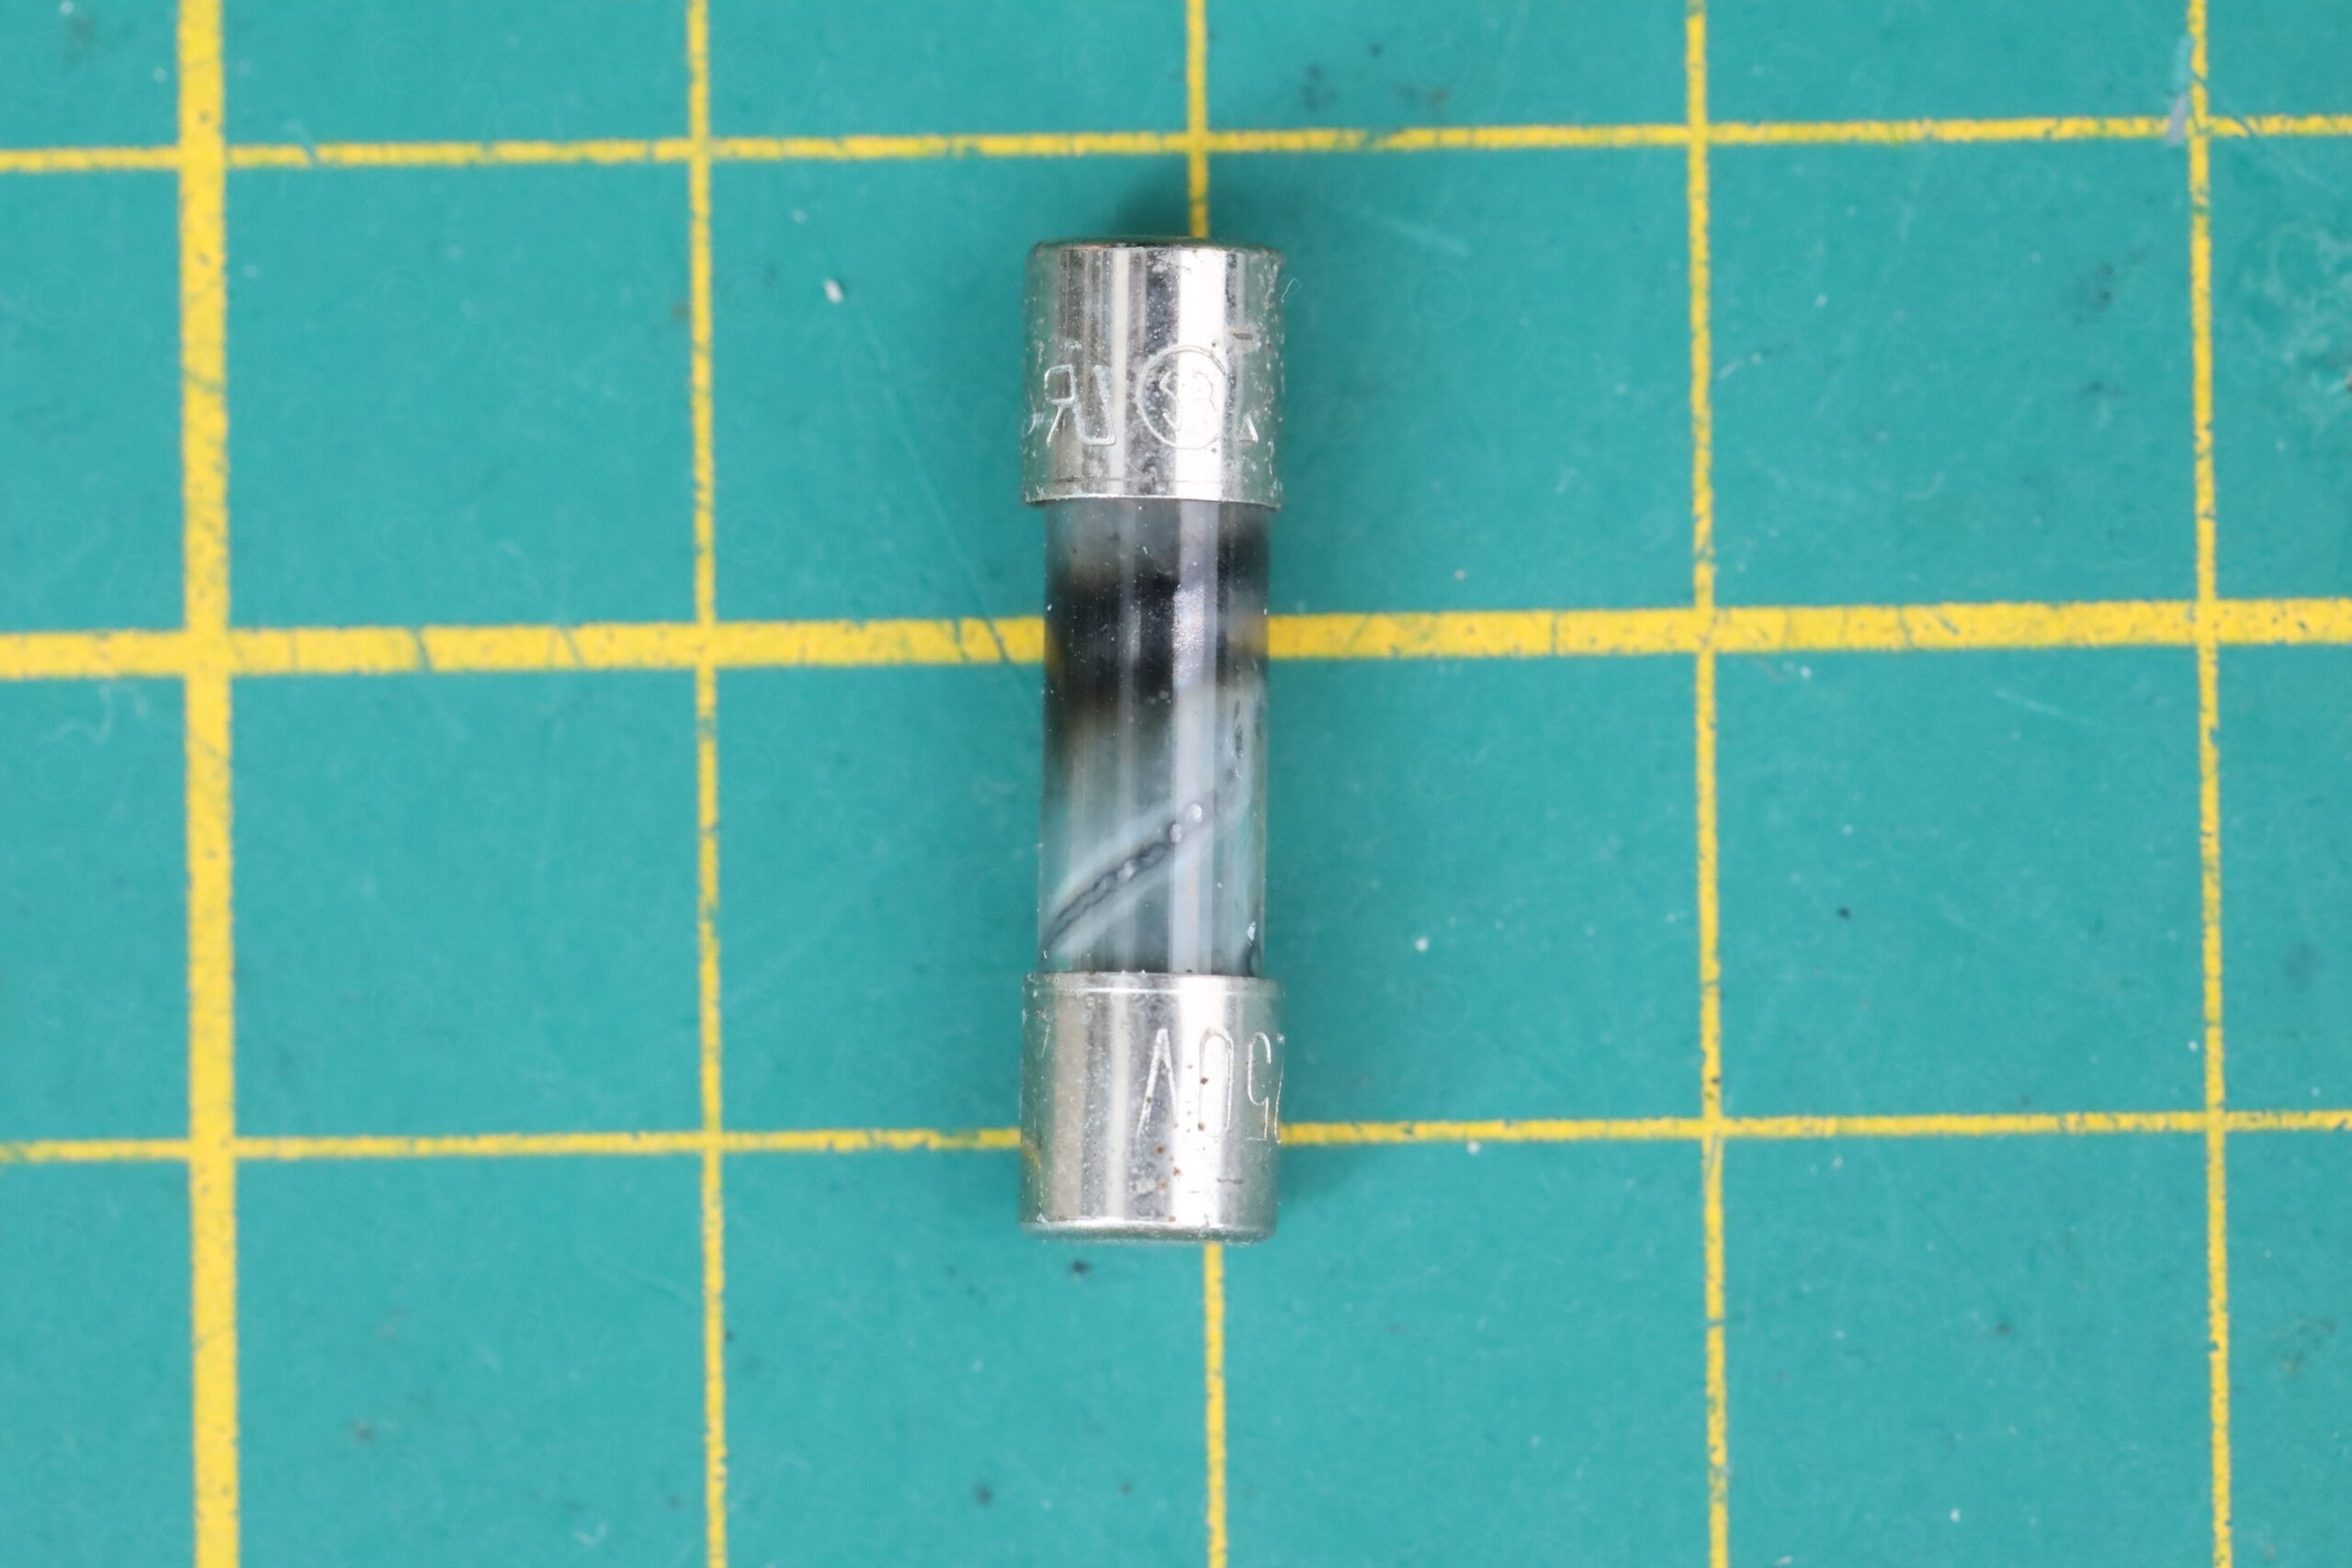
Once inside, the most obvious was the smokey fuse which didn’t have continuity anymore:

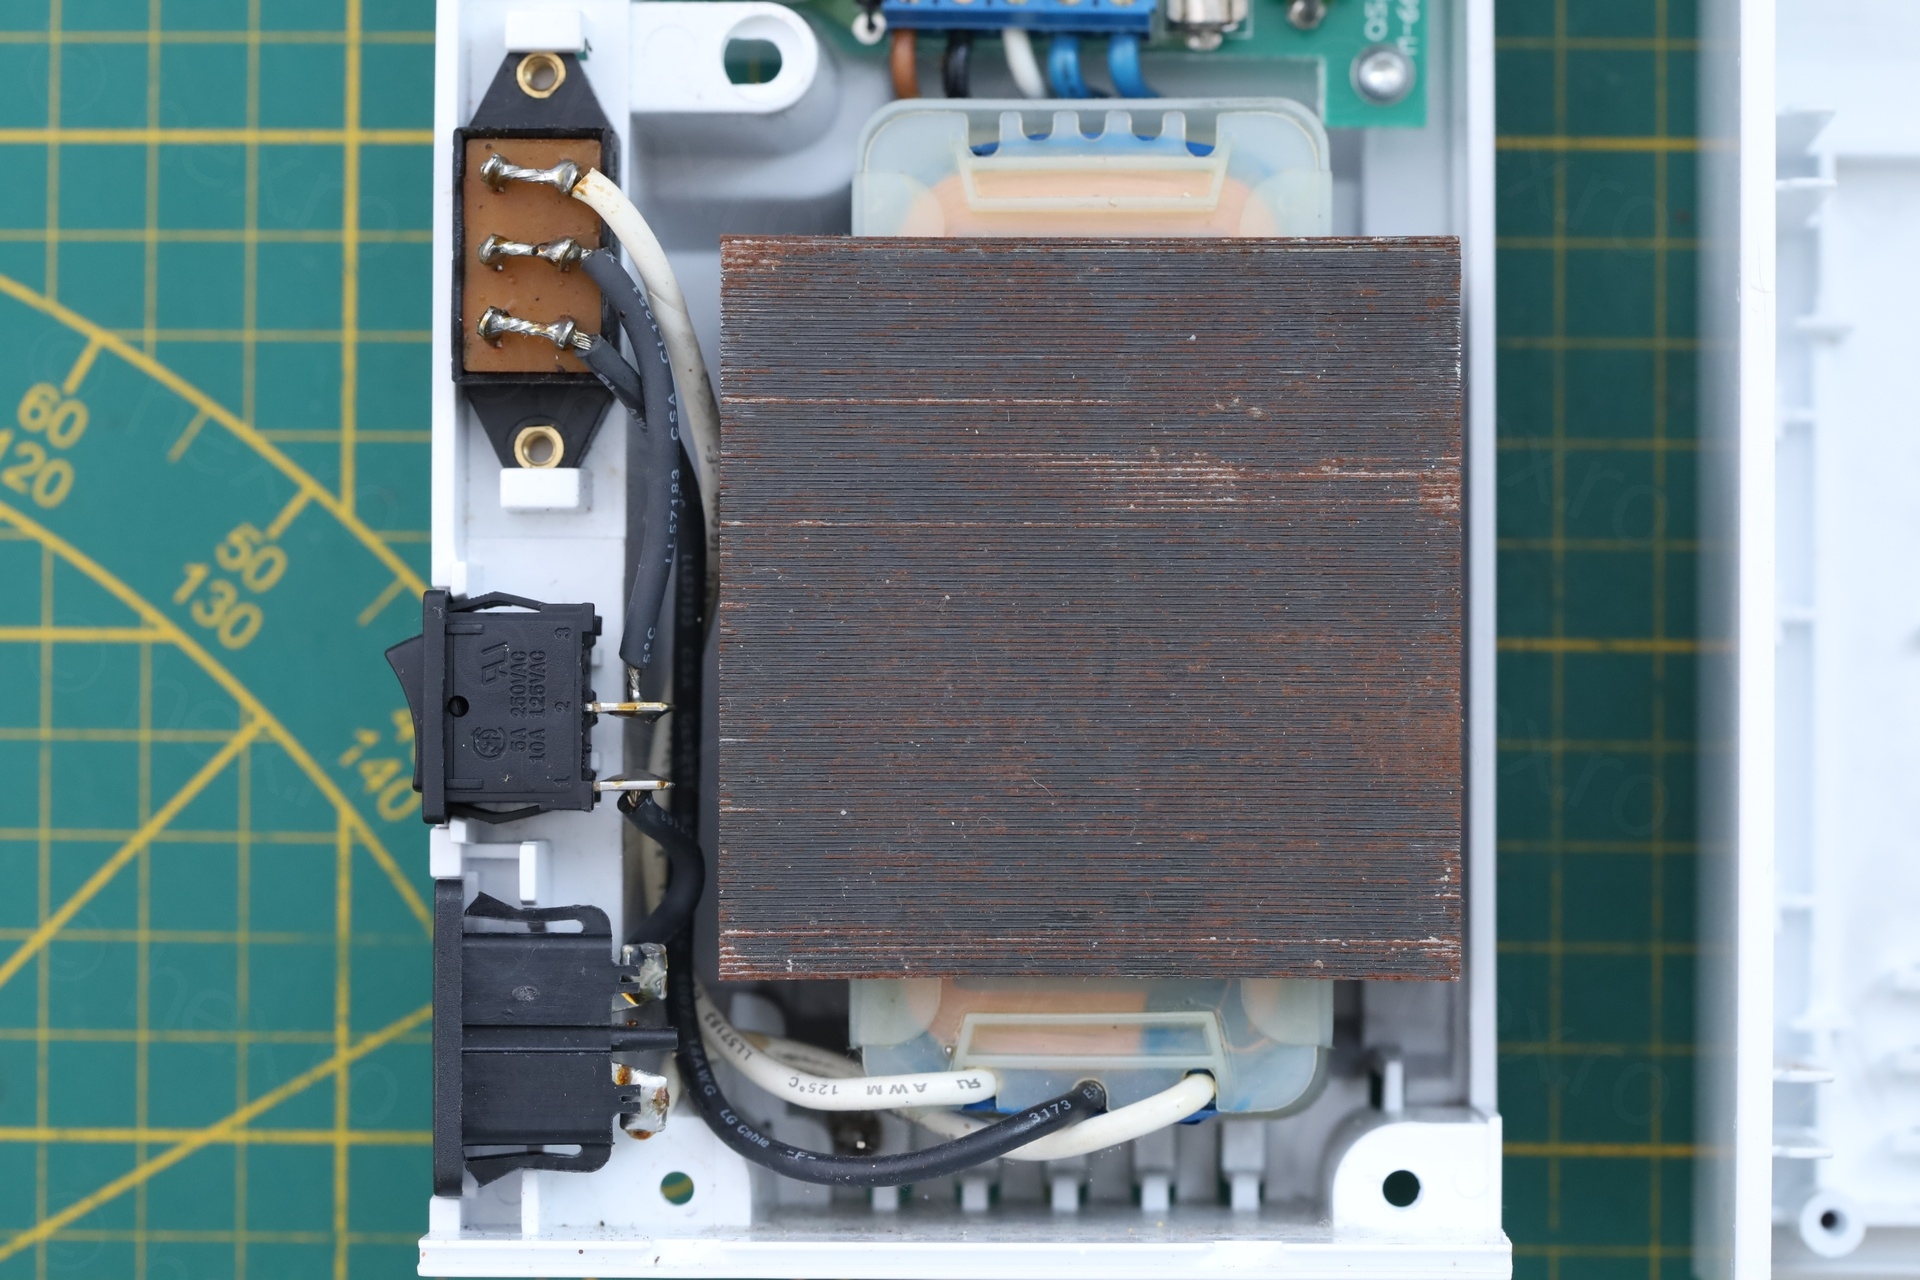
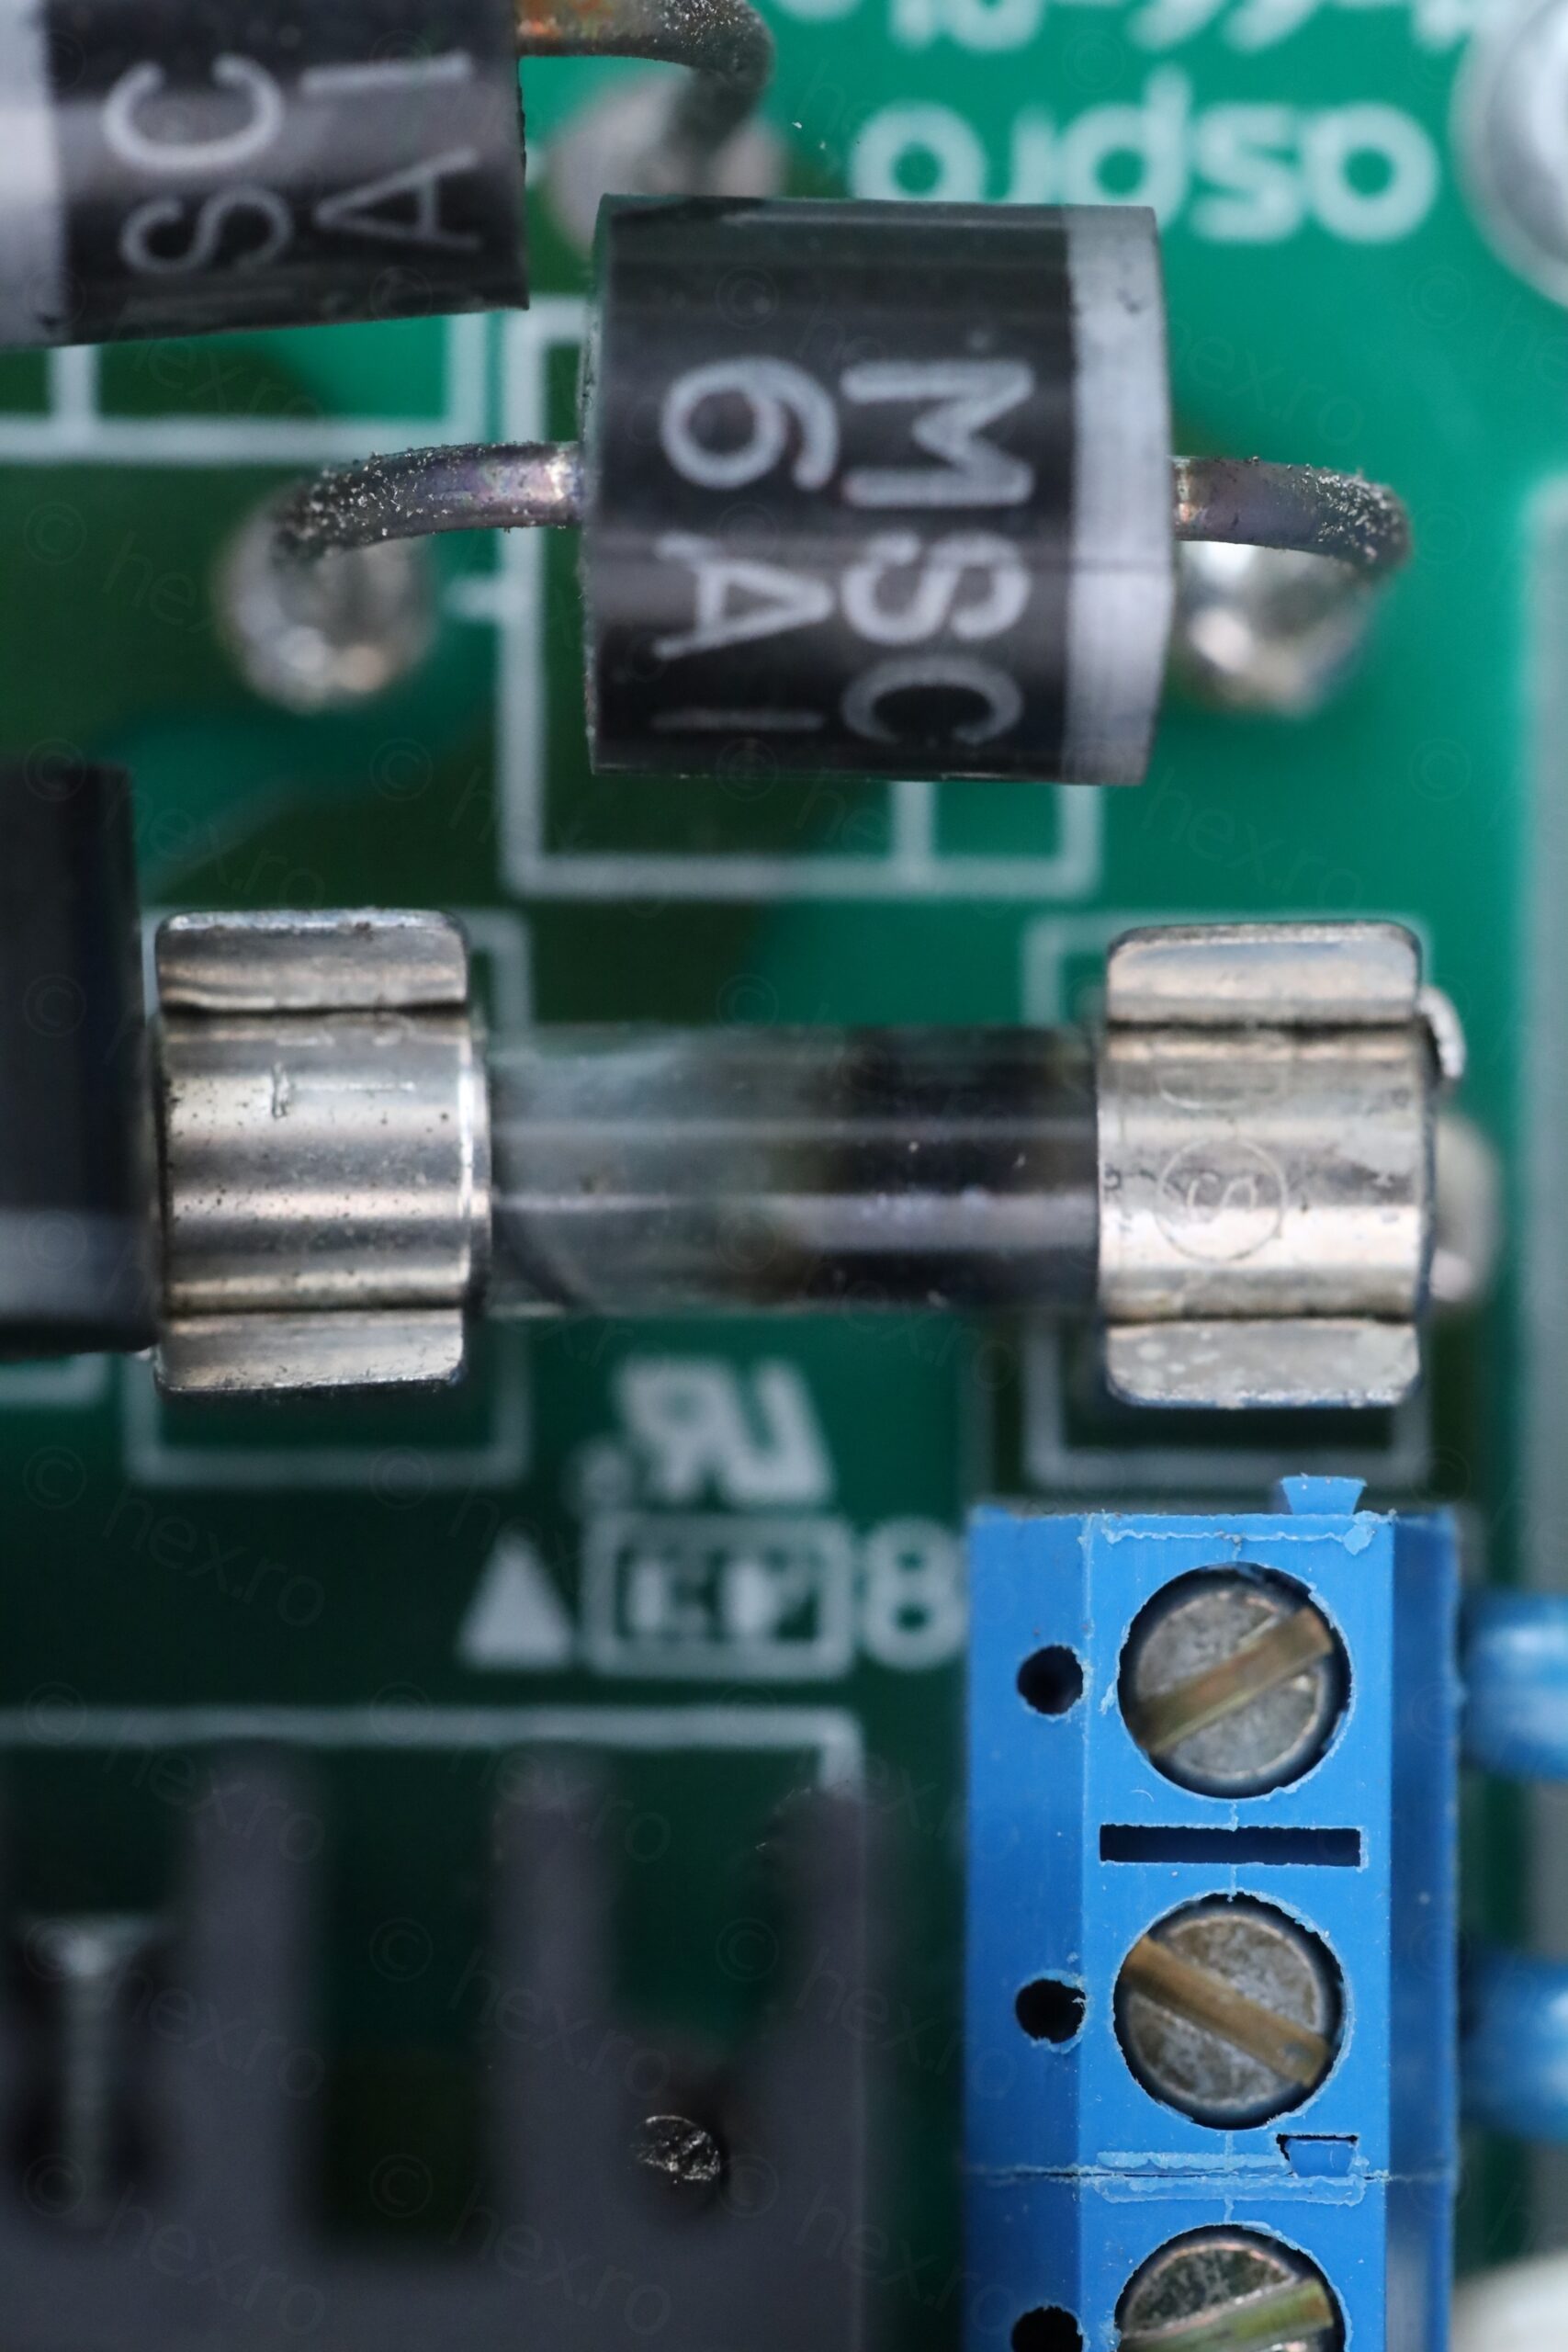
I was also impressed by the hefty transformer (it is a linear power supply) and the thought that has been put into the build – for example, diodes are suspended from the circuit board, they are expected to get hot. I like the build quality so much, I was considering buying a machine like this for myself. But … I have no place to expand into a new hobby so, not for now.
Existing fuse was a T5AL250V (5A, slow blow). Thankfully, I had an exact replacement, so I used that. A test revealed that the power supply, by itself unconnected to the machine, does not burn the fuse. Obviously, the fault was further down the “stream”.
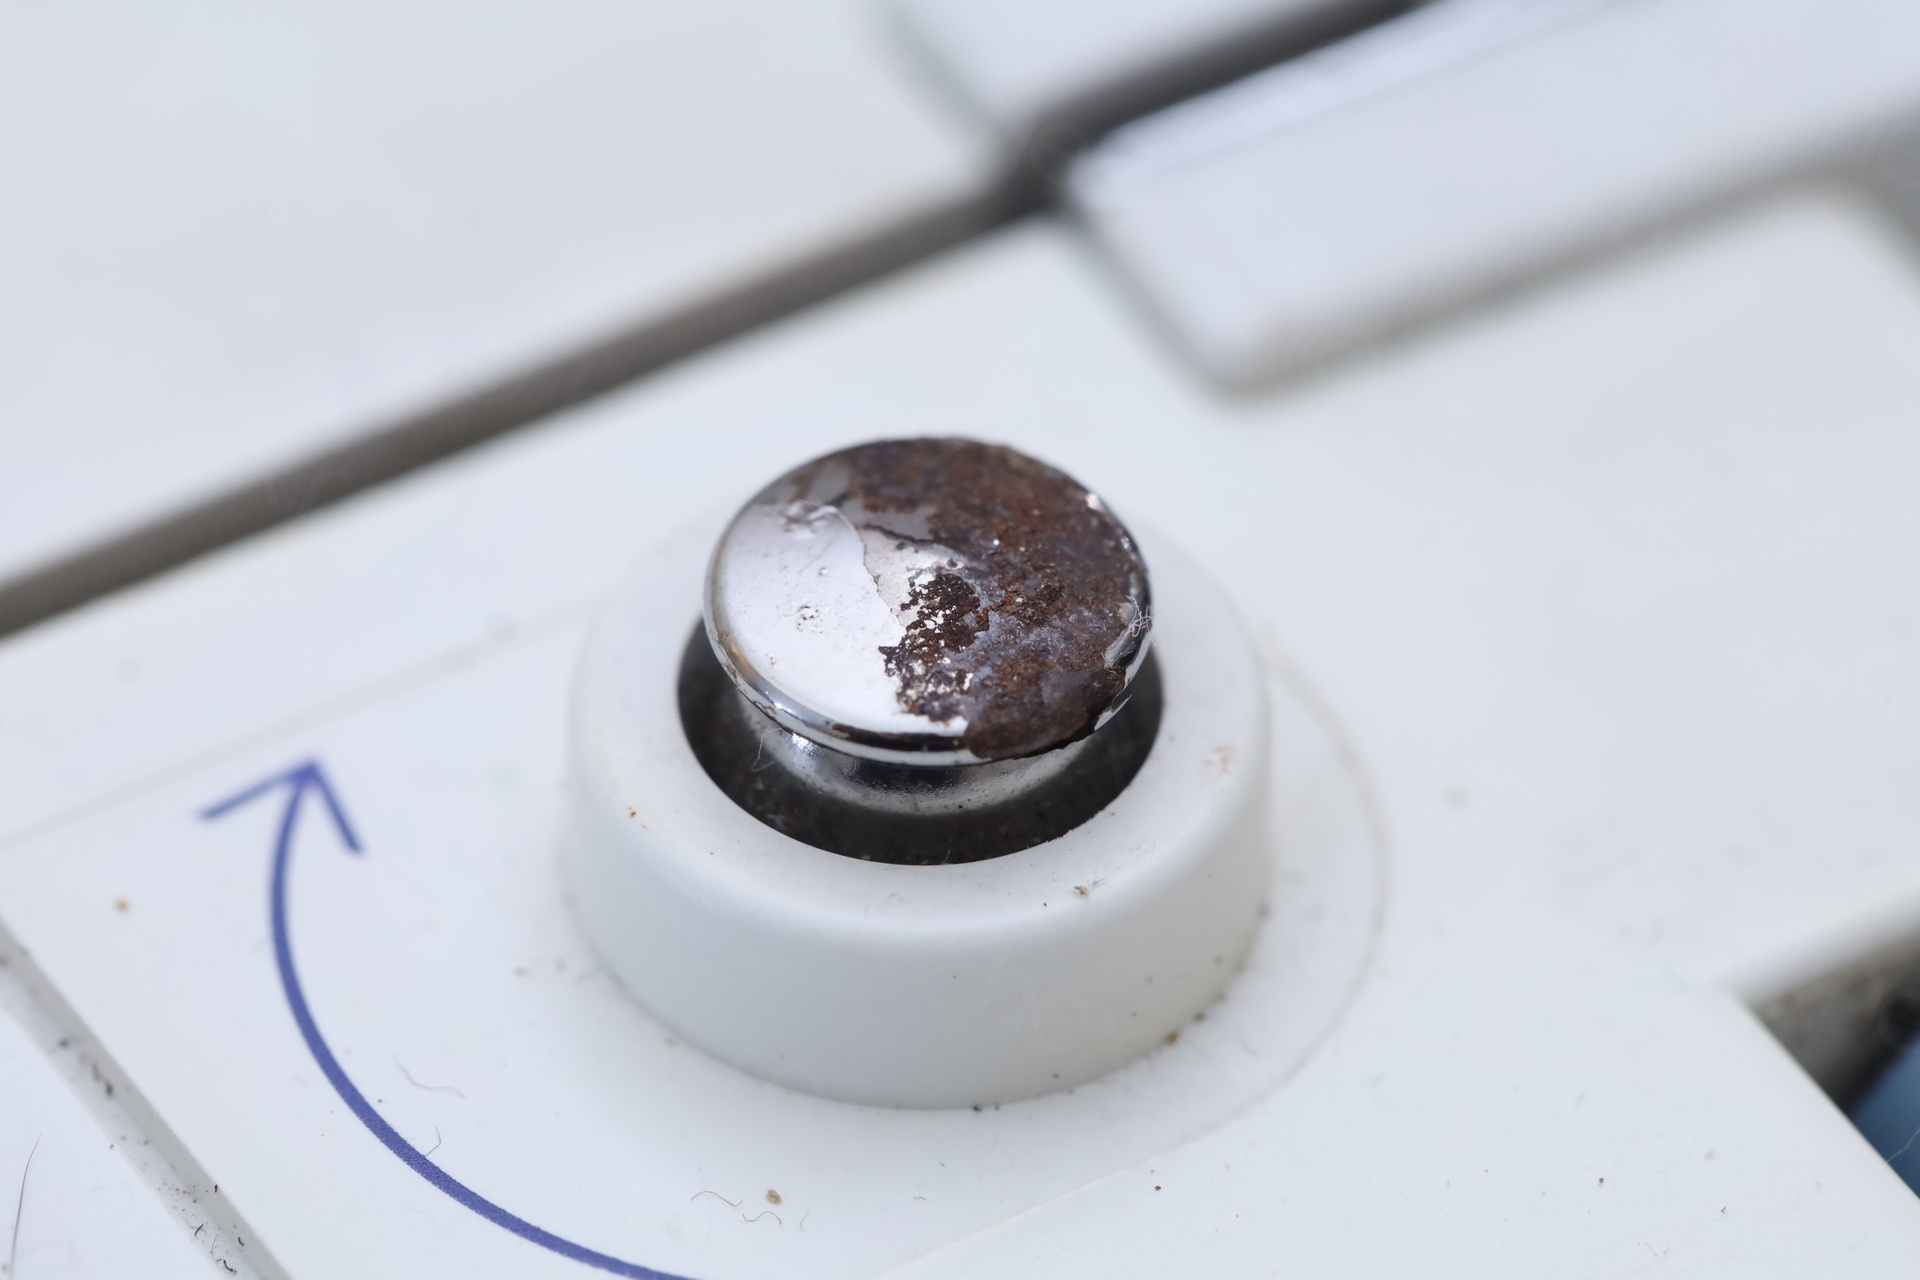
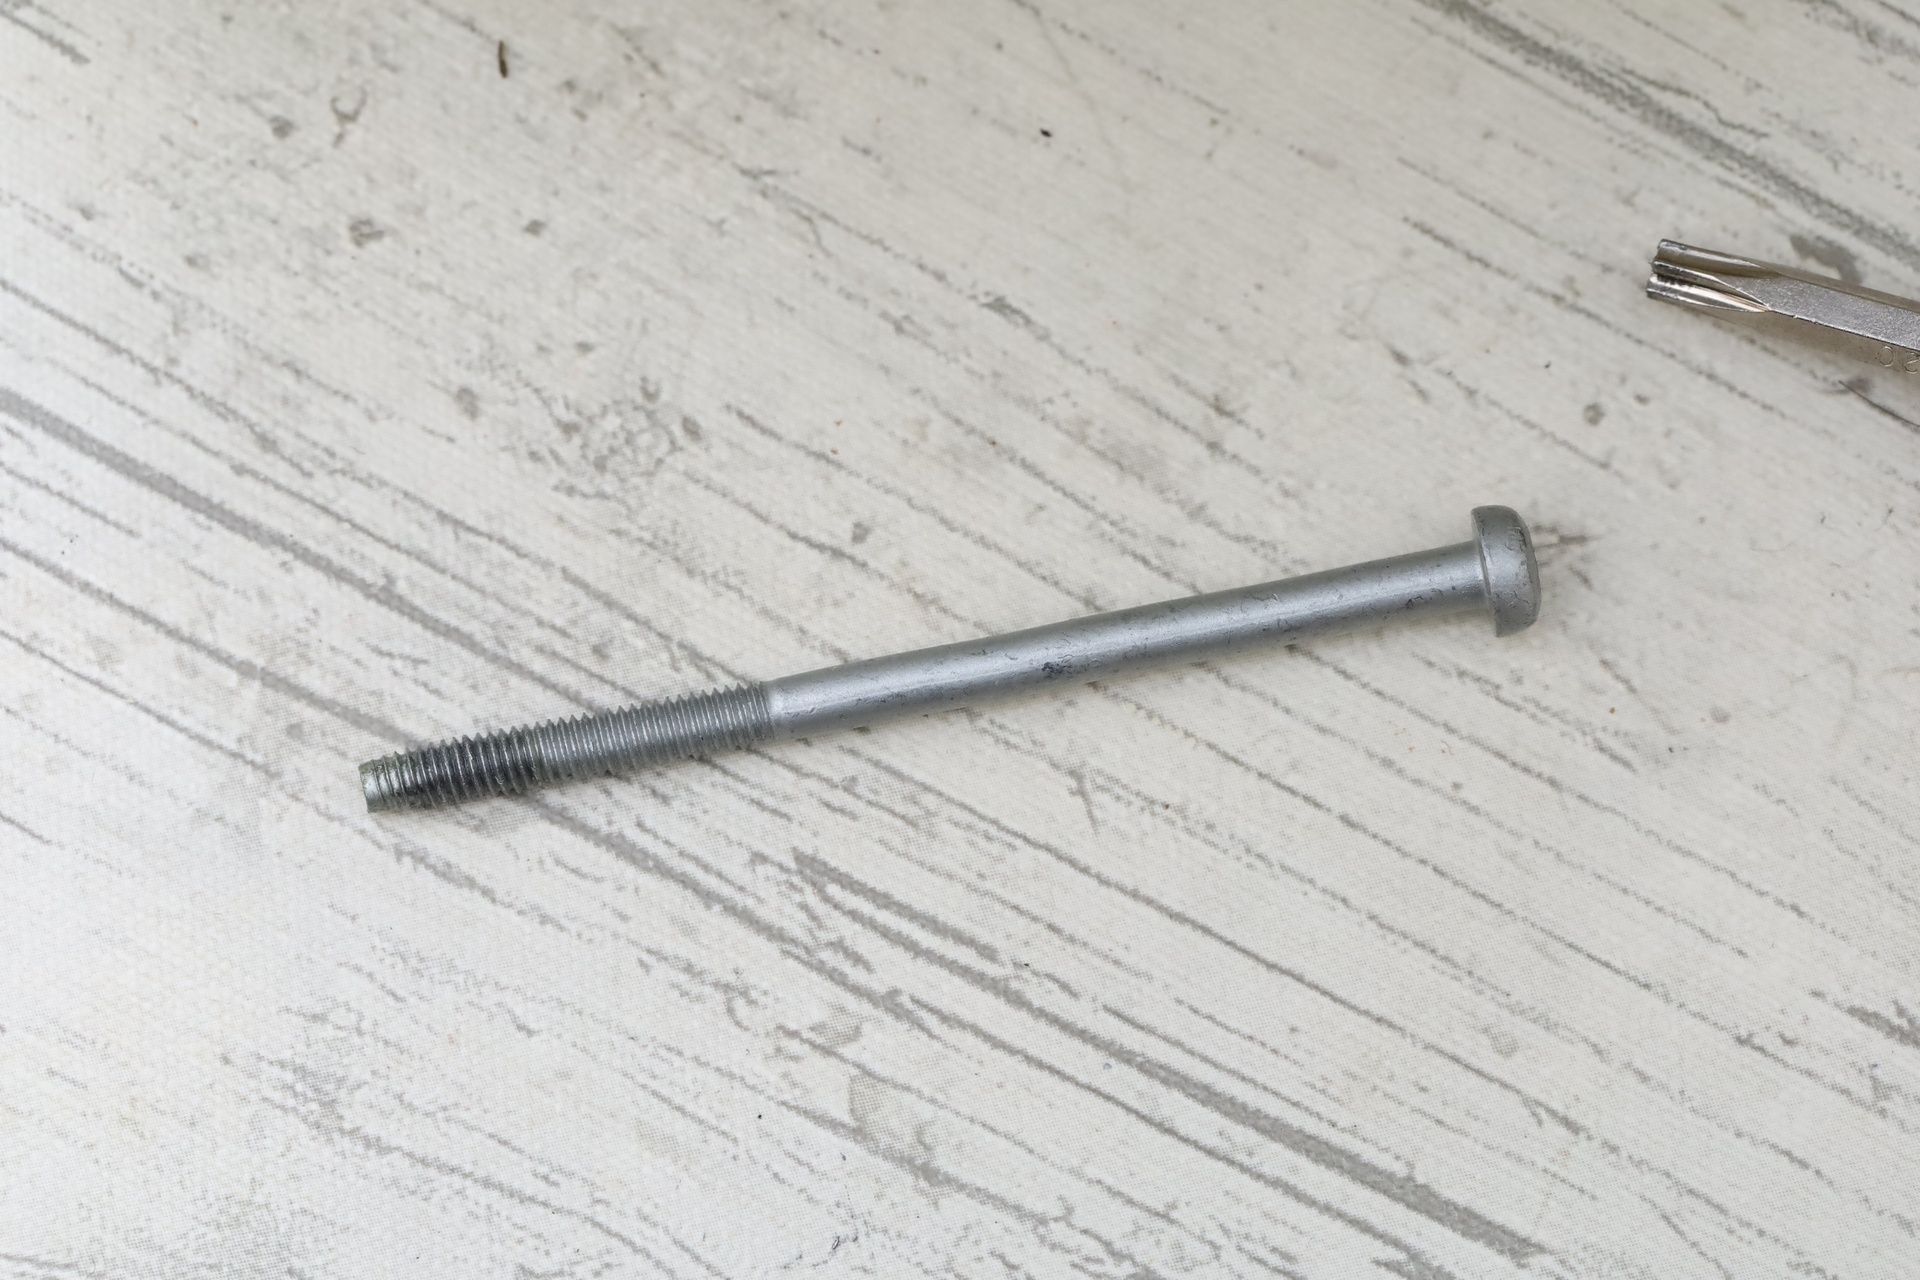
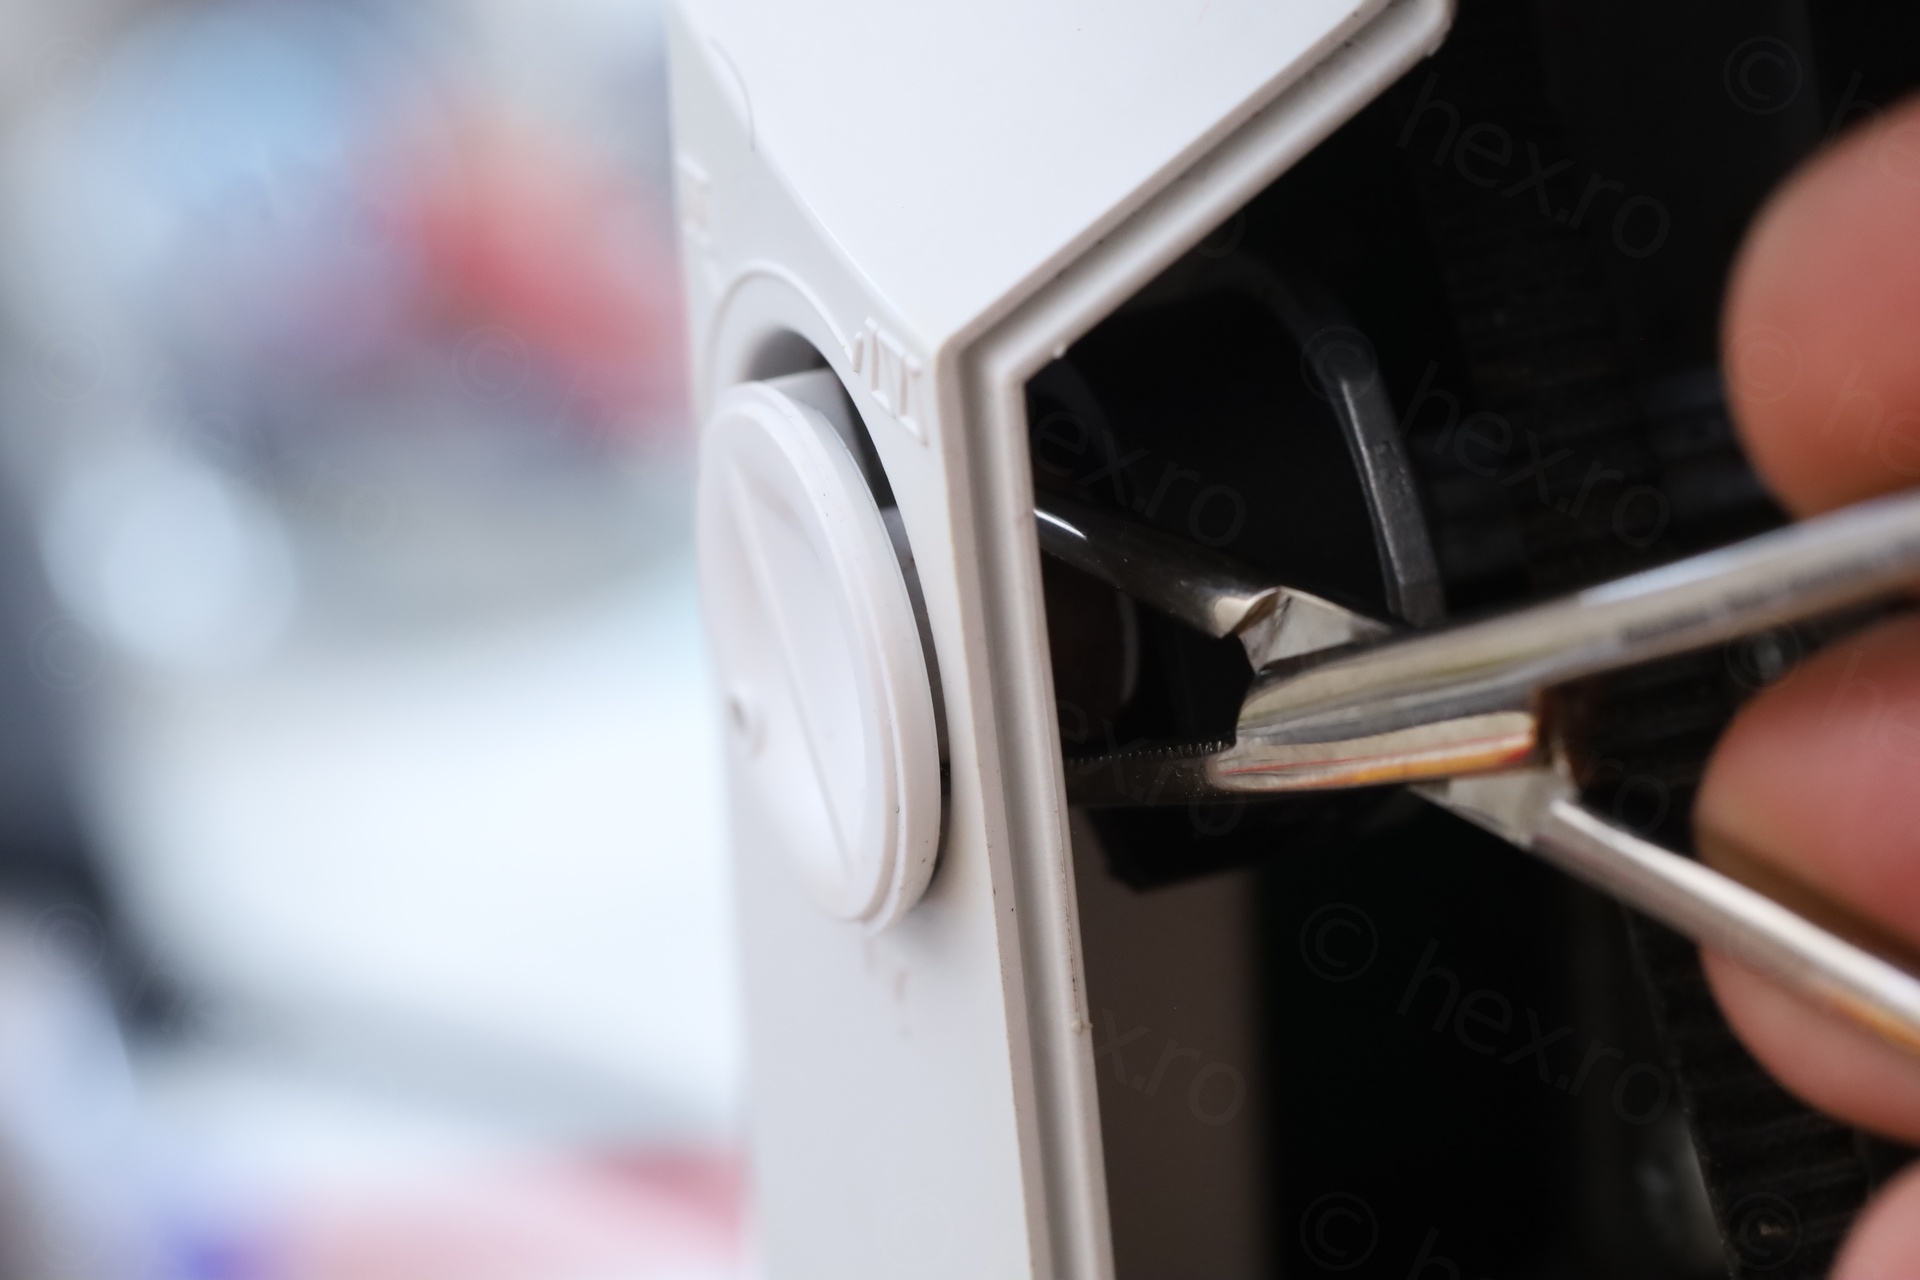
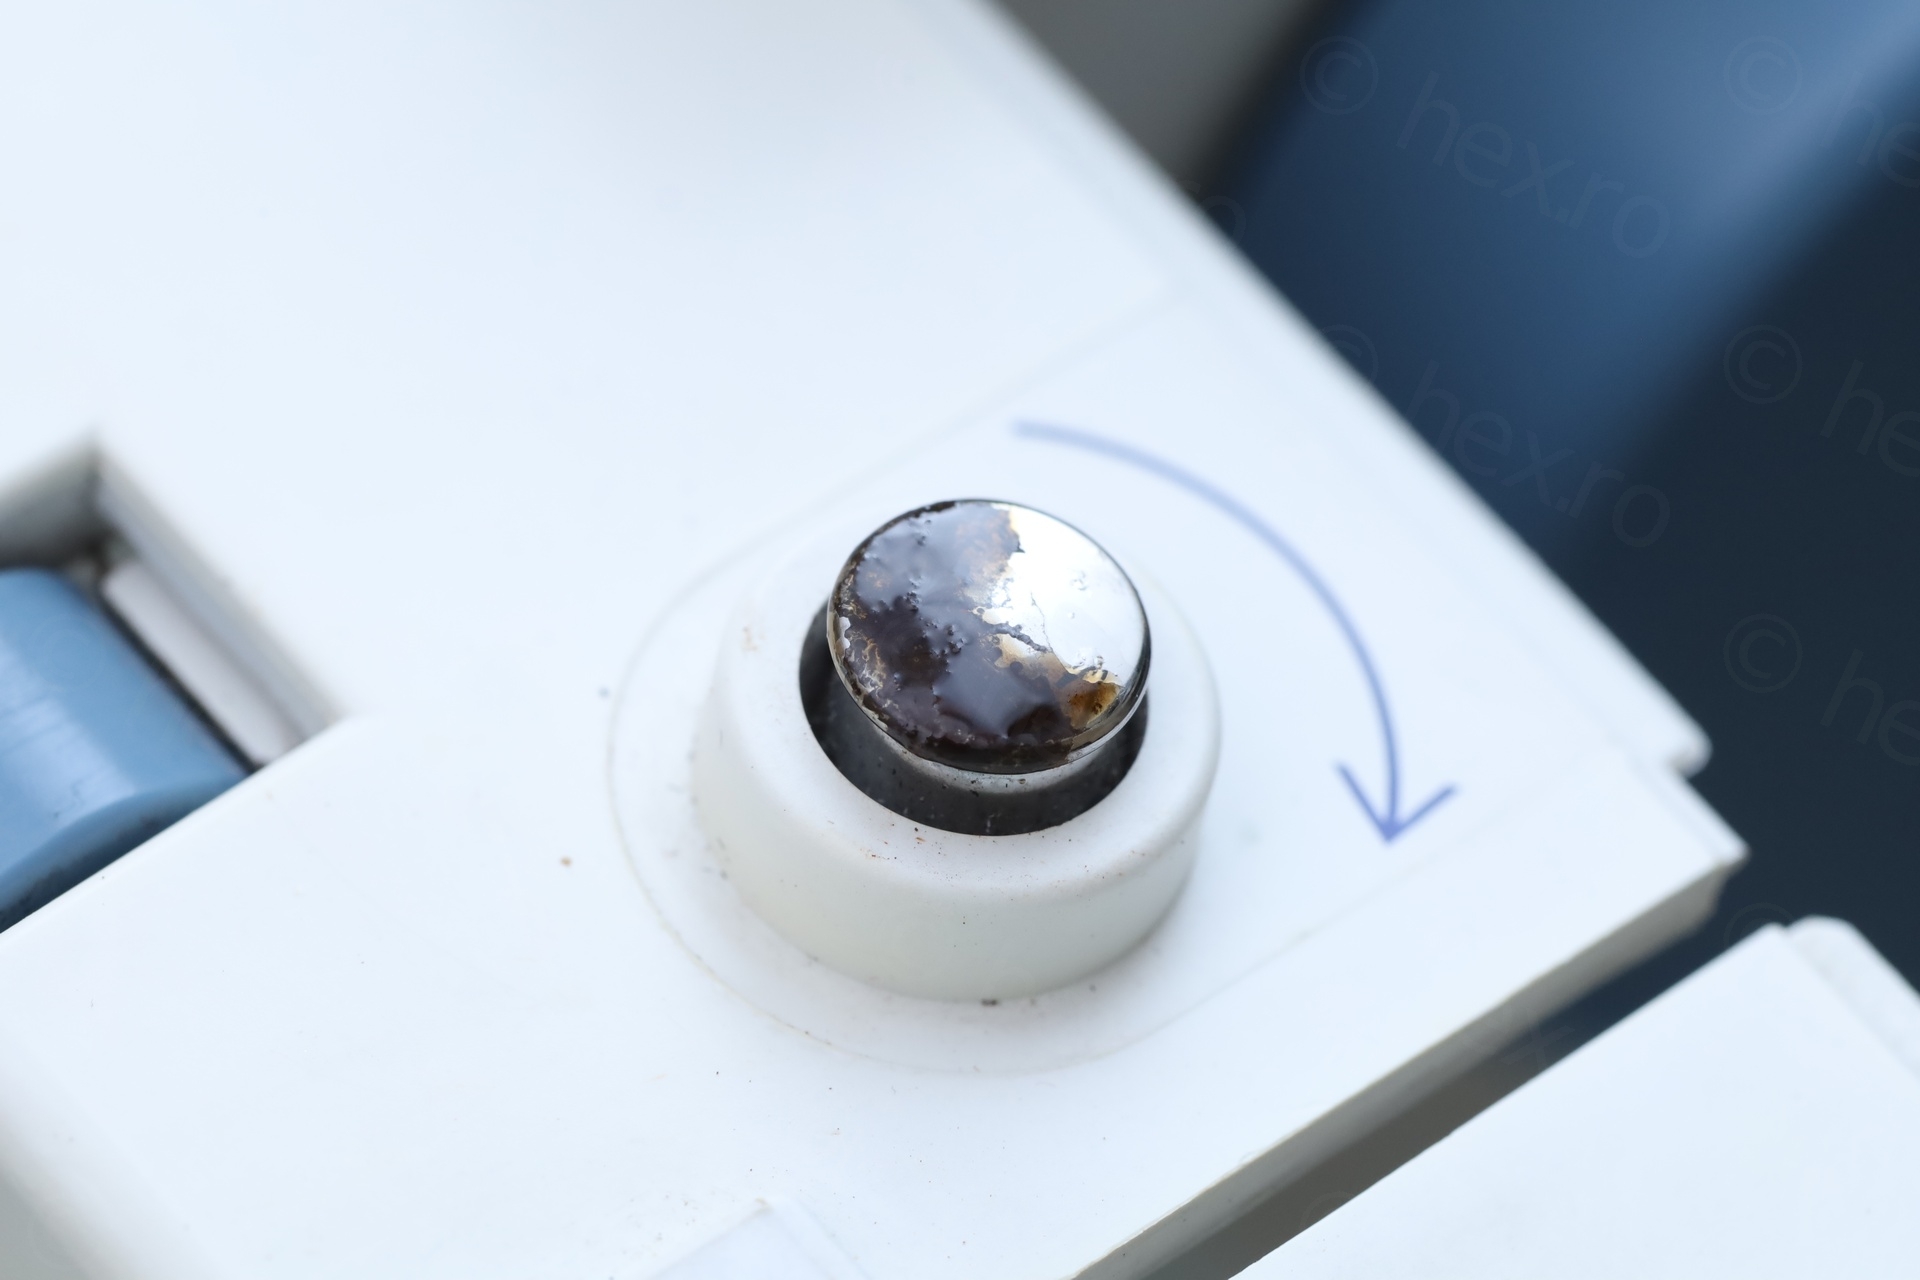
To take apart the machine, a knob has to be removed … I chose to push it from inside out, instead of pulling it out – to avoid damage of the exterior plastic:
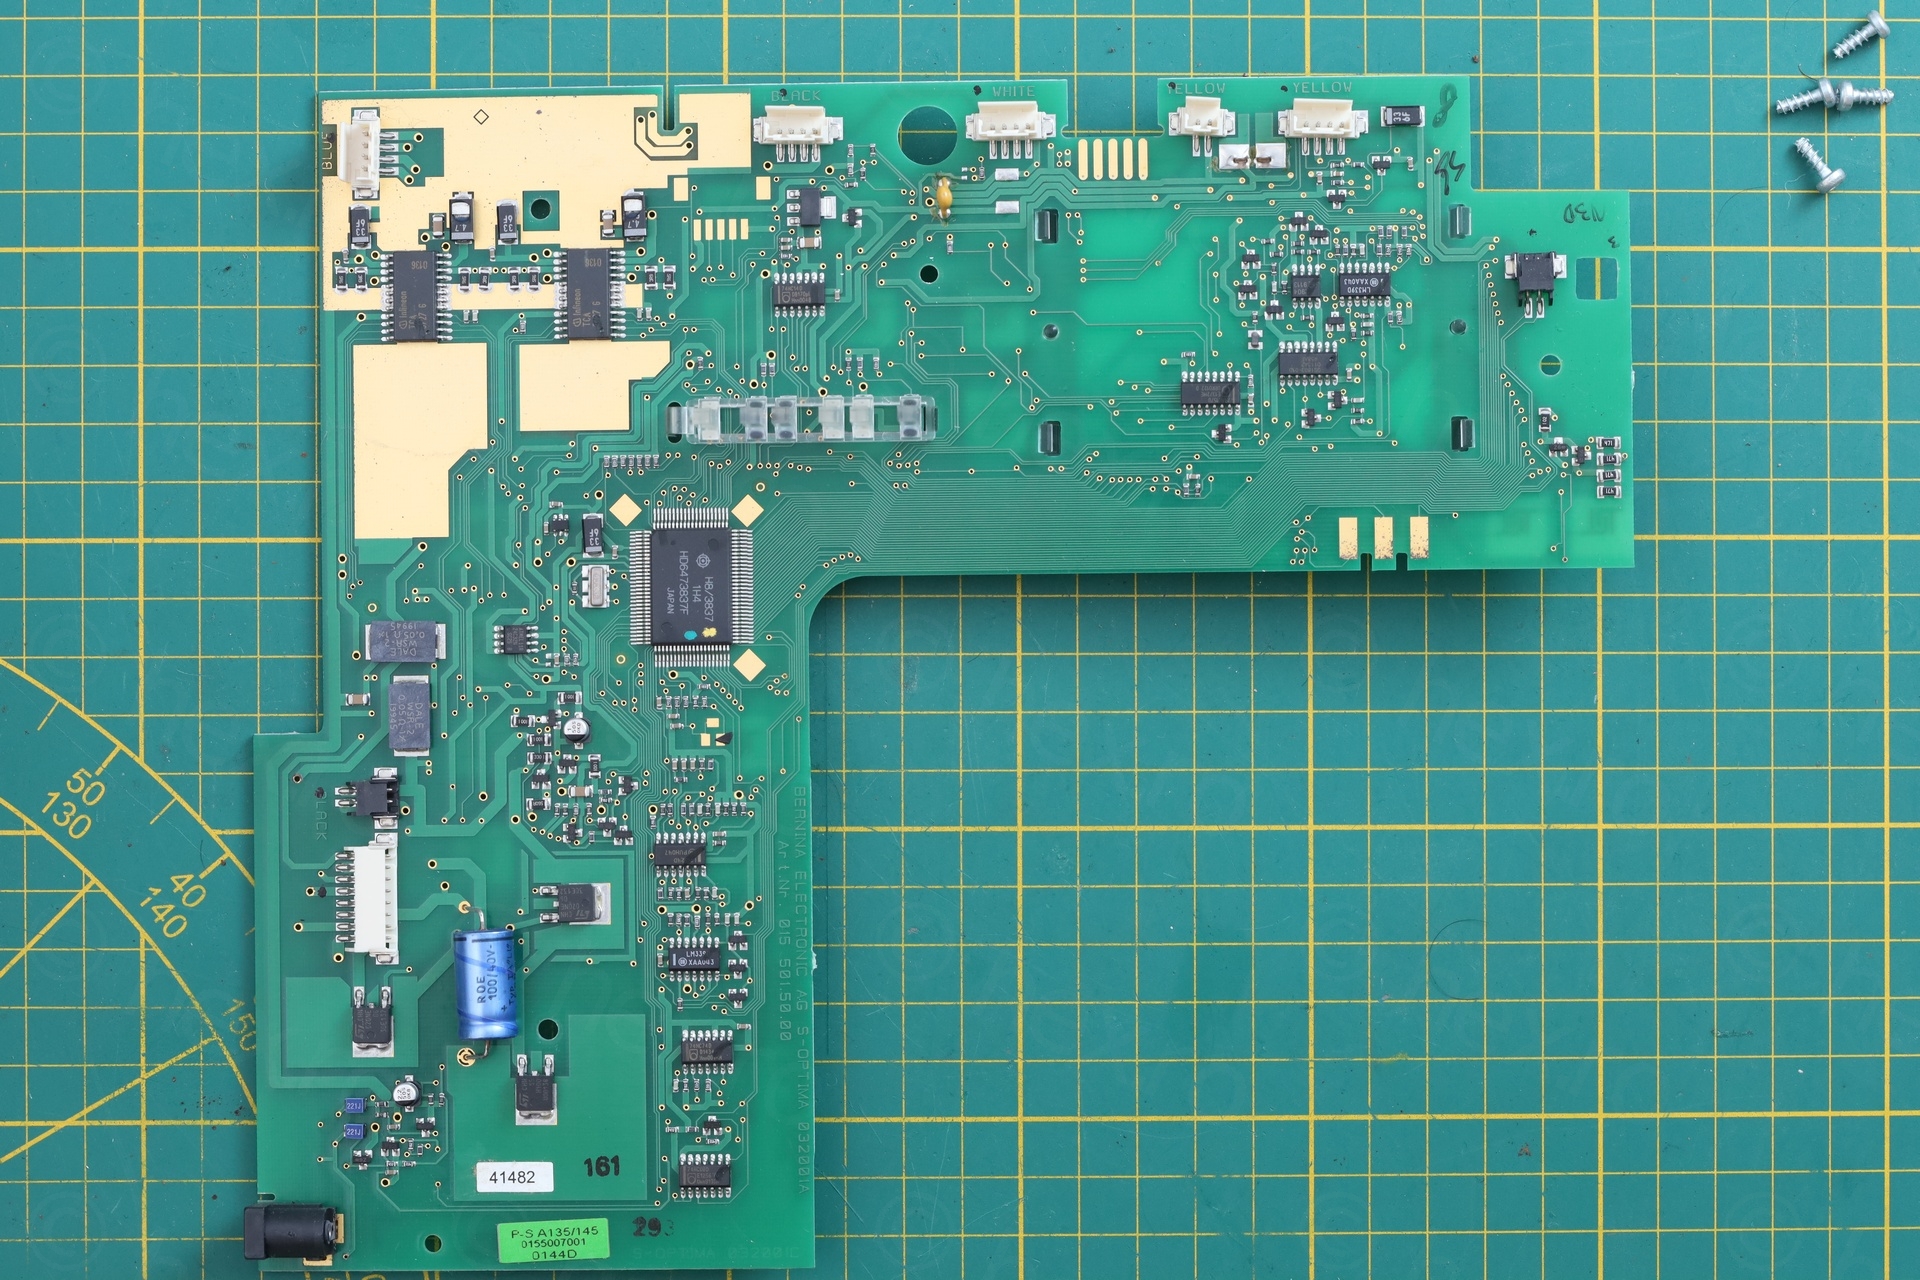
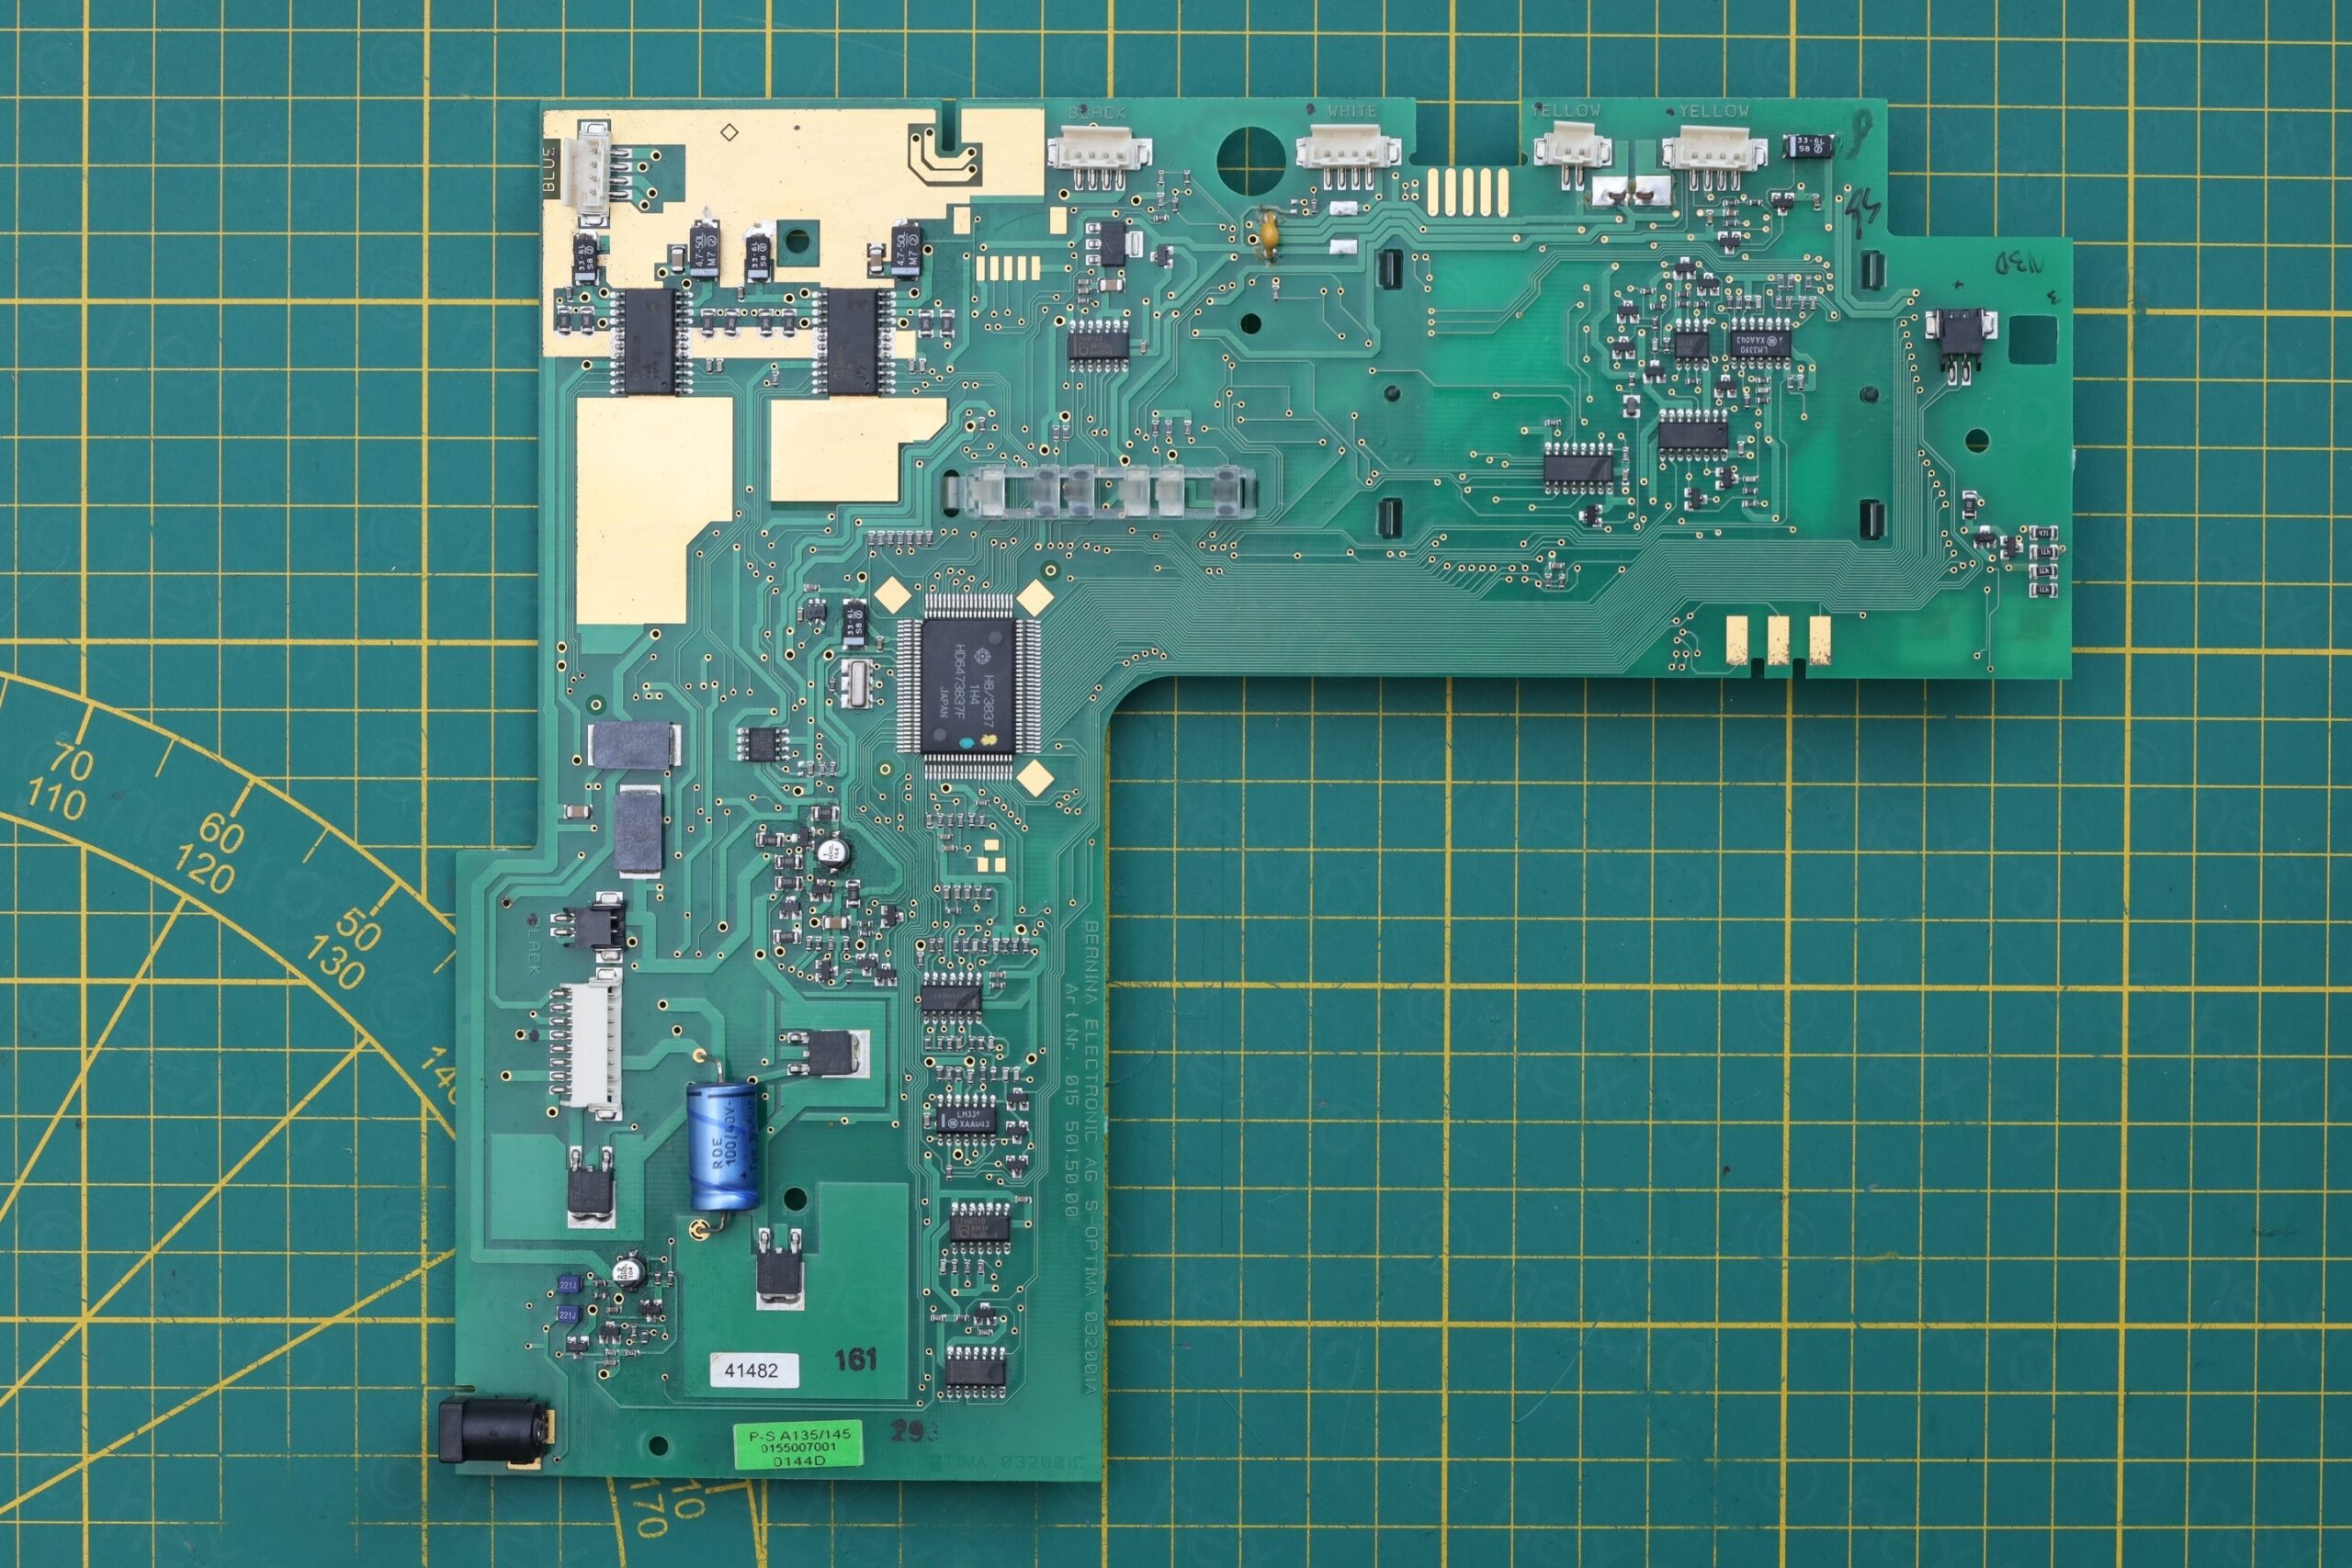
After some time, more screws, rust and dust, photos of the wiring, etc, I have finally reached to the circuit board inside the machine …
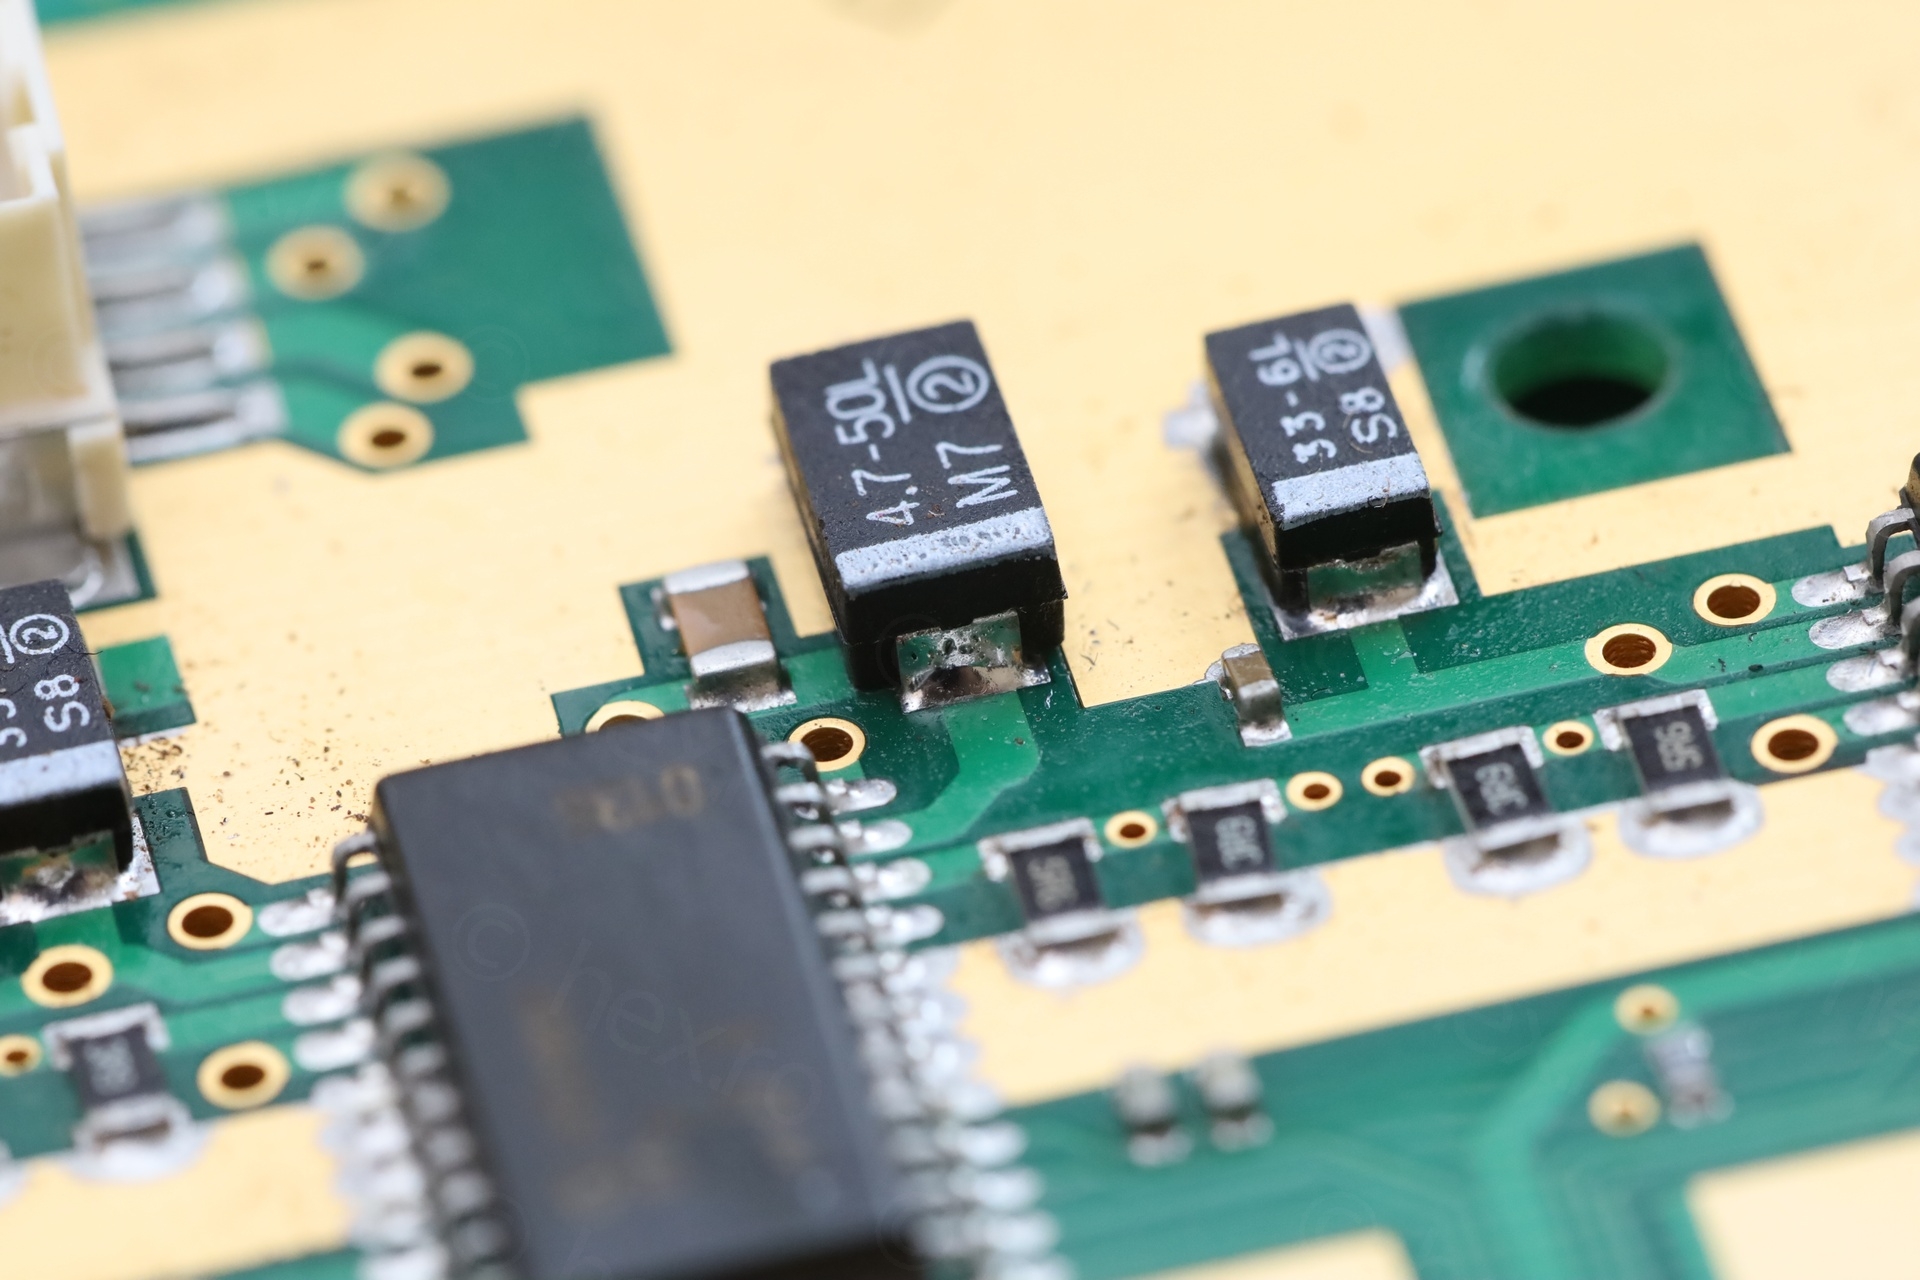
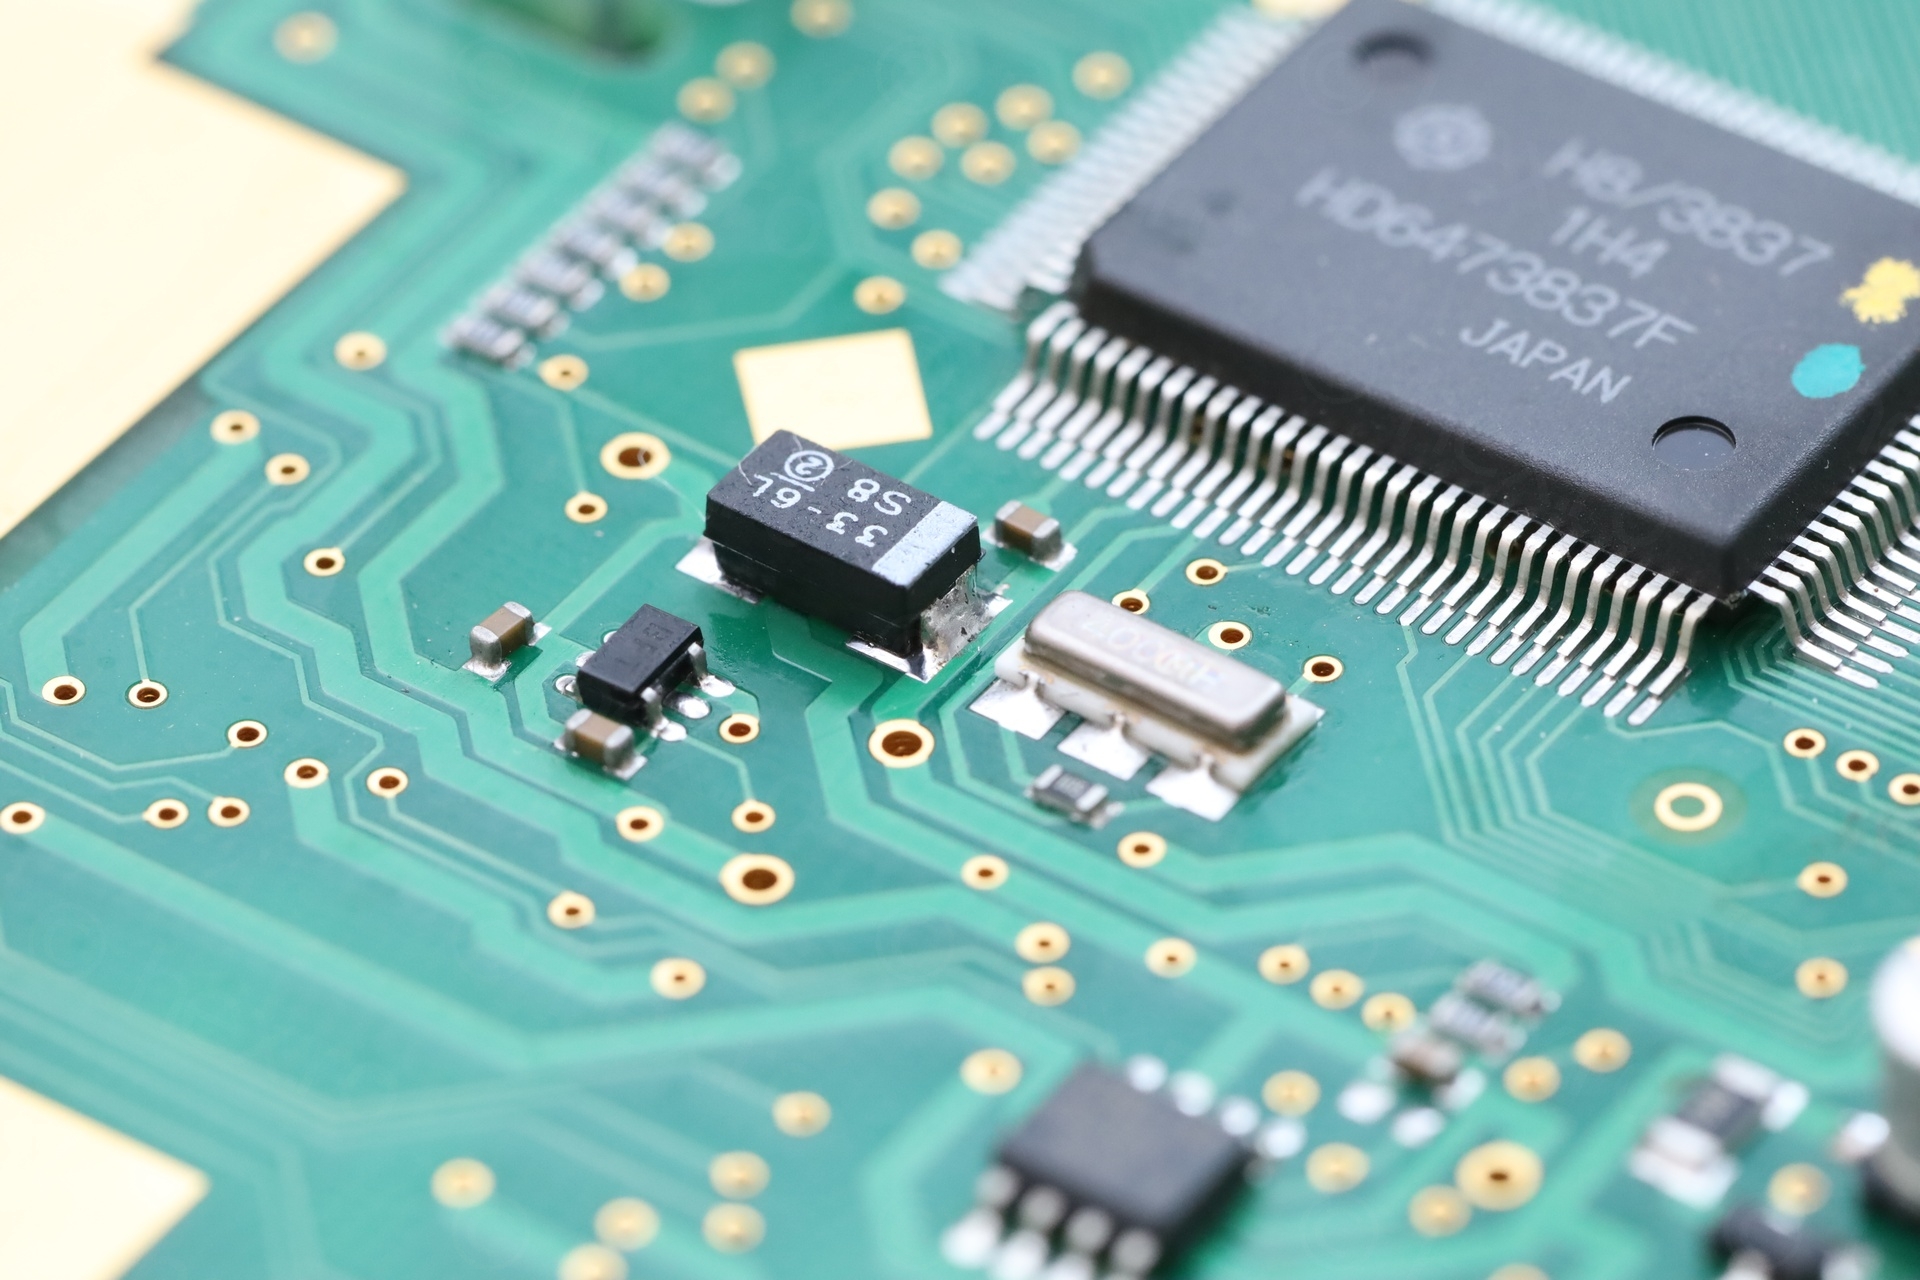
… where I was rewarded with a glorious sight. Both 4.7µF tantalum capacitors were exploded! The marking indicating the voltage was on the bit of plastic that separated, but I could see the beginning of a 5… on one of them. I realized, they must be similar to the other Bernina I fixed, 4.7µF @ 50V:

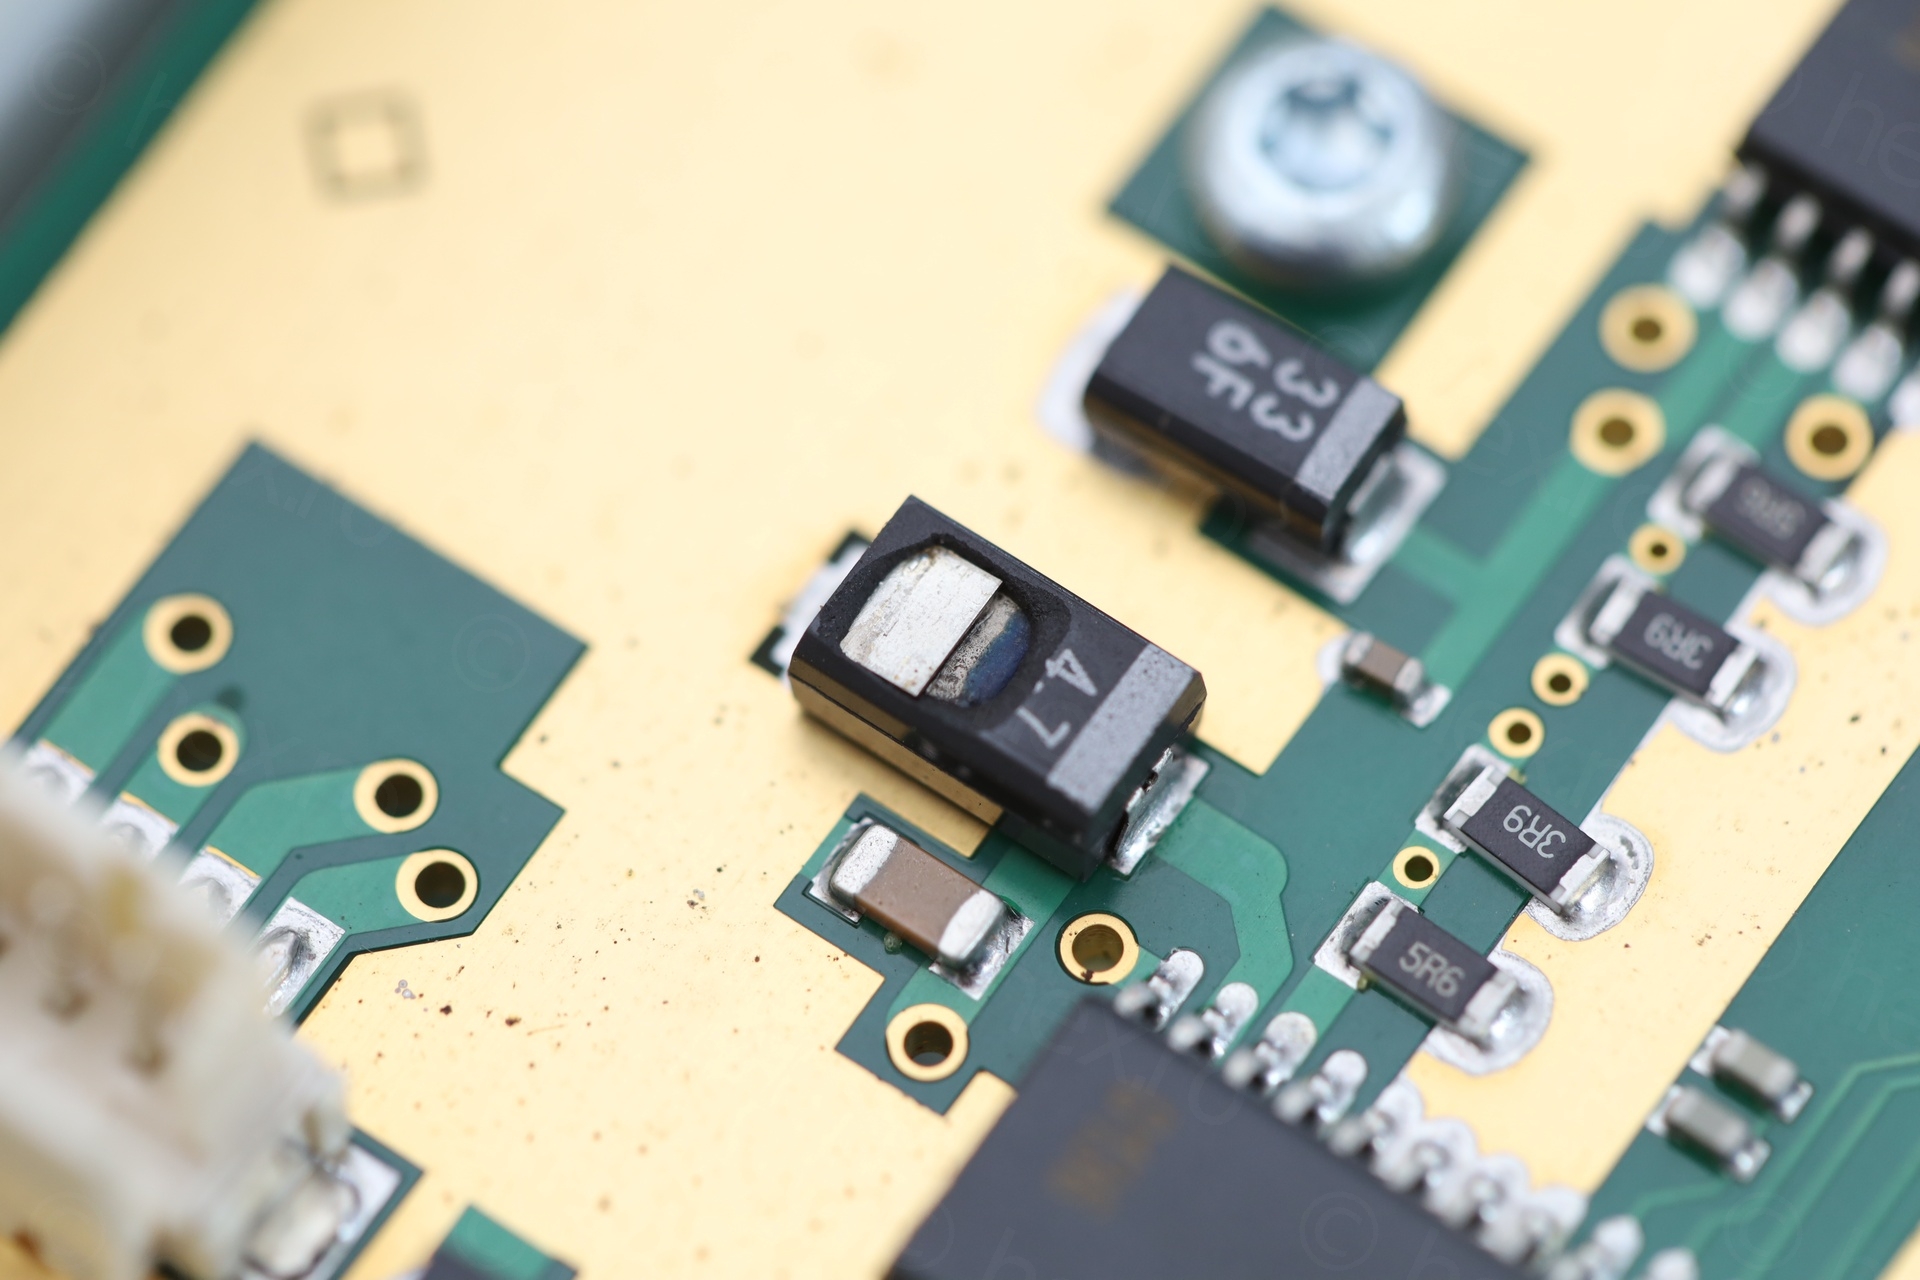
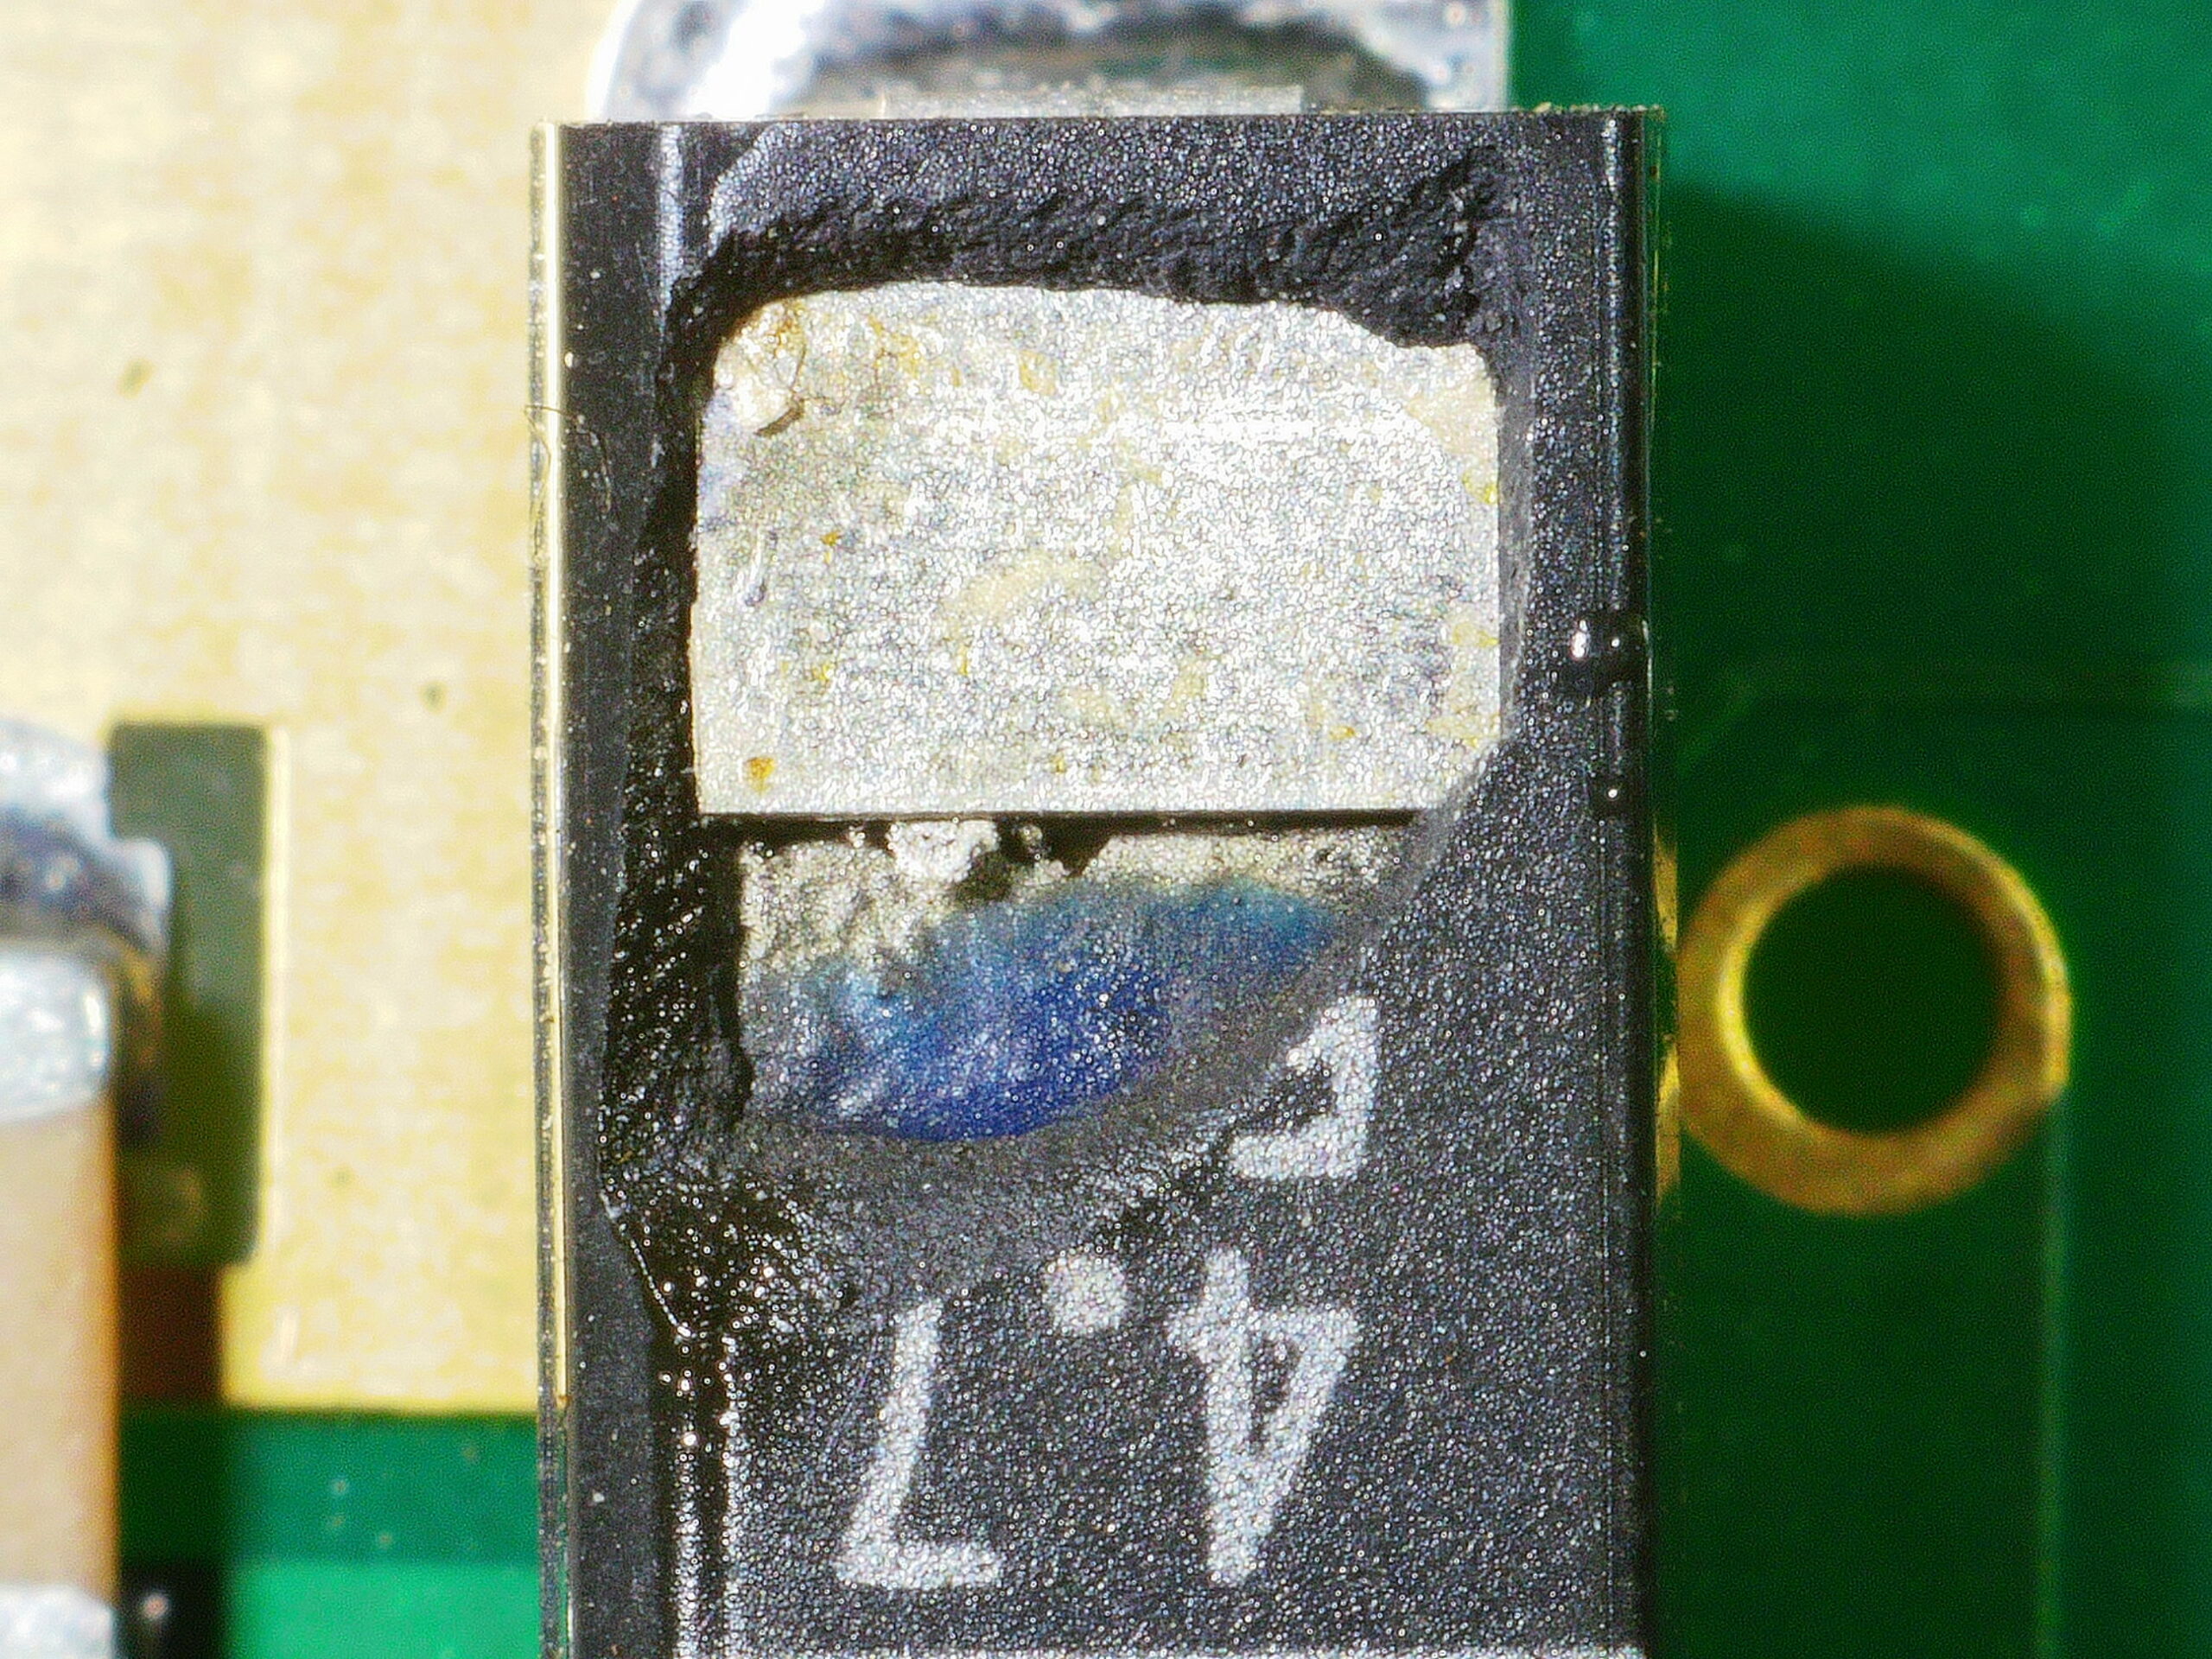
More photos with the damage under a microscope:

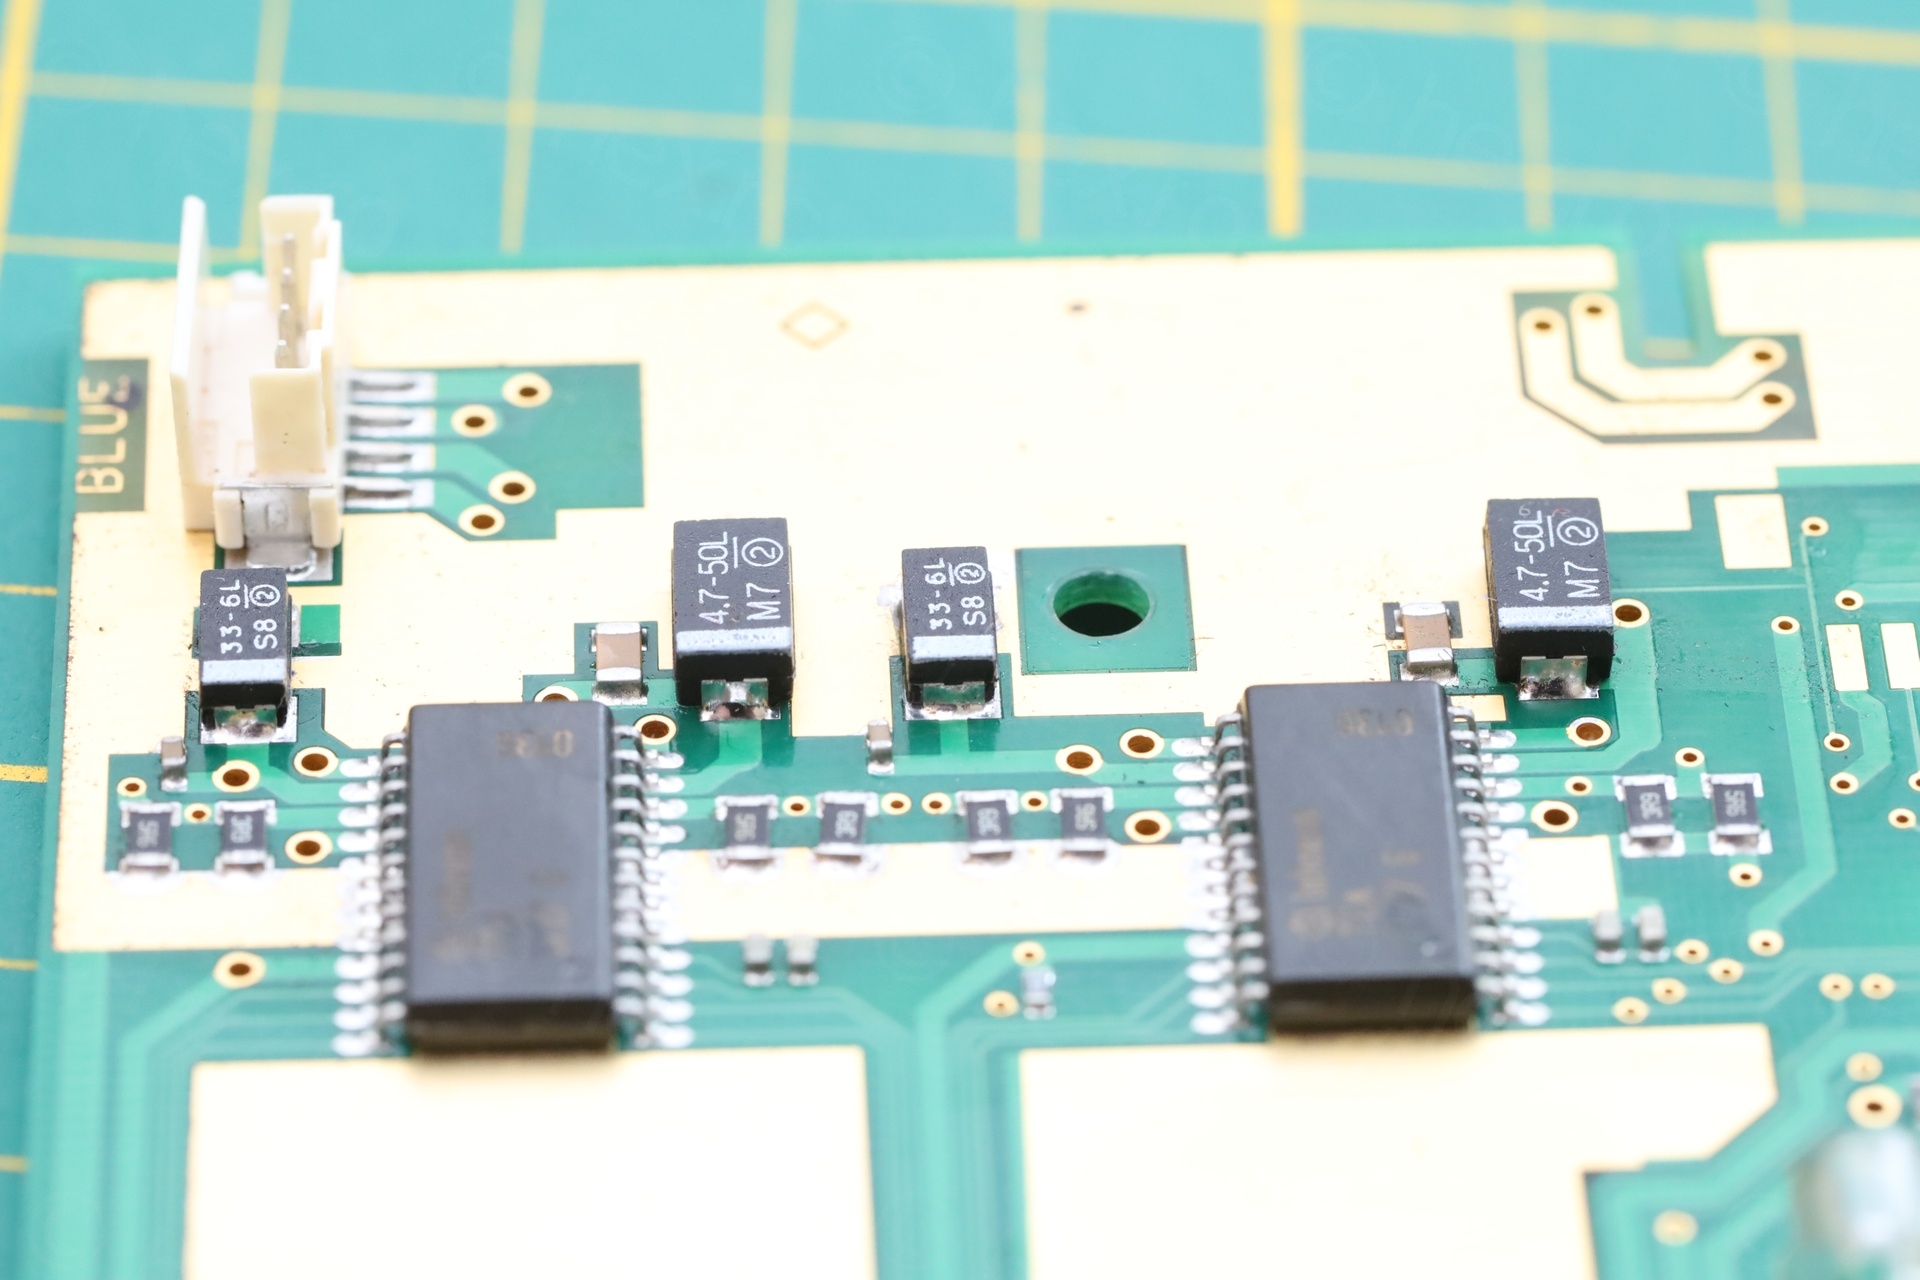
The circuit board had 8 SMD electrolytic capacitors:
- 4.7µF @ 50V (2 of them, tantalum)
- 33µF @ 6V (4 of them, tantalum)
- 1µF @ 50V (1 of them, electrolytic)
- 2.2µF @ 50V (1 of them, electrolytic)
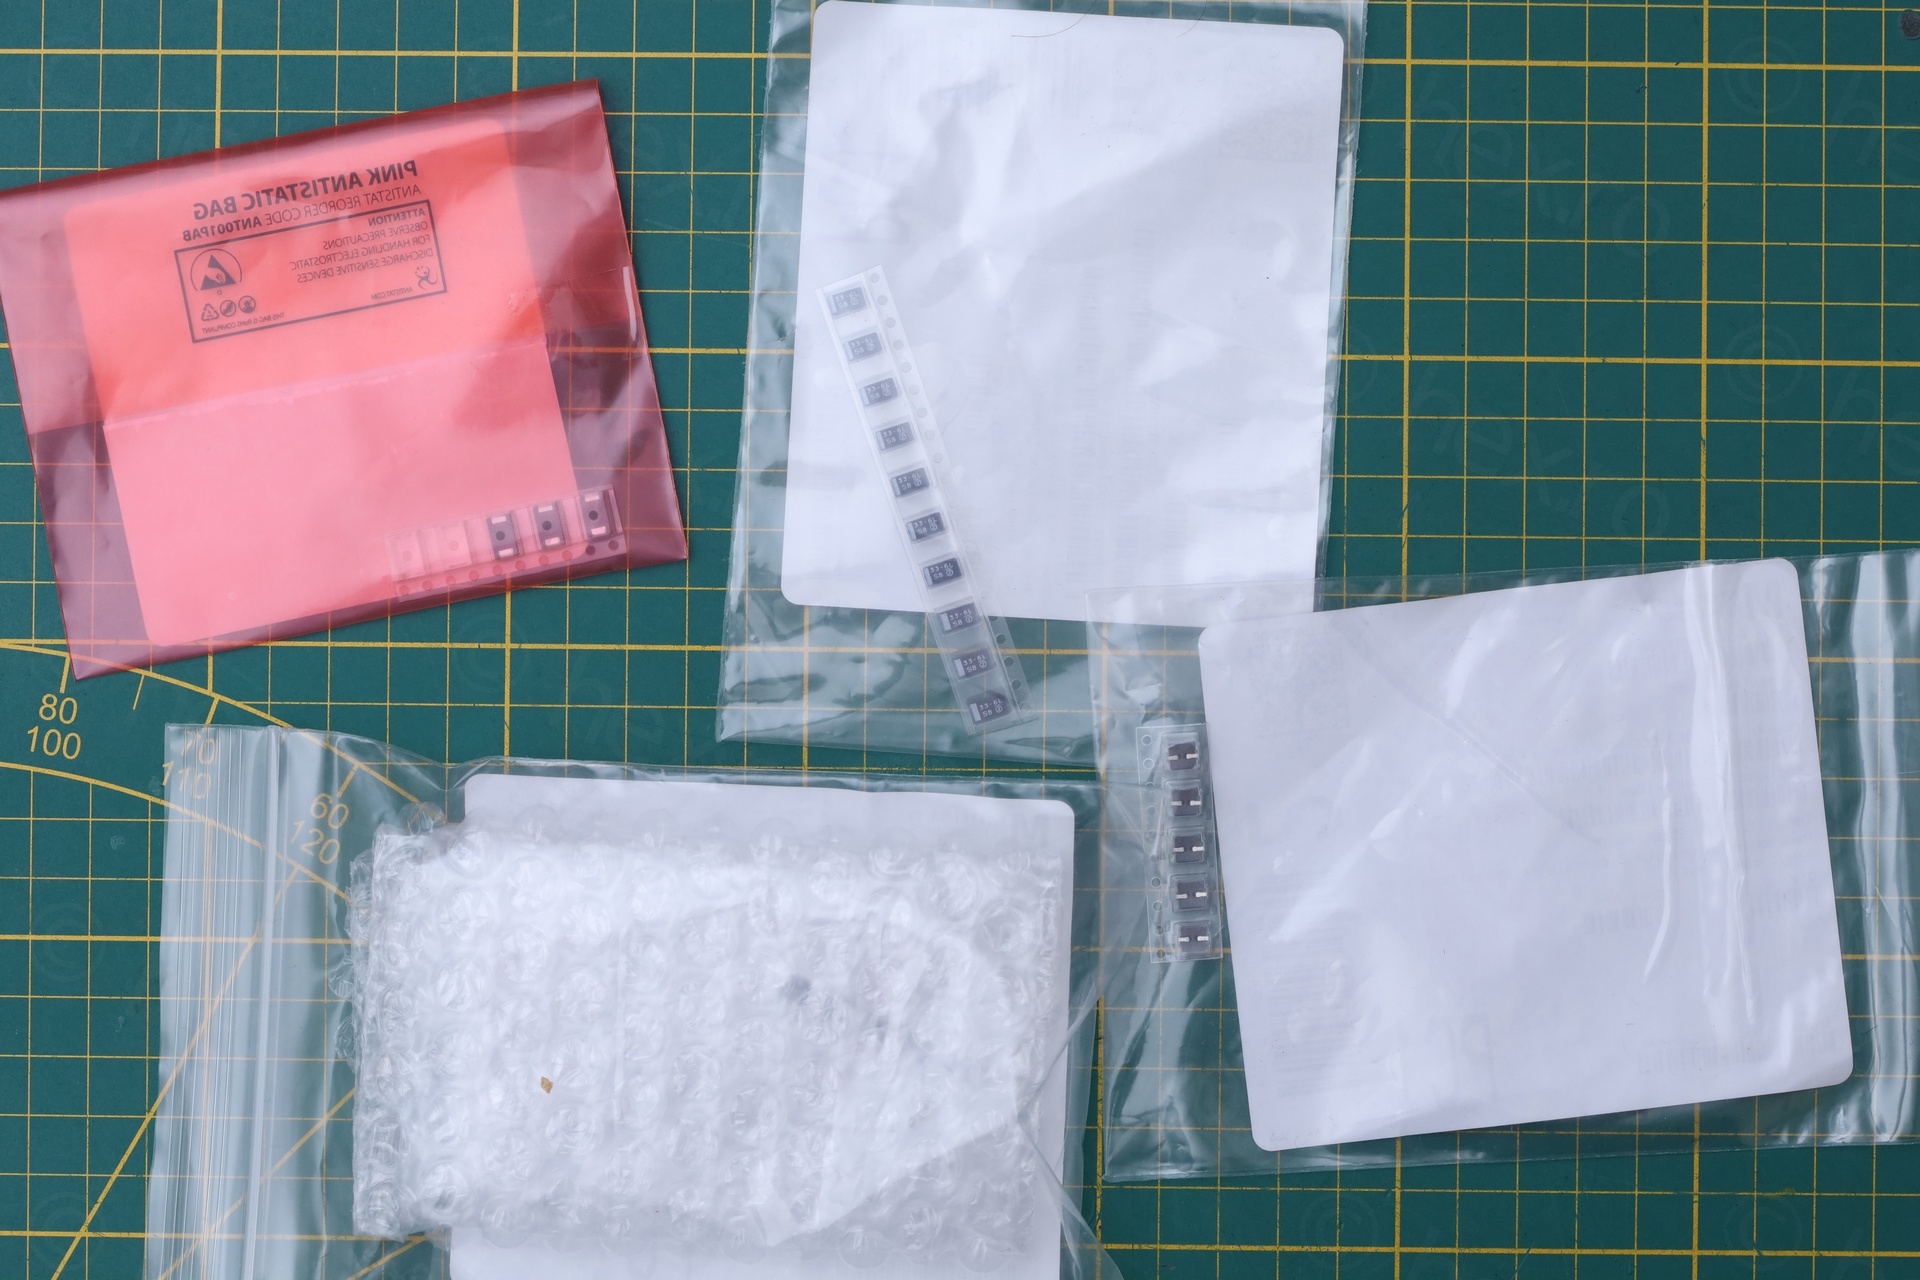
I measured the ESR of the large through-hole electrolytic capacitor (looked like the old blue Philips axial capacitors!) and measured fine. I decided to swap all SMD capacitors, but not to touch the through-hole ones (nor the ones in the power supply). If problems arise, they would be obvious when I will test the machine.
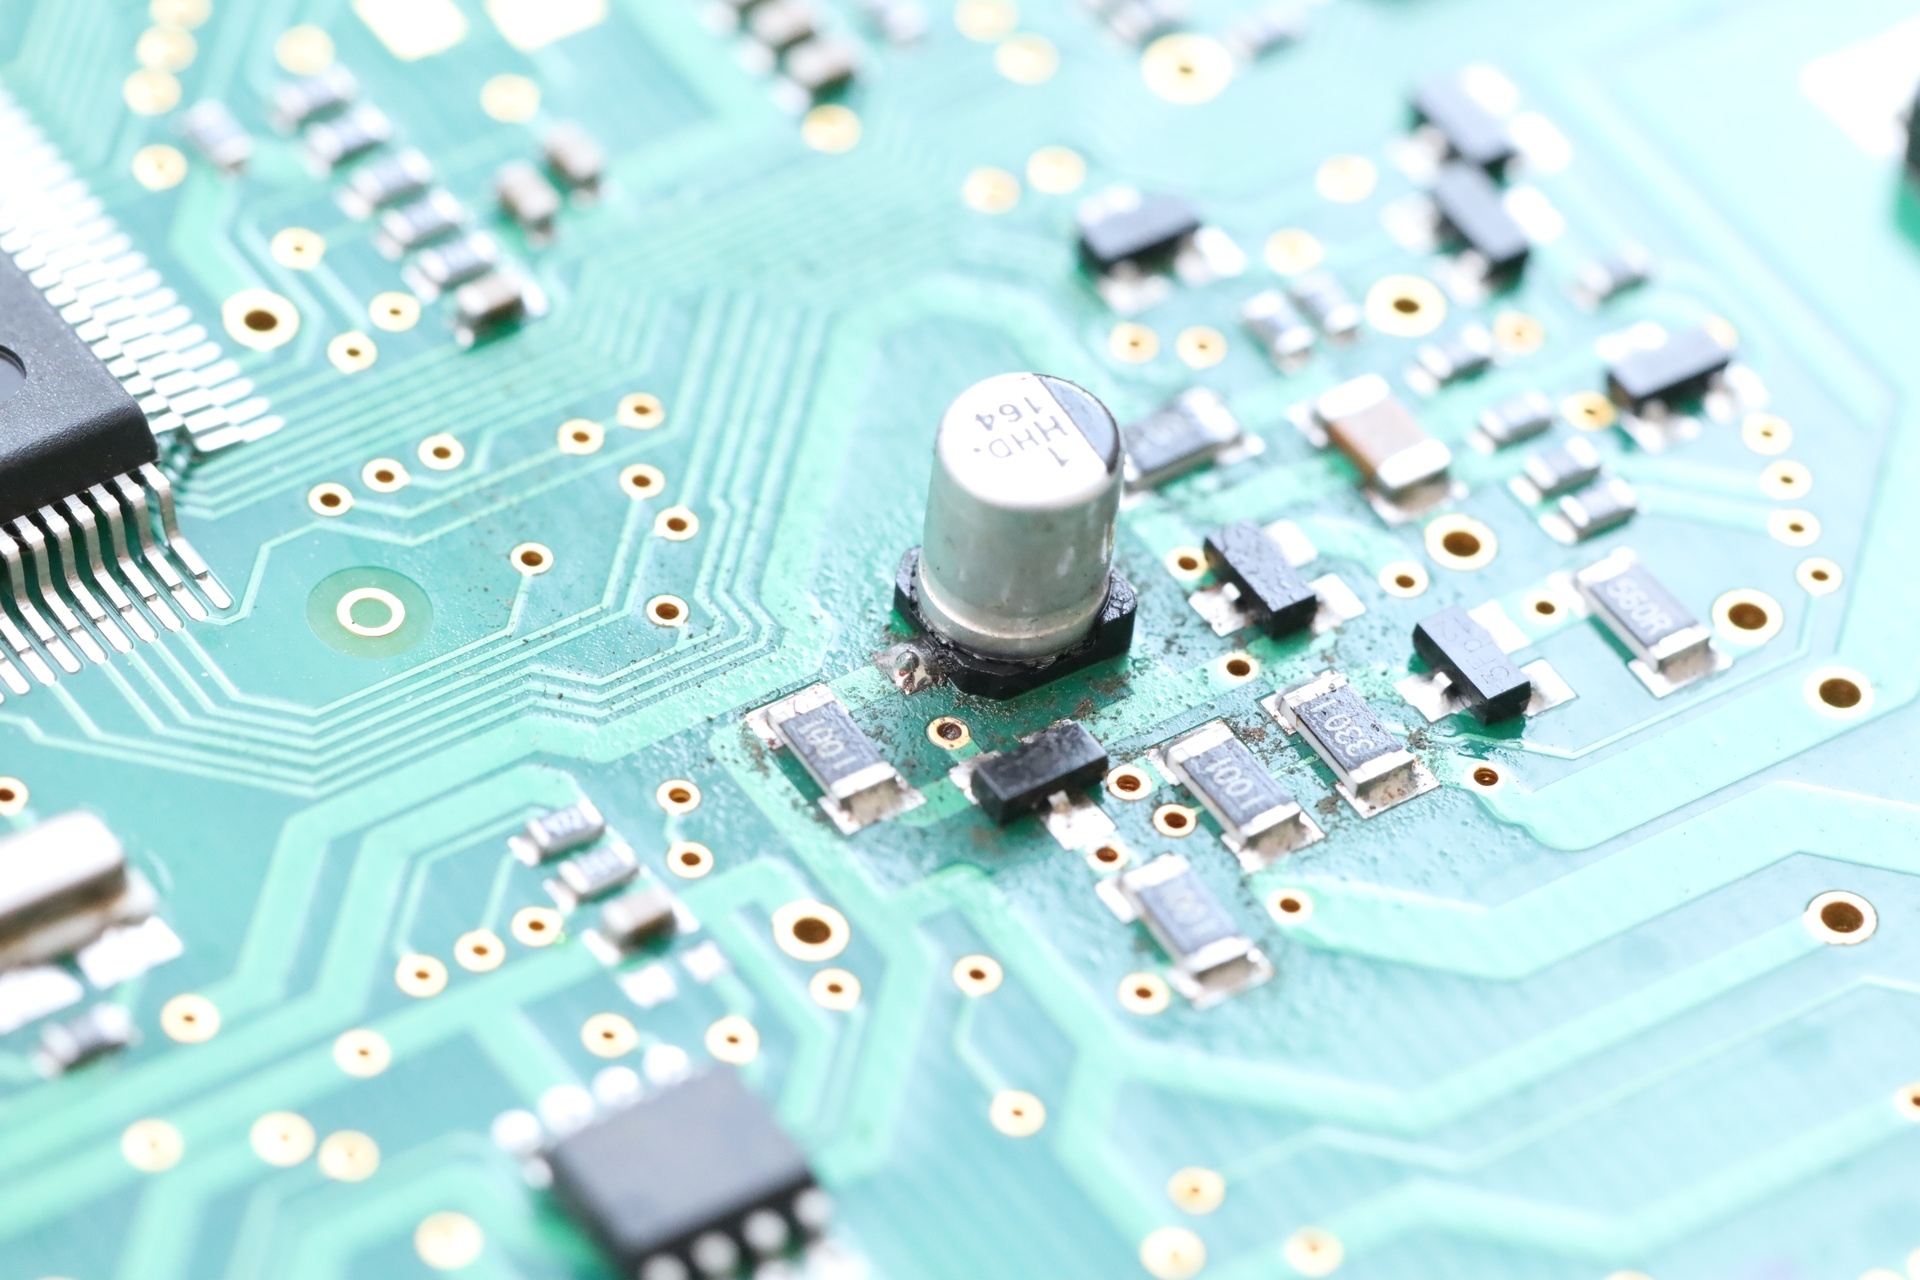
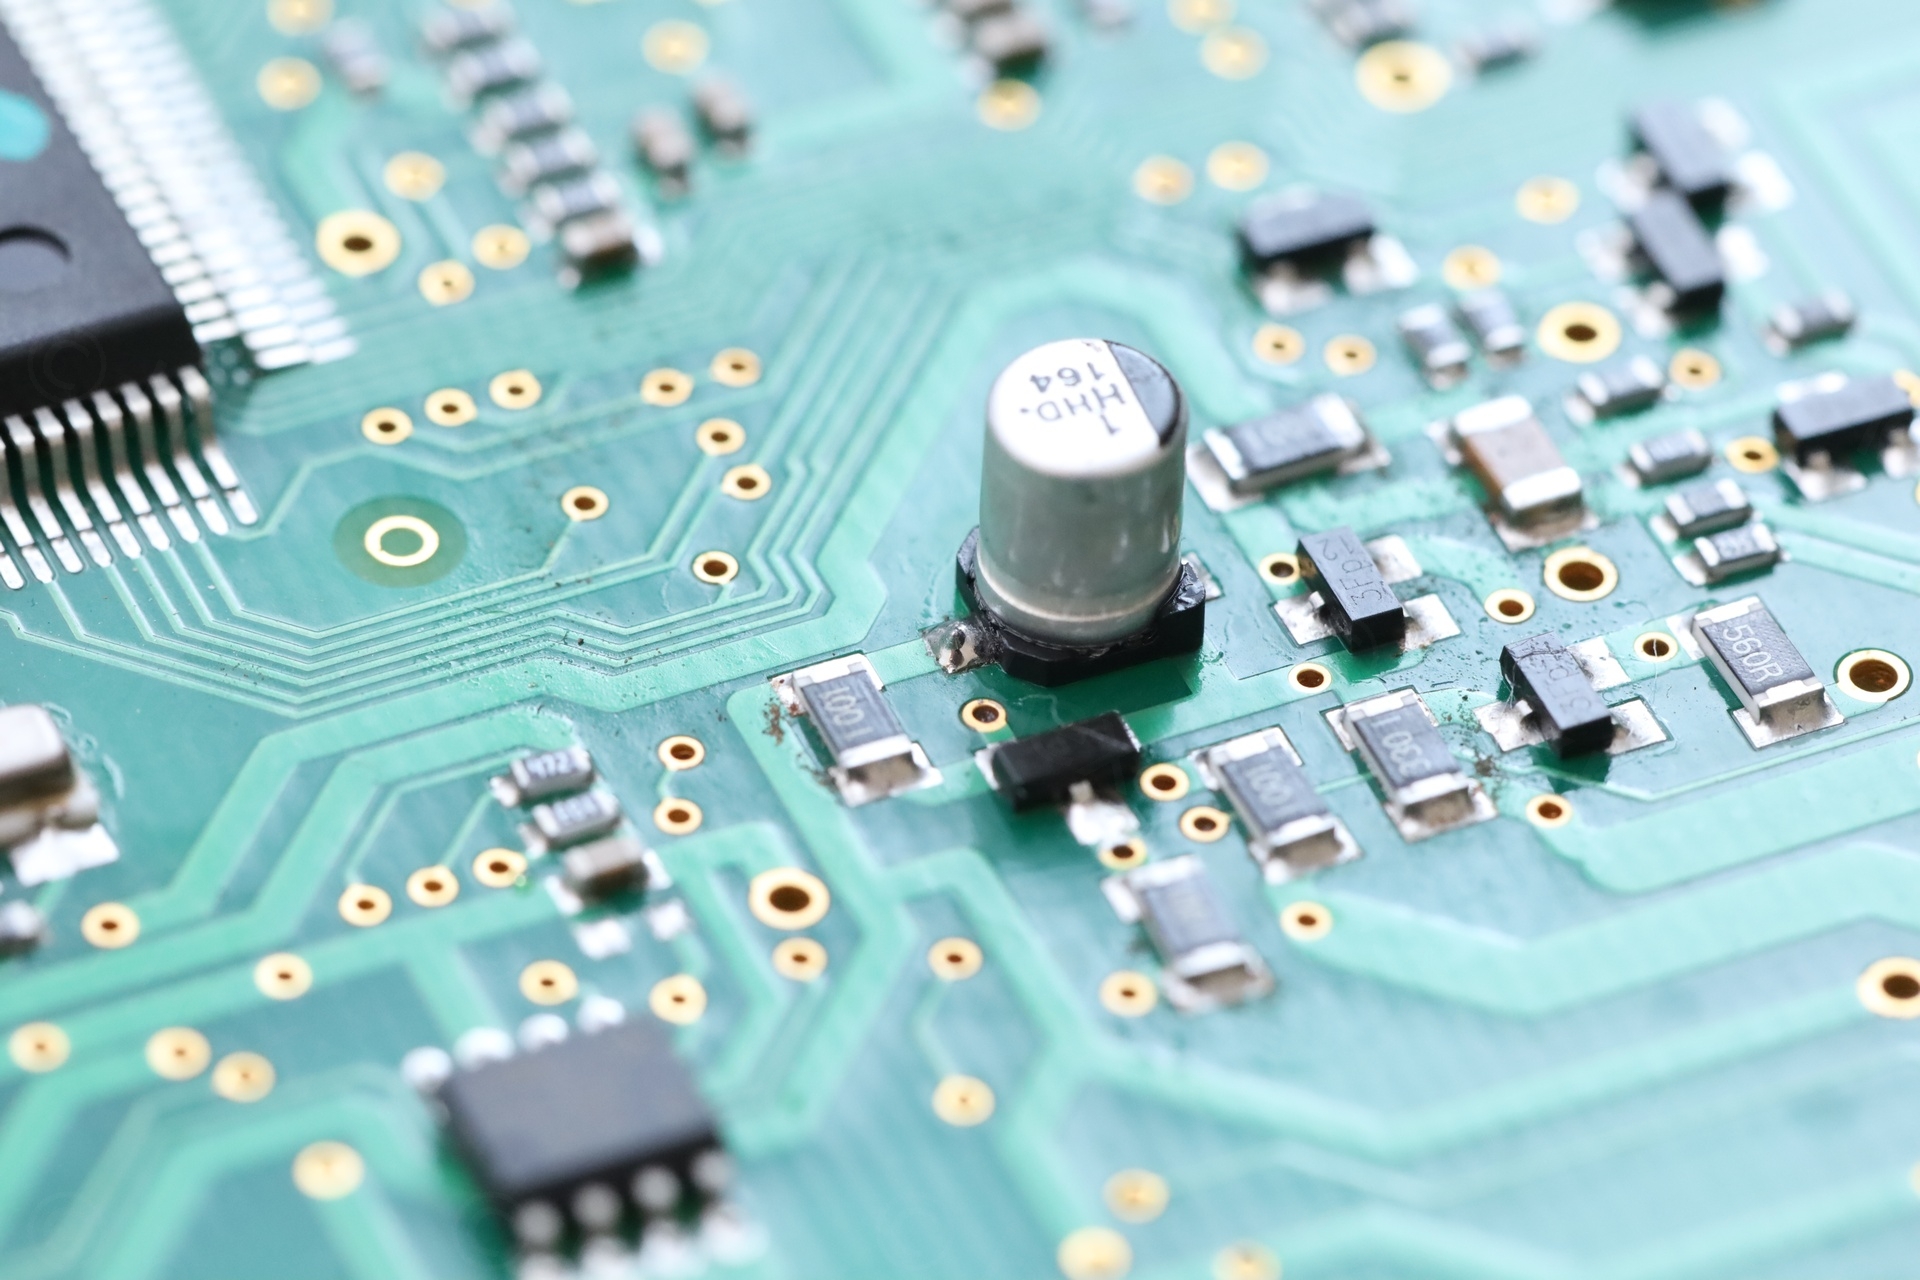
After waiting few days, the parts have arrived and I proceeded to replace the capacitors:
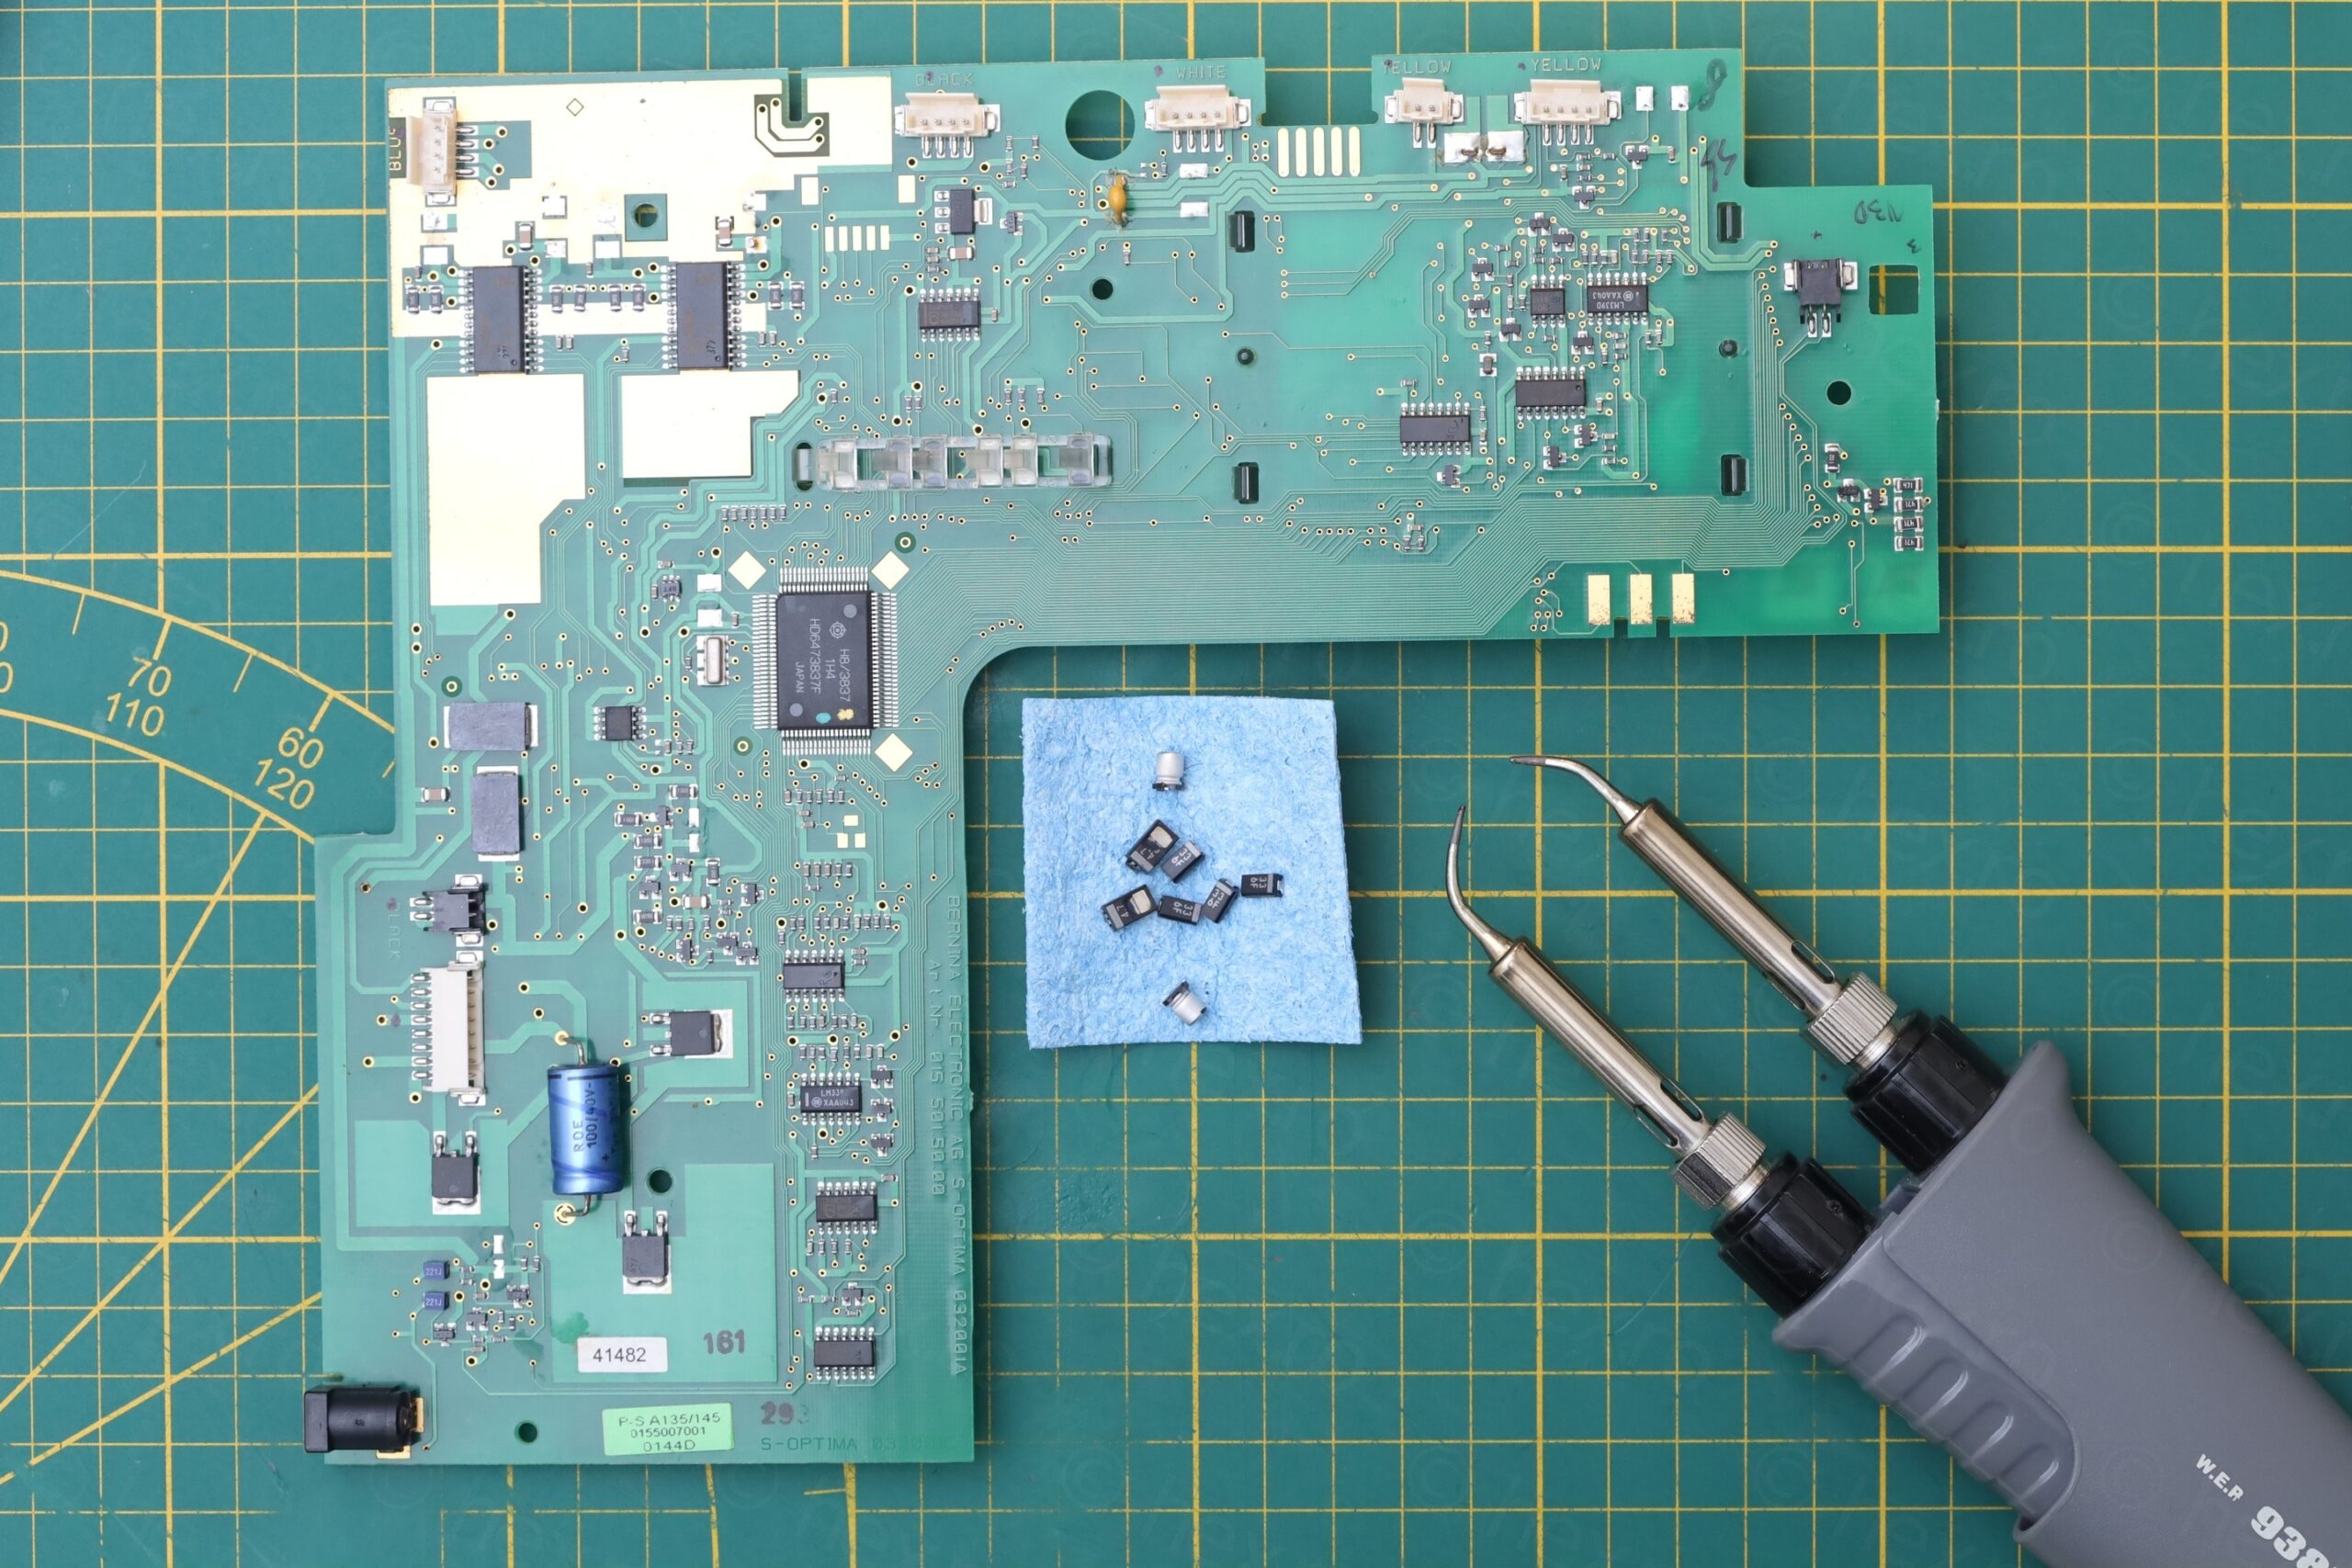
Few more details with the newly installed capacitors:
Keypad membrane
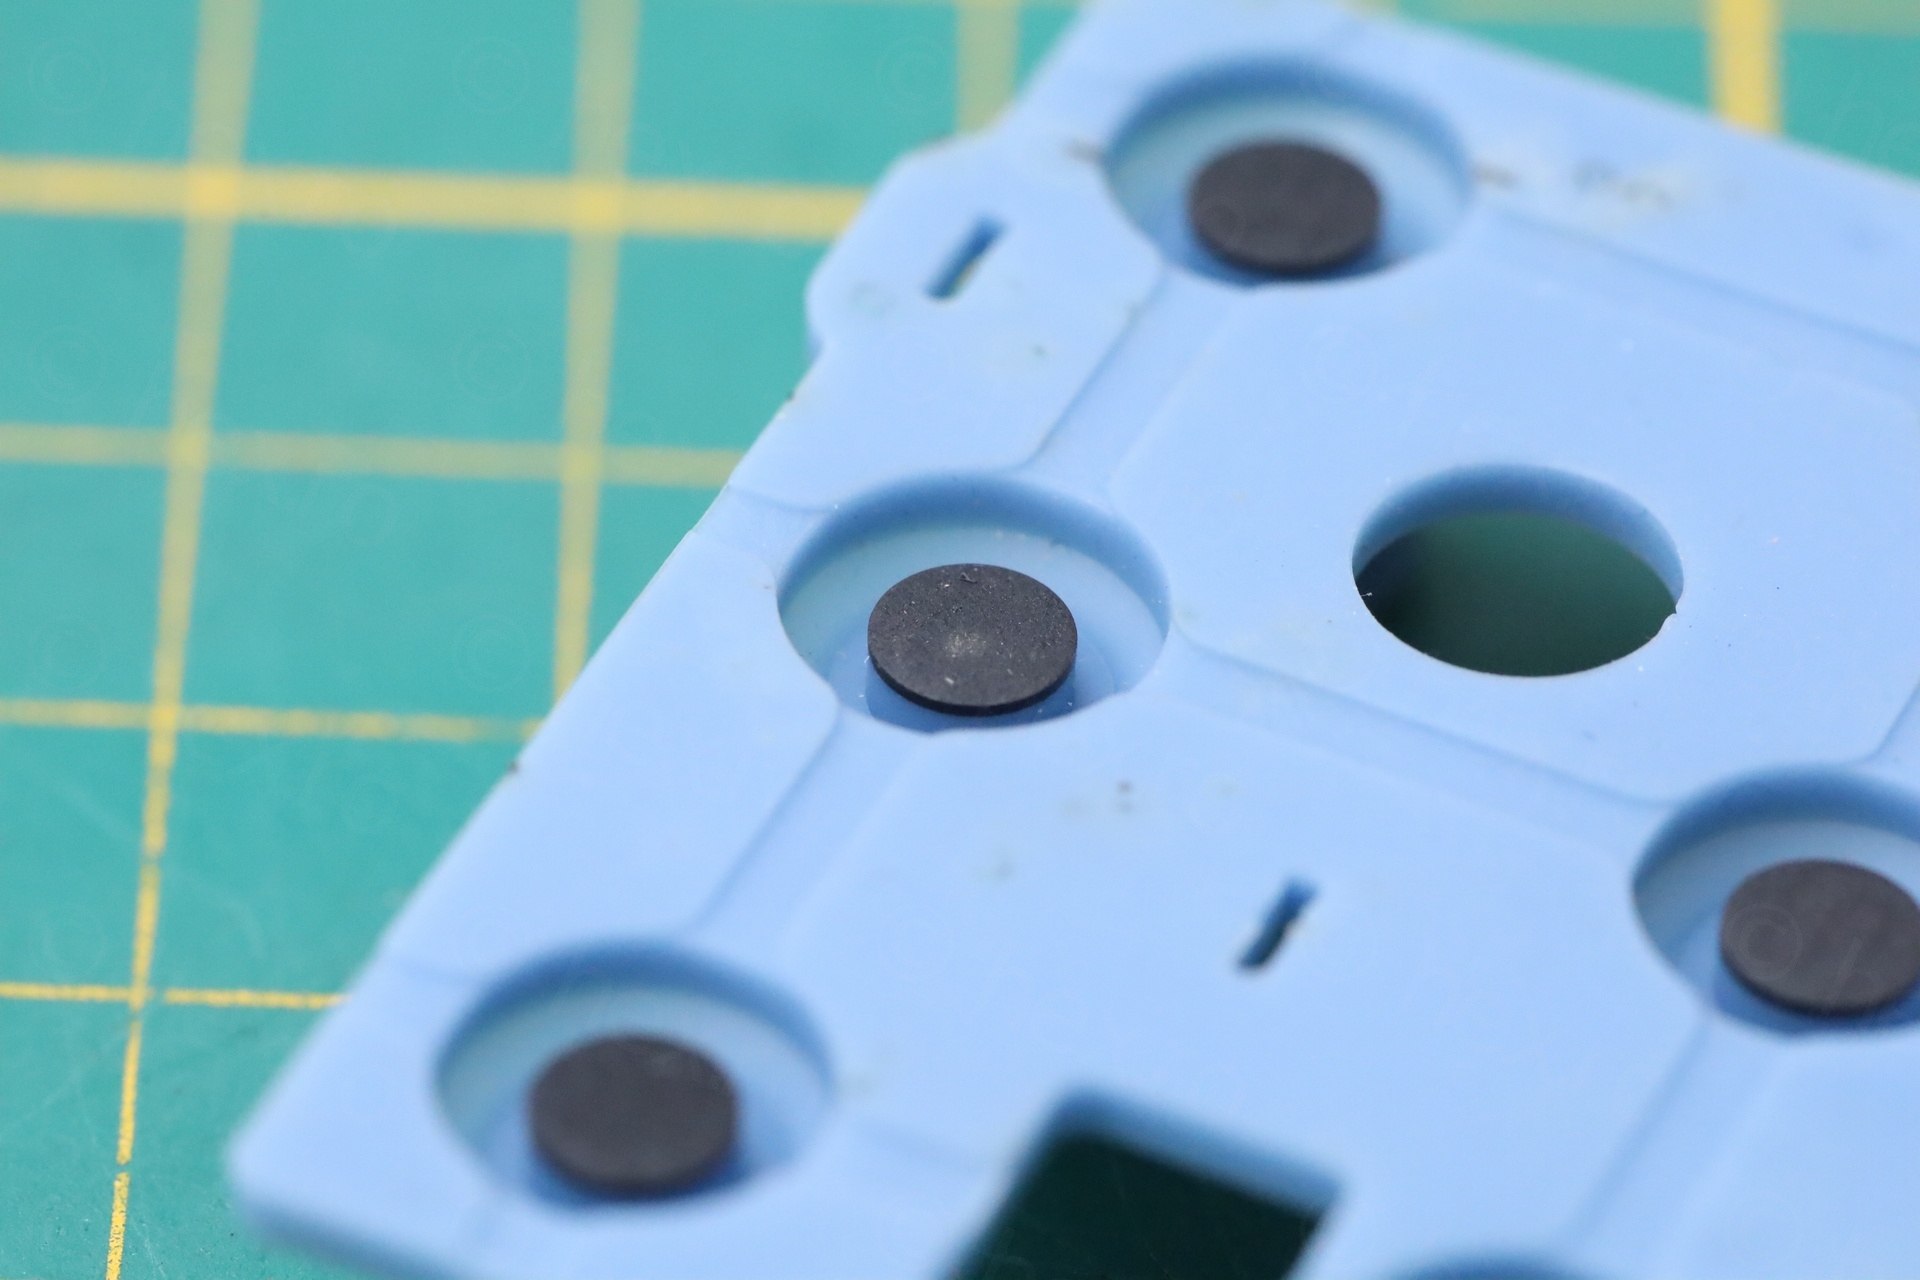
While waiting for the capacitors, I have inspected the keypad membranes. One of them seemed to have a ‘weak’ spot, in the sense that the graphite (or conductive?) layer had a bit of discoloration (see the white spot on the pad in the center of the photo):
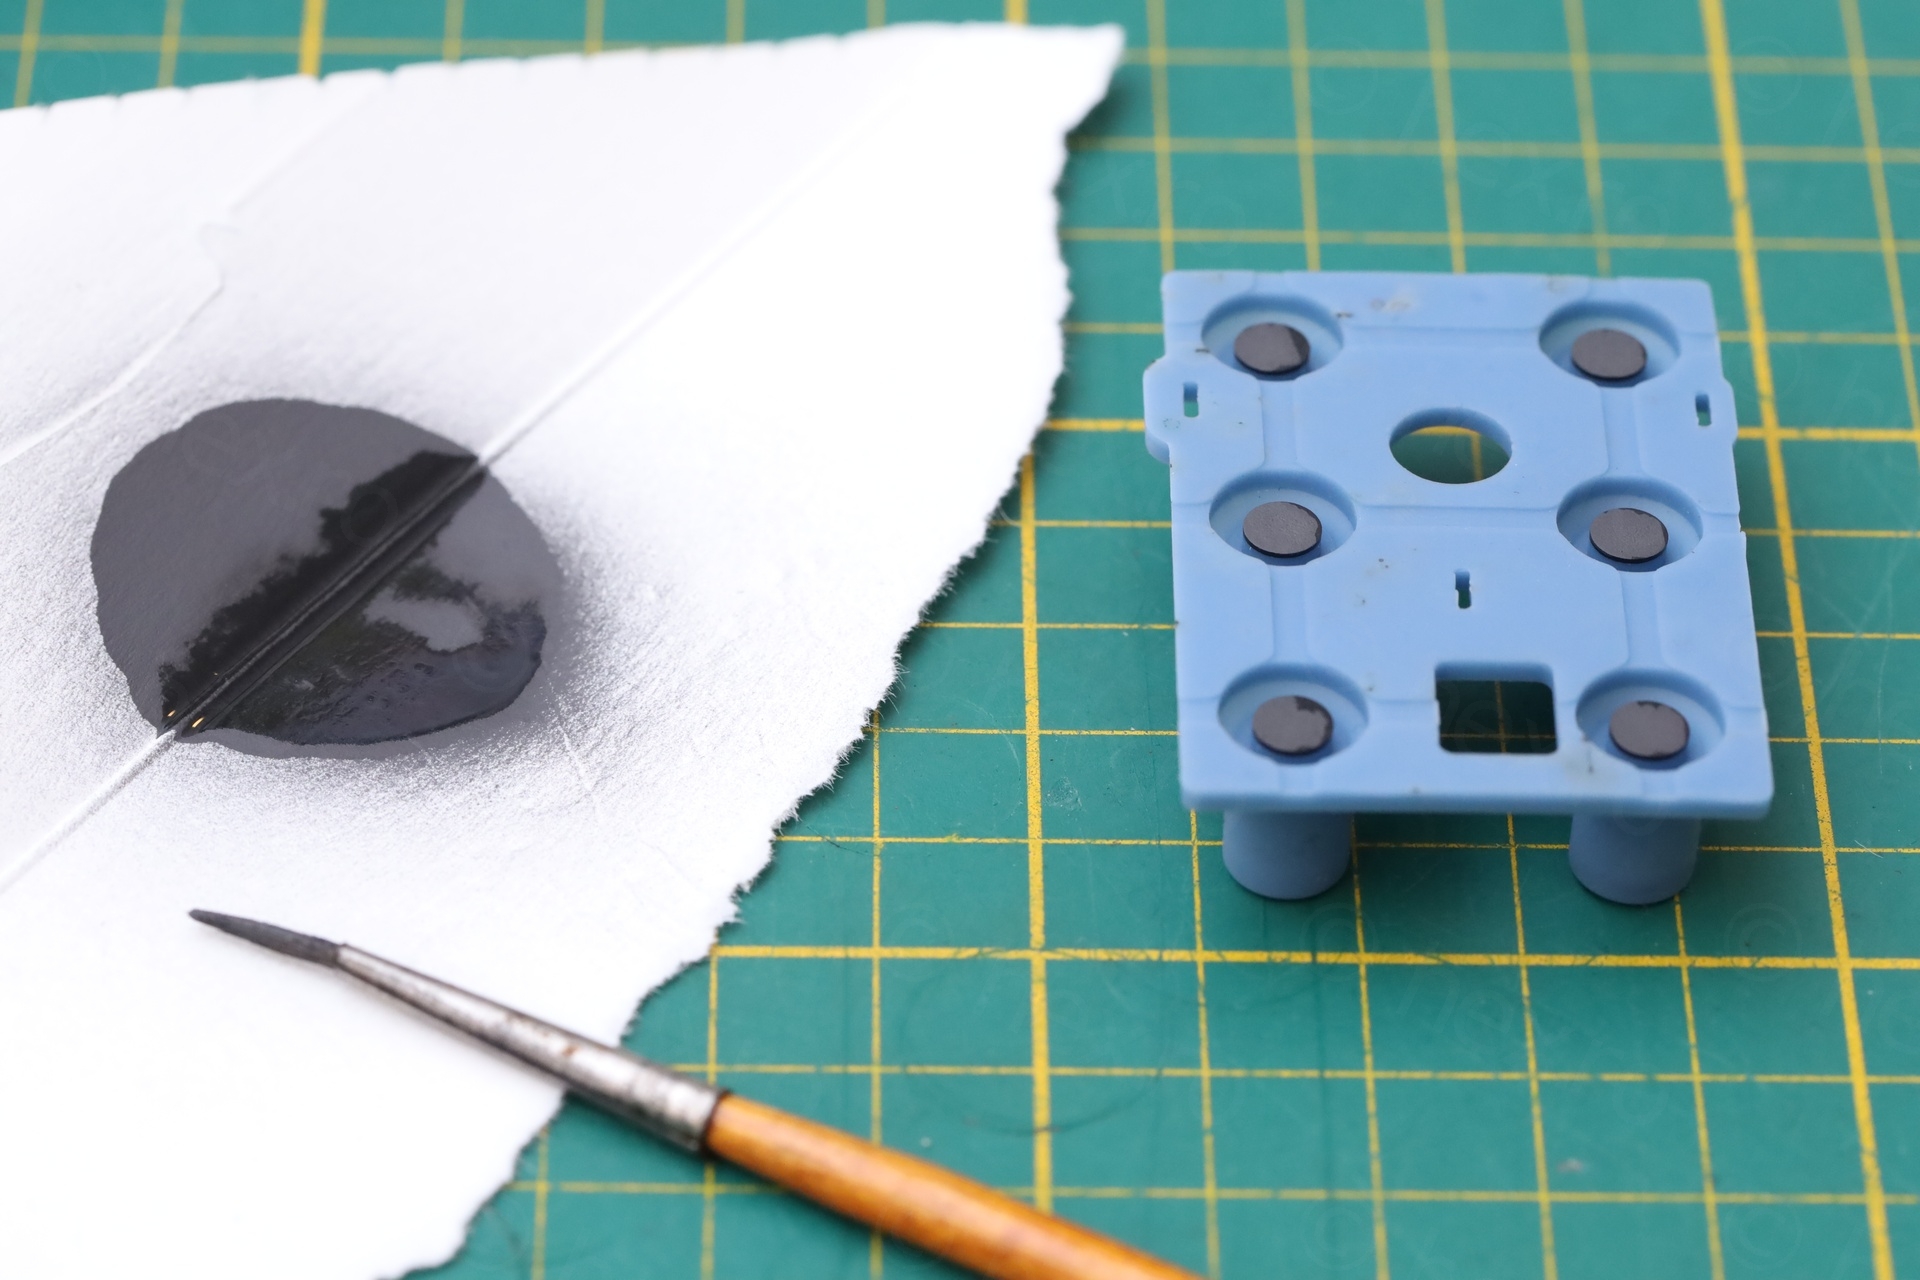
To avoid problems, I decided to apply a fresh coat of graphite – after I sprayed a bit on a piece of carton and then applying it quickly with a small paintbrush:
Rust
The machine was most likely kept in a very humid environment. Even the manuals were full of of mold. This explains the amount of rust I found in the machine.
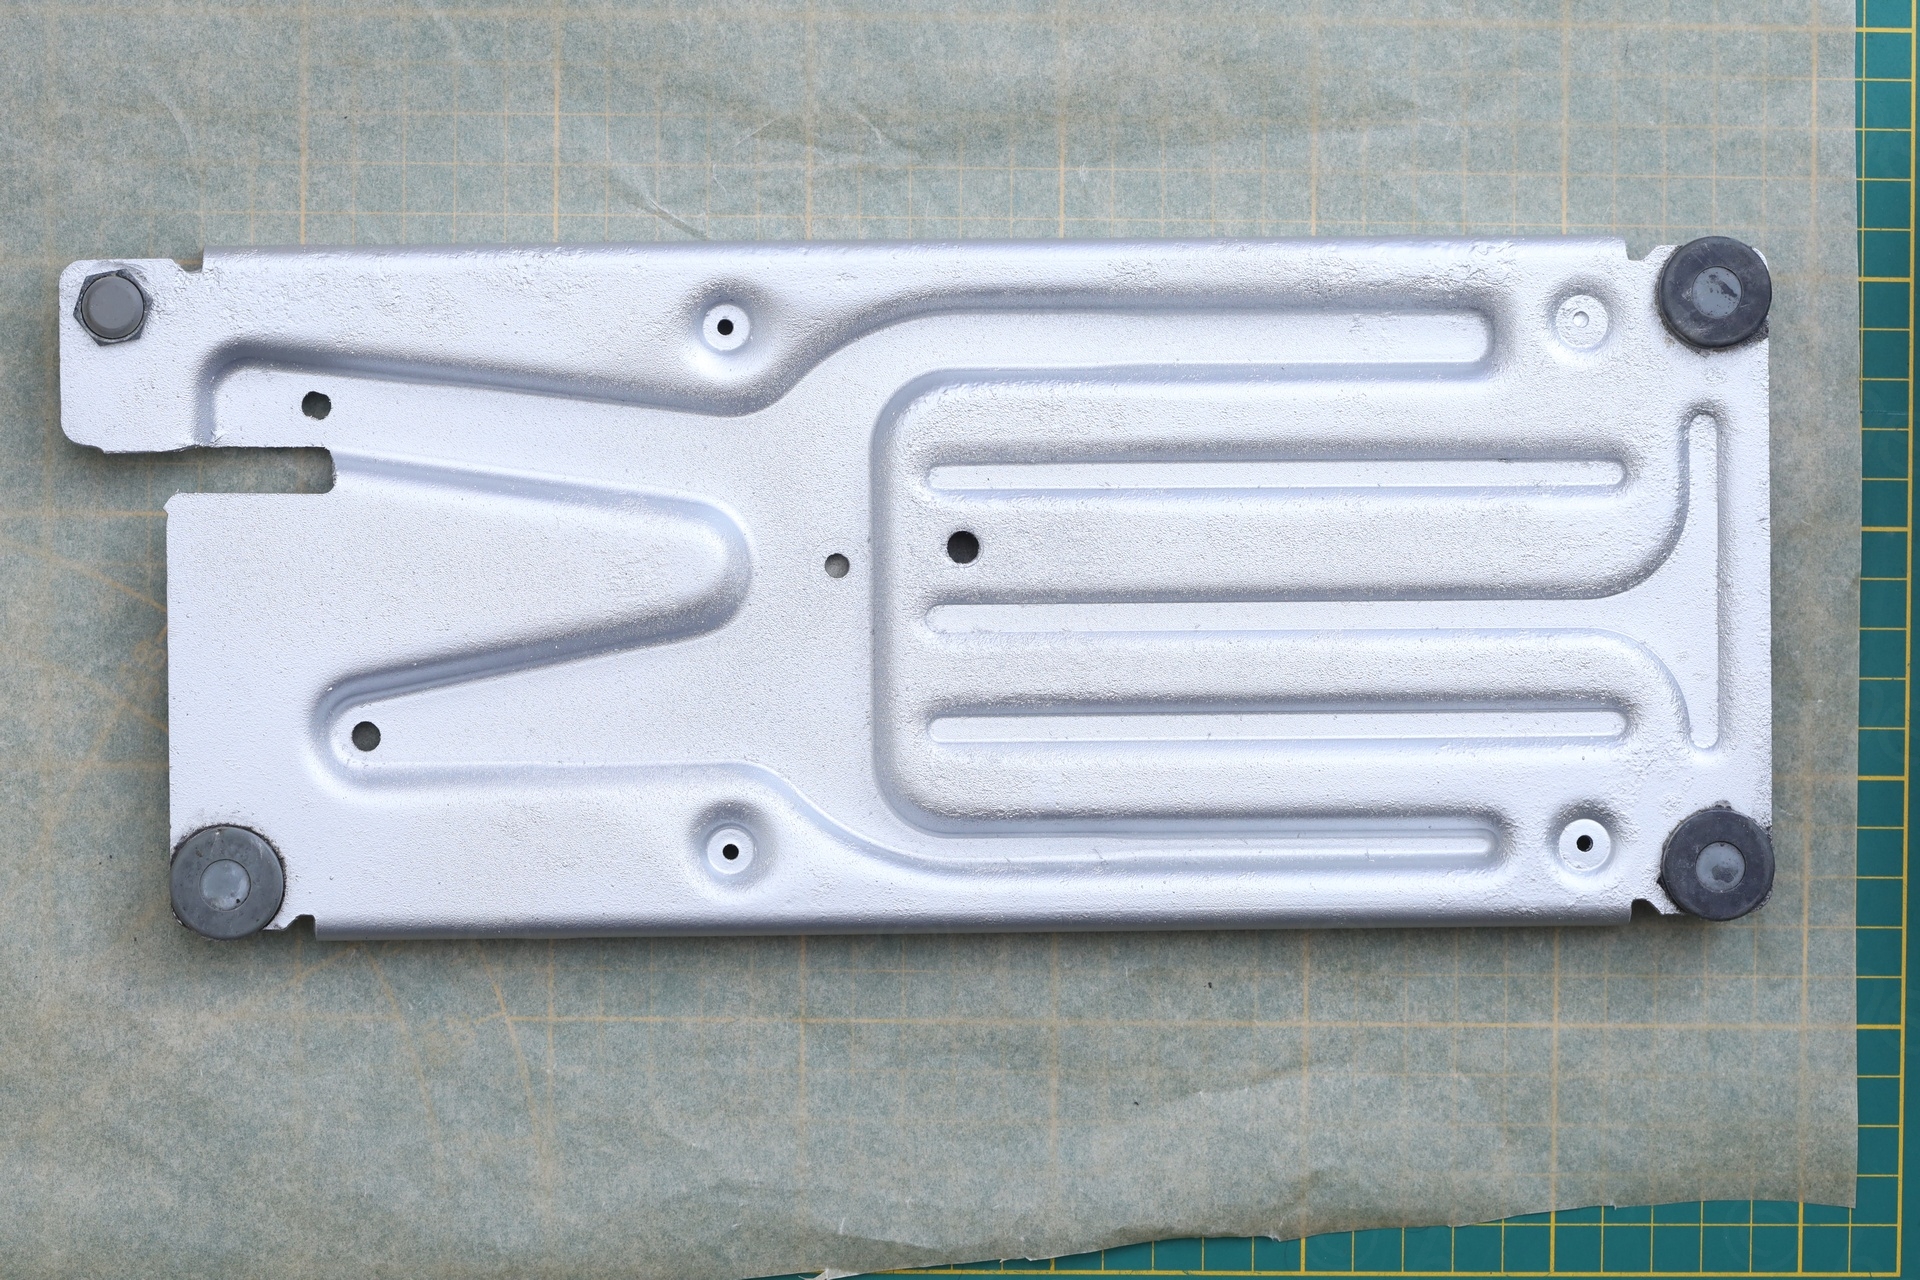
Base plate
I don’t know the technical term for the bottom plate that acts like the support for the machine. Since I don’t have a garage, nor power tools, I used a Dremel in open air to remove as much rust as possible. And applied a thick layer of Fertran afterwards. I had to do this several times, as new rust spots were forming after cleaning the Fertran.
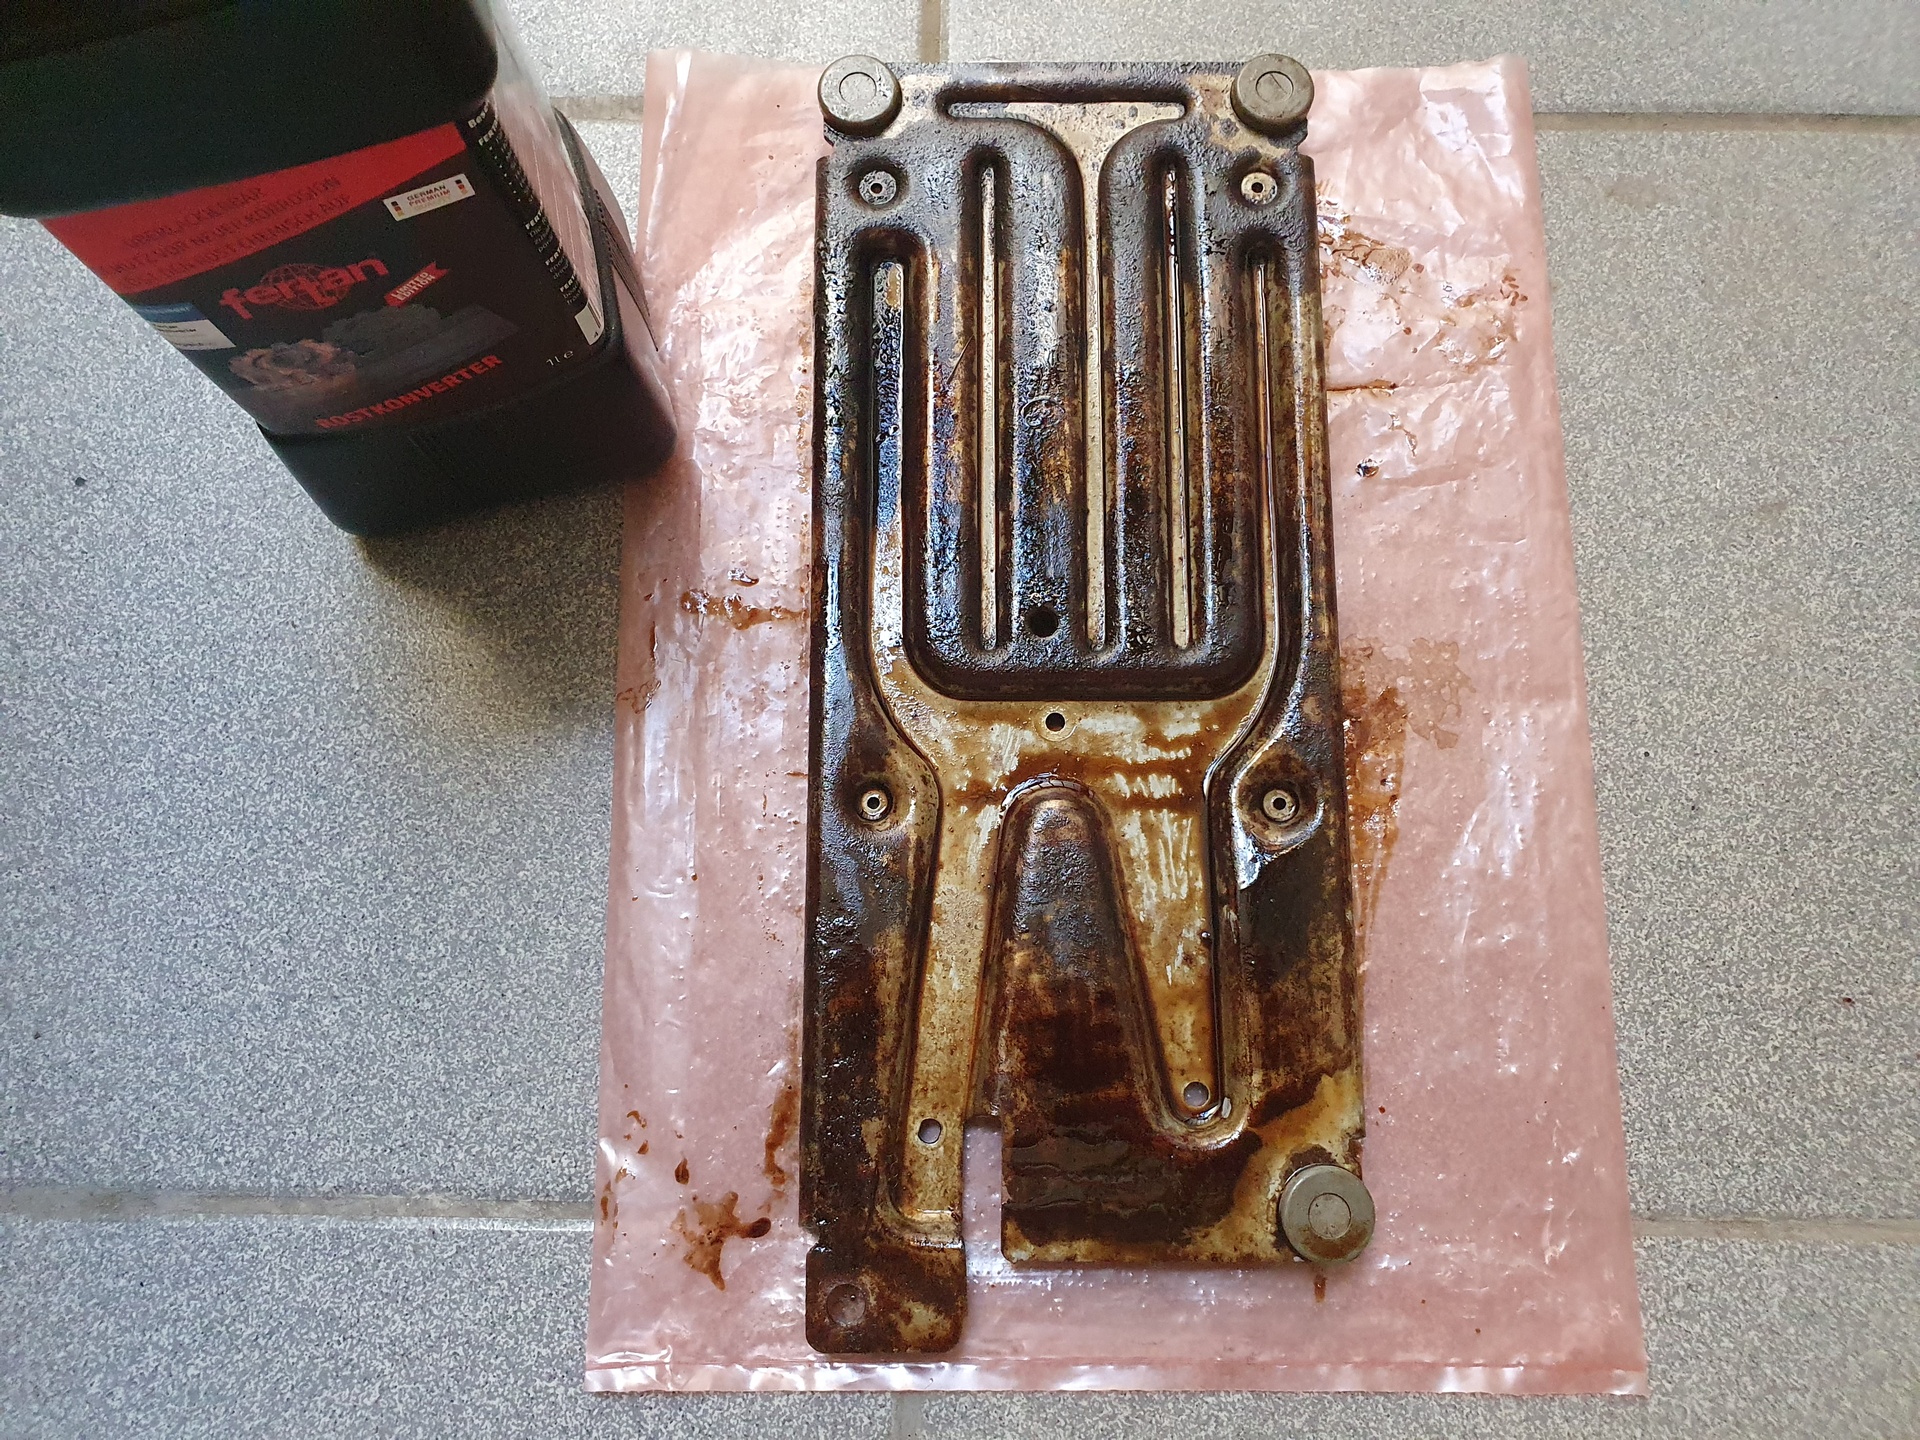
Fetran didn’t seem to interact with the rubber feet (I was afraid of that).
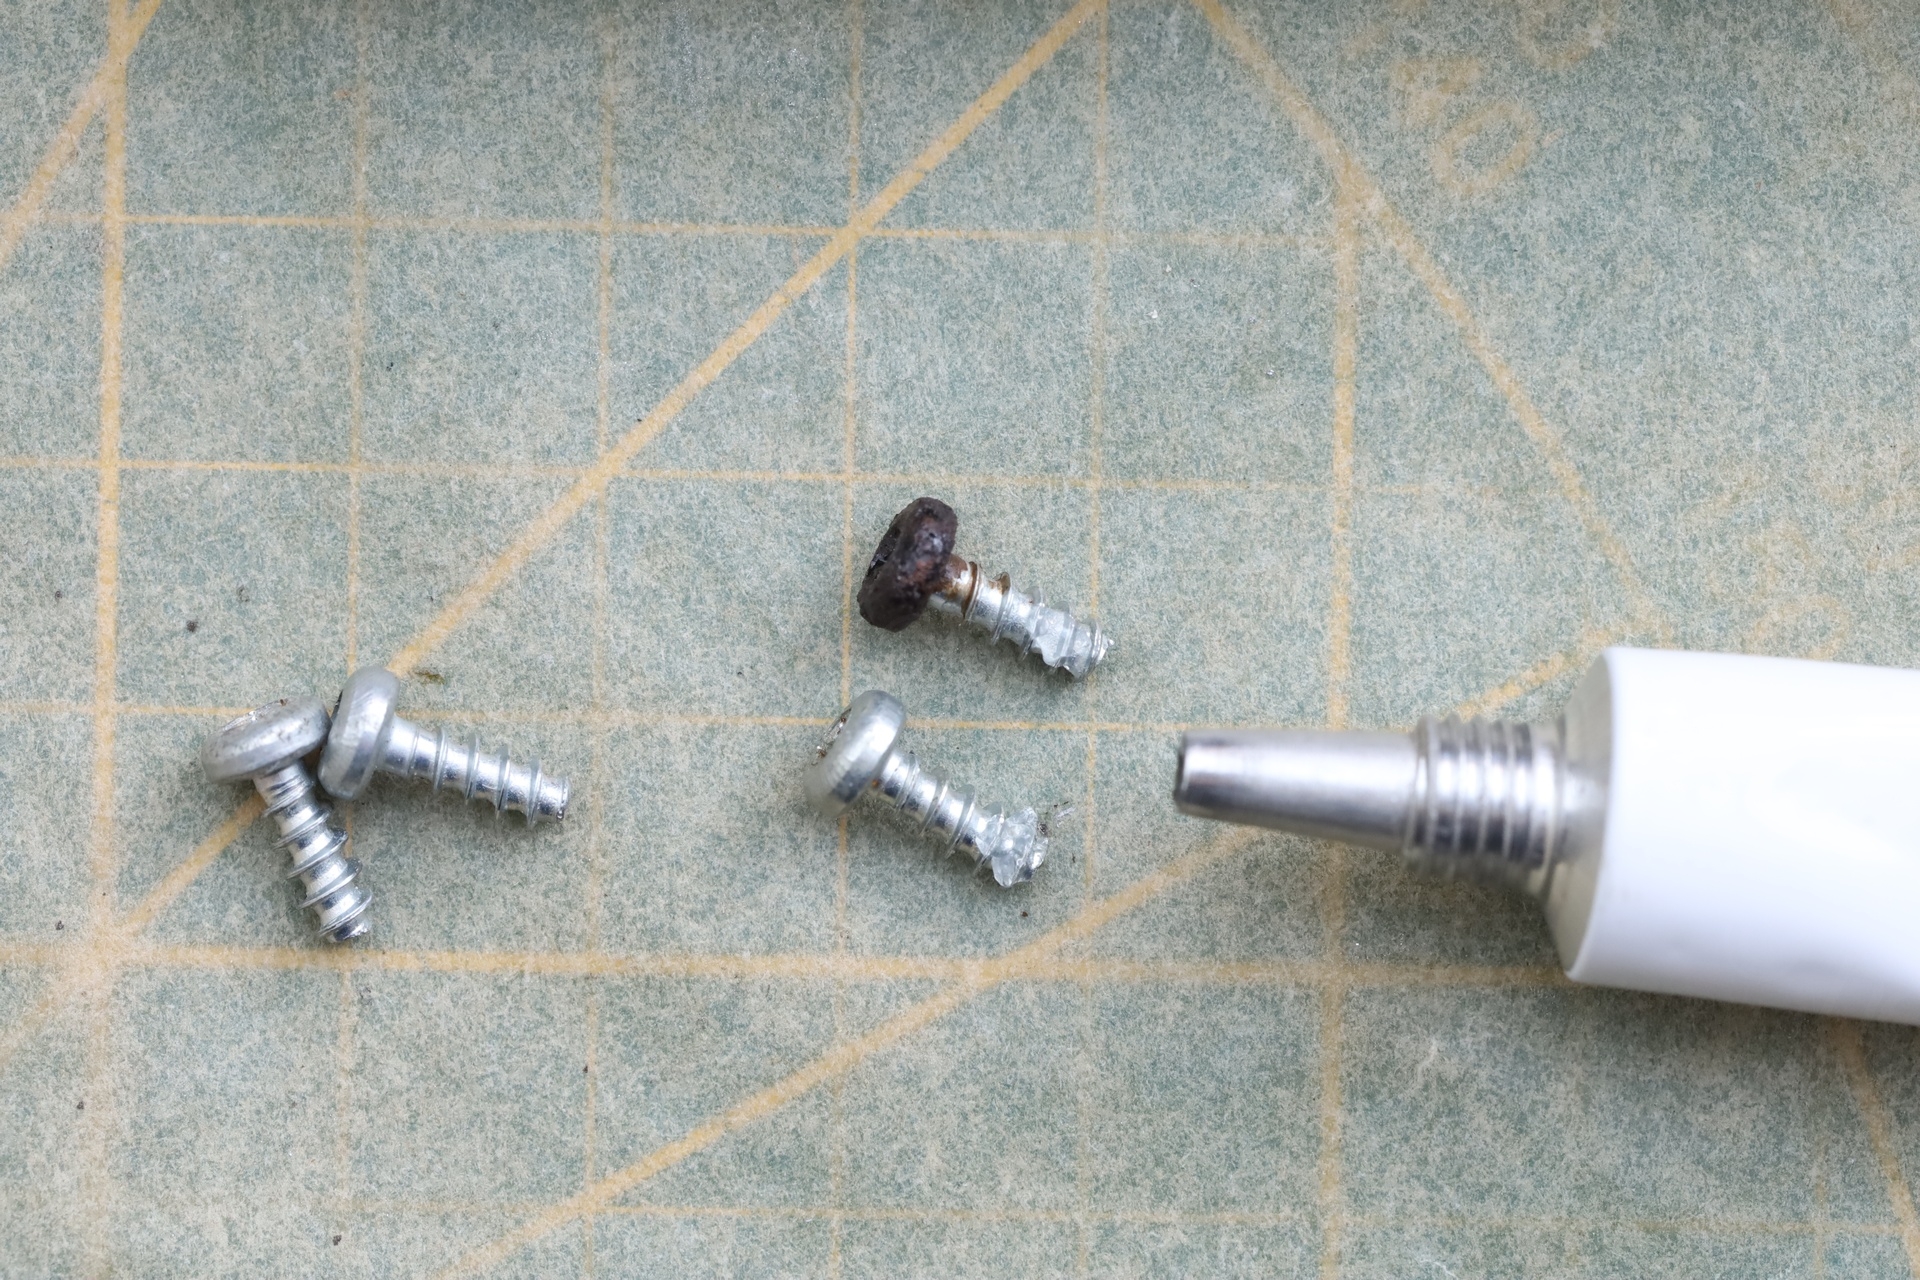
Then, a layer of primer, waiting few days, then 1 layer of Aluminum spray paint, then another one after few days. For painting, I have masked the rubber feet. The rusty screw-heads also got a drop of Fetran – and silicone before installation:
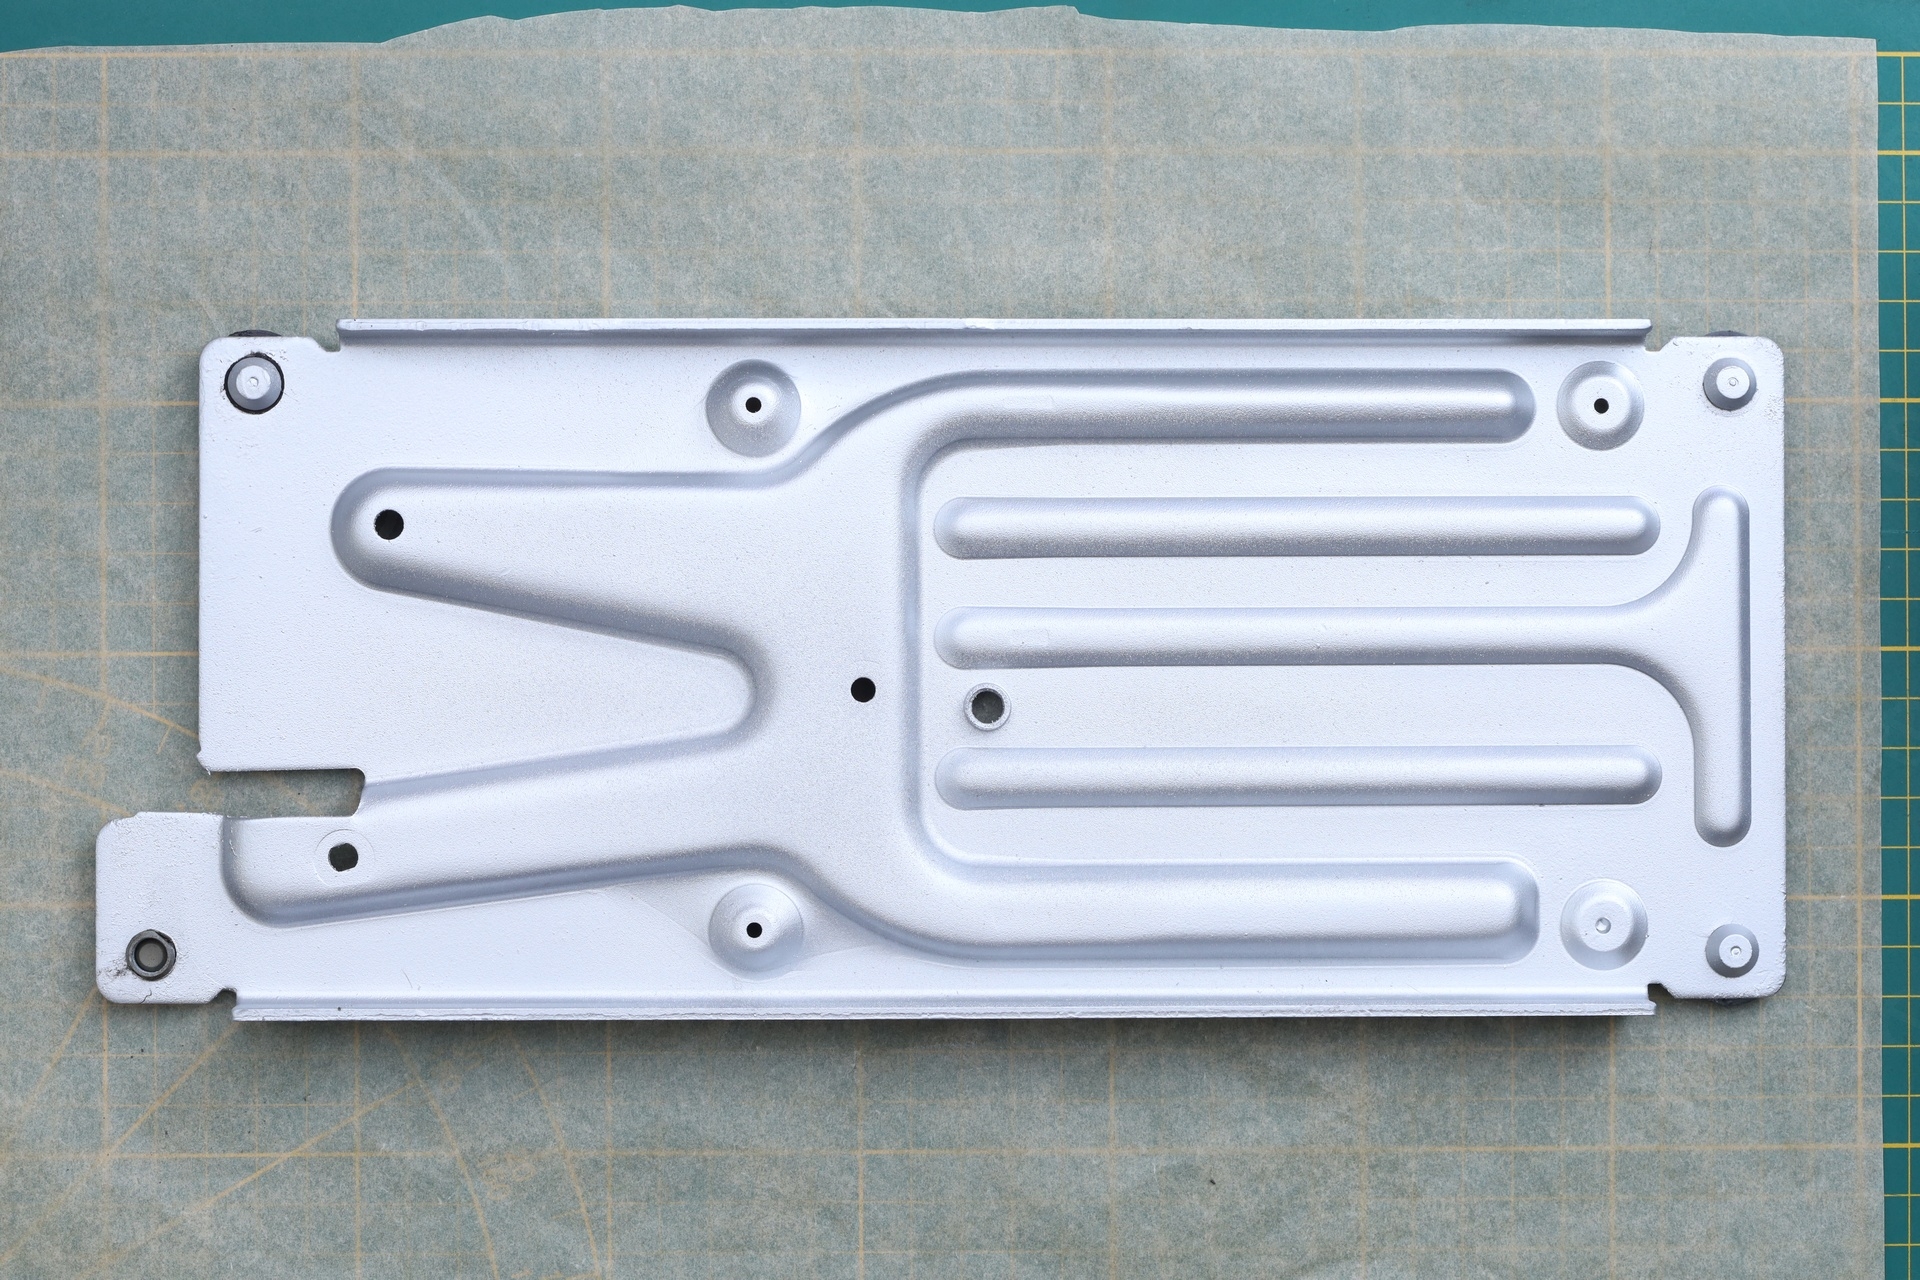
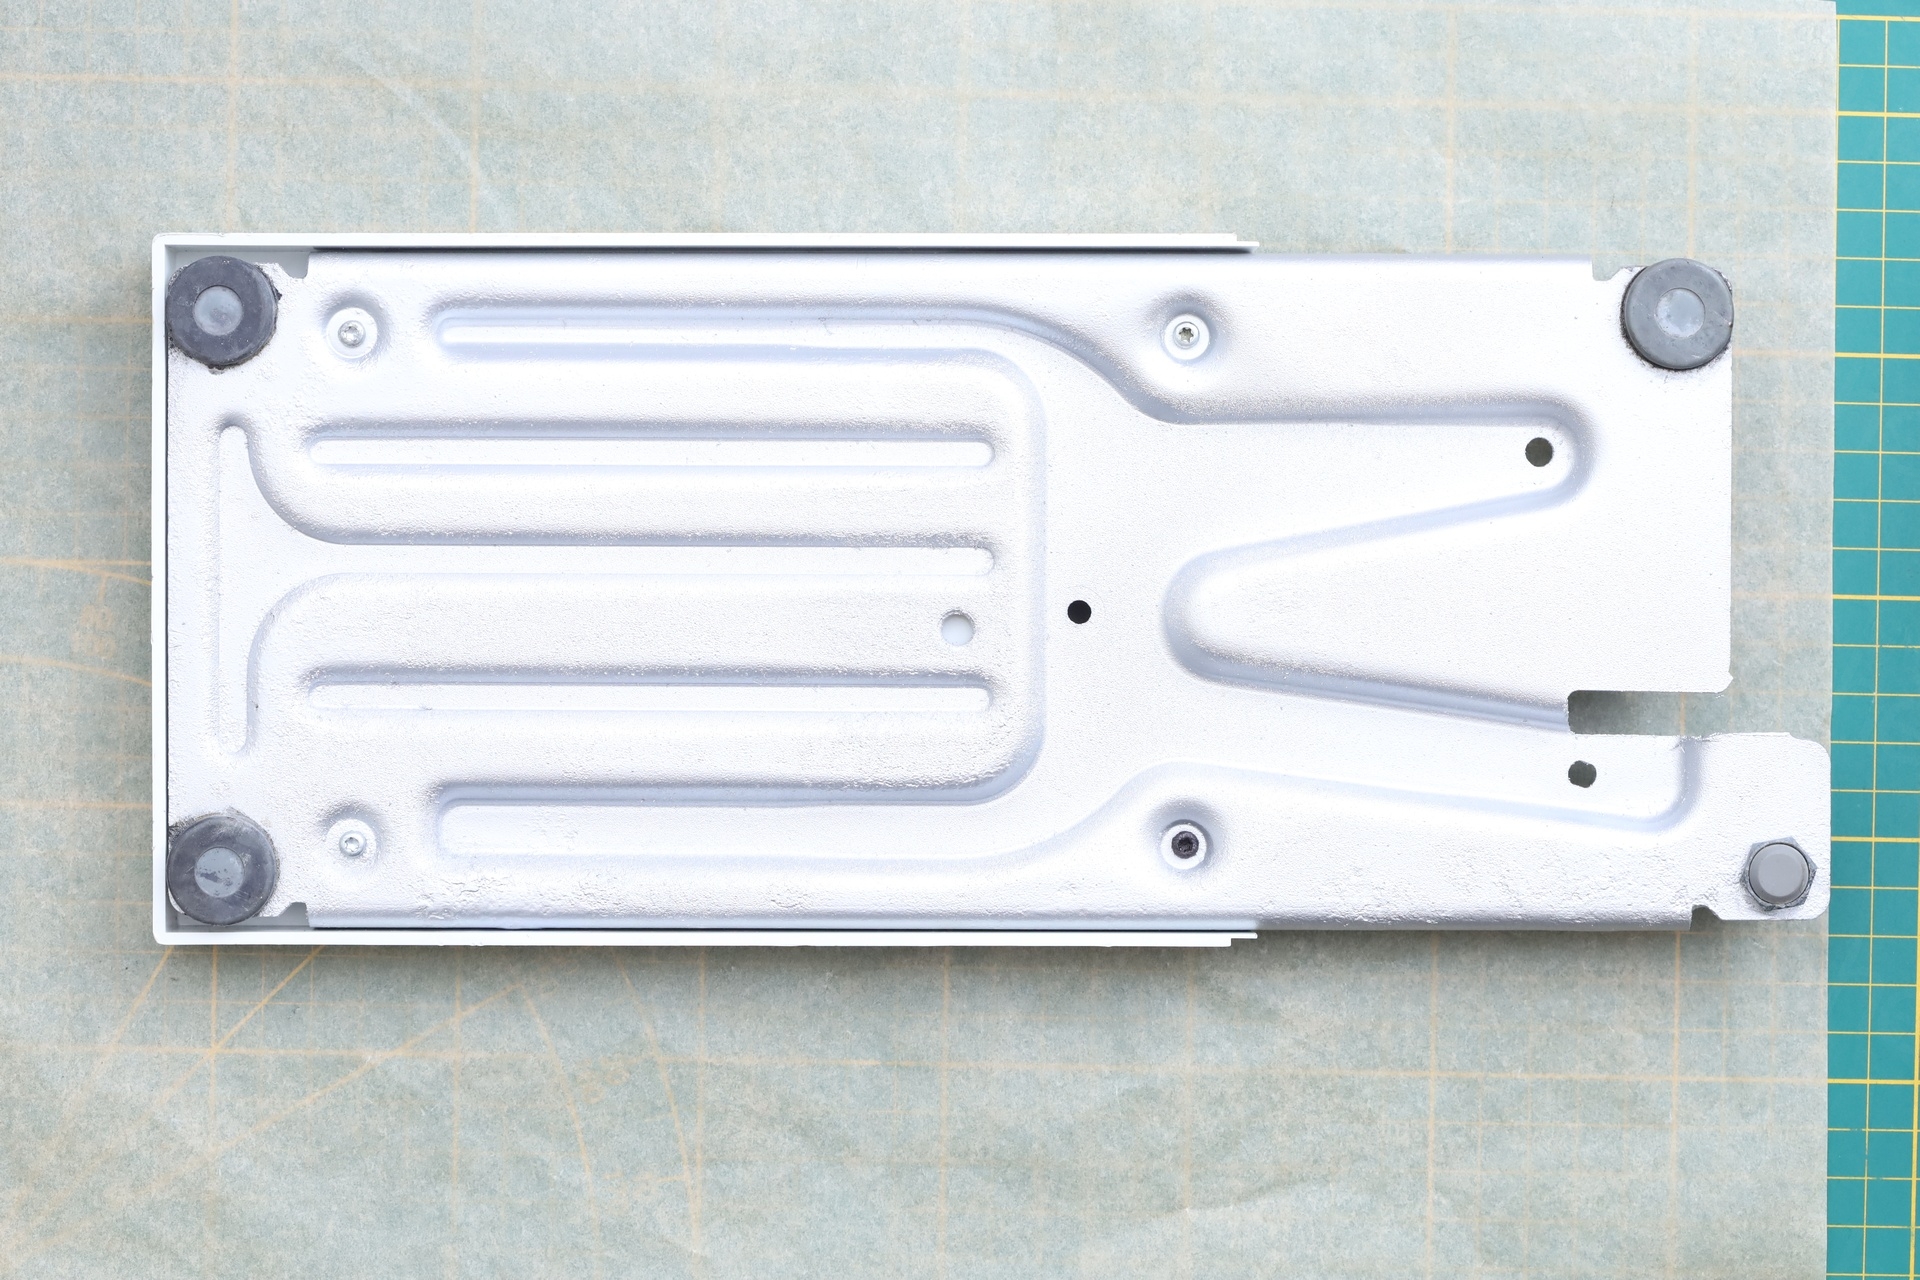
It feels I could have done a much better job if I had access to power tools and some supply of rubber feet – since they felt impossible to take out without tearing them down. Thus, I had to work around them. However, a lot of rust has been taken away – and thus, still better than what it used to be.
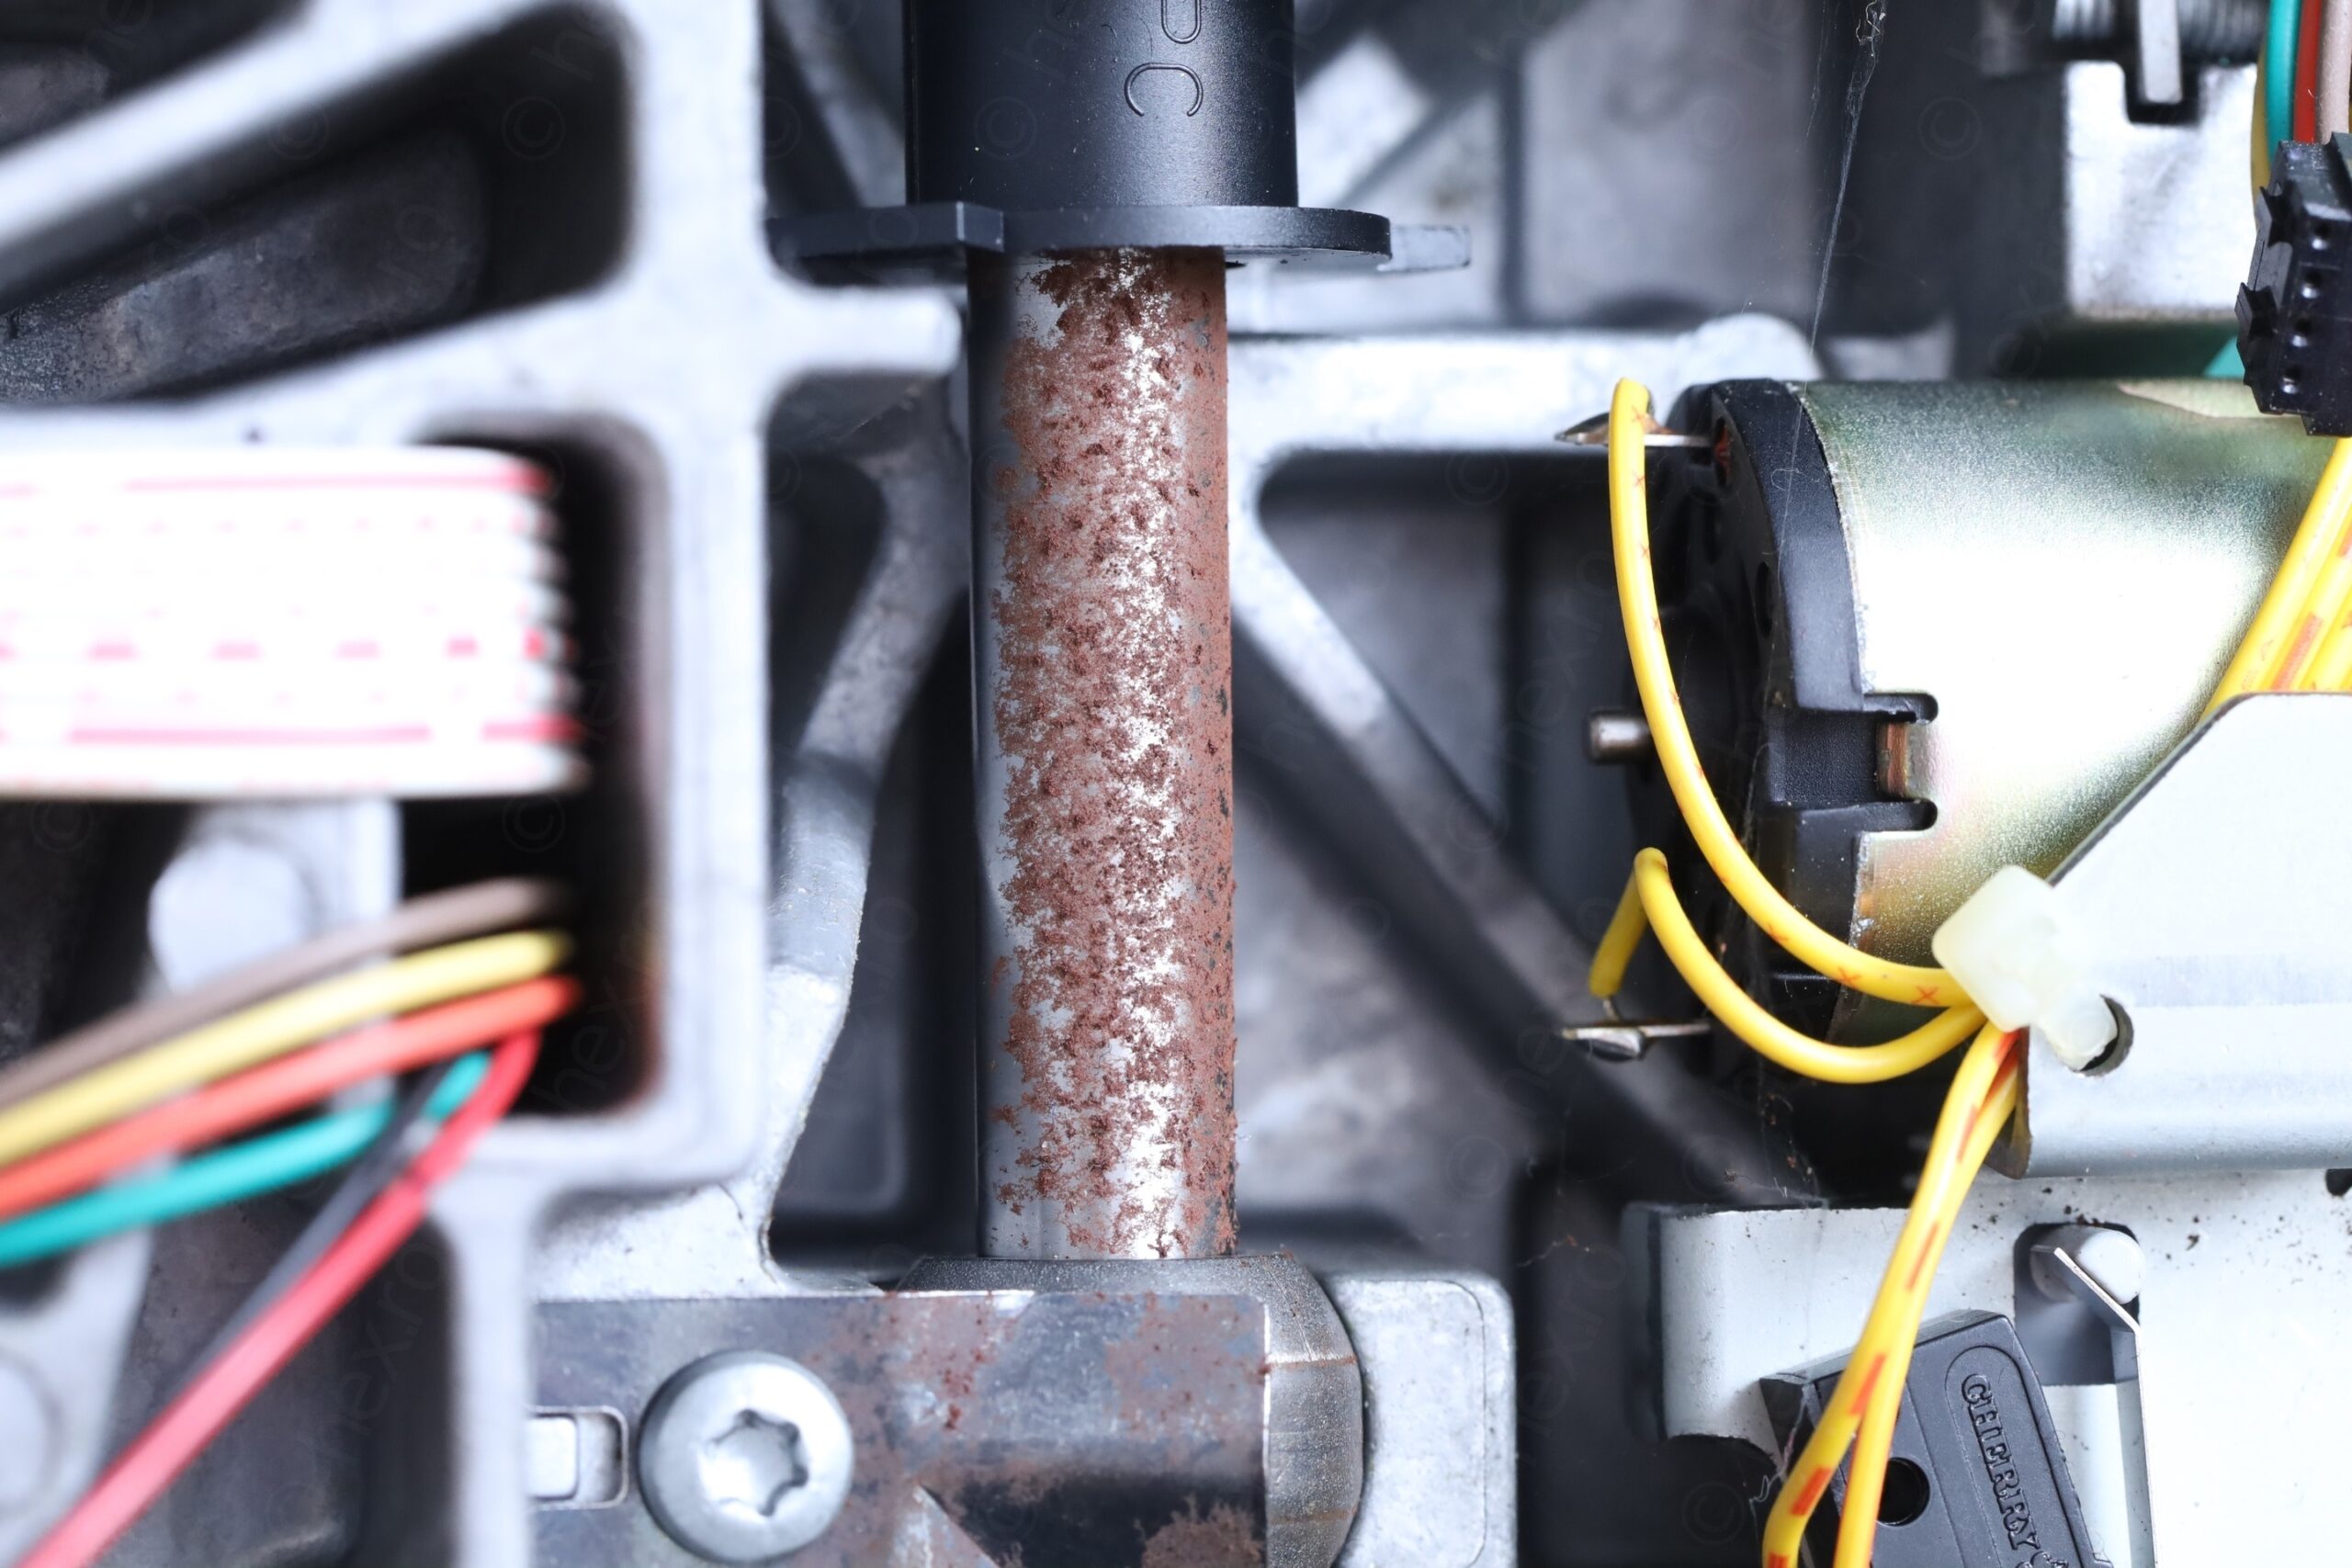
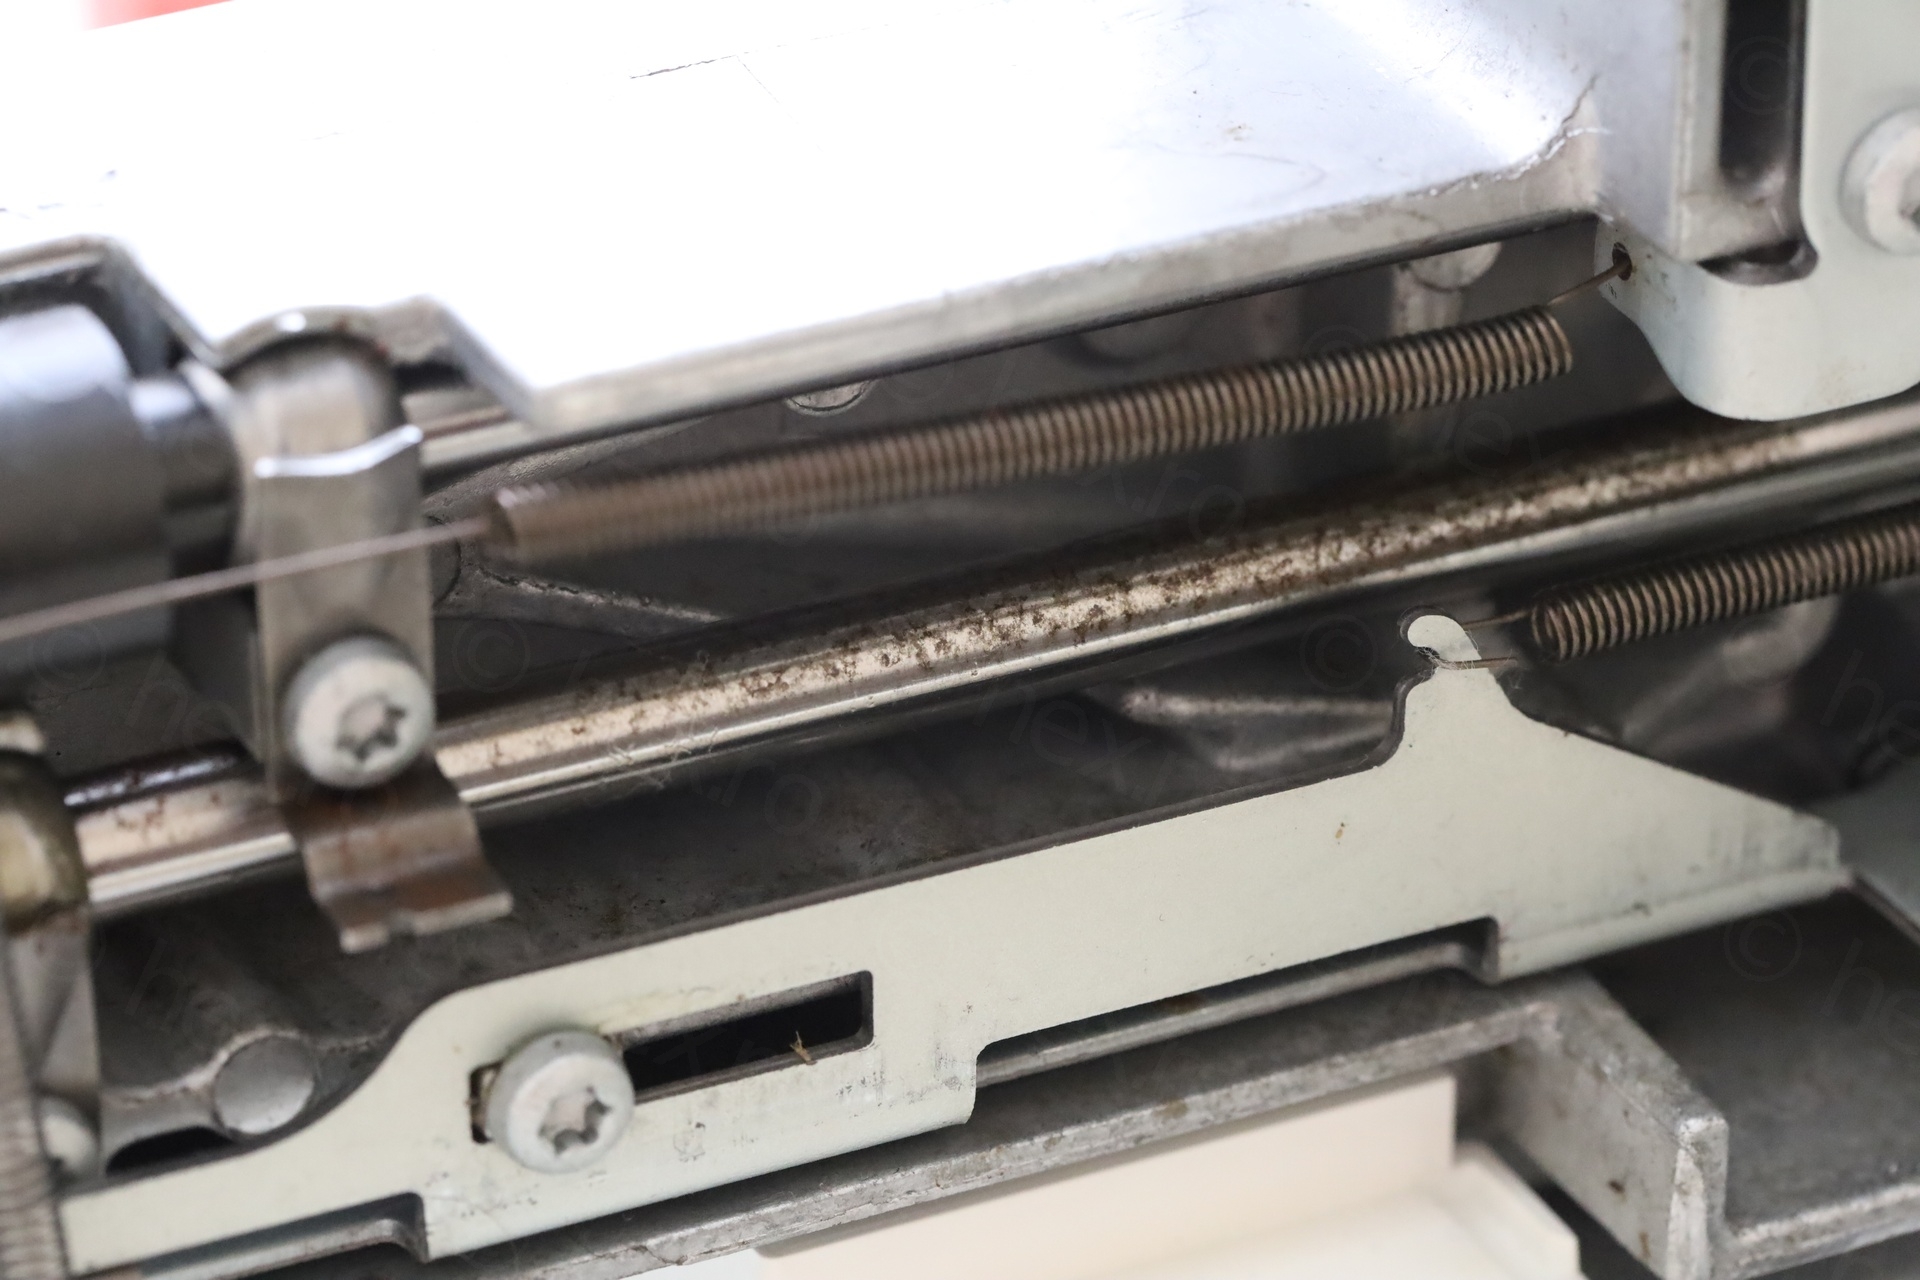
Rods, Needle Plate, plastics, etc …
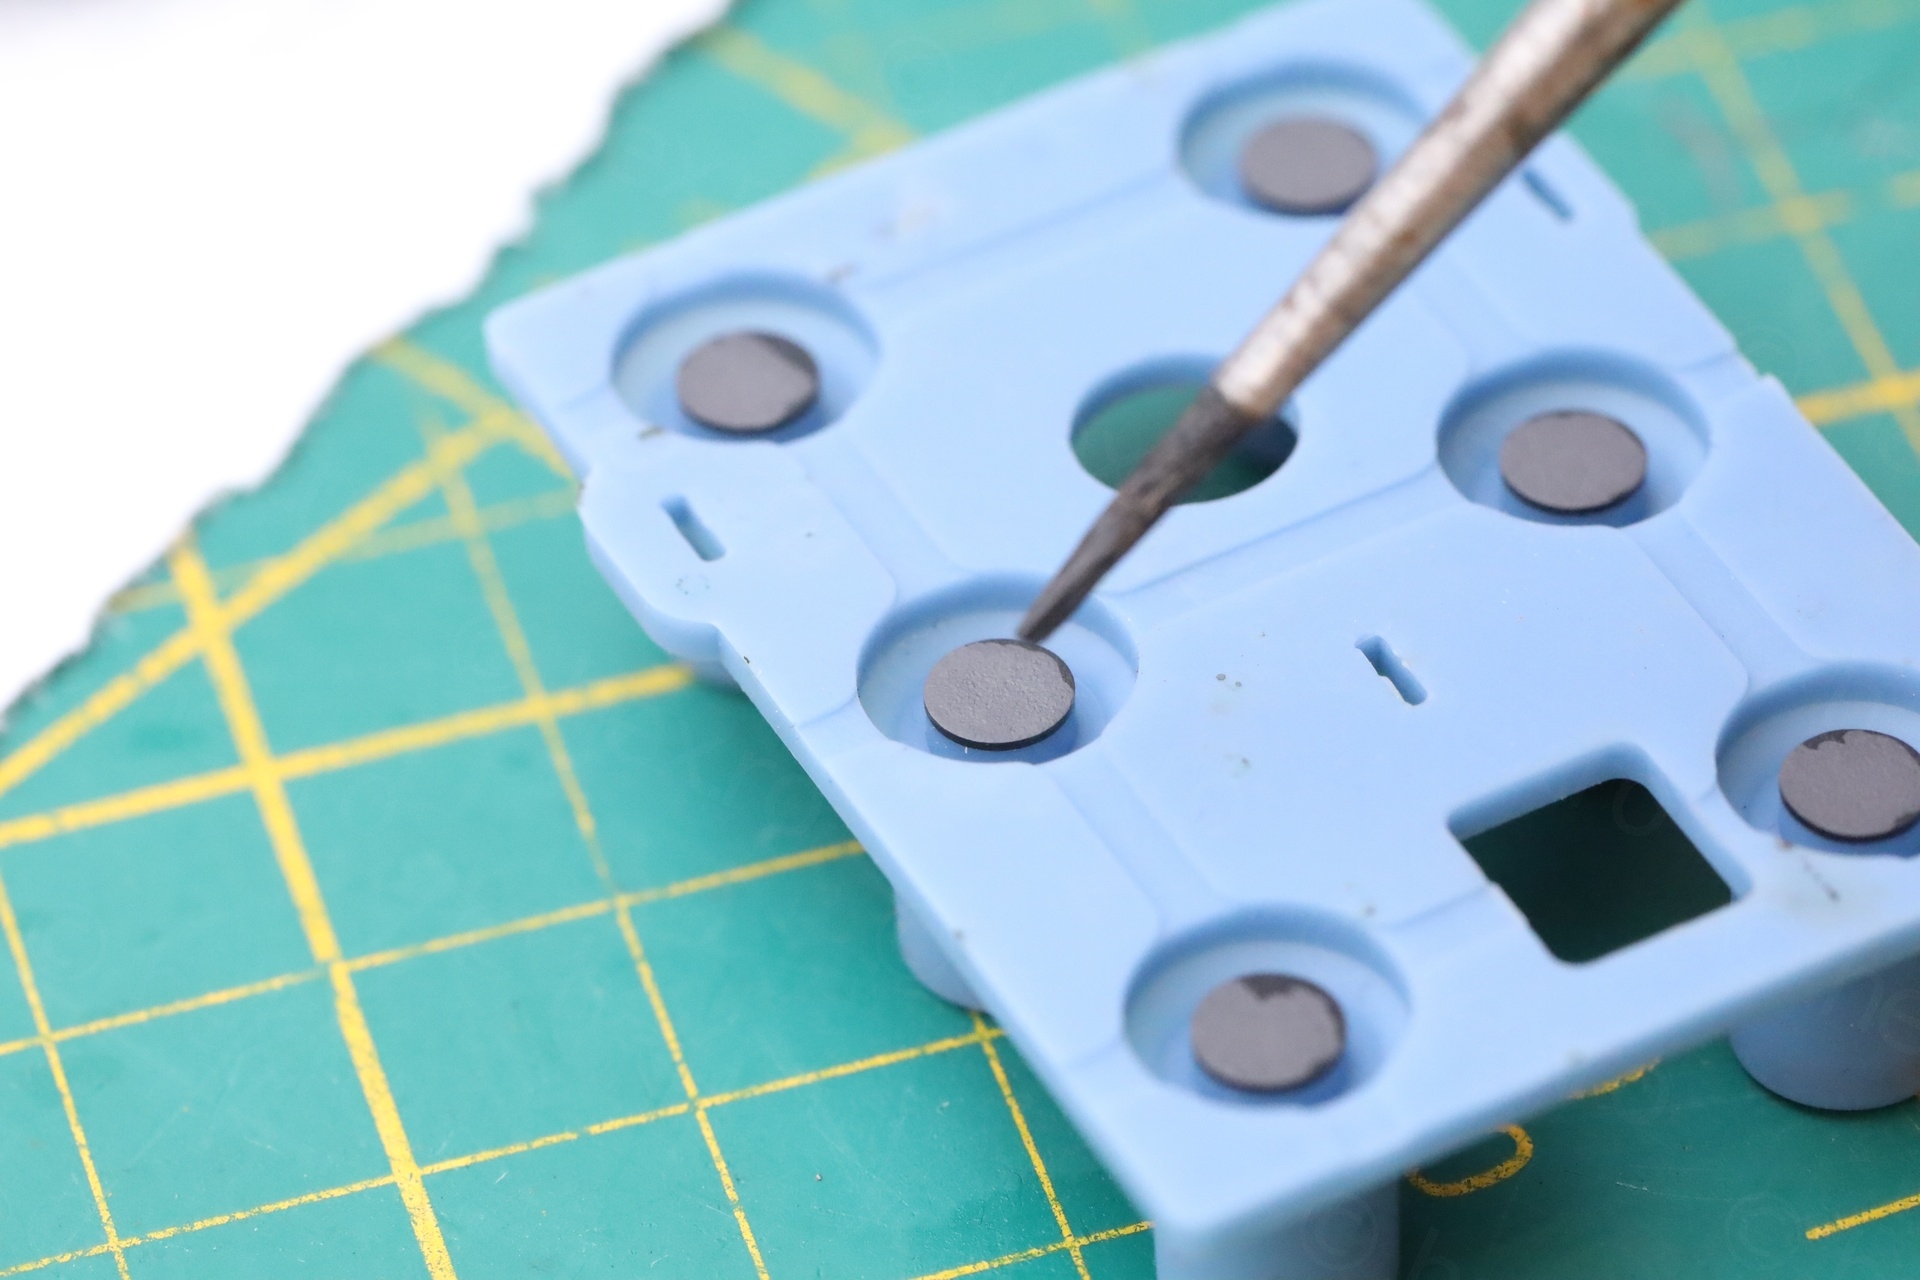
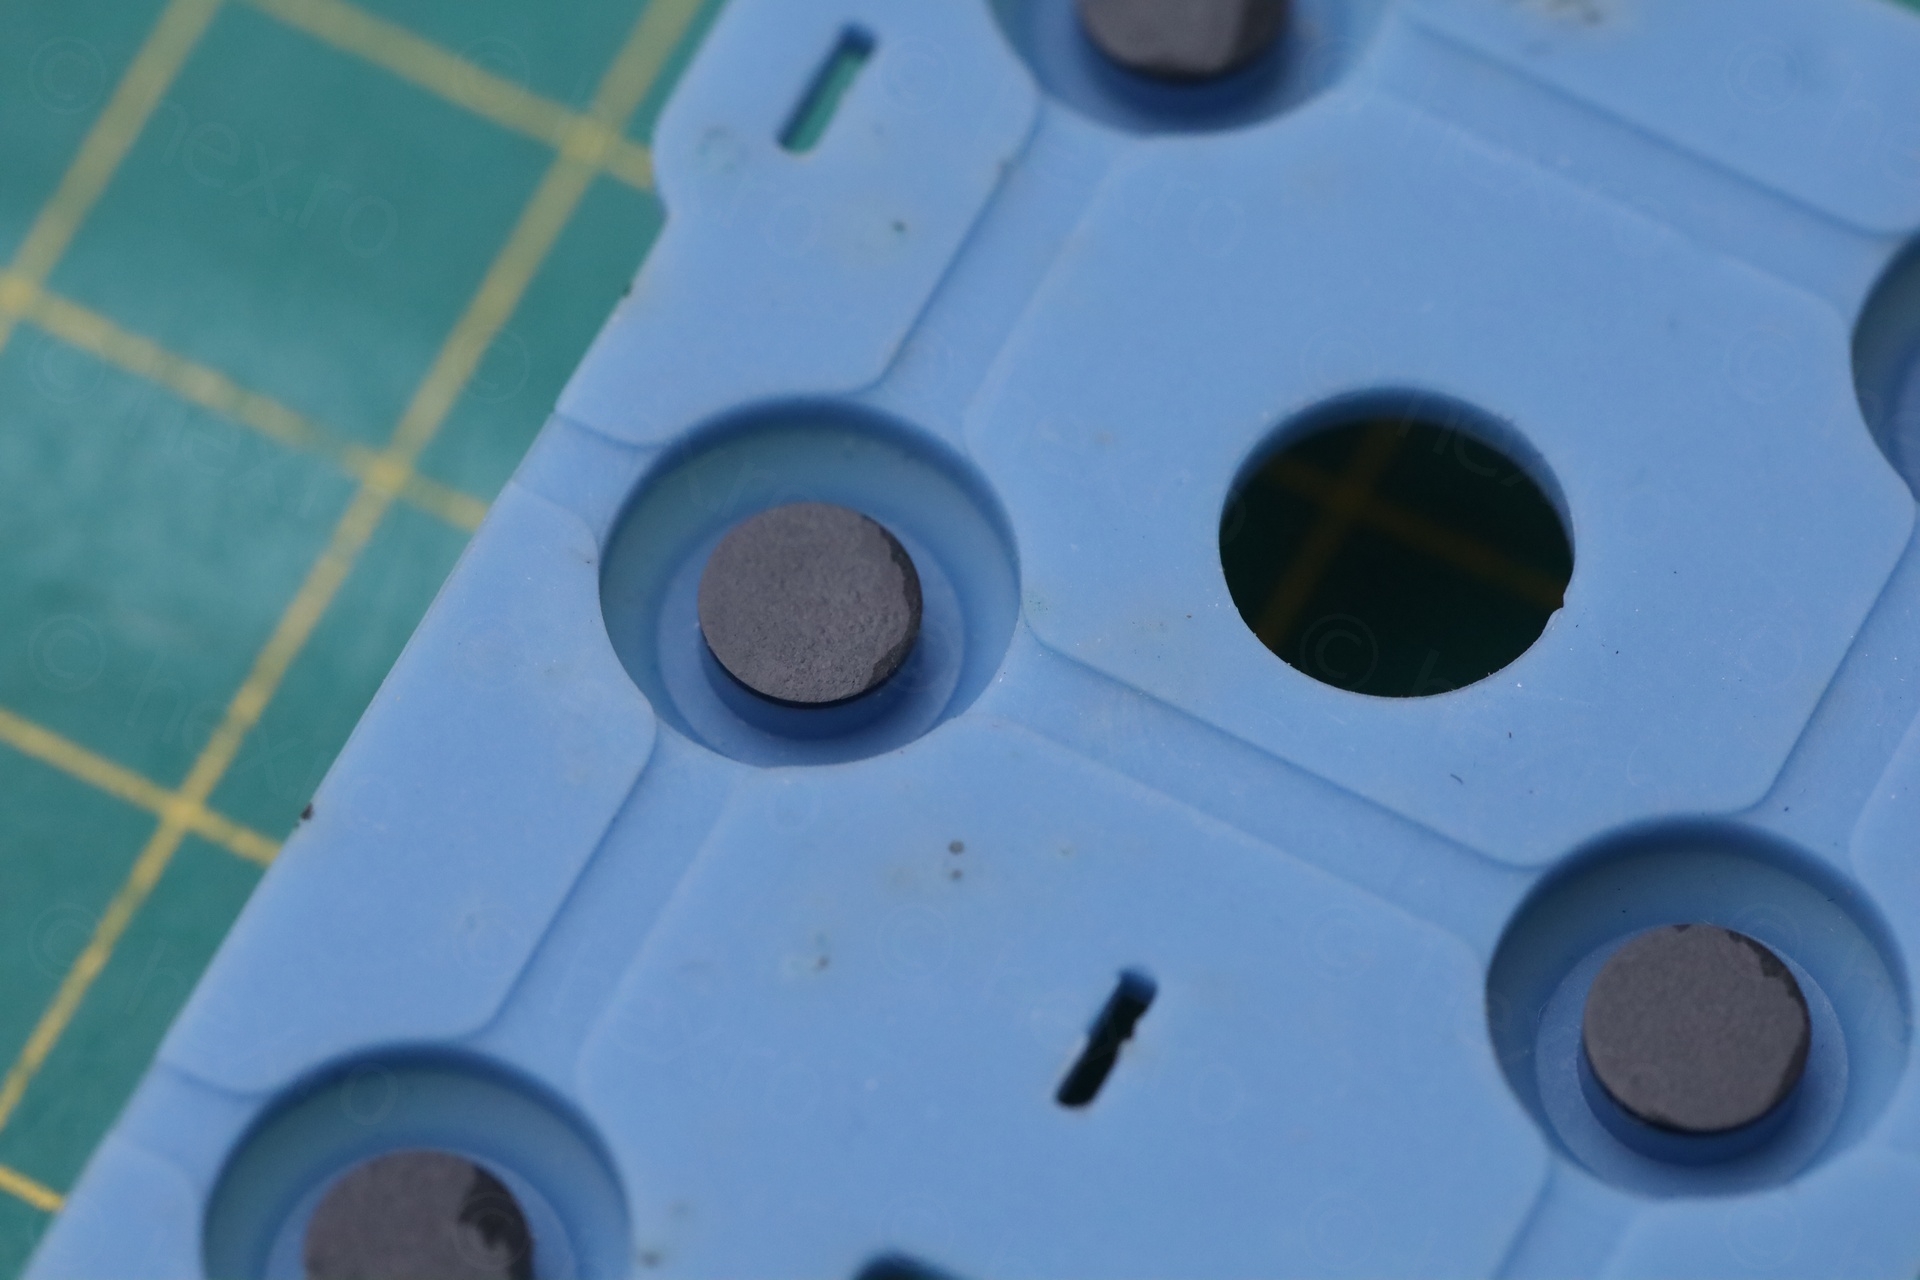
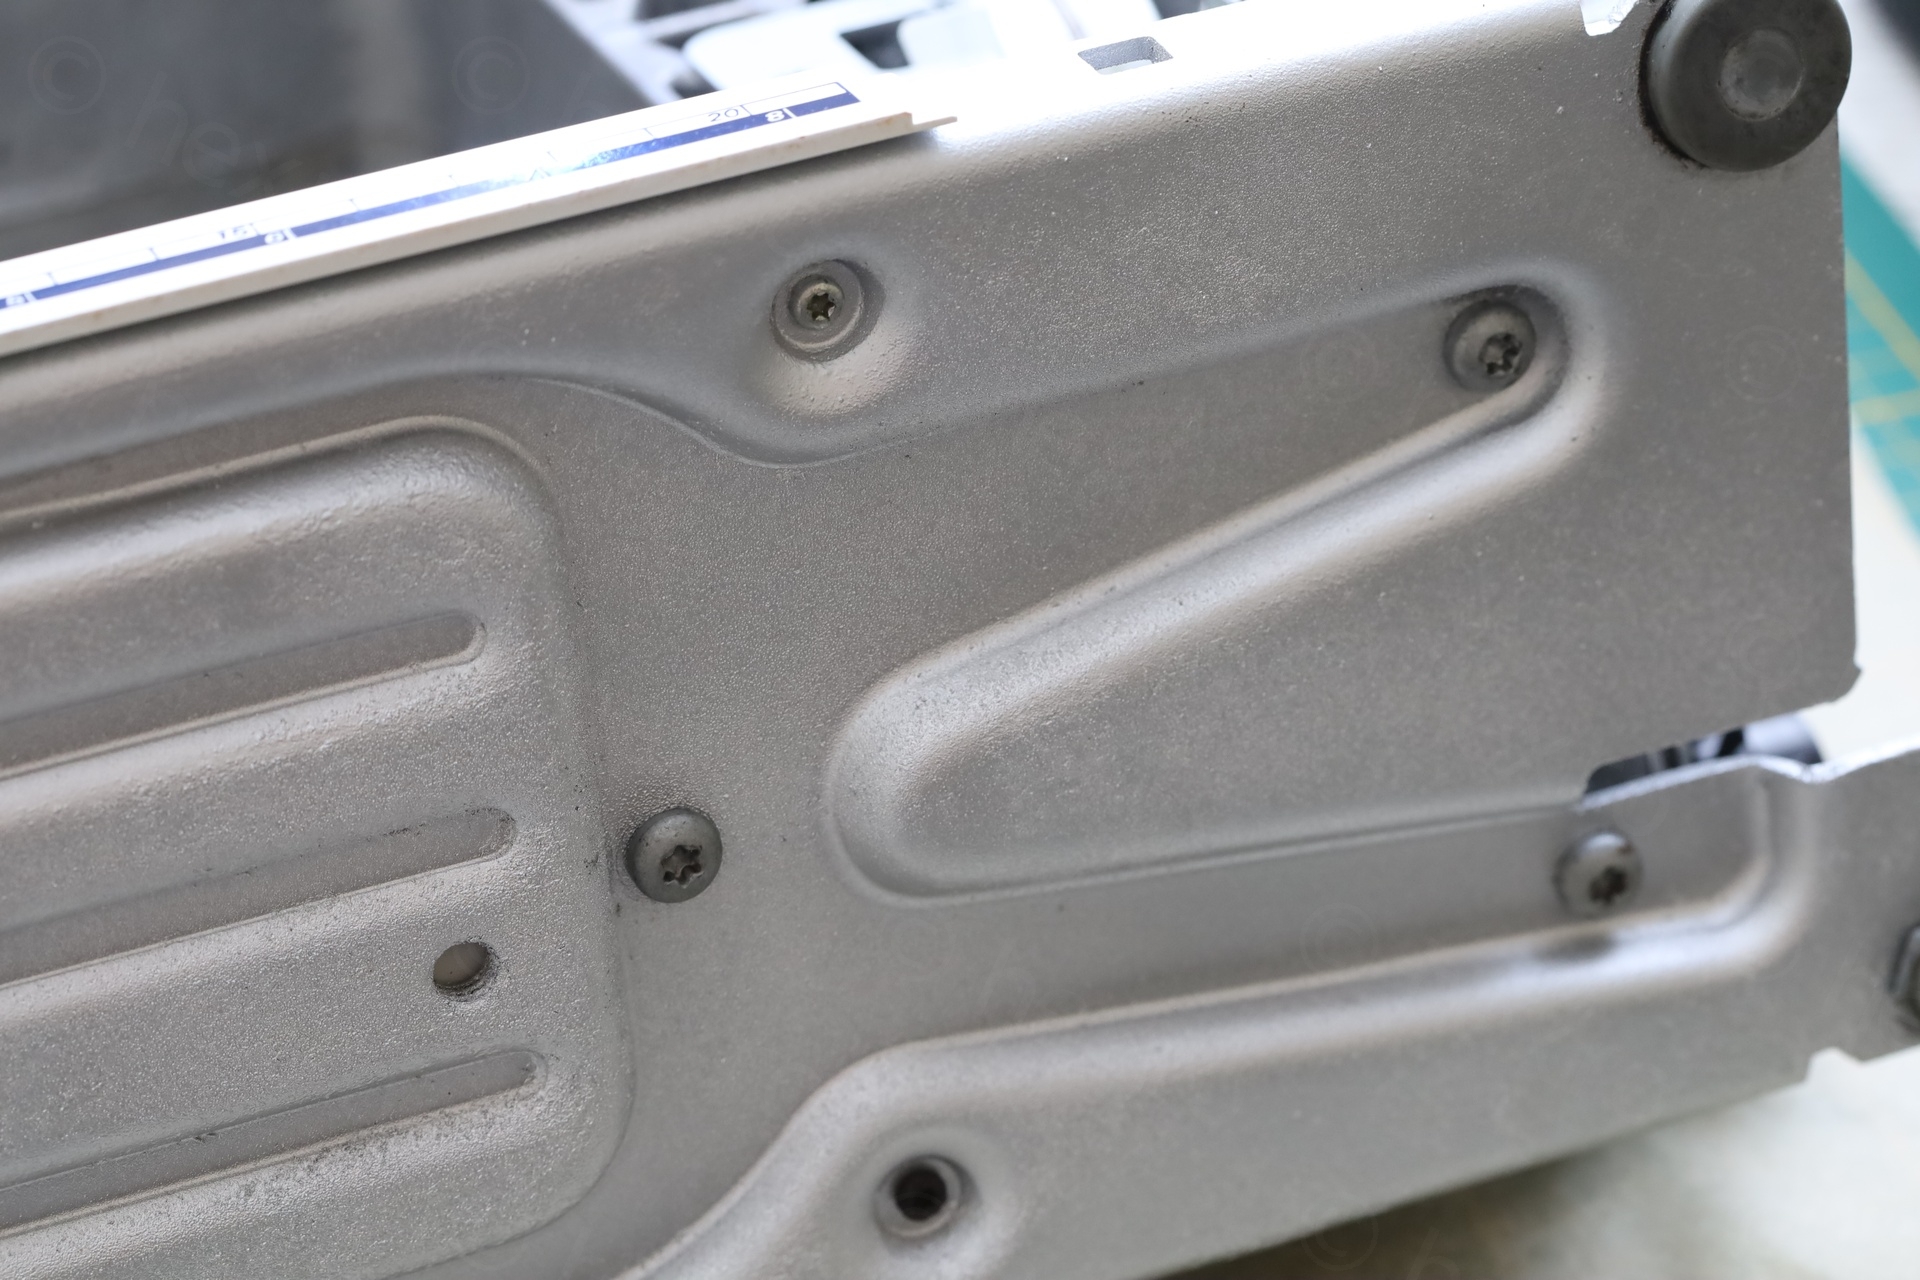
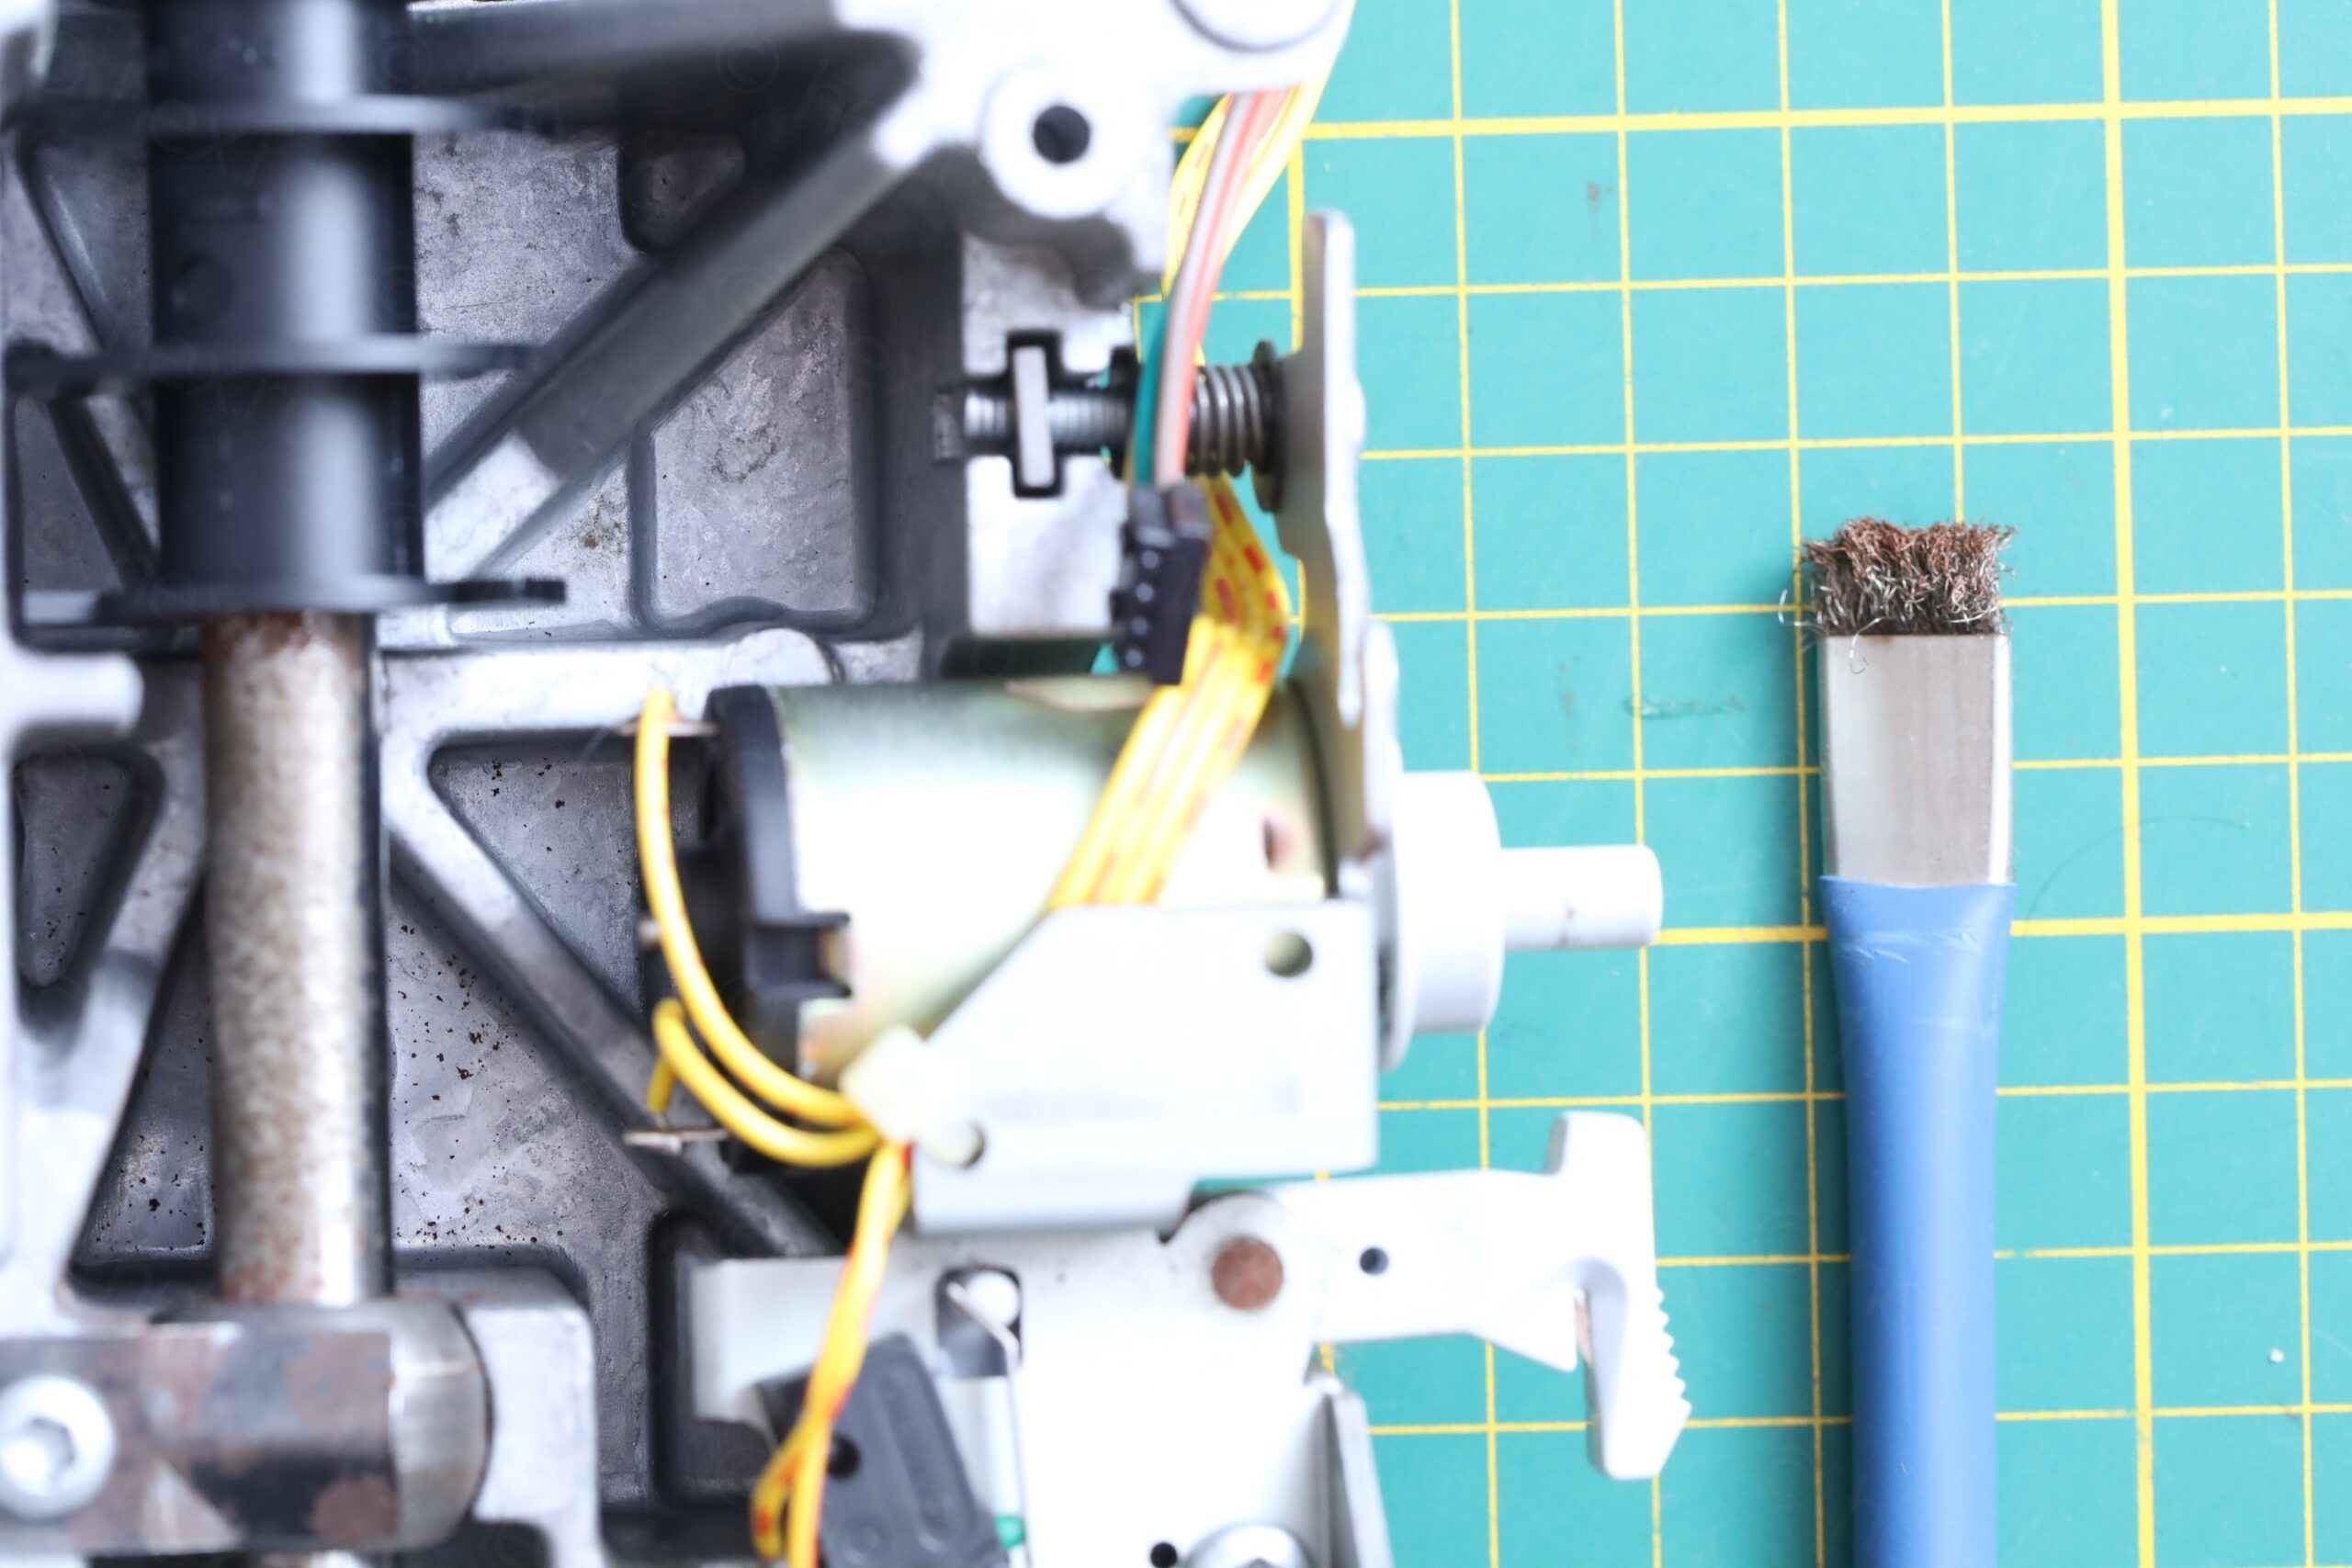
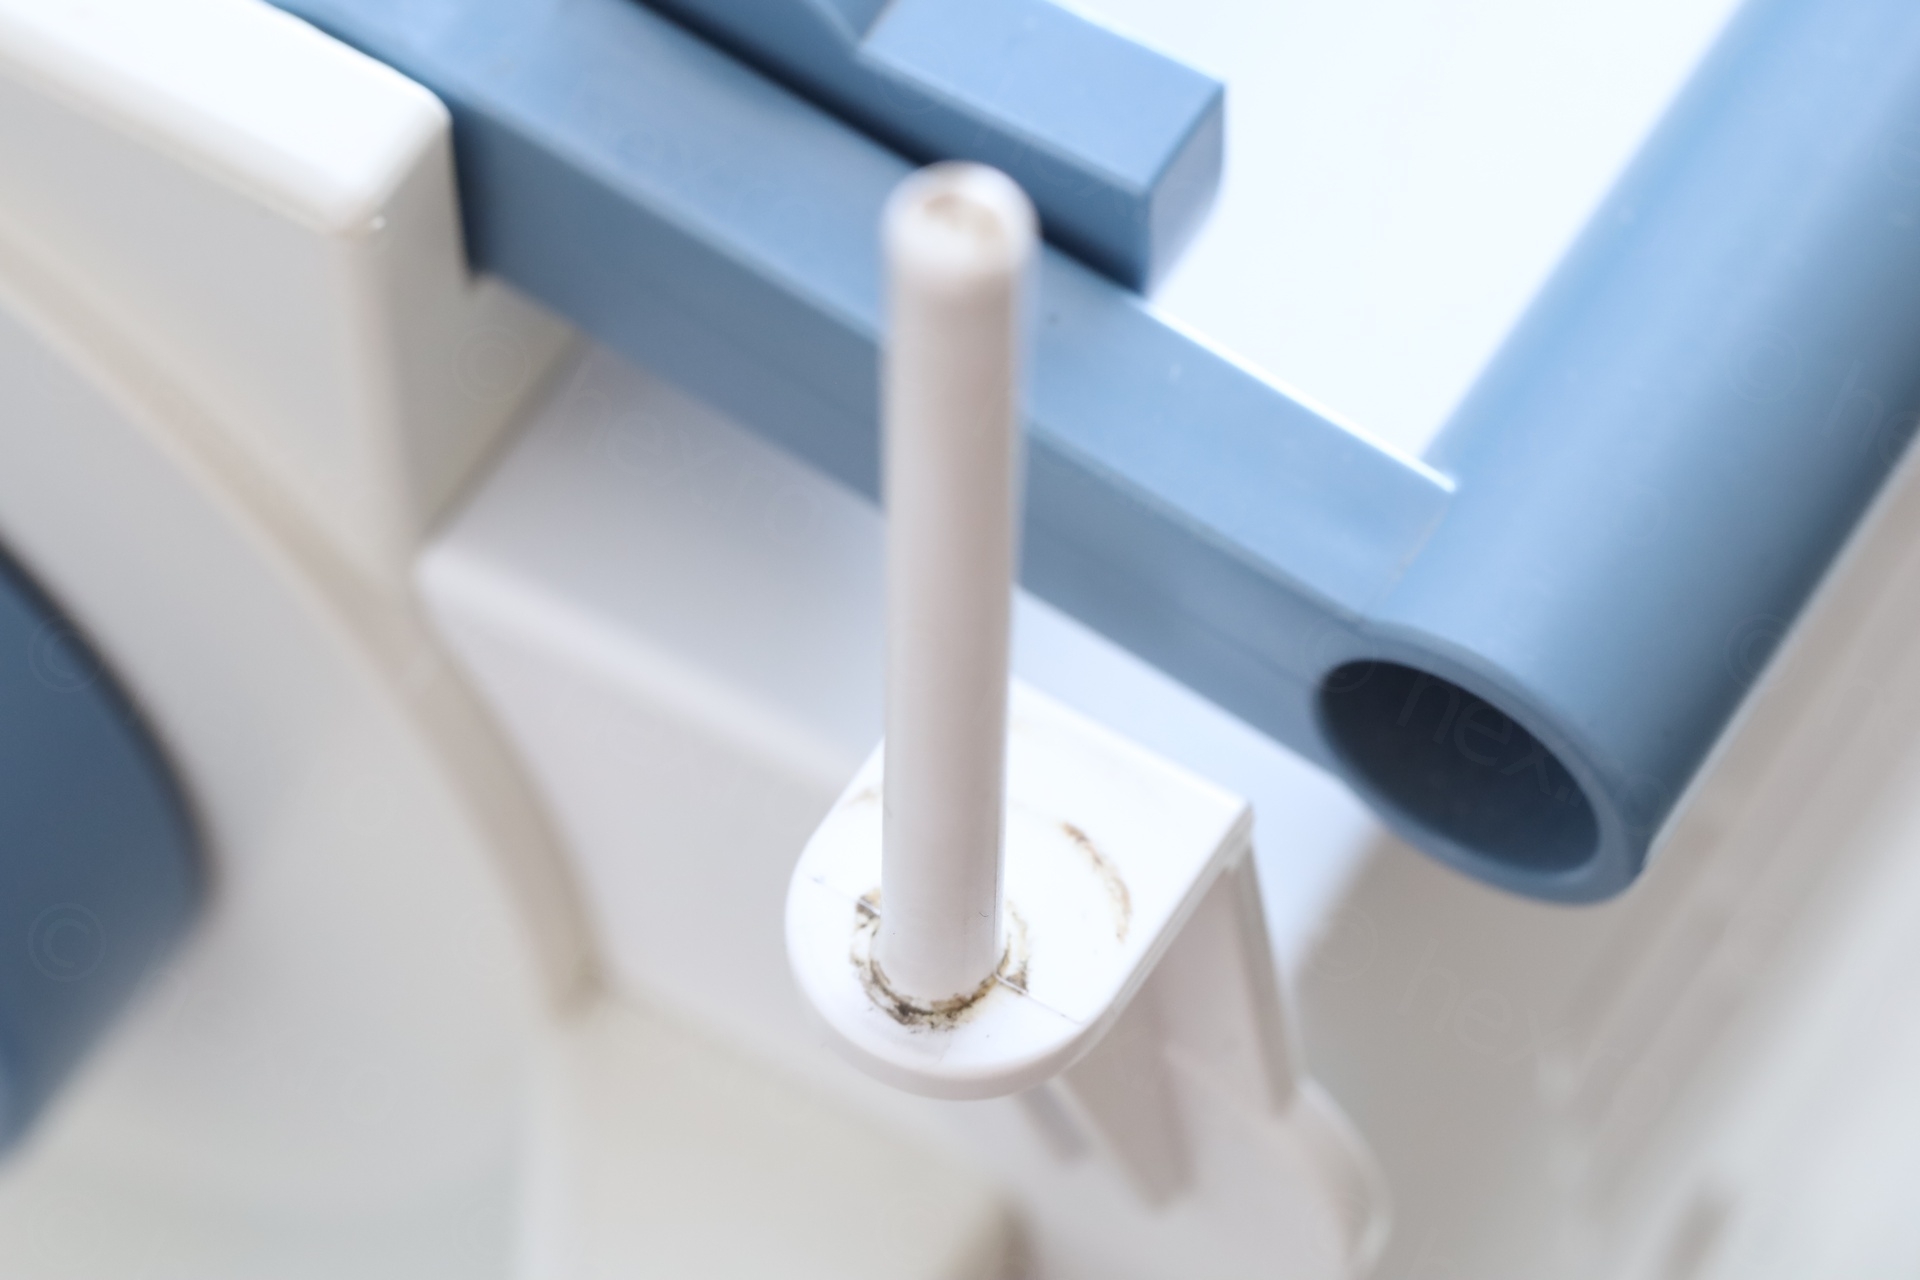
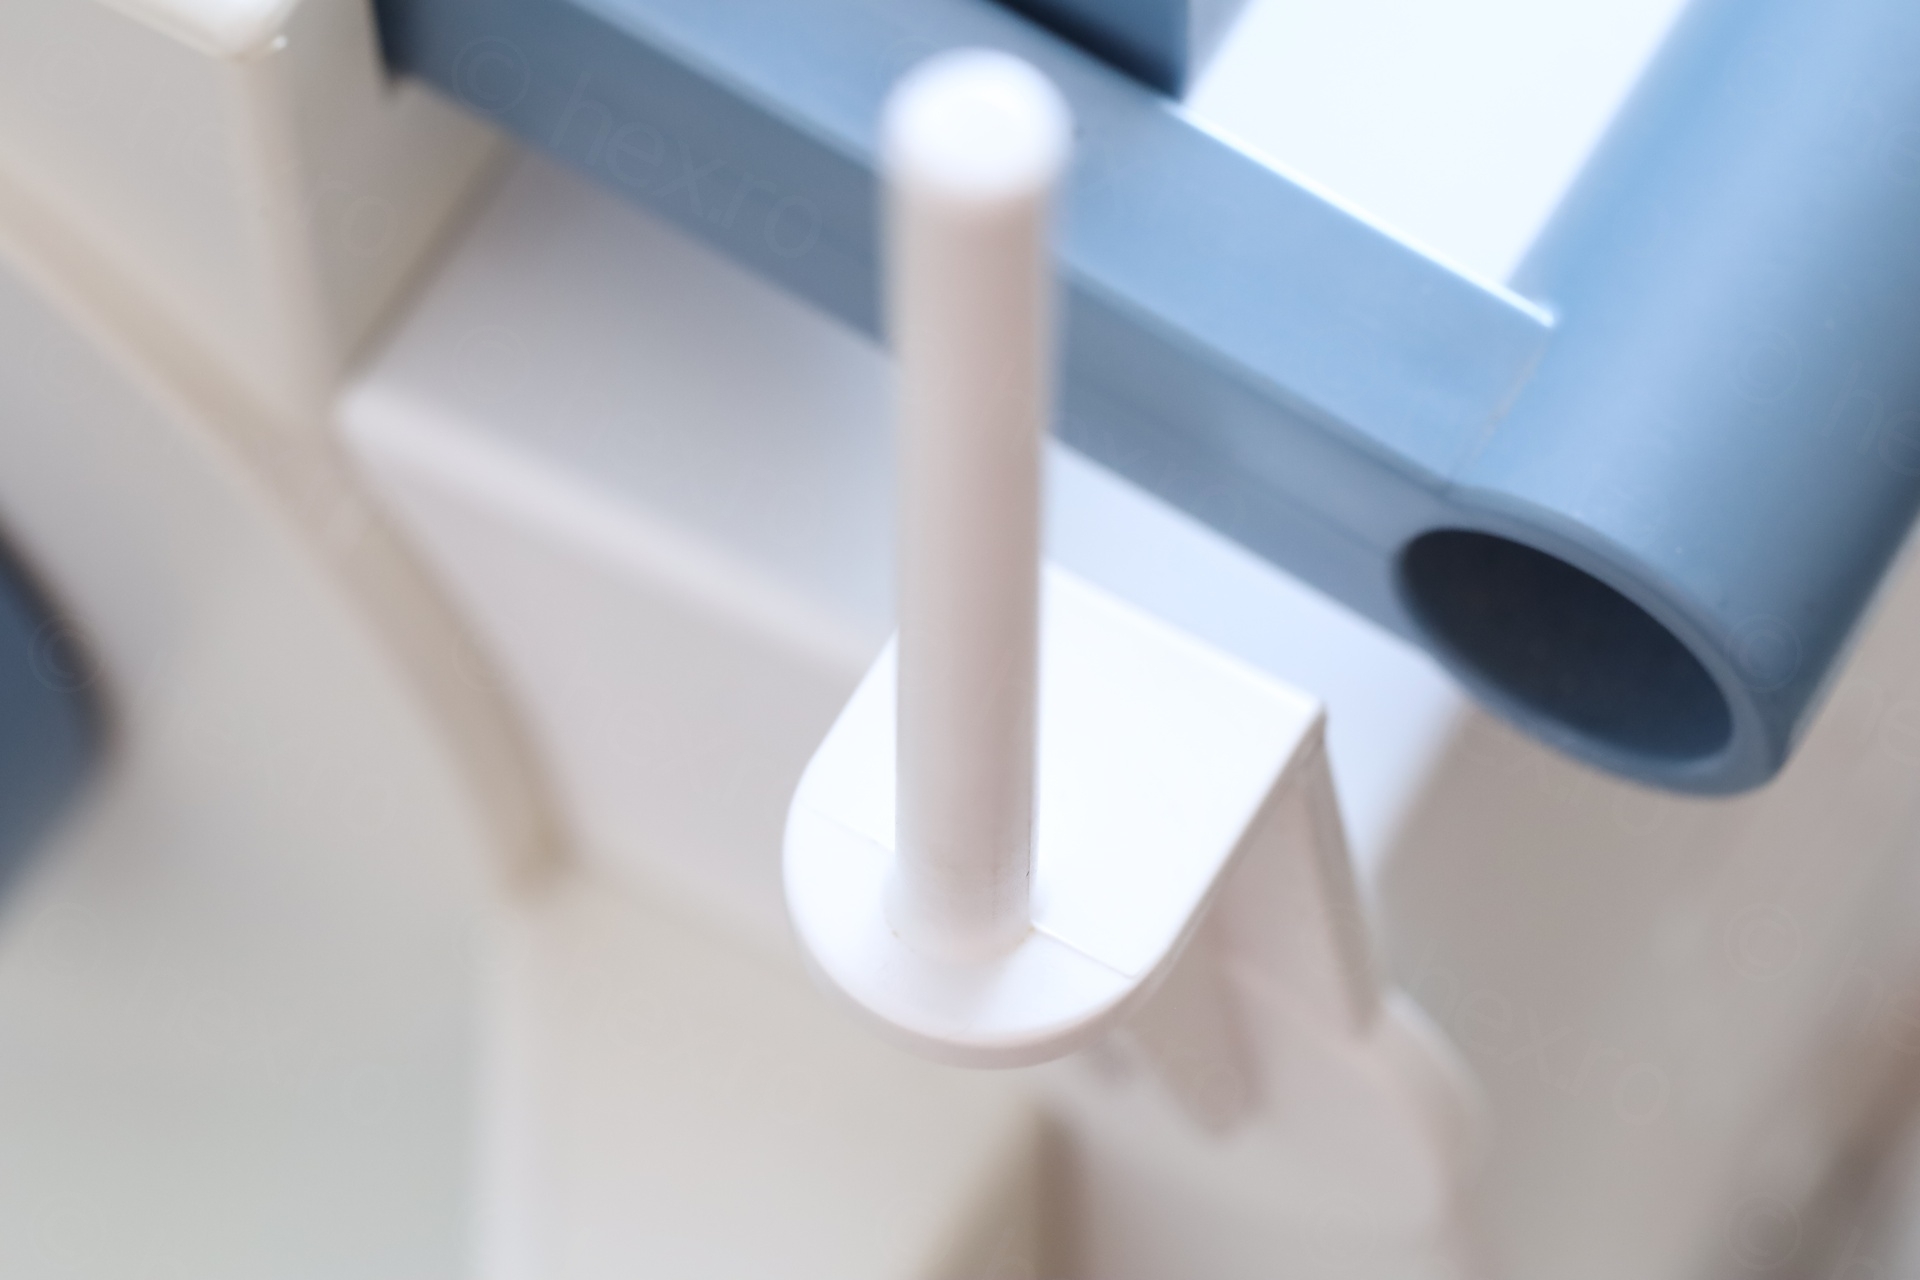
Some of the rods in the machine were rusty too. I didn’t feel brave enough to take the machine apart to clean them.. not confident I could put it back together. A wire brush followed by cleaning with IPA gave decent results in situ. I followed by applying PTFE grease, in the hope that it will stay attached and delay further corrosion:

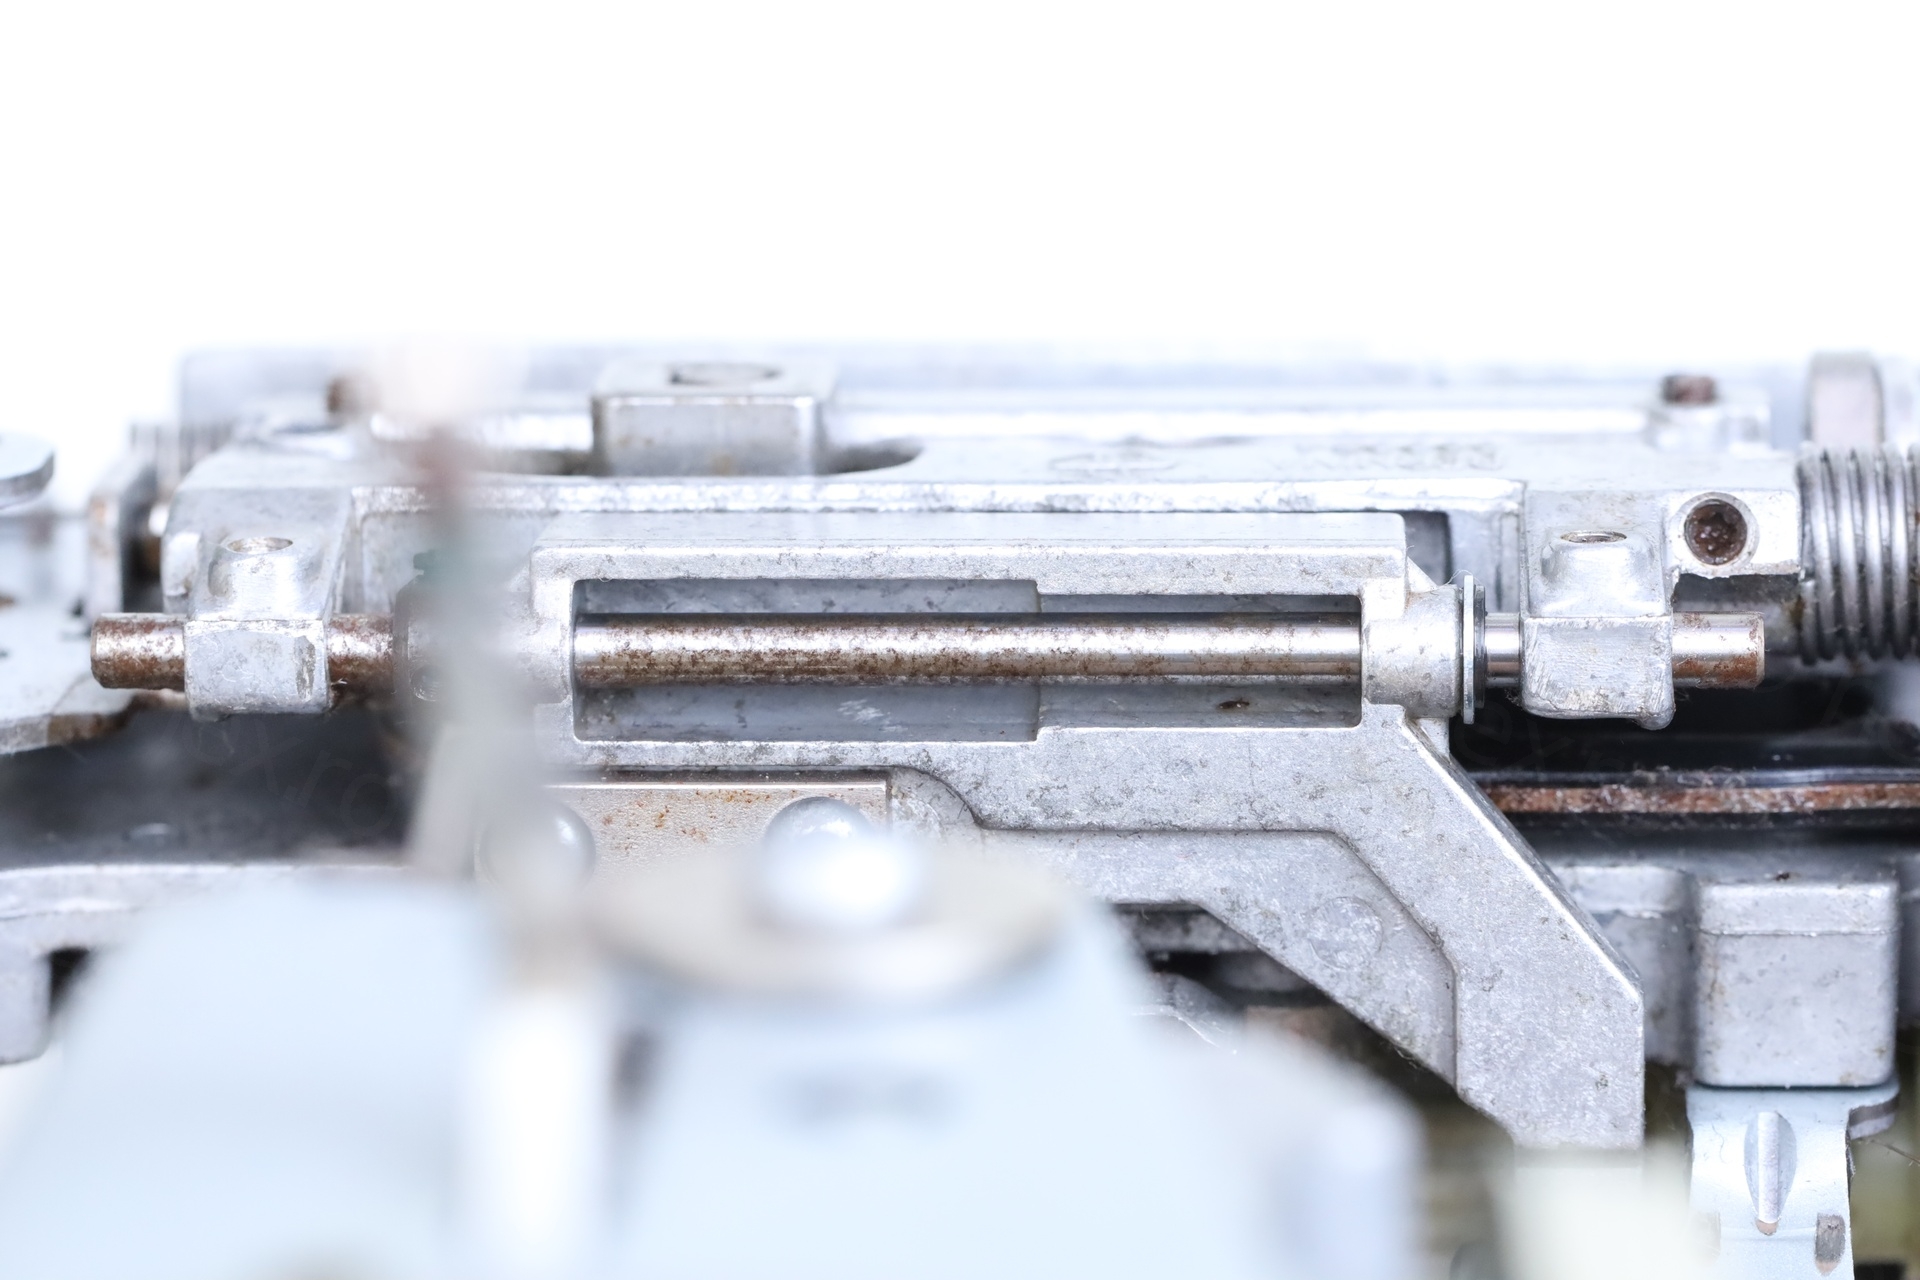

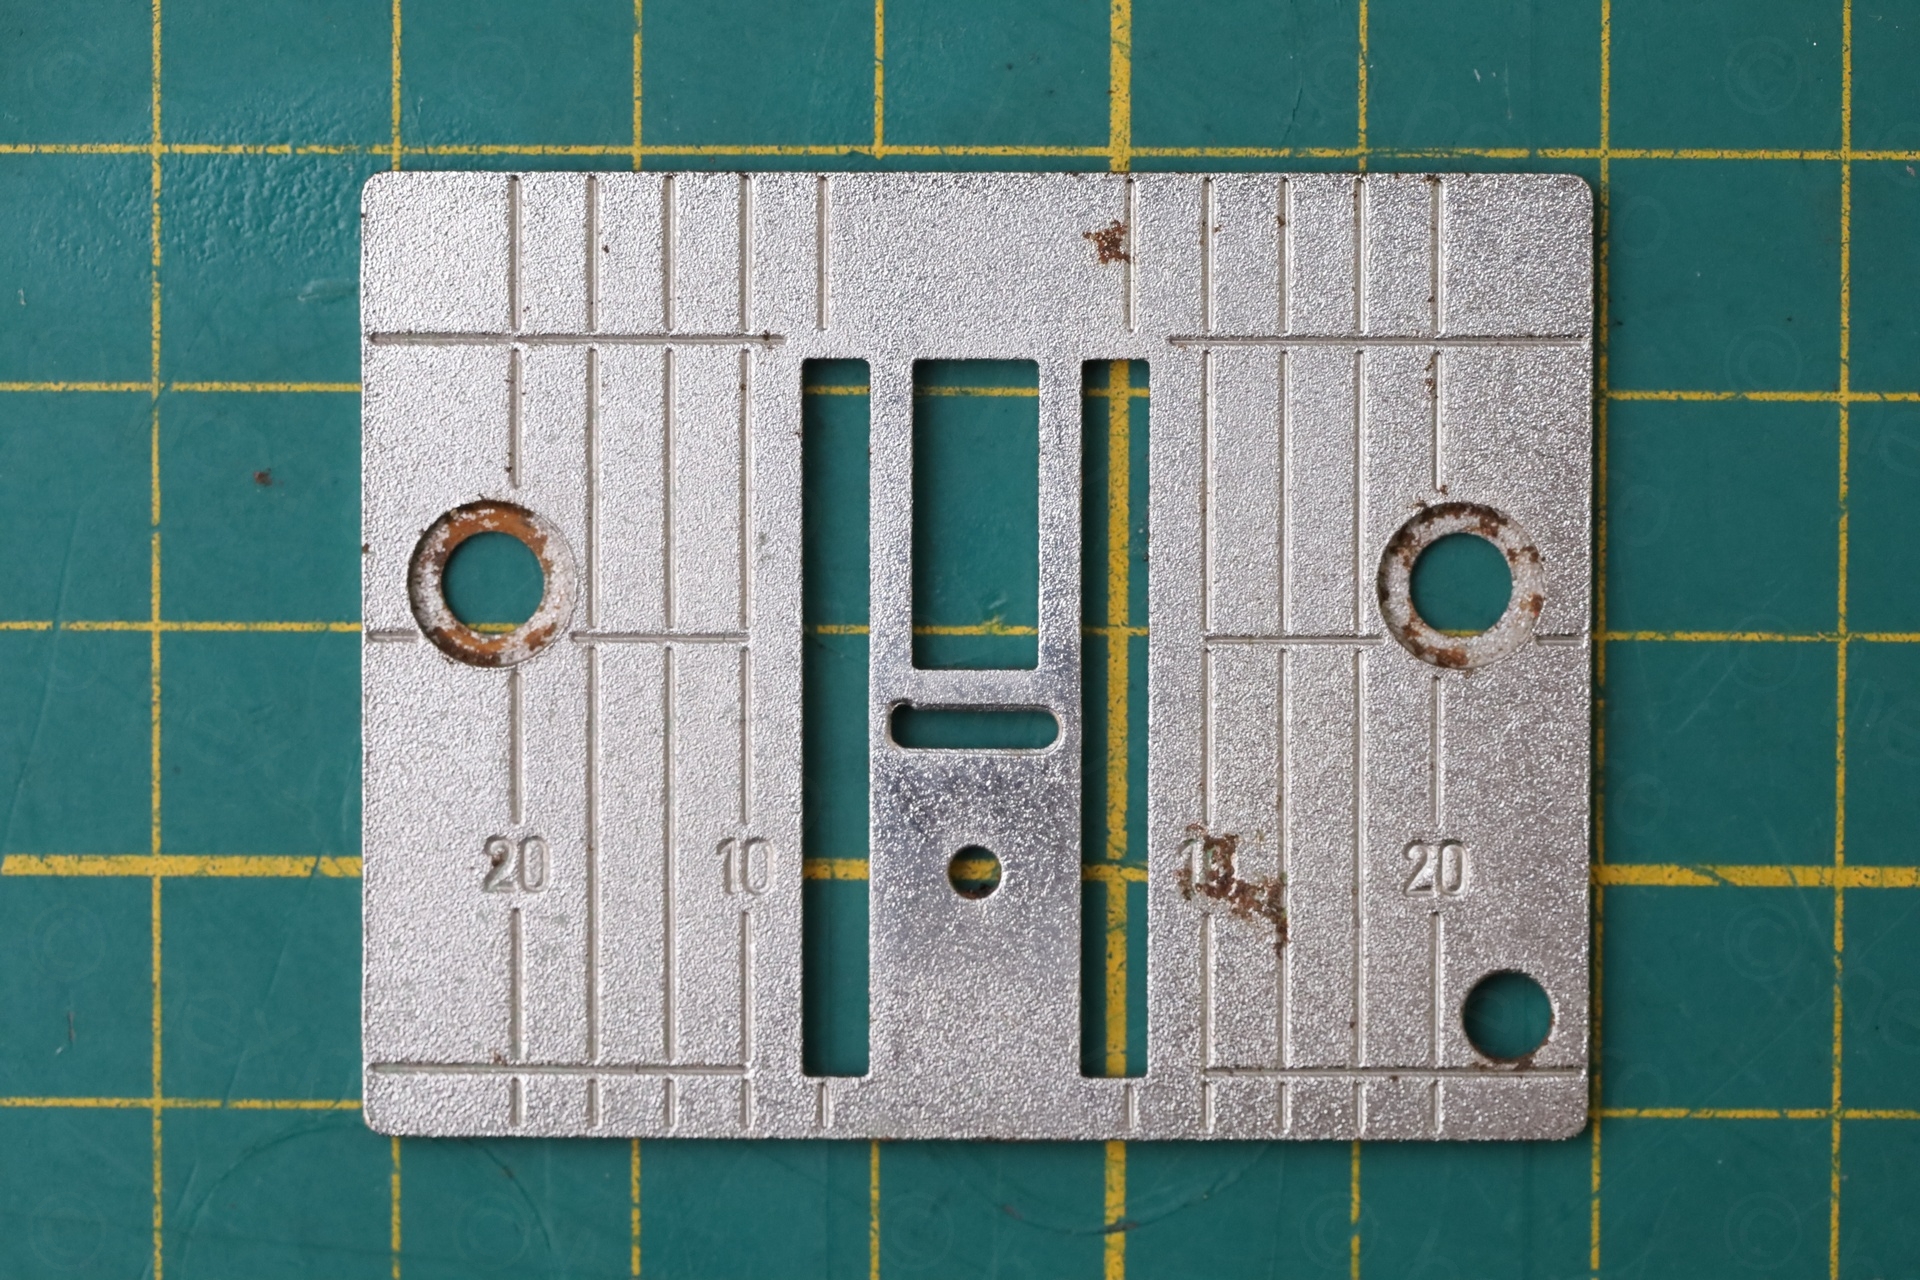
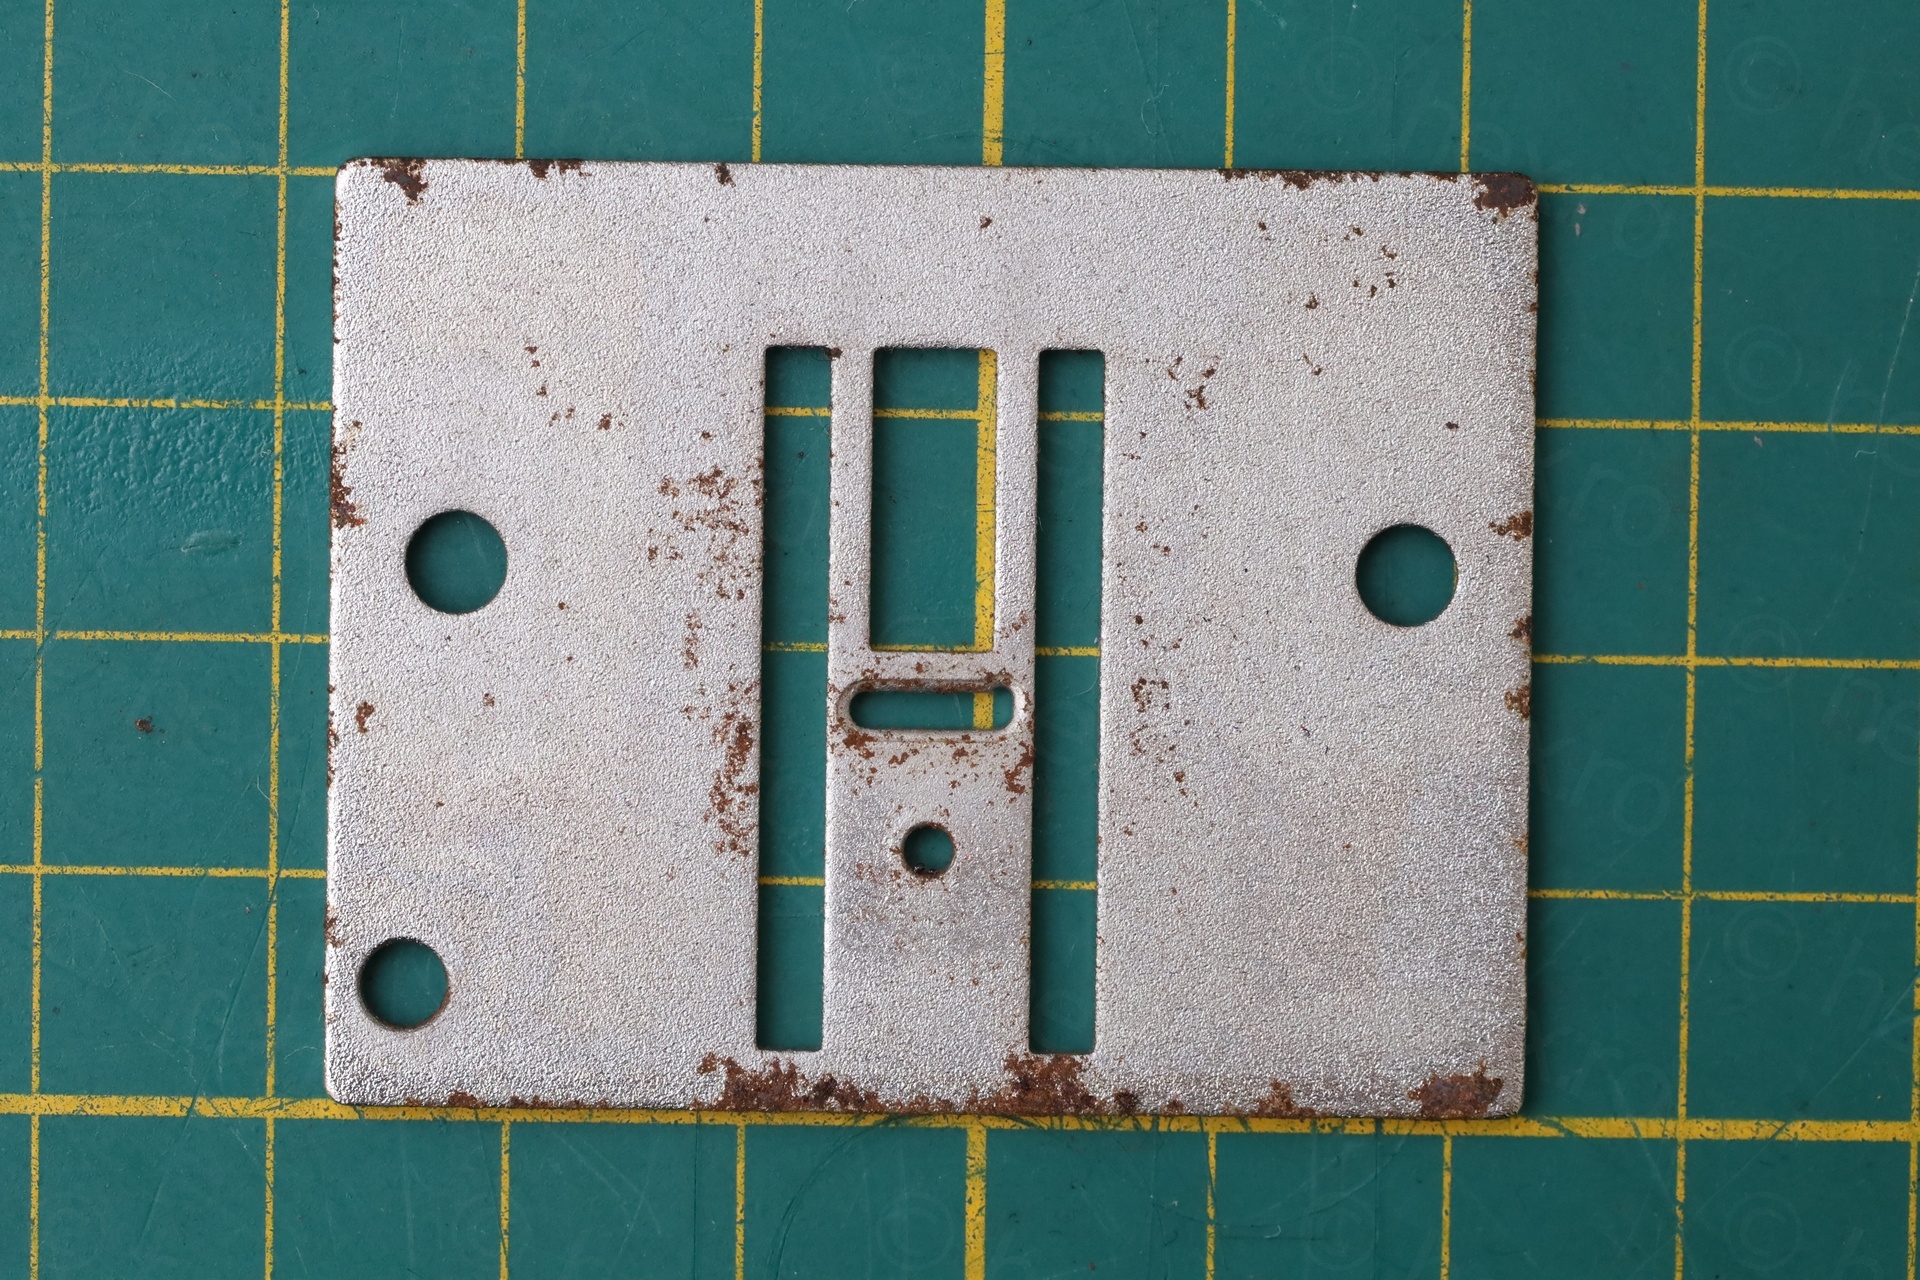
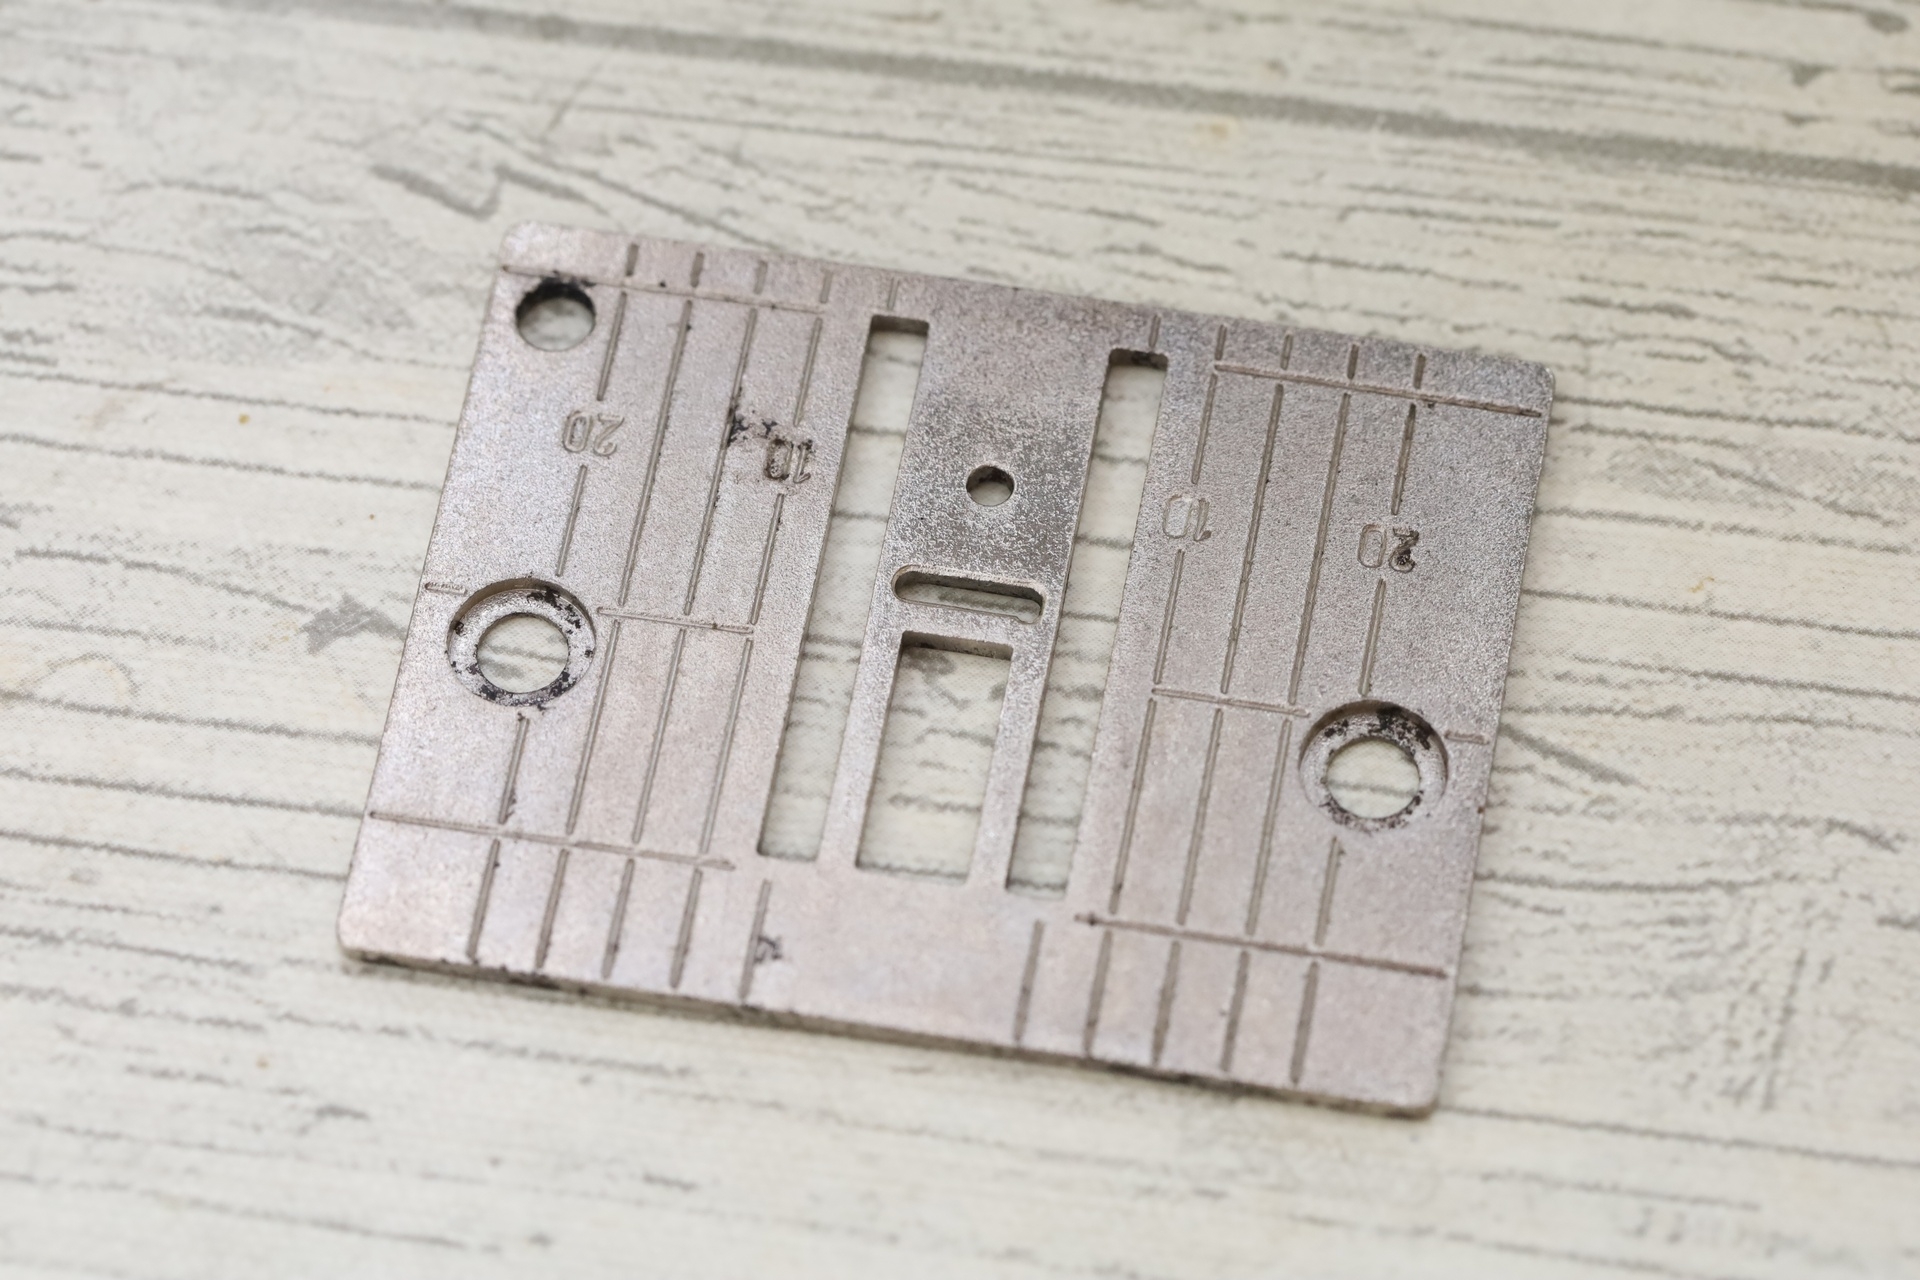
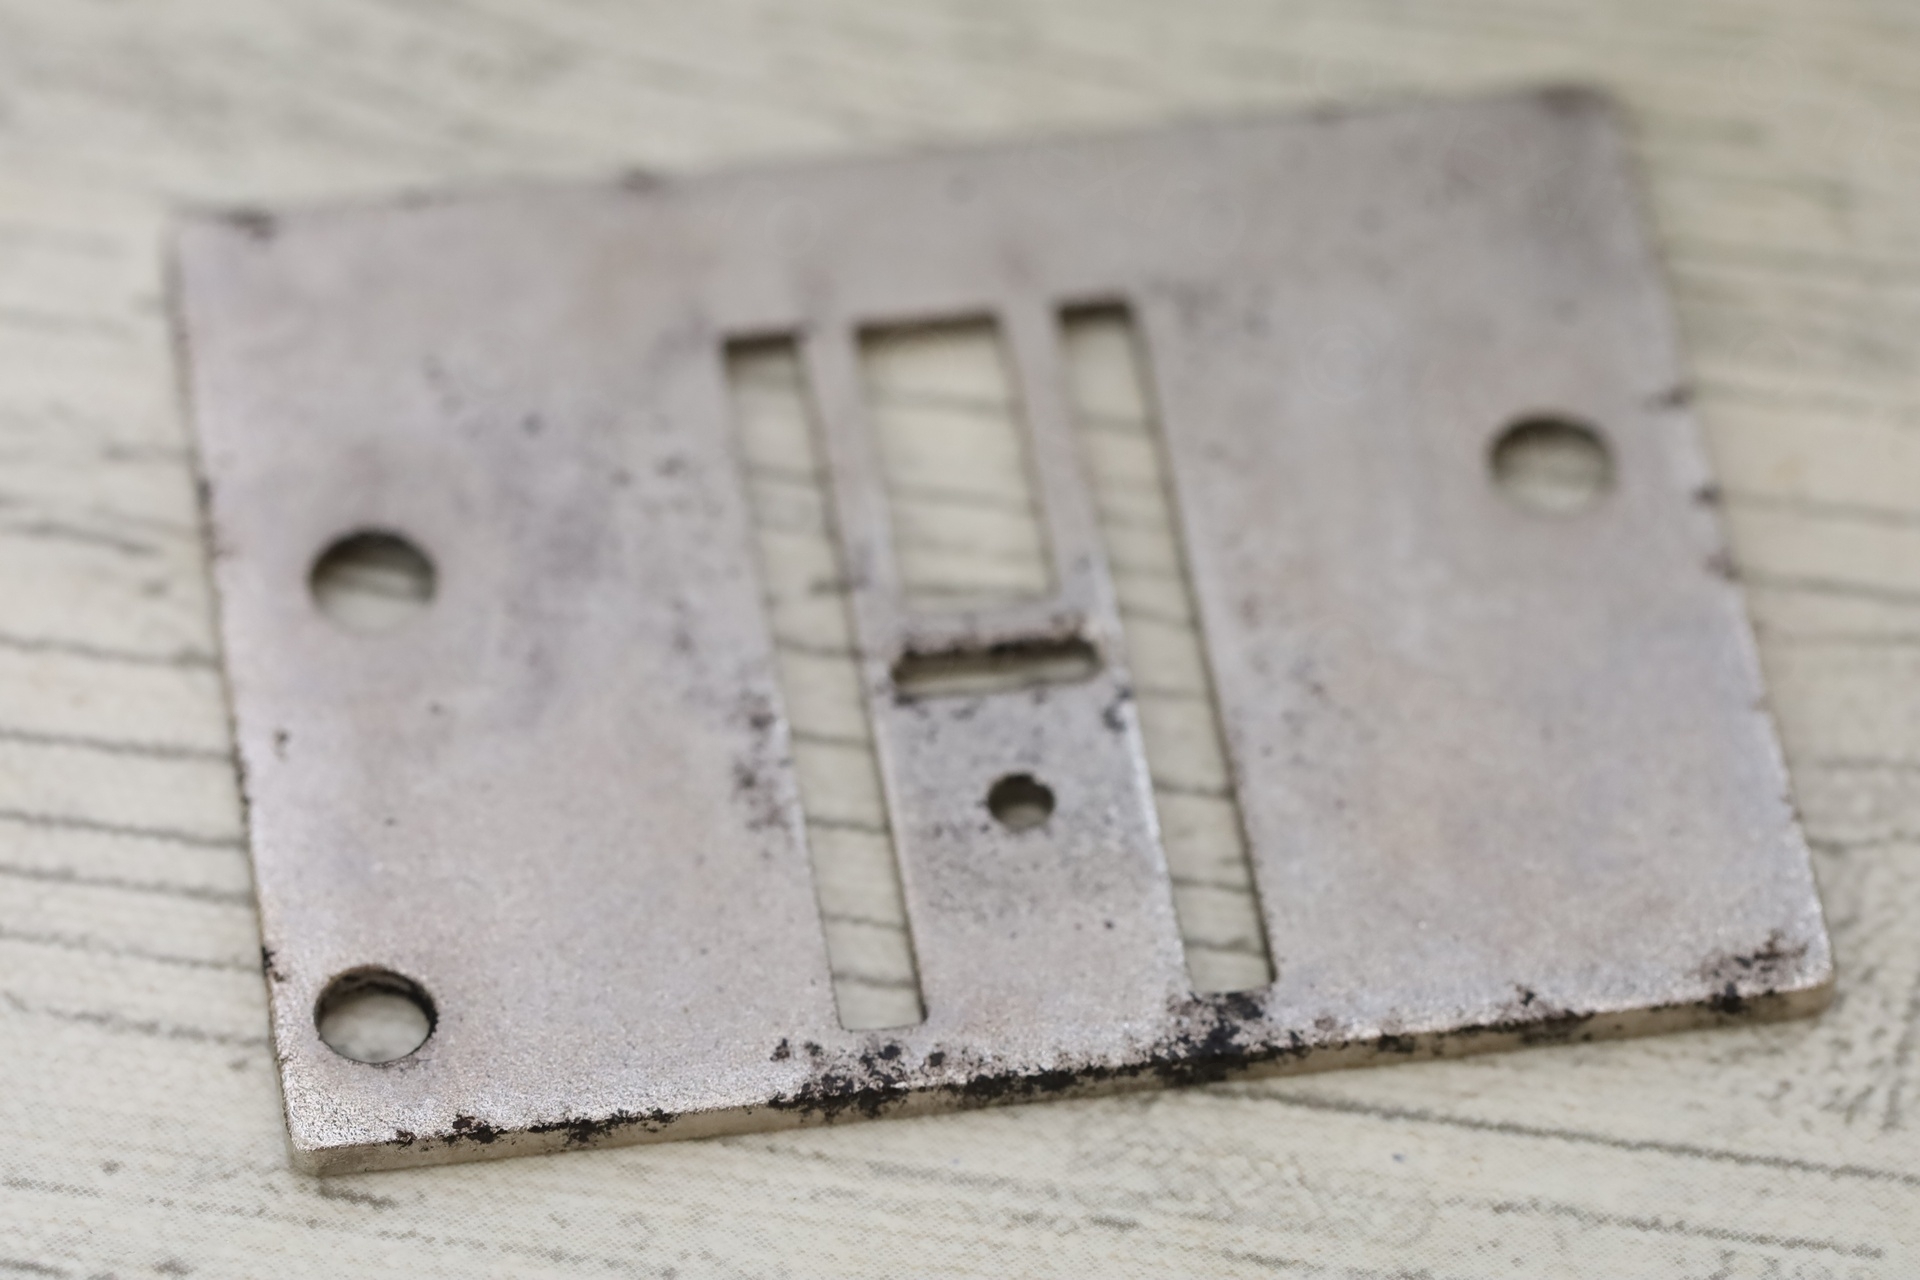
I applied the same treatment to the needle plate as well as the top bobbin winder tension disk, but this time, I added some Fertran to try to ‘seal away’ the rust. It should not be expensive for the owner to replace the needle plate, should it degrade in the future.

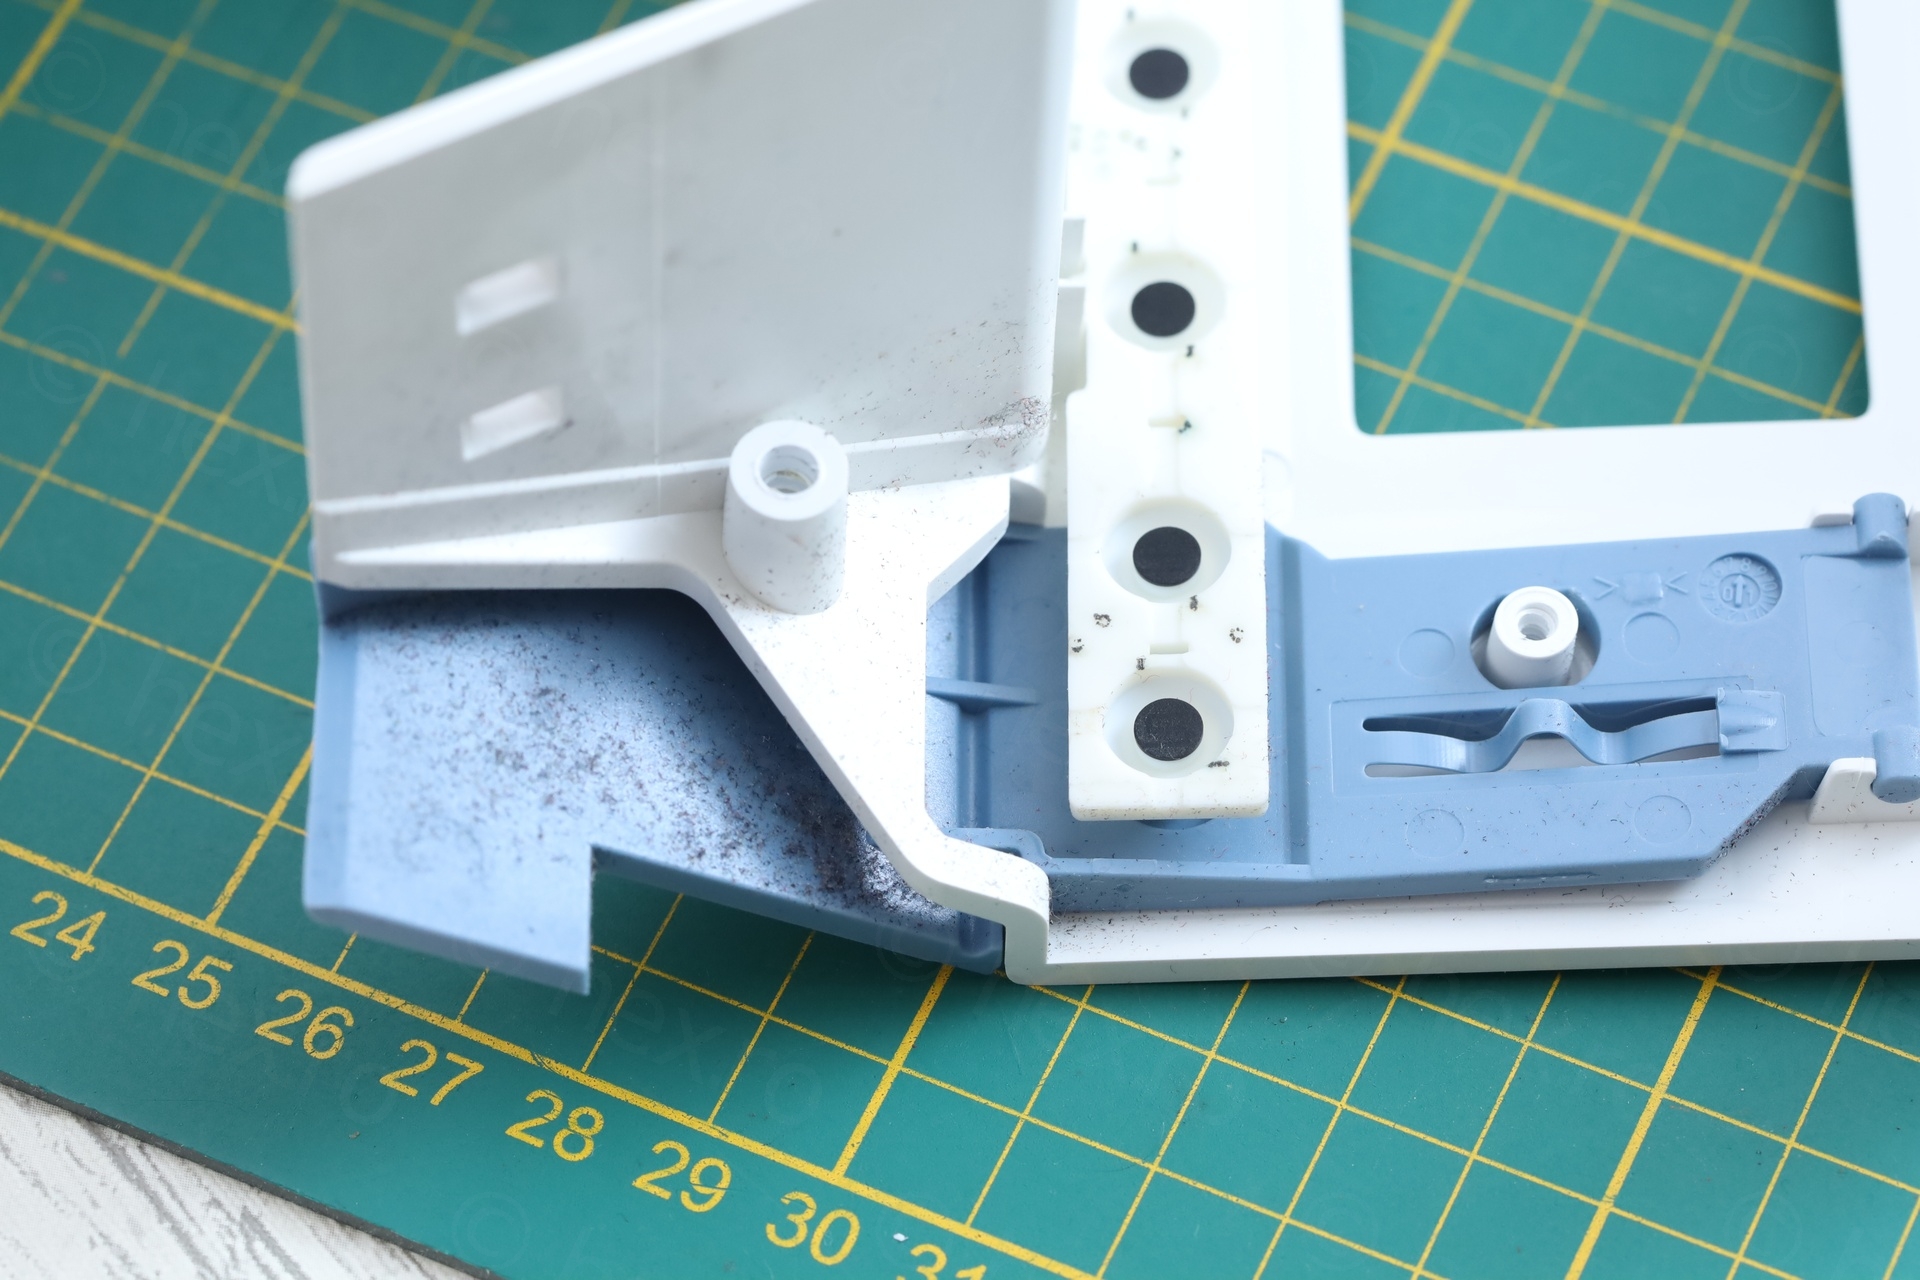
There was also rust that has tainted the plastic .. and it was difficult to remove. I tried vinegar with not much success, but IPA and a lot of scrubbing got it off:
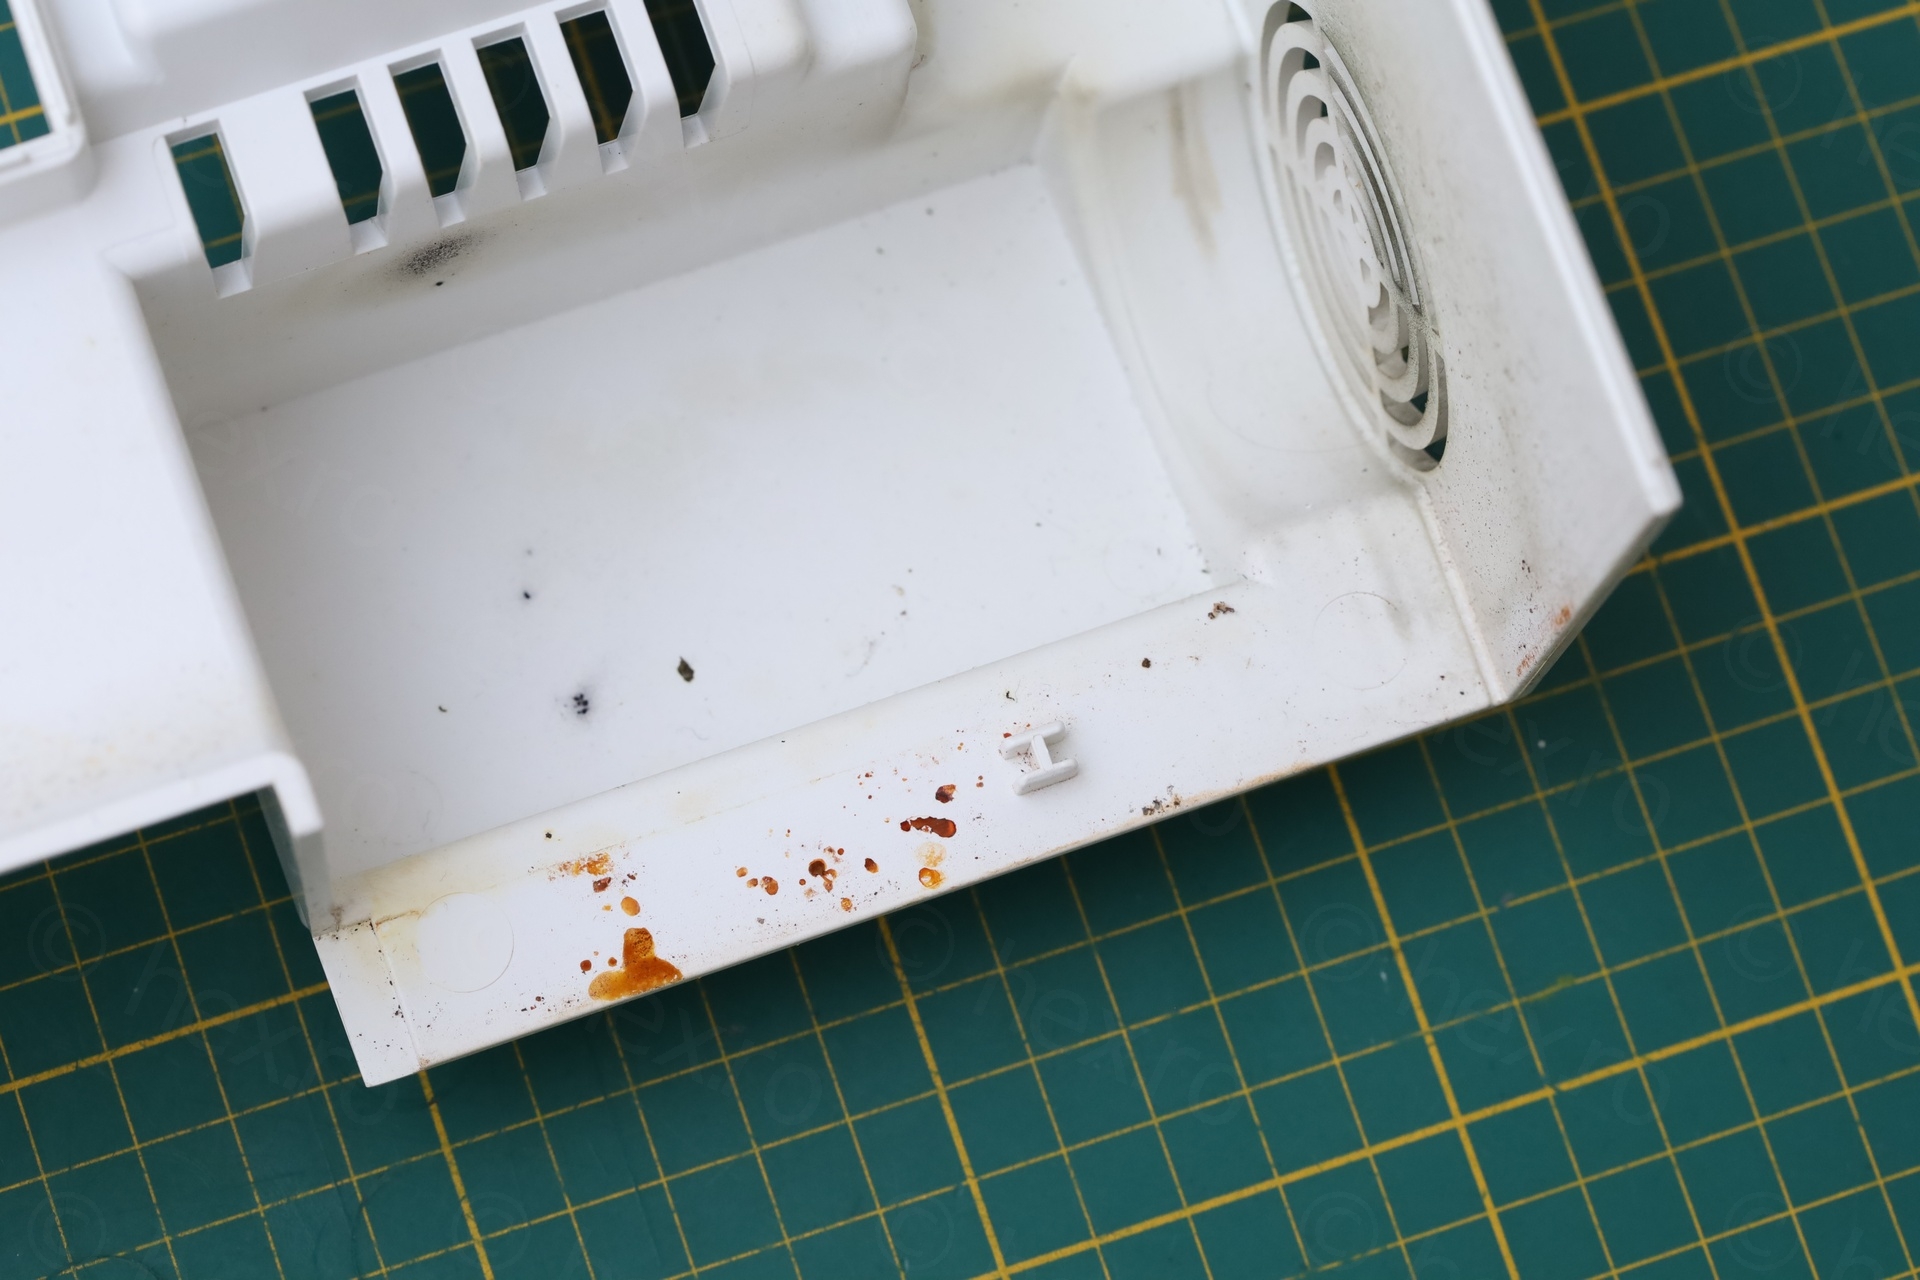
Defluffing
Machine was used and there was a lot of dust and fluff that has accumulated over time:
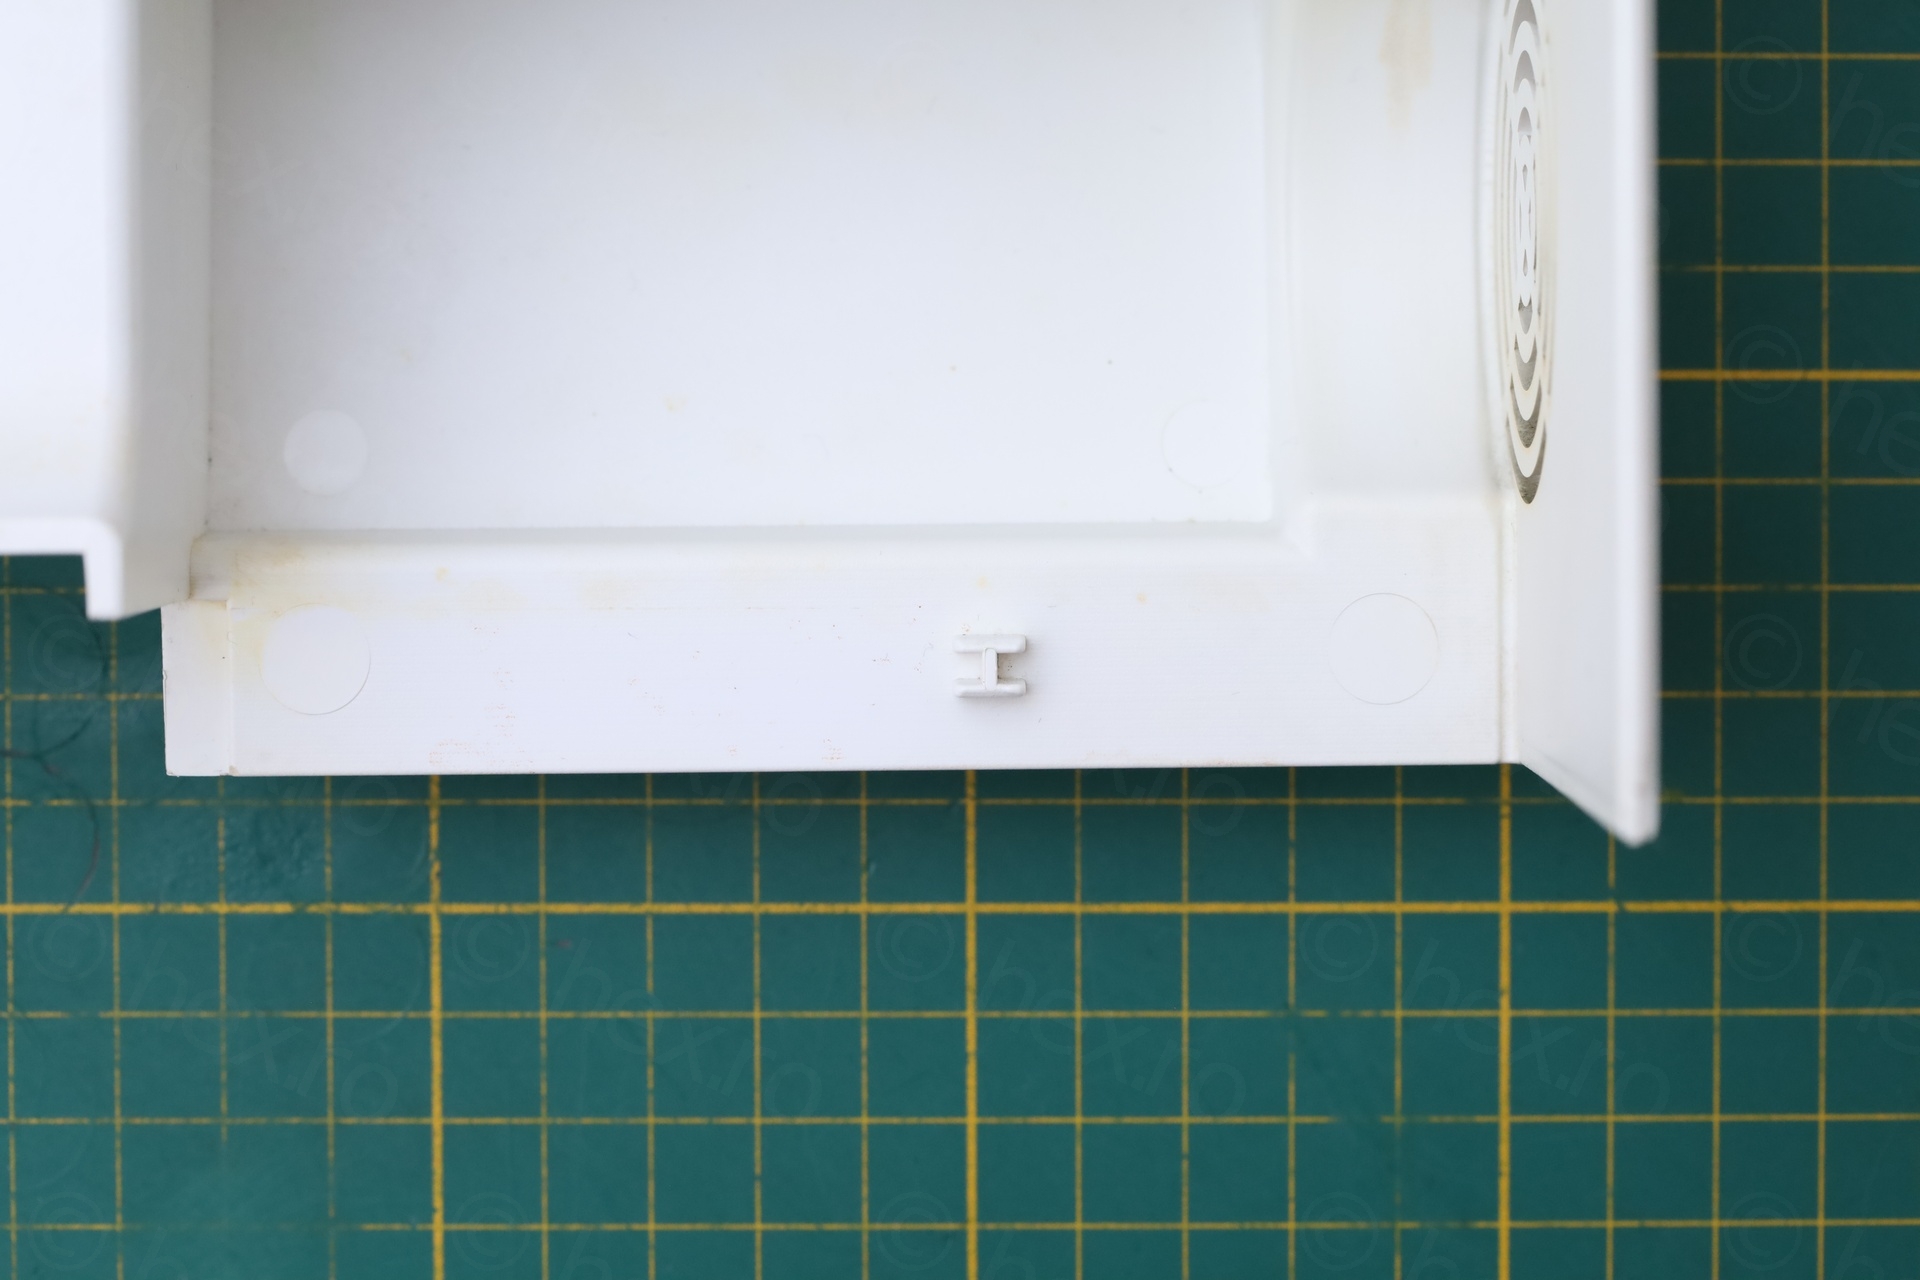
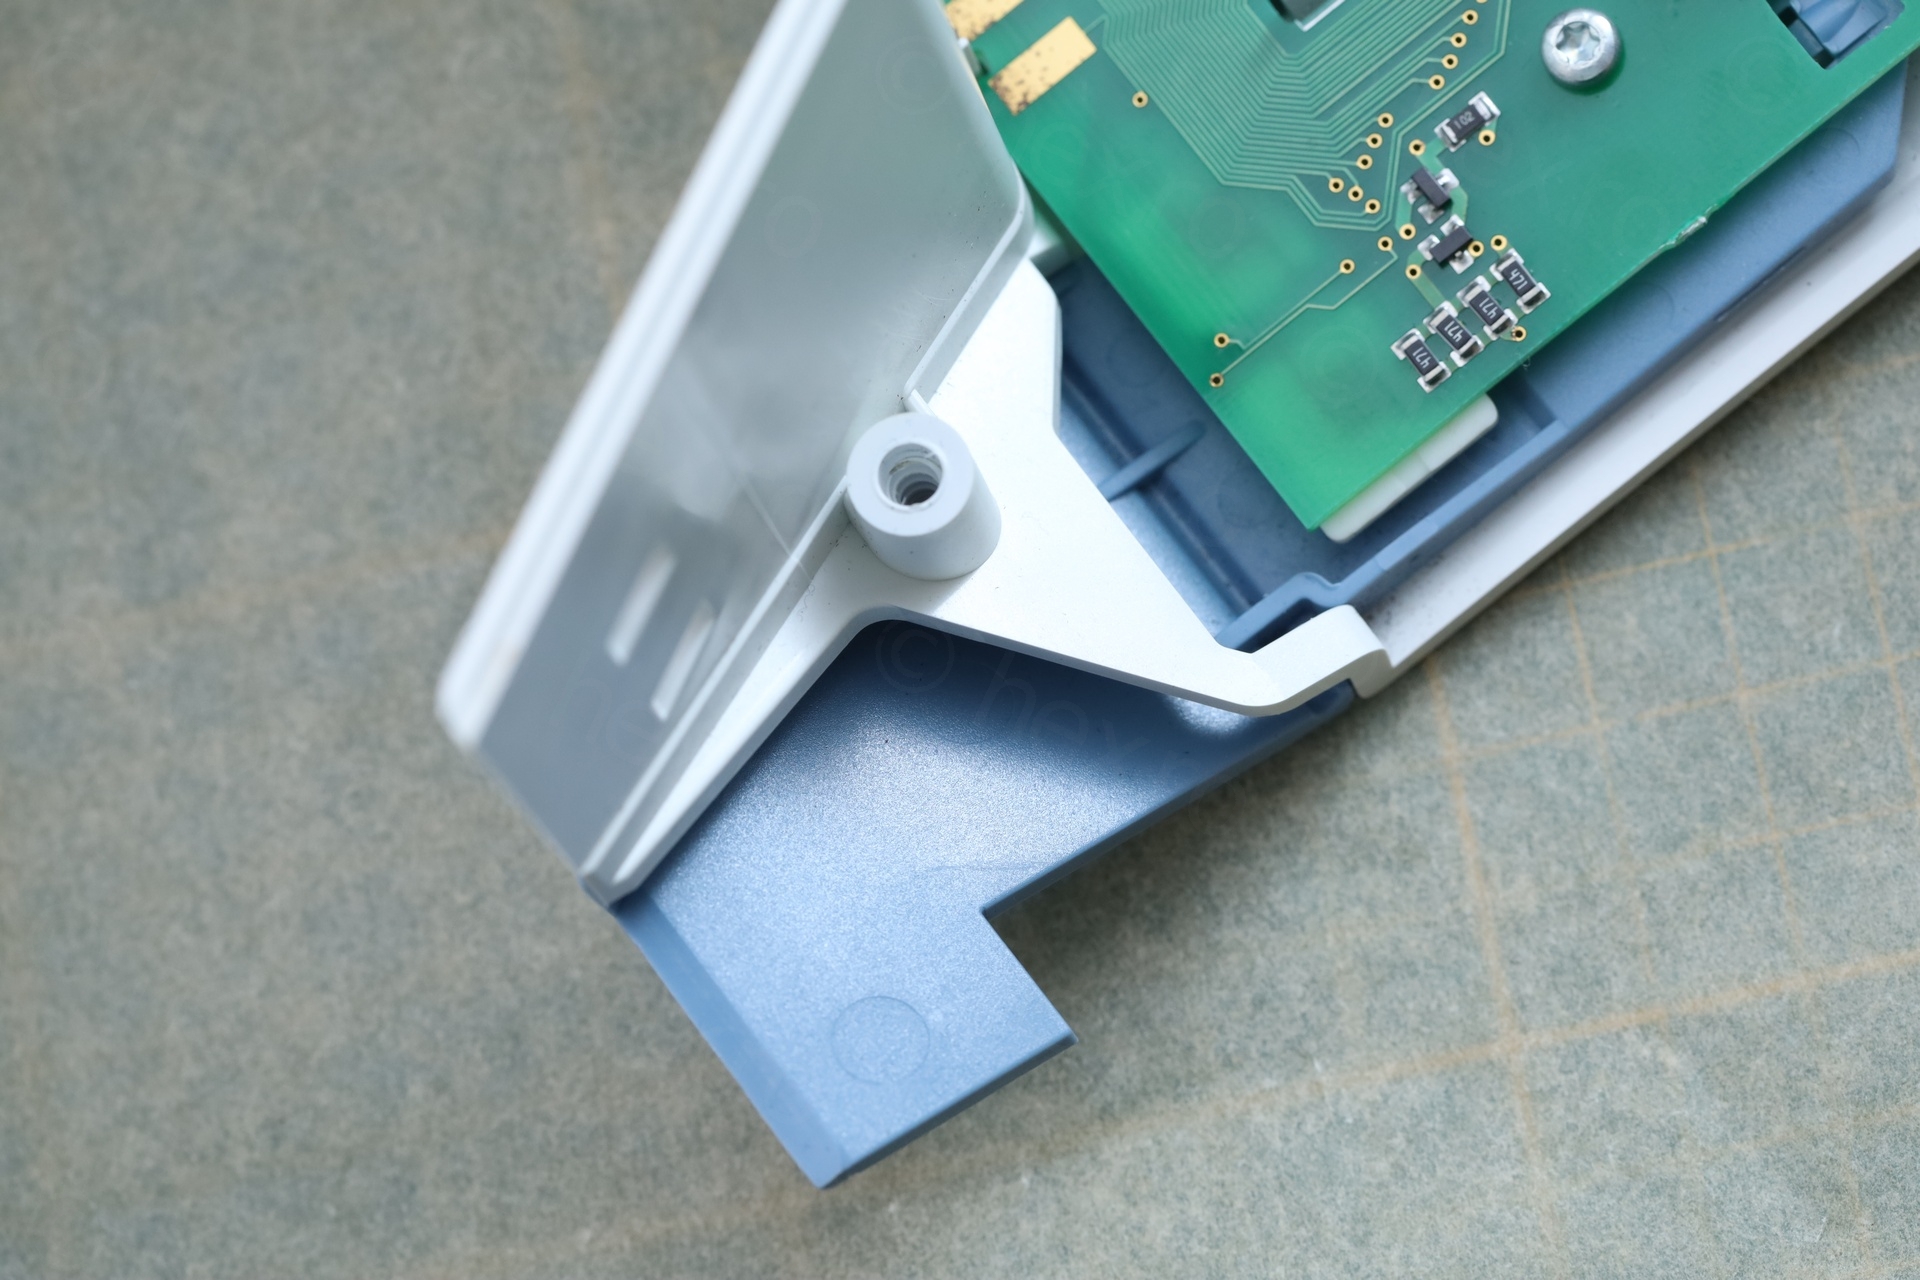
After removing the rust from the plastic plate, and even more cleaning:
… and more cleaning (in fact, I cleaned all the plastics, but only showing some highlights):
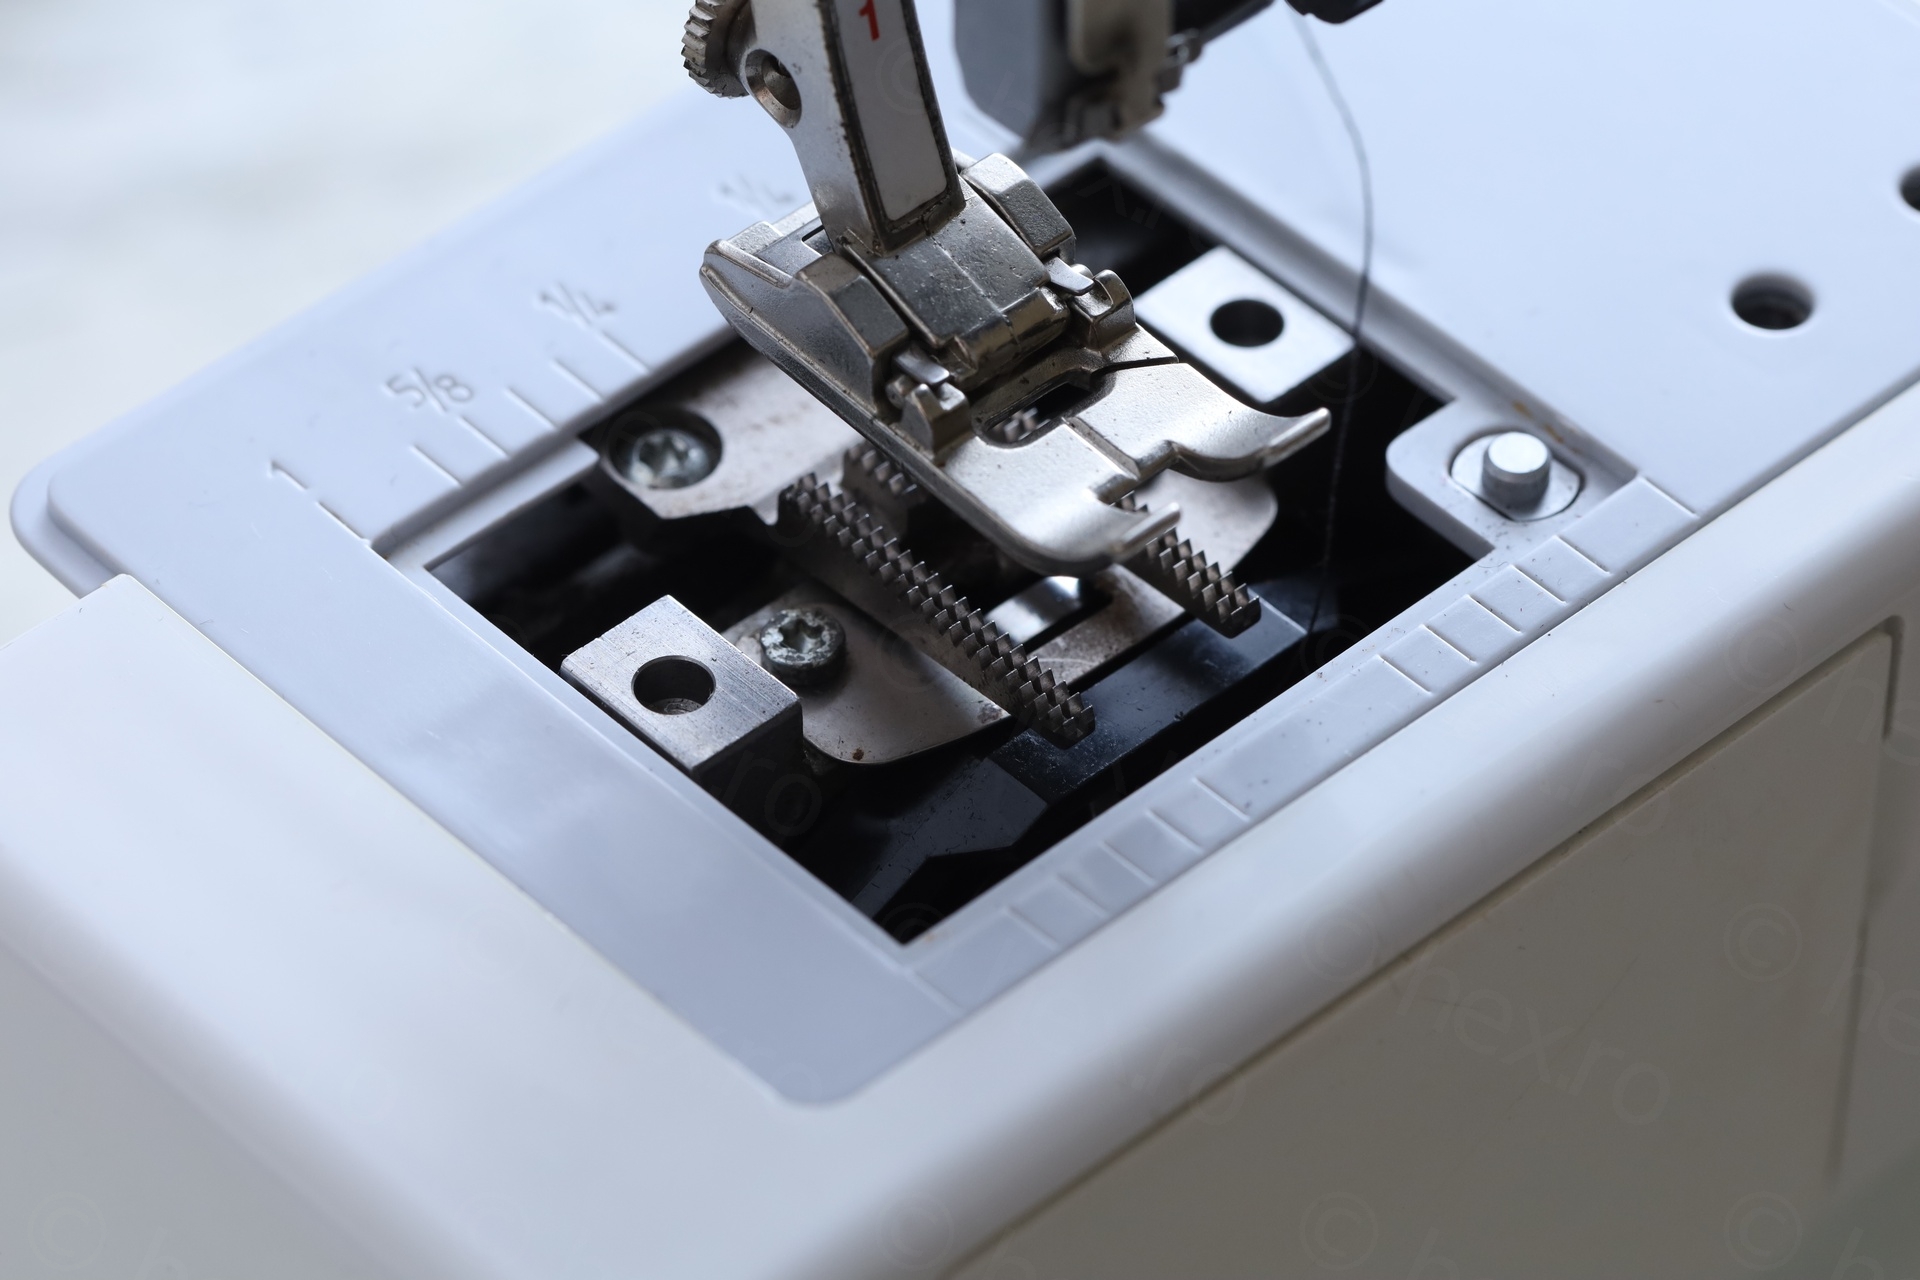
Once all the dust and gunk were removed, I proceeded to oil the machine … I used sewing machine oil for the metal to metal contacts and silicone grease for the plastic to metal. Most likely there are better ways, but I am not a qualified sewing machine technician.
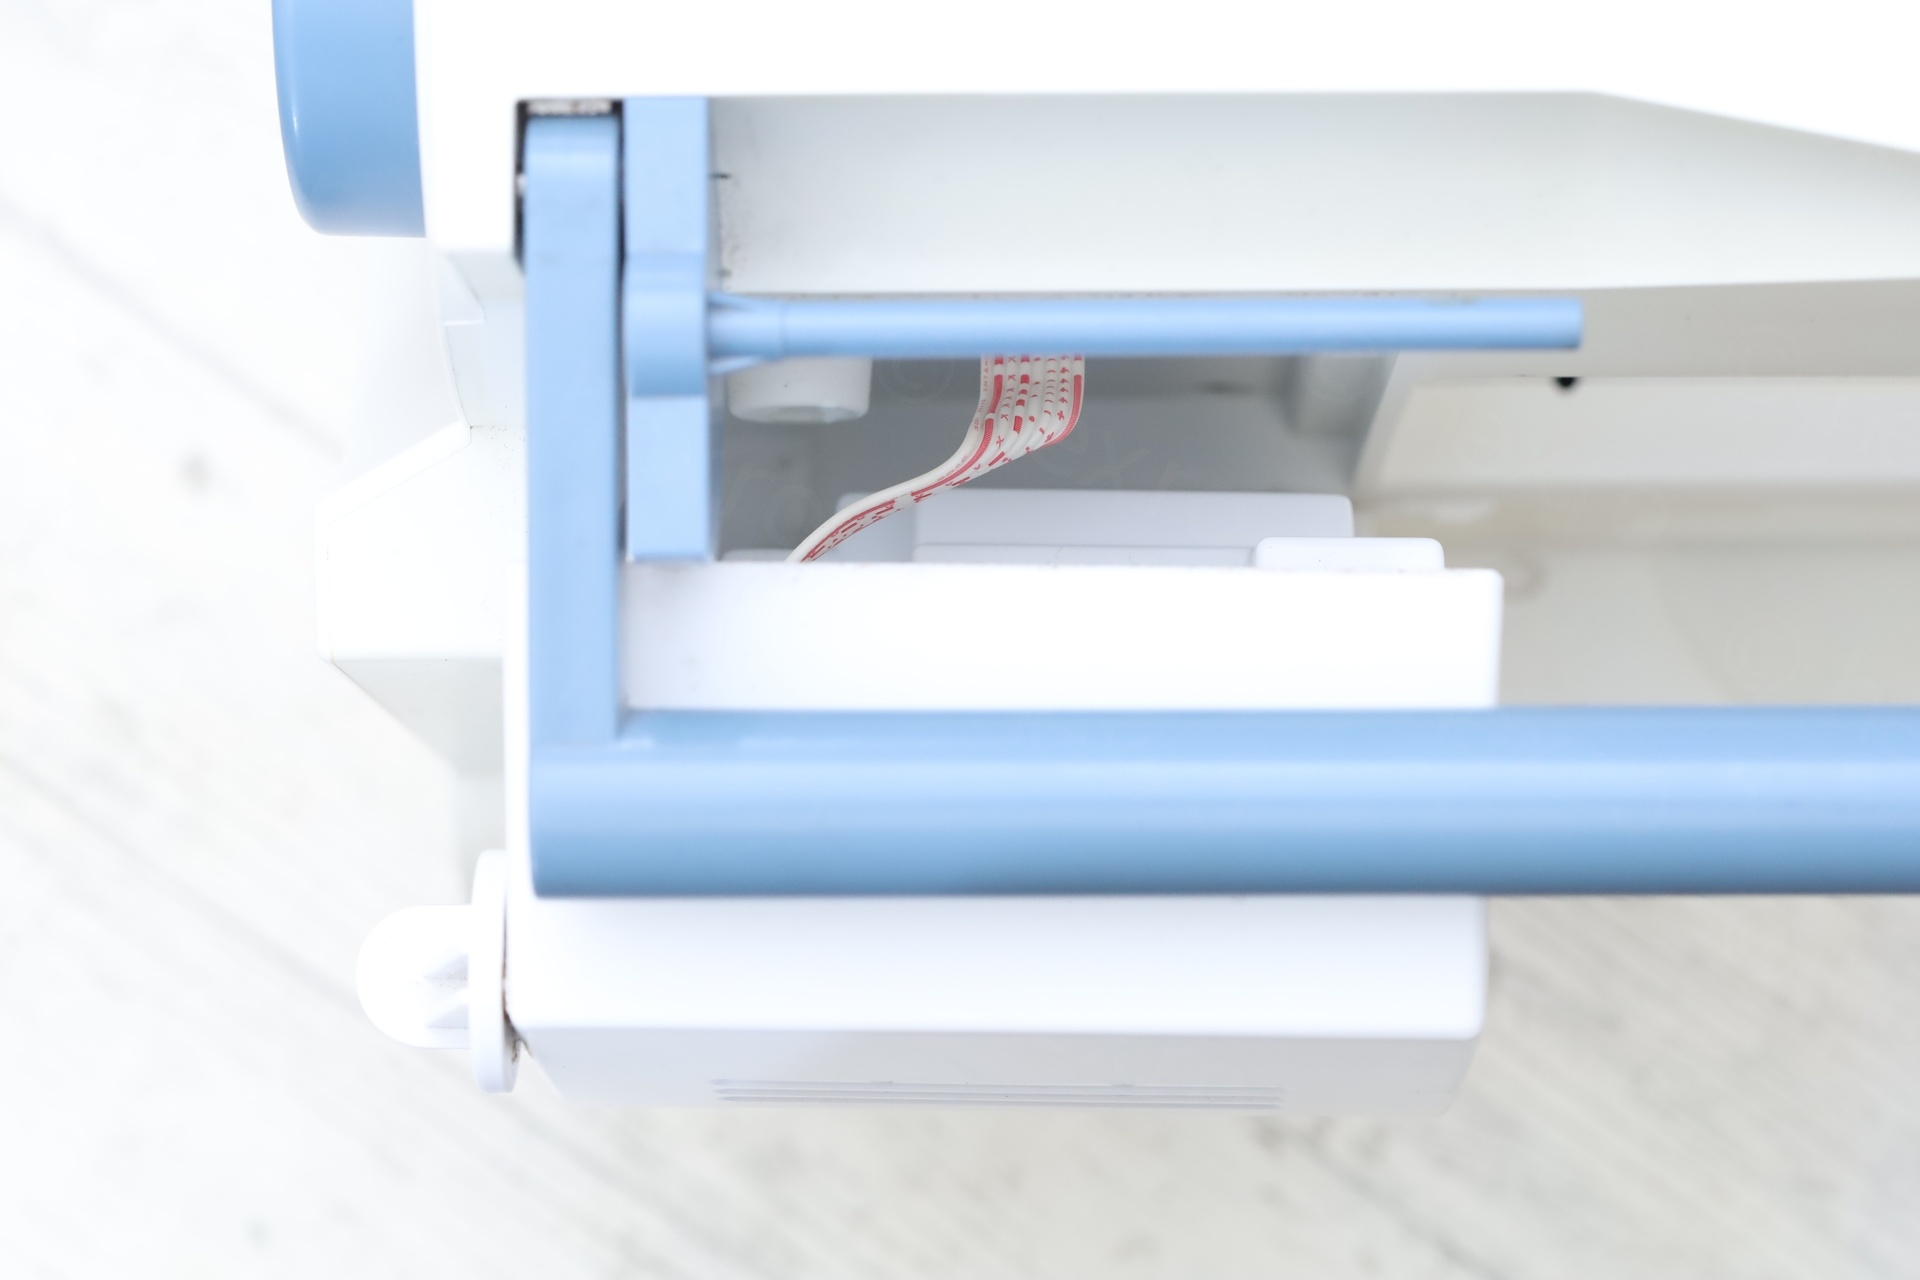
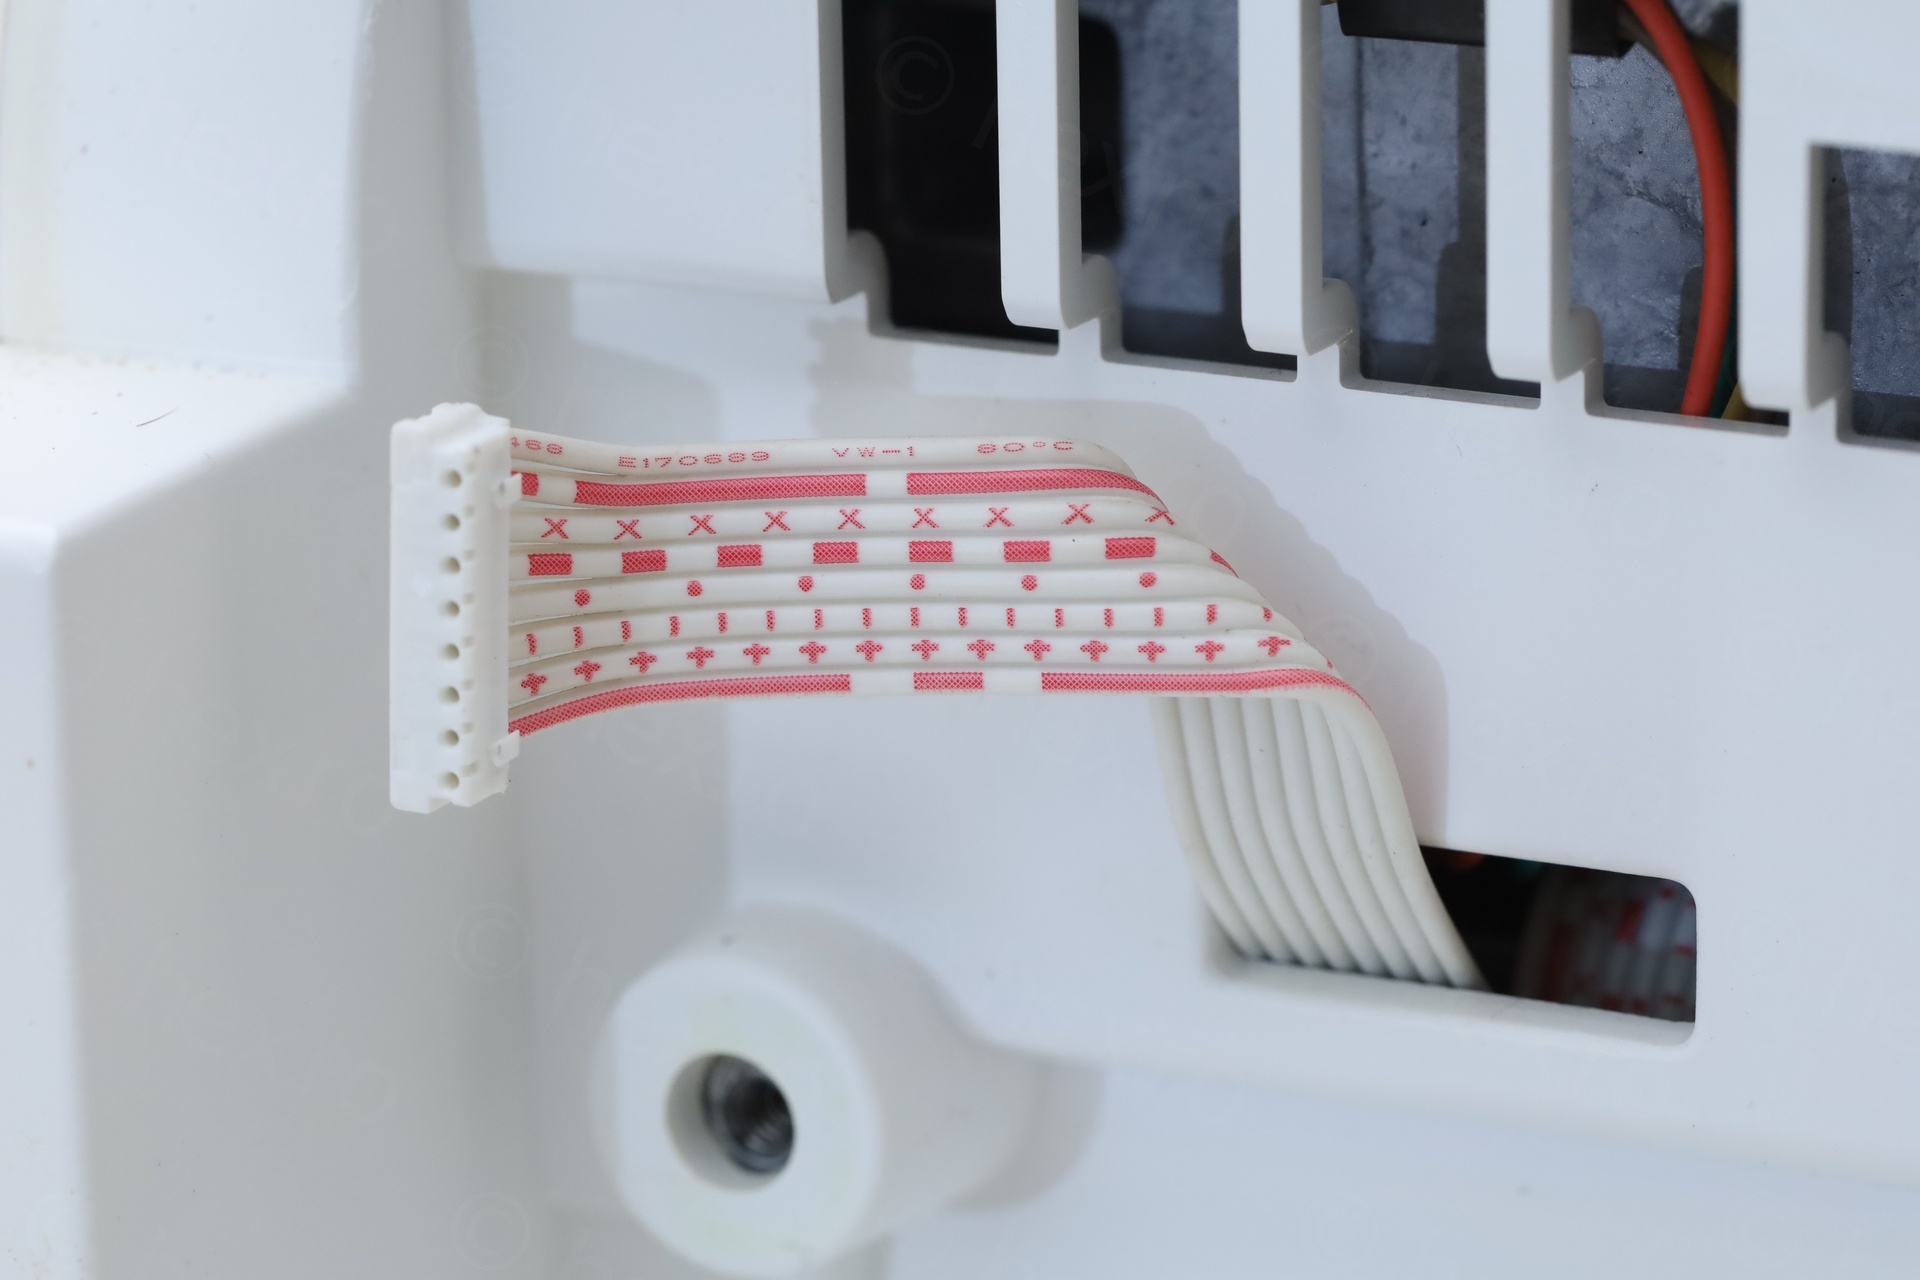
I put the machine together just enough for everything to connect and gave it a go. Did not start due to me not pushing the power supply <-> motherboard interconnect cable all the way in, but once I remedied that – success!
Observation: I had a hard time putting the front plastic cover back – and ended up having to remove the cover (guard) for the thread take up lever.
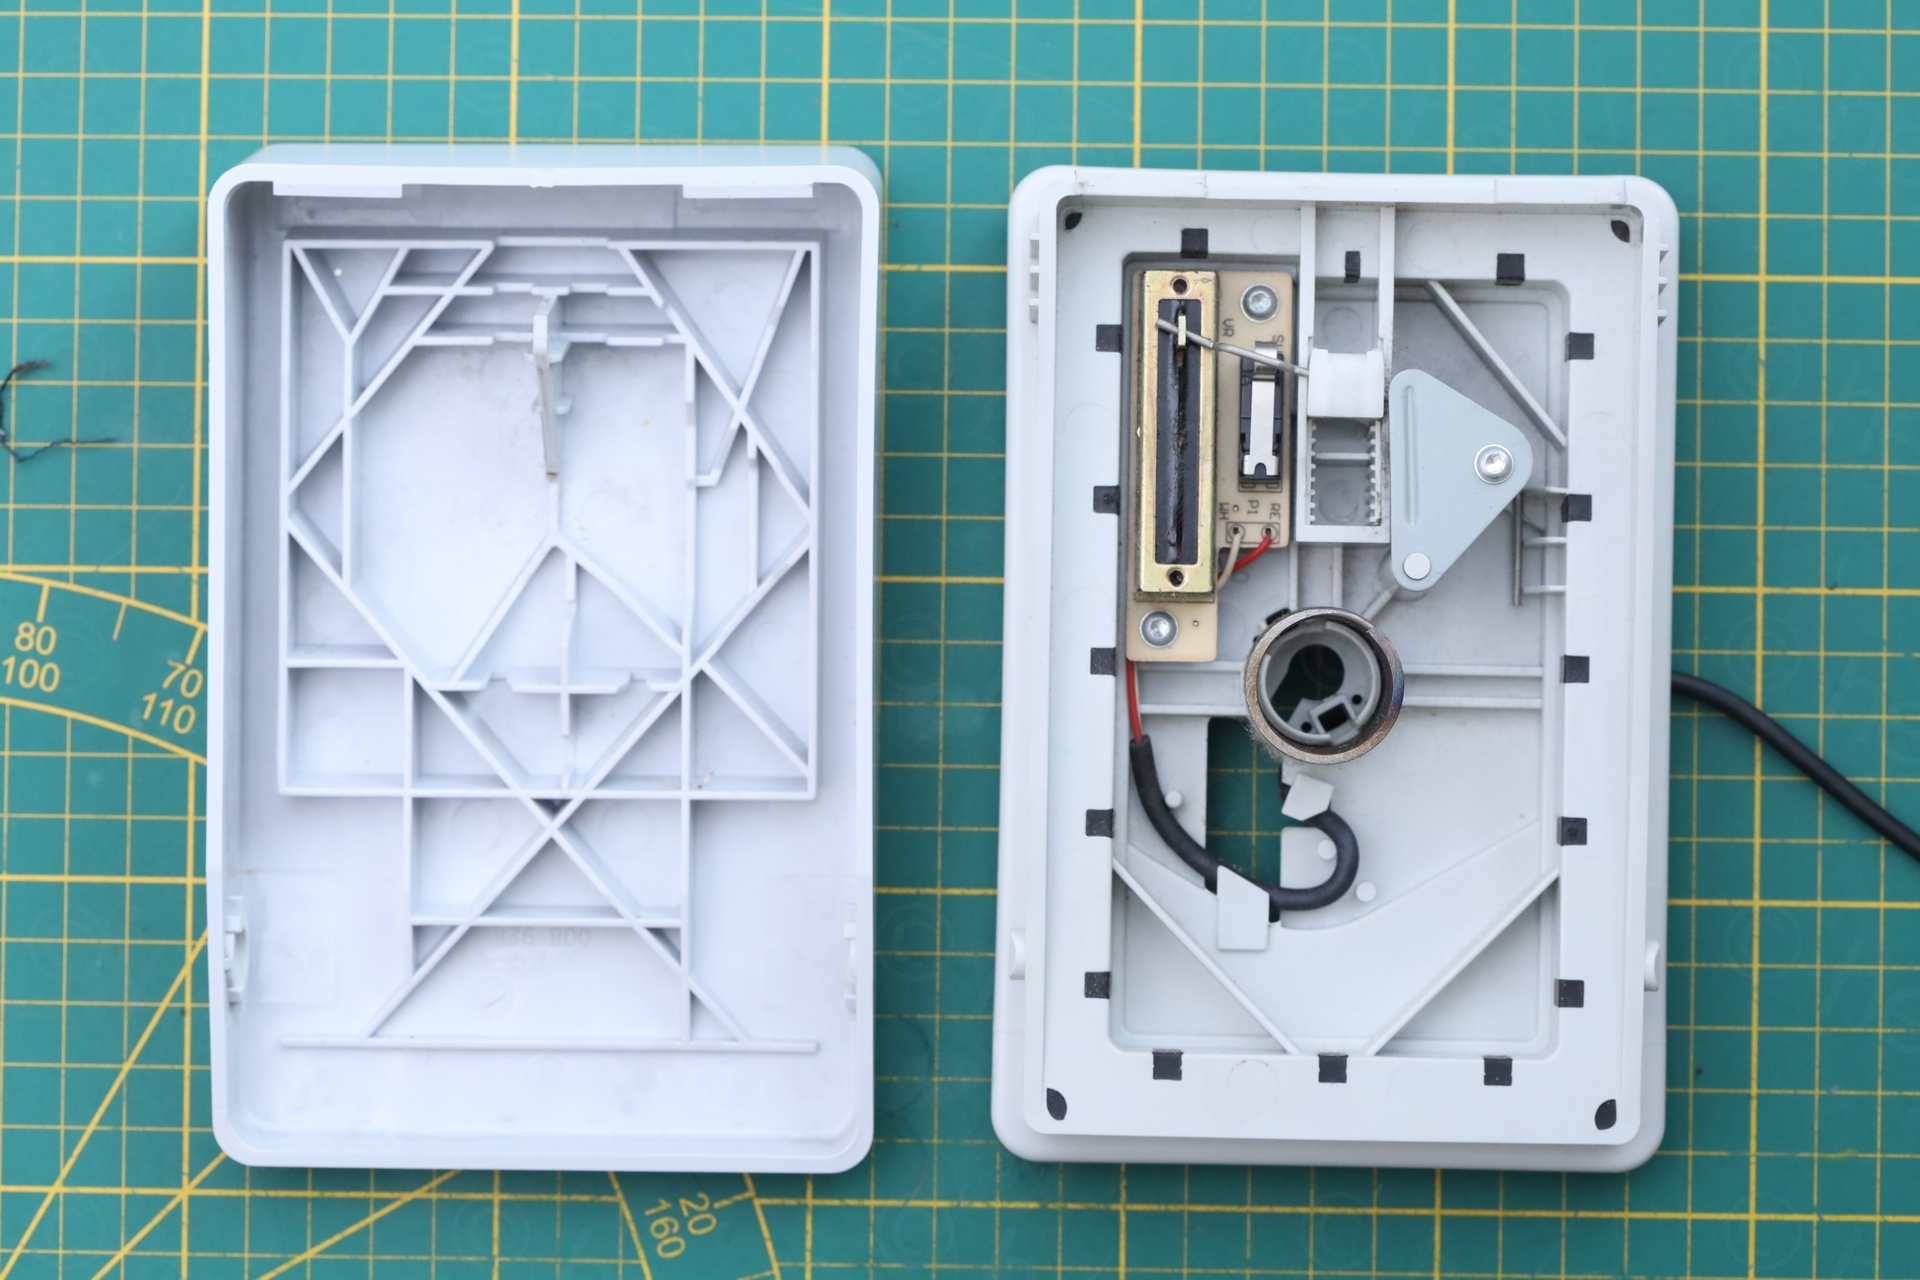
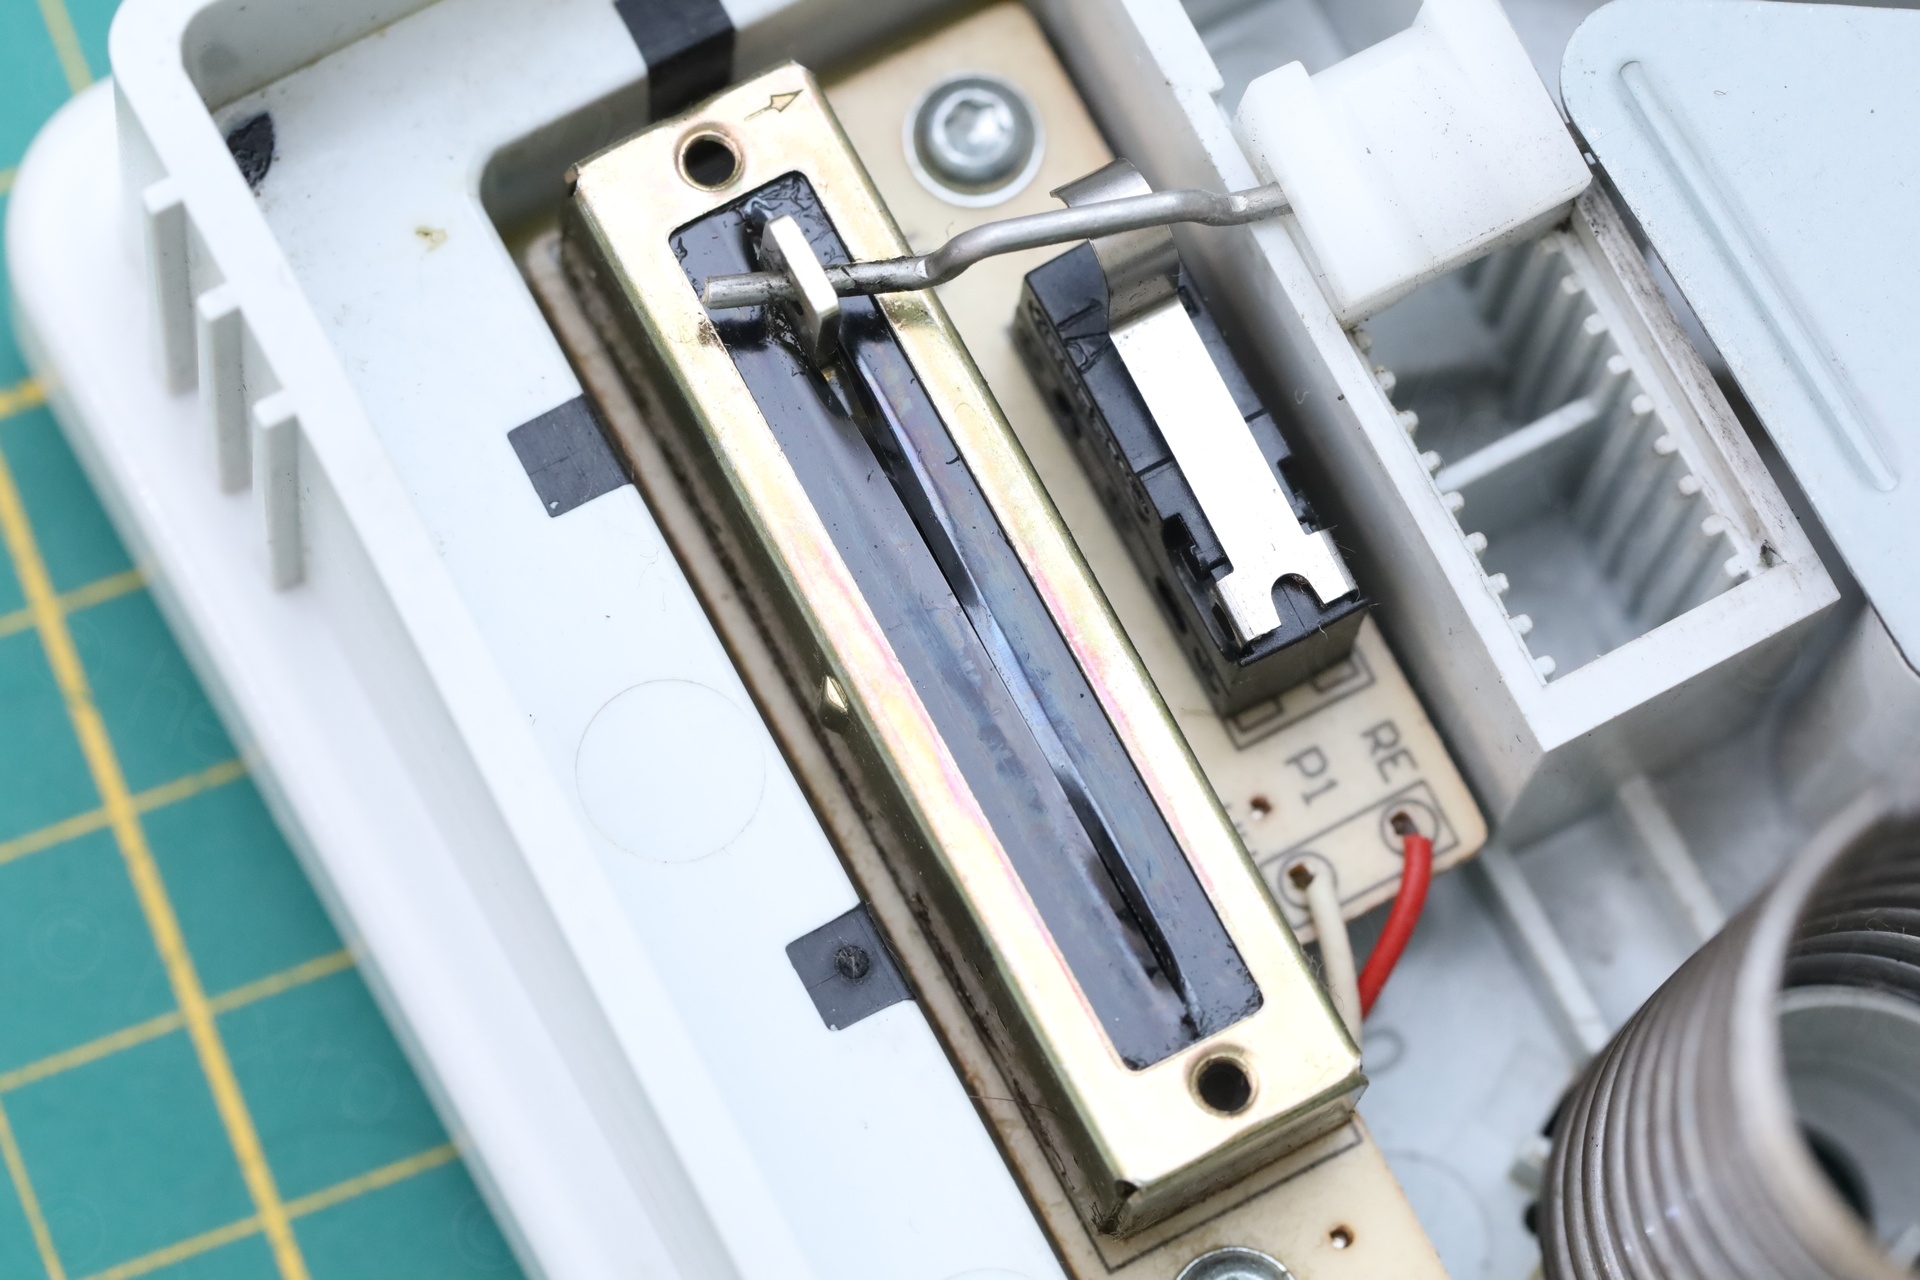
Foot pedal
There was still a problem – the foot pedal was not controlling the machine linearly. Machine ran slow as foot pedal was being pressed. Only at the end of the travel, pushed all the way down, would the machine start running very fast:
I had to take the foot pedal apart and put copious amounts of Contact Cleaner inside the potentiometer there. This remedied the problem. I cleaned also the rust from the connector:
This remedied the problem!
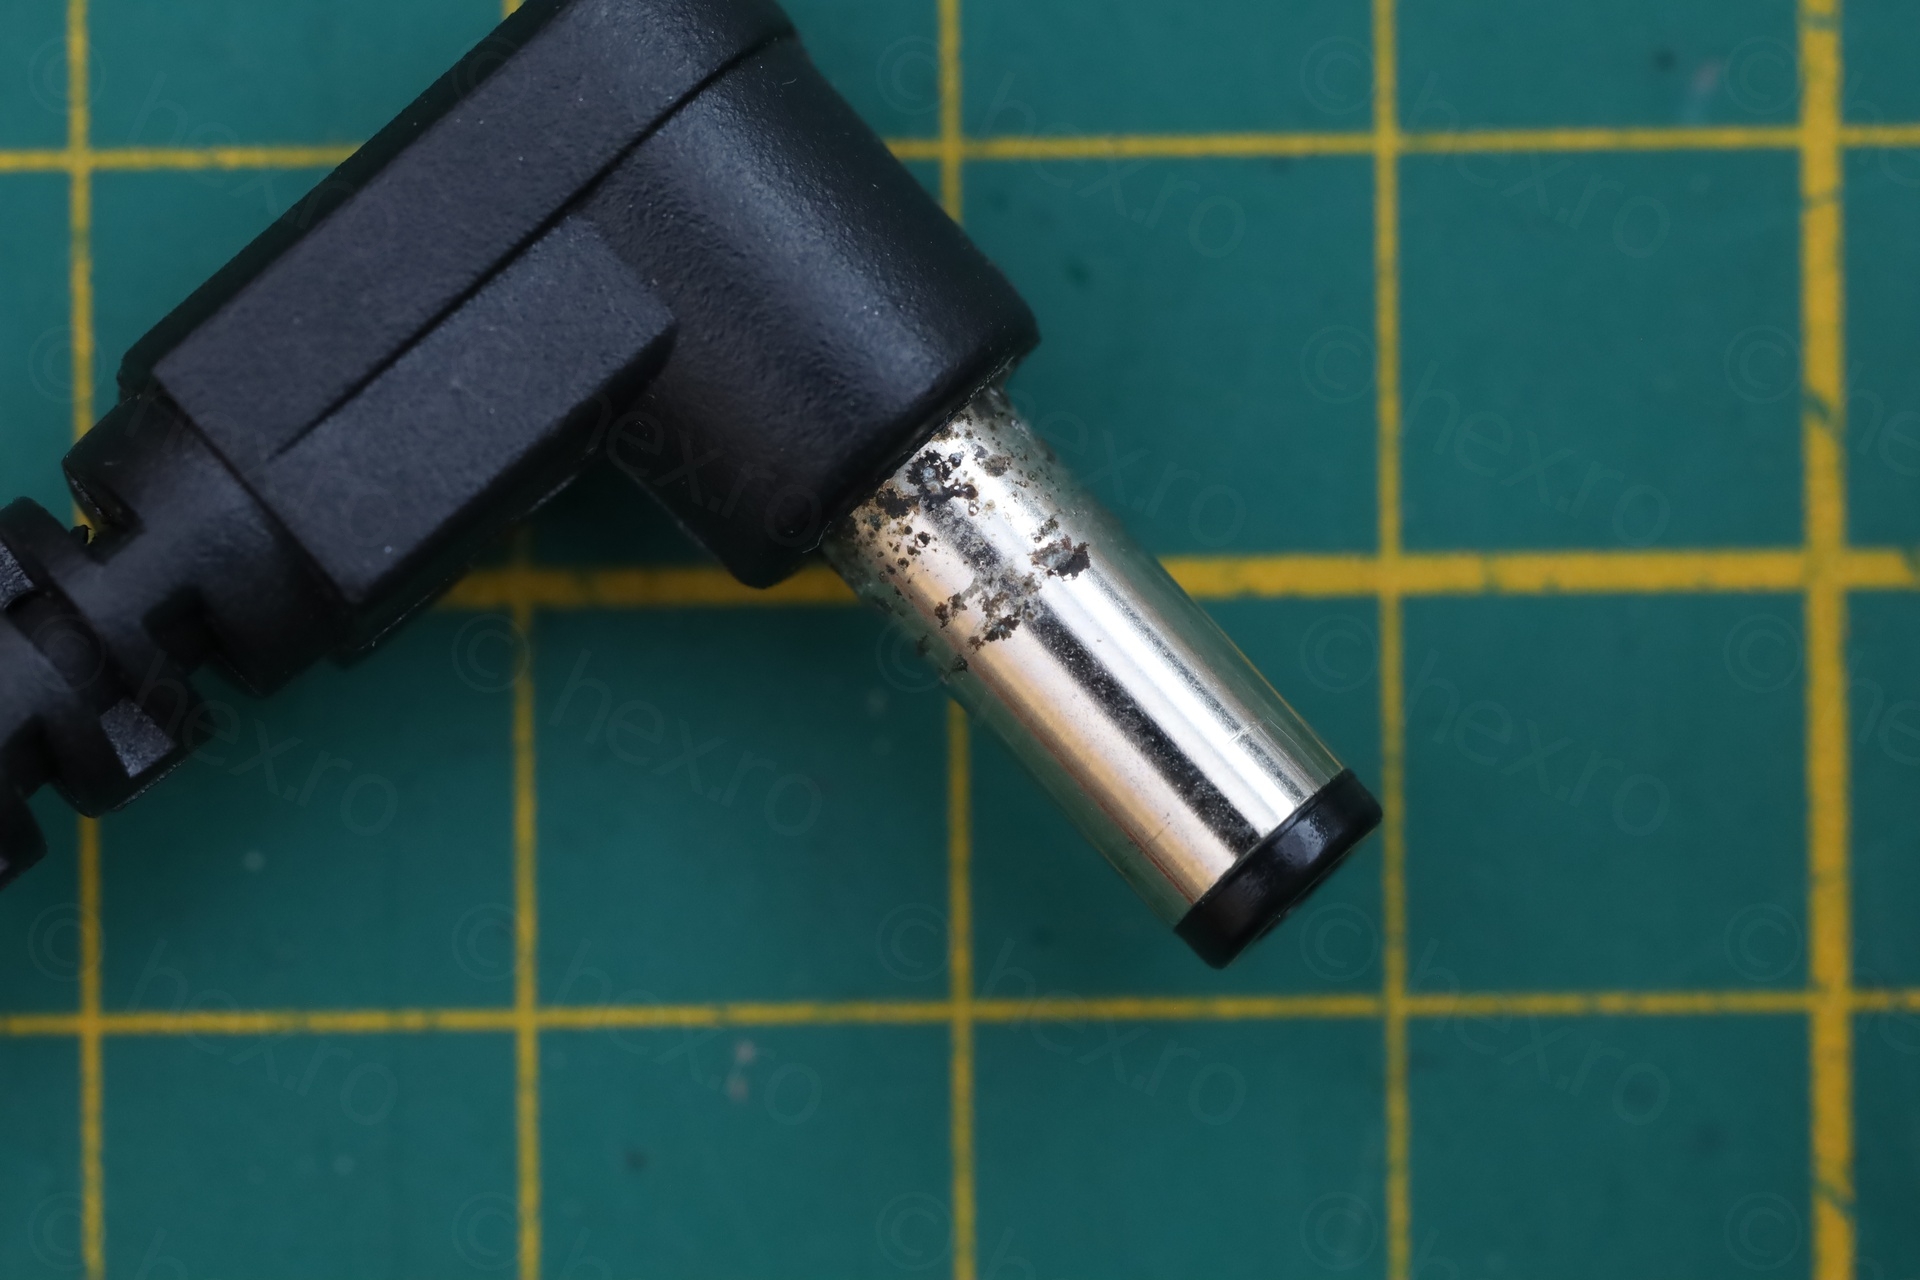
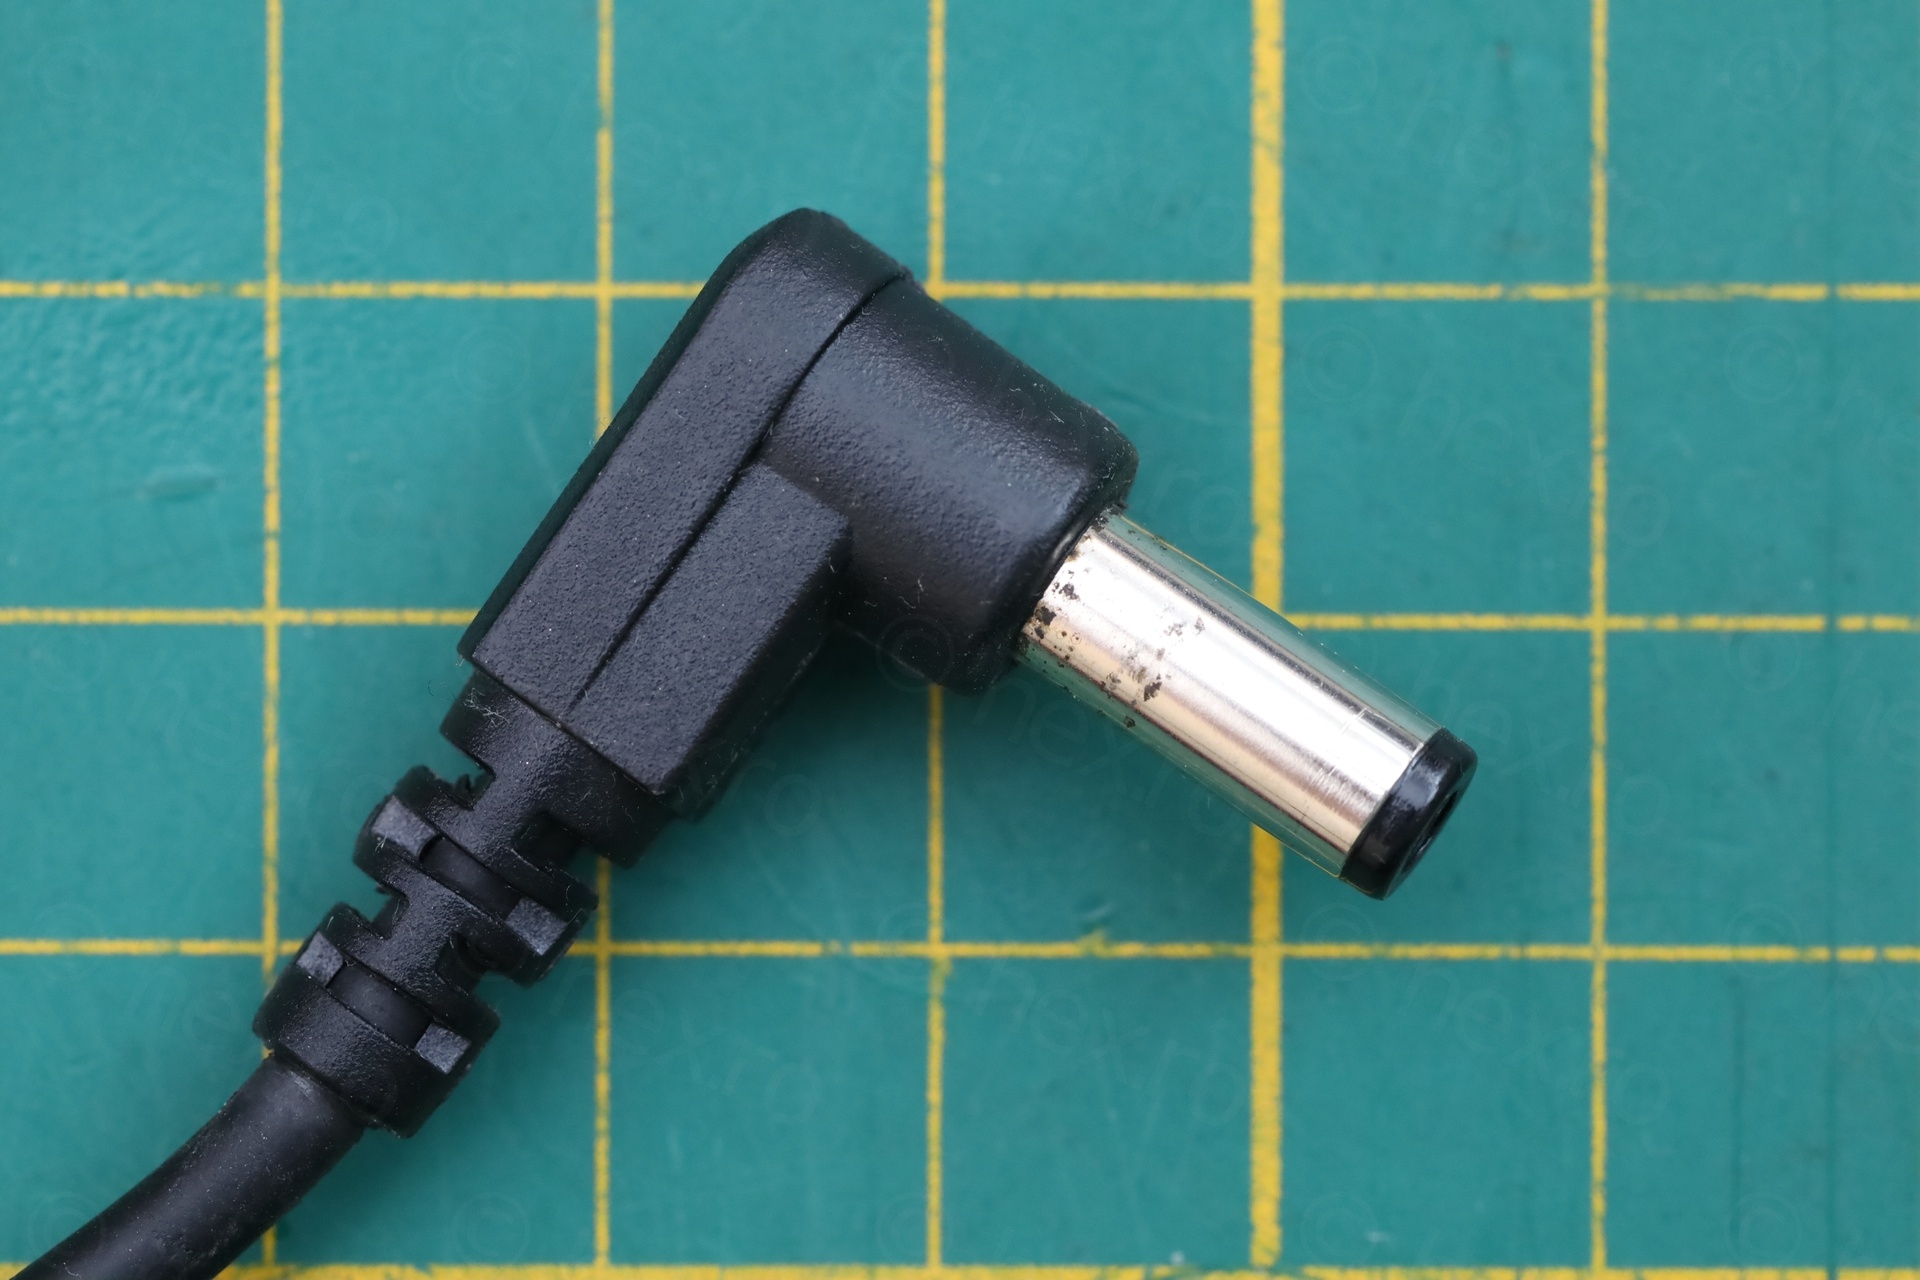
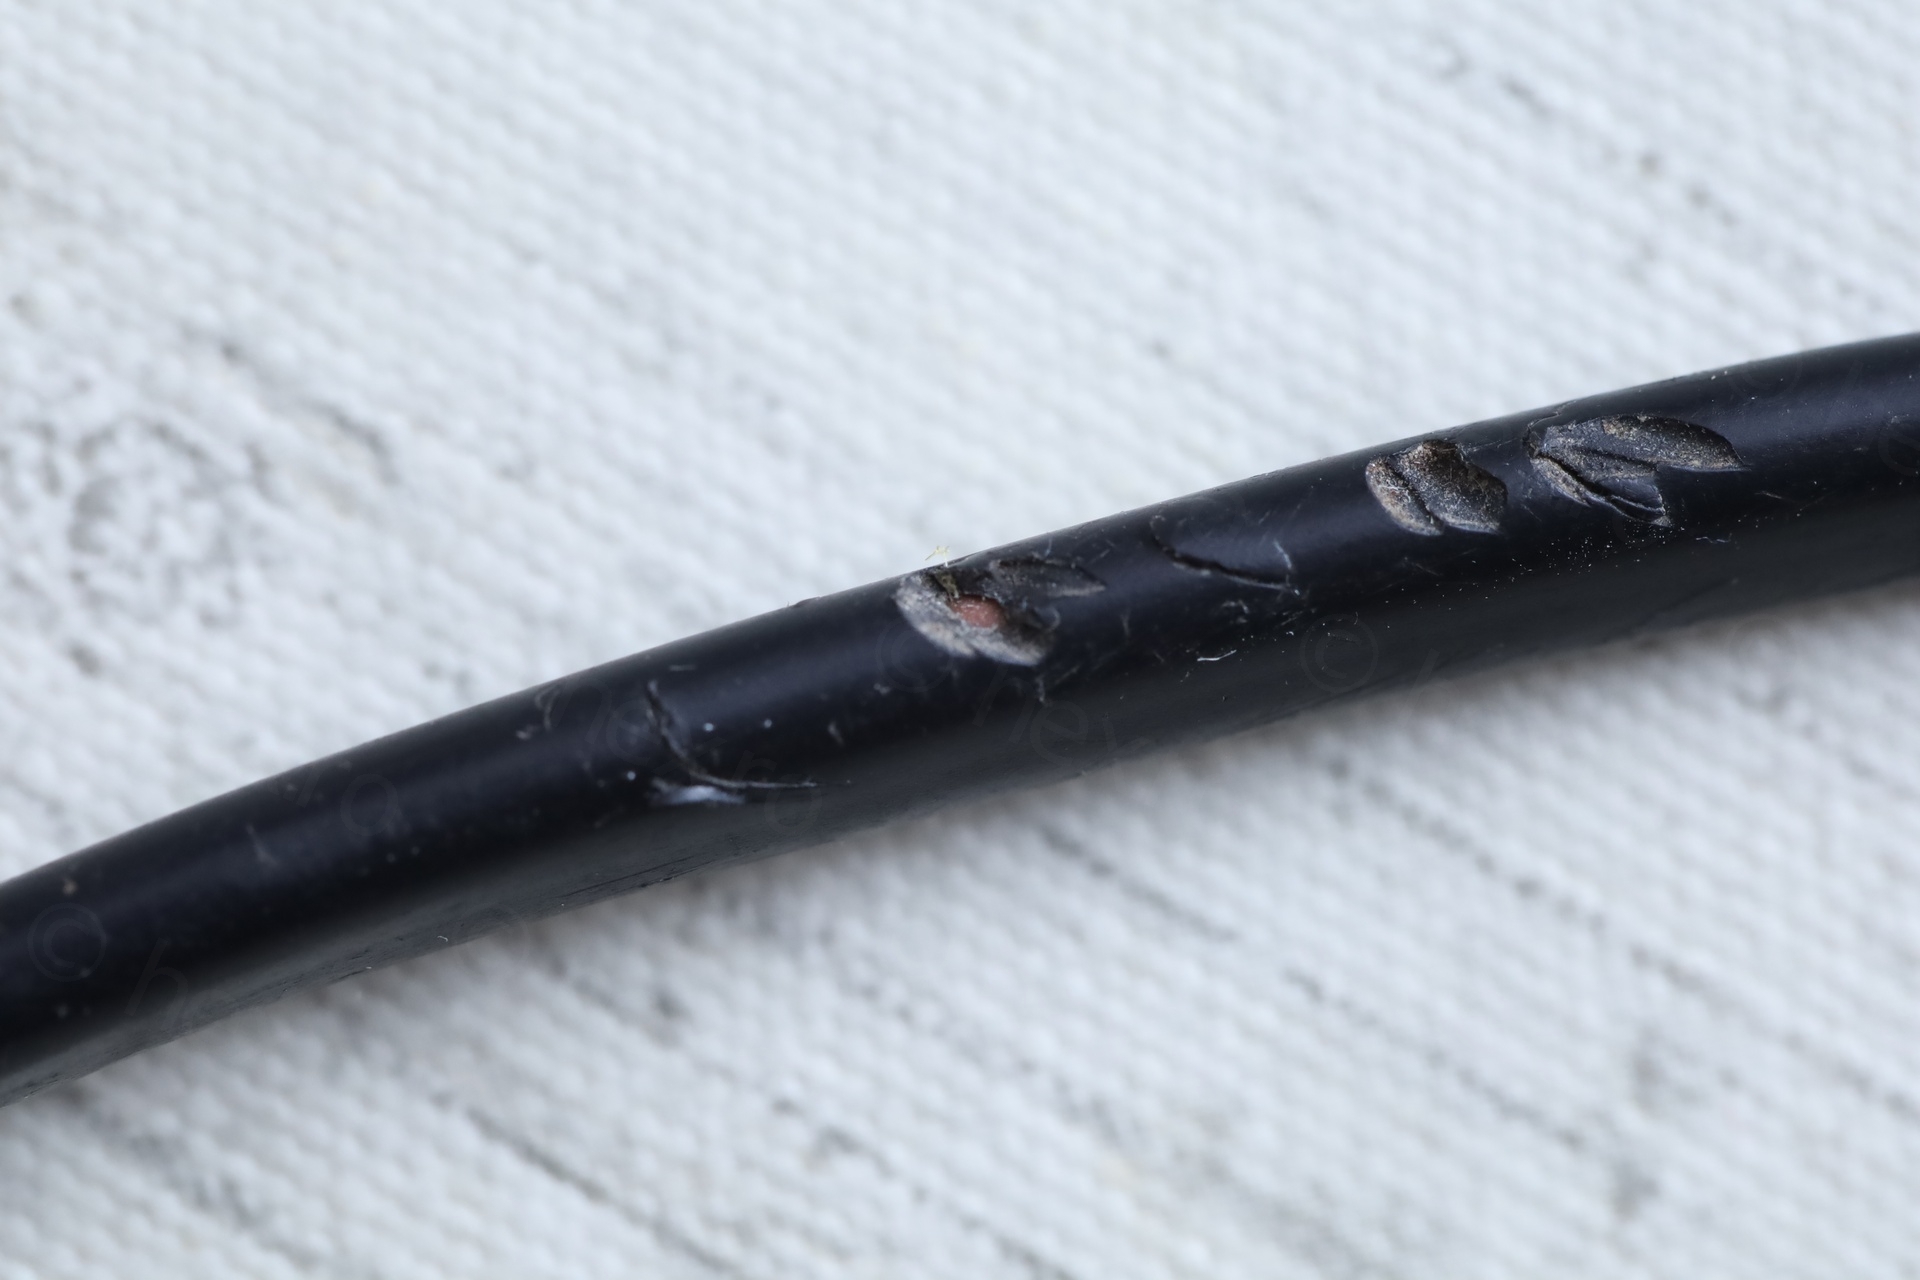
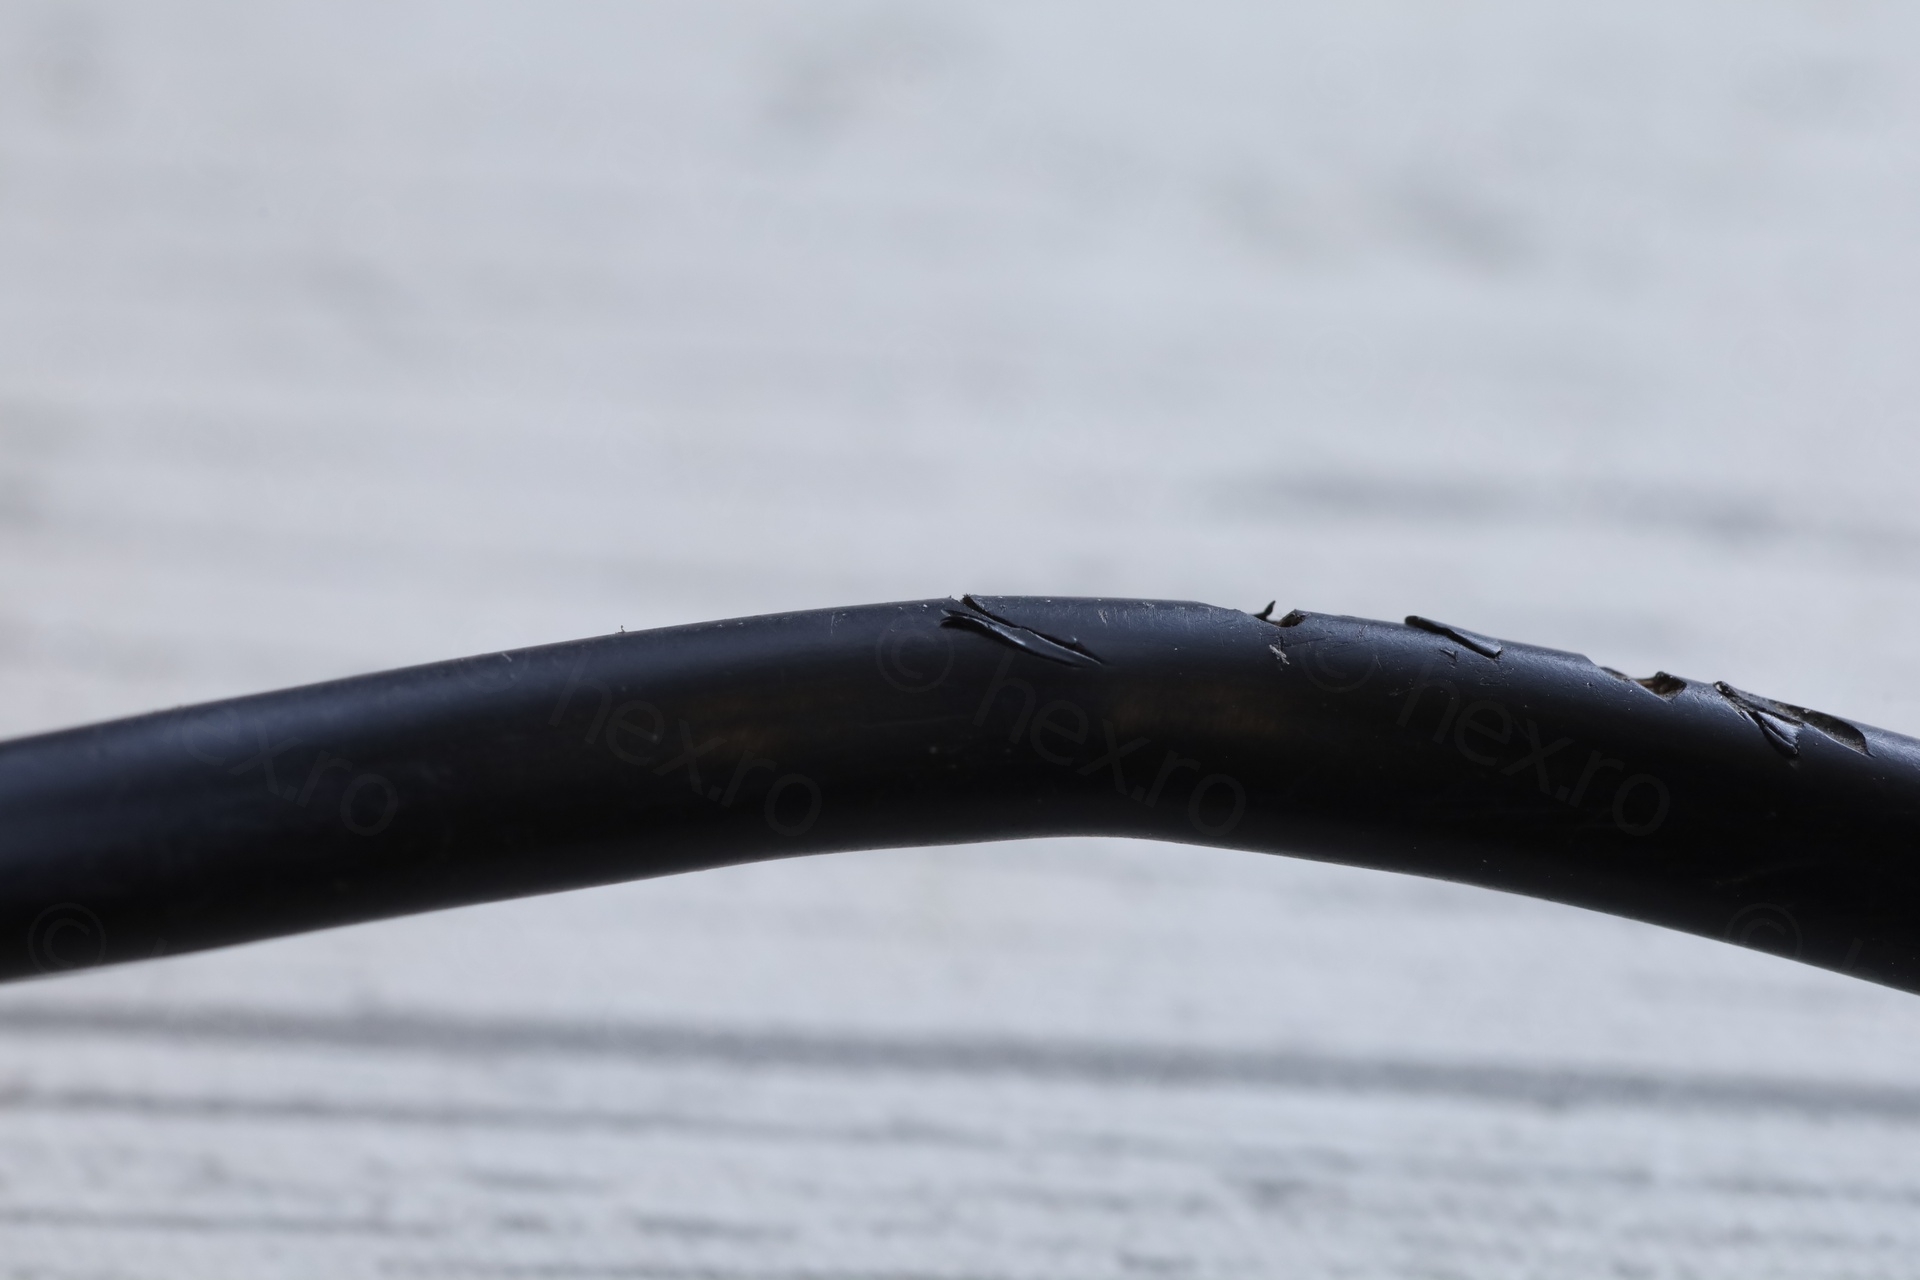
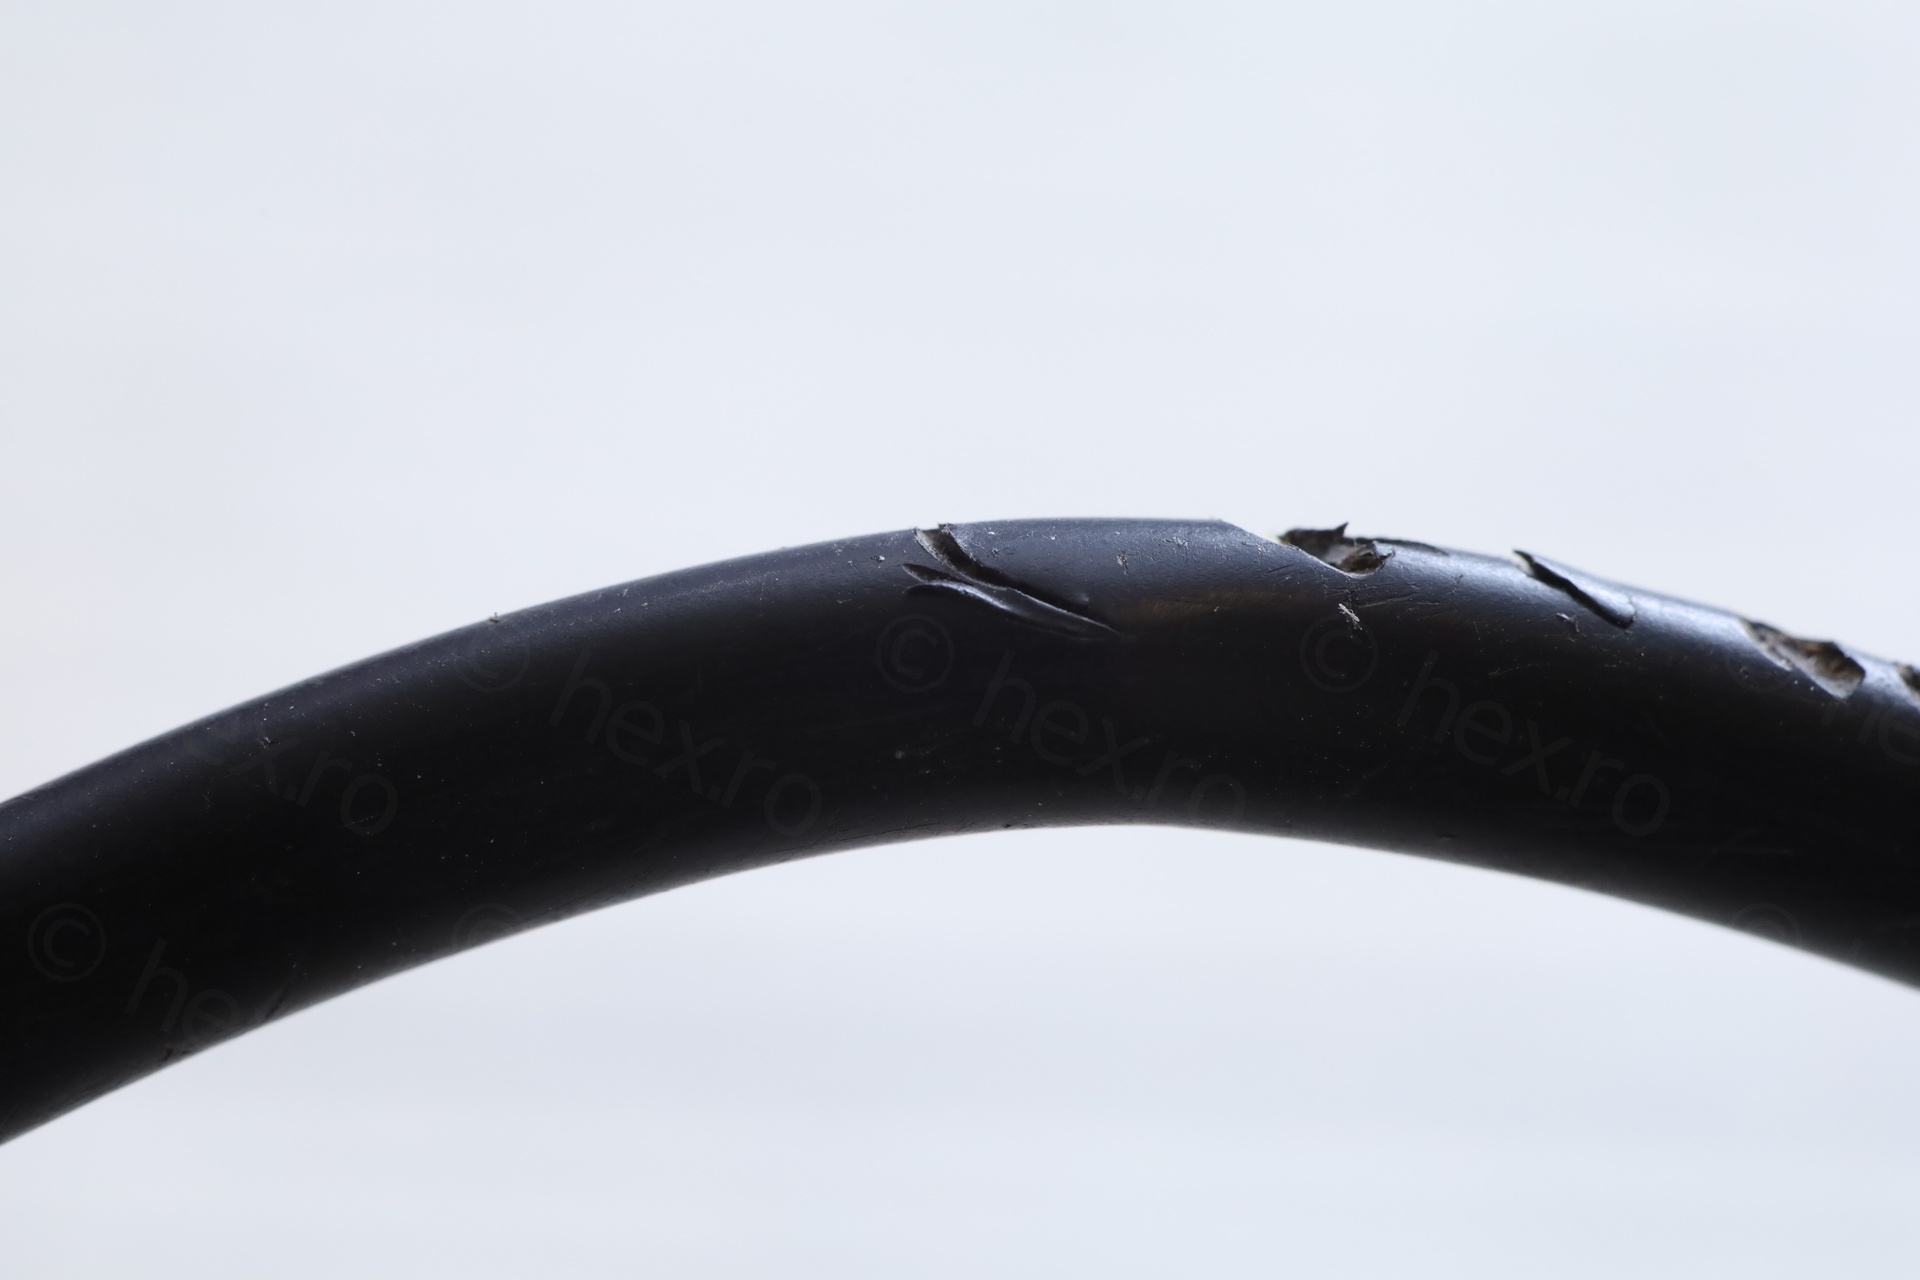
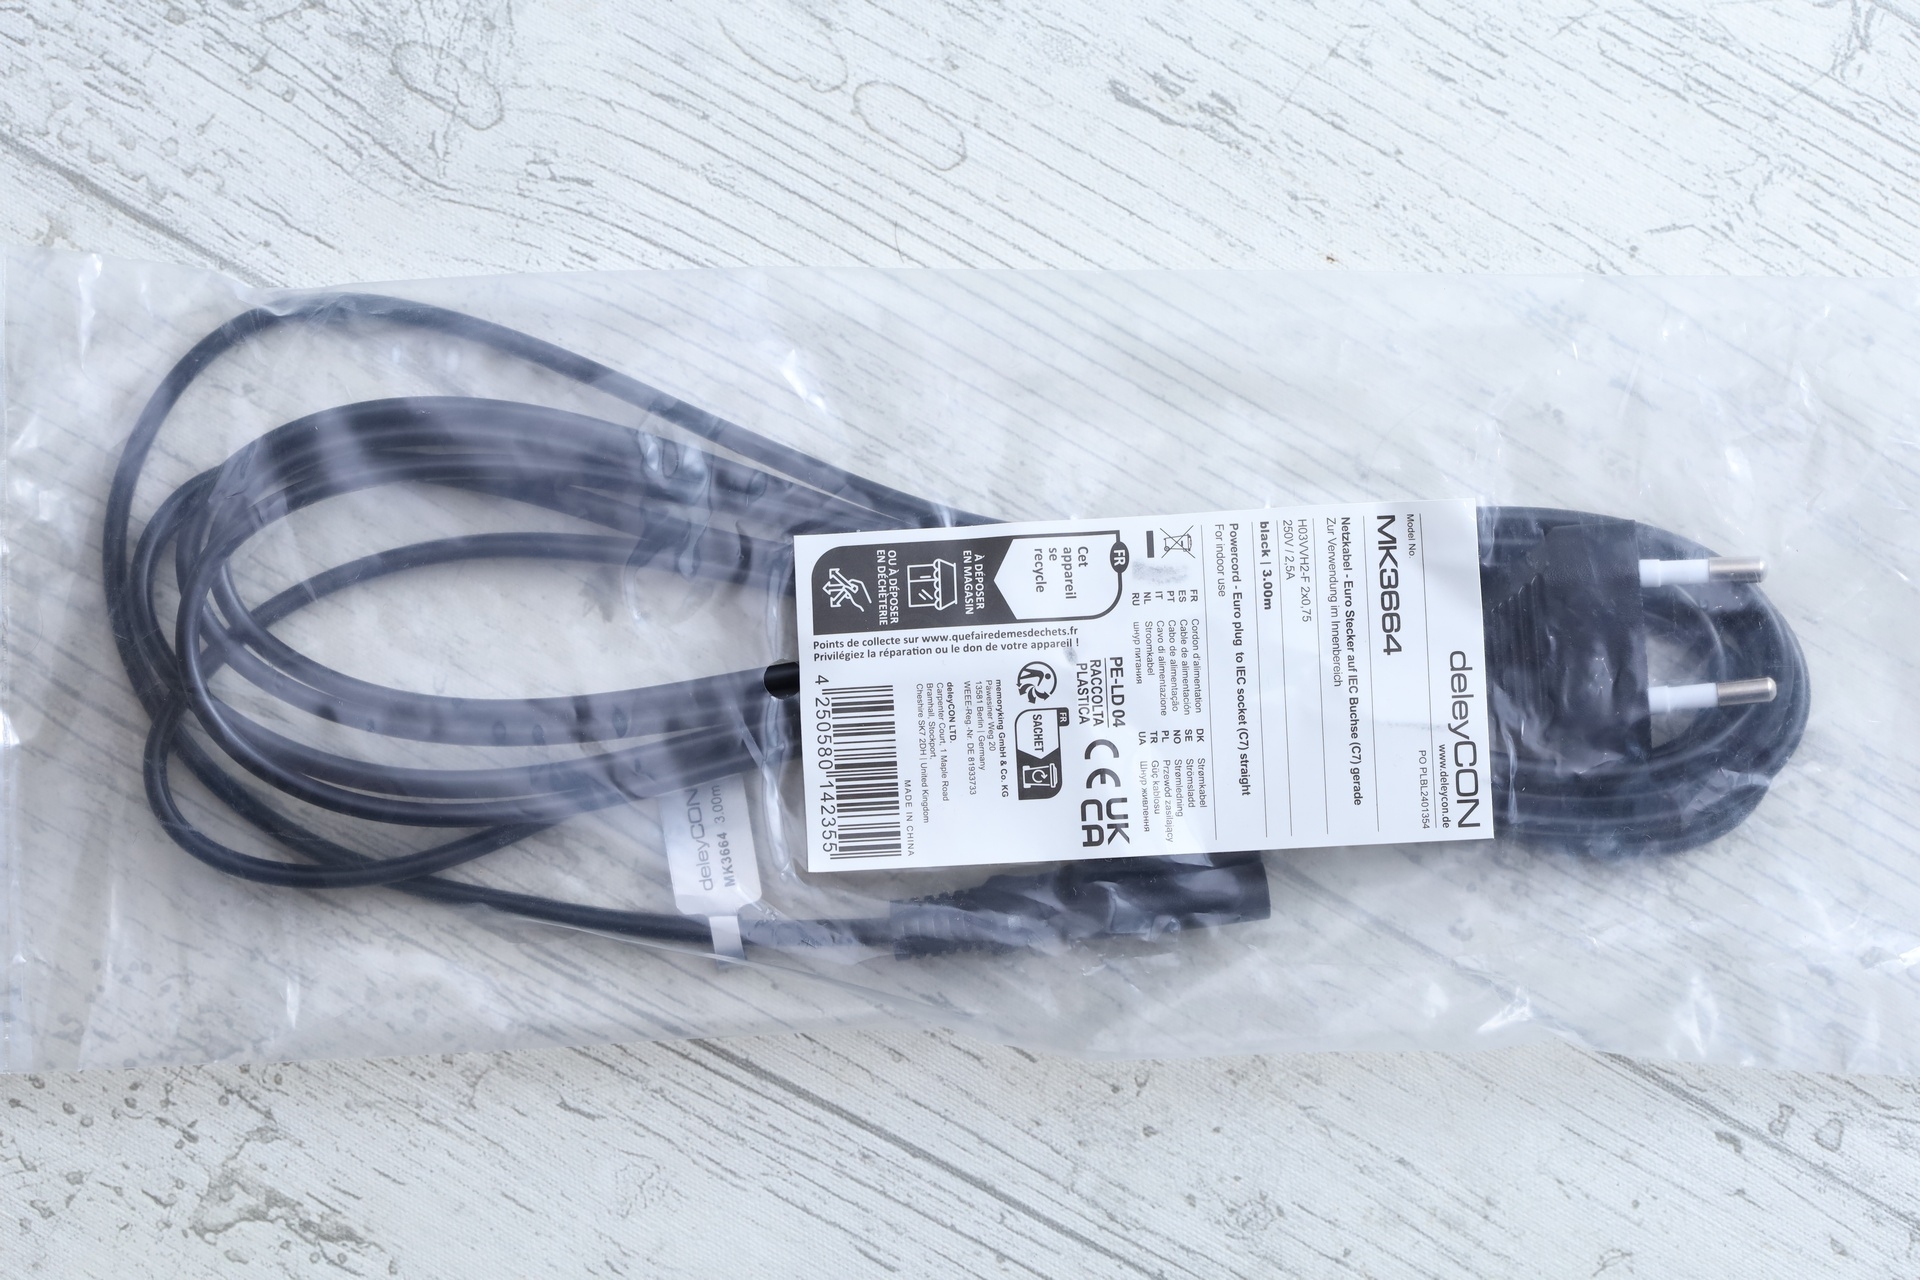
One last thing was replacing the power cable. It had cuts and it seemed it has also been chewed here and there, by some rodents. I measured it to around 2.7m length, so I ordered a new 3m power chord. This should reduce the risks of problems in the long term:

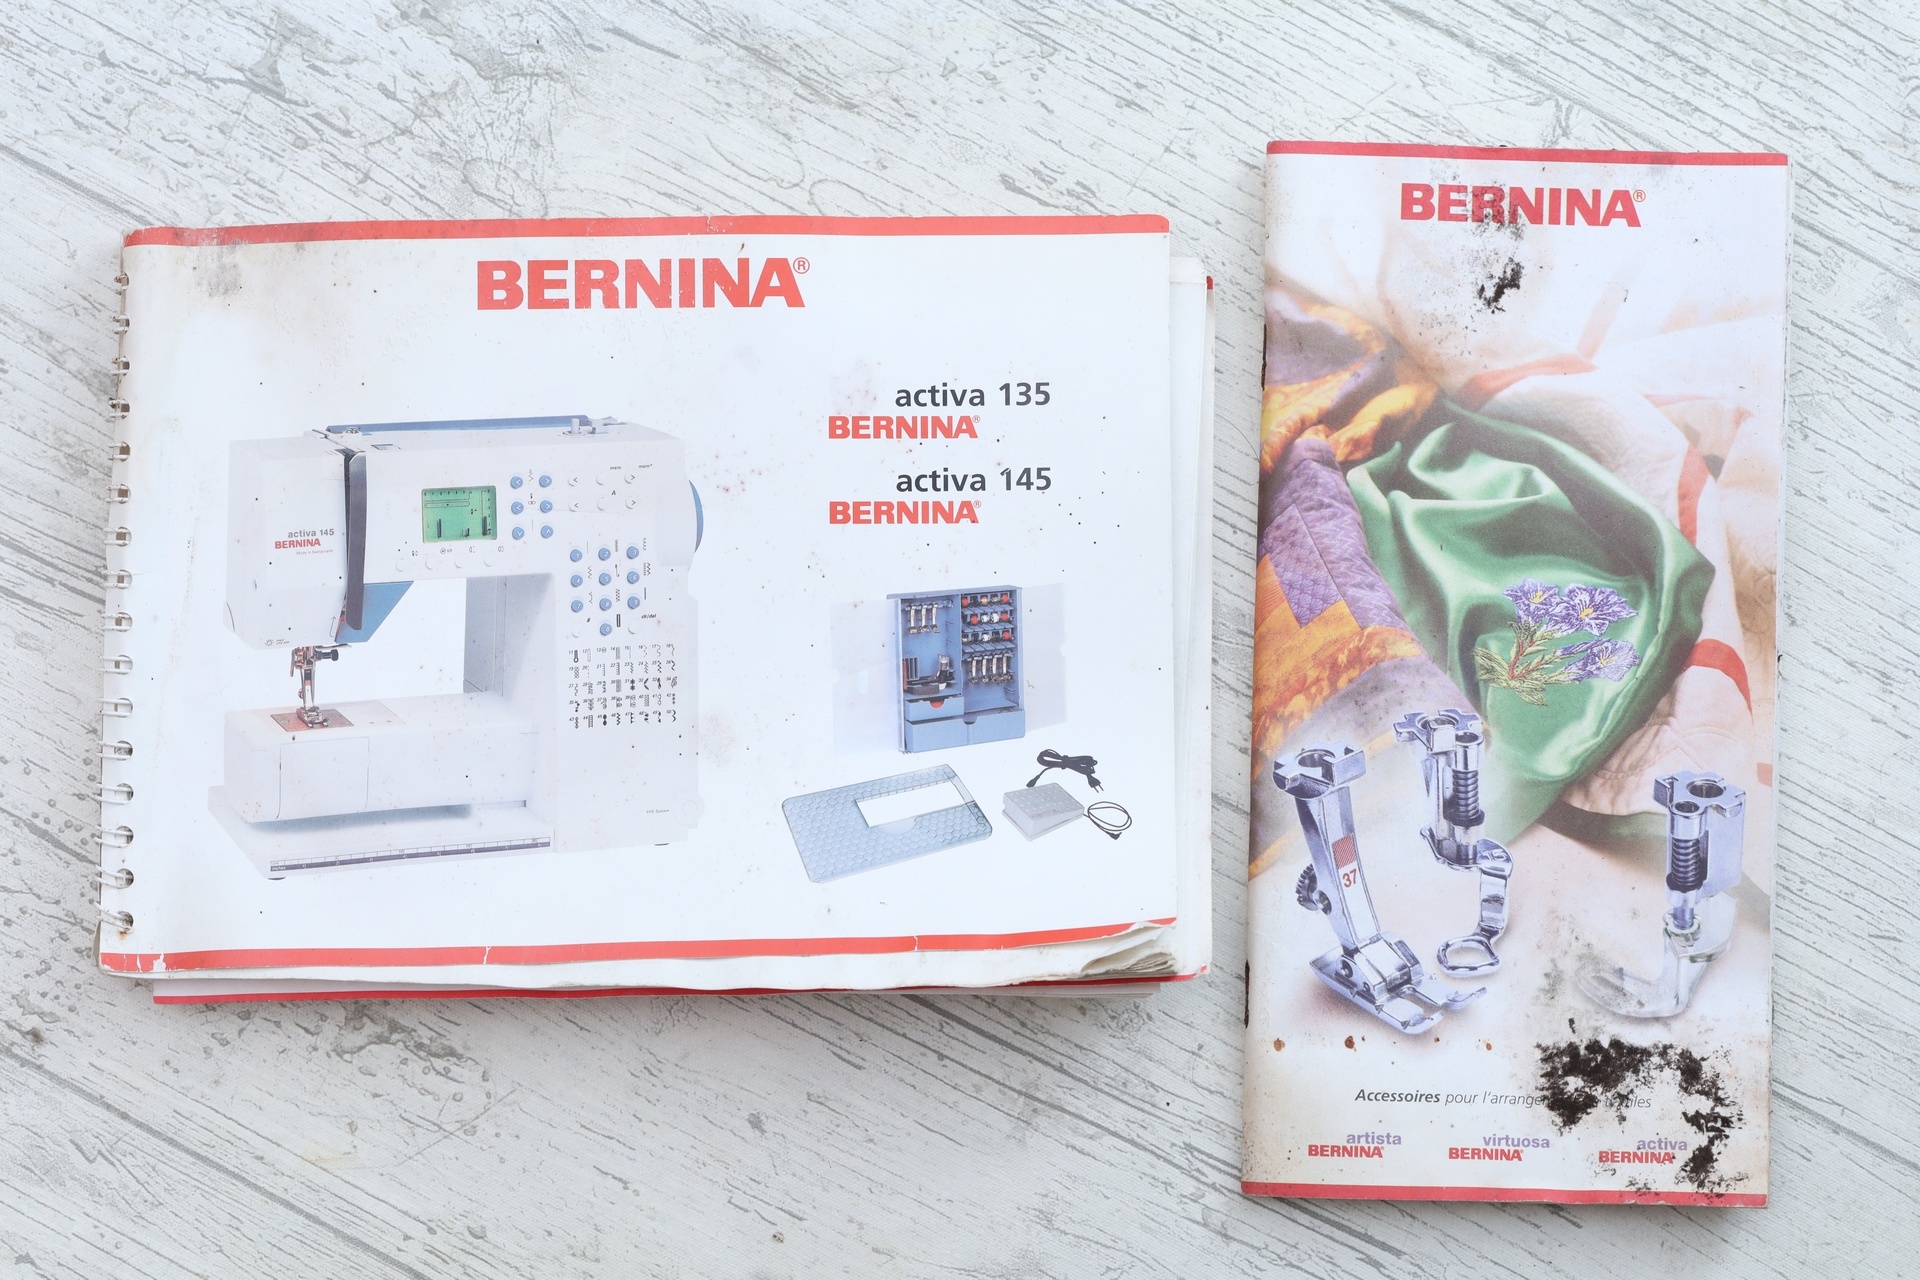
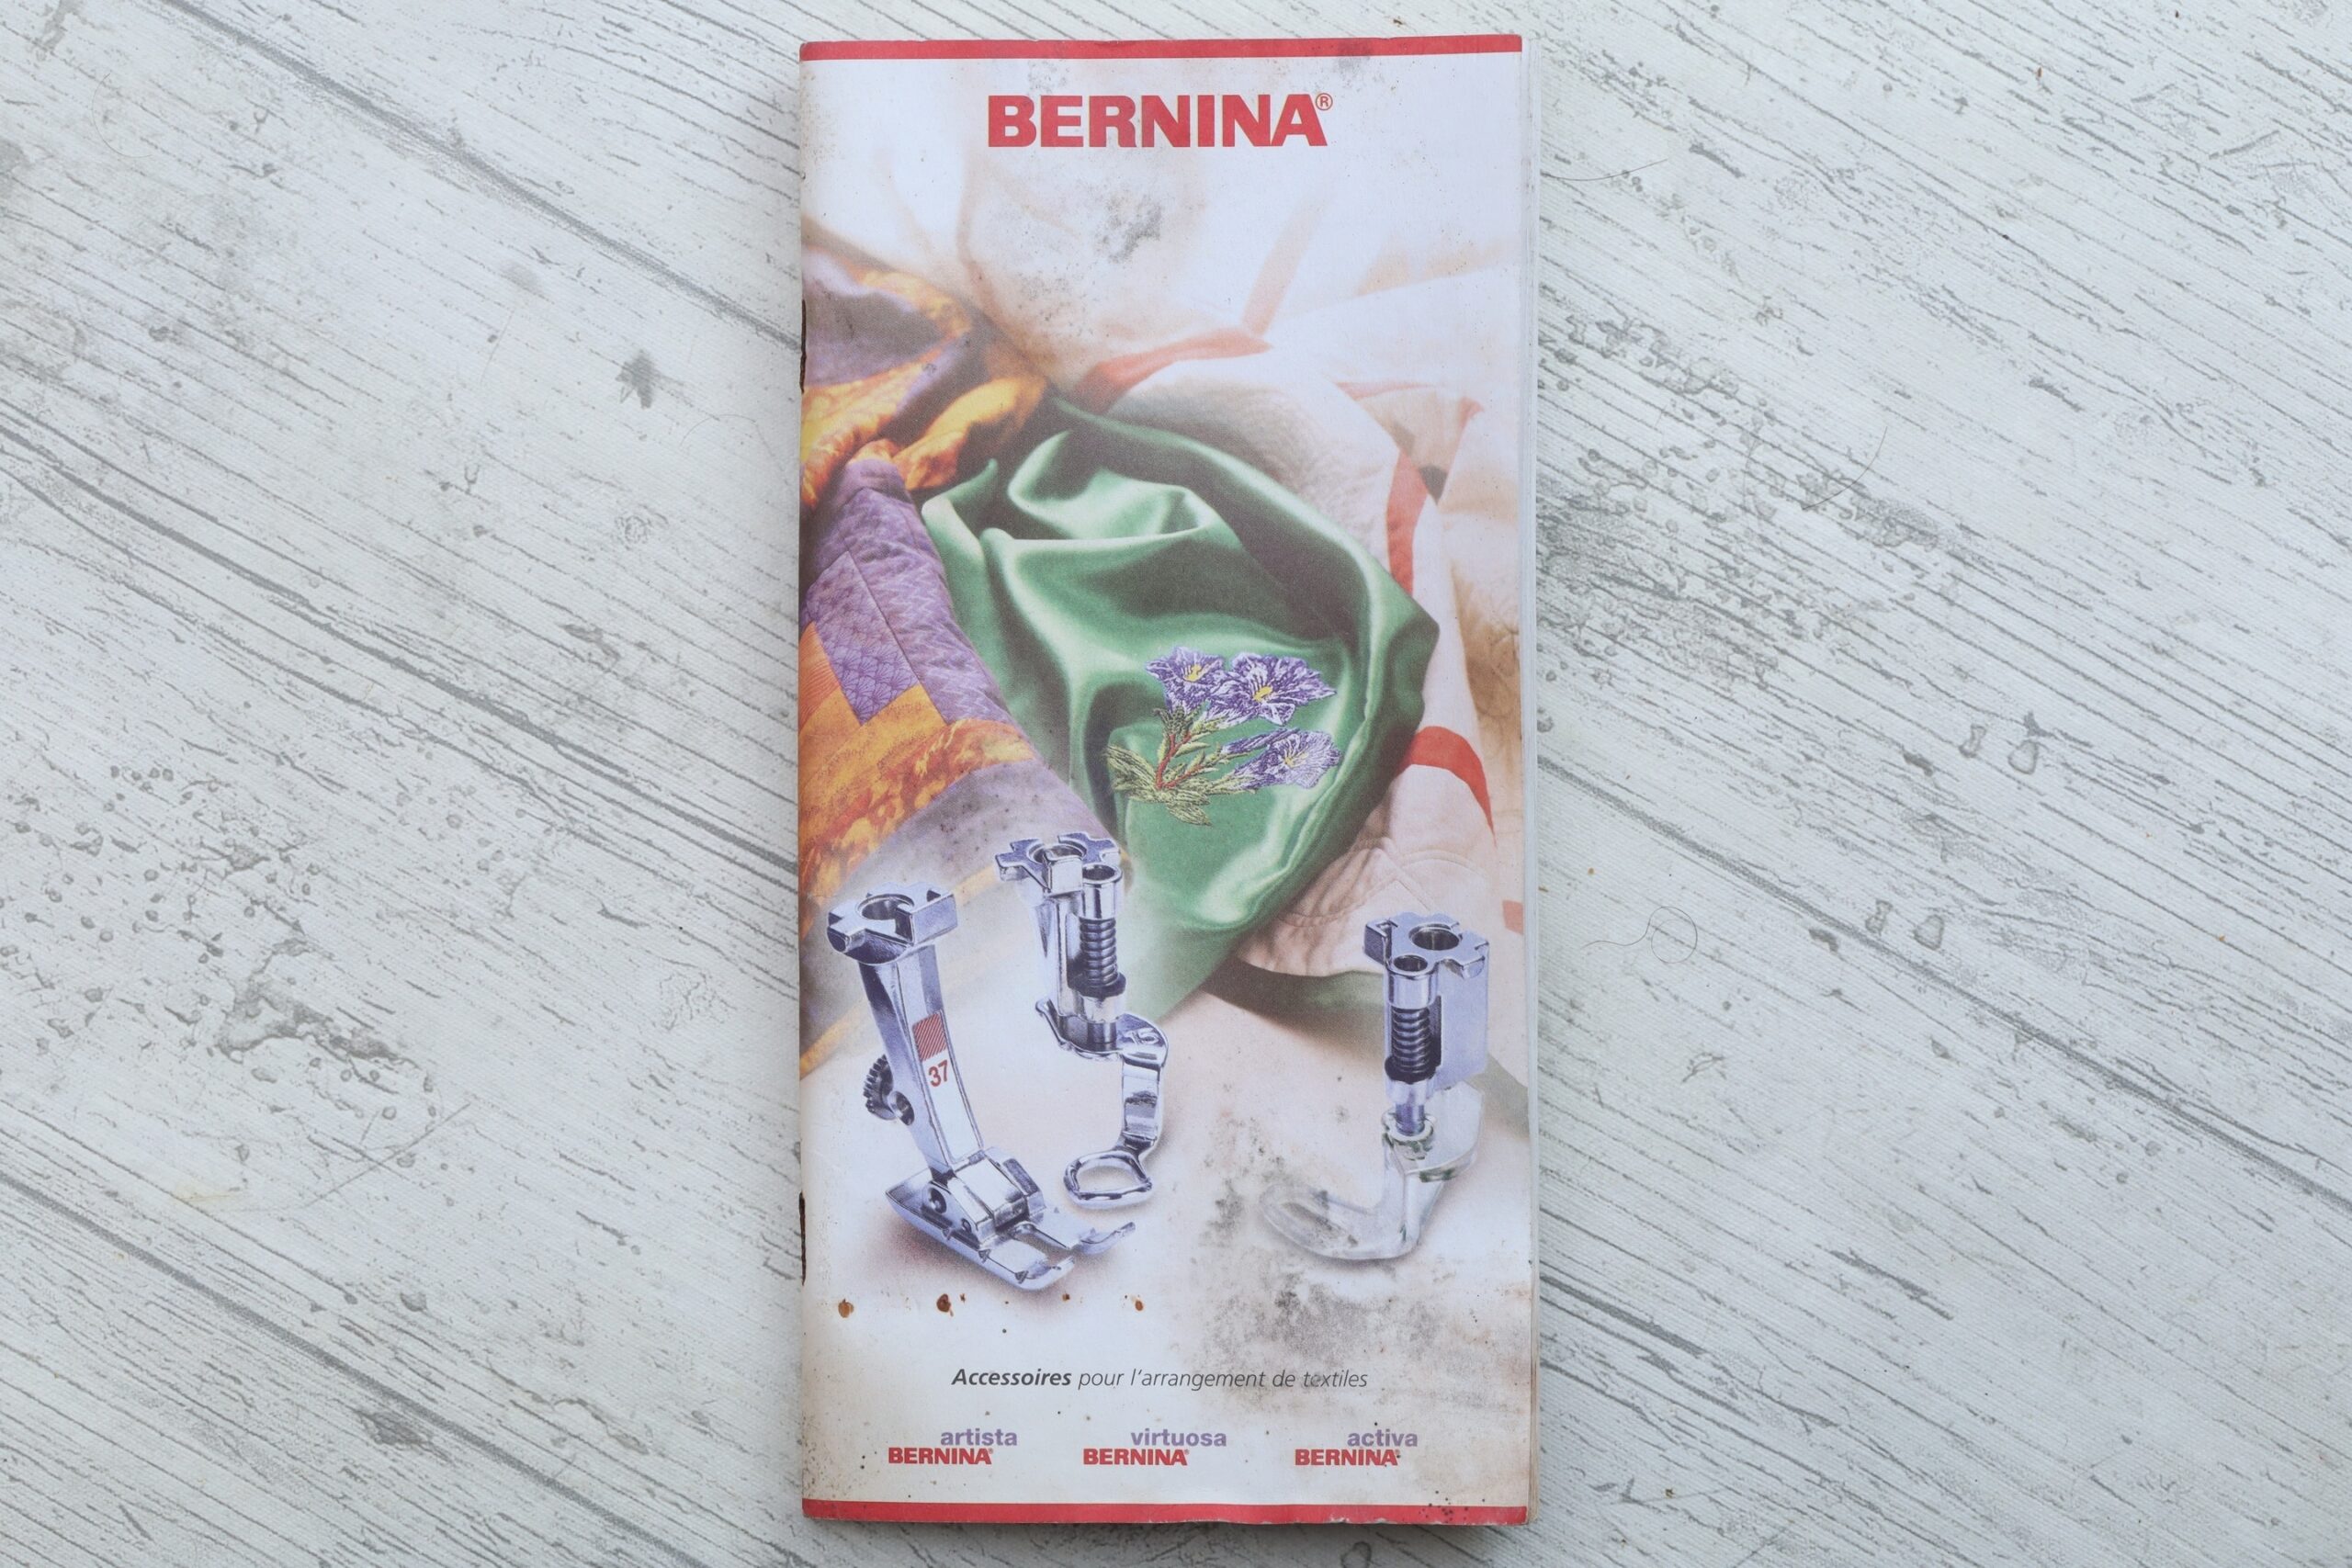
Manuals
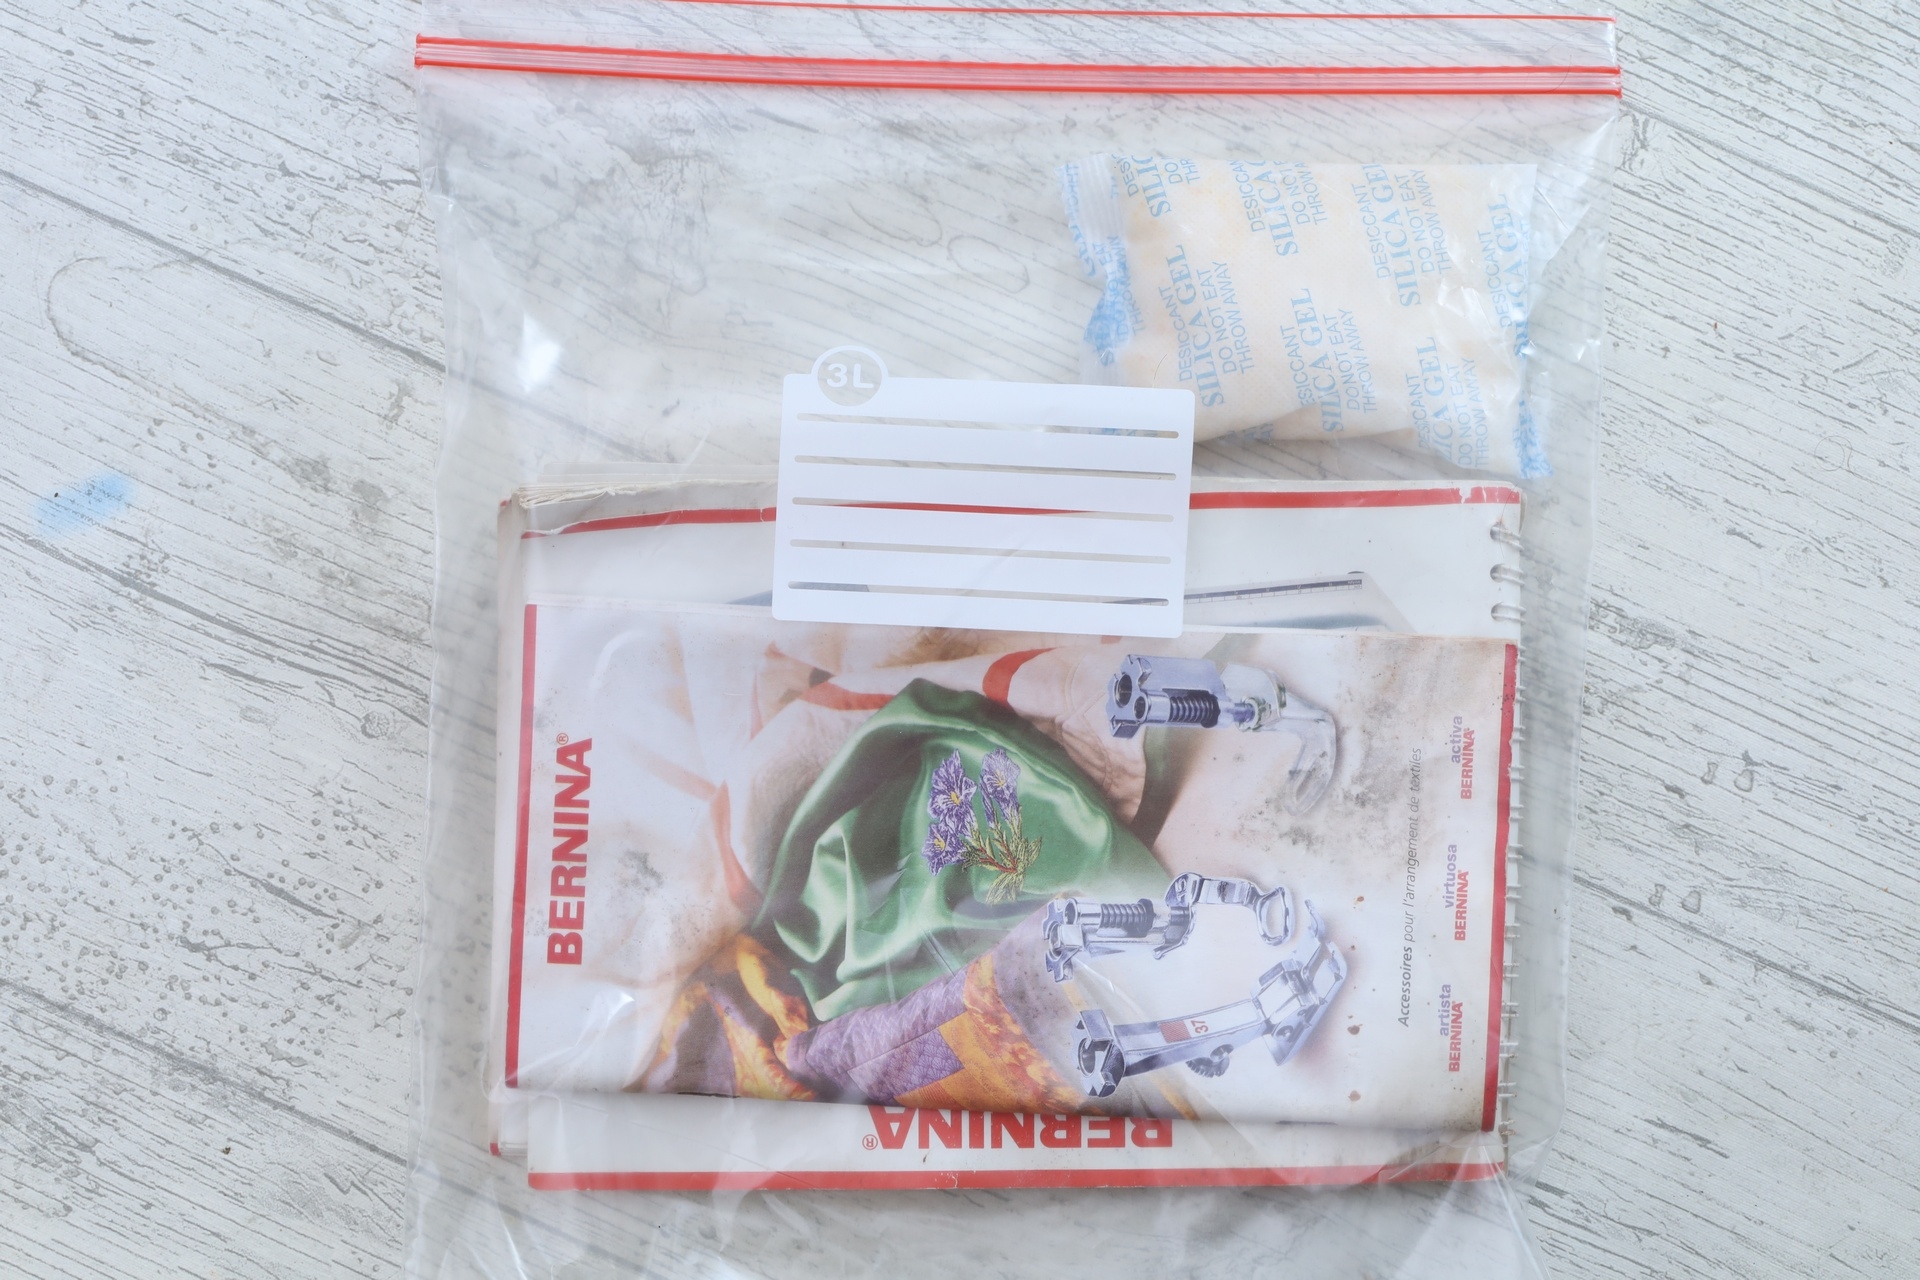
Manuals were full of black mold … I brushed as much as I could, outside, page by page, trying not to inhale .. and sealed them into a zip lock bag along side 50g of silicone desiccant. They were returned to the owner in the zip lock back, I don’t know if I can do more. While they could be thrown, I figured, there could still be some value in having the manuals that came with the machine, they are in a way part of the history of the machine:
In conclusion, an interesting reliable machine. The satisfaction of getting the electronics fixed was overshadowed by the effort taken to remove the rust and to have it cleaned. If I stumble upon one in the wild, maybe I’ll get one for myself too.
Tomek
Great job! I am very impressed on the detailed documentation you made. Thanks for not allowing such precious device to land in trash.
Lila
Very interesting. My 145 goes to sleep and I have to restart it after stitches short spurts. Then sometimes is just keeps sewing like it should. Recently has COA but at that time I wasn’t aware of its sporatic sewing. I will take it back to see what it is all about as I just don’t know enough about the electronics. Was going to just replace the fuse but I think its issue is bigger than the fuse.