As part of a soil humidity monitoring system, I needed to test how much the water (used as a dielectric) can influence the capacitance between two metal plates inserted into the ground. The capacitance is very small, in the pF range, so this got me searching for a simple way (yet hopefully accurate) to get an idea of ranges I had to work with.
Luckily somebody else did the heavy lifting by coming up with an ingenious way of measuring very small capacitance using an Arduino UNO. I’m trying to expand on Jonathan blog by presenting my results using an Arduino Leonardo as well as a Seeeduino Lite v1.0b board that I have at hand (I don’t own any Arduino UNO).
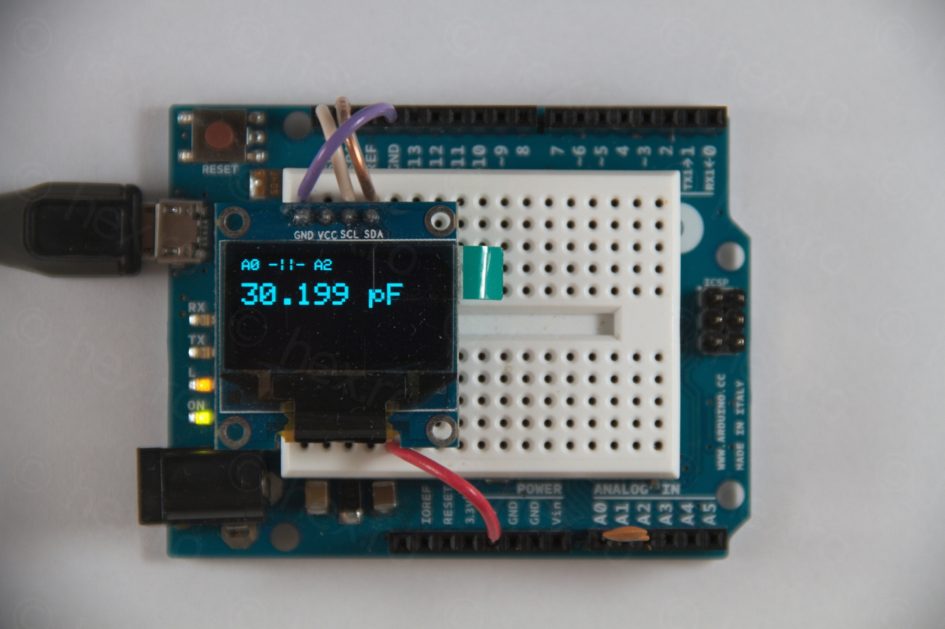
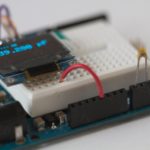
I’ve also employed an OLED screen so that I can see the measurement next to where I will be using the capacitor.
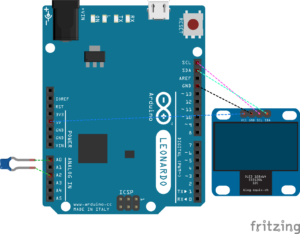
Schematic
The capacitor on the left is the one to be measured (connected between A0 and A2 inputs). The OLED screen has a resolution of 128×64 pixels (mono) and works on I²C bus. No other parts needed!
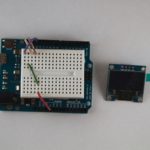
Board
Source code
Leonardo board seems to have the same IN_STRAY_CAP_TO_GND = 24.48 requirement as the Arduino UNO, but playing around with the Seeeduino Lite board (Leonardo equivalent), I had to modify IN_STRAY_CAP_TO_GND = 26.4 to get it to offer similar results as the Leonardo for the pF capacitors I have been measuring.
#include <SPI.h>
#include <Wire.h>
#include <Adafruit_GFX.h>
#include <Adafruit_SSD1306.h>

#define OLED_RESET 6
Adafruit_SSD1306 display(OLED_RESET);

const int OUT_PIN = A2;
const int IN_PIN = A0;

//Capacitance between IN_PIN and Ground
//Stray capacitance is always present. Extra capacitance can be added to
//allow higher capacitance to be measured.
const float IN_STRAY_CAP_TO_GND = 26.40; //initially this was 30.00, then 24.48 (for seeeduino lite 26.40)
const float IN_EXTRA_CAP_TO_GND = 0.0;
const float IN_CAP_TO_GND  = IN_STRAY_CAP_TO_GND + IN_EXTRA_CAP_TO_GND;
const int MAX_ADC_VALUE = 1023;

void setup()
{
  pinMode(OUT_PIN, OUTPUT);
  //digitalWrite(OUT_PIN, LOW);  //This is the default state for outputs
  pinMode(IN_PIN, OUTPUT);
  //digitalWrite(IN_PIN, LOW);

  // by default, we'll generate the high voltage from the 3.3v line internally! (neat!)
  display.begin(SSD1306_SWITCHCAPVCC, 0x3C);  // initialize with the I2C addr 0x3D (for the 128x64)
  // init done

  // Clear the buffer.
  display.clearDisplay();
  // Set text size and color
  display.setTextColor(WHITE);

  Serial.begin(115200);
}

void loop()
{
  //Capacitor under test between OUT_PIN and IN_PIN
  //Rising high edge on OUT_PIN
  pinMode(IN_PIN, INPUT);
  digitalWrite(OUT_PIN, HIGH);
  int val = analogRead(IN_PIN);

  //Clear everything for next measurement
  digitalWrite(OUT_PIN, LOW);
  pinMode(IN_PIN, OUTPUT);

  //Calculate and print result

  float capacitance = (float)val * IN_CAP_TO_GND / (float)(MAX_ADC_VALUE - val);

  Serial.print(F("Capacitance Value = "));
  Serial.print(capacitance, 3);
  Serial.print(F(" pF ("));
  Serial.print(val);
  Serial.println(F(") "));

  display.clearDisplay(); // clear buffer
  display.setCursor(0,0);
  display.setTextSize(1);
  display.print("A0 -||- A2");
  display.print("\n\n");
  display.setTextSize(2);
  display.print(capacitance, 3);
  display.print(" pF");
  display.display();

  while (millis() % 500 != 0);
}
Testing results
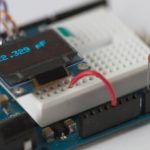
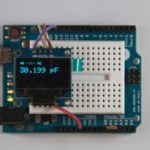
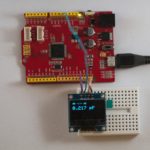
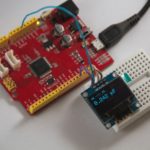
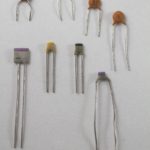
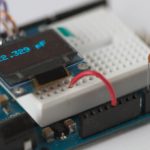
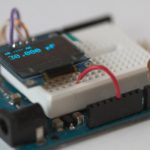
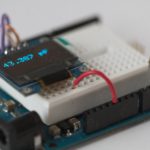
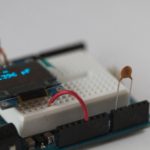
I had few caps lying around plus few close up pics of the some caps being measured:
Measurements
The results below were obtained from Leonardo running the code with IN_STRAY_CAP_TO_GND = 24.48 and from Seeeduino Lite running the code with IN_STRAY_CAP_TO_GND = 26.4.
| Capacitor | Leonardo | Seeeduino |
|---|---|---|
| 10pF | 9.732 | 9.851 |
| 18pF | 16.982 | 17.090 |
| 22pF | 22.329 | 22.438 |
| 33pF | 30.080 | 30.100 |
| 47pF | 43.387 | 43.386 |
| 100pF | 90.396 | 90.110 |
| 200pF | 197.119 | 197.650 |
| 470pF | 422.717 | 423.720 |
Observations
Circuit provides stable measurements when powered from my laptop’s USB port or when using a 3xAA batteries on the Vcc pin. However, when powered from rechargeable power banks (tried two of them), measurements were allover the place with about 10% variation and randomly changing. I noticed a small 50mV ripple on the oscilloscope – while the laptop’s power supply has a really flat output independent of the demand of the circuit.
Touching any of the leads (or the board around the ports area) will mess up with the measurement.
I had no way to estimate the input capacitance of the Seeeduino board (like the the original article for the UNO) so the 26.4 value of IN_STRAY_CAP_TO_GND was obtained by trial and error so that the Seeeduino results match the Leonardo across all the measured values.
Ehsan
Hi thank you for sharing this
can i do this with Arduino nano?
or i must do with Arduino Leonardo.
with regards
Ehsan
and can i measure capacitance in nano range?
o00k
This is so elegant and works great! Thank you for sharing! One strange thing, my original Arduino Uno did not work at all, clone worked fine….