Table of Contents
- Introduction
- Initial evaluation
- Reattaching the On / Off rod
- Manufacturing the volume button
- Replacing worn out foam pads
- 220V -> 240V
- Electrical part
Introduction
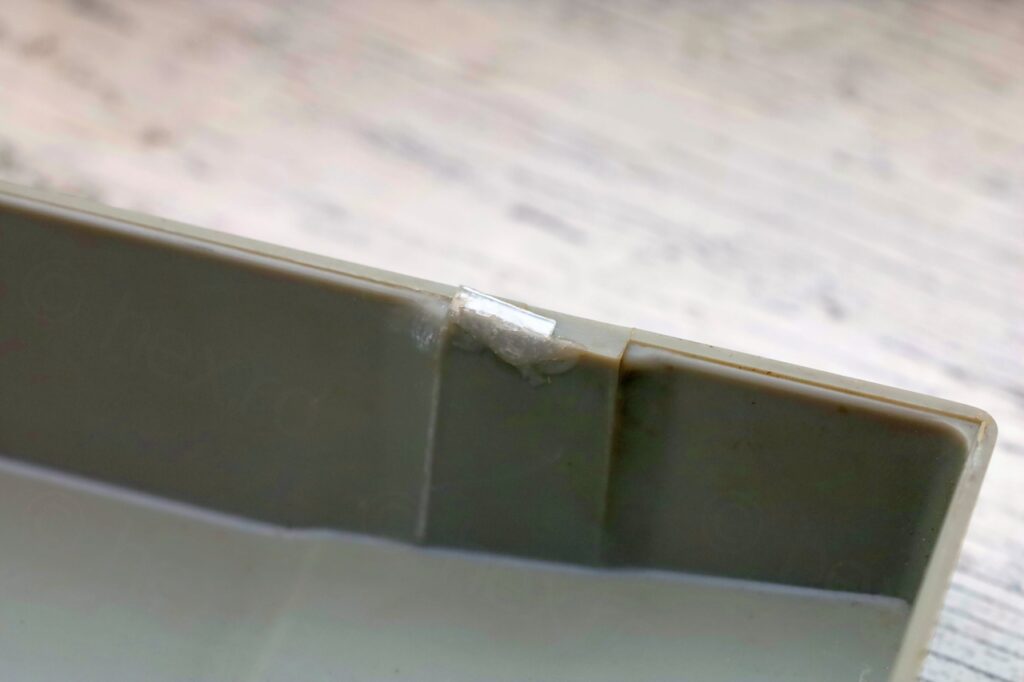
I found this turntable at a flea market, in an area known to be cheap. Thrown away in a carton box, alongside other things, I picked it up and looked at it: one button was missing and the lid had a tap broken off. It still had the cartridge and it looked like it may have Germanium transistors inside. There was a 20 euro sticker on it, but I was not willing to pay that much. I have rescued other plastic Philips turntables and was not impressed with the quality that much. Ignoring the sticker, I asked the seller – how much ? – 2 euros, he said. – Ok…
Initial evaluation
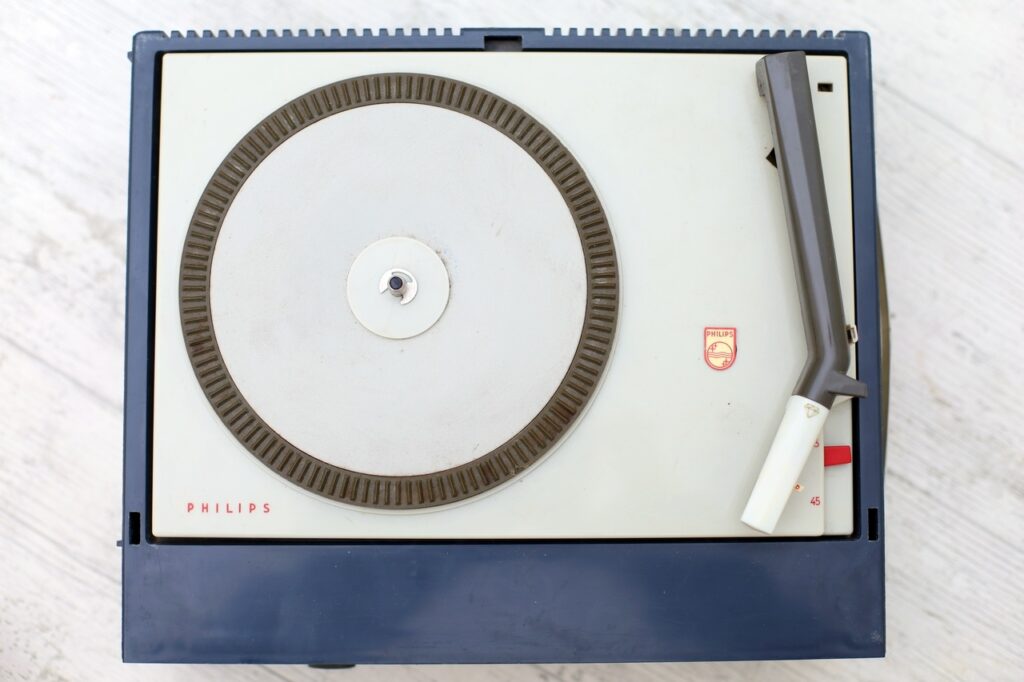
It didn’t look that bad from the outside – and it even had the original 45 RPM adapter:
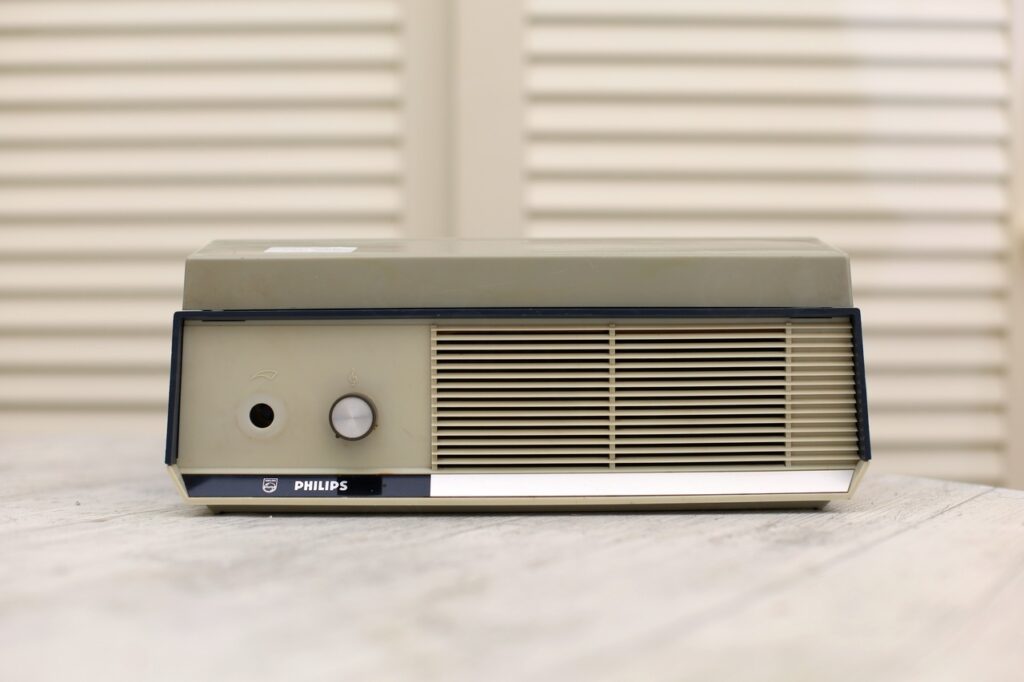
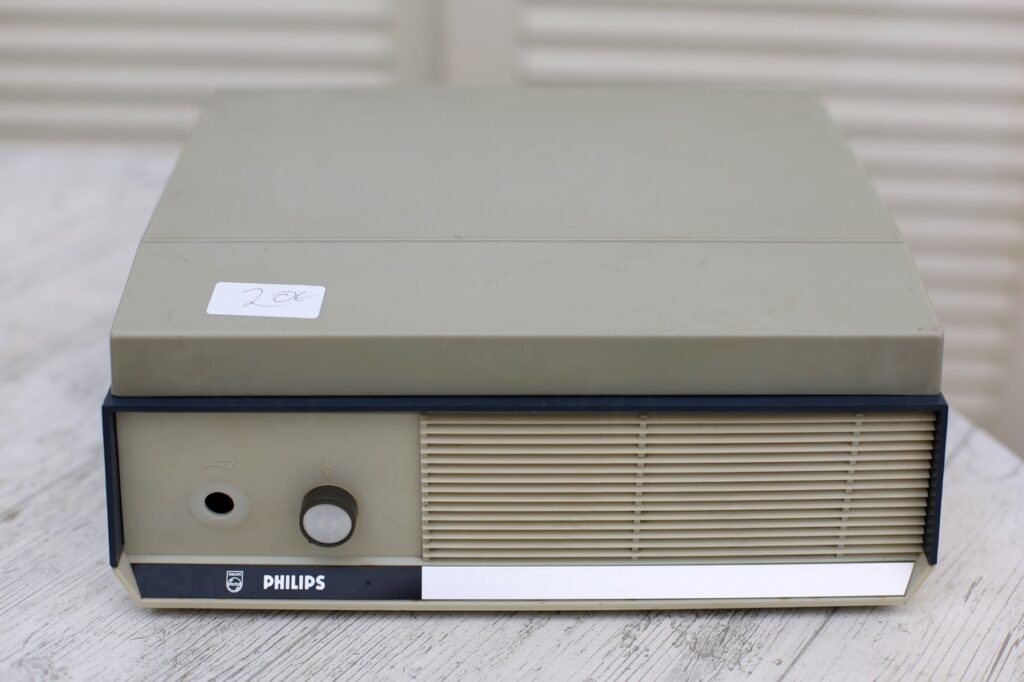
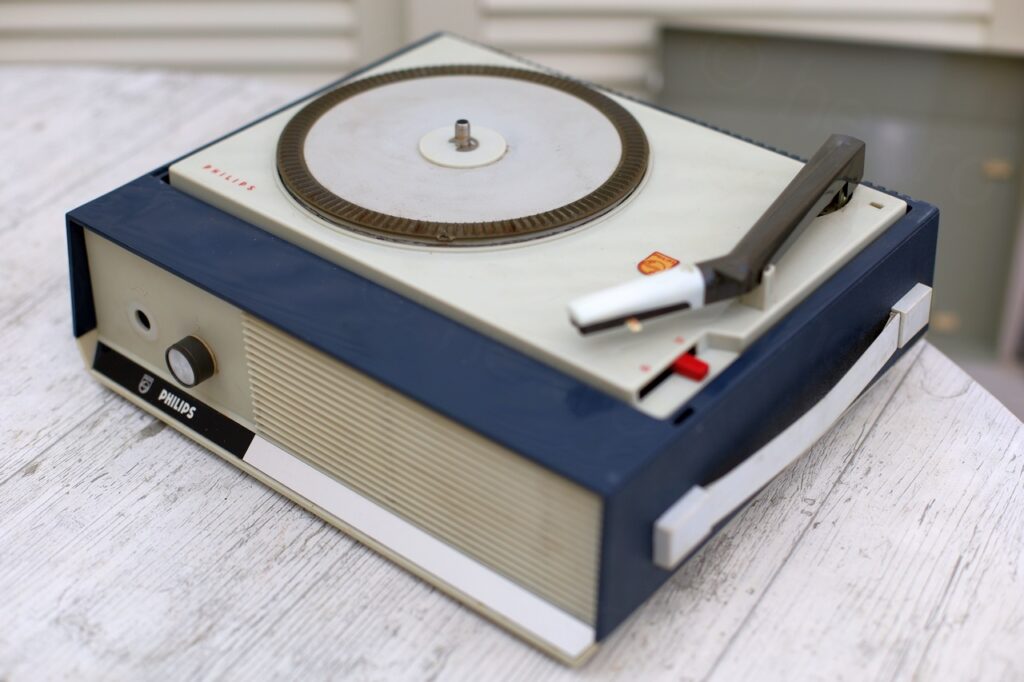
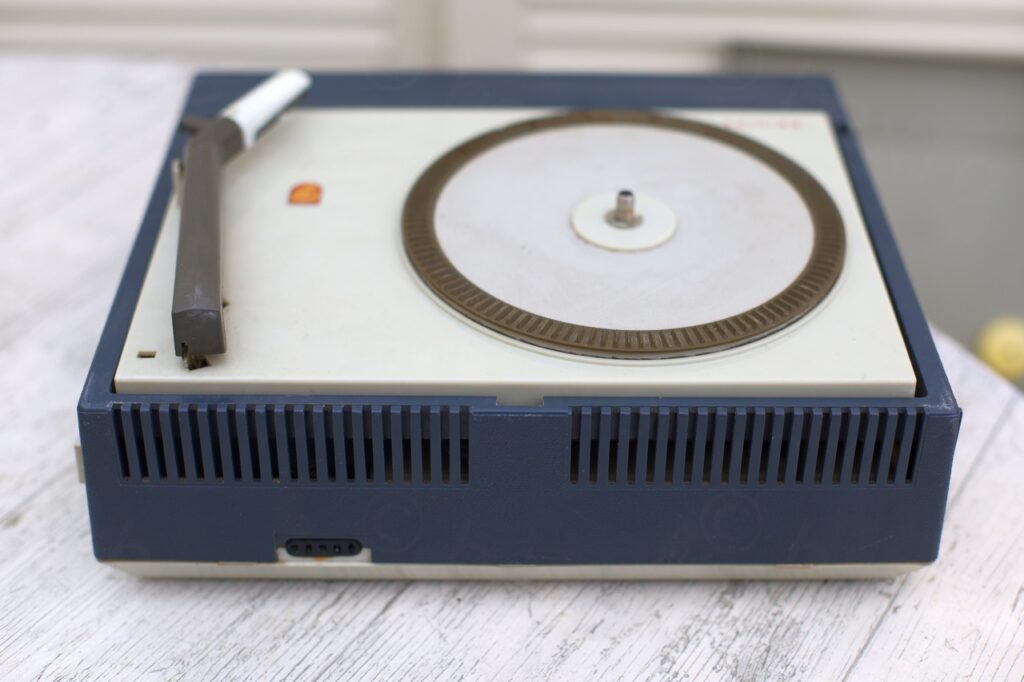
Unfortunately, it refused to work. No click sound when moving the arm to the right, no movement of the platter:
Reattaching the On / Off rod
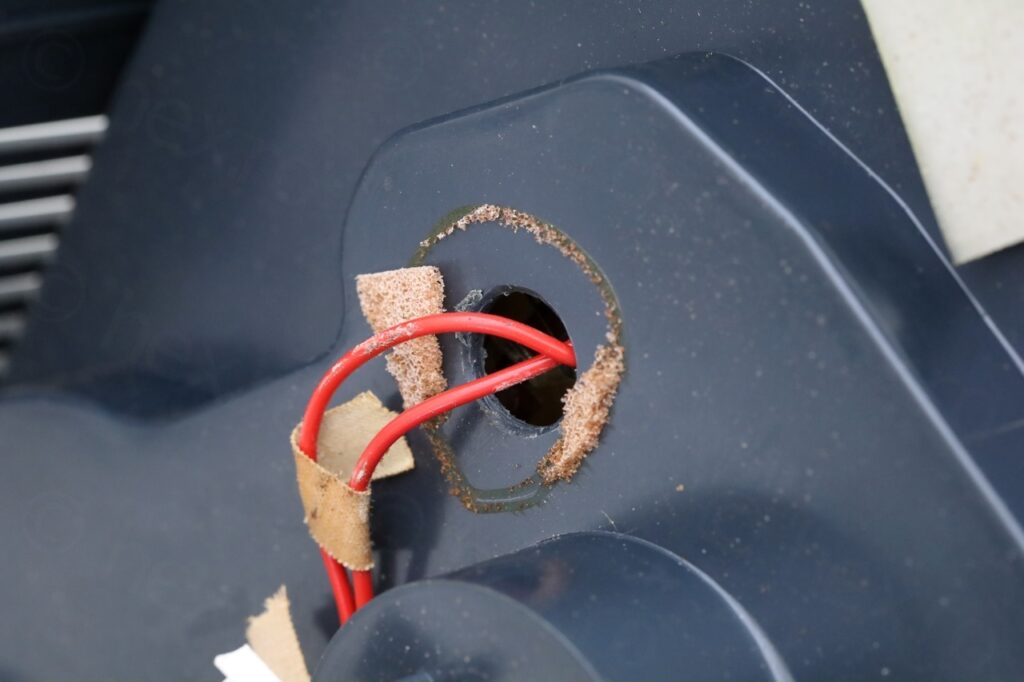
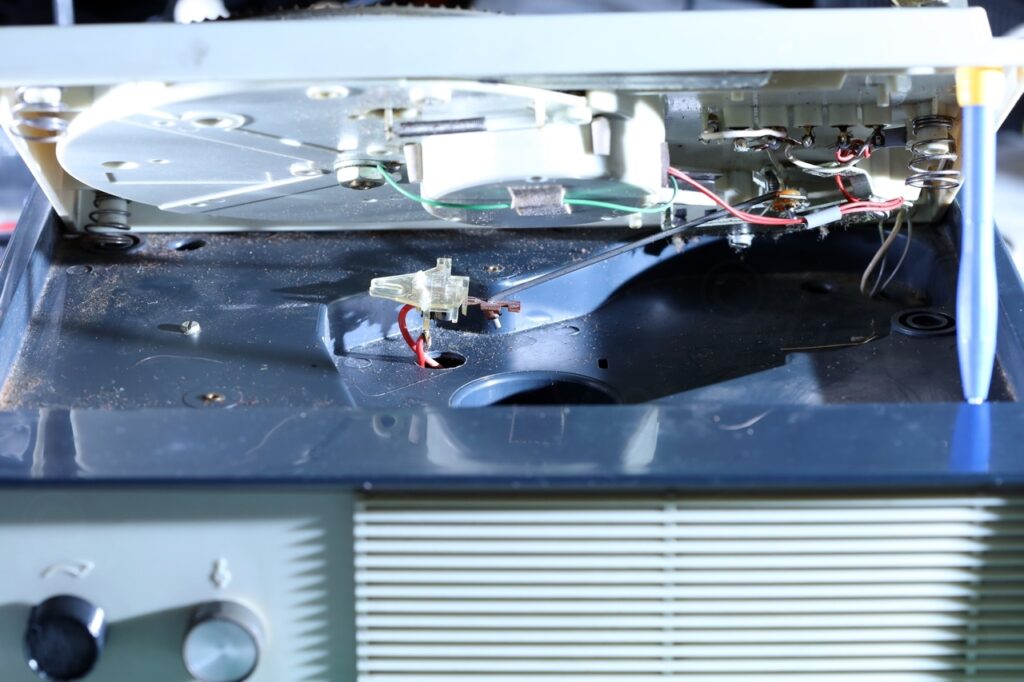
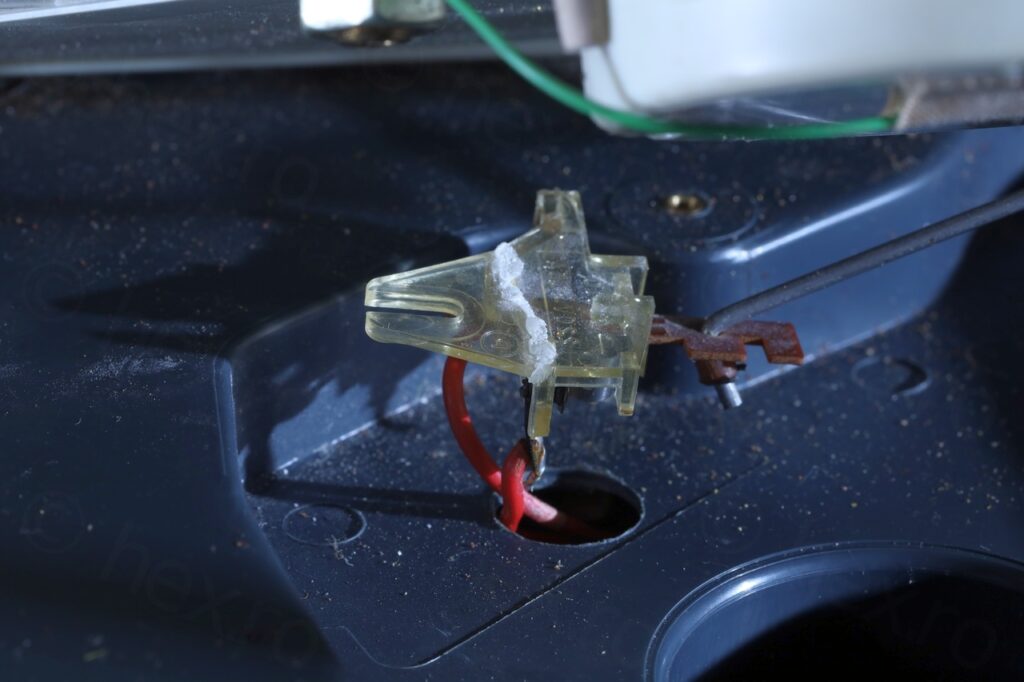
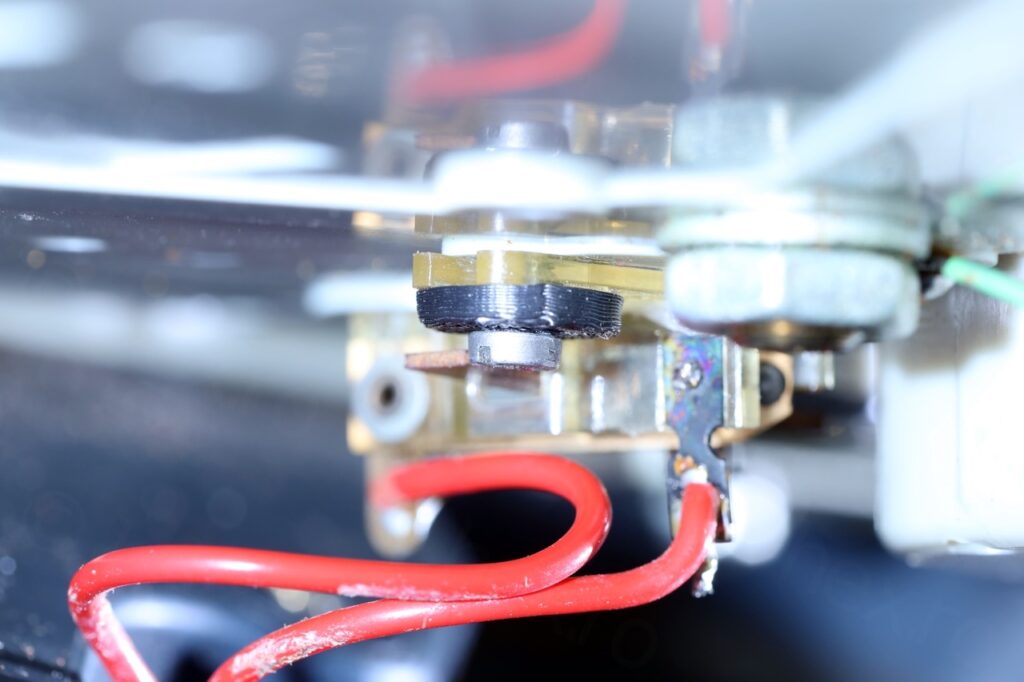
I opened the turntable to try to locate the fault. Some of the foam insulation started to break down. Looking around, I noticed that the On/Off wires (coming from underneath the platter) were loose – and while still attached to the relay inside, the relay seemed detached:
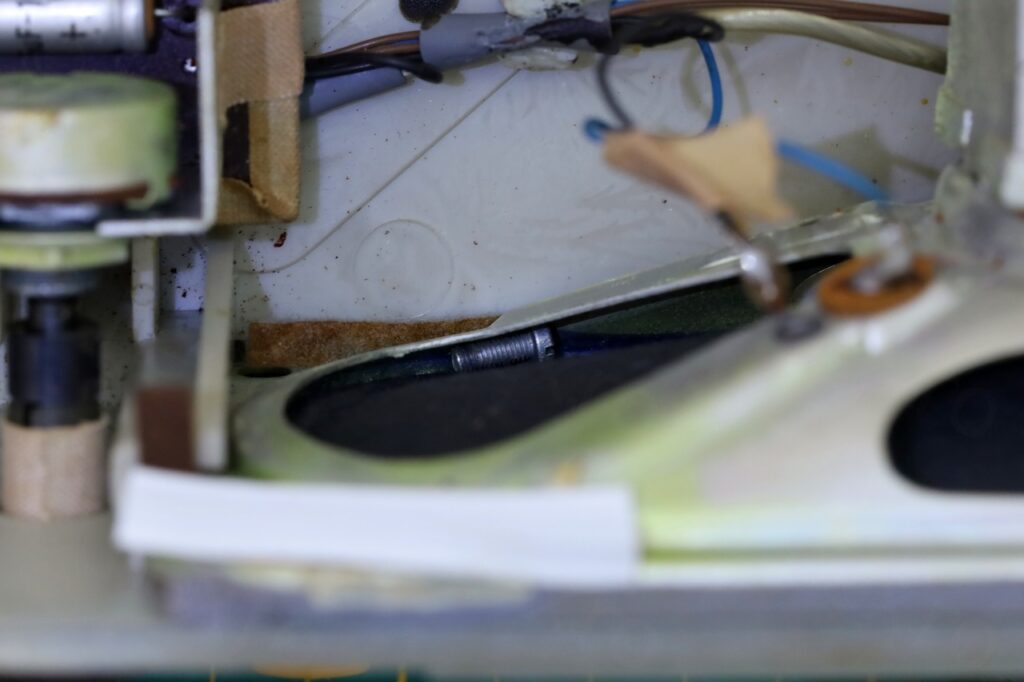
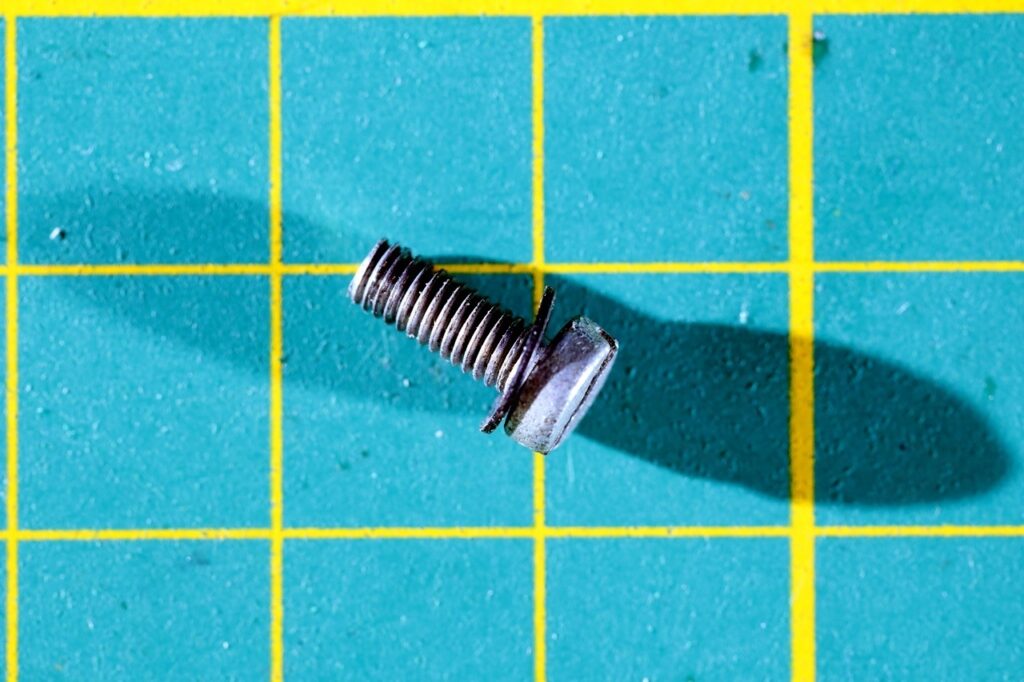
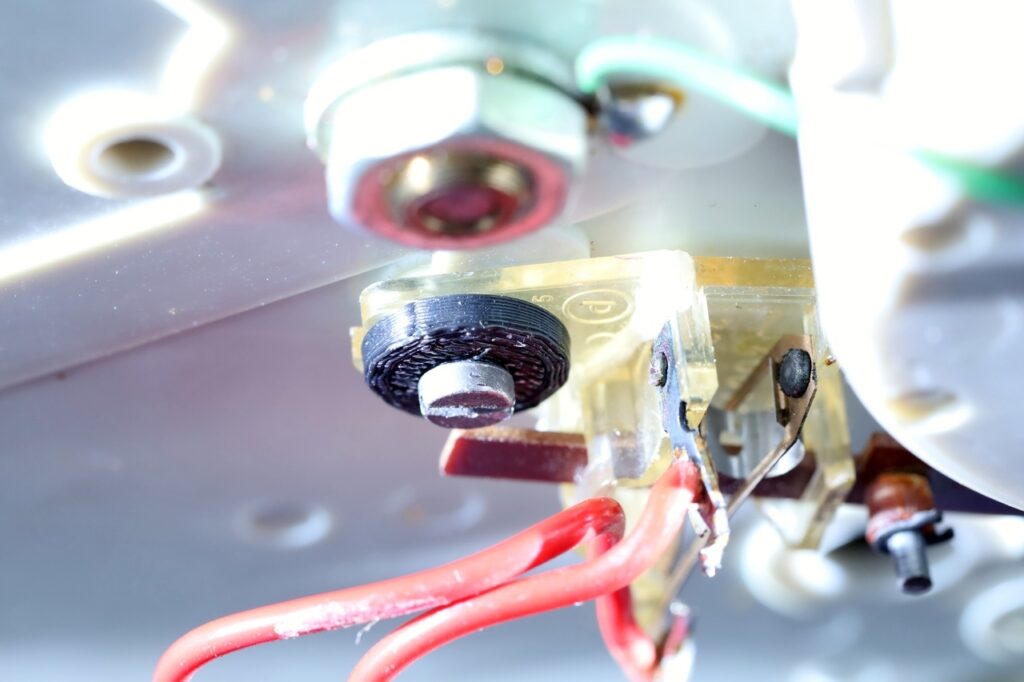
Lifting the platter – the problem was obvious – the support for the rod fell and I found the screw between the speaker membrane and speaker housing. There was obvious signs that this part cracked in the past as somebody glued it back.
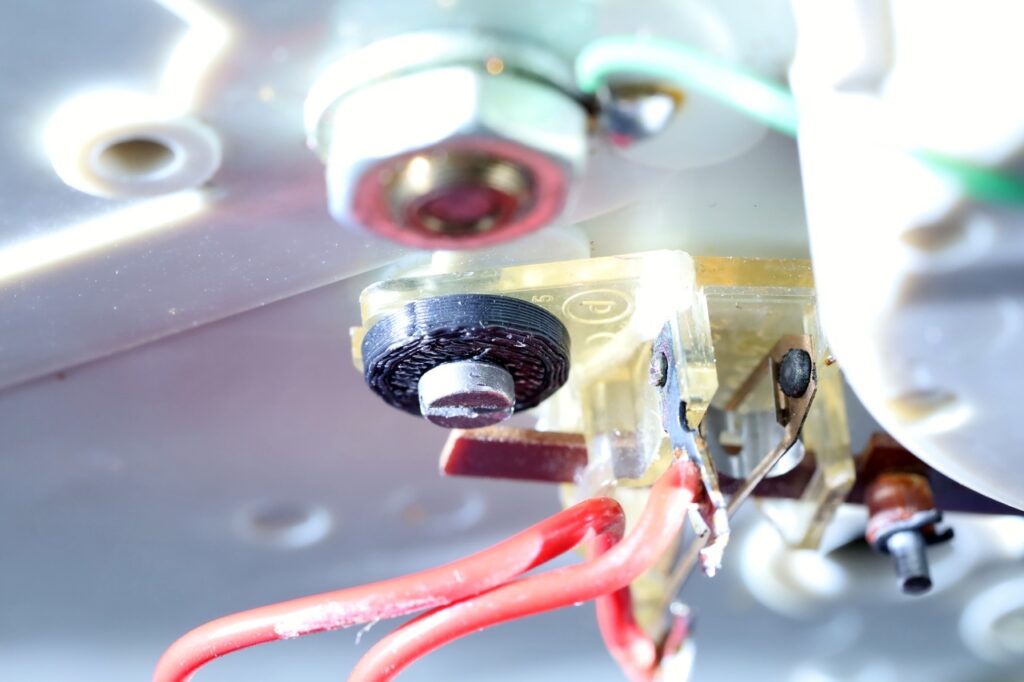
Fix was to make a 3D printed washer (I felt bad to use a metal washer to secure back the part):
Cleaning the contacts of the relay
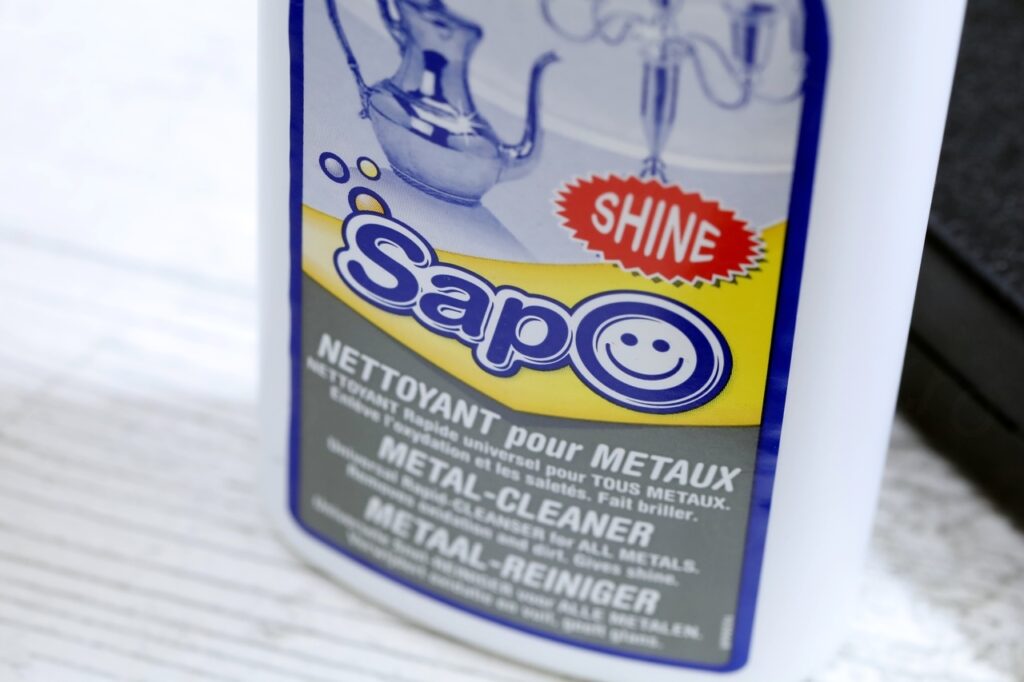
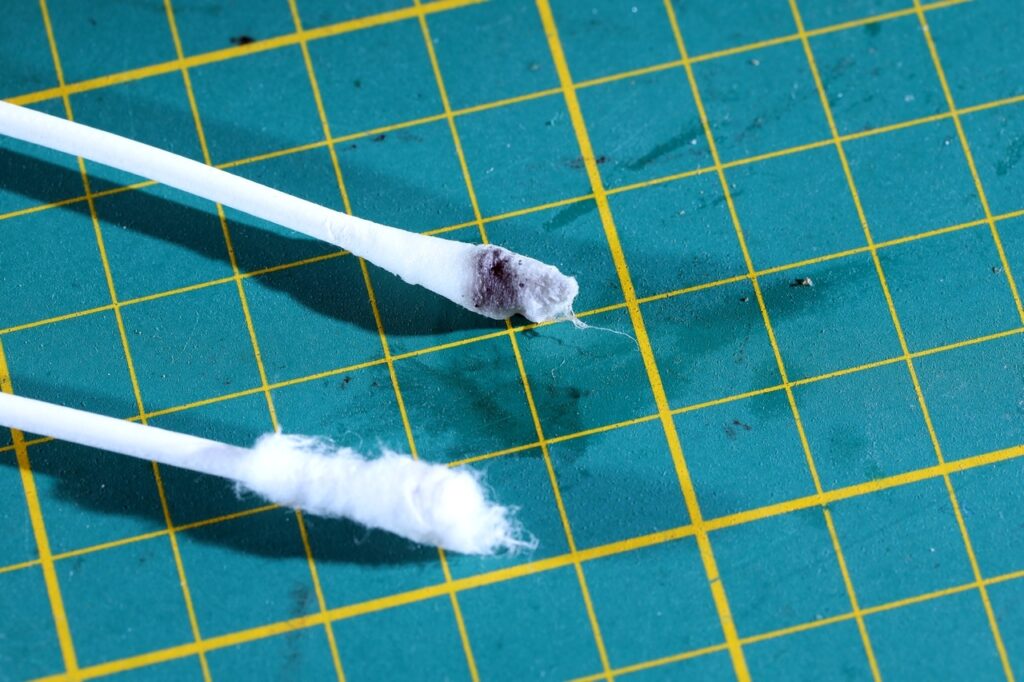
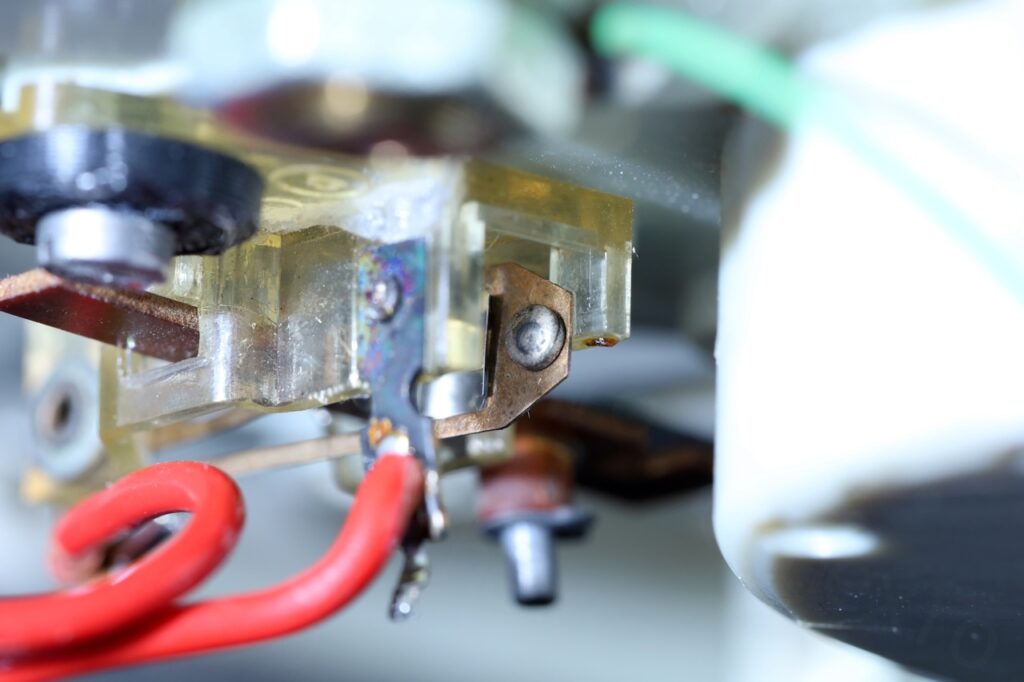
While I was at it, I noticed that there is a lot of corrosion on the relay, so I decided to clean it with some metal cleaner:
Manufacturing the volume button
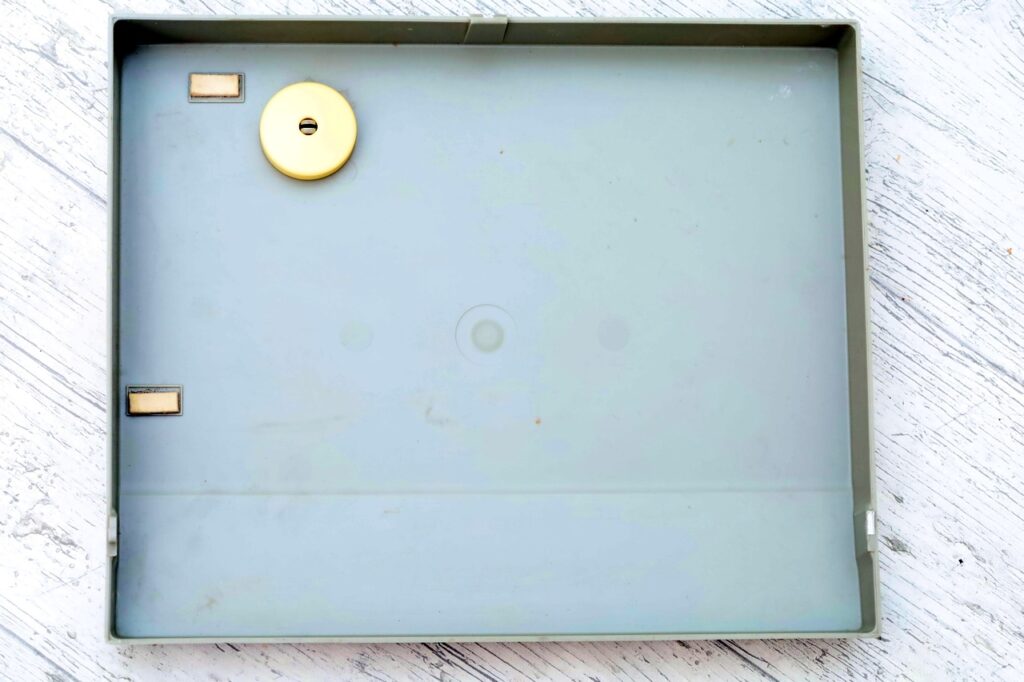
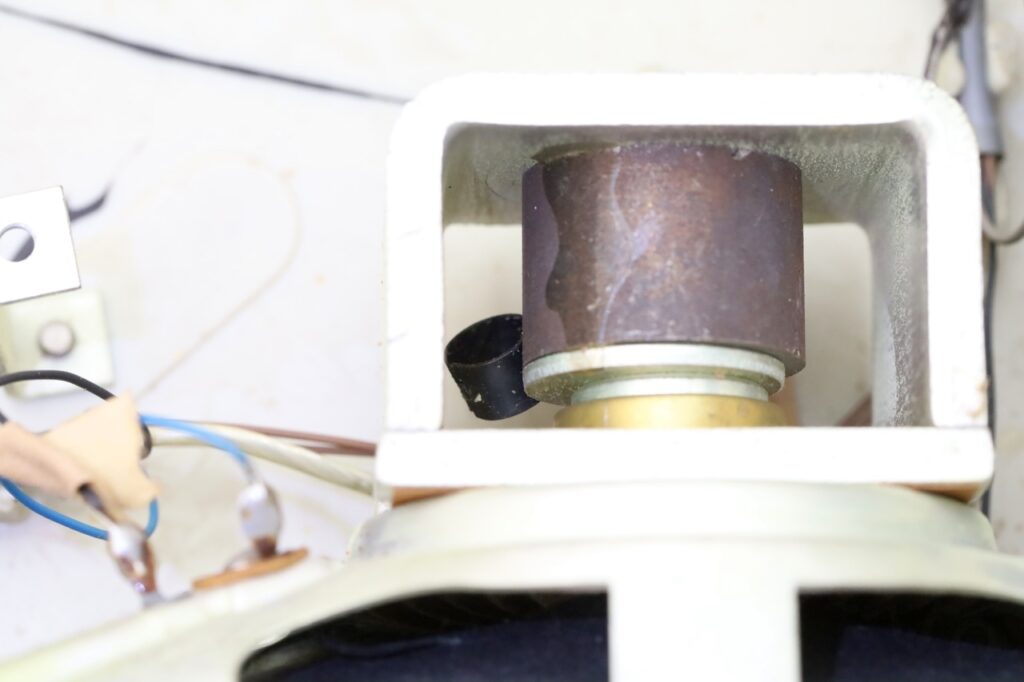
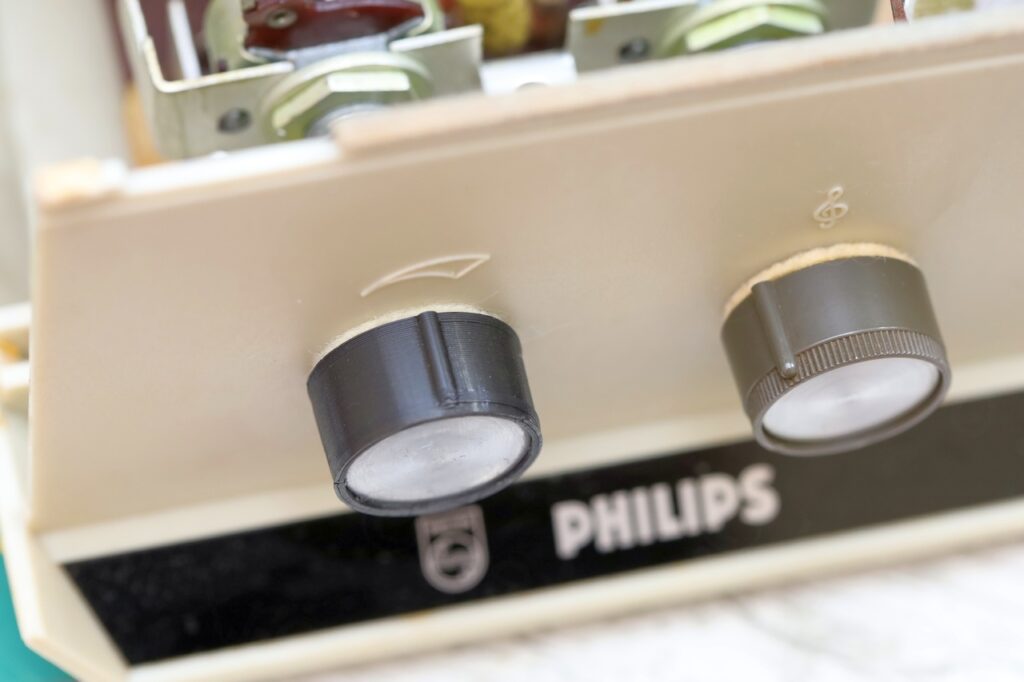
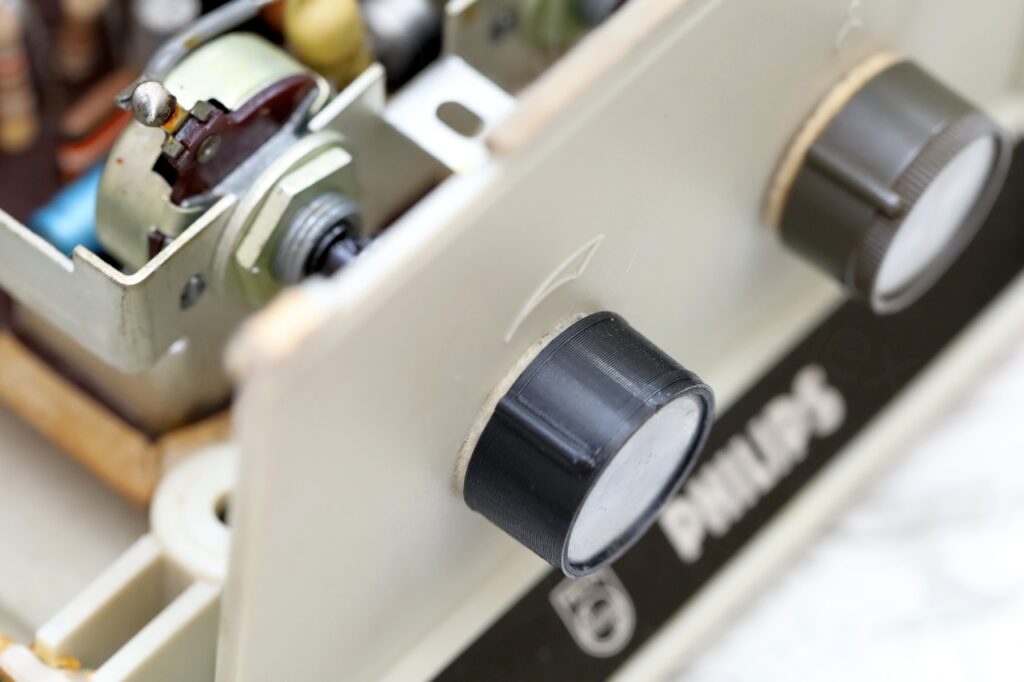
The poor turntable was missing its volume button. I found the metal bracket attached to the speaker magnet:
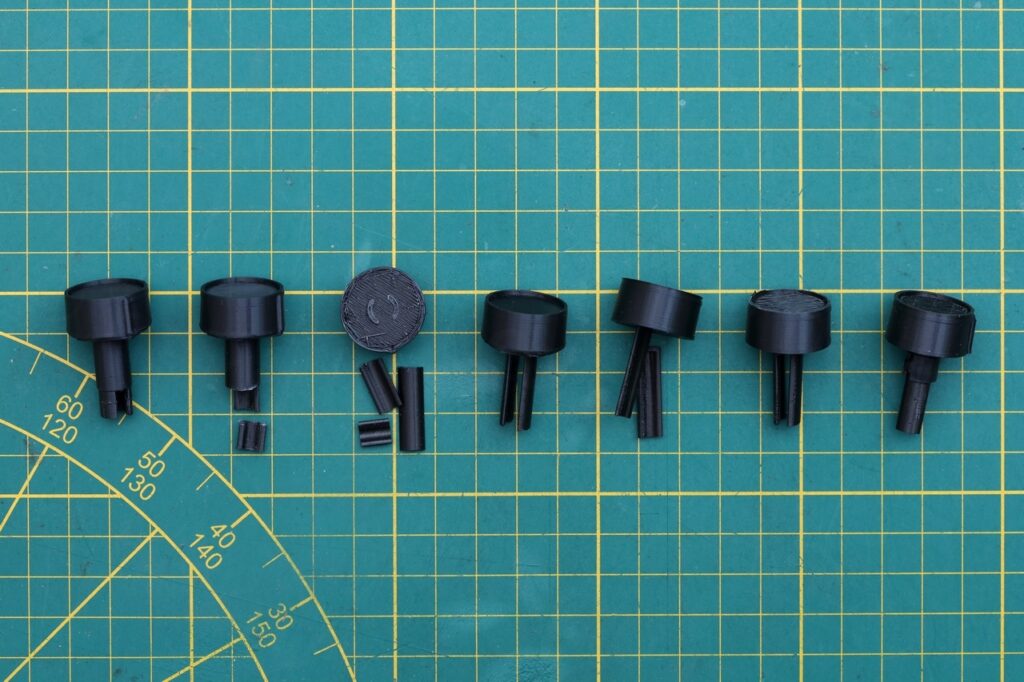
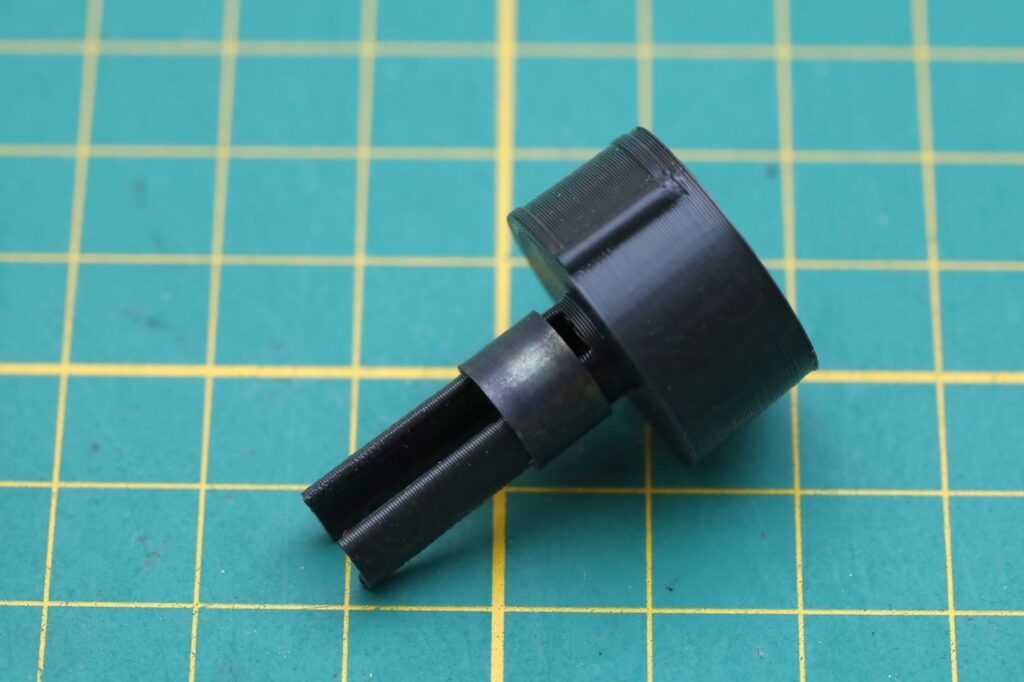
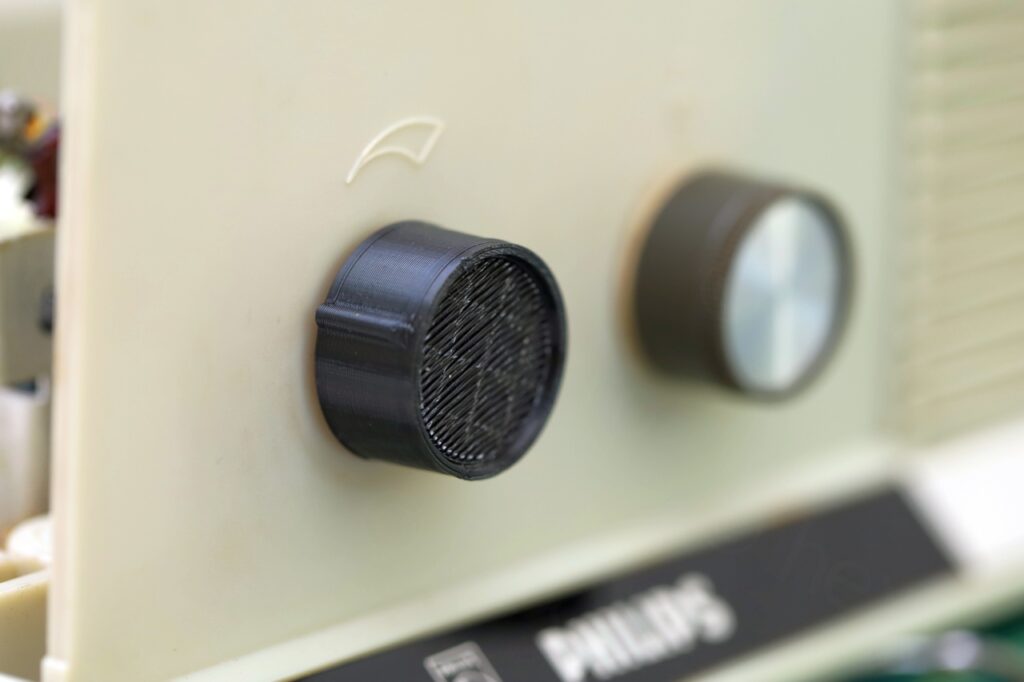
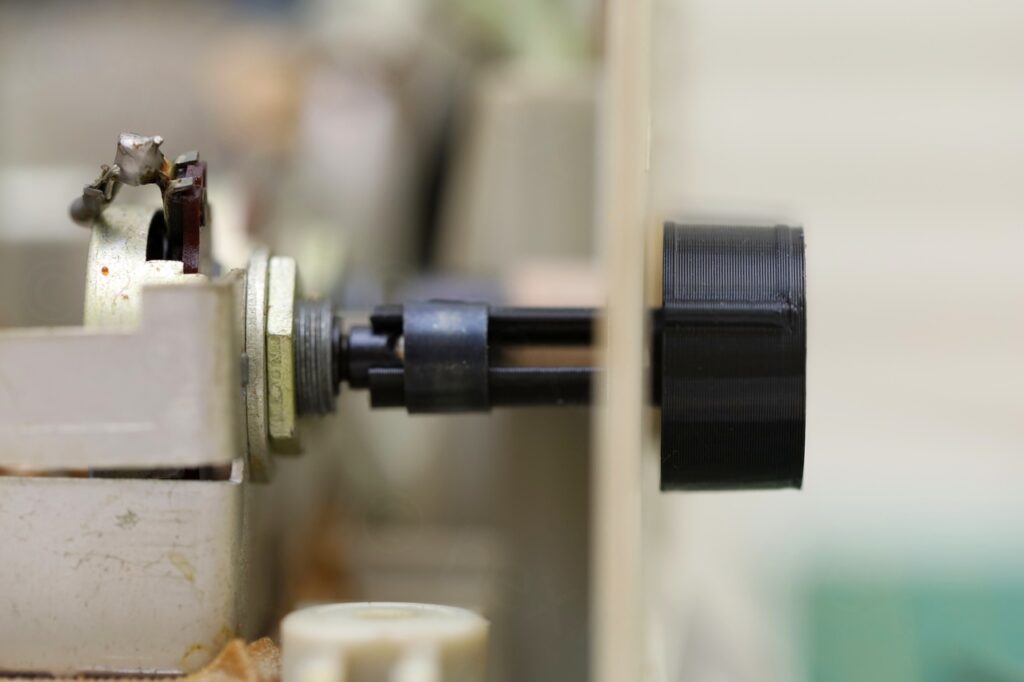
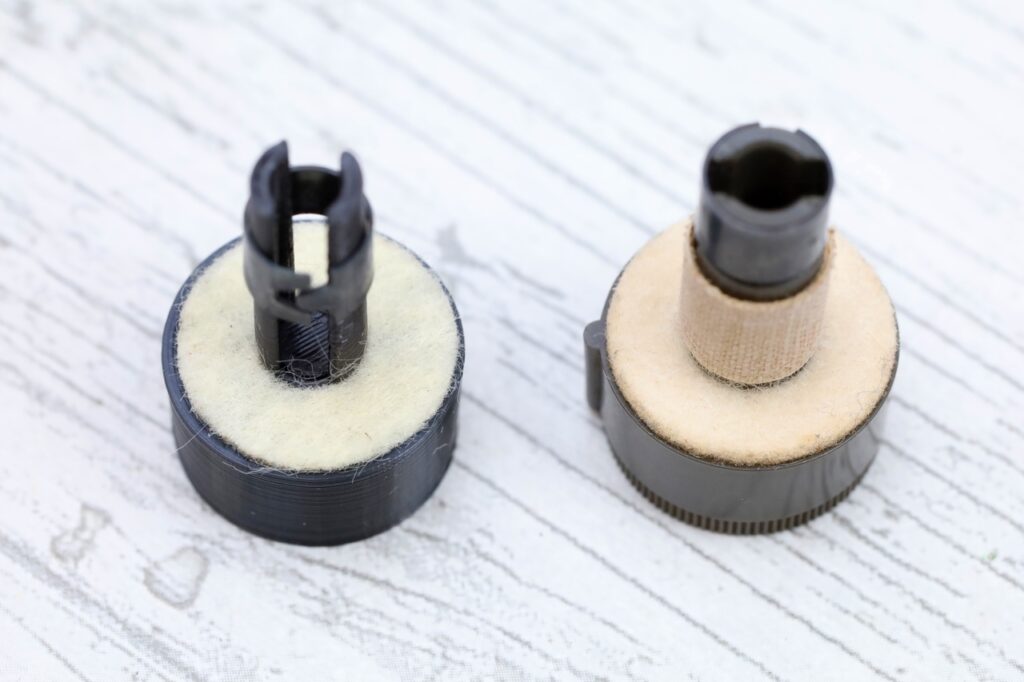
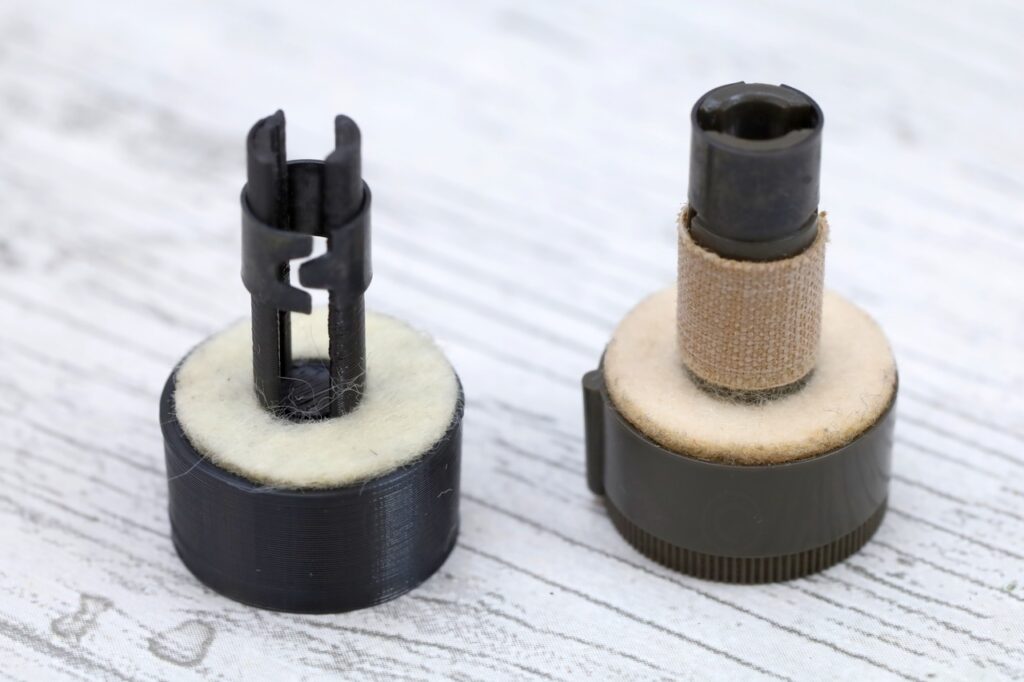
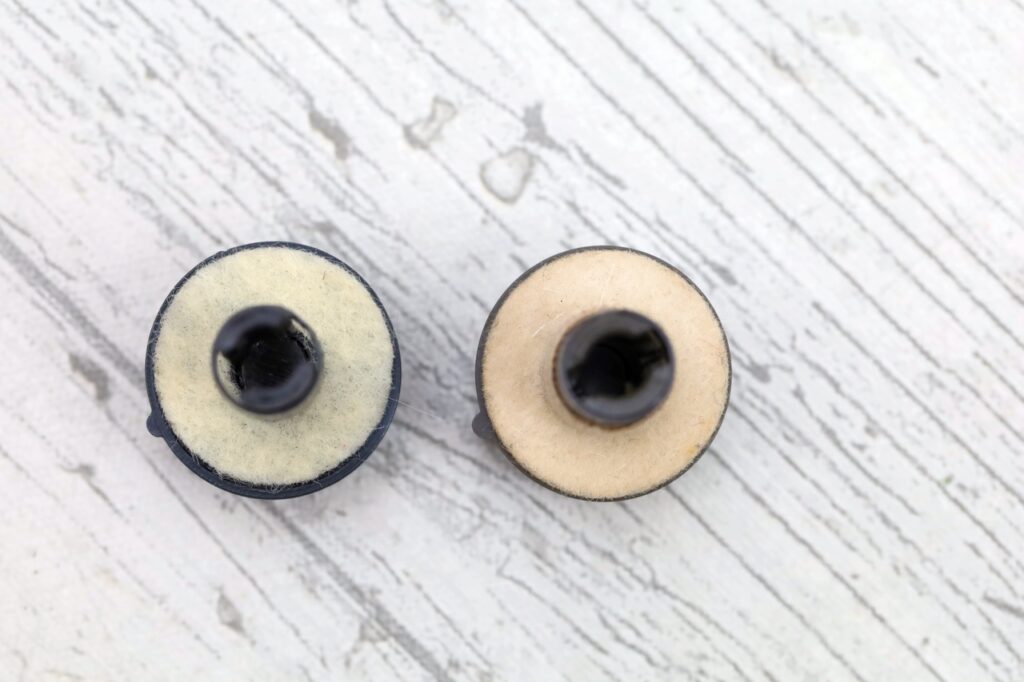
I needed many trial and errors to come up with a workable volume button, even if I had one original that I could duplicate. It took a while to find the way to design the fins (shaft) of the button in such a way that they would not snap:
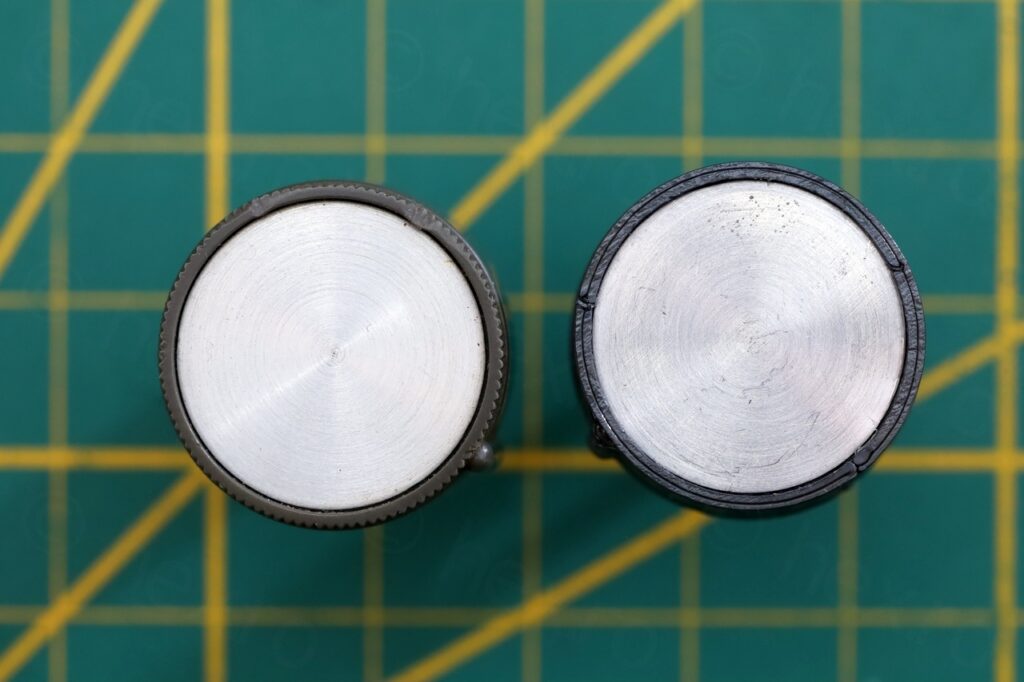
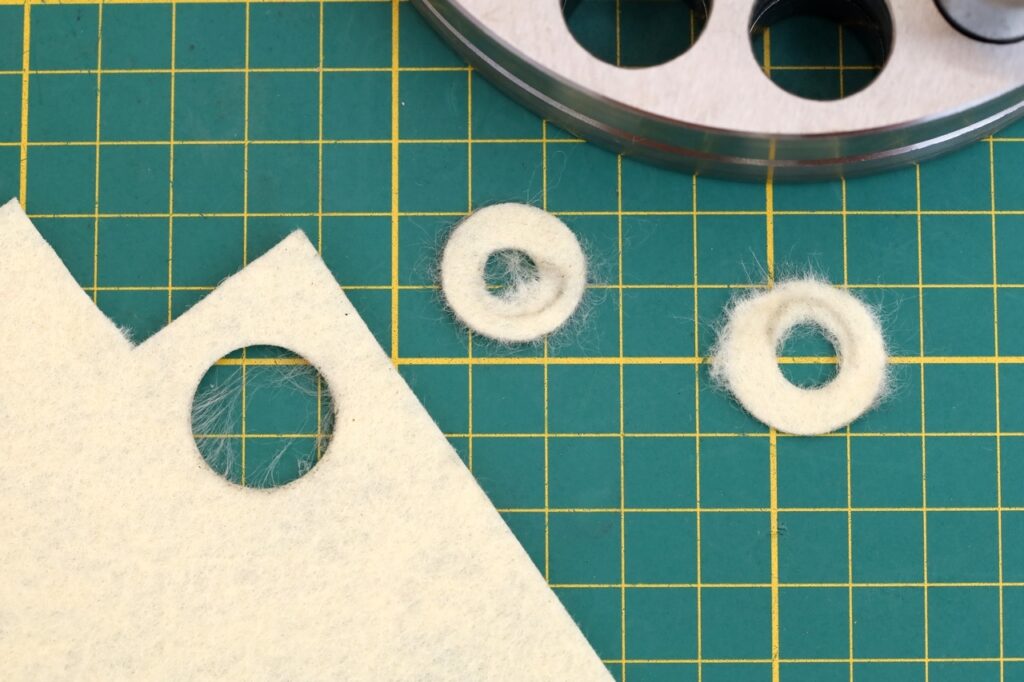
Next step was that the button was now missing a small aluminum cap. And a small felt pad to stop it from rubbing against the plastic housing of the turntable. I went with a disc cutter / hole puncher that I ordered from Amazon. To give it a similar grind patter, I used a double sticky tape and a small electric screwdriver on a 600 grit sand paper:
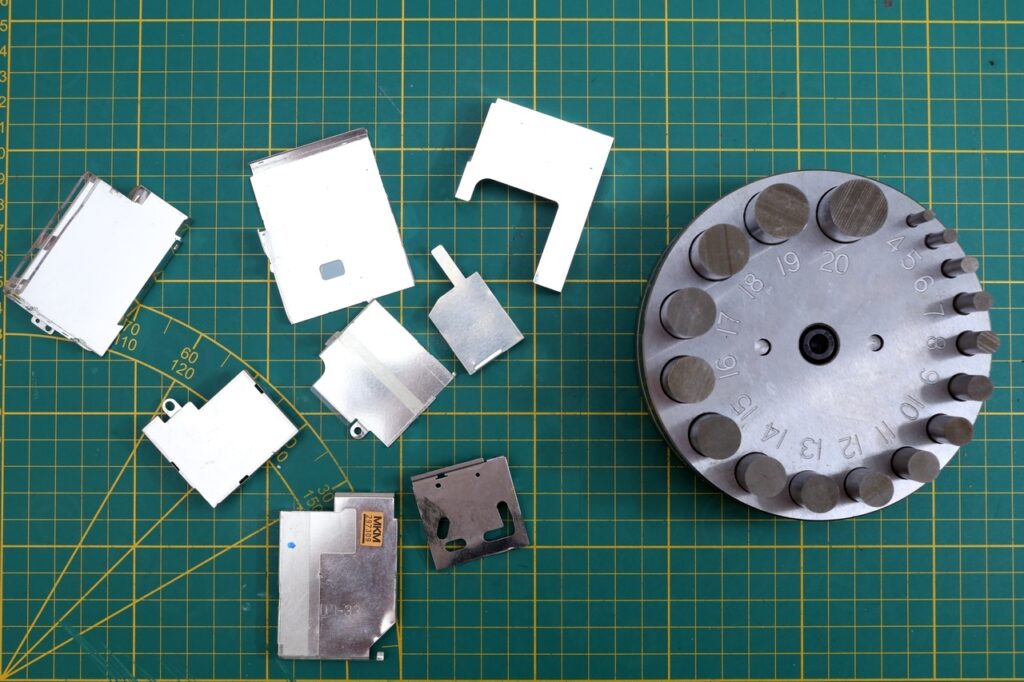
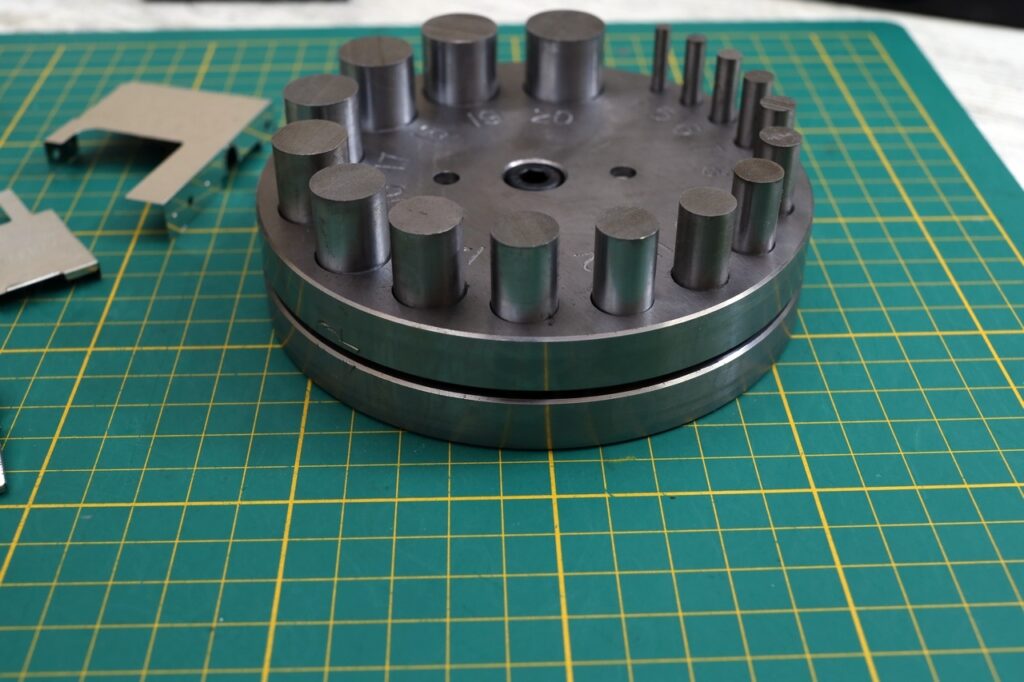
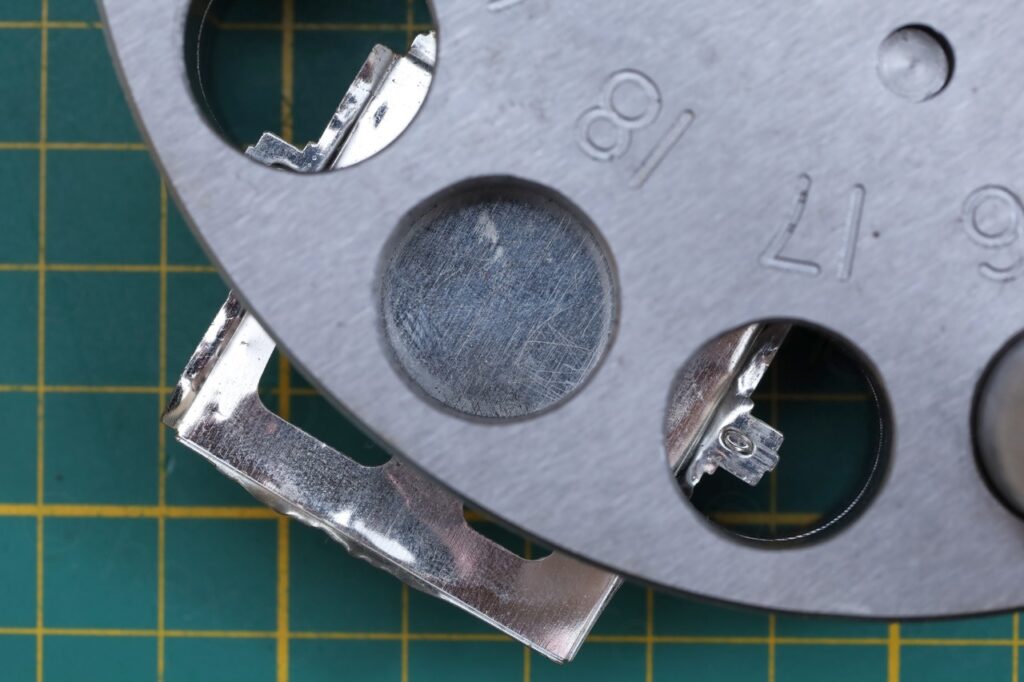
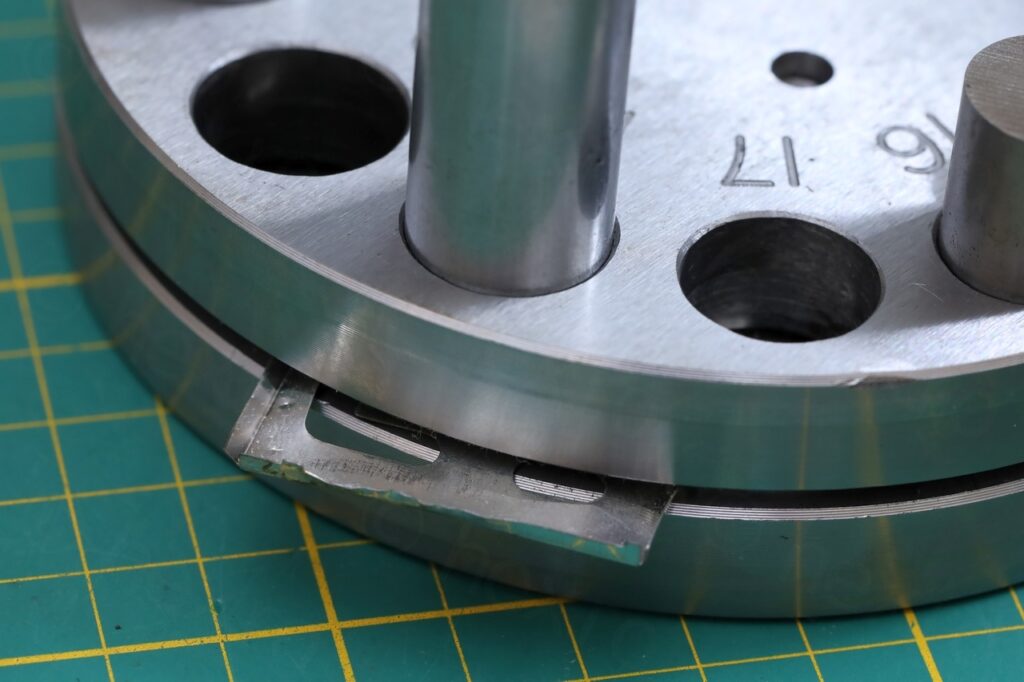
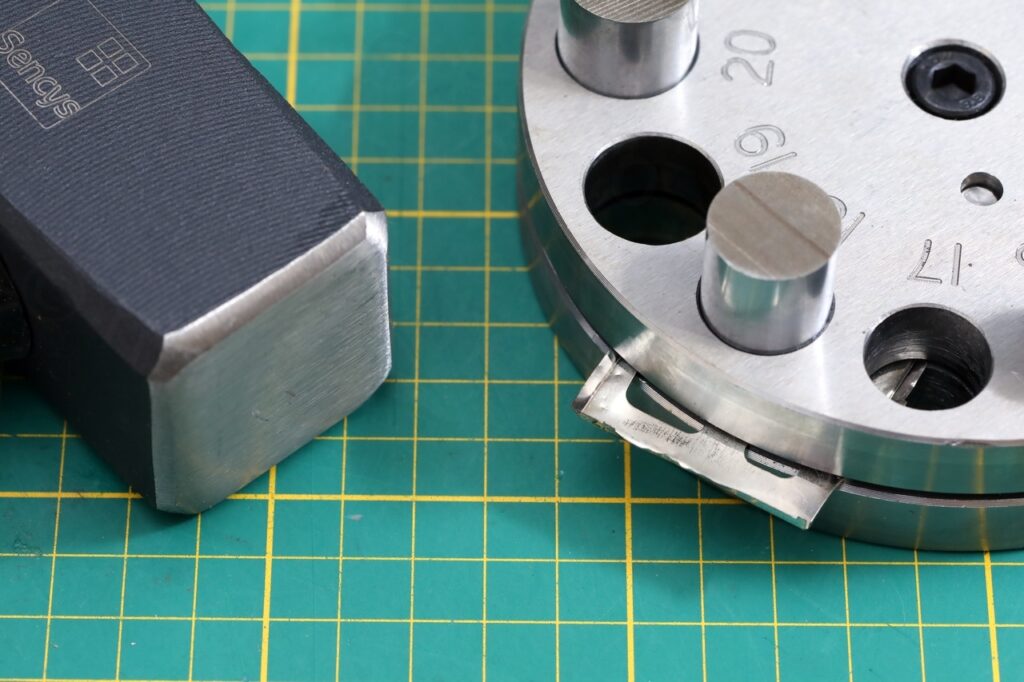
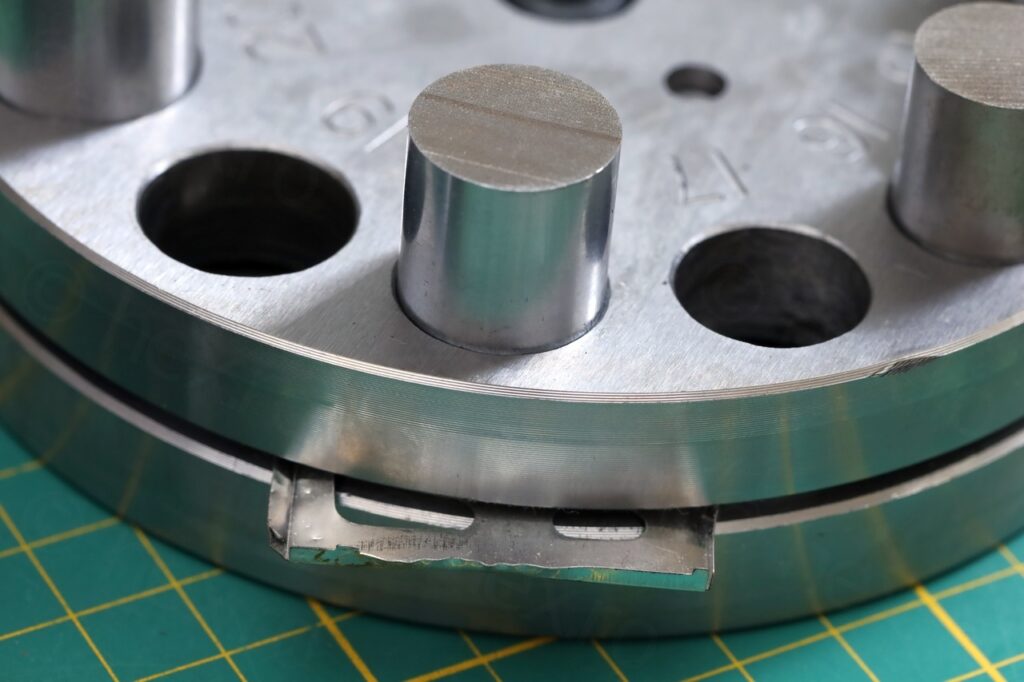
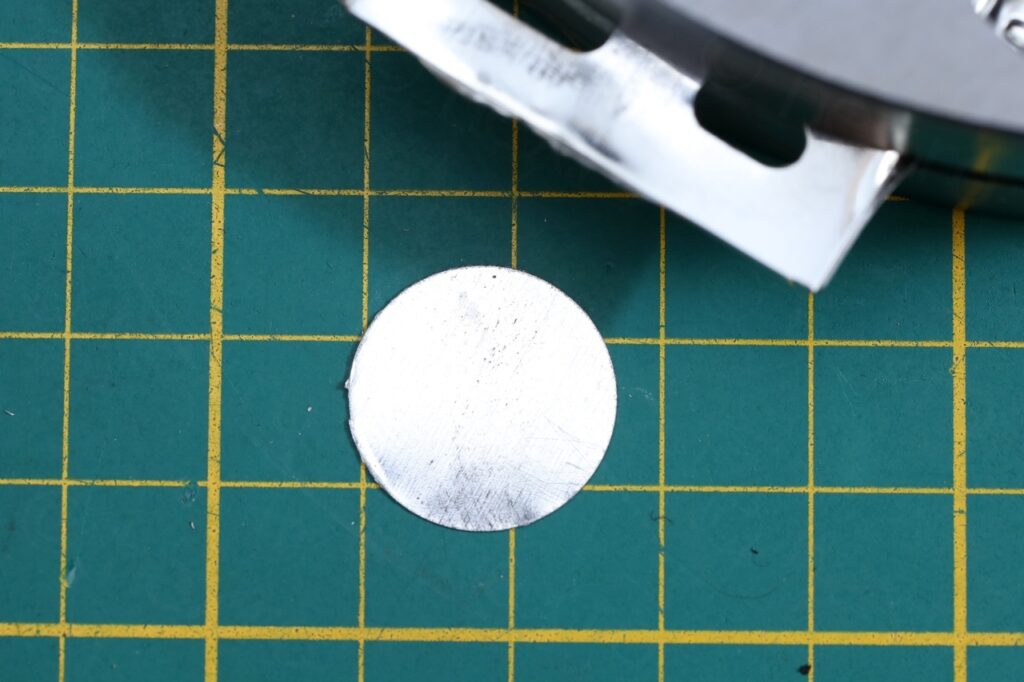
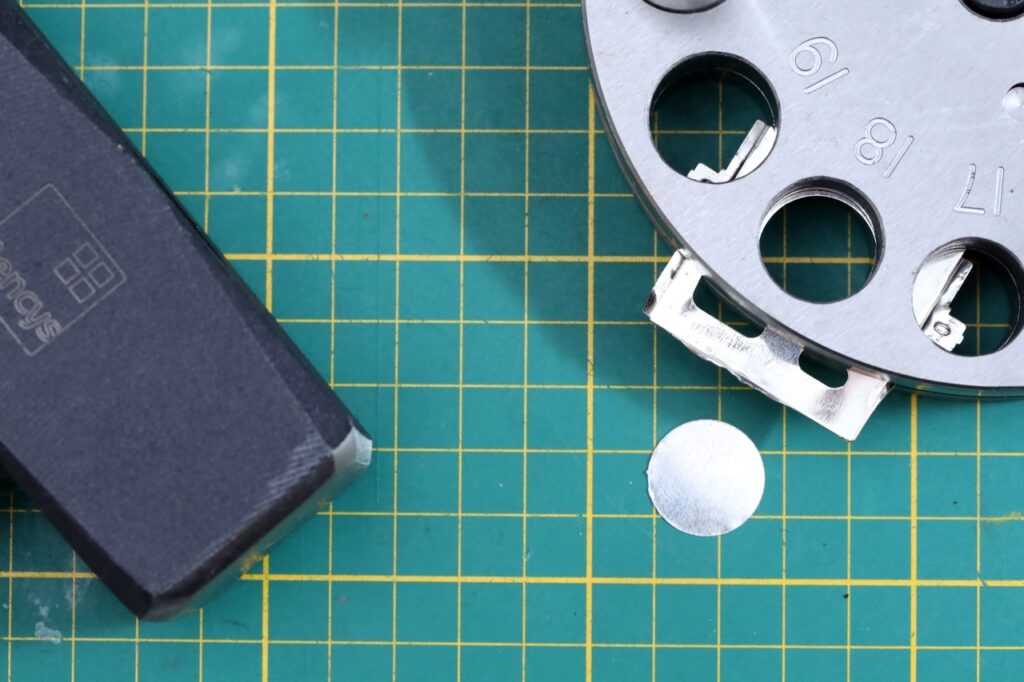
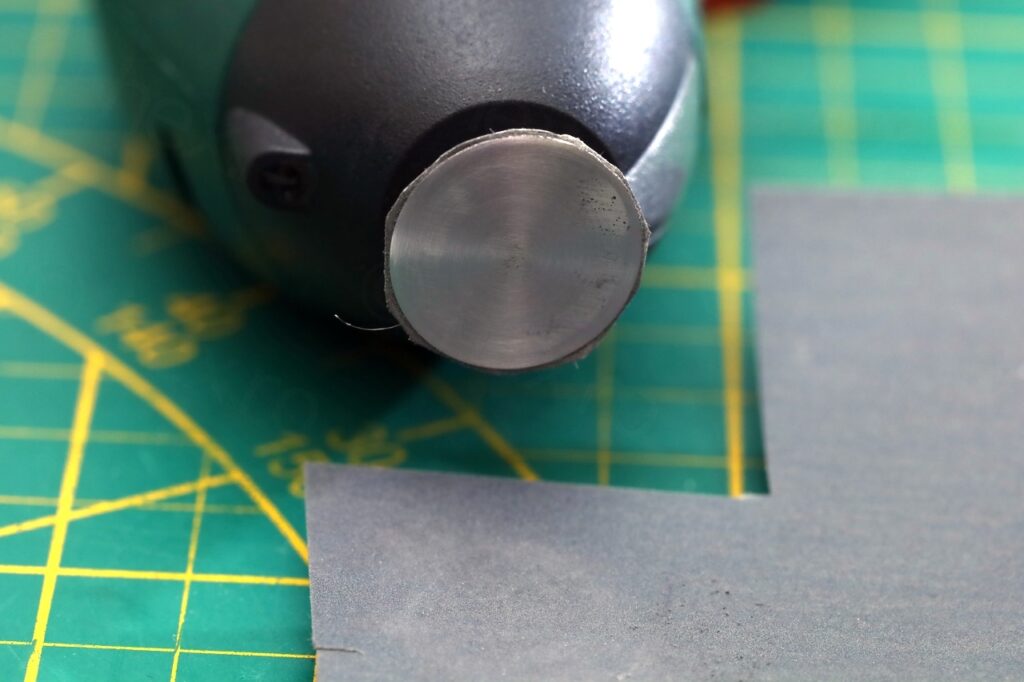
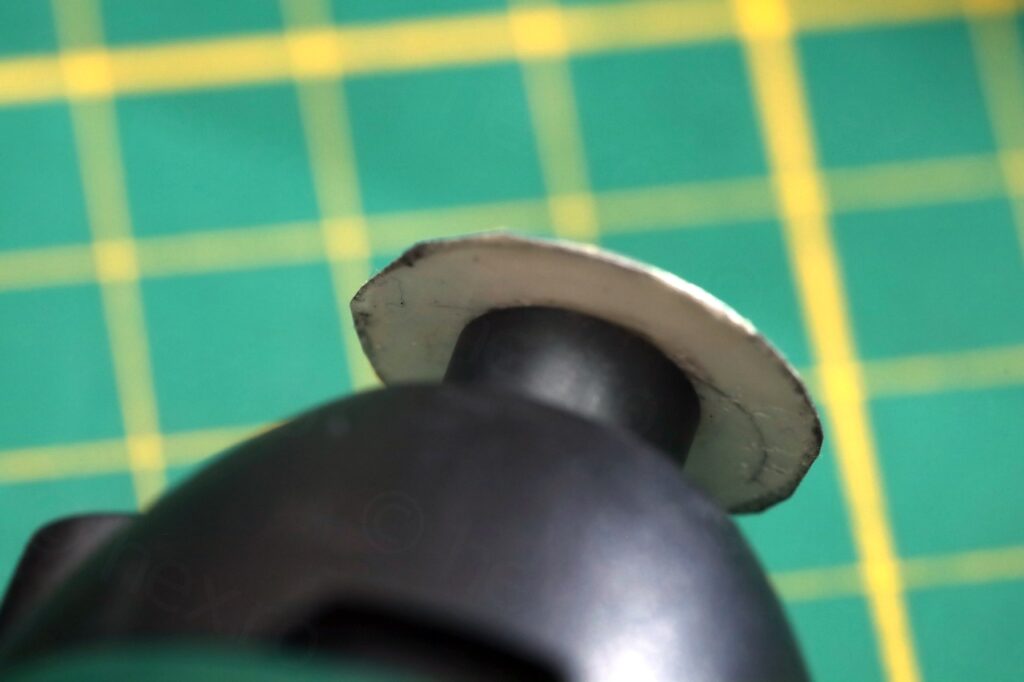
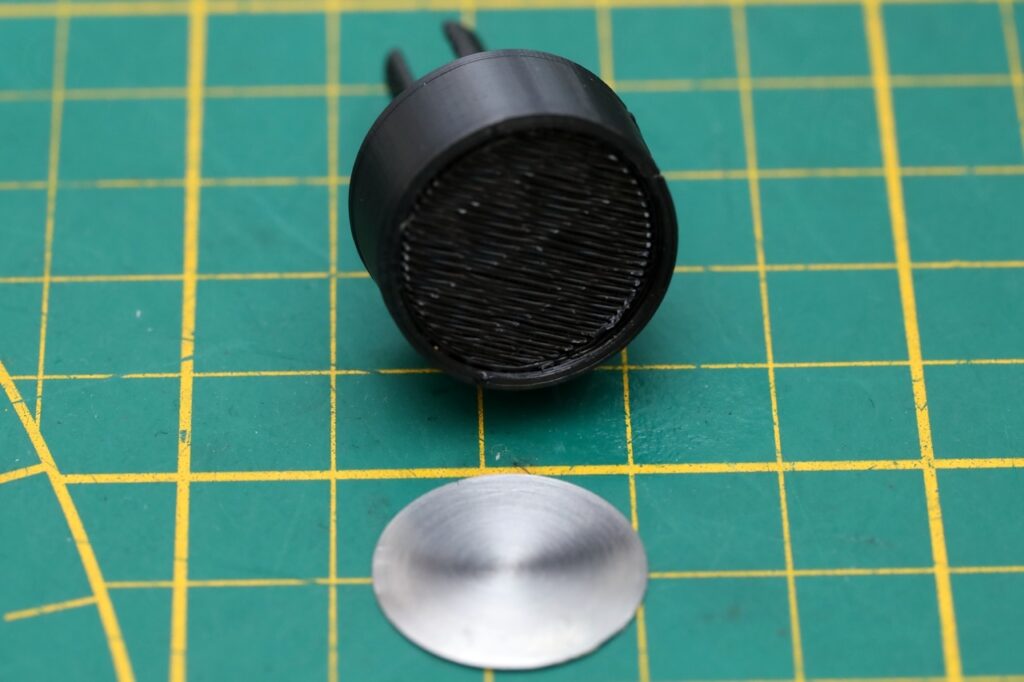
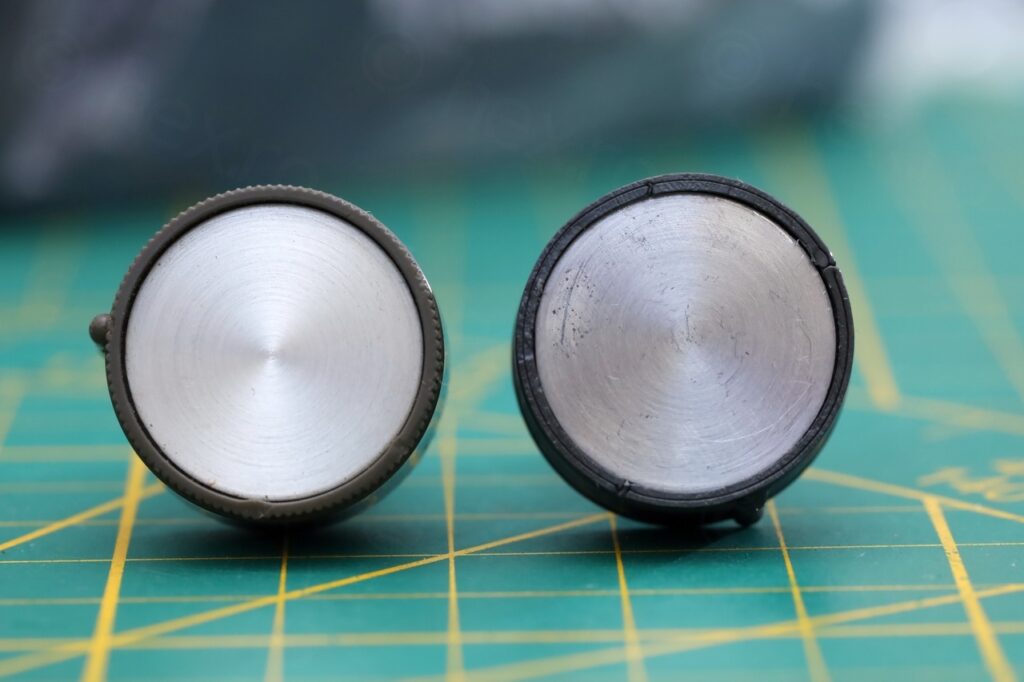
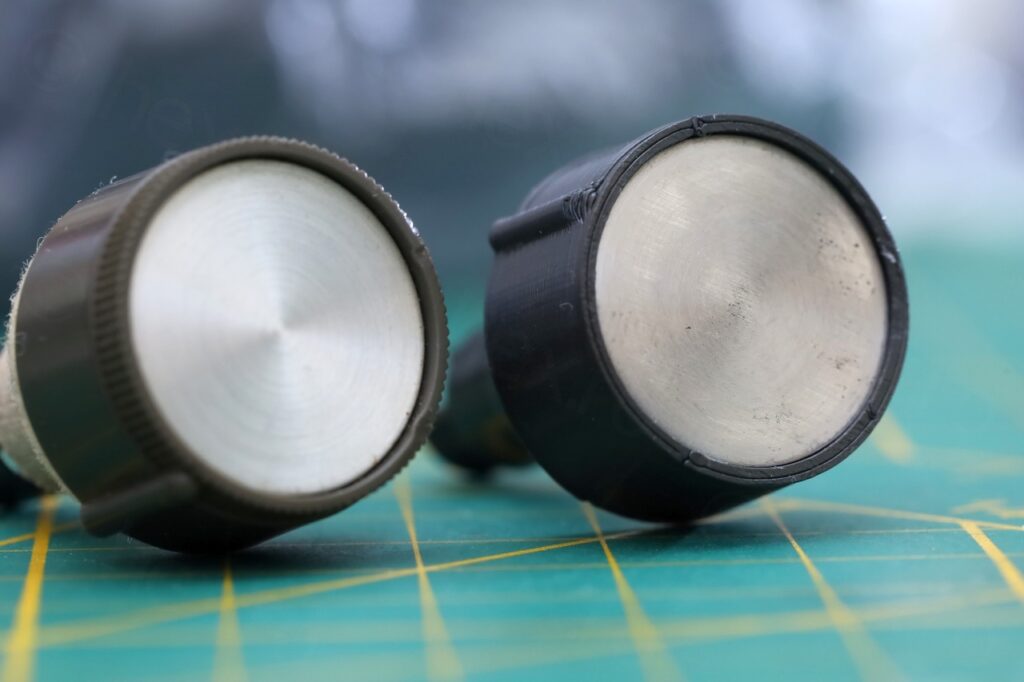
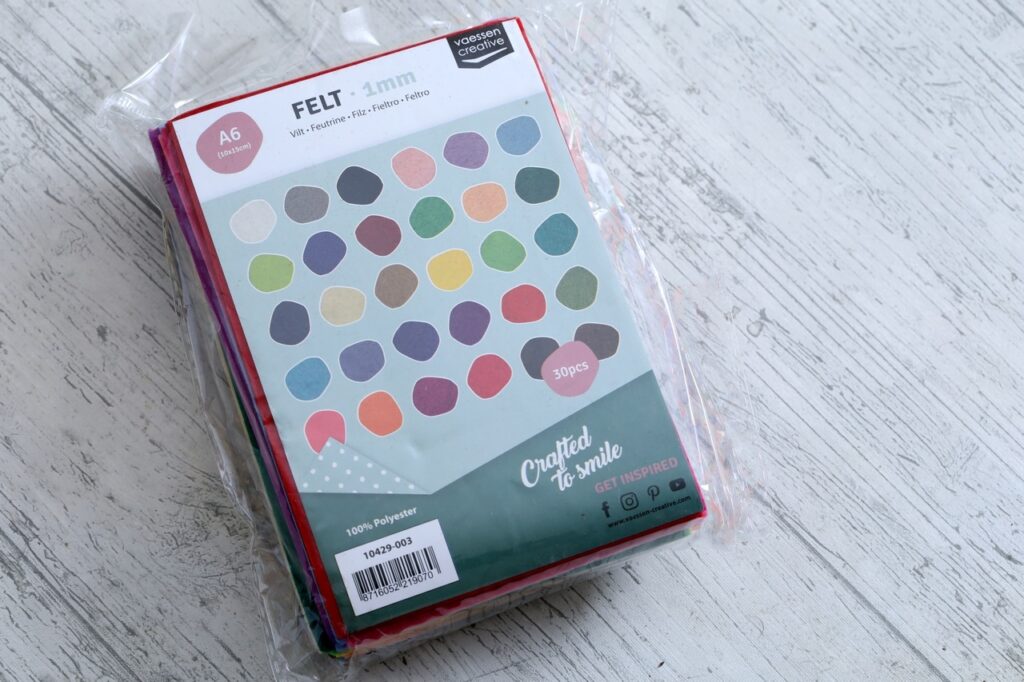
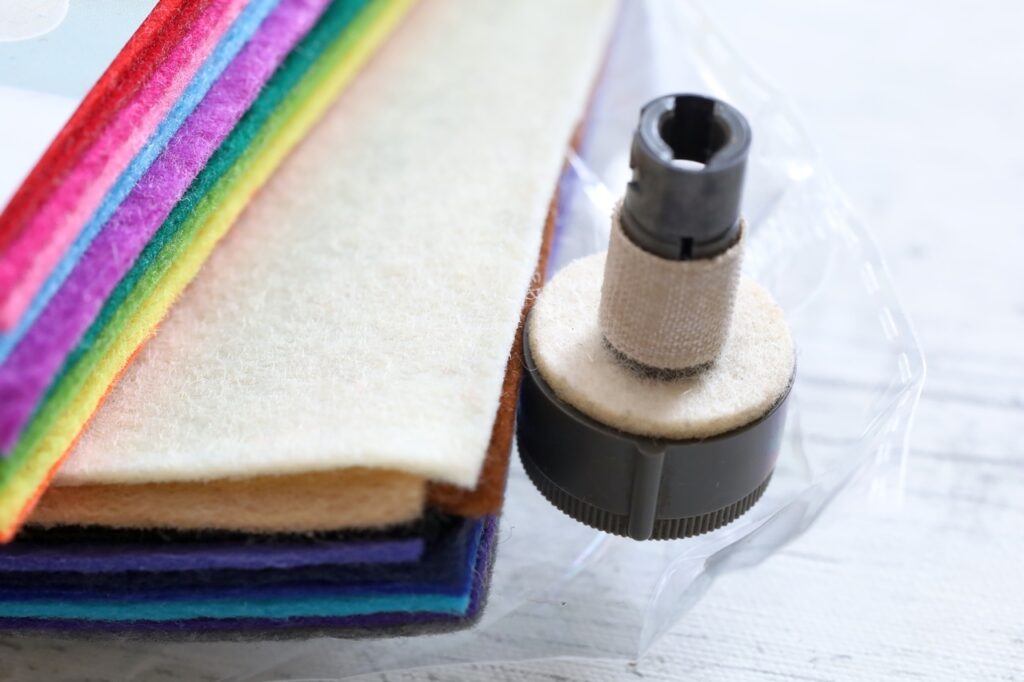
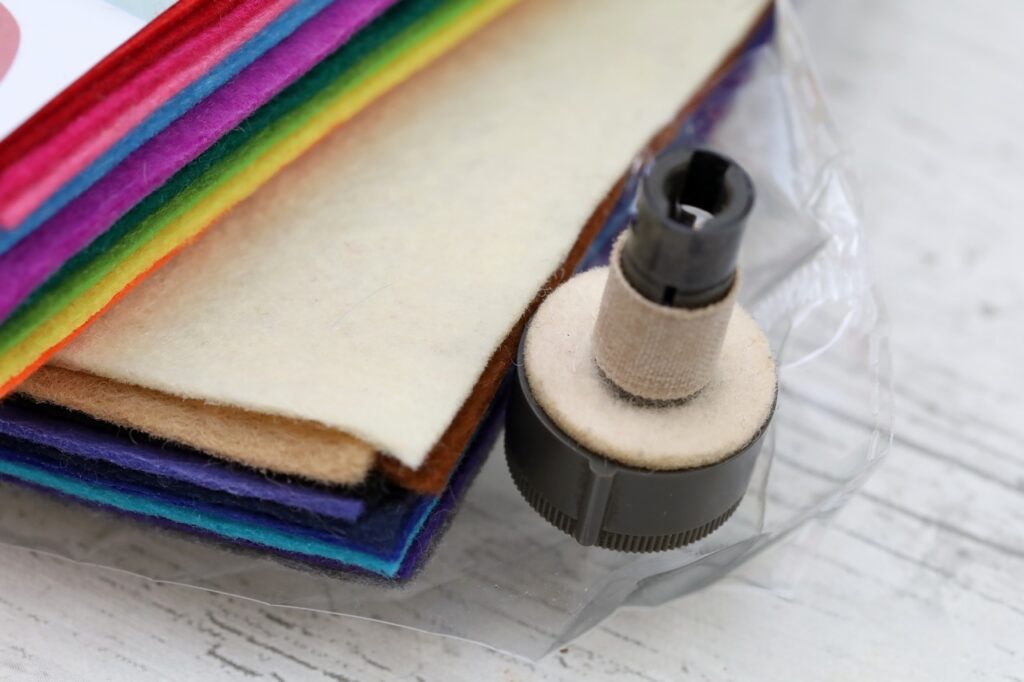
Same hole puncher was used to create the felt pad, after struggling to find to buy some felt that had similar color as the original:
Replacing worn out foam pads
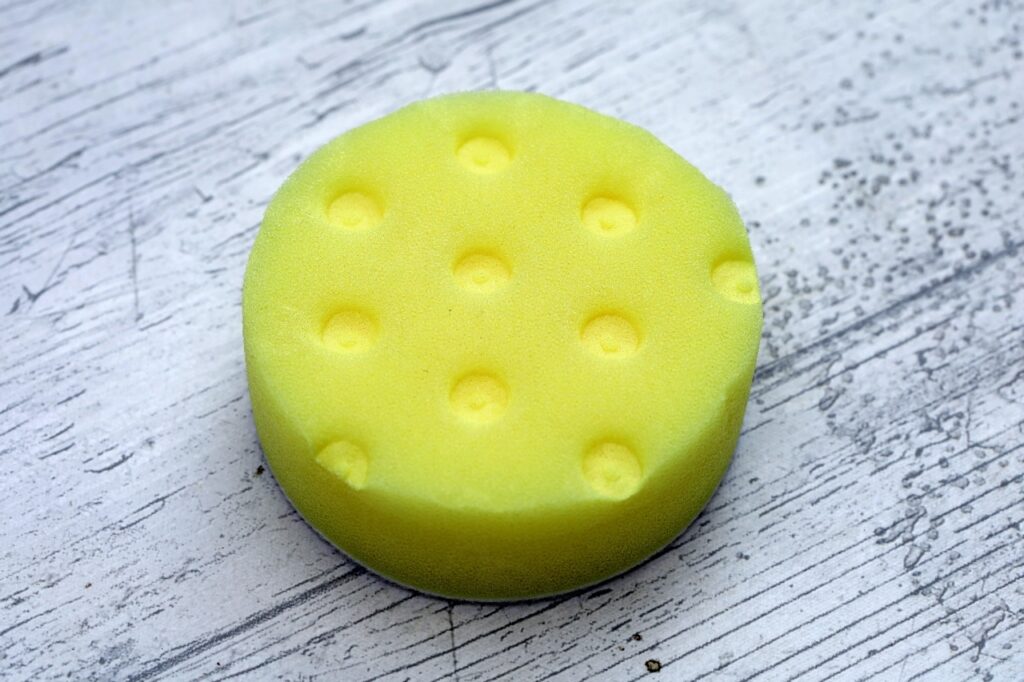
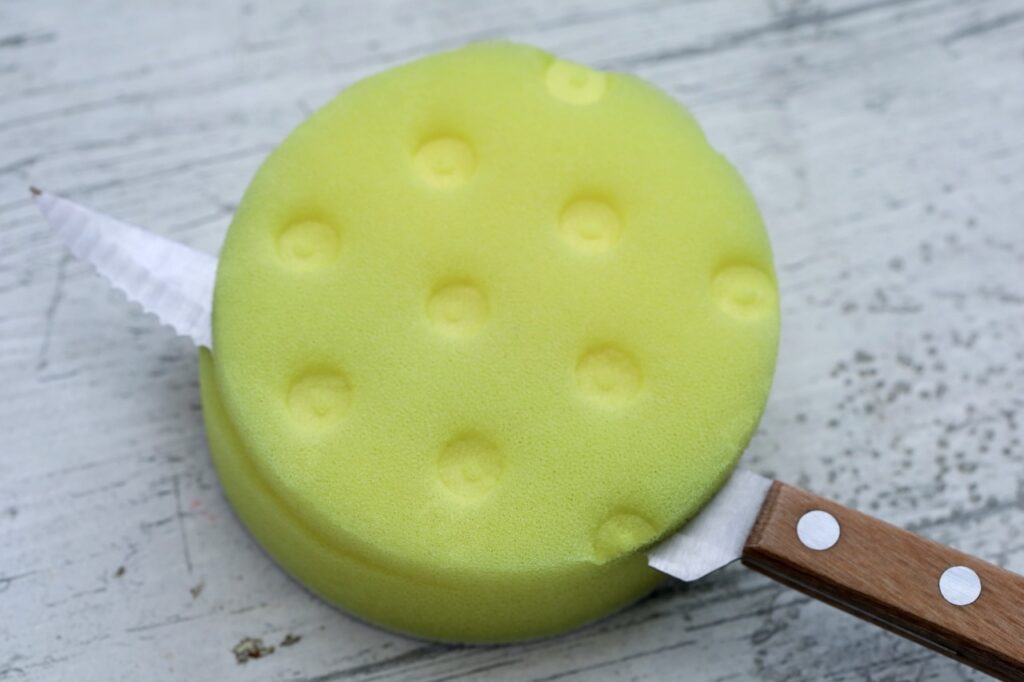
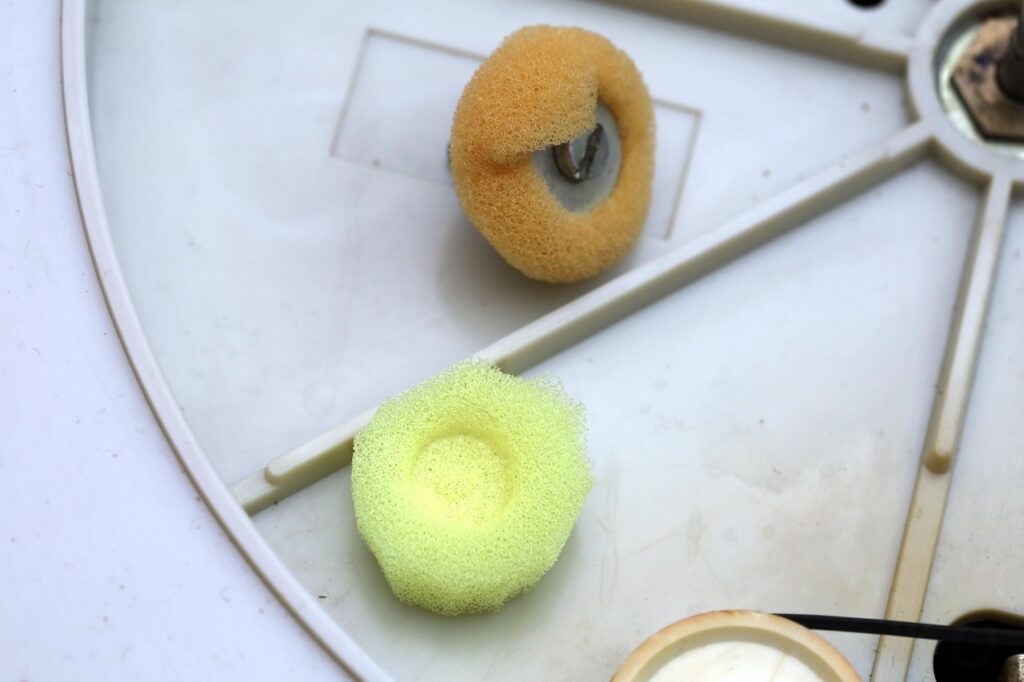
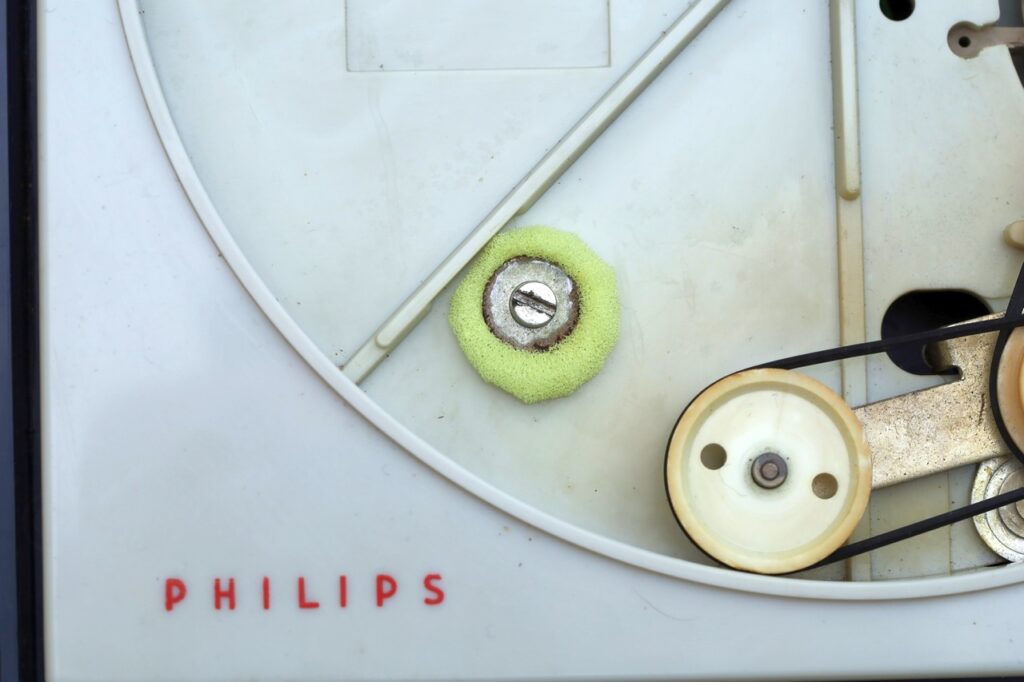
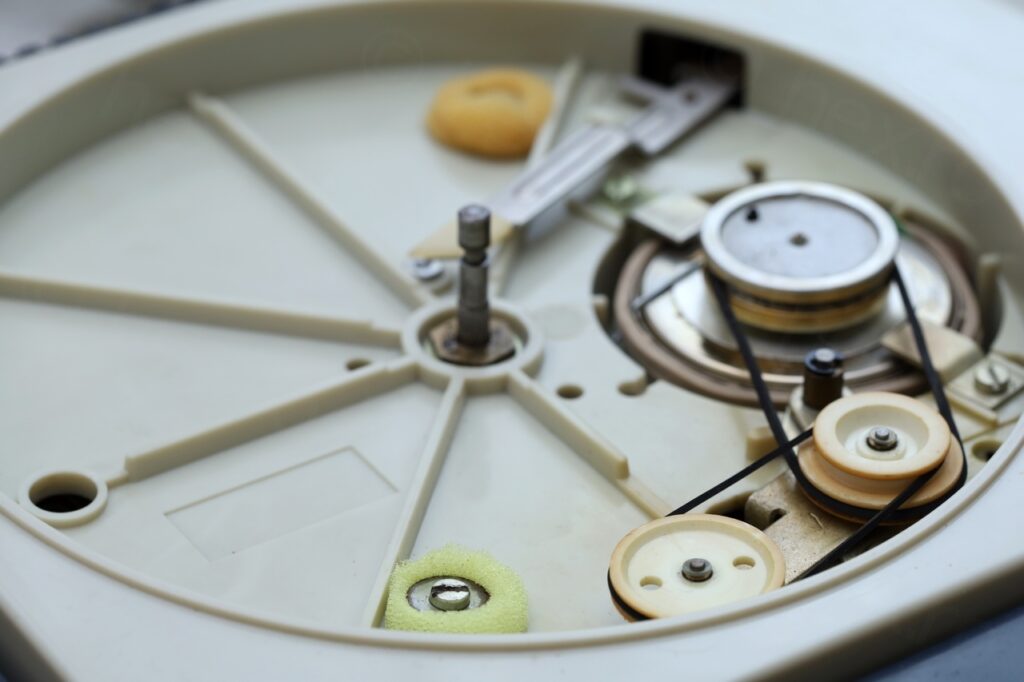
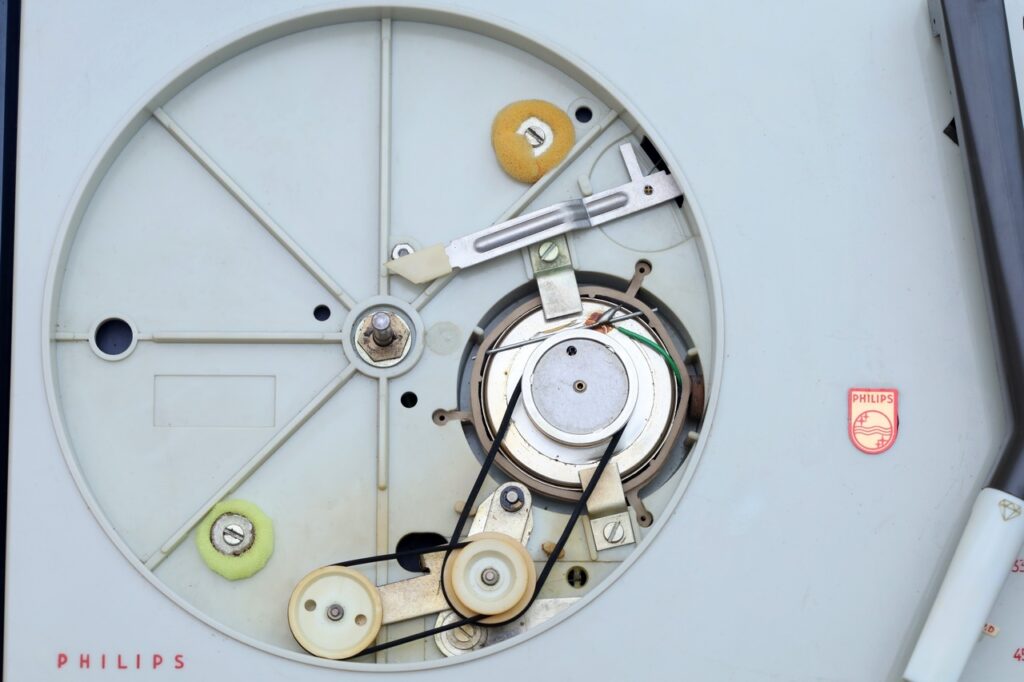
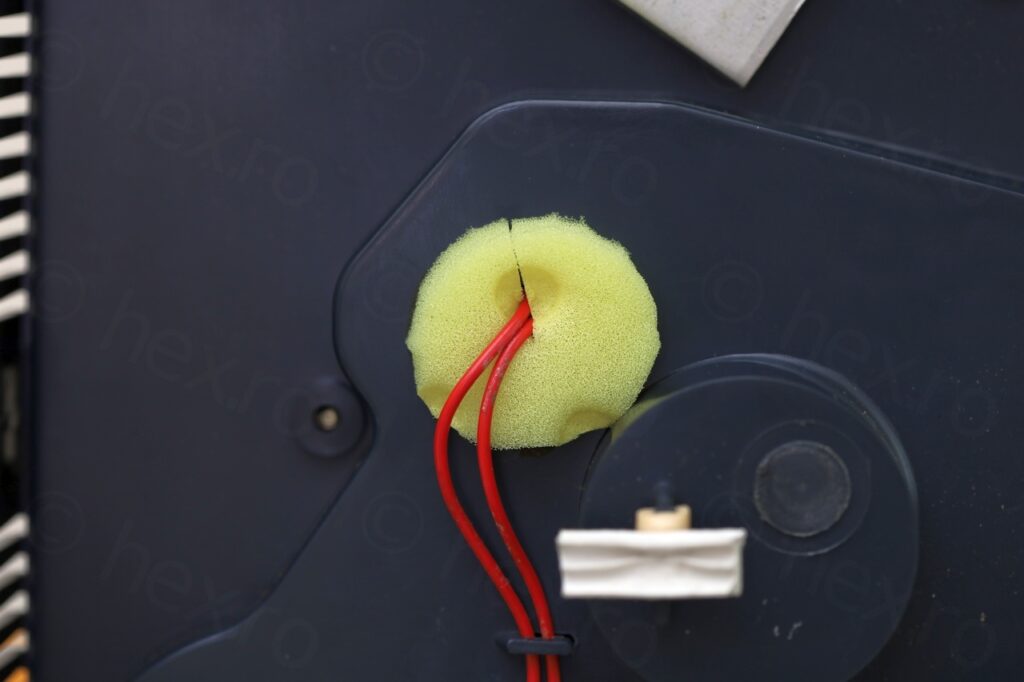
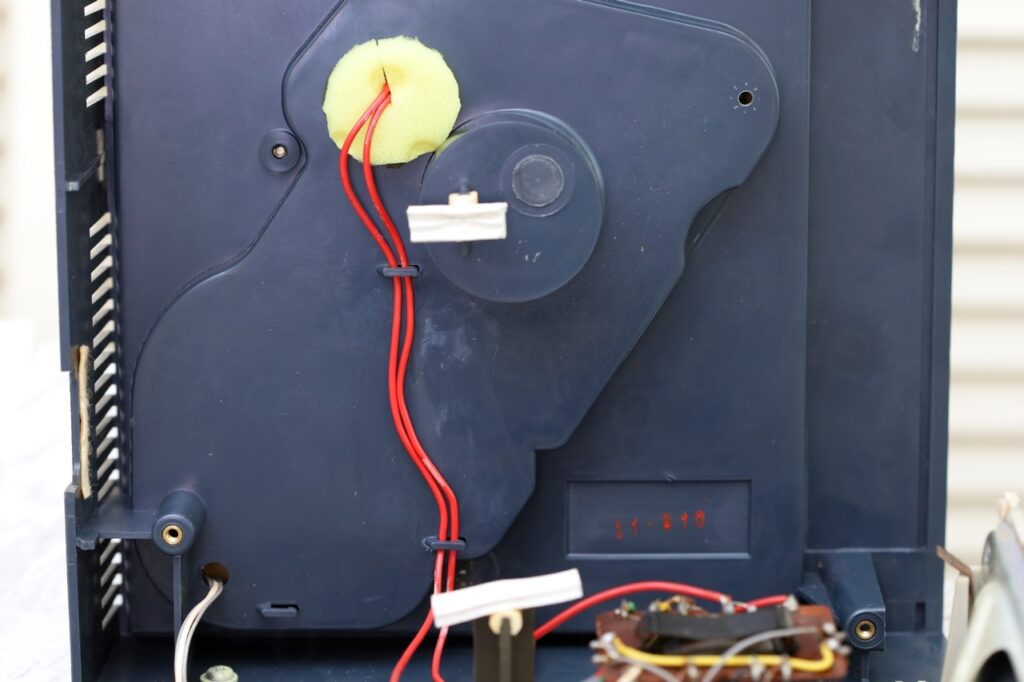
The turntable was full o dust from disintegrated foam pads. I used a sponge to cut replace the missing pads:
220V -> 240V
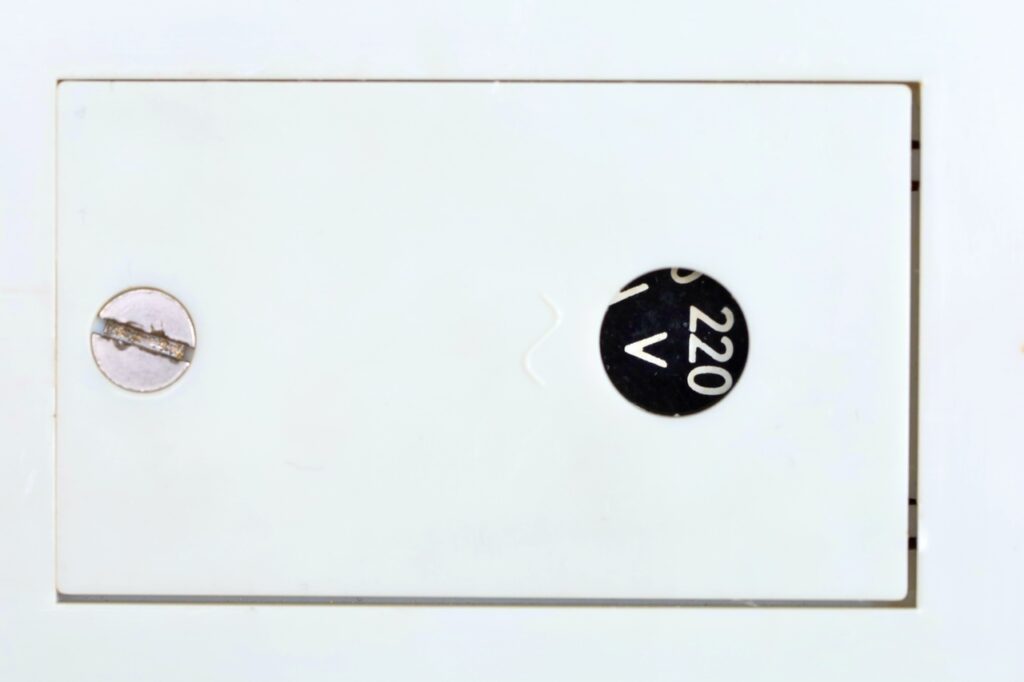
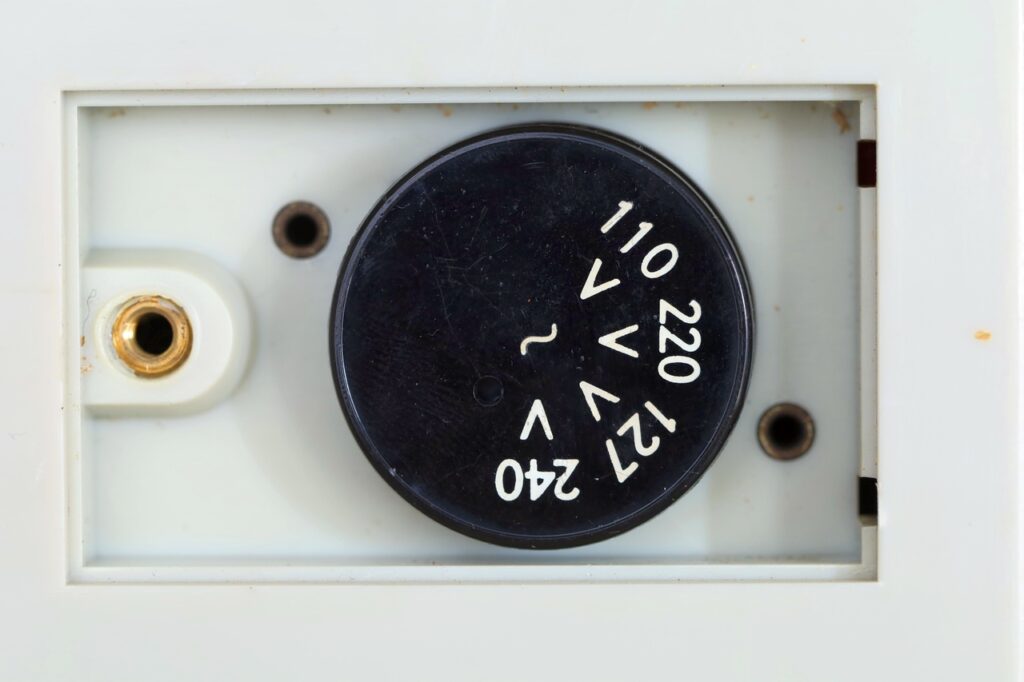
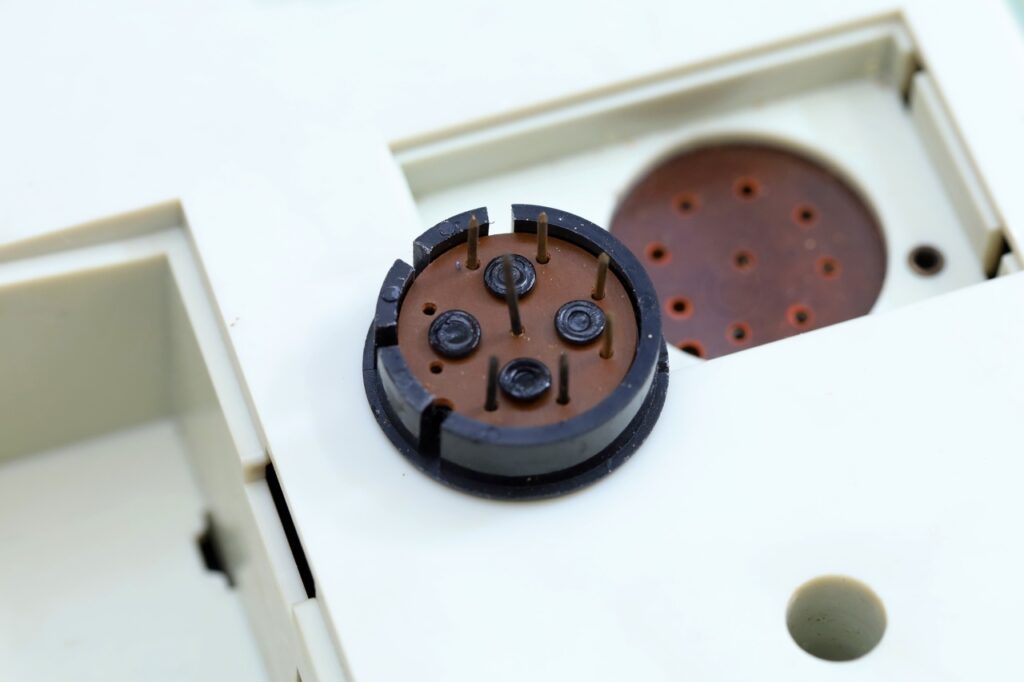
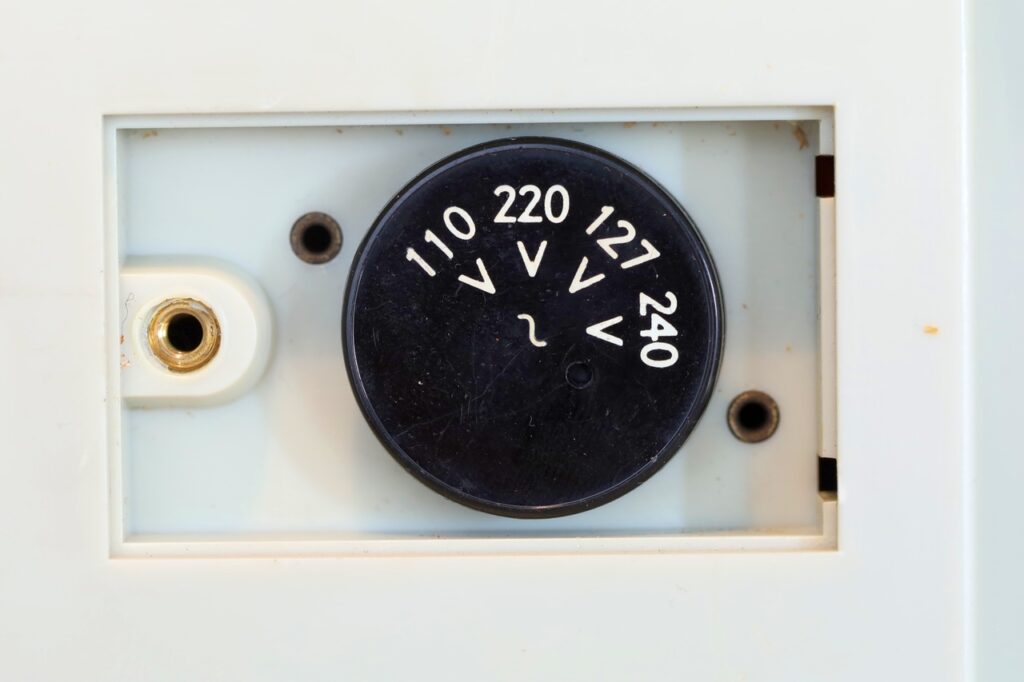
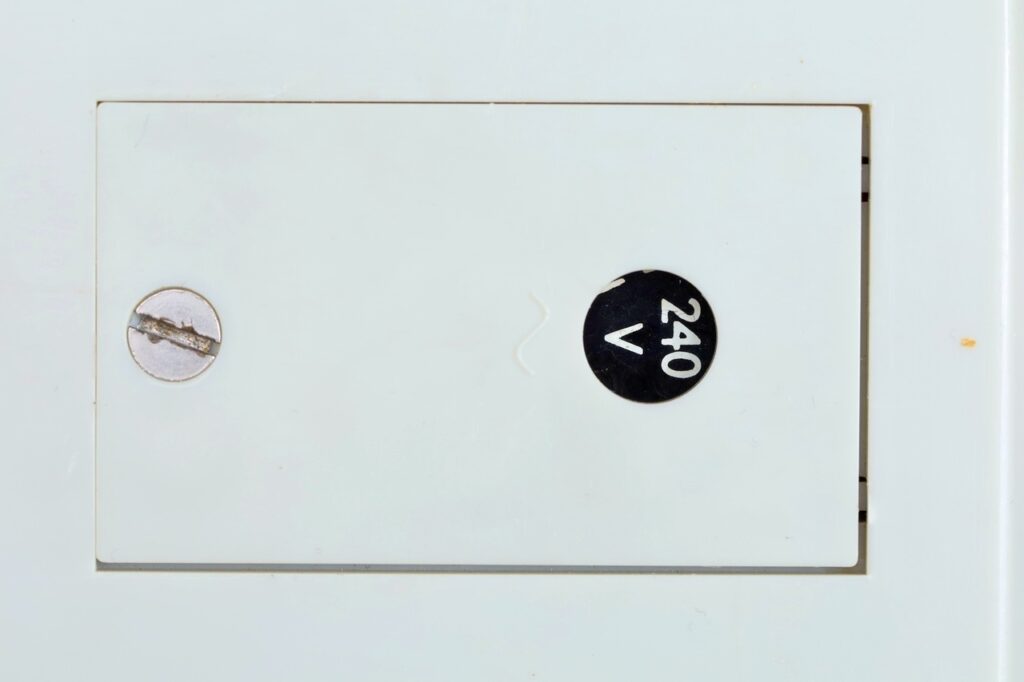
The turntable was set for 220V and both speeds were running fast. I decided to switch to 240V since there was this possibility:
Electrical part
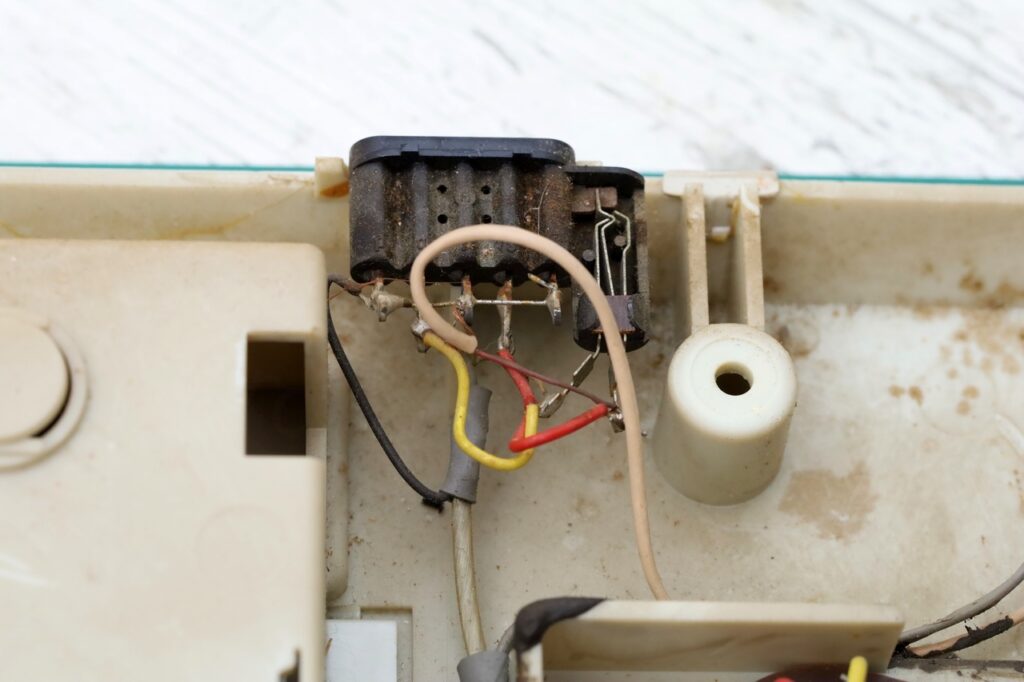
The turntable looks somewhat dangerous inside, care must be taken since mains wires are visible and easy to touch by mistake. It is using germanium amplifiers.
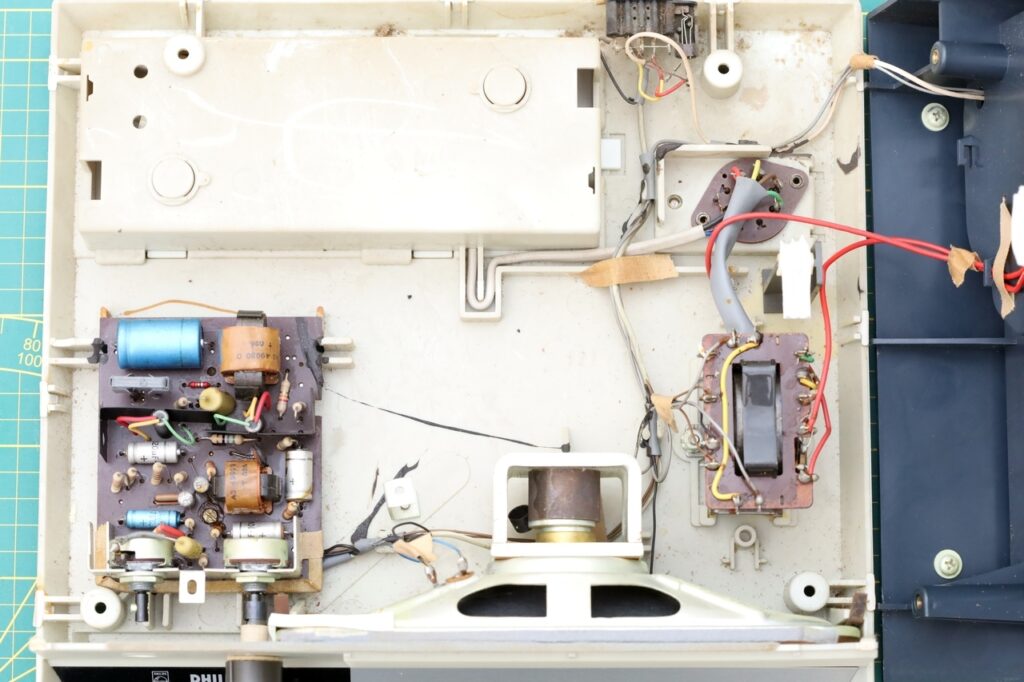
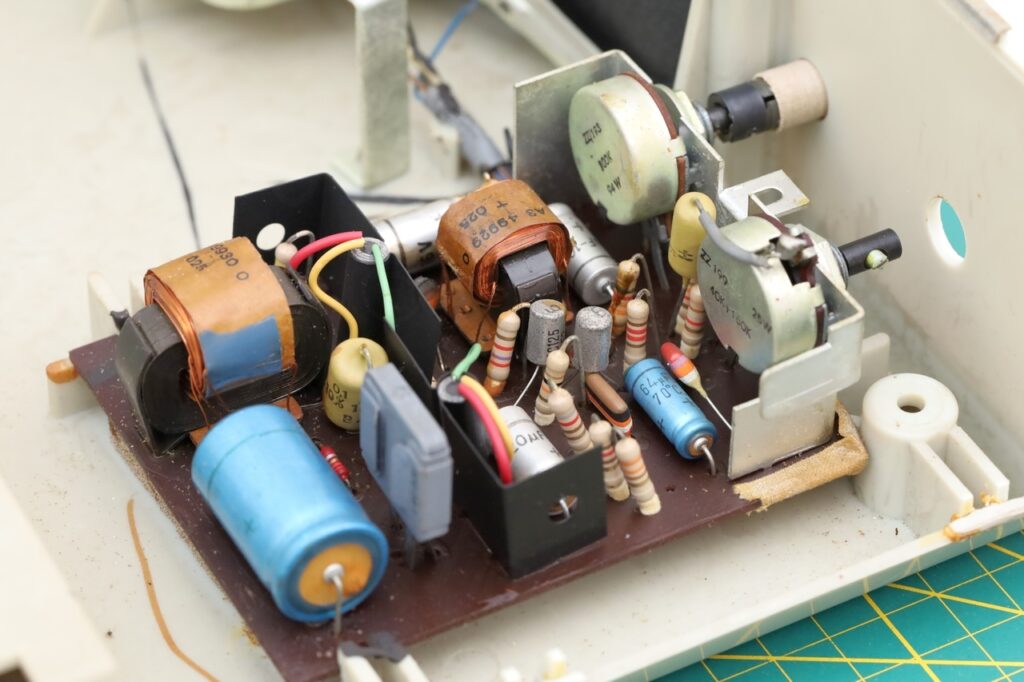
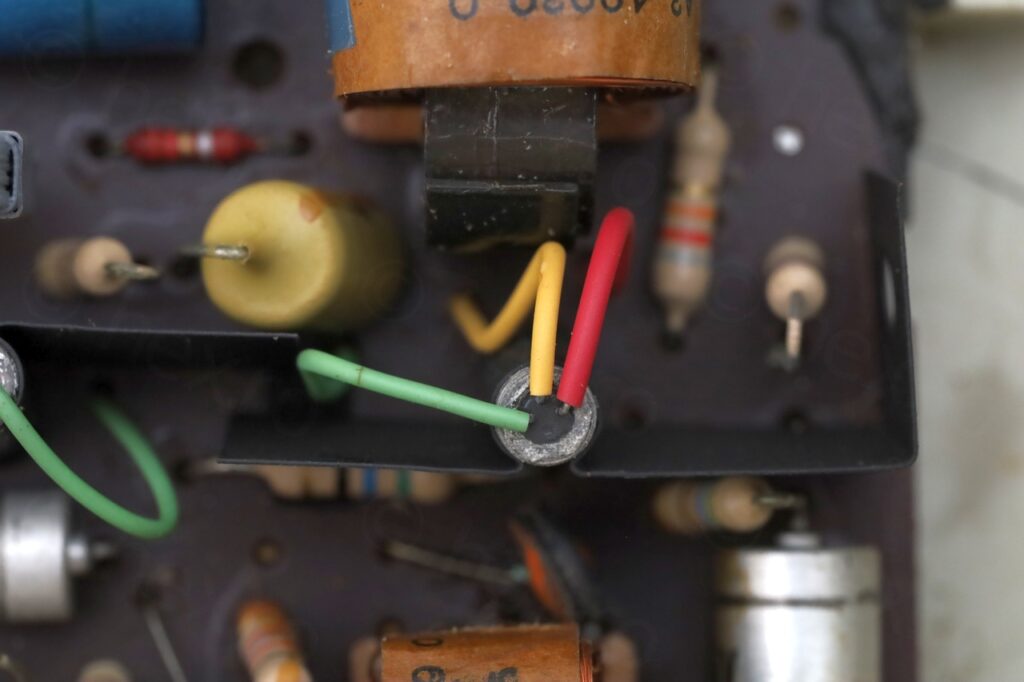
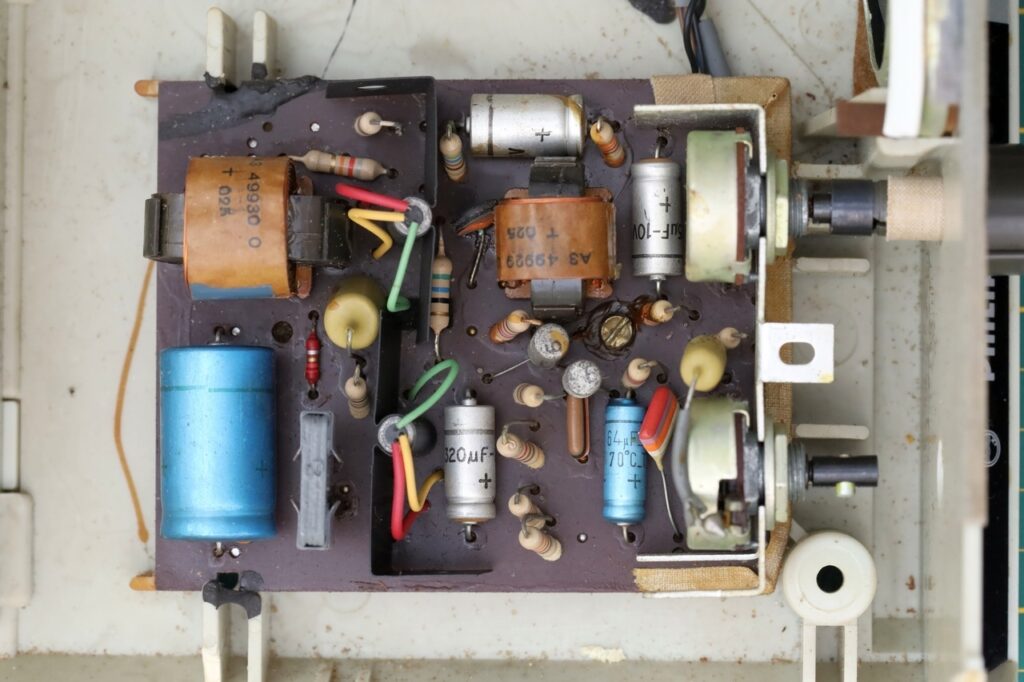
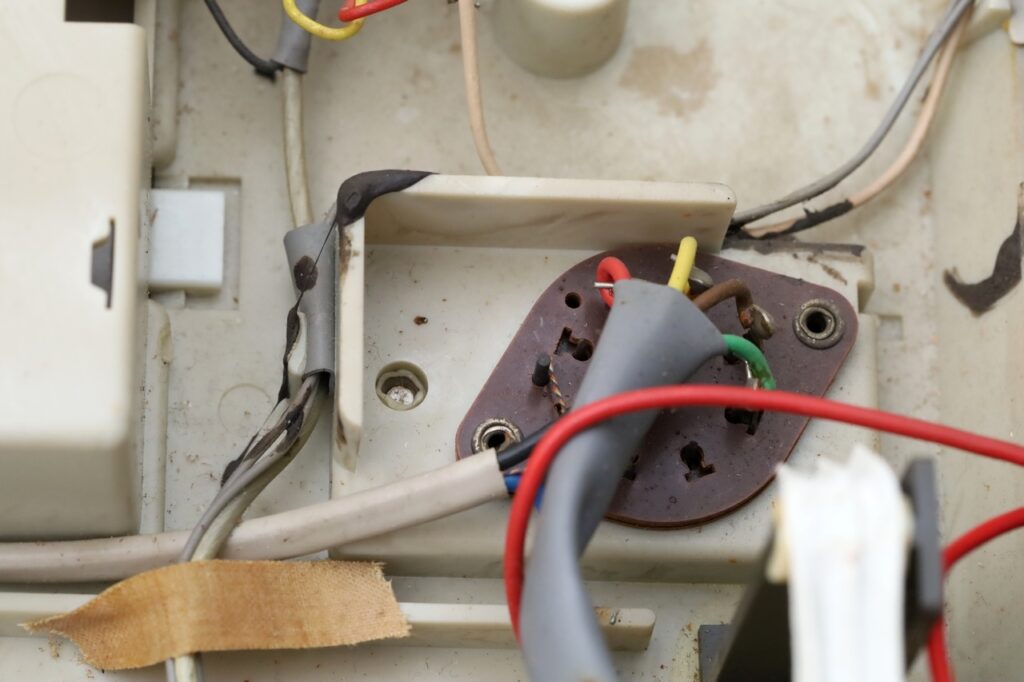
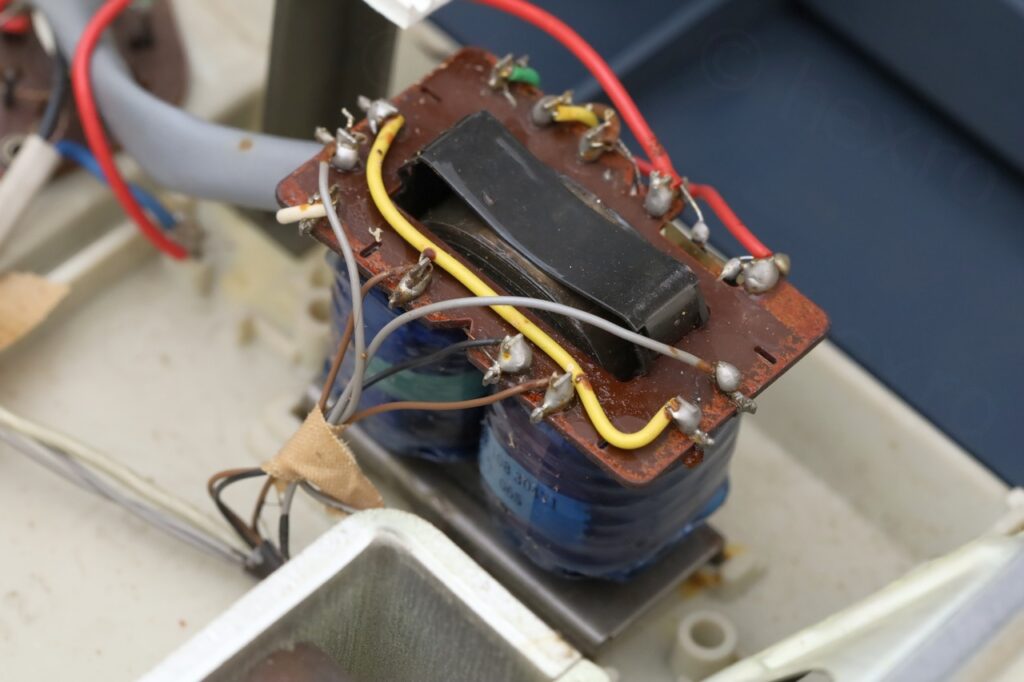
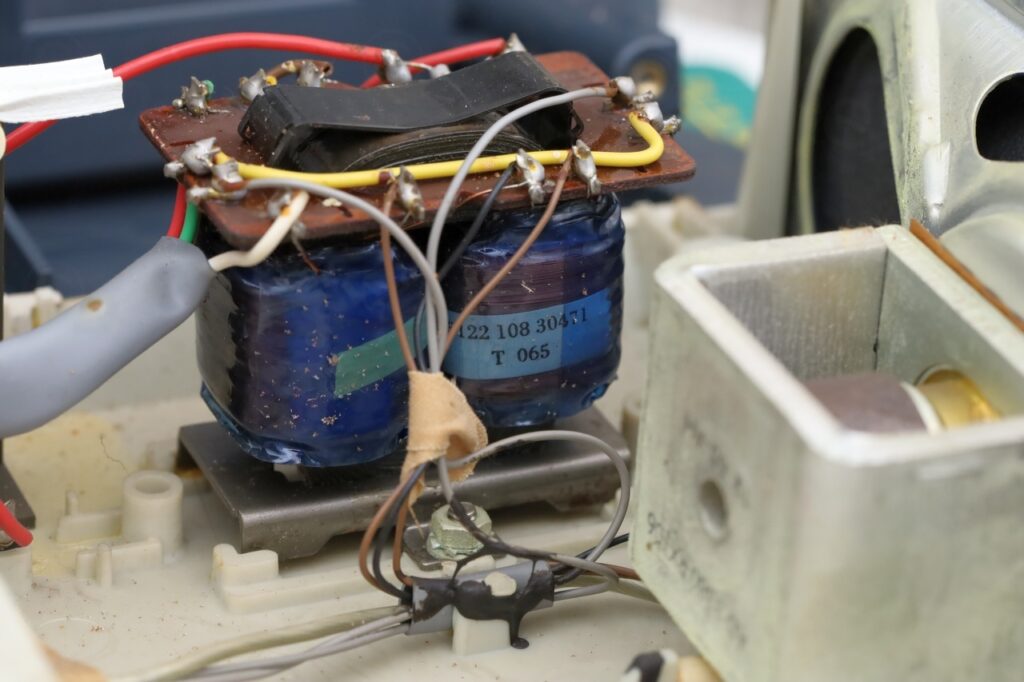
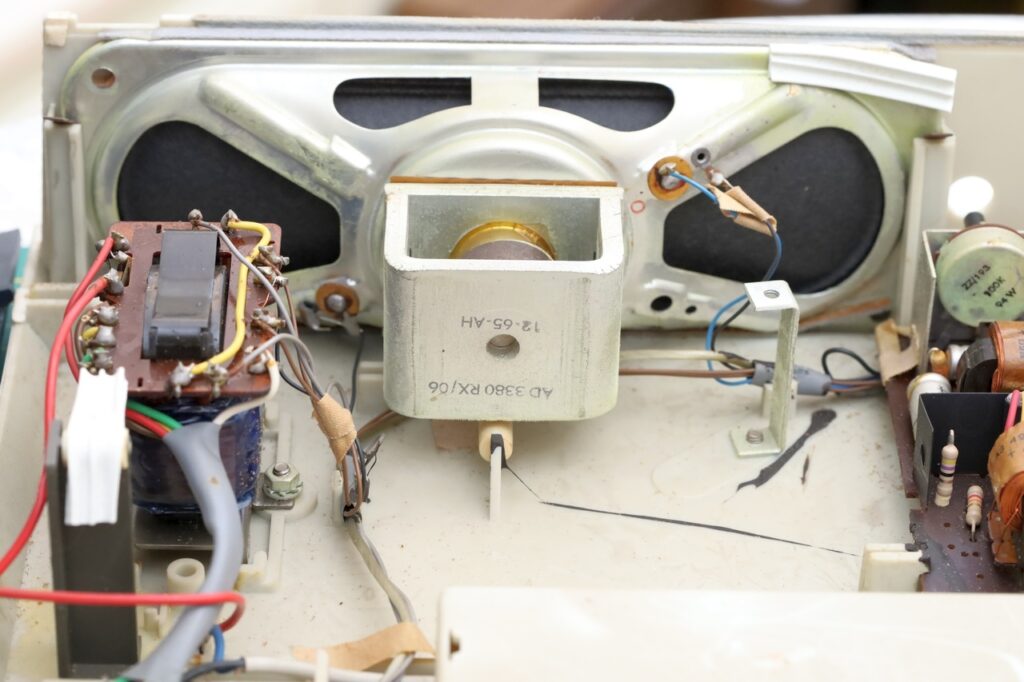
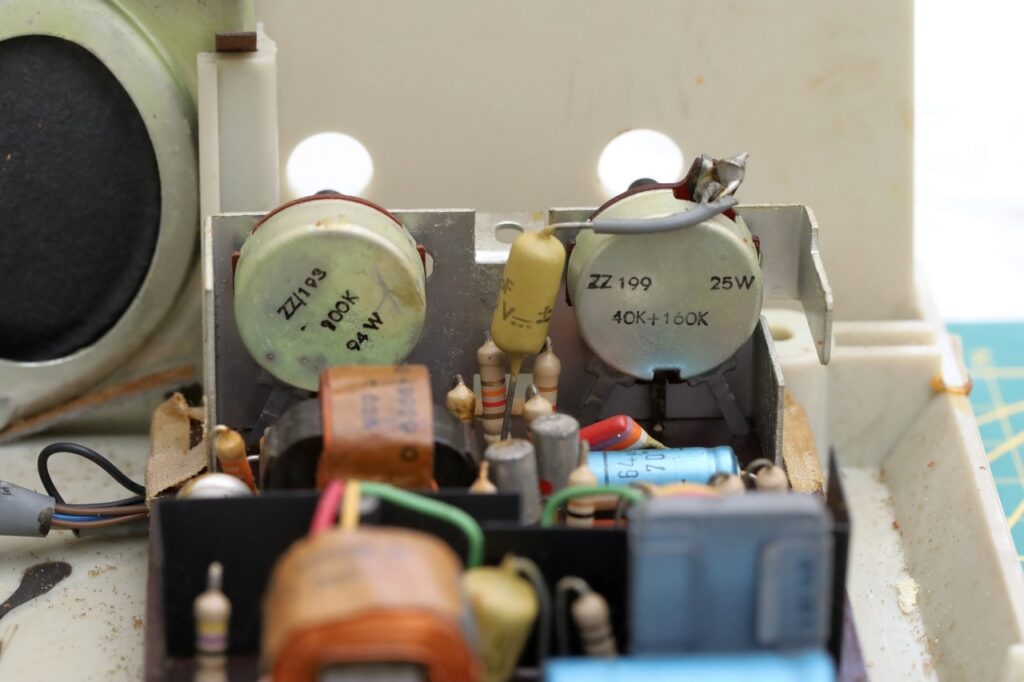
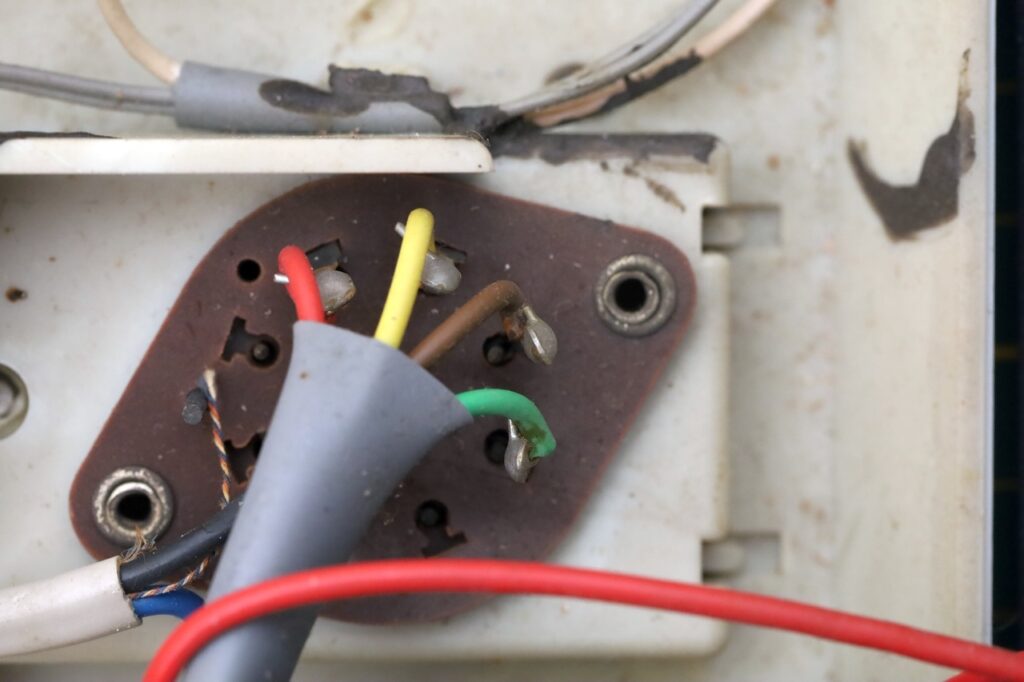
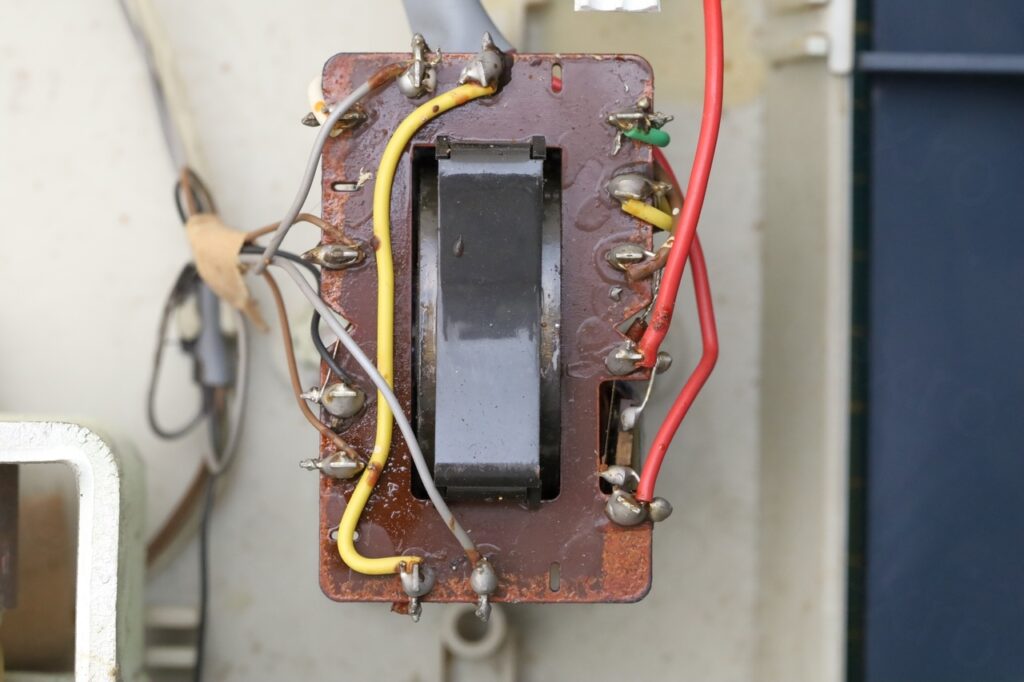
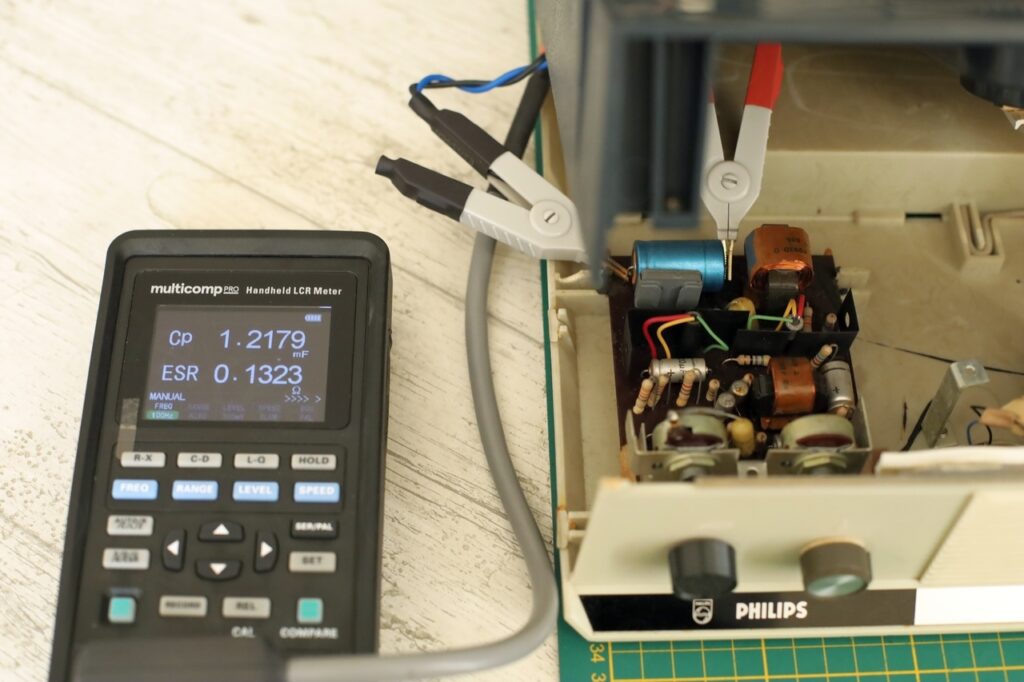
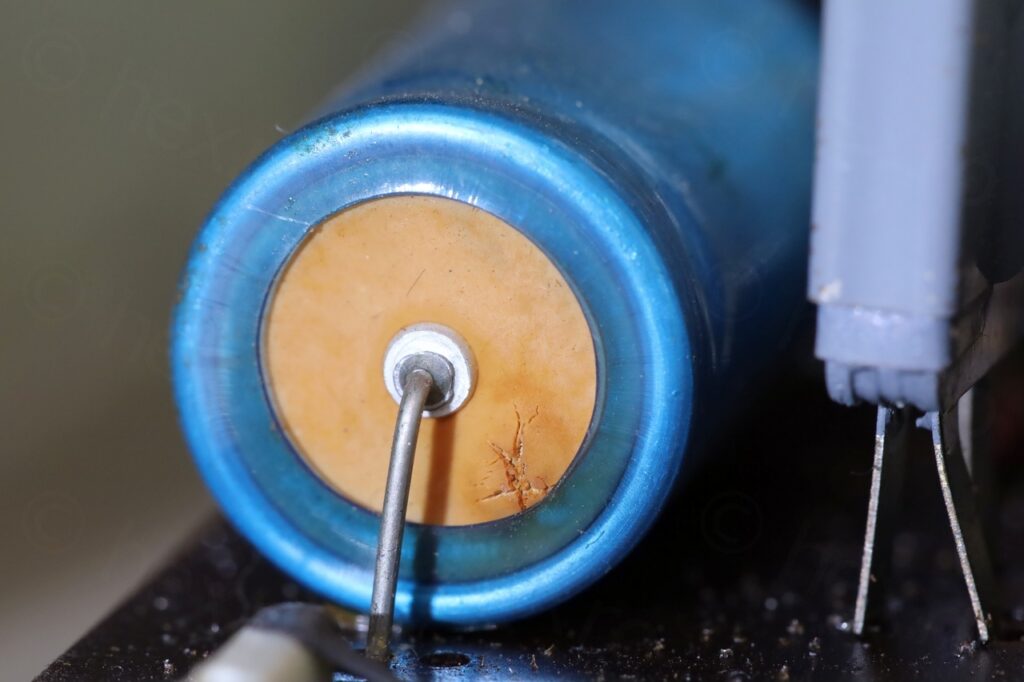
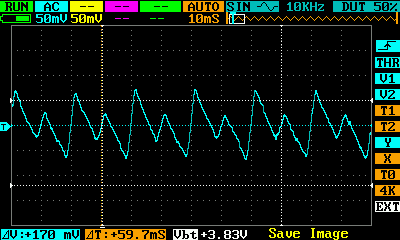
The main filter capacitor should be 1mF according to the schematics, and I measured to be within specs. The seal was pierced with some discharge around it, but nothing visible on the circuit board. Since it was still doing its job (some ripple was present, around 110mV) I decided to keep it in. This turntable won’t get much use, thus is nicer to preserve it more like a “bibelot” than having it constantly being plugged and used.
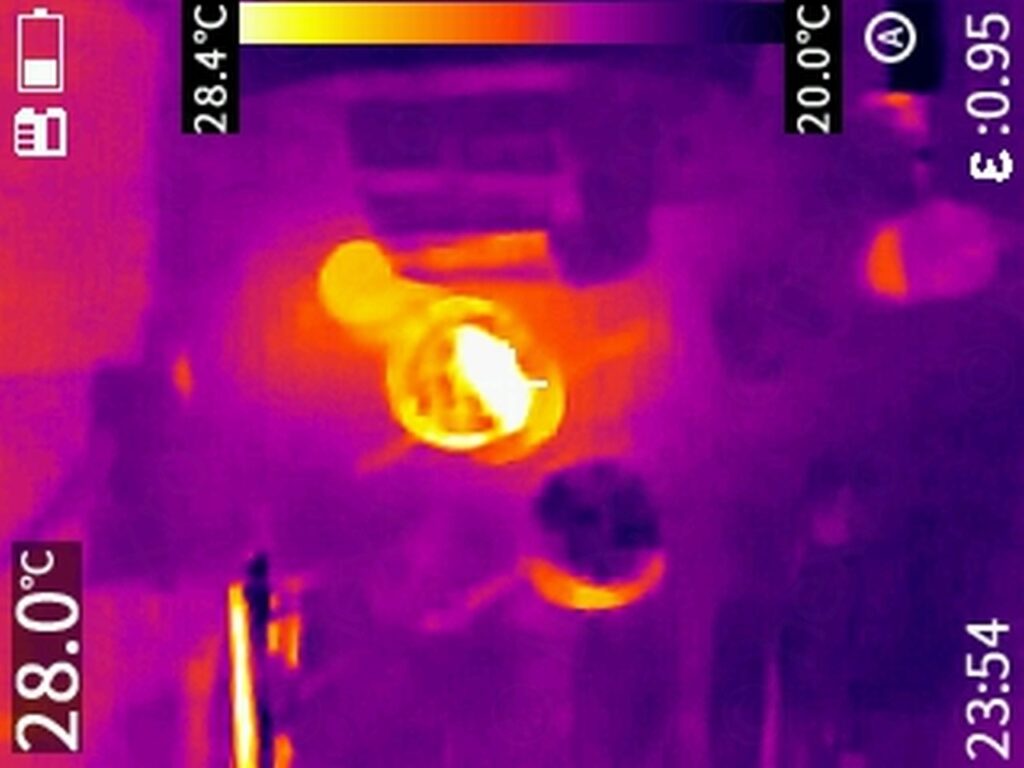
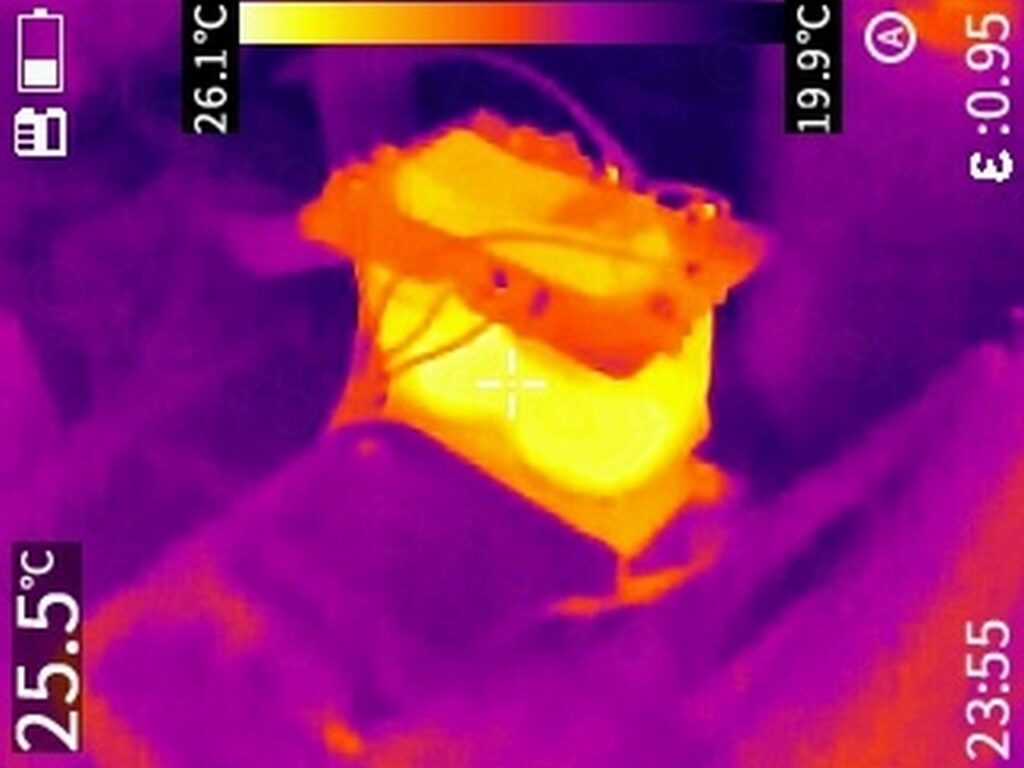
The temperature of the Ge transistors were also stable and the transformer was not too hot either:
The turntable has a nice storage area for keeping the mains cable tucked away:
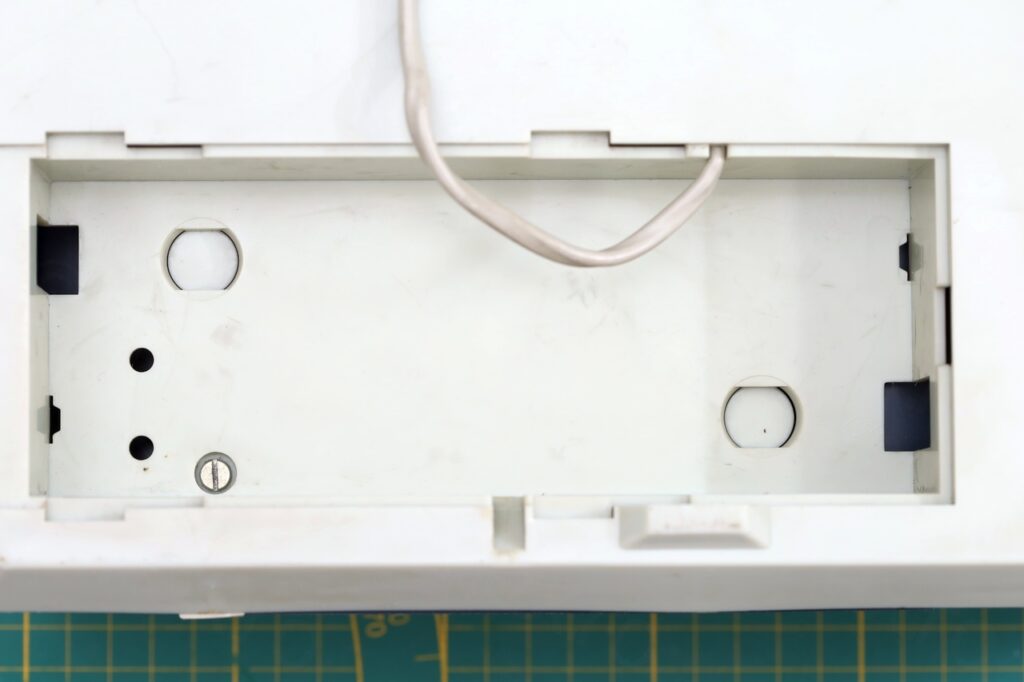
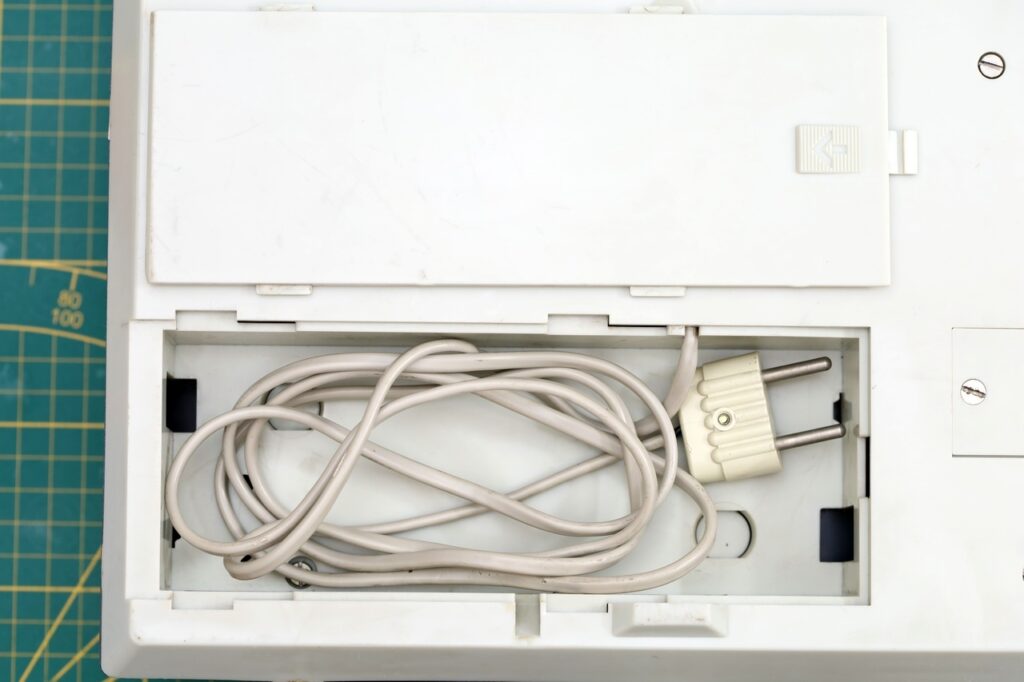
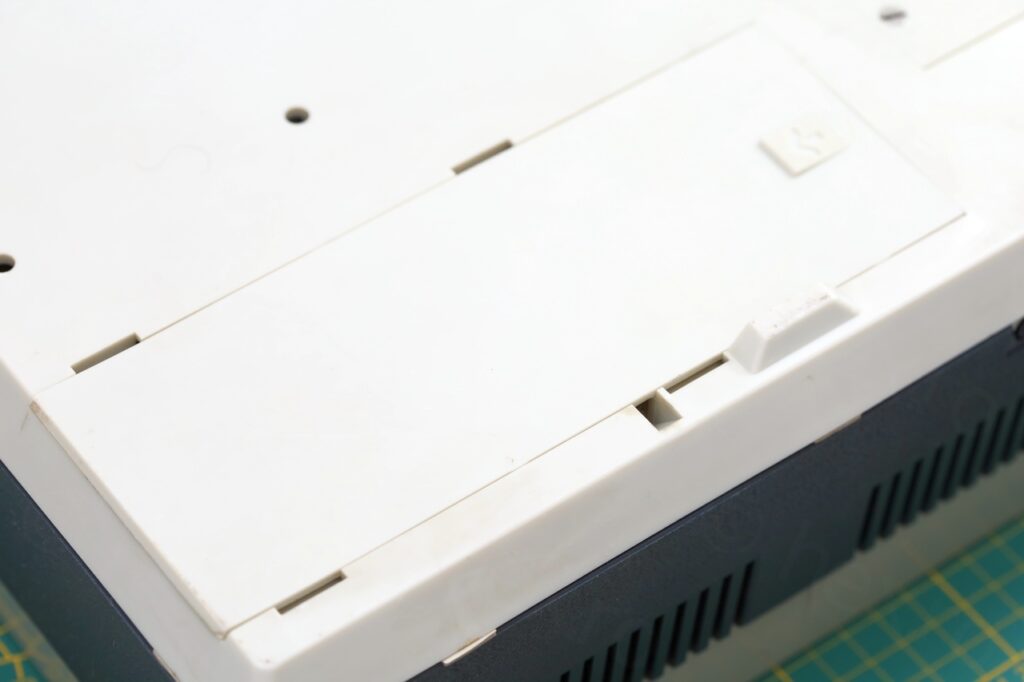
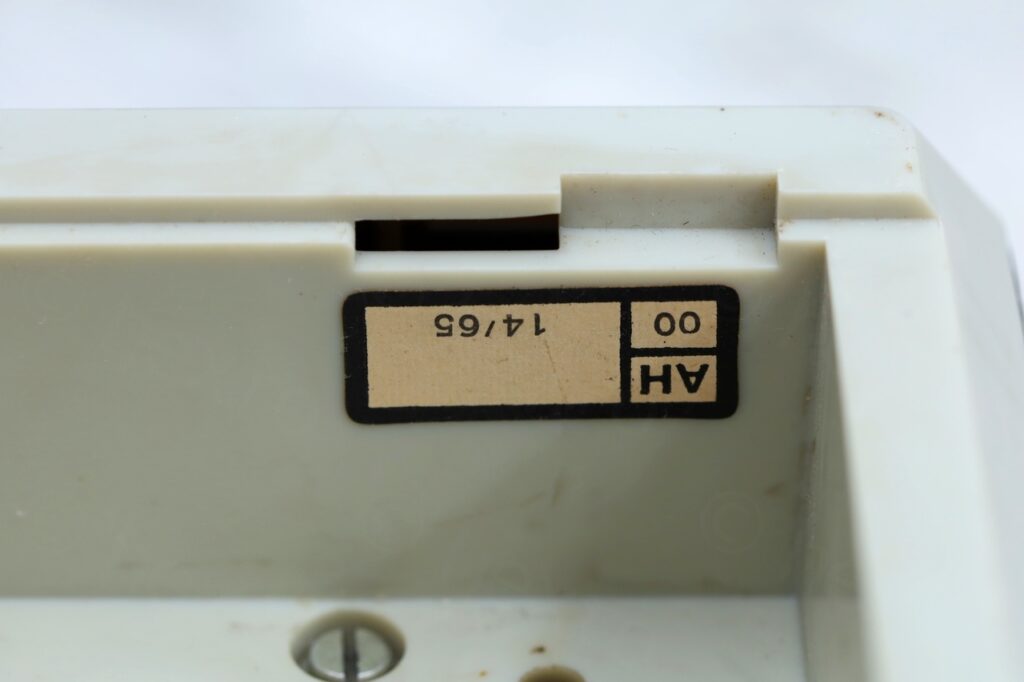
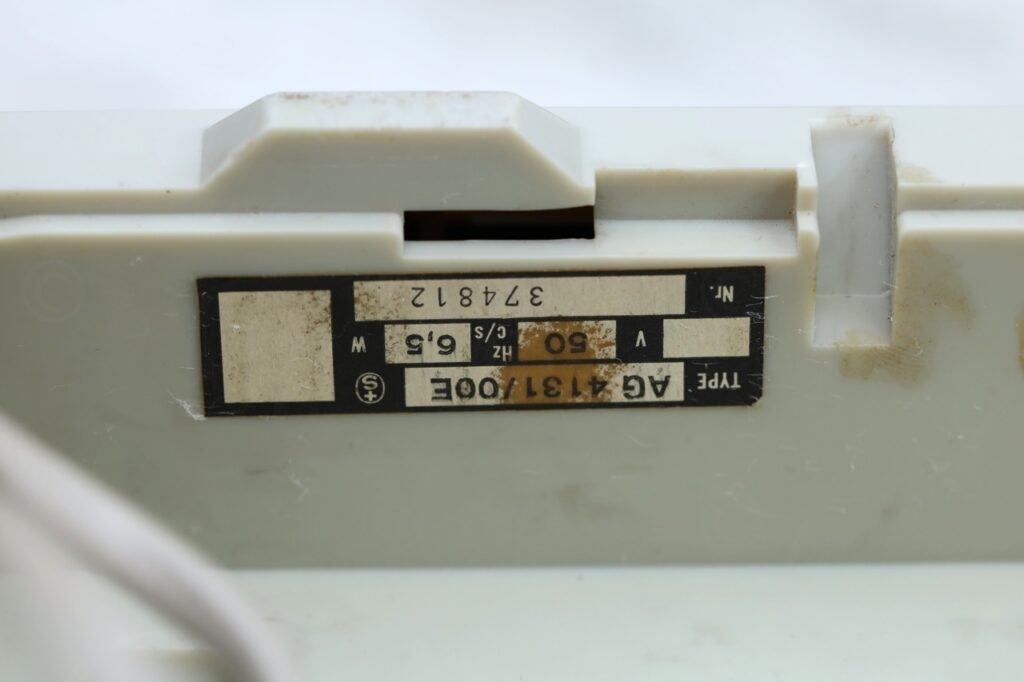
Speed is “around” the right values, but runs faster half of the turn and slower the other way around. Same behavior on the other Philips AG 4000 turntables:
The stylus was very worn out – and highs were almost muted. I do have some spare styli and head shells, but I will keep it as is.
Leave a Reply