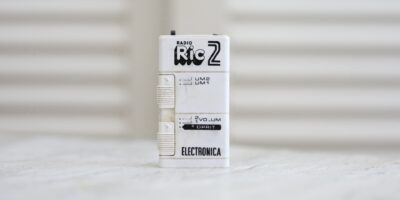
Seeing this radio at the flea market, I was amused. Felt like holding soap 🙂 Small and it does have a little weight to it. I spotted heavy battery corrosion, but since I was already curious how it sounds, I bought it.
Table of Contents
Overview
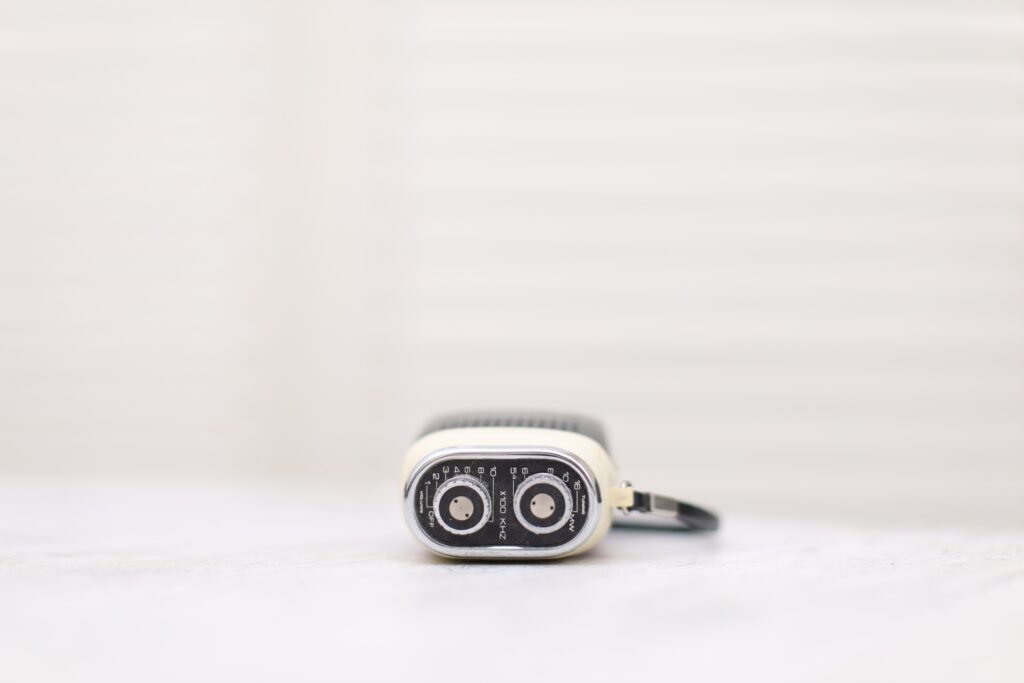
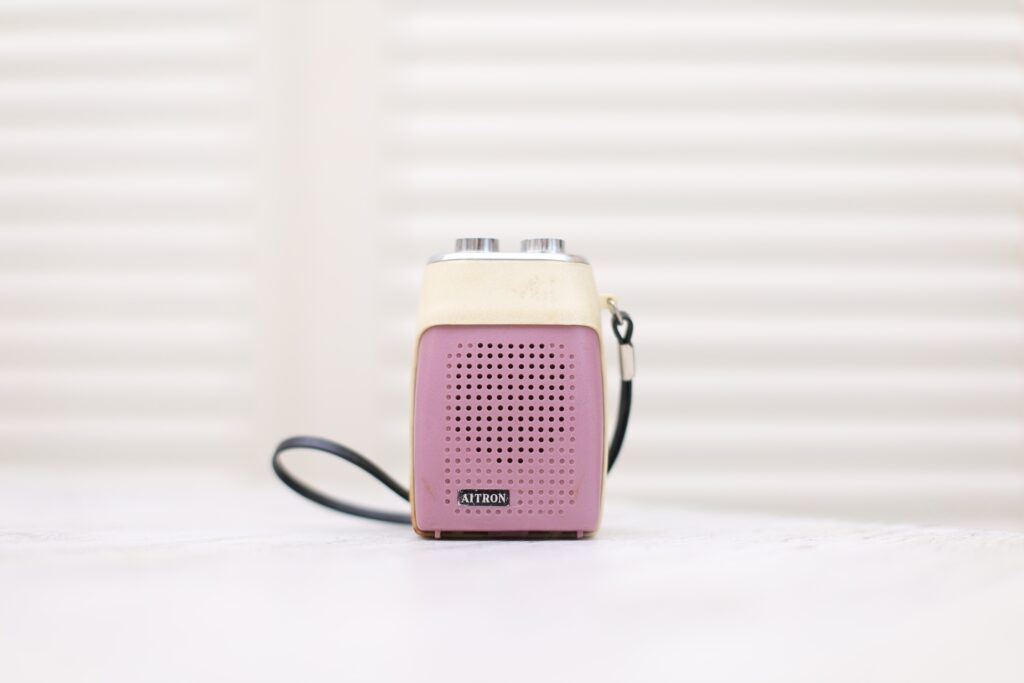
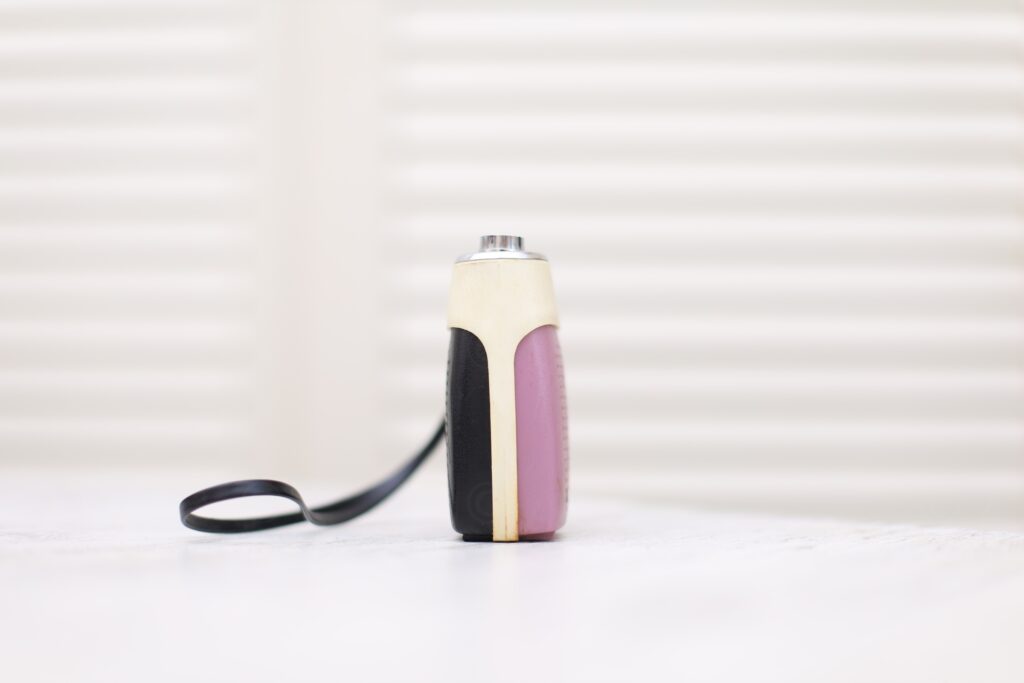
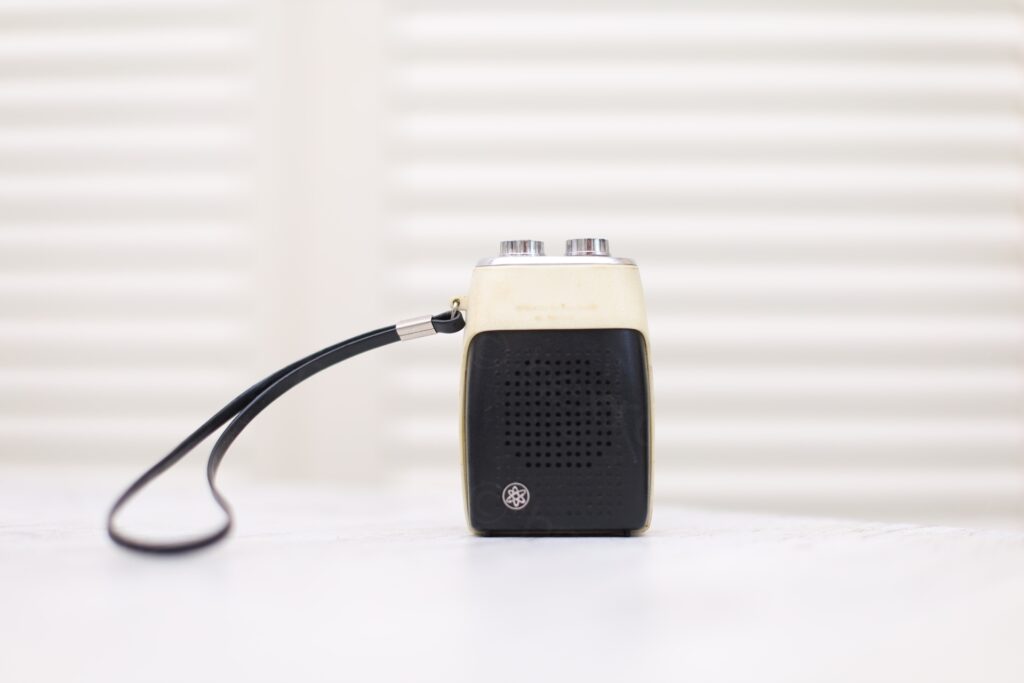
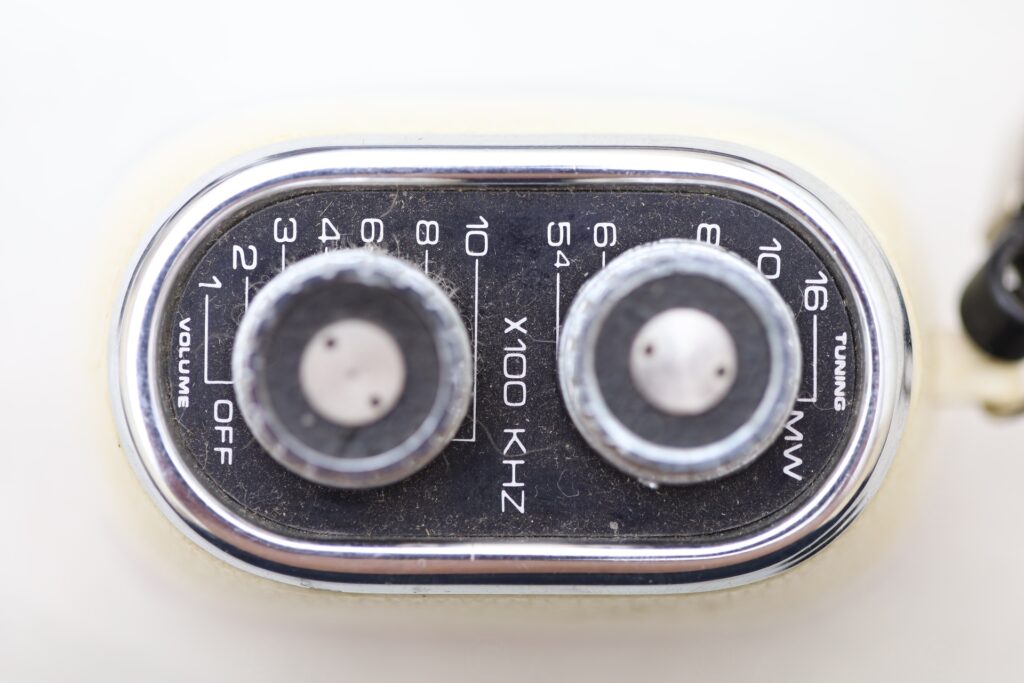
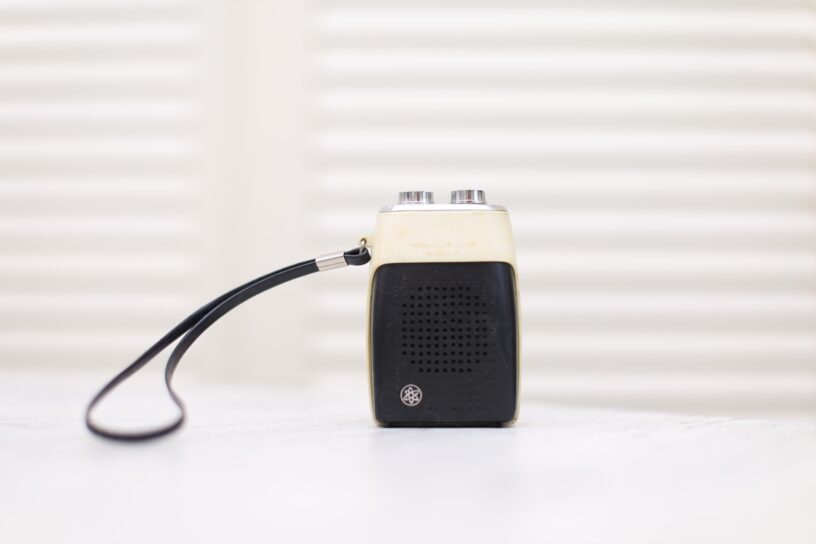
It has the following markings: AITRON, AIE Final Check Quality Control Department Approved, British Design Registration NO 954715.
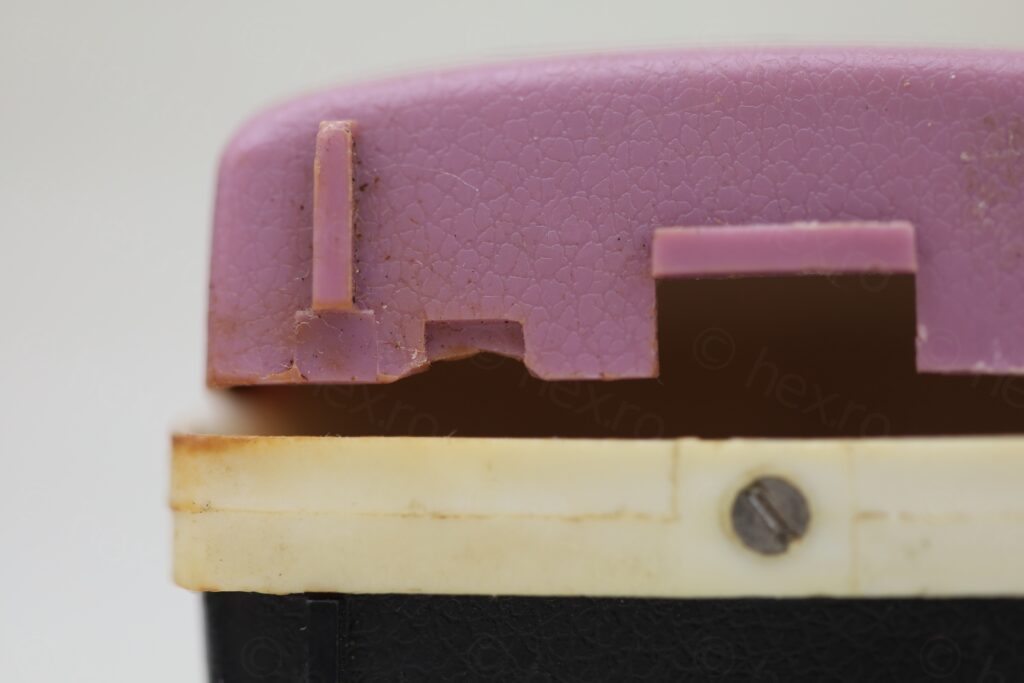
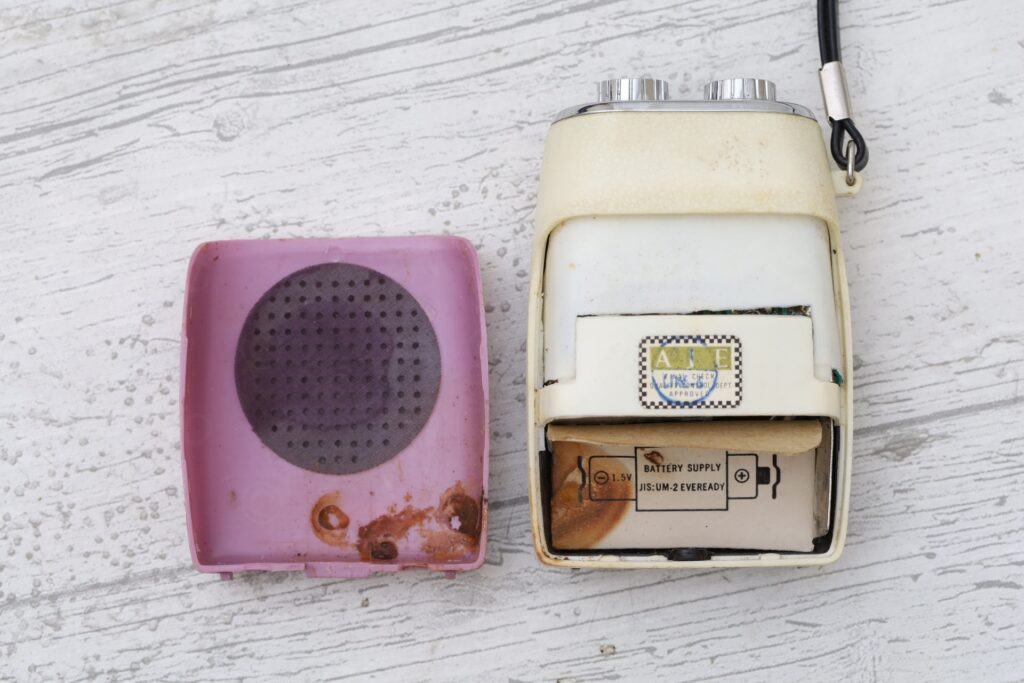
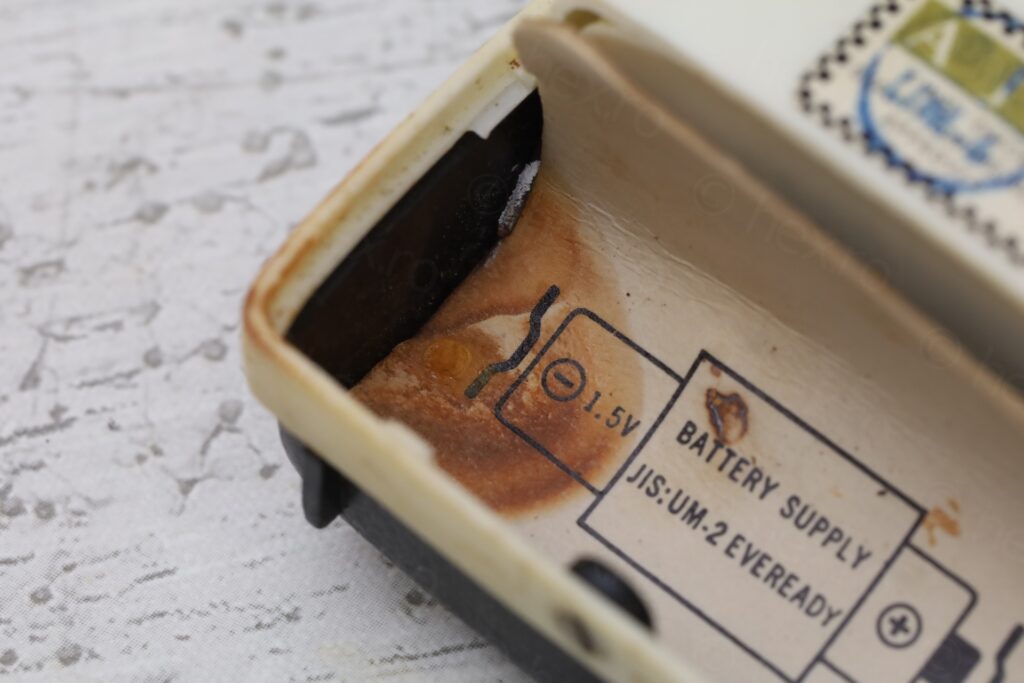

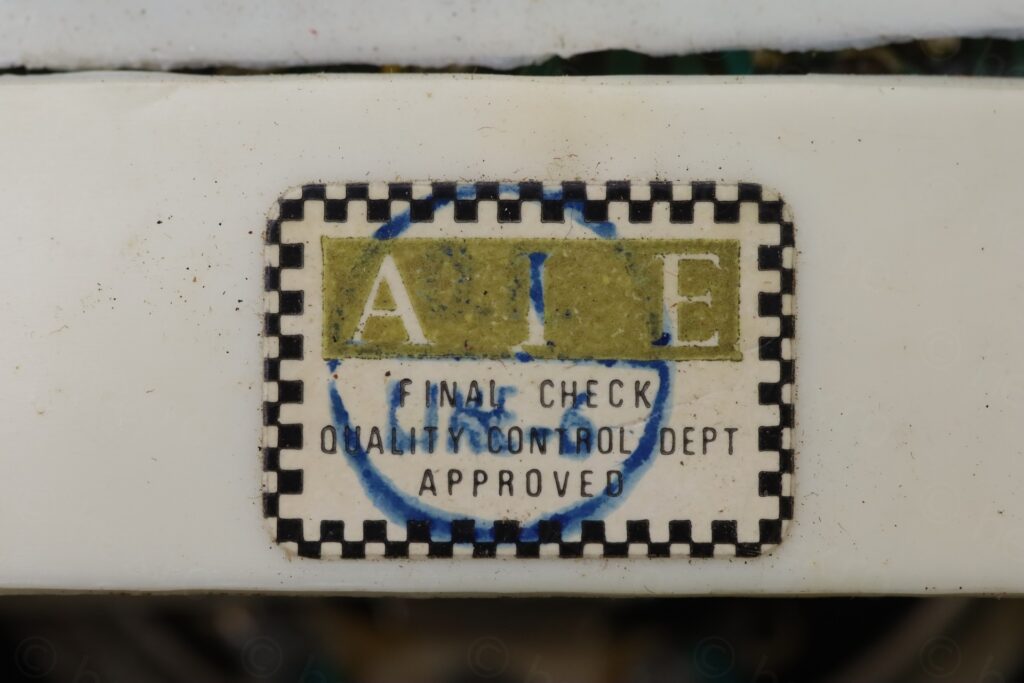

I hope the radios work when I buy them, since fixing may take a lot of time and some radios may not worth the effort. And this little one worked! Not very sensitive, but I could hear stations loud and clear during the night.
Since the only visible problem was the missing battery spring, I figured, let me try to come up with something.
Opening Up
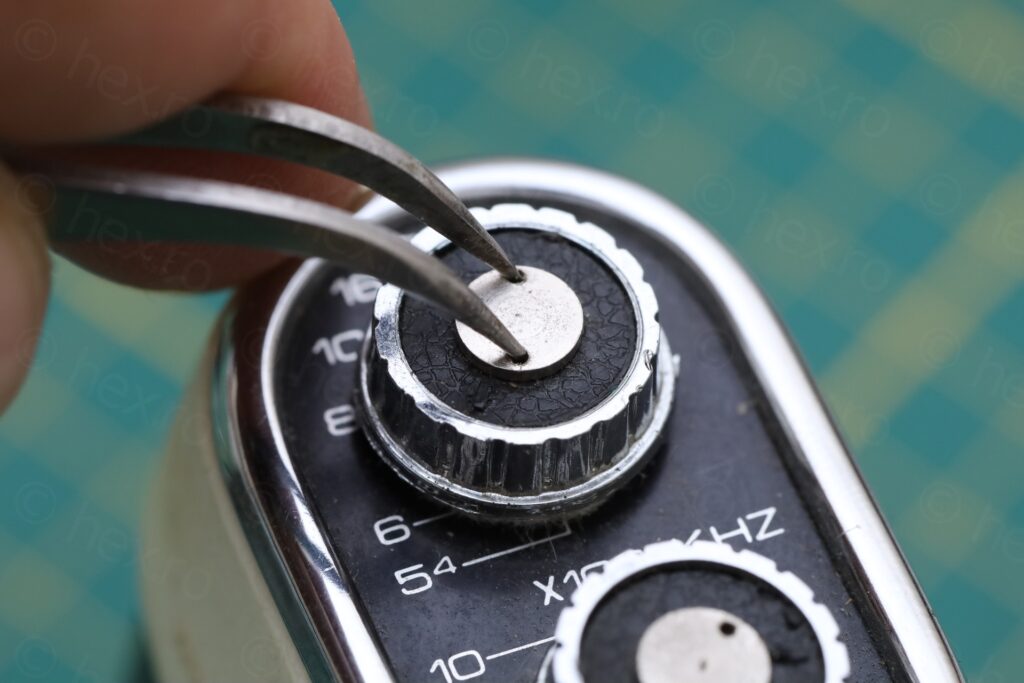
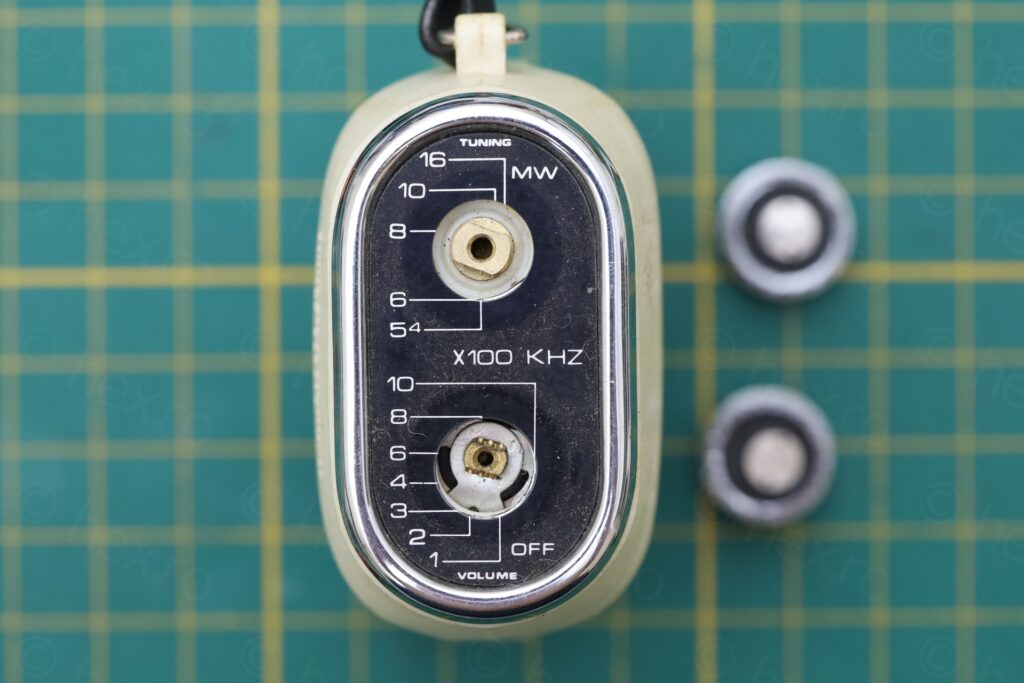
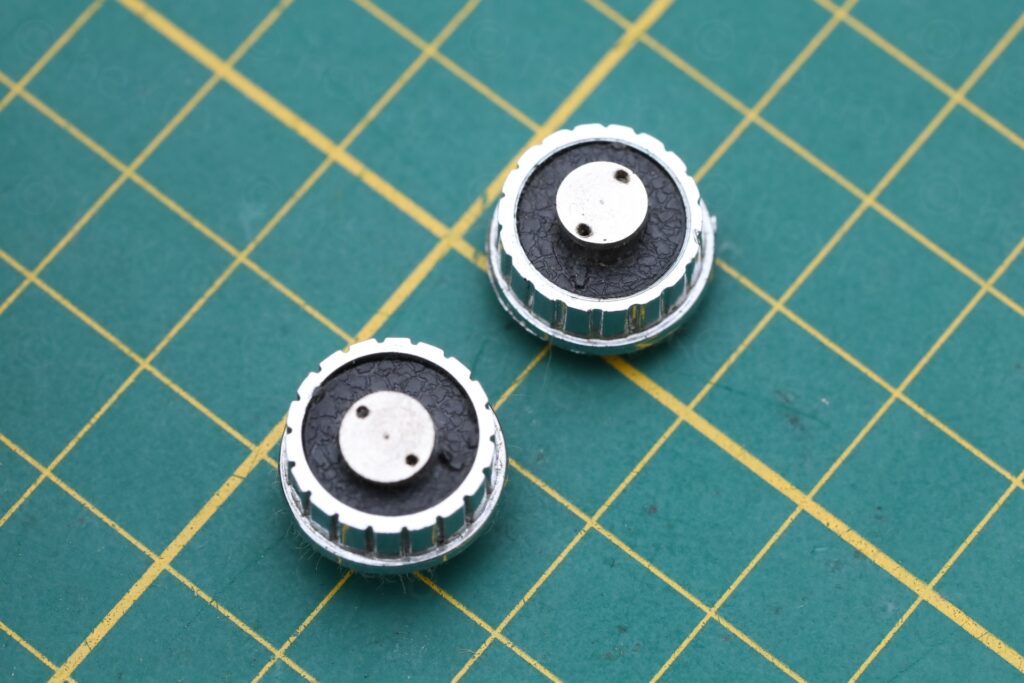
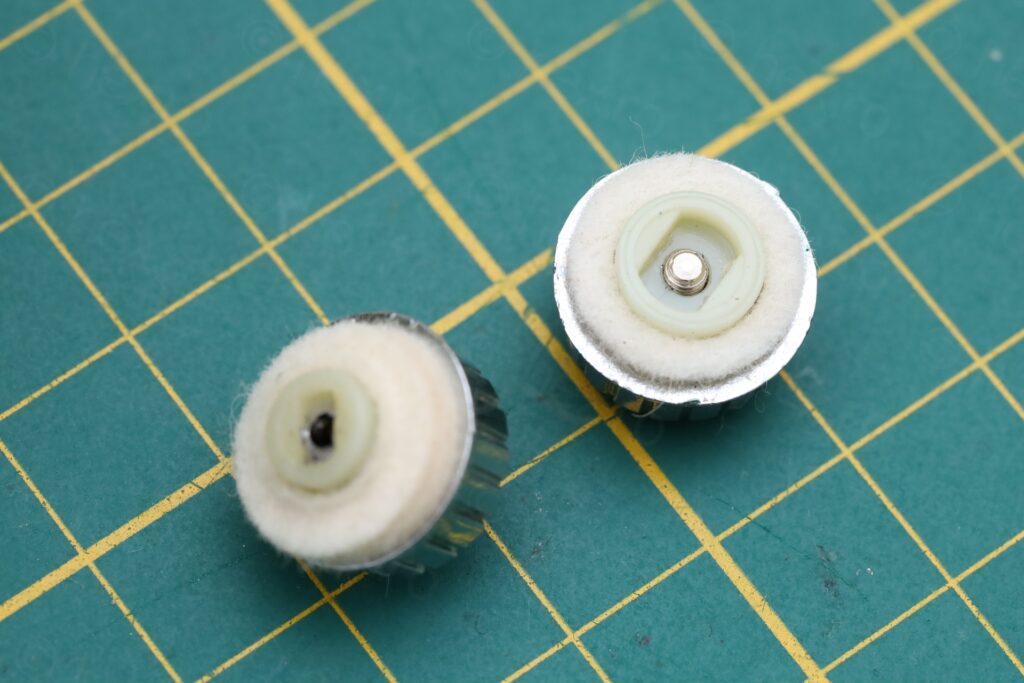
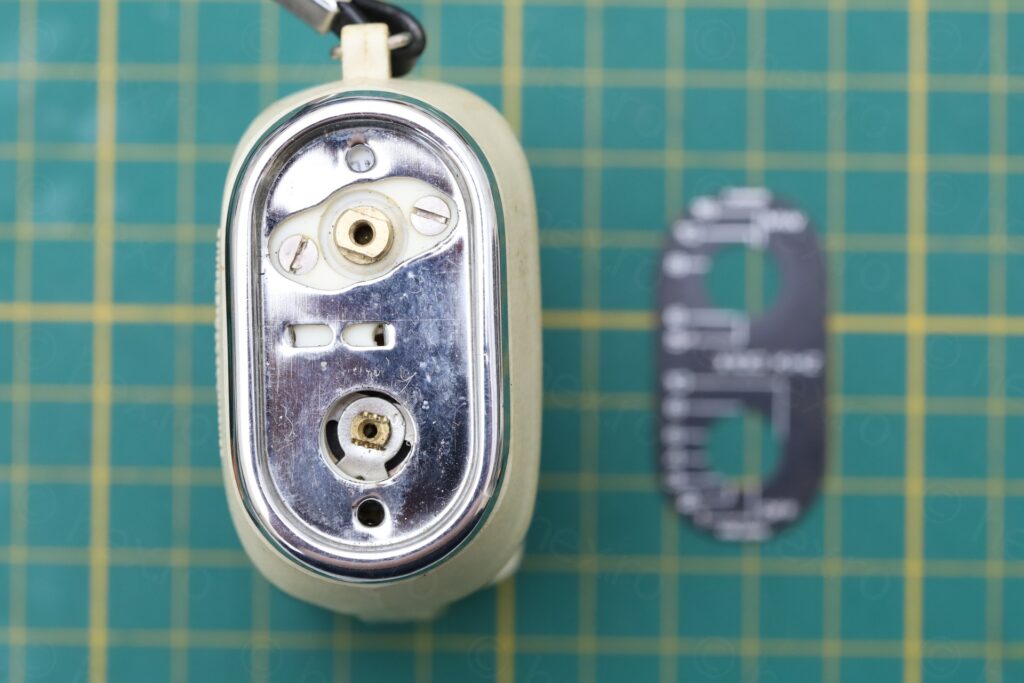
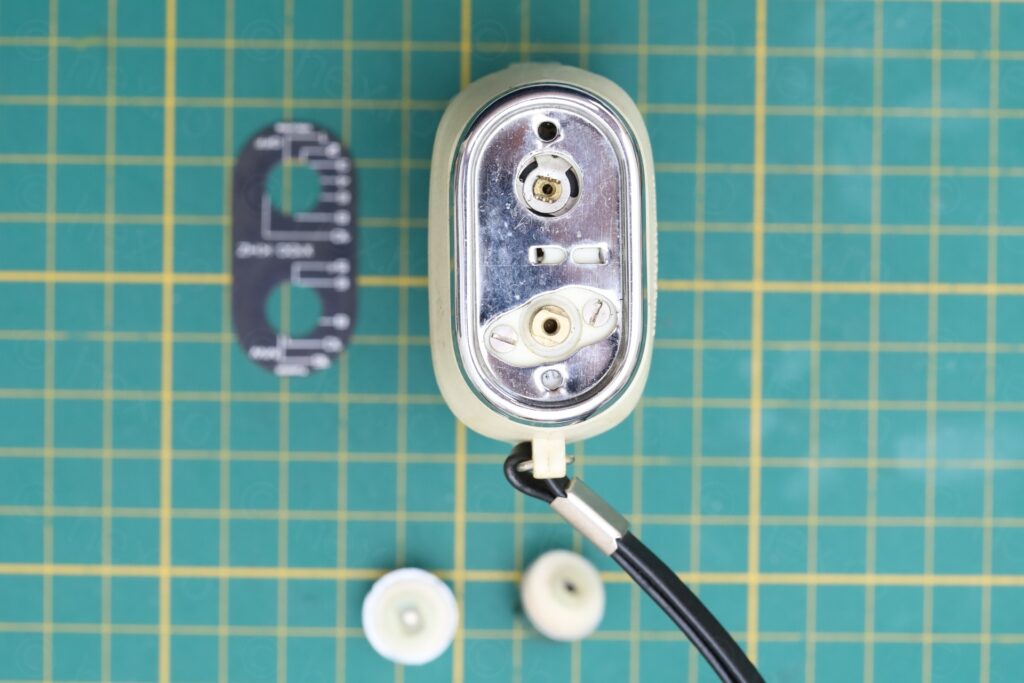
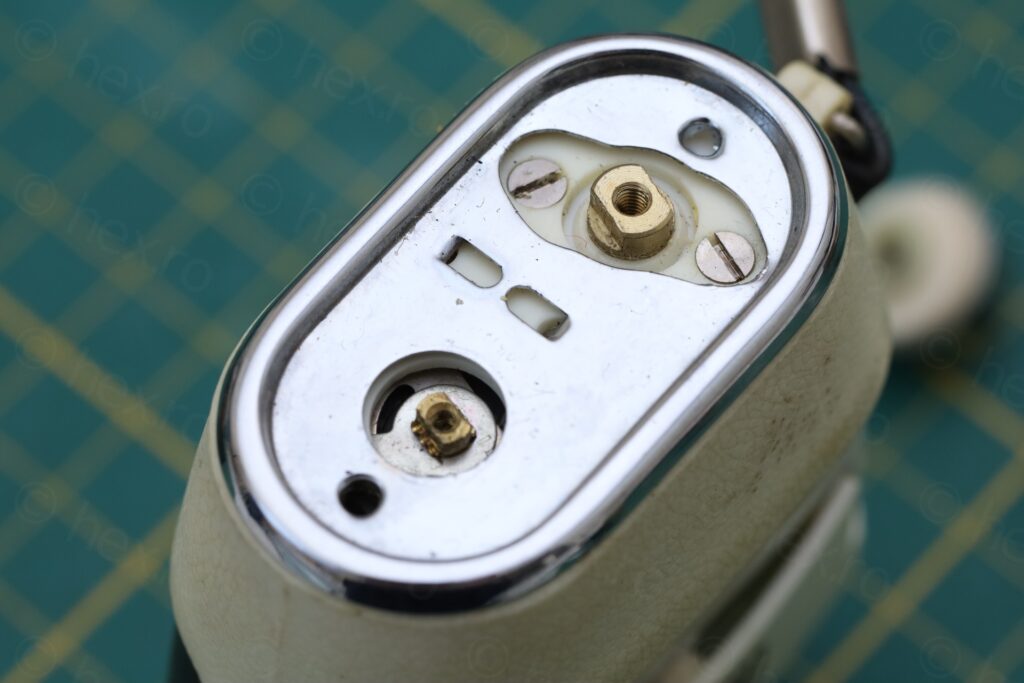
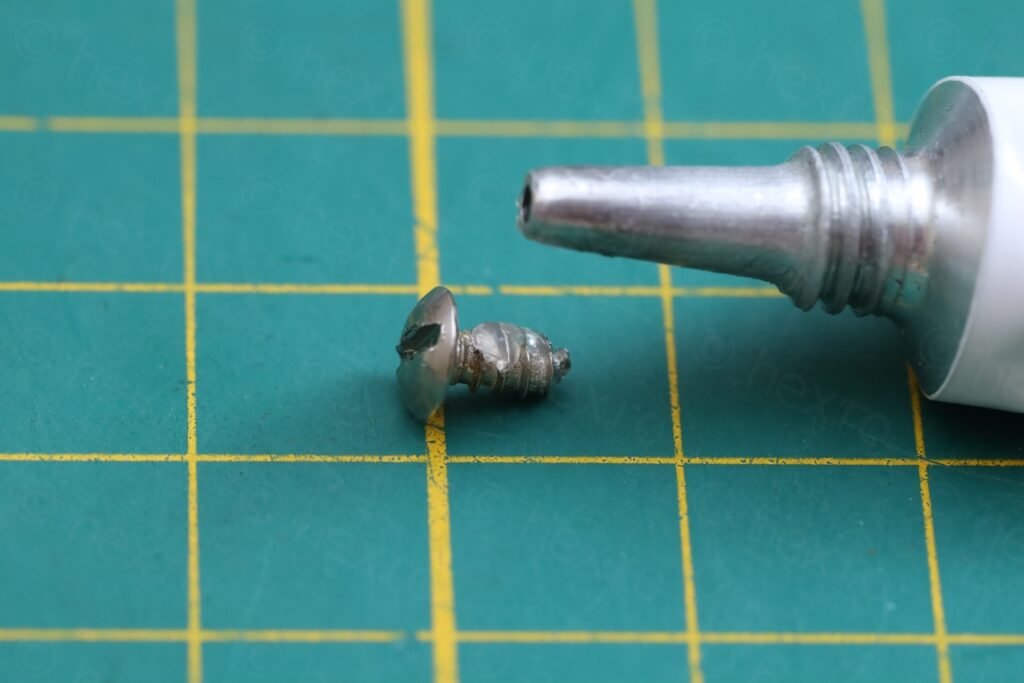
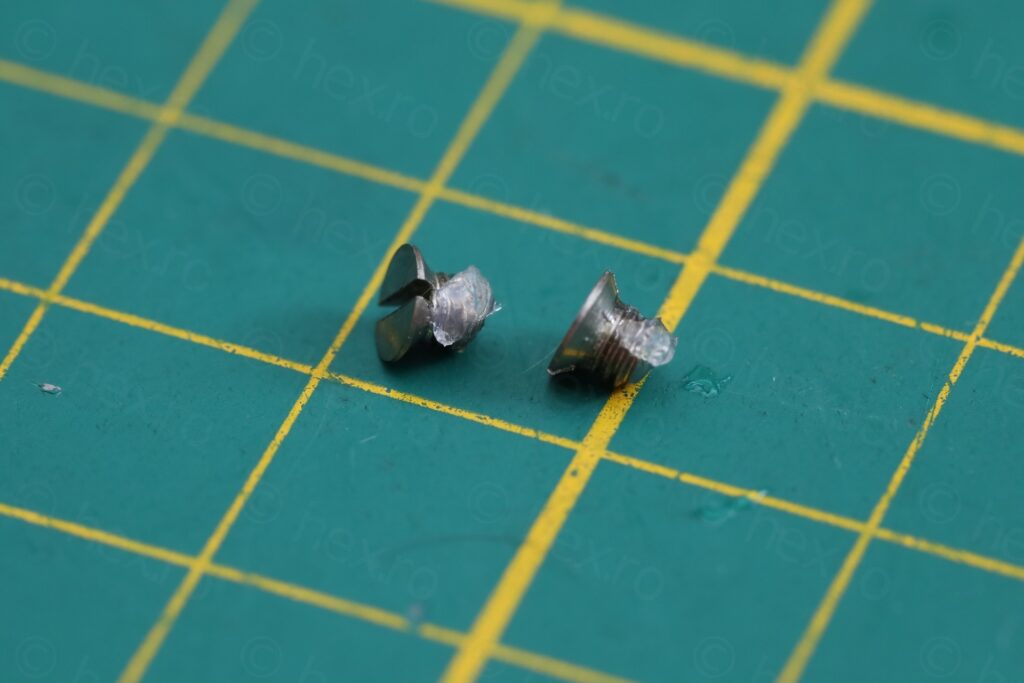
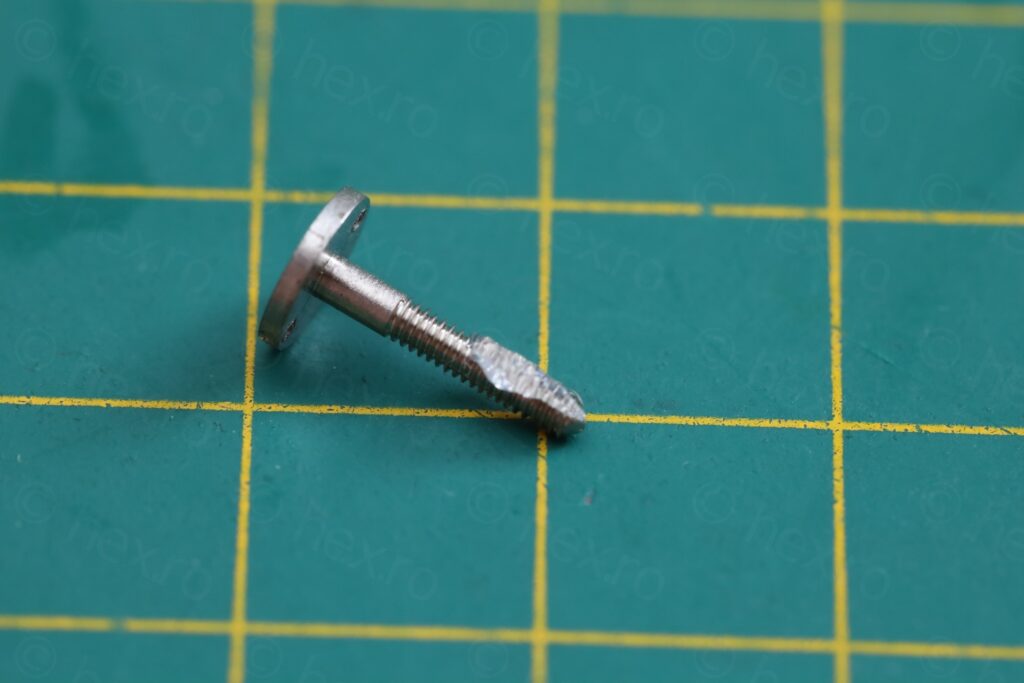
Took a bit of looking around to find how to open it, but it is pretty easy. There is a small screw at the bottom of the radio that must be taken out first. The two knobs on top come next. The small face plate can then be taken out, revealing two more screws holding the variable capacitor in place:
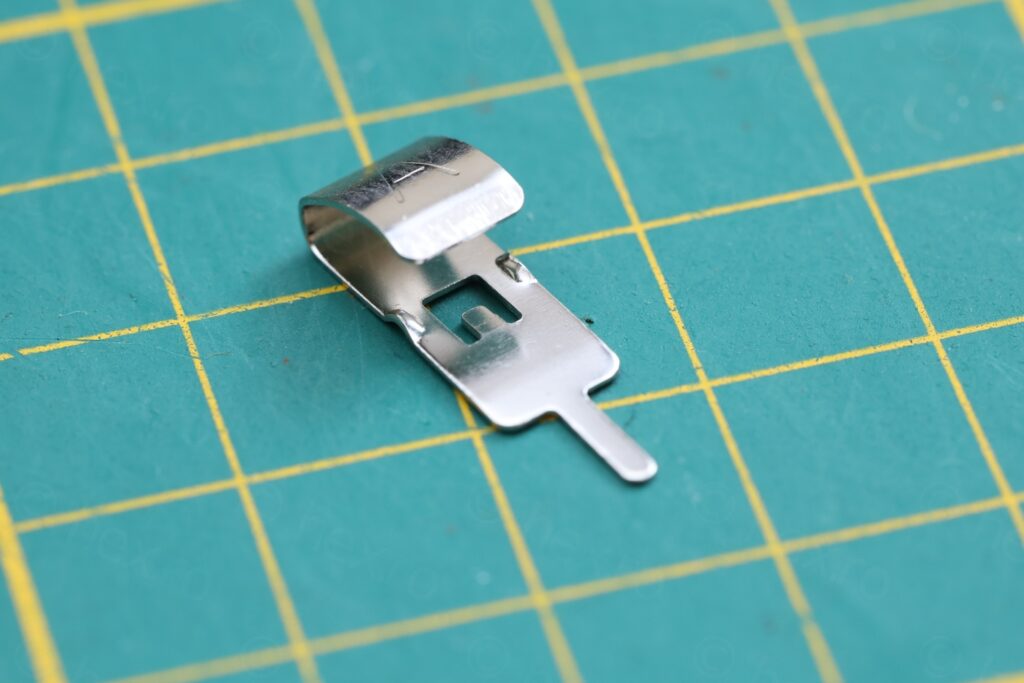
Crafting a Battery Negative connector
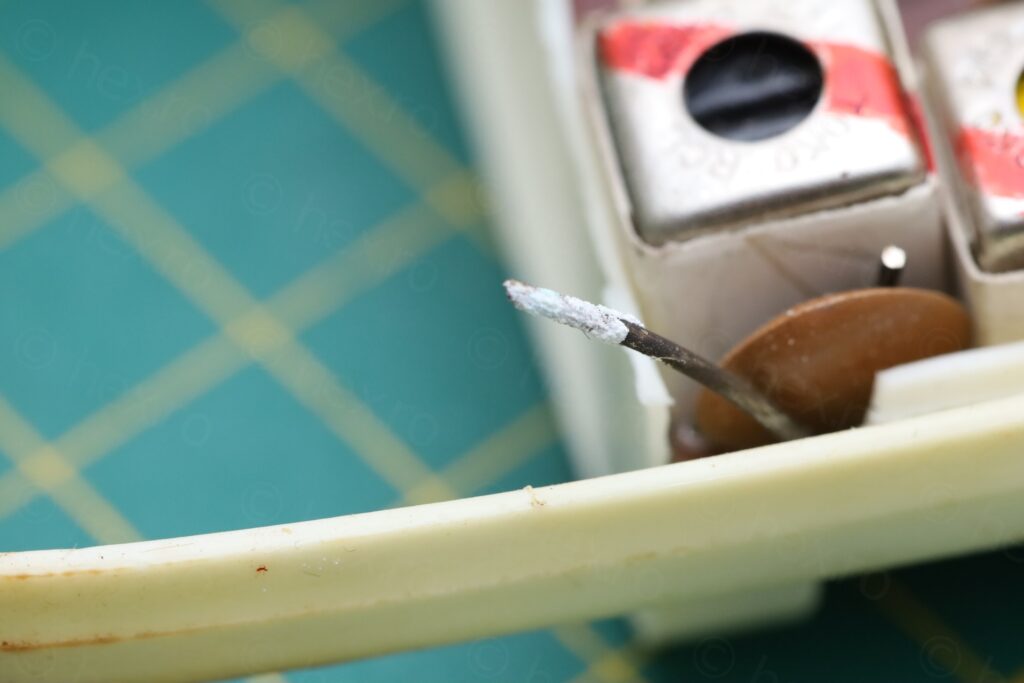
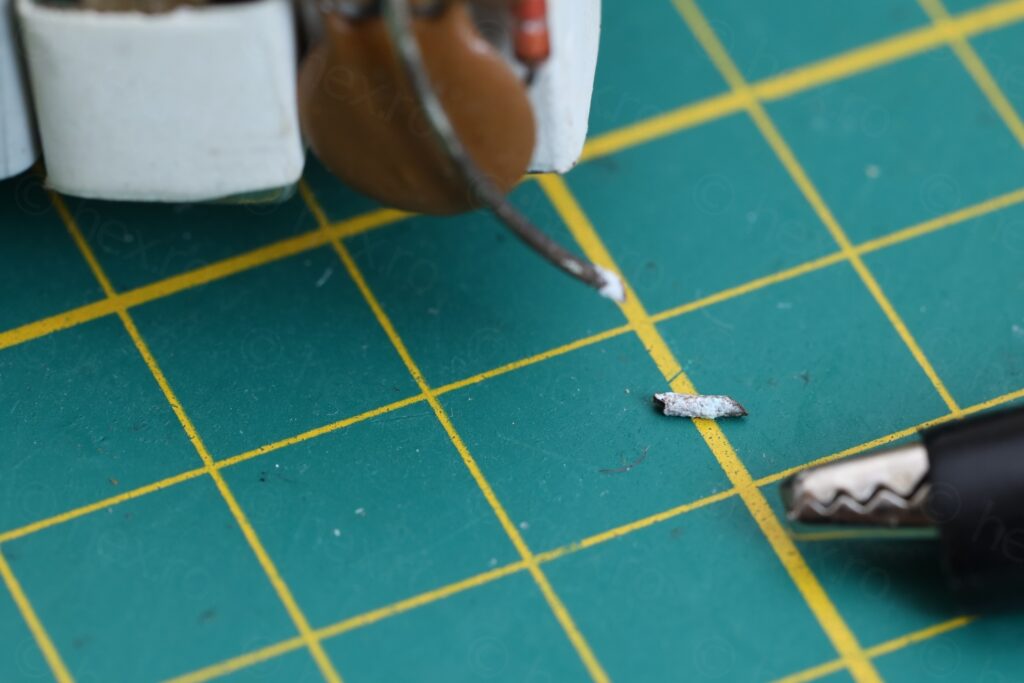
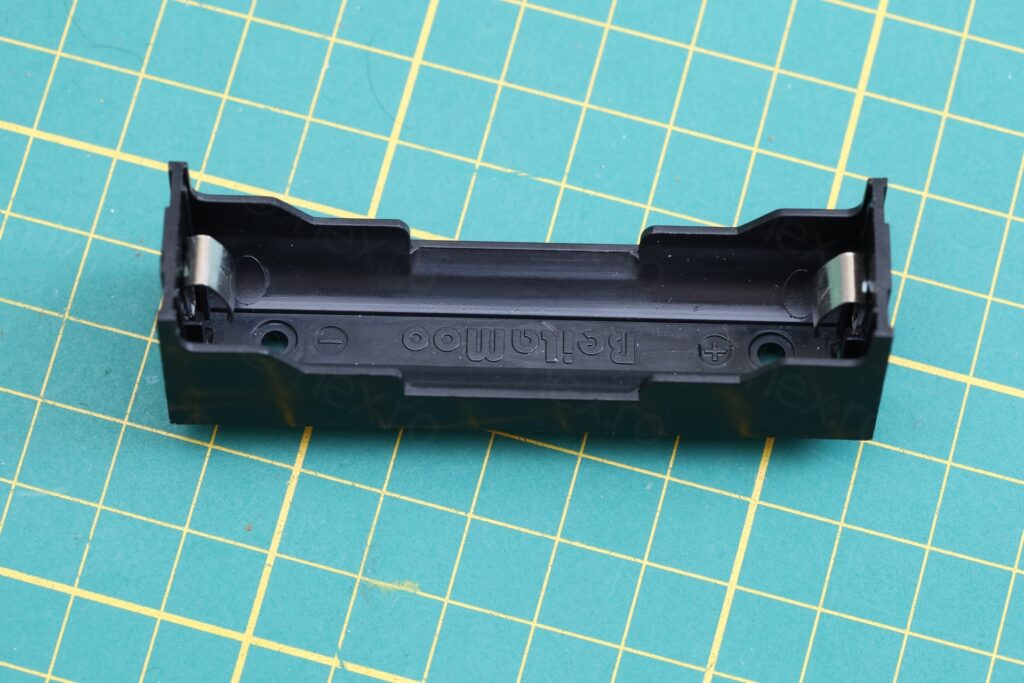
I initially thought reusing the spring from a standard C battery holder. But the space in this radio is so small, I was afraid a spring may put too much pressure on the case, once the battery would be in. Second, soldering the spring back onto the board may ruin the small circuit board.
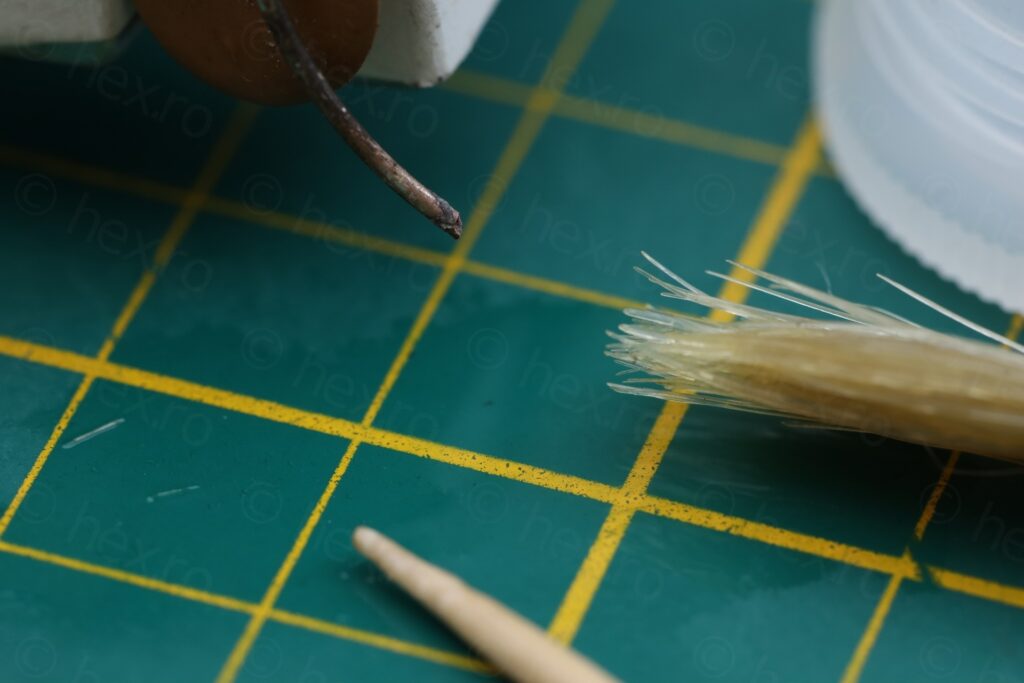
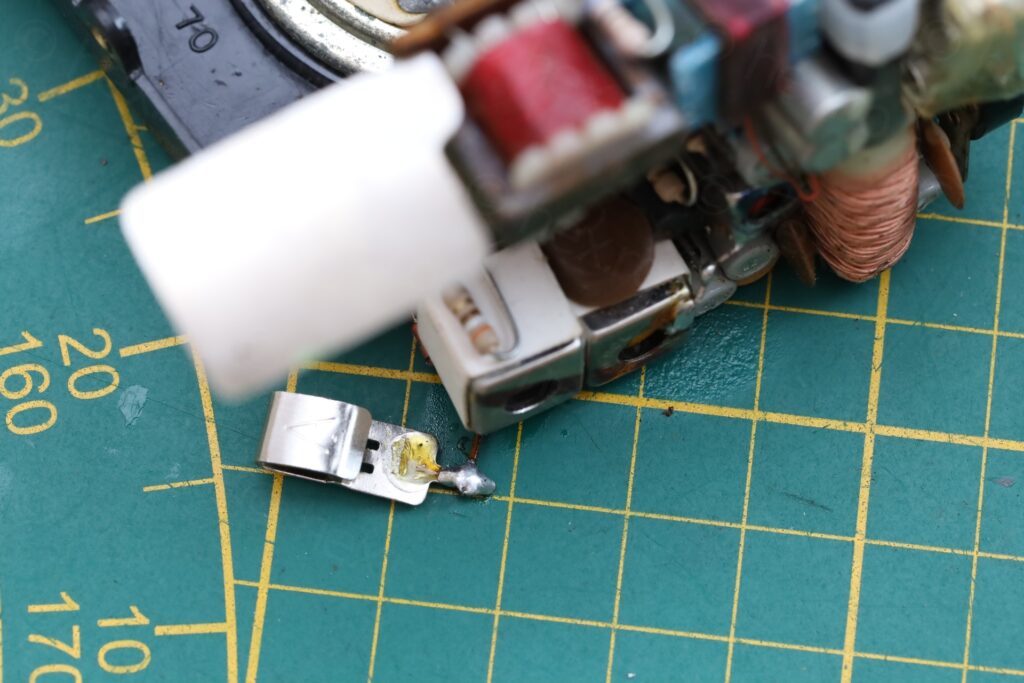
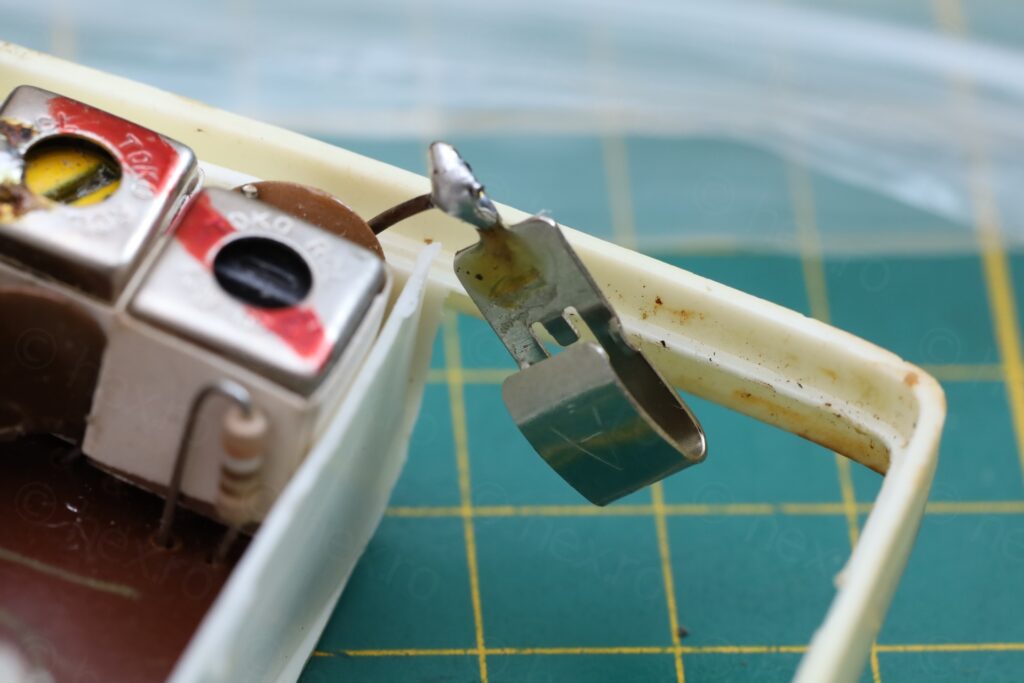
After cleaning the remains of the old spring, I reused the leaf from another battery holder. This way I can still install a battery, but there won’t be so much pressure build up in the tiny case:
Circuit board cracked
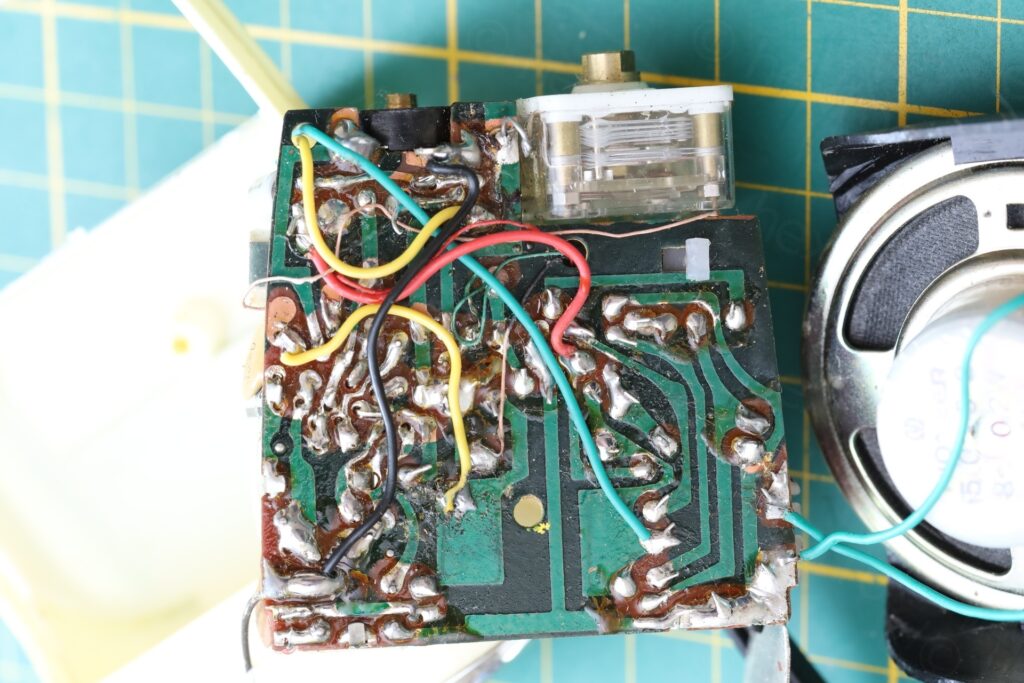
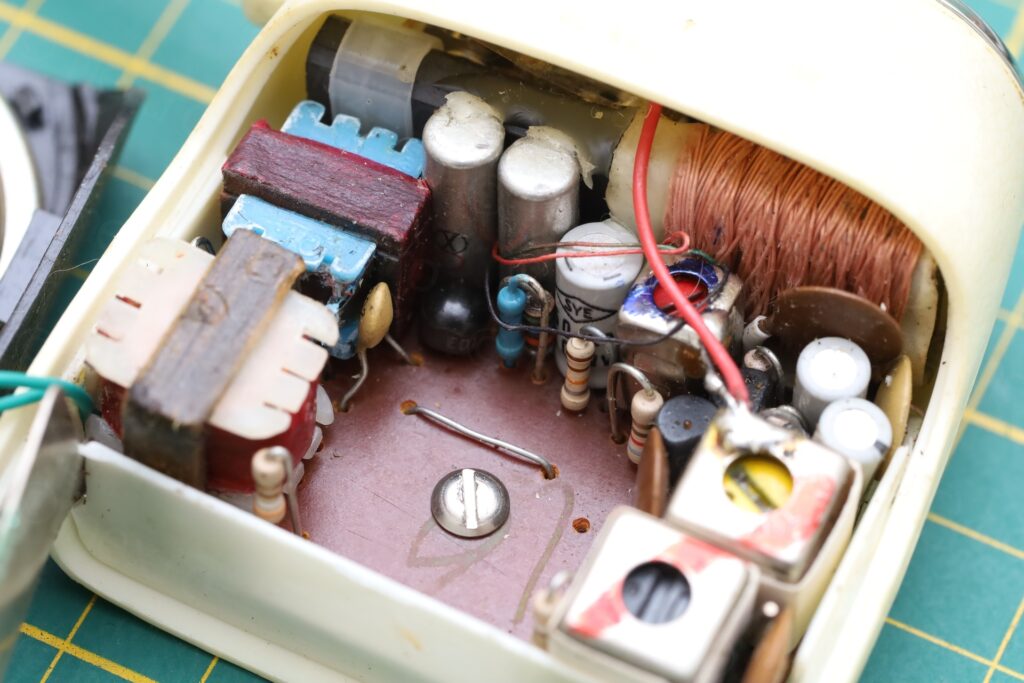
With the circuit board out, I checked for possible reasons why the volume pot seemed flimsy. It was rather hard to turn, but it was also moving sideways ? Found a crack in the small part of the motherboard where the Volume potentiometer was soldered to:
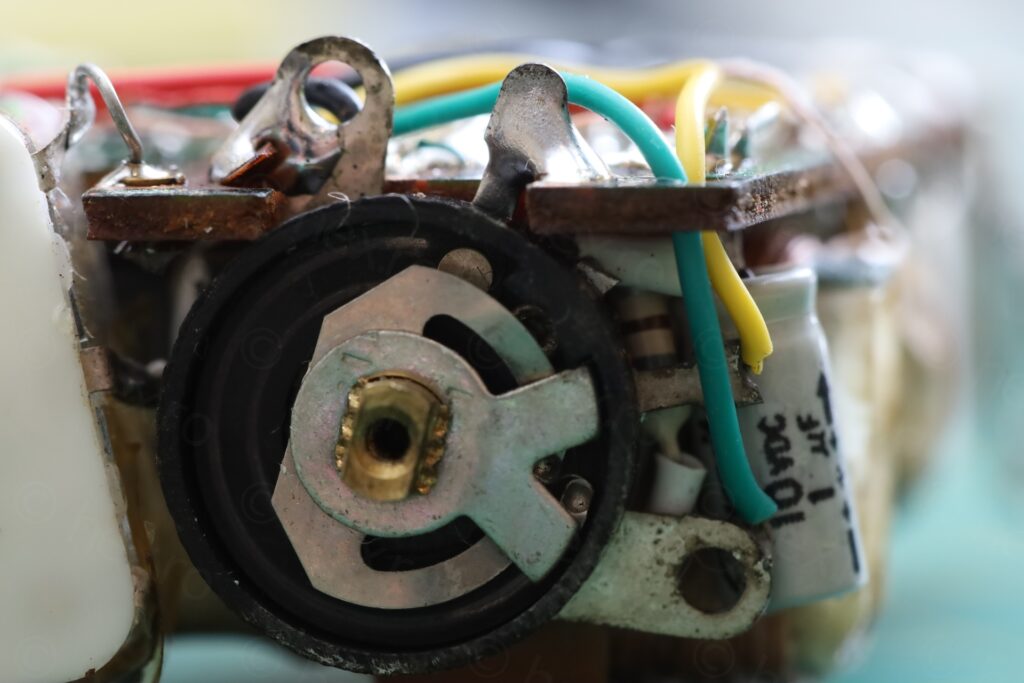
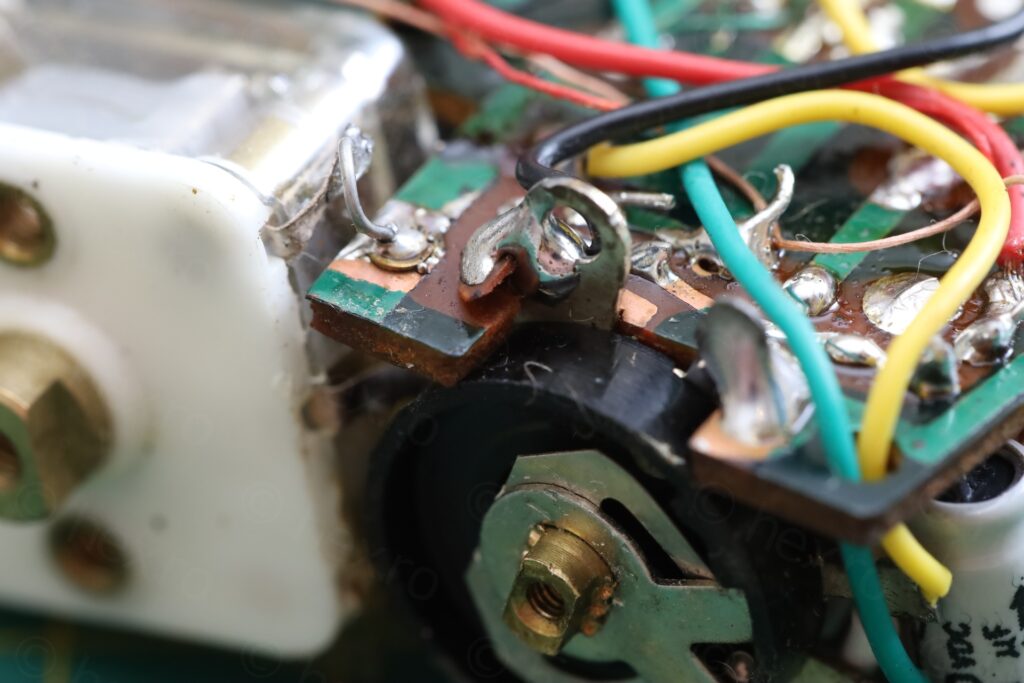
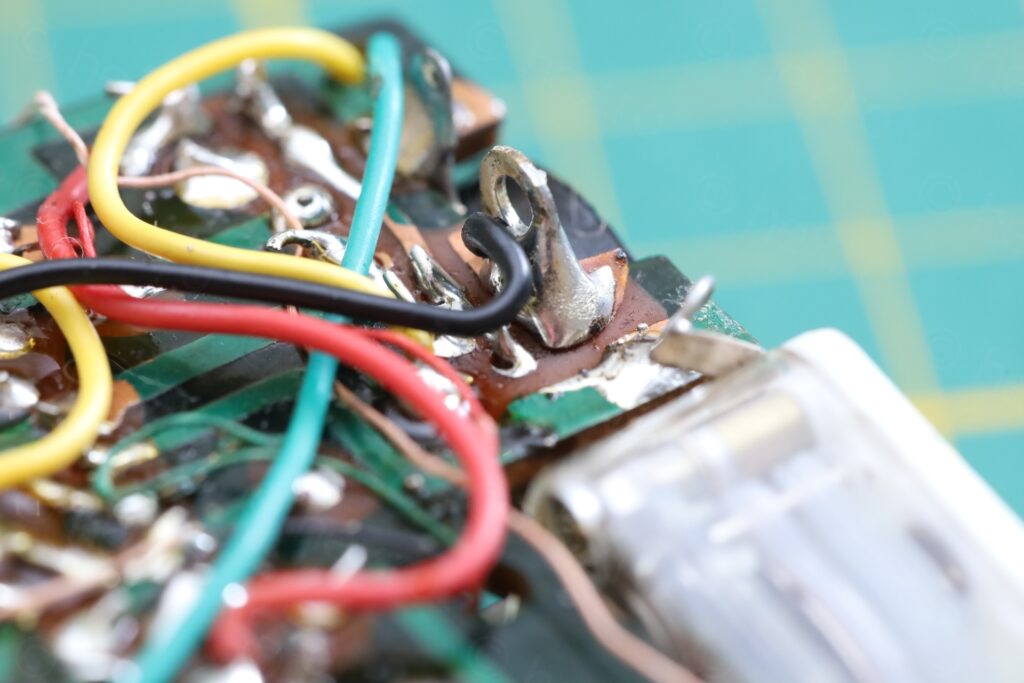
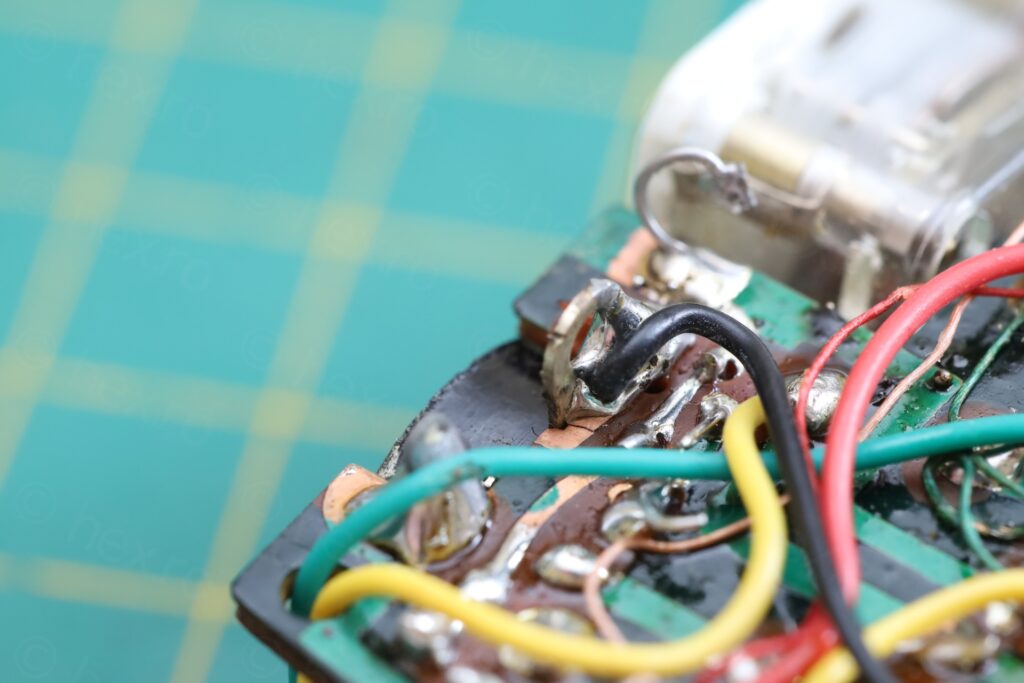
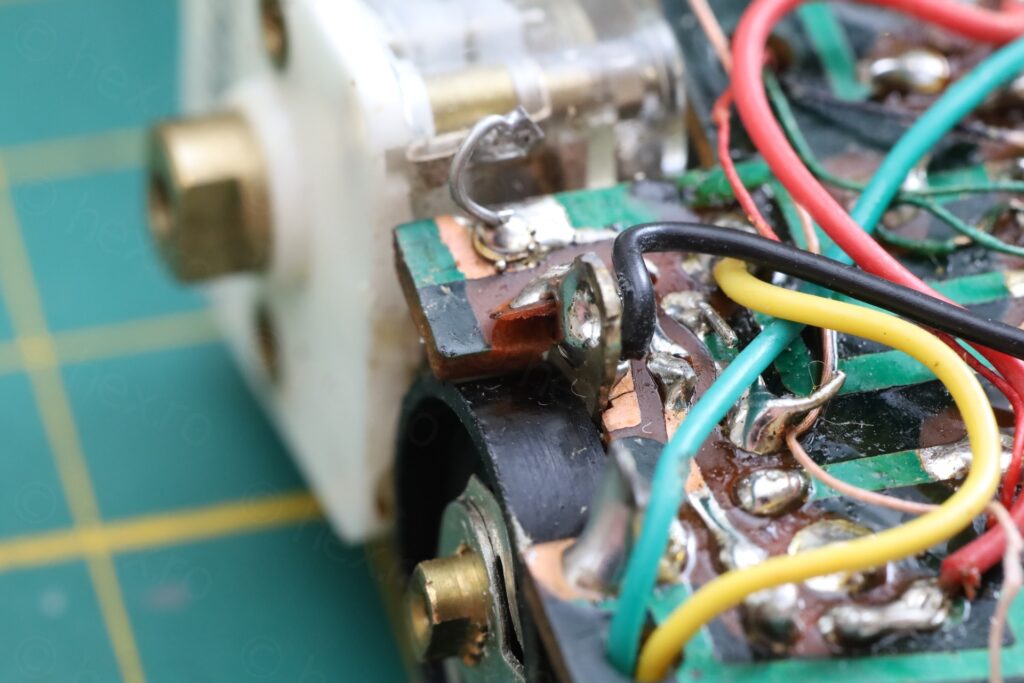
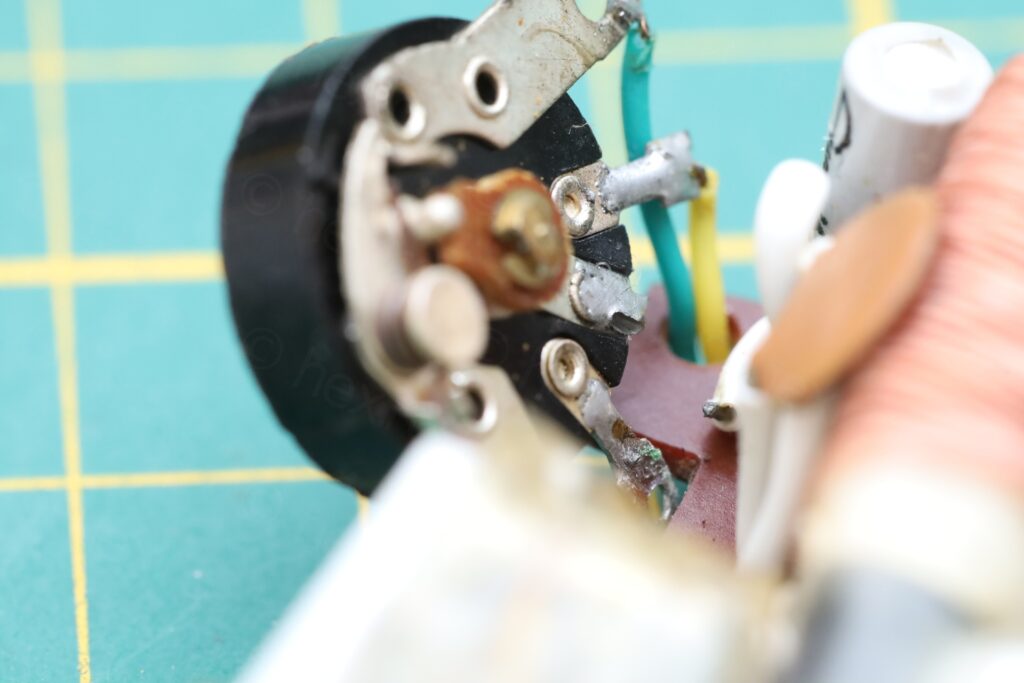
This is where a little saga began. I desoldered the pot just to be able to properly re-glue the broken piece. Found also a white wire that was not soldered properly from when the radio was built.
But I lost the little piece. In fact, I did not loose it, I just didn’t remember where I put it. I kept the radio in the hope I’ll craft a little copper sheet and glue it back. But after many months, I found the little part 🙂
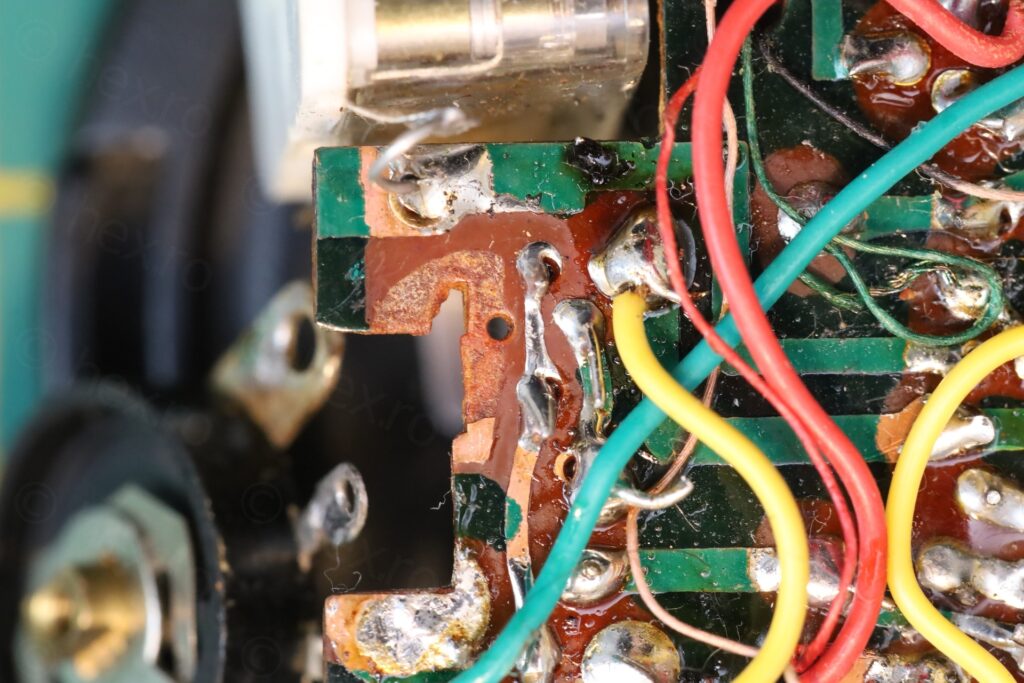
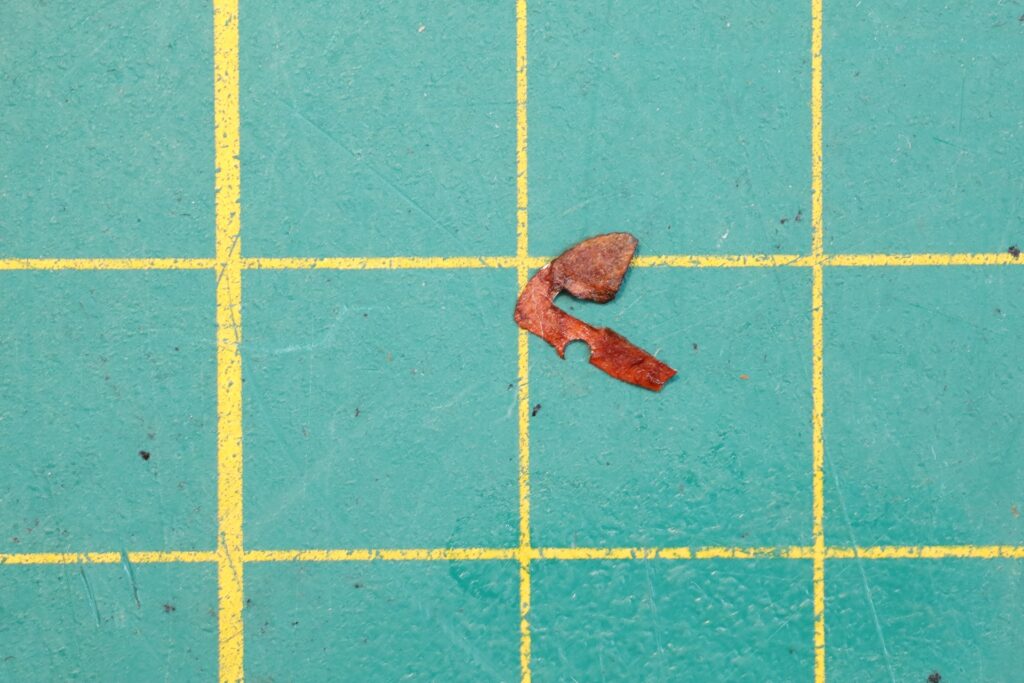
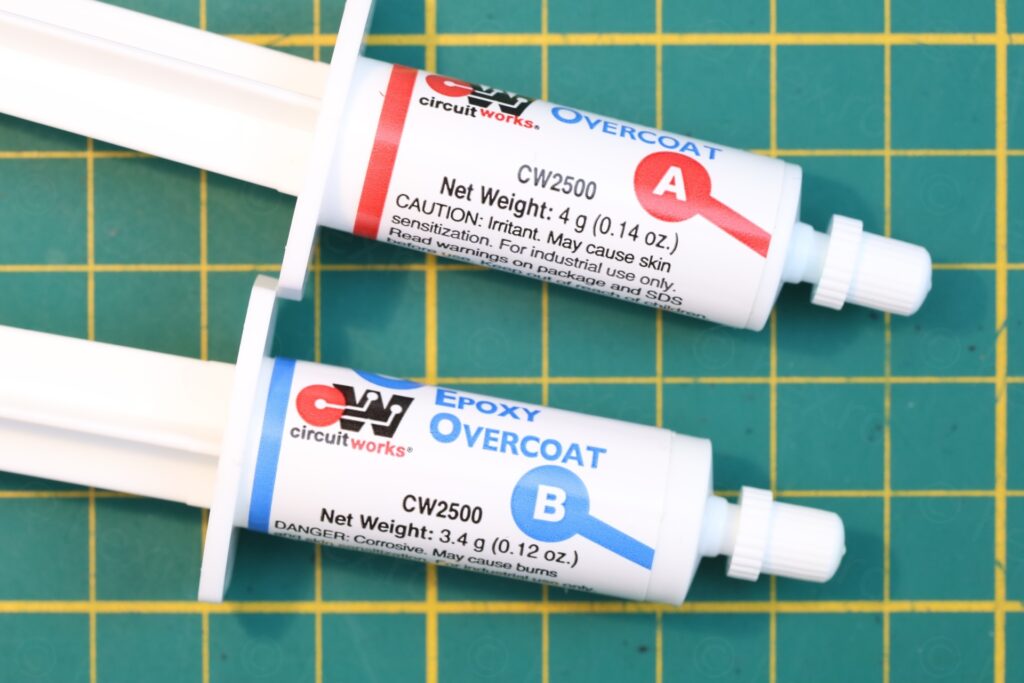

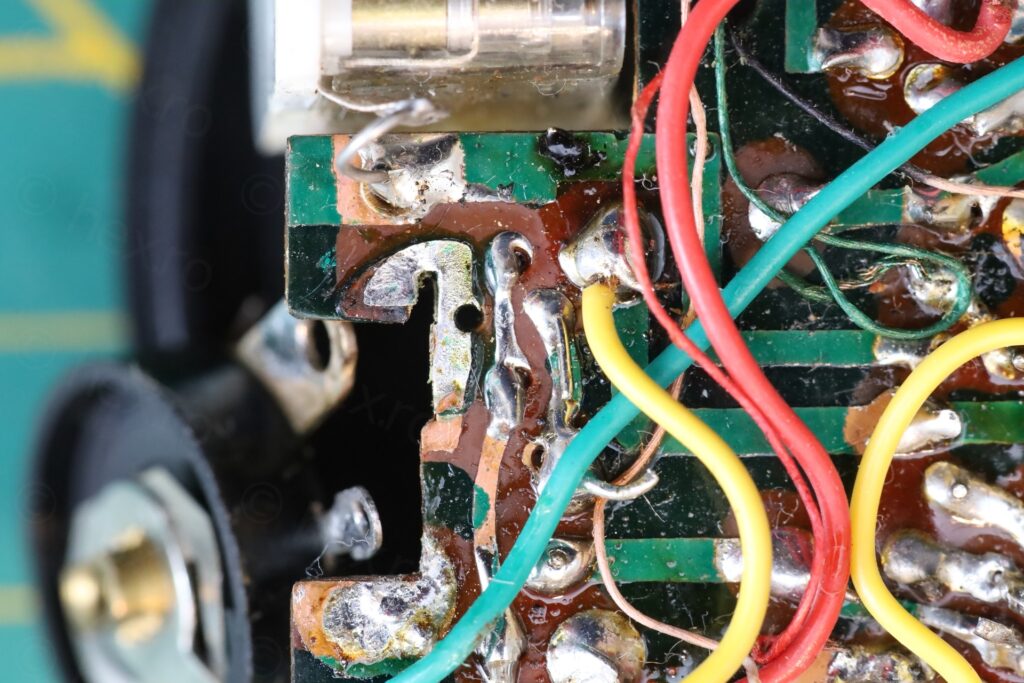
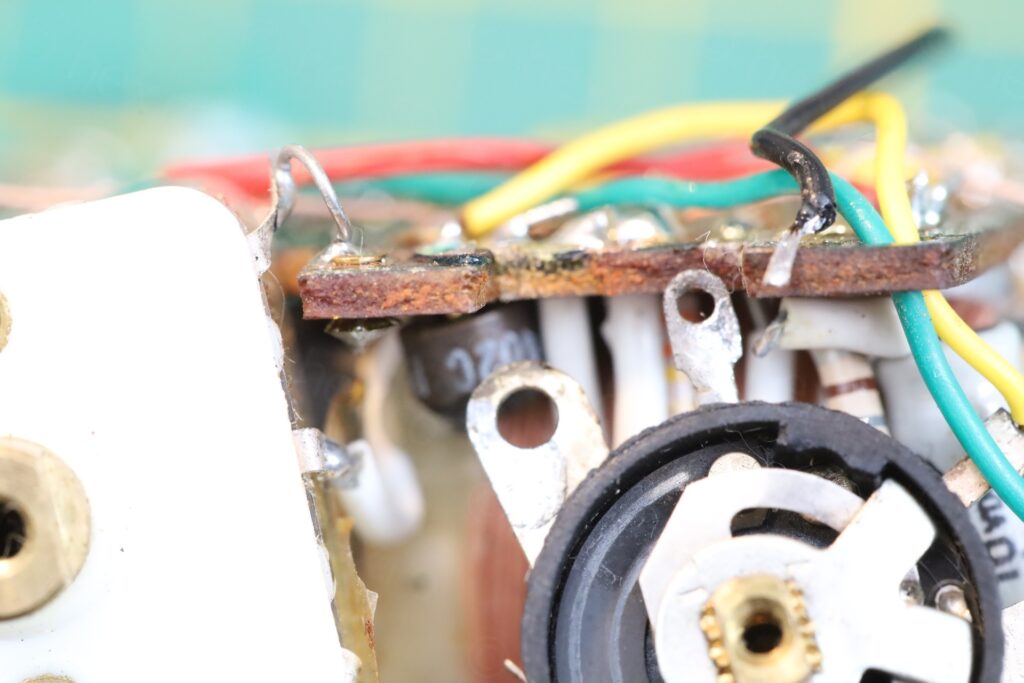
By the time I got to epoxy it back and soldered the volume pot, I forgot about the loose white wire. Realized it when reviewing the photos for the article. I went back to re-desolder the potentiometer just to solder the white wire. Pfffff.
One thing to mention, the copper trace on the snapped bit was there just as support for the volume potentiometer, it is not connected to anything else.. Second thing to mention, the Speaker wires all came loose, one solder connection at a time, as I kept taking the radio apart.
Testing
Managed to put everything back together – and made the radio a little bit more future proof:
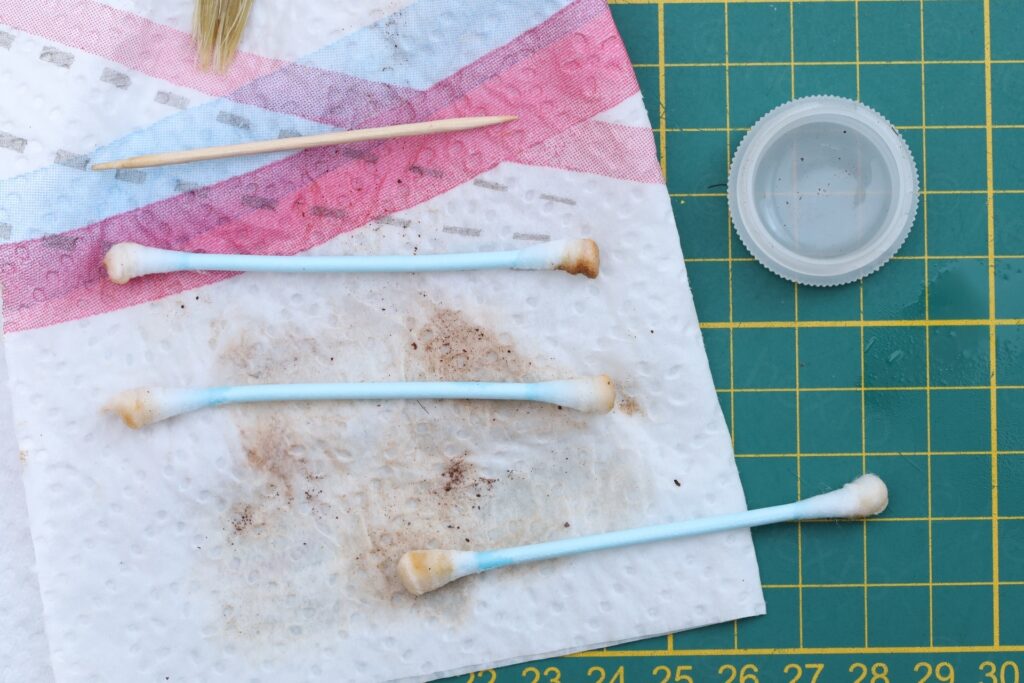
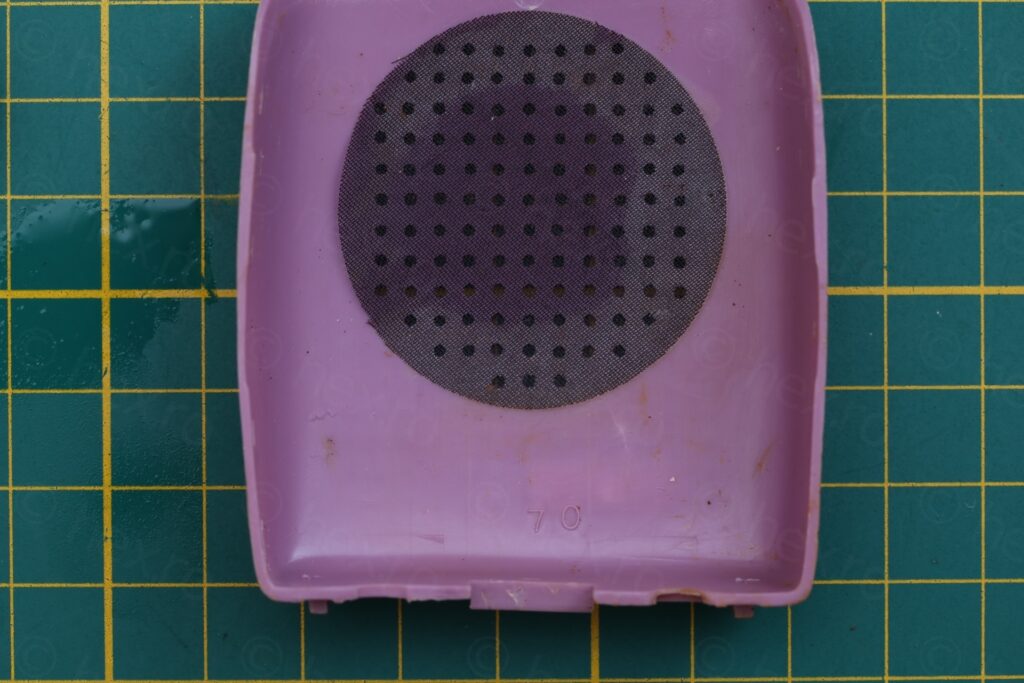
Few more shots for which I have just added titles, instead of a paragraph for each:

Cute little radio, but very fiddly to work on.
Leave a Reply