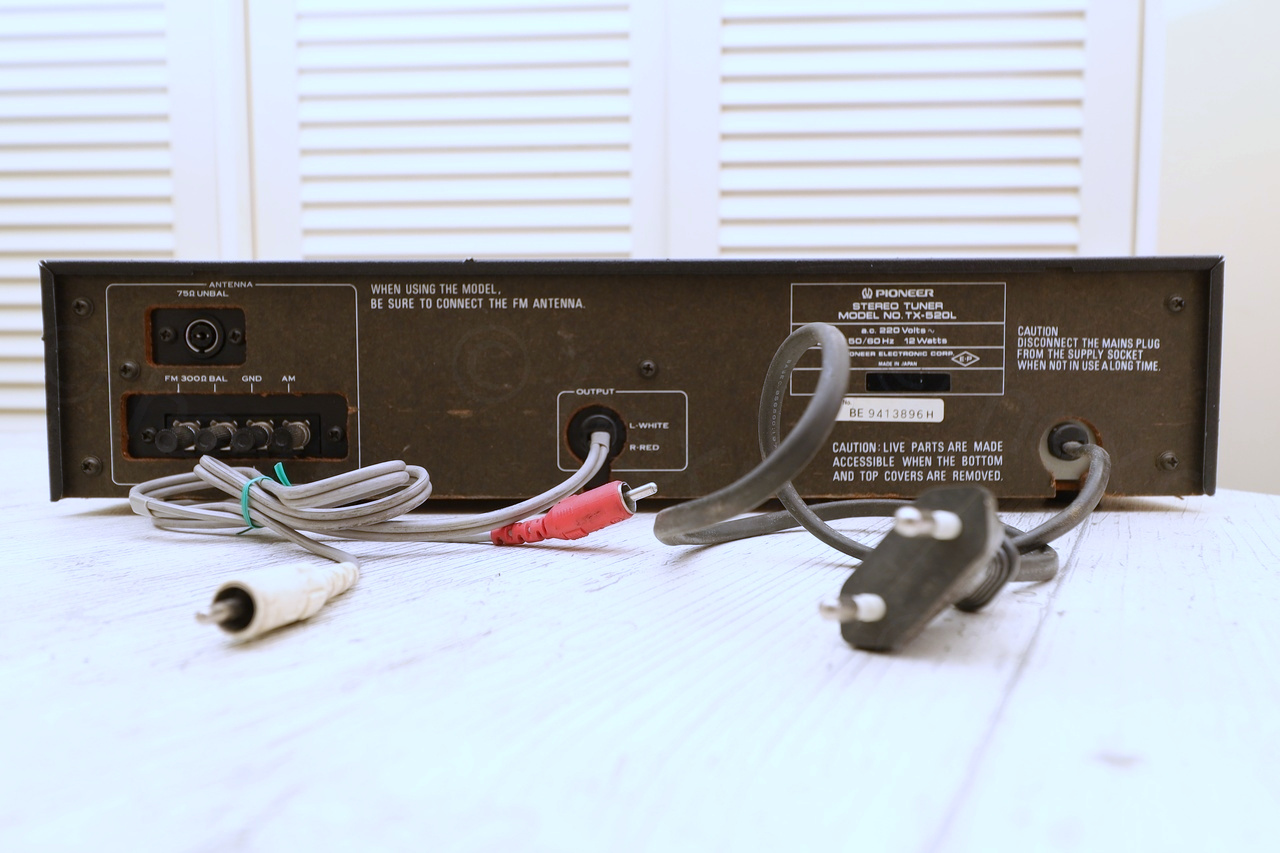
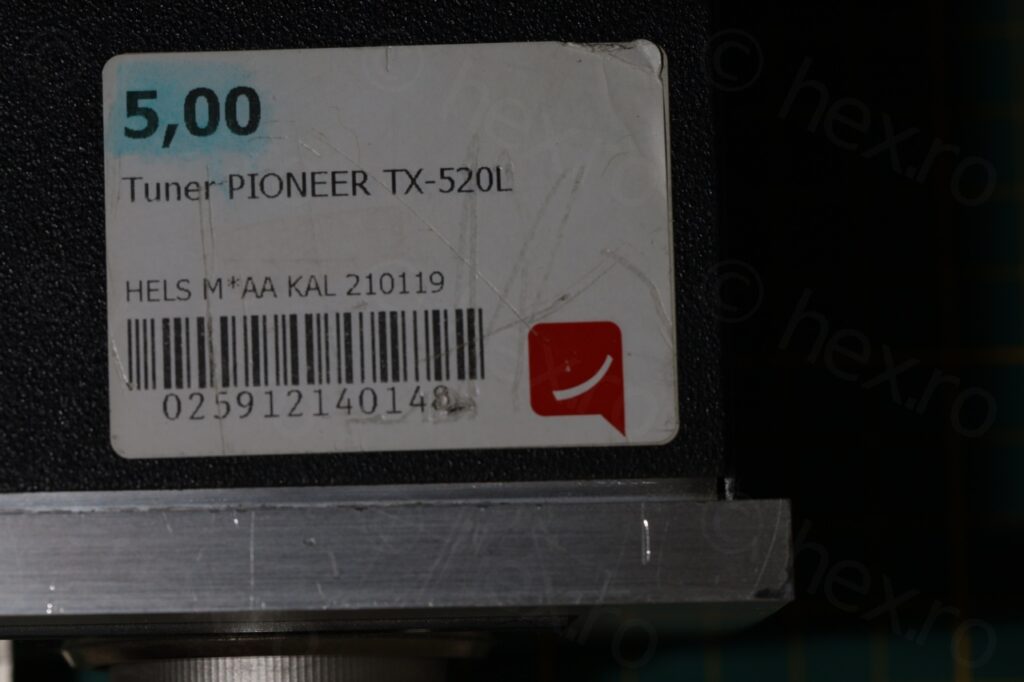
I got this tuner from a second hand shop to serve as a donor for the huge tuning capacitor I was seeing inside. These capacitors cost around 20 euros (+10 shipping) if you were to order one, however, this whole tuner was sold at 5 euros!
The tuner was made in 1981 (so it has 41 years now, in 2022).
Visual Inspection
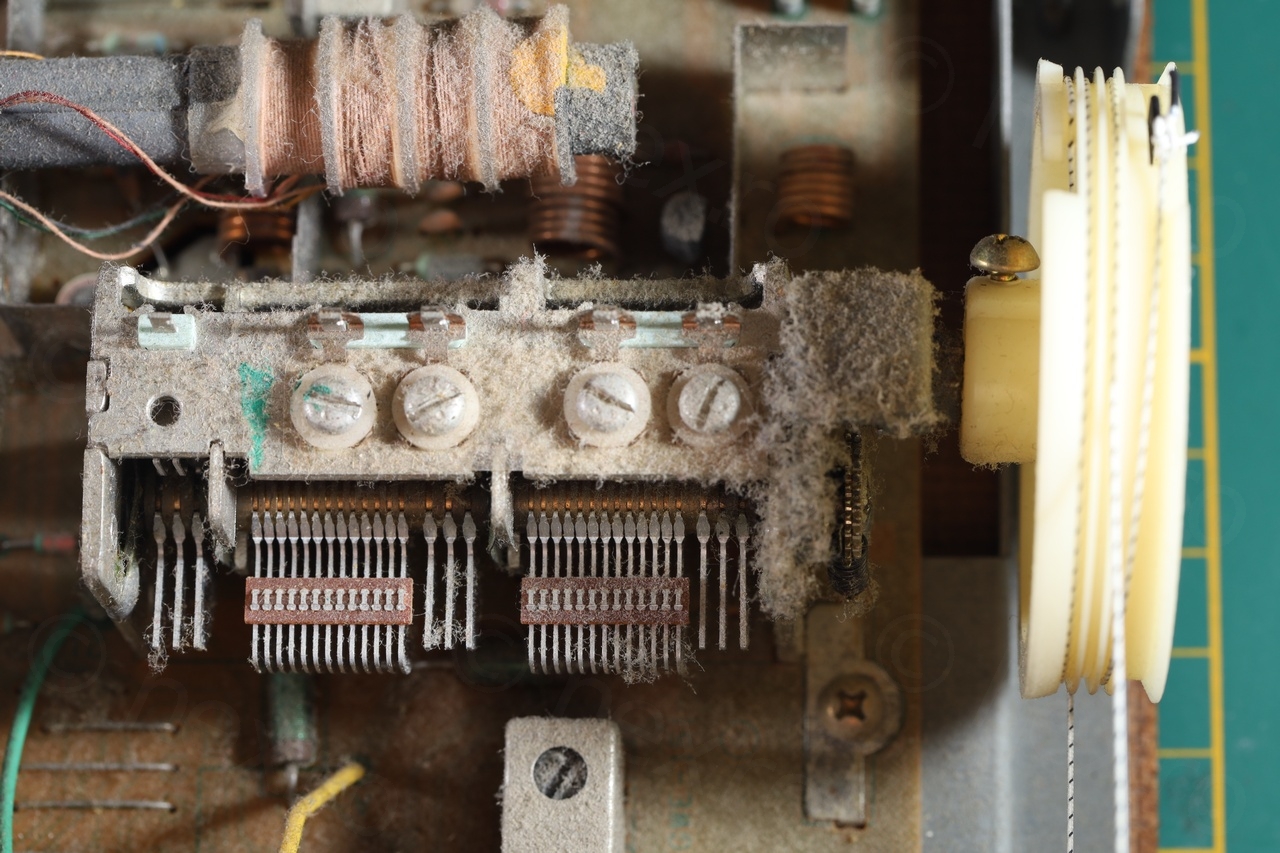
The tuner was very dirty, the lower left corner took a big hit and was bent backwards, the paint was chipped in few places and a lot of dust was visible inside.
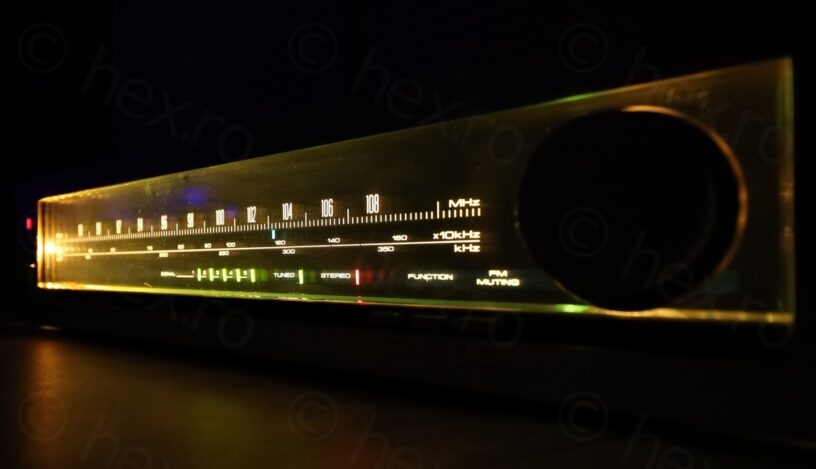
But after testing it, everything worked except the tuning pointer light bulb. I never had similar tuners when I was a kid and seeing the old LEDs come on and the dial scale fully illuminated, oh, I was captivated. Decided that I would try to clean it up, repair the dial light and keep it.

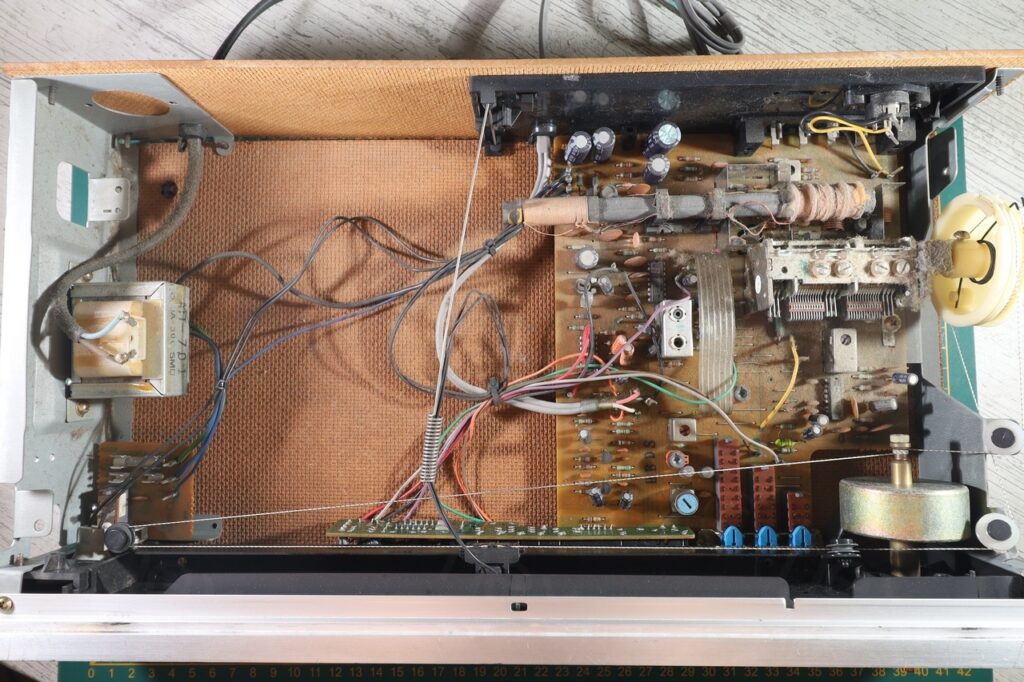
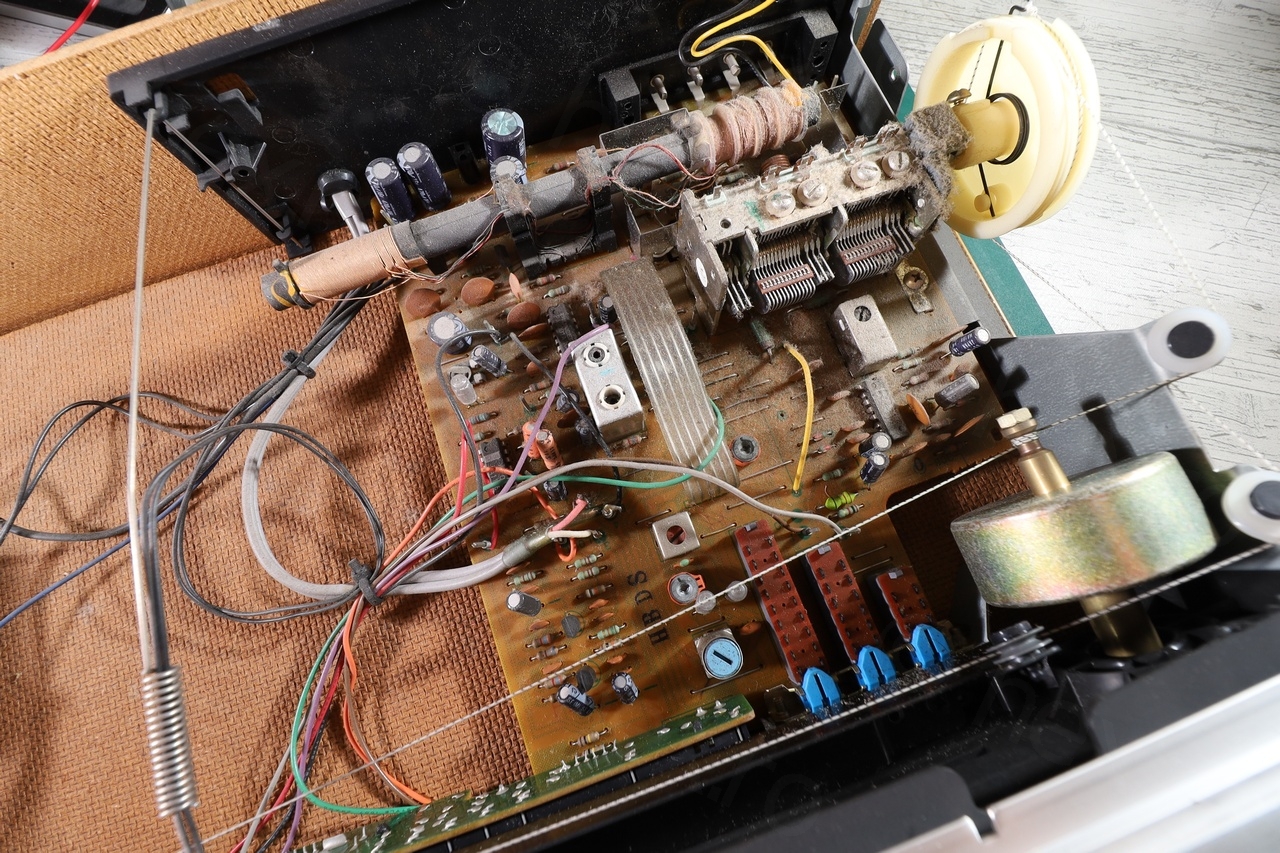
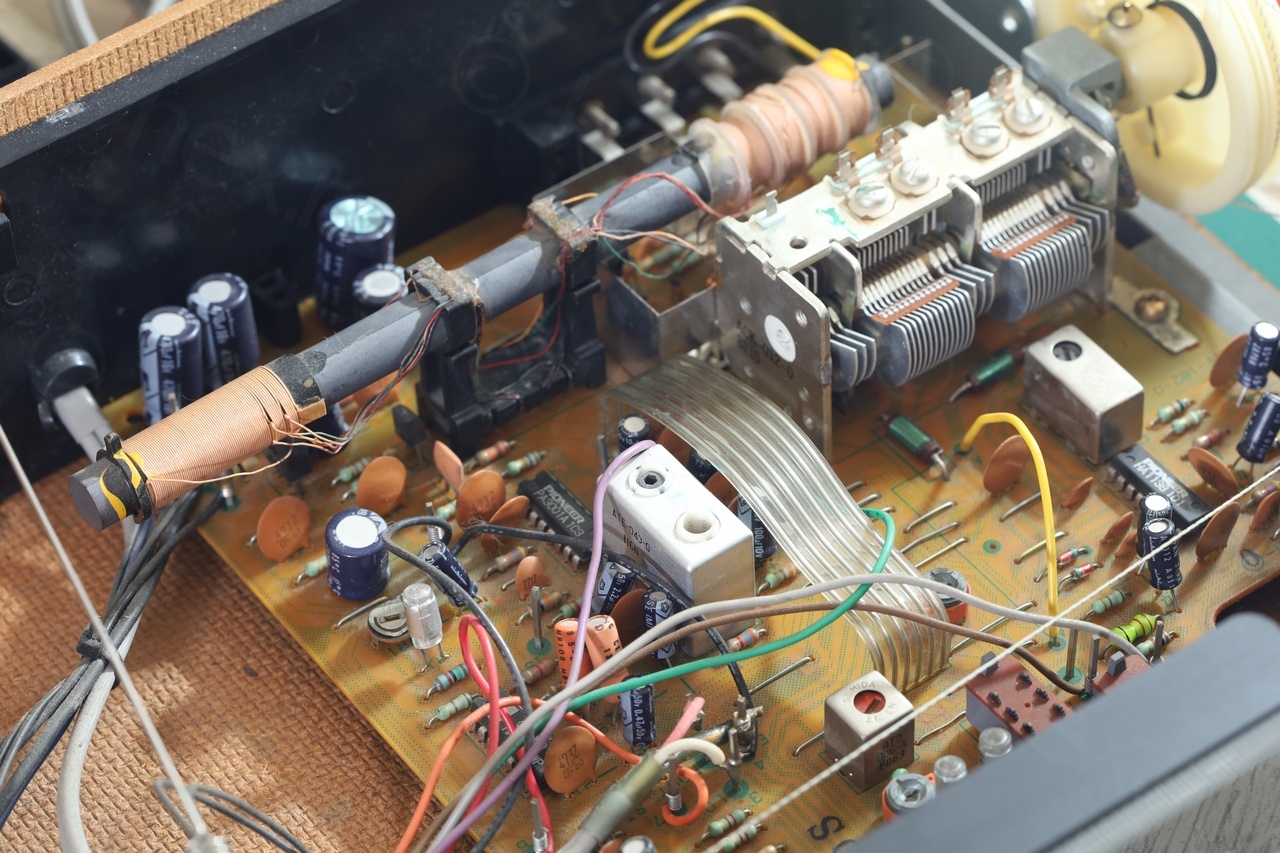
The interior looked untouched, except by dust:
Dial Light Bulb
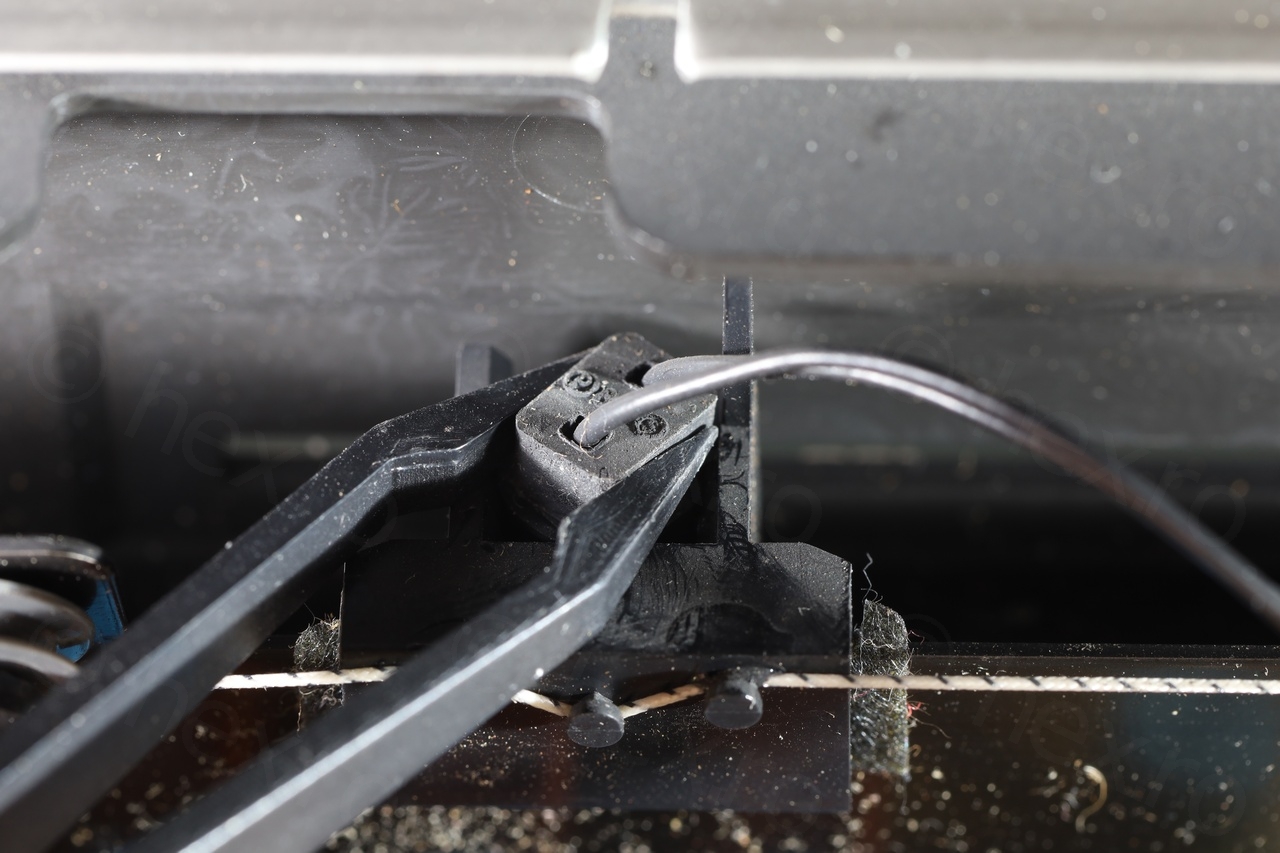
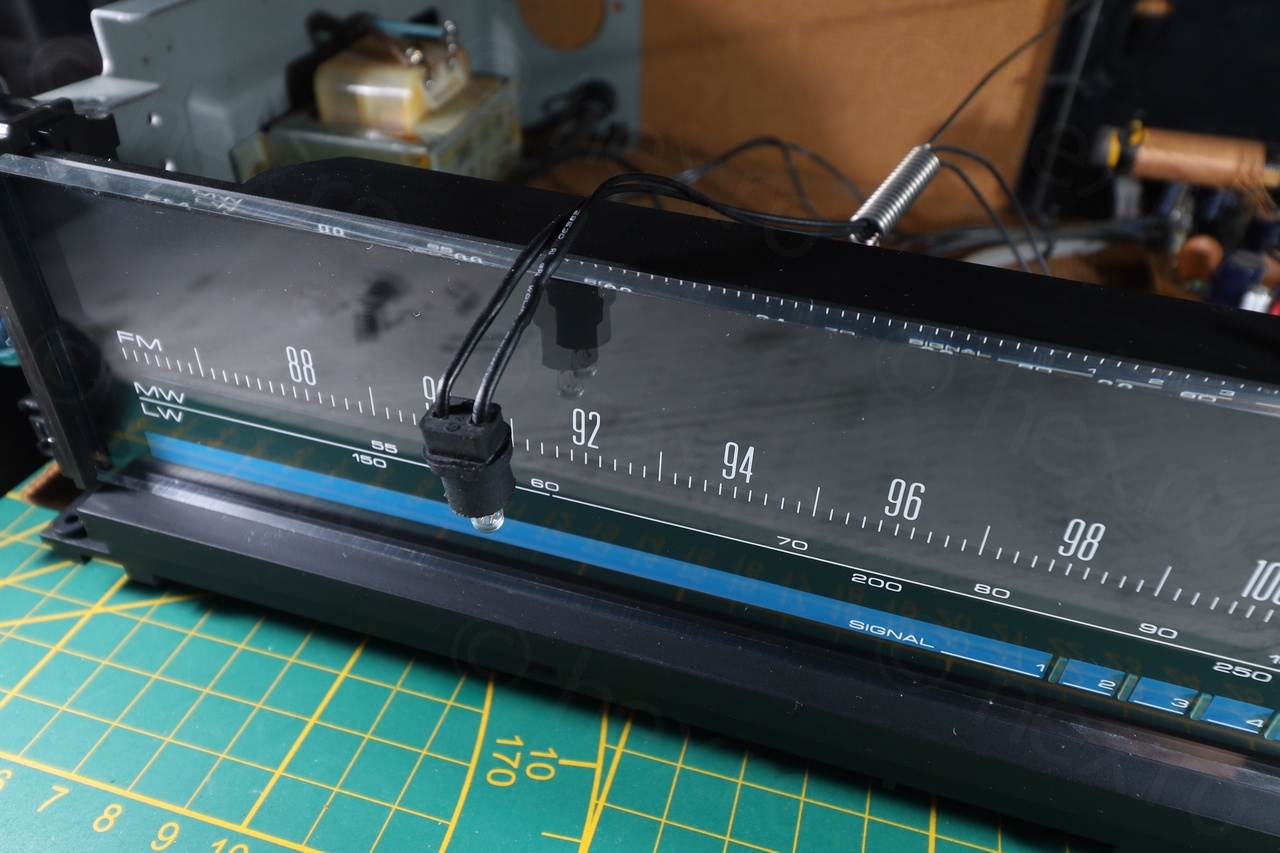
First I have tried to remove the light bulb that was burnt. I guess pulling on the rubber housing would have released the bulb from the dial indicator, but since it looked fragile, I decided to go for a twisting motion with plastic tweezers:

I found the tuner schematics online and it was mentioning two pilot light bulbs, one at 8V@300mA, and another one at 8V@100mA. This was was obviously the 100mA one, as the other one, serving as dial scale indicator, was much bigger.
I spent a while shopping around for an alternative and it was hard to find a replacement – but finally I placed an order. I chose to go with a similar glass light bulb, instead of an 8V LED replacement for example – I would like to have a replacement as close as possible to the original.
Bending back the Aluminium corner
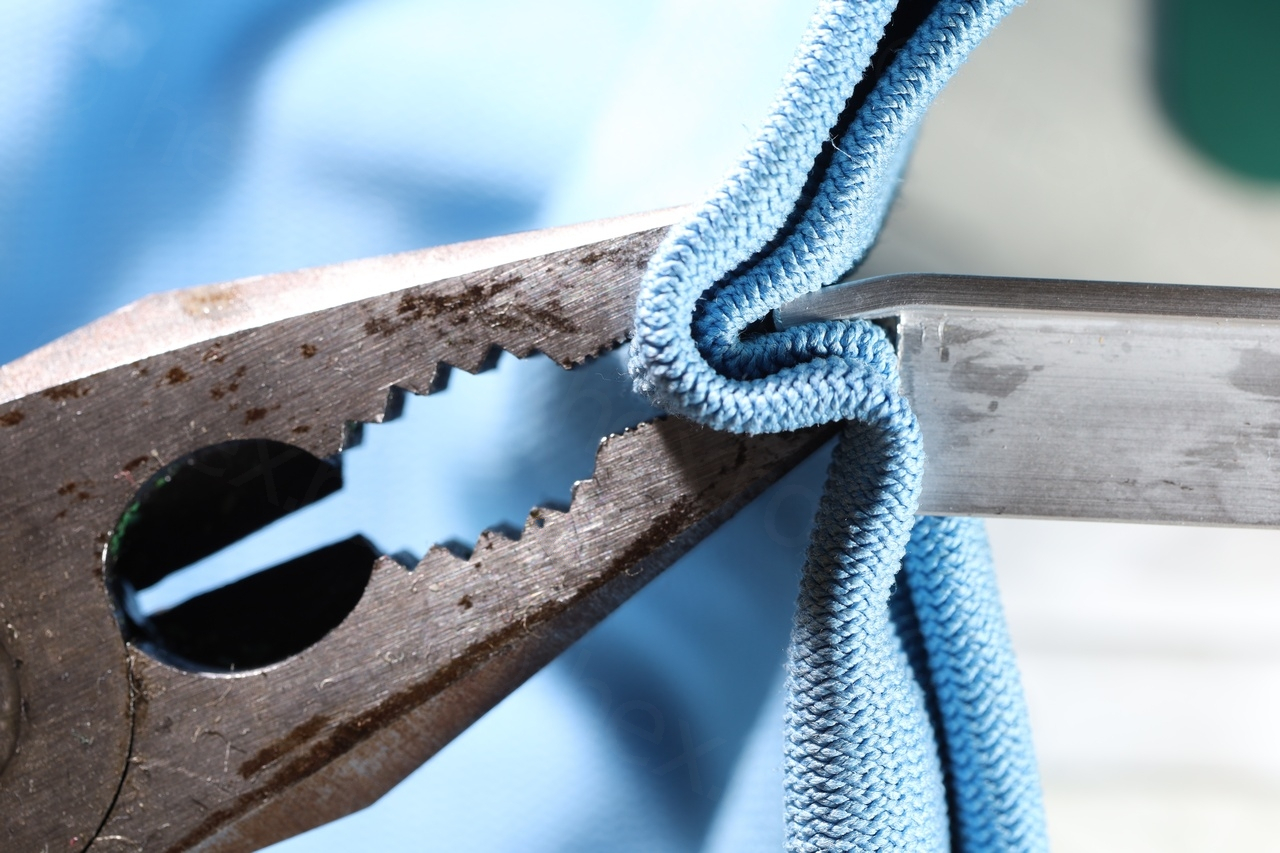
While waiting for the shipping, I tried to think what would be the best way to straighten back the bent corner. Decided to go for a gentle brute force method. Cover the corner with a thick towel so that I don’t mar it even more; try to bend it back using pliers:

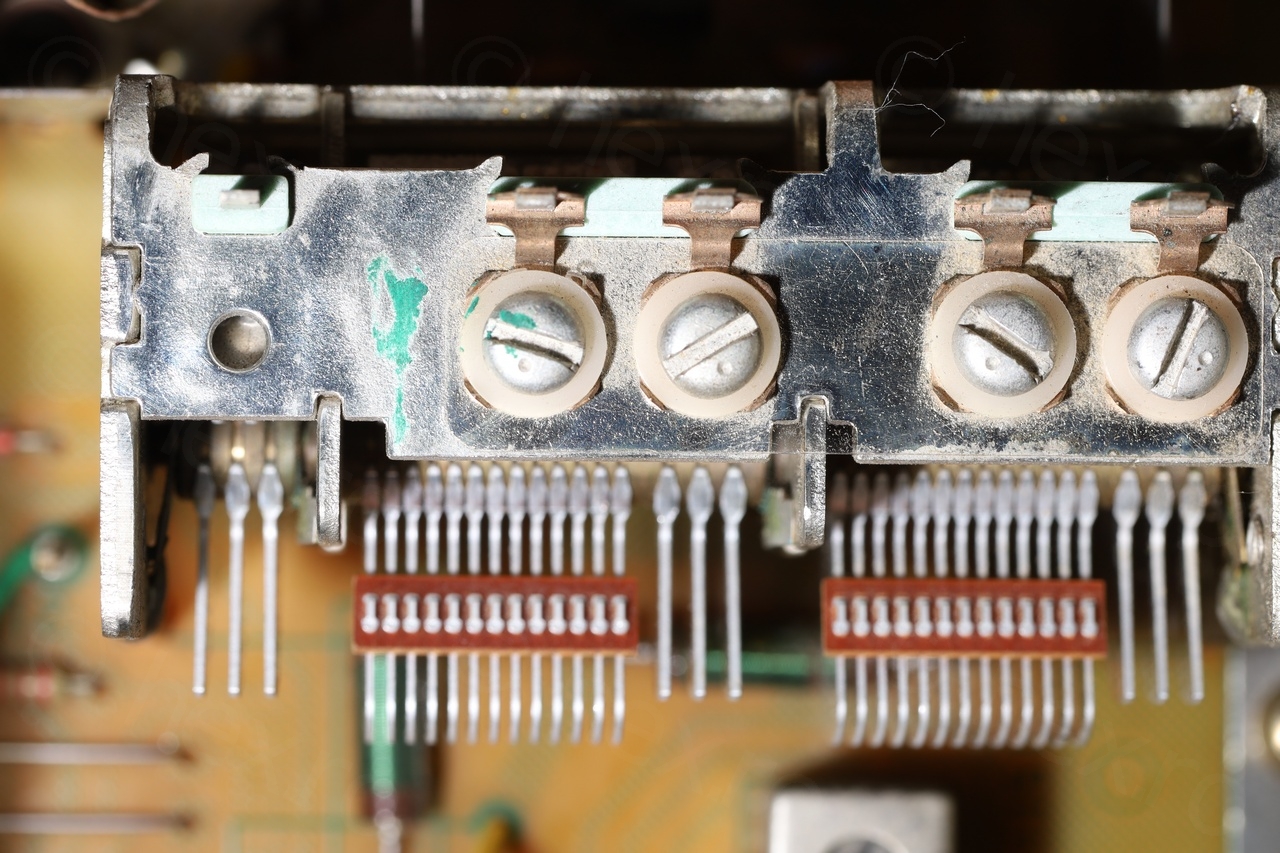
Cleaning the dust
I cleaned the dust with a compressed air can, then with a little brush and vacuum cleaner. At the end once the majority of the dust was out, some qtips were used to clean up harder to reach areas. To clean the dirt from the case / buttons, I first used some baby wipes and then Isopropyl alcohol.
Finally the light bulbs have arrived.
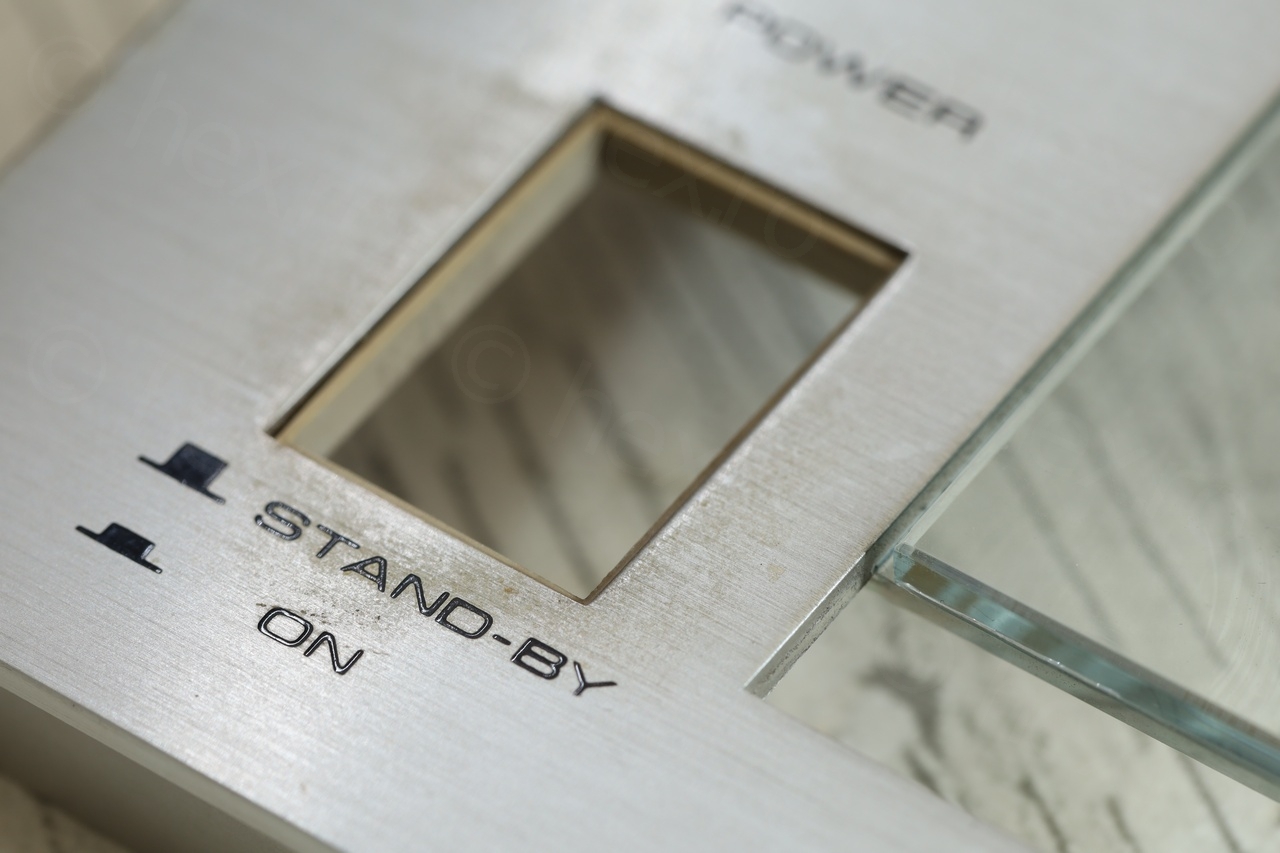
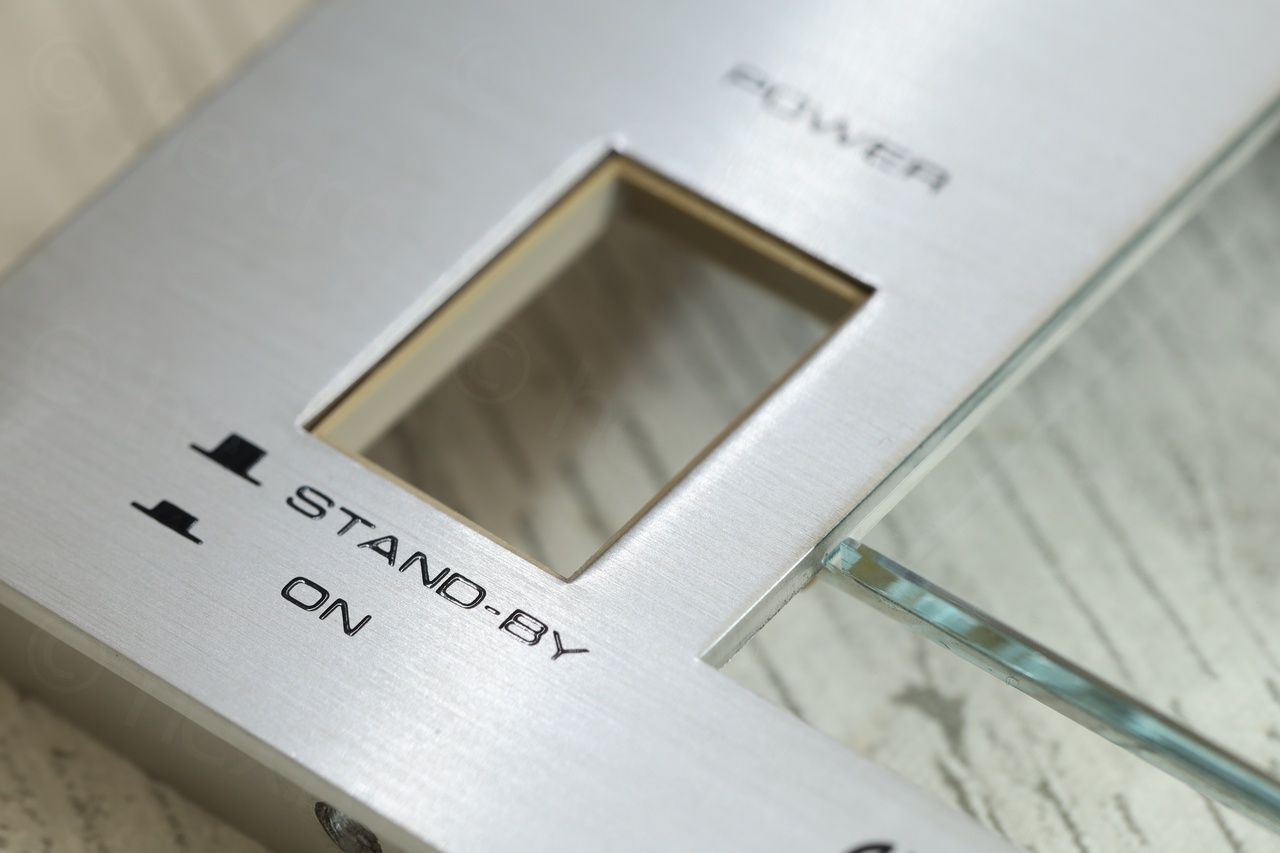
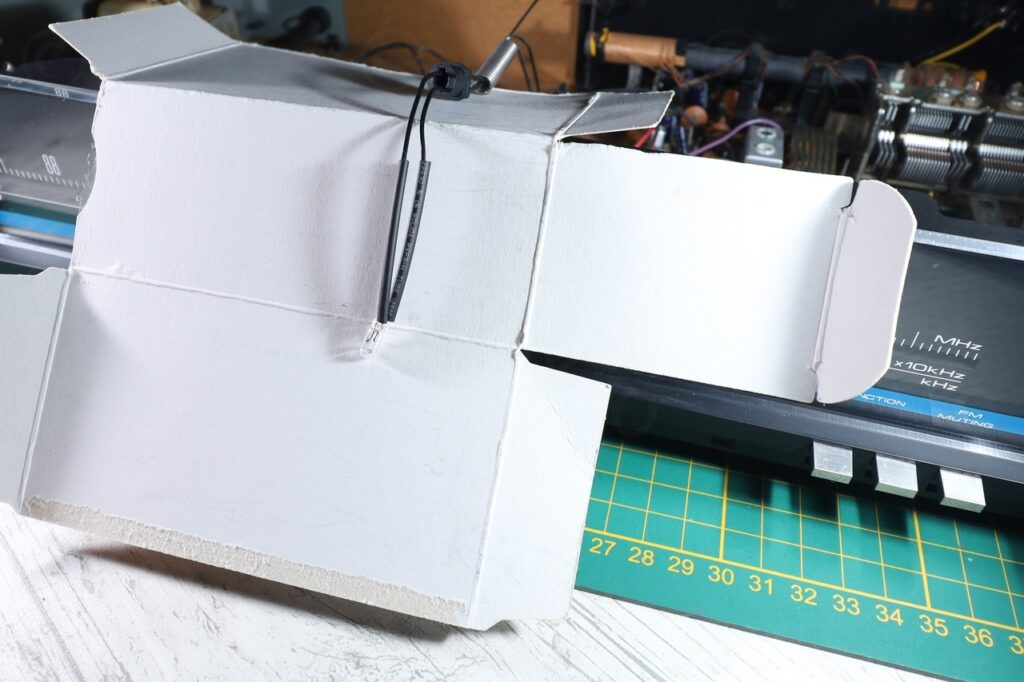
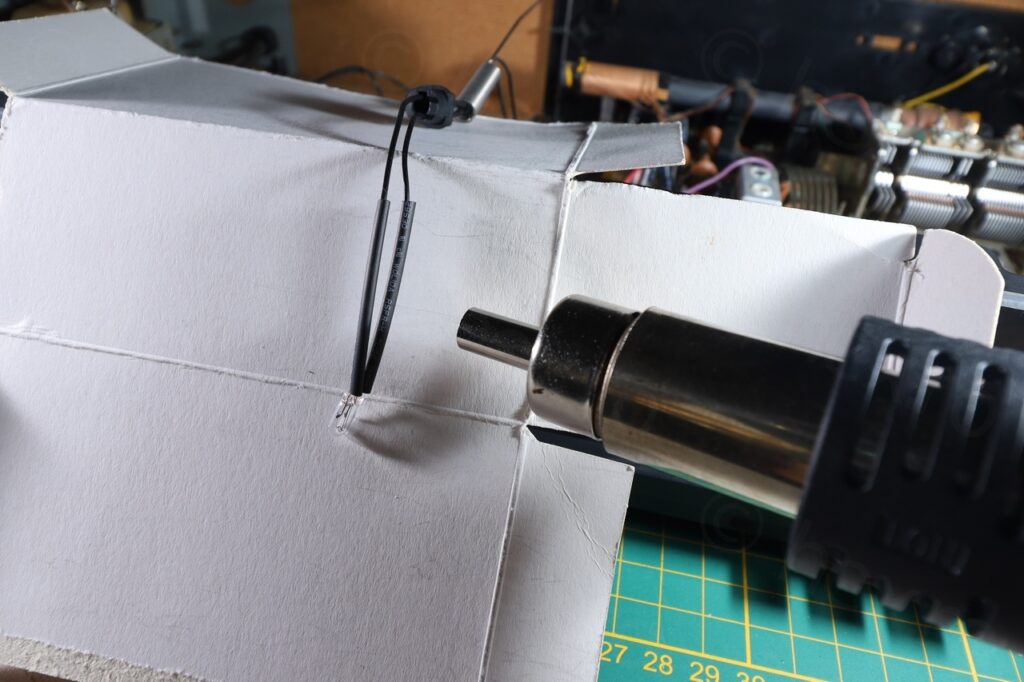
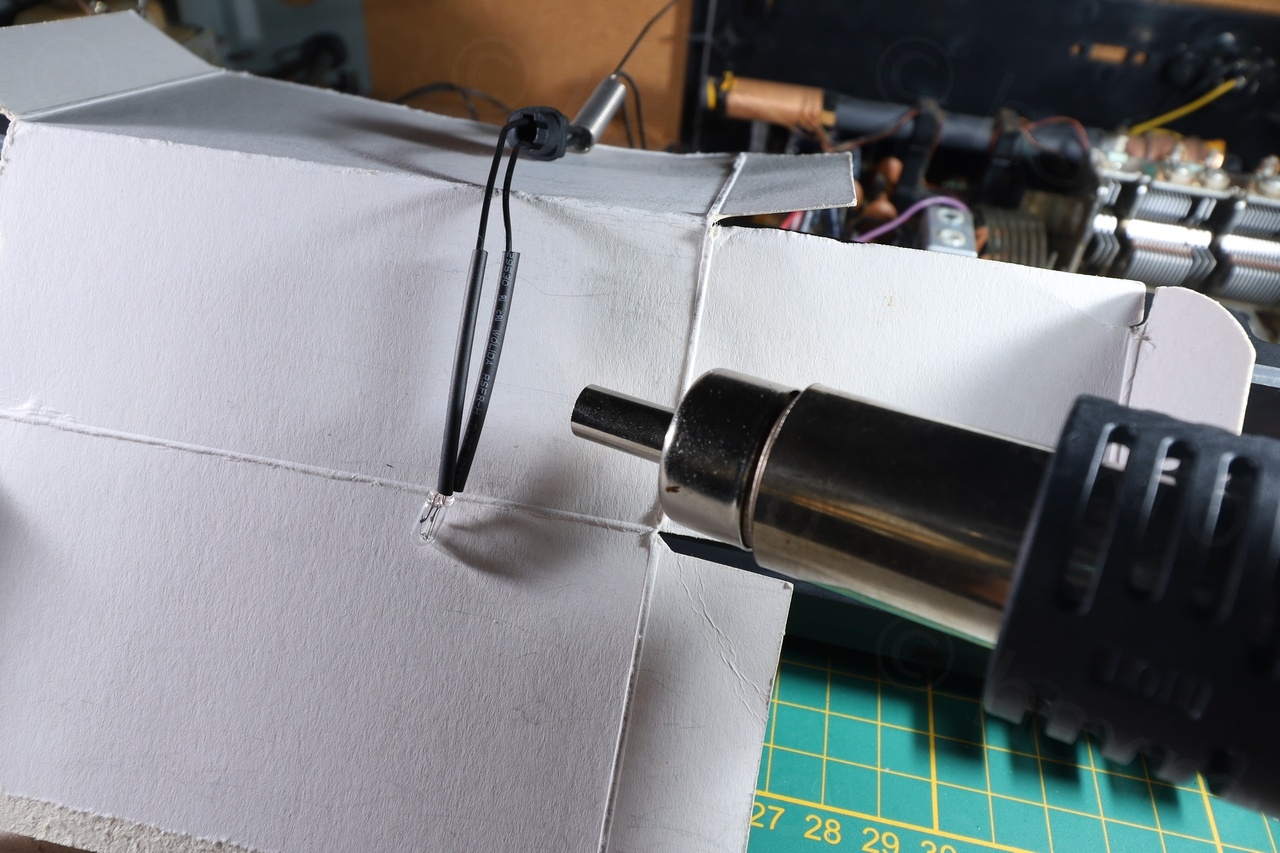
Replacing the light bulb was a little tricky, as the original wires seemed to have went up to the bulb itself. They were bent to permit the bulb to fit under the front cover plate. I wanted to heat up the shrink-wrap covers to mimic the initial ‘bent’ and used some carton to shield the dial face plastic:
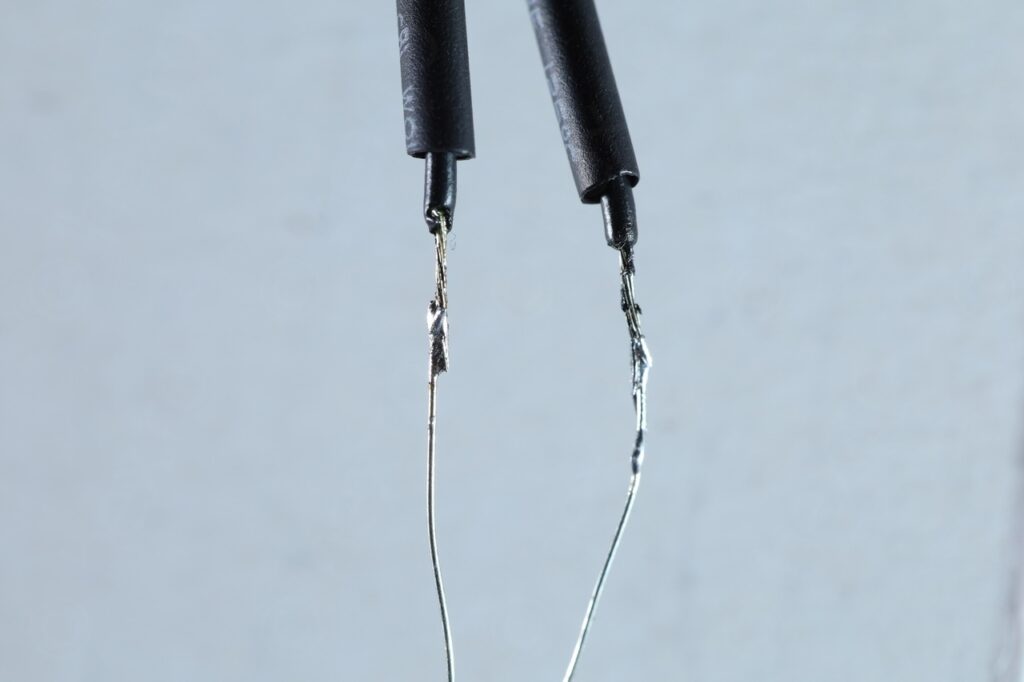
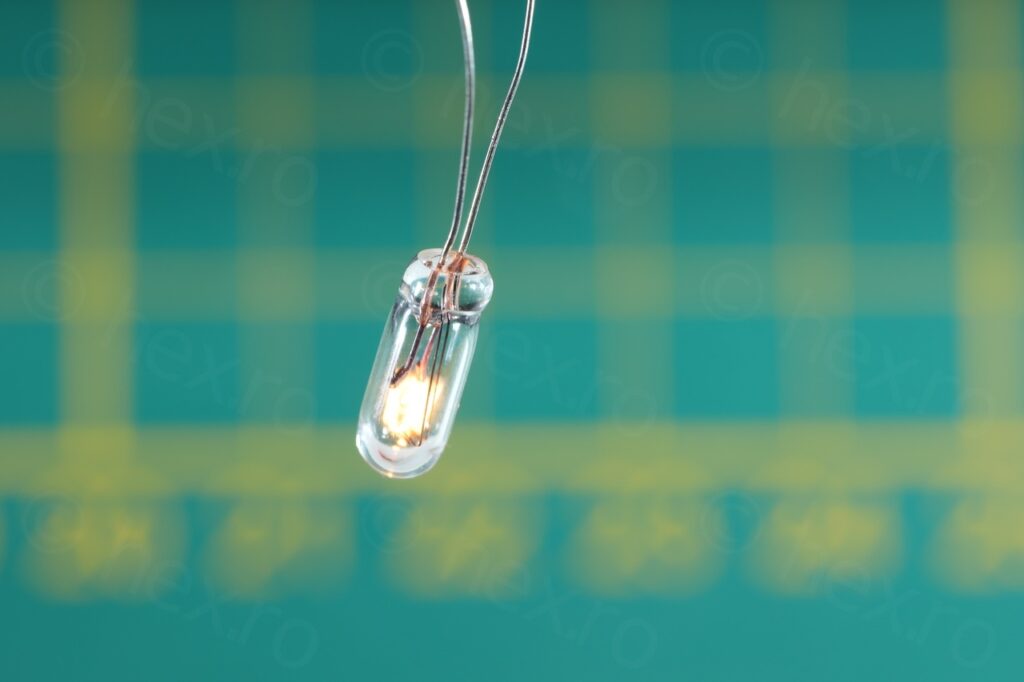

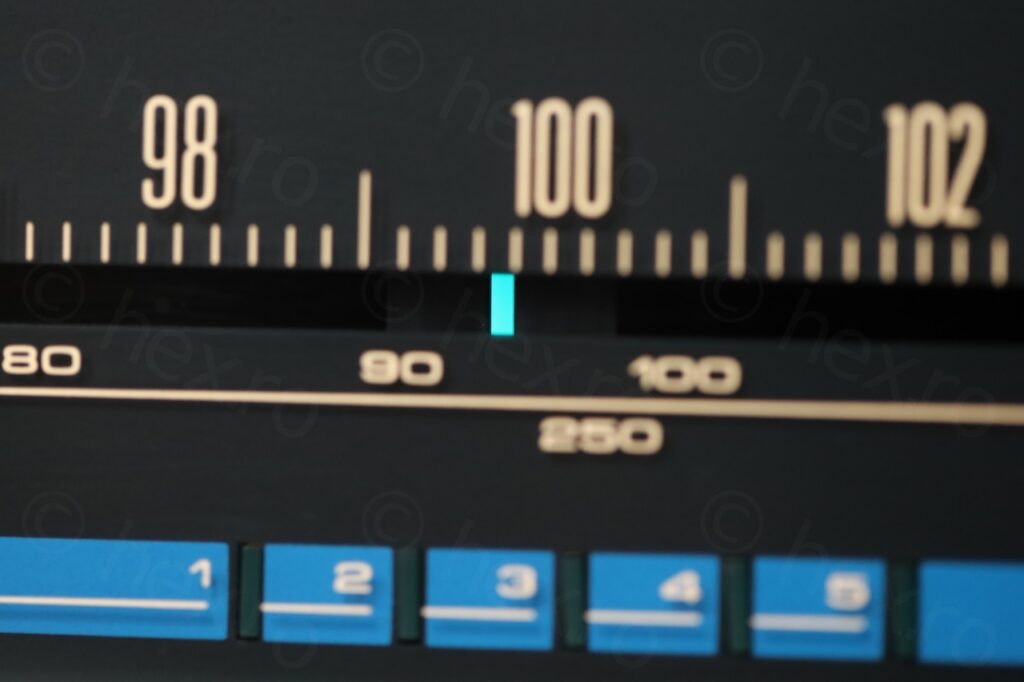
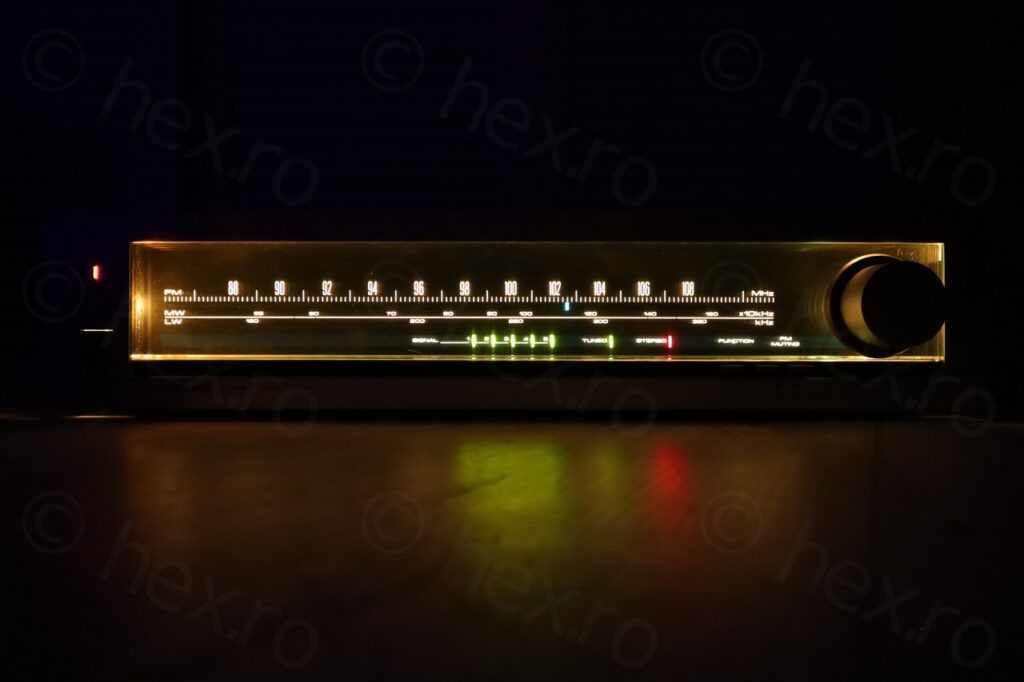
Success!


The new light bulb draws exactly the current required by the schematic, 100mA at 8V, which is perfect.
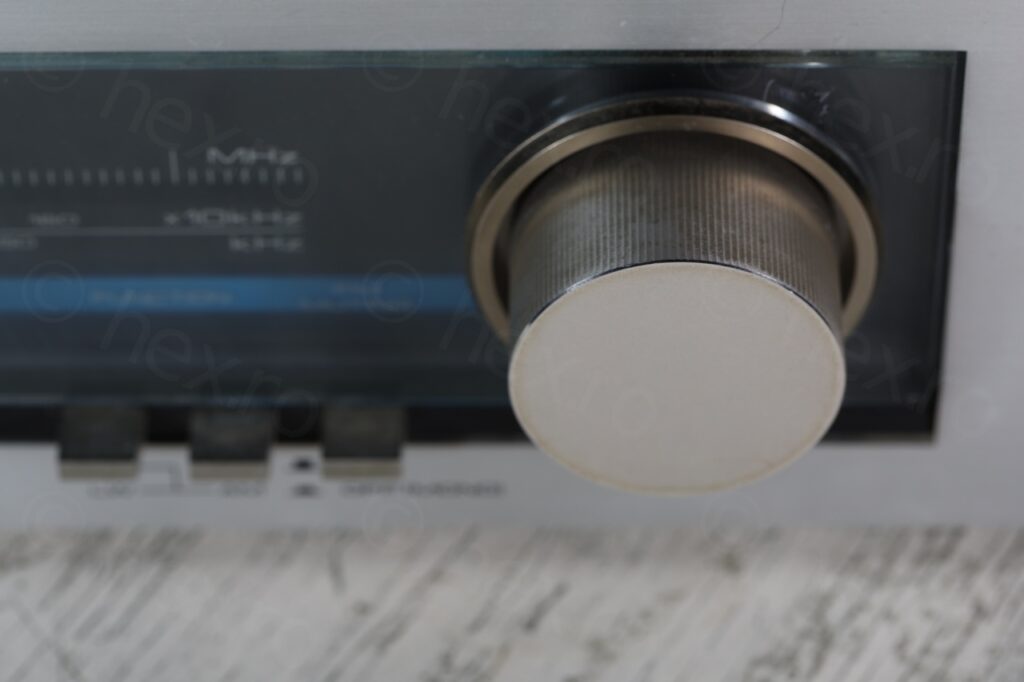
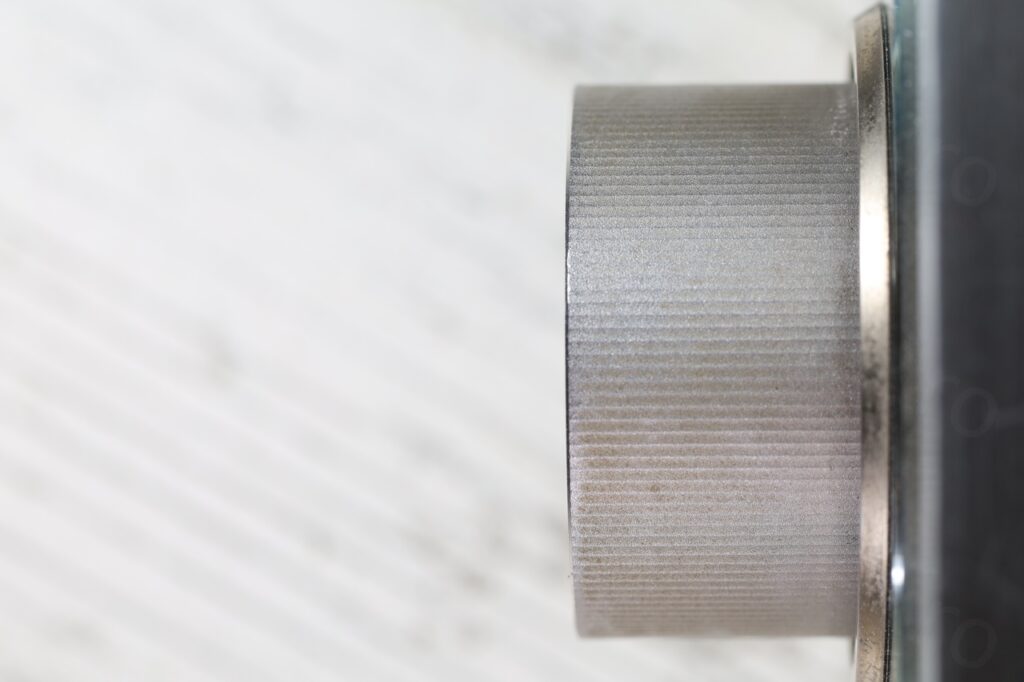
Oiling the tuning shaft
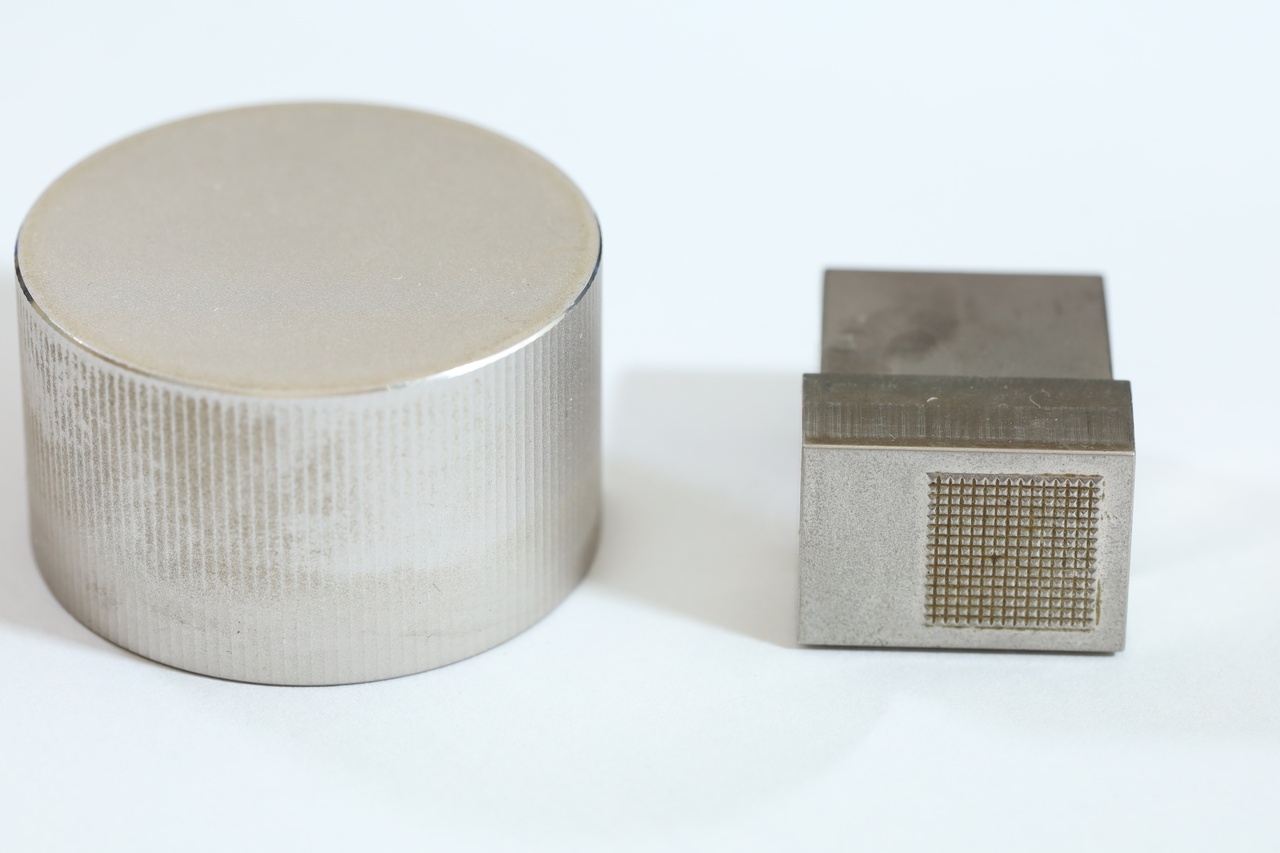
I noticed a weird vibration when spinning the tuning knob, and having the front plate taken out, I had a look. The tuning shaft was rattling into its barrel. Was hesitant to take apart the mechanism out of fear I may have to re-thread, so I figured I may try to add a little sewing machine oil and let capillary action pull the oil inside. It payed off, no more noise and easier to turn:
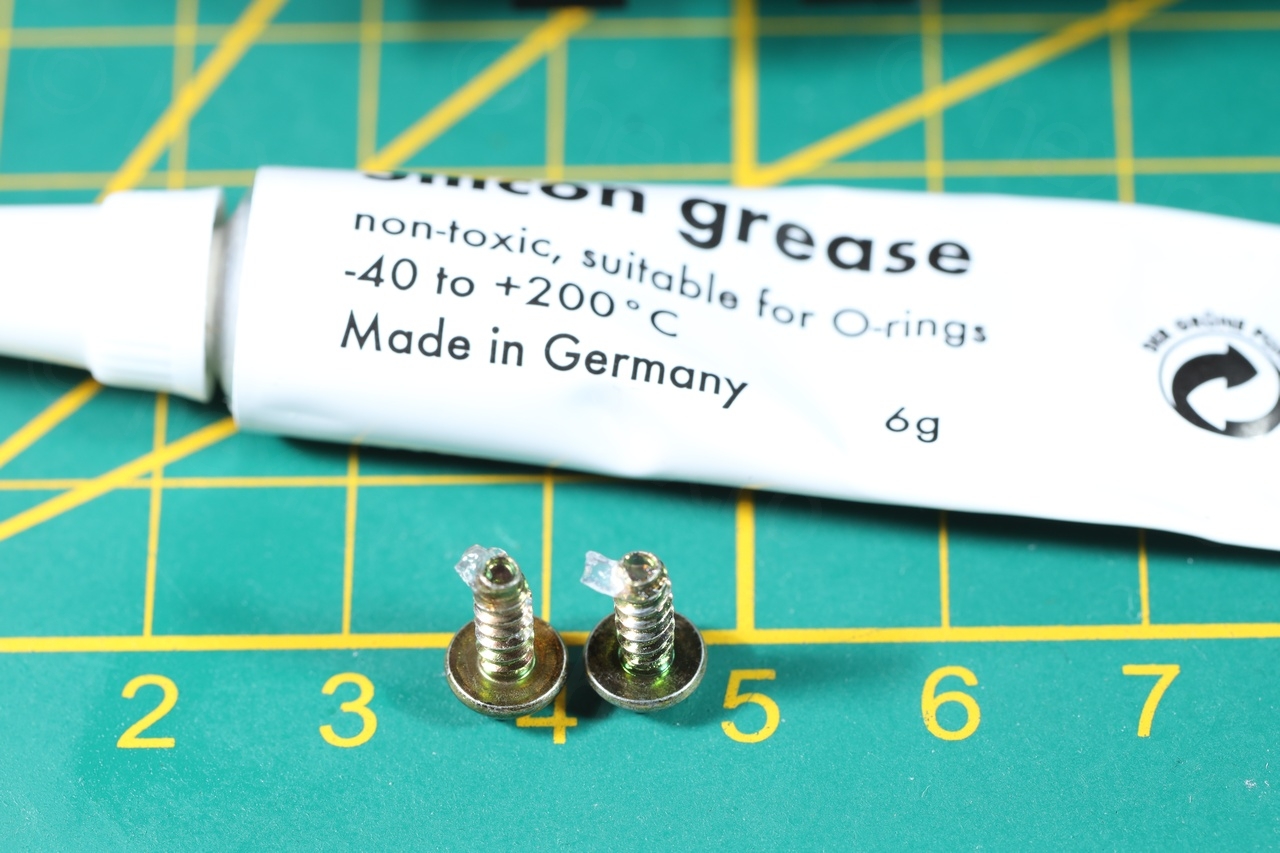
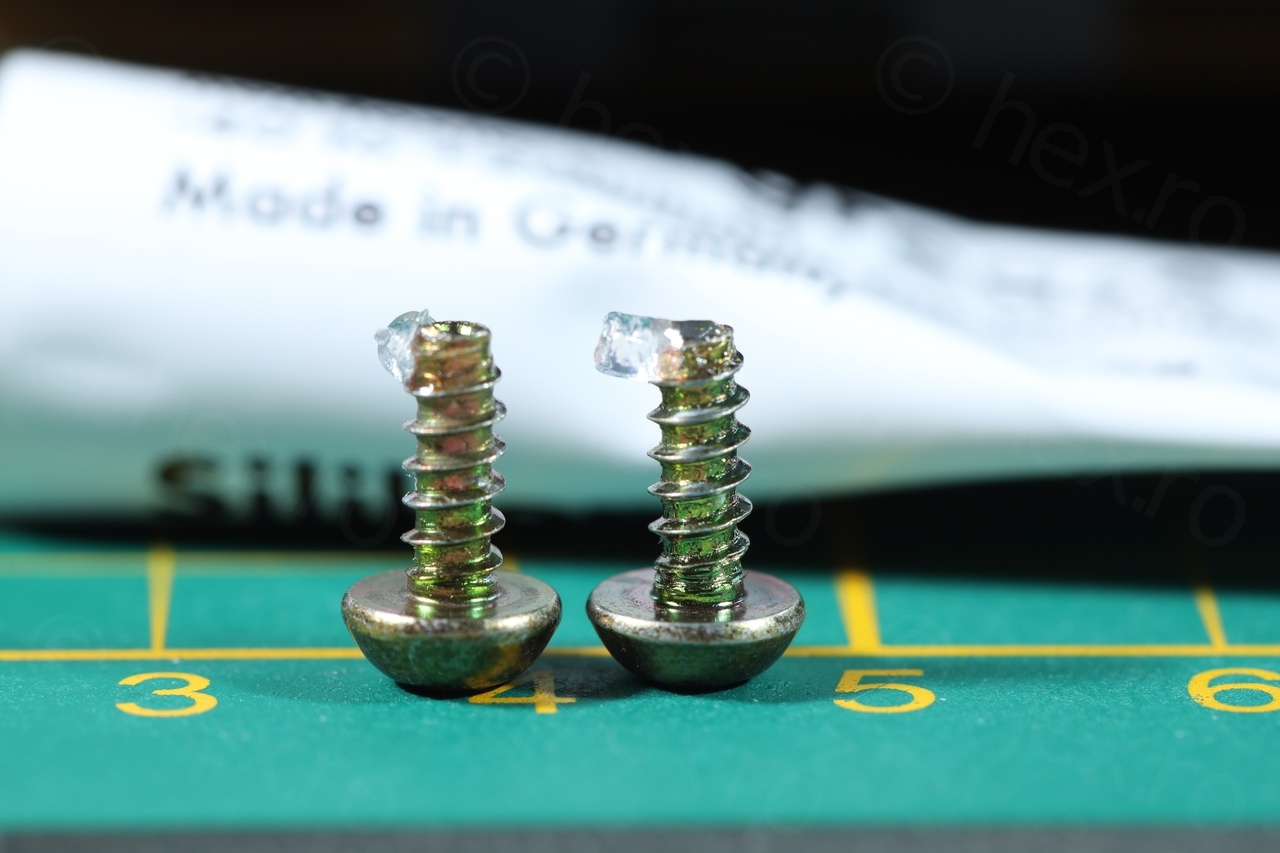
Reassembly was very easy, just added a little silicone grease to the screws:
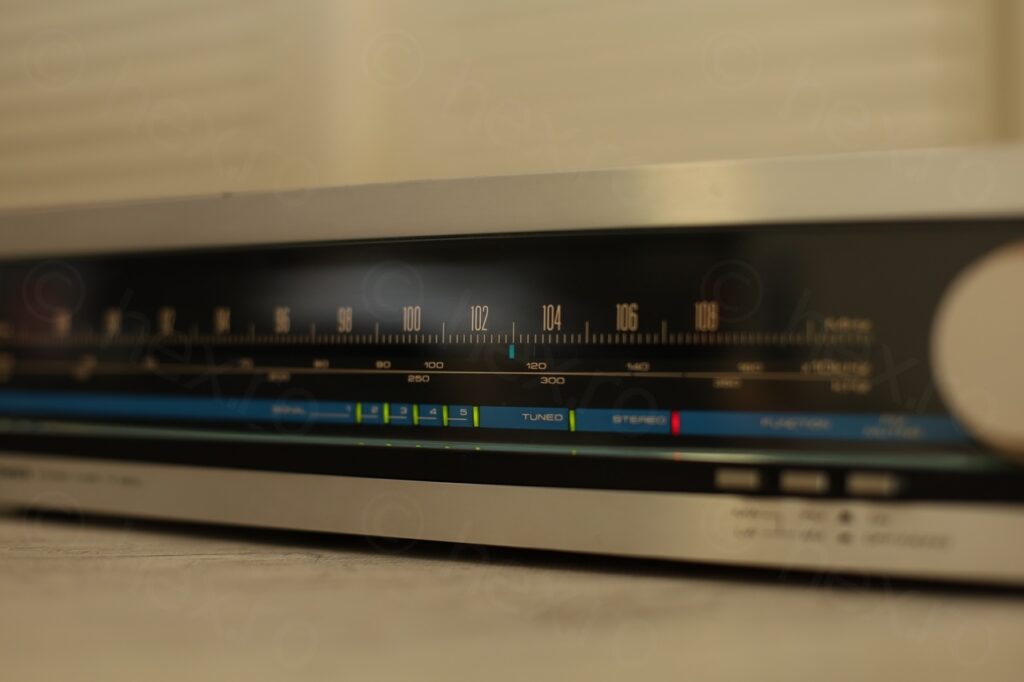
Final results 🙂


Matt
Thank you for this information!!!!