Introduction
Miyota CRTs seem to be common in used JVC video cameras, this time I recovered a Miyota 2400-58A from a JVC GR-FX12E video camera.
Camera overview
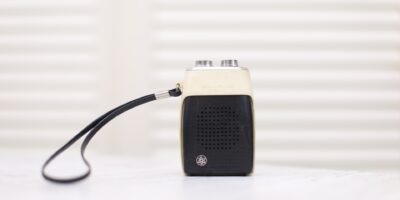
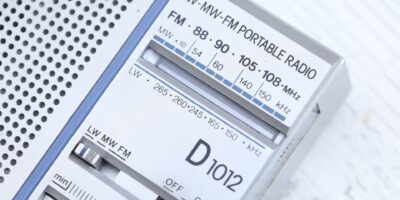
A small exterior presentation of the camera:

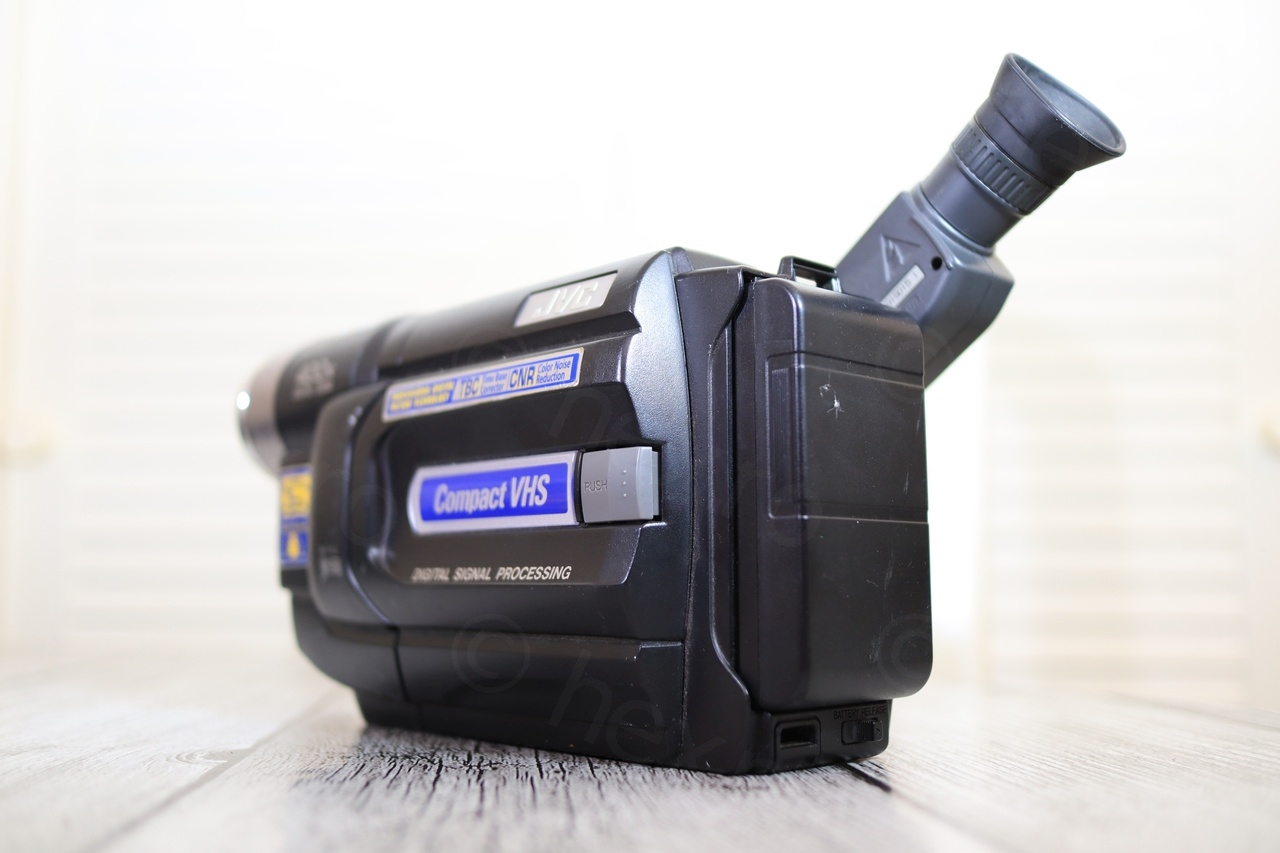

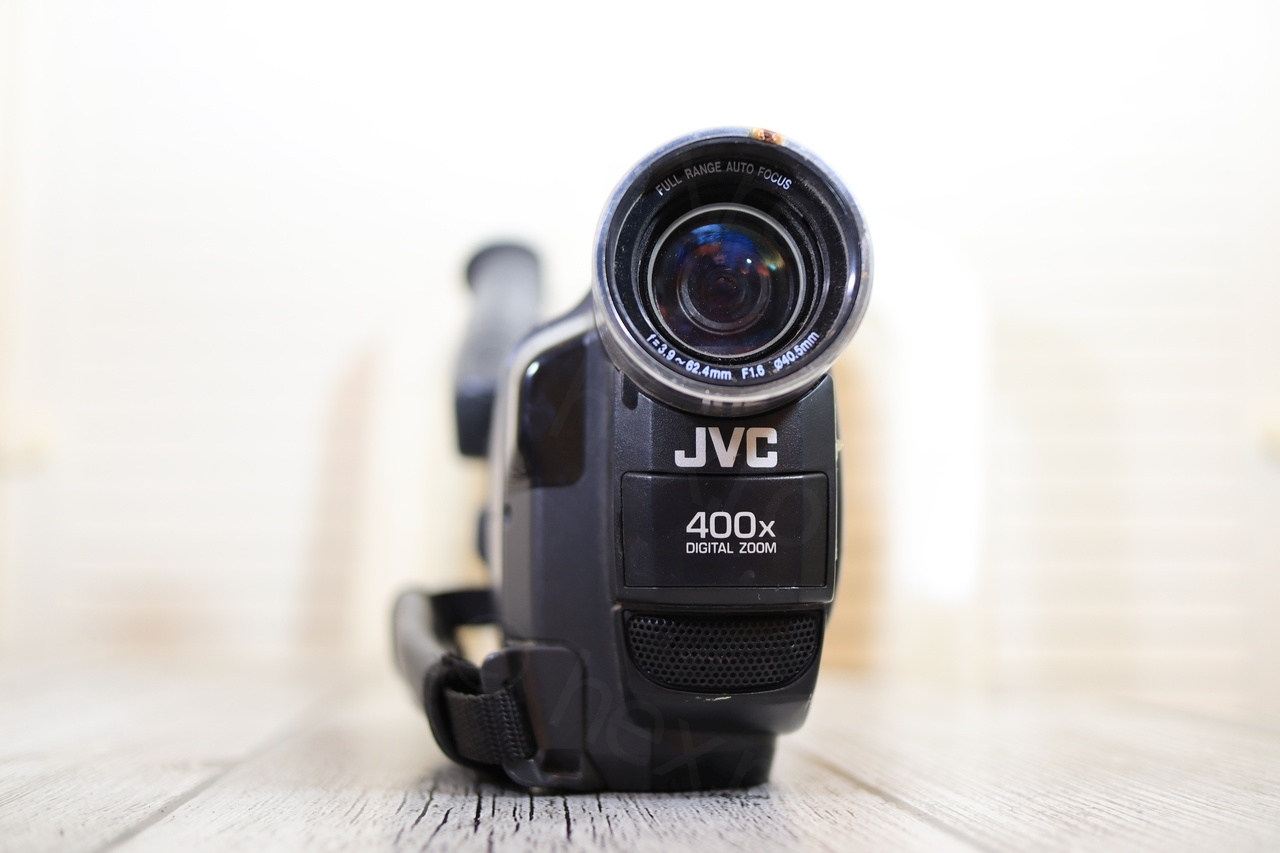
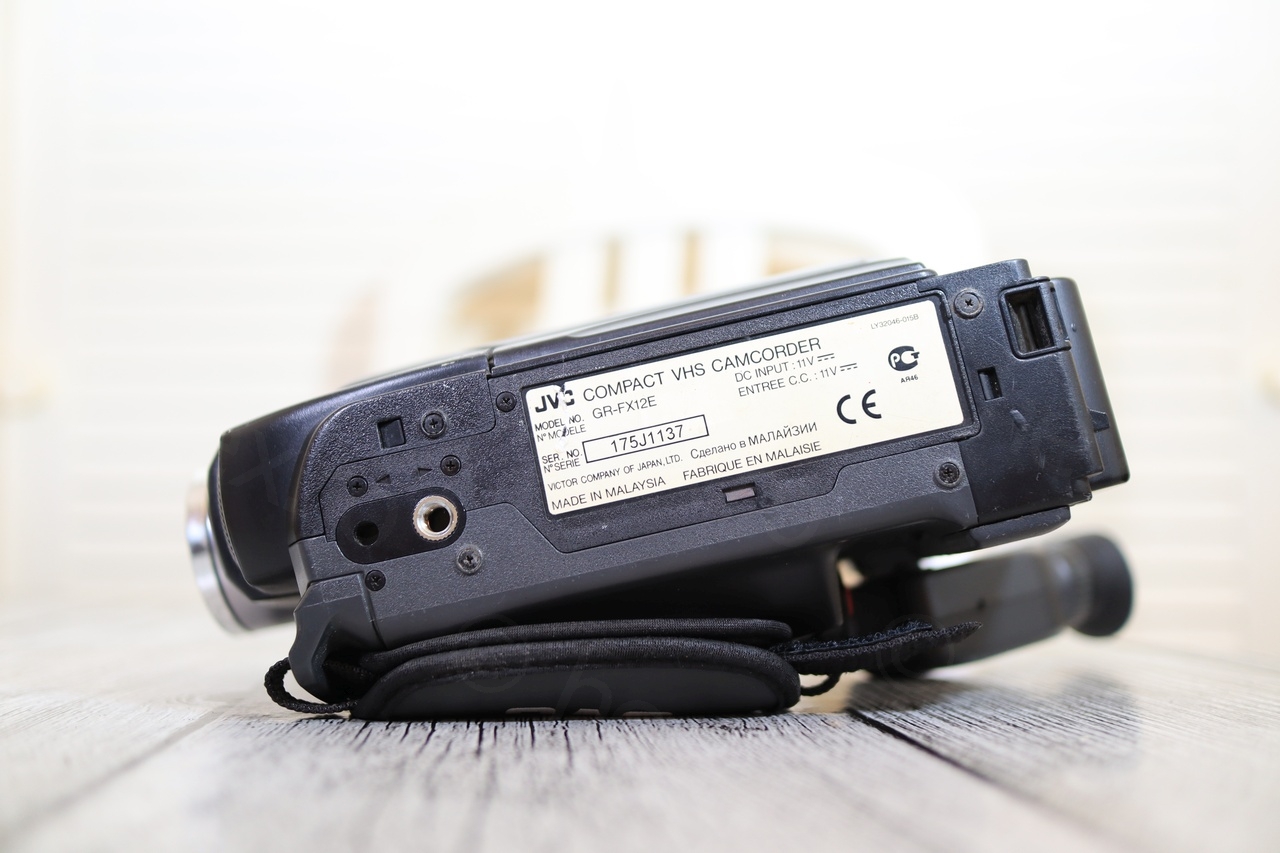

Except some dust, a small spider and some heat damage on the front lens, the camera looked in a good condition. It also had a tape inside!

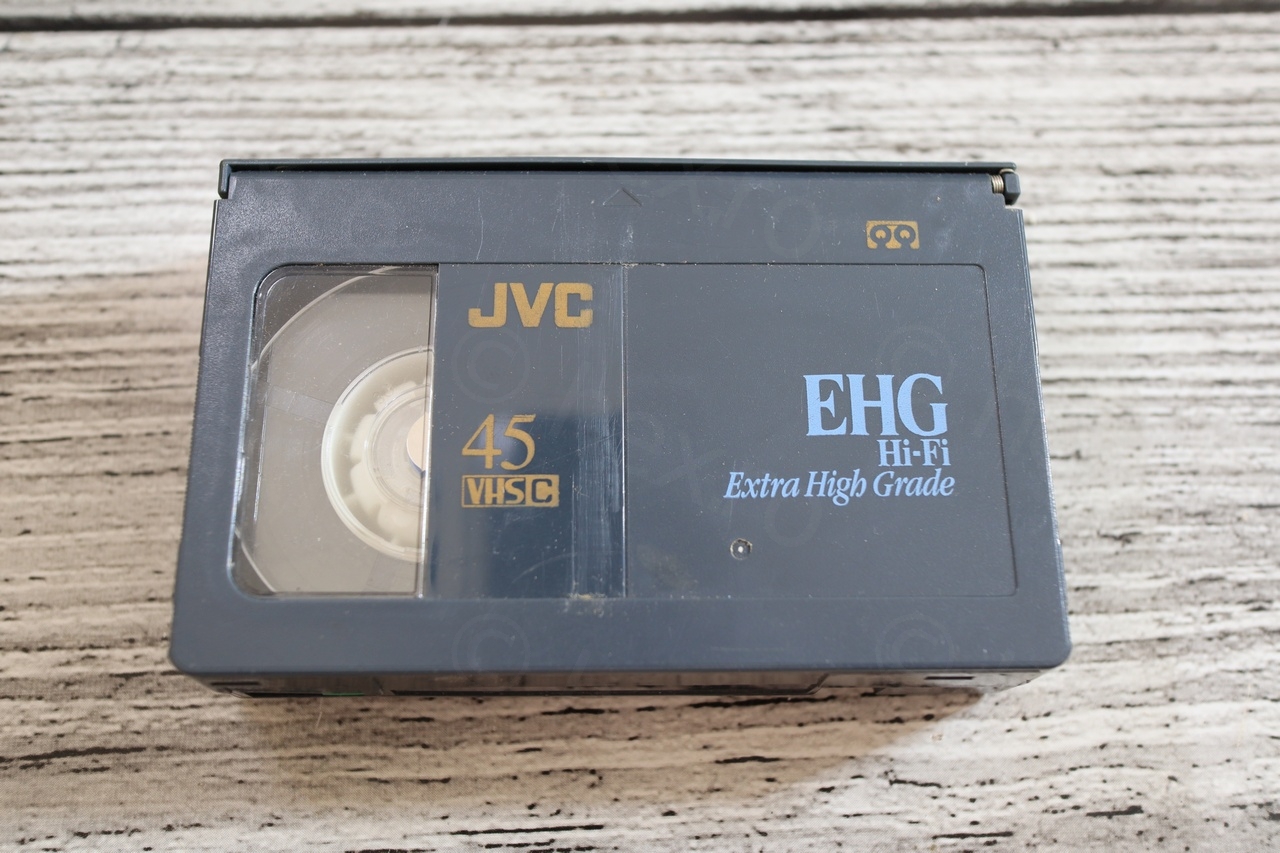

As you can see, I decided to power on the camera as a quick check to make sure that the CRT is working, and that’s when I found out that there is also a tape inside. JVC cameras (at least the models I worked on so far) have to be opened by taking the cover of the tape compartment off – there are some screws inside that keep everything together.
Powering the video camera on turned out to be more tricky that I envisioned. I did not use the dedicated power plug (I do not have a small enough jack) thus I had to use the battery terminals. Even if the battery is rated at 6V, giving 6V was not enough, the camera would it start and very quickly shut down.
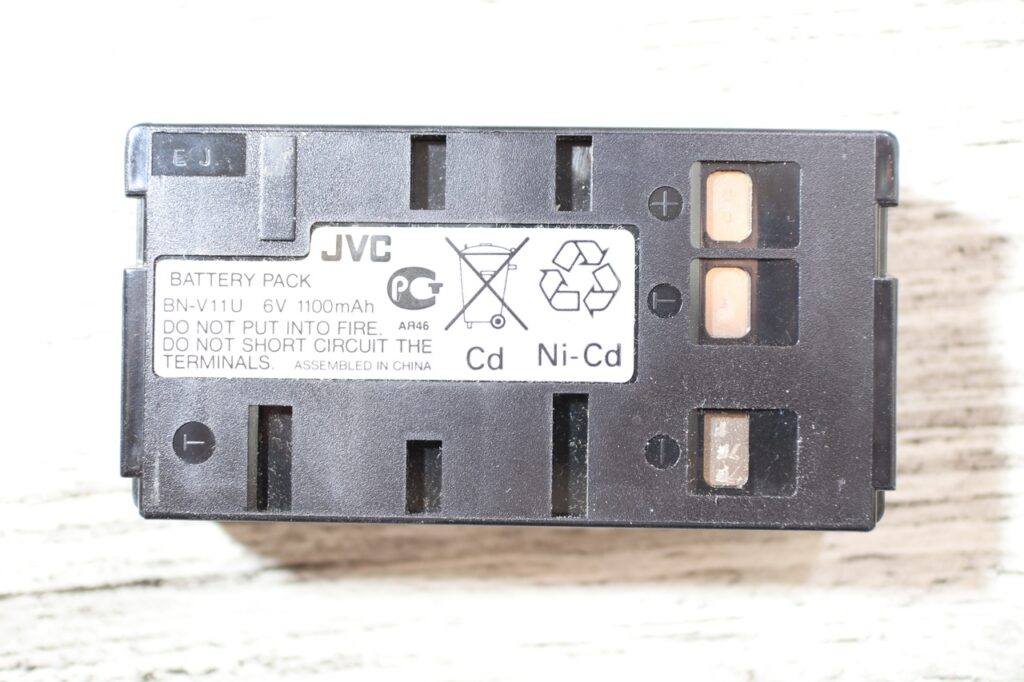
I figured that maybe when fully charged, the battery may have provided higher voltages, so I decided to up the voltage when powering on the camera.
| Voltage | Observations |
| 6 V | Battery indicator flashes, camera turns off after few seconds |
| 6.2 V | Battery indicator flashes, but camera does not turn off |
| 6.4 V | Battery indicator shows 1 bar |
| 6.6 V | 2 bars |
| 7 V | 3 bars |
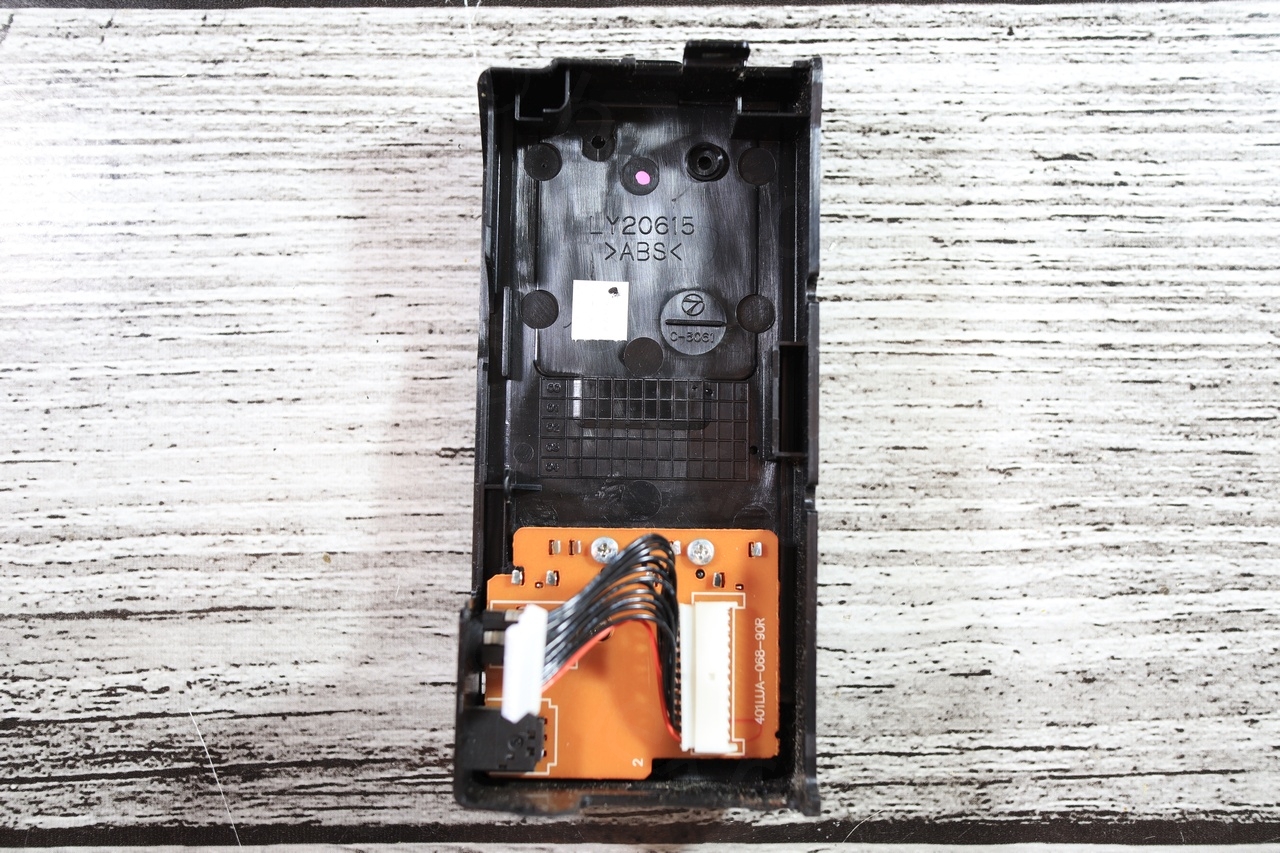
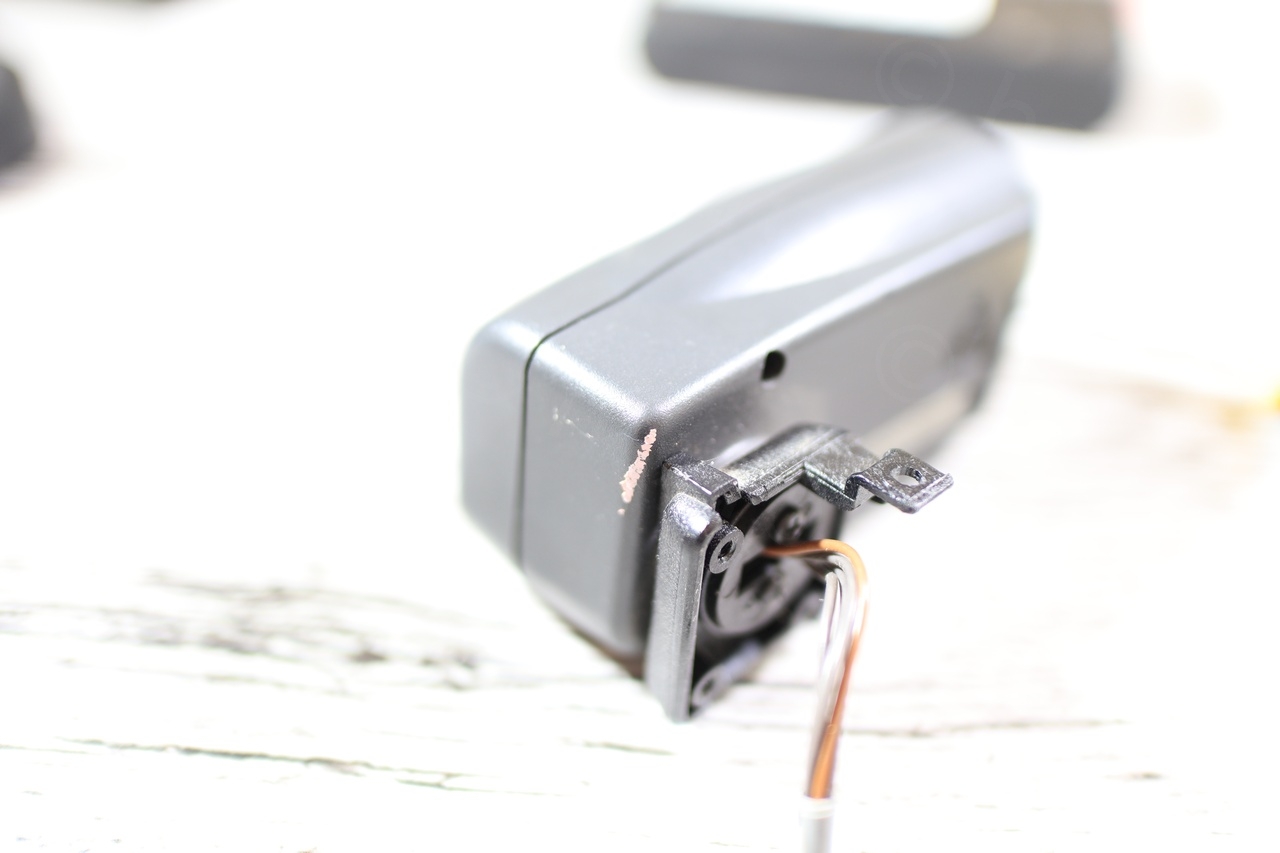
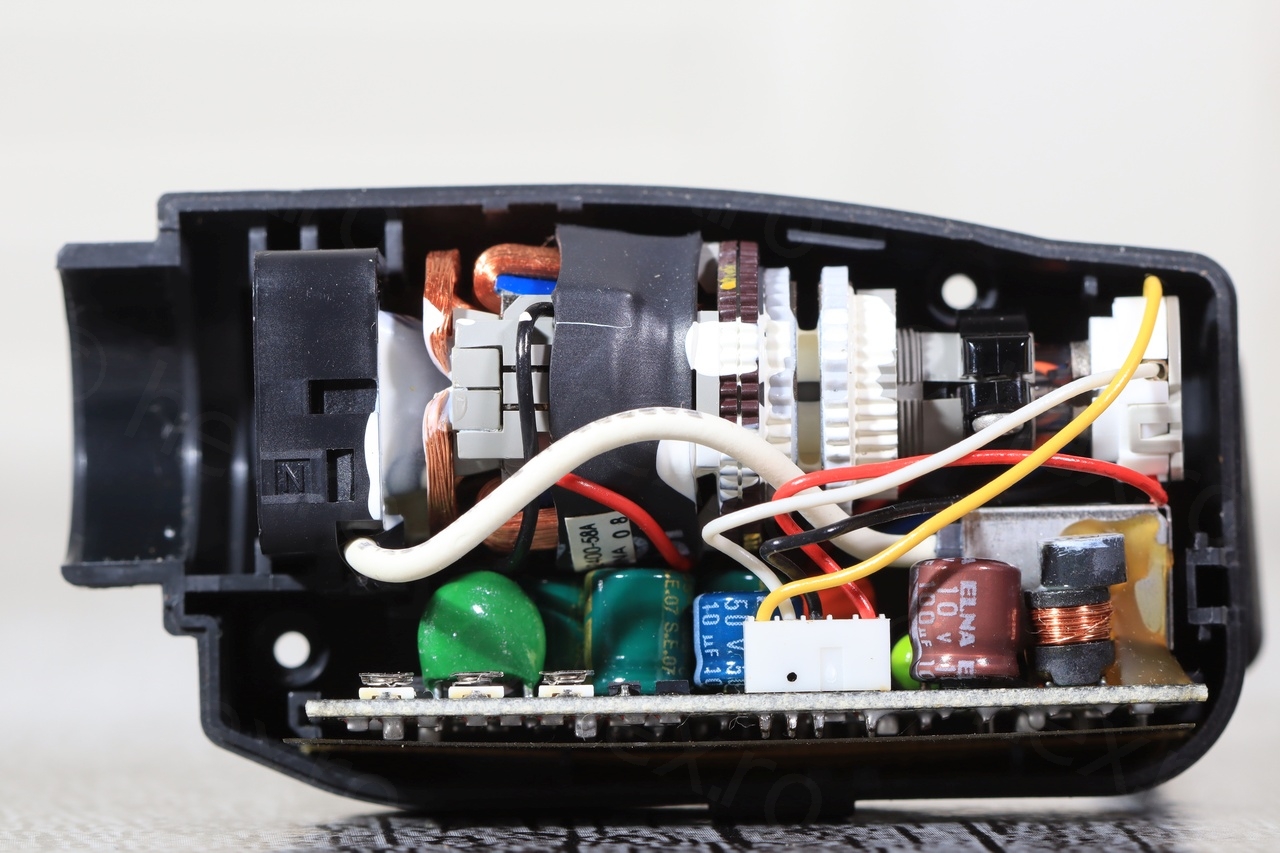
Disassembling this camera was very easy. Not many screws and a single motherboard allowed me to quickly access the Electronic View Finder housing the CRT.
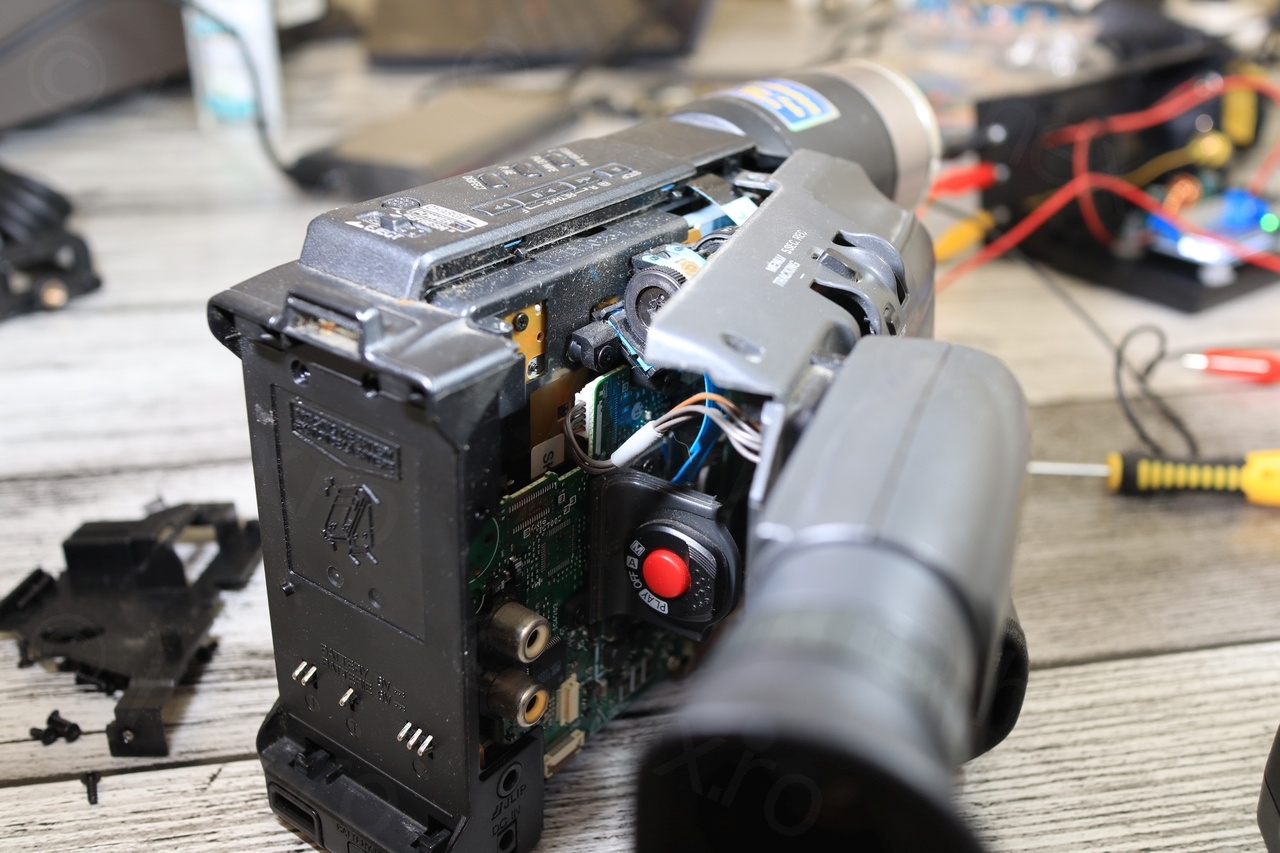

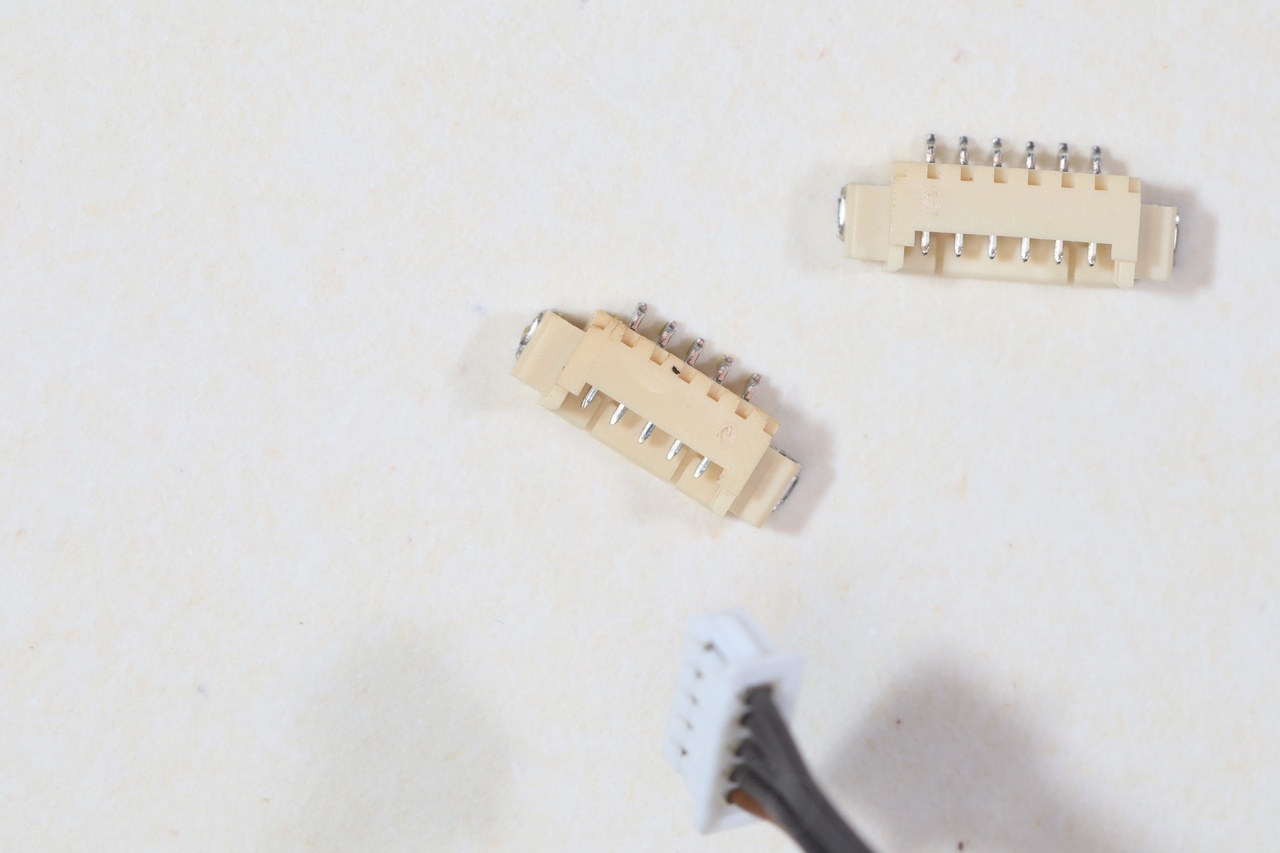
The EVF unit has 5 normal wires, which makes it much easier to identify Video In, Vcc and GND than the flat cables from some other cameras. However, a bit confusing, one dark brown wire (which ended up being Video IN) and the rest just black wires.
According to the marking on the plastic housing, the camera was made in Oct 2000.
Since I prefer not to cut the wires of the EVF nor to solder directly on the driver board to power the CRT and to give it the VIDEO IN, I also desoldered the two connectors that could fit. Then I could solder my wires to the conector.
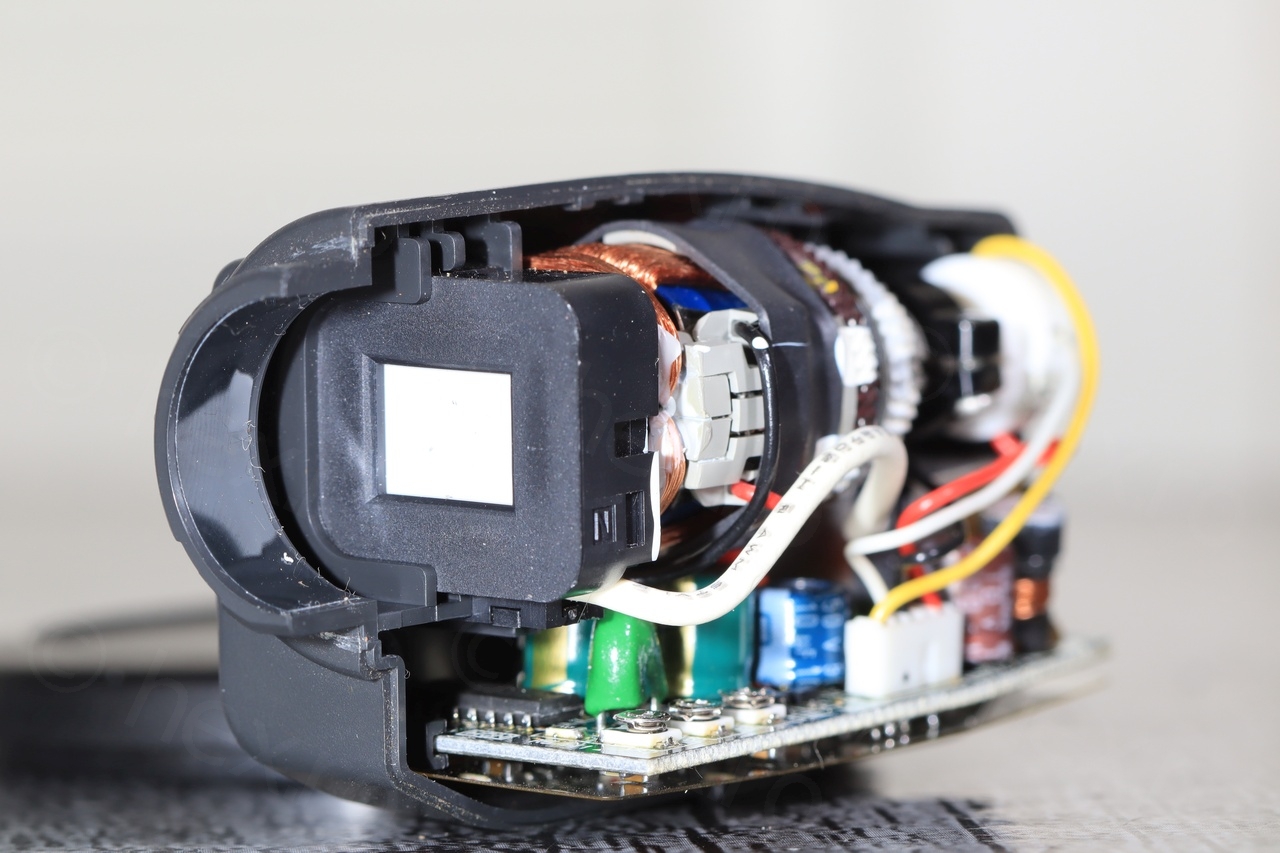
EVF unit
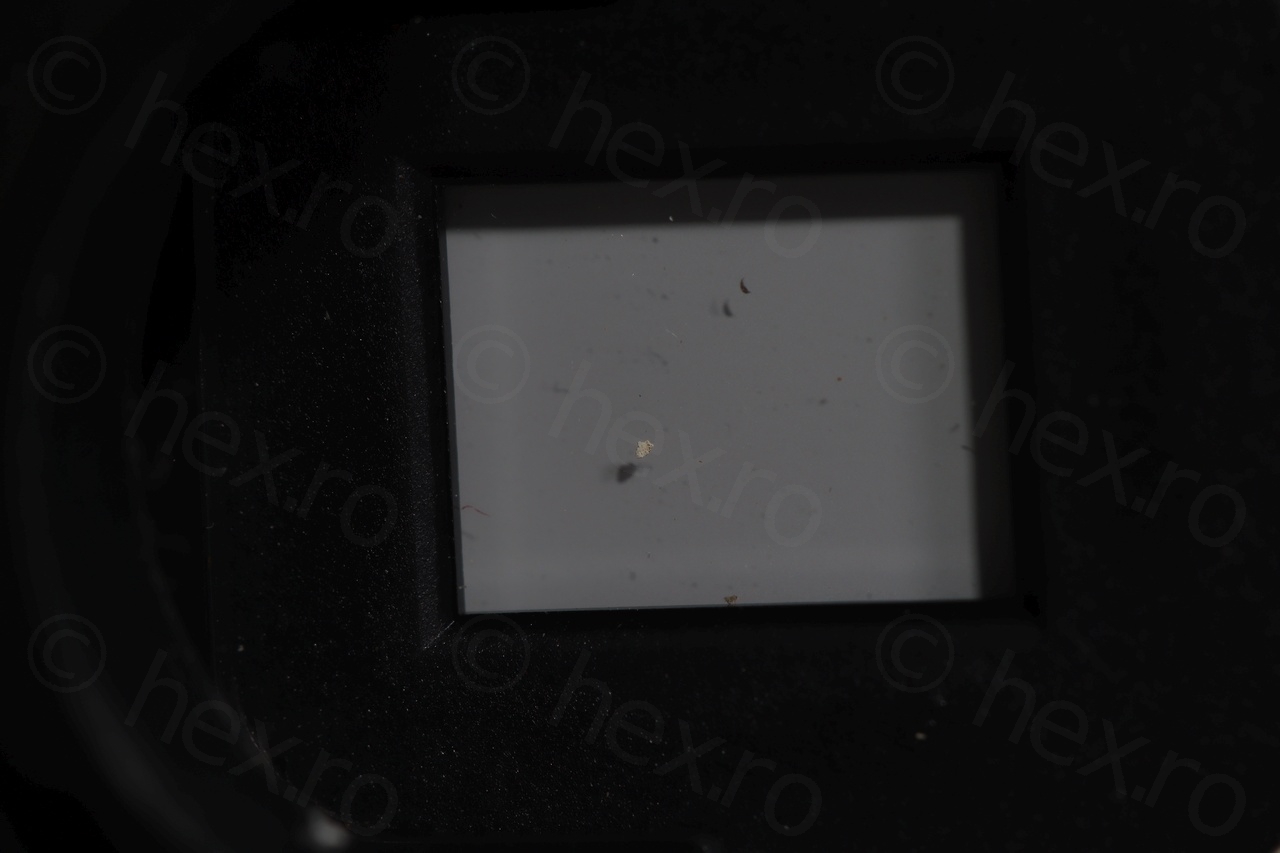
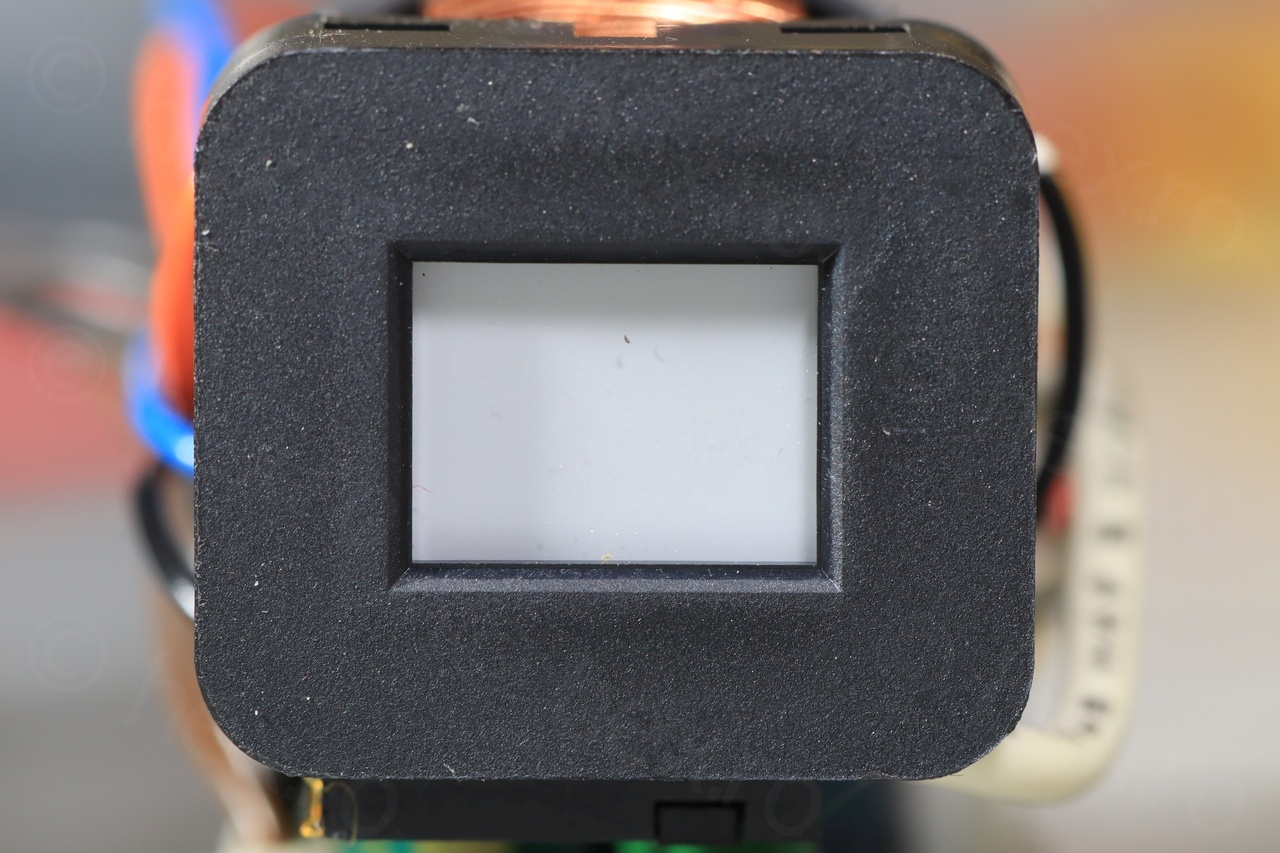
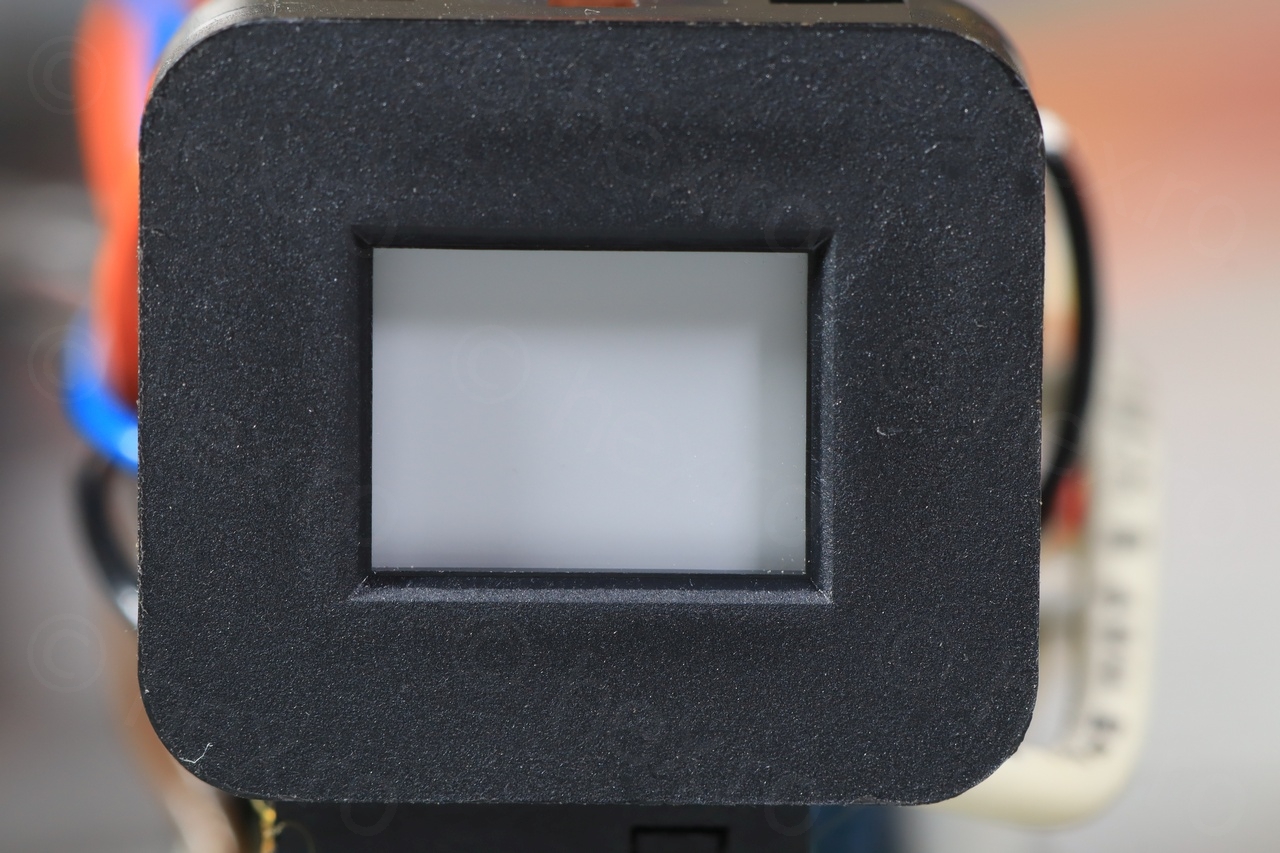
The exterior of the EVF unit was clean …
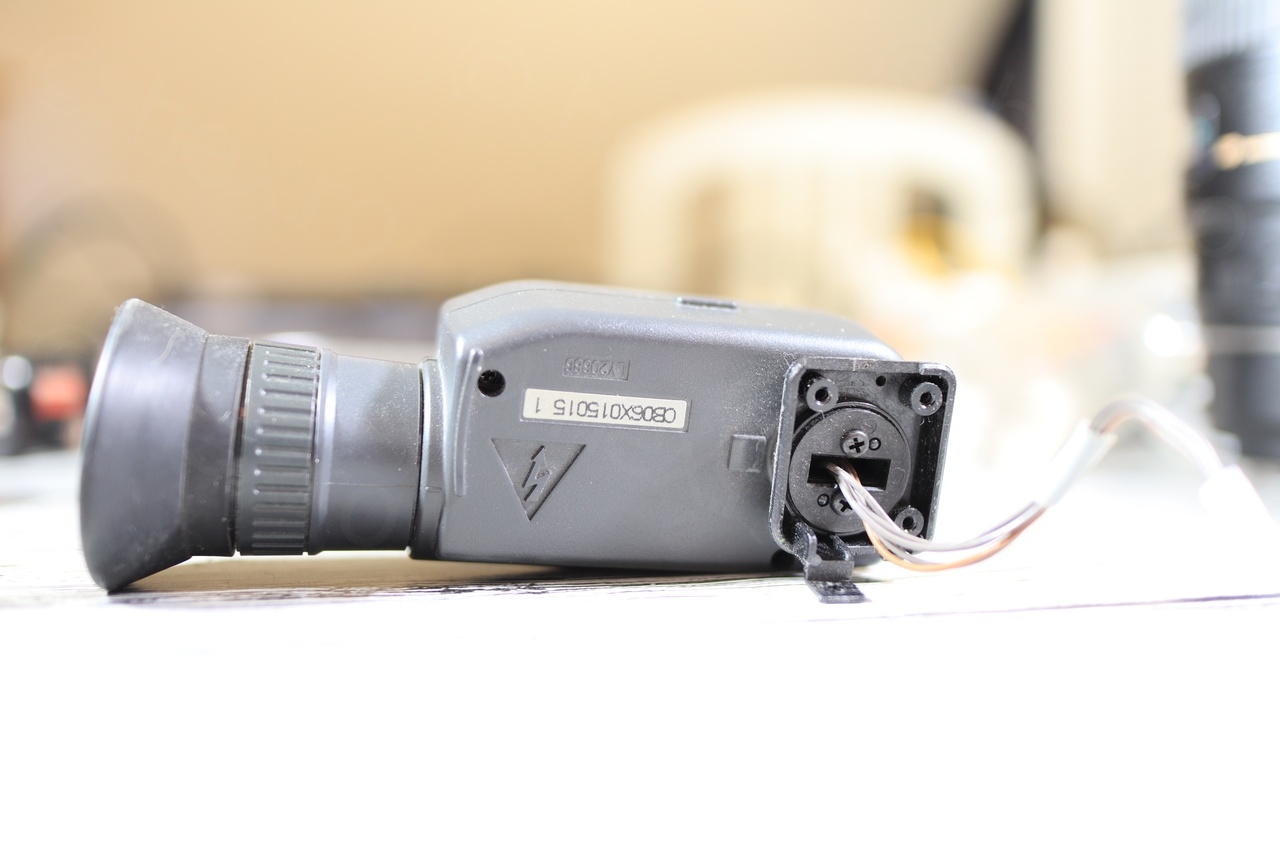
… but the CRT had some dirt accumulated. With a bit of Isopropyl Alcohol, I was able to clean it – however, these things are so small that is very hard to clean in the corners:
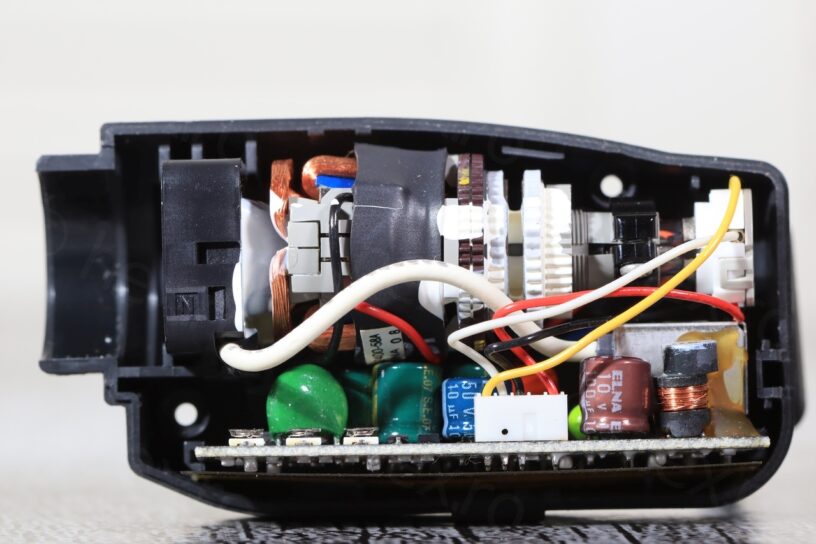
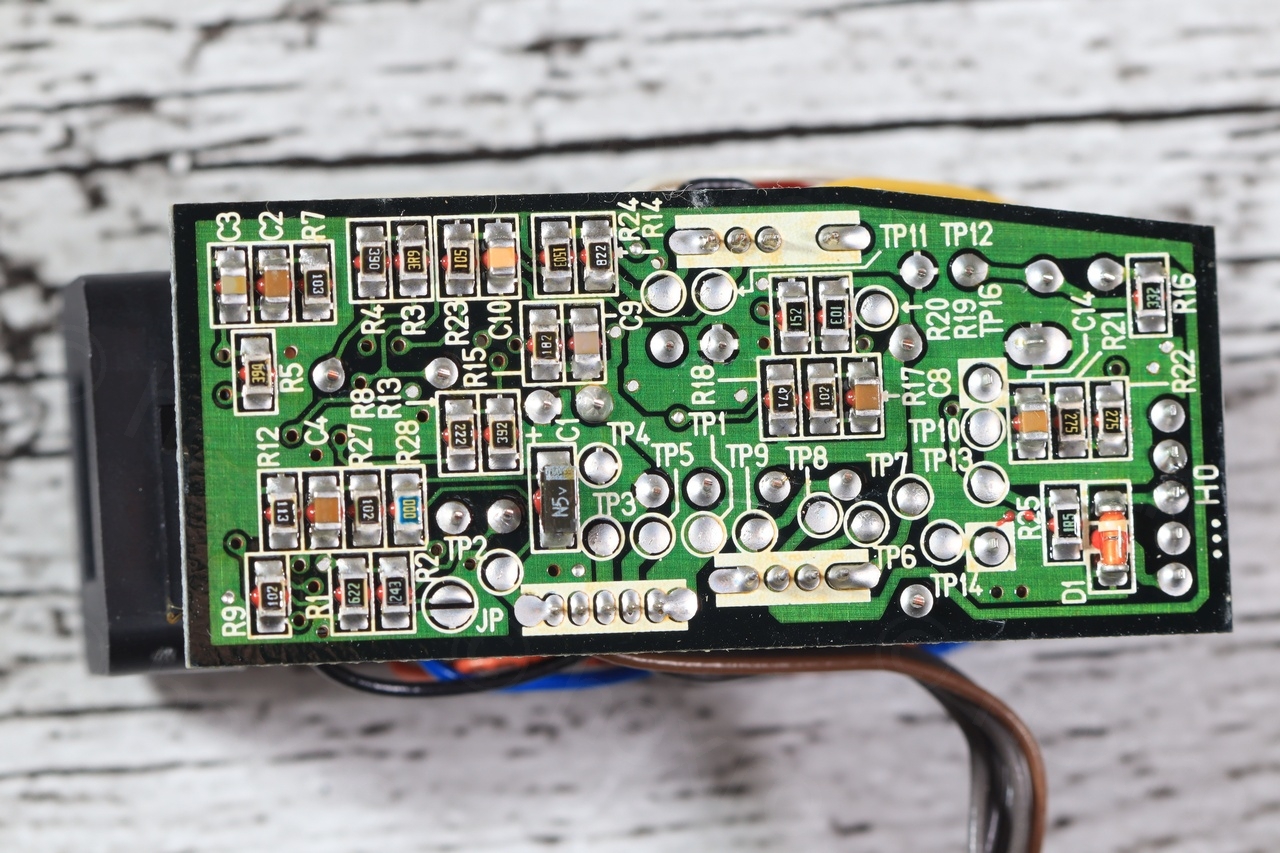
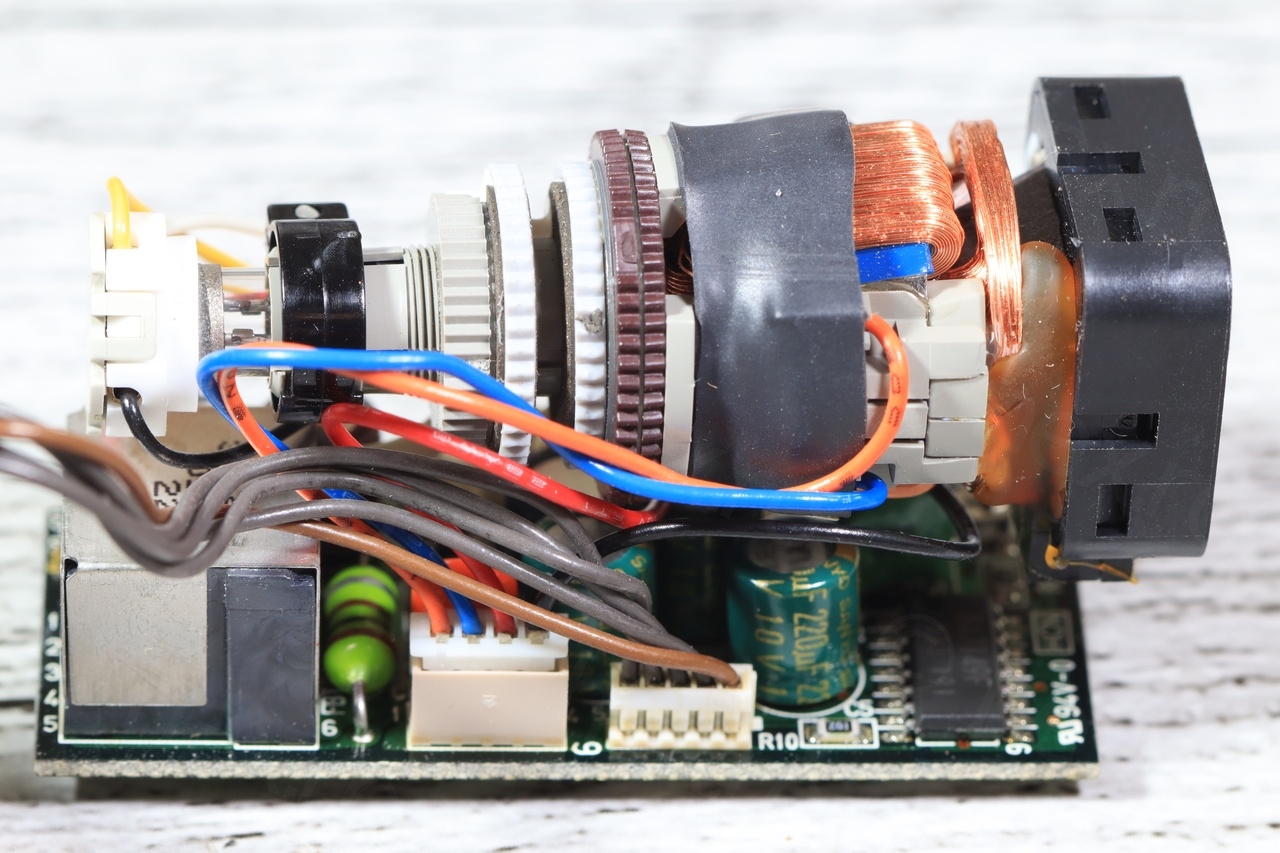
Continuing the tear down I found a very cute and small driver board. I think it is the smallest I have seen so far!
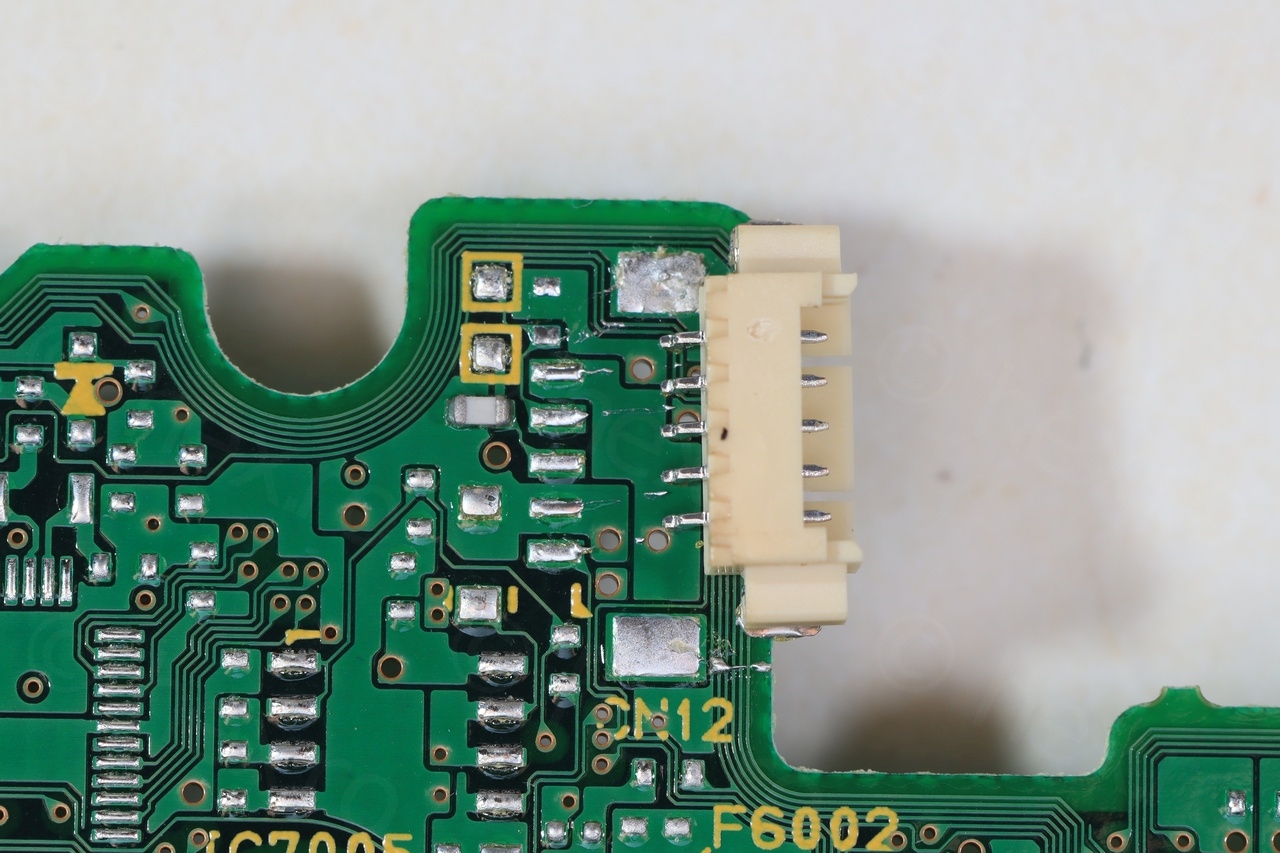
Identifying the signal wires
This is the 6th tear down and I have improved the technique for identifying the signal wires.
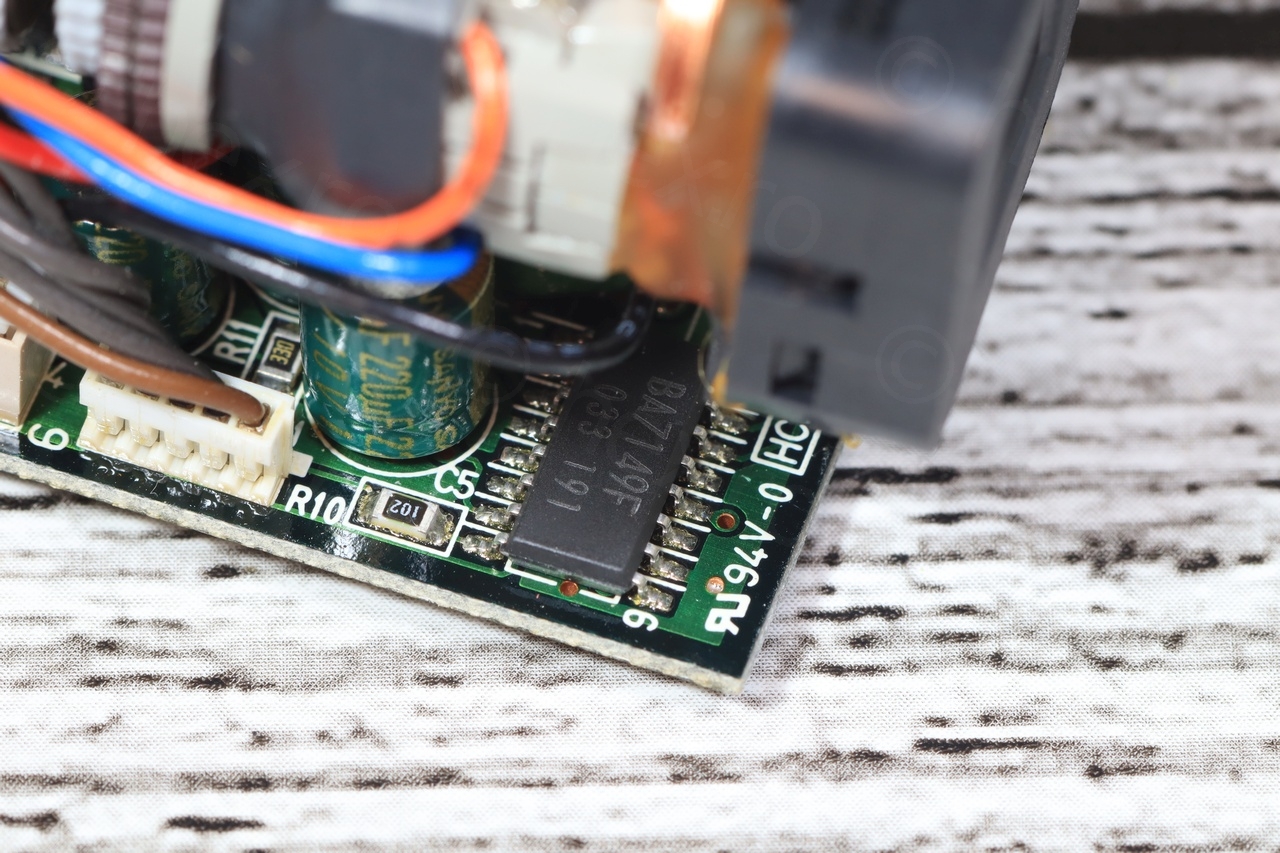
While initially I was tracing the board using a continuity meter starting from the BA7149F pins, I realized that is much easier if I use the Fly Back Transformer. The FBT are connected directly to Vcc and GND and never to the Video IN. On top of it, FBT is a through-hole component that makes it easy to use the continuity meter. The shield (and at least one connection on the bottom, the one where the shield is soldered to the driver board) is always connected to GND, so then if any of the other their pins has continuity to anything else but the already identified GND wire, then that’s the Vcc. Once Vcc and GND wires identified, is just fast trial and error to connect Video IN to any of the remaining wires until the image appears.

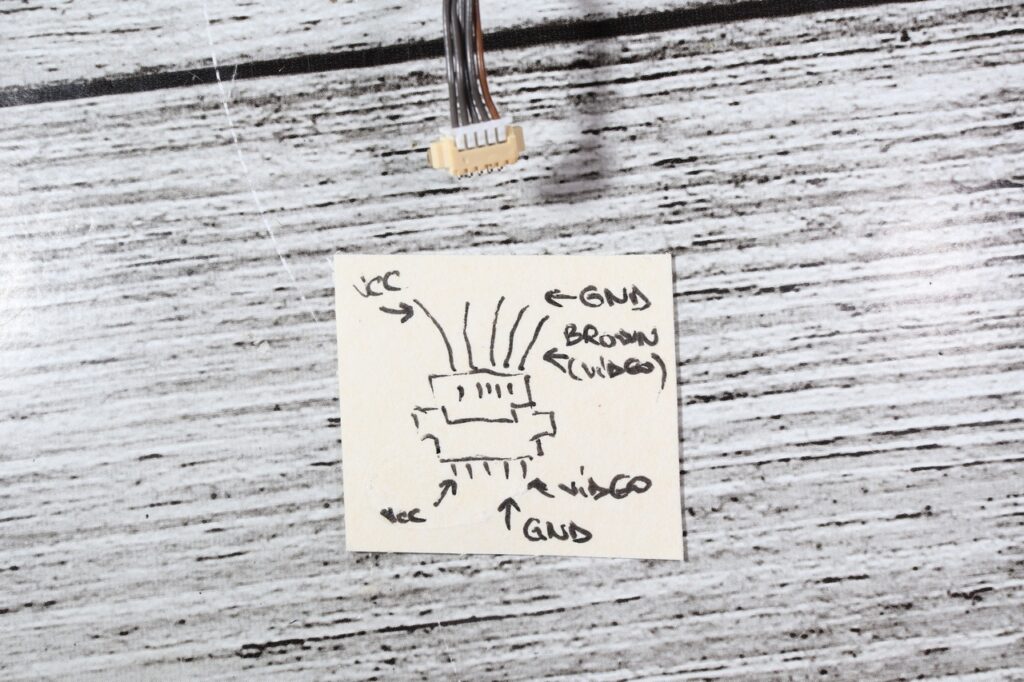
I found it easier to write the connection diagram on a piece of paper that I will later put in the bag where I’ll keep the EVF unit.
In fact, other EVF units have some holes allowing access to Brightness and Contrast potentiometers, but this one did not.
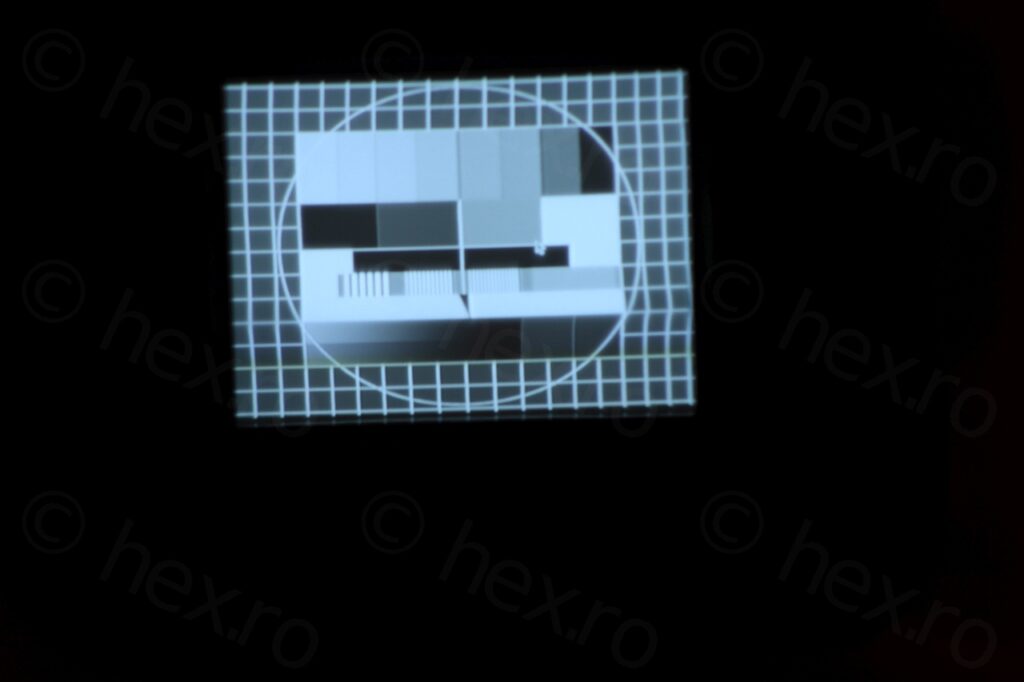
Next step is to try to find the voltage at which the screen display its best sharpness, and this is just a matter of putting a TV pattern image and using a macro lens, and I must say, this CRT is one of the sharpest I have seen so far. Not only that, but the flicker effect (Raspberry PI is known to produce a bad signal when asked to output 480i / sdtv_mode = 2, many TVs flicker) but this little driver board handled stdv_mode = 2 just perfect.

And of course, Manic Miner. No ghosting and readable text (using Canon’s EF 100mm Macro at the closest focusing distance):
In conclusion, a sharp CRT in an easy to work on camera, this was a fun tear down.
Payton Keyser
Yo! I got one of these off a yard sale and need a charger for it do you know where a
I can get one? Email me at beap12k@gmail.com!
viulian
I do not know, but are you sure you want to charge such old batteries ? Or you want to just power it on ?