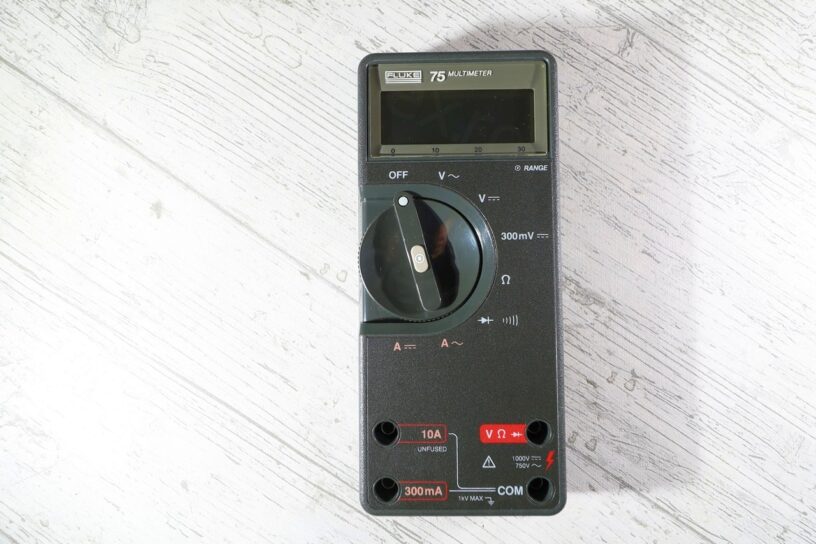
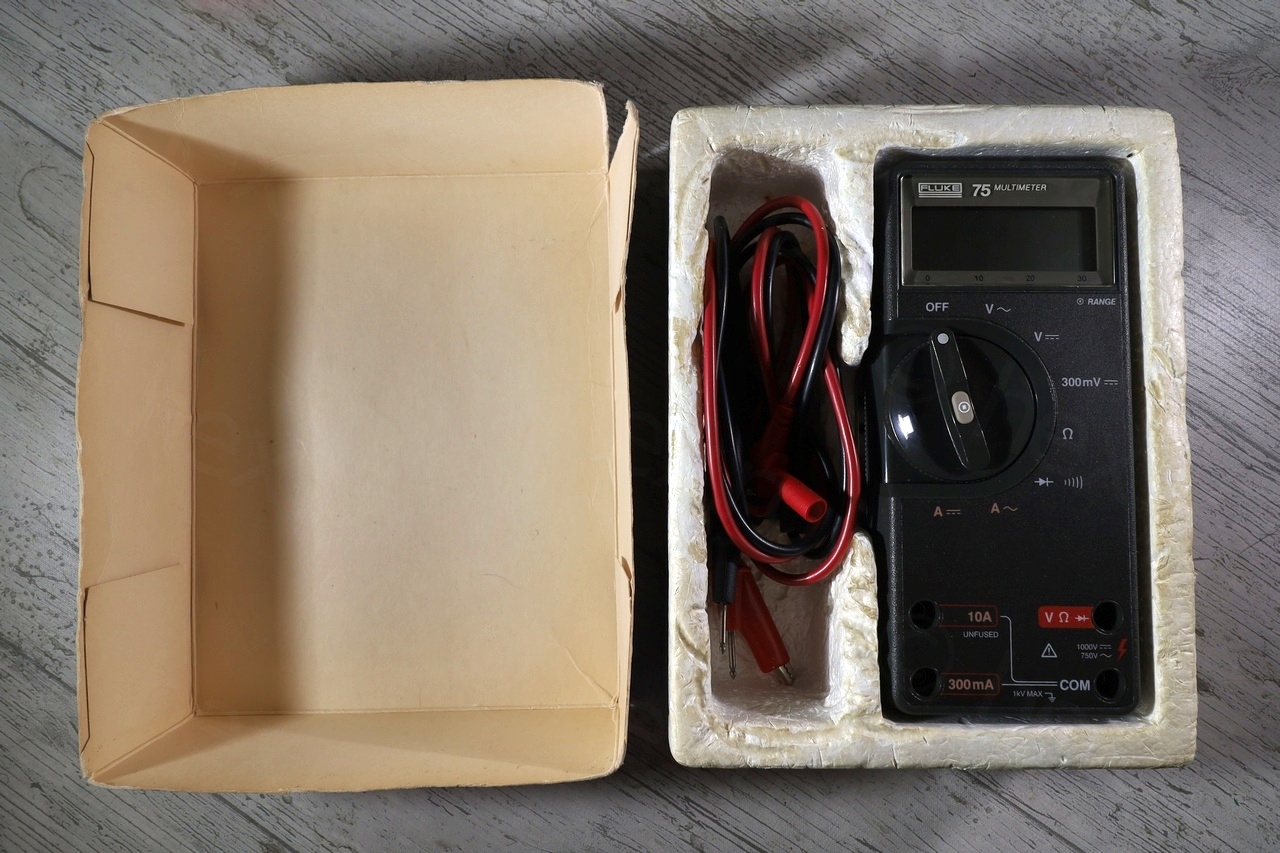
I bought this Fluke 75 at a flea market. It was expensive given its age but much cheaper than what I see online, but what sold it was that it came also with original box and Styrofoam inlays – the owner really took care of the meter.


Issues
Upon replacing the battery, I noticed a small battery leak which was limited to the battery connector and did not reach the board.
However, AC readings (Voltage and Current) suspicious:
- Switching to AC modes would have the meter show high values which would settle down slowly.
- It took a while to measure the 230V (ramping up slowly) and when tension was cut, the meter would show 4V and then slowly descending towards 0V.
- The knob was a little harder to move than what I was expecting
The LCD is still working properly – some segments seem a little fainter than others, but not when viewed from the top.
Fixes
Cleaning the Knob (electrical)
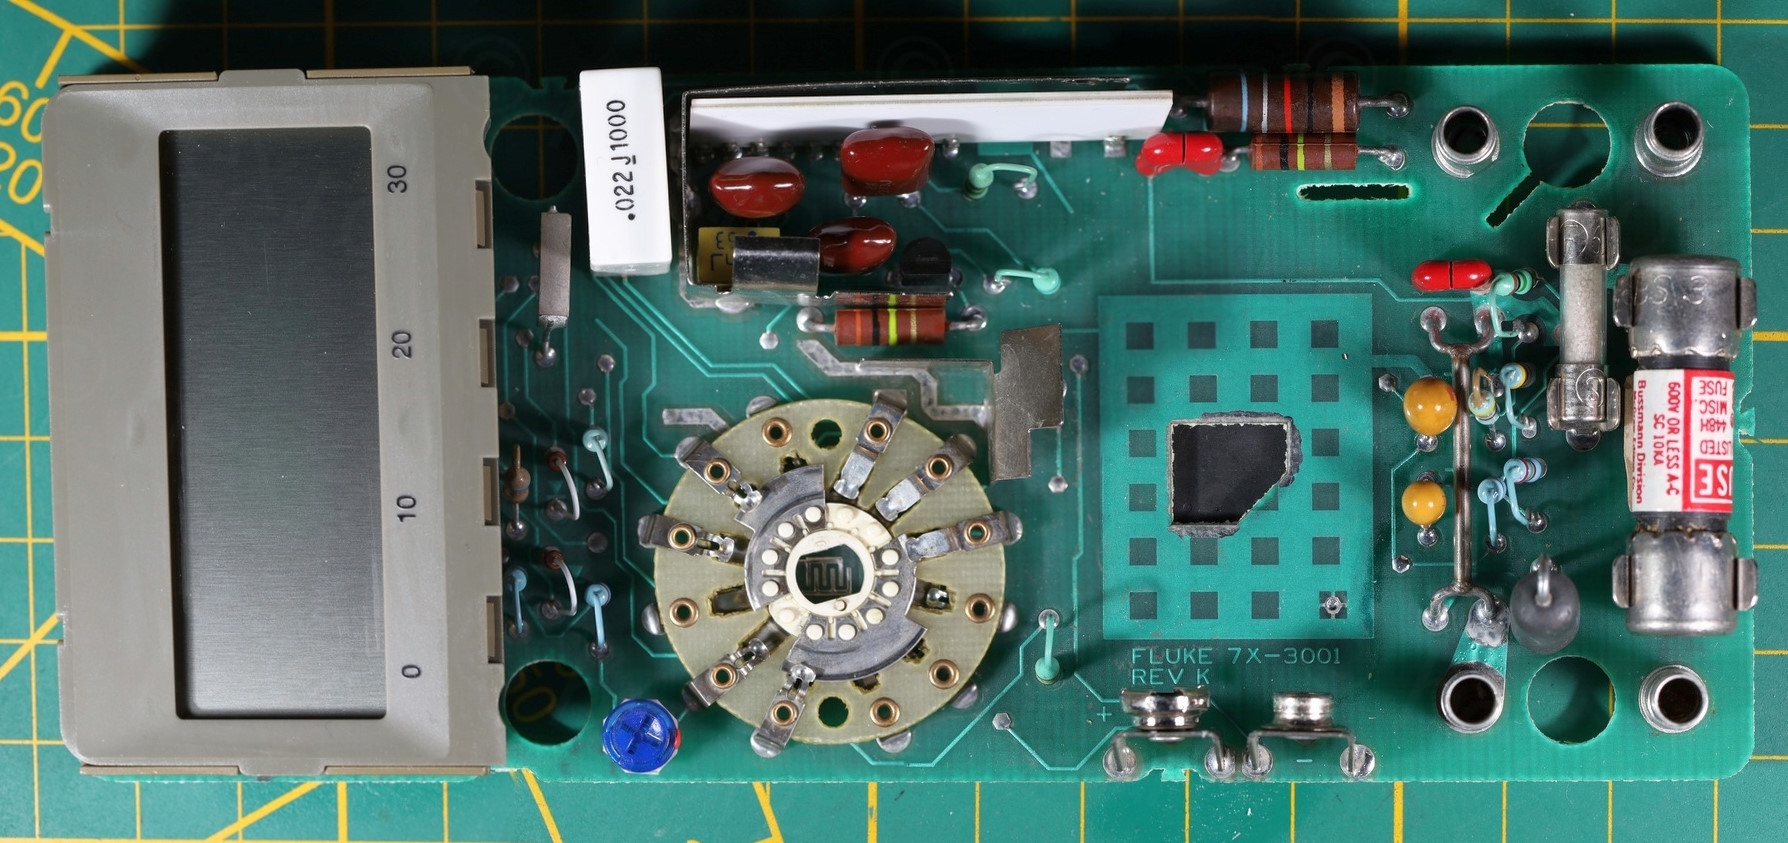
I measured the C11, C9 and C4 capacitors and they were good (ESR meter, in circuit). Also most of the resistors I measured in circuit were good, but some of them (including Z1) reported incorrect values – I would need to de-solder them to measure. The Voltage on the U1 was also correct on Pin 14 (1V) and the voltage on U2 (pin 28) was also good at 1.6V.
The only place left to clean was the knob – I drenched it in Isopropyl Alcohol, turned it and used q-tips to scrub what I could reach.

The second step was to drench it in contact cleaner – while rotating it maybe 10 times, taking precautions that the cleaner does not reach the LCD area (I used a carton to separate the two zones). A lot of gunk came up.
This fixed the issue with very slow reads in AC, but it did not fix the issue where the AC values do not appear at zero when switching to the specific mode.
In VAC mode, the meter shows 0.4V which slowly goes to 0.04V for example. What I observed though is that the meter is sensitive to noise when the two leads are not shorted. Moving the hand around the meter would make it show 0.09V AC and withdrawing the hand would make it go back to 0.02V. This effect is less pronounced when the case is on.
After seeing videos with similar meters but where the creators avoided AC modes, I bumped into My Mate VINCE who tests his meter here. I observed a similar pattern in AC modes: values start a little higher.
Decided to record mine:
Thus, I am not 100% meter behaves correctly, for example in VAC and 300mV range, values are shown higher than 0 – but shorting the leads do show 0. So maybe is expected for it to behave like that.
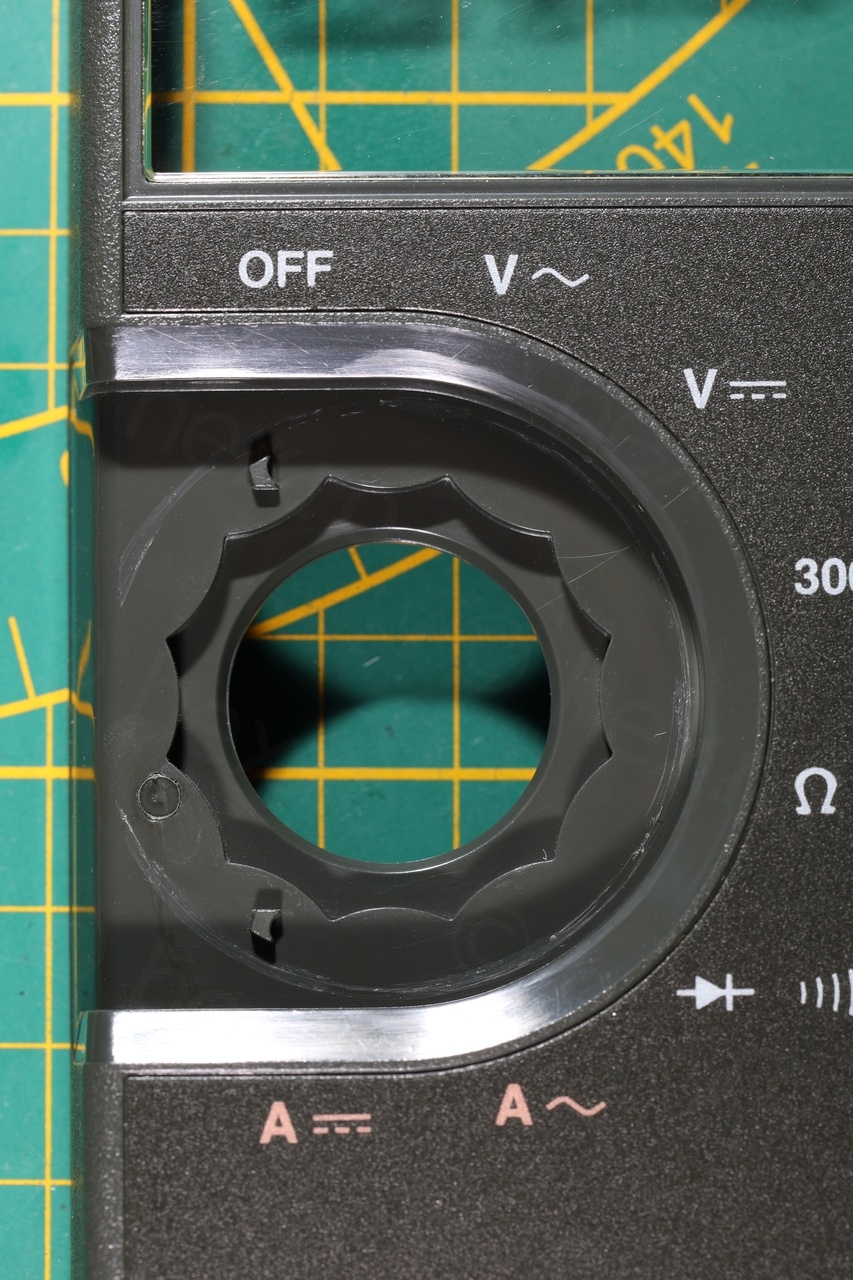
Cleaning the knob (plastic)
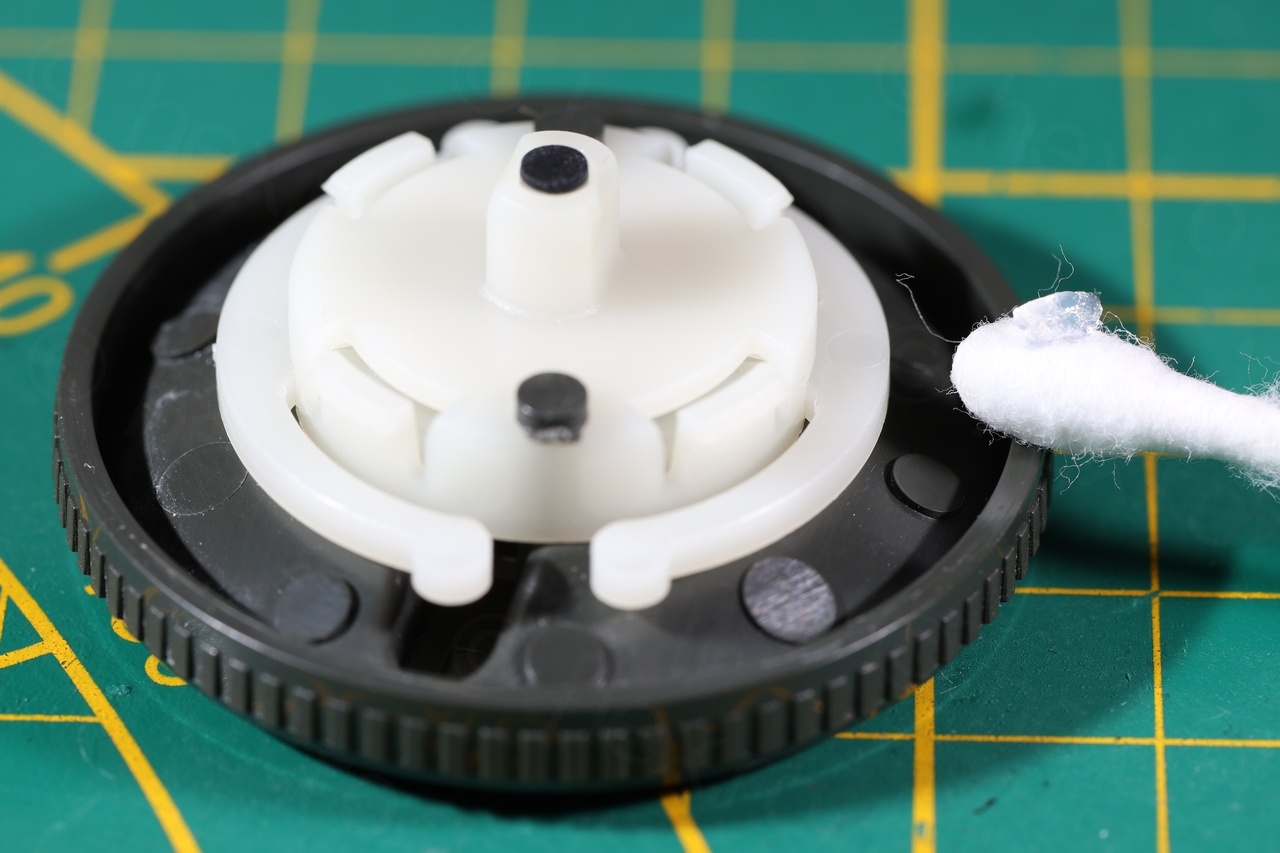
It is easy to take the button out and I discovered a lot of dust inside, justifying the grinding noise when trying to turn the knob.
First step was to brushed it away and afterwards cleaning with wet wipes:

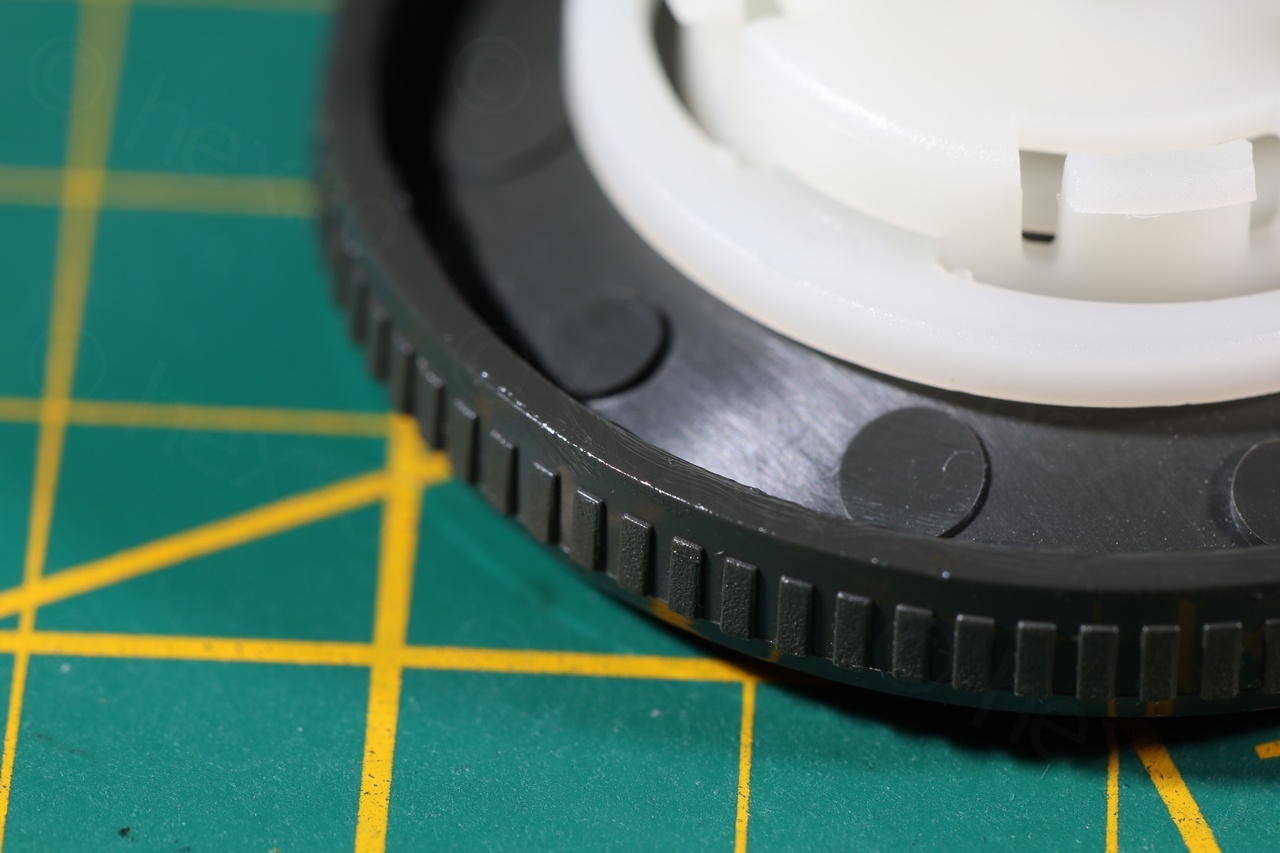
I have then applied some silicone grease on the ridges of the knob riding on the case. Also on the white shaft / body of the knob that clips into the case, but not on the plastic detent springs – I prefer to hear a click when the knob snaps in place instead of a muted click.
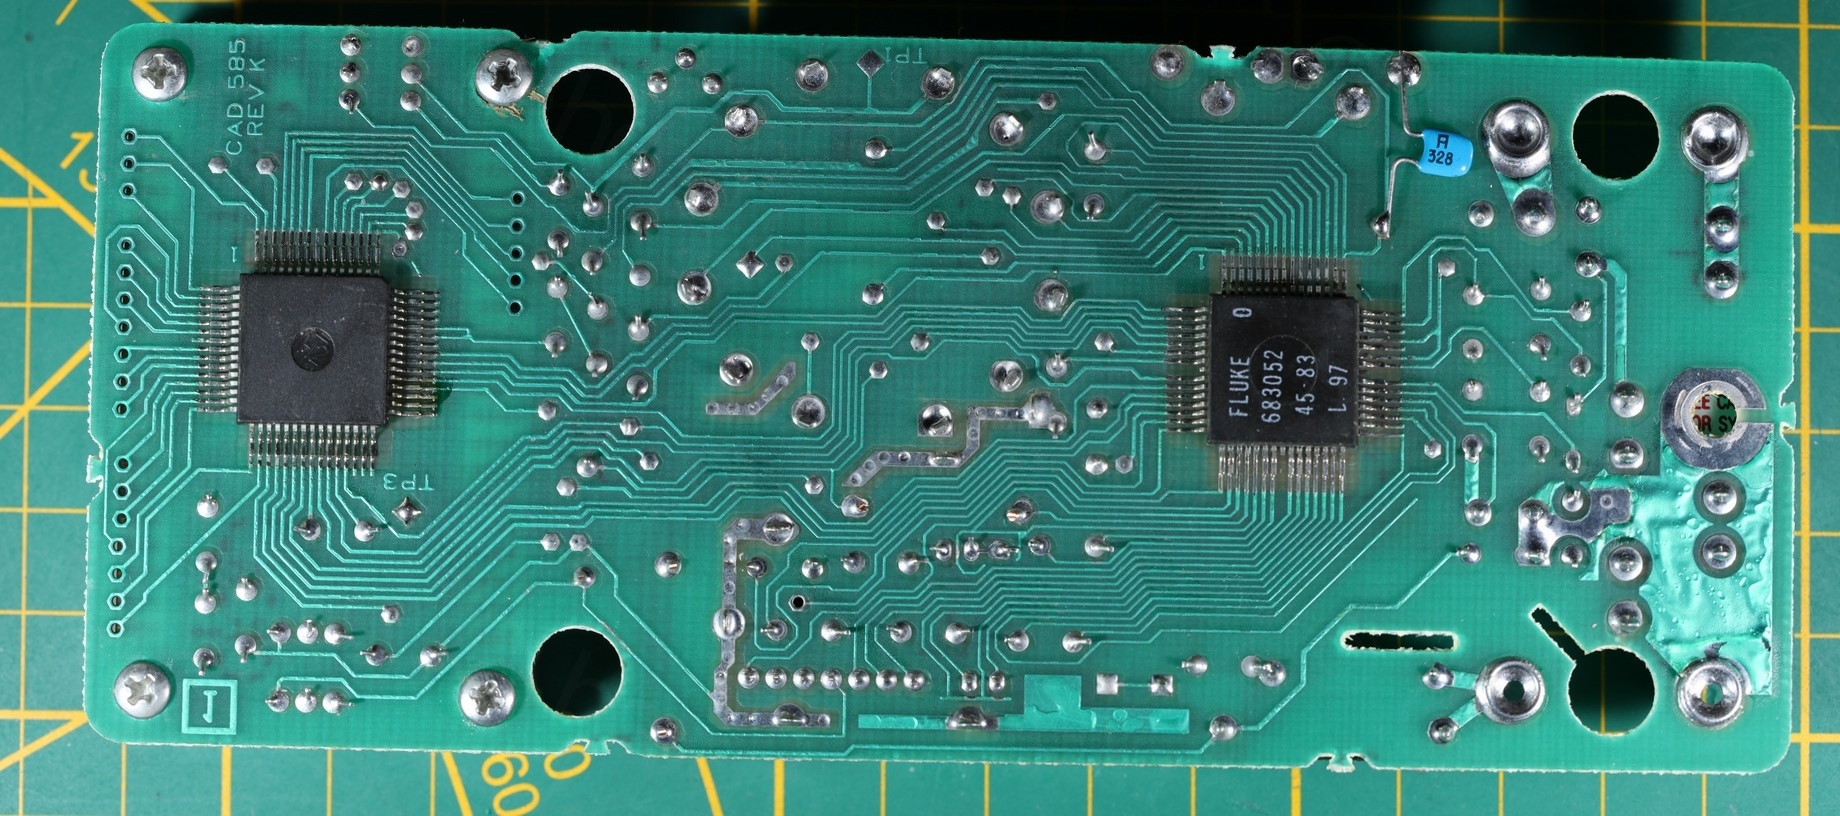
Board overview
The board of the device was very clean inside. The most interesting aspect was the U1 IC marked Fluke 683052 45 83 L 57. U1 was manufactured in 1983, so it means that now, at the moment of writing, this device is 39 years old!
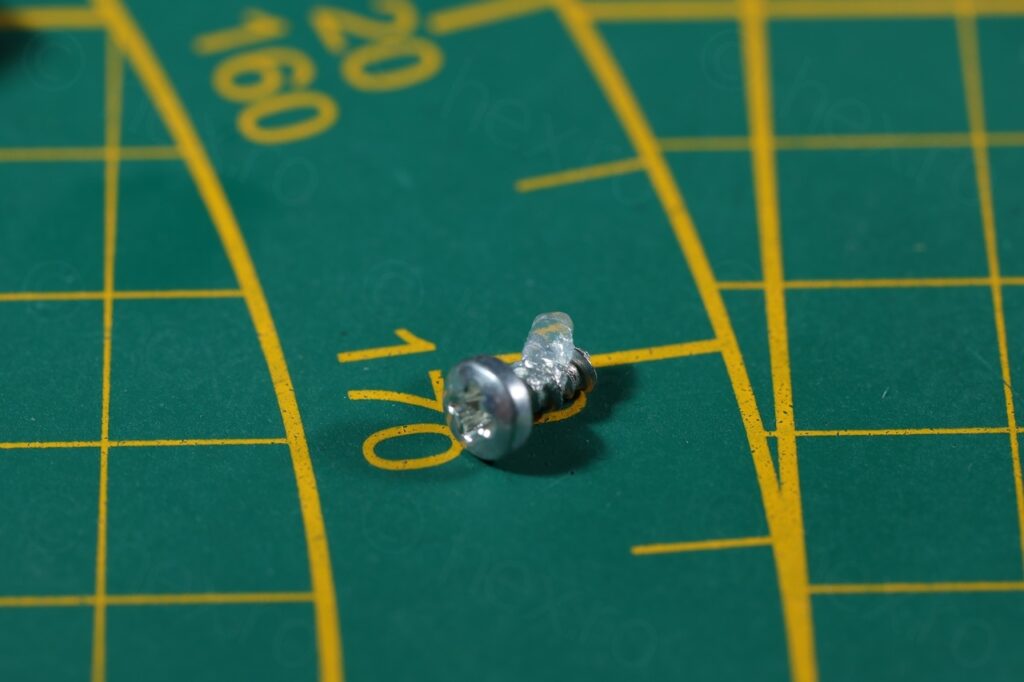
One last thing, I have applied a bit of silicone grease on all the screws before reinserting them:
This meter will not be used for measurements but because of the nice box (although one corner is torn as you see in the first photos) – I will conserve it as part of the collection of cool old things!
Michel
Hello,
Perhaps this information will interest you, how to convert a 75 in 77, adding the touch hold function for free.
https://groups.google.com/g/sci.electronics/c/rgEo-5NkMOo
Thanks for your video.
Michel